|
|
|
|
|
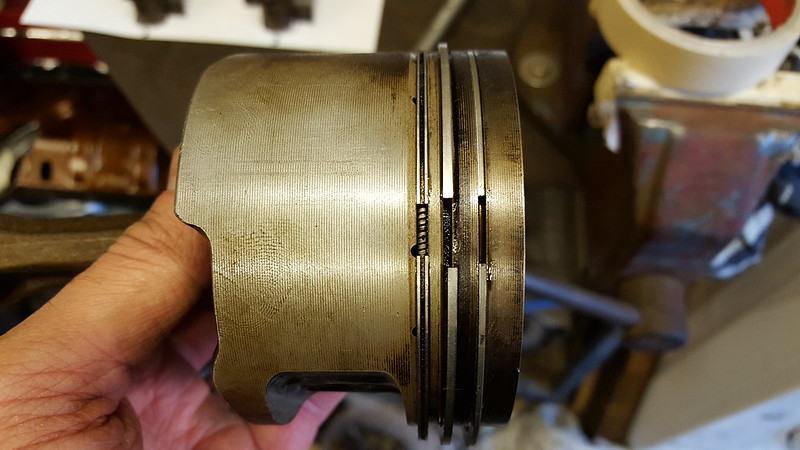
Hi all, It's been a while since I have posted on here, but I have been around for a while  . After a number of filler cars I have finally managed to get another VW that I want to make my own. The Jetta was originally owned by a mate of mine who buggered of to London to leave the Jetta under a cover rusting away. After 4 years he decided to sell it to me for the tidy sum of £500, with a load of panels to fix it. This is going to be quite image heavy, but you know what they say, an image says a thousand words... This is how the old girl looked when I picked her up,  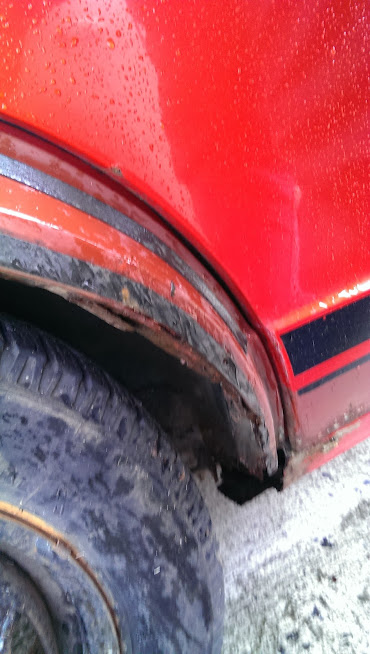 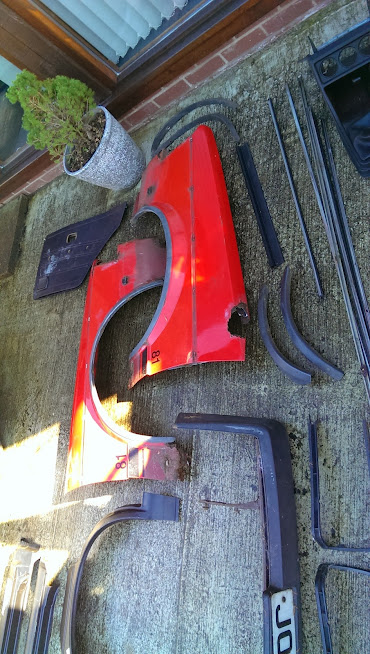 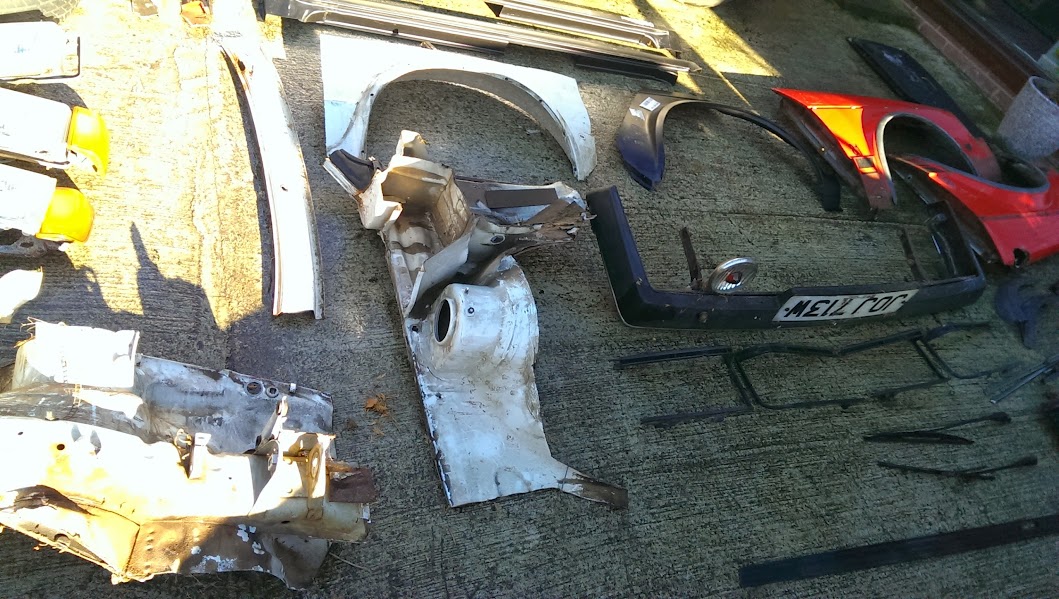 Then the stripping started... 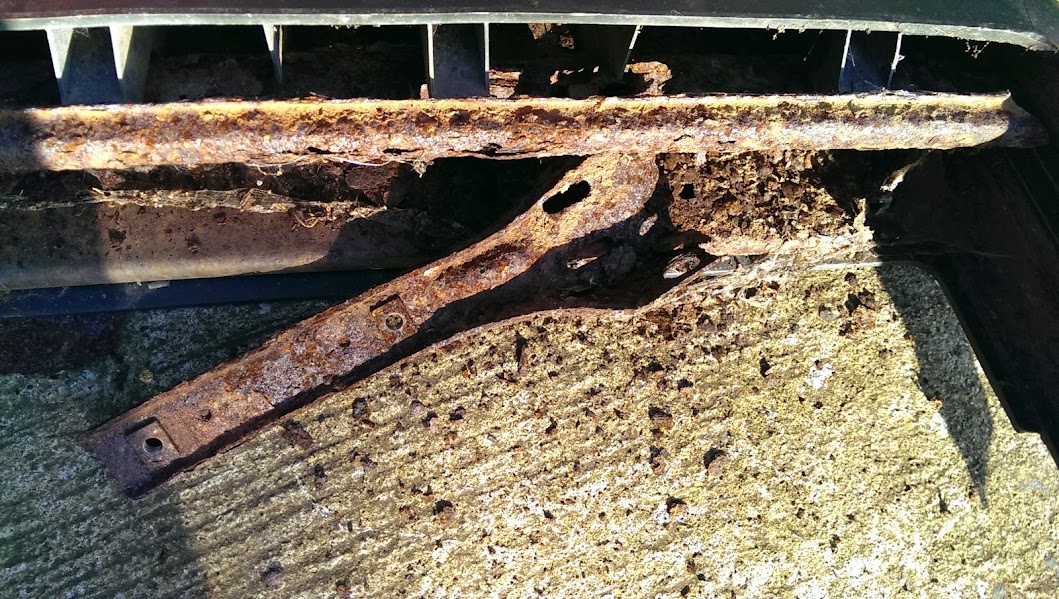  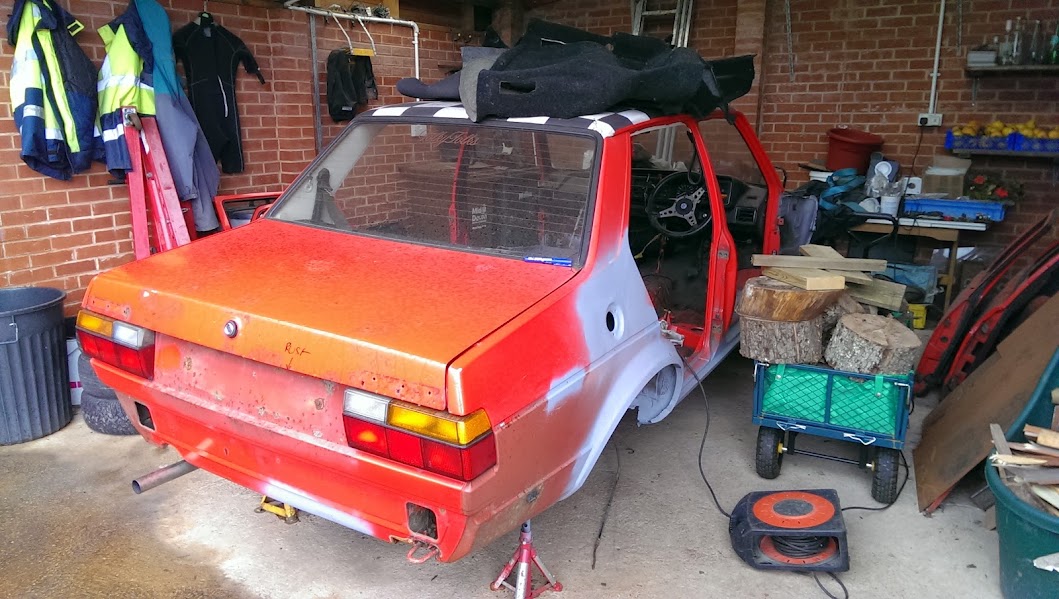 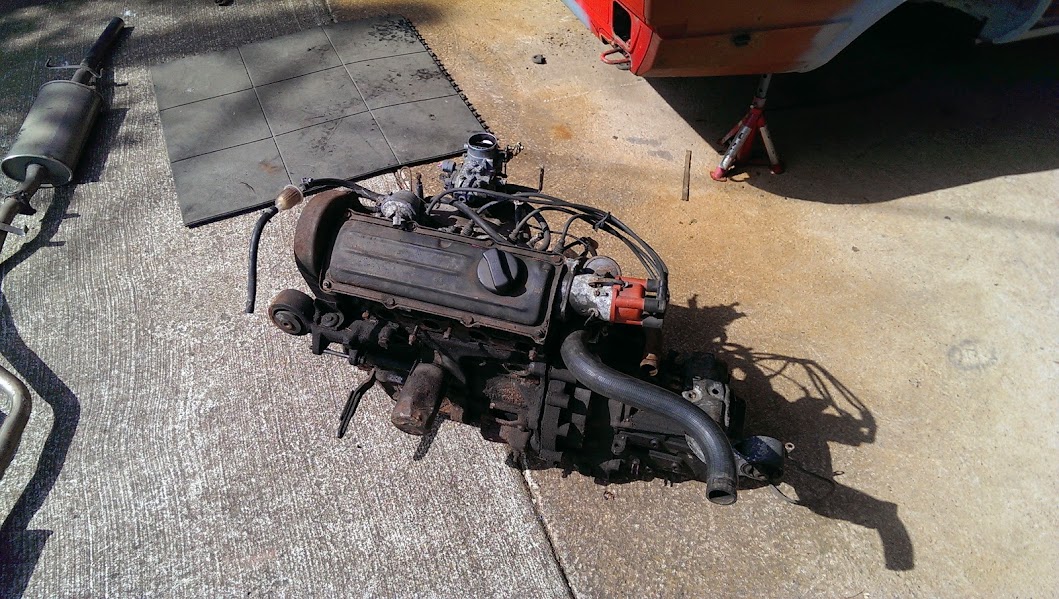 Then the welding started...  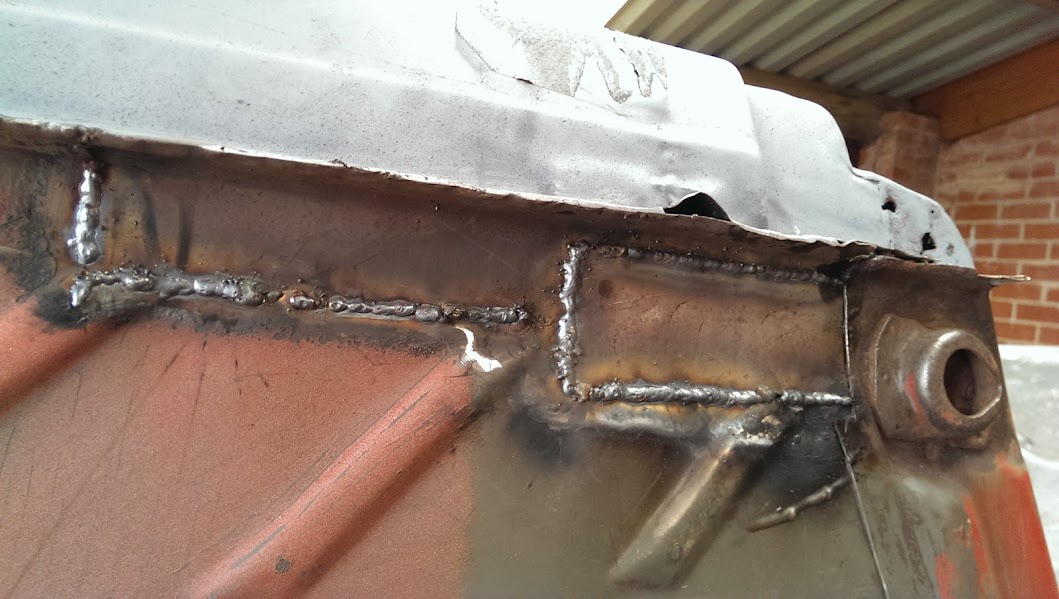   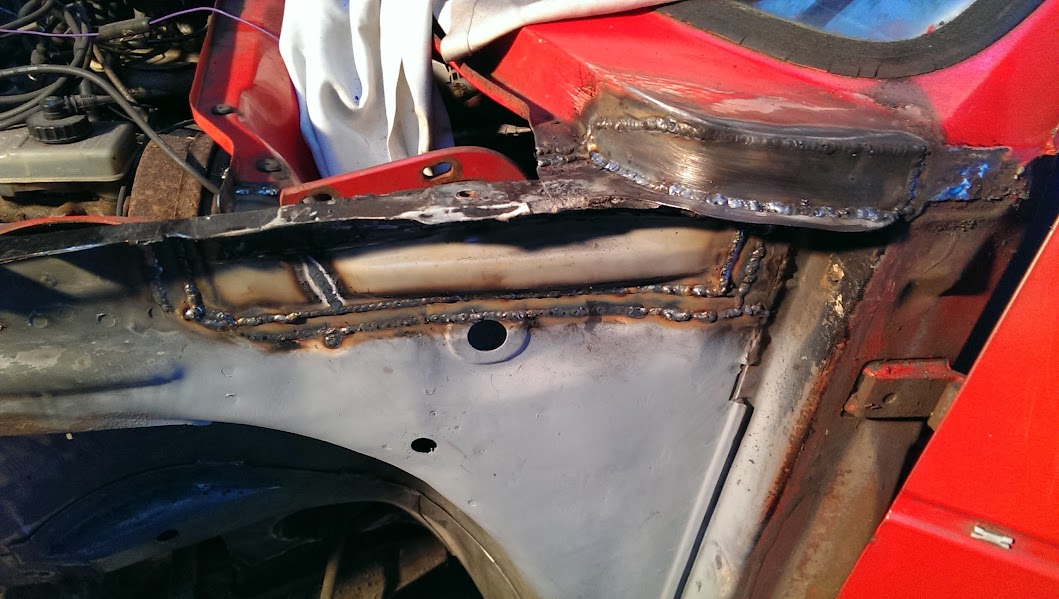 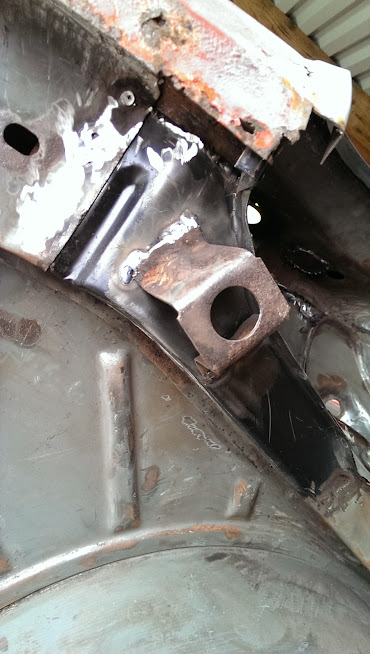  Then some underseal...  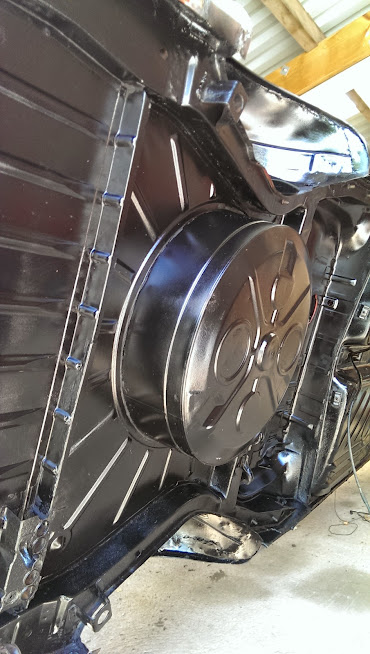   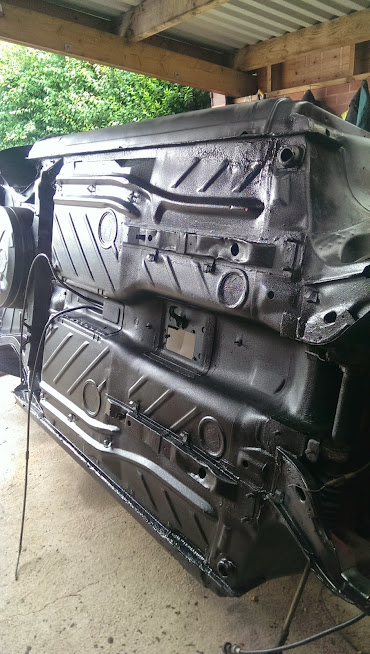 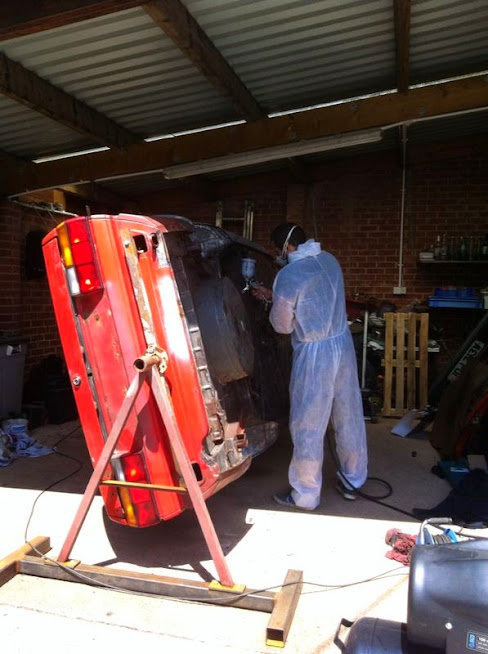 New oversized 9A pistons  Glass out and more rust    With a load of the structural repairs done, I wanted a top finish on the bay and the front end, that has seen better days. So the car is now at my local restoration shop RestoShack. The guys and girls at RestoShack do top quality work and have been tasked with new inner wings, slam panel, scuttle, chassis leg repairs and a few little bits. Being delivered 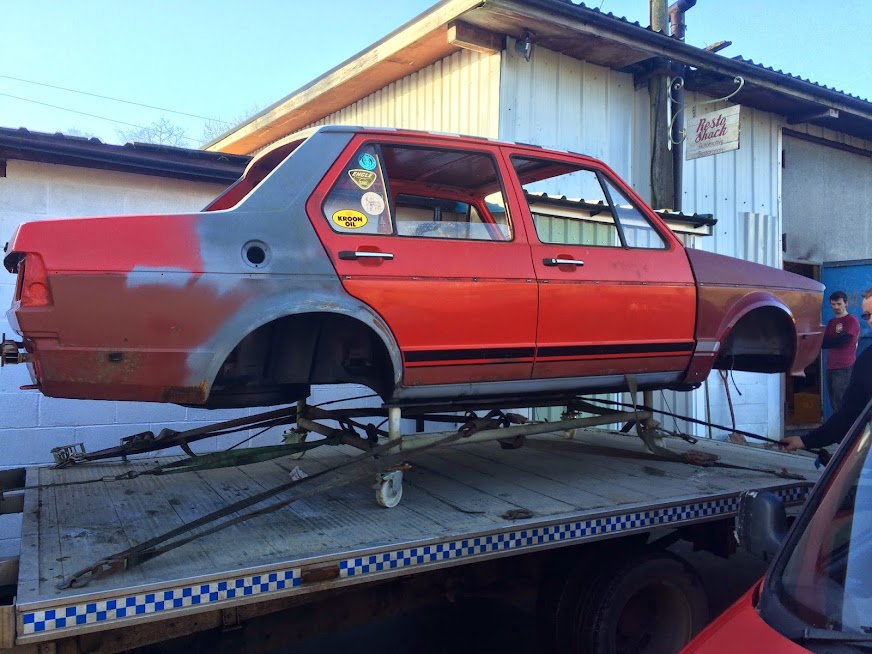 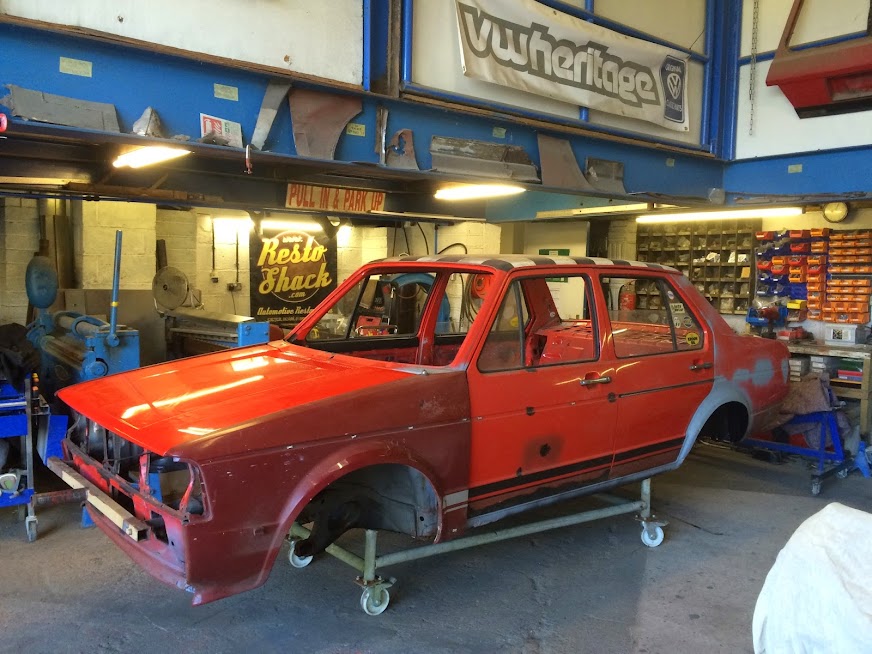 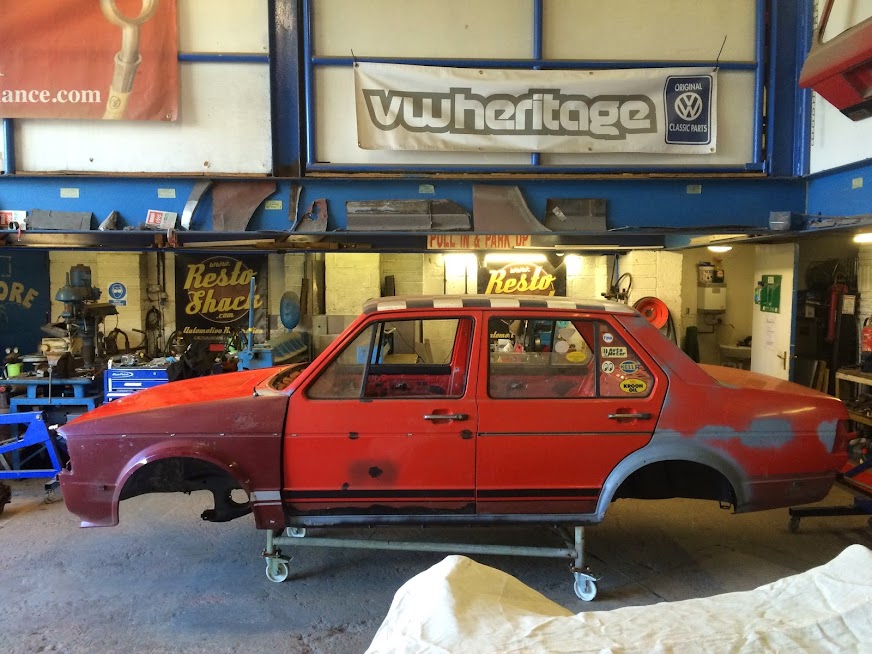  rusty leg,  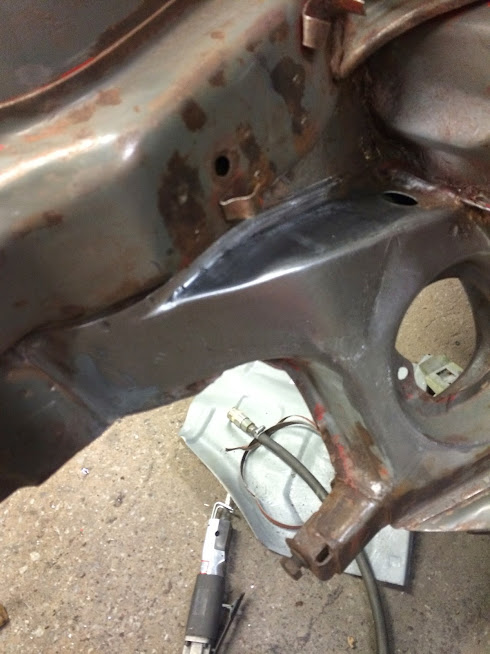 Both inner wings chopped... 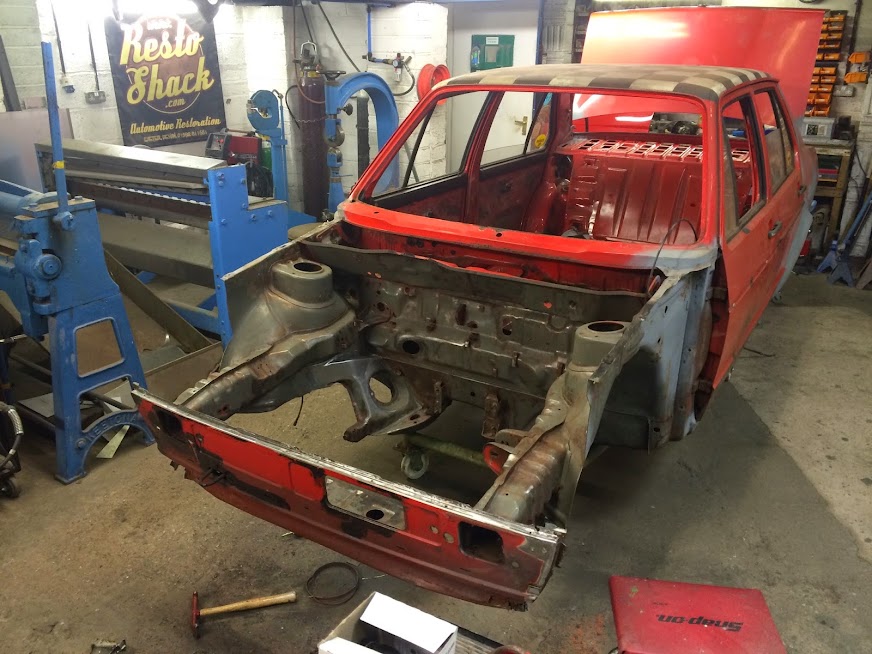 Damn Gold inner wing panels, need 'modifying'   Chop Chop.  Time to make the lip.  Weld here! 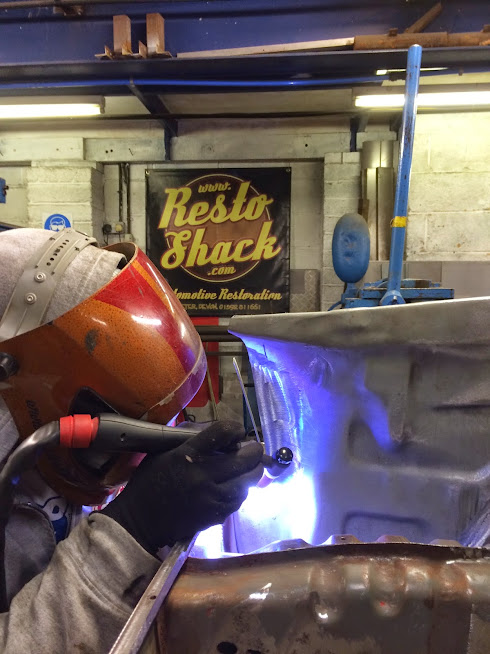 |
| |
|
|
|
|
|
|
|
|
|
Went down to clean up the bay ready for more work next weeks work, 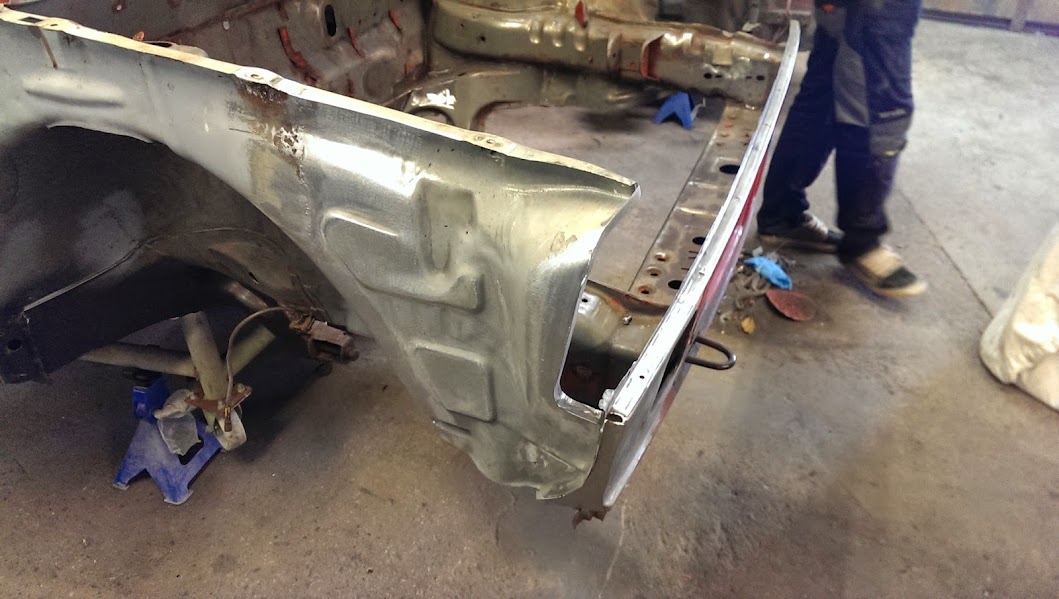  Engine mount in,  Other chassis leg repaired, 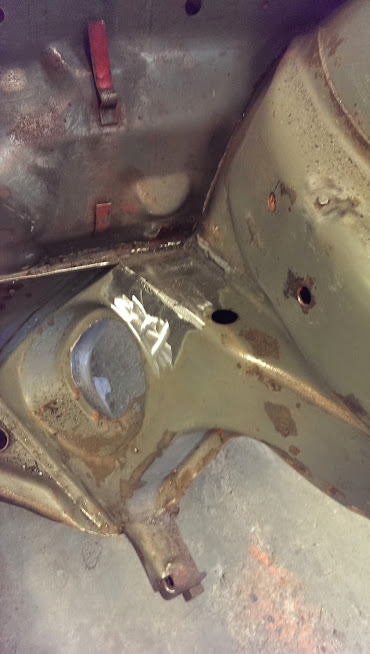 Rain tray repaired, 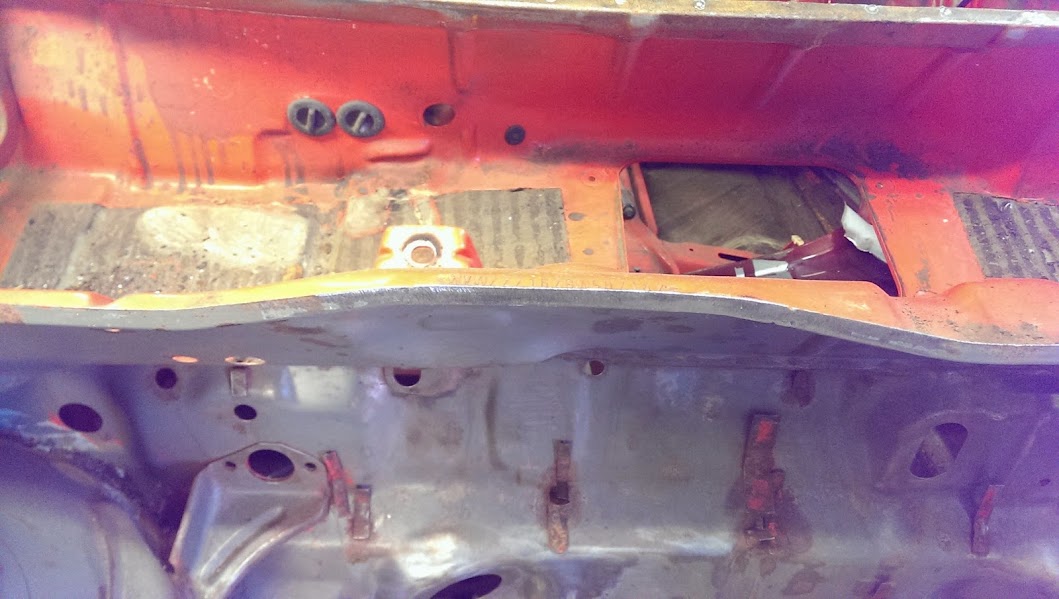 Was still waiting on the other inner wing panel, 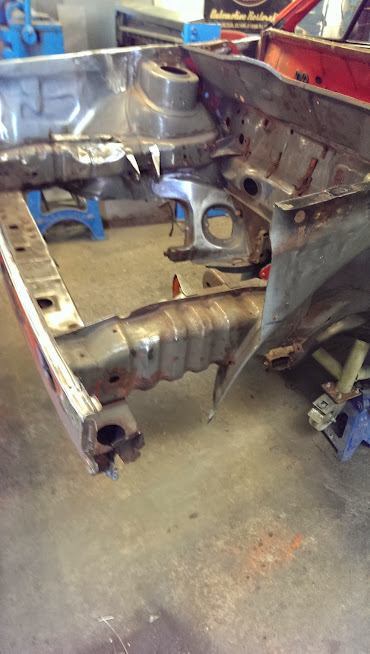 Scuttle off, which more rust found underneath (which could have leaked water into the cab),  |
| |
|
|
|
|
|
|
|
Got down to the Shack again and got some new pics of the Jetta. The new scuttle is screwed in place (it will be left removable until the last moment to allow access to underneath for spraying), both inner Golf wings are modded for the Jetta and the bay has been preped for primer for when the work is done. The front panel is all together and screwed in place. New inner wing fitting,    I was down there because I gave Dave two left hand lights, so he was not able to mock it all up to check fitment before welding the front back together. I got down there and slapped the lights and trim on and it all lined up a beaut.  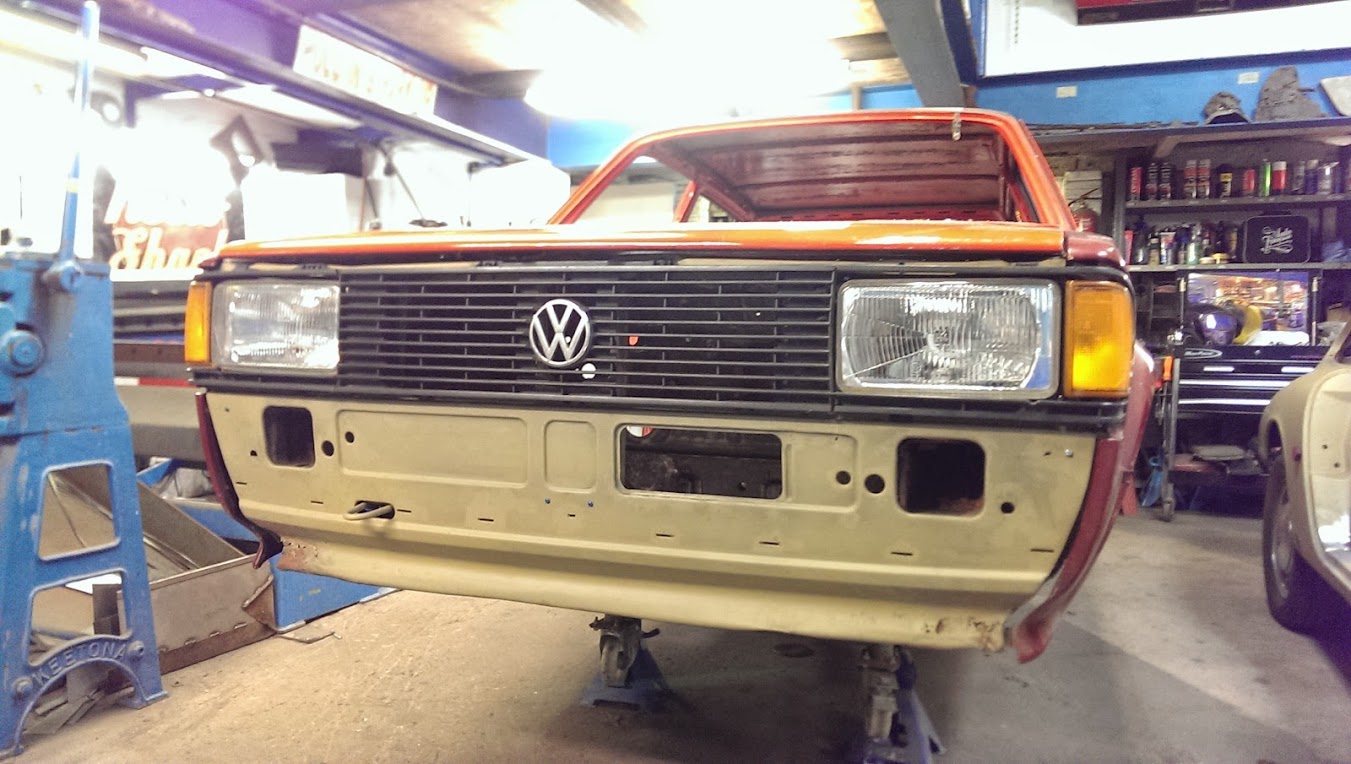  Once happy I screwed the right hand side up ready for Dave to weld it on. |
| |
|
|
|
|
|
|
|
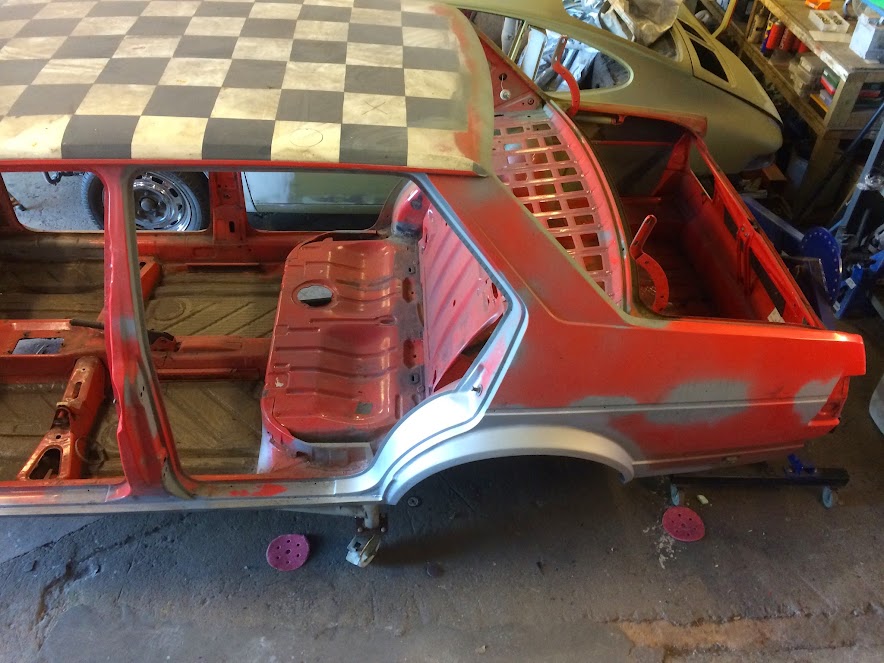
Another trip to RestoShack, another load of pics from the weeks work. This restoration started as a smaller project, with the plan being to sort out the rust as well as possible without going mad. Now, since the car is at RestoShack it would be a shame to not sort out some of the other areas of the car now that there are the tools and the room to do it all. So, the team at RestoShack have started on the rear arches which were repaired, but more extreme measure have been chosen to keep the car rust free for more than a couple of years. So, onto the rollover jig and start the cutting,  The old arch,   Cut off the outer panel to get to the inner bowl that needs more attention.     Rust at the top of the inner arch. Much easier to get at when you are willing to chop the rear quarter off.  All chopped and ready for some new panels   Repaired inner section.  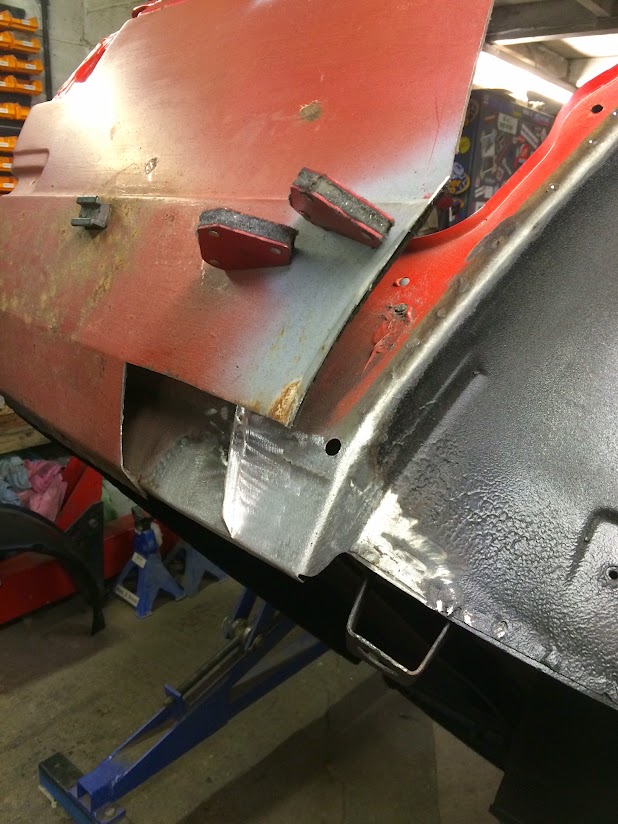 New inner bowl in place   Bowl attached to C pillar  All primed up. 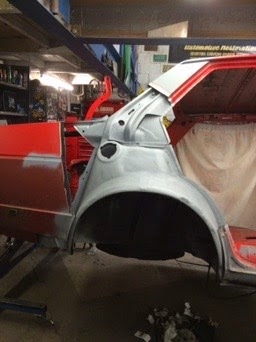 Rear panel section cleaned and primed.  All back in place with the rear arch on.  All tacked in place. 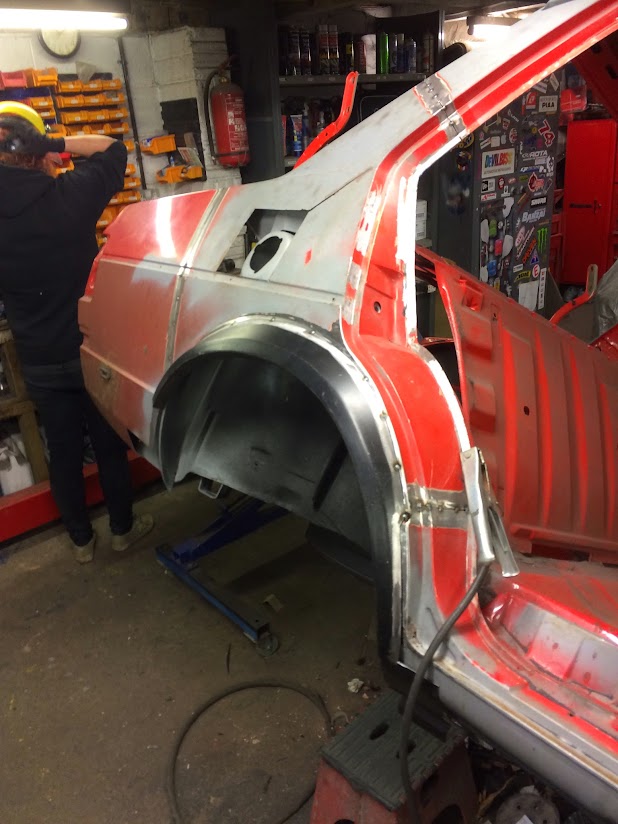  The only issue was that the inner bowl is for a mk1 Golf and the fuel filler whole does not seem to line up flat with the exterior panel. |
| |
|
|
|
|
|
|
|
It has been two weeks since I updated this, so though it was about time to get some pics up  P.S. New RestoShack website is up and running. If you have not seen it, do it now! Anyway. The guys and girls at RestoShack cracked on with the drivers rear arch, extending the mk1 Golf rear inner arch bowl to fit the rear panel of the mk1 Jetta. Loads of pics coming, but basically they chopped the rear panel to create a new section for the filler whole, then welded it all up, stripped the paint and primed it ready for final body work later on.   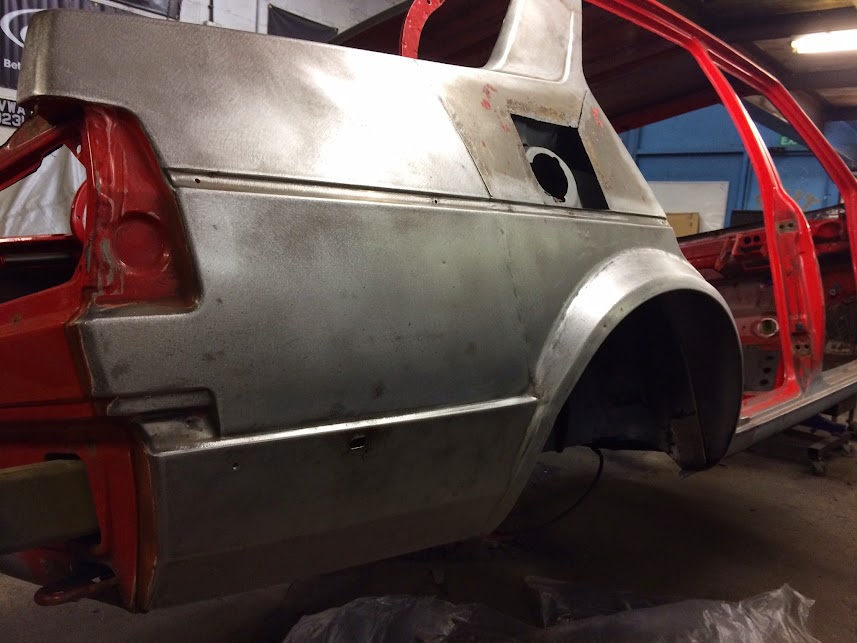    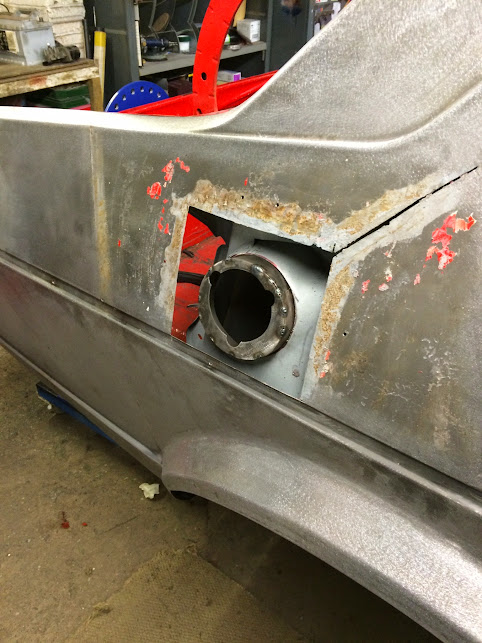  ![]() lh3.googleusercontent.com/-qDzfB-IPOnE/VOoZZg2AejI/AAAAAAAAHyg/q_UV-dEhip0/w482-h643-no/20150217_115947000_iOS.jpg] lh3.googleusercontent.com/-qDzfB-IPOnE/VOoZZg2AejI/AAAAAAAAHyg/q_UV-dEhip0/w482-h643-no/20150217_115947000_iOS.jpg]  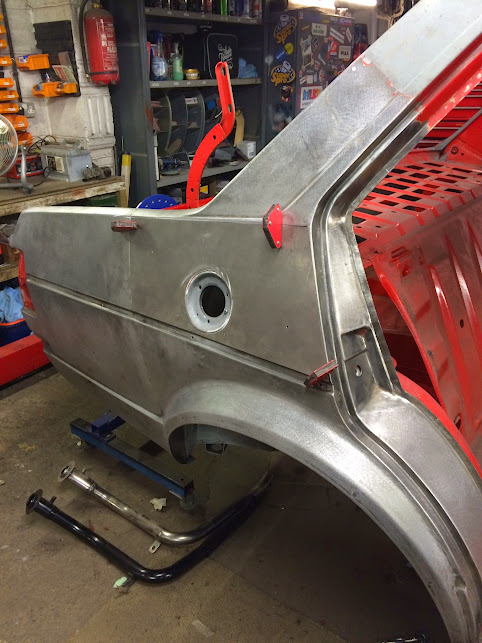   And now how the shell stands, with primer on the bay and the rear drivers quarter.    So today I gathered a small rabble of Ash and the wife and set to stripping the paint of the panels. Not a great deal of pics due to me being covered in paint stripper or dust lol.  Paint stripper on,  All stripped and being preped for paint    Ready for some primer, 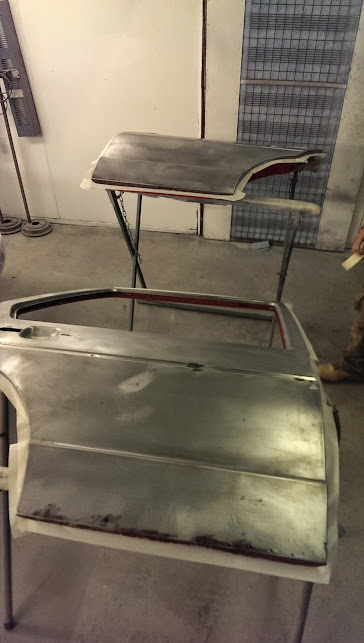 All sprayed (Dave even let me do a couple, though I think I need some more practice)  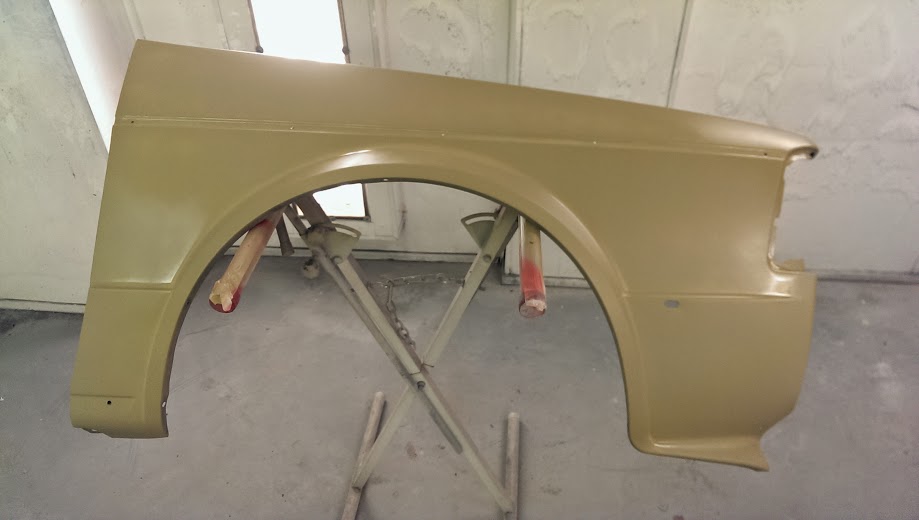 No work at RestoShack next weekend, but the passenger sit should be finished next week by Lil, so more pics once that is done. I might get out into the garage to strip the rear beam ready for powder coating next  |
| |
|
|
|
|
|
|
|
|
|
|
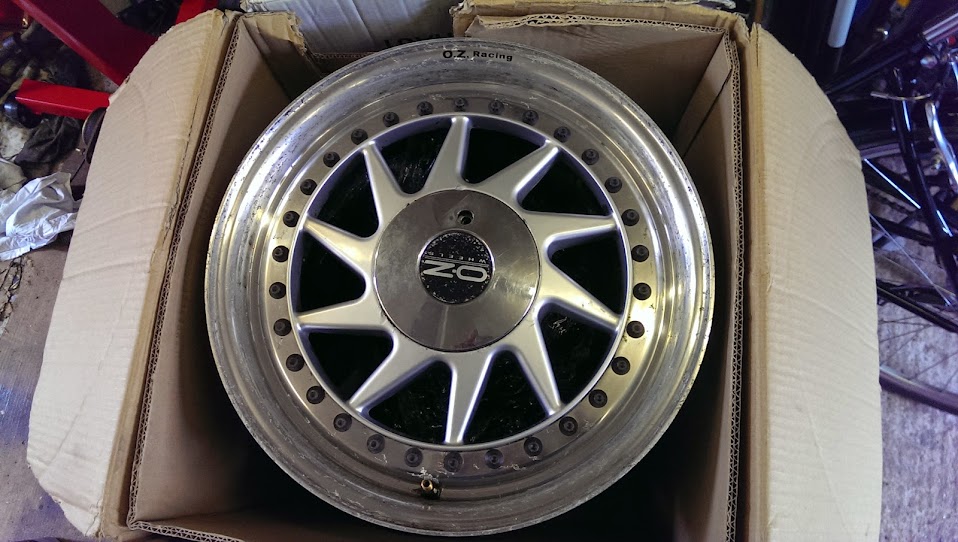
I love a mk1 Jetta. Nice choice of wheels too. I'll be keeping an eye on how this turns out.
|
| |
|
|
|
|
|
|
|
|
This looks like it's going to be a little bit of a show-stopper...!!!
Wonderful!
|
| |
***GARAGE CURRENTLY EMPTY***
|
|
zircon
Part of things
 
Posts: 327
|
|
|
|
|
Awesome!
My parents had a Mk1 Jetta - a former VW UK demonstrator reg. OBD 8Y. Hope it lives still as it was great!
|
| |
|
|
VIP
South East
Posts: 8,302
|
|
|
|
|
Good to see that Jetta still around, it was out and about the same time I had mine around 9 years ago.
|
| |
|
|
|
|
|
|
|
|
|
|
|
|
Looking good, nice to see a Jetta not just the usual Golfs or even coupes for that mater.
|
| |
|
|
|
|
|
|
|
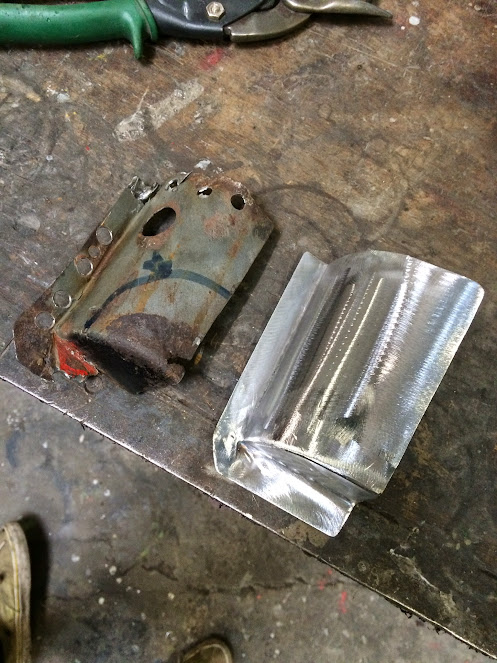
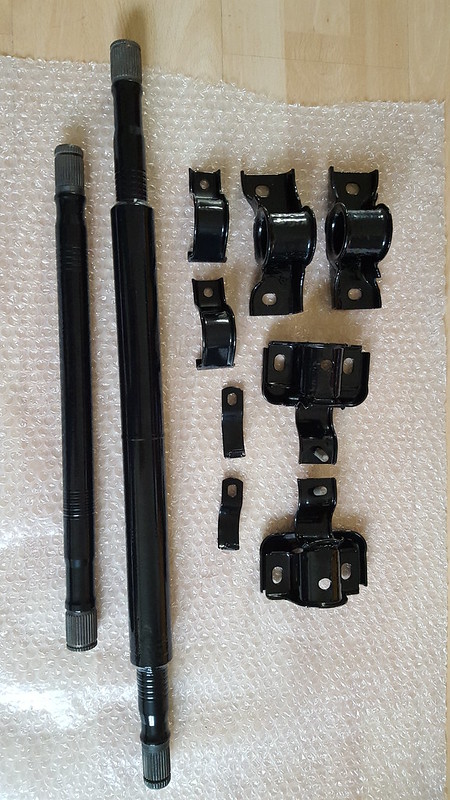
Cheers Neilios  Got some more time on the Jetta down restoshack this weekend so it got on with repairing the boot panel under the tutelage of the all knowing Dave. Time for some pics, Wire wheeled it all down and it was not as bad as I feared. Though some repairs were needed. 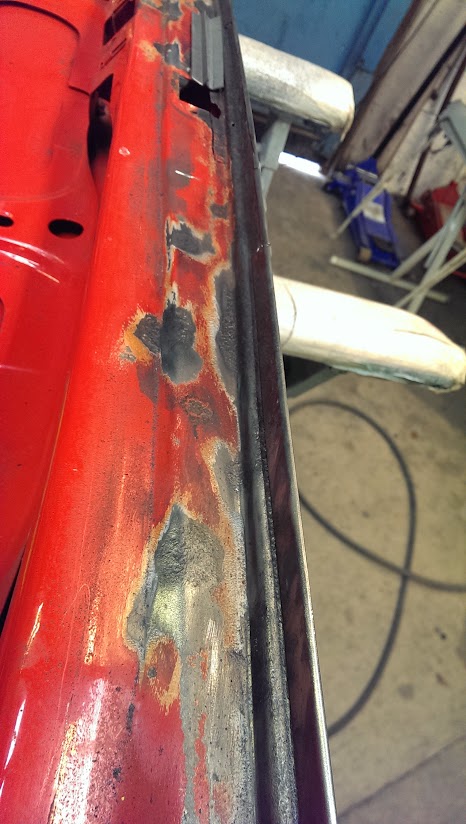 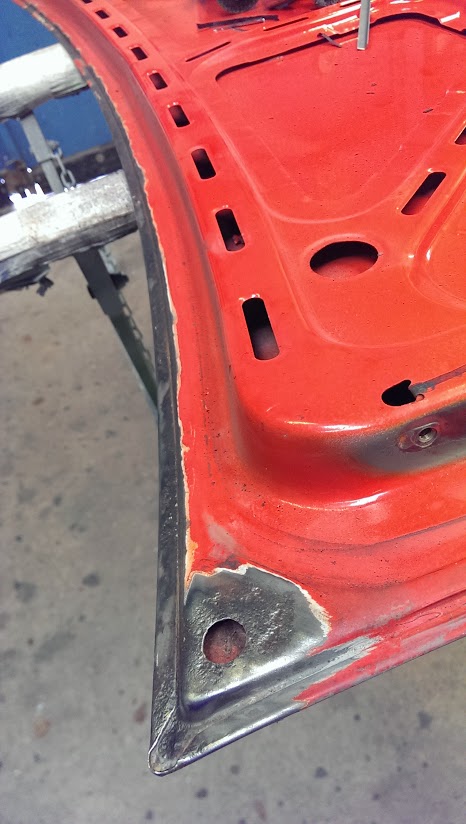 Made some pieces to fill the rusty gaps  Chopped the rust and sprayed the backs of the new metal and the old for rust proofing, then cleaned up the edges to be welded.  Clamped,  Tacked and welded,  Then ground down,  Not perfect, but I am no pro welder  I almost finished the last bit but Dave had to throw me out so he could leave to spray another car. Will finish it next time. I also found a new mode on my phone that makes no sense to me (or Dave)  Anyway, got some new parts too, some tie rod flip top hats for my hubs,  So I can use the ball joint extenders I have (made by the bro in law ages ago). And got some bits powder coated,    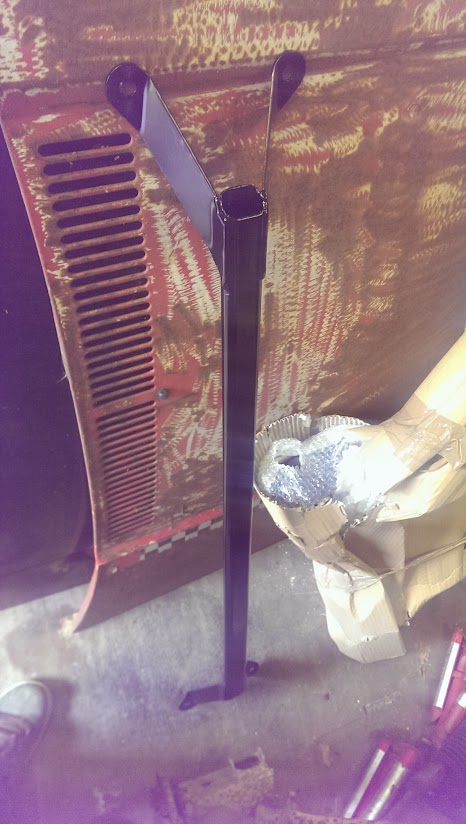 More stuff going for coating soon. Dave |
| |
|
|
|
|
|
|
|
|
Those rust repairs look absolutely top notch!
This is going to be a very fine Jetta once completed. What colour you going for?
Great work, keep us posted.
|
| |
|
|
|
|
|
|
|
|
Cheers dude.
NOt sure 100% on the colour, but I think we are going for the burgundy metallic they did on mk1 Golf's. Though that might change lol.
|
| |
|
|
|
|
|
|
|
|
Top work on the repairs, will be following this one. Had my eye on a Mk1 years ago, but bought a Mk2 instead.
|
| |
Current:
1983 Volkswagen 1200 Mexico
2021 Kia Niro Hybrid
-----
Former:
1989 Volkswagen Jetta
1990 Volkswagen Golf Madison
1996 Volkswagen Golf Wagon Happy Hour
2006 Fiat Panda 100HP
2006 Toyota Avensis Wagon
|
|
|
|
|
Jul 13, 2015 12:39:40 GMT
|
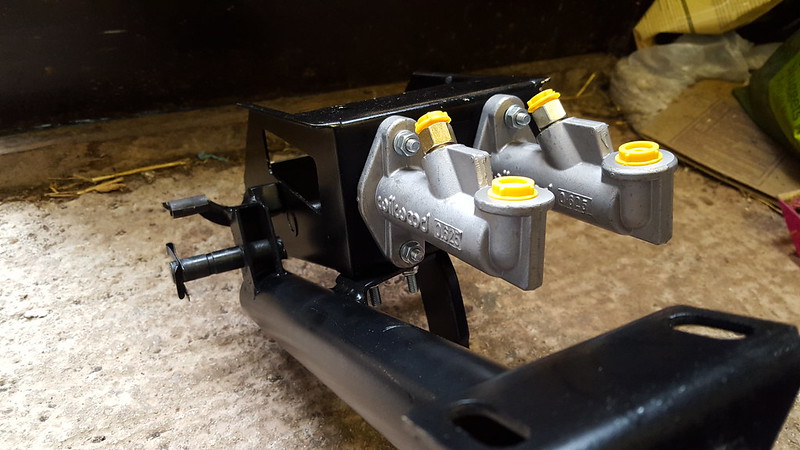
I have been buying stuff and getting bits powdercoated ready for when I need the car to be rolling again. We have plans for getting some paint on the car, but whether that will all come together or not I have no idea. I went down Restoshack to use Dave's bearing press to get the front hubs split, and to chop off the sleeve from the hub,  Not great news,   One is completely curse word and the other showing signs of wear. Two new hubs are needed then. I have also been building up a set of front lights, splitting them, cleaning and painting the light unit and getting the frames powdercoated.  Just waiting on Heritage to send through the new adjuster screws. Also got some new wishbones from AVS spares, but they were a little chipped, so I got them powdercoated too.  |
| |
|
|
ade36
Part of things
 
Posts: 509
|
|
|
|
|
Any progress with this? Awesome build so far
|
| |
|
|
|
|
|
|
|
|
|
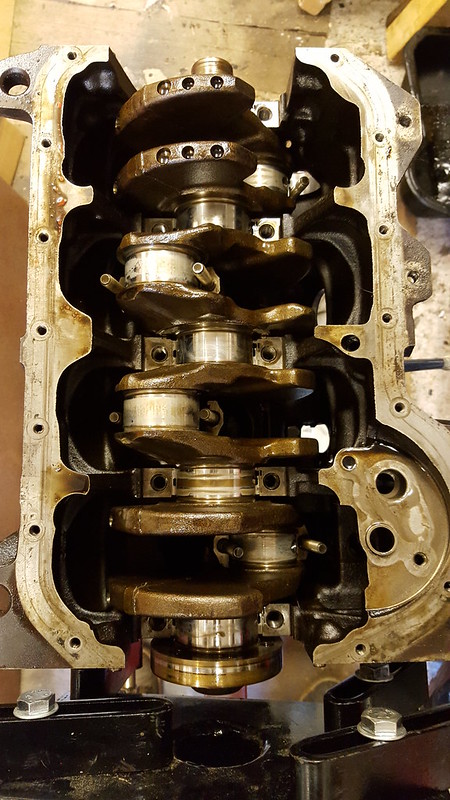
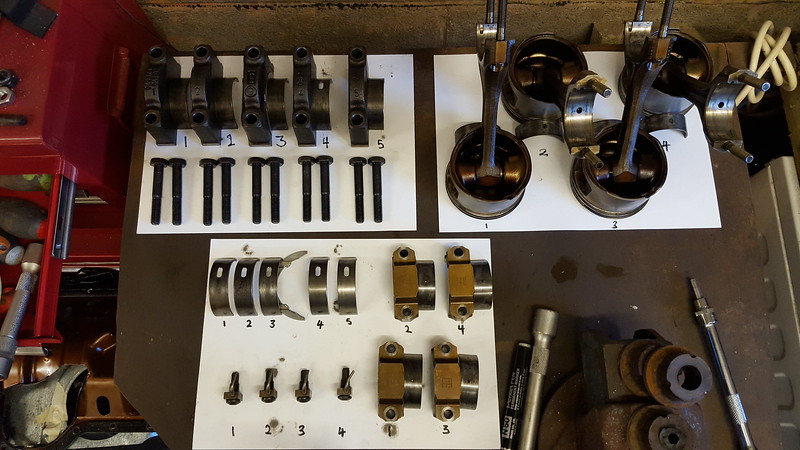
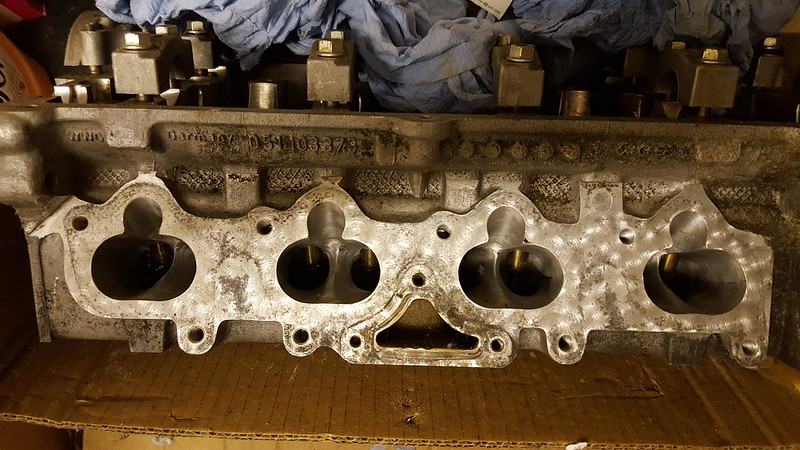
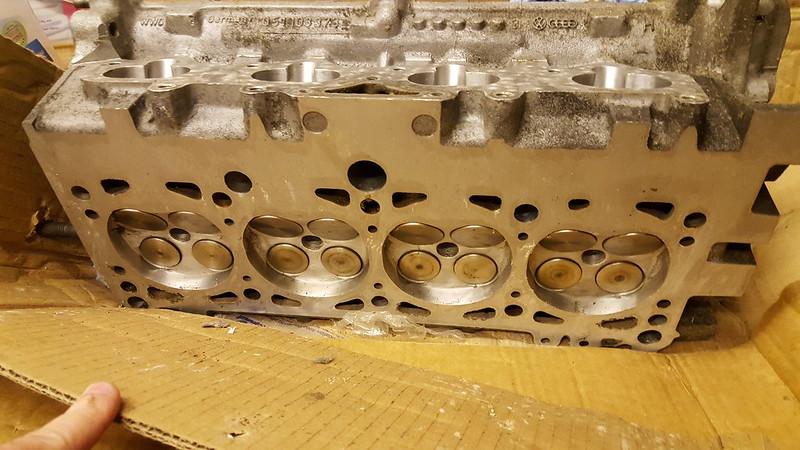
Dave at RestoShack (http://restoshack.com/) test fitting the panels 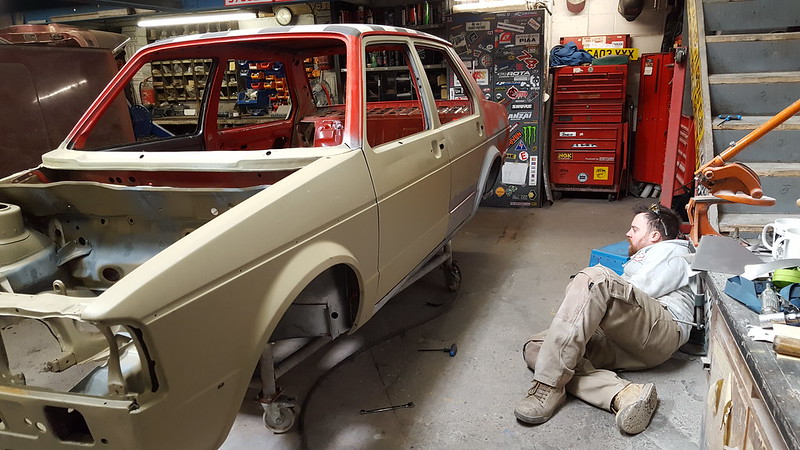 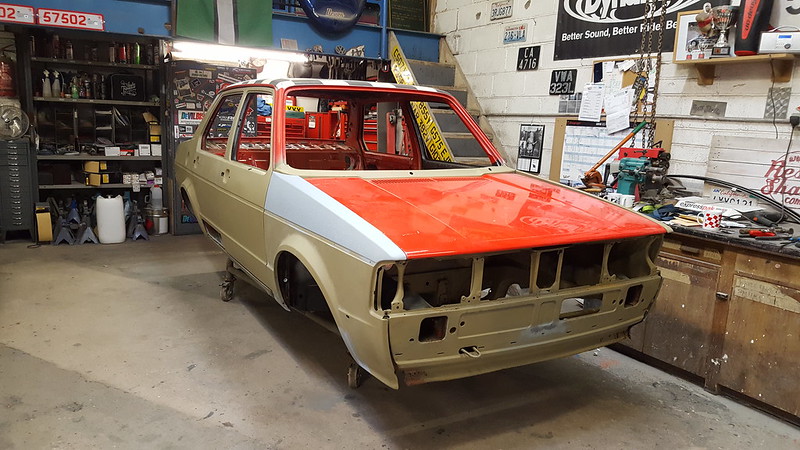 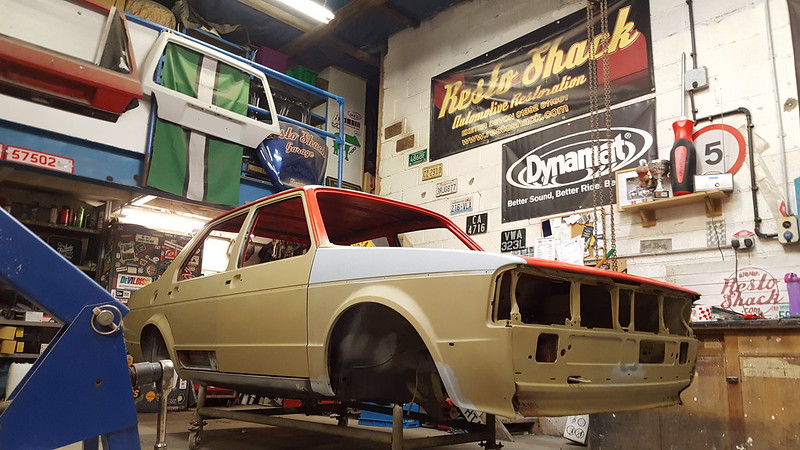 Rear disc setup bought, cleaned and painted 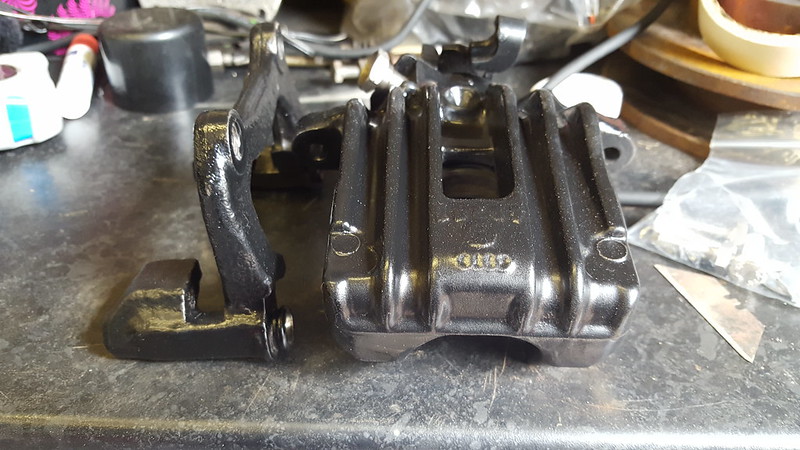 Block with new pistons ready for boring 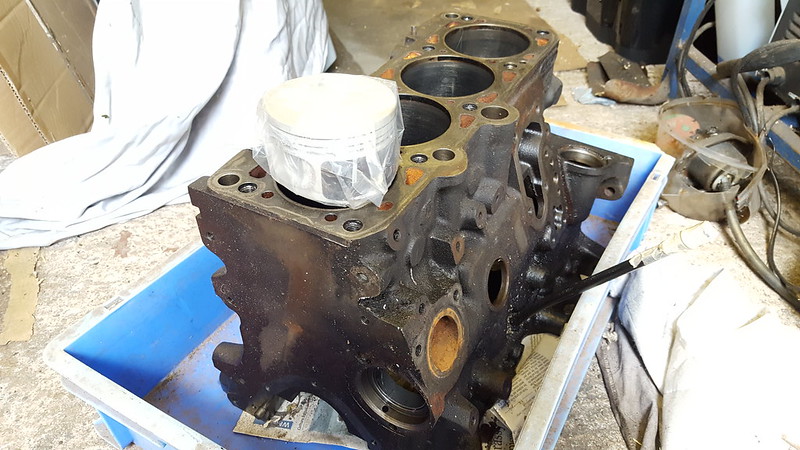 Played with the 45's, needed some parts 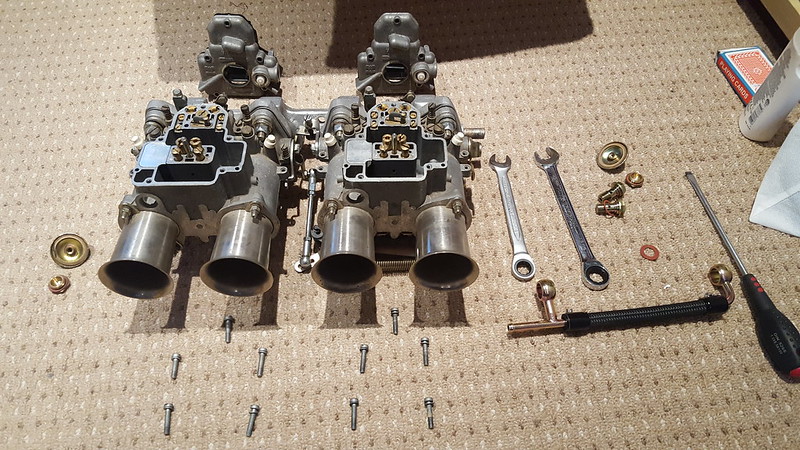 Found some 256mm carriers for the front hubs 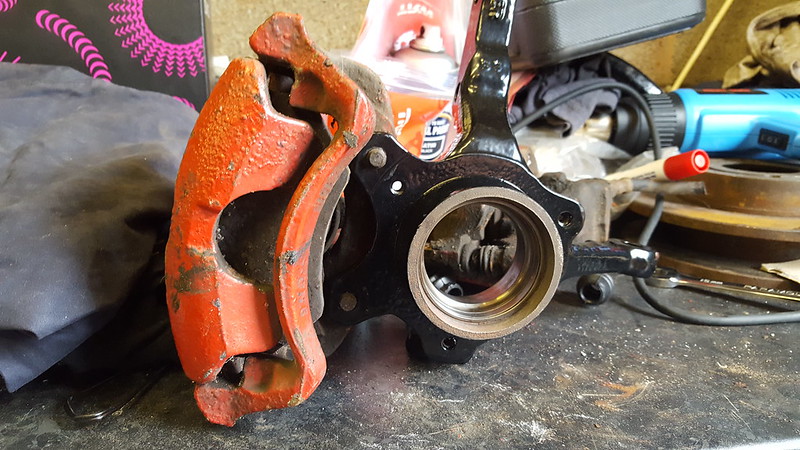 New bores and polished crank 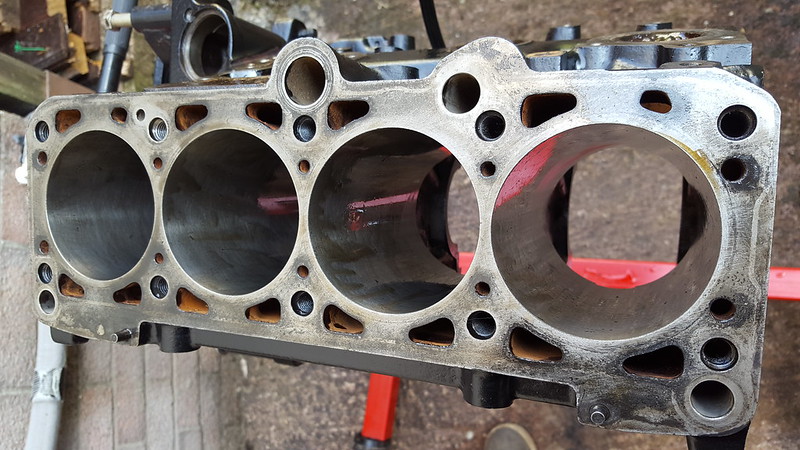 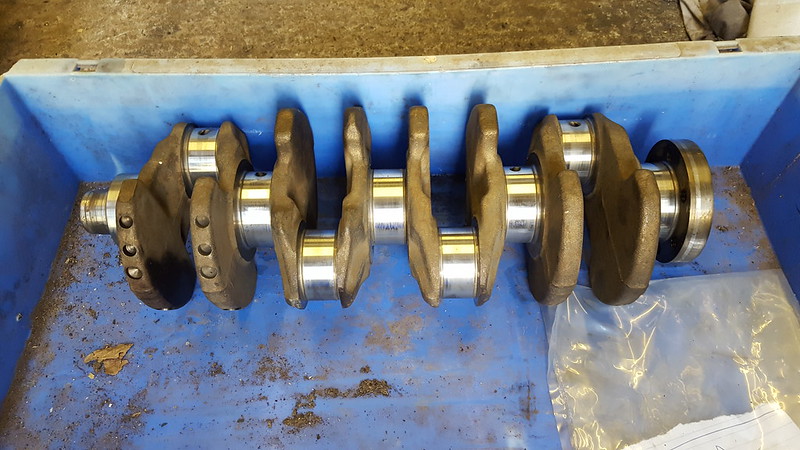 Cleaned and painted 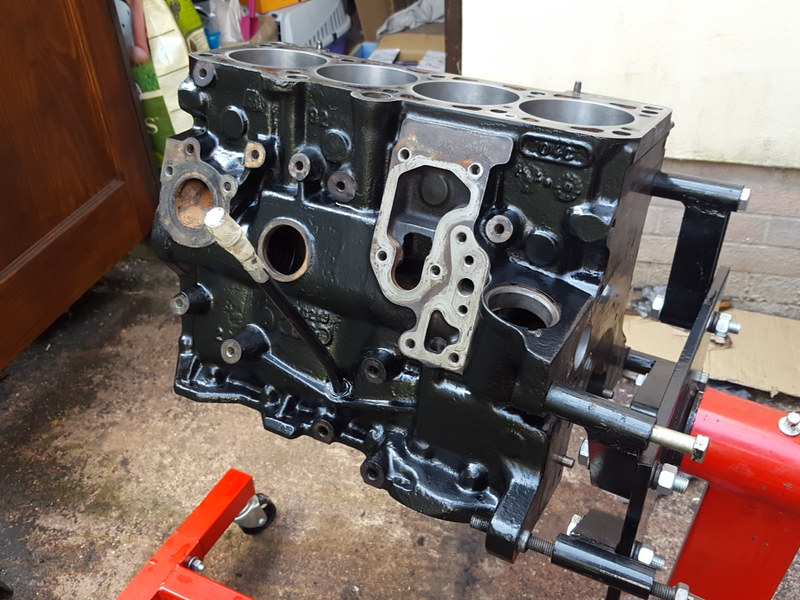 |
| |
|
|
|
|
 .
.


 .
.


