|
|
|
|
|
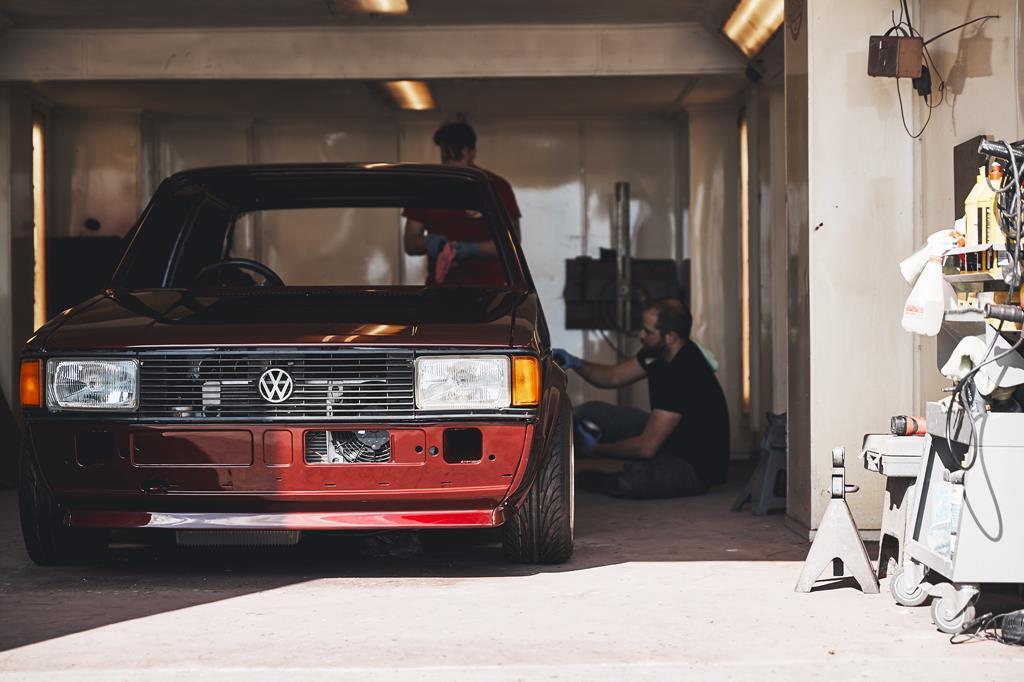
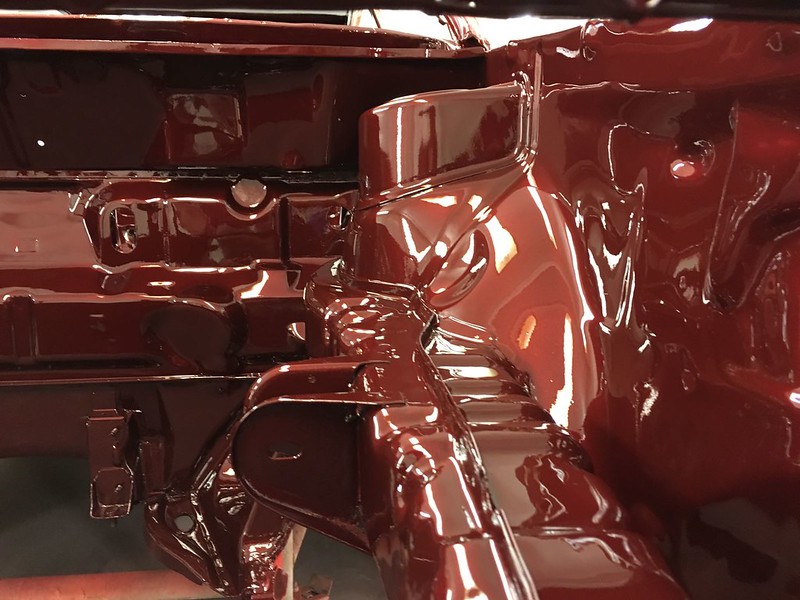
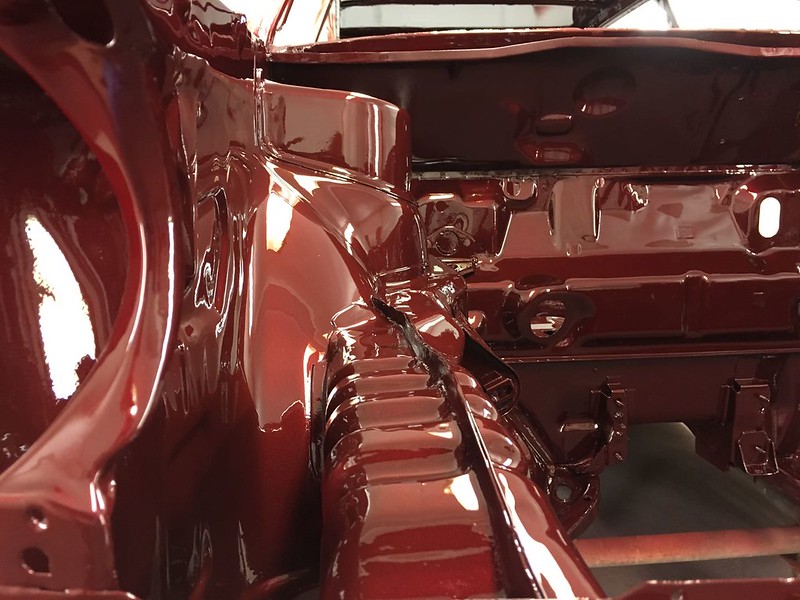
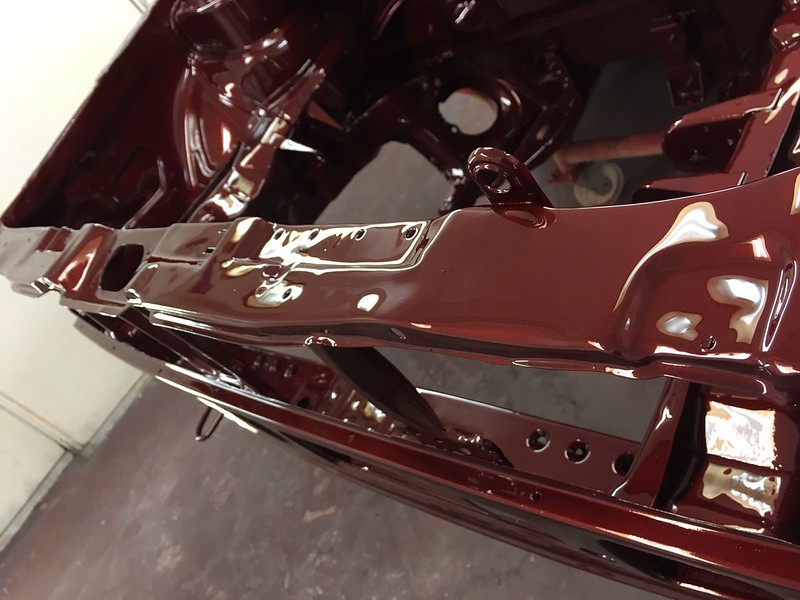
Bought some adjustable top mounts (not sure if I will run them though, but will see what they are like) 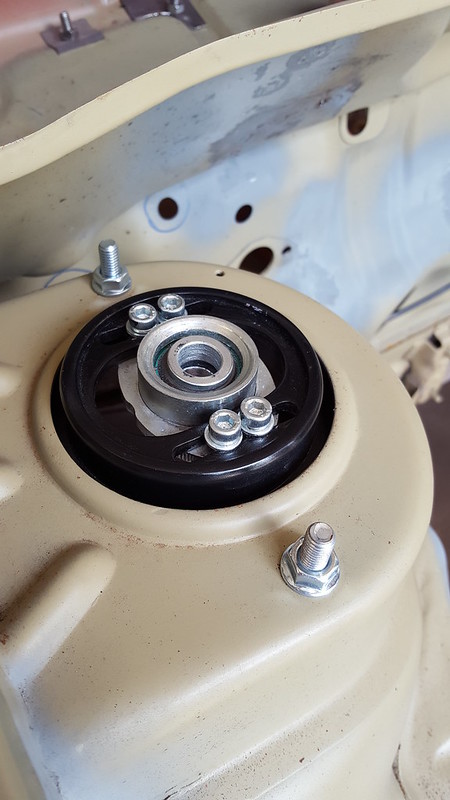 All the curse word from the soundproofing cleaned up 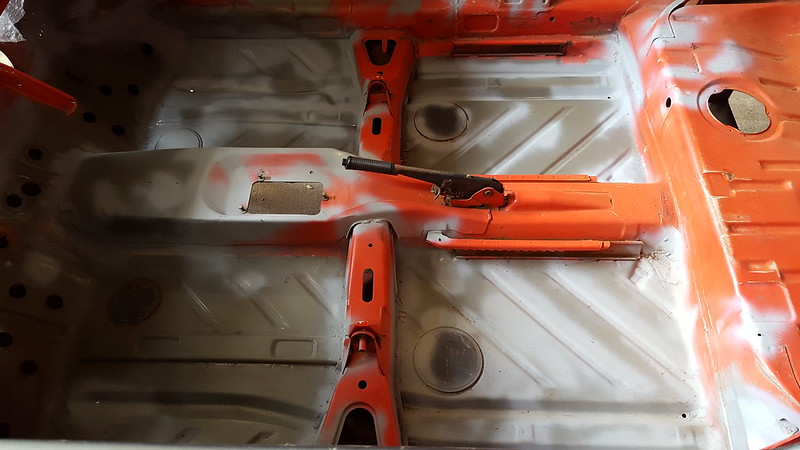 Door finished off 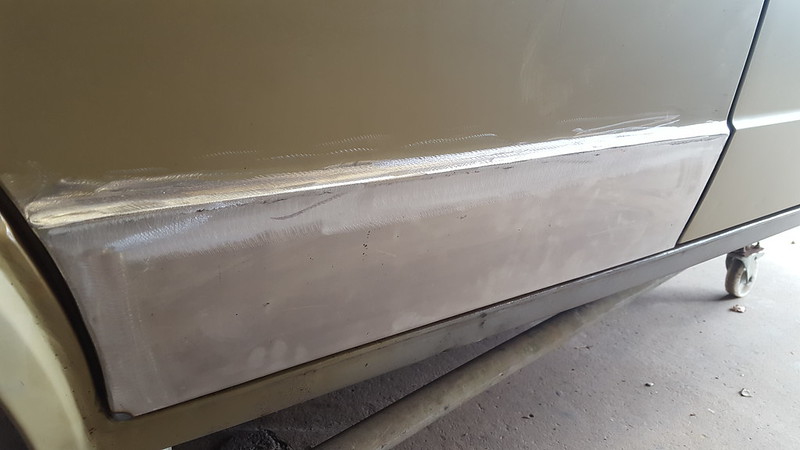 bought a mocal cooler 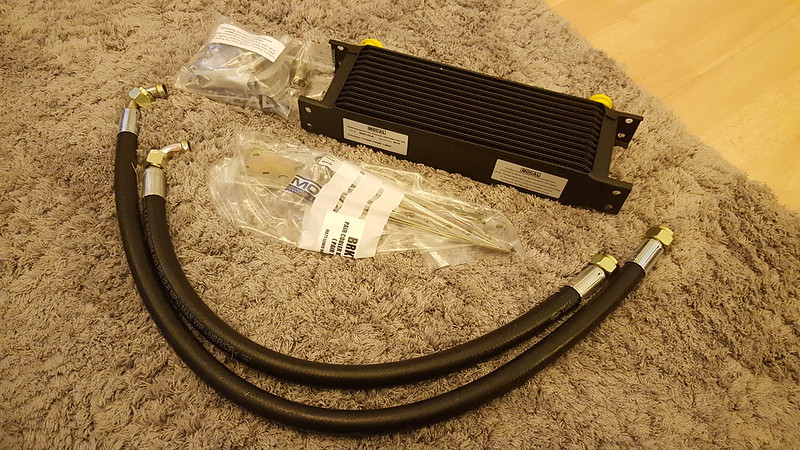 New big and bottom end bolts, seals etc from TPS (£120's worth :S) 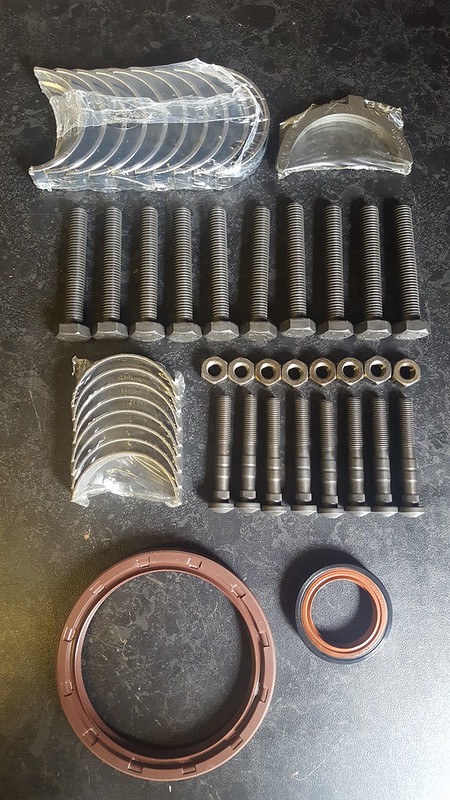 New pistons on the rods with new big end bolts and bearings 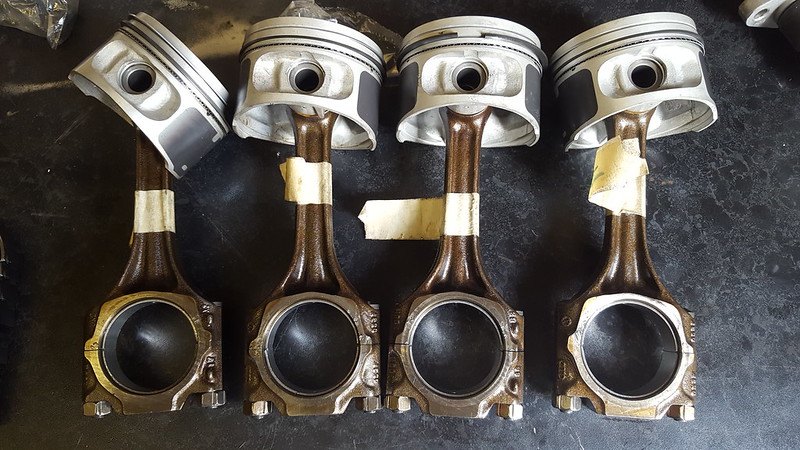 New crank bearings 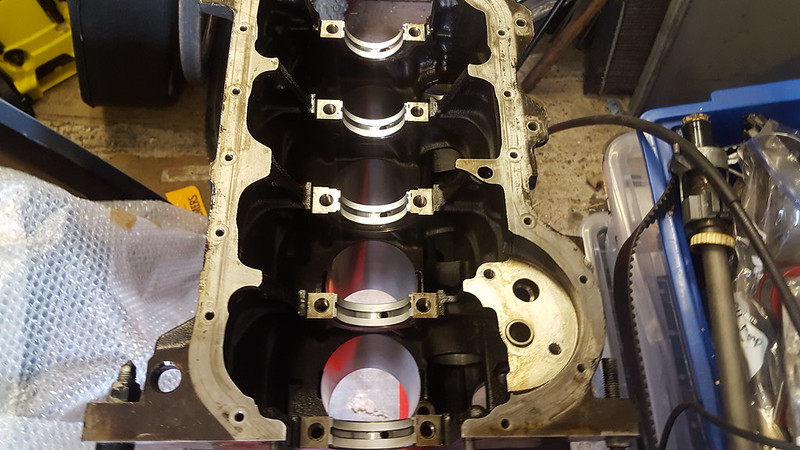 Crank back in 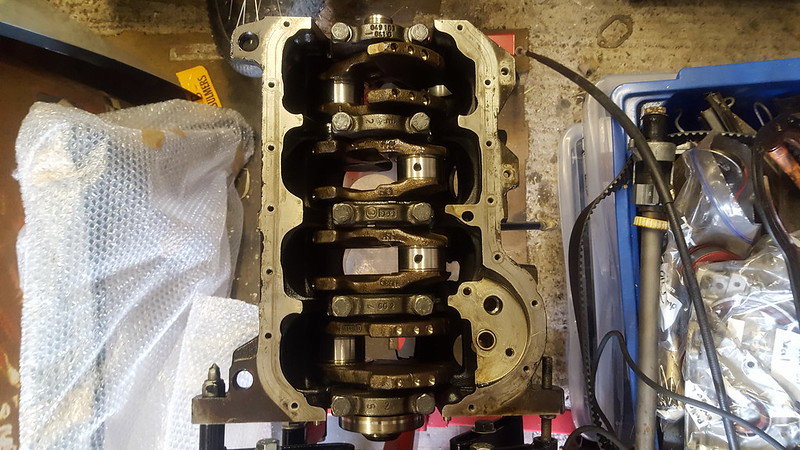 Mans rebuild kit... 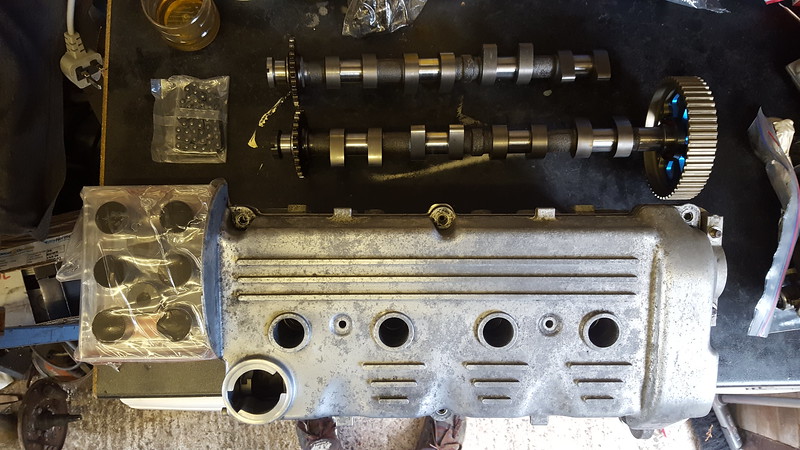 All back in 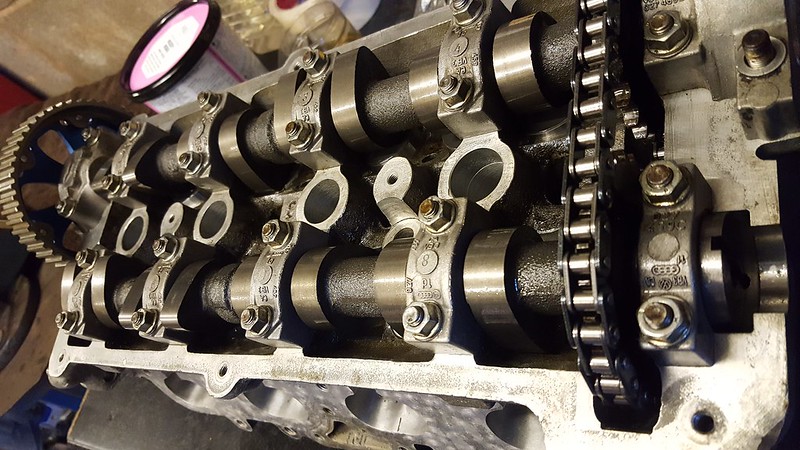 Dave at RestoShack repaired the front panel as we could not find any replacement panels (amazing job). Cleaned up the front end and put it in epoxy primer 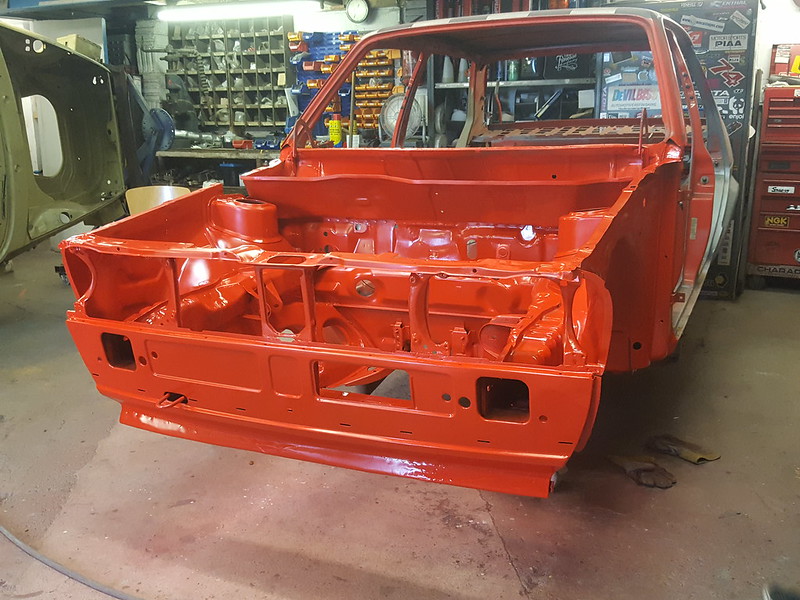 Need to replace the intermediate bearings (outer done, this is the before pic of it knackered). 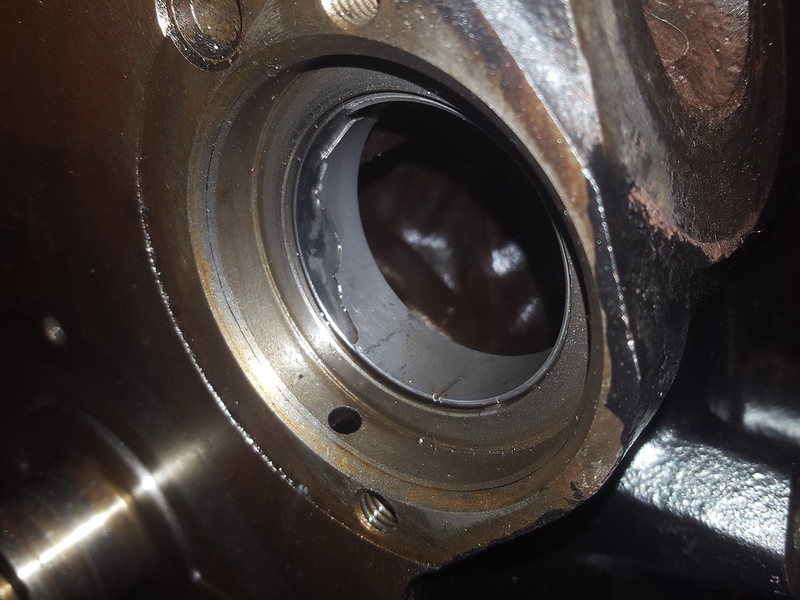 New oil pump (had to swap the shaft because the threads were too long in the new one) 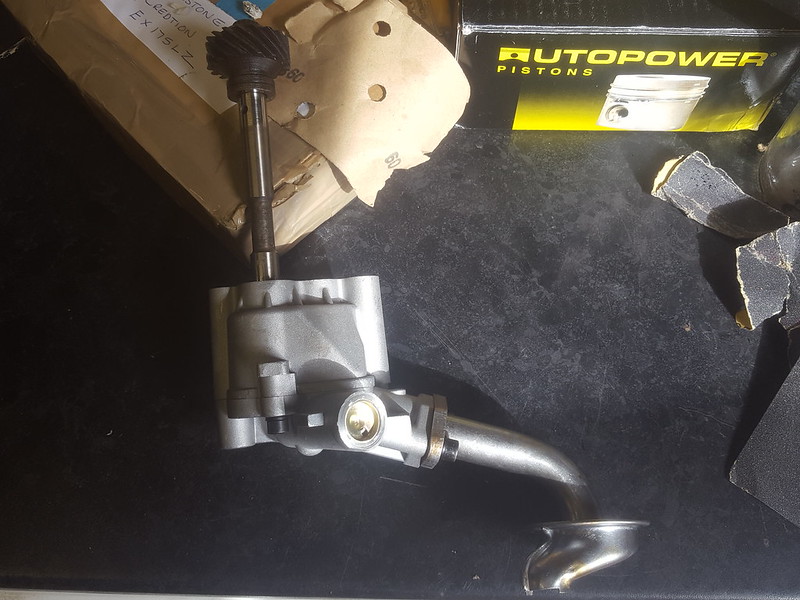 |
| |
|
|
|
|
|
|
|
|
|
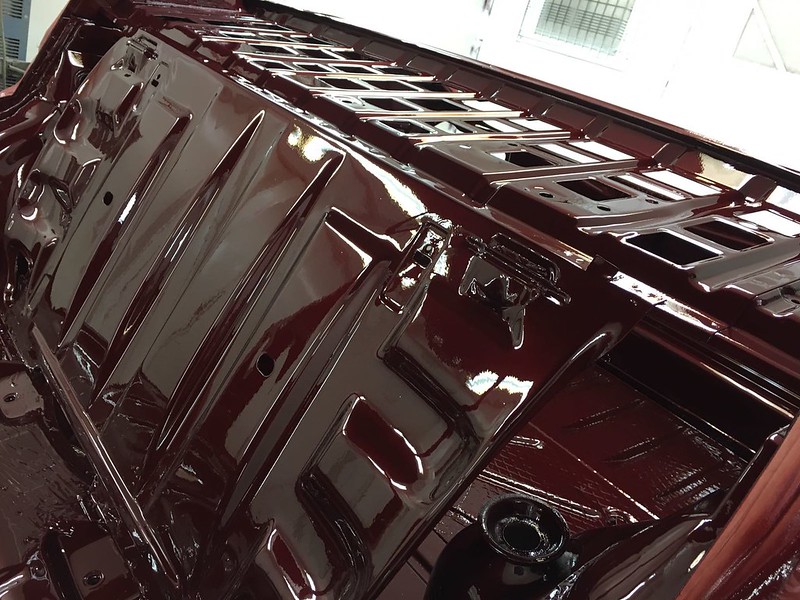
Roof stripped 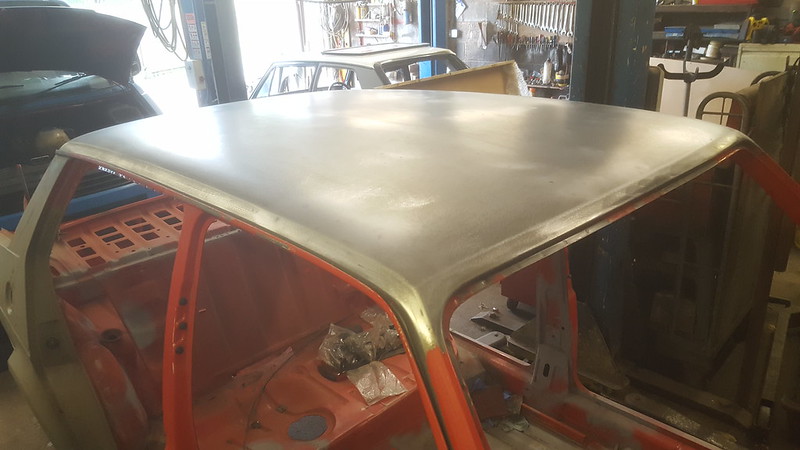 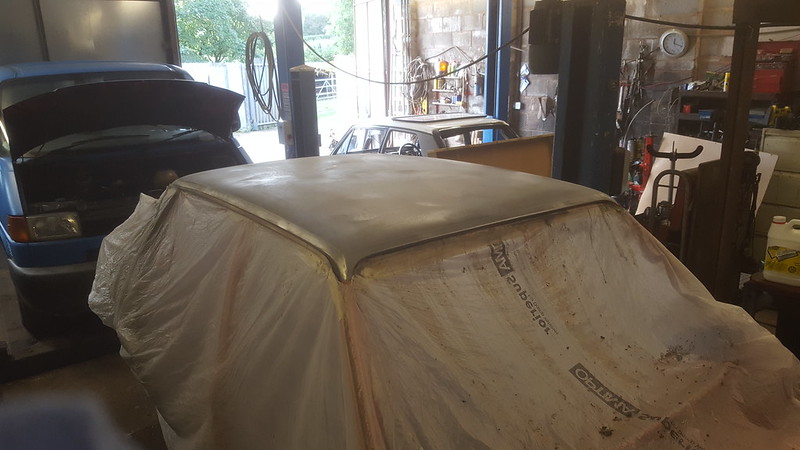 Put it in epoxy primer too 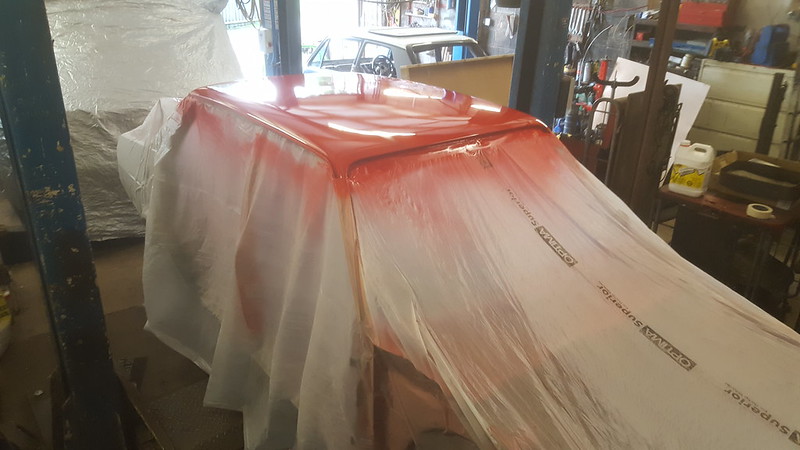 Pulling the intermediate bearings 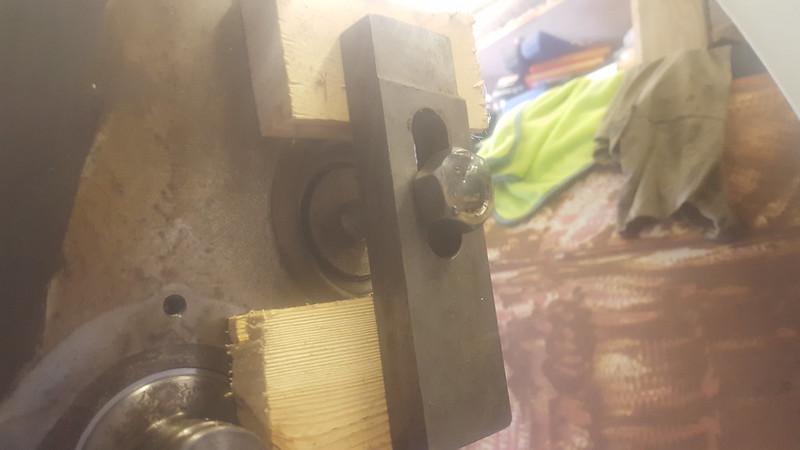 Yup, they are fooked 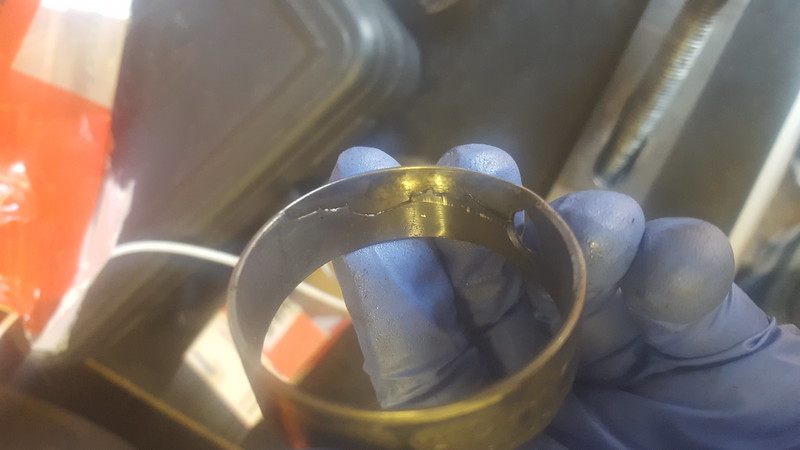 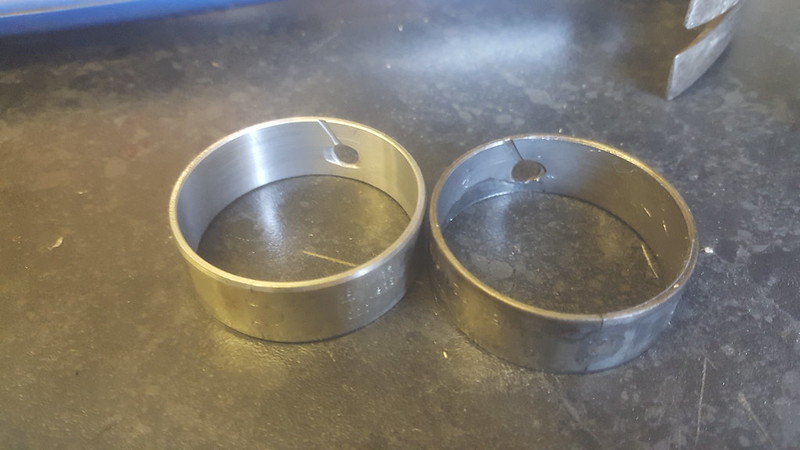 More coming, need to have it ready for RR 2017 :S |
| |
|
|
|
|
|
|
|
Update  Had a stinking cold at the weekend (still have it now) so progress was slow, but got some work on the engine done. Finally received the inner intermediate shaft bearing in the post, so managed to have another go at fitting the little curse word. If you are going to be fitting one of these yourself, I would recommend doing it before the crank goes in. It was a right pain in the ass to get everything lined up and pulled in straight. Also, getting a tipex pen to mark where the oil hole is would make it easier to see. I used a blue marker to mark the edge of the bearing and location of the hole on the block, but it was hard as balls to see in the middle of the block. Anyway, first try, lined up perfectly  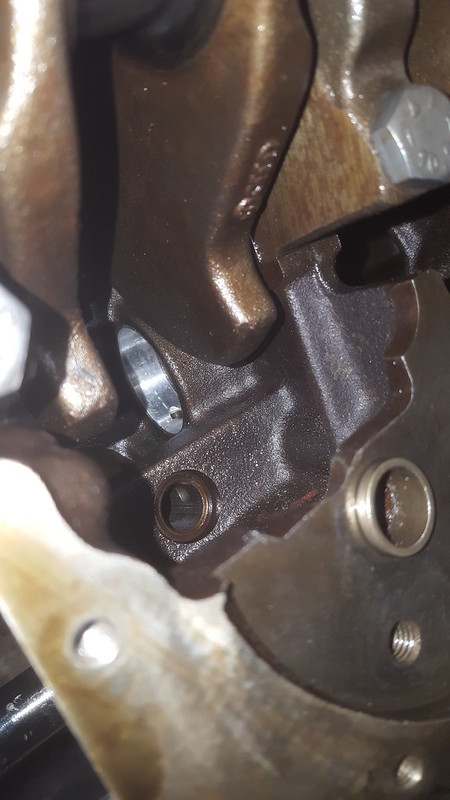 After fitting the bearing I could crack on with getting the pistons in. After finding out that one of the 4 pistons I had bought was +1 rather than +0.5, I sourced a new set from the guy I bought them off originally, so had a direct replacement without needing to machine the block anymore. So I took the piston that was too large off and fitted the replacement. Here it is in the block  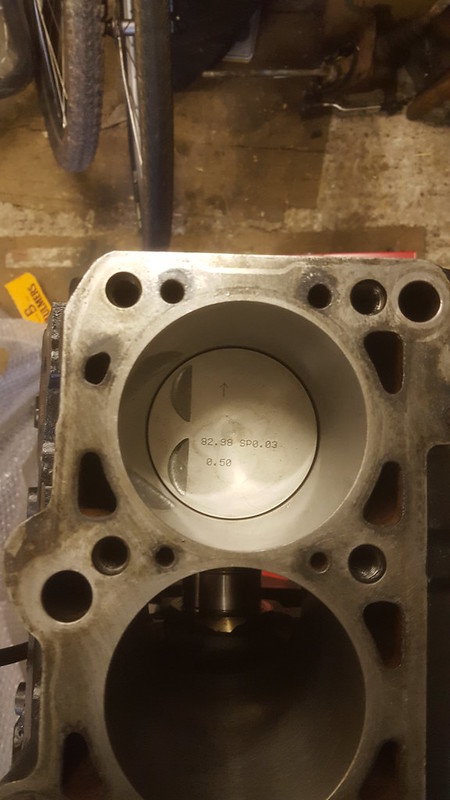 I used a piston spring compressor to make my life easier. 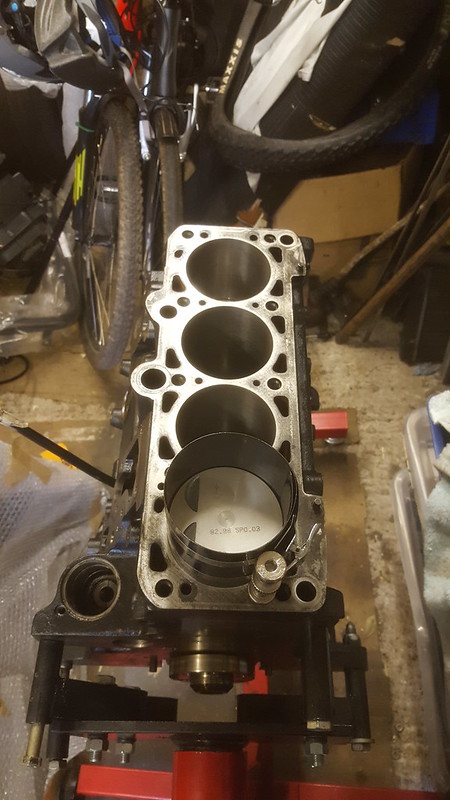 Caps on and Torqued up (30Nm plus 90 degrees). 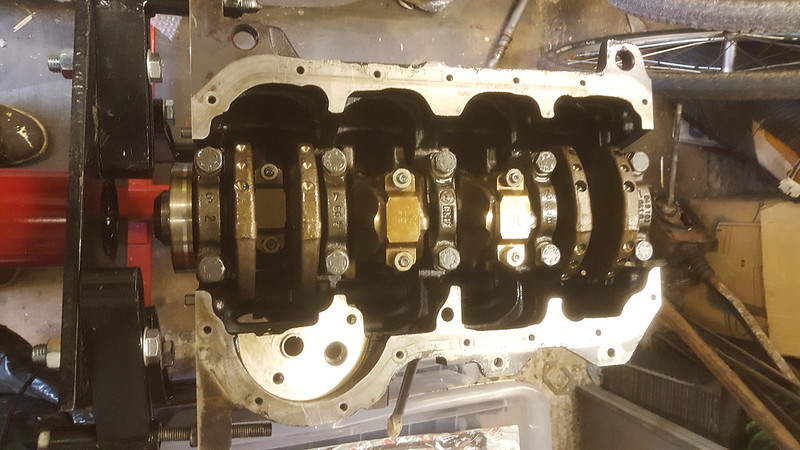 Intermediate shaft in and moving freely. 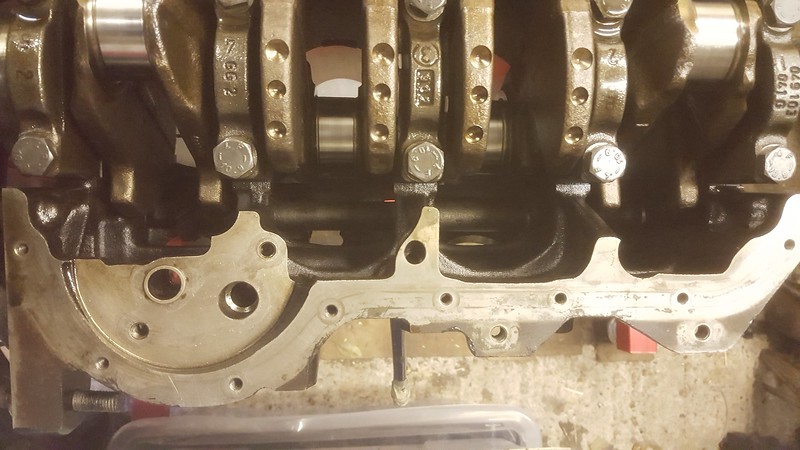 All new pistons in and accounted for. 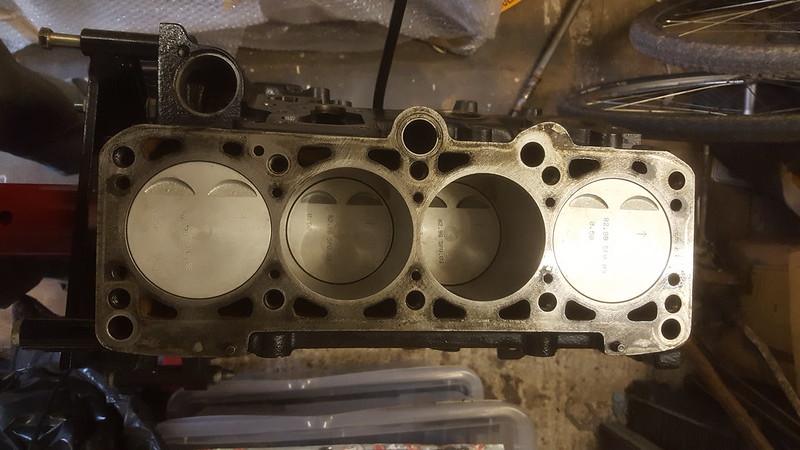 Time to start putting some bits back on. Here is the bottom end gasket set I bought some time ago. 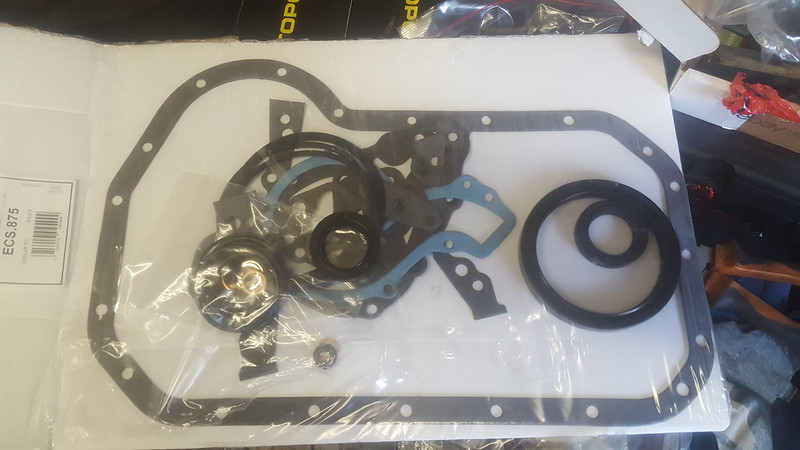 Intermediate shaft oil seal, 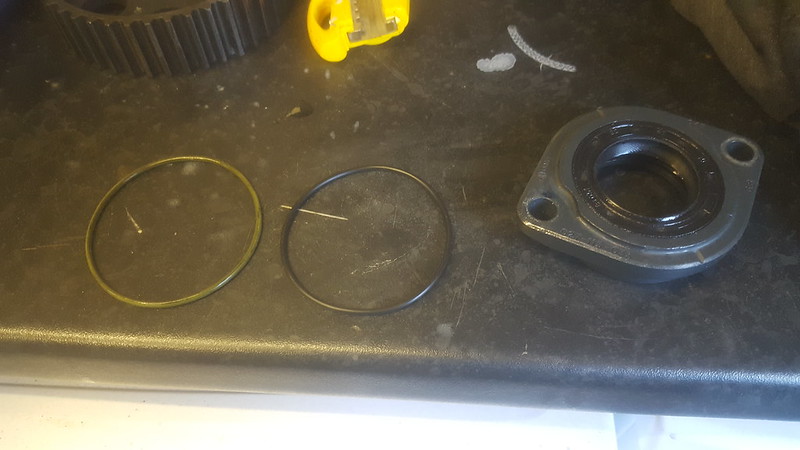 I had to take one of the metal plus out of the block to get at the inner intermediate shaft bearing. Luckily I had a spare laying around the garage (yes, I have turned into one of those guys who has random parts laying around). 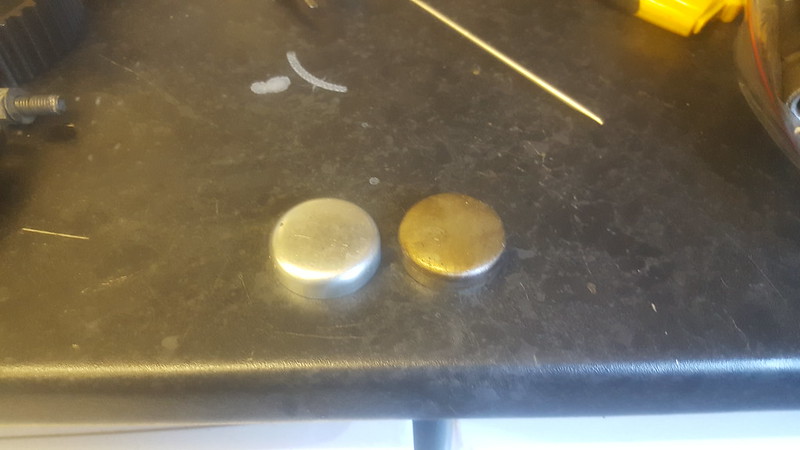 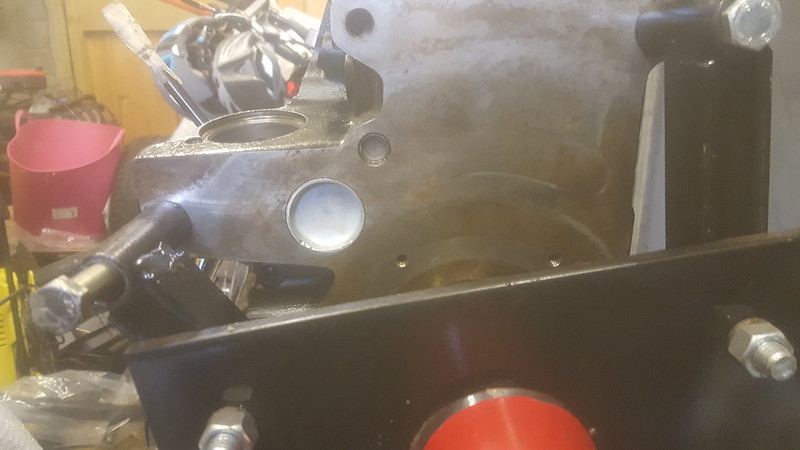 Cam belt side end with new oil seal bolted up (I seem to be missing some bolts for this, will have to find new ones). 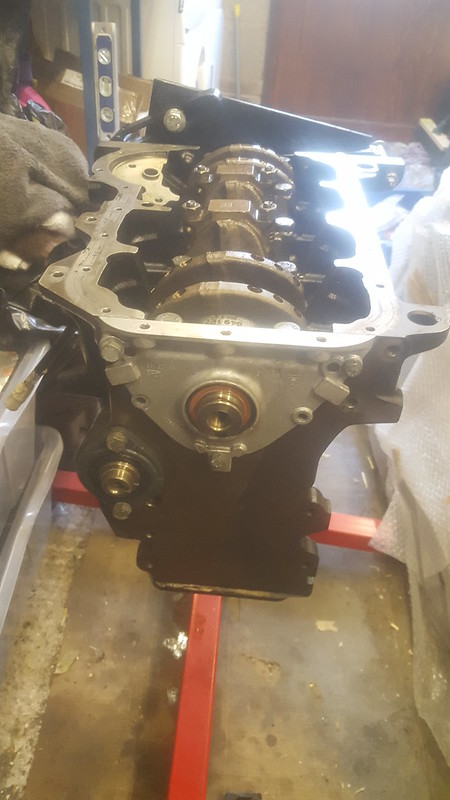 New reinforced oil pump in with windage tray. 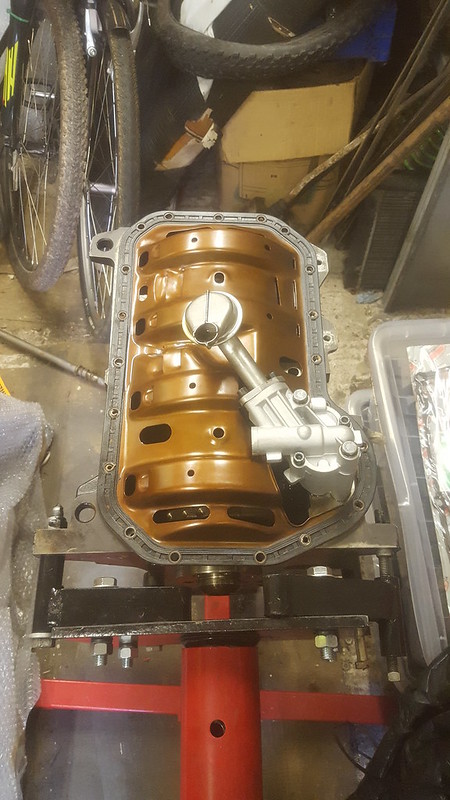 Now, the main reason I wanted to get it back together  lol 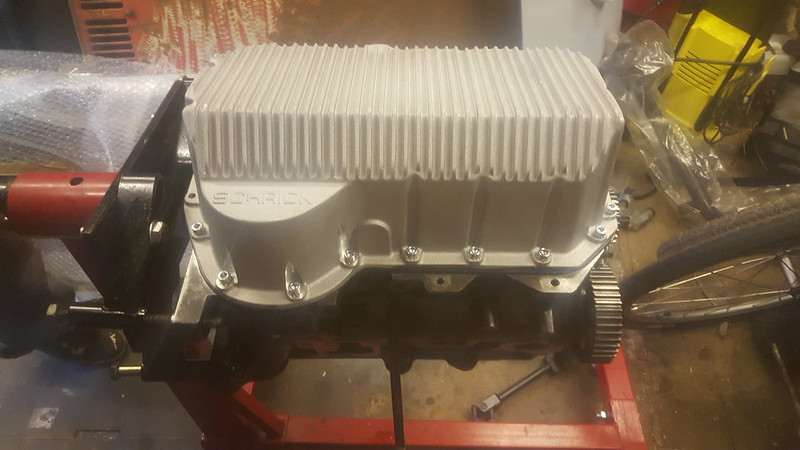 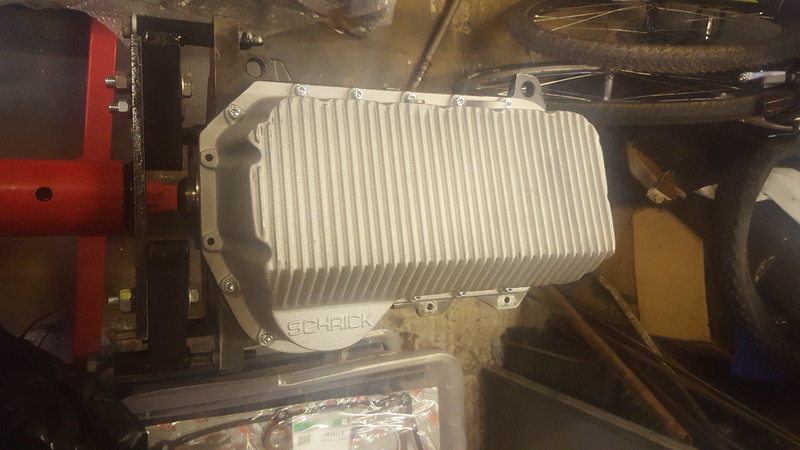 Then rested the head on just to see what it is like  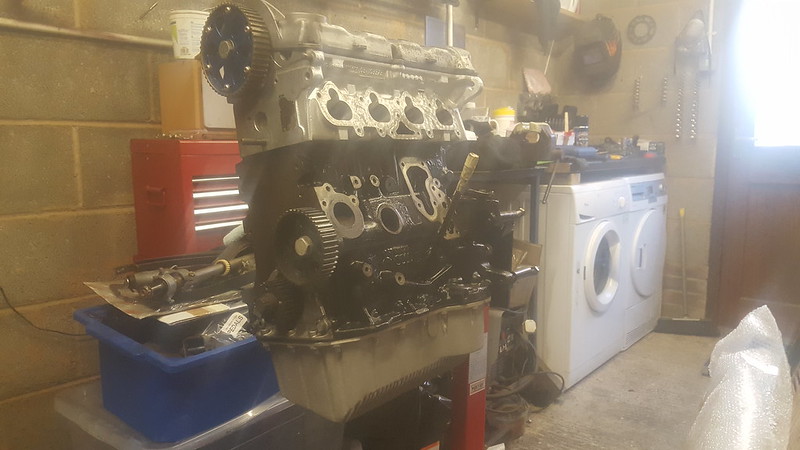 Now I need to work out what colour the rocker cover is going to be, then sort out, clean and paint all of the auxiliaries for the block. |
| |
|
|
stealthstylz
Club Retro Rides Member
Posts: 14,962
Club RR Member Number: 174
|
1982? Mk1 VW Jetta Projectstealthstylz
@stealthstylz
Club Retro Rides Member 174
|
Oct 18, 2016 11:59:29 GMT
|
|
Great to see proper restorations on 80s stuff. 10 years ago it wasn't worth doing but it's definitely getting more prevalent.
|
| |
|
|
|
|
|
Feb 13, 2017 20:31:00 GMT
|
|
|
| |
|
|
|
|
|
Feb 13, 2017 20:34:48 GMT
|
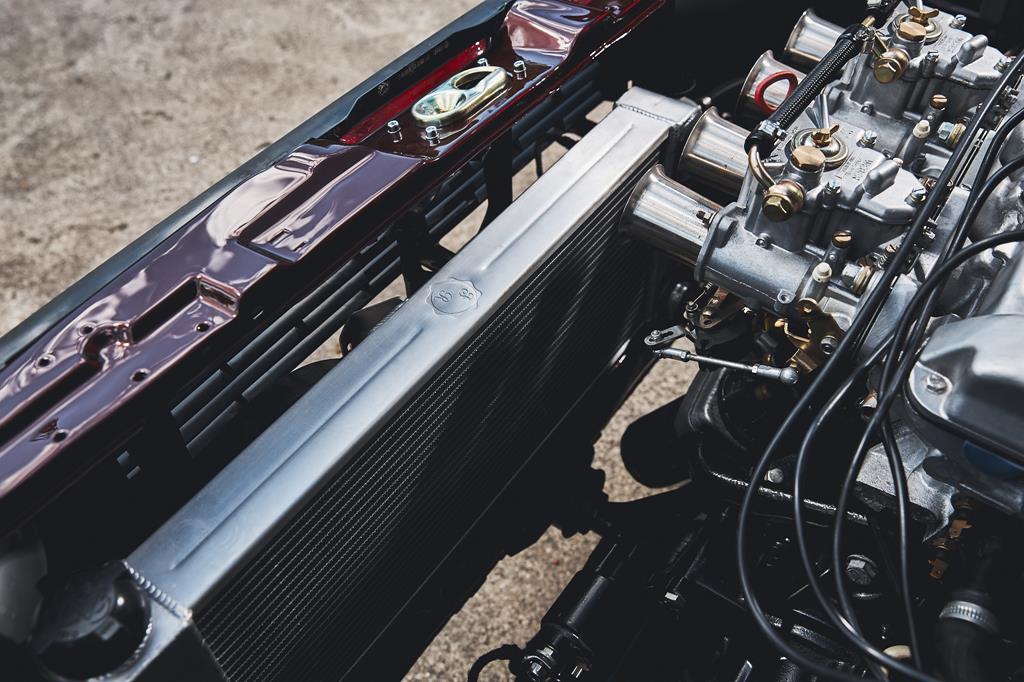
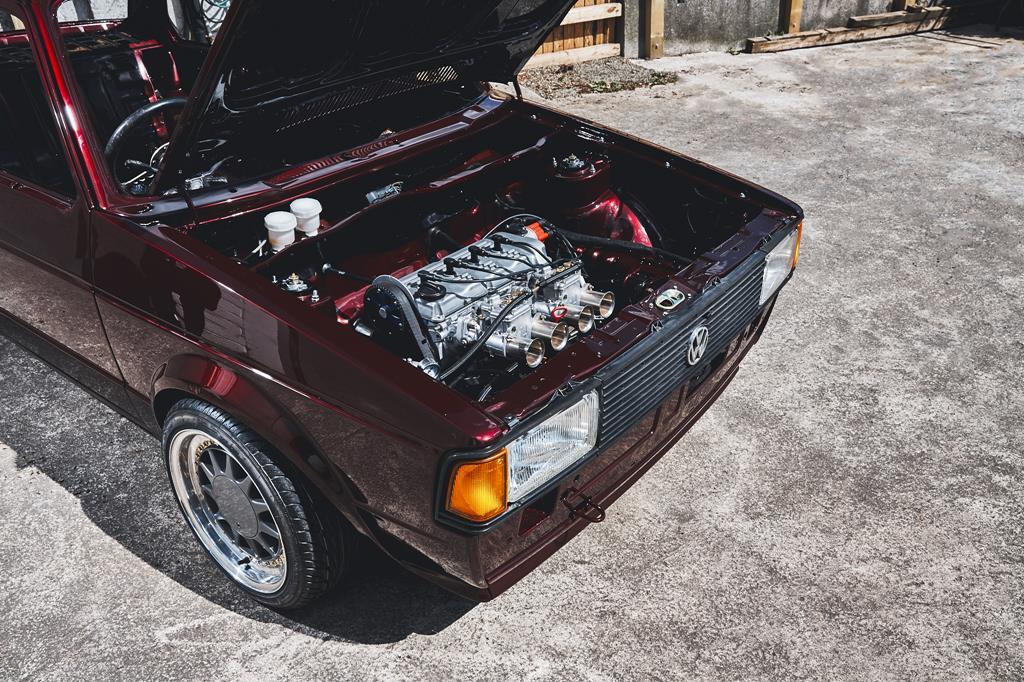
I was not happy about the condition on the twin Weber 45s I bought a few years ago for the car, so I took then to a guy from Finish-Finale in Tiverton to get them vapour blasted and cleaned. It is surprising the difference and they should now stay this way thanks to a coating that was applied after cleaning. 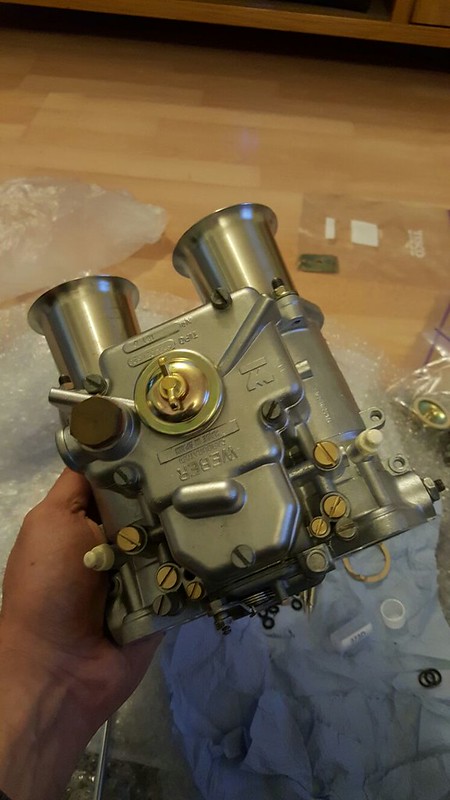 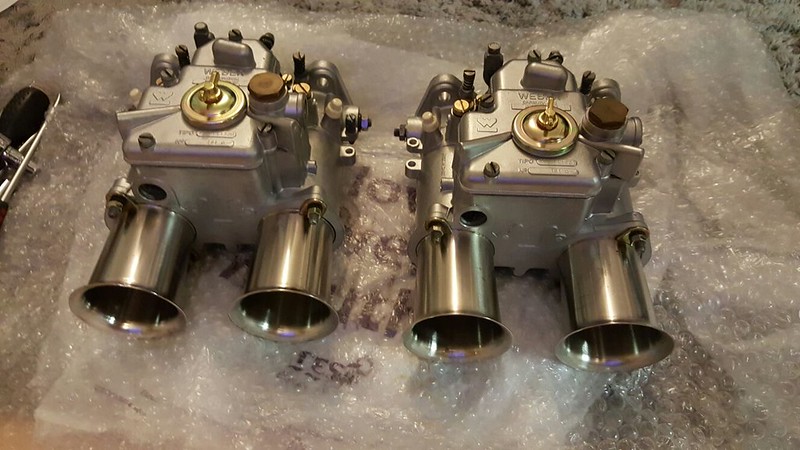 Still a couple things to sort on them, like float level and some sticky bits, but really happy with them. Also might get some new trumpets for them as these are a little rough even after a polish. |
| |
|
|
|
|
|
Feb 13, 2017 20:36:17 GMT
|
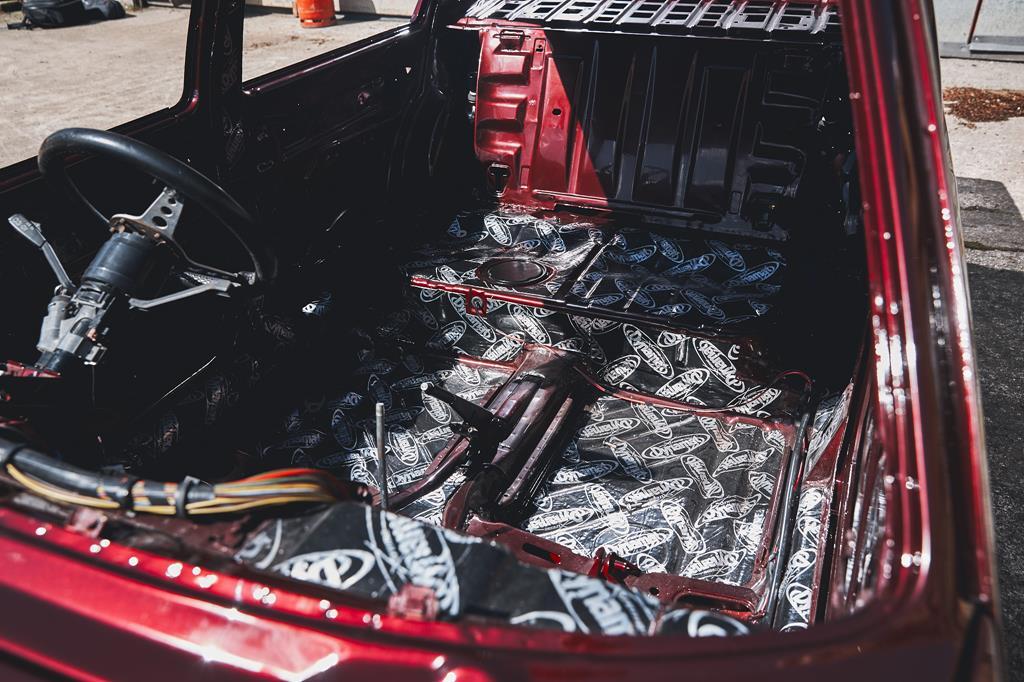
Got some more work done this weekend with most of the Dynamat now in the interior. Still have just under a box to do all the doors and some coverage in the boot. Hopefully it will be enough. 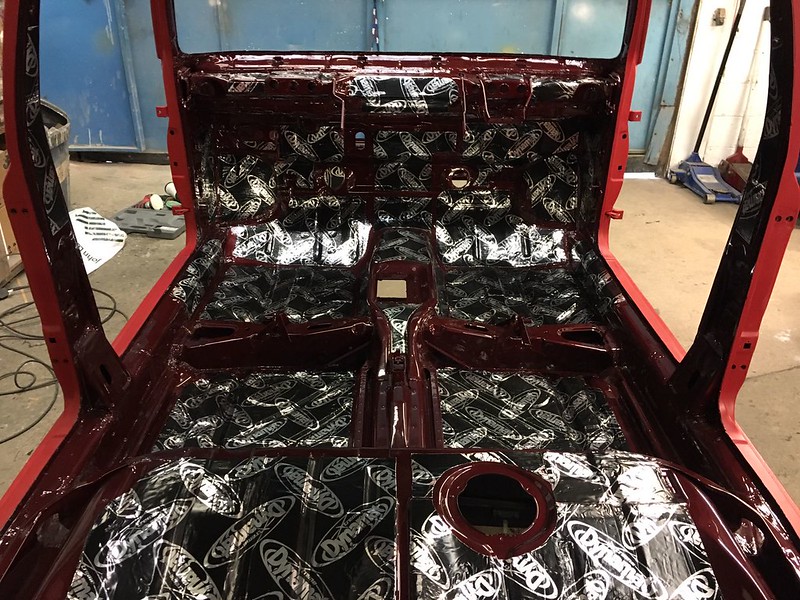 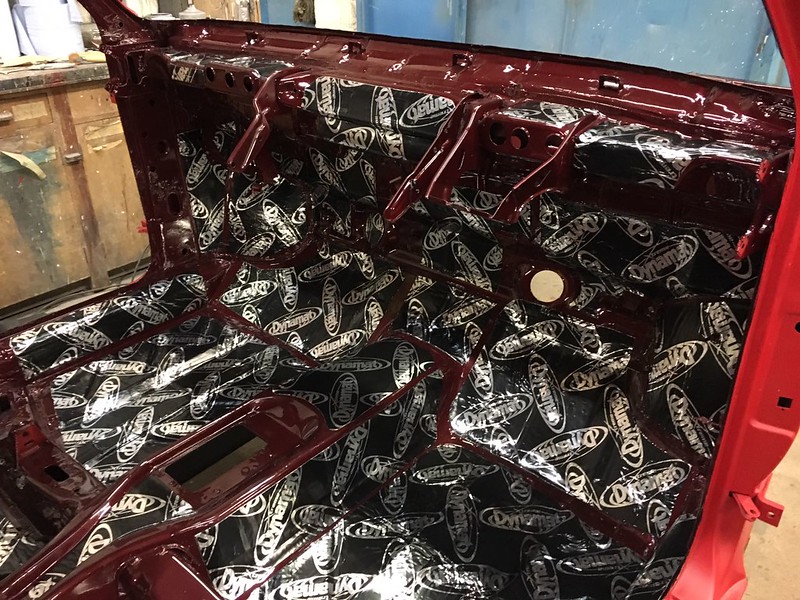 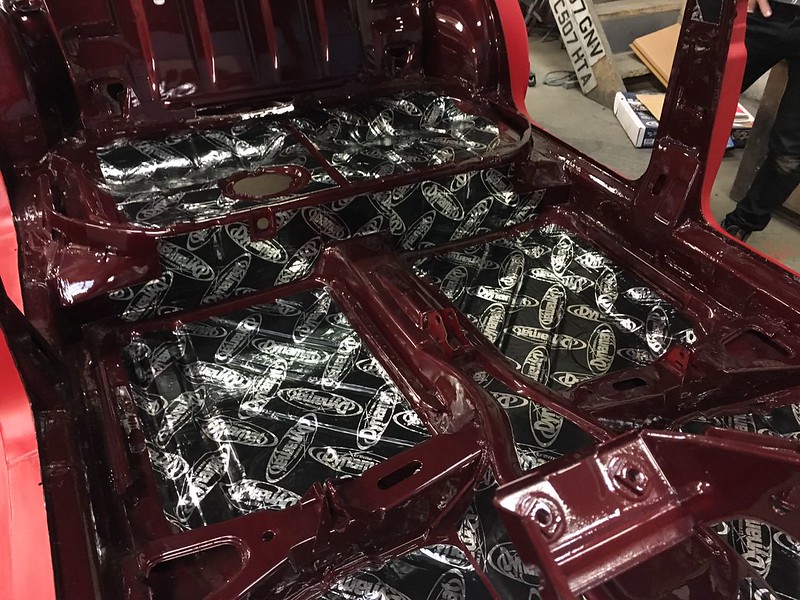 I also built up the steering column, pedal box ready to test fit it all with the rack that was put in last week. I also pressed in the new front bearings and hubs ready for a mid week build with new 256 brake setup. |
| |
|
|
cap78
Part of things
 
Posts: 96 
|
|
Feb 13, 2017 22:59:35 GMT
|
|
I like this project, going to keep an eye for this thread
|
| |
|
|
|
|
|
|
|
|
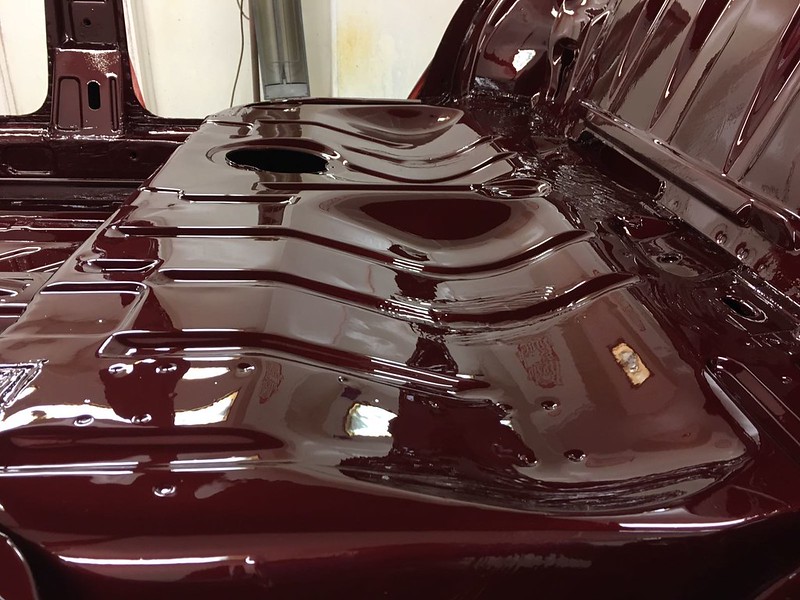
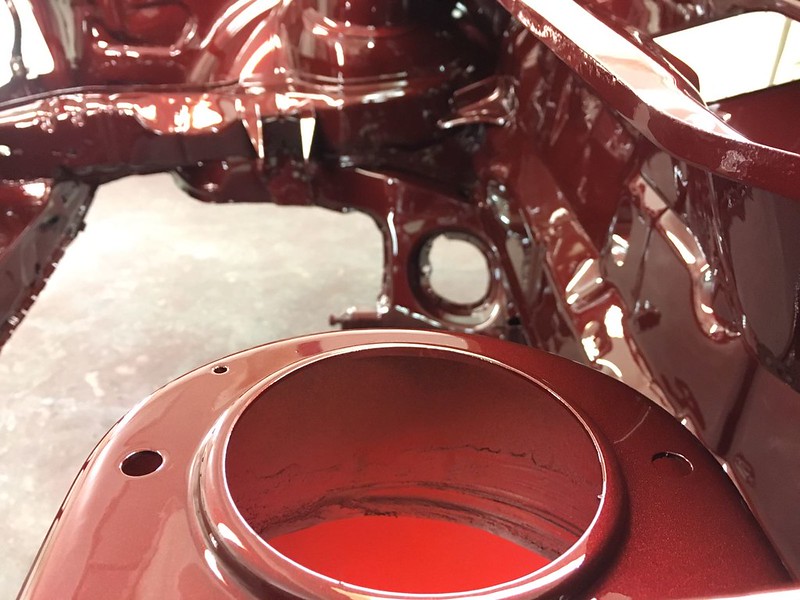
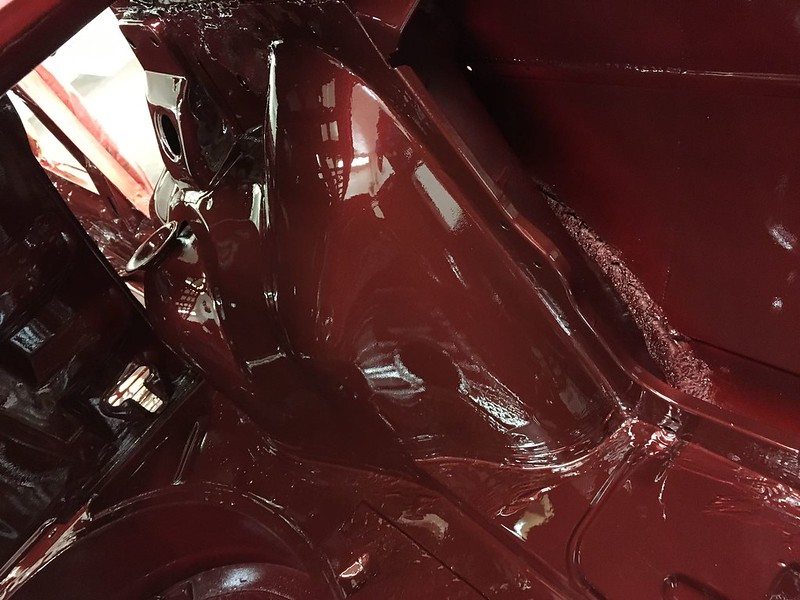
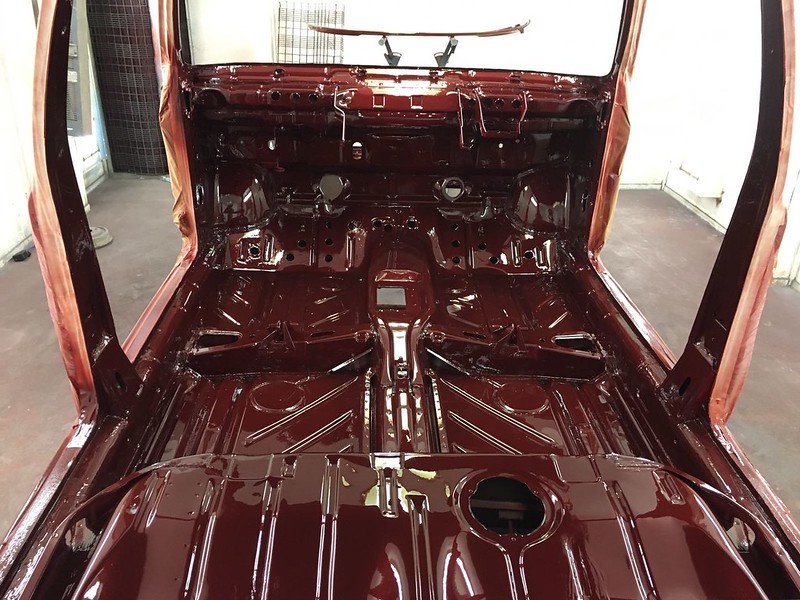
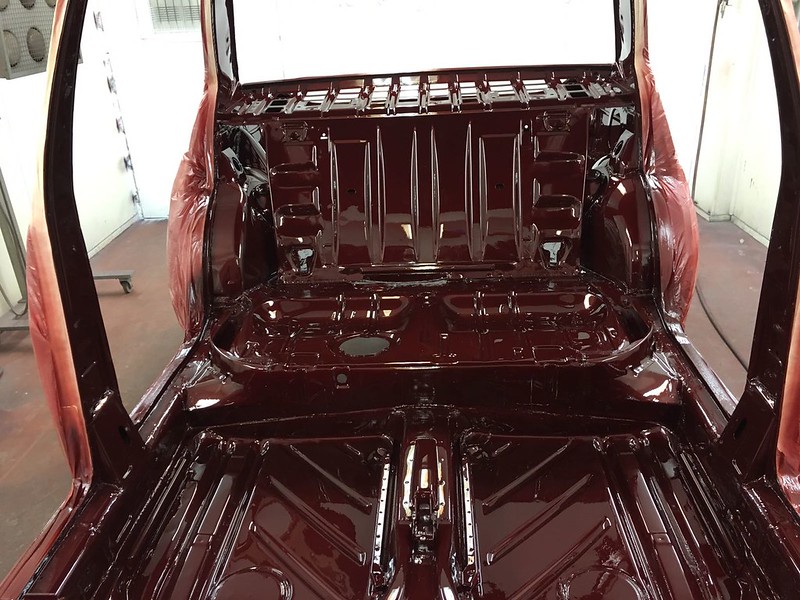
Nice work, what is the name of the paint colour?
|
| |
|
|
|
|
|
Feb 14, 2017 13:09:07 GMT
|
|
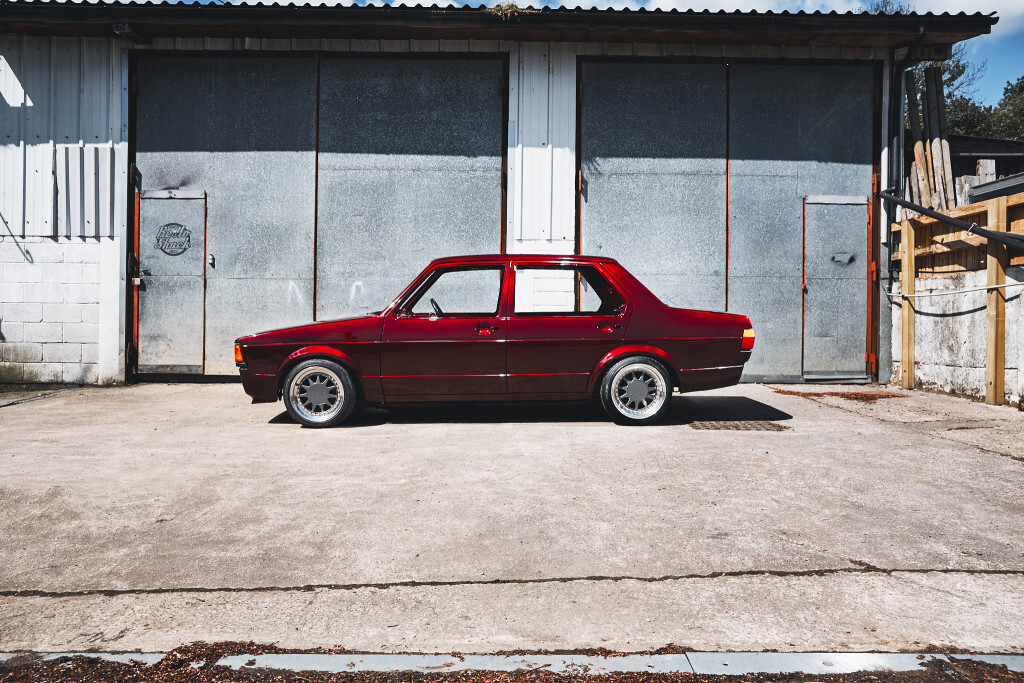
What an awesome build. As said by others, nice to see something different from the usual Golf/Caddy stuff. Attention to detail is great and the work of RestoShack looks very impressive too.
|
| |
|
|
|
|
|
|
|
Feb 14, 2017 16:53:20 GMT
|
|
love that colour!
Cant wait to see it finished (bookmarked)
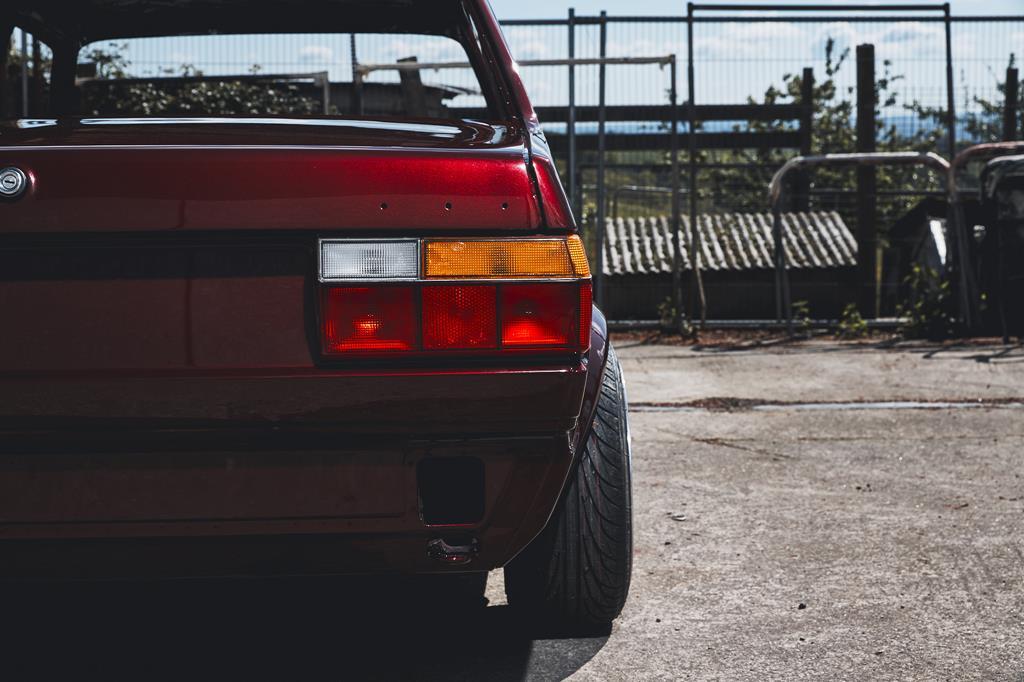
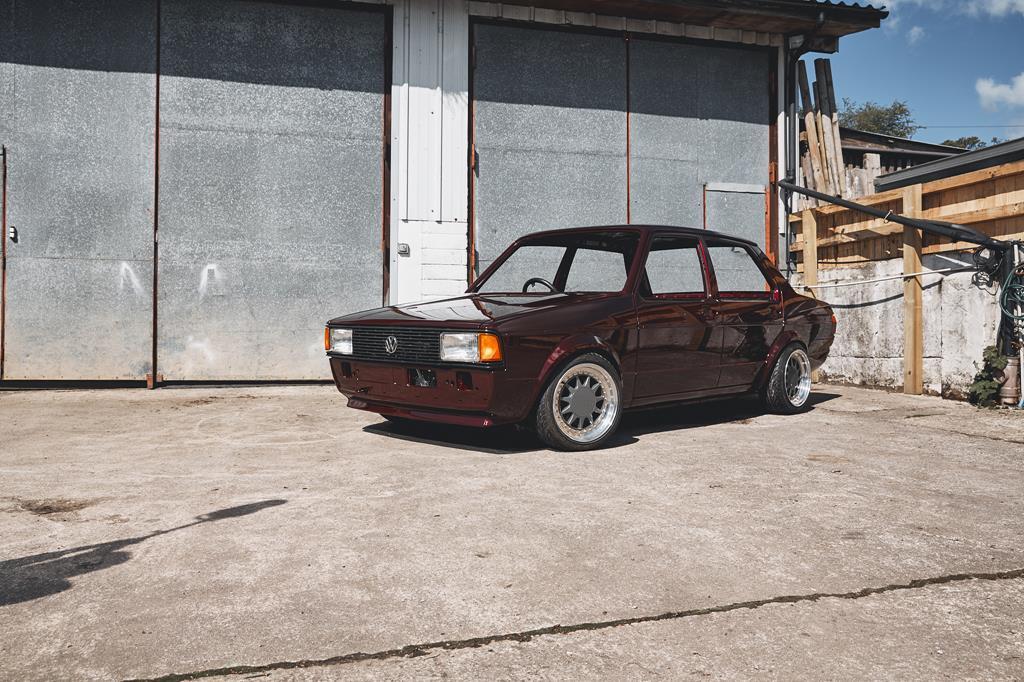
Its gonna look brand new and be better than when it left the factory
|
| |
|
|
|
|
|
Mar 28, 2017 20:40:57 GMT
|
More fitting parts, buying more bits too. 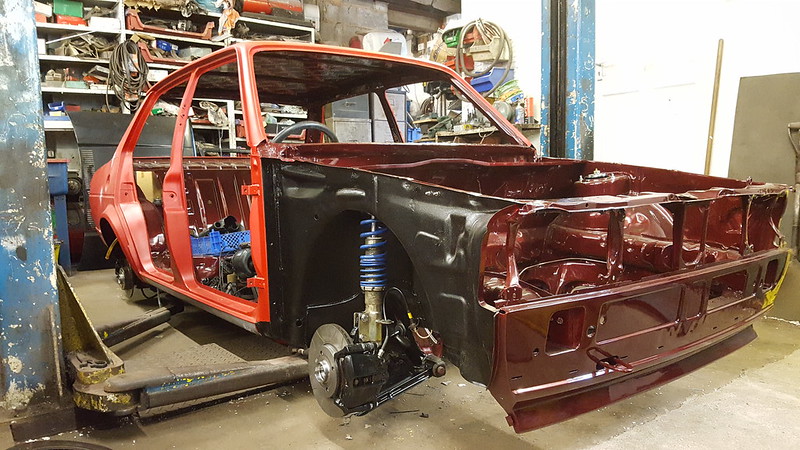 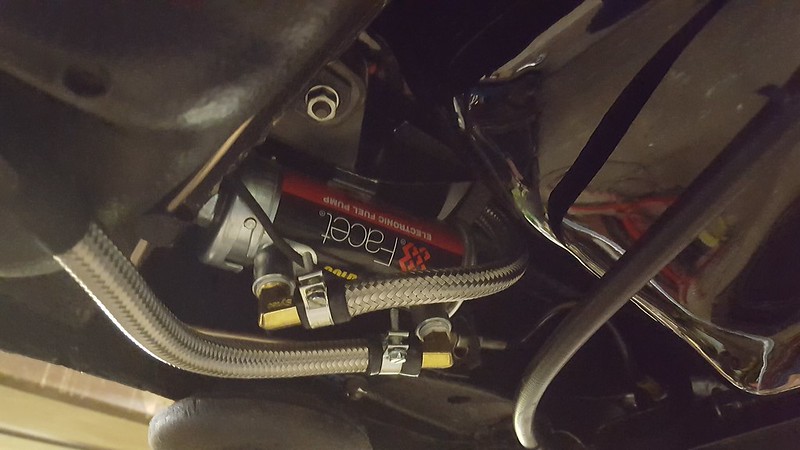 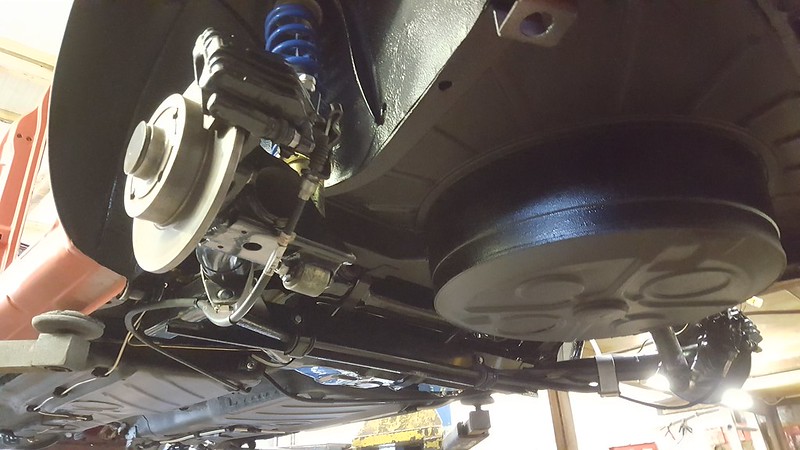 Dave got some of by parts plated with a load of others, came out real nice  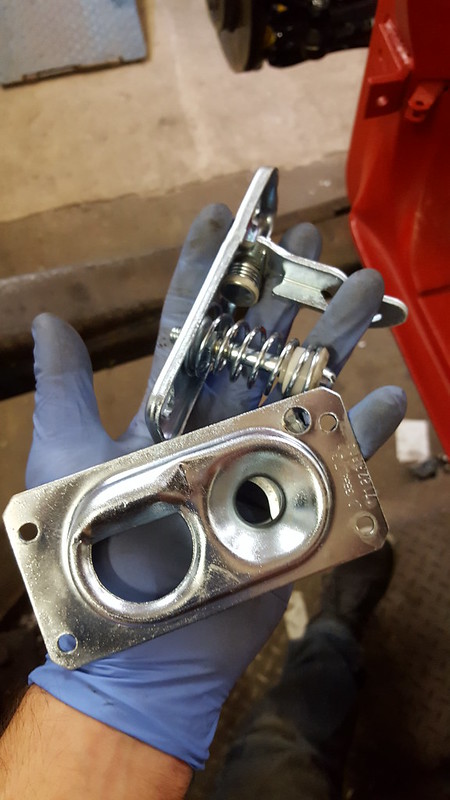 Best thing that happened was test fitting some 15's on the car for the first time to check clearances for the ball joint extenders... but not any normal 15's, oh no! 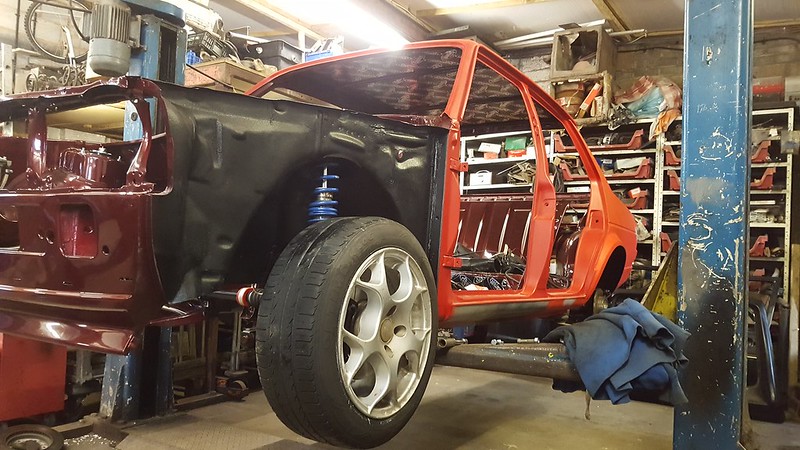 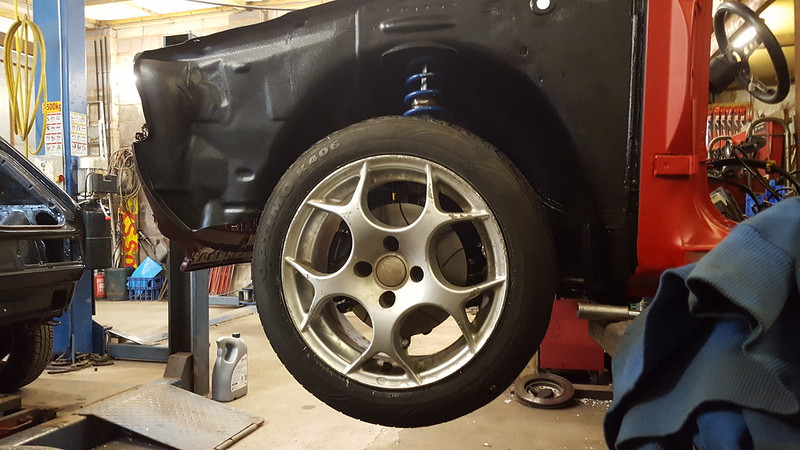 Dave's Venom's fitted a beaut. Might have to buy them off him and run them as show wheels! Cracking amount of clearance on 15's though 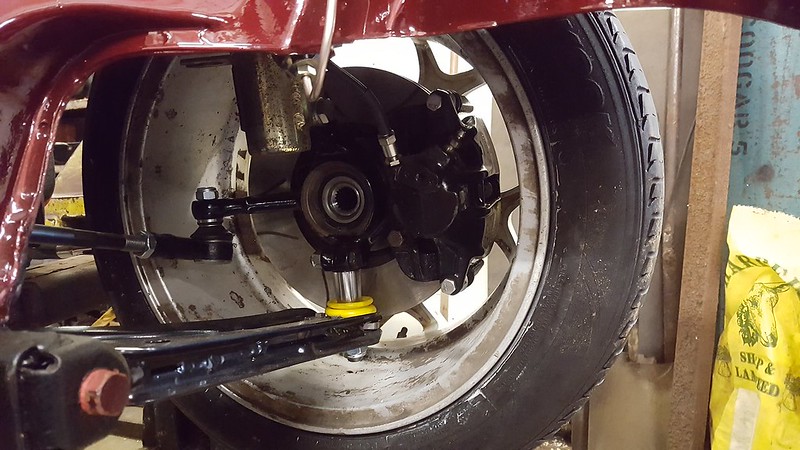 Loads of room 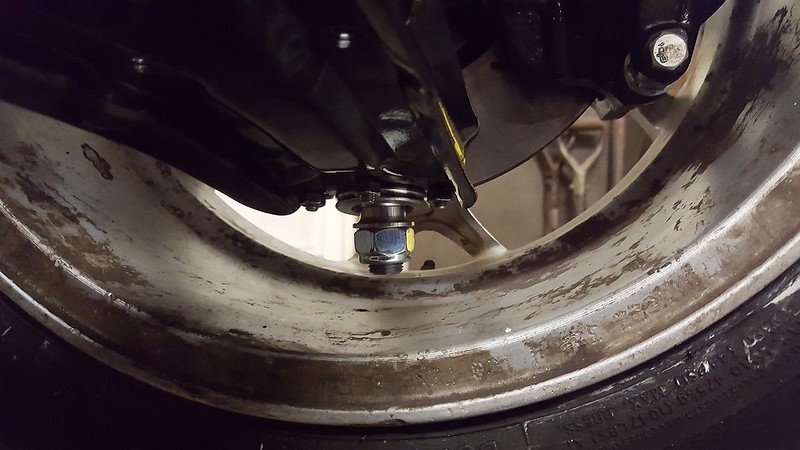 I also took a little time to test fit the carbs and alt setup on the engine. 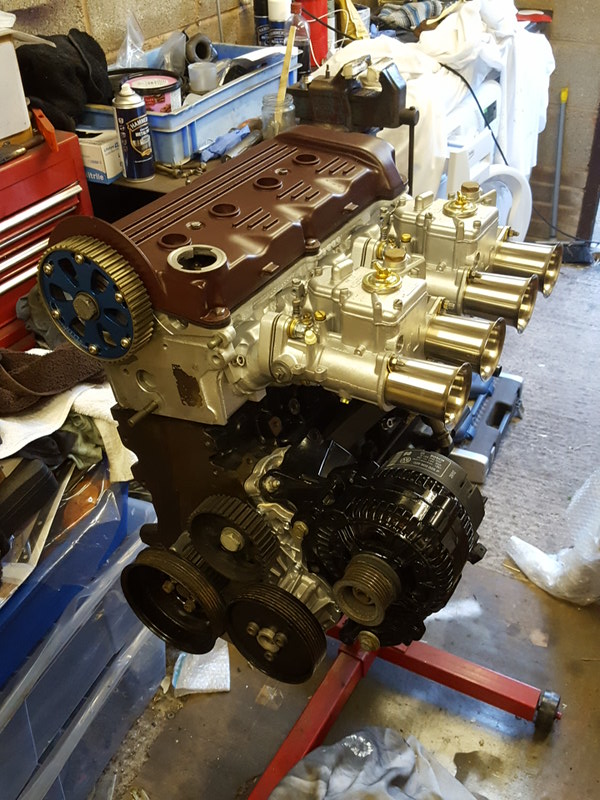 Looks shiny! |
| |
Last Edit: Mar 28, 2017 20:41:21 GMT by monzadave
|
|
luckygti
Posted a lot
   I need to try harder!
Posts: 4,912
|
|
Mar 28, 2017 21:00:42 GMT
|
|
Very shiny. What a great looking car. I was in Austria last week and a guy there had a gorgeous 2 door. Sadly no pics. but they're so rare now it's great to see one getting some love! I thought it looked great. As does this.
|
| |
|
|
|
|
|
May 31, 2017 13:15:51 GMT
|
Update time! Some things have been happening, though not as much stuffs as planned (as always). Test fit mu actual wheels on the car a little while ago. (no, the Venoms are not mine  ). Rears are a little wide, so I have had 7mm taken off the back of the face to pull the whole wheels into the car. 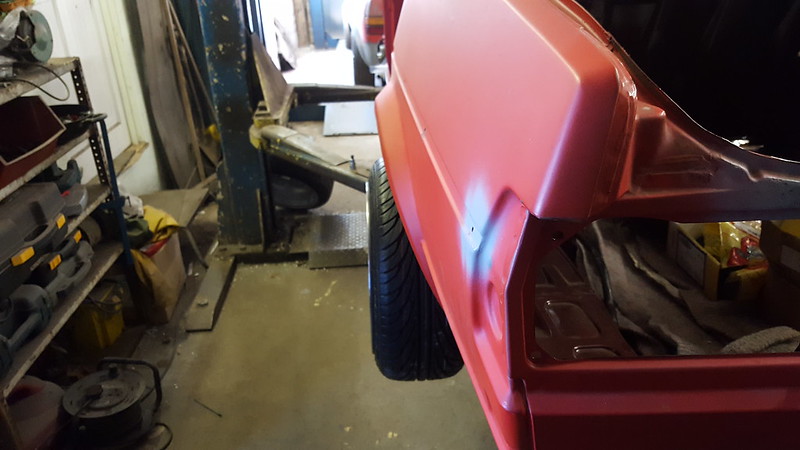 Fronts are better, but I have bought some 3mm spacers to move them out a little. 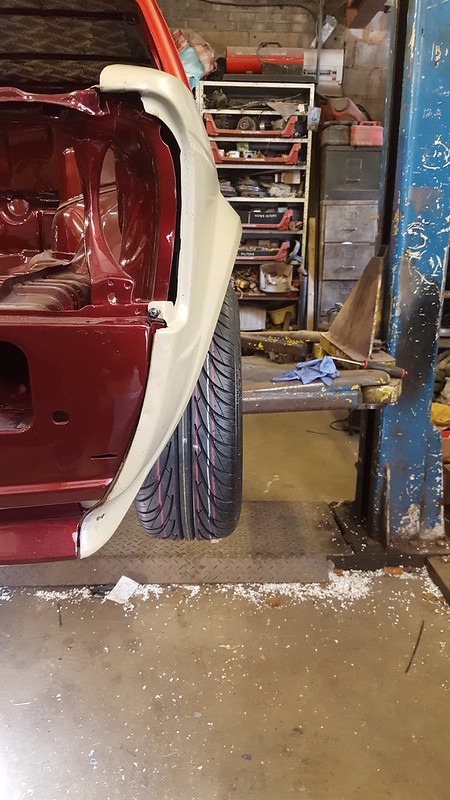 Had a play with the engine to change the linkage so that it did not foul on the water pipe on the front of the head. Here is it fouling, 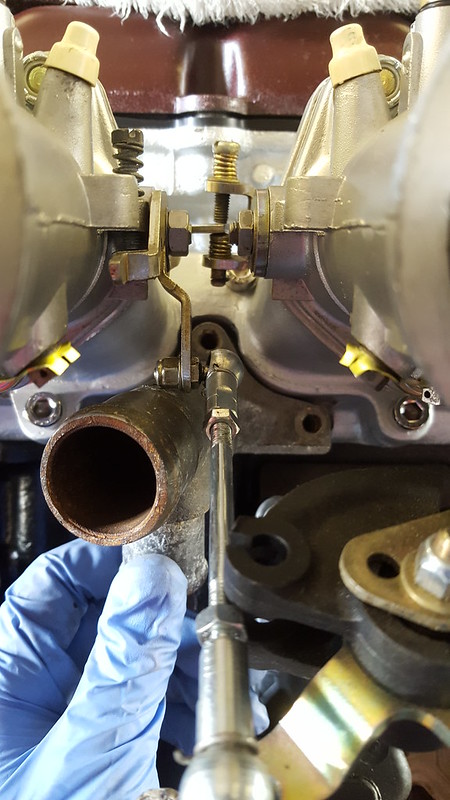 Someone on Instagram suggested flipping the linkage (which I did not think was possible), which working perfectly. 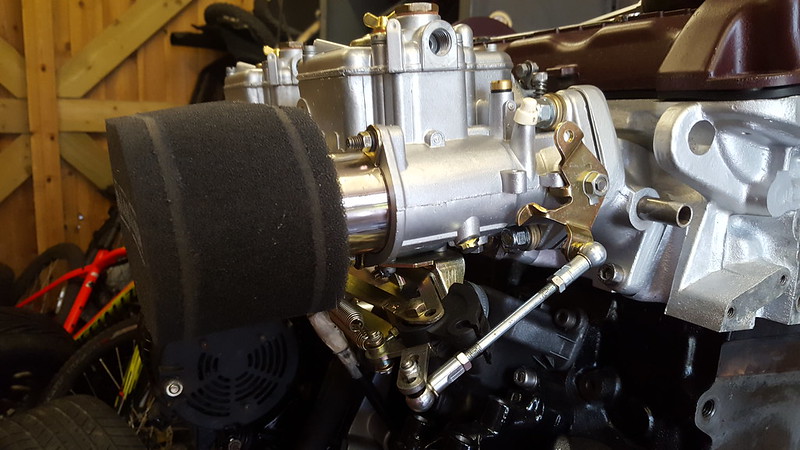 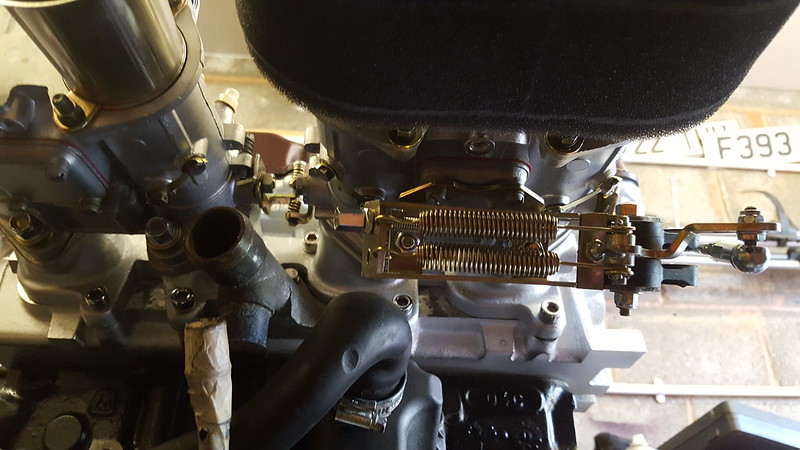 Had to take an angle grinder to a piece of linkage, but it was not too bad at all. Then bought a second hand gearbox off of Jimbo on here. Wanted to get a mk2 16v box as the two 100mm cup boxes that I have are both from 8v's. Not 100% on the actual box, but it worked well before being stored by Jimbo. While cleaning the box for painting I went to replace the green end cap and found this... 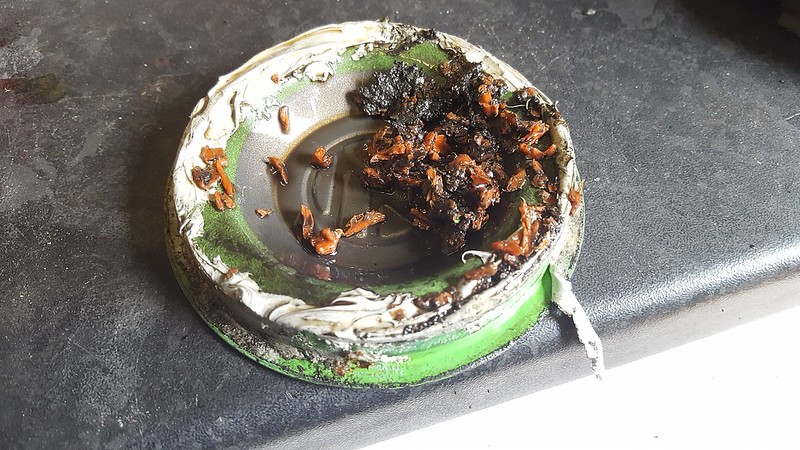 After some research it turns out that the plastic in the box is a speedo gear which often get dropped into boxes. These are designed to be able to fall into the box and get chewed the curse word out of safely (well, 'deigned' might be the wrong word  ) The is the cleaned box, 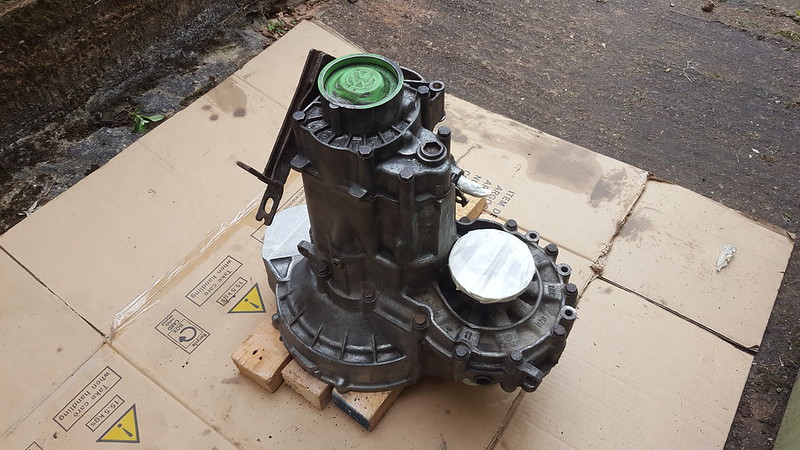 Then all sprayed black 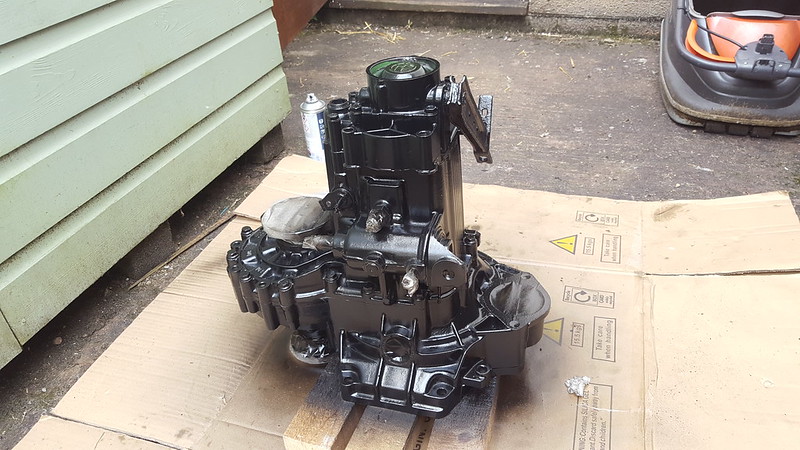 Random fish-eye lens photo 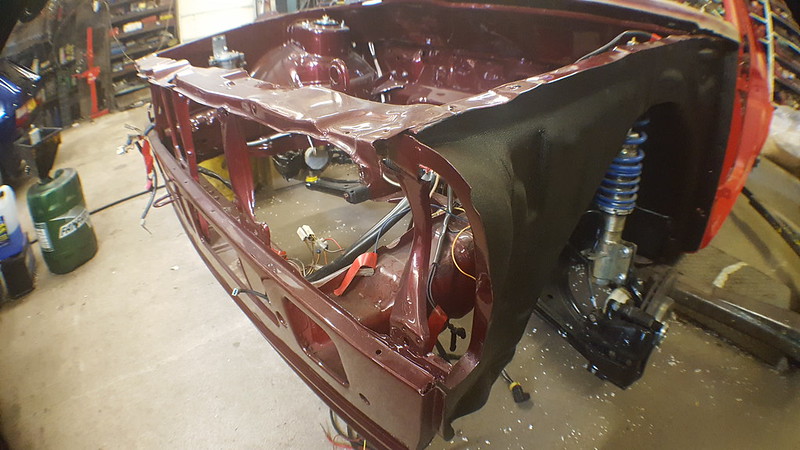 Finally got to use the loom tape that I bought to use on the Rocco 5 years ago. Stripped all the thick plastic cladding off the wiring and cleaned and re-wrapped it in the new tape. Really happy with the look and feel of the new tape. 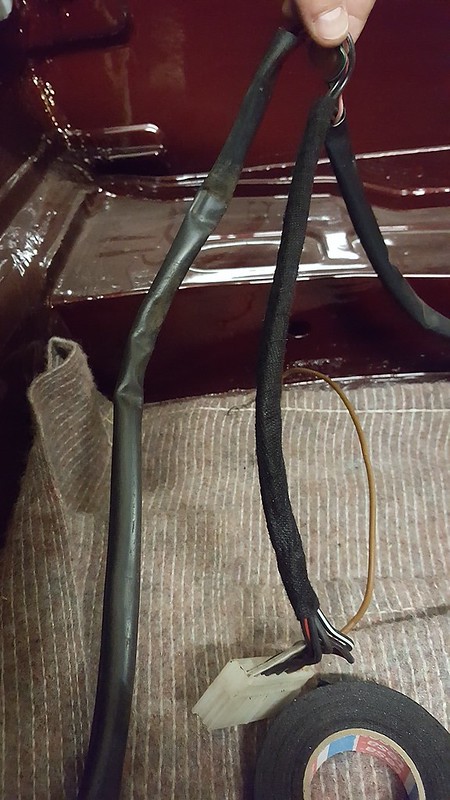 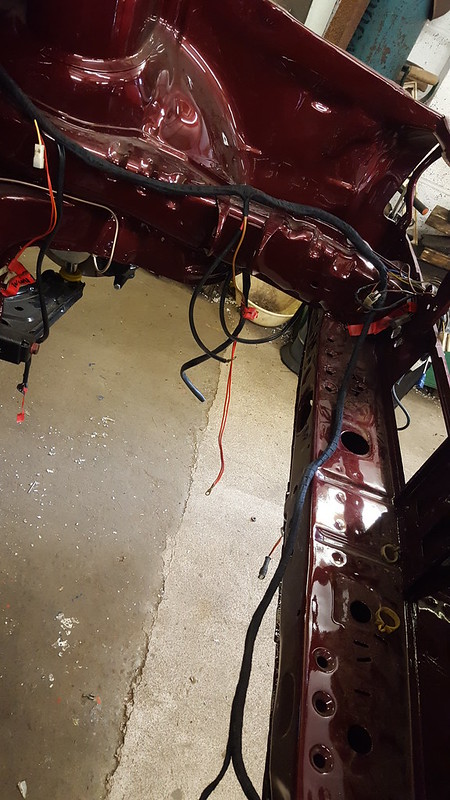 After 3 years of being on a jig, the Jetta is now back on it's (well, some) wheels. These are my rollers for now, but I have others (fitted above) for the final finish. 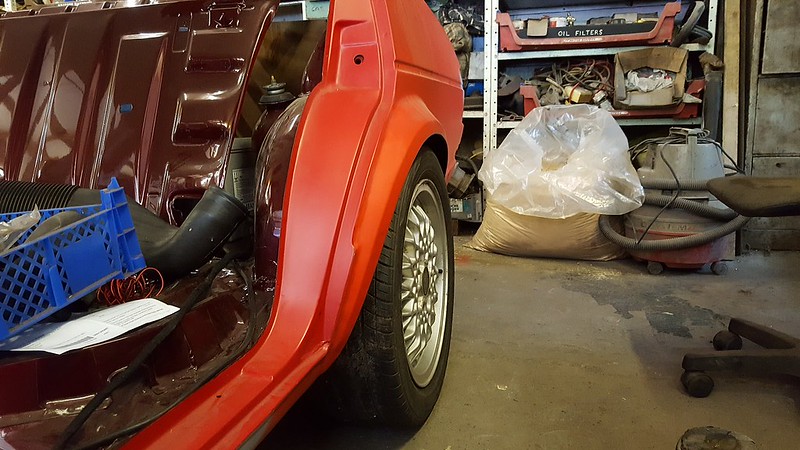 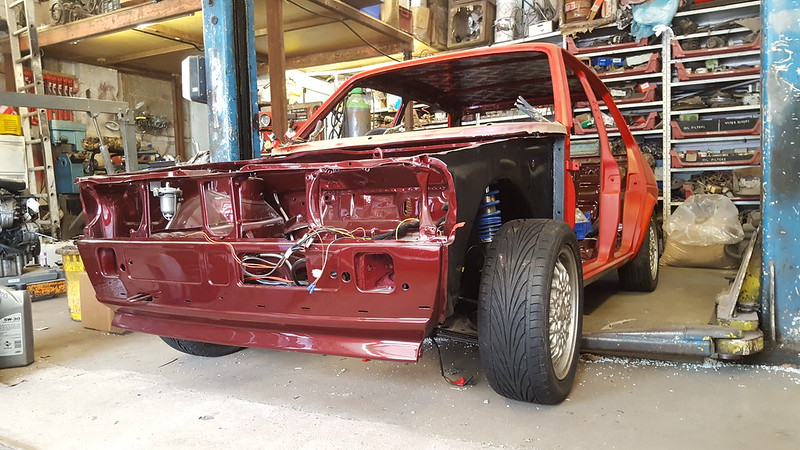 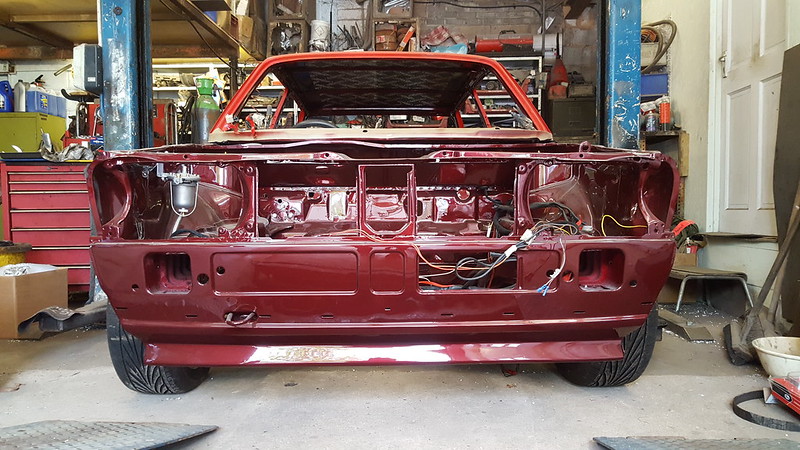 Poor engine. (not mine) 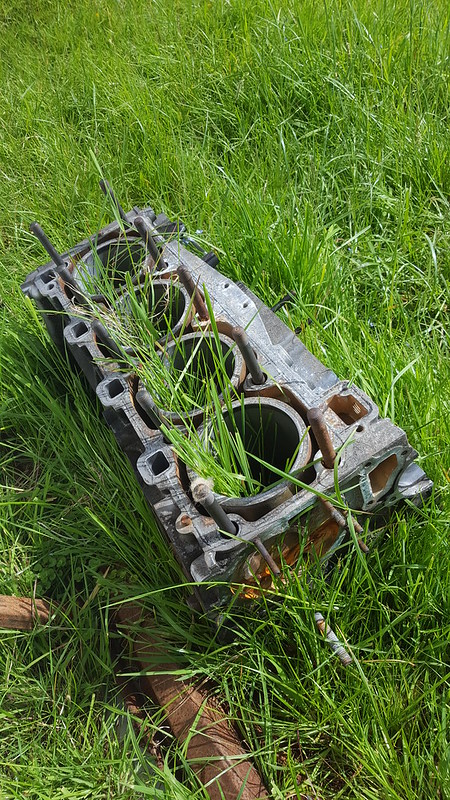 Jetta has been moved from RestoShack for a little while so I can fit the engine and get it all rolling and ready for the exterior spray. The car is in a barn/workshop I am renting, so I had to move the engine and a curse word ton of parts to the new workshop. 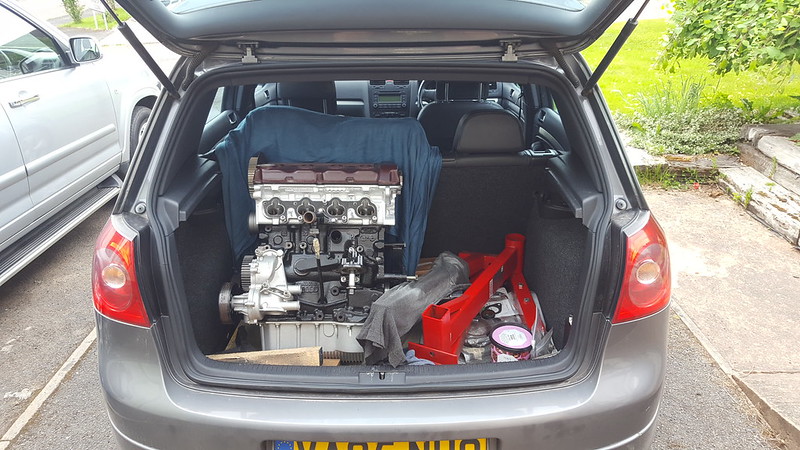 Who needs a van when you have a mk5 GTI  Together at last 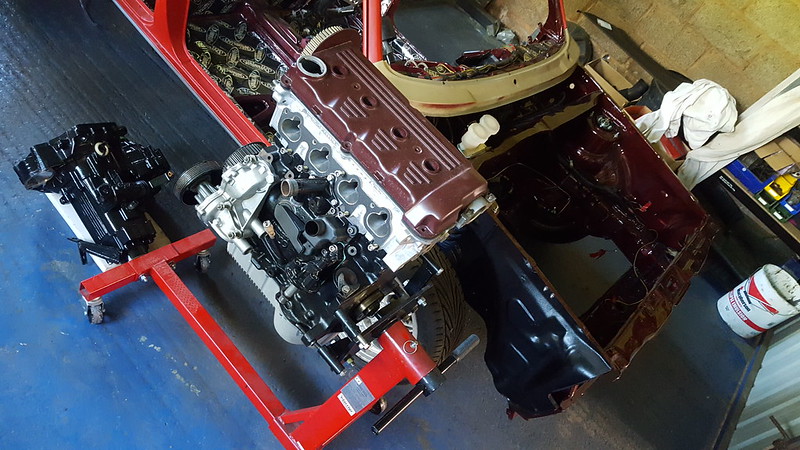 Engine was slapped onto a crane so that I could fit the crank end plate and seal and the lightened flywheel and clutch. 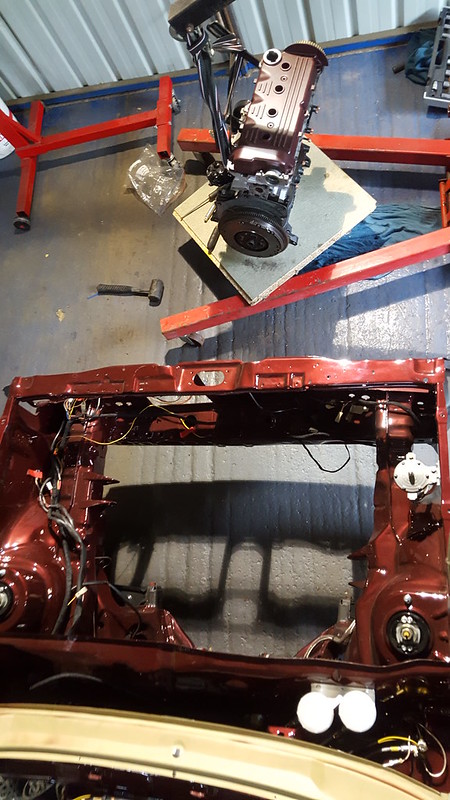 Then bolted up the gearbox to make sure all was there and well. 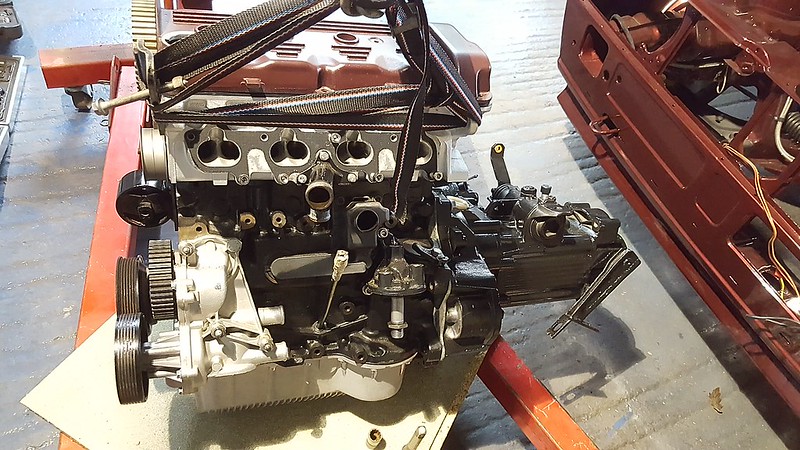 The engine would be in by now by the engine crane does not go high enough due to oil curse word out when it gets to a certain height. Just bought a new jack part so it can be thrown in sometime next week. |
| |
|
|
|
|
|
|
|
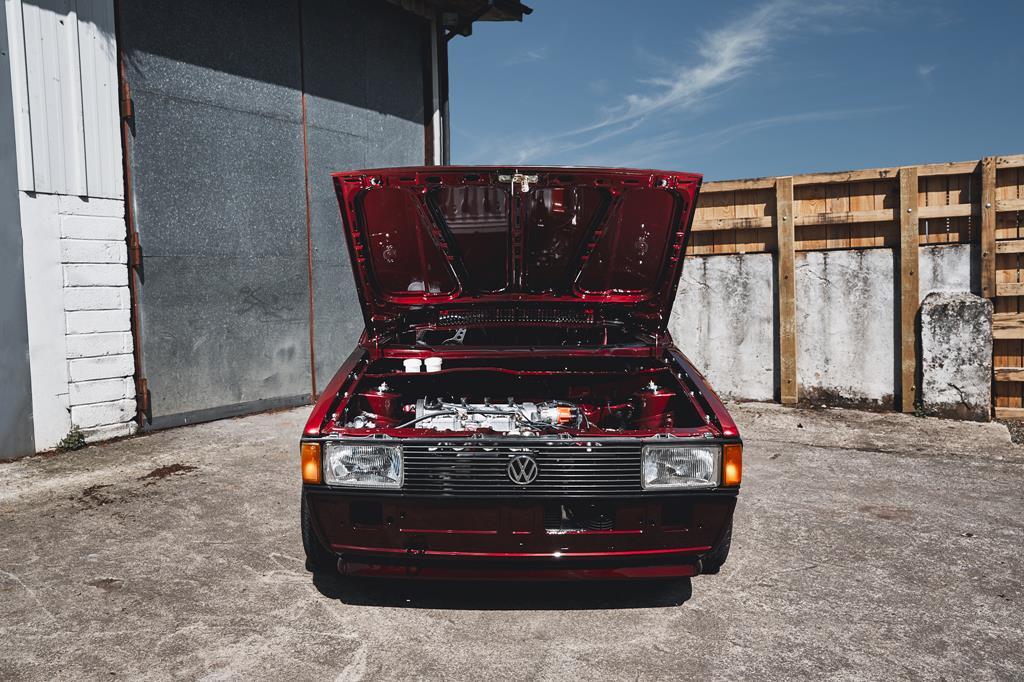
Small update, Powder coated rear gearbox mount with poly bush (hopefully it will not be too rattly). 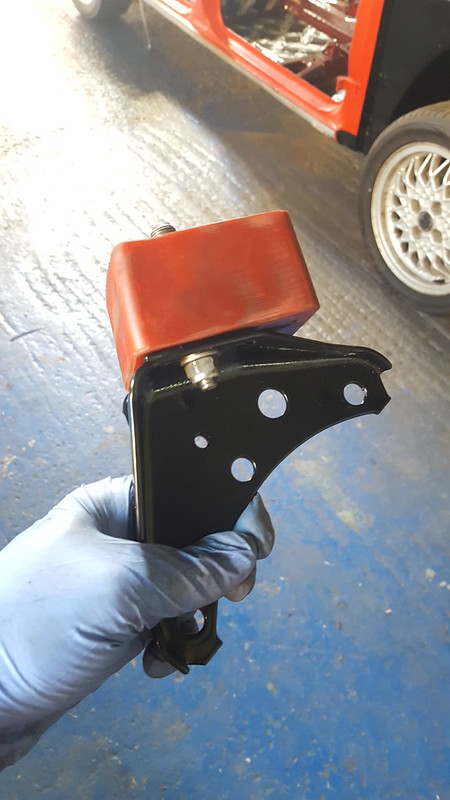 All bolted up with new stainless bolts. This is a mk2 020 16v box, so the mount was in a different place to the mk1 box I used in the Rocco, with the mk1 box having studs in the casing for the mount to be attached to with nuts. I just replaced the studs with some 25mm bolts instead. 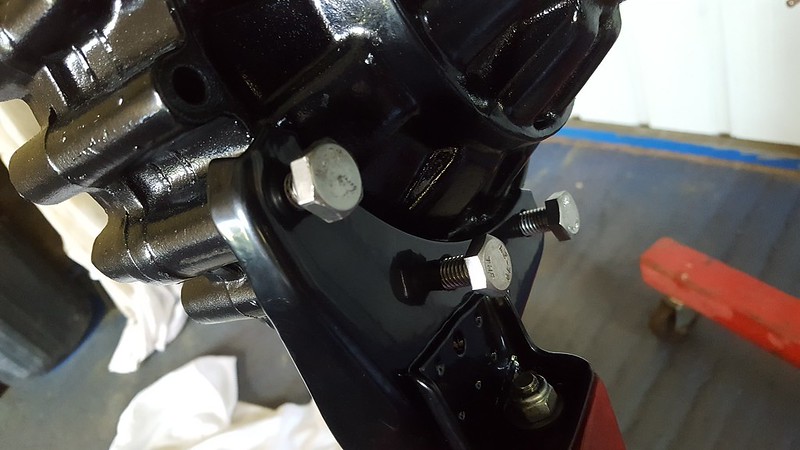 With everything bolted up it was moment of trust time. Fingers where crossed the paint was not scratched :? 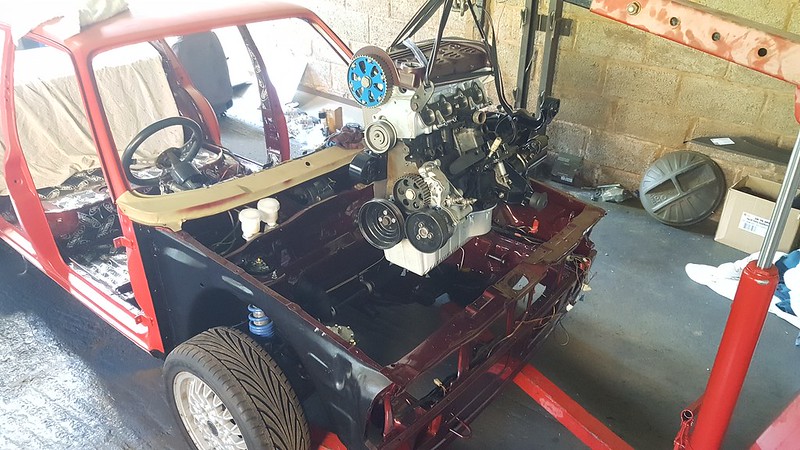 With some help from my bro in law we wiggled and jostled the engine and box in. I had to move the engine into the hole, then drop it a little, then jack the car up onto axle stands so that the engine crane would go under the wishbones. Was a right faff, but it is in now  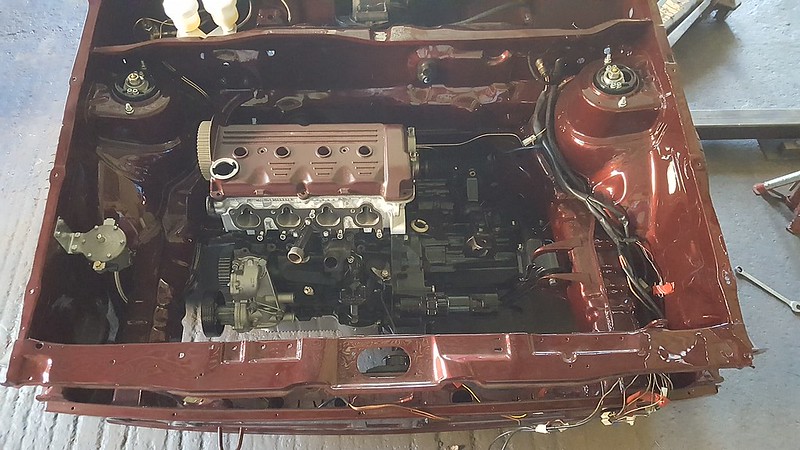 Then I thought it would be rude not to slap the carbs on to see what it would look like  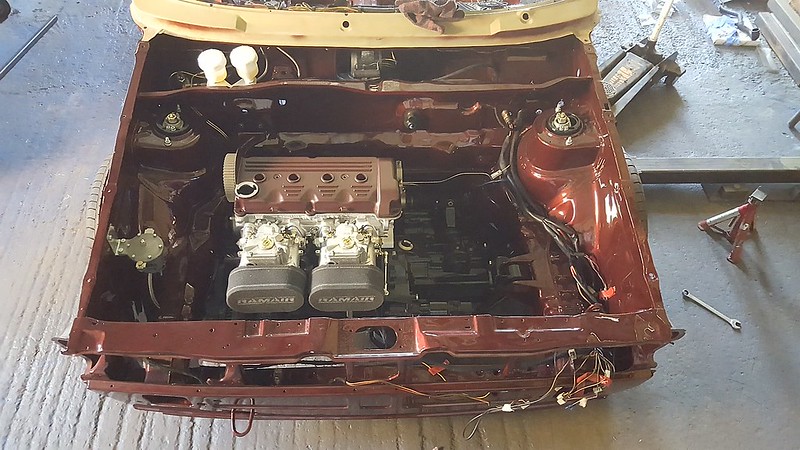 Next need to finish building the auxiliaries onto the engine, sort the oil breather, plumb in the water, sort the rad fitment, wire it up and see if it blows up :? |
| |
|
|
|
|
|
|
|
|
|
|
|
|
Wow a lot of work has gone into that, colour looks amazing! Good job.
|
| |
|
|
|
|
|
|
|
|
Wow, looks amazing! And probably better built than when new 😎
|
| |
|
|
|
|
|
|






 ).
). 


 )
)


