|
|
|
|
|
Hi, I have these wheels...  And have started stripping the alloy centres with a wire brush on a drill, this has taken the dirt and the blemished gold finish off:  Next I am planning to mask the chrome rim and spray gold paint onto the centres, then I will strip the gold paint off the raised edges to leave the wheels looking like this:  But with gold centres obv. Or do i need to mask the raised edges before I spray the gold using duct tape and a scalpel? Thanks all, Charlie |
| |
|
|
|
|
|
|
|
|
|
|
Any suggestions for a gold paint I can use?
|
| |
|
|
|
|
|
|
|
|
And, I may skip the metal stripping and just go straight for the gold paint after a good wash.
|
| |
|
|
|
|
|
|
|
Can't answer your questions but those will look awesome when done! What are they going on?  |
| |
|
|
adam73bgt
Club Retro Rides Member
Posts: 4,951
Club RR Member Number: 58
Member is Online
|
Alloy wheel refurb like this?adam73bgt
@adam73bgt
Club Retro Rides Member 58
|
|
|
For the centre, I think probably the best way would be to spray the whole centre then use wet and dry paper/ metal polish on the raised sections you want to have polished Edit: Also, awesome wheels  Were these on ebay recently? I'm sure I saw a similar set that I was lusting after  Edit edit: For gold paint, I've used some plasti kote stuff from B&Q before which gave me some good results   |
| |
Last Edit: Aug 2, 2014 12:19:27 GMT by adam73bgt
|
|
|
|
|
|
|
|
That looks great! I'll get some, thanks.
|
| |
|
|
|
|
|
|
|
|
I've done quite a few sets of wheels like this and always polish everything first (rims and faces) the mask everything (use proper masking tape, not duct tape) and cut around it all carefully with a super sharp blade. Then spray your colour.
I even did a set in a camp field whilst under the influence and they came out spot on! I'll see if I can find some photos....
Painting the centres then rubbing back with wet & dry won't guarantee a neat edge and will be fiddly, messy and you'll wish you hadn't bothered. Trust me.
|
| |
|
|
|
|
|
|
|
Rubbing down the old paint by hand (some of the other Area 52 guys kindly gave me a hand doing this, so I only had to rub down two of the wheels!) then polishing with various grades of wet & dry before some autosol etc... 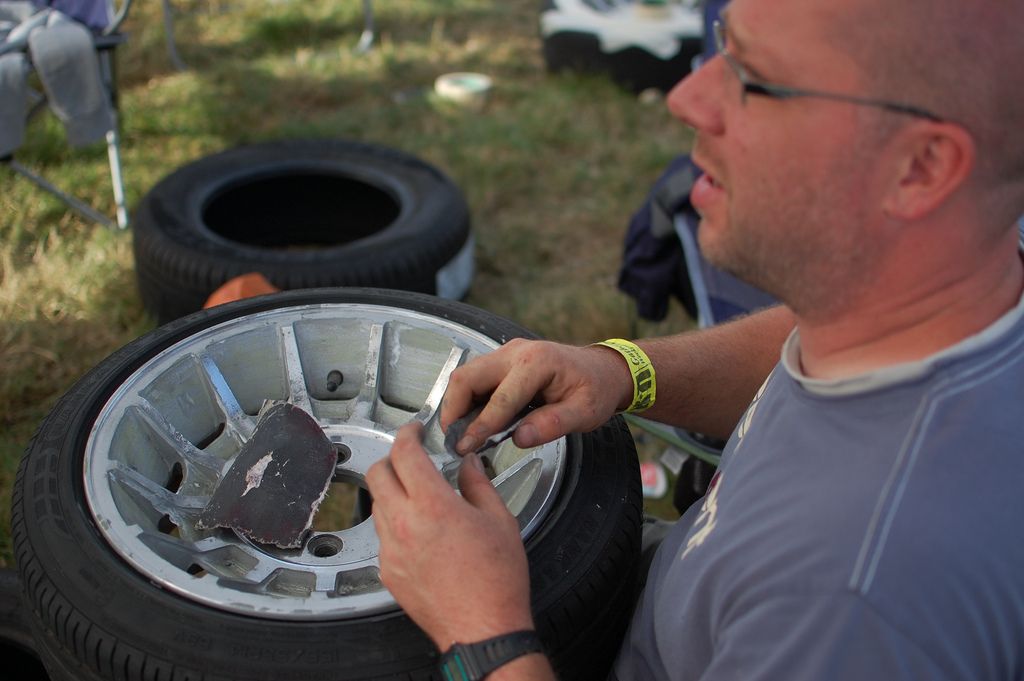 The paint was a curse word to remove, but you don't have to worry about this stage of the refurb. 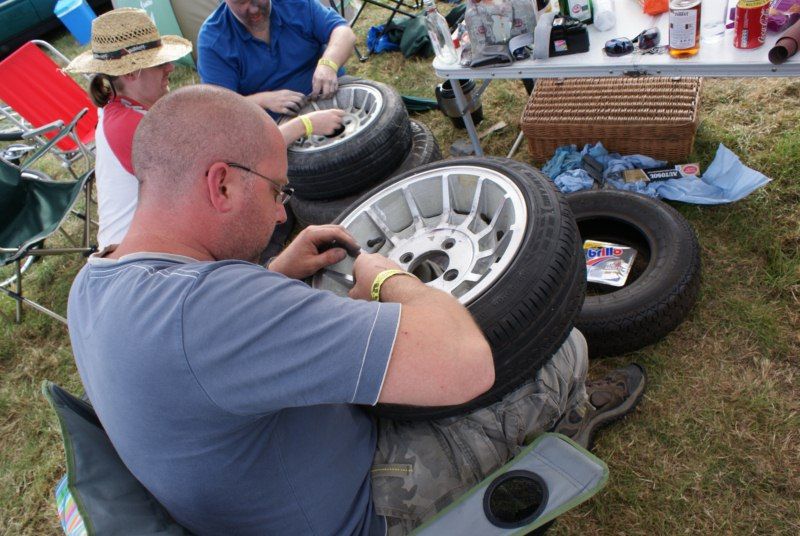 Working into the night, cover the wheels with masking tape then get cutting... 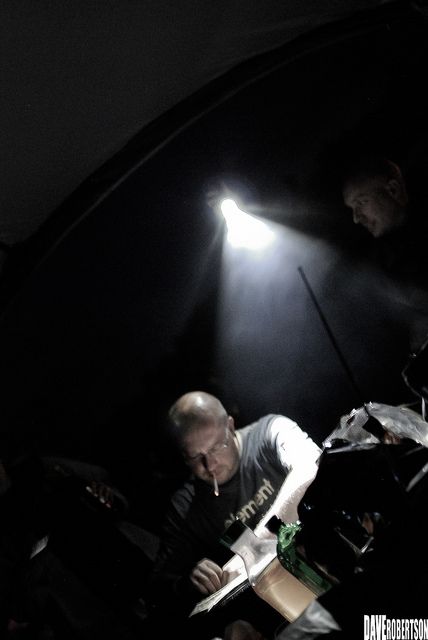 Getting there.... 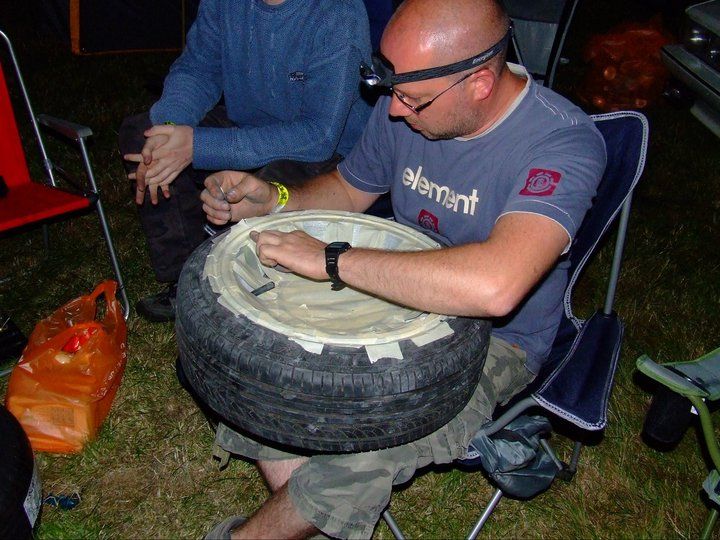 The masking seemed to take the longest, cutting away to expose the inserts was actually quite therapeutic! 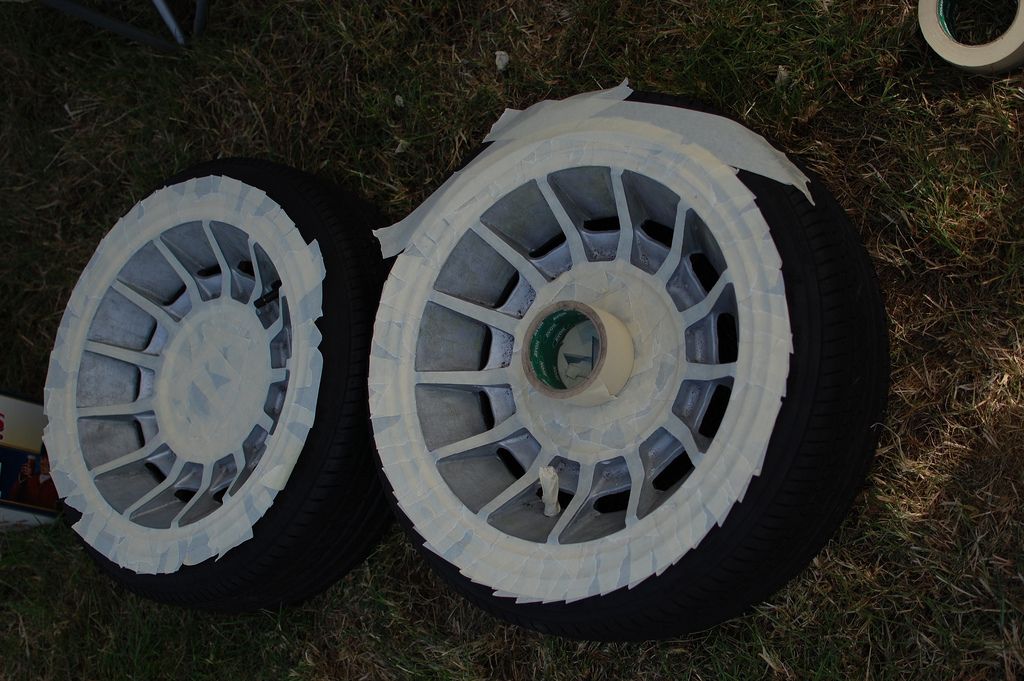 Working in the dark in the middle of a field in Gloucestershire....alcohol helped. 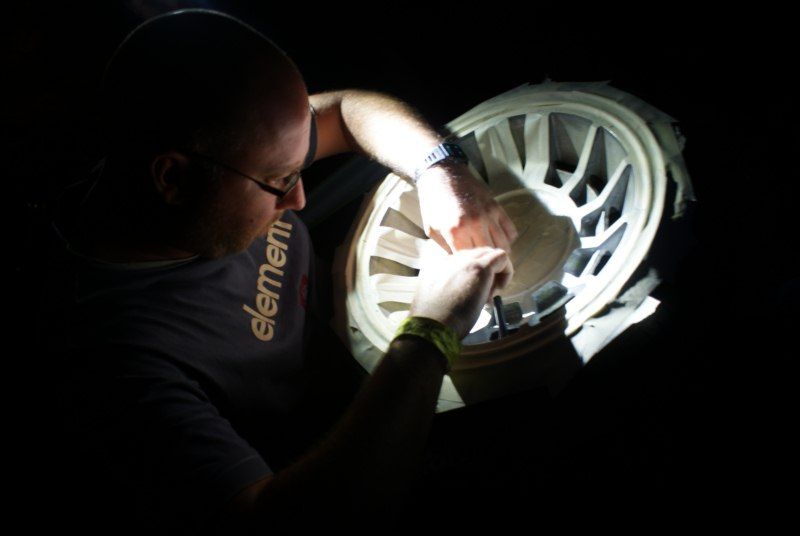 Patience and a steady hand...and a kind friend to hold a torch. 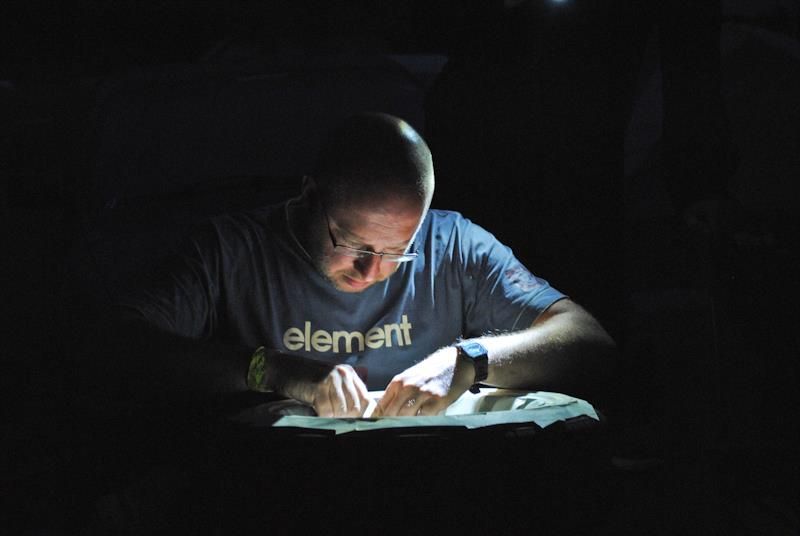 Once all is masked and cut out, the fun begins....PAINT! 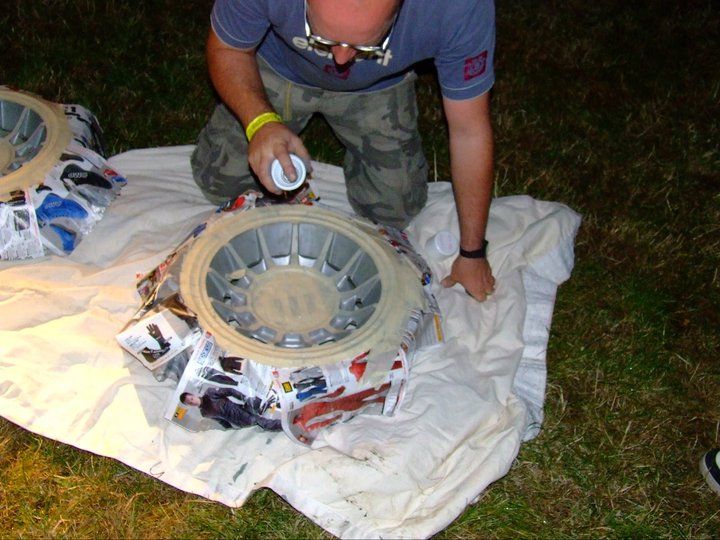 Good layer of primer and left to dry in between coats. I was using the heaters in the back of my van to act as a kind of oven to help with this process while I was painting another wheel. 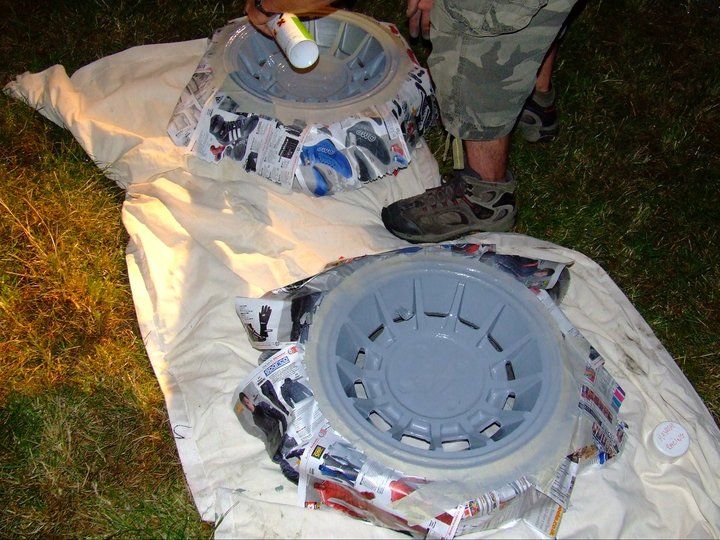 The finished article. 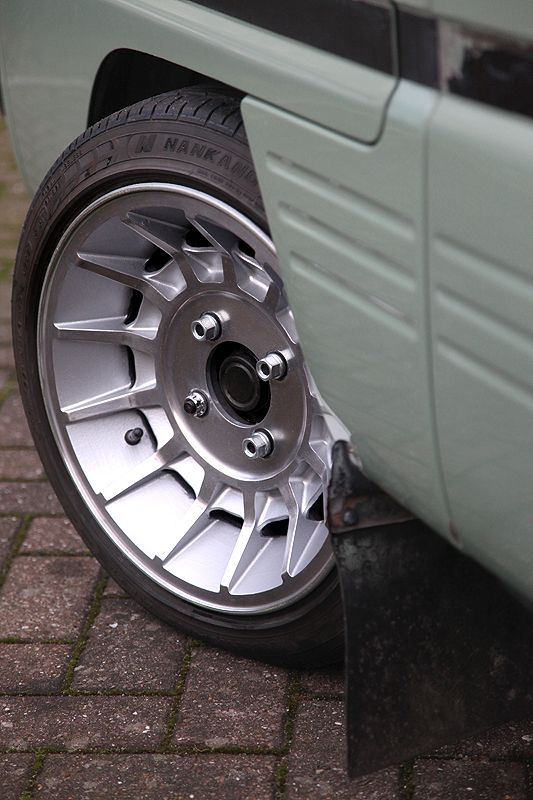  Not too shabby for being done through the night in a field whilst under the influence? |
| |
|
|
|
|
|
|
|
Hayashi Street's which I spent a day polishing then masking up. The alloy was dull so took a while to polish and the black inserts were peeling and looking rough, so I rubbed them down properly before masking. After the polish, masked up them carefully trimmed with a sharp blade. 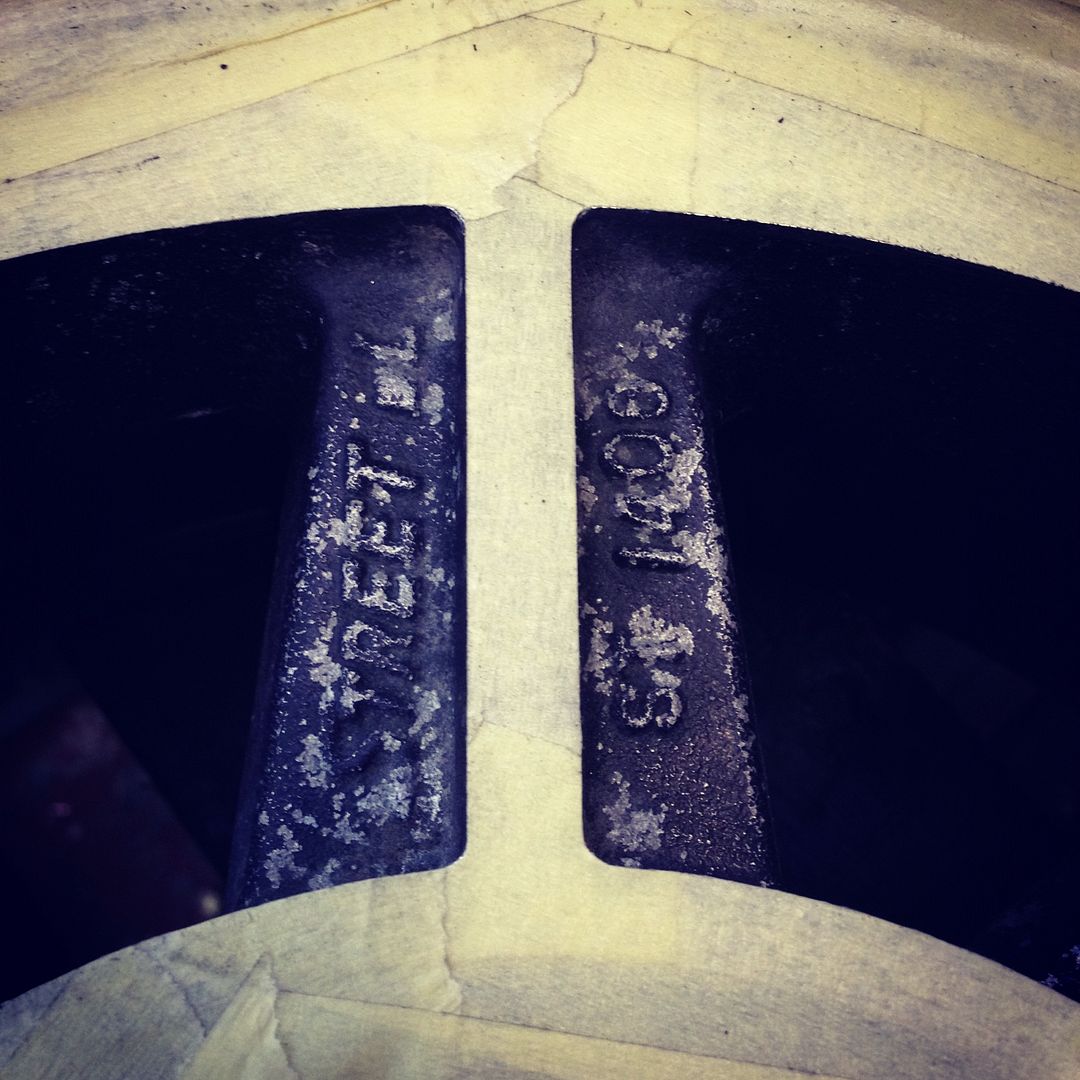 All cut out and ready for paint (I painted them *off* the car) 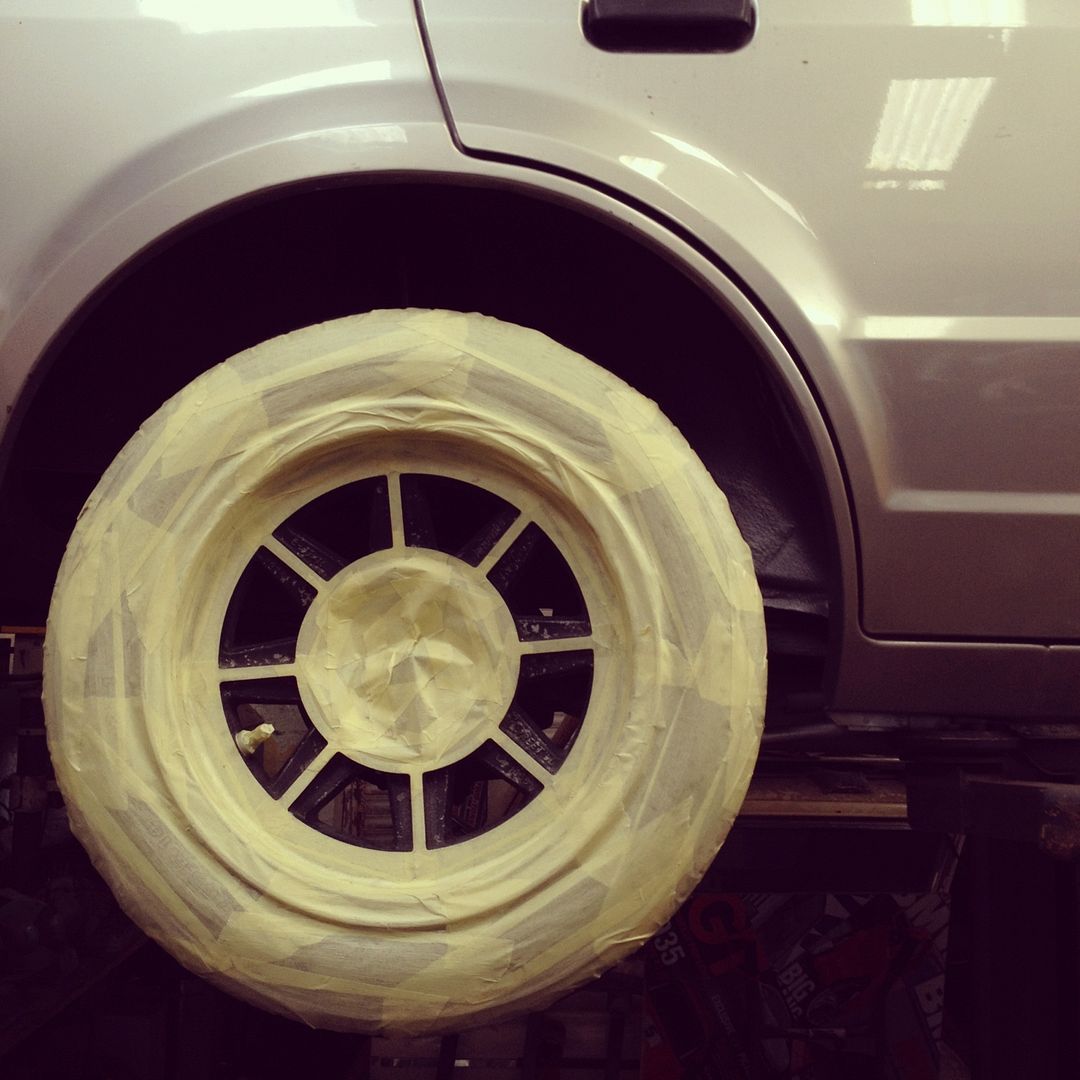 After the primer coats, three coats of satin black 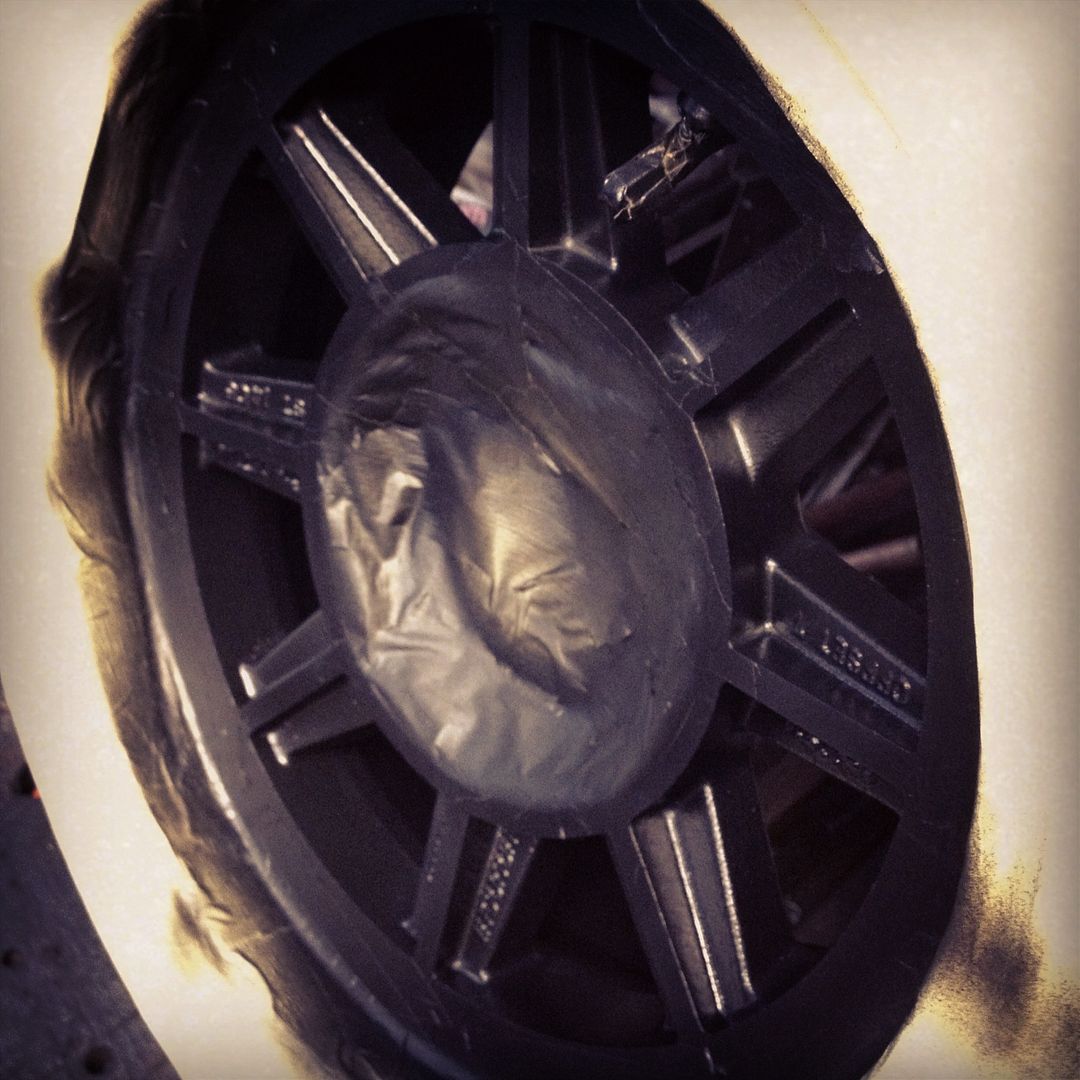 The finished wheels looking a LOT fresher and cleaner than when I'd started: 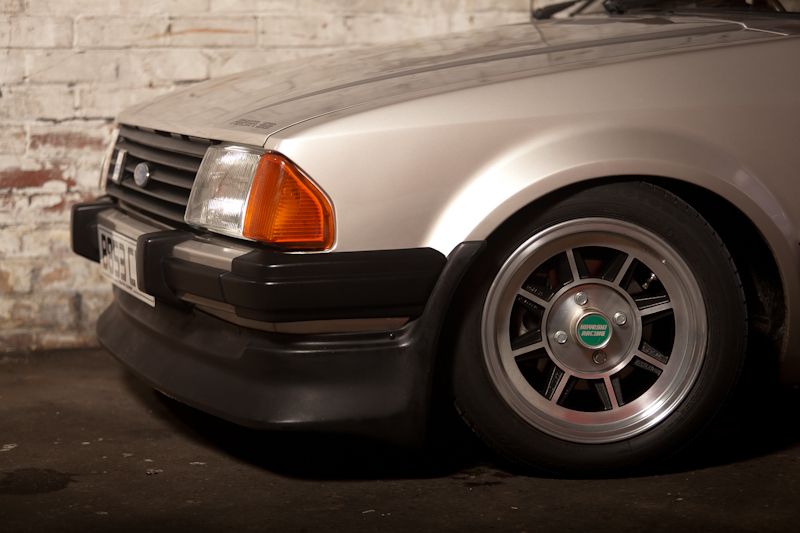  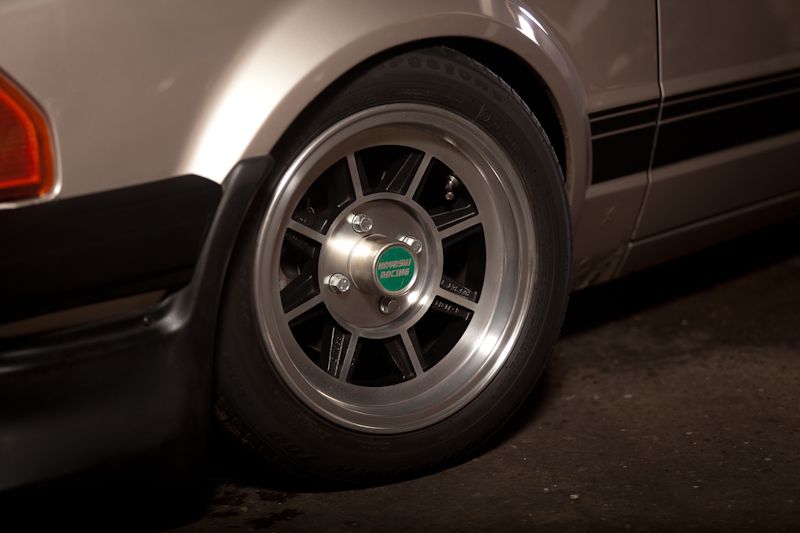 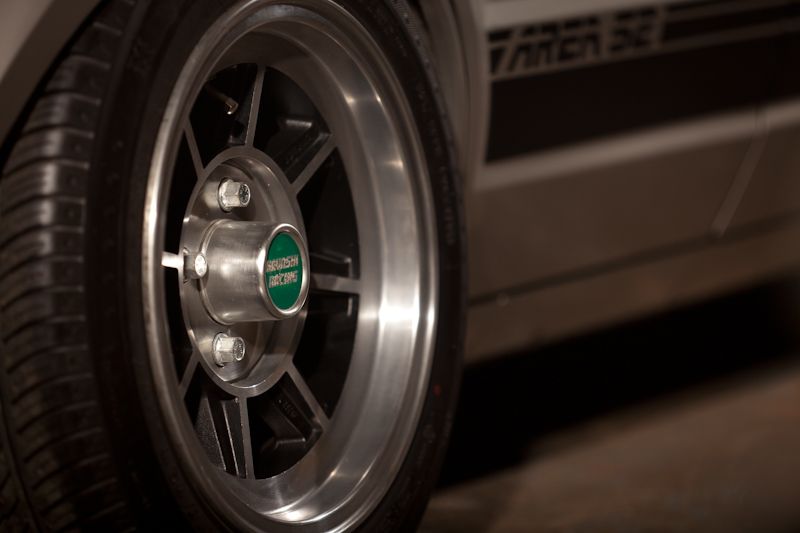 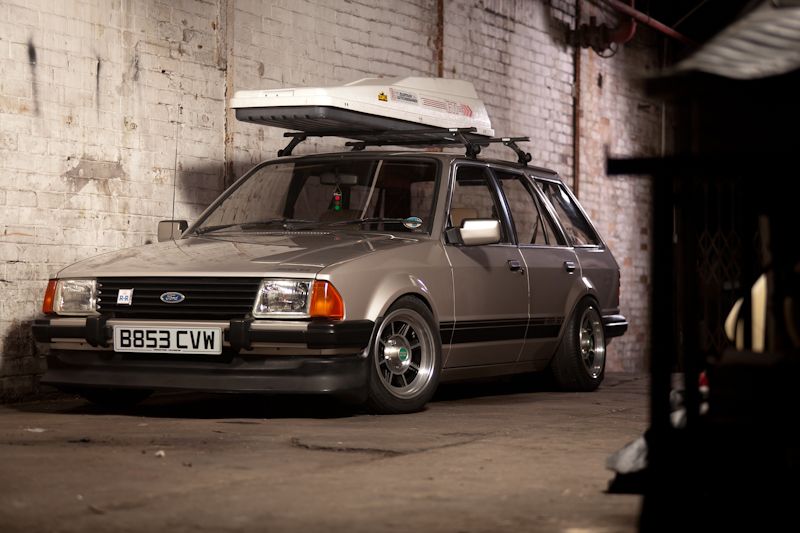 ^They were a lot shinier in the flesh and outdoors, somehow they look a bit dull in these shots compared to how shiny they really were^ |
| |
|
|
|
|
|
|
|
Oooofff!!....awesome work there Mr Machine!! ...btw ...keyring? |
| |
|
|
|
|
|
|
|
|
|
Oooofff!!....awesome work there Mr Machine!! ...btw ...keyring? Thanks Dude. Did you not get the keyring? I sent it first class last Friday straight after you'd paid. If it's not with you yet I'll send you another one now... Apologies about that. |
| |
|
|
|
|
|
|
|
Ah, oops, well I got a bit carried away down B&Q and thinking it was 1978 again I went for a satin blue, and haven't listened to any of the advice above...   Will now try to sand off the paint, and if it comes out curse word I'll have learnt a lesson and will start again, mask and follow the guidance above. Thanks all for the input ;-) Charlie |
| |
|
|
|
|
|
|
|
Finished. I wasn't looking for perfection, and I think I got the colour and the retro vibe about right. Three more to go but each one should be relatively quick now.   Charlie |
| |
|
|
|
|
|
|
|
Ah, oops, well I got a bit carried away down B&Q and thinking it was 1978 again I went for a satin blue, and haven't listened to any of the advice above... Will now try to sand off the paint, and if it comes out curse word I'll have learnt a lesson and will start again, mask and follow the guidance above. Thanks all for the input ;-) Charlie Would never of thought of that colour for wheels... Look awesome Done a Good job too matey |
| |
I'm not curse word, i just fell off my shoes
|
|
fred
Posted a lot
 WTF has happened to all the Vennies?
Posts: 2,957
|
|
|
|
|
Looks an inventive colour,
By the way I did my old Vennie Cosmic wheels the same way as Mr Mystery
It is quite calming and therapeutic spending a whole weekend sanding and taping up
|
| |
Last Edit: Aug 2, 2014 20:42:04 GMT by fred
'79 Cossie ran Cortina - Sold
2000 Fozzer 2.0 turbo snow beast
'85 Opel Manta GSI - Sold
03 A class Mercedes
Looking for a FD Ventora - Anyone?
|
|
|
|
|
|
|
|
seeing as all the bolts are out, it would be a lot easier to mask if you just move the outers off.
|
| |
|
|
|
|
|
|
|
|
Yeah but the outers and centres cannot be seperated. That was my plan.
|
| |
|
|
|
|
|
|
|
|
oh, they're not splits? certainly look like it, probably just whatever was used to stick them together to stop them leaking.
|
| |
|
|
EmDee
Club Retro Rides Member
Committer of Autrocities.
Posts: 5,933
Club RR Member Number: 108
|
Alloy wheel refurb like this?EmDee
@emdee
Club Retro Rides Member 108
|
|
|
|
Provided they still hold air, cable ties must be put through the holes immediately.
|
| |
|
|
Rich
Club Retro Rides Member
Posts: 6,313  Club RR Member Number: 160
|
Alloy wheel refurb like this?Rich
@foxmcintyre
Club Retro Rides Member 160
|
|
|
oh, they're not splits? certainly look like it, probably just whatever was used to stick them together to stop them leaking. They might be welded. Kev had a set of these or similar that were welded together from factory. |
| |
|
|
|
|


 Were these on ebay recently? I'm sure I saw a similar set that I was lusting after

 [*]
[*] [*]
[*]


