|
|
|
Jan 29, 2015 16:29:12 GMT
|
Coming along nicely mate! Sorry to hear about the trouble youve been having with the manifold, must be incredibly frustrating!  Got the underside of mine sorted eventually, a similar method to yourself with the deox, then hydrate 80, but after this I rust primed and will give it a good blast of stonechip before spraying the body color. One think I will say about the Hydrate 80 though, it has to be put on in thin coats, I thought I could lash it into hard to reach spots/crevices and it'd be grand, but, it just doesnt seem to set or go hard unless its spread in a nice thin film. I found on one part, on the underside around the front mounting bracket where I had let some into a tight corner, even after it had been left to dry for a number of days and had two coats of rust primer applied on top it simply came away, and I had to rake the stuff out. Even after a month it was a thick gloop, blue/purple in color. So, be careful with the valances if youve let some inside that it doesnt all run and gather in one area, not sure how effective that would be. As for my baby, well, its getting more controversial   You can check out the rest here: www.boards.ie/vbulletin/showthread.php?t=2057197258&page=10i know what you mean about it not setting, i had a couple of issues when using it on other little diy jobs and it needs a good supply of air for it to go off properly, it seems to have all gone fairly black but it's only inside the valances which won't bee seen much anyway. i had another full readthrough of your buildthread yesterday in fact. and i spotted the similar methods with the floorpans! nice to know i'd inspired someone to do similar  and i have to say i'm a fan of the rear lights. think it'll look the business when it's all painted up! |
| |
|
|
|
|
|
|
|
Feb 22, 2015 21:05:12 GMT
|
|
|
| |
|
|
|
|
|
Mar 10, 2015 12:04:52 GMT
|
After a few weeks at my new job i finally found time to get the exhaust fitted, and all secured down, think it's on roughly in the right place but time will tell, then we splashed in a bit of fuel and tried to get it to flow all the way up to the carbs, no dice... so had to suck the fuel through the line, most unpleasant job iv'e encountered so far. but it worked! First splash of fuel showing  but at exactly the same time the starter motor packed up. so i've got to figure out if it's the solenoid causing the issues as usual or the actual motor, i'll pull it apart and give it a clean, maybe swap out some parts from a spare i have. Either way, startup day is close! |
| |
|
|
adam73bgt
Club Retro Rides Member
Posts: 4,991
Club RR Member Number: 58
|
|
Mar 10, 2015 12:36:35 GMT
|
|
Love the shots of the Spitfire, looks really great!
|
| |
|
|
|
|
|
Mar 11, 2015 11:00:18 GMT
|
|
So after almost 2 years of being a non runner i finally got the chance to get it running again!
seems to be missing on a cylinder, so i'll pull the plugs and check what's going on.
|
| |
|
|
|
|
|
Mar 11, 2015 13:15:42 GMT
|
Well after a bit of tinkering and pulling the plugs i can see it's running a tad rich, but that's to be expected as it's only been run on the choke so far. 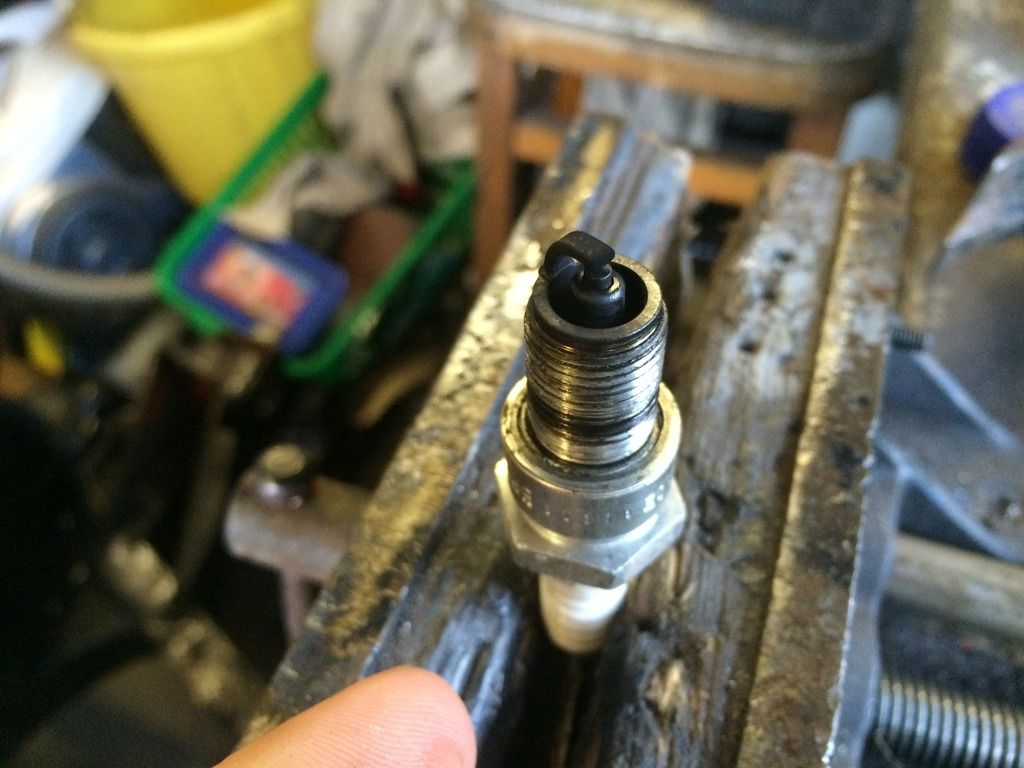 Also the rockers still seem to be fouling on the cover, so the gaskets sent out by rimmer don't seem to be the correct ones for my car. maybe due to a high lift cam? Anyone know if a standard thicker one will work? |
| |
|
|
eurogranada
Europe
To tinker or not to tinker, that is the question...
Posts: 2,556
|
|
Mar 11, 2015 13:30:03 GMT
|
|
Good for you! I bet that was a great moment! I'm sure looking forward to it myself now.
|
| |
|
|
stevea
Part of things
 
Posts: 281
|
|
Mar 11, 2015 17:58:25 GMT
|
.... Also the rockers still seem to be fouling on the cover, so the gaskets sent out by rimmer don't seem to be the correct ones for my car. maybe due to a high lift cam? Anyone know if a standard thicker one will work? Did you adjust your tappets between the photo below and your problems with them hitting the cover? The adjusters are wound right up in that pic and if run like that would suggest that the push rods are too long, either the wrong ones or perhaps after a serious head skim. Alternatively, the pedestals are too short, needing spacers under them. 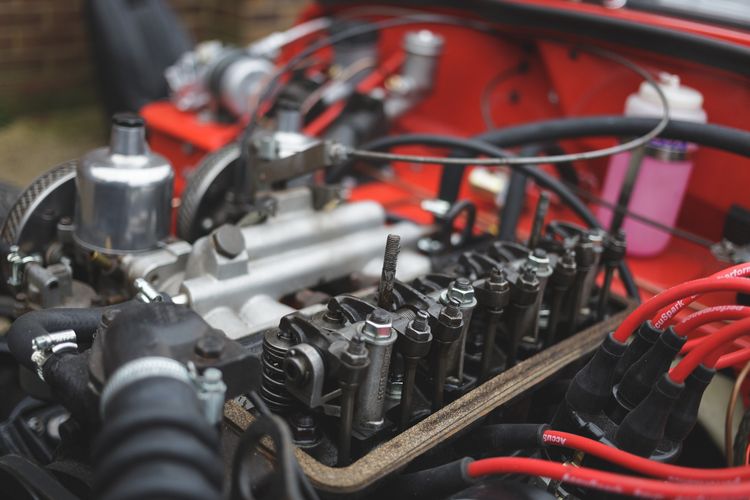 |
| |
|
|
adam73bgt
Club Retro Rides Member
Posts: 4,991
Club RR Member Number: 58
|
|
Mar 11, 2015 18:23:31 GMT
|
Sounds a bit like a rotary with that idle!  |
| |
|
|
|
|
|
Mar 11, 2015 19:23:02 GMT
|
I've got it running much nicer now with the timing fiddled with and plugs cleaned, think the issues are with the very thin gaskets But the head being skimmed is a possibility, i've been told this engine has had work, all signs point to the fact it's been built very well but i haven't found paperwork stating what work has been done. so maybe a hunt about later  big old boost of enthusiasm though! |
| |
|
|
|
|
|
|
|
Mar 13, 2015 12:46:09 GMT
|
|
New gasket arrived and fitted and i can report there are no oil leaks and the noises are gone! adjusted the timing and idle and it runs better than it ever has. well chuffed!
next on the agenda:
stopping the drip from the water pump (new gasket)
Filling the gearbox and diff with oil
filling the brakes with fluid and bleeding them
Then the car will be able to drive.
|
| |
|
|
jpsmit
Posted a lot
  
Posts: 1,274
Member is Online
|
|
Mar 13, 2015 13:28:15 GMT
|
|
Maybe teaching granny to suck eggs here - and if I am, sorry, - the water pump is designed to start dripping out the hole in the bottom when they need replacing.
|
| |
|
|
|
|
|
Mar 13, 2015 16:43:17 GMT
|
Maybe teaching granny to suck eggs here - and if I am, sorry, - the water pump is designed to start dripping out the hole in the bottom when they need replacing. Huh that's something i didn't know. thanks for warning me  had it off the engine back when i was giving it a spruce up and there was no play in the shaft, and the impeller looked to be pretty clean, i foolishily reused the gasket that came off and i think that's where the problem lies... |
| |
|
|
|
|
|
Mar 22, 2015 22:38:17 GMT
|
|
Well ladies and gentlemen, the progress to report...
Brakes have been bled and feel very good indeed, pedal feel is miles better than it's ever been before.
The apparent water pump leak was due to residual water on the engine from changing the thermostat gasket (duh)
Fixed the thermostatic fan, the wires were crossed and it wasn't working so a quick change around and it's all up to speed.
And the biggest news is that we have a deadline set, i've signed up to a rally in basingstoke on may the 11th. so anyone local who would like to come down and give the car a look over is more than welcome!
So 50 days and counting.
|
| |
|
|
|
|
|
|
|
So i've been to visit the rest of the panels being prepped to help speed things up. the work that'd been done in the last couple of months is as follows. Doors and boot lid have been filled and primed, need final flatting before paint, but otherwise ready to go... 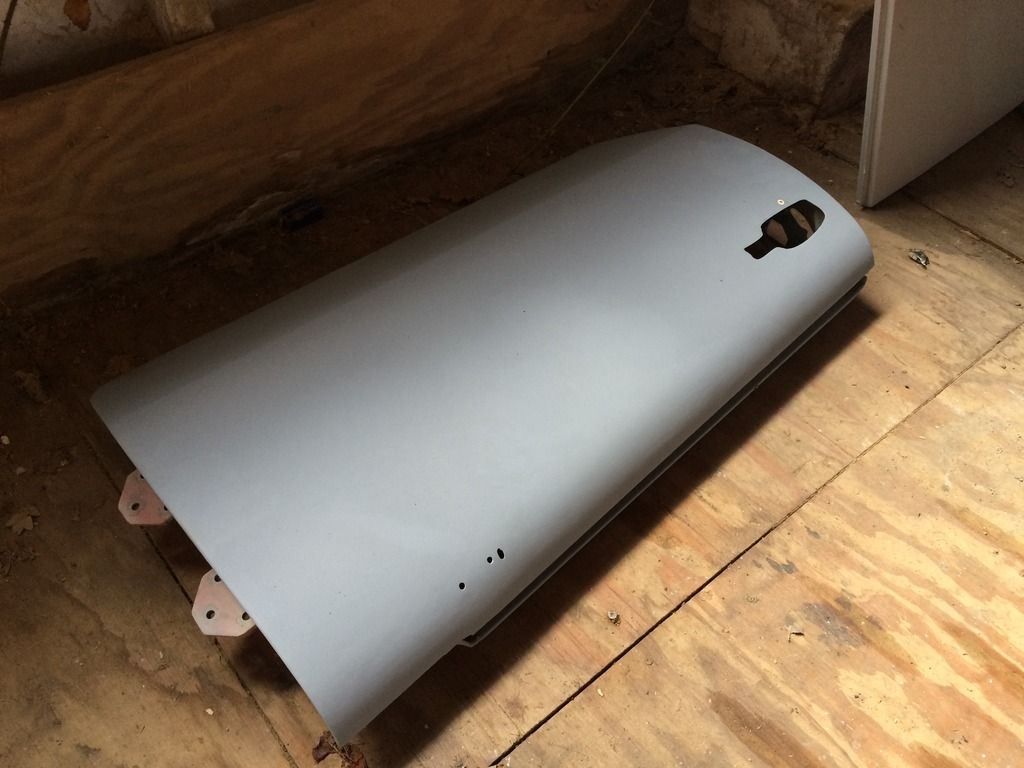 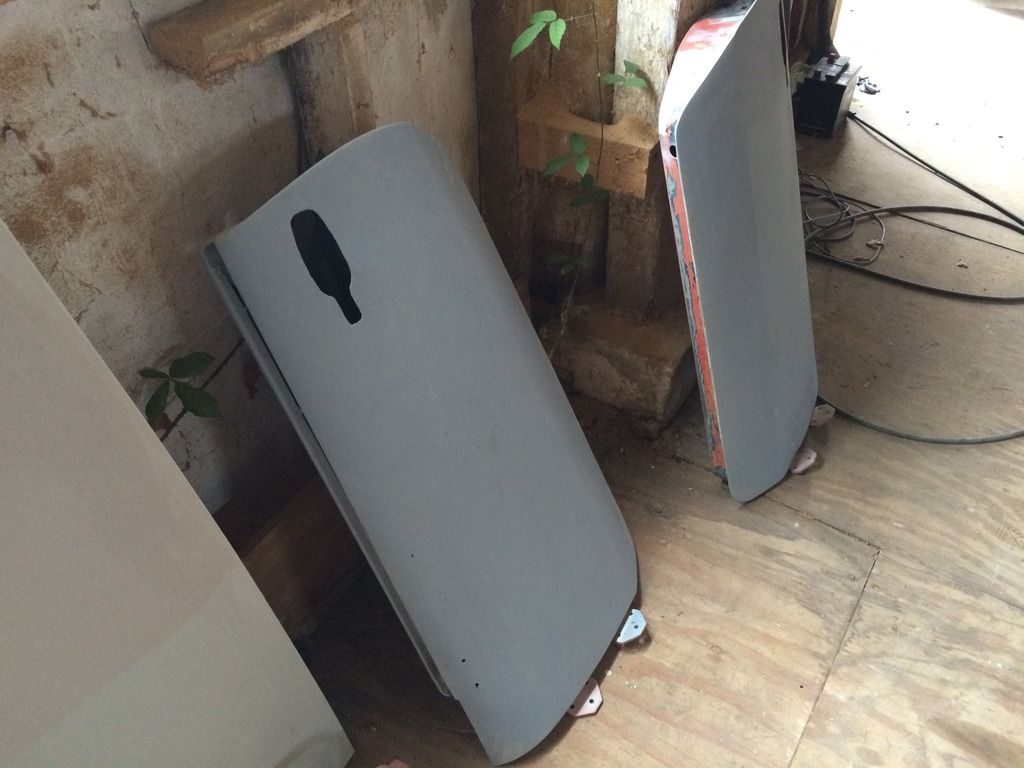 The bonnet had some surface rust from being sat for ages, so we sanded it all down with the DA and inspected the surface to find some rust left in all the flap disk gouges... eek. well let's go over it all again with a wire wheel. 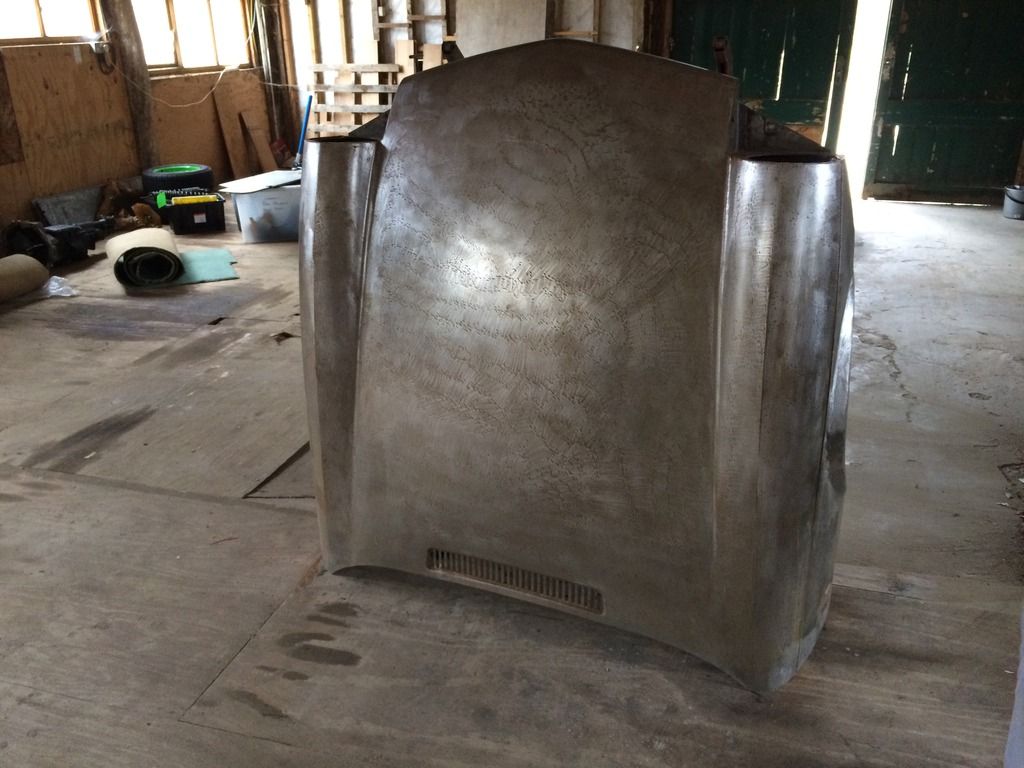 With help from Wonder-woman.  (my mum) 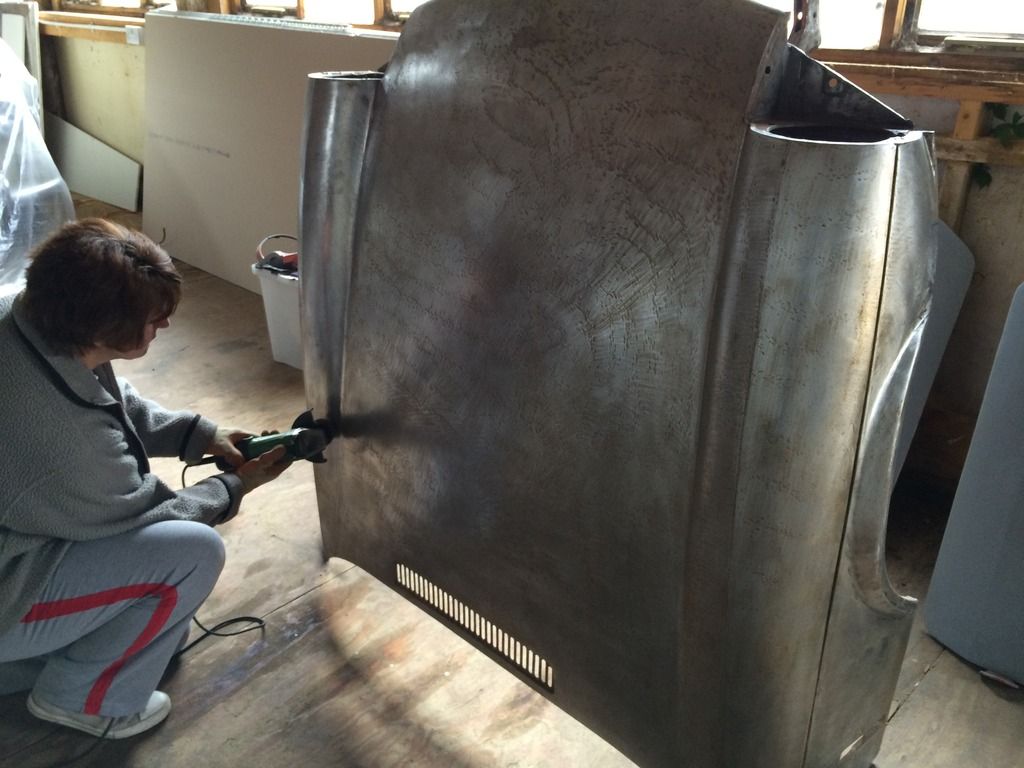 50/50 shot, wing has been wire wheeled and the center hasn't, also spot the rusty handprint...  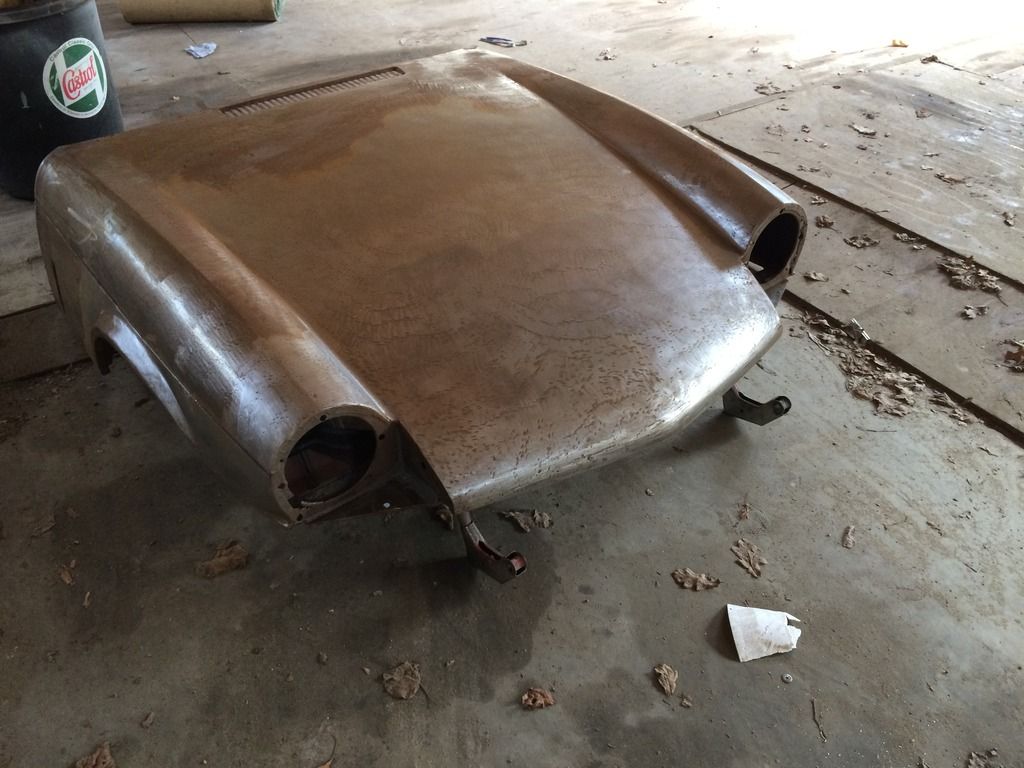   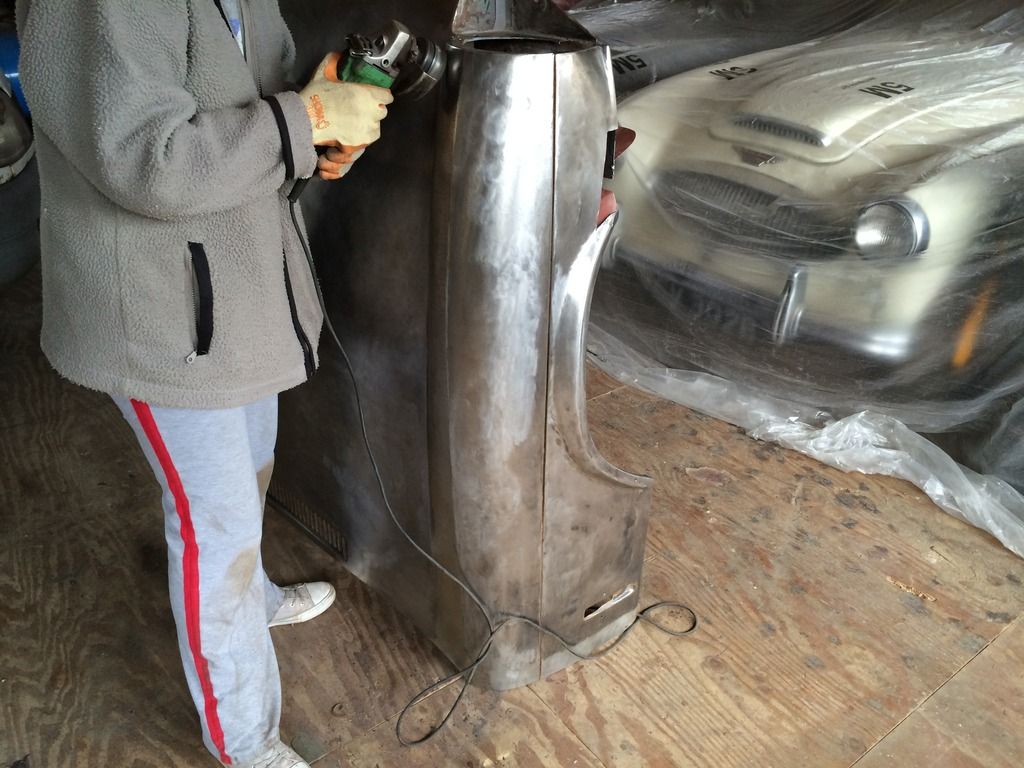 Then we picked all the sealant out of the wing weld gaps, good thing as they were pretty crusty inside. 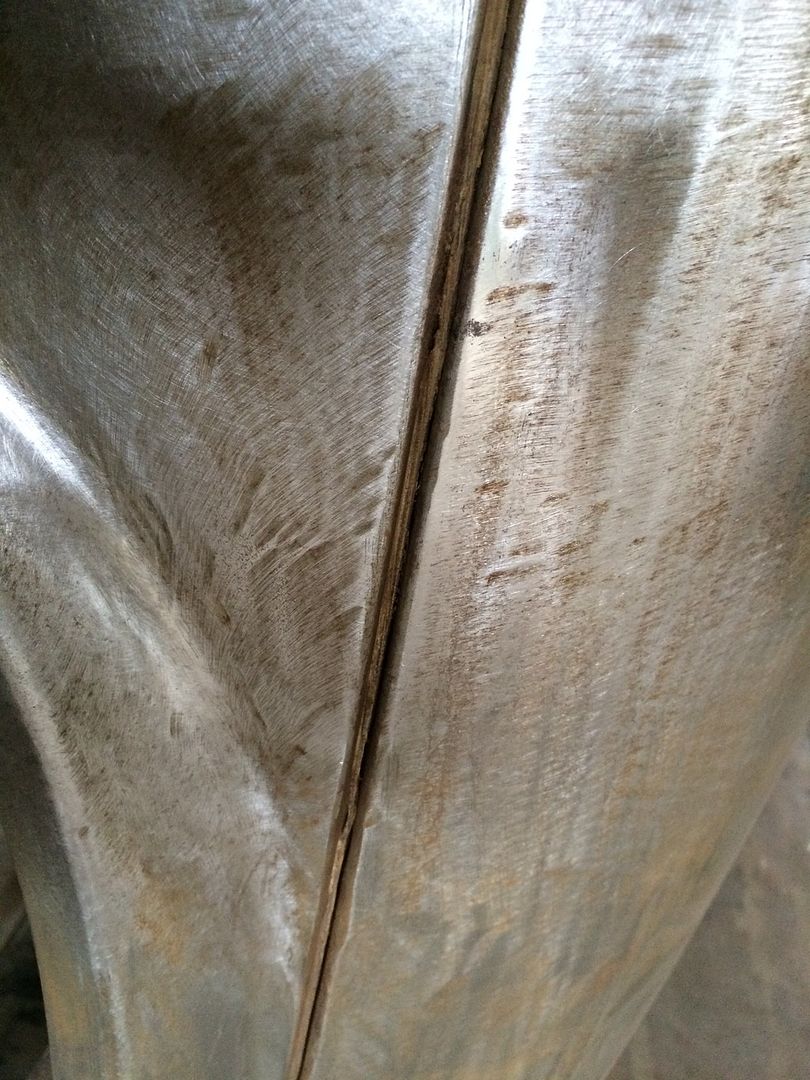 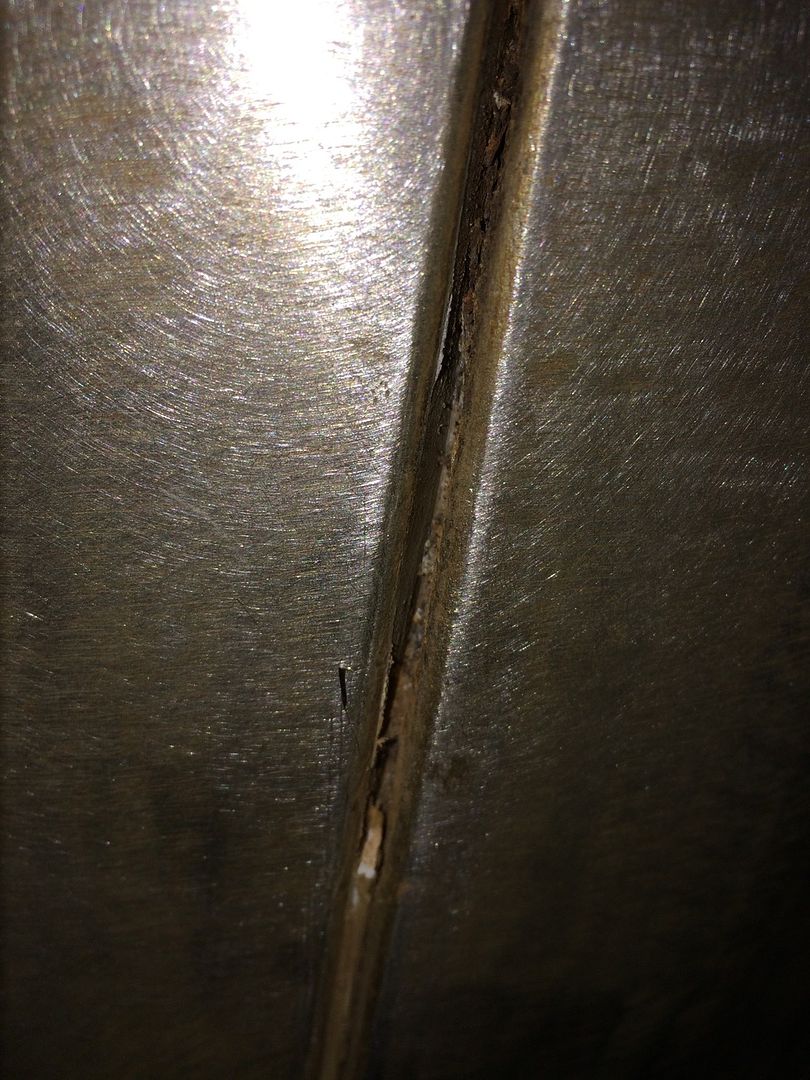 Smoothed out the sides of the bootlid and the backs of the doors, making sure we don't miss anything! 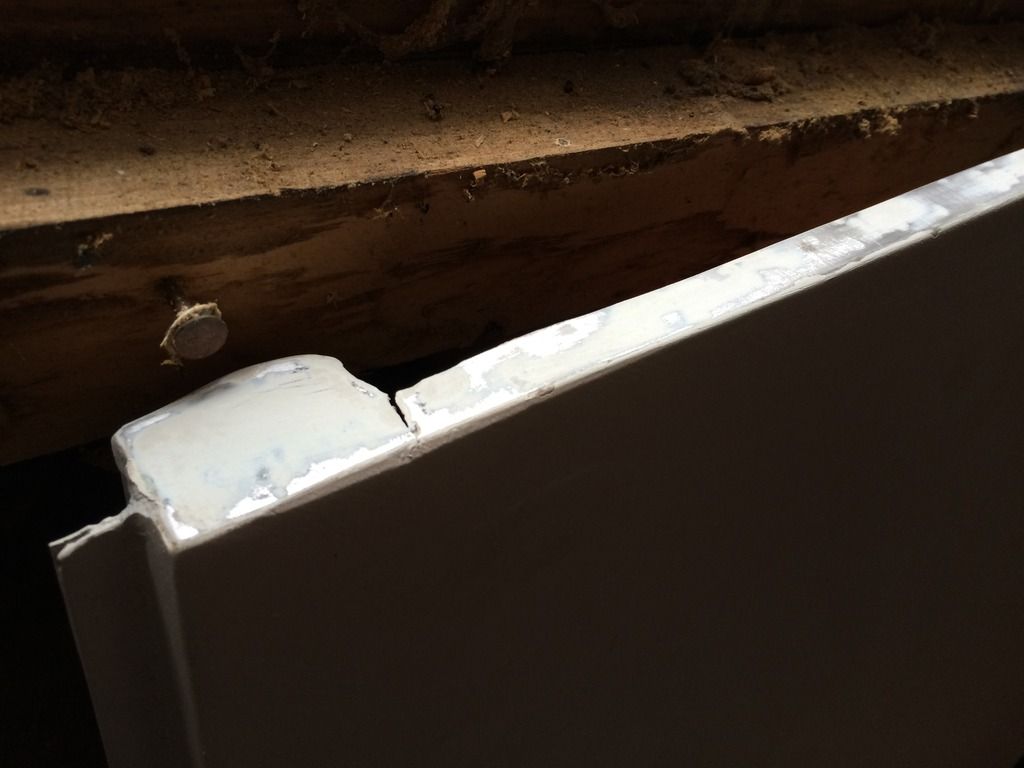  headlamp surrounds fit miles better than before 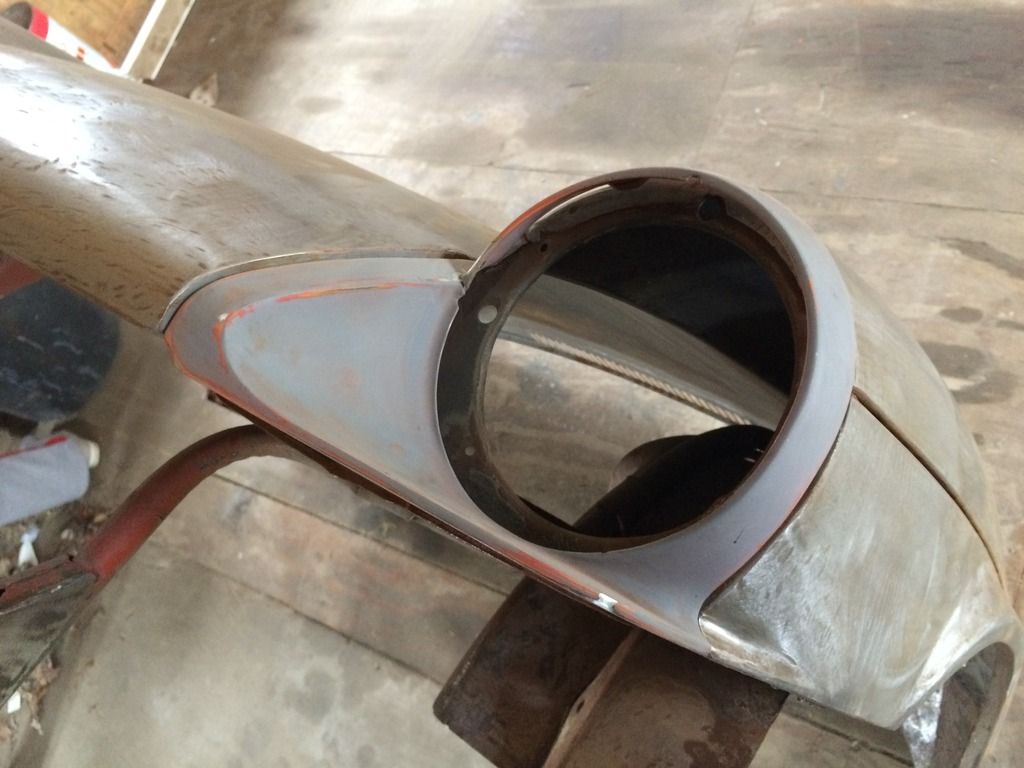 Then i started on the rust repair, this metal was paper thin but otherwise clean, Marked the area with a marker. 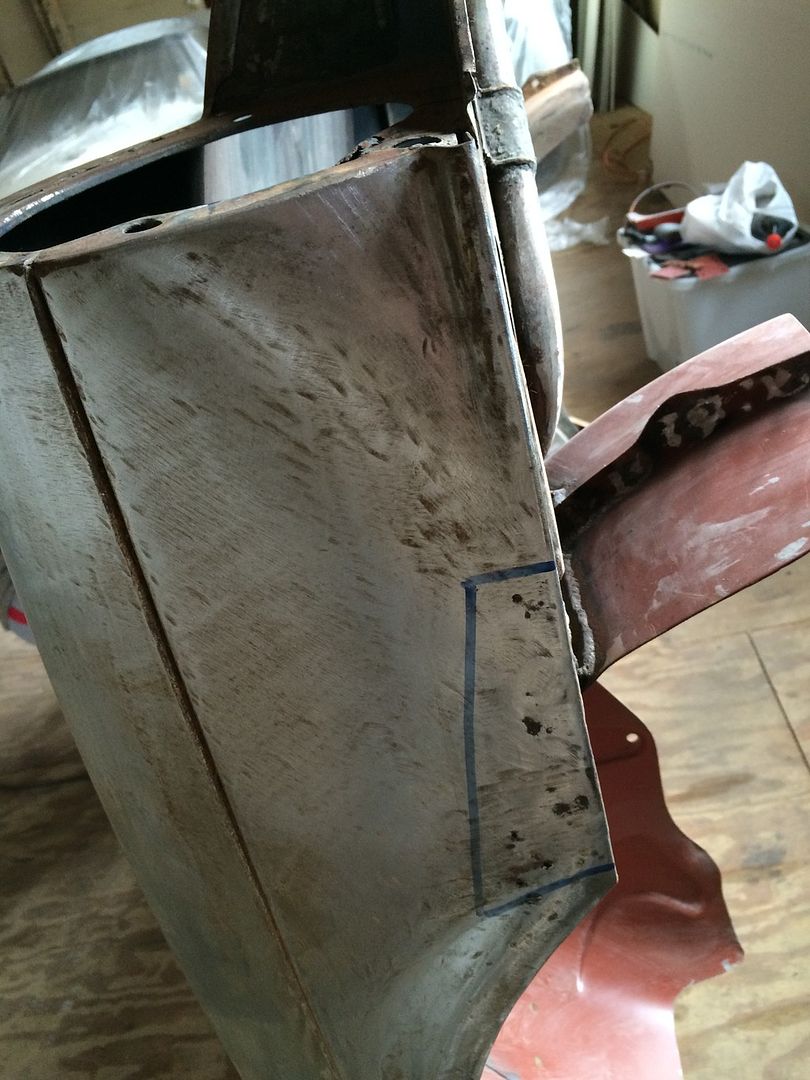 Made a neat little template 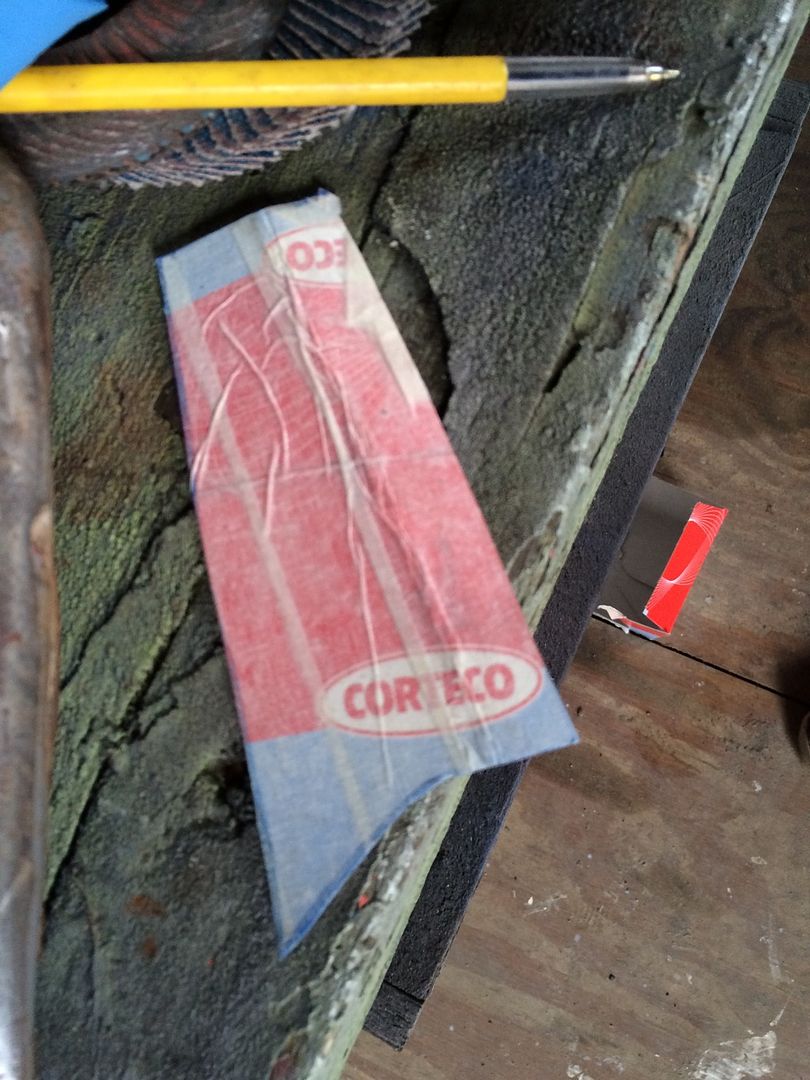 Made the piece in metal, then used that to mark where to cut, helps when your repair panel sections don't come out too neat  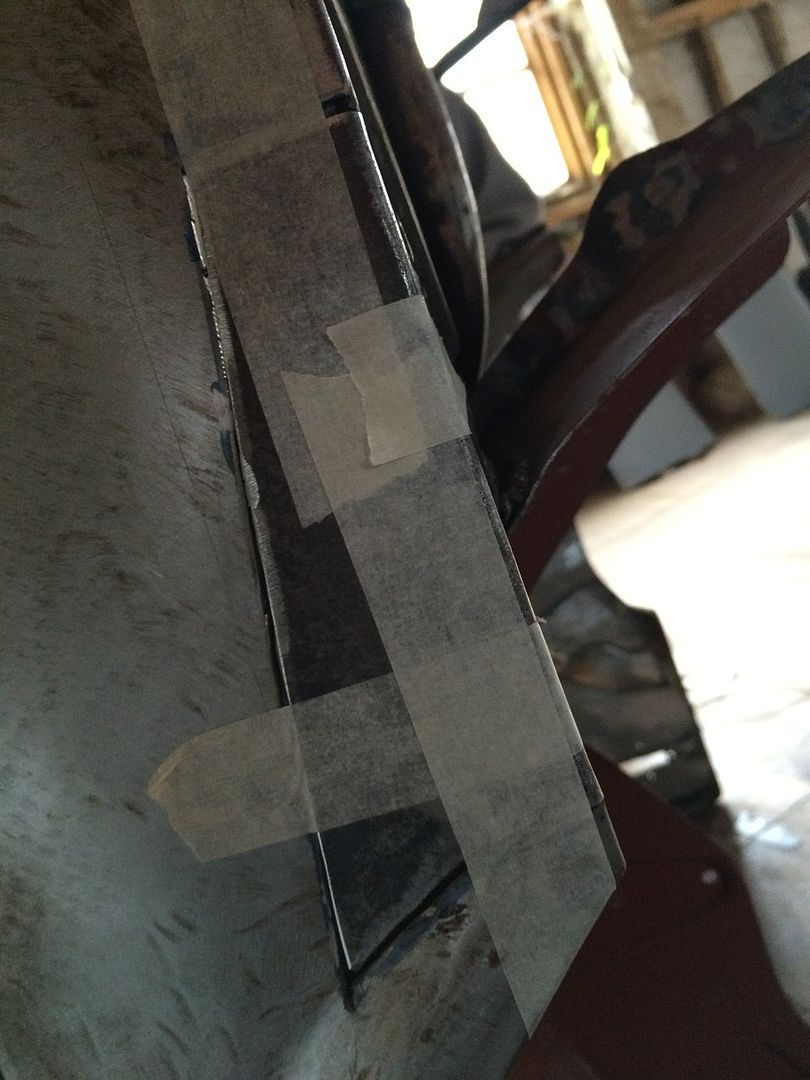  Next up was the headlight panel, had been painted over before as it's a hidden bit of rust, but we cant have that! 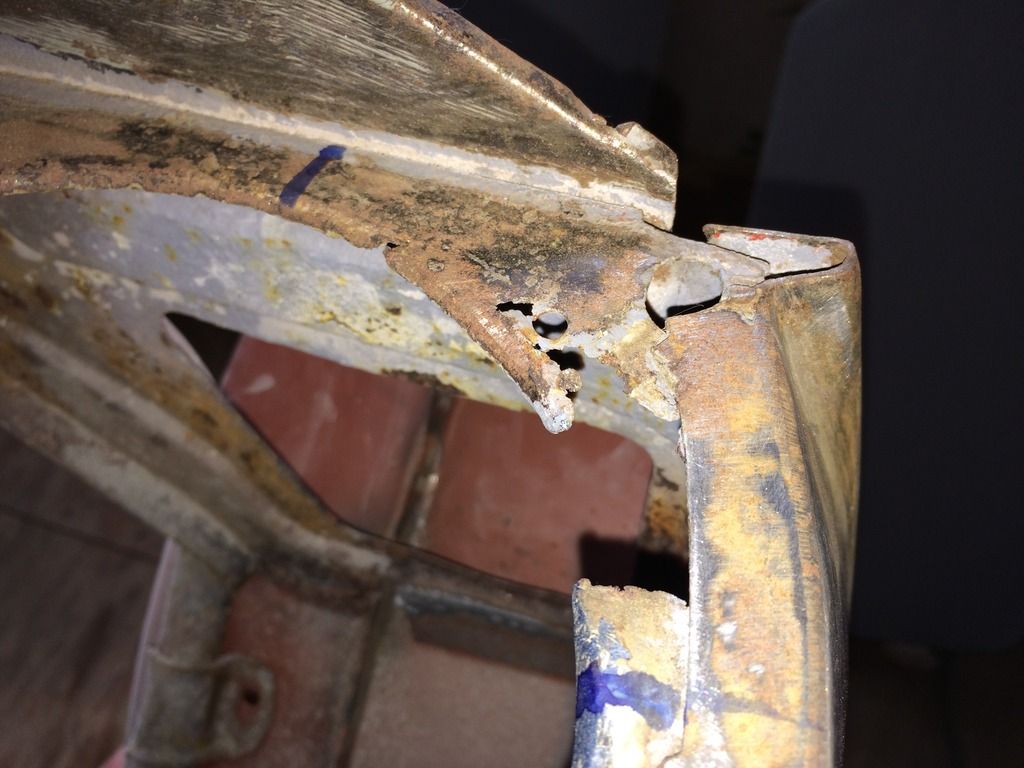 Second little template made up, also needed to make a little strengthening edge and a couple of holes. 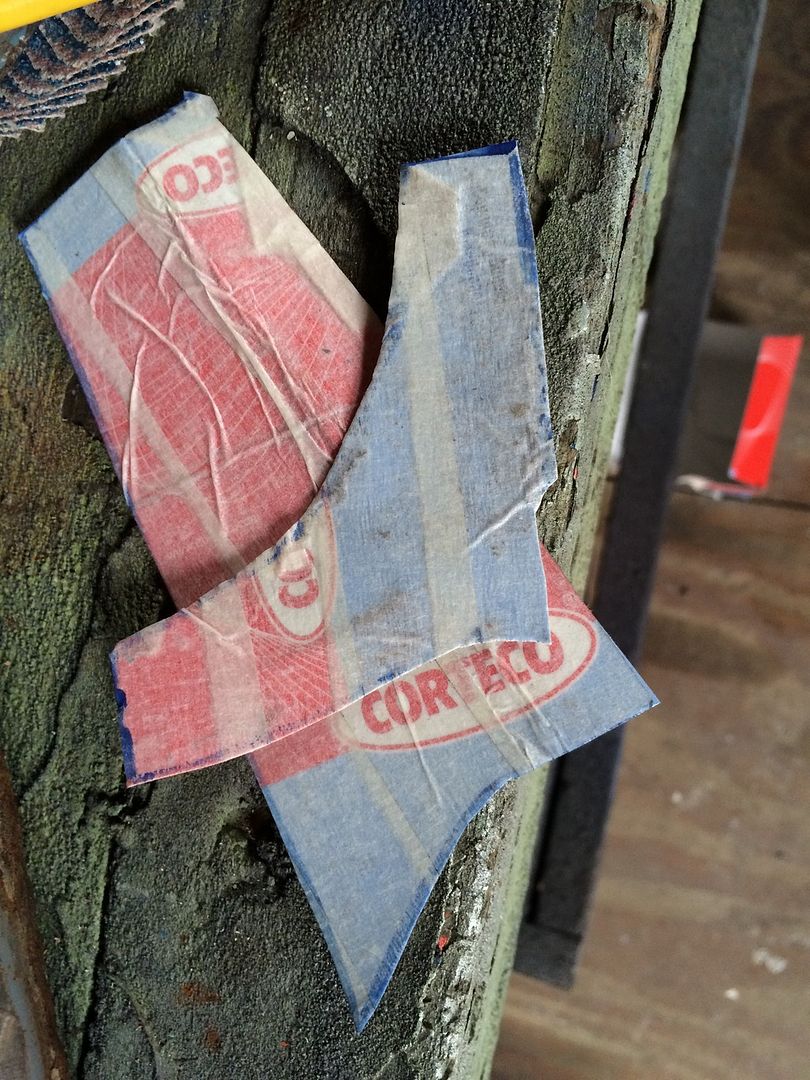 But otherwise it came out perfect! well happy. 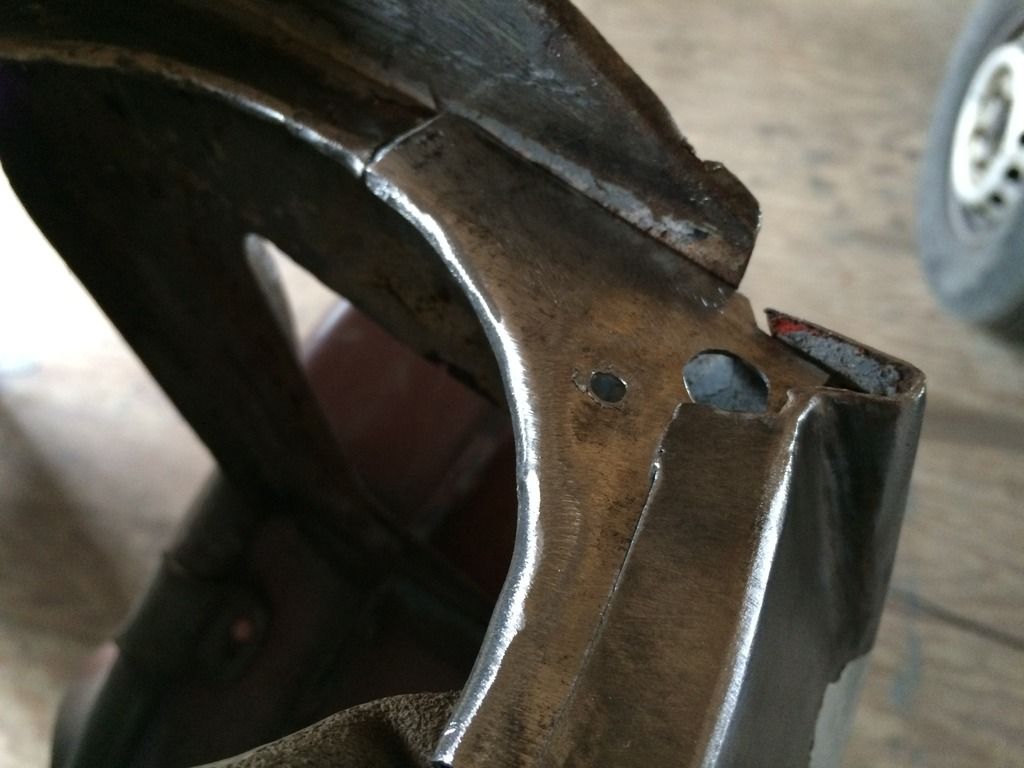 Bit of neatening on the old panels to get it all square 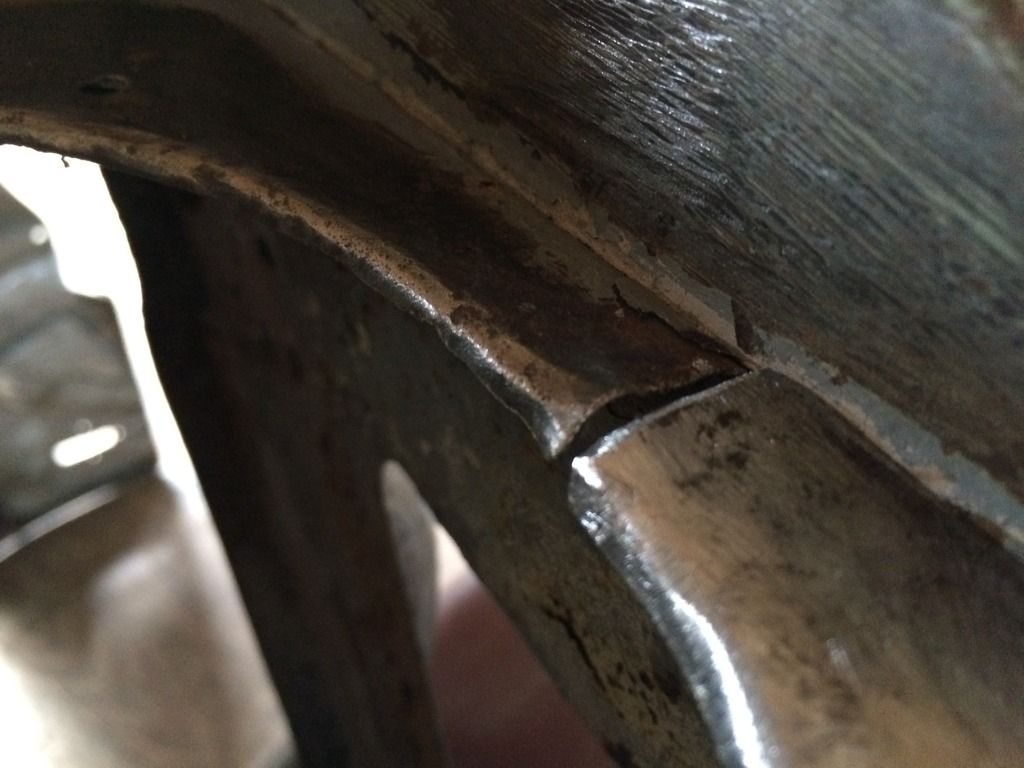 More progress tomorrow, stay tuned! Also the car is officially booked into the Basingstoke steam rally on the 10th of may. 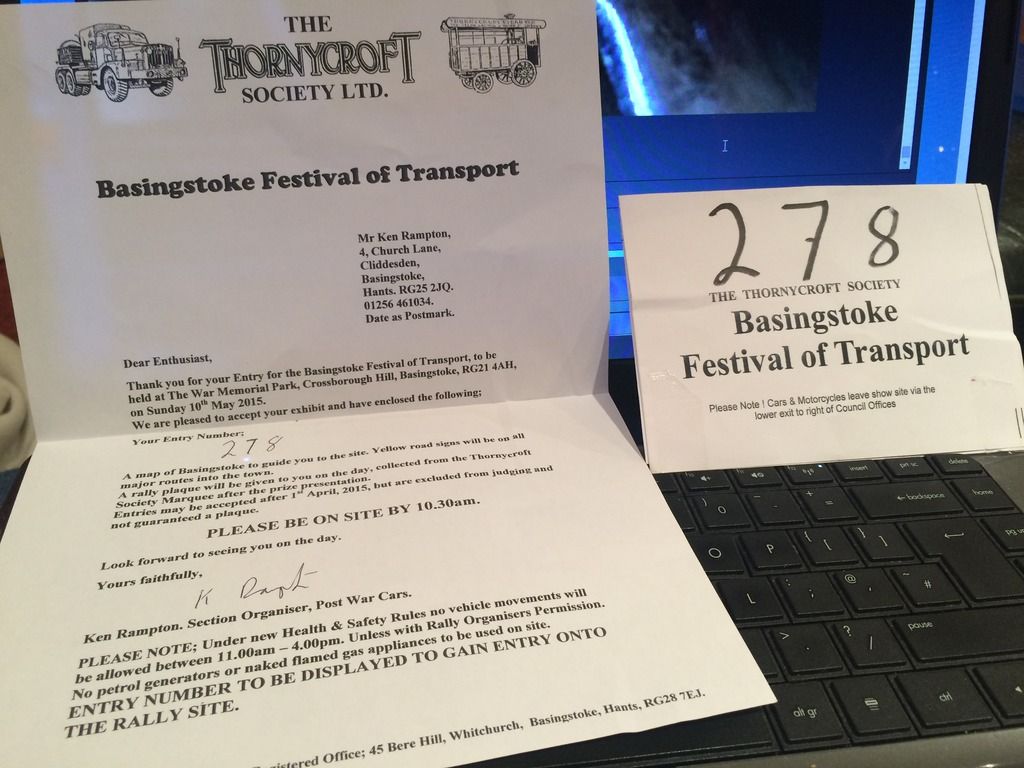 Hammer is now down to get this done! |
| |
|
|
luckygti
Posted a lot
   I need to try harder!
Posts: 4,912
|
|
|
|
|
Coming on really well, and those repairs are very neat. Good luck with the deadline.
|
| |
|
|
|
|
|
Apr 10, 2015 12:00:29 GMT
|
Coming along nicely yorkebar!  Tell your mam to stick on a pair of safety glasses! hah, I've found little strands of wire embedded in my clothes after doing some work, would hate to think what one of them in the eye would do!! eek. The flap discs certainly remove the paint but as youre finding leave a lot of gouges, they might have been a bit severe for the job. There are other discs, cant think of the name of 'em, they're like a rigid expanded mesh, designed for removing paint and rust without cutting into the metal surface. They make short work of paint without the sparks. Have a good look at the bonnet on either side where the curves of the headlight wings/humps meet the bonnet panel, they're known for developing little stress cracks in there. Best to make sure its done now before you prime/paint. Speaking of cracks, is that one on the side of the booth lid? Mine has it too, where the flap lip meets the 'hump'? I'm going to stick a spot of weld on mine, might give it a bit more strenght and join the two. Nice work on the patches too. My bonnet needs serious surgery, but, I'm way off tackling that for now :/ |
| |
|
|
|
|
|
Apr 10, 2015 16:15:47 GMT
|
Coming along nicely yorkebar!  Tell your mam to stick on a pair of safety glasses! hah, I've found little strands of wire embedded in my clothes after doing some work, would hate to think what one of them in the eye would do!! eek. The flap discs certainly remove the paint but as youre finding leave a lot of gouges, they might have been a bit severe for the job. There are other discs, cant think of the name of 'em, they're like a rigid expanded mesh, designed for removing paint and rust without cutting into the metal surface. They make short work of paint without the sparks. Have a good look at the bonnet on either side where the curves of the headlight wings/humps meet the bonnet panel, they're known for developing little stress cracks in there. Best to make sure its done now before you prime/paint. Speaking of cracks, is that one on the side of the booth lid? Mine has it too, where the flap lip meets the 'hump'? I'm going to stick a spot of weld on mine, might give it a bit more strenght and join the two. Nice work on the patches too. My bonnet needs serious surgery, but, I'm way off tackling that for now :/ You're right, stress cracks have formed near the lights and on the bootlid, but a small line of weld will sort that right out  and i think the disks youre thinking of are called coral pads? would've picked a few up if we'd known |
| |
|
|
|
|
|
Apr 12, 2015 17:21:29 GMT
|
Got another day with the panels, so we started by filling in some small imperfections in the doors and knocked them back, had to take quite a bit off to get the doors dead flat, so a quick re-etch and primer and it'll be ready to paint. 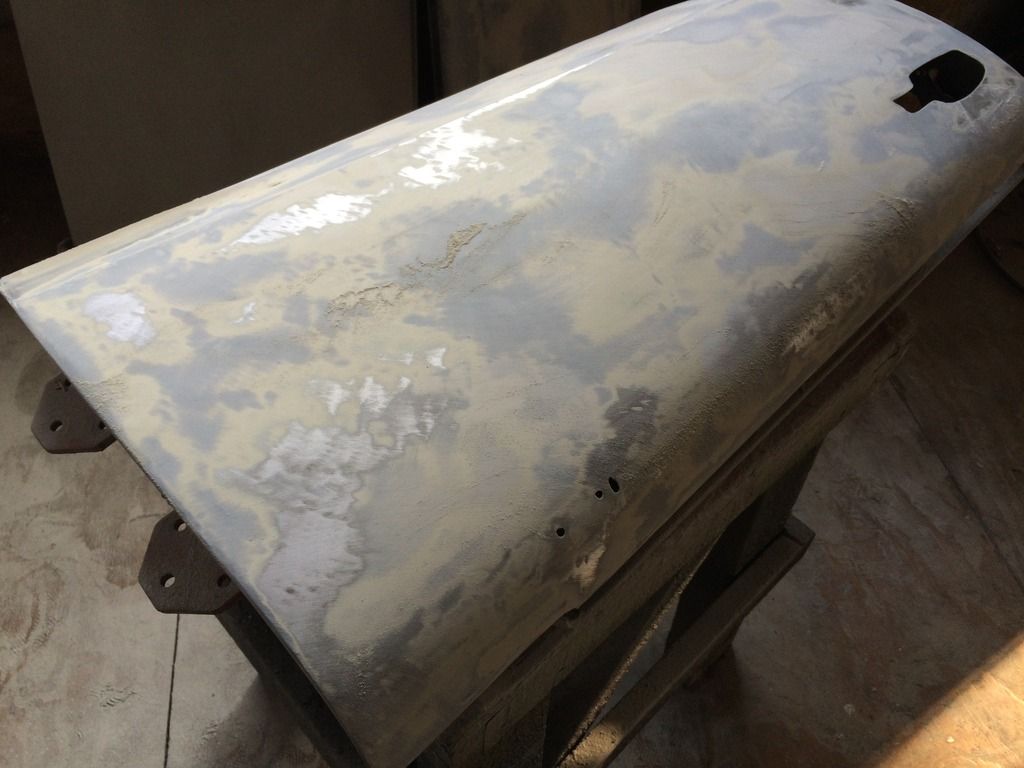 Keeping the bodylines nice and sharp.  Only little jobs getting doing this week as the restorer is busy. |
| |
|
|
|
|
|
Apr 19, 2015 19:08:22 GMT
|
before any filler goes on the bonnet we're going t refit the brace bar that runs along the middle, stops any possible warping/cracking of the filler and means we can get it painted sooner, needed a bit of a cleanup as the ends where quite nasty, huge amounts of pitting and falking means they don't look the best, but it's all hidden so no real worries. wirebrushed it all down and sanded off the textured paint, and applied some anti rust primer. wealth of room to work with here  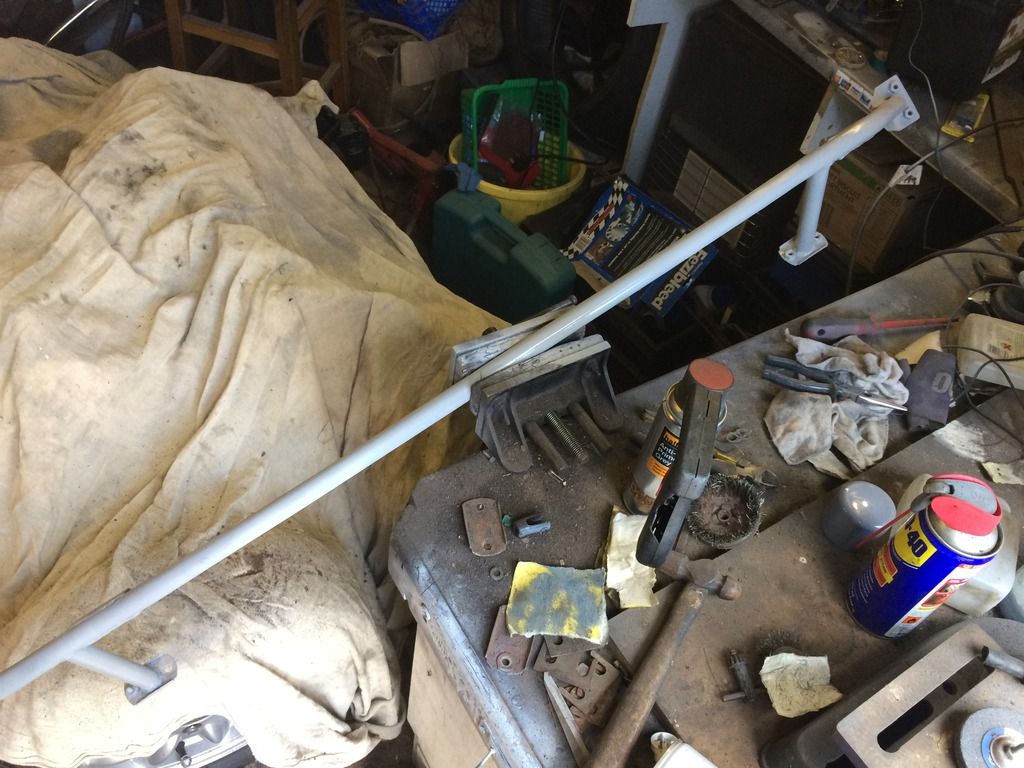  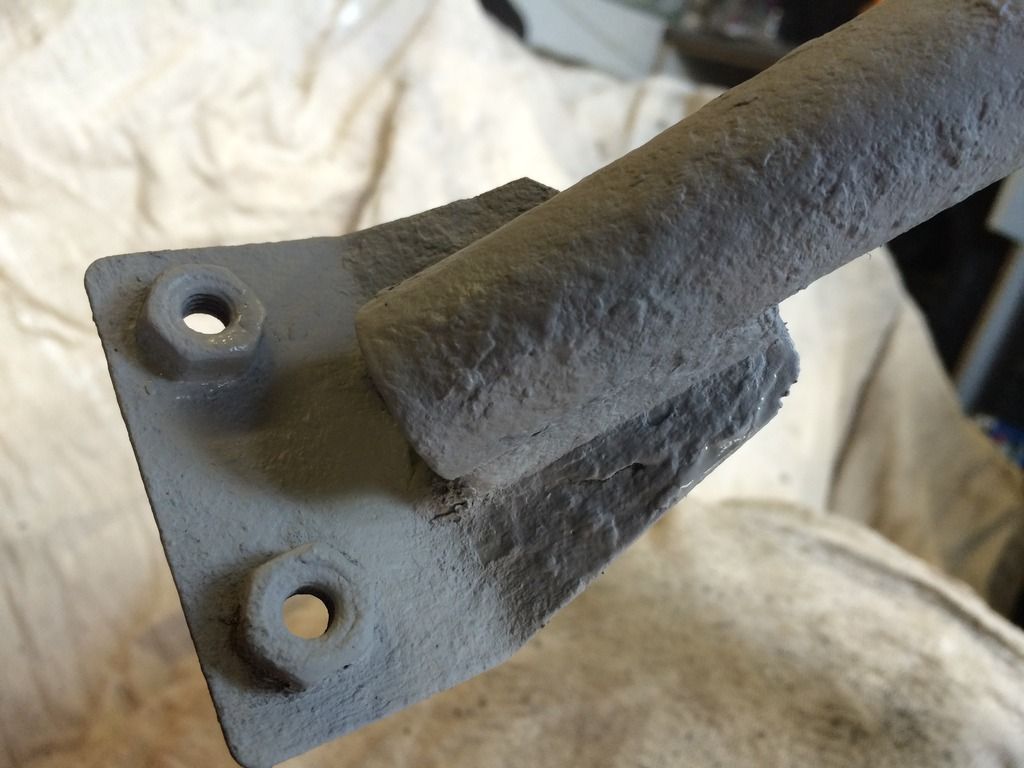 will be taking this to be fitted tomorrow to hopefully crack on and get more done. |
| |
|
|
|
|


 and i have to say i'm a fan of the rear lights. think it'll look the business when it's all painted up!


