|
|
|
Apr 21, 2015 22:39:31 GMT
|
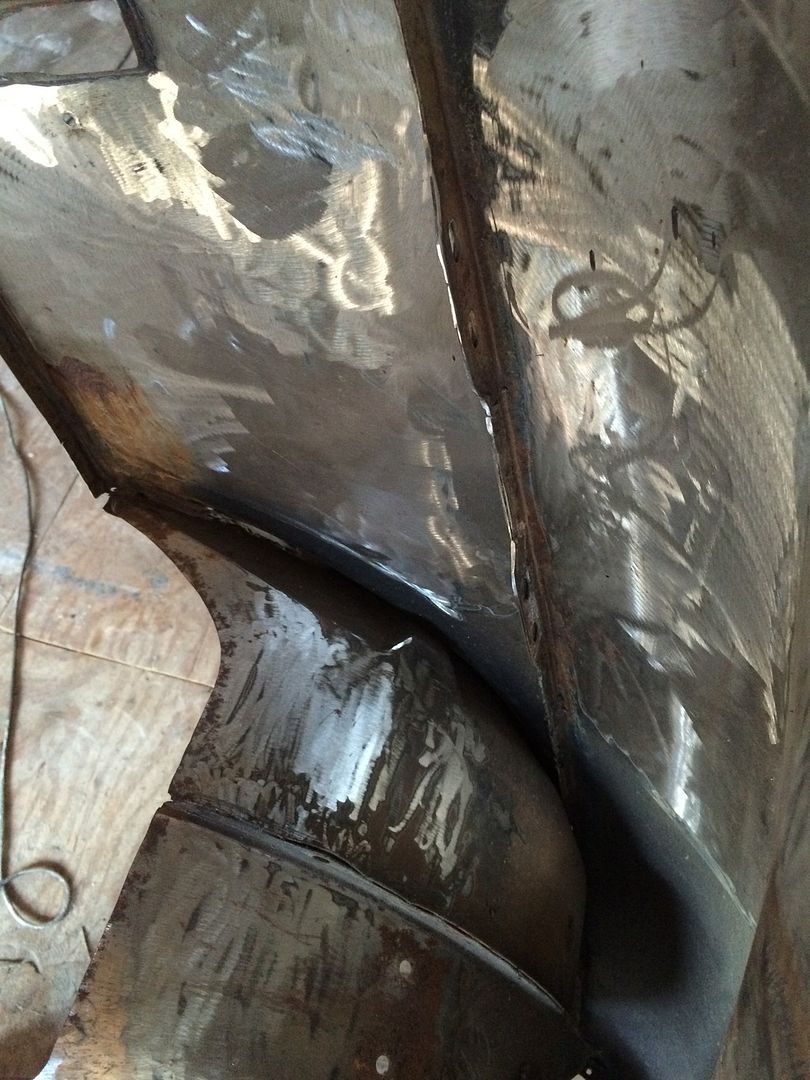
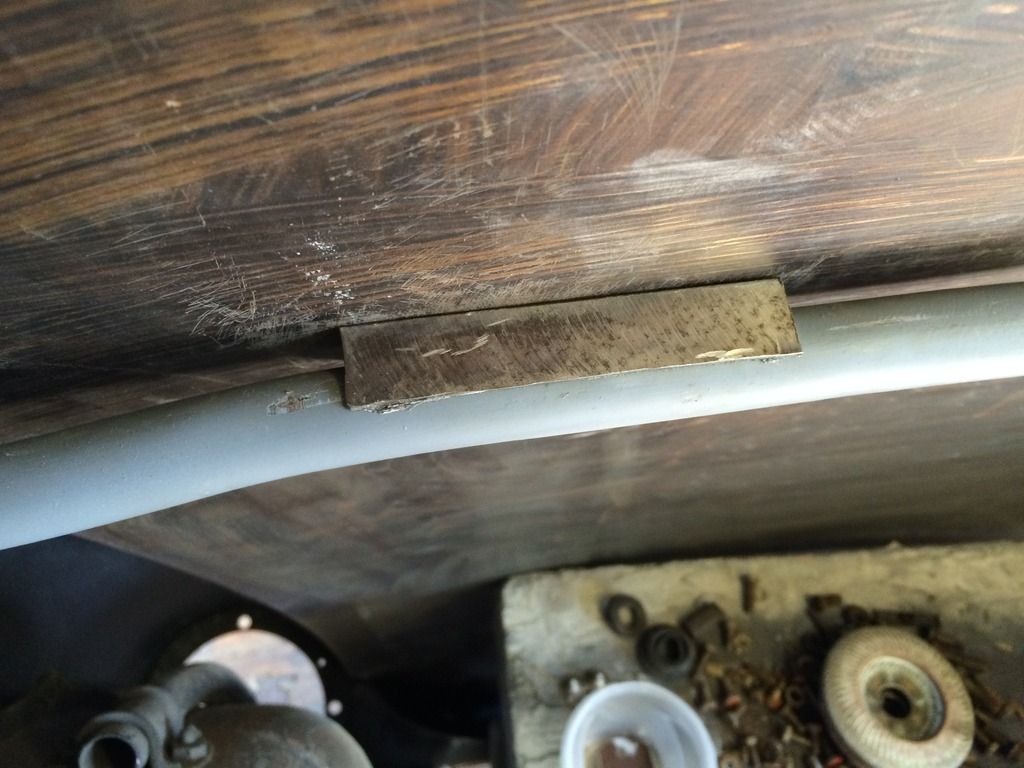
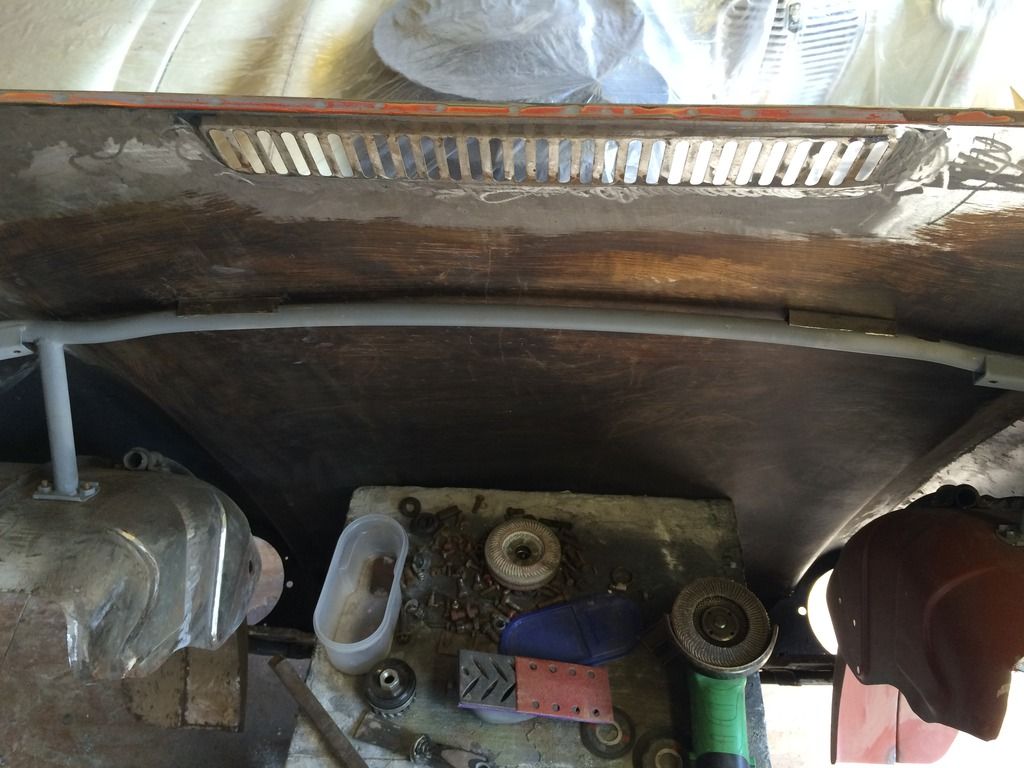
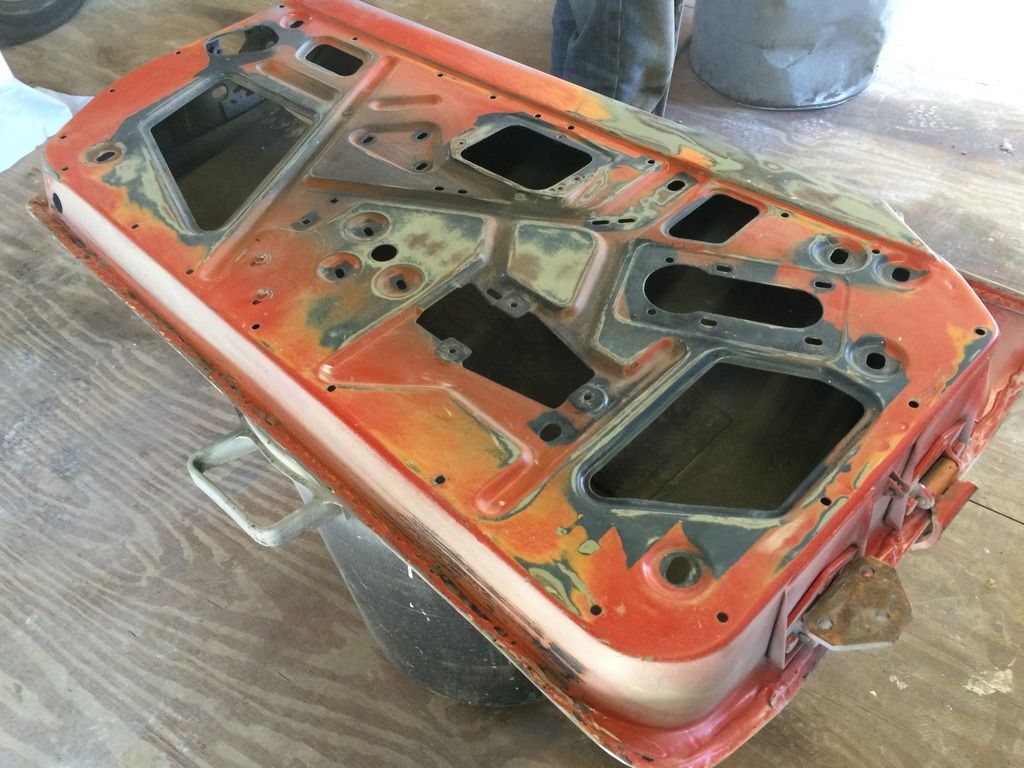
Needed to drill out a sheared bolt from the support and got some help from the restorer. 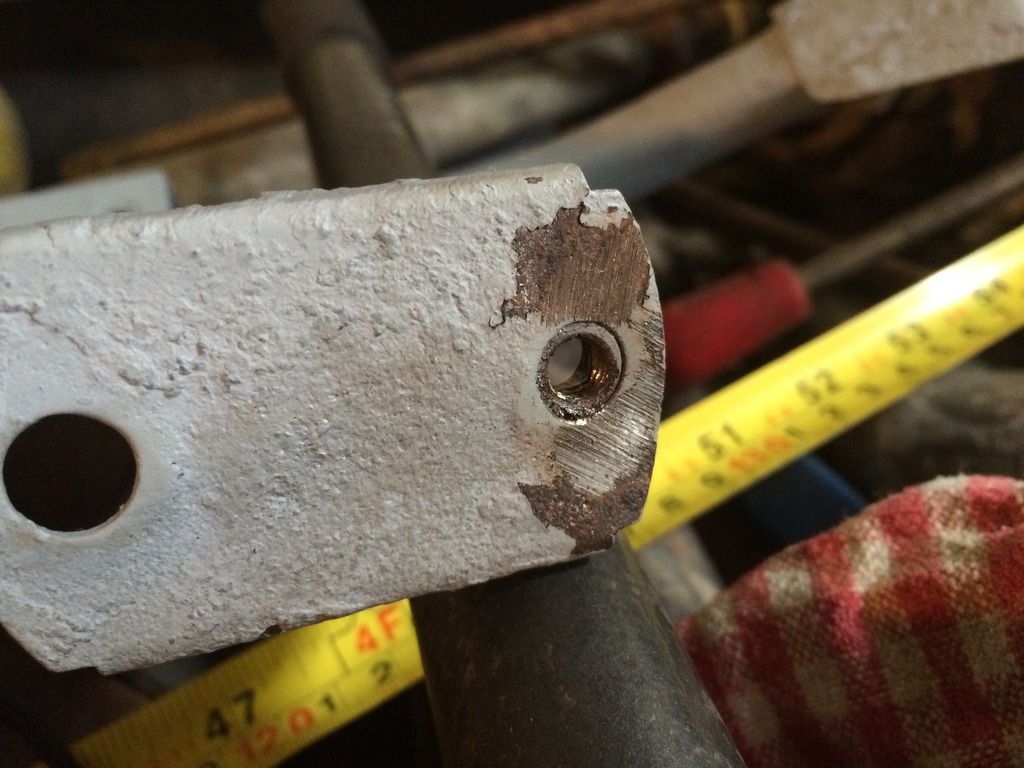 Ran a tap through and it's perfect again. as well as all the other paint/rust/gunge/slime filled threads. 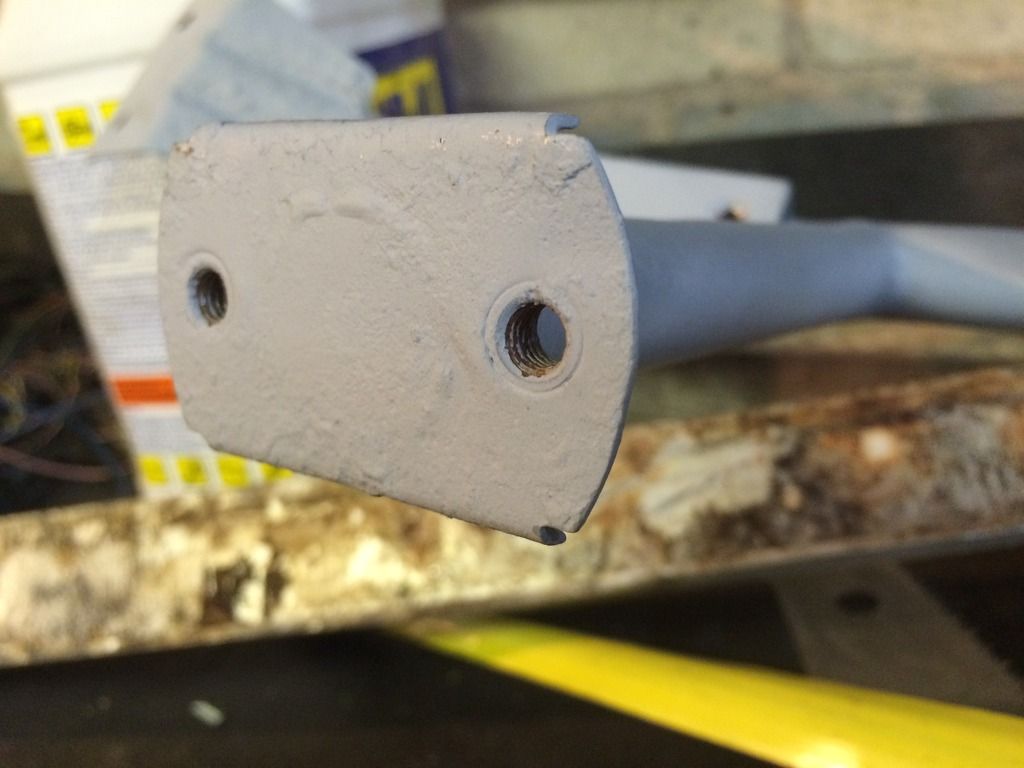 Chucked my gearstick in the vice while i was here and bent it a little more so it clears the dash  Made some new spreader plates 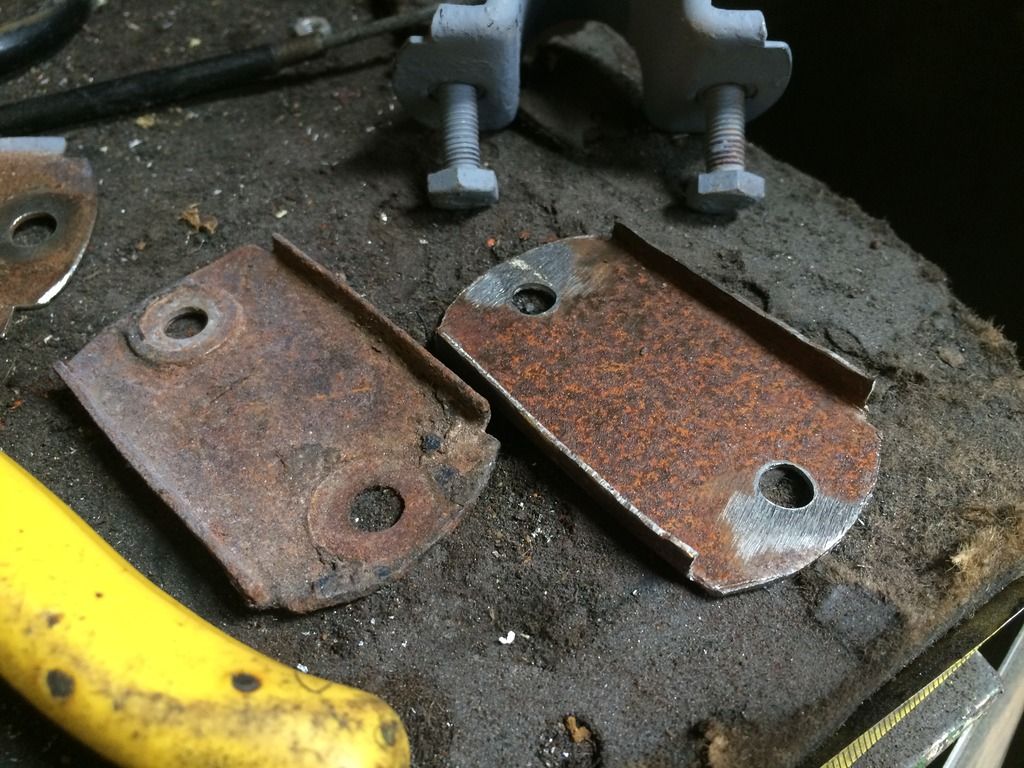 Here they are bolted up, they look pretty rusty but it's just surface.  Here's it all bolted back in, exciting stuff i know.  And you can see where we have a big dent in the bonnet, this should be a 1cm gap along the brace bar.  Here's some excellent welding left by one of the may PO's. 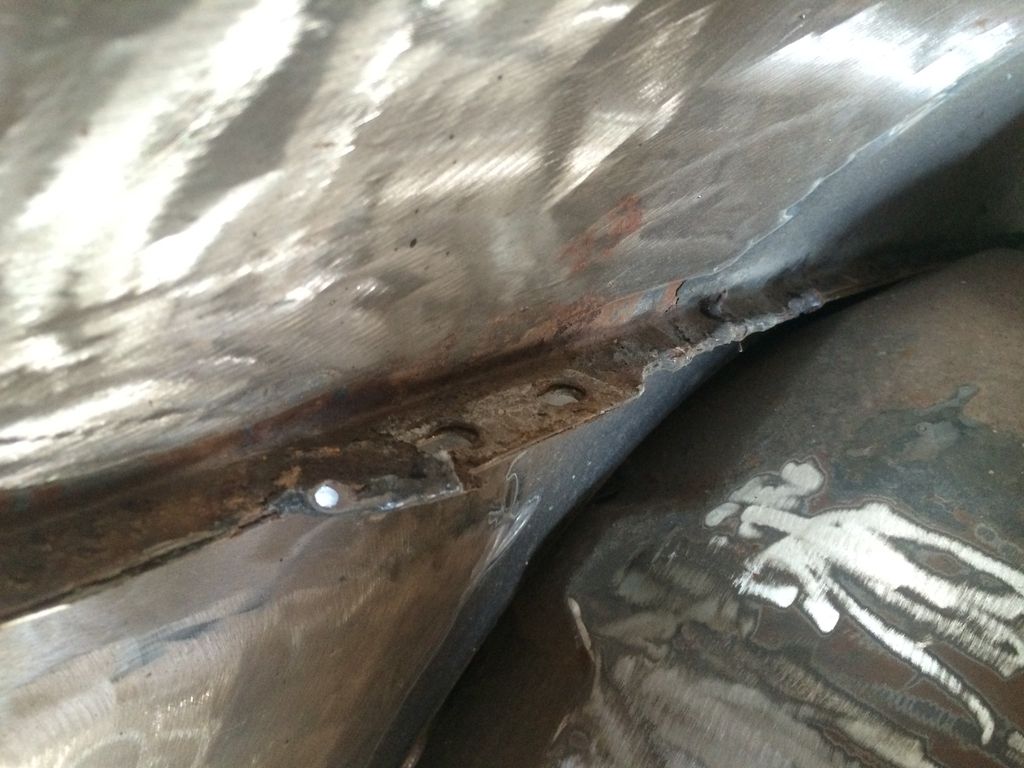 Tidied all that up but forgot to take a picture. now i know it's been a bit bland recently but that's all about to change, primer arrives tomorrow and big progress will be made! |
| |
|
|
|
|
|
|
|
|
|
|
|
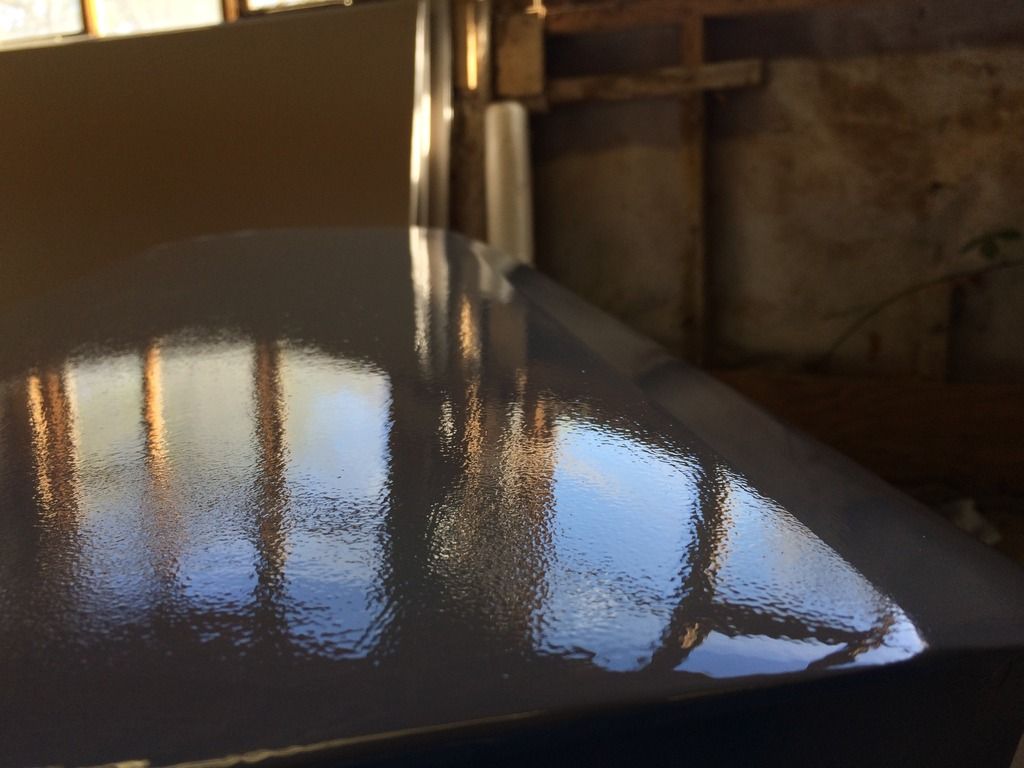
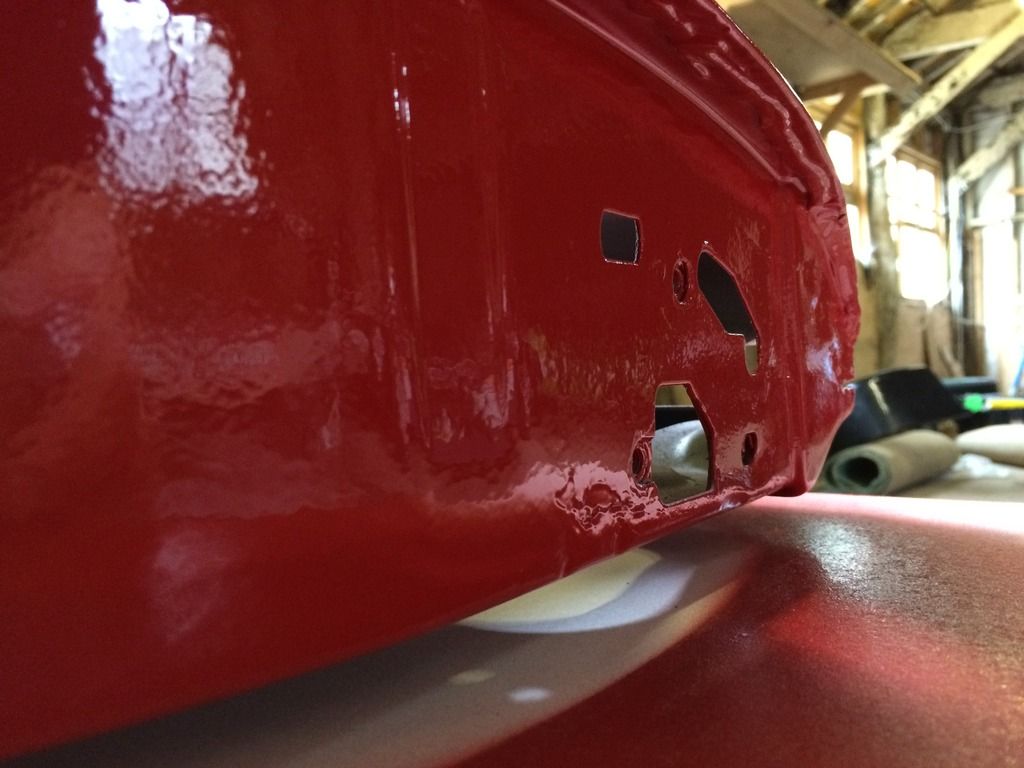
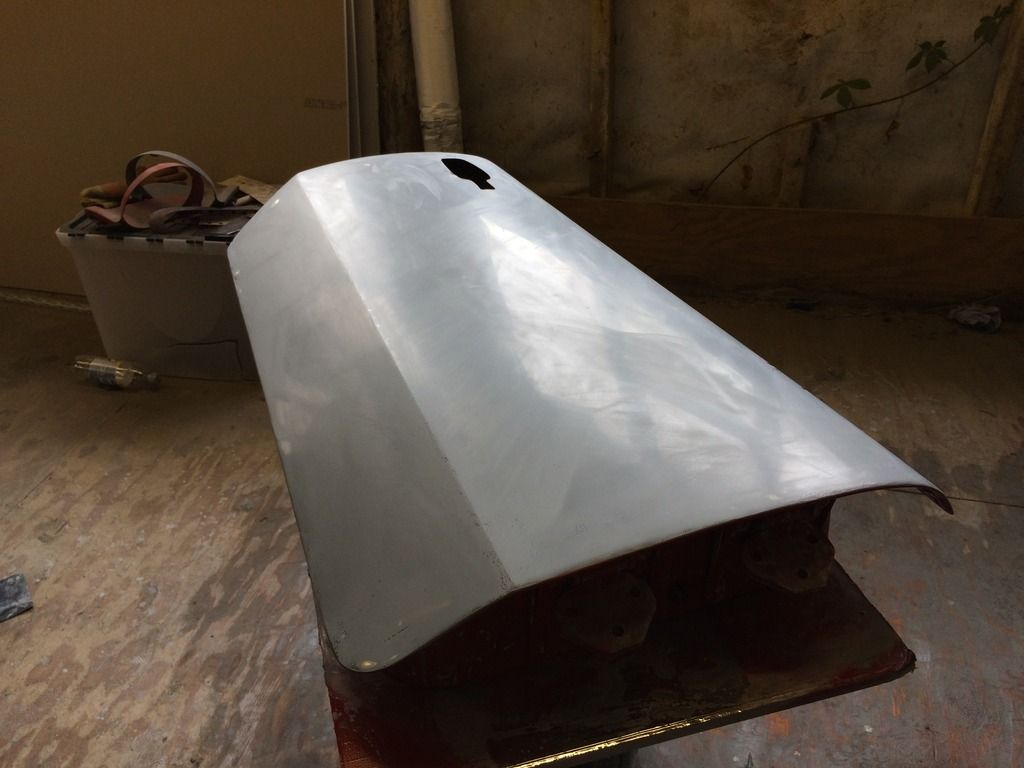
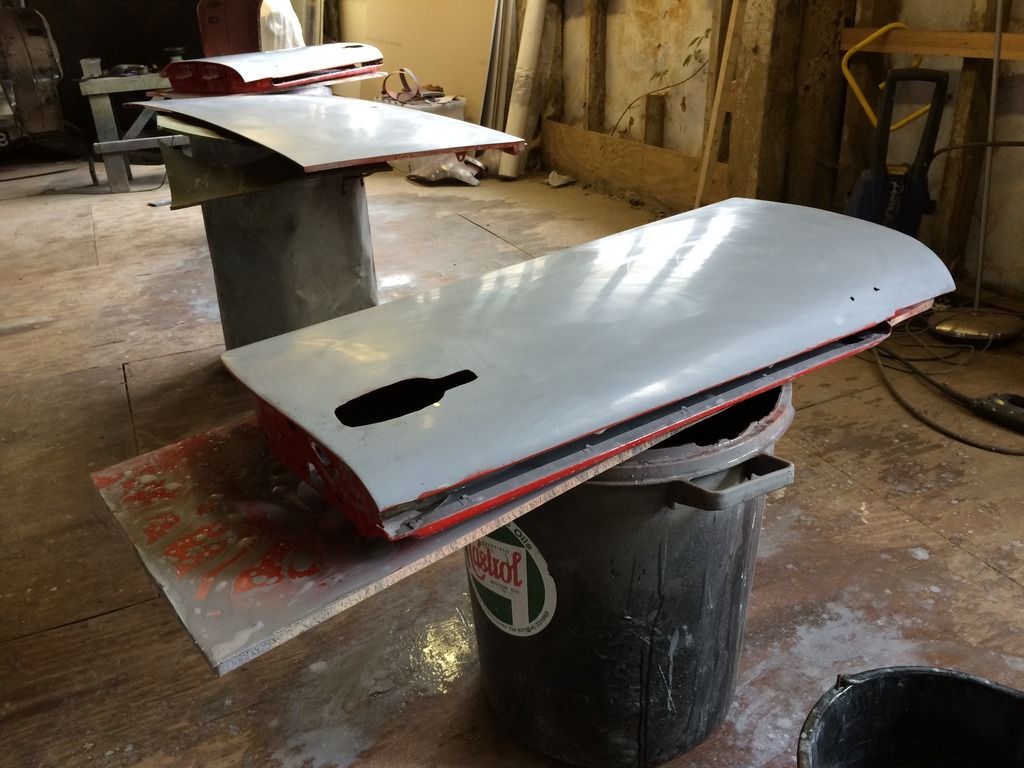
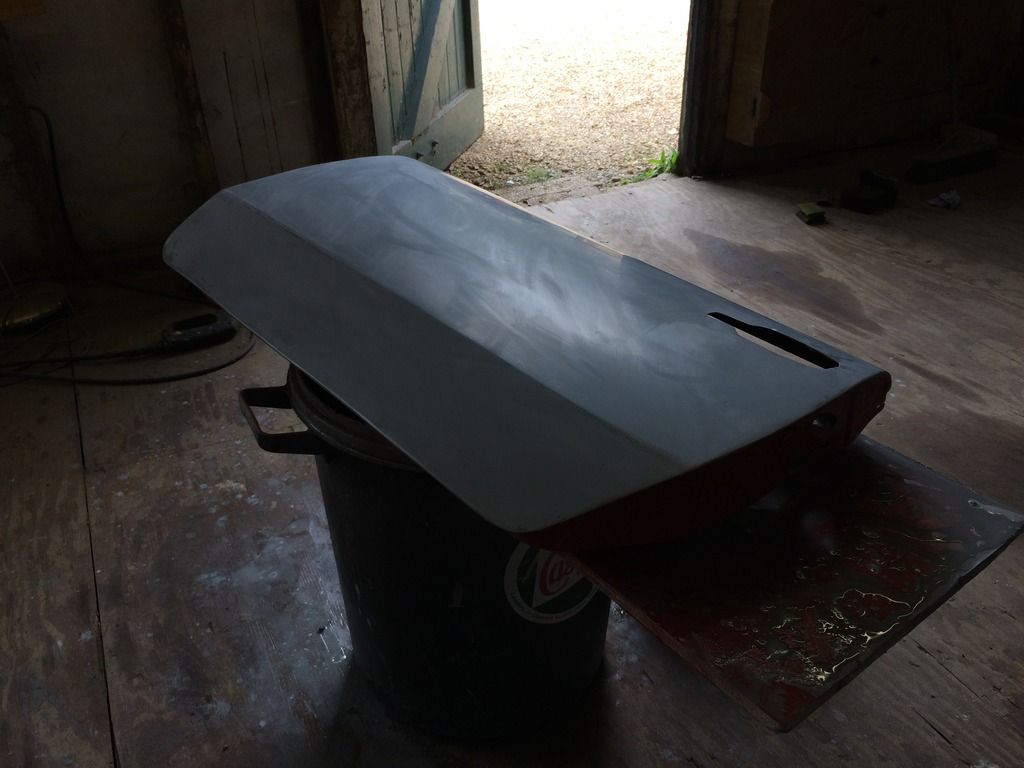 Then the colour!  Phwoar! 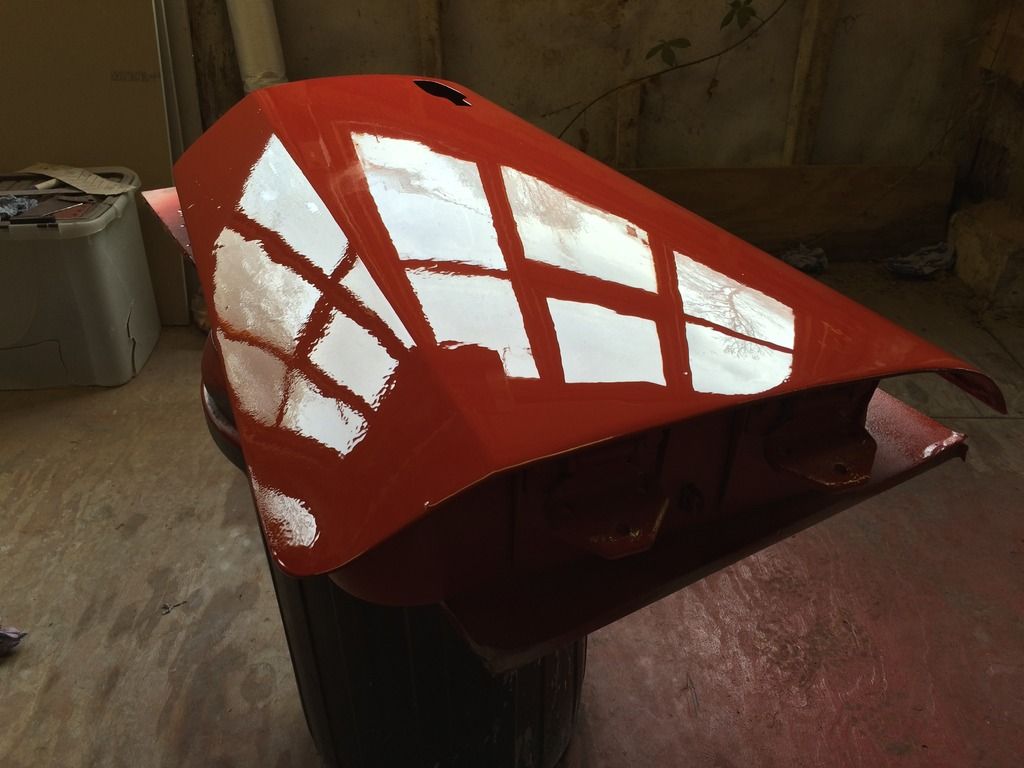 Few runs at the bottom but that'll be flatted out.  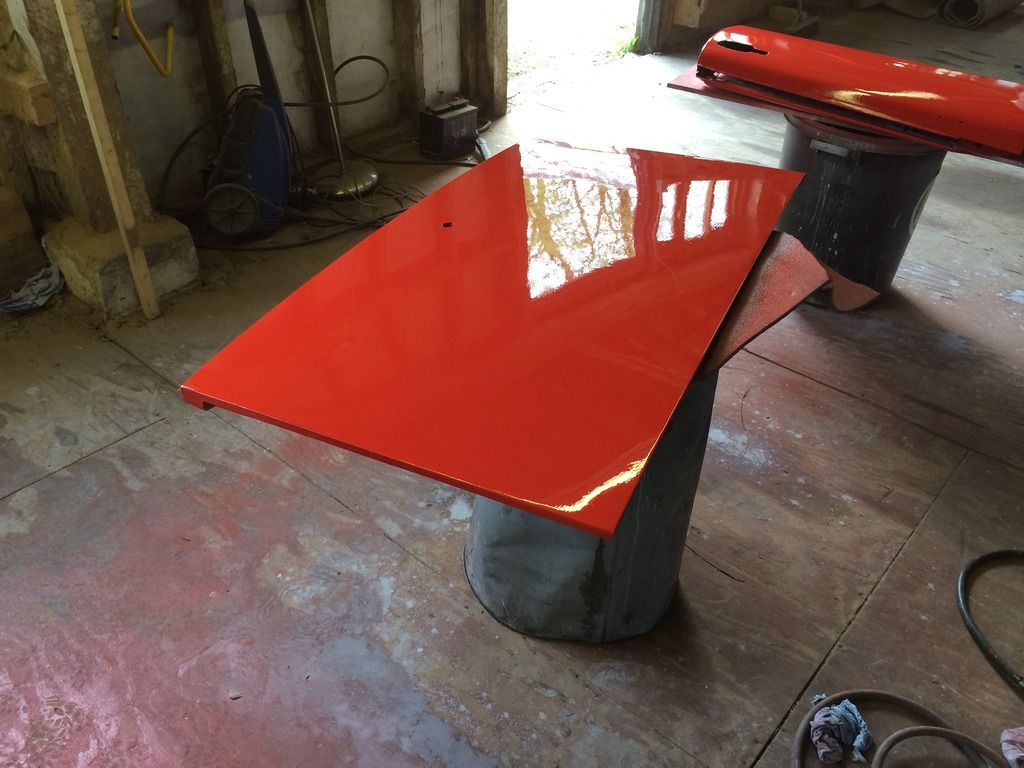 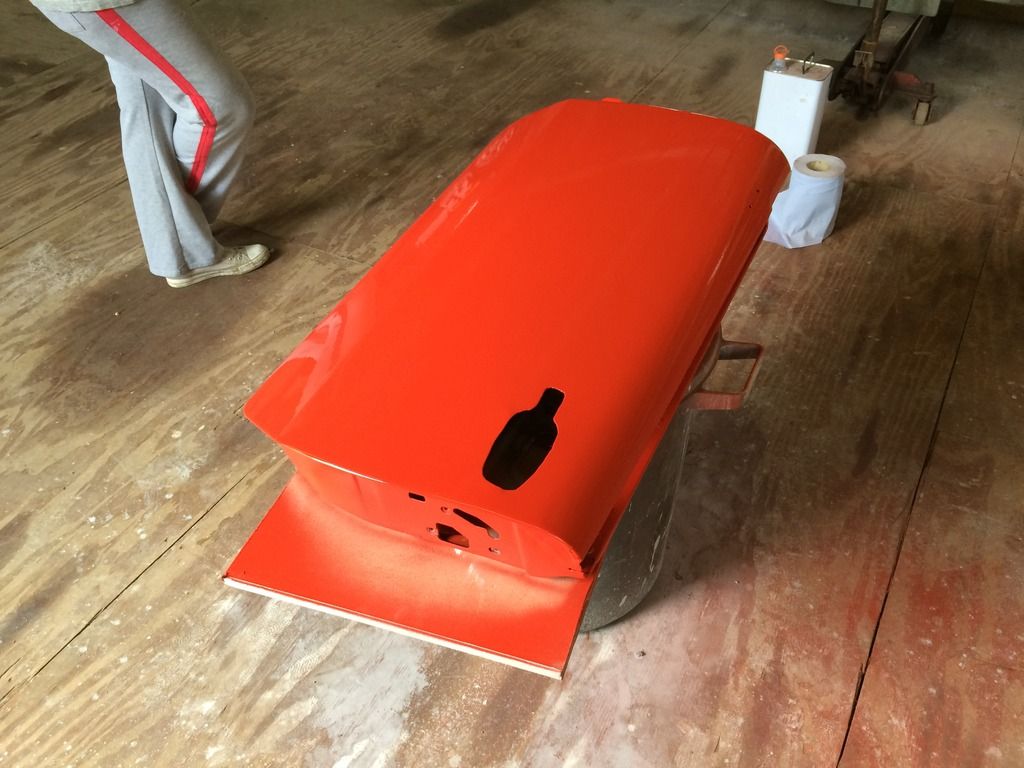 All the panels then received a quick cut and polish, few slight scartches that i can detail out in future but for now it's shiny! So we started by trying to fit up the bootlid.... Ok so the hinges got damaged during the metalwork stage (fell off the axle stands while upside down) and we bent them back as best we could, clearly not enough as there's some funky stuff going on. so new hinges on order. 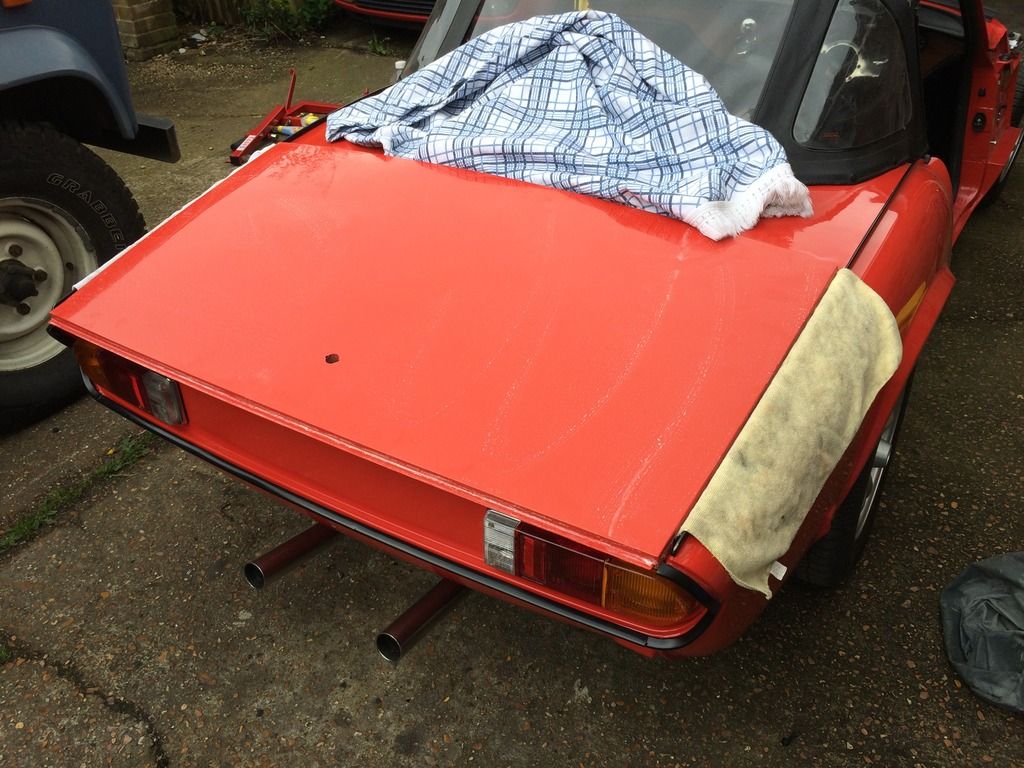 placed on and the little cardboard spacers in place  Quick clean with soap and water and then a polish back up 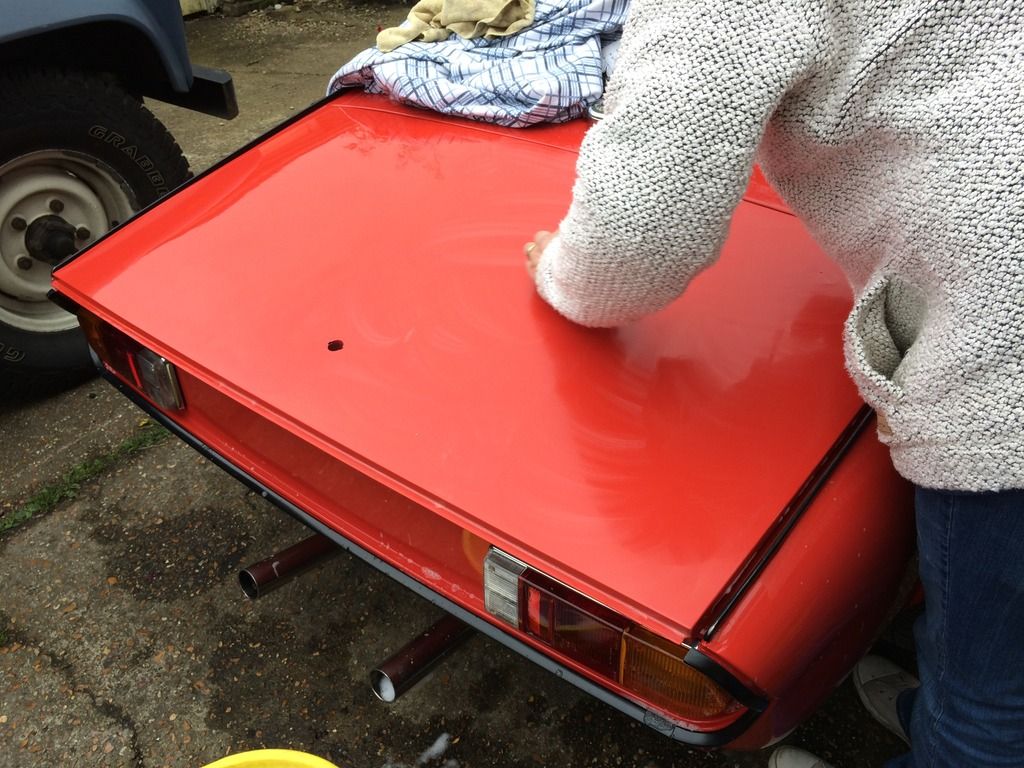 Refitted the boot latch. 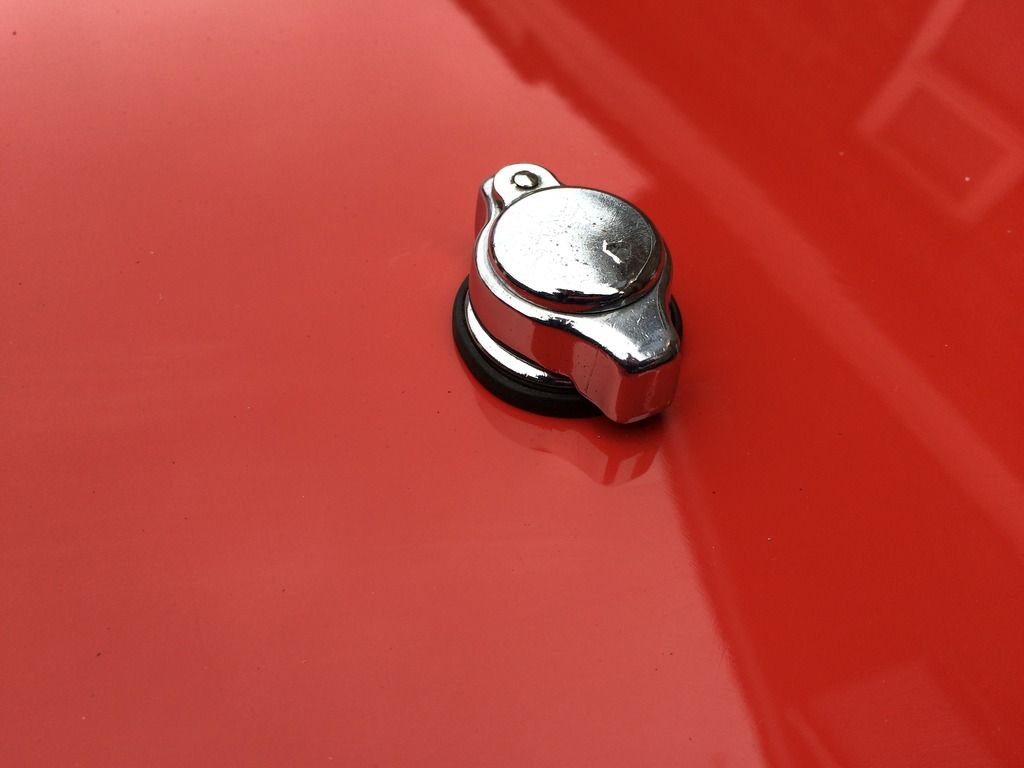 Could do with another cut and polish but that'll wait until another day 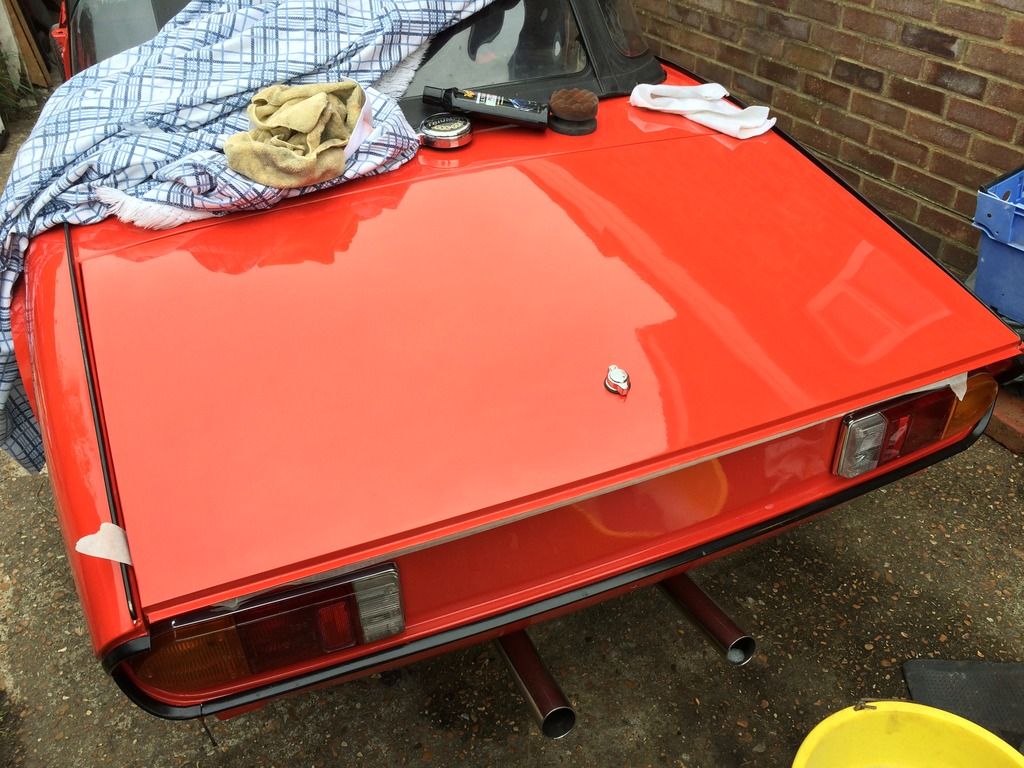 turns out that the lip was a bit all on the boot seal, so it was masked up and flap disc'd back. 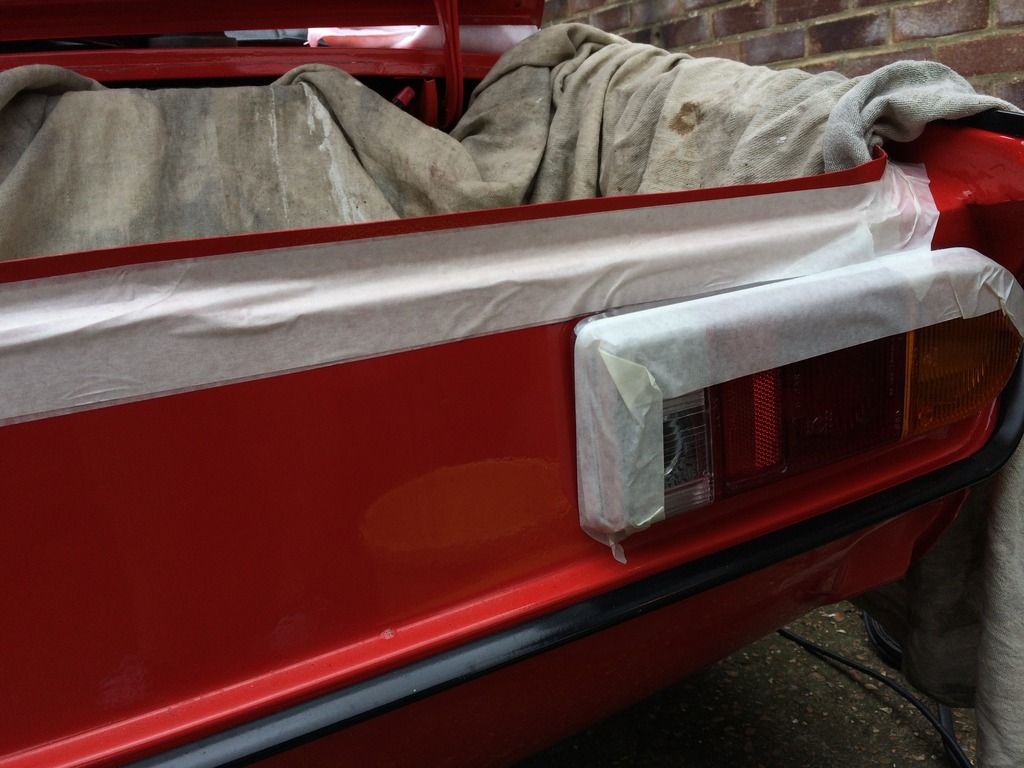 And the hinges still didn't let the boot fit properly (note the awful trim line) 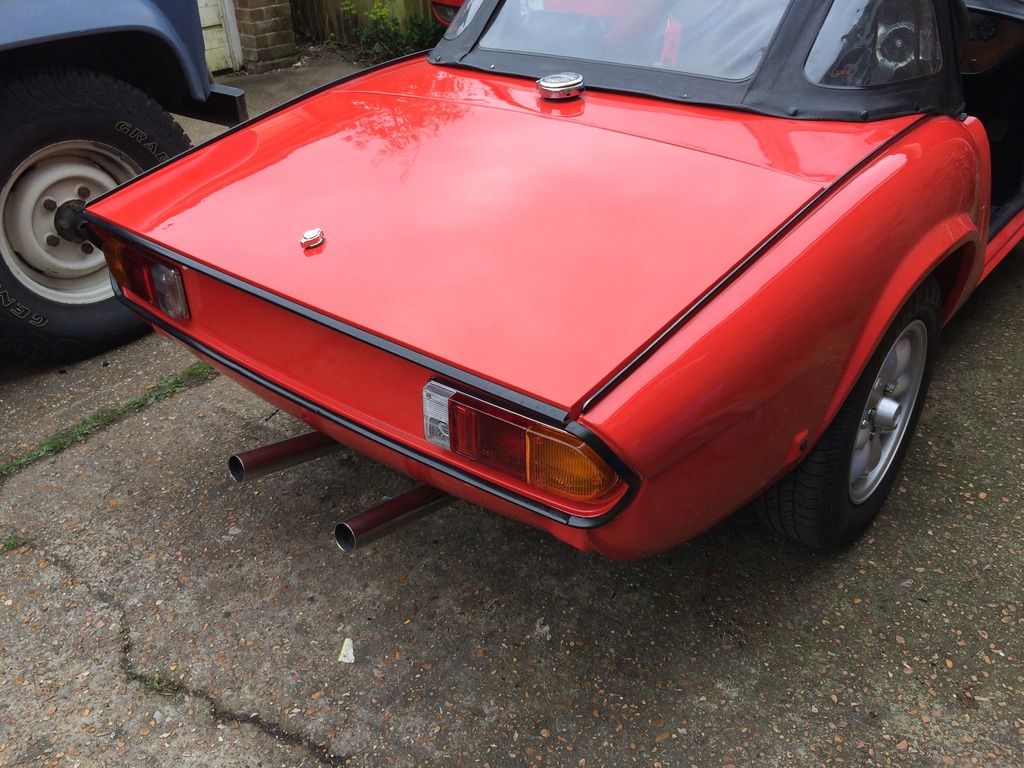  Also check out that vast arch gap  Then with the seal removed it sits level-ish.  |
| |
|
|
|
|
|
|
|
|
|
|
good gaps nice lines , you said you had a couple of runs , lol well that tells you have plenty of paint on , better that than not enough
|
| |
|
|
|
|
|
|
|
|
Excellent update and work! The end is definitely in sight now!! :-)
I didn't understand the issue with the bootlid, was the lip/seam at the light panel too high to allow it close properly? You had to cut/lower it?
Had to totally strip back and clean the underside of mine again, PITA!! But, reapplied epoxy primer and then I'll try the stonechip again. Left out the hydrate 80 this time round, not convinced of its effectiveness after having to clean it off.
Looking forward to seeing the bonnet finished and on! Do I see a gromet in the wing? Are you putting the bumper back on?
|
| |
|
|
|
|
|
|
|
Excellent update and work! The end is definitely in sight now!! :-) I didn't understand the issue with the bootlid, was the lip/seam at the light panel too high to allow it close properly? You had to cut/lower it? Had to totally strip back and clean the underside of mine again, PITA!! But, reapplied epoxy primer and then I'll try the stonechip again. Left out the hydrate 80 this time round, not convinced of its effectiveness after having to clean it off. Looking forward to seeing the bonnet finished and on! Do I see a gromet in the wing? Are you putting the bumper back on? The bootlid issue is a few things, firstly was the seam being too high and not allowing the catch to work, and secondly is the funky bent hinges, i know they've been bent and straightened so they're the only possible thing making it not fit, and at £6 a side it's worth taking a gamble on. and i'm halfway between deciding to reattach the bumper or just leaving it as is. really like the curves on the back of the car and the bumper just hides it all. And what a shame about the hydrate, noticed on mine it didn't etch too well on some of the panels, but i hope it's ok in the long run. i've been keeping tabs on your build and it's really impressive how quick it's shaping up! |
| |
|
|
eurogranada
Europe
To tinker or not to tinker, that is the question...
Posts: 2,556
|
|
May 11, 2015 11:34:47 GMT
|
|
Looks great!
Panel gaps can be a nightmare, but given time and care will most of the times be sorted.
|
| |
|
|
|
|
|
May 12, 2015 12:58:22 GMT
|
Excellent update and work! The end is definitely in sight now!! :-) I didn't understand the issue with the bootlid, was the lip/seam at the light panel too high to allow it close properly? You had to cut/lower it? Had to totally strip back and clean the underside of mine again, PITA!! But, reapplied epoxy primer and then I'll try the stonechip again. Left out the hydrate 80 this time round, not convinced of its effectiveness after having to clean it off. Looking forward to seeing the bonnet finished and on! Do I see a gromet in the wing? Are you putting the bumper back on? And what a shame about the hydrate, noticed on mine it didn't etch too well on some of the panels, but i hope it's ok in the long run. i've been keeping tabs on your build and it's really impressive how quick it's shaping up! Cheers, had a nice boost over the the last number of days. Epoxy primer on the underside, stonechip then finally color!!   I had meant to ask you a while back, but where you were cutting and making the carpets, what did you use to attach the vinyl trim on the edge of the carpets? A sowing machine of some sort I'd imagine, but, was it a regular home use one or something heavier? I'd like to make my own carpets too when the time comes so, as you know, the edges to need to be tended too. |
| |
|
|
smart
Part of things
 
Posts: 134
|
|
|
|
|
Looking good, fair play for alll the work that's gon in to this.
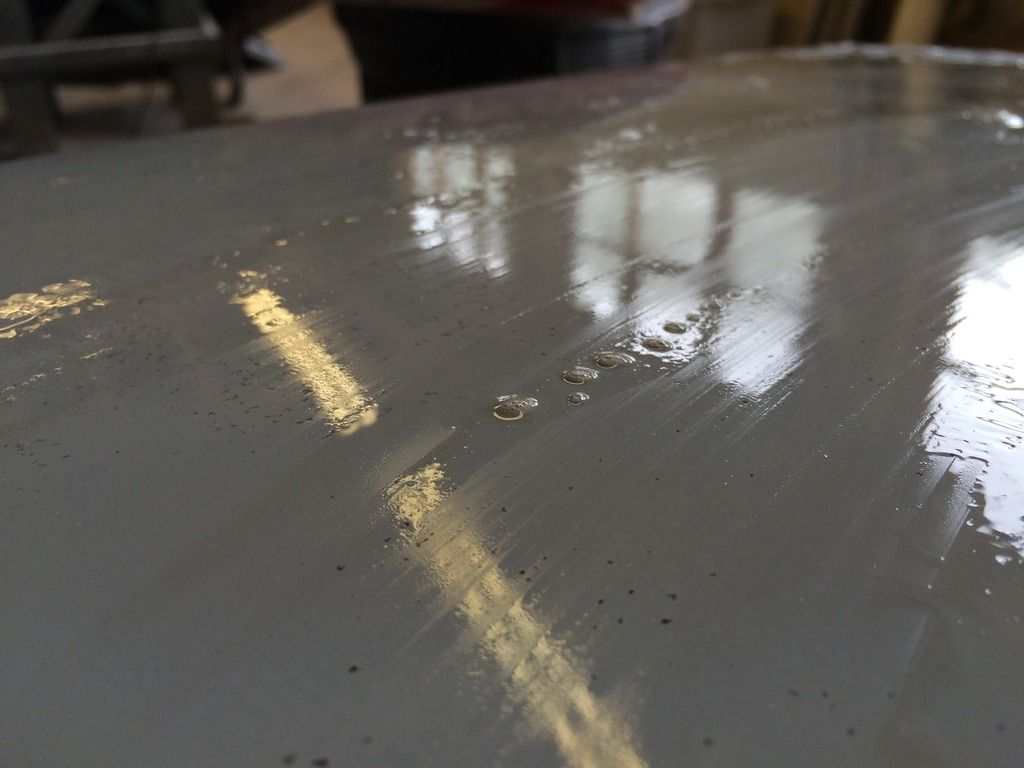
Be very careful putting polish/wax on freshly painted panels especially as you have air dried. Even after I've oven baked paint at 80'C I still recommend not waxing for 6 weeks otherwise you risk solvent blistering.
|
| |

1998 Rover 400 Derv |
|
|
|
|
|
|
May 17, 2015 15:35:02 GMT
|
And what a shame about the hydrate, noticed on mine it didn't etch too well on some of the panels, but i hope it's ok in the long run. i've been keeping tabs on your build and it's really impressive how quick it's shaping up! Cheers, had a nice boost over the the last number of days. Epoxy primer on the underside, stonechip then finally color!!   I had meant to ask you a while back, but where you were cutting and making the carpets, what did you use to attach the vinyl trim on the edge of the carpets? A sowing machine of some sort I'd imagine, but, was it a regular home use one or something heavier? I'd like to make my own carpets too when the time comes so, as you know, the edges to need to be tended too. That's starting to really look good now! considering how much repair and welding you've done it's remarkably stock looking. and we just used an older conventional sowing machine, buying a couple of spare needles might come in handy as they like to break goign through the double layers of carpet, comes out looking very professional at the end of it though! |
| |
|
|
|
|
|
May 17, 2015 15:42:55 GMT
|
Looking good, fair play for alll the work that's gon in to this. Be very careful putting polish/wax on freshly painted panels especially as you have air dried. Even after I've oven baked paint at 80'C I still recommend not waxing for 6 weeks otherwise you risk solvent blistering. Thanks for the warning, took the car out a few days ago and gave it a wash off to get rid of the wax as i'd read elsewhere that it might cause issues. |
| |
|
|
|
|
|
May 17, 2015 21:03:26 GMT
|
Since the last update i've been a busy man. plenty of searching for parts and fixing small niggles and issues that were plaguing the car. Took a trip to Beaulieu autojumble and picked up some parts, great event and i'd recommend it to anyone. So few weeks ago now we started with filling the gearbox and diff with new oil, made up a little hose out of brake line and some spare fuel tube, made the job 100x easier.  Also gave the wheel a clean as it'd picked up plenty of dust in the garage. 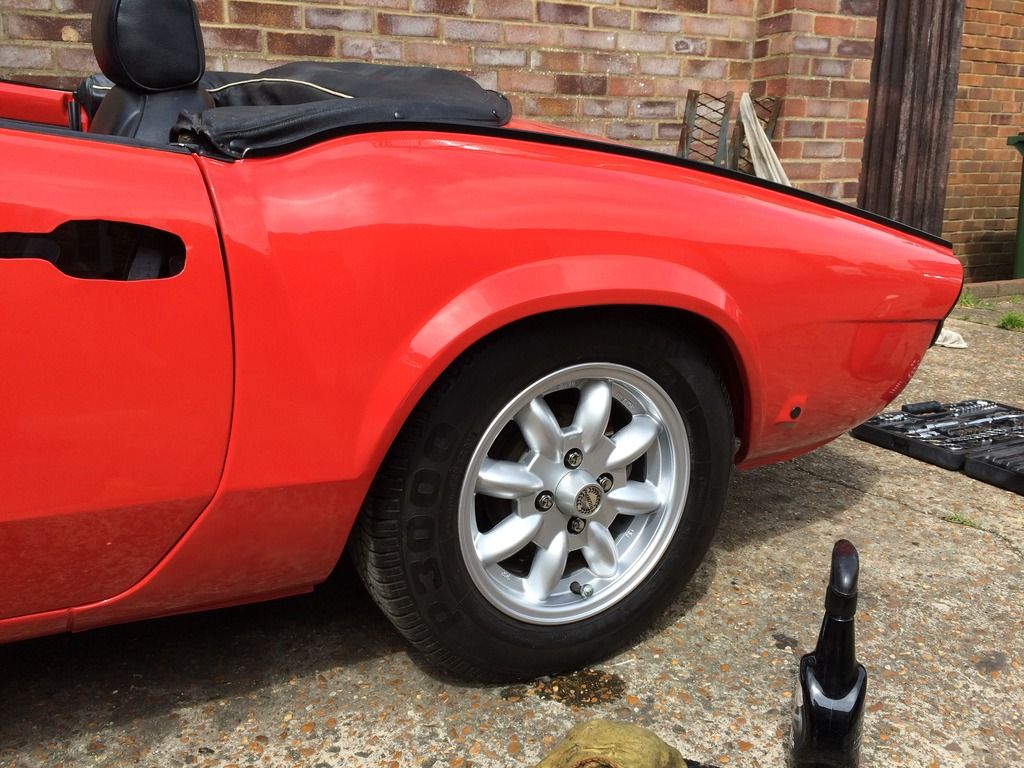 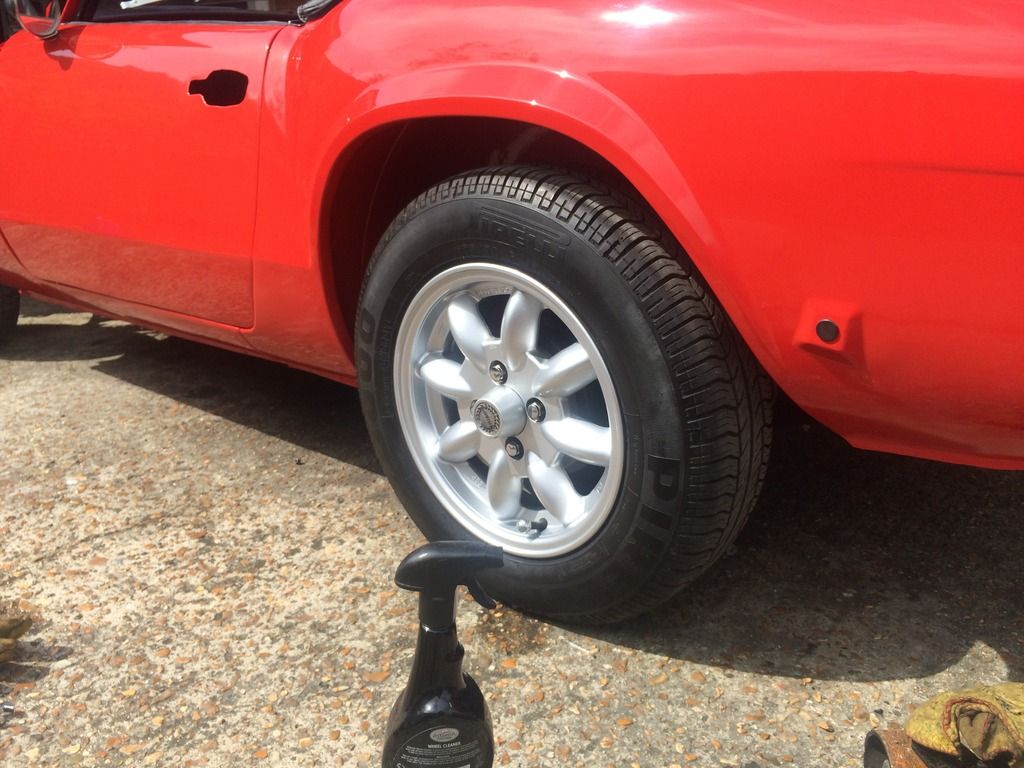 Then fitted the rain seal to the passenger door 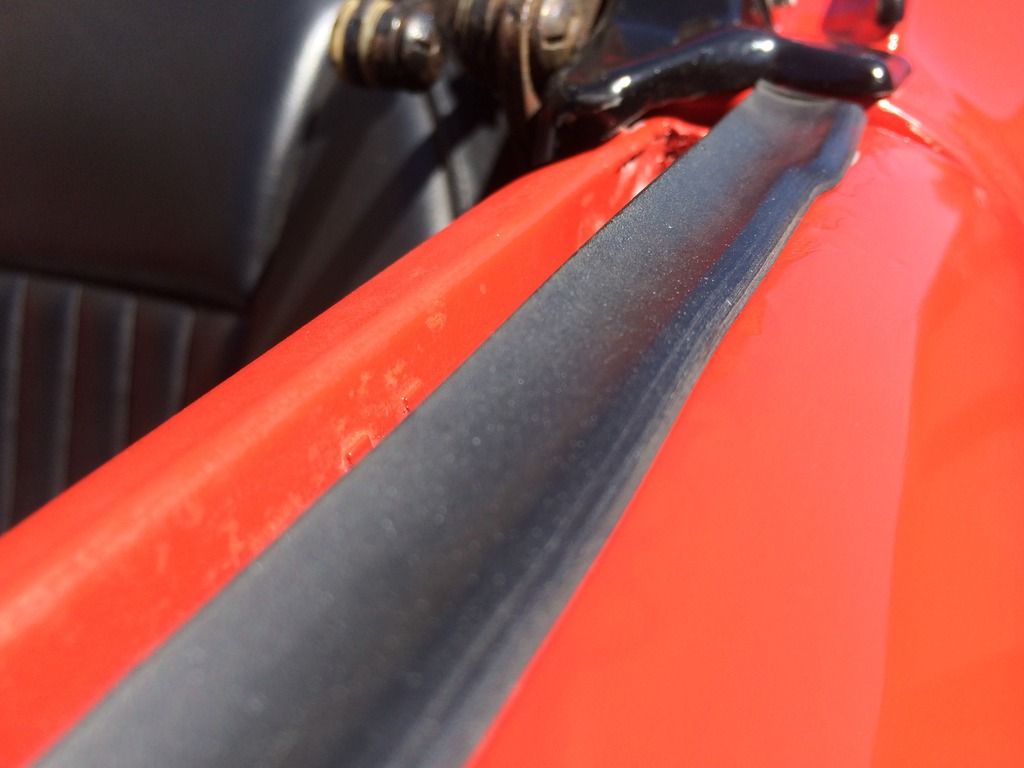 Window winder went in, found a set of matching bolts eventually  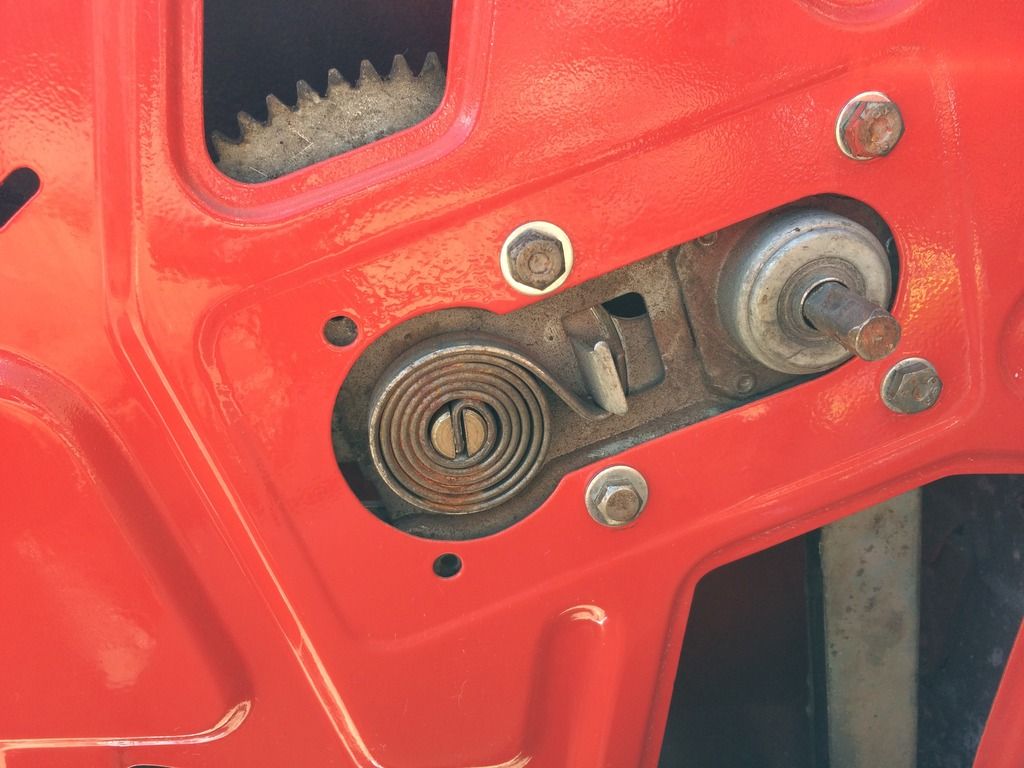 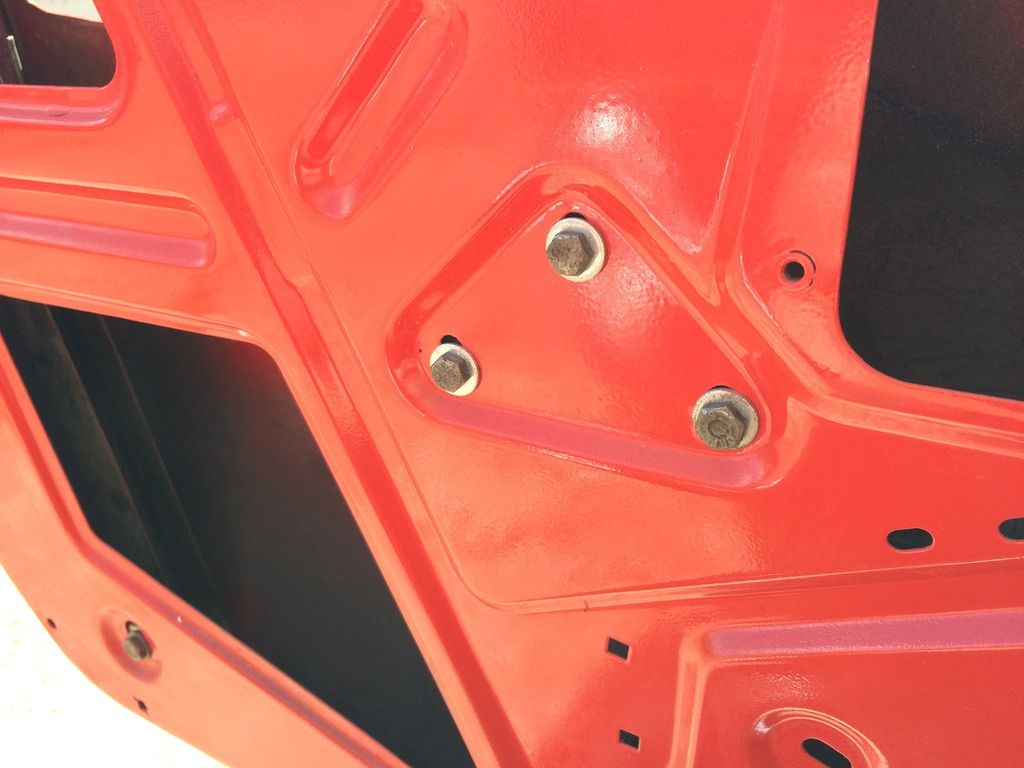 Window runners in and greased up 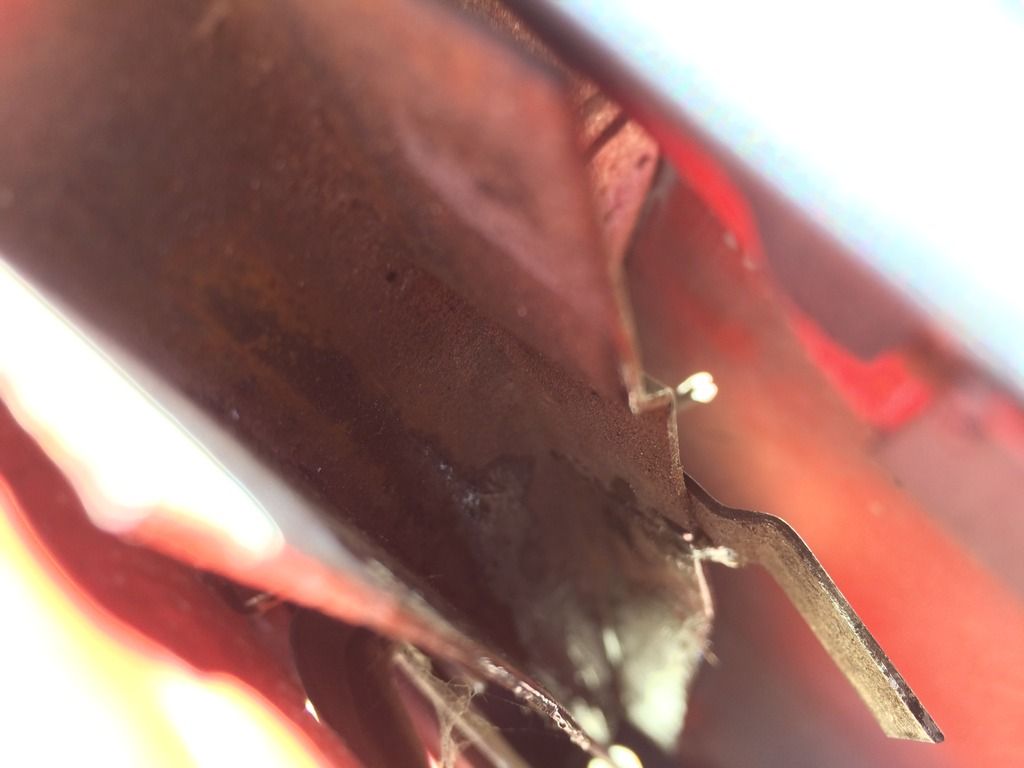 Door latches go in. 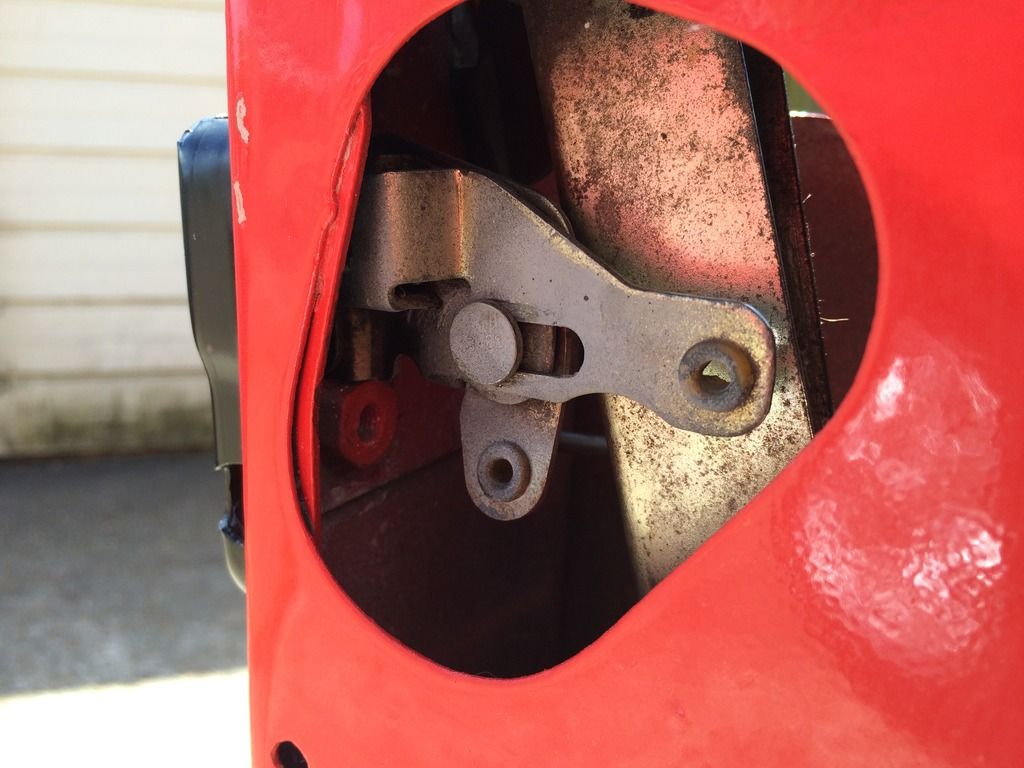 Then the exterior handle goes on, i took note this time to slip the split pin through the lock mechanism. as i forgot on the other side and had a mini teardown to get it all fixed. then it was back to the garage for some more filler on the bonnet  Repairs have been welded in and look tip top! it's a case of spot the repair on the headlight ring.  Plenty of filler needed in the dents. 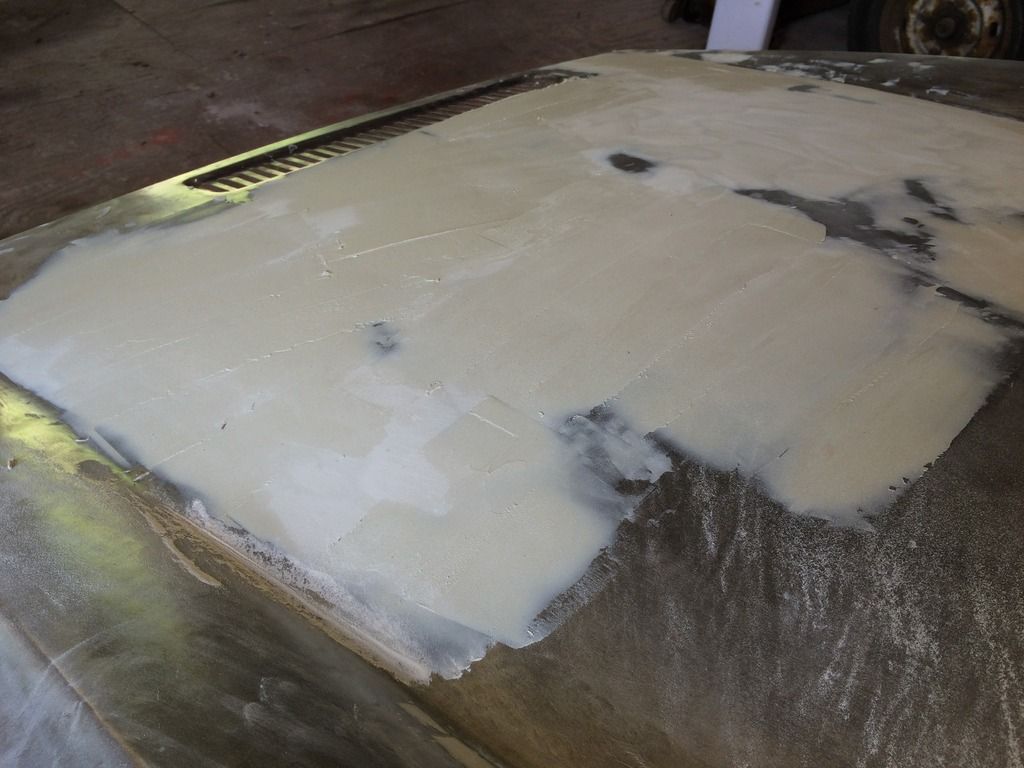 curve on the bonnet is right now and it's way better than it was. 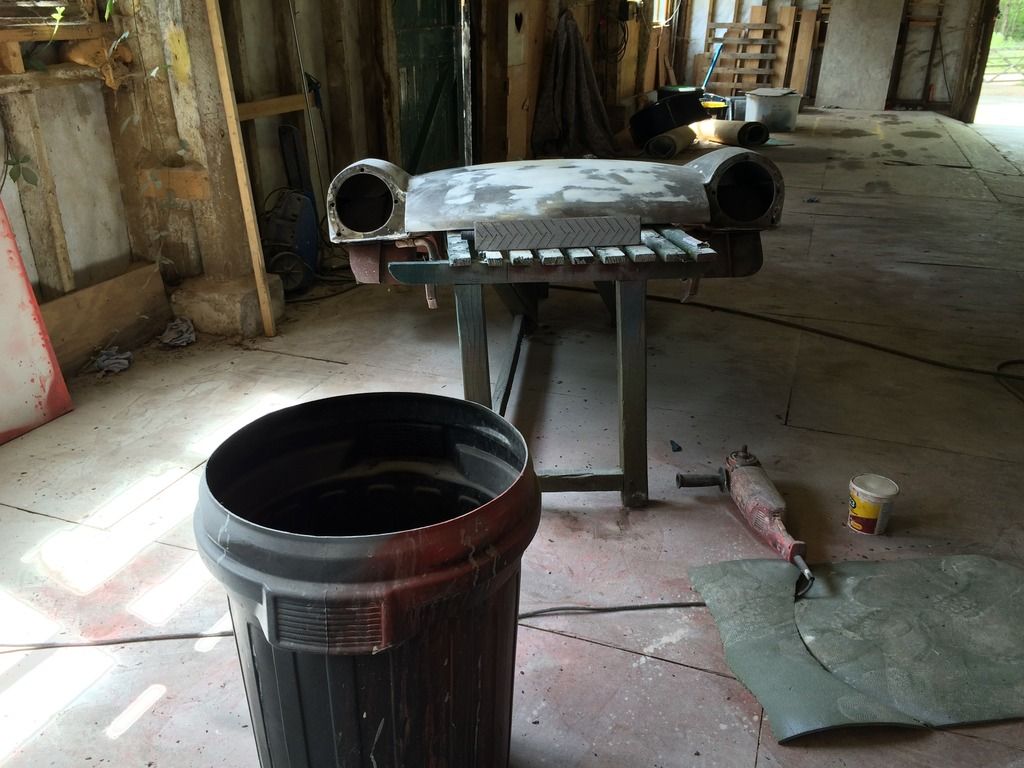 And here's the light cover fitted 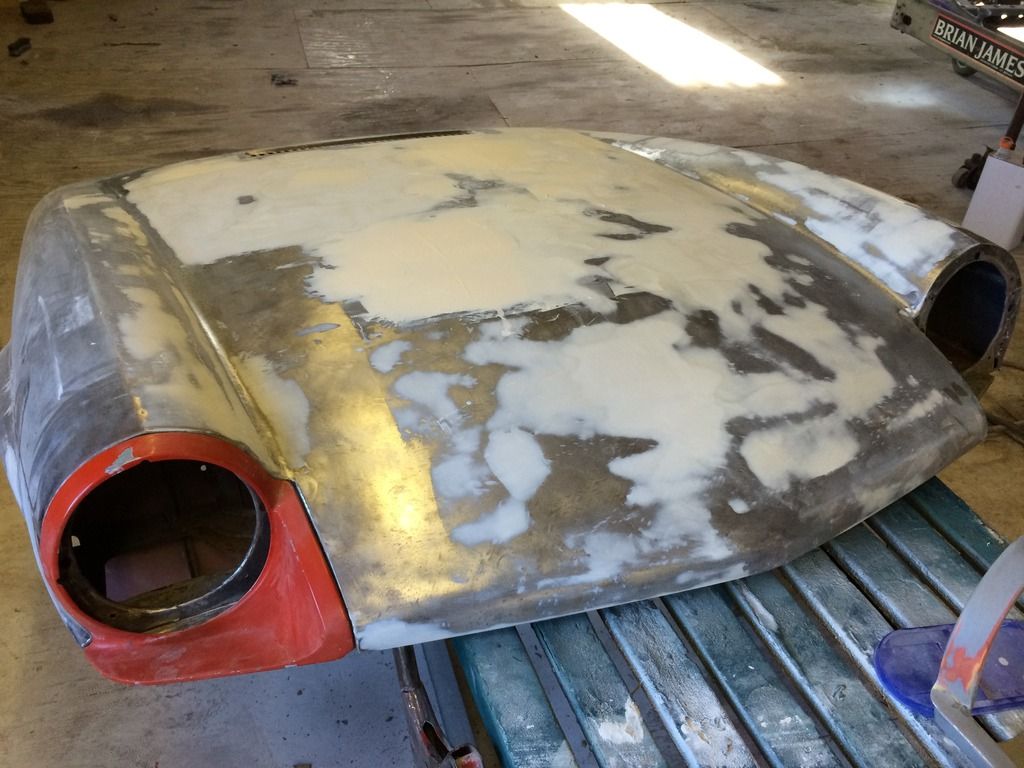 |
| |
|
|
|
|
|
May 17, 2015 21:33:34 GMT
|
After trying to move the car i realized that the clutch wasn't disengaging correctly, now this goes back to previous repair where i'd been advised to but a brake pedal as it was 'essentially the same thing' so it turns out that's not true, so a quick cut and weld and we have a clutch that sits at the correct height and works properly.  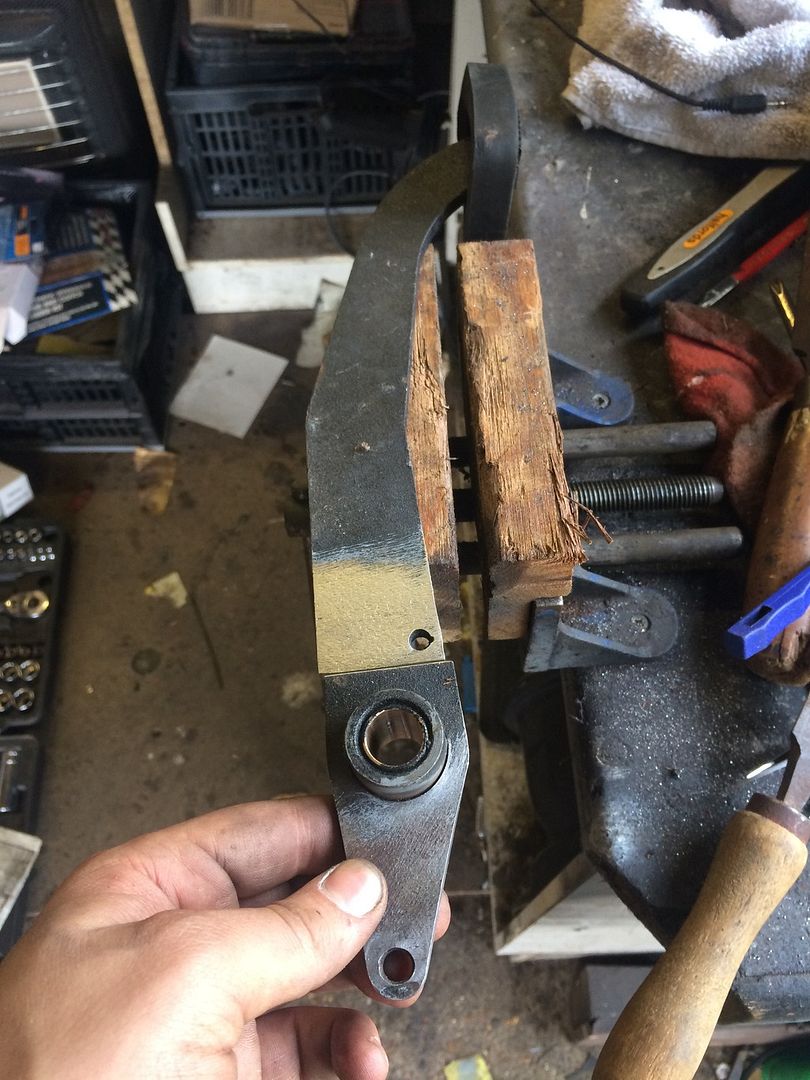 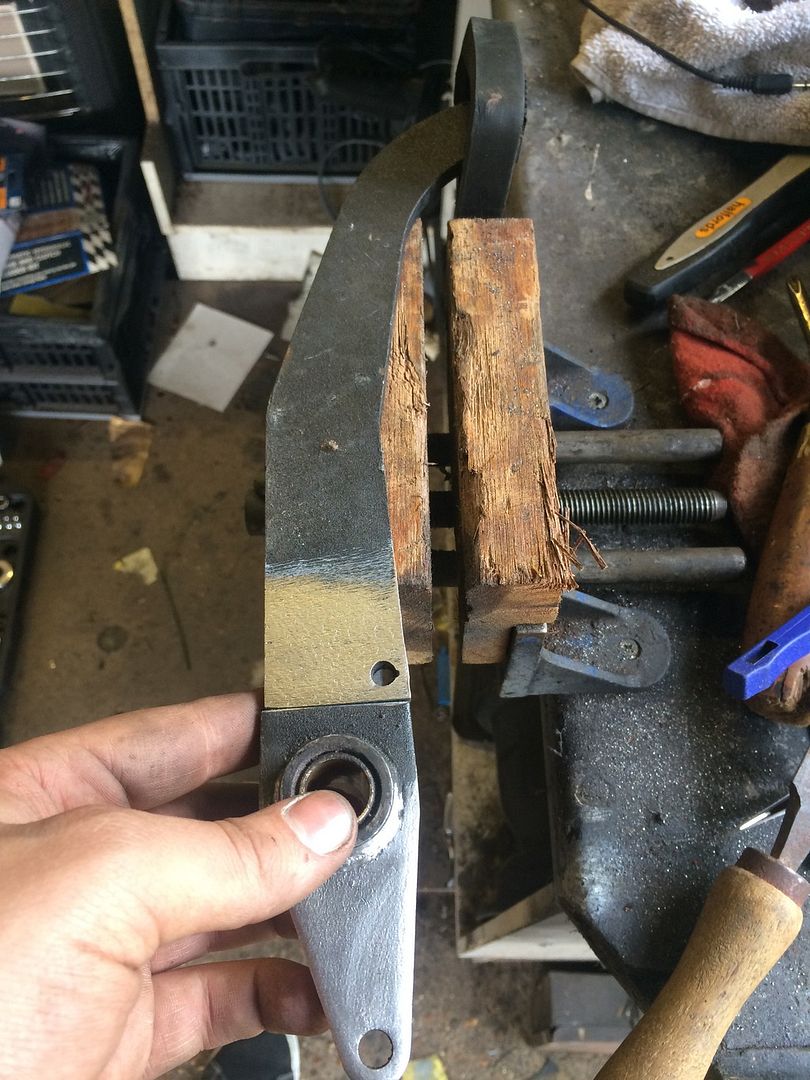 Fitted back on the car and it can now be driven in and out of the garage! super, no more pushing. then i treated myself at the autojumble with a new steering wheel and inicator stalk.... A small mishap with some crossed wires caused the contacts to catch on fire. not fun.   so i managed to find a similar casting and parts, fitted it to the car with some bodgery (shhhh) Then fitted my early birthday present from the parents. 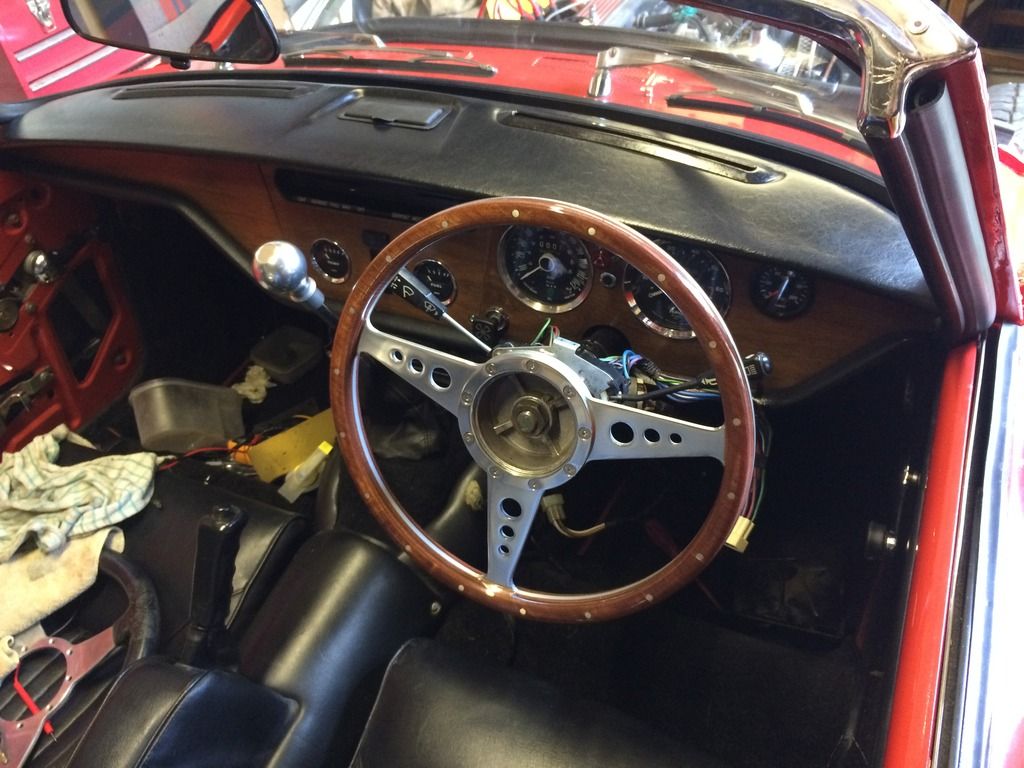 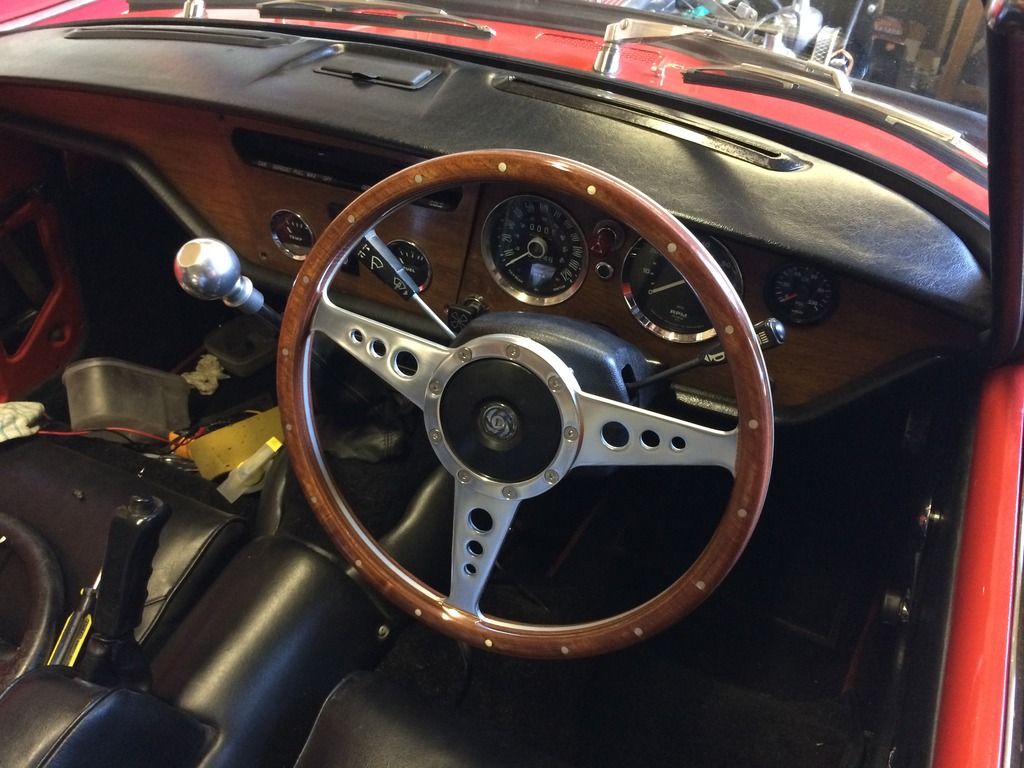 |
| |
|
|
|
|
|
May 17, 2015 21:56:24 GMT
|
|
That's really unfortunate about the stalk, if they are the same as those fitted to a Dolomite I have a few spare that you can have.
She's looking beautiful!
James
|
| |
|
|
|
|
|
May 17, 2015 22:35:37 GMT
|
That's really unfortunate about the stalk, if they are the same as those fitted to a Dolomite I have a few spare that you can have. She's looking beautiful! James Think they're the similar, would've followed you up on that offer but it's all fixed now! |
| |
|
|
CaptainSlog
Part of things
 
Posts: 510
Club RR Member Number: 180
|
|
May 19, 2015 15:37:41 GMT
|
|
By the look of the ends they are the same as Mini ones.
|
| |
|
|
bstardchild
Club Retro Rides Member
Posts: 14,965
Club RR Member Number: 71
|
|
May 19, 2015 19:16:07 GMT
|
|
Missed checking this thread for a few updates, you really are on the home straight now, looks fantastic
|
| |
|
|
|
|
|
|
|
You must have the bonnet back on by now?!  Dying with suspense here to see how she's looking'!  |
| |
|
|
|
|
|
|
|
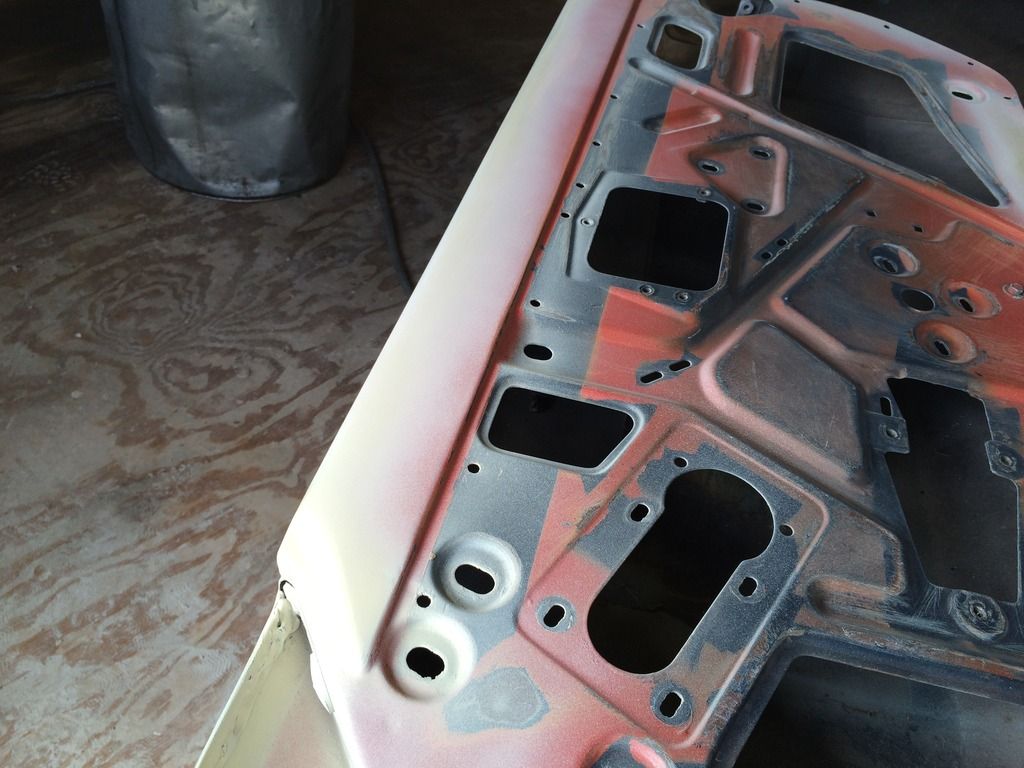
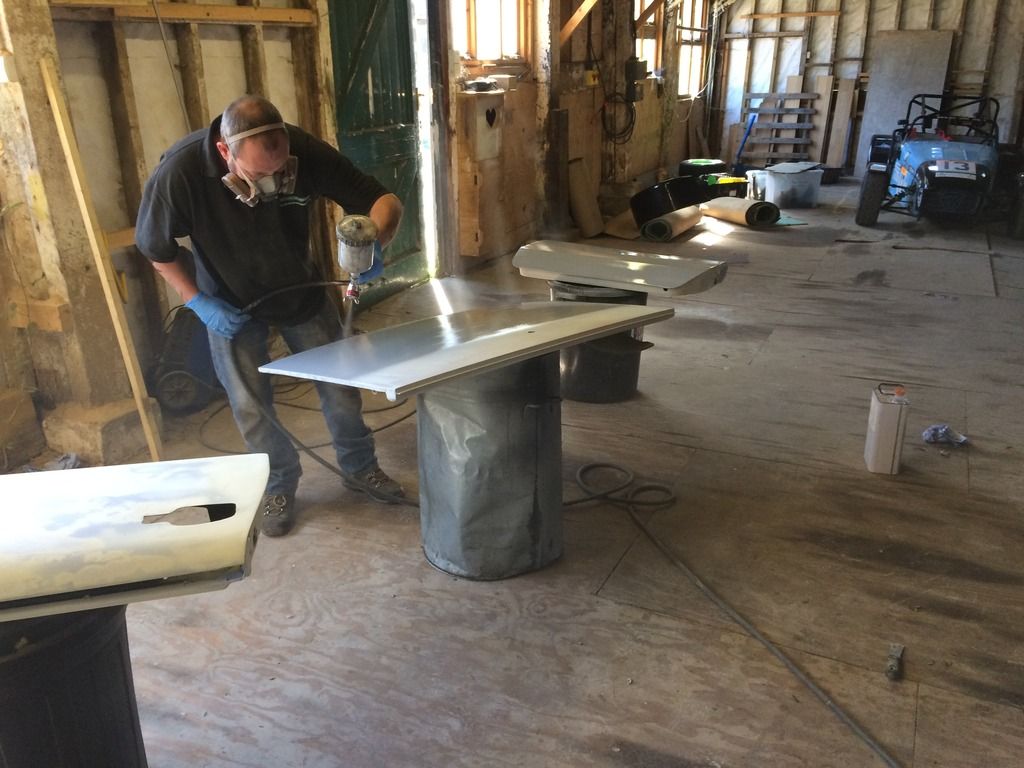
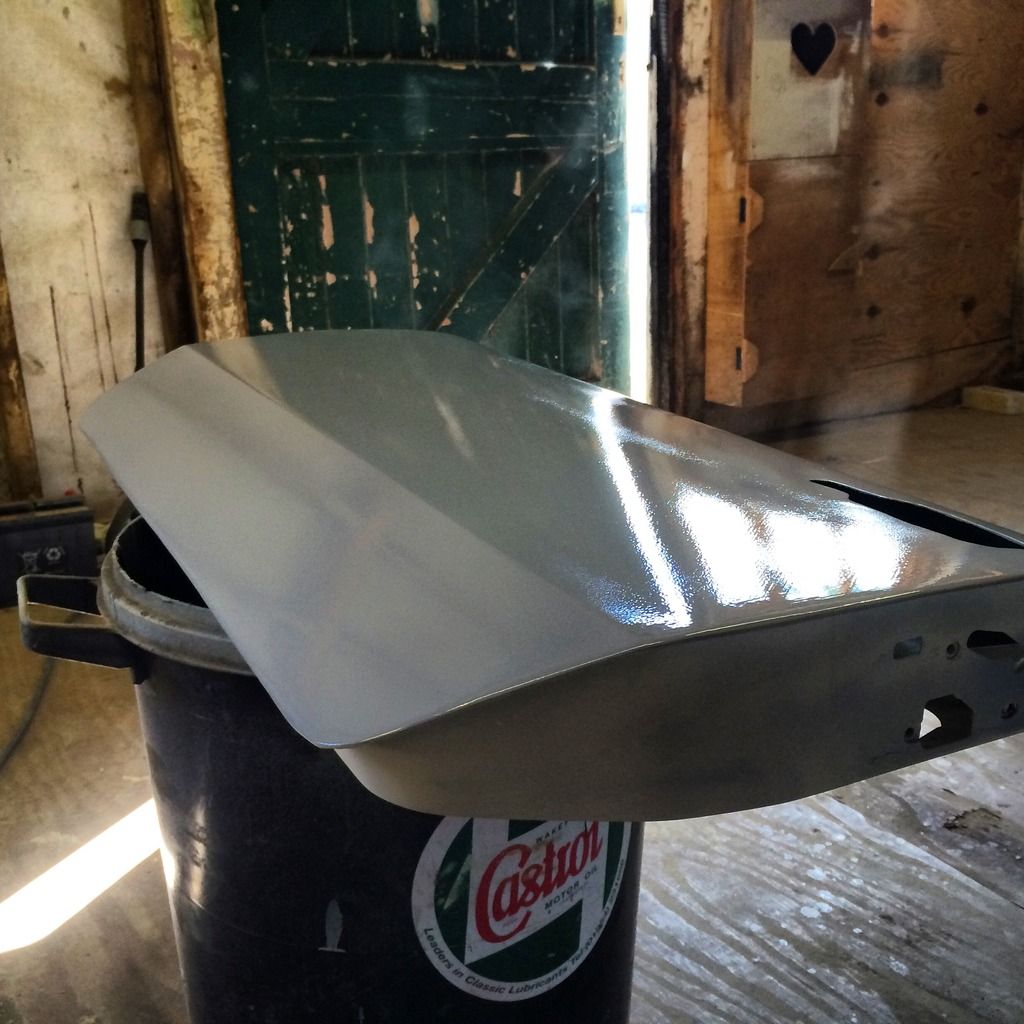
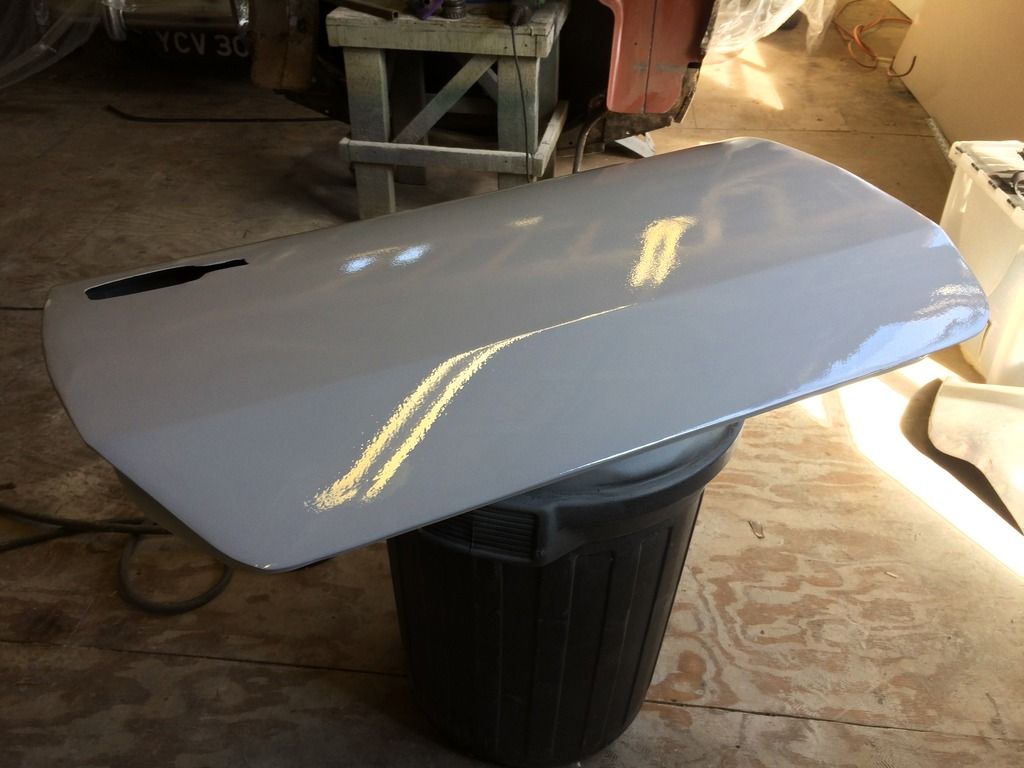
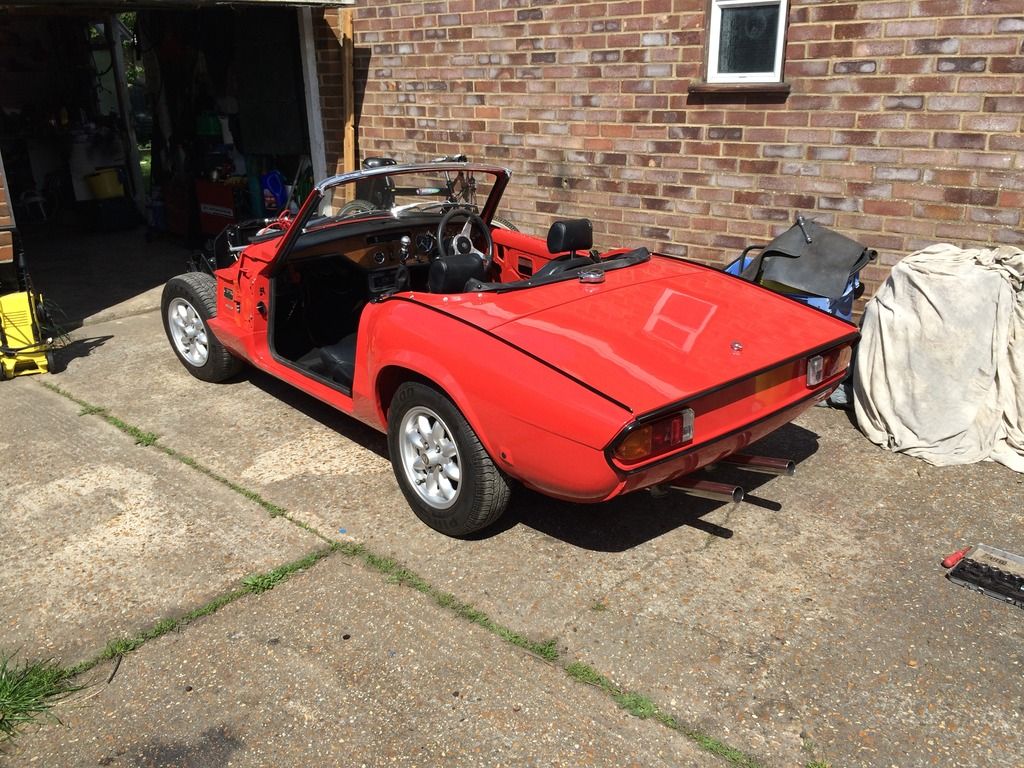
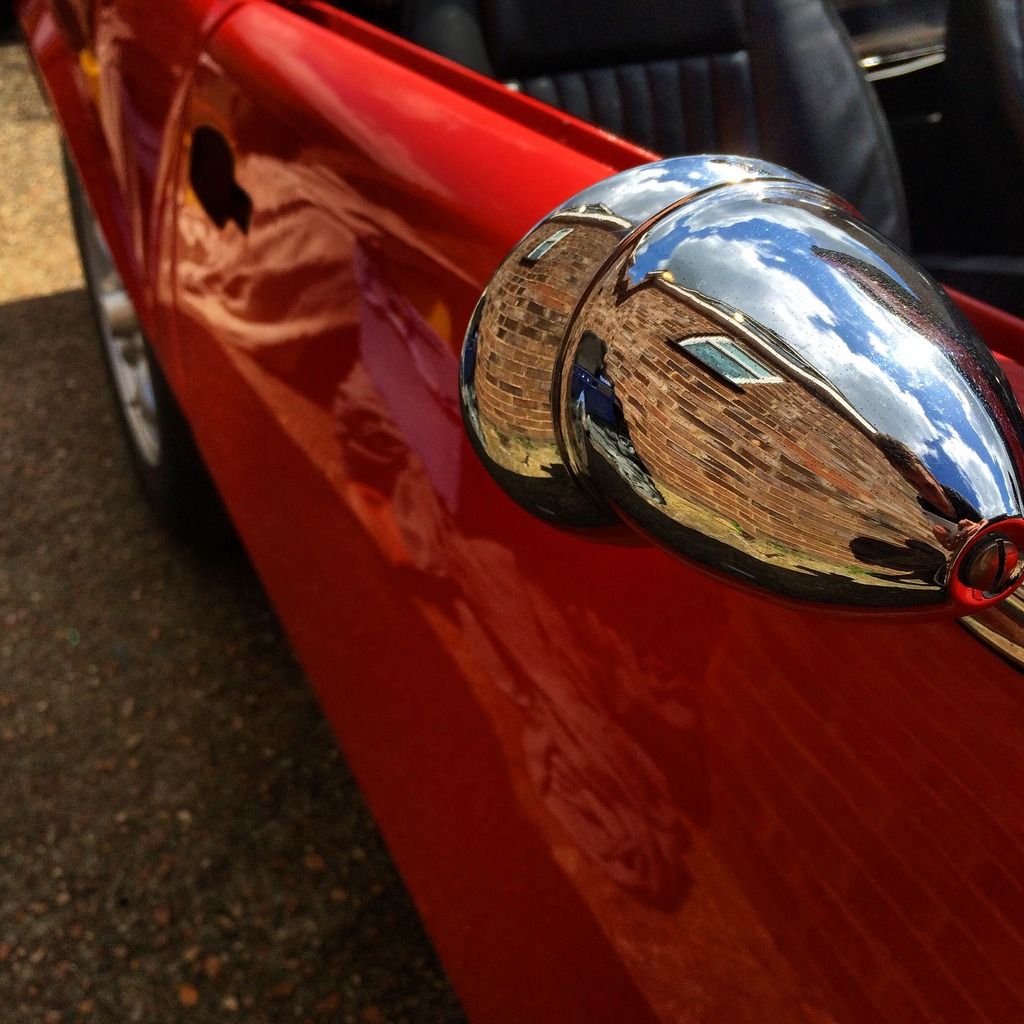
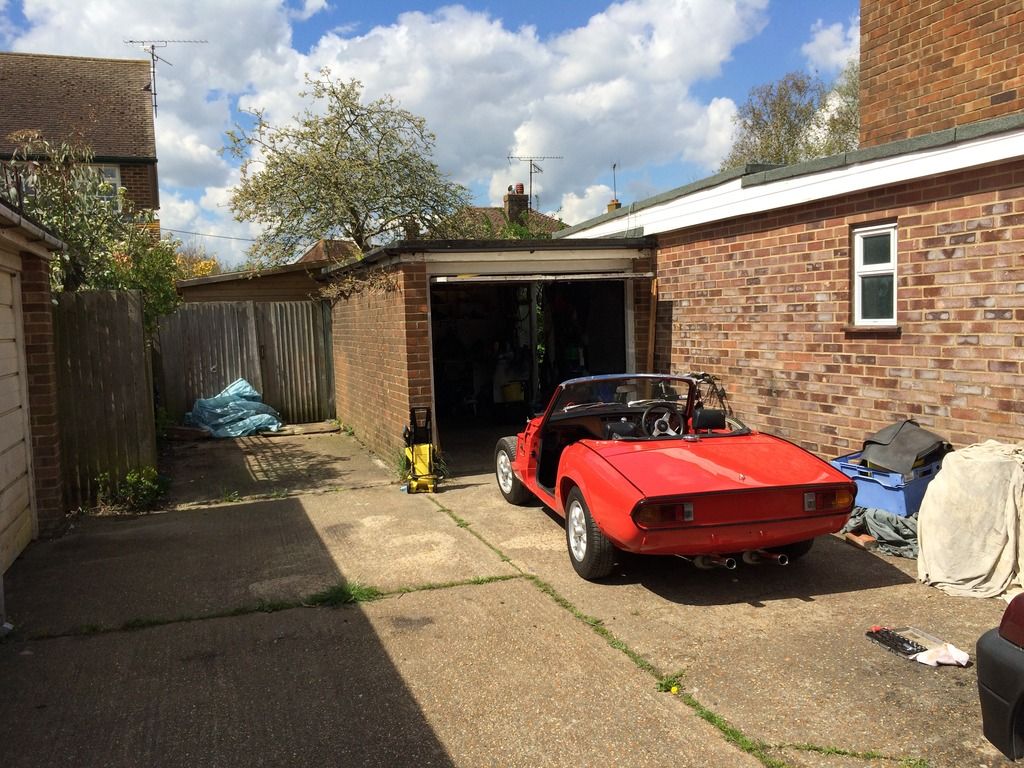
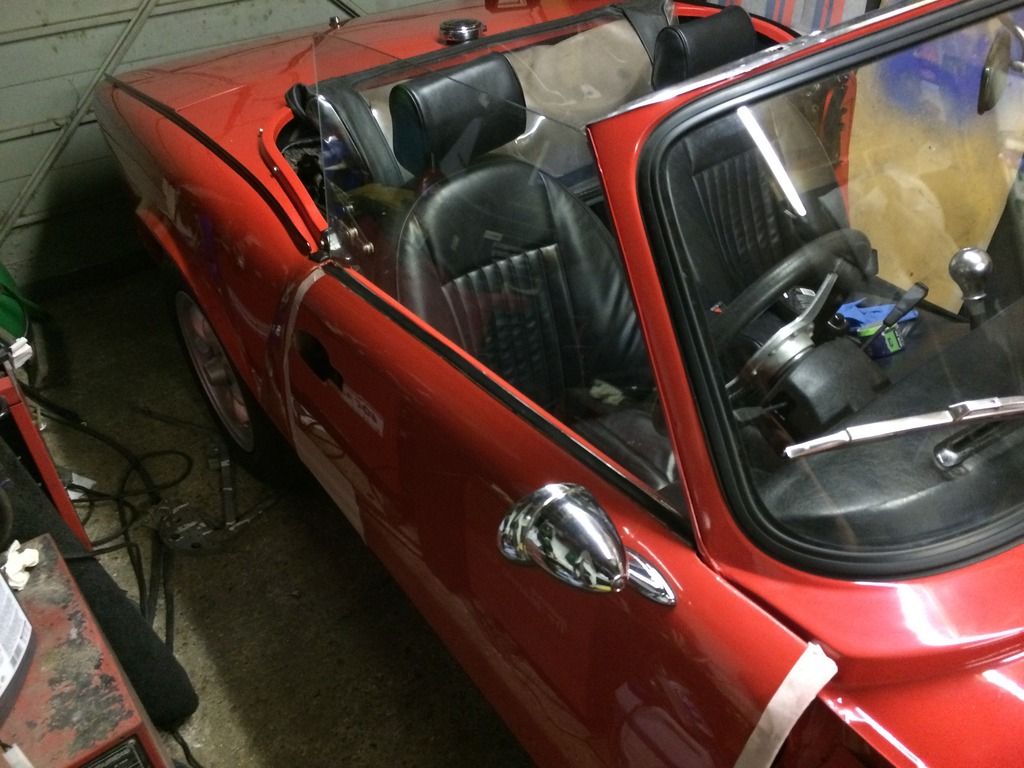
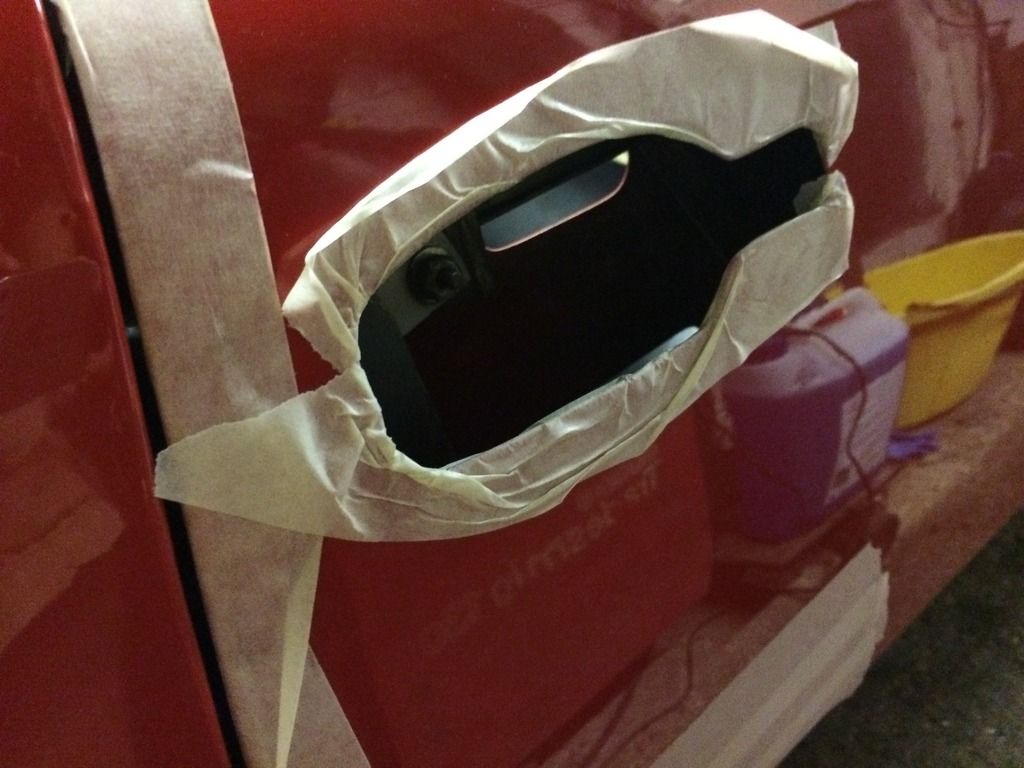
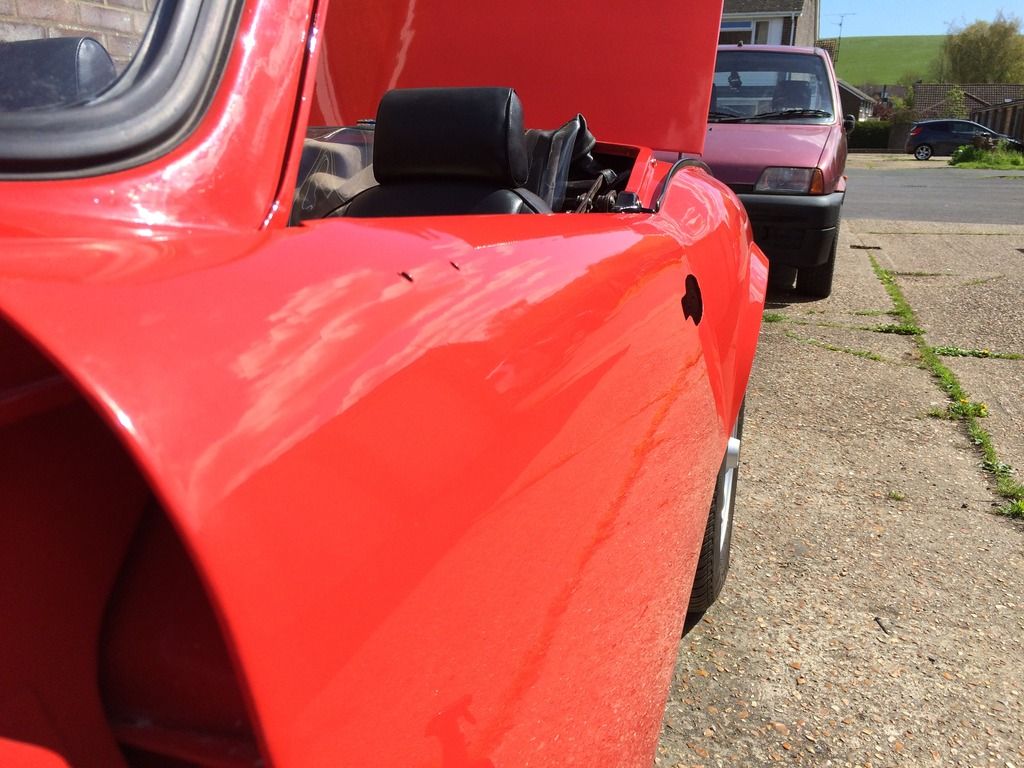
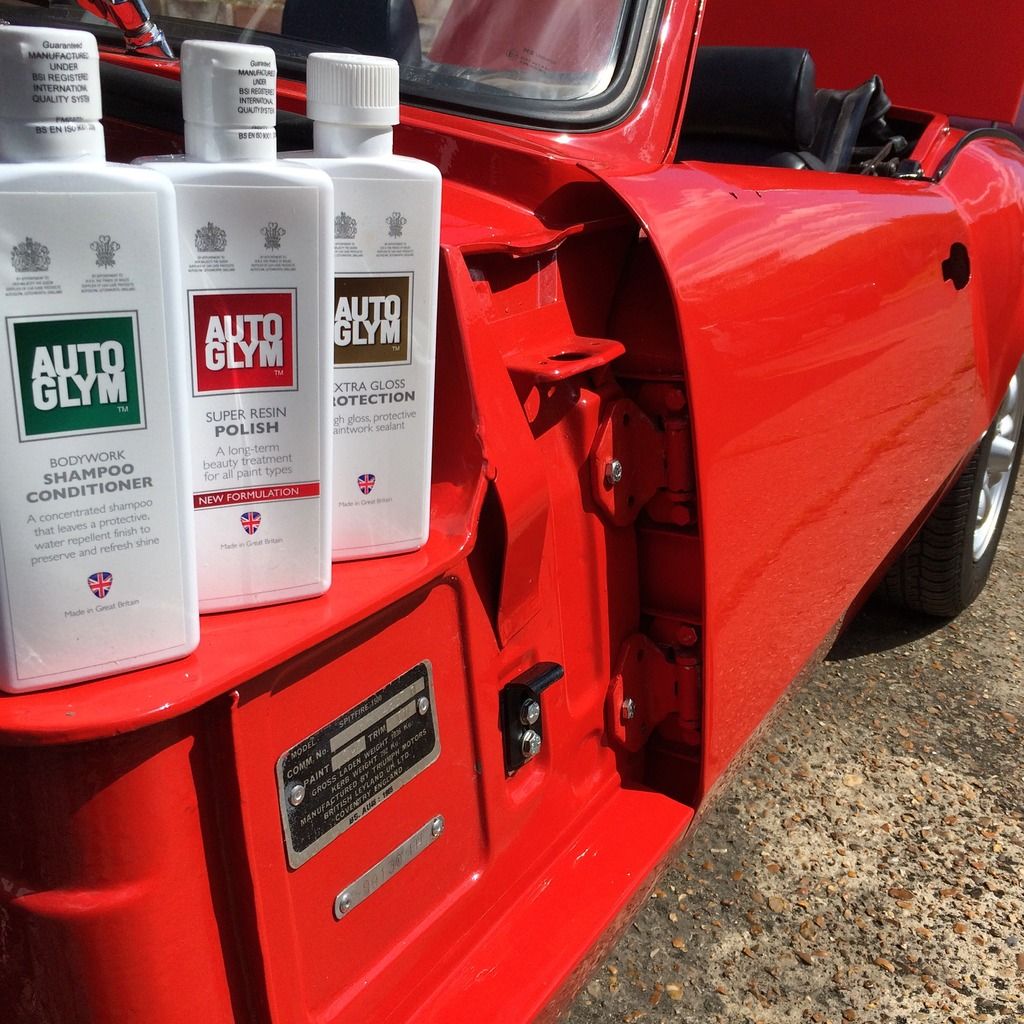
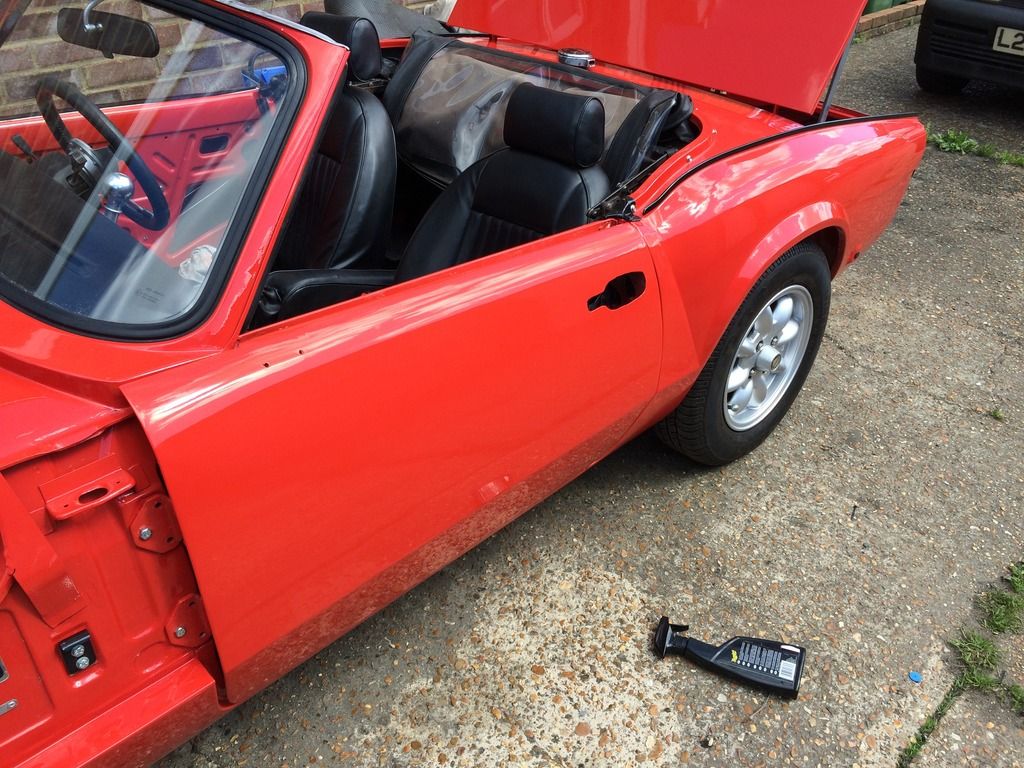
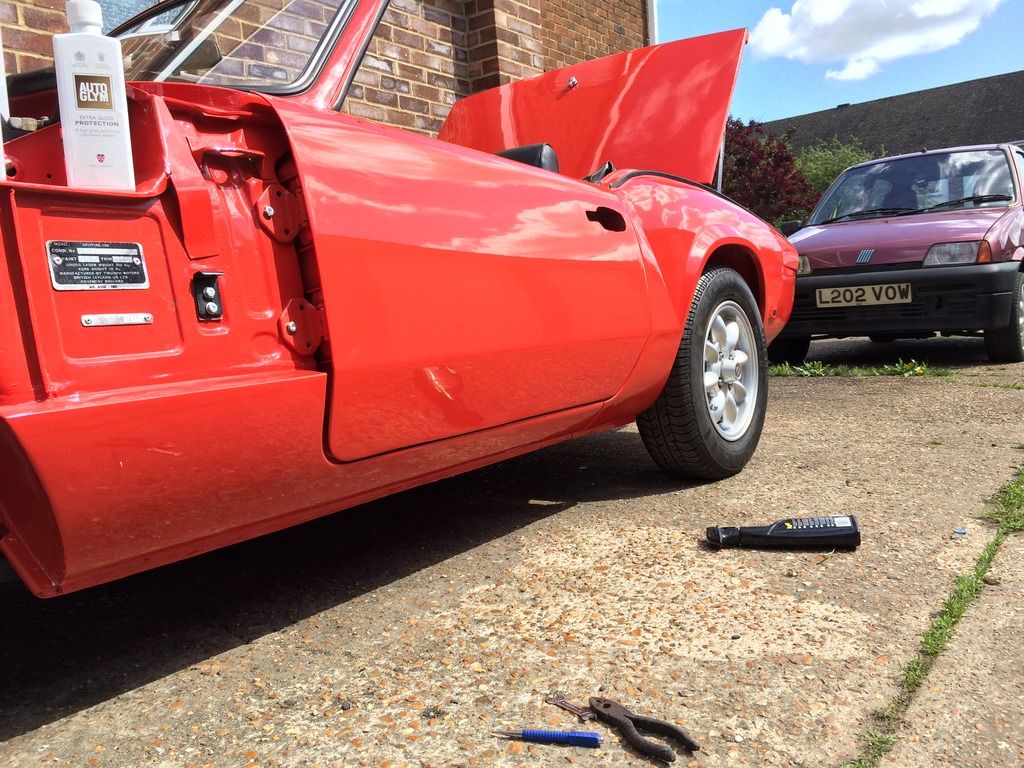
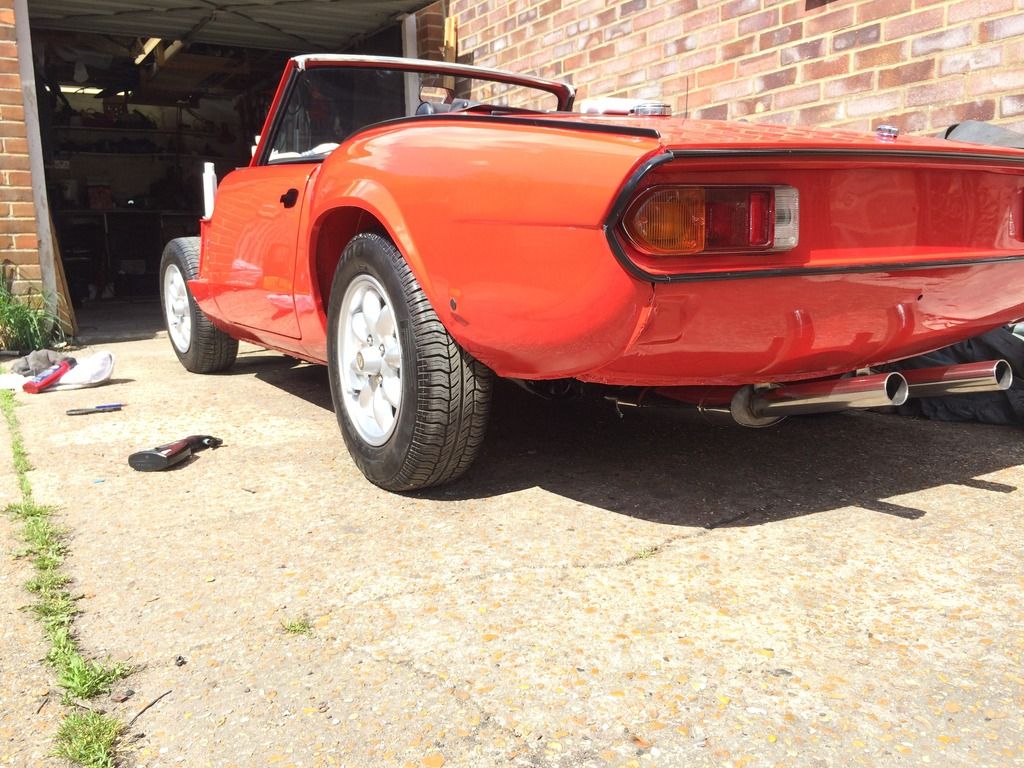
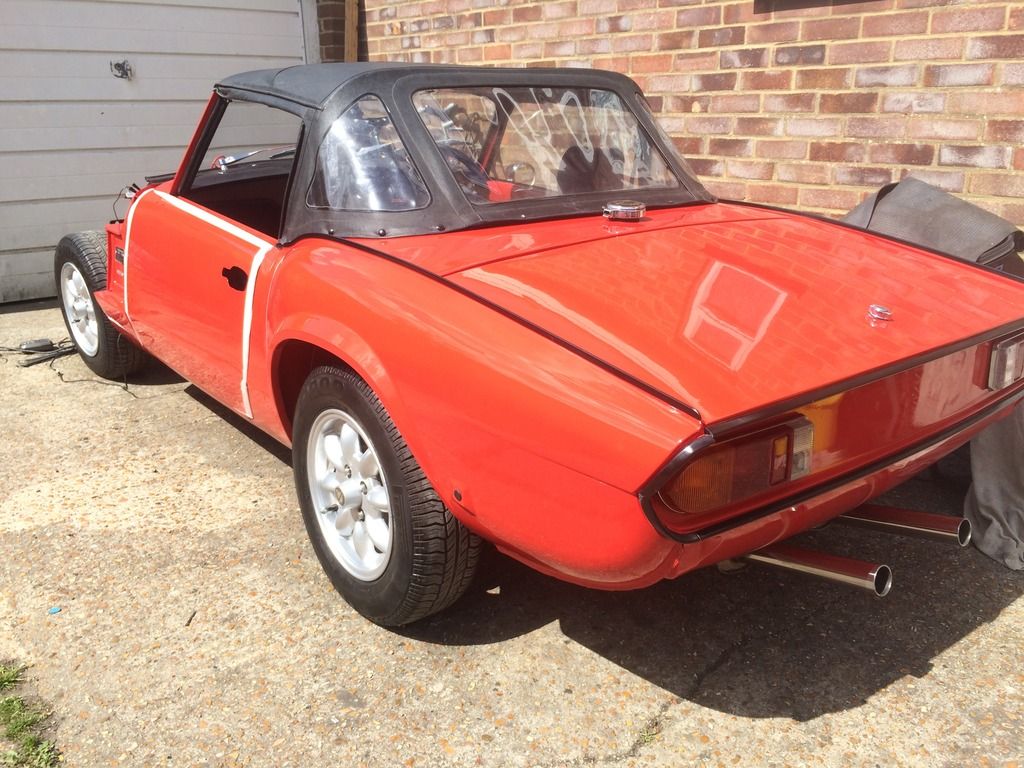
Well, i'd love to be able to say that i've got it all finisehd and i'd been too bust driving it, but that's not the case, still no real leaps in progress on the bonnet even though we've asked for it to be done as soon as he can. so we're waiting on the painter... Kept myself busy with other jobs, like derusting the indicator backplates and polishing the lenses, came out looking pretty sweet actually 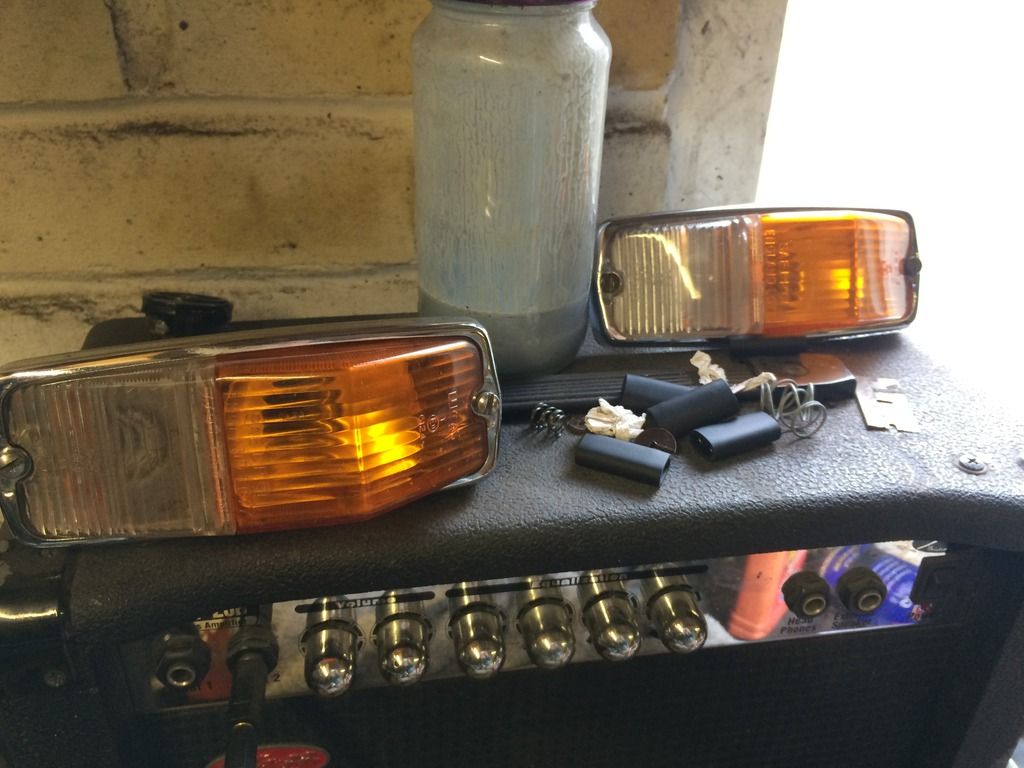 Cleaned the floor of the garage to cut down on the dust, makes a huge difference to how much light there is.... maybe i should tidy up more often? 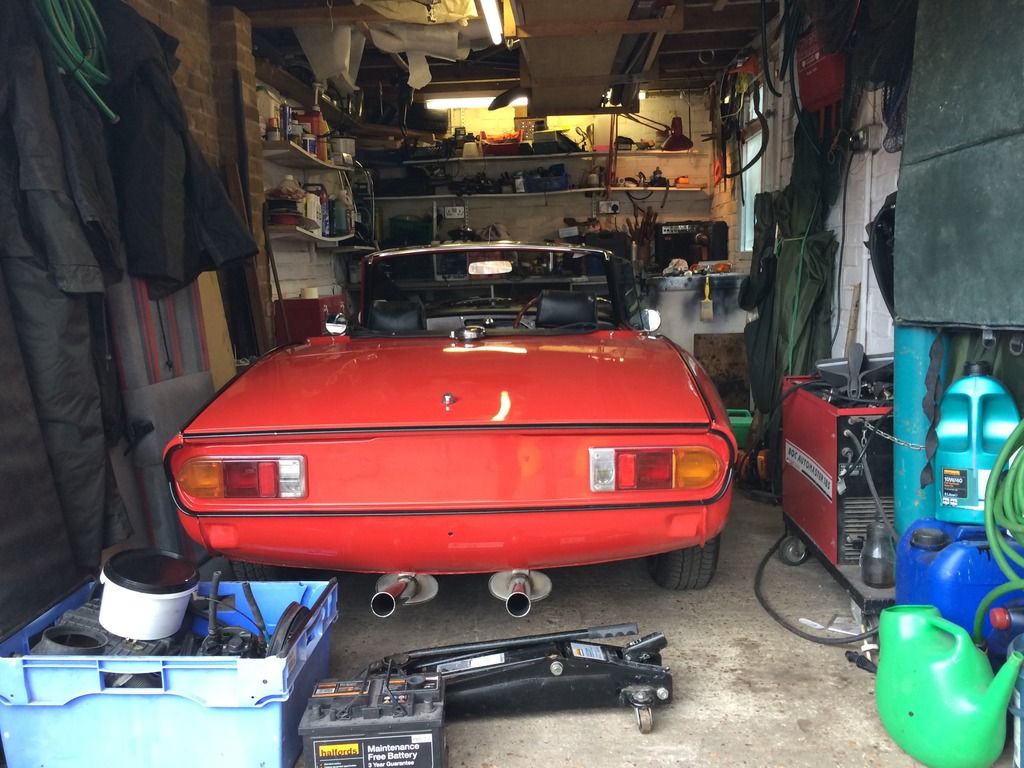 My dad decided to get on the resto bandwagon and tarted up a bench he'd had for years, looks the business. 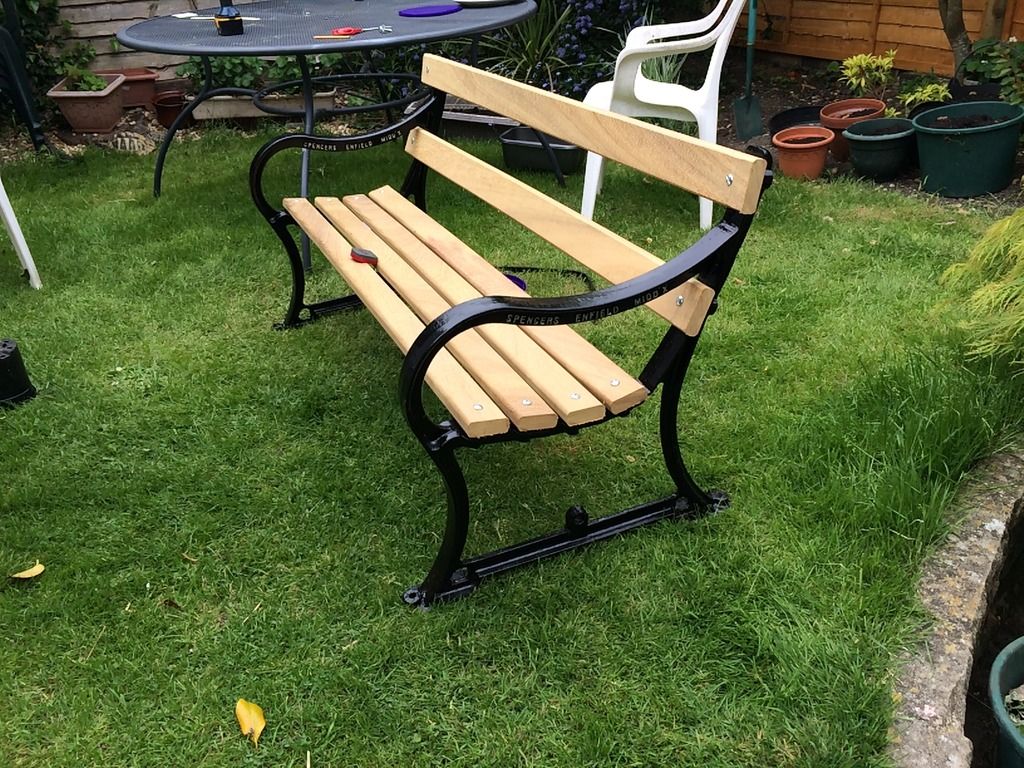 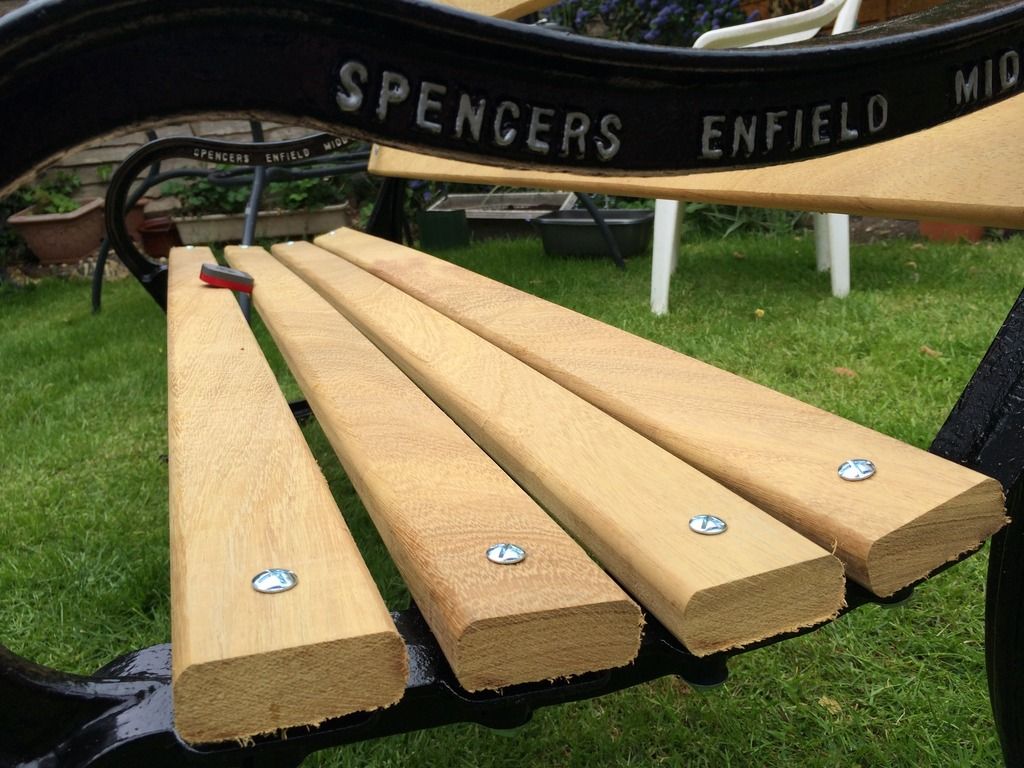 Bit of a wash and polish on the spit, then it was time to hoover the interior and have a general clean/tidy.  so overall just been keeping busy while i'm waiting for progress to be made. waiting sucks  |
| |
|
|
|
|
















 Dying with suspense here to see how she's looking'!


