|
|
|
|
|
|
|
Jul 31, 2013 10:26:09 GMT
|
so then I found this! 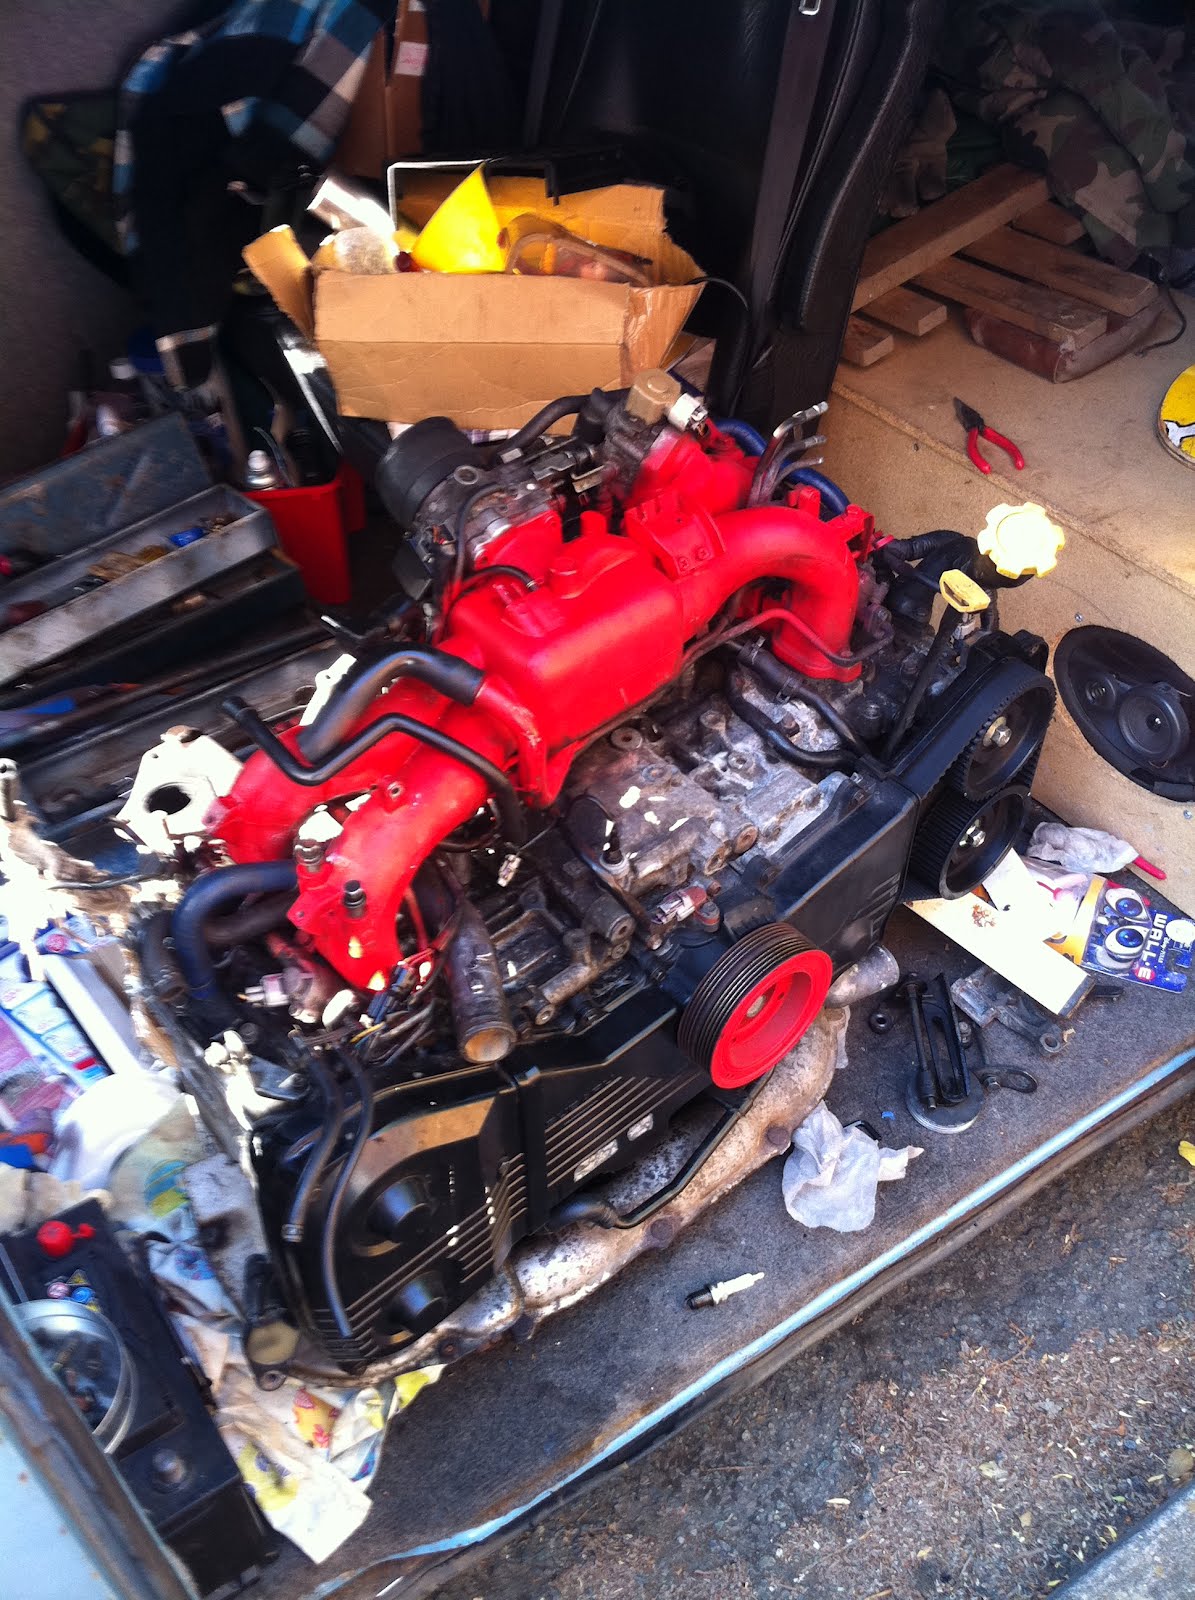 But.....its minus the loom and correct ecu but it was super cheap. For another day though! my milk chocolate rims hit a stone! still held air though! 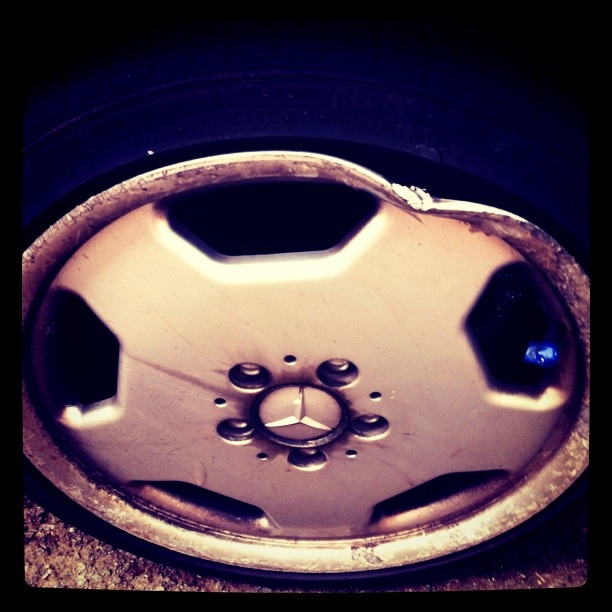 Had a few stickers lying around and then got myself some golf mk1 headlights. 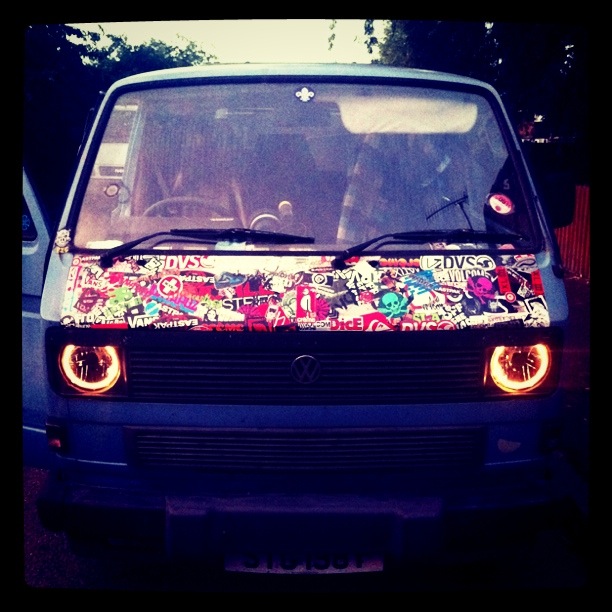 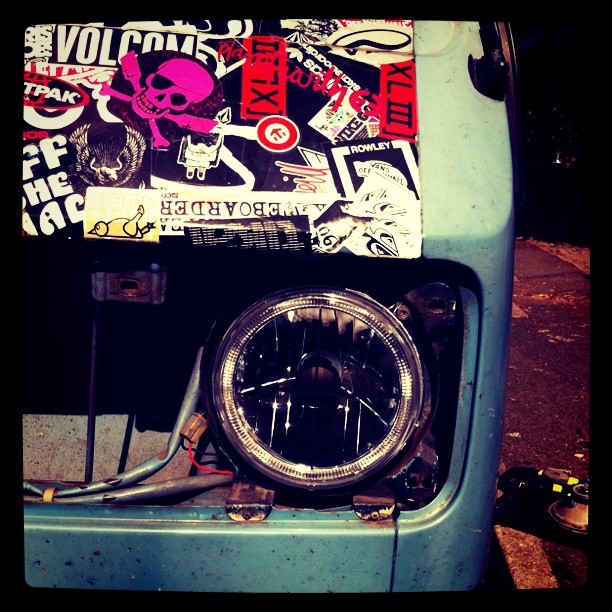 So needed some new wheels, Ive always fancied some of these! 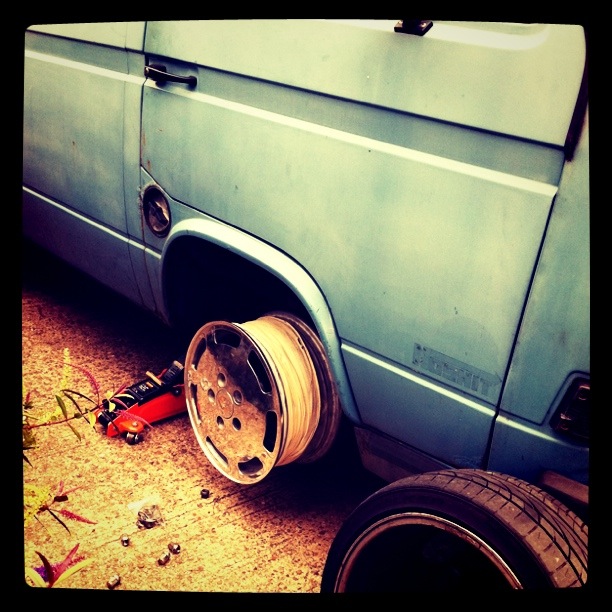 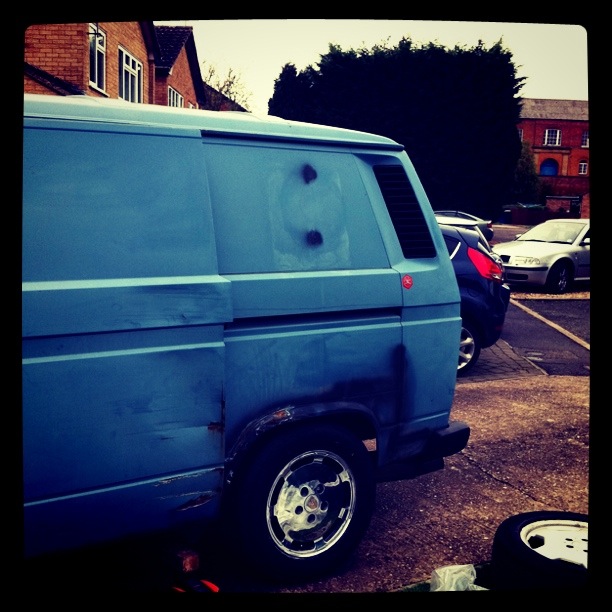 I really like american 60's vans with loads of rake so i got some big tyres for the rear and small for the front. Rear tyre size helps the gearing too even though i have a freeway flyer 4th gear. 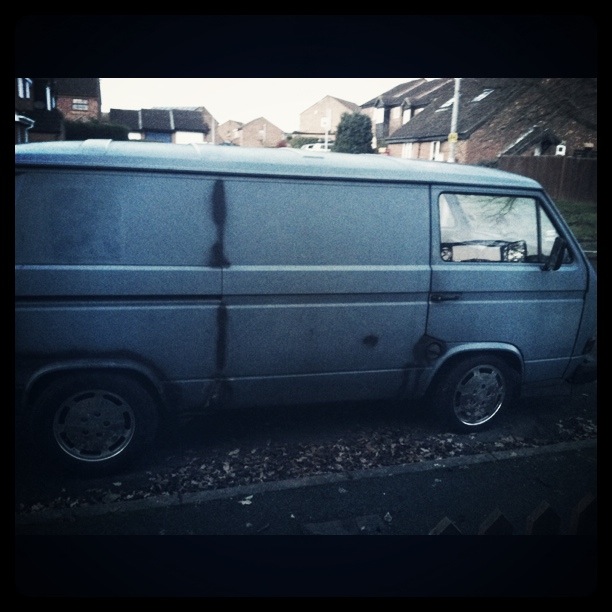 |
| |
|
|
|
|
|
Jul 31, 2013 14:17:39 GMT
|
|
|
| |
|
|
|
|
|
Jul 31, 2013 16:10:18 GMT
|
love this, like the front down  up stance, to much scrapping in the vw scene now nice to see summit different. |
| |
|
|
|
|
|
Jul 31, 2013 17:10:18 GMT
|
Hey scottishvanners I know what you mean that's exactly why I wanted it like that, only trouble was it handled terribly! Plus it didn't stop very well either, being the early version of this van it has late bay brakes! and they are are sooooo bad. I bought a crappy second hand calliper from ebay was like 40£ and when I received it it was like it had been buried in mud for a million years and a dinosaur had wiped its ass with it! So pricing up just replacing the brakes with new stuff and seeing how exspensive it was gonna be I decided to upgrade! 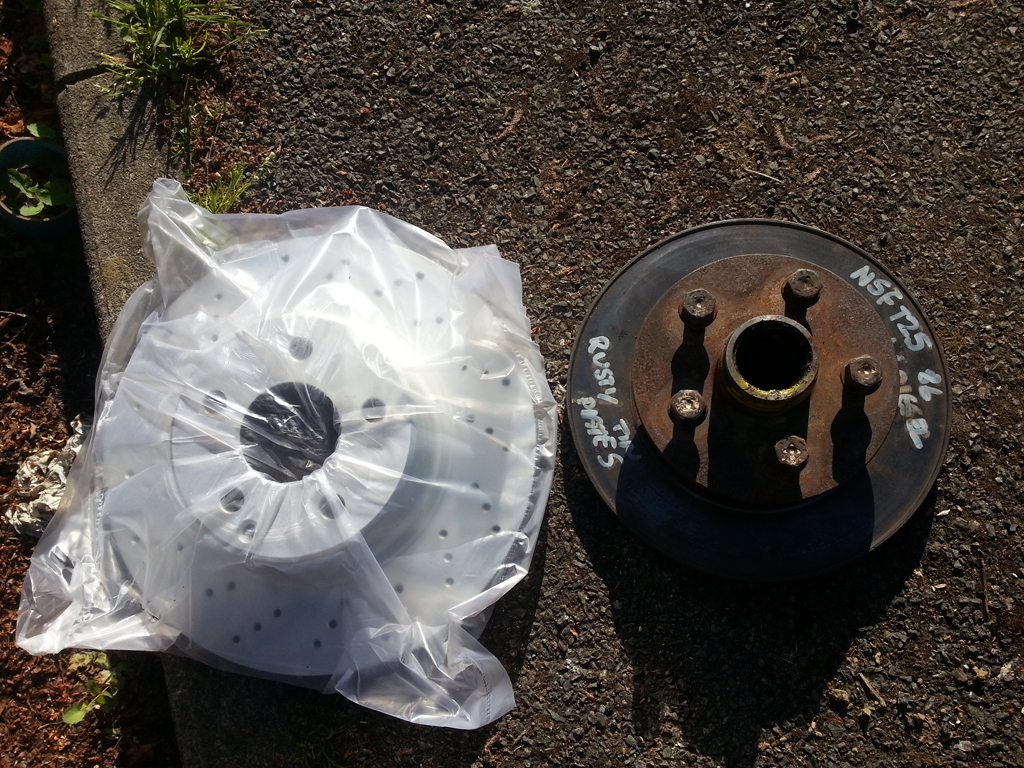 New disc! vs old Had to get new stub axles! 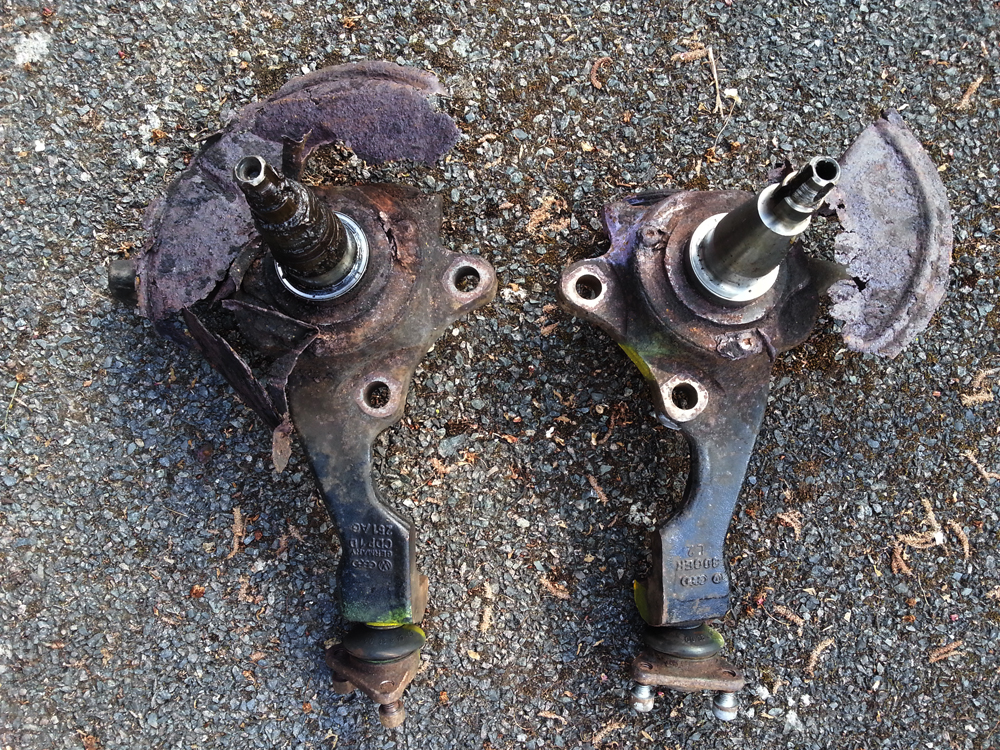 As the discs have the hub intergrated into them I machined down a disc and made it into a hub that can accept the new disc   Sourced some 996 callipers. Now the trouble I had was that the 16 wheels wont fit over the discs and callipers so I needed something bigger!  |
| |
|
|
|
|
|
Jul 31, 2013 17:34:04 GMT
|
|
yes yes yes
this is the style of vw van I do like
|
| |
|
|
|
|
|
Jul 31, 2013 21:53:05 GMT
|
|
Nice one man! Seems to go fairly well from the video, and it sounds a lot nicer than my T25 with a mk3 golf gti engine in. Mine has the later brakes which TBH are good enough, even when I'm driving like a twa t, but I never have a lot of weight in the thing.
|
| |
|
|
|
|
|
|
|
|
|
So I picked up some cheap wheels, Porsche cayenne turbo wheels can be had for peanuts but they have a massive offset of 57mm if I remember correctly. Got these wheels that were meant to be refurbished! but were actually just primered and not very well at that! if you breathed on em the paint would come off! Typical ebay purchase! 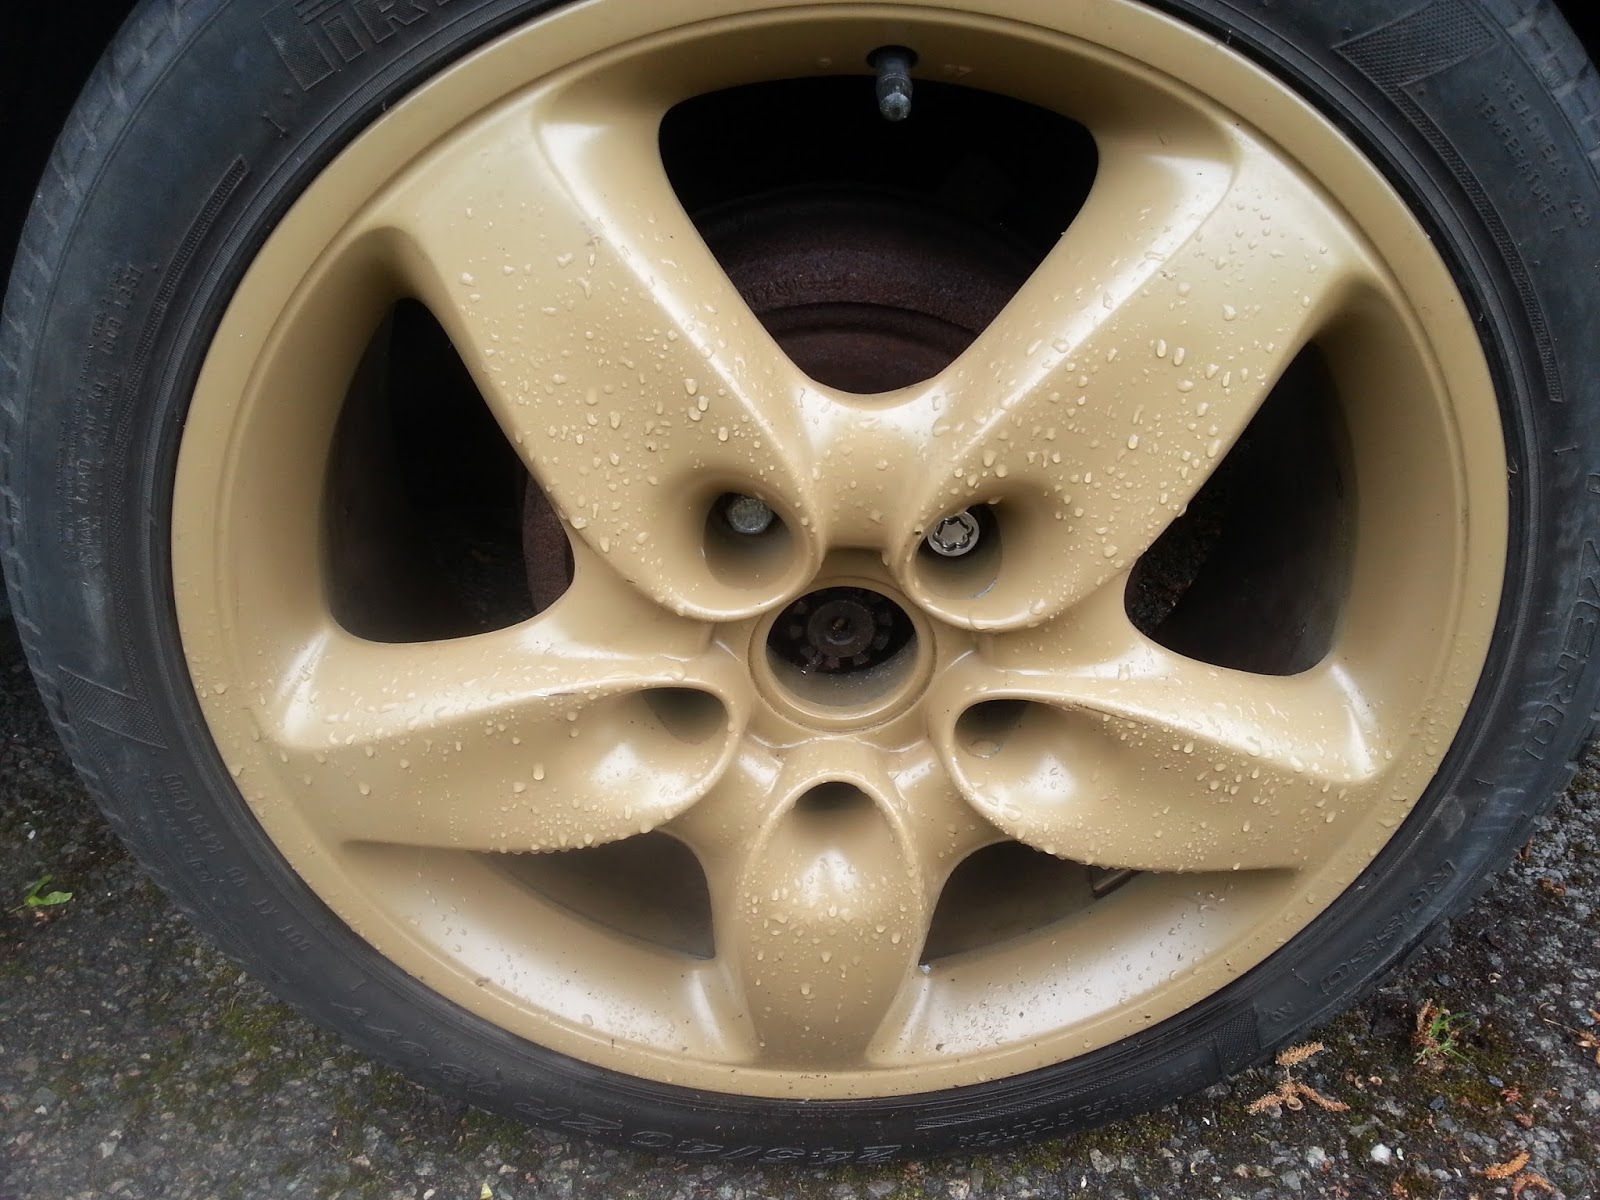 Quickly tried them on and did a very fast photoshop lowering!!!! sorry scottishvanner! 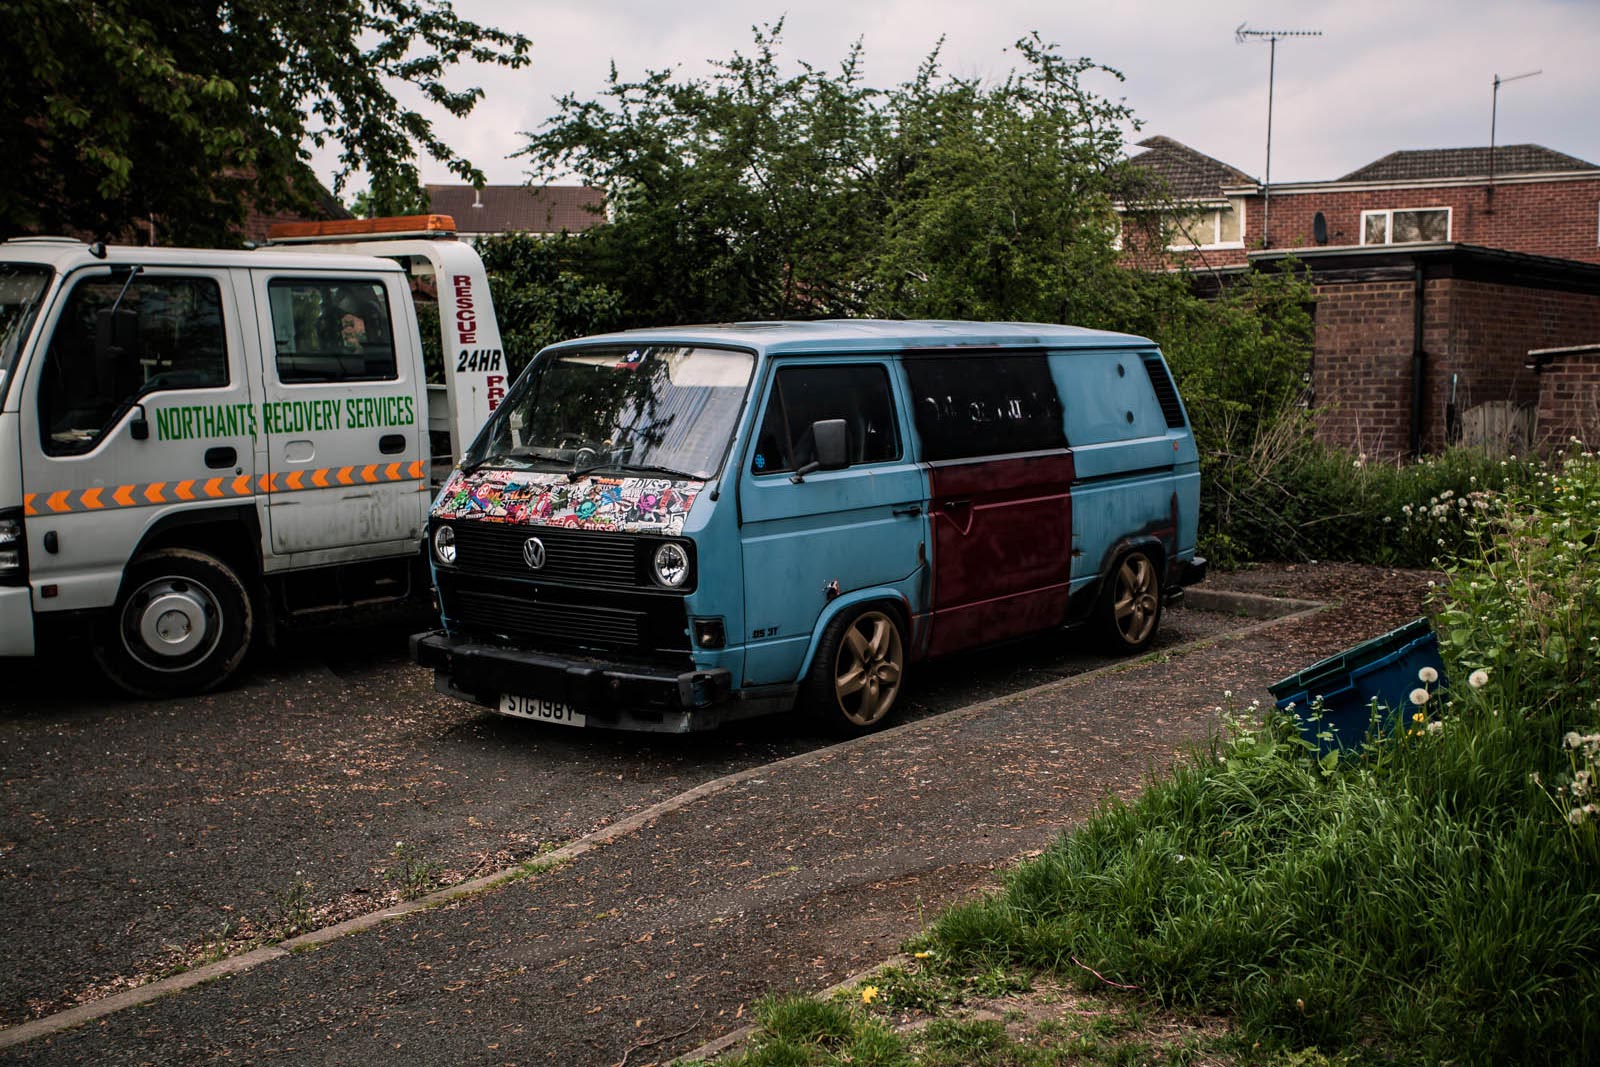 As the tyres it came with were totally illegal and not the 5mm or so as described I decided to get them powder coated. Made some quick tests. 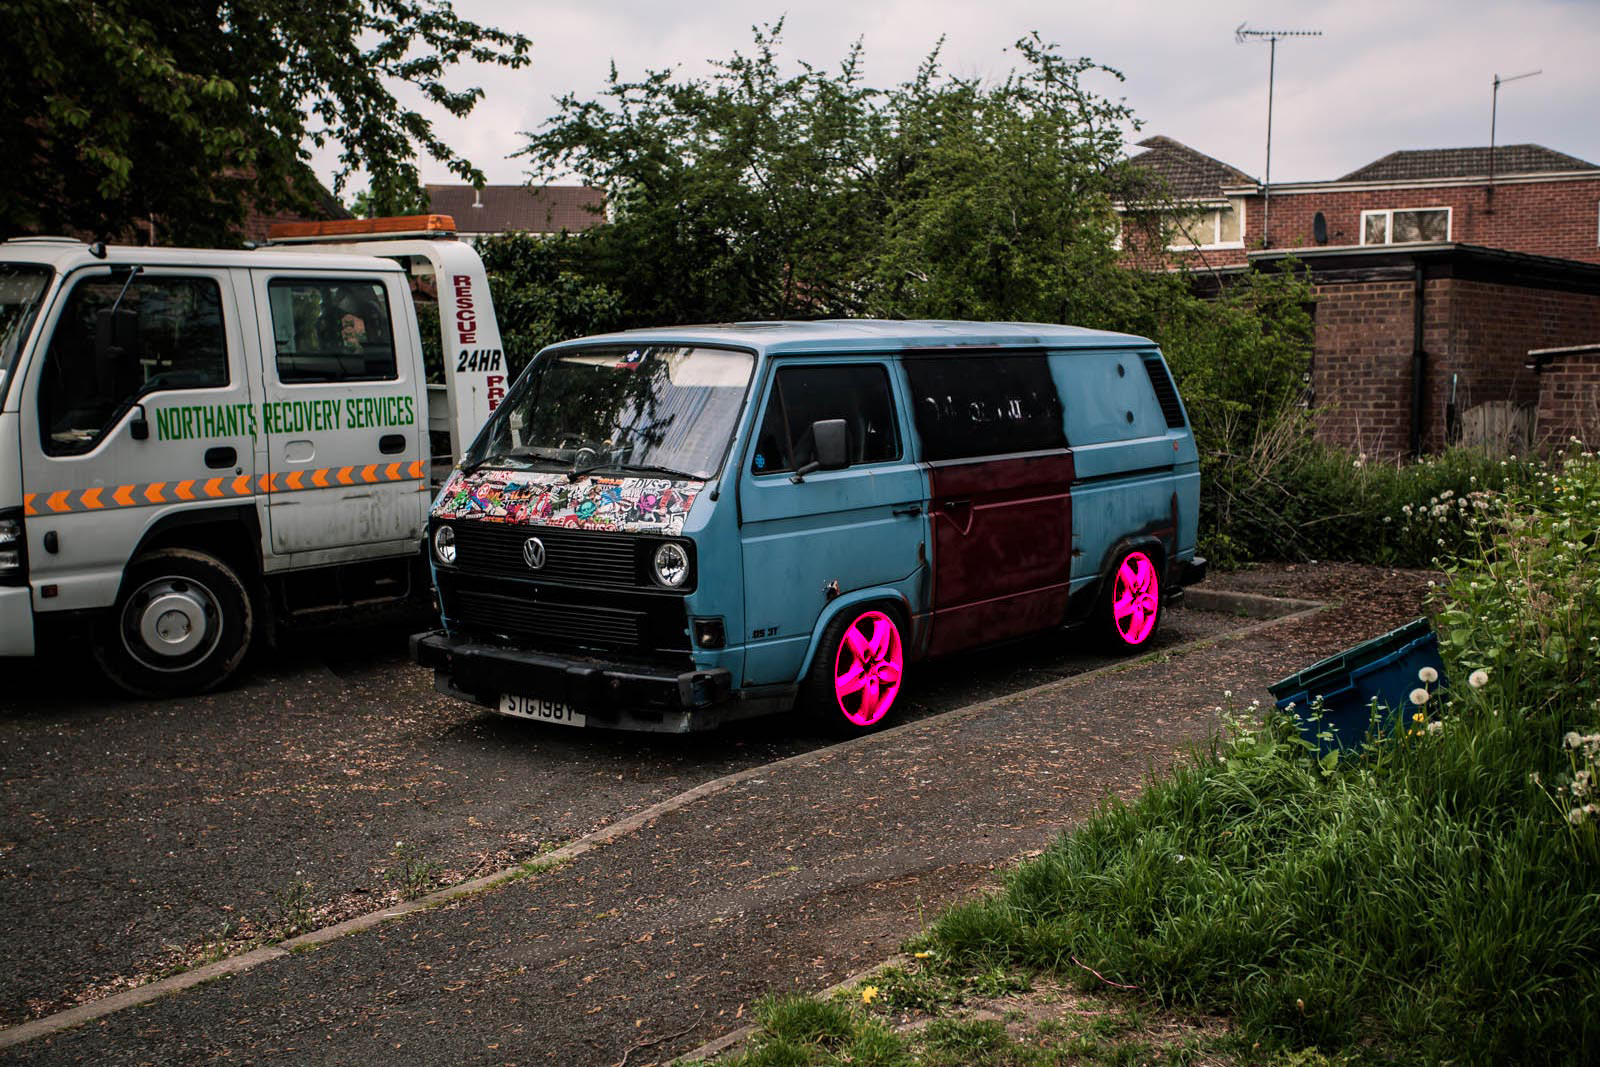 For some reason I wanted to get them neon pink, but couldnt find anyone locally that would do it so I thought white might be nice! 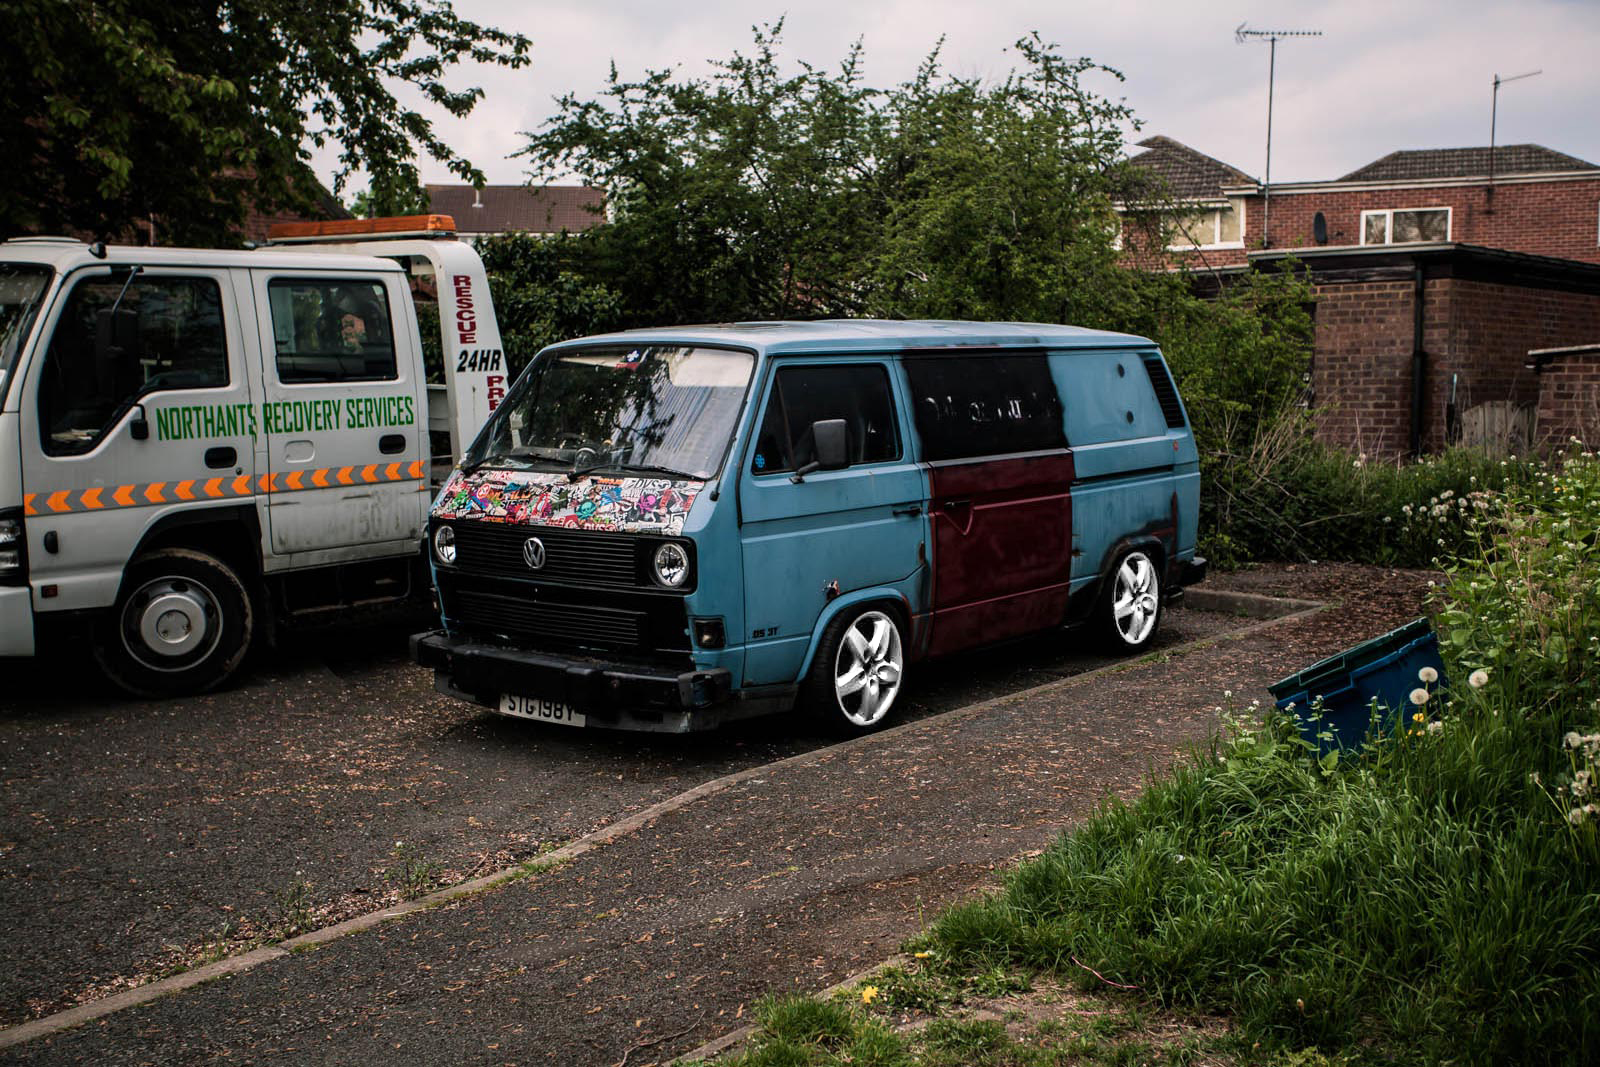 The only thing left to figure out was the offsets, they needed to be sorted as they stuck out too far at the front and were too far in at the back. As I was about to change out all of the front hubs and brakes etc I did that first to see what I was left with. So I continued with the brake set up, got some brackets made up as the porsche brakes are radial mounted so got out the CAD and got some brackets machined. It worked out pretty well as now the front wheel tucks nicely under the arch.....important for future plans!!  Hi cobblers, Ive been following your thread for a while, yeah its not too bad the 2.2 engine and it fits so very neatly in the engine bay. My brakes were bad mostly because they needed replacing and I'm sure properly maintained brakes would of been OK but I have some plans for some big power  Thanks Grizz, love your pickup by the way! I want some american iron next, I go to the Ace quite abit on hot rod night! |
| |
|
|
|
|
|
|
|
|
This is looking tremendous... VERY tremendous!!!
|
| |
***GARAGE CURRENTLY EMPTY***
|
|
|
|
|
|
|
|
|
Thanks! Grifterkid. 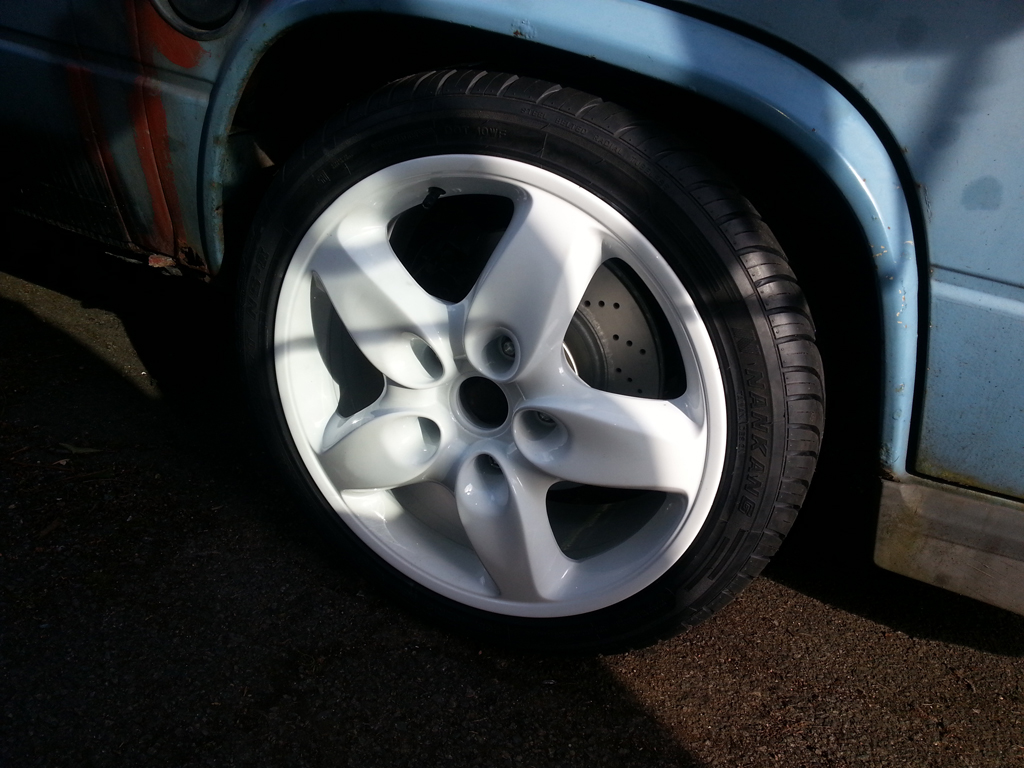 Now the front wheels were sorted I went onto the rears, These were gonna take some serious spacers to fill the arches! The old porsche 928 wheels had a more sensible offset and with the large tyres filled the arch pretty well  Got some H&R 45mm adapters, I worked out that I needed 55mm to fill properly but I wanted a safety margin. I just added a 10mm spacer behind the adapter!  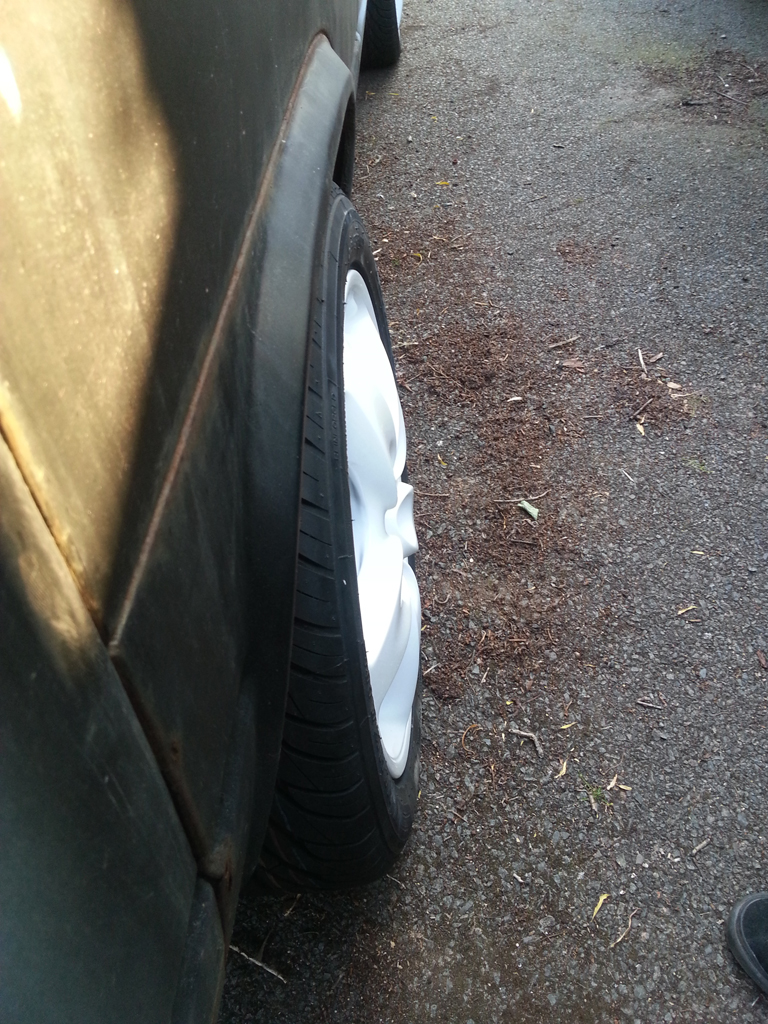 not bad! |
| |
|
|
|
|
|
|
|
you know I don't get jealous very often.......but NOW I AM  |
| |
|
|
luckygti
Posted a lot
   I need to try harder!
Posts: 4,912
|
|
|
|
That's looking bob on. The engine has me feeling that I really ought to freshen mine up before it goes in  |
| |
|
|
|
|
|
|
|
One thing that bugged me quite a bit was the dash, when I originaly got the van the dash was covered in weird VW related tat! like weird toys stuck onto the dash and some things even drilled into it. I hate all that stuff, It didn't even make it all the way home as I pulled into the services and ripped it all out and chucked it in the bin!. Which left me with this sorry looking dash with holes and black gum and all sorts of mess on it, so I decided to give it a little freshness! 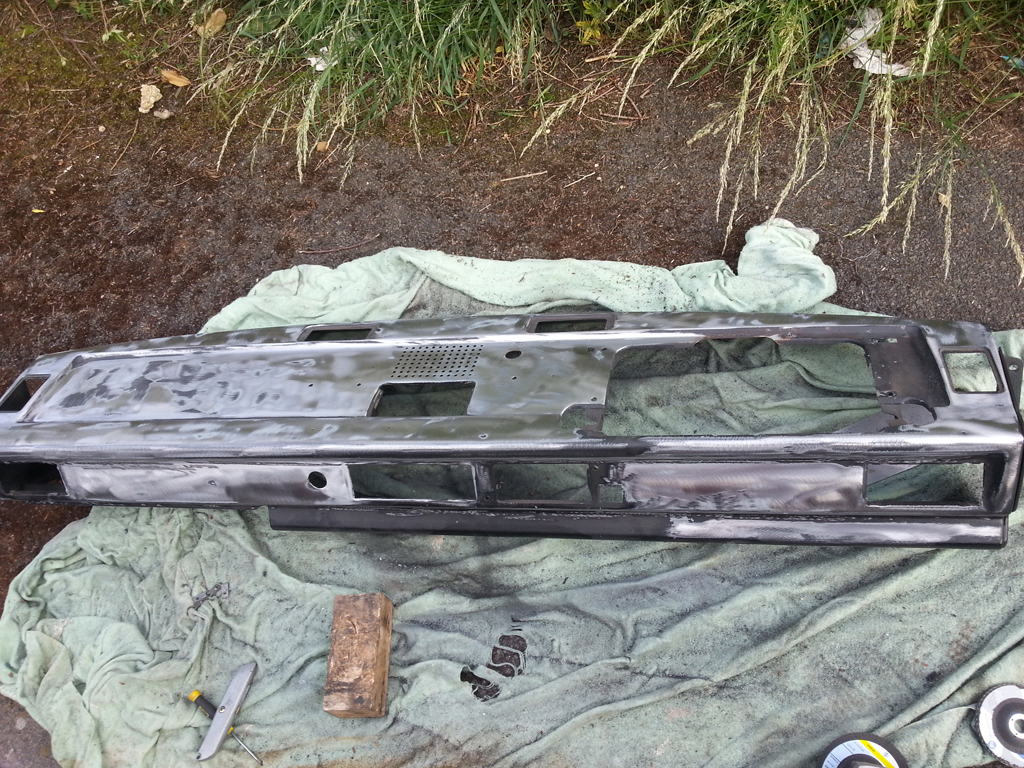 Stripped it all back with one of those paint stripping discs, worked pretty well all though the lidl grinder I borrowed nearly melted! 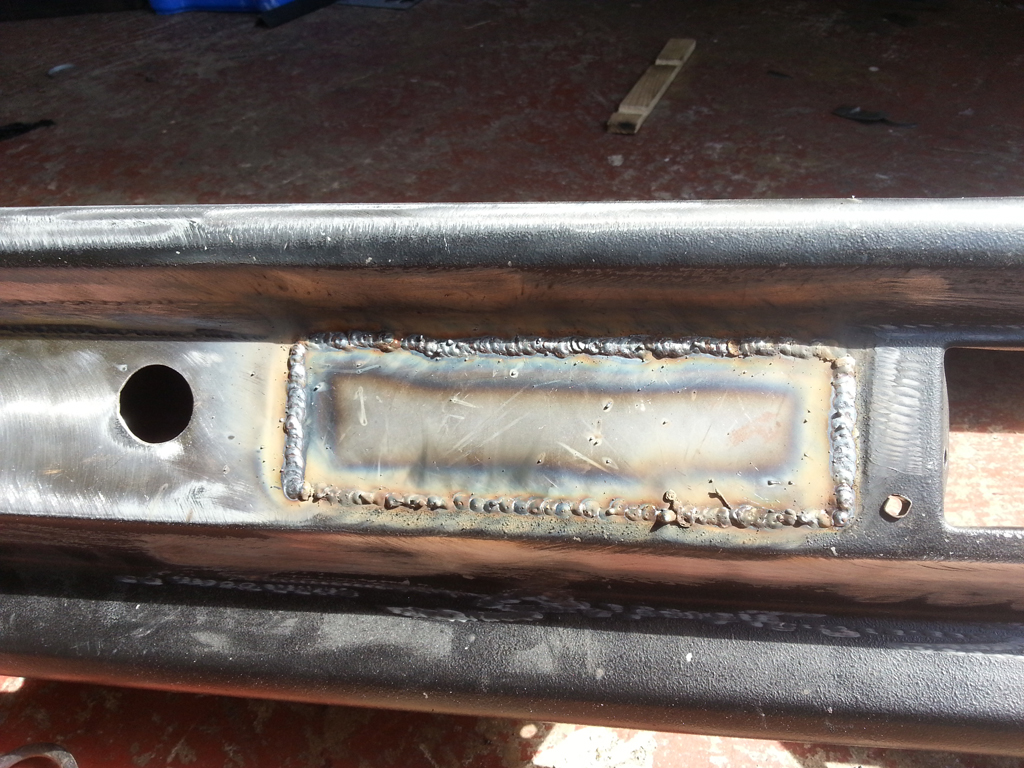 Welded up the stereo hole.  etch primed.  My Intel clean room I use for spraying! lol. Primed.  Marking out for the gauges. I thought I was being smart by filling it all then priming the stereo hole panel so I could get it all super flat and then cut in the gauge holes after!! It wasnt the best idea Ive ever had! 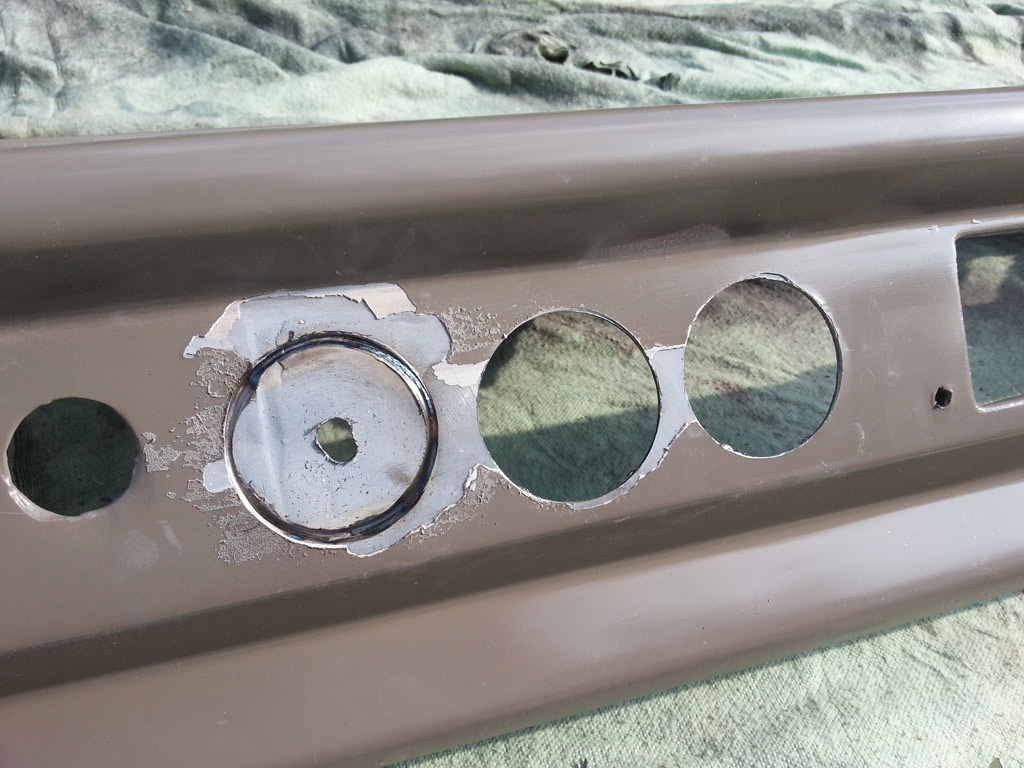 Seemed that my hole cutter had one good cut in it, otherwise it takes too much time to cut and gets pretty hot, and melts the filler!  had to sharpen the hole saw with the grinder! 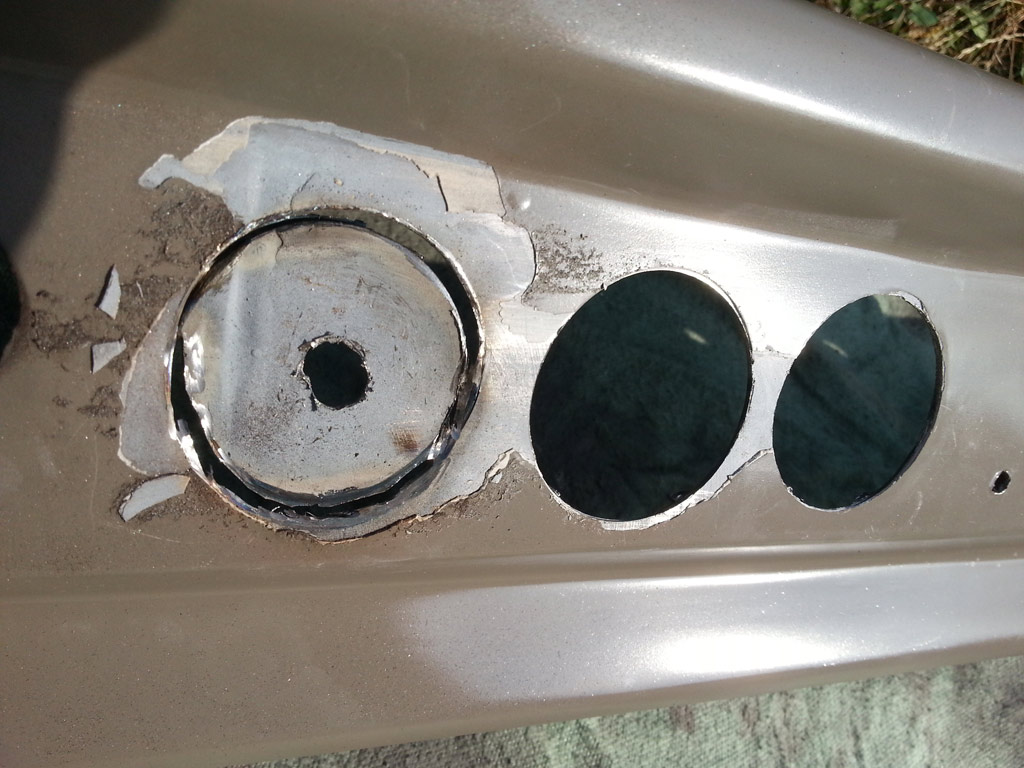 had to finish with the dremel. 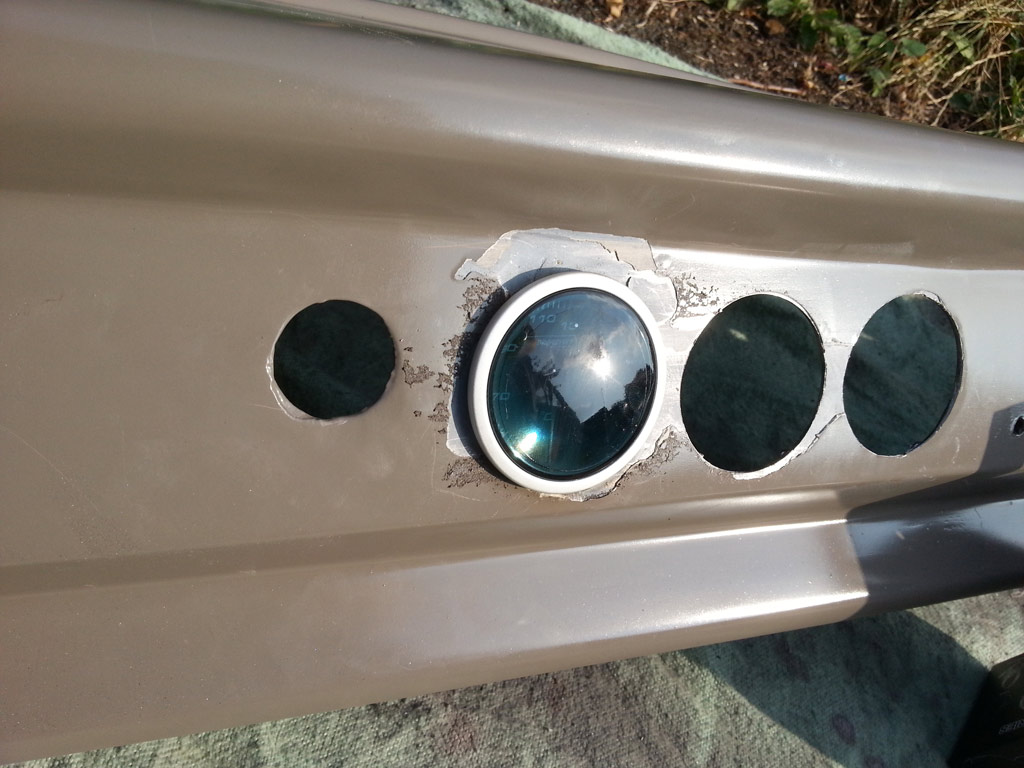 Its in though! Next paint!! and this!   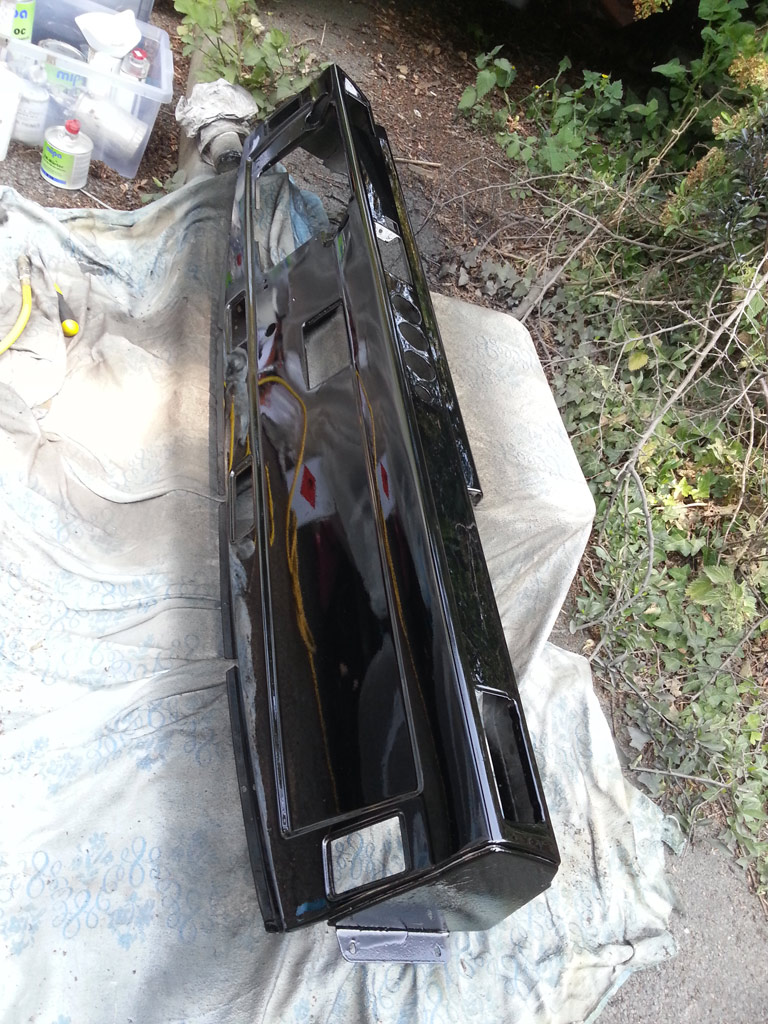 Paint! had a little problem with my setup, it spat out what looked like water into the paint despite having a water trap, it was a hot day and the water trap is only small.   Got quite a few runs though and loads of orange peel! Also I nearly slipped and accidentally kicked some bits into the lacquer !! So not a great job! But I can't expect anything else from the conditions I'm doing it in, but its a million times better than it was. Will redo again when I have a garage! I've learnt loads from doing it o hopefully won't make the same mistakes again! Will cut it all back and see if I can smooth it all out alittle!! Sorted the dash out, rubbed it down with 1500 and then buffed it out with some G3 and then some polish I had. Not 100% but I can live with it for now. 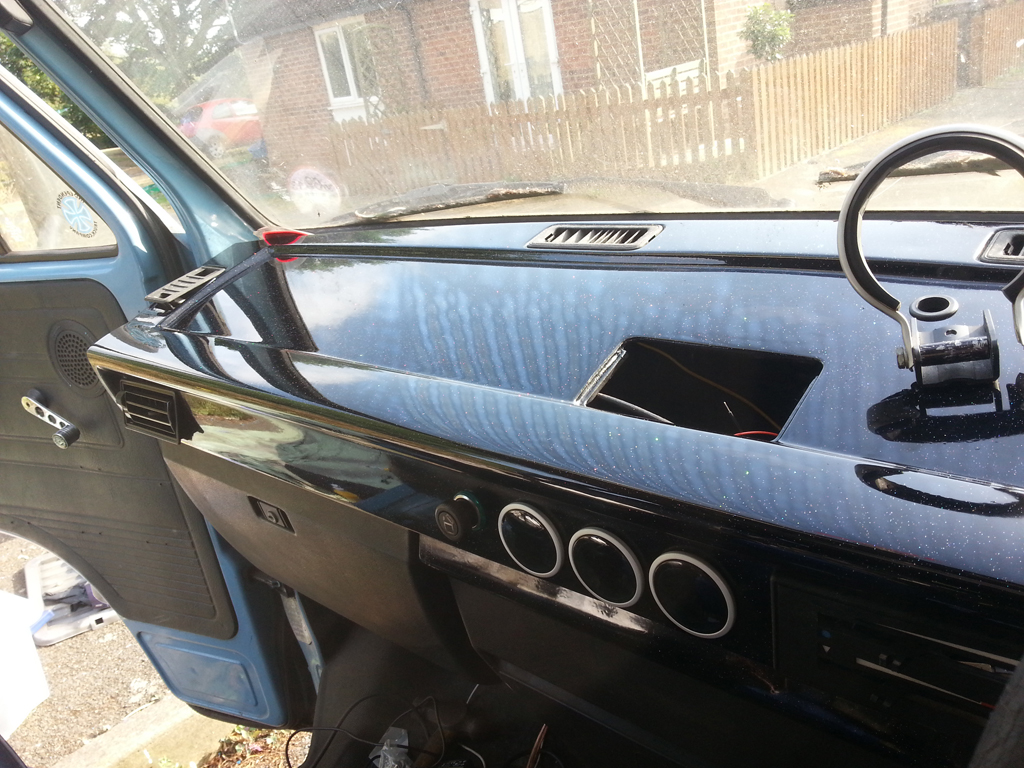   |
| |
|
|
|
|
|
|
|
That's looking bob on. The engine has me feeling that I really ought to freshen mine up before it goes in  Yeah will definitely be worth it, and a lot easier while out of the van. I used the VHT range of paint including the crinkle, It worked really well I thought. |
| |
|
|
|
|
|
Jan 18, 2014 15:47:52 GMT
|
well its been a while..... things were going great until....... 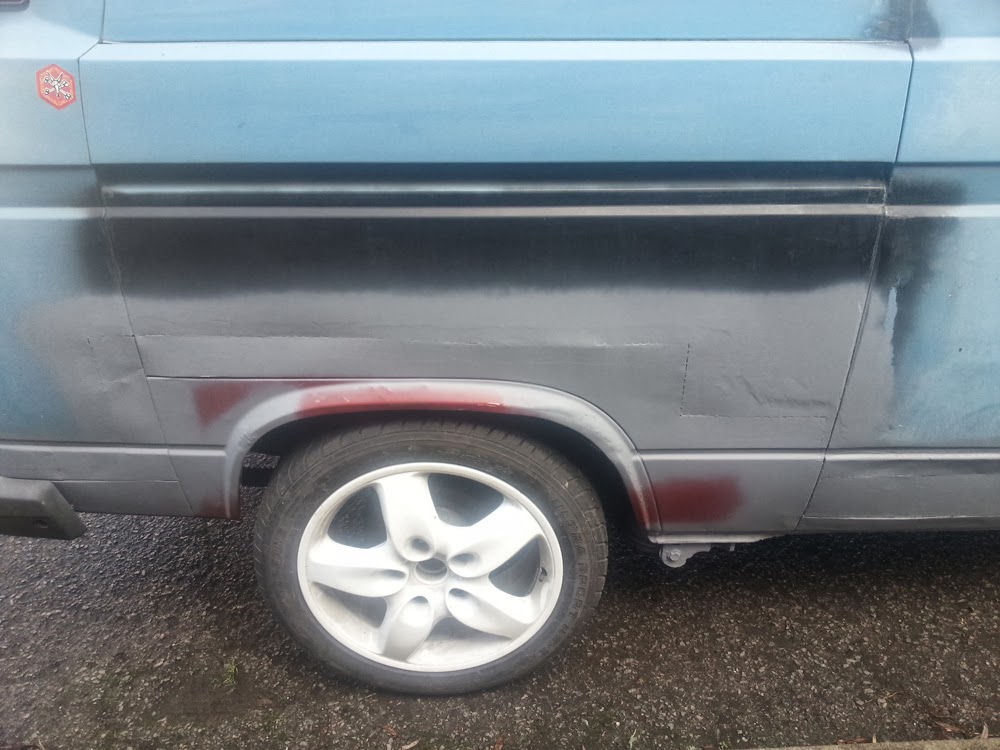
I made the mistake of going to a VW repair specialist in Northampton!!!!!!!!!!!
you can read about it all here
OLD SKOOL VW NORTHAMPTON
that kinda killed my enthusiasm for the van a bit,
but now I'm trying to forget that and those aholes! ha
might have a line on a really good guy to rectify this mess. but in the mean time! onto the rear brakes.


|
| |
|
|
|
|
|
Jan 19, 2014 17:42:54 GMT
|
Strarted up the van this morning, seemed a little louder than usual!


That is stainless steel believe it or not? that's right you don't believe t, thanks ebay! its all brittle and totally knackered. THis exhaust was a temp fix anyway as when the airbags go on it will hit the floor. Anyone here ever made 2 into 1 mergers? |
| |
|
|
|
|
|
Jan 20, 2014 15:11:40 GMT
|
getting closer!

|
| |
|
|
|
|
|
Jan 30, 2014 15:50:07 GMT
|

Just waiting for the brackets to get cut, ho hum!
|
| |
|
|
|
|
|
Jan 30, 2014 22:38:36 GMT
|
|
very interesting trials and tribulations...Love the white wheels you had on there, but understand about the offsets...Dash is quite nice, great gauges...this is turning into a neat little van...
JP
|
| |
I know its spelled Norman Luxury Yacht, but its pronounced Throat Wobbler Mangrove!
|
|
|
|


 up stance, to much scrapping in the vw scene now


