|
|
|
Jan 30, 2015 11:02:29 GMT
|
|
Blimey, that is looking as good as ever... I bet you can't wait for Spring so you can bring the old beast out for a spin...?!
Keep up the good work, it looks like you really know what you're doing...
|
| |
***GARAGE CURRENTLY EMPTY***
|
|
|
|
|
|
|
Jan 30, 2015 11:16:35 GMT
|
Stunning! my late Grandad had one when I was a kid, he'd let me sit in it and play with all the switches on the dash  happy memories  |
| |
|
|
XL391
Part of things
 
Posts: 160
|
|
Dec 18, 2015 21:56:10 GMT
|
Right, a brief update. The dashboard in these Series 1's are a lovely looking thing. However, early XJ's looked even better as the dials had chrome rings as opposed to black rings. They didn't hang about for long, they were removed around the 1970 model year as they were said to cause glare/reflections. There was an early car being broken on the XJ group on Facebook so I put together a shopping list... 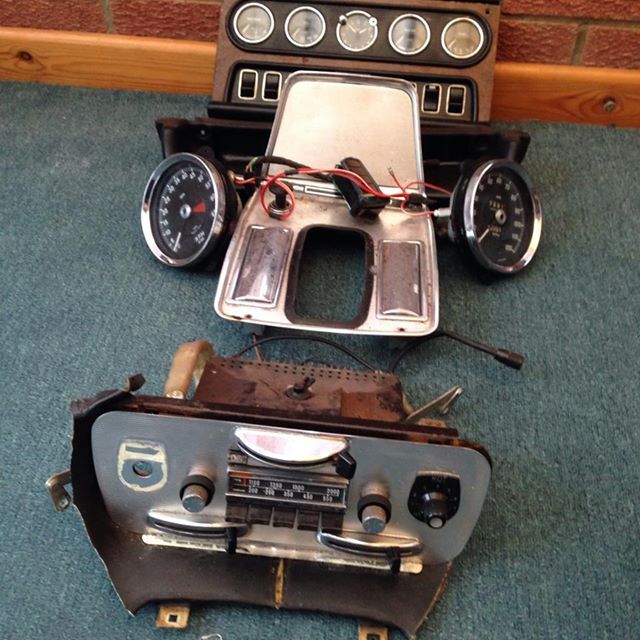 As soon as they turned up I got to work. Because the dials were from a 2.8 they weren't a straight swap as the speedo only goes to 120 but the red line is higher. I wanted to keep the mileage the same as well so this meant removing the dial faces from the body. 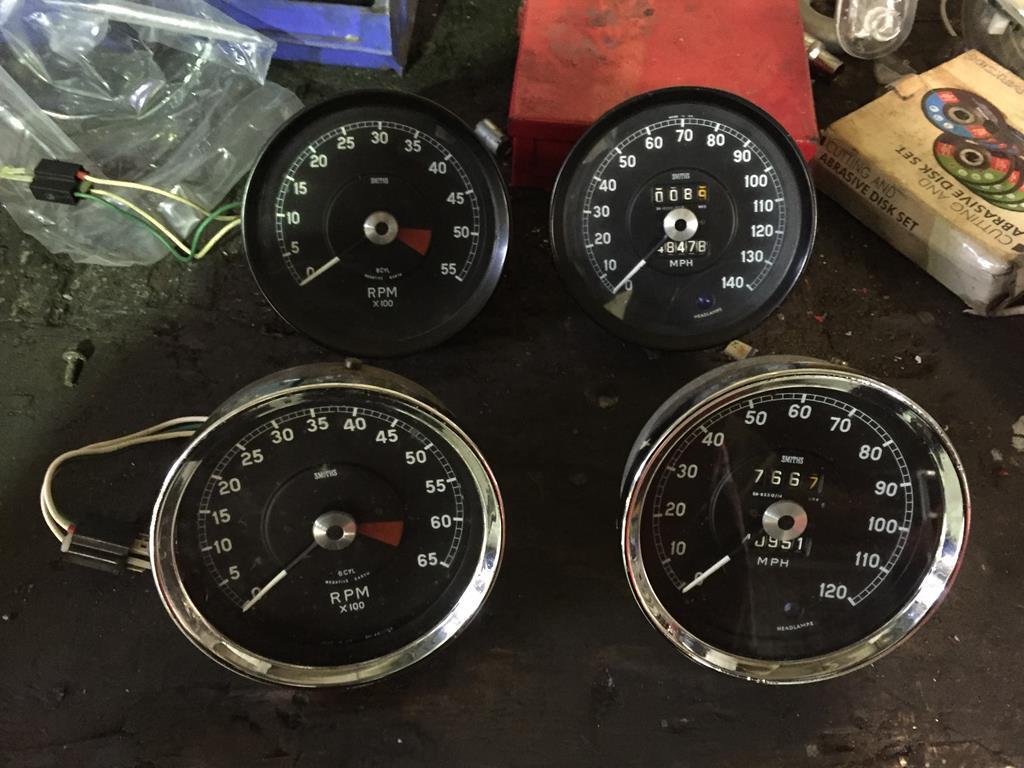 The faces are held on by metal tabs. By turning the faces to cutouts on the dial body you can remove them. I put lots of WD40 around the dial to help get things moving but also to preserve the thin rubber gasket between the glass and the body. The middle dials are not separate units except for the clock. I dismantled both sets and used my dials and electrics with the chrome faces. The clock also has to be changed as the unit is different from the later one as fitted to mine. This clock isn't working but I will send this away for repair. I think you'll agree the chrome is an improvement... 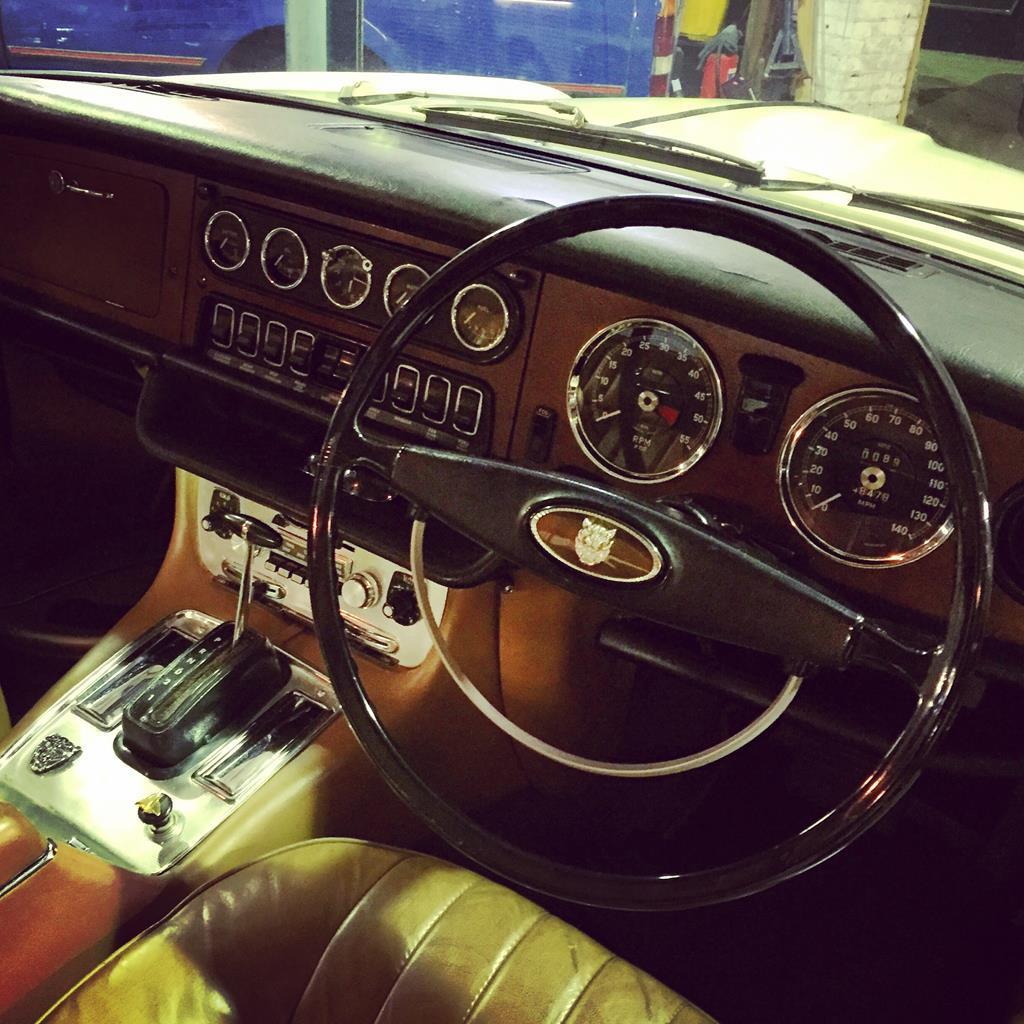 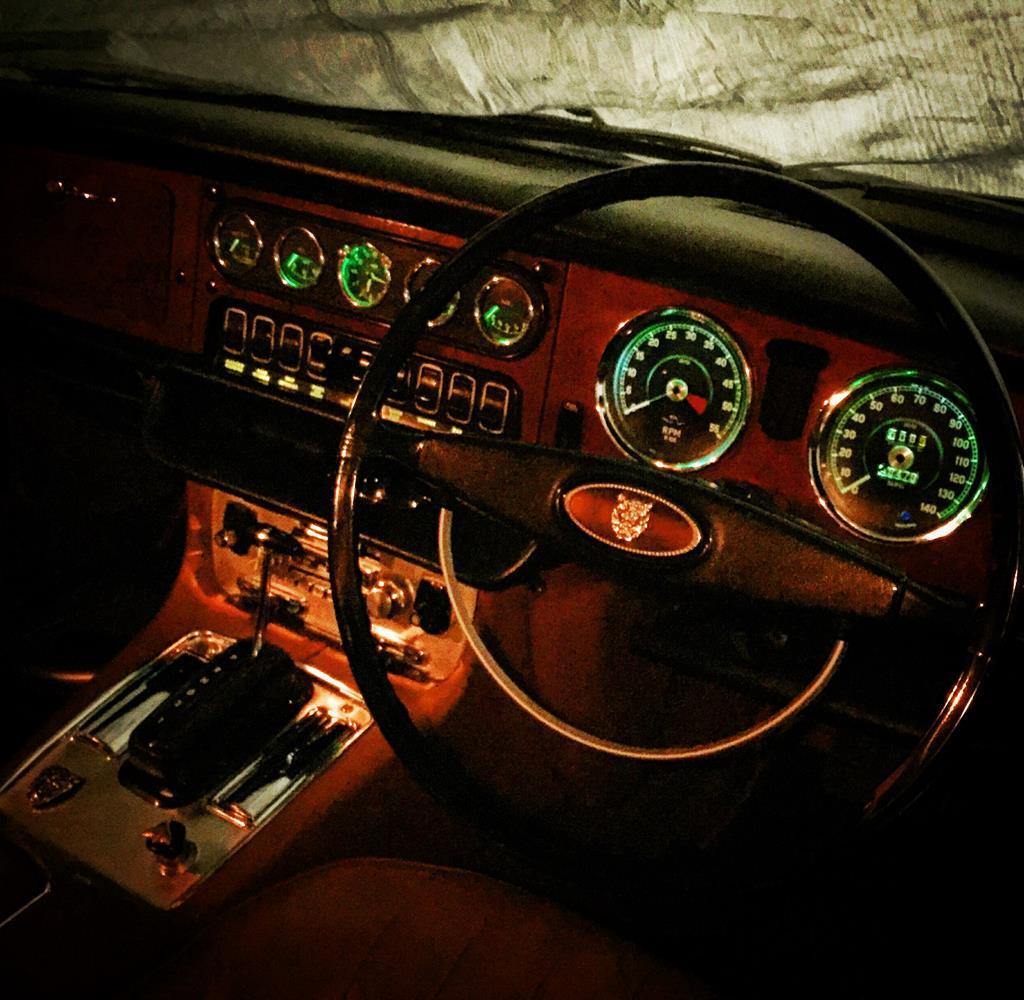 I also changed the panel that the radio sits in. The radio is now integrated into this panel, I'm made up with the result. 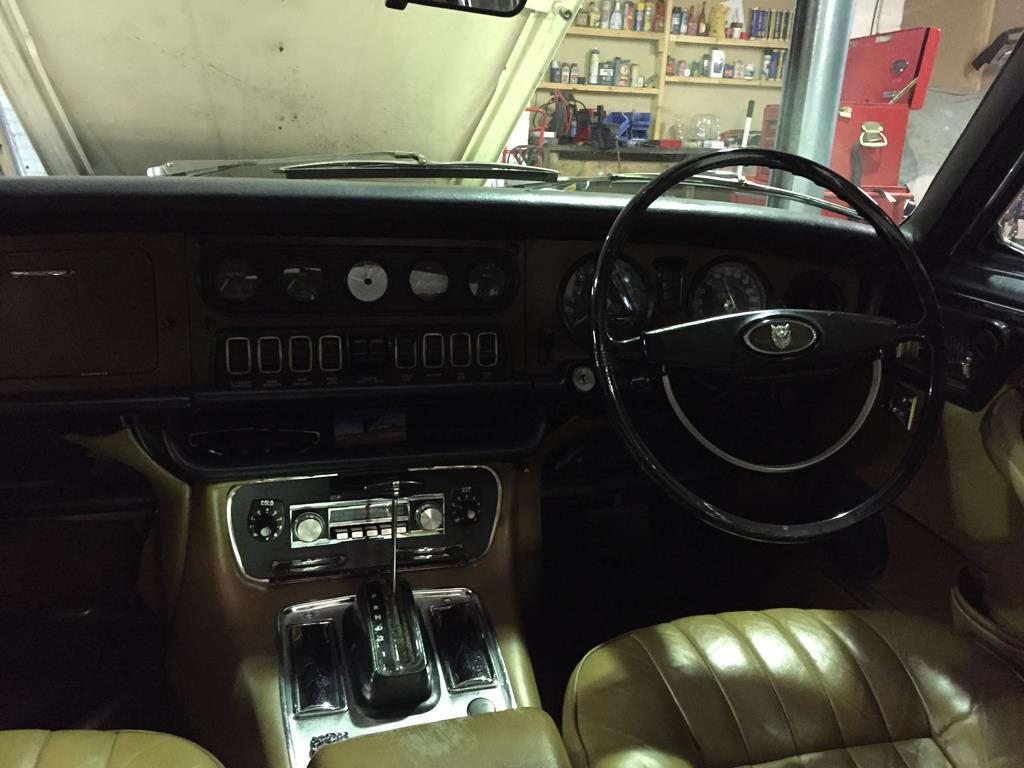 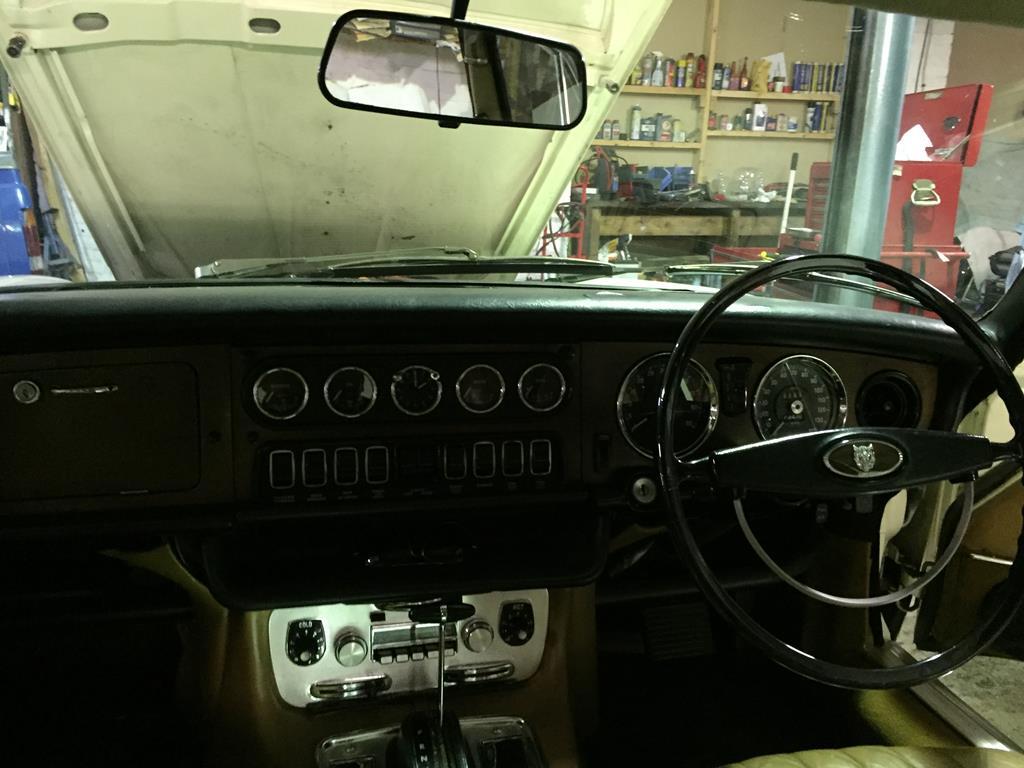 |
| |
Last Edit: Mar 12, 2020 17:38:10 GMT by XL391
|
|
|
|
|
Dec 18, 2015 23:28:49 GMT
|
Magnificent!  |
| |
|
|
smeden
Part of things
  "Full throttle until you see God,then shift to second"
Posts: 356
|
|
|
|
|
Lovly looking car! Nice with the Chrome! The interior of the S1 is just such a nice place to be!
|
| |
Jaguar xj6 S1 swb manual
VW Bay Camper
Audi A3 1998 1.8
VW Beach Buggy (sold)
Ford Mondeo mrk I RS Celebration (written off)
Ford Escort Mrk II RS 2000 (rust in peace)
|
|
XL391
Part of things
 
Posts: 160
|
|
|
|
Thanks guys! I had mentioned I was after a back seat as the leather on the seats in this were brittle and cracked. After asking on the Facebook page if anyone had a rear seat one of the guys came back to me to say he had a set of retrimmed seats out of a Series 1 project that the guy had given up on and broken. £150 for retrimmed seats that had never been sat on was way too good to miss! So, I nabbed them, give them a clean and a good feed and fitted them. 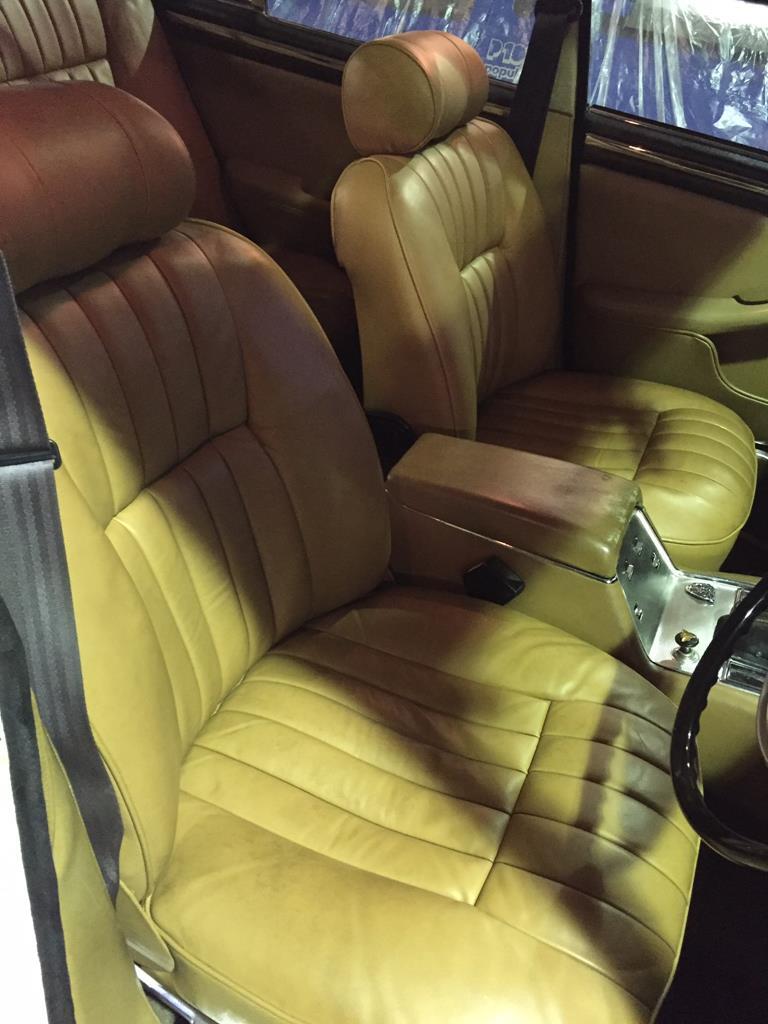 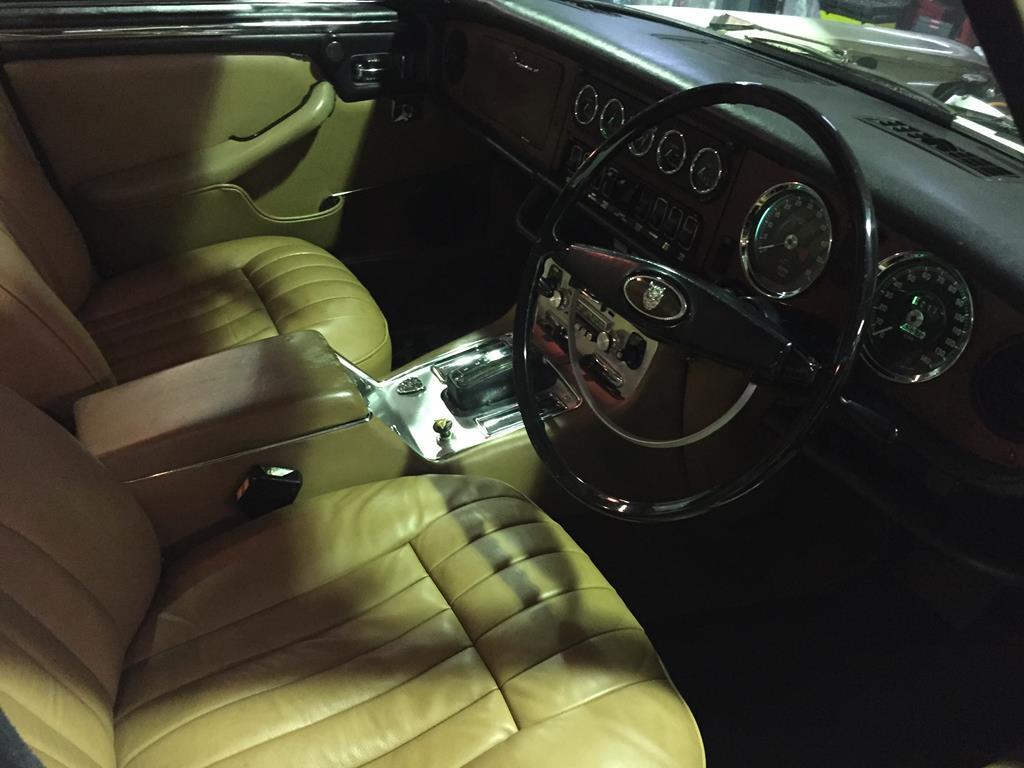 |
| |
Last Edit: Mar 12, 2020 17:39:56 GMT by XL391
|
|
Marc
Posted a lot
  
Posts: 1,037
|
|
|
|
|
Any more news on this one? Just love this car.
|
| |
|
|
XL391
Part of things
 
Posts: 160
|
|
|
|
Bloody hell! 2 years since my last post?! Probably due an update then. 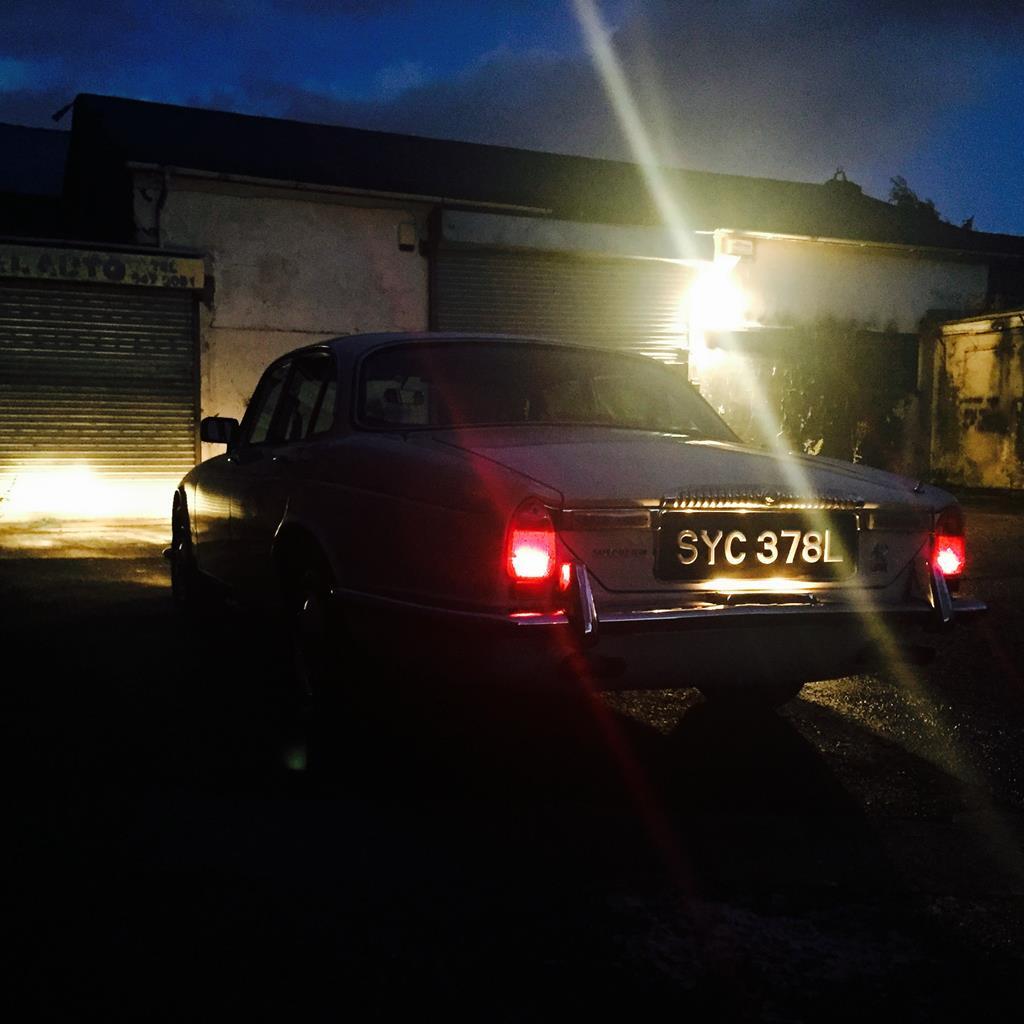 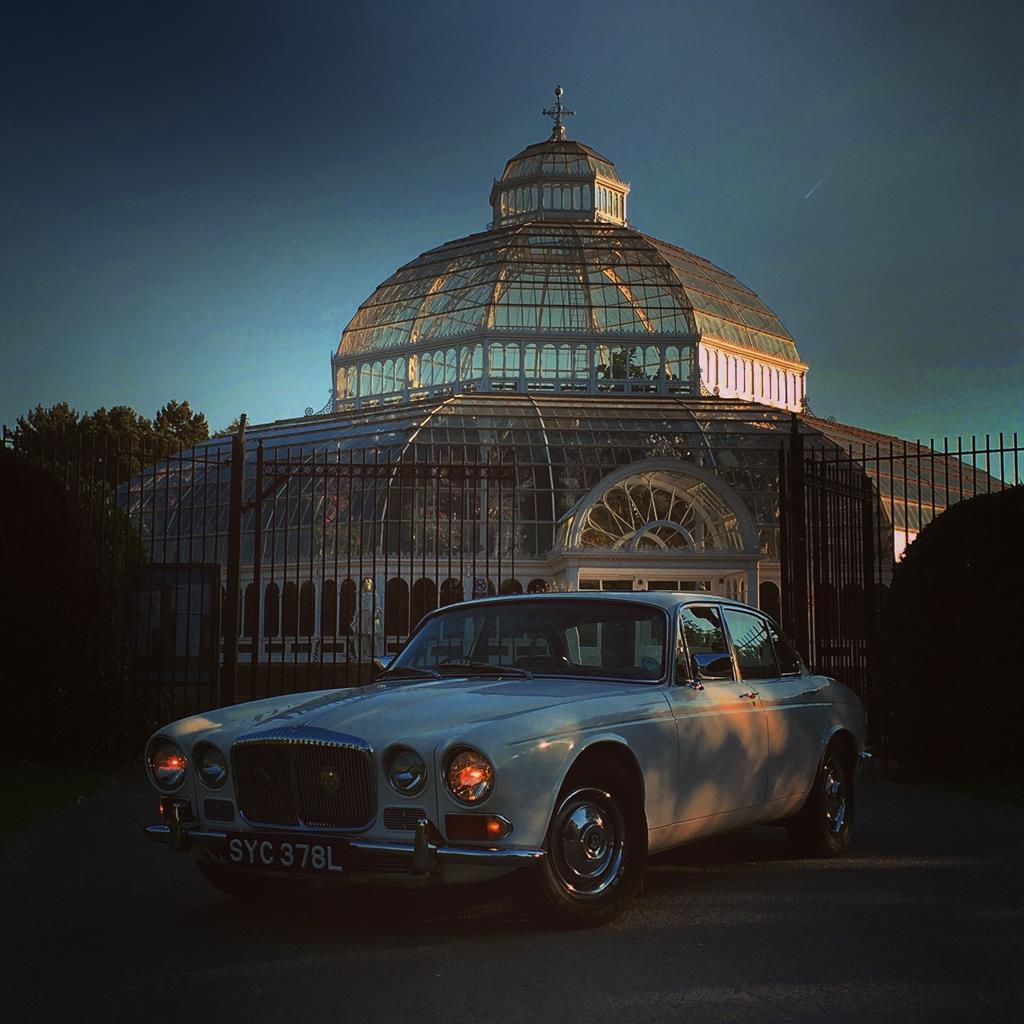 The car hasn’t missed a beat since my last post, it’s been nothing short of fantastic. It’s had it’s fair share of miles under its wheels in that time, been on plenty of trips. 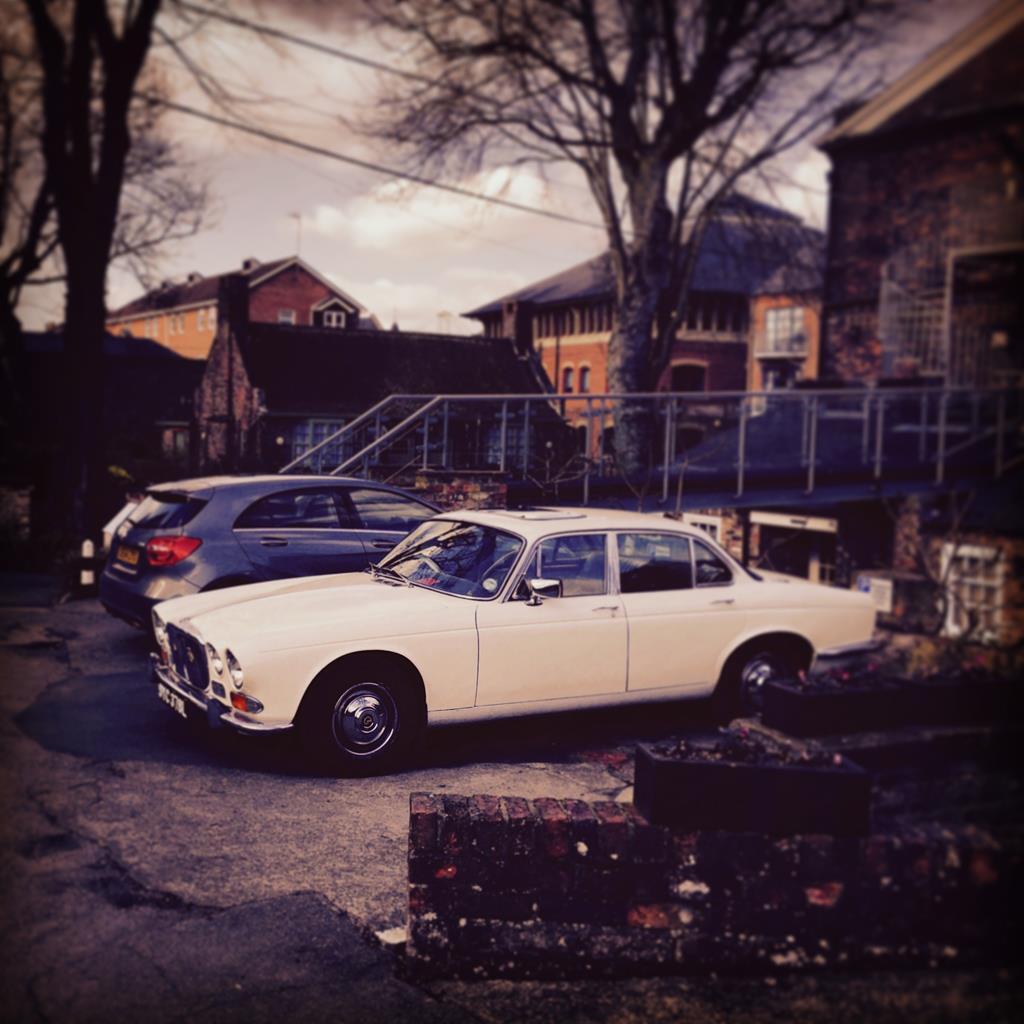 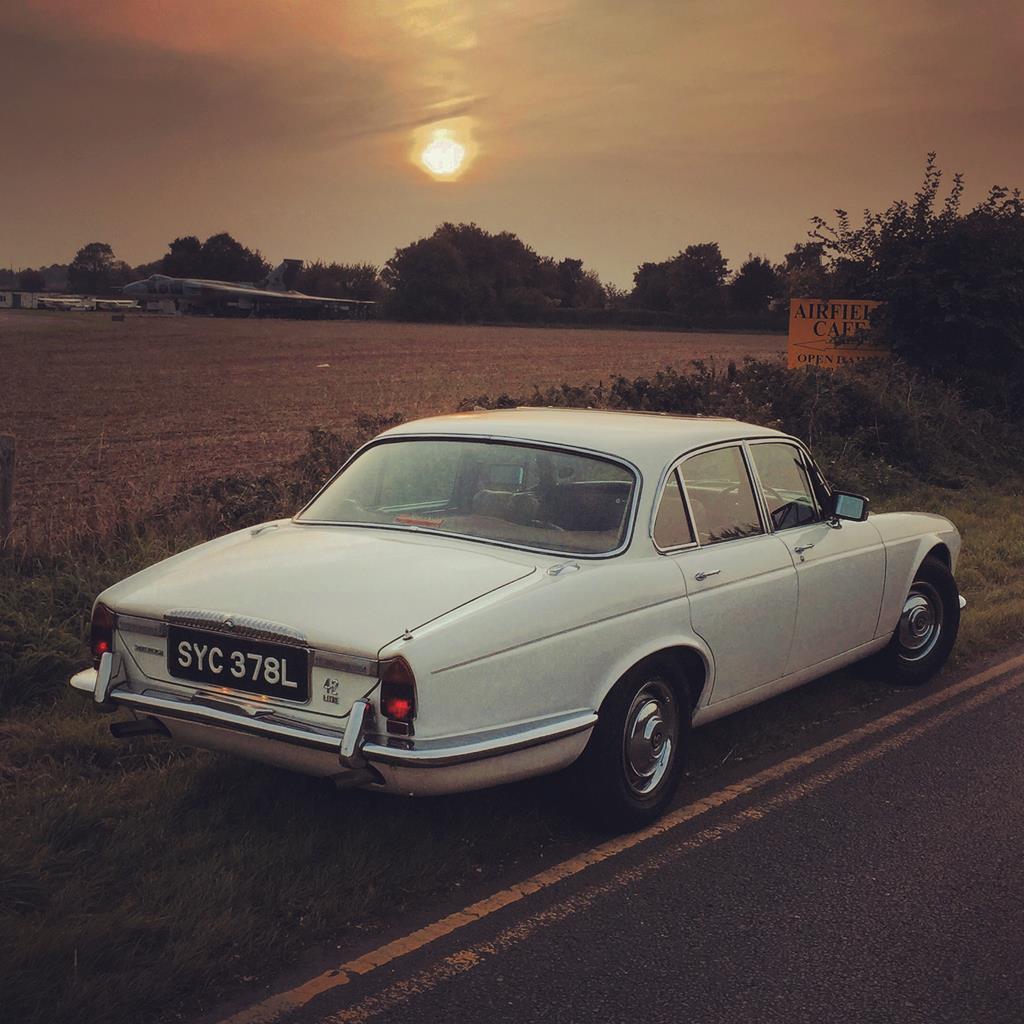 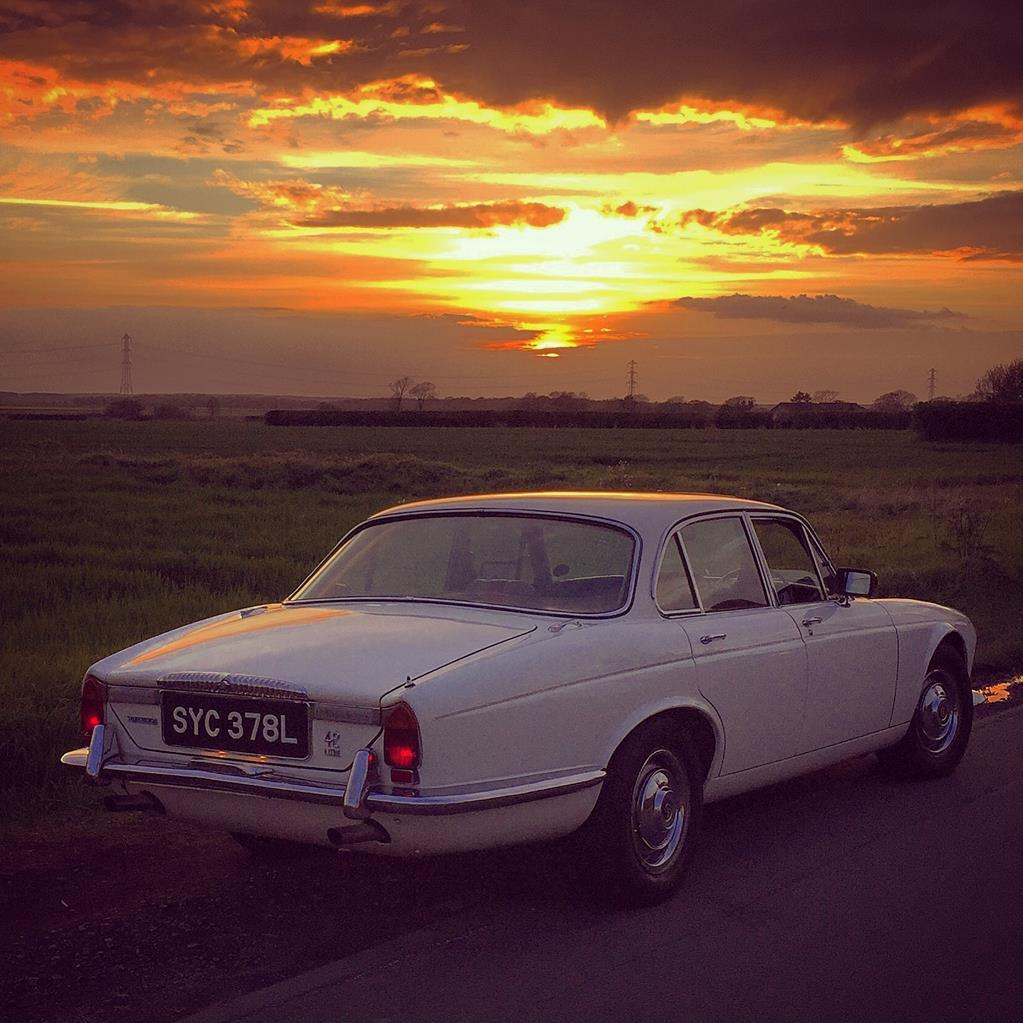 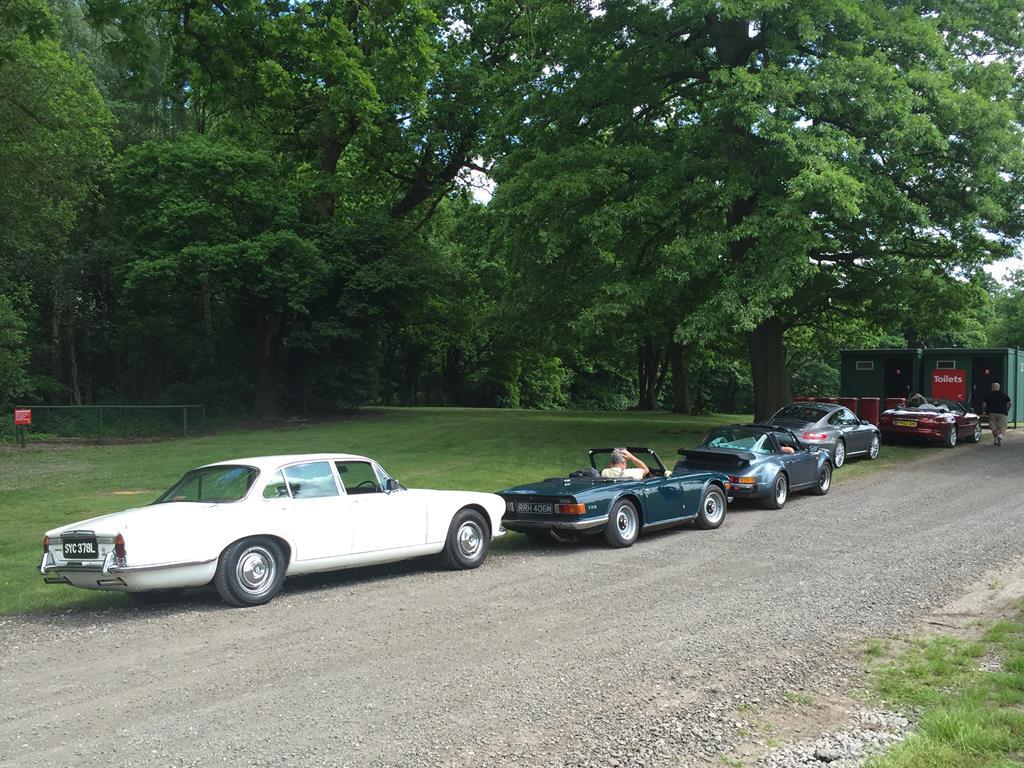 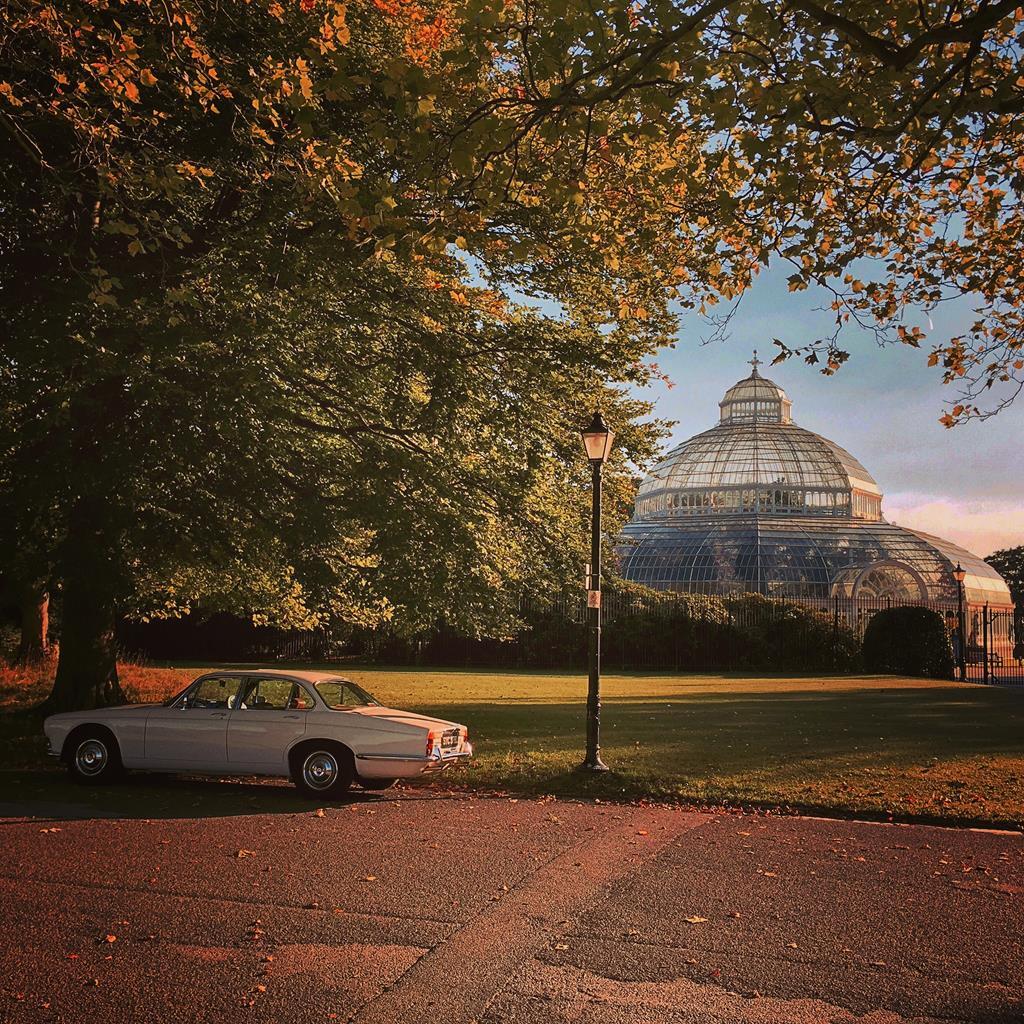 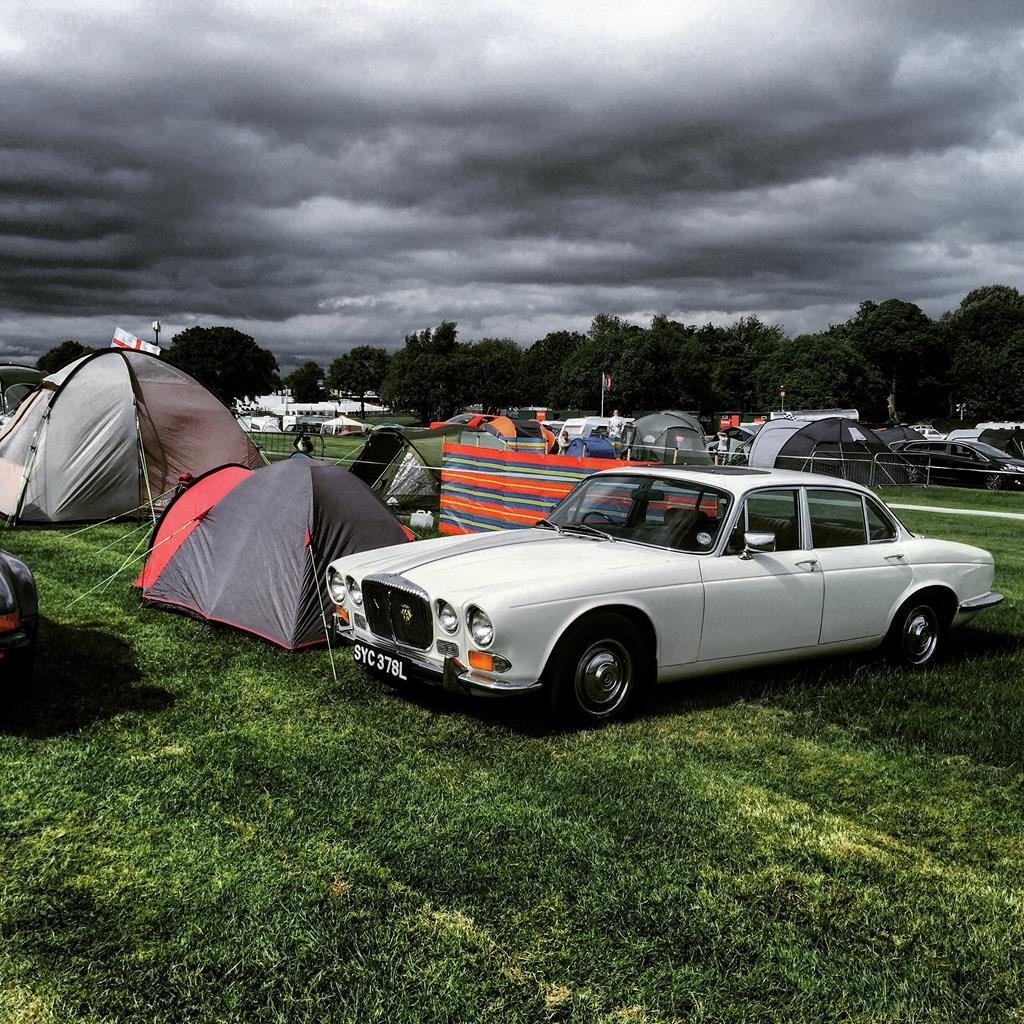 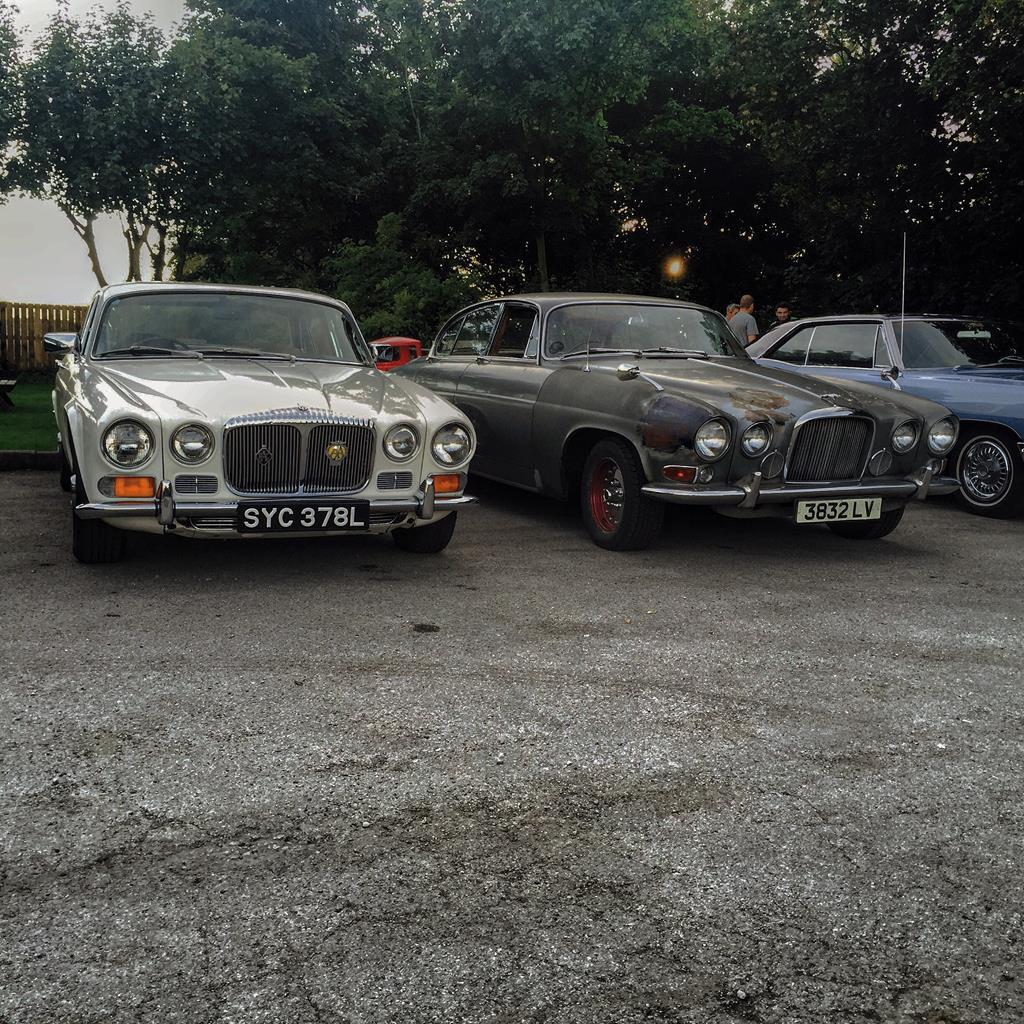 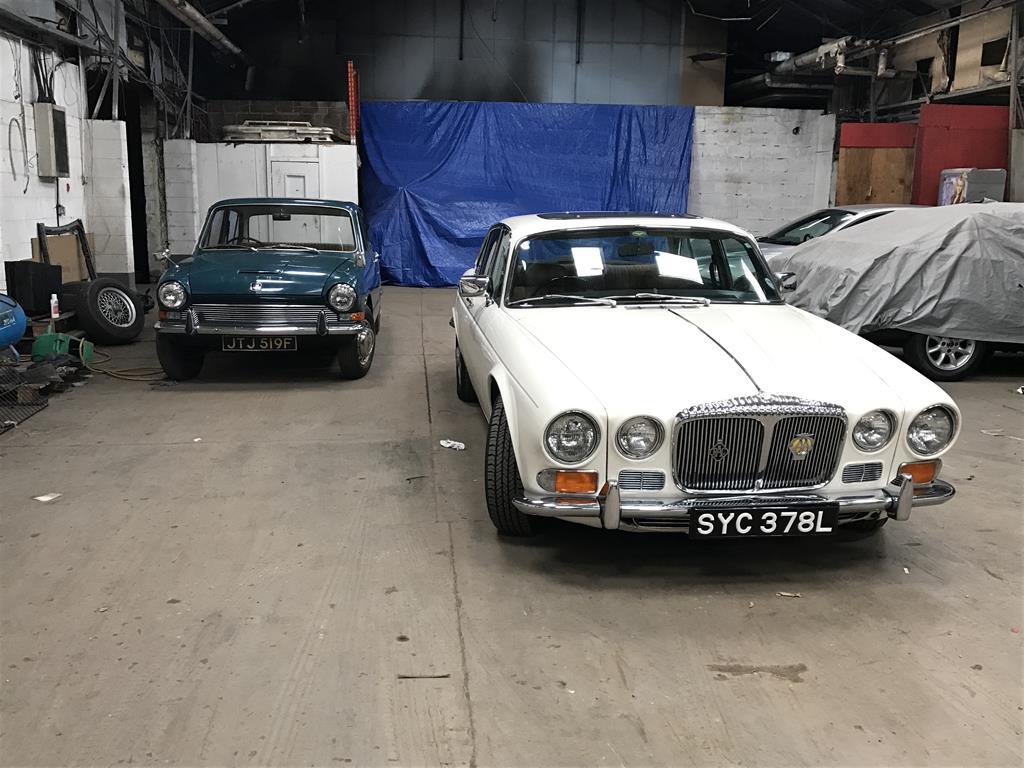 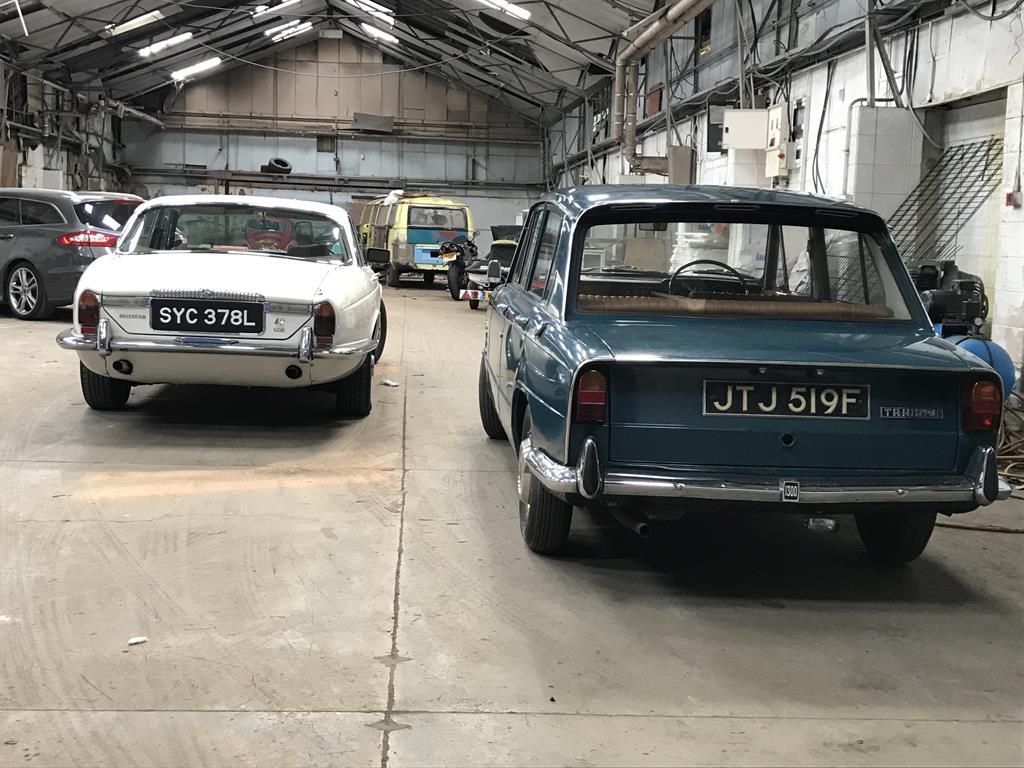 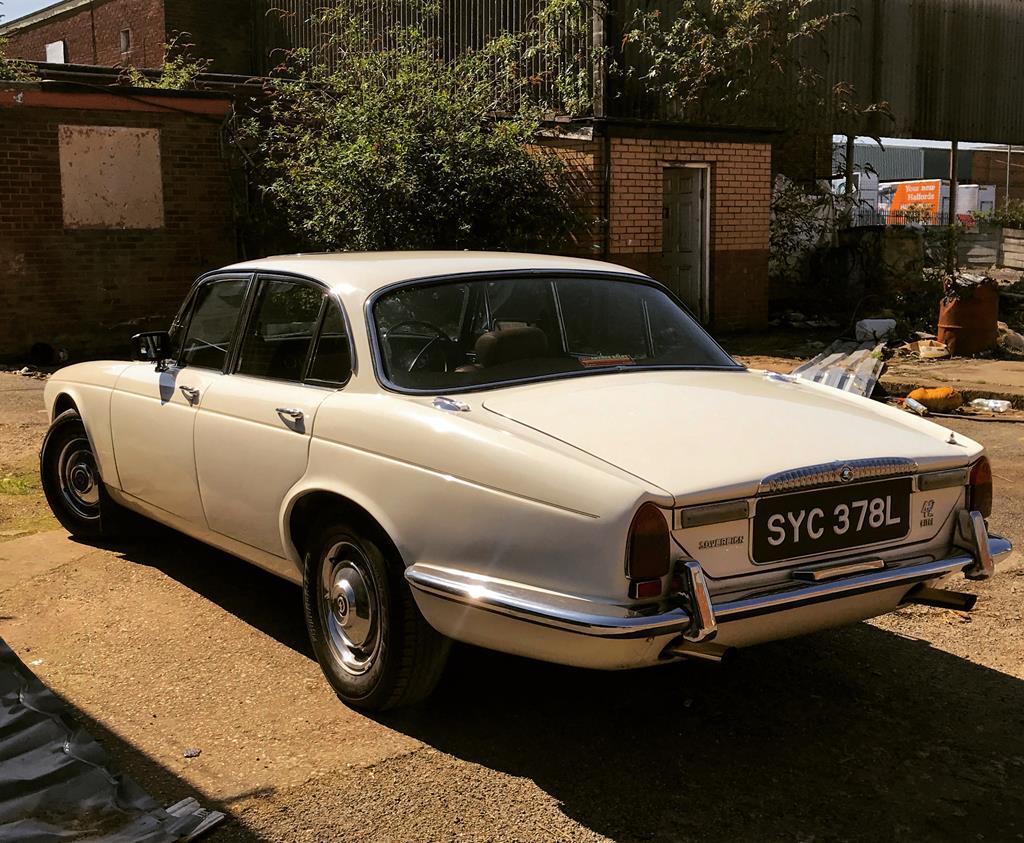 At certain times last year there was a rattle which appeared to be coming from the front end. I changed the anti roll bar to body mounting rubbers but it had no effect. 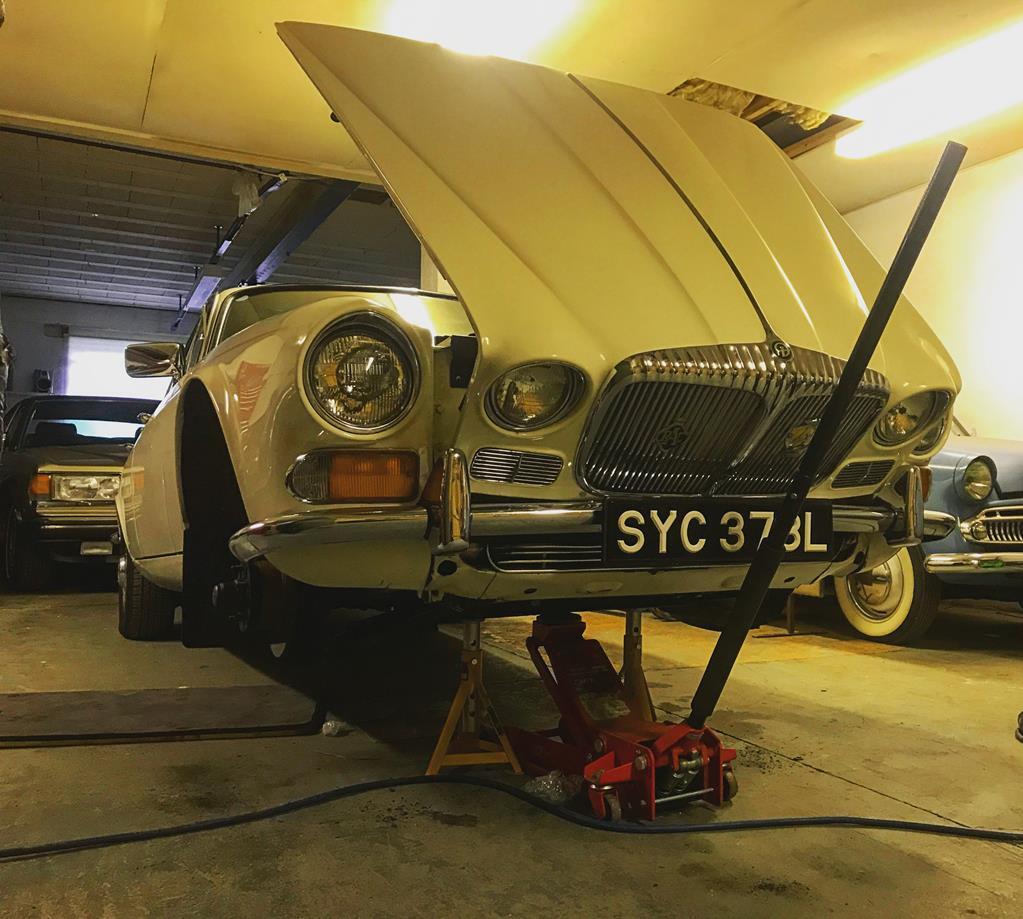 So, after getting some advice from some knowledgeable people such as richw82, I was told to suspect the wishbone bushes. So, in February she was skated into my little workshop (we moved to a smaller Man Cave last year) andb the old girl was stood on axle stands in preparation. 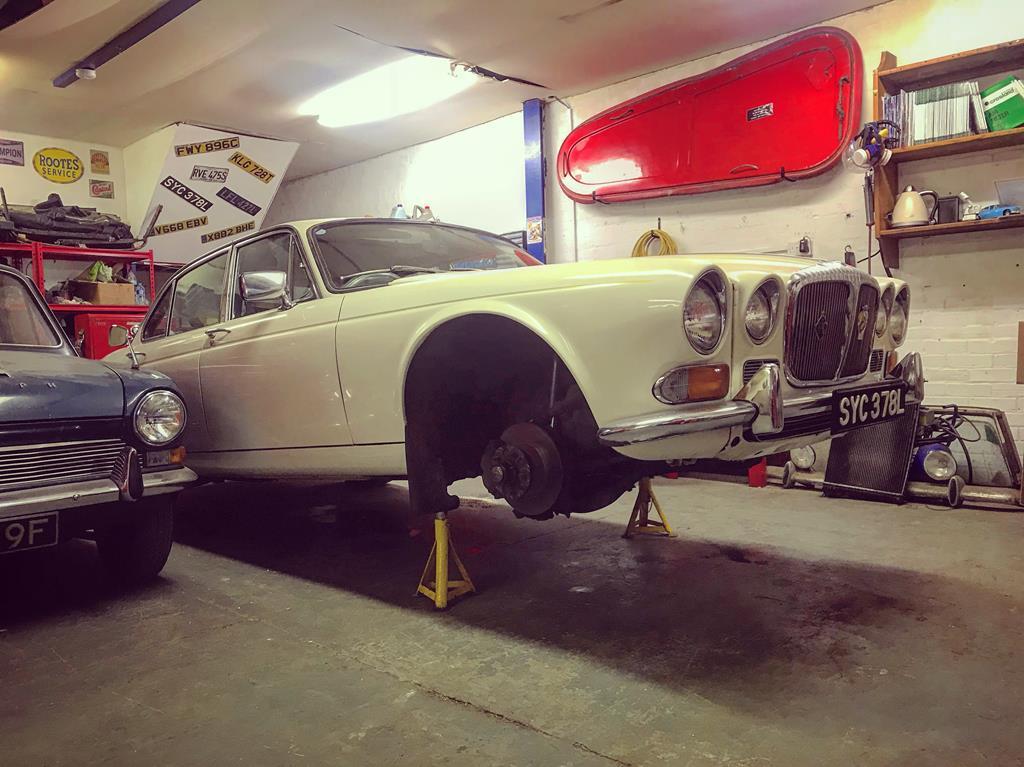 What a horrendous job. The springs were wound out on their spring pans using studding that screwed into each bolt hole. 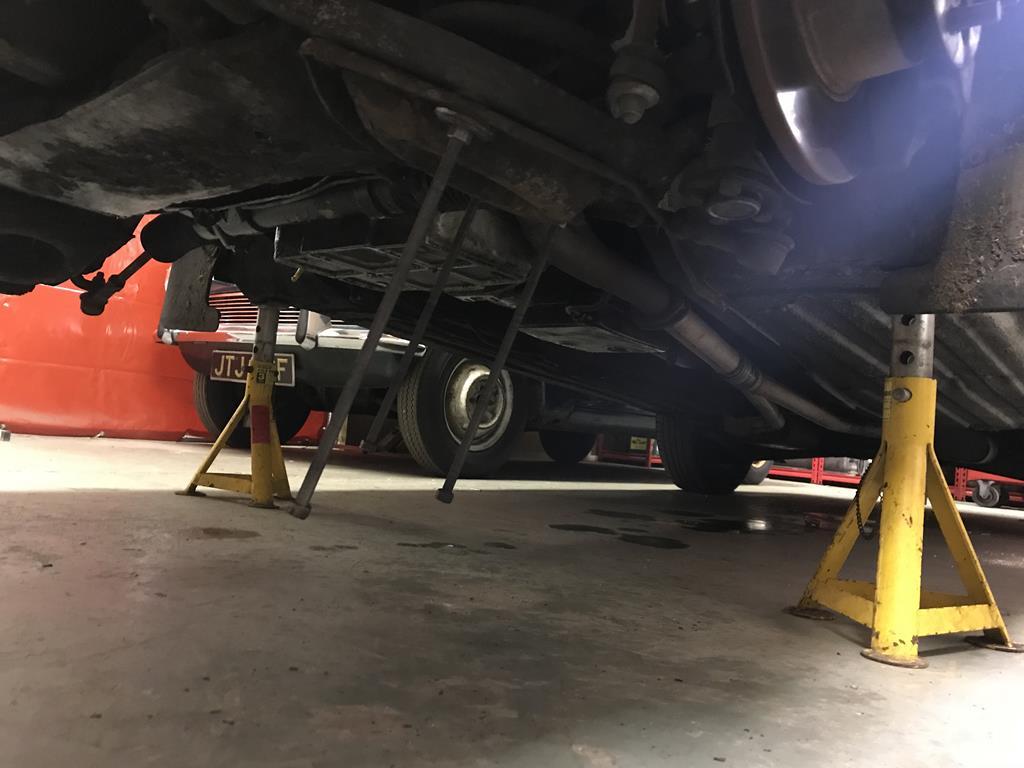 After this it was the usual dismantling of the hubs and then the logical removal of the lower wishbone, held in on a substantial pivot shaft that goes right through the front crossmember. It turns out they were perfectly happy to remain where they were. 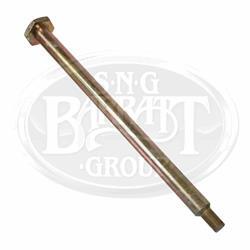 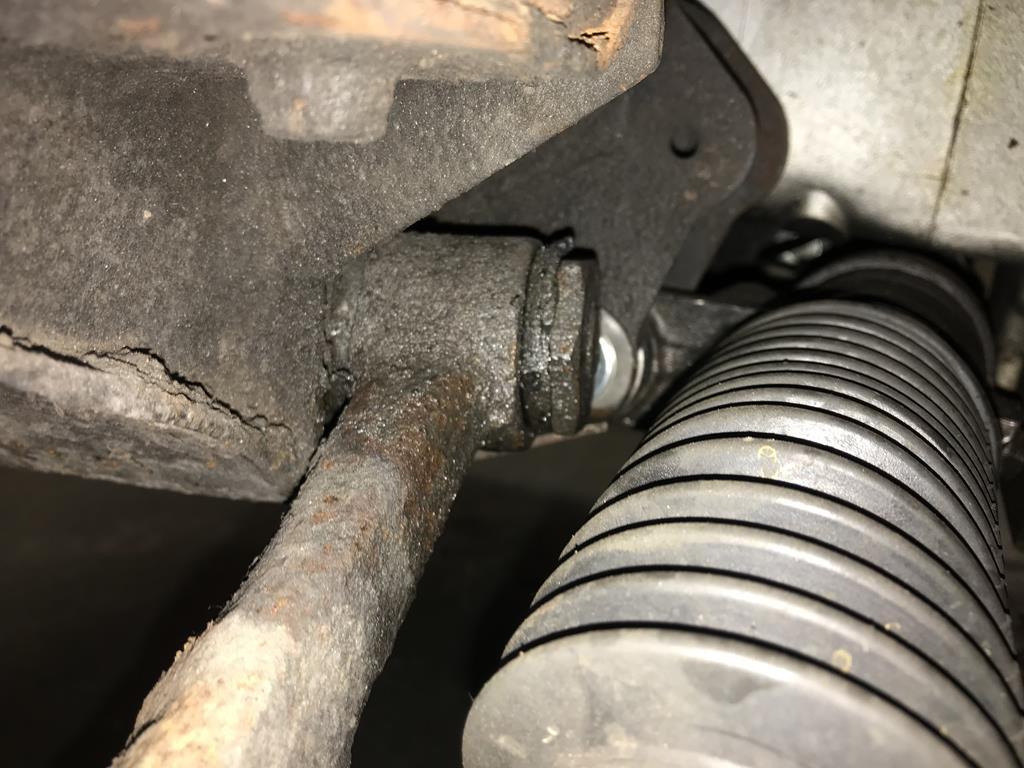 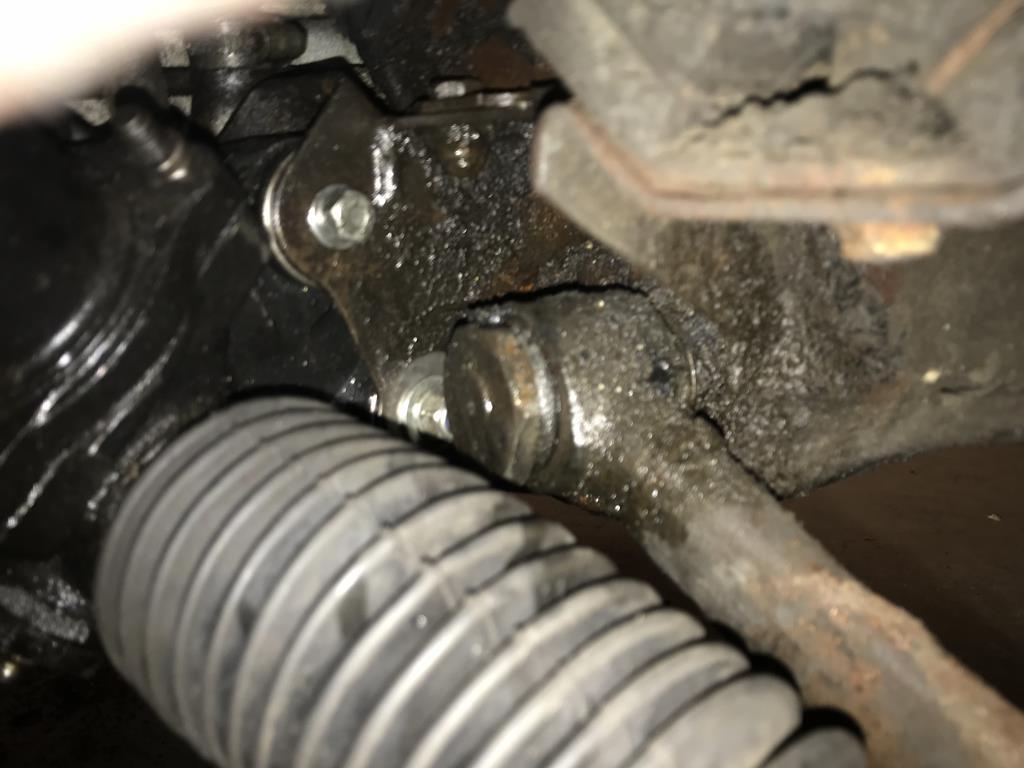 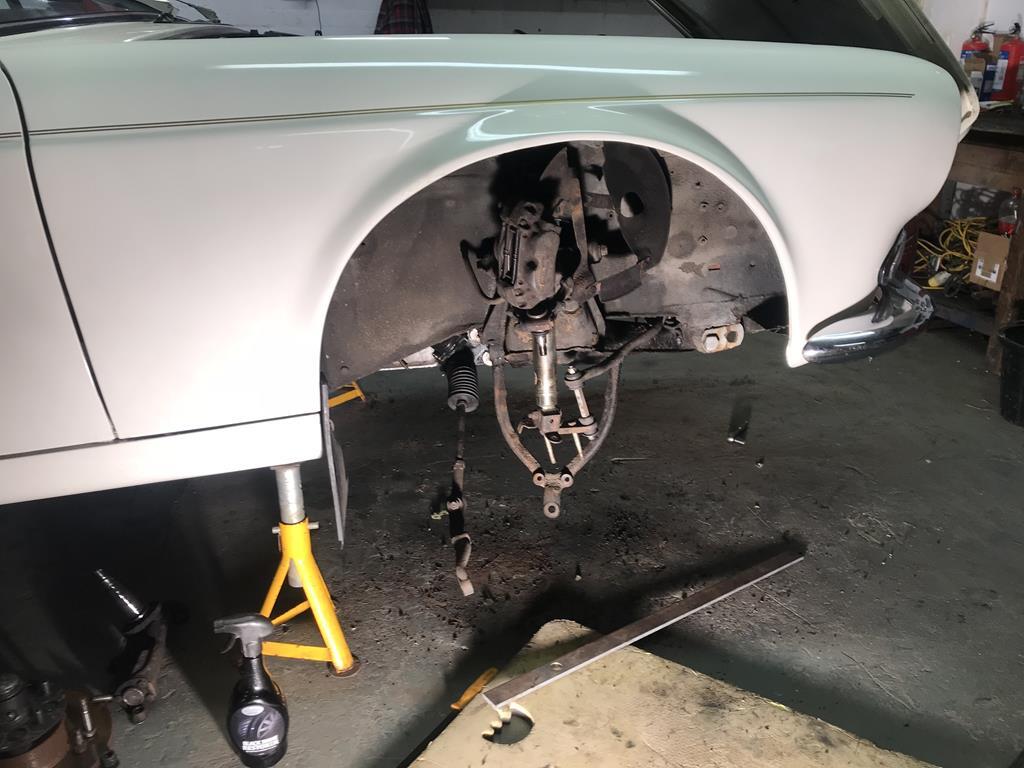 I managed to get a grinder in between the crossmember and the rear wishbone arm which allowed me to get the rear arm away, then it was a case of burning as much of the front bush away to wiggle the front arm off. Then there was the minor inconvenience of the remains of the pivot shaft stuck fast in the crossmember. I spent many hours trying to get enough heat into them with a gas torch that was woefully inadequate for the job before bludgeoning them with a lump hammer. 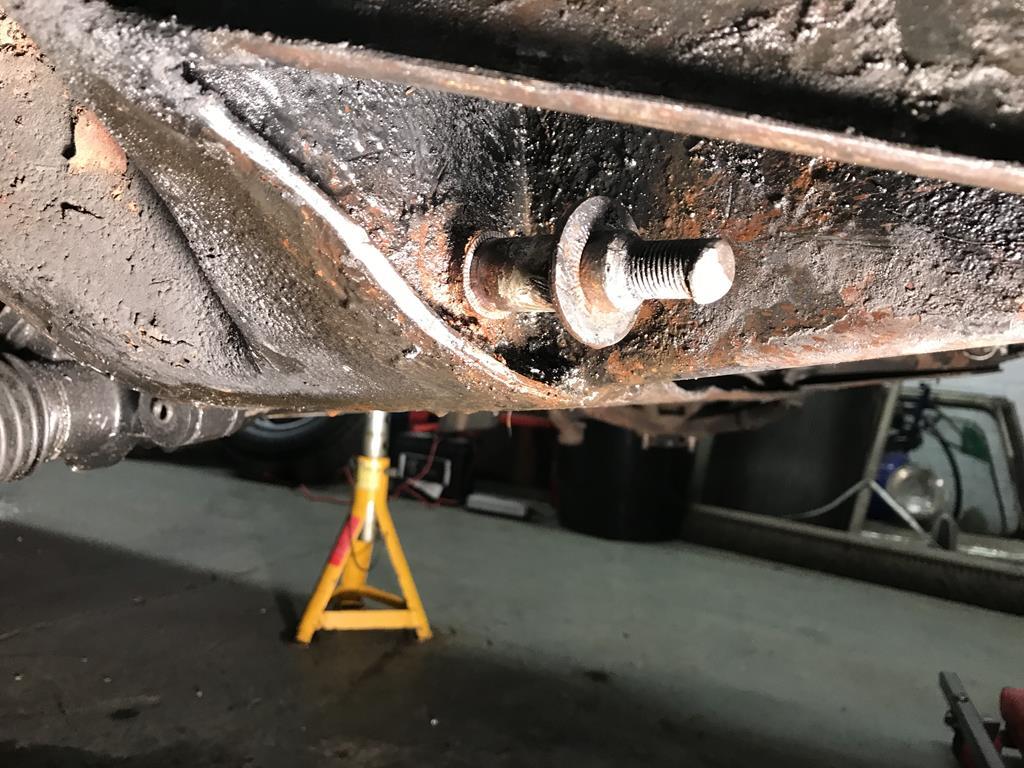 Eventually one of the other guys who shares our lock up walked in with a superb high temp gas torch which, after a good hour of heat and hammers each side, the shafts were out. 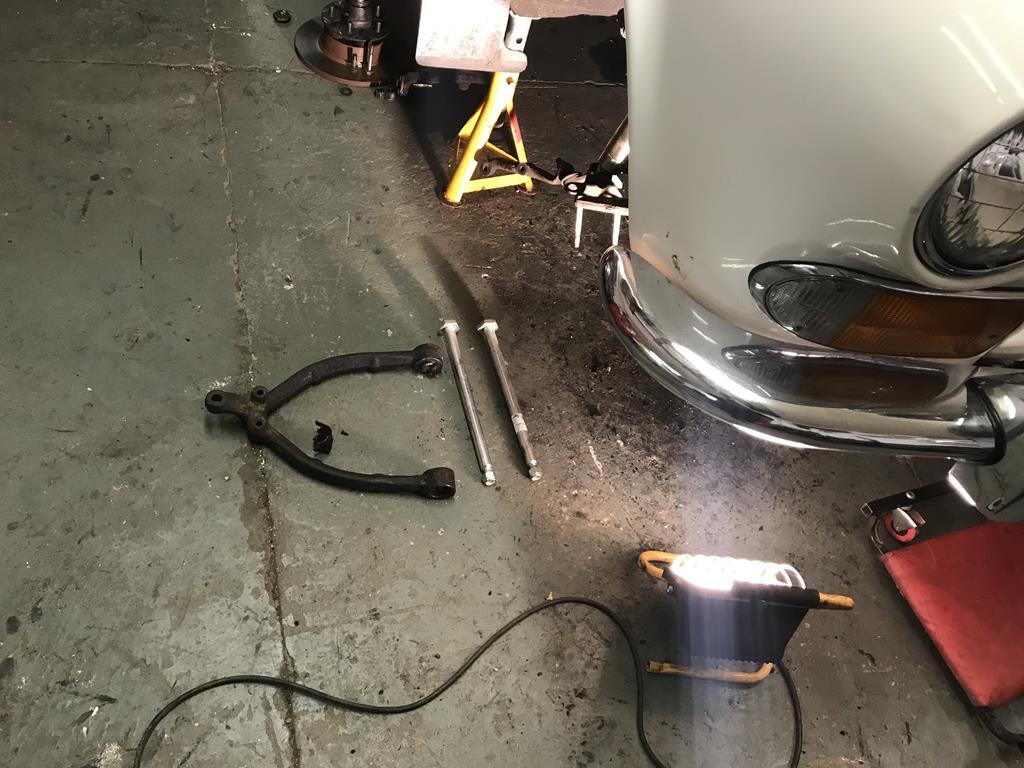 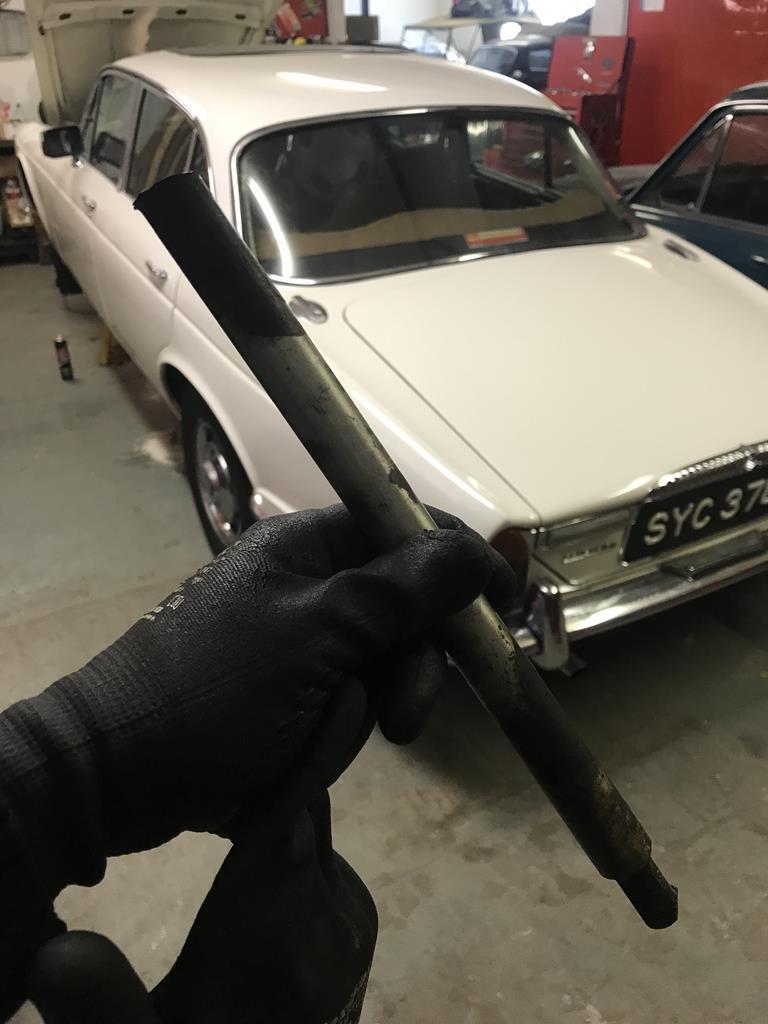 While the front end was apart the crossmember was cleaned up, stripped, pounded with Kurust, painted with Hammerite and Waxoyled. I also subjected the suspension arms and spring pans to the same treatment before reassembling with Polybushes from Superflex. 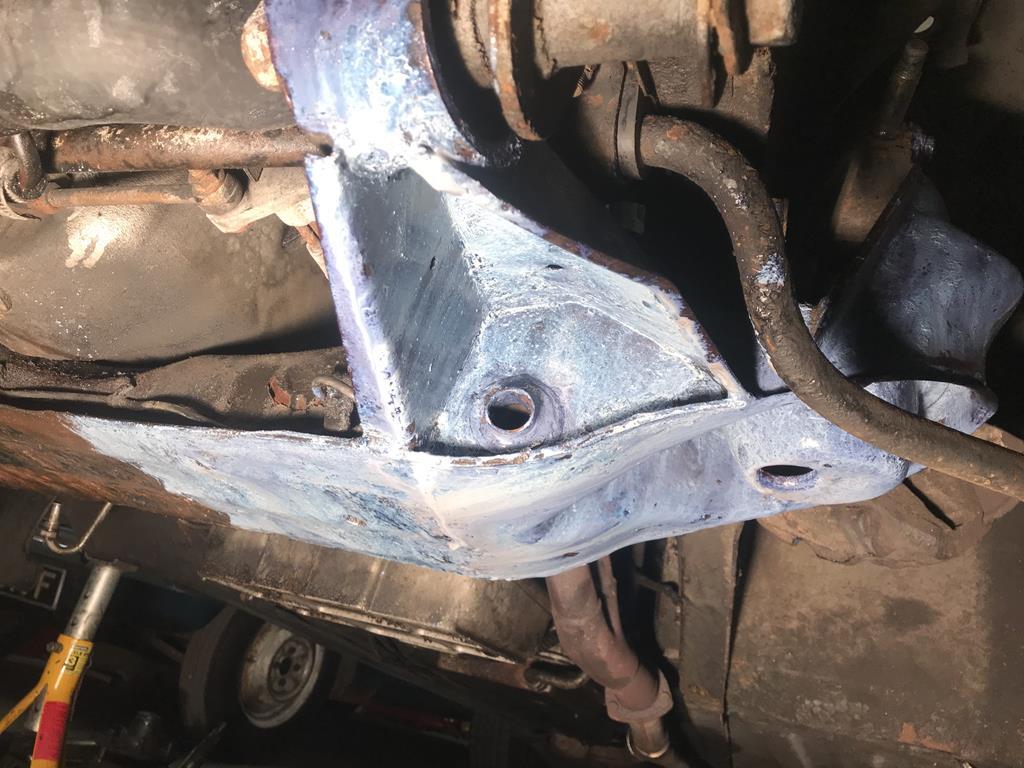 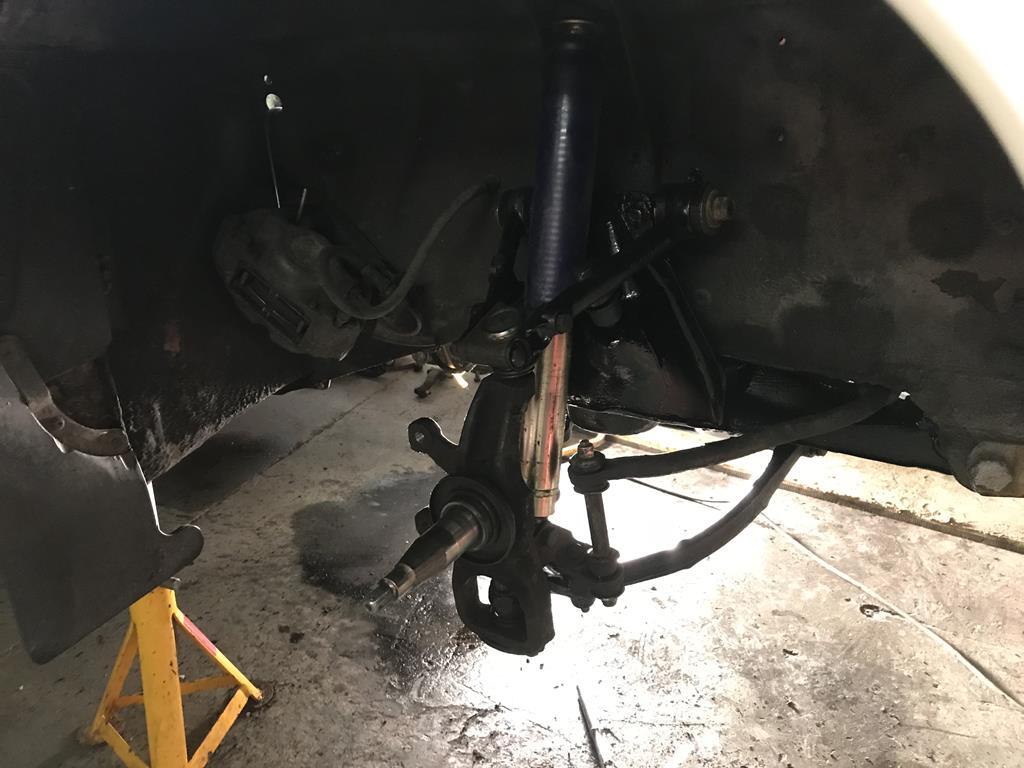 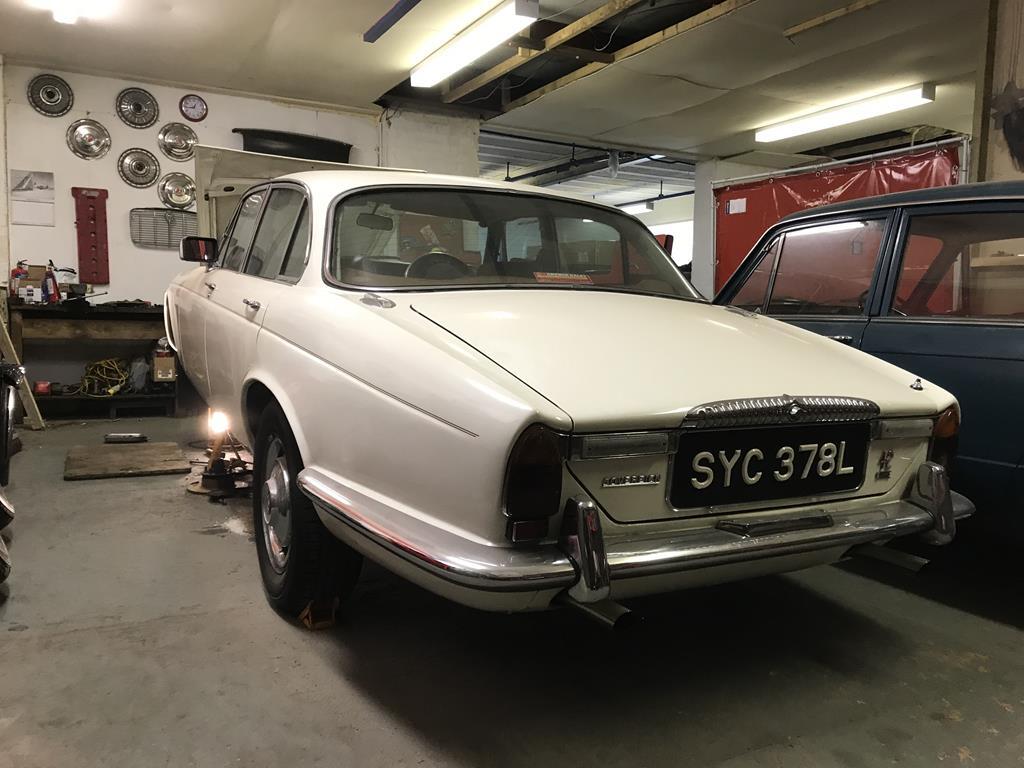 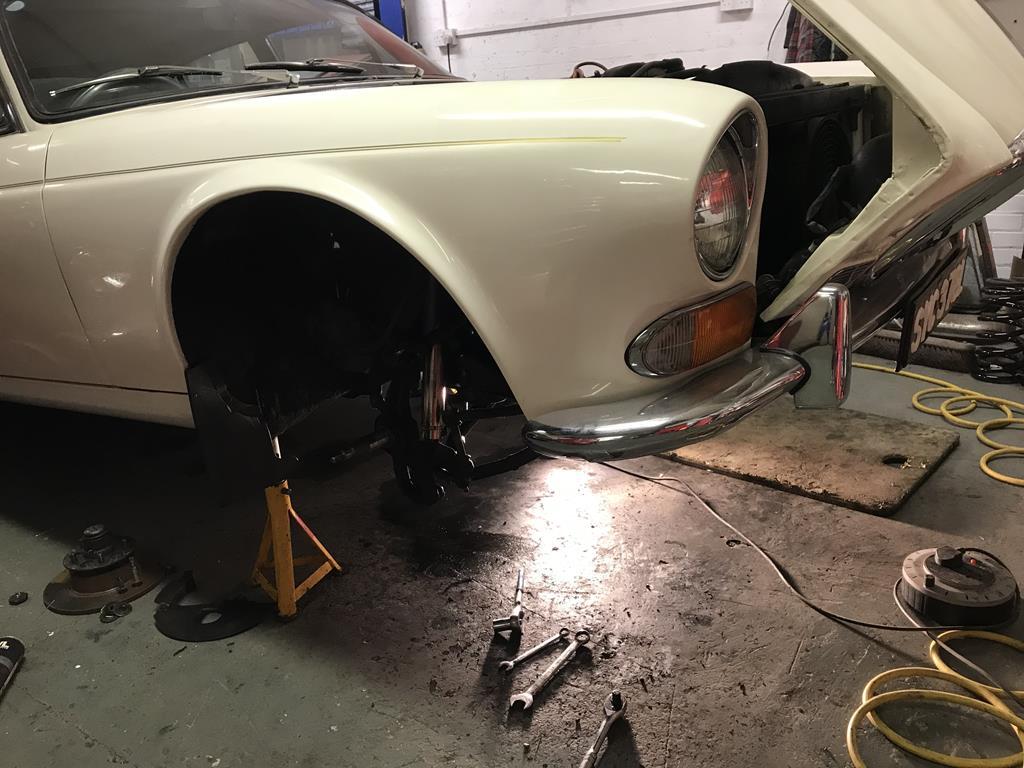 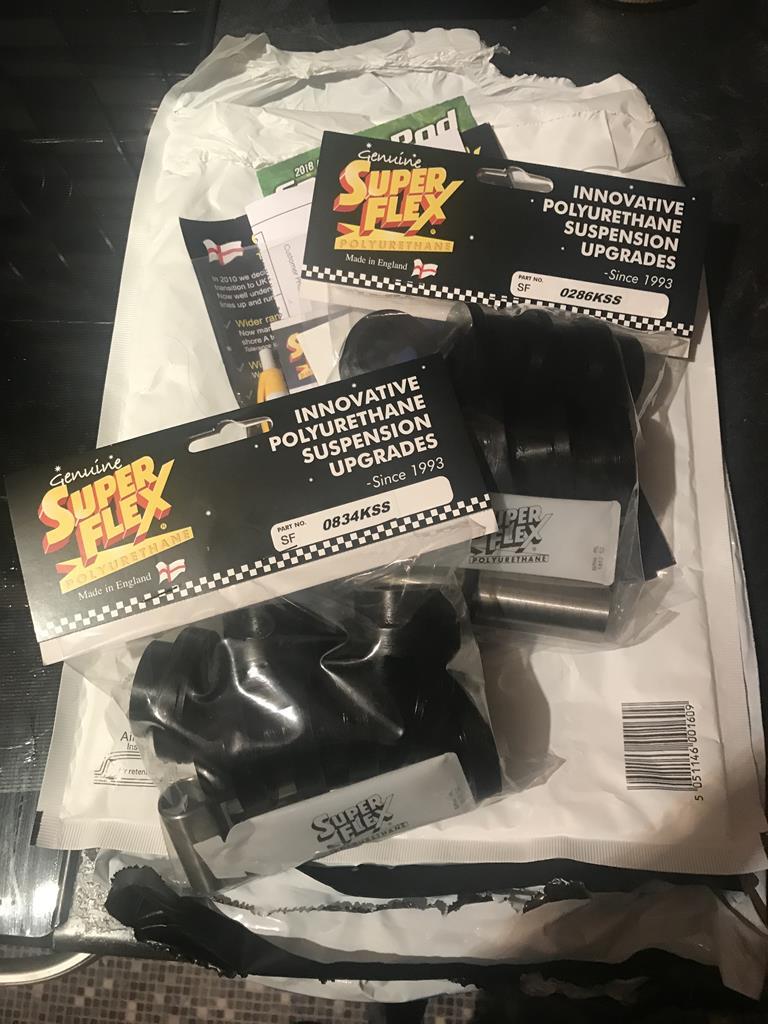 The front springs were also sagging quite badly which made the car look quite mean from the front, meant it would bottom out quite easily. Brand new springs raised the front end back up but the car now drives superbly! Managed to finish it last week and used it whenever it’s been dry since then.  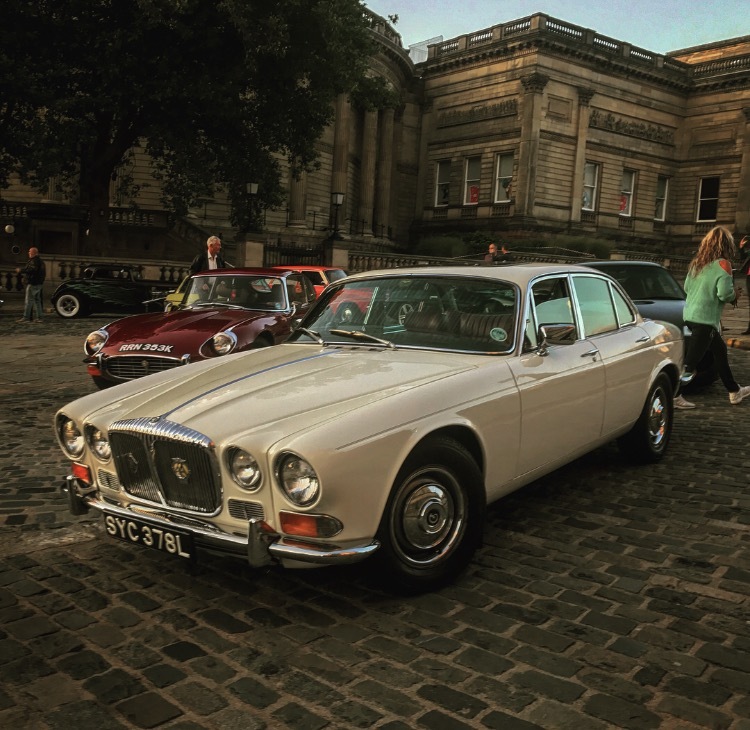 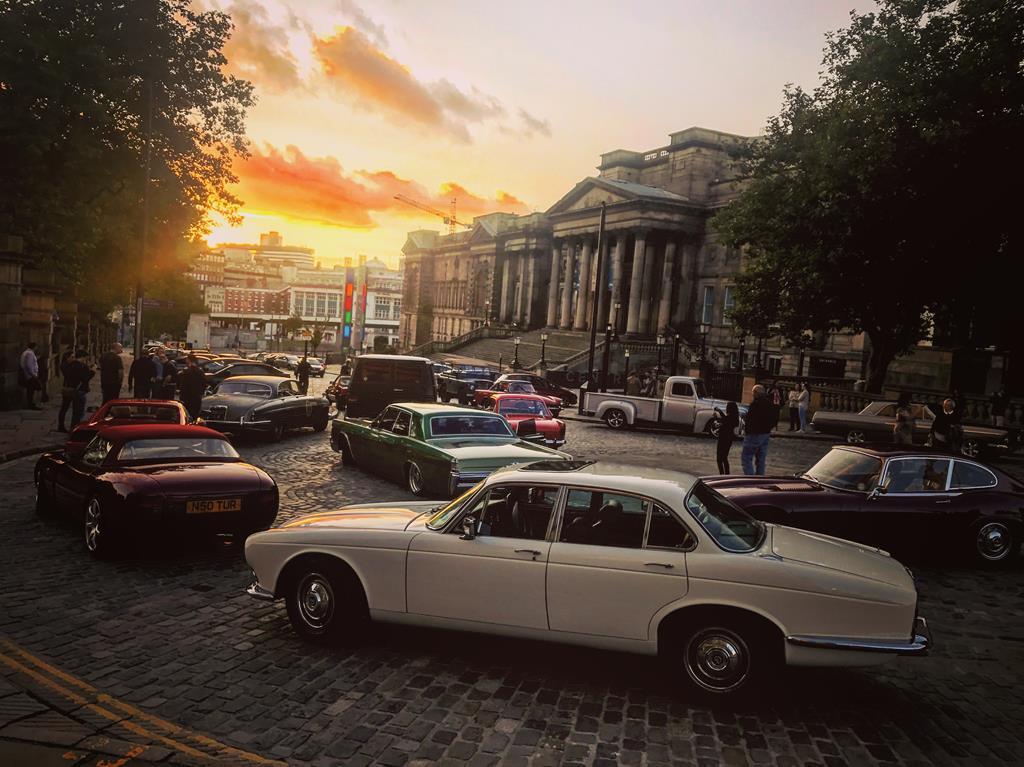 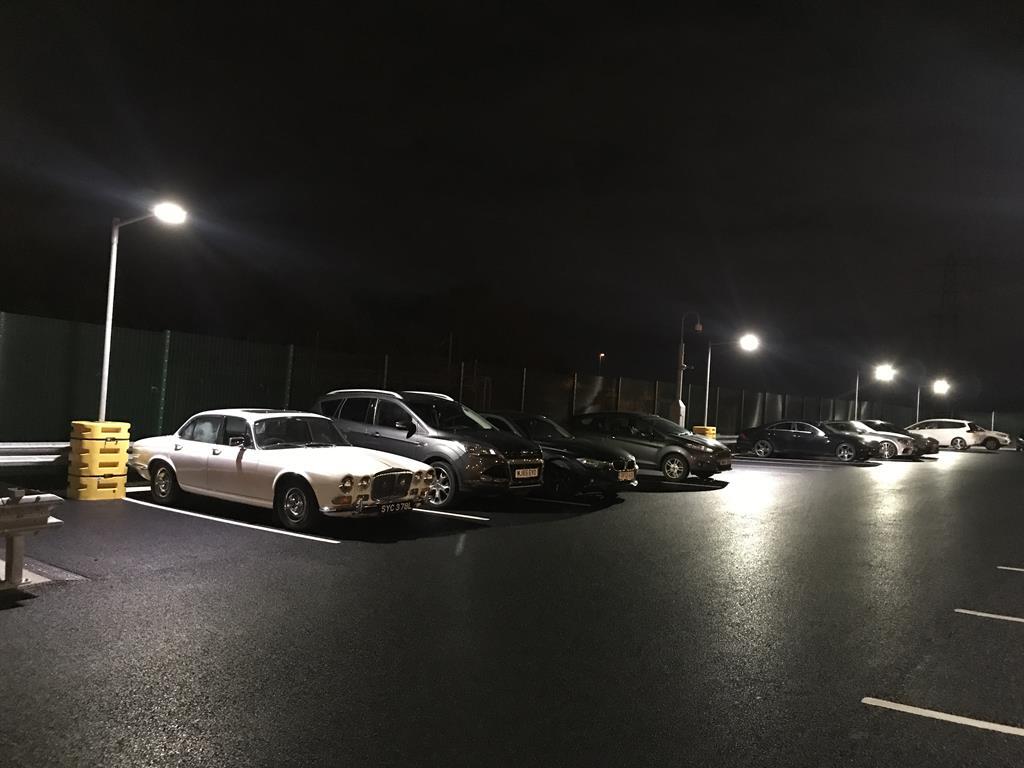 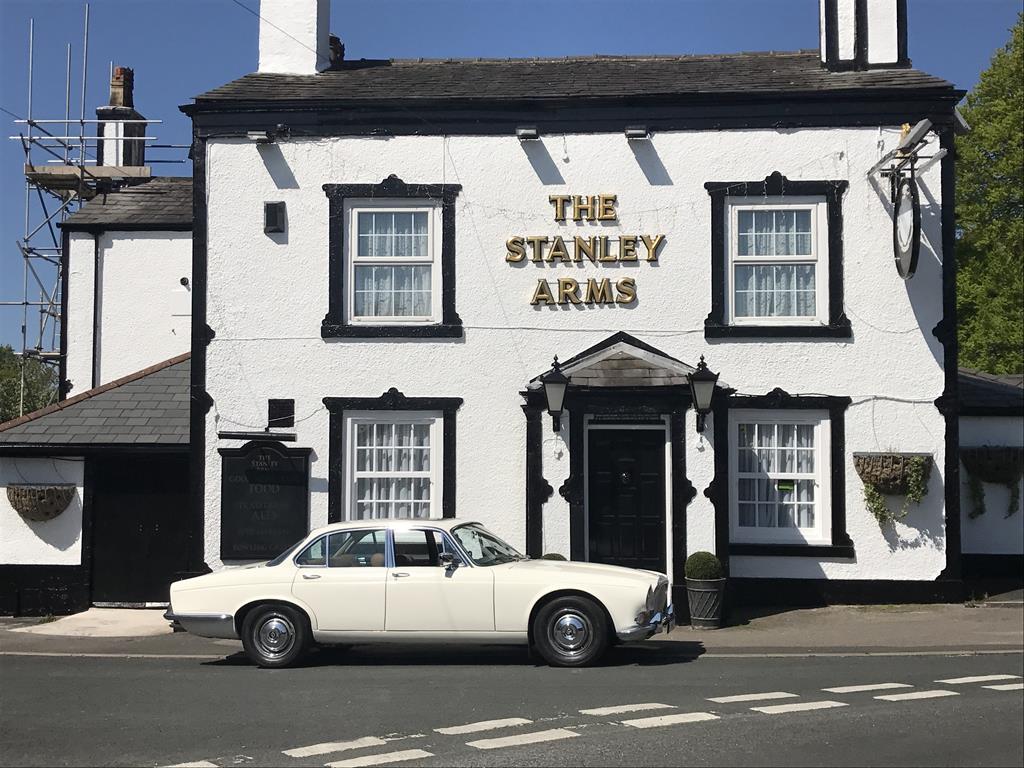 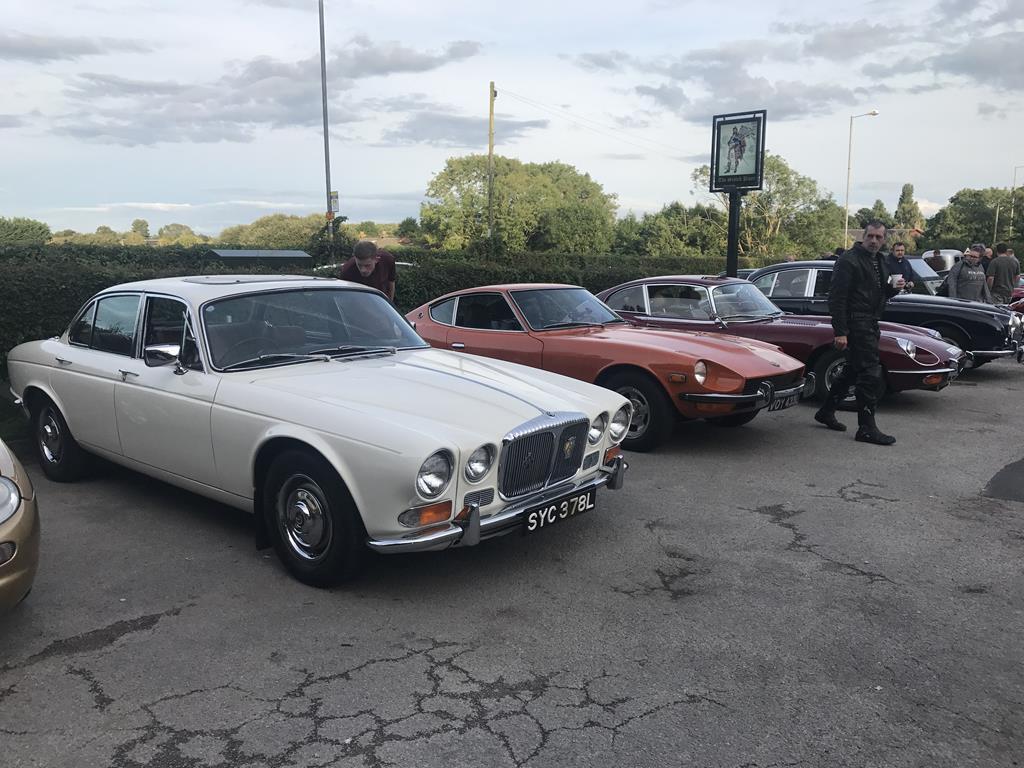 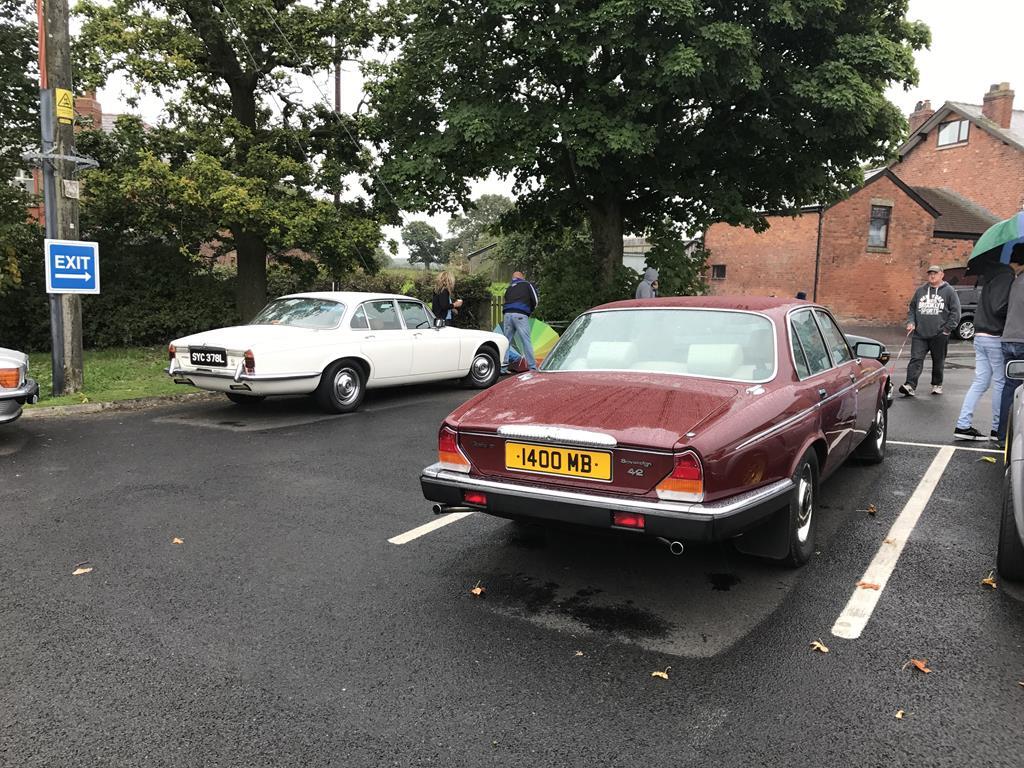 I went to view a house in it yesterday. Sadly, because of getting this new house and also with having a major project on the go means that it looks like I’ll have to part company with it. I know I’ll regret it as soon as I do, it’s a fantastic car, but needs must sadly. So I drafted this out yesterday.... 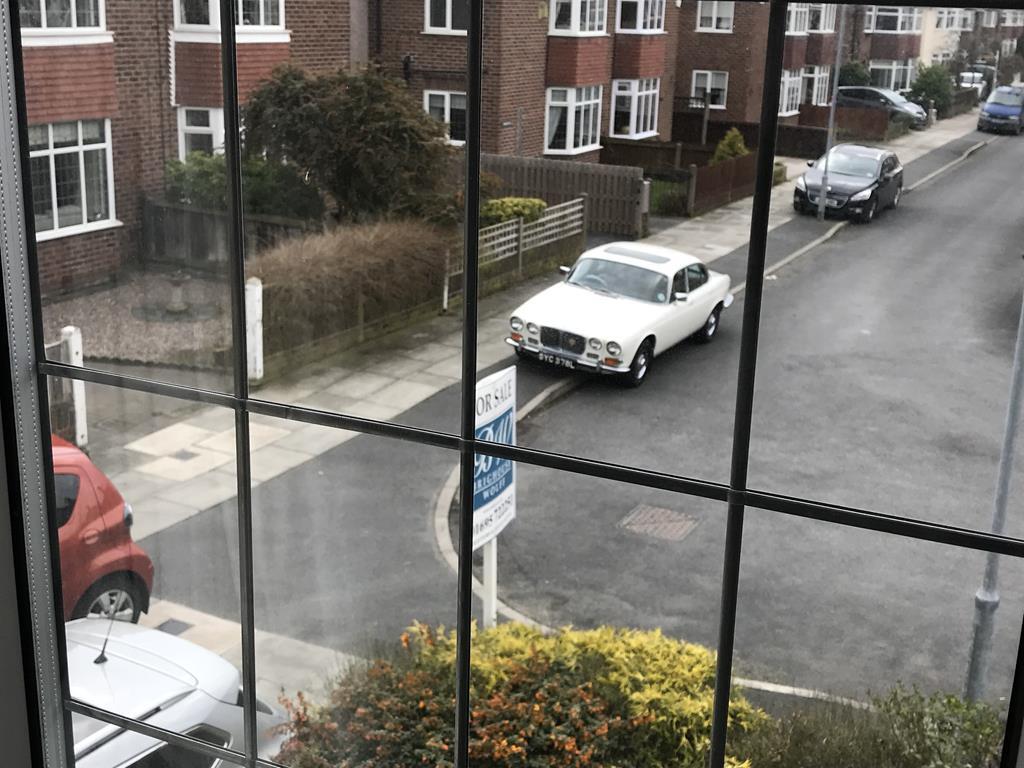 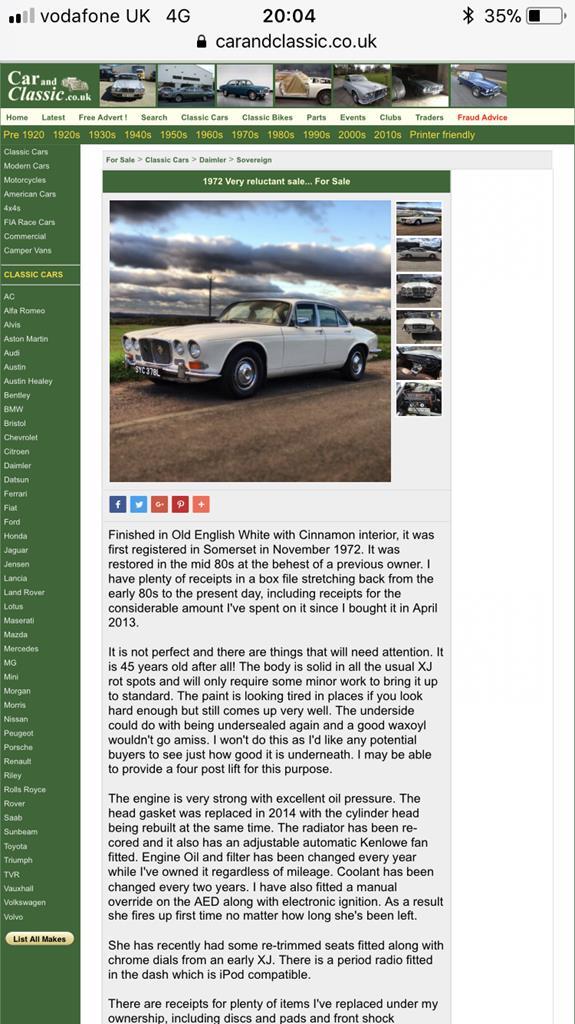 |
| |
Last Edit: Mar 12, 2020 18:24:54 GMT by XL391
|
|
XL391
Part of things
 
Posts: 160
|
|
|
|
Not much to report, mainly been enjoying driving.  Thankfully I never had to sell her in the end. The house we were looking at was too much to take on financially meaning we’d have had no hobbies or holidays etc. No good that! All sorted on the housing front now and, as one of my terms and conditions for moving, she has her own summer house to live in. 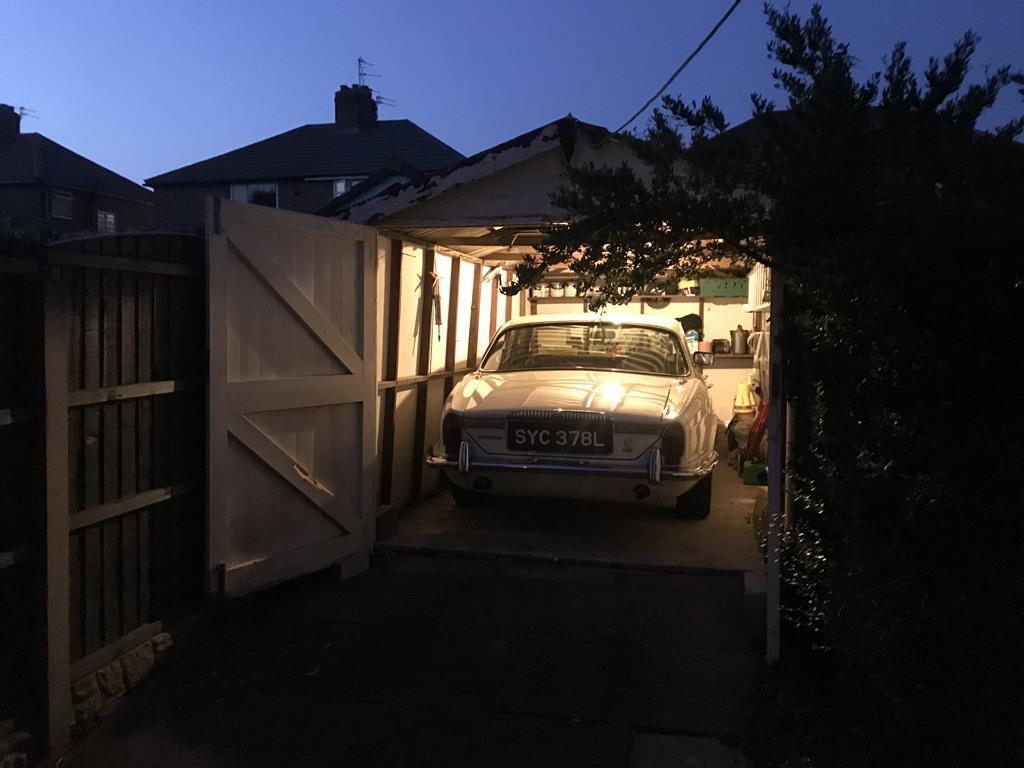 While we were on a camping trip to Betws y Coed back in June with the rest of our Retro Car Group, we were hit with a biblical torrential downpour. My pal following in his XJ couldn’t see my tail or brake lights. Doesn’t bear thinking about if it was a fully loaded artic behind.... I decided that, even though I don’t use the car in conditions like that normally, LEDs were the way forward. I know EBay is flooded with them but I wanted some that would be reliable, bright and last the distance. A friend of mine who has LEDs installed gave me the web address for Classic Car LEDs. I decided to change side, tail, reverse and interior lights. They arrived within 24 hours and I was delighted with them. You could tell they were a quality item as soon as I opened the box. I’ve tried to illustrate the difference below but I can’t stress how much brighter they are! I’ve since swapped the reverse light ones for warm white as opposed to cool white which are a bit too modern looking for the old girl. In the pics below the LEDs are installed on the drivers side compared to standard filaments on the passenger side. Side, tail and brake. 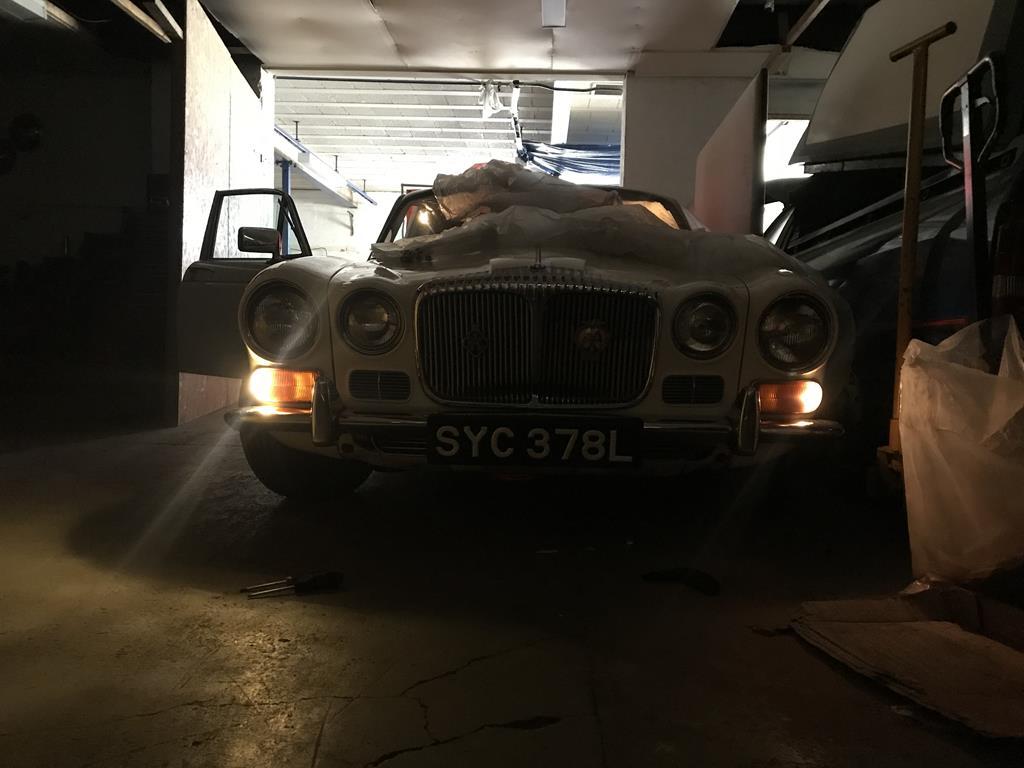 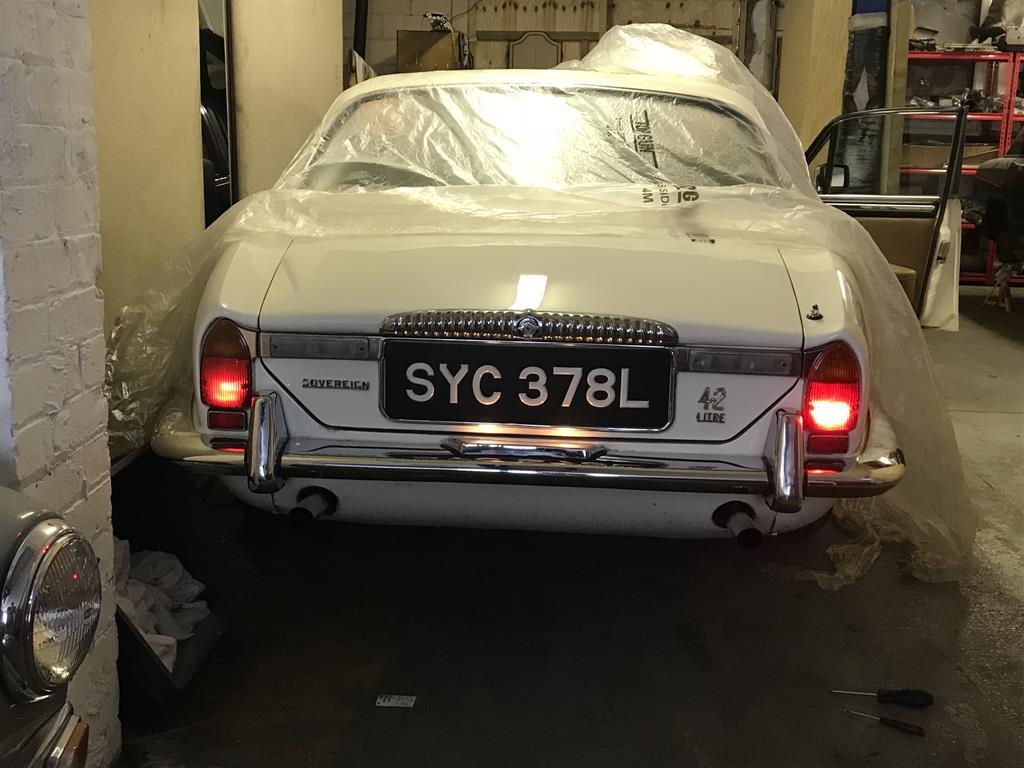 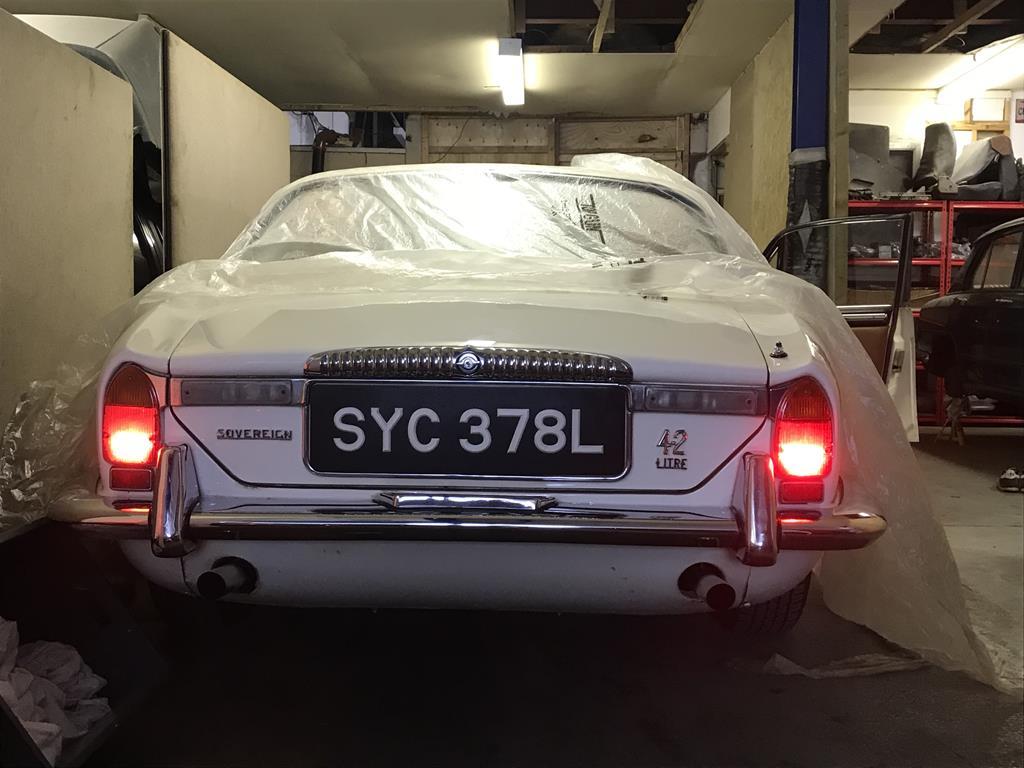 If you’re after some LED bulbs I can’t recommend these highly enough. 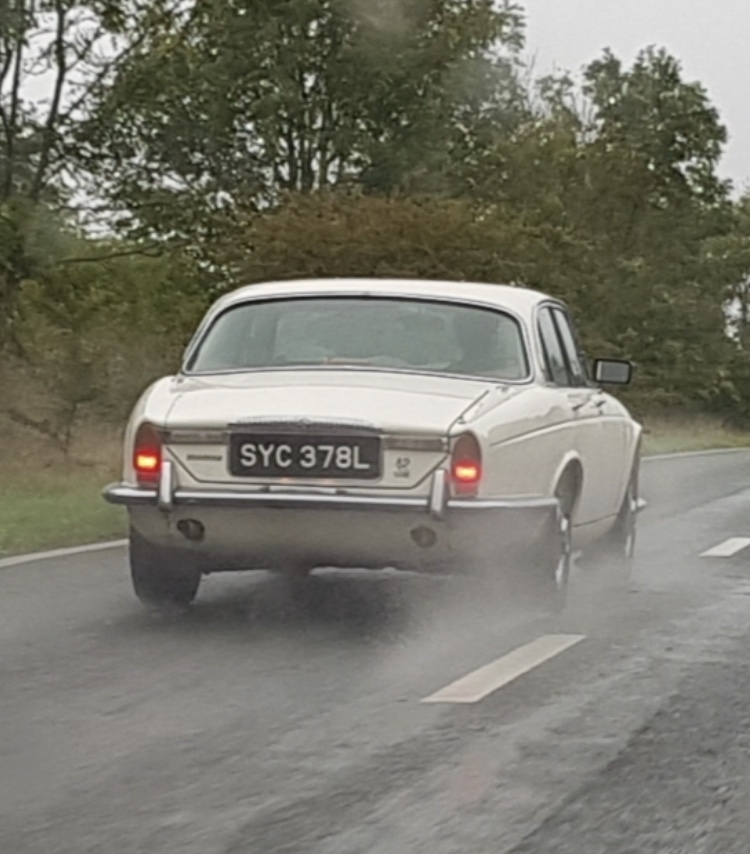 |
| |
Last Edit: Mar 12, 2020 18:37:36 GMT by XL391
|
|
|
|
|
|
|
|
Came here to say how lovely your car is, really enjoying your thread. Gives me good motivation to get on it with my XJ.
I'm curious about a few things you changed though: how did the poly bushes (or the new shocks) affect the ride and comfort? Will have to do that job as well soon. Plus which Kenlowe did you use and did you have to change anything electrically because of the current draw? Worried my alternator can't quite keep up. Either way keep up the great work!
|
| |
|
|
|
|
XL391
Part of things
 
Posts: 160
|
|
Nov 29, 2018 18:20:26 GMT
|
Came here to say how lovely your car is, really enjoying your thread. Gives me good motivation to get on it with my XJ. Thanks very much! It’s not the most interesting thread compared to some on here, mainly done as a visual service history. Which XJ have you got? I'm curious about a few things you changed though: how did the poly bushes (or the new shocks) affect the ride and comfort? Will have to do that job as well soon. I bought both of these through Keith Parrington @ XJ Restorations. The Wishbone bushes are the only bushes recommended to be changed to Poly if you want to preserve the ride quality. The shocks are fantastic and easy to adjust to what you want after a few spins around the block. Another job well worthwhile doing is Polybushing the steering rack bushes. Sharpens the steering feel up no end. When changing the wishbone bushes, the top ones are fairly easy. The bottom ones with the pins going through the sub frame can be an absolute ar5e to put it mildly, you’ll need lots of heat if they refuse to move. Plus which Kenlowe did you use and did you have to change anything electrically because of the current draw? Worried my alternator can't quite keep up. I know Kenlowe have now stopped producing these electric cooling fans for Classic Cars now, I’ll have the invoice if you need the details of it. My alternator copes well with the extra load and you can set the fan to come on automatically with a temperature control knob under the bonnet. It was quite easy to install by following the wiring diagram, I think I still have that too. Let me know if you need pics of the install, I’m going to my Man Cave tomorrow. |
| |
Last Edit: Nov 29, 2018 18:21:19 GMT by XL391
|
|
ChasR
RR Helper
motivation
Posts: 10,309
Club RR Member Number: 170
|
|
Nov 29, 2018 19:58:30 GMT
|
Came here to say how lovely your car is, really enjoying your thread. Gives me good motivation to get on it with my XJ. I'm curious about a few things you changed though: how did the poly bushes (or the new shocks) affect the ride and comfort? Will have to do that job as well soon. Plus which Kenlowe did you use and did you have to change anything electrically because of the current draw? Worried my alternator can't quite keep up. Either way keep up the great work! I've used SuperFlex before and they always give me a good ride quality. In some cases it's better than what was there. I had an MGB on NOS springs (7 years old) and new bushes. With lowered springs and SuperFlex bushes the car was transformed from the rear end. Everyone say I'd ruin it bar a couple of specialists, well, one. The specialists here were right. It was lovely and pliant on the rear. Unlike many other outfits SuperFlex/Pro engineer their bushes to work right. In Australia, aftermarket items have to be approved for use. SuperPro are one of those few guys  . I've had cheap bushes before and there is a significant difference in design and quality; you do get what you pay for. Anyway, back on topic, I am loving the car! It's all of the little details too! Changing the LEDs but keeping the colours right, that sort of thing. I'd love an XJ6 but I suspect I am now spoiled in different ways and have a new car. |
| |
|
|
goldnrust
West Midlands
Minimalist
Posts: 1,889
|
|
Nov 29, 2018 20:27:08 GMT
|
|
Hadn't spotted this thread before, what a lovely old motor!
That old fashioned white is so much easier on the eyes than the kitchen appliance type white of modern cars, and it looks fantastic on some of the low light photos, great atmosphere.
I'm glad to read that you've been able to hang on it. I miss my old XJ lots and lots (albeit a much more modern x300) and reading threads like this help me get my fix!
|
| |
|
|
|
|
|
Nov 29, 2018 20:43:01 GMT
|
|
Such a beautiful car. I had a series 3 in white. I think it really suits the curves of the xj6. Great photography too.
|
| |
|
|
|
|
|
Nov 30, 2018 10:37:58 GMT
|
I bought both of these through Keith Parrington @ XJ Restorations. The Wishbone bushes are the only bushes recommended to be changed to Poly if you want to preserve the ride quality. The shocks are fantastic and easy to adjust to what you want after a few spins around the block. Another job well worthwhile doing is Polybushing the steering rack bushes. Sharpens the steering feel up no end. When changing the wishbone bushes, the top ones are fairly easy. The bottom ones with the pins going through the sub frame can be an absolute ar5e to put it mildly, you’ll need lots of heat if they refuse to move. I know Kenlowe have now stopped producing these electric cooling fans for Classic Cars now, I’ll have the invoice if you need the details of it. My alternator copes well with the extra load and you can set the fan to come on automatically with a temperature control knob under the bonnet. It was quite easy to install by following the wiring diagram, I think I still have that too. Let me know if you need pics of the install, I’m going to my Man Cave tomorrow. Thanks for your answer! I did my steering rack bushes with poly already, definitely makes a big difference as you say. Guess I'll be getting myself some more poly bushes! On the Kenlowe front I was mainly wondering what size you fit, find it hard to judge how big is big enough. |
| |
|
|
XL391
Part of things
 
Posts: 160
|
|
|
|
On the Kenlowe front I was mainly wondering what size you fit, find it hard to judge how big is big enough. The fan is 15 inches across, the biggest you could go on a Series 1, fits very snugly between the radiator and the bonnet. I don’t know if there would be clearance issues on a Series 2 or 3 with the shallower bonnet. 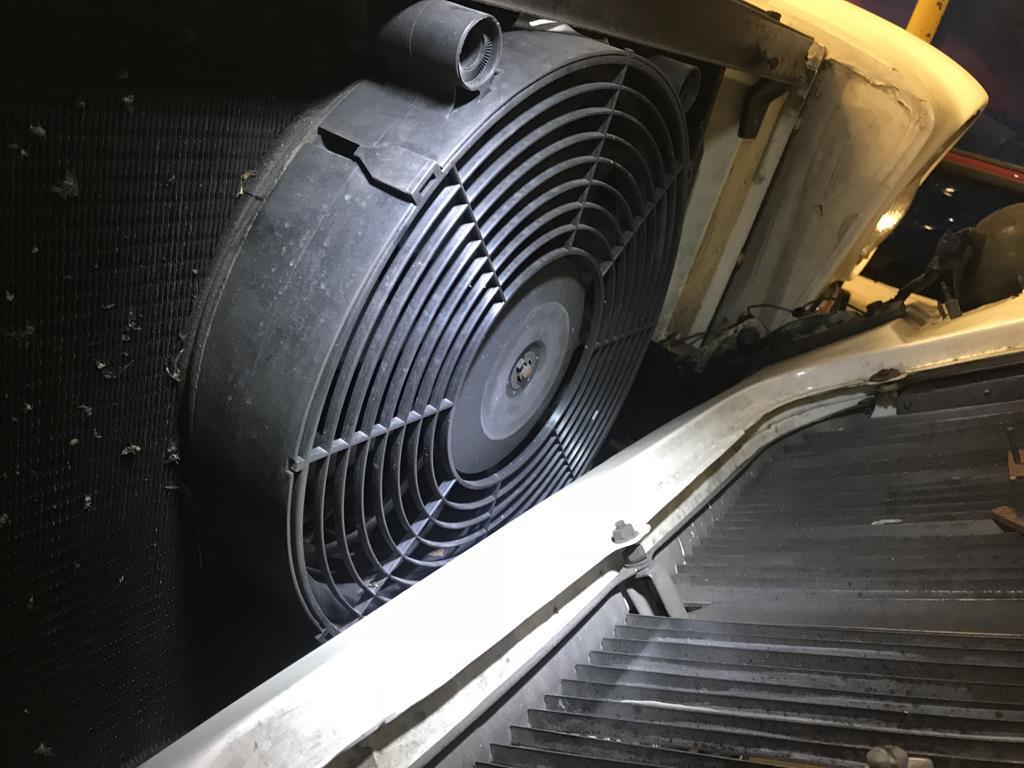 The kit came with two ways of securing it to the radiator. One was by passing cable ties through the vanes of the rad and the fan and the other was by using the brackets shown below. There was a bit of drilling required for fitment. Because of the way the brackets held the fan, it meant that there was around a quarter of an inch gap between the fan and the rad, no good when wanting maximum airflow. This was solved by fitting a self adhesive heat resistant foam strip to the fan before mating it to the face of the radiator. 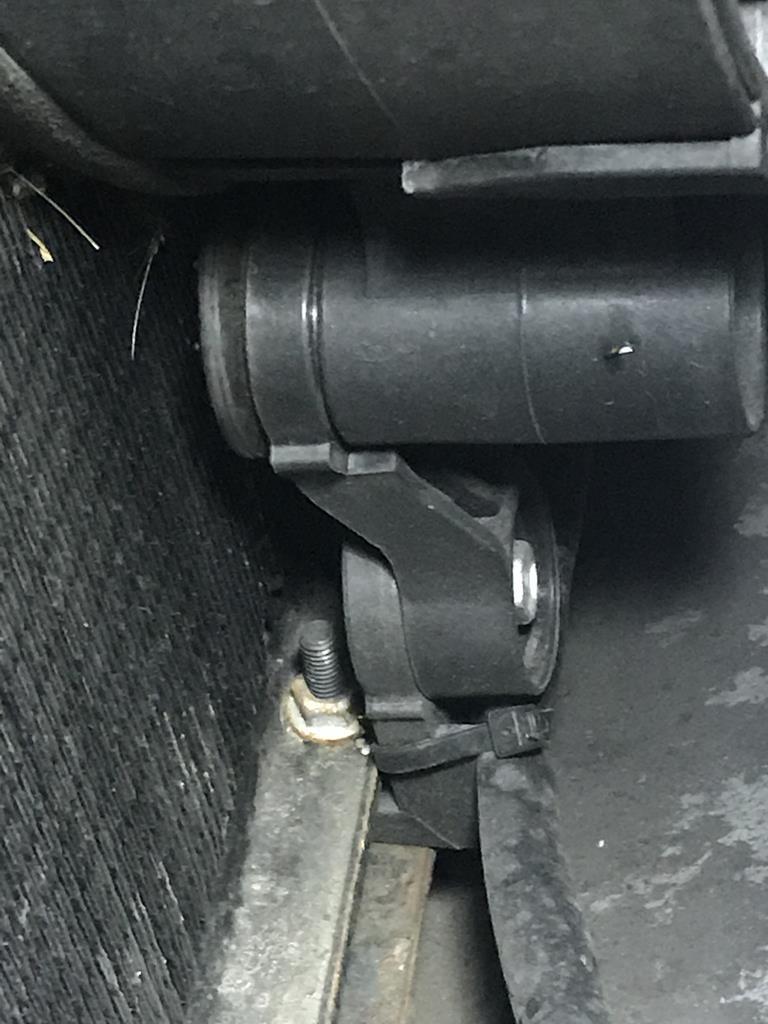 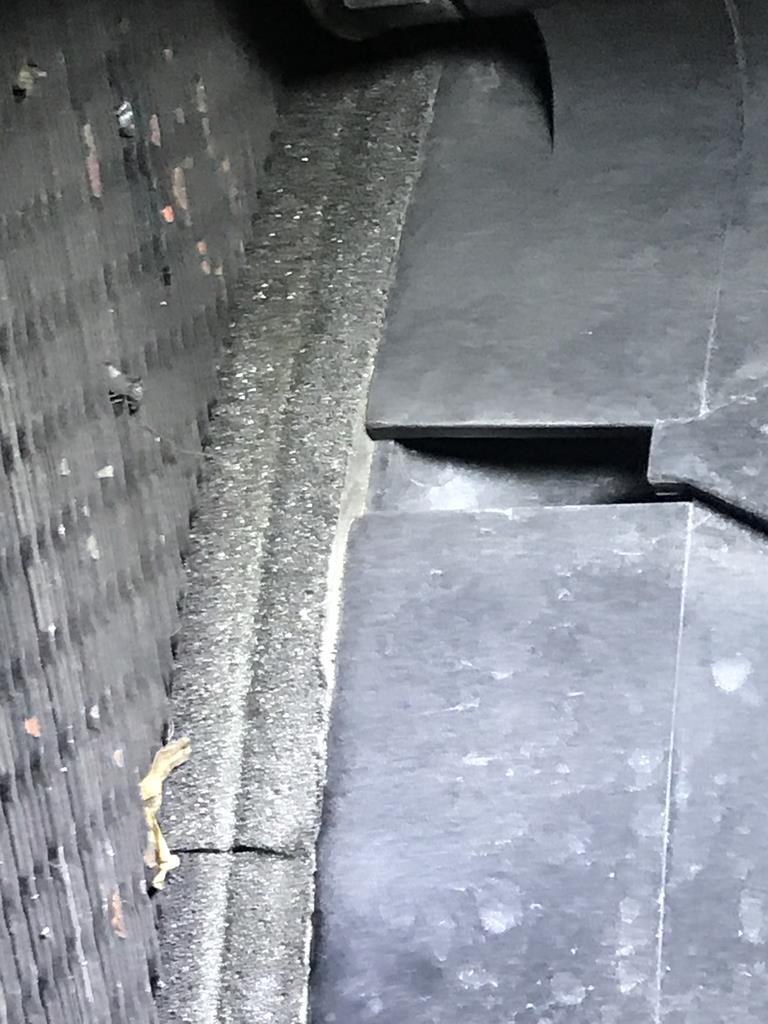 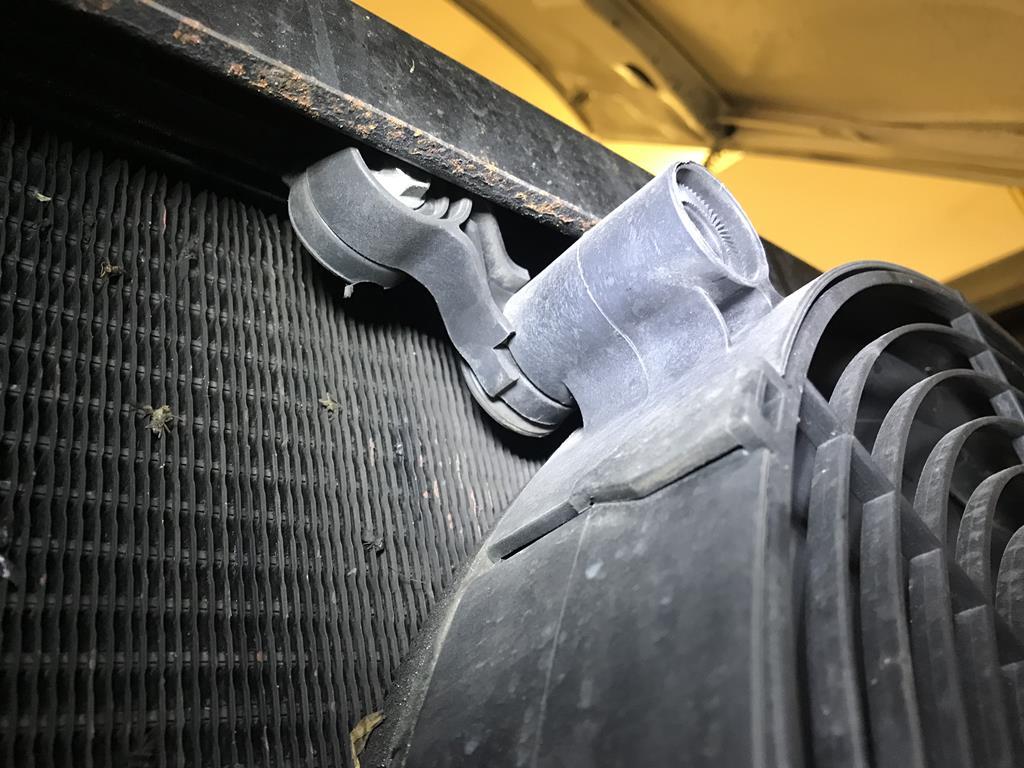 This picture shows the temperature adjuster for when the fan kicks in. It’s set for when the temp needle just edges past the halfway point. The copper sensor running from this is mounted into the top return hose on the rad. 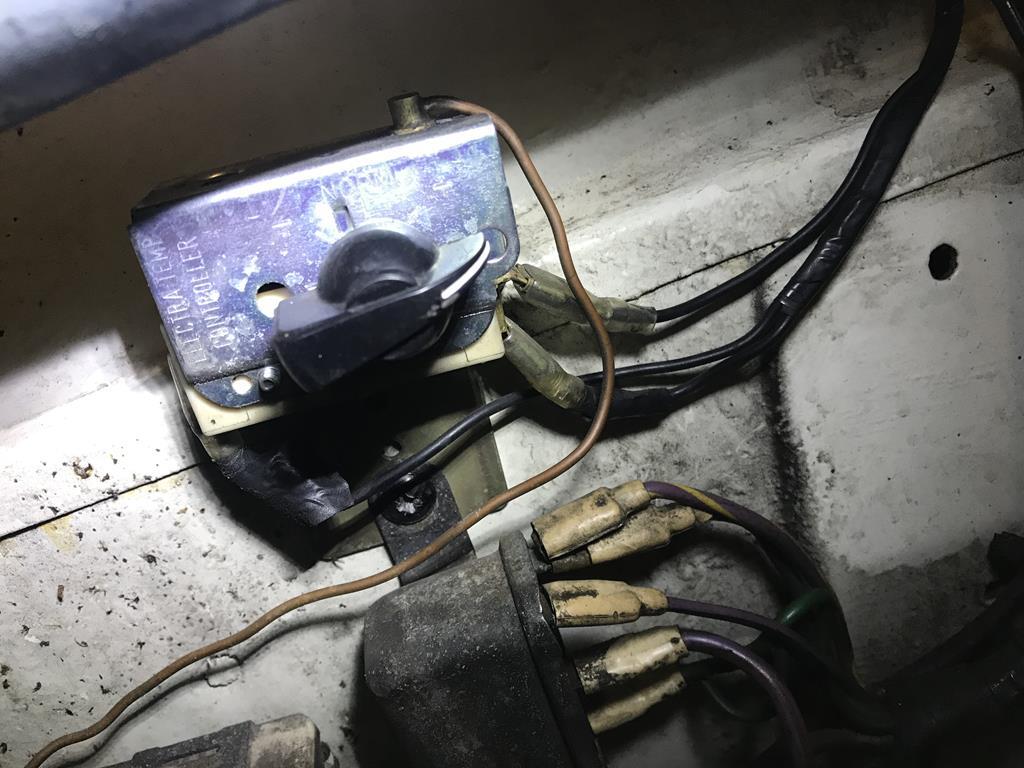 |
| |
Last Edit: Mar 12, 2020 18:44:10 GMT by XL391
|
|
|
|
|
|
|
|
Beautiful old car and great to see such an enthusiastic owner looking after her!
|
| |
|
|
|
|
|
|
|
On the Kenlowe front I was mainly wondering what size you fit, find it hard to judge how big is big enough. The fan is 15 inches across, the biggest you could go on a Series 1, fits very snugly between the radiator and the bonnet. I don’t know if there would be clearance issues on a Series 2 or 3 with the shallower bonnet. Thank you! Looks like a really nice setup! Should work fine on mine, I have a black US spec 1971 Series 1 XJ6 myself. |
| |
|
|
XL391
Part of things
 
Posts: 160
|
|
Mar 12, 2020 19:21:51 GMT
|
Quite a while has passed since the last update and the tough old Jag (ok, Daimler) has pretty much performed to its usual high standards. Lots of trips done again last year, never missed a beat. 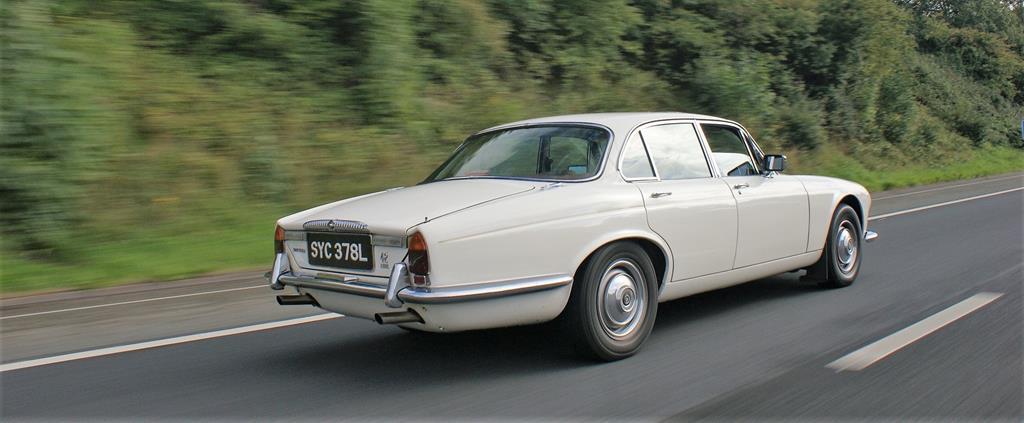 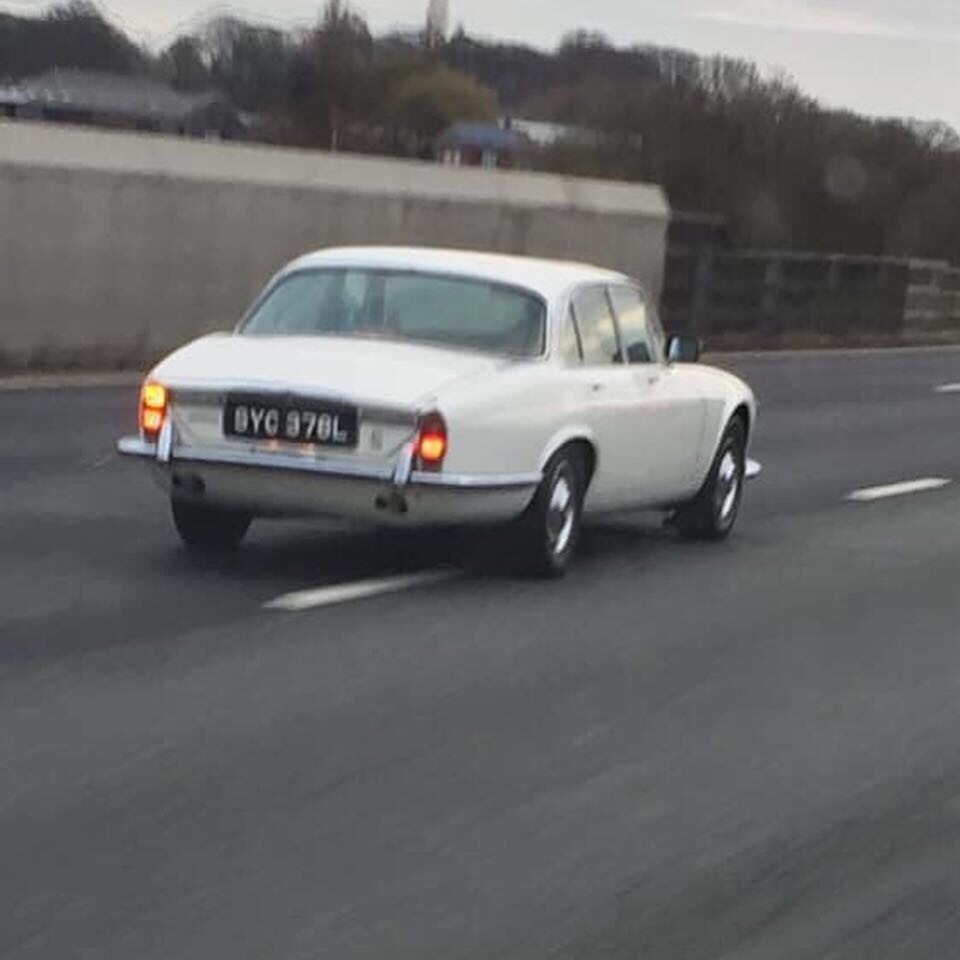 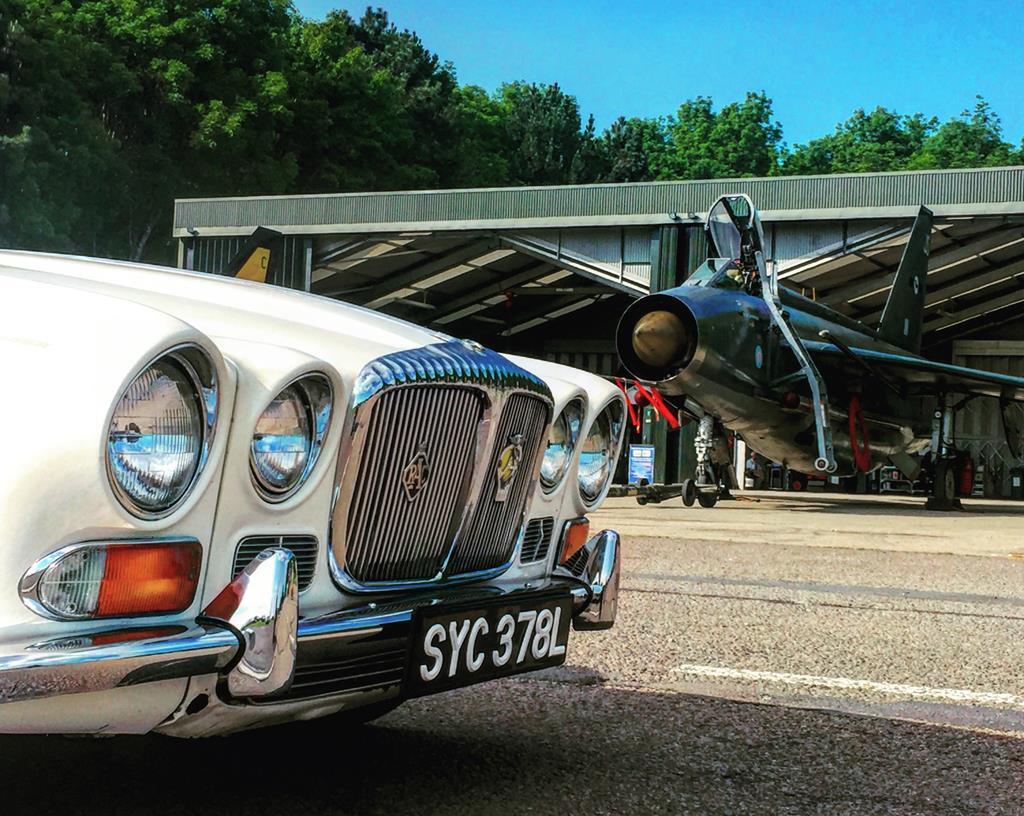  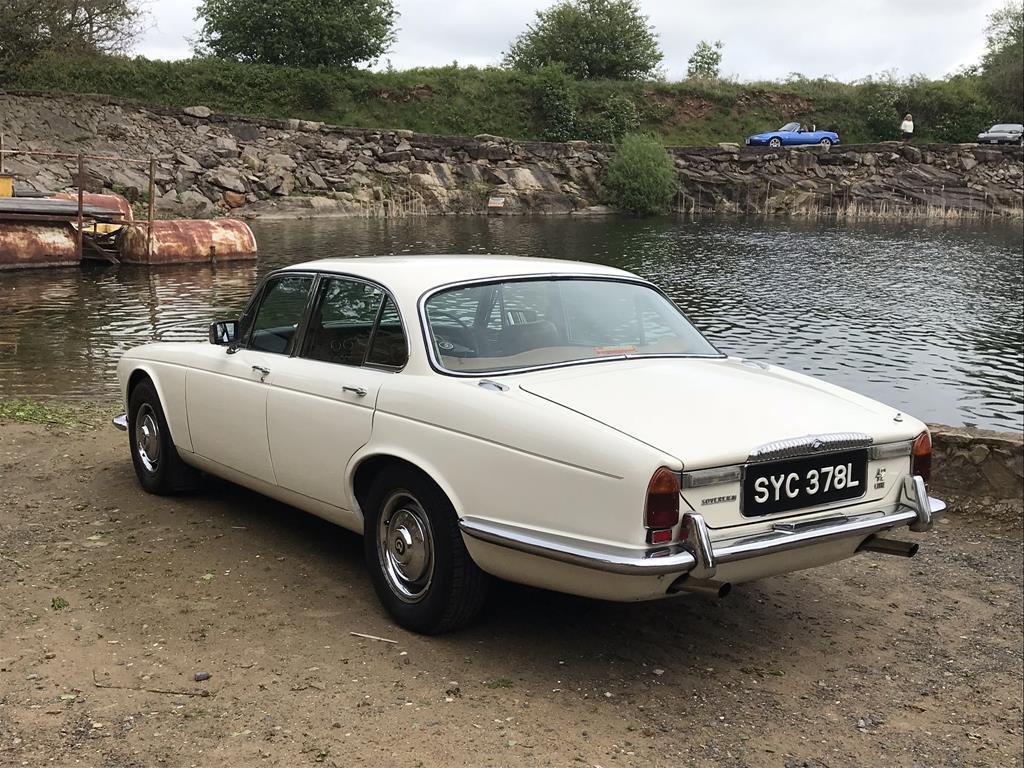 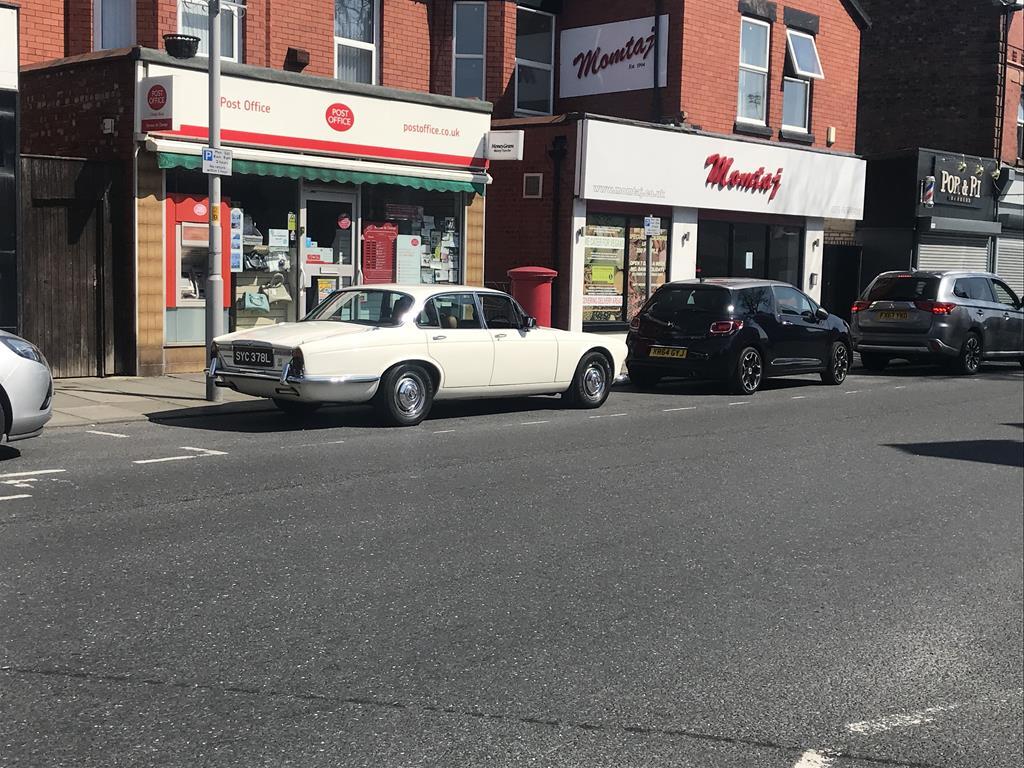 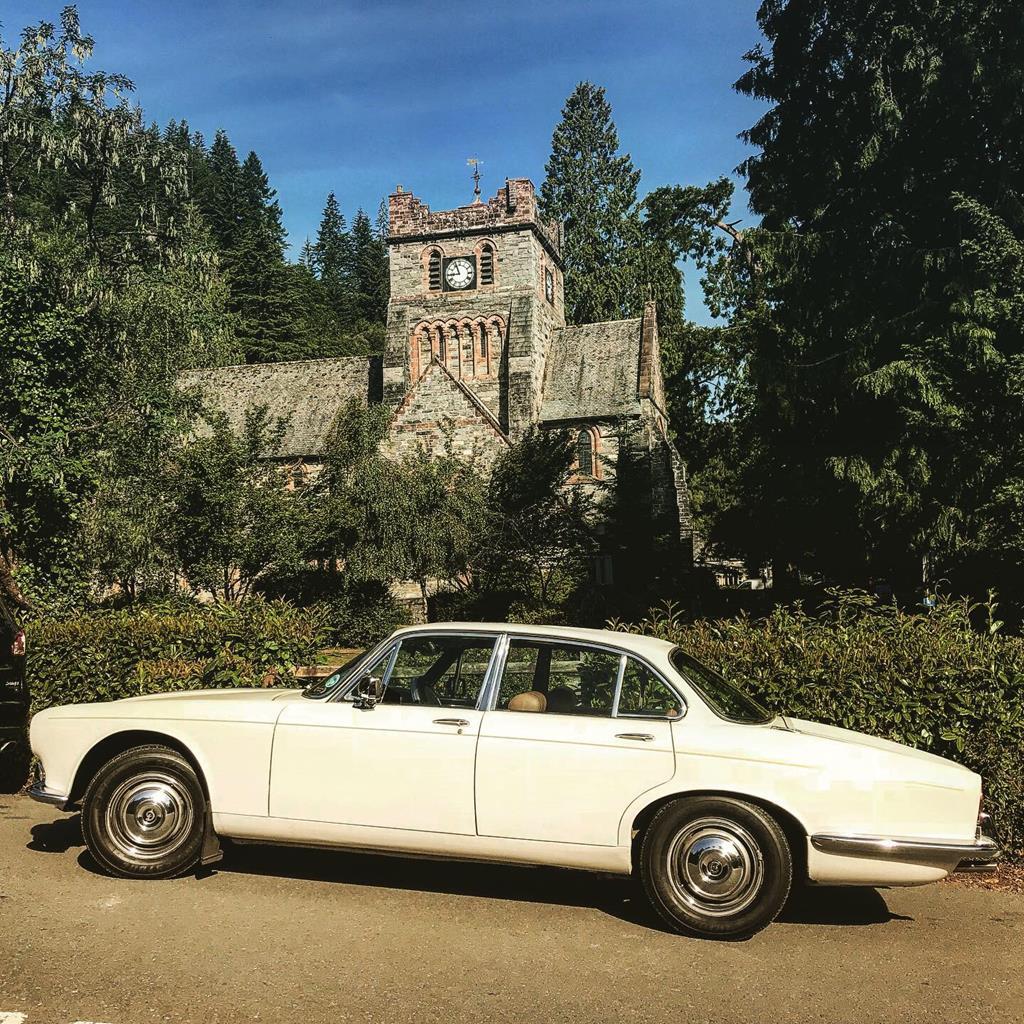 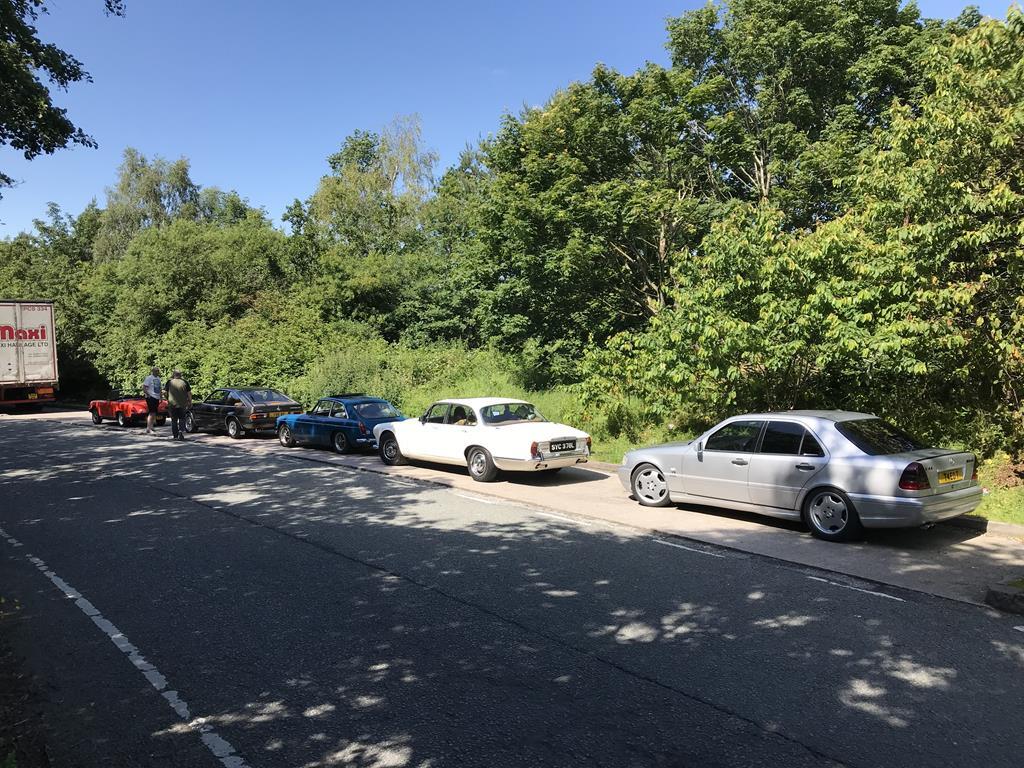 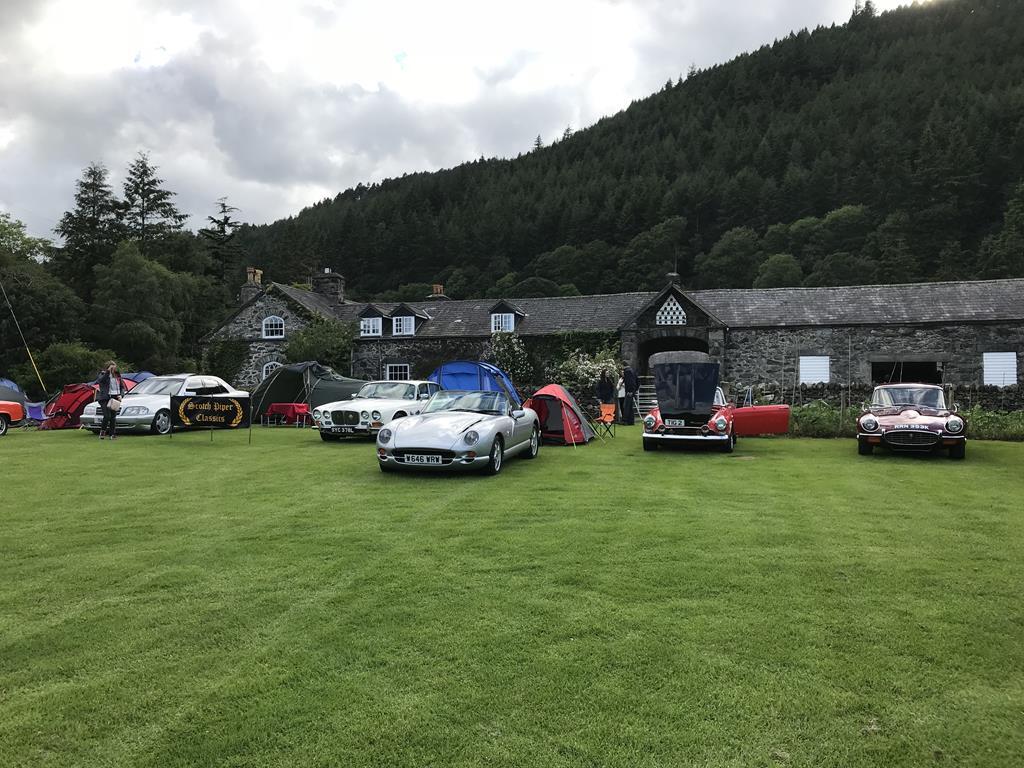 One thing that had been bugging me for a while was a clunk when the box would shift from 2nd to 1st. It’s a Borg Warner 65 in this car from the later XJ, not an 8 or 12 that it should have. I gave the box an oil and filter change and after doing this and also adjusting the kickdown cable, things improved but it was still there. 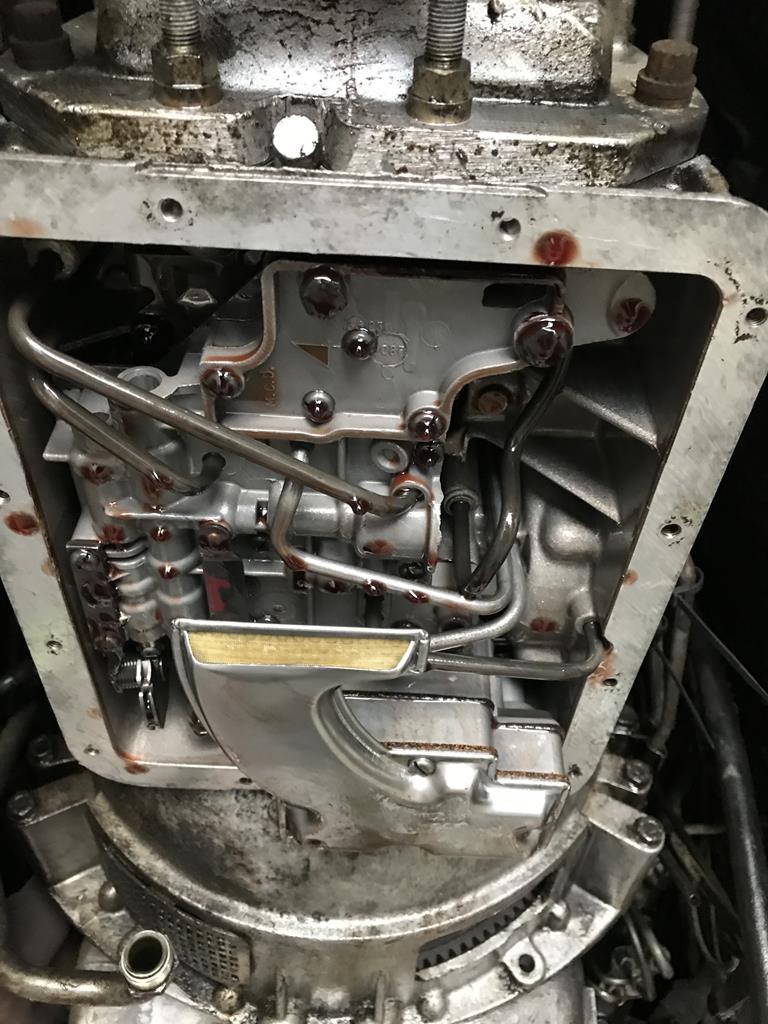 A quick check underneath of the prop shaft centre bearing and mounting and the prop driveshaft UJ’s (all 7 of them) revealed that they were looking a little bit tired. So, with a big service pencilled in anyway before our trip to Snowdonia with our other Classic Car buddies, I decided to overhaul all of these too. 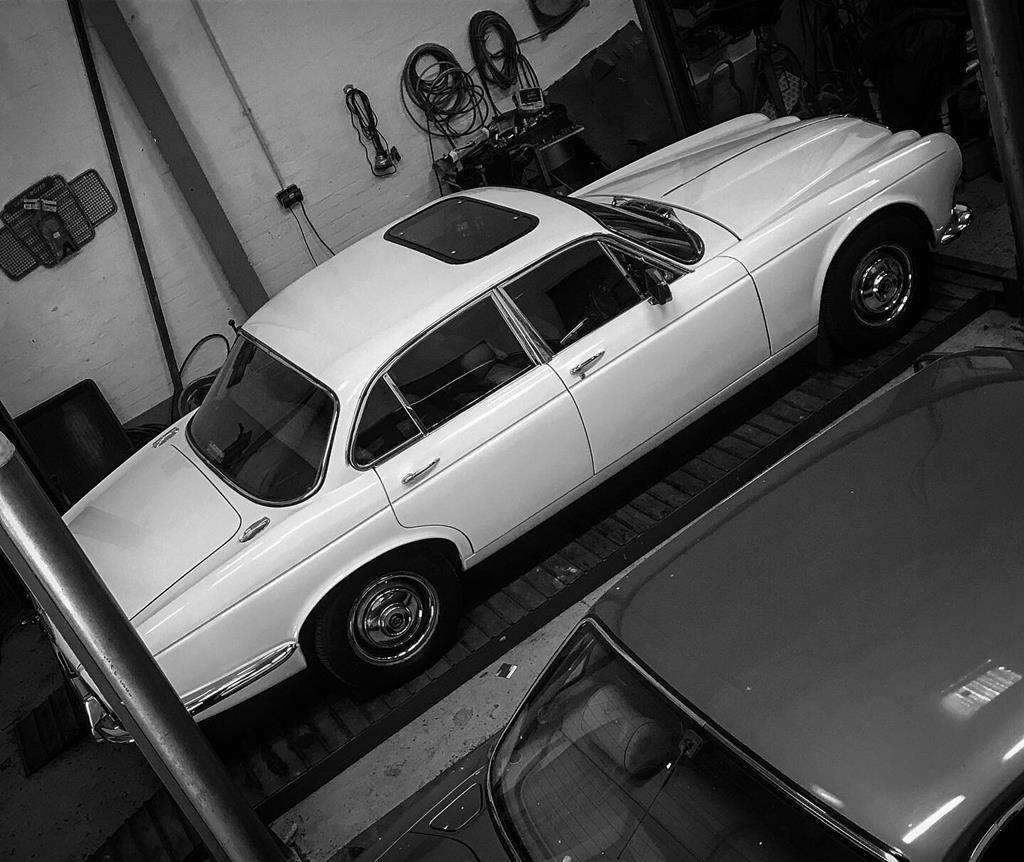 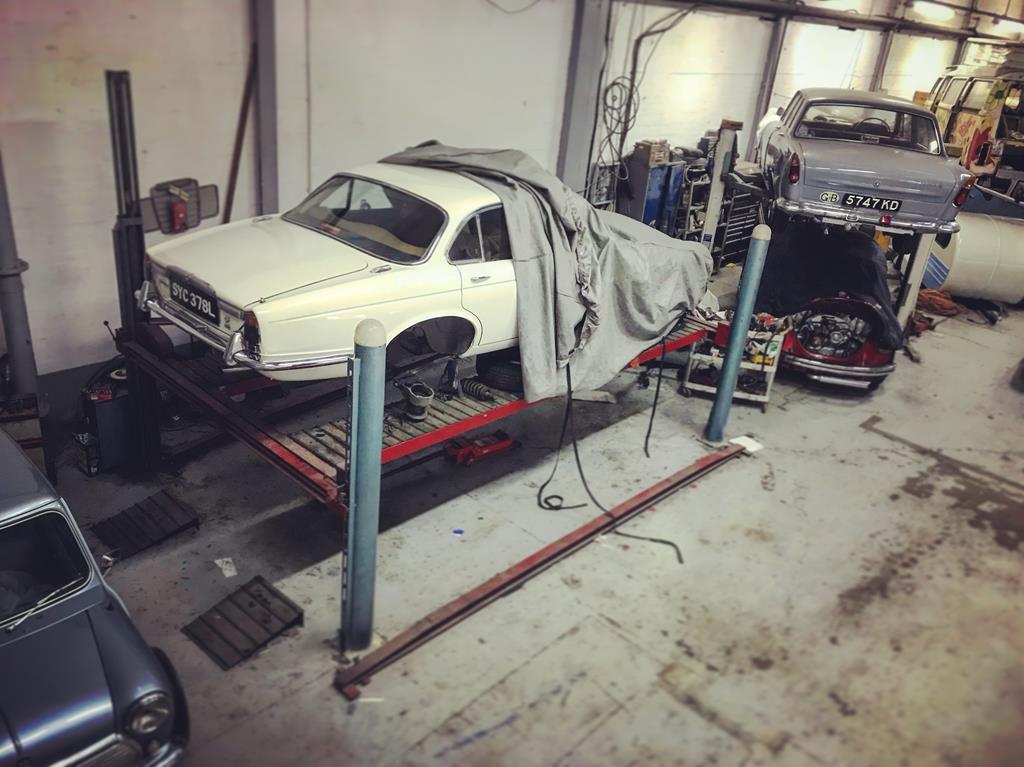 Astonishingly, everything came apart remarkably easy, even the rear hubs. Before breaking everything down into its component parts for a thorough clean, I initially paint marked everything before removal, then marking what went where with a punch once it was on the bench. 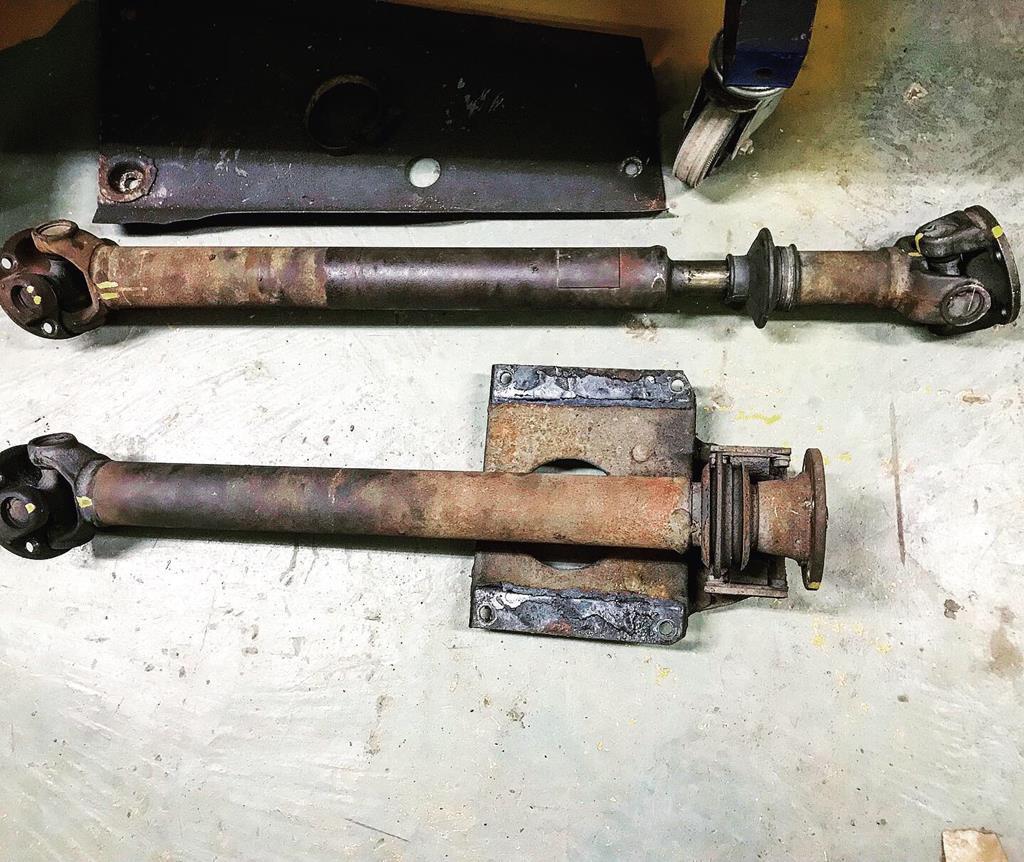 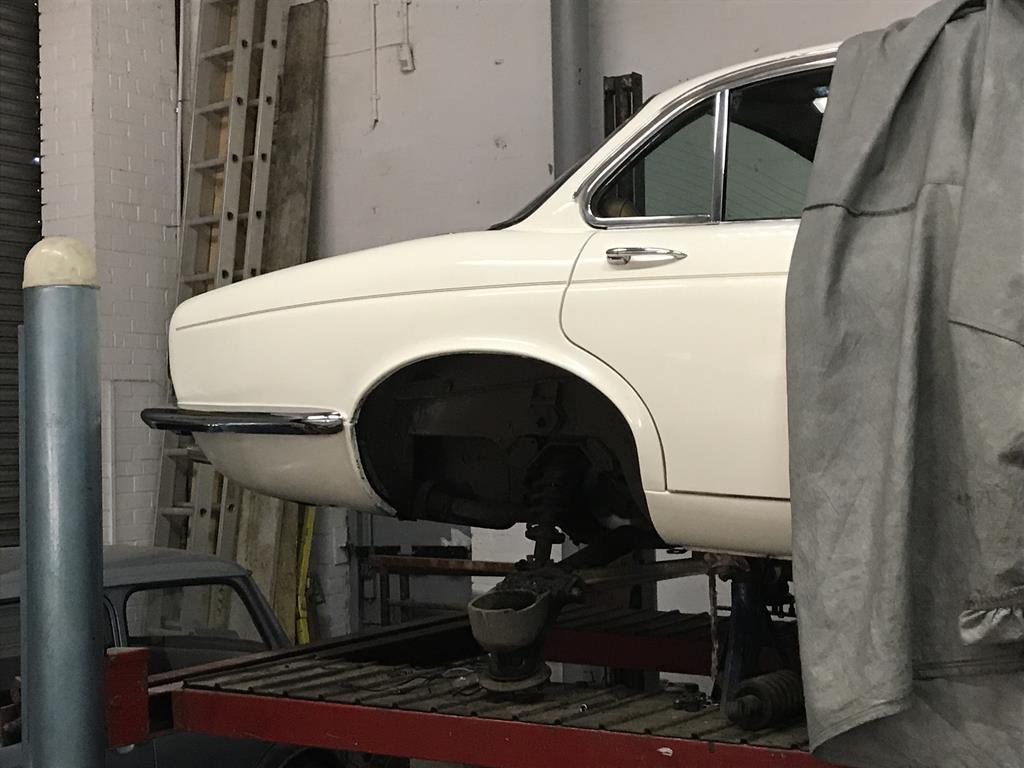 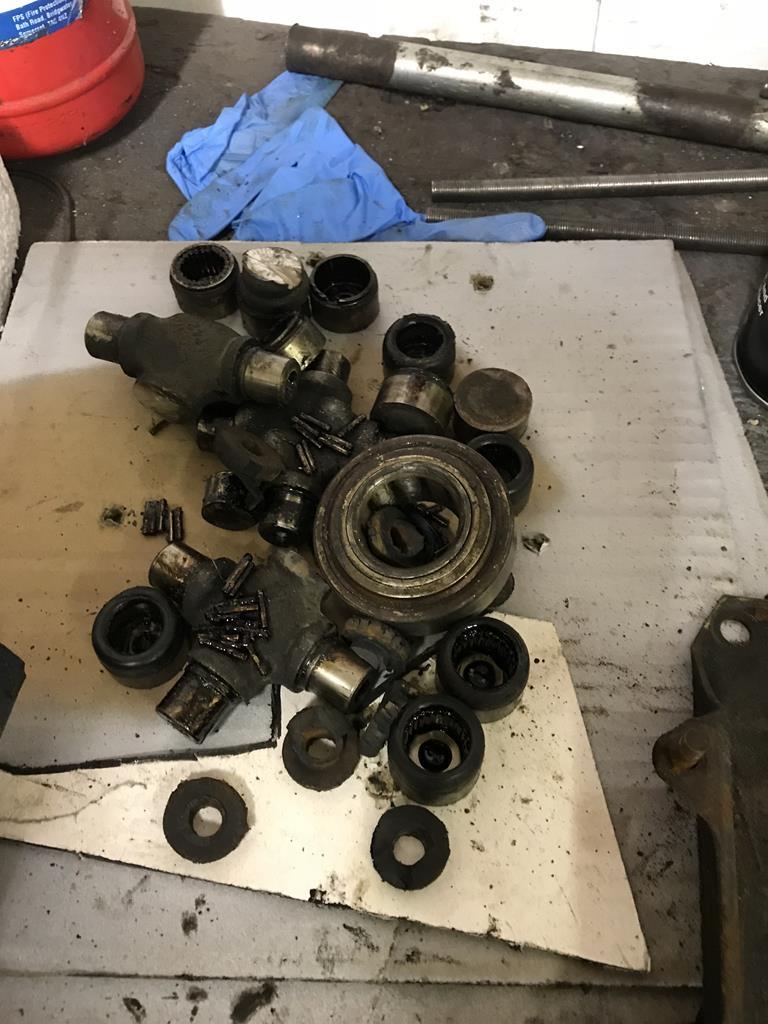 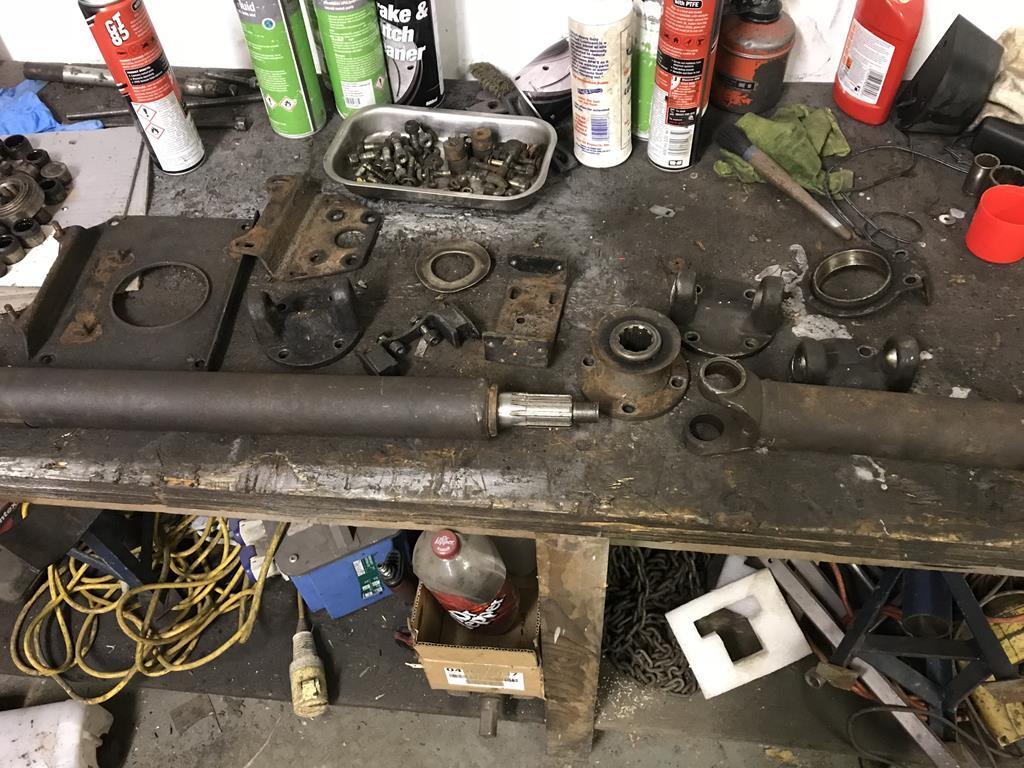 After a thorough clean in the parts washer the shafts were masked off and then treated to a coat of black Hammerite before the messy job of reassembly. 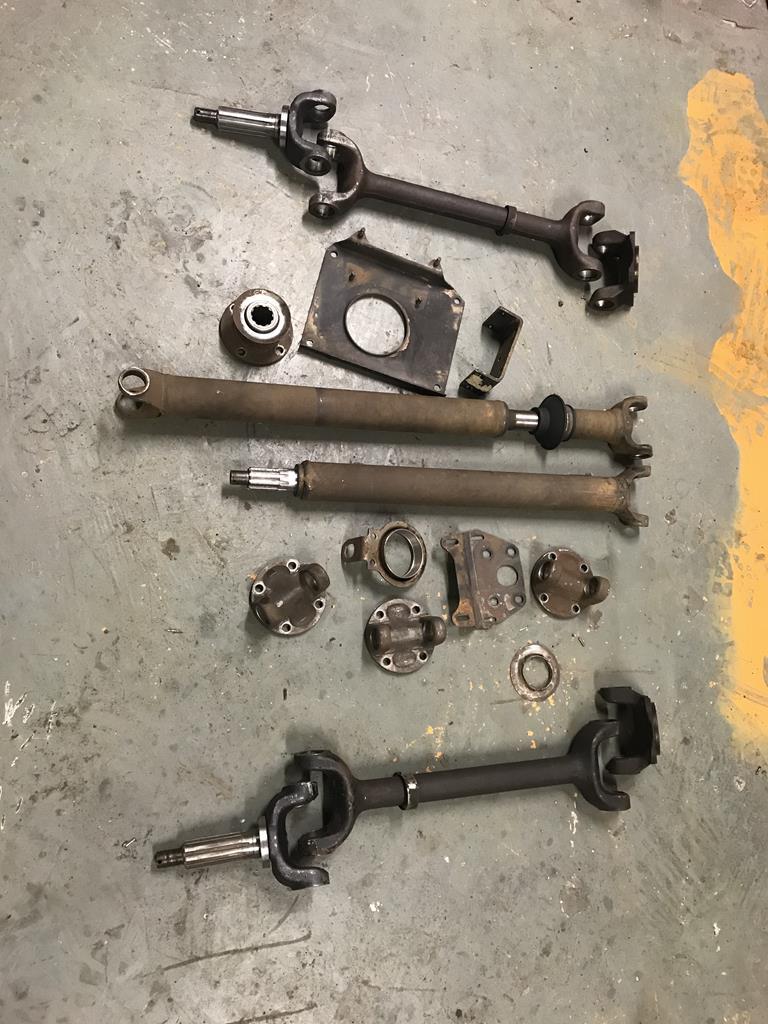 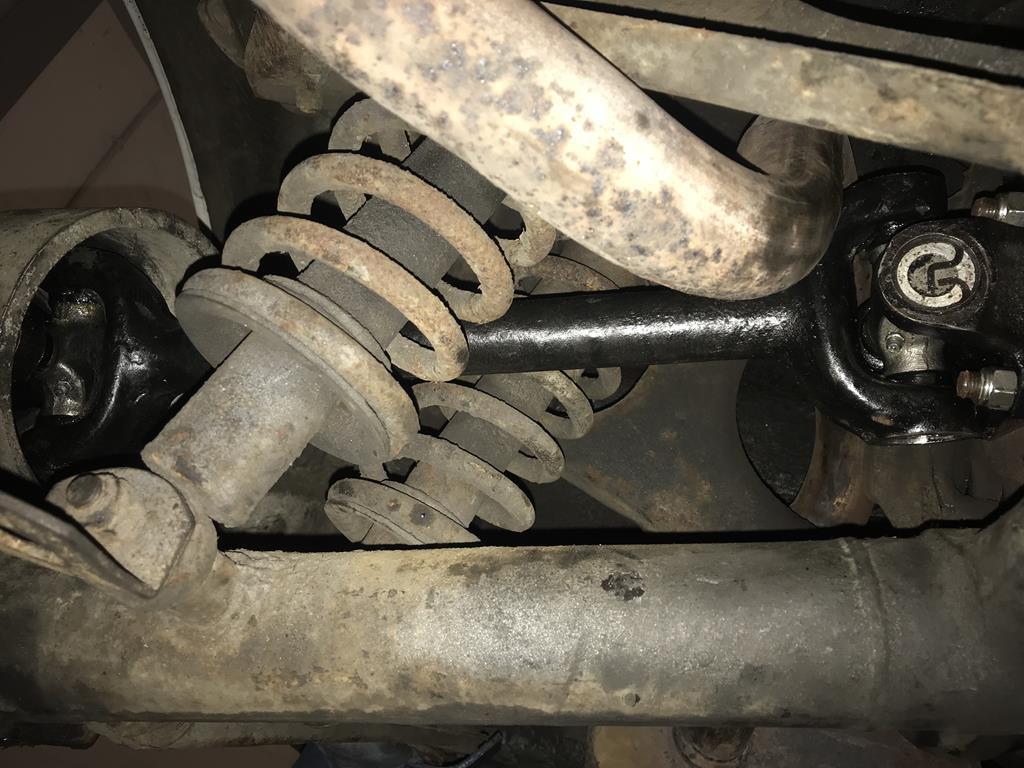 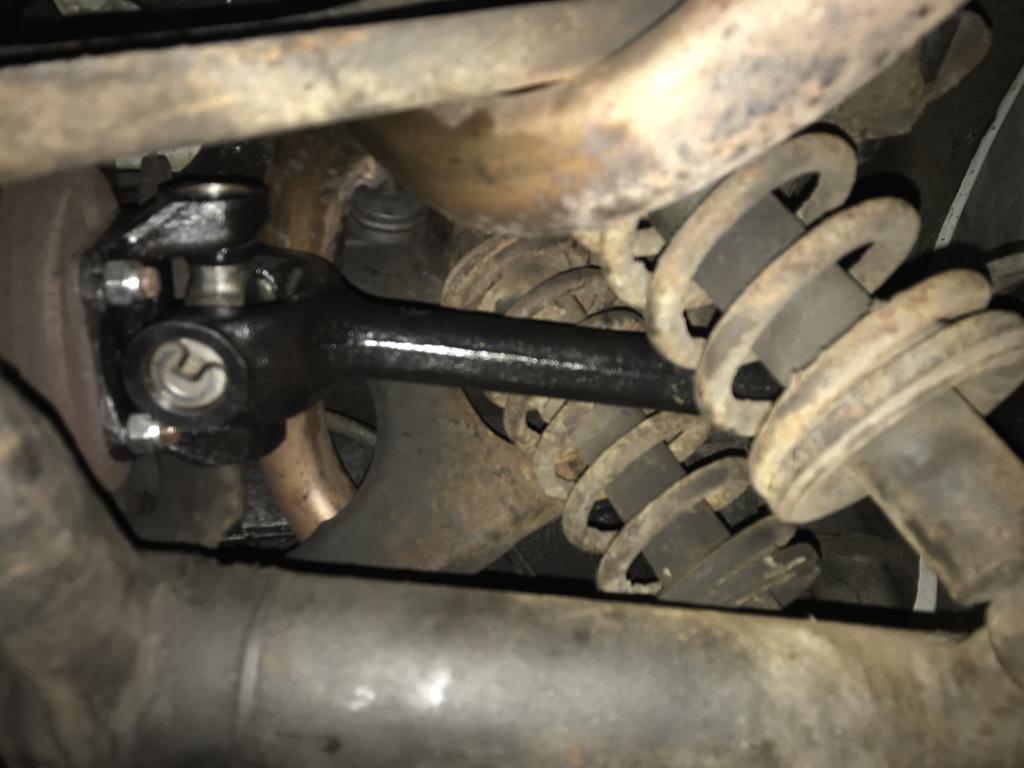 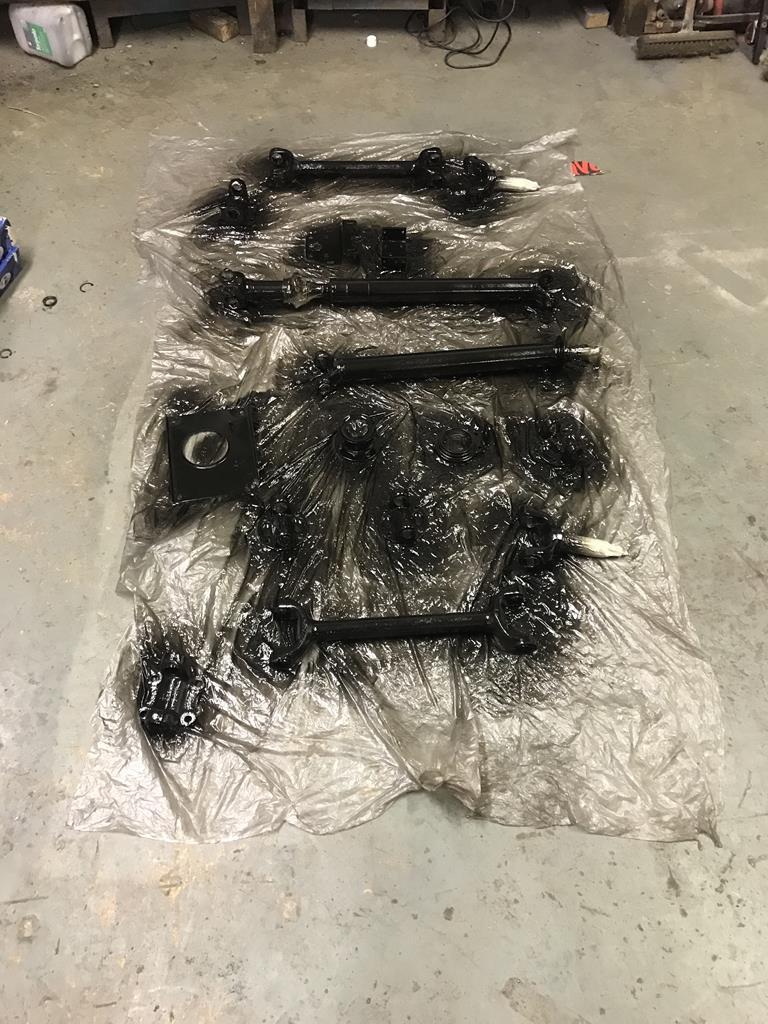 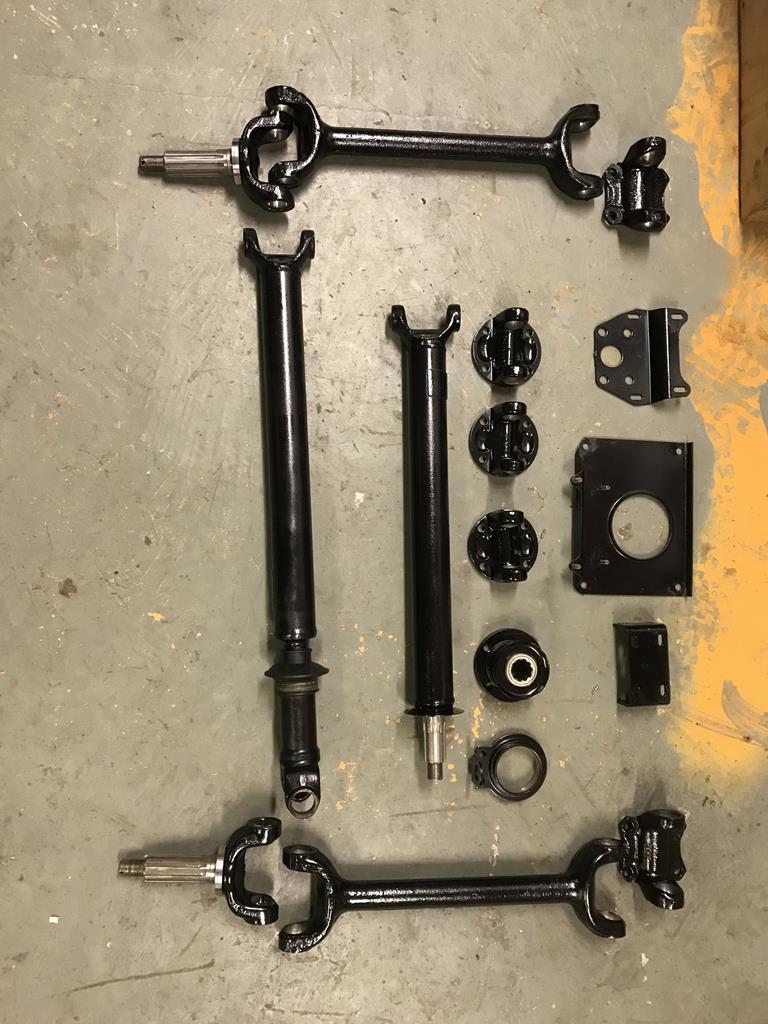 I also replaced all the mounting bushes and the ball race of the prop shaft centre bearing. 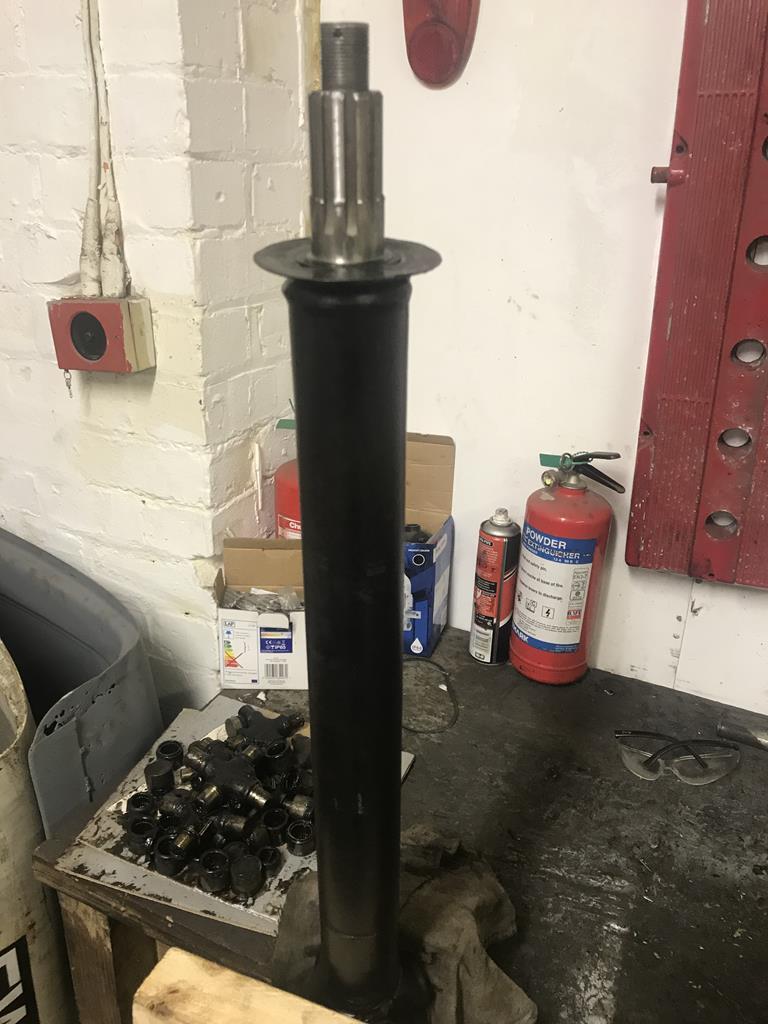 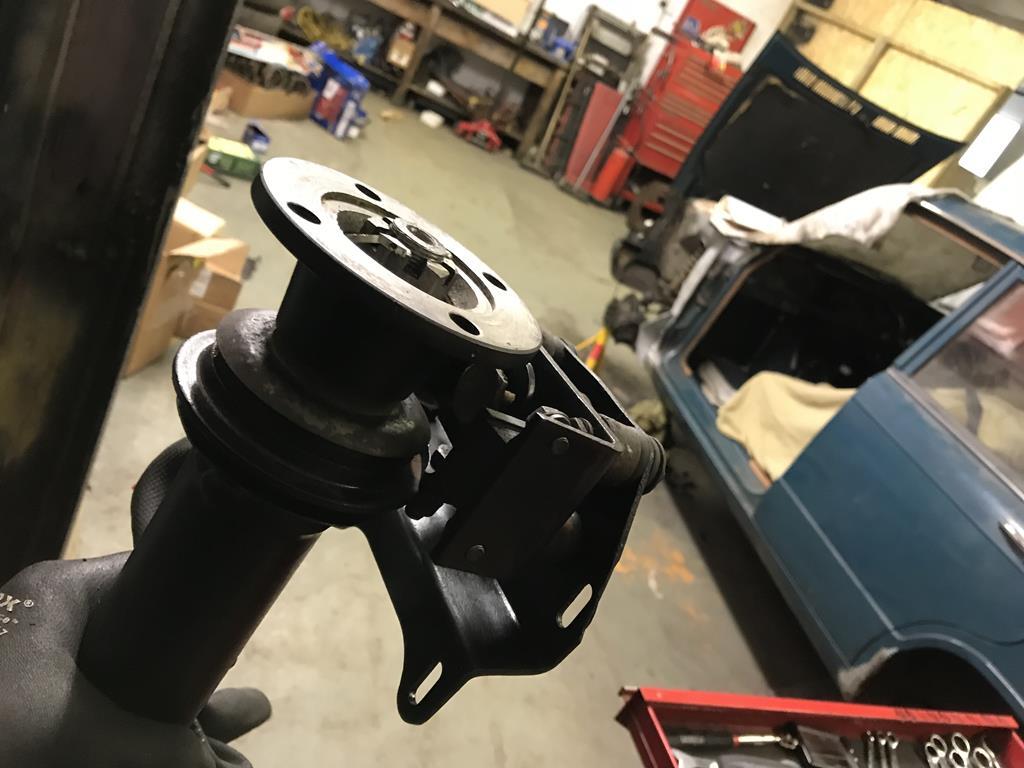 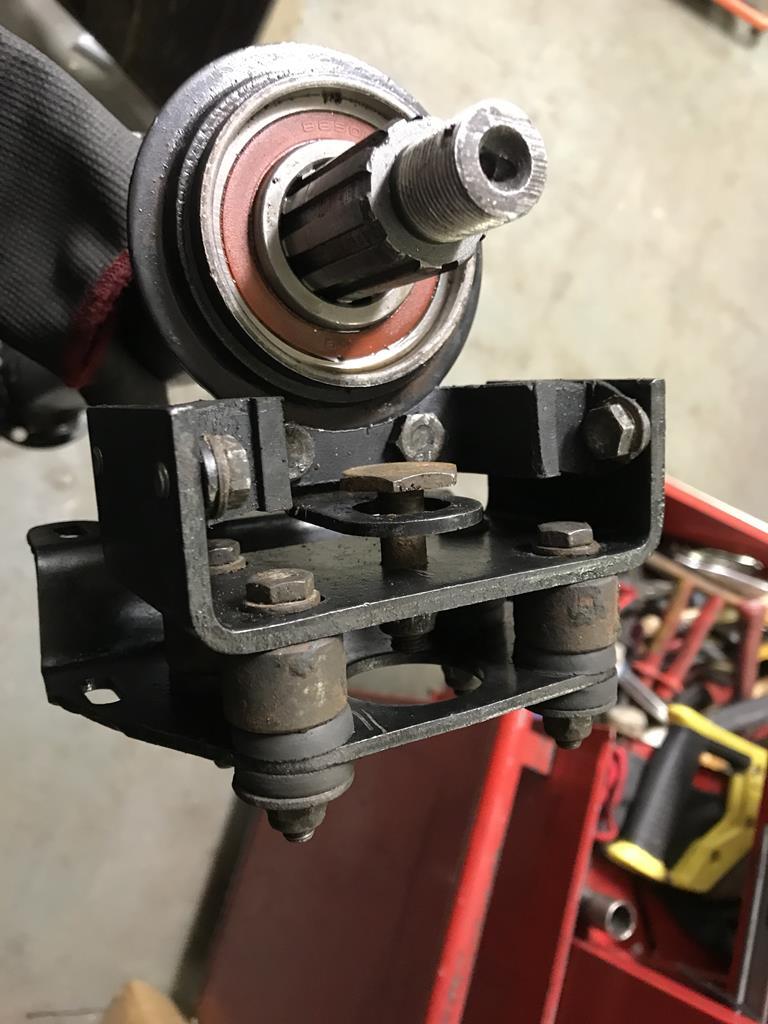 Once everything was reinstalled the driveline felt superb, far tighter. However, the clunk, although minor, was still there. It was only after seeking advice of a few people who know these cars better than I do that Jags with the BW65/66 auto ‘all do that’. Pays heed to do your homework! Ah well, still a worthwhile exercise. I learnt some new swear words too. 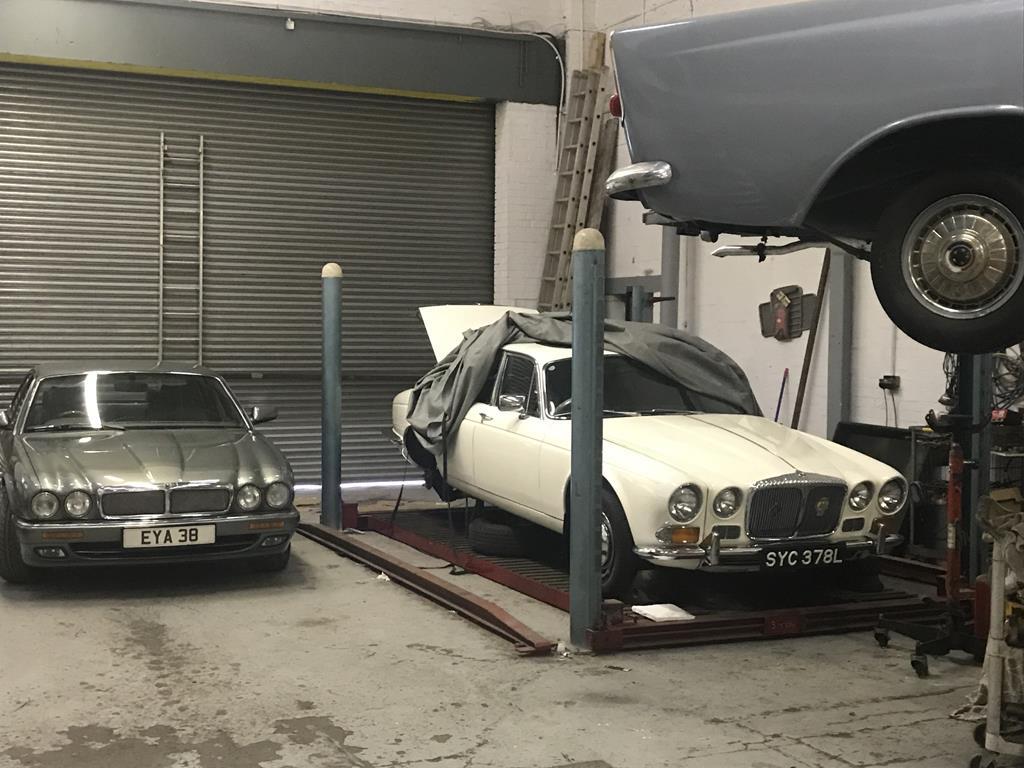 I had also noticed the car had become a bit harder to start from cold. Normally you pull the choke out (I fitted a manual override onto the AED not long after I got it) and she fires up first time, every time. A check inside the AED filter chamber revealed a nice big chunk of rubber that had decided to make itself at home in there. I hadn’t changed the rubber fuel hoses since 2014 and this told me they were obviously breaking down internally. I decided that during this period in dry dock, all the rubber fuel hoses would be replaced with ethanol resistant ones. I also changed the fuel filters. I’ve got 3 on this, the factory one inside a glass bowl after the pumps and before the carbs and some aftermarket in line ones fitted before each pump on each fuel tank. 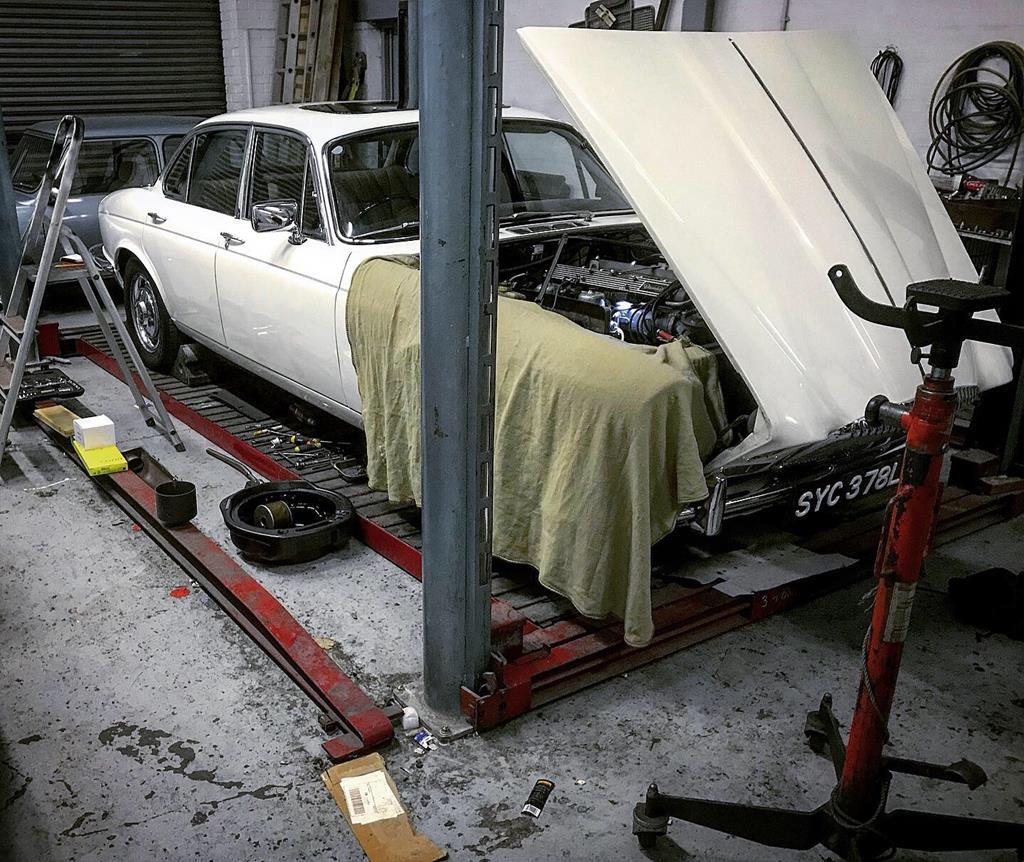 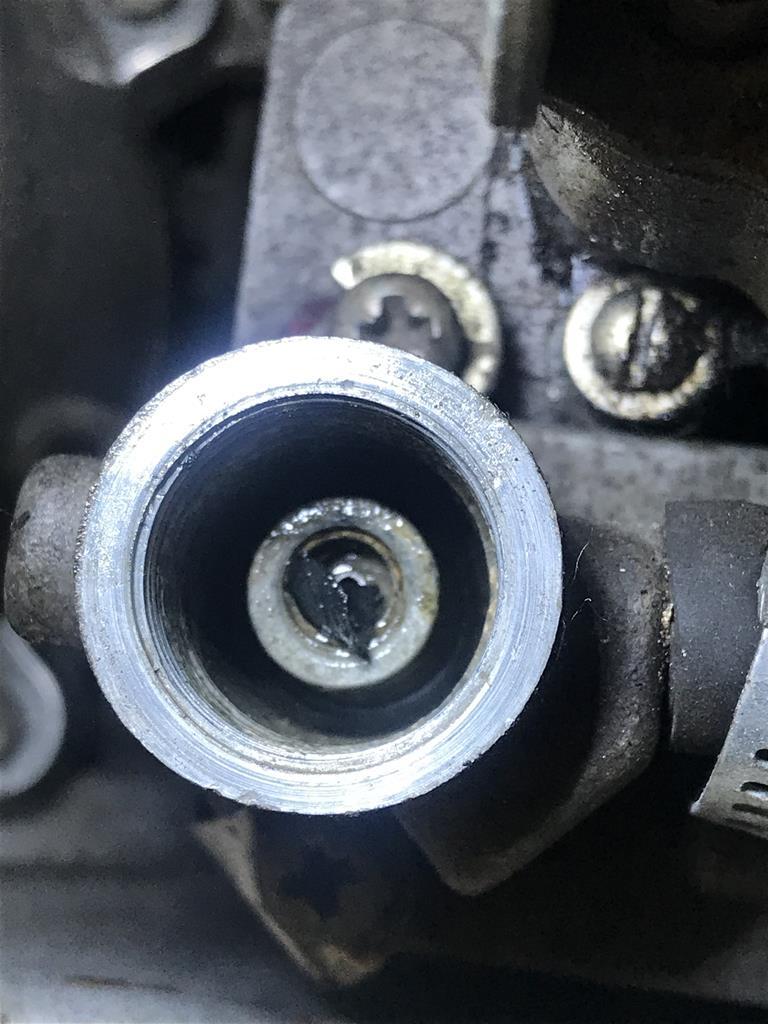 The oil pressure sender was also sacked after deciding it didn’t like working. Disappointingly, the no doubt Chinese replacement has decided it prefers part time working to full time so more investigation is needed there. 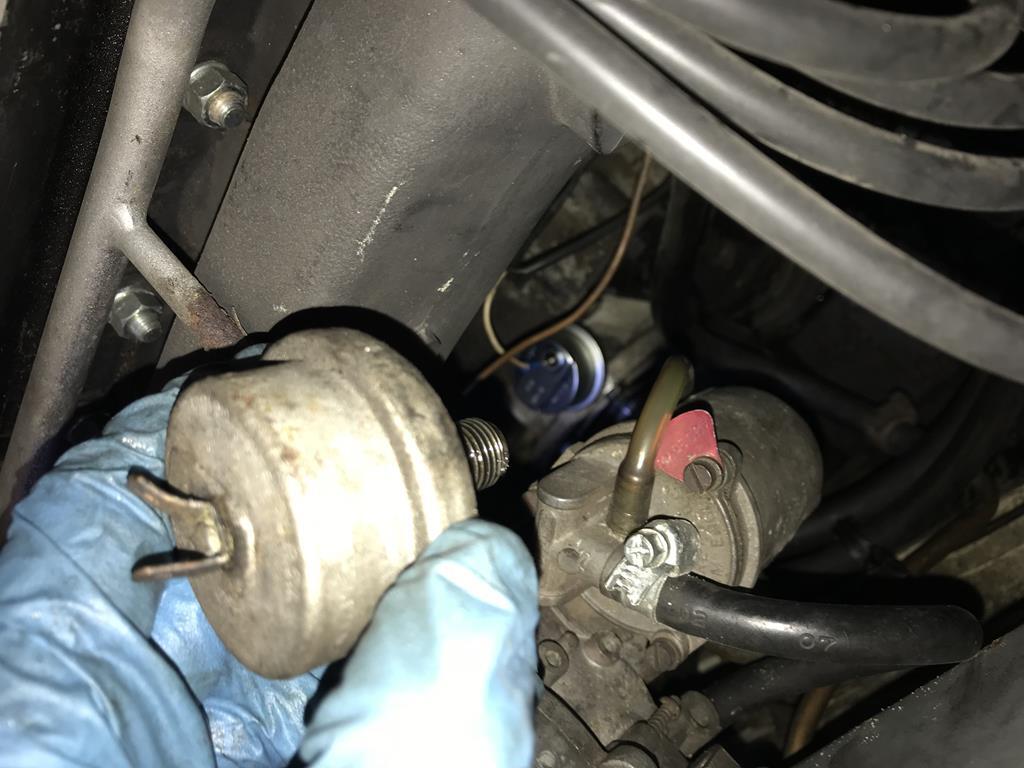 After all this work was done she once again performed faultlessly all year, including our annual trip to Snowdonia. She even go to star in a music video for the supremely talented artist Robert Vincent, the video and ‘backstage’ shots you can see below. 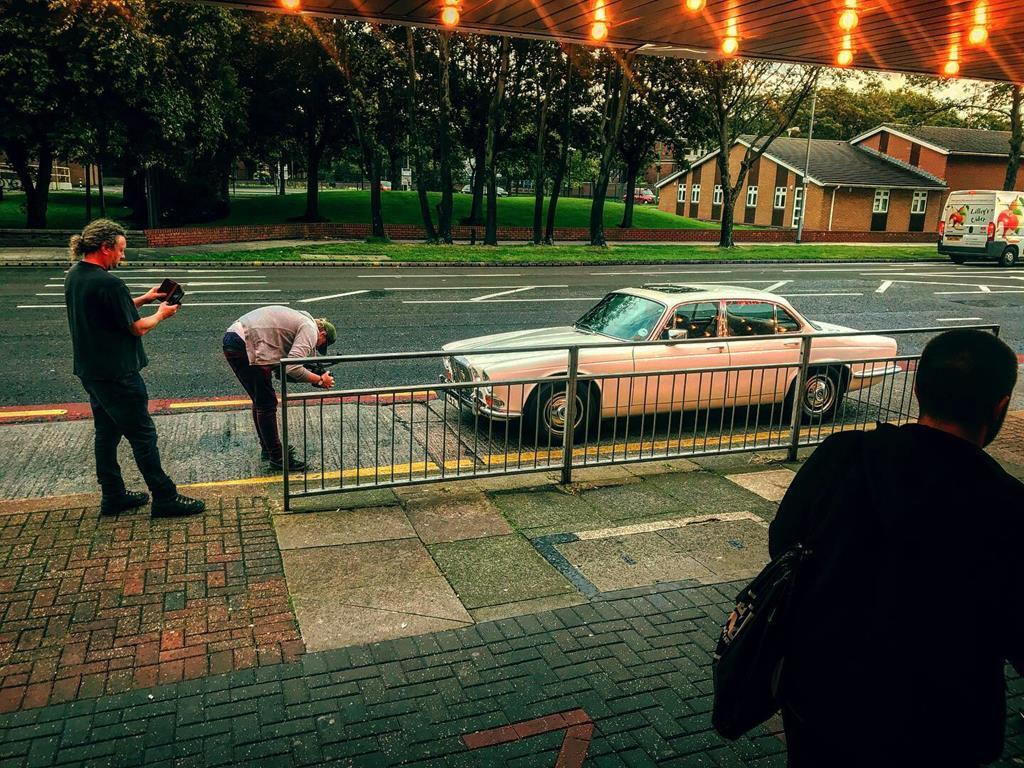 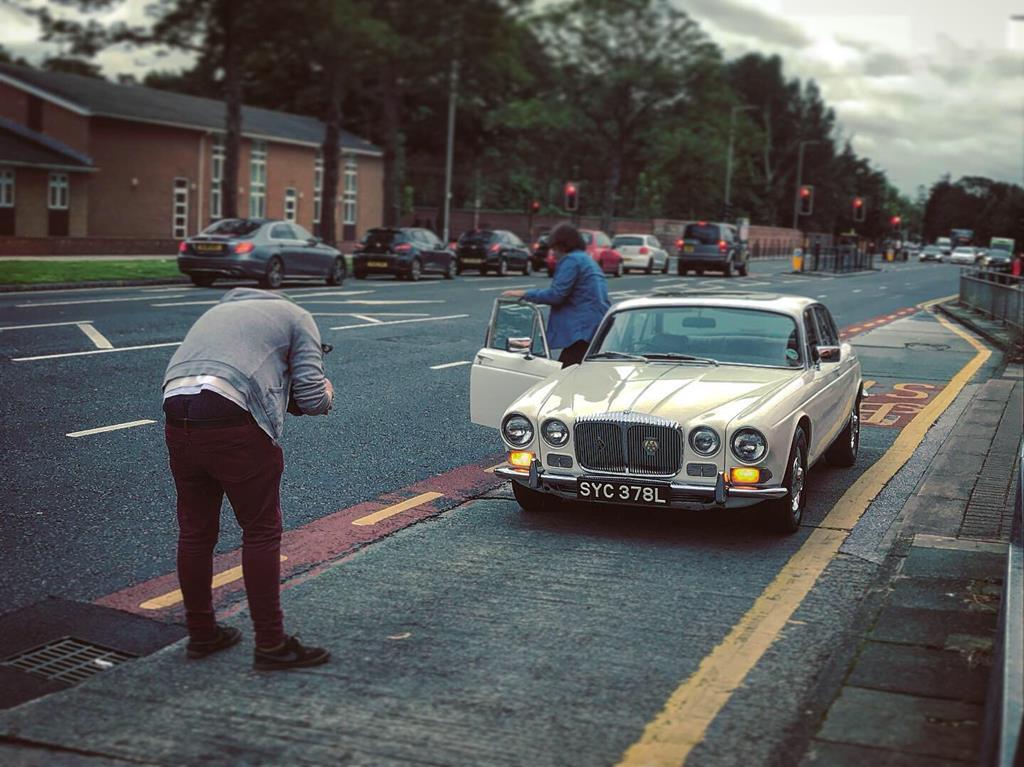 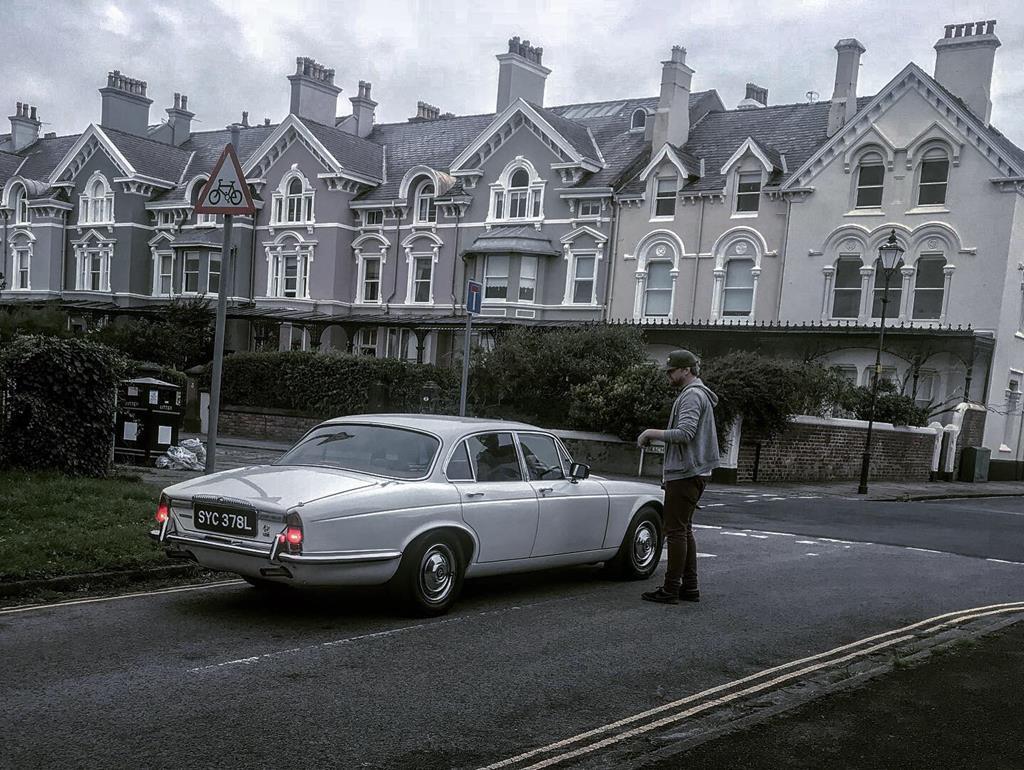 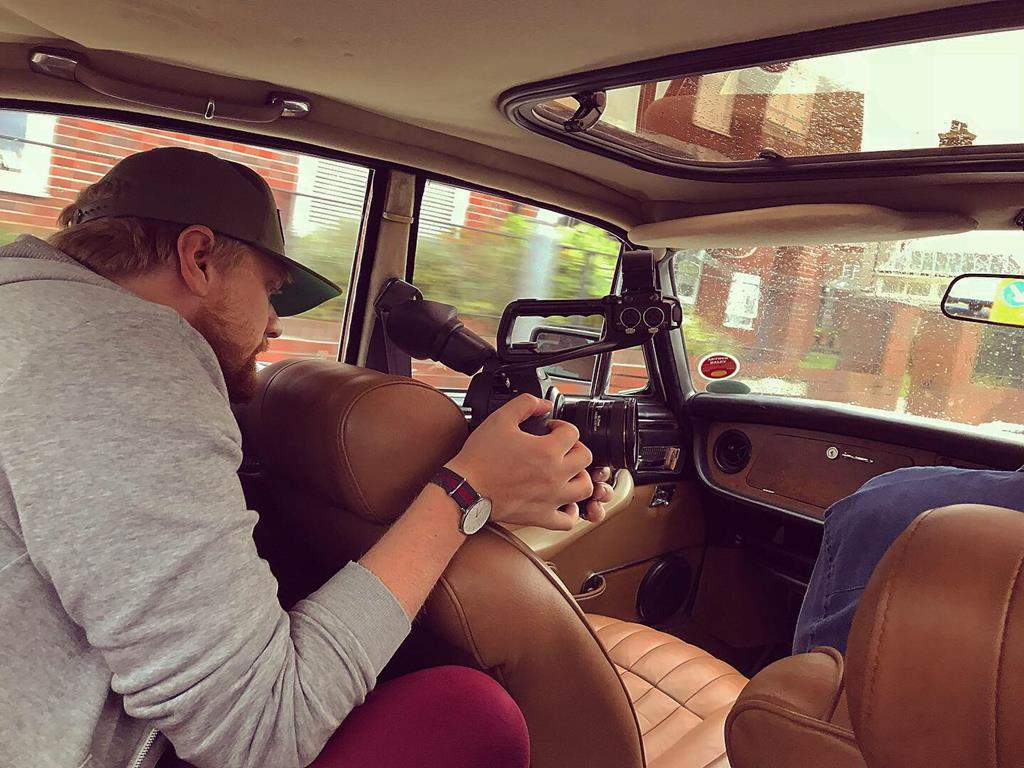 This year, although there is stuff I want to do to it, it will just be a service. I want to get my little Triumph project on the road at the latest by the end of Summer so any major improvements will have to wait for the time being. I do have a few things I’d like to address before the Sunbeam returns to the nest as that will be in the workshop for a considerable stretch as it goes back together, meaning that I need to address any major stuff on the Jag before its return. Hopefully I can get her into the workshop this coming Winter for some much needed TLC. 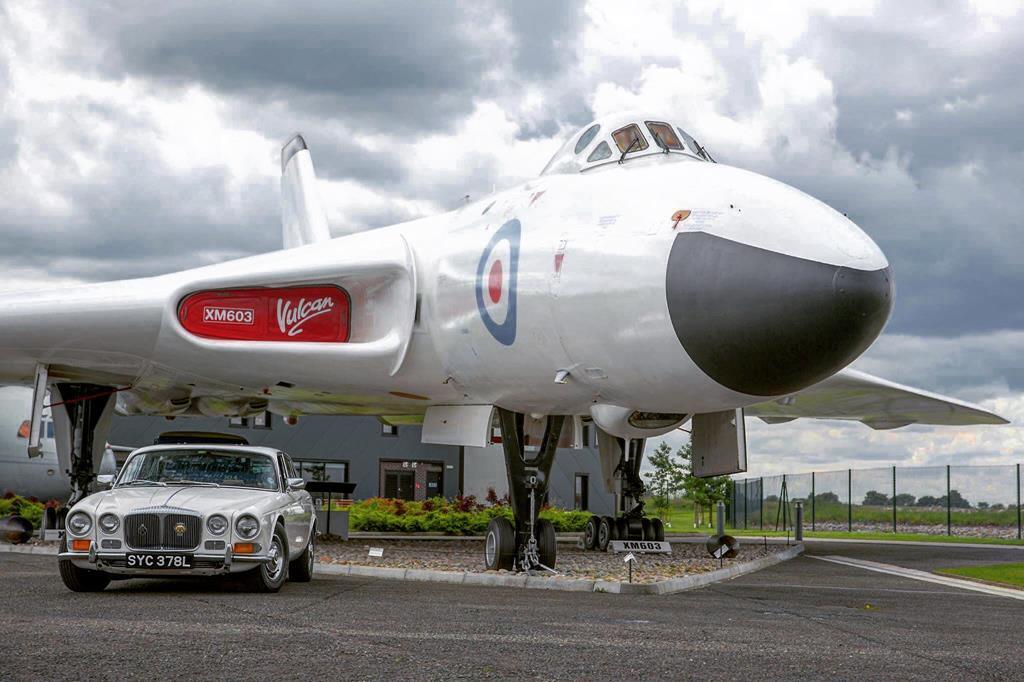 |
| |
Last Edit: Mar 12, 2020 19:25:59 GMT by XL391
|
|
2p2g1m
Part of things
 
Posts: 119
|
|
Mar 12, 2020 19:43:13 GMT
|
|
Seriously cool car. Love it.
|
| |
|
|
|
|


 happy memories


