johnrh
Part of things
 
Posts: 958
|
|
|
|
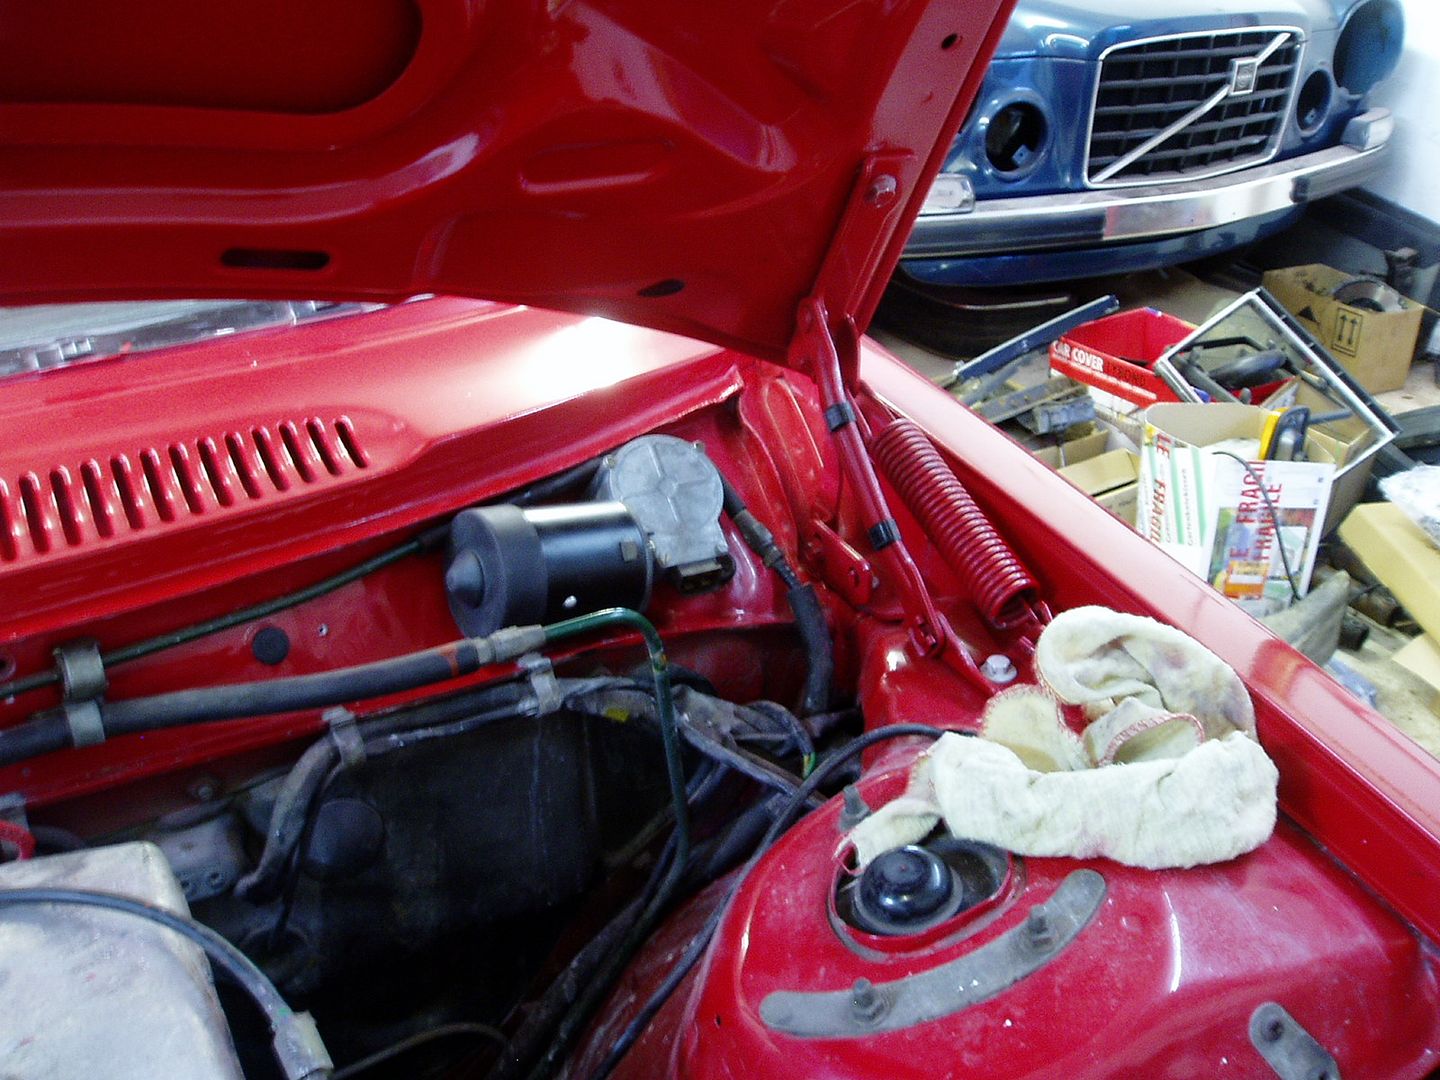
Today I started on the front bumper. Dismantled for cleaning  The bumper is solid and straight, but like all I've seen it has some corrosion in the aluminium. I'm grinding the worst areas, and flatting the rest with a file. The corrosion will eventually come back, but it should last 3 or 4 years and it's not a big job to paint the bumpers again 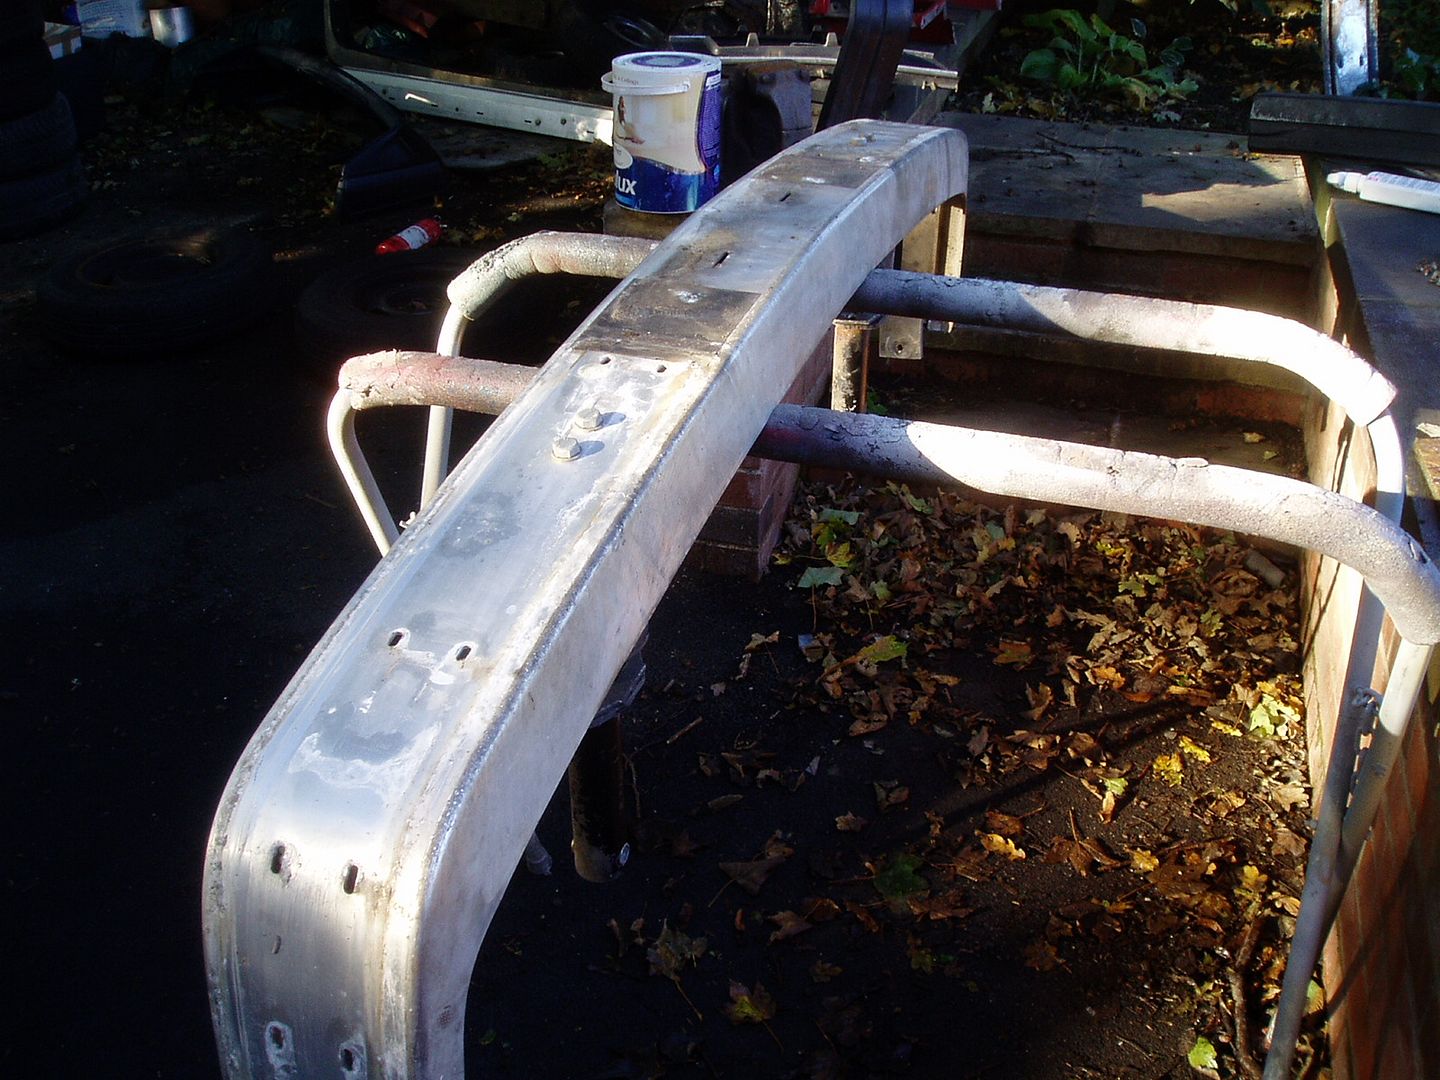 The metal holders for the rubber parts rust badly at the bottom edge - but I have a plan... 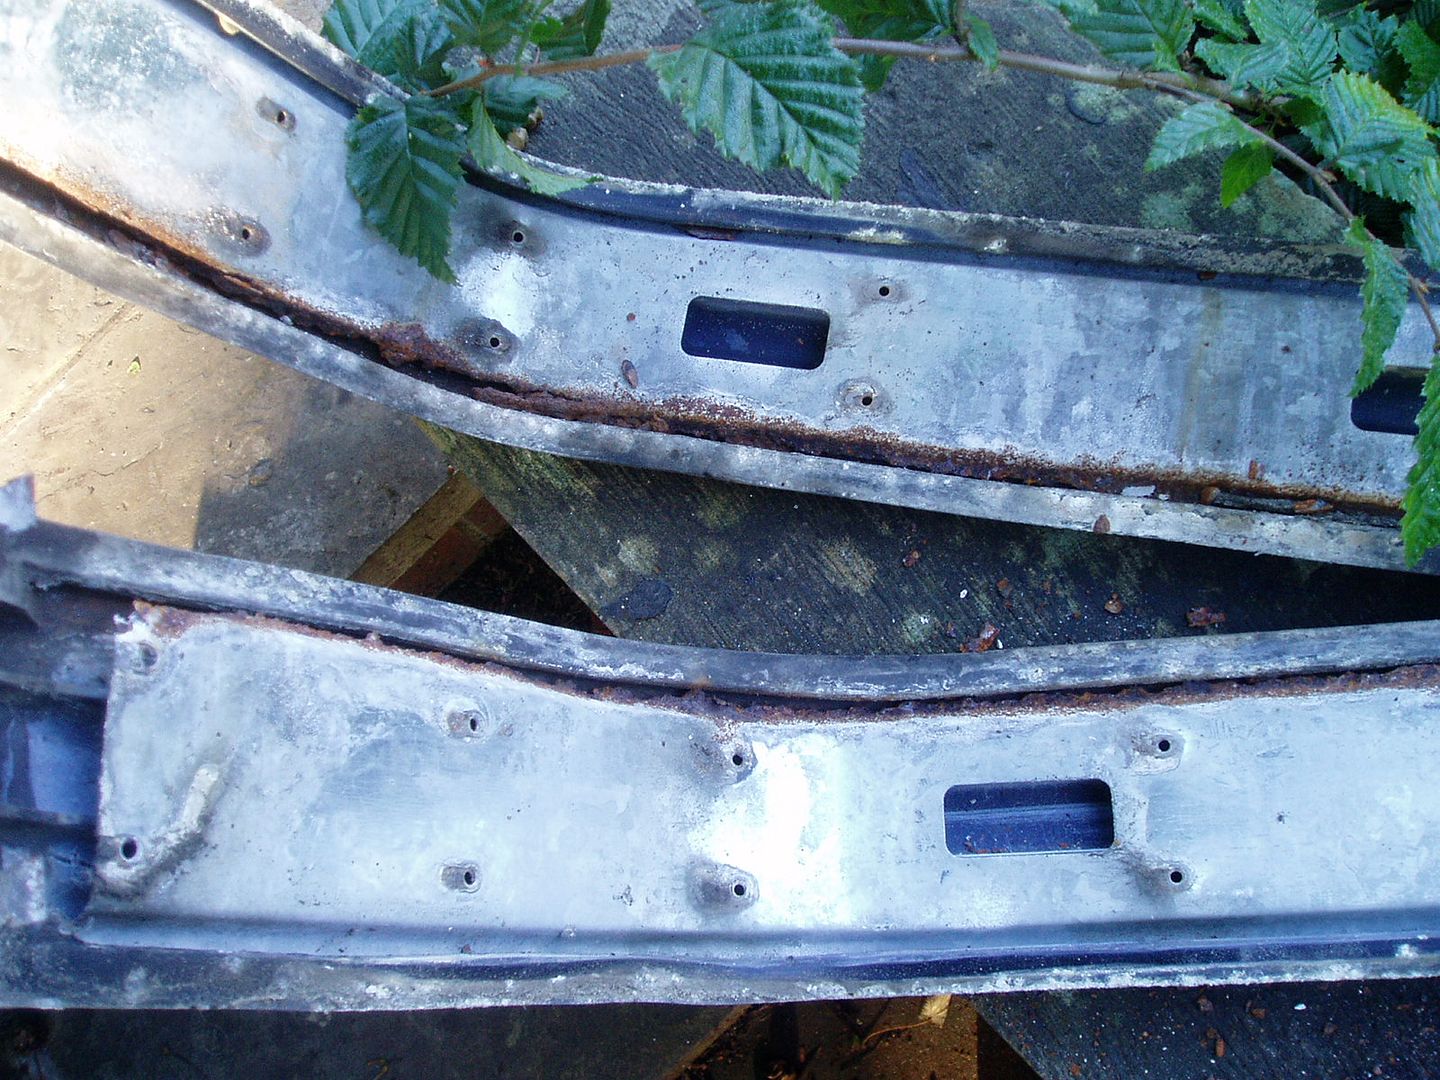 This 1976 bumper had black squares to hide the gap between the rubber and the number plate. I have not seen that before and assumed it was a DIY addition, but actually on inspection it's black vinyl and looks factory  Several hours of filing!!  I used acid etch wash to slow down the corrosion and give a good key for the primer  Applied 2-pack filler primer, several quite thick coats so I can wet-flat it to a good surface  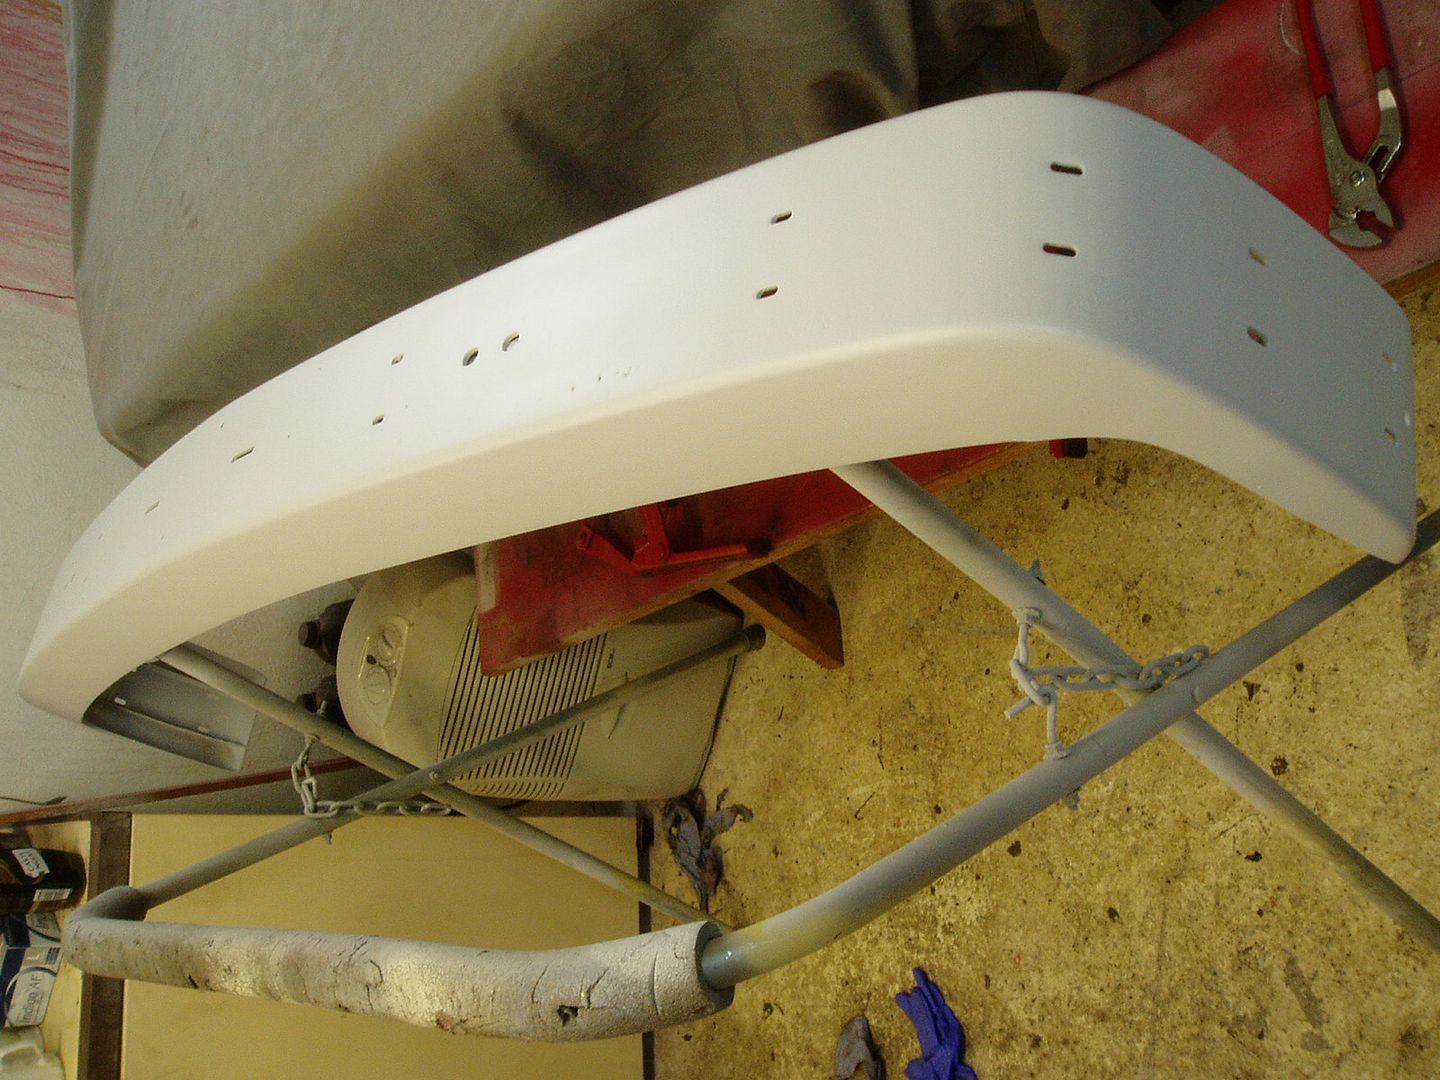 Also I made some progress on the front end bodywork - putting red basecoat on edges that would be easy to miss when I do the main spray job  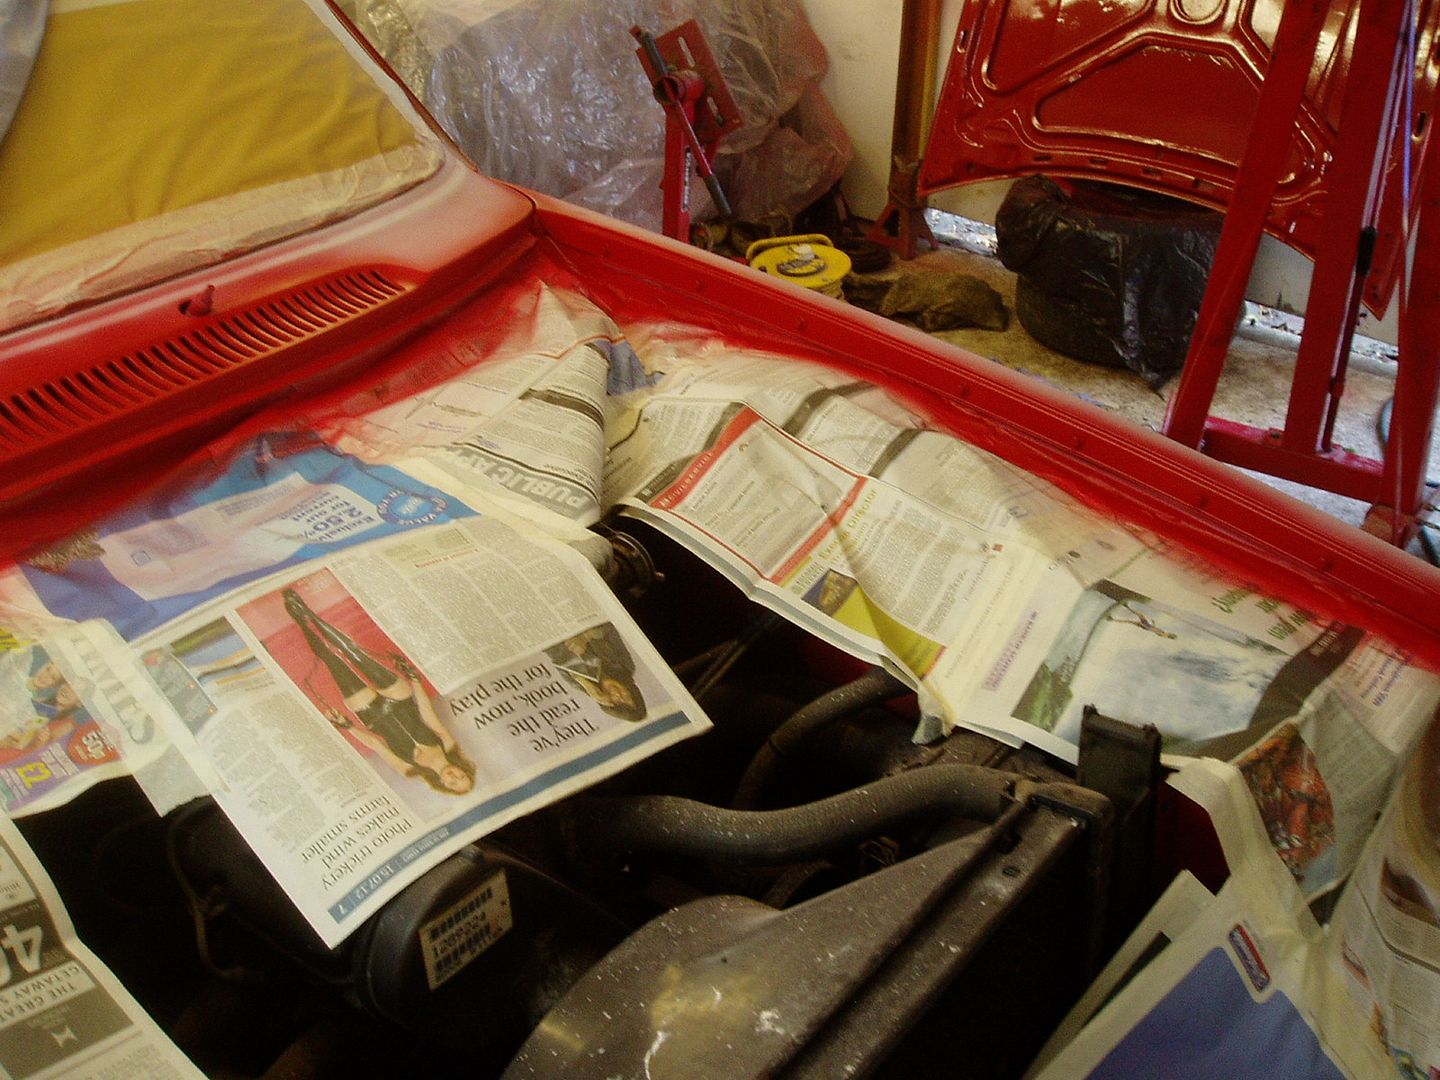  That's all for today! Cheers John |
| |
Last Edit: Oct 7, 2012 20:11:54 GMT by johnrh
|
|
|
|
johnrh
Part of things
 
Posts: 958
|
|
Oct 10, 2012 20:12:24 GMT
|
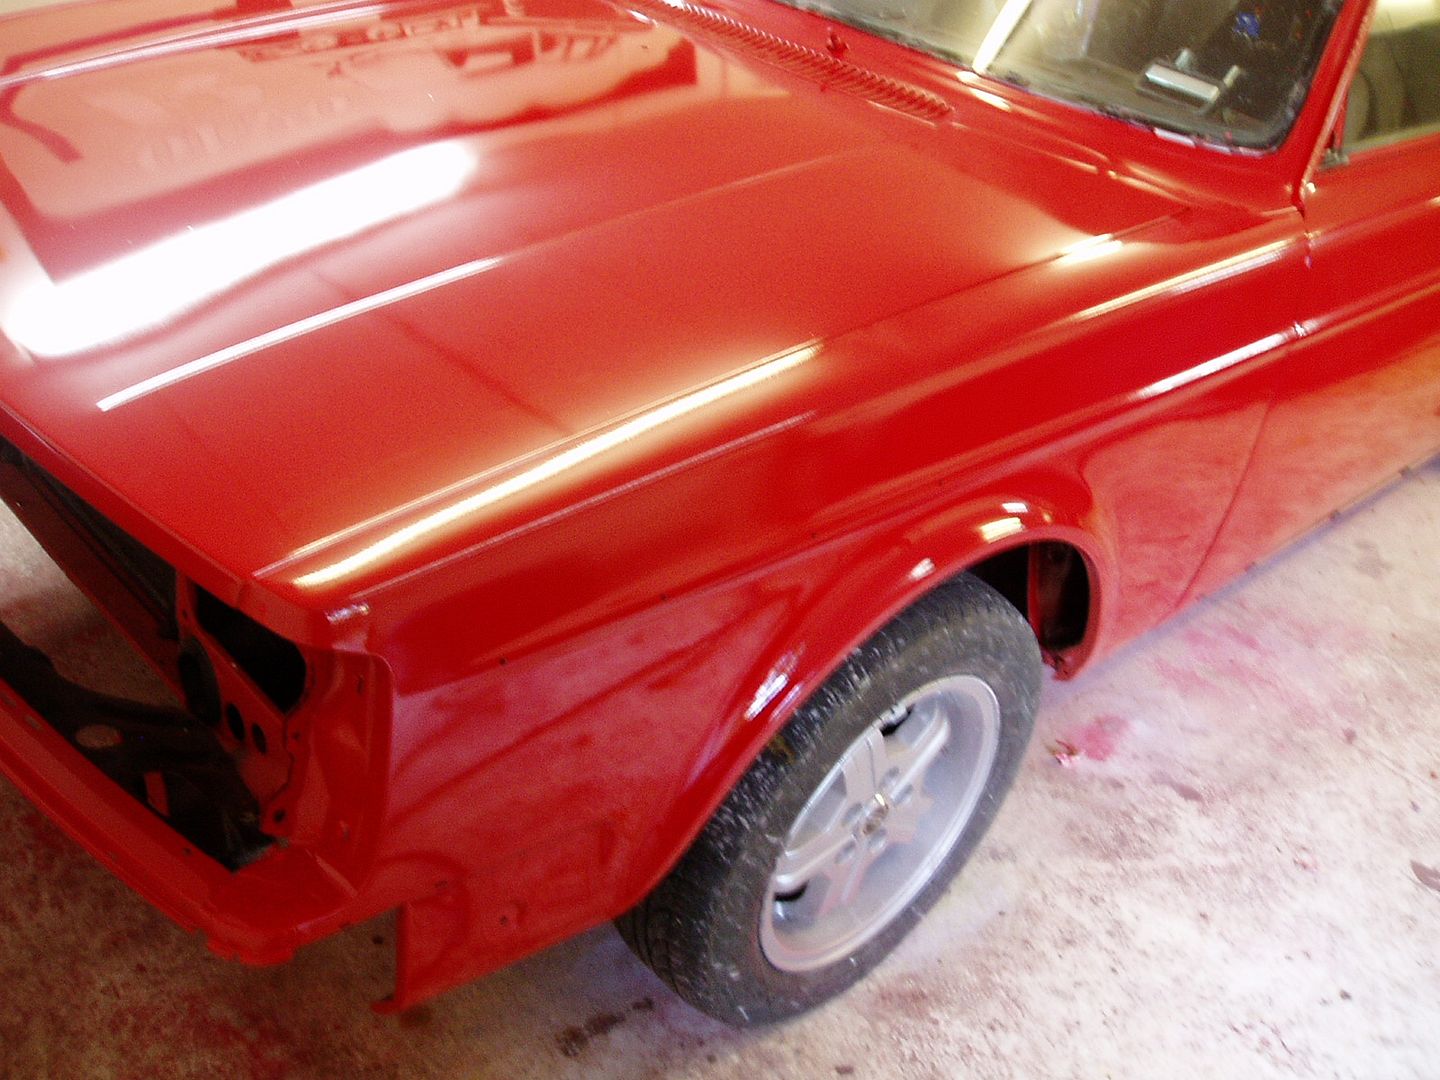
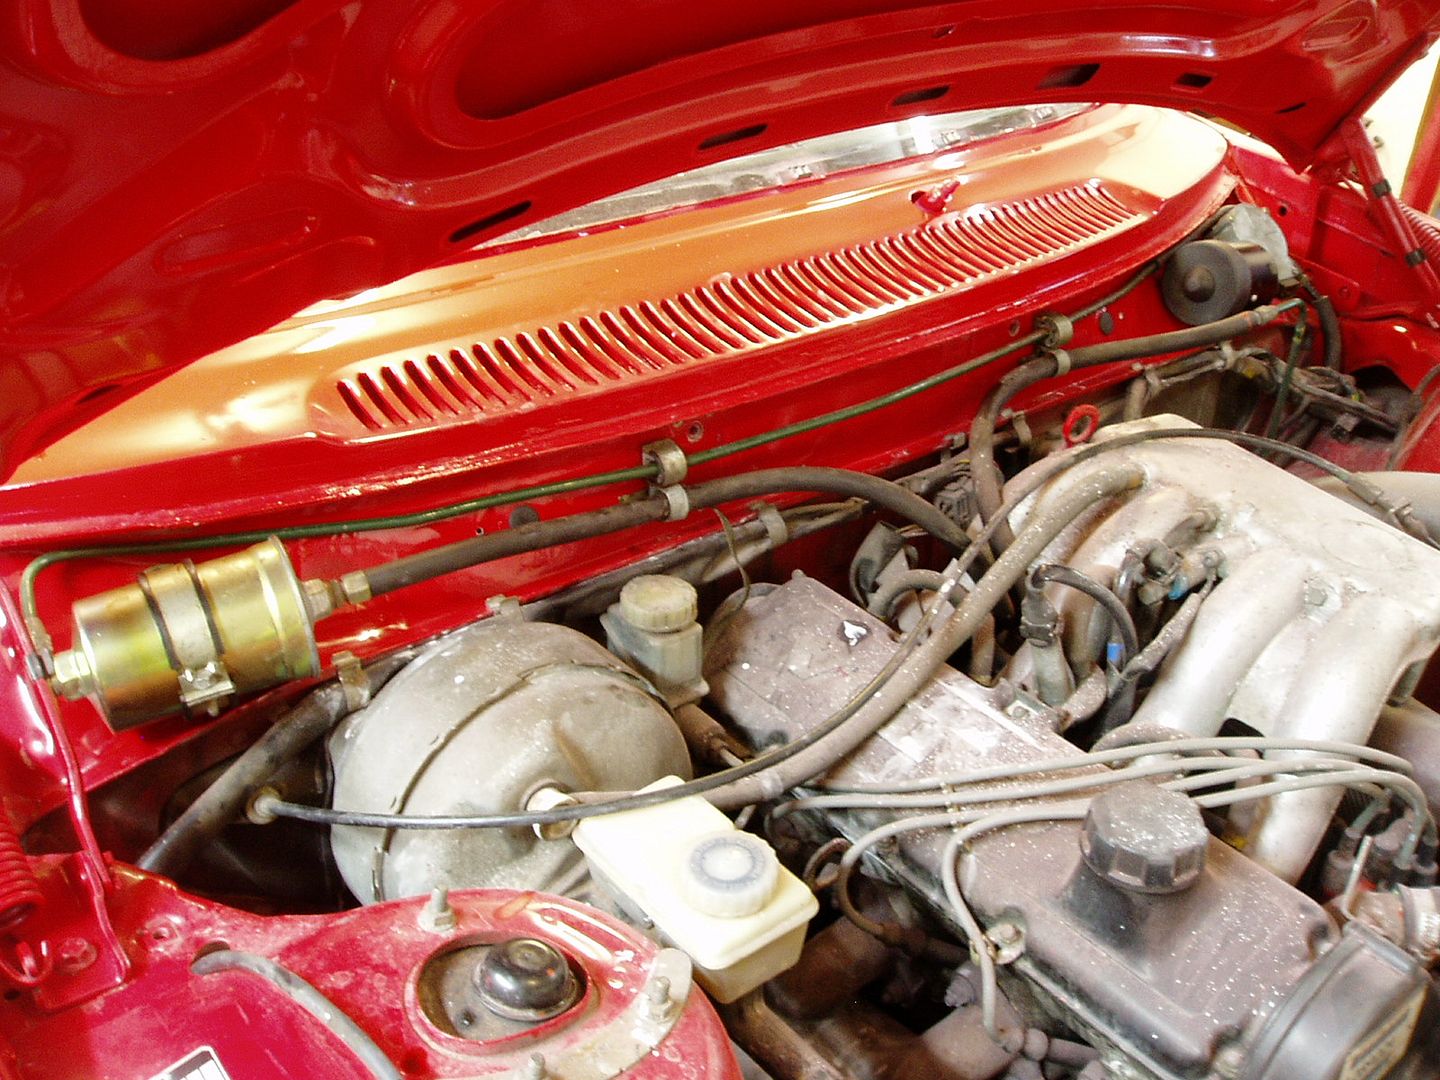
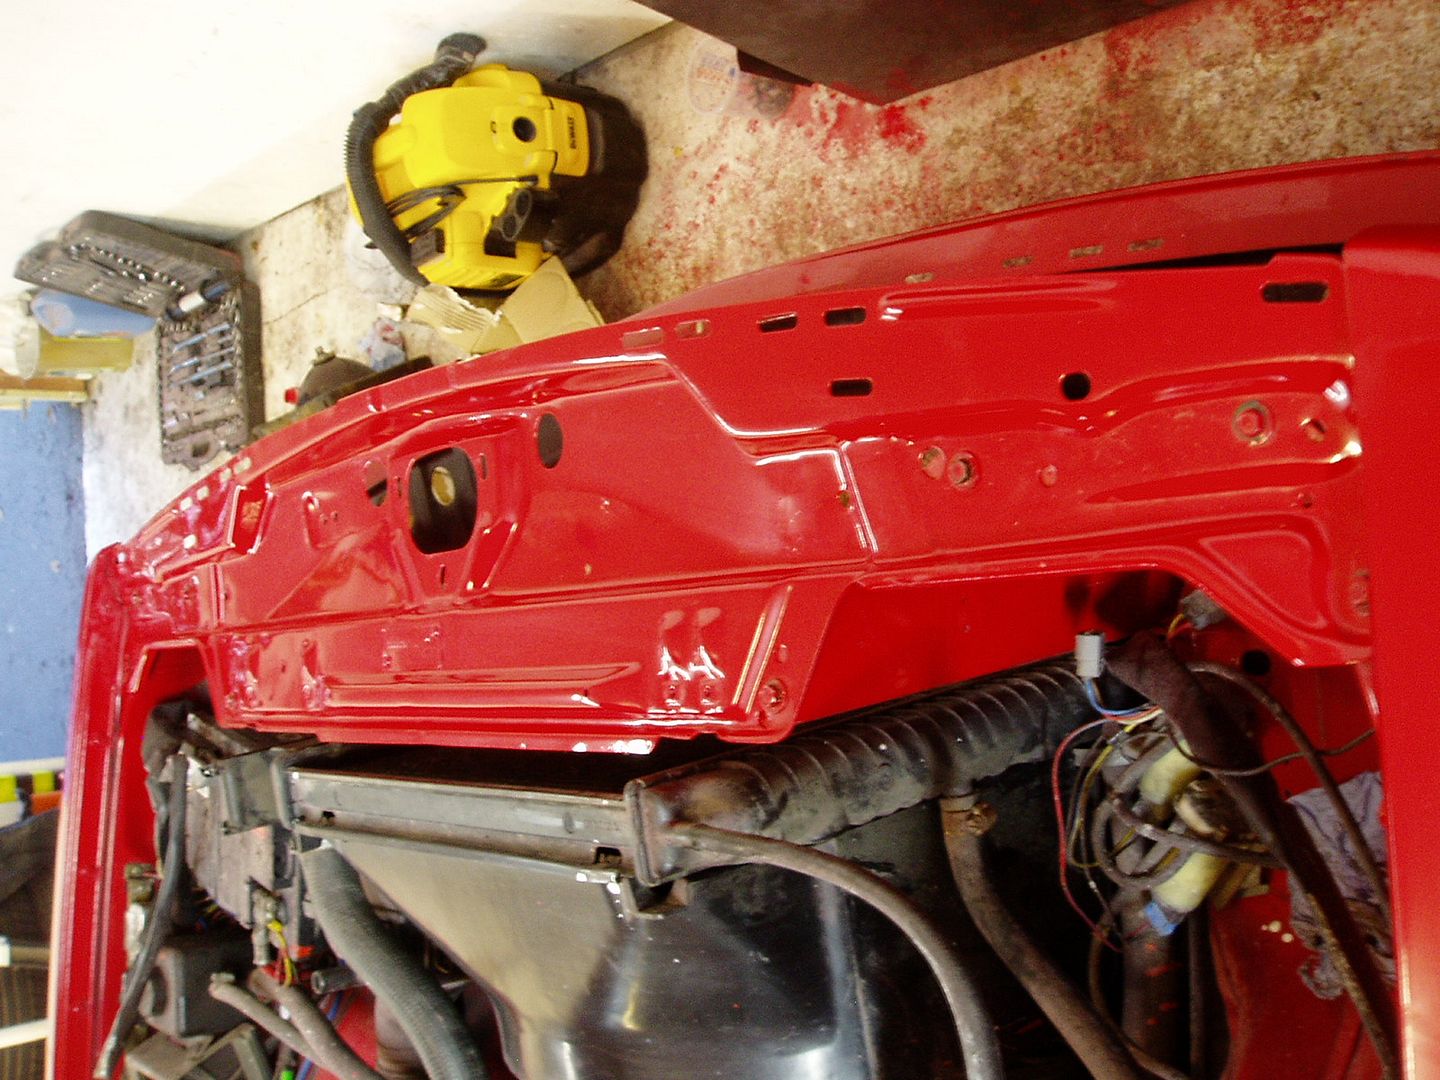
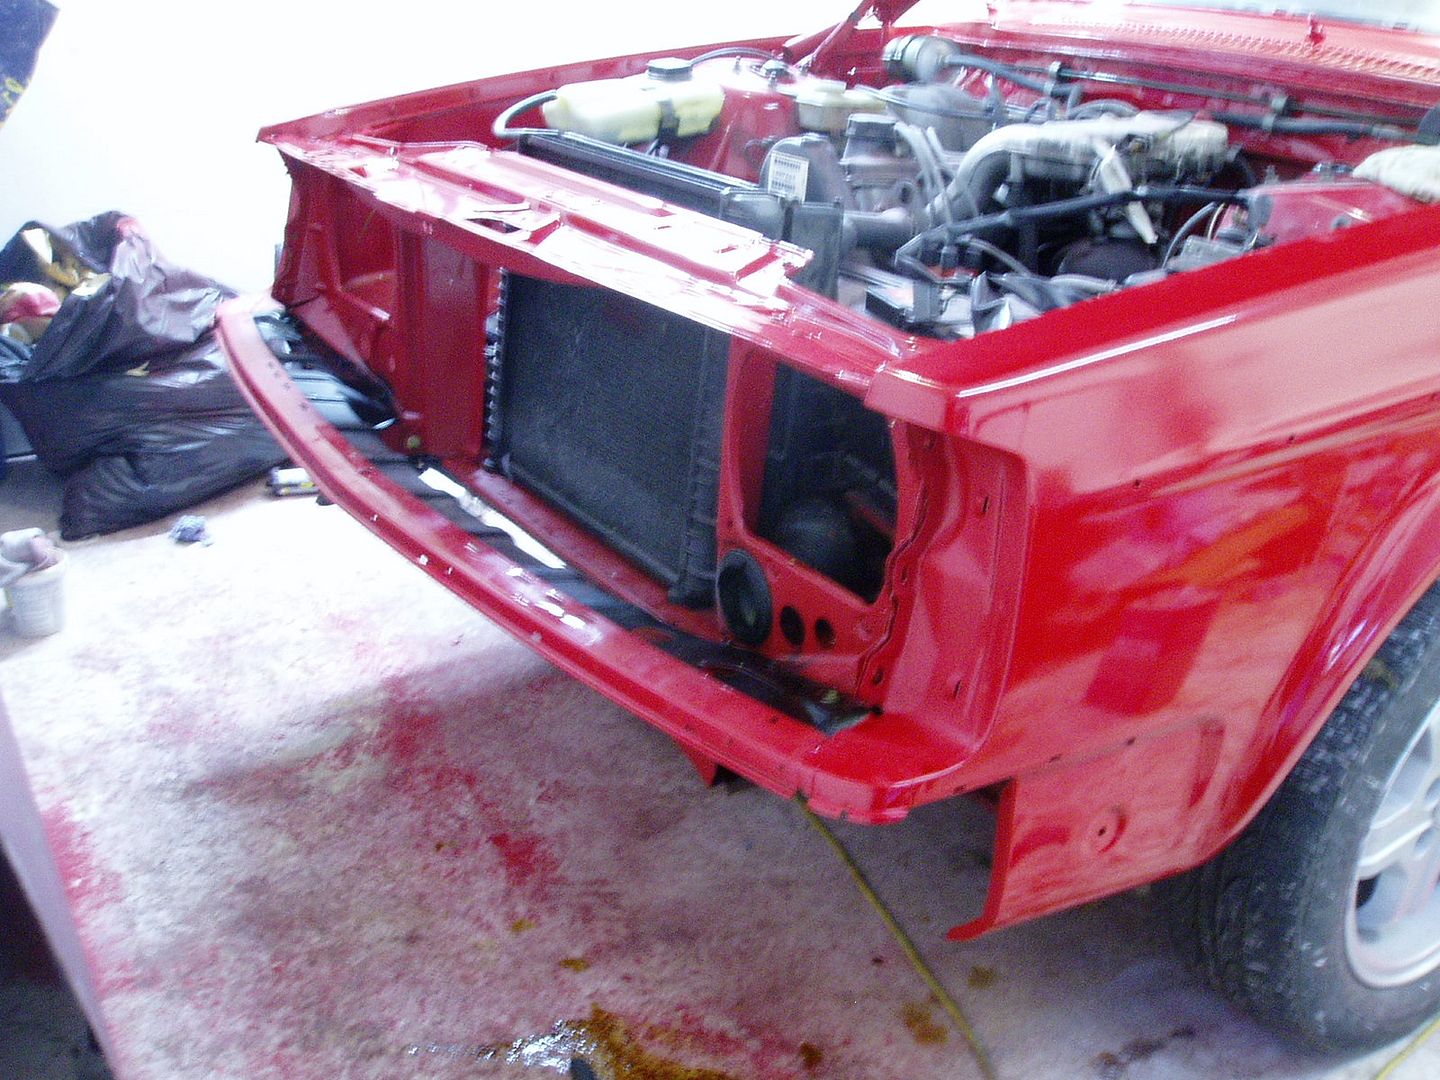
Hi, Some more to report: Working on the front bumper, filled holes caused by pitting with 2-pack stopper, then roughly sanded to shape with 120 paper 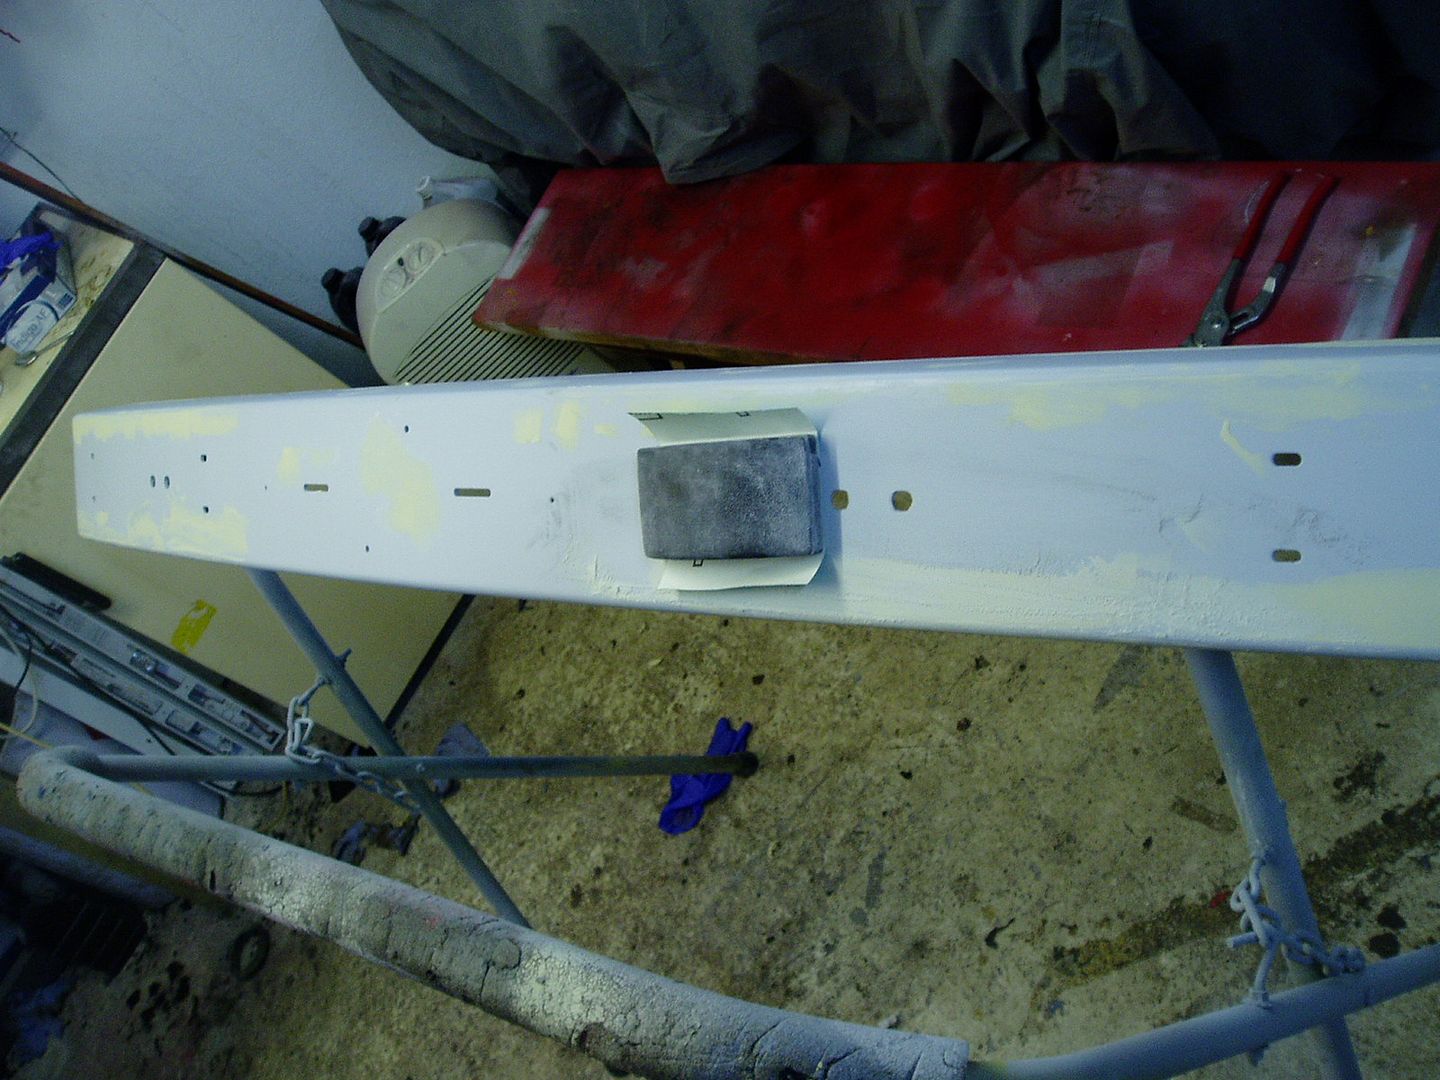 Guide coat applied, ready to be wet sanded 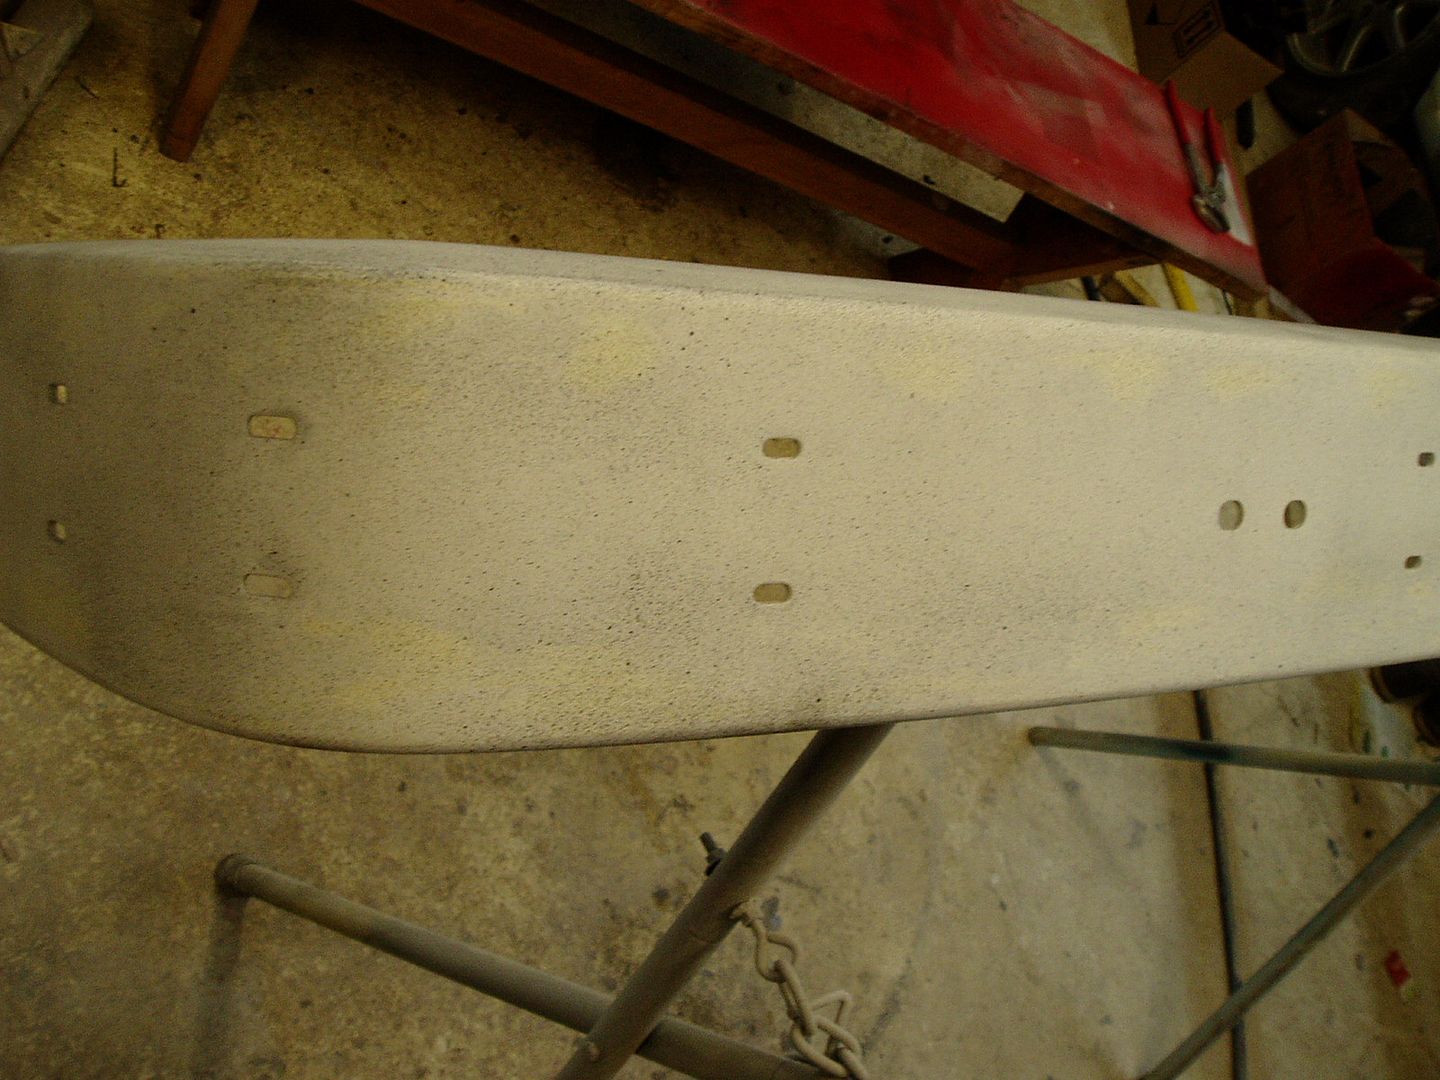 And on the bodywork... Refitted the bonnet (fine adjustment will be done later)  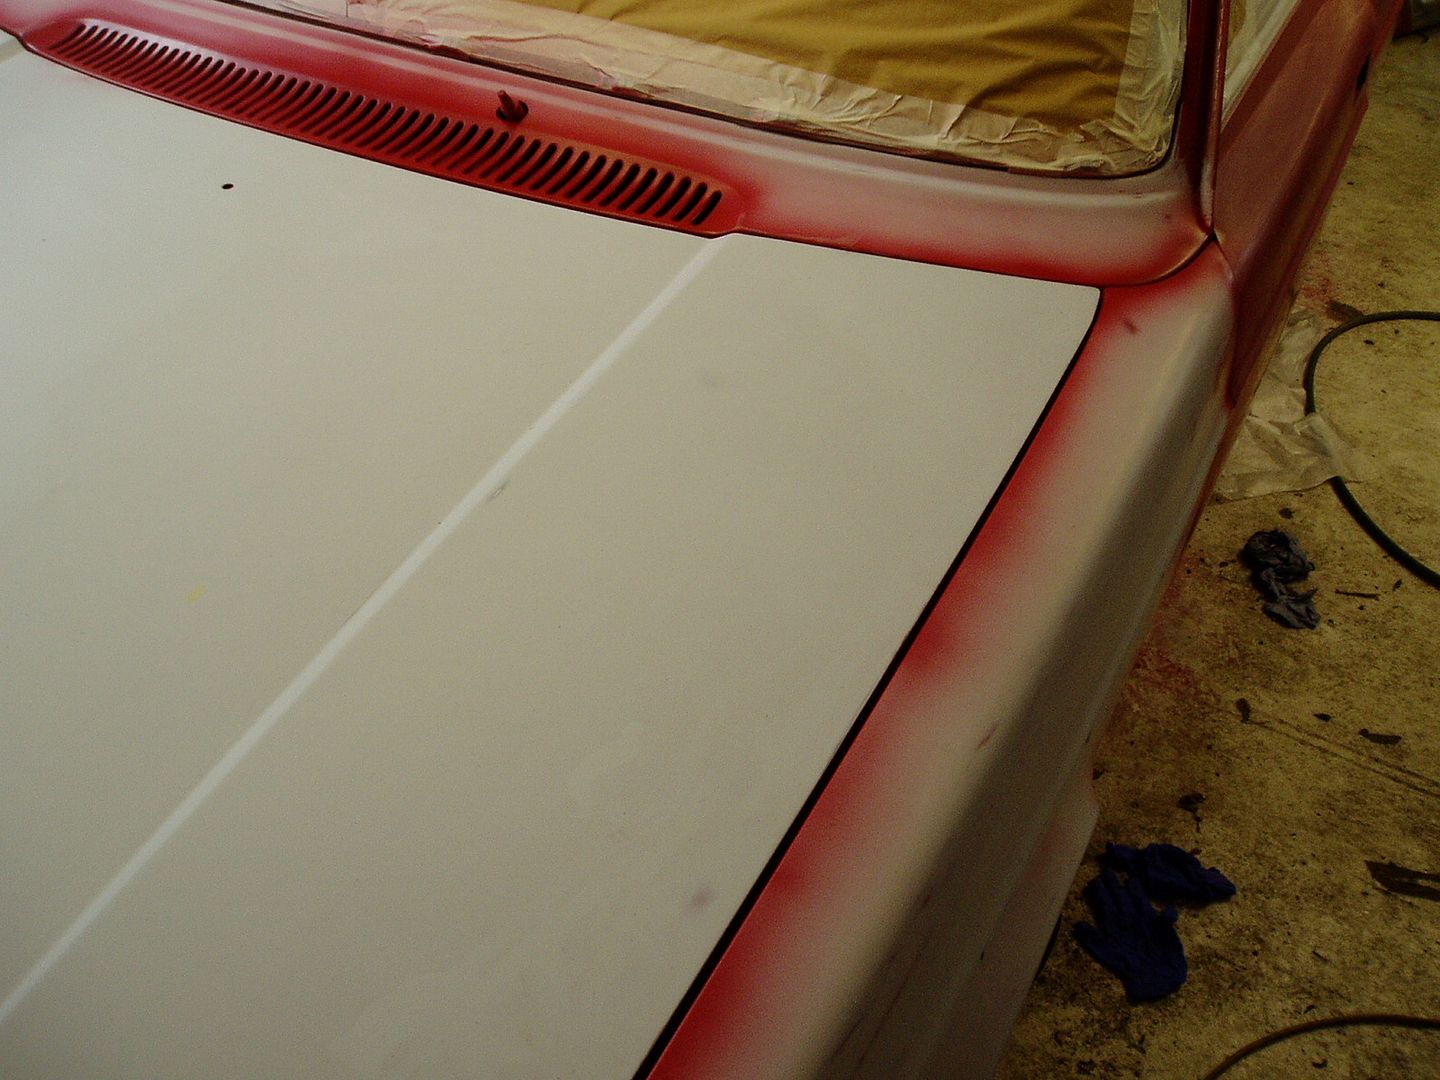 I corrected a couple of minor areas I was not happy with 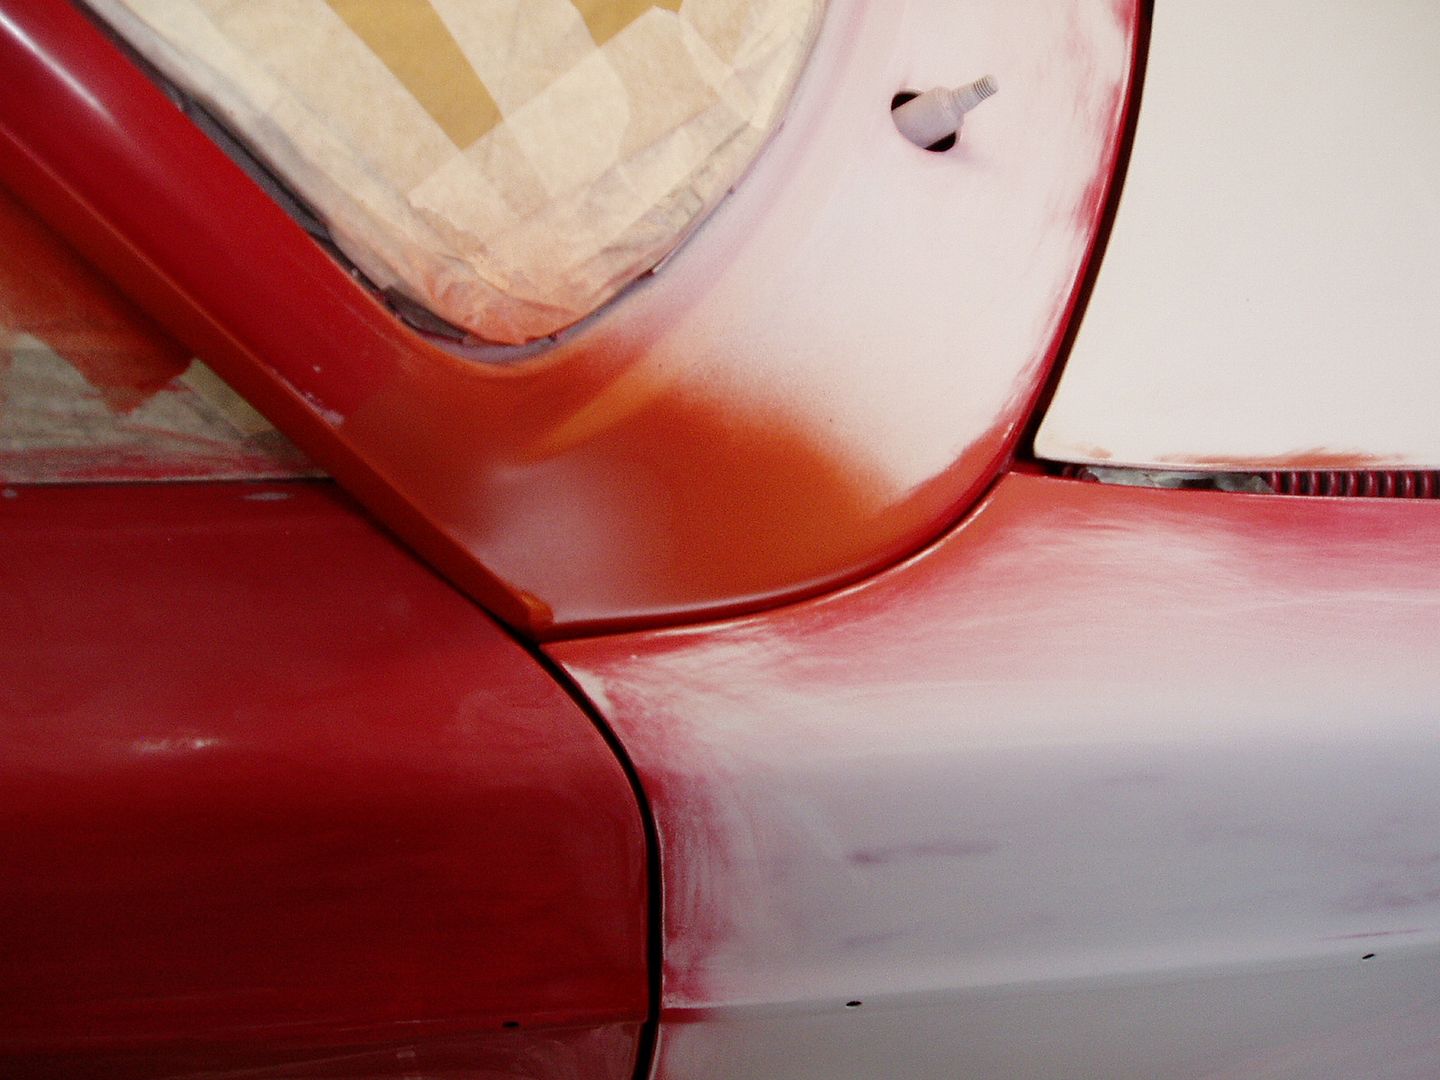 Car masked and cleaned, ready for painting the front end and doors  Then I had a go with the spray gun! Mostly, it went well, but I had to abandon the bonnet at the base-coat stage due to silicon marks. Hopefully this will be OK if I flat down and try again 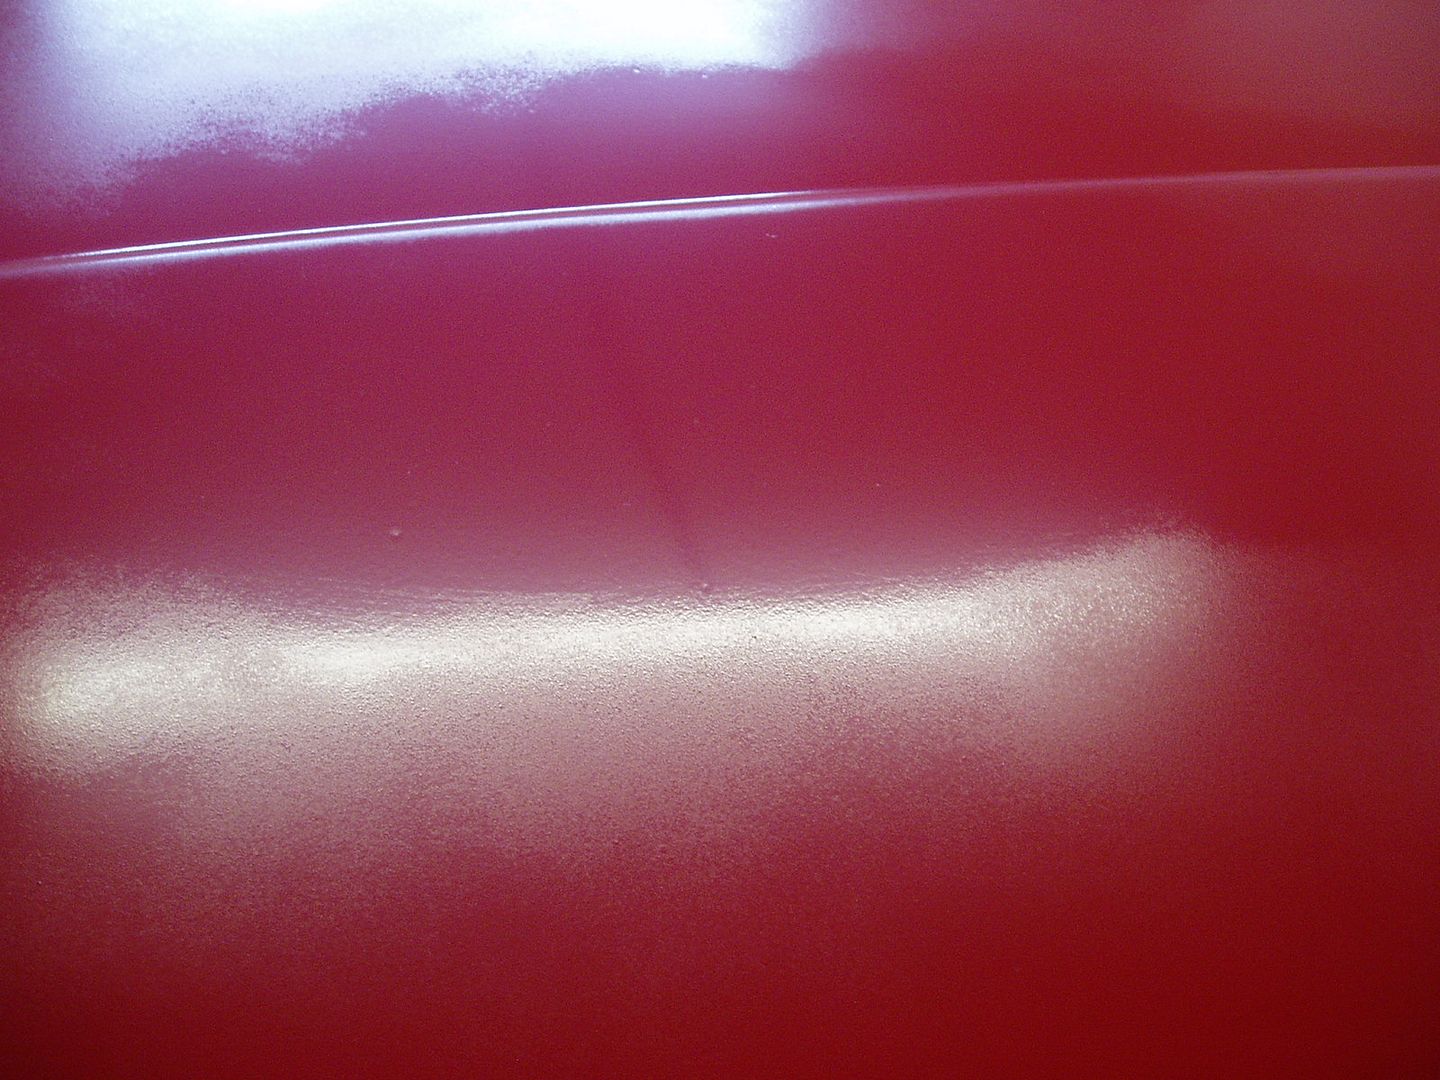 I sprayed the rest with base and lacquer and it came out well. It needs to be wet-flatted and buffed, then I think there will be a good finish 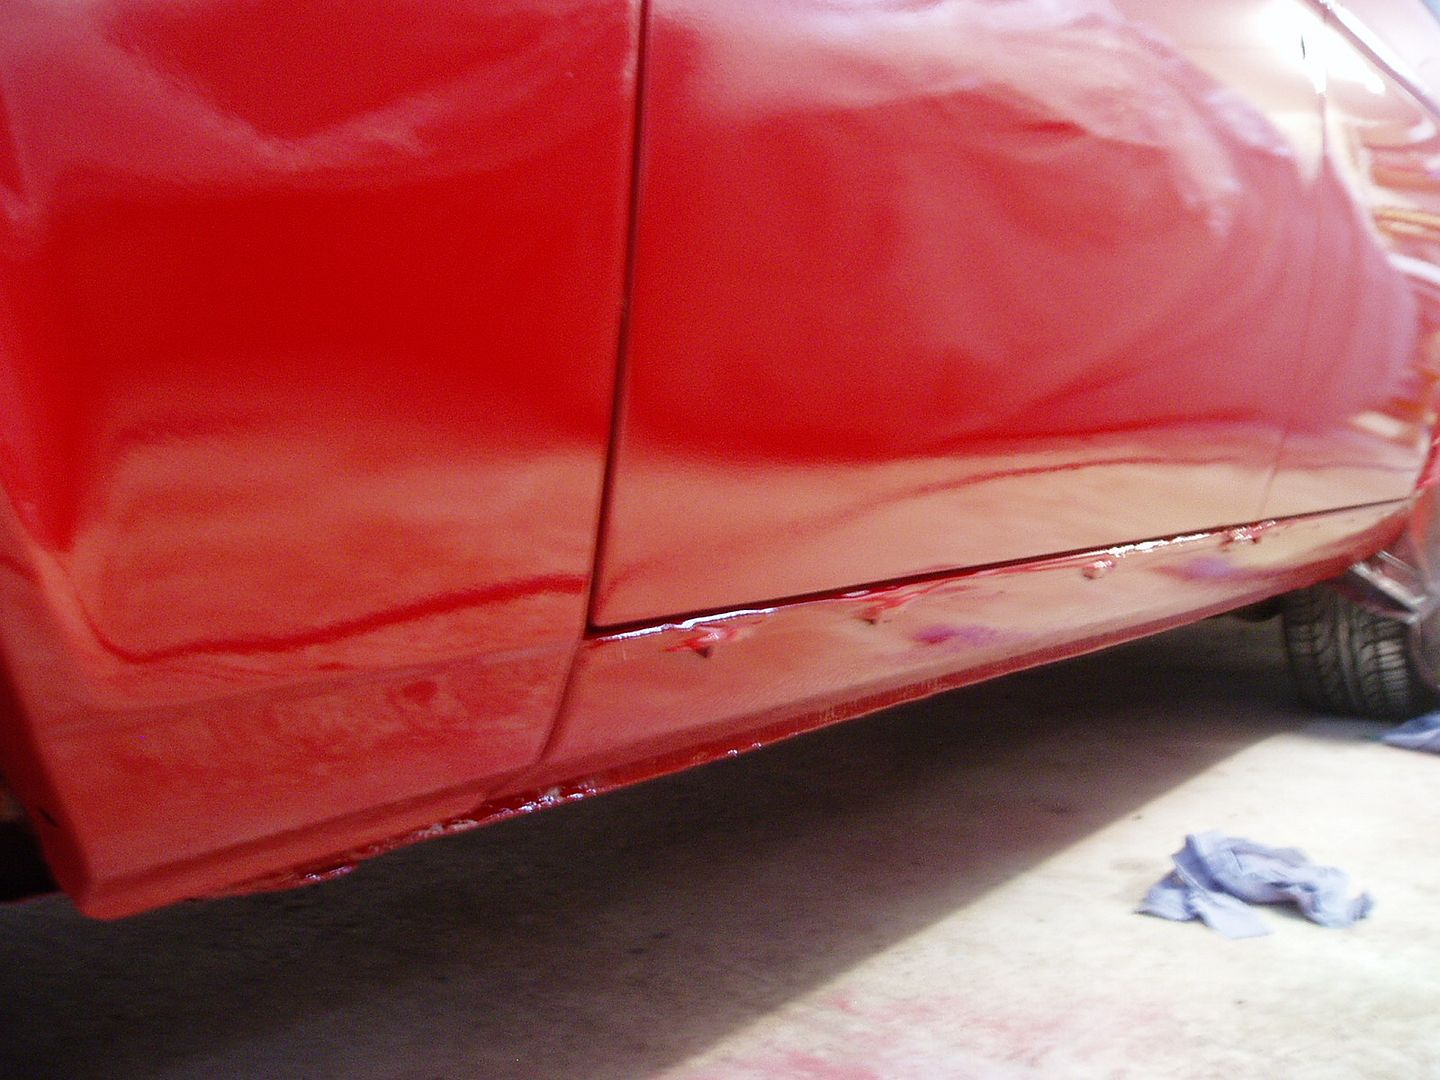 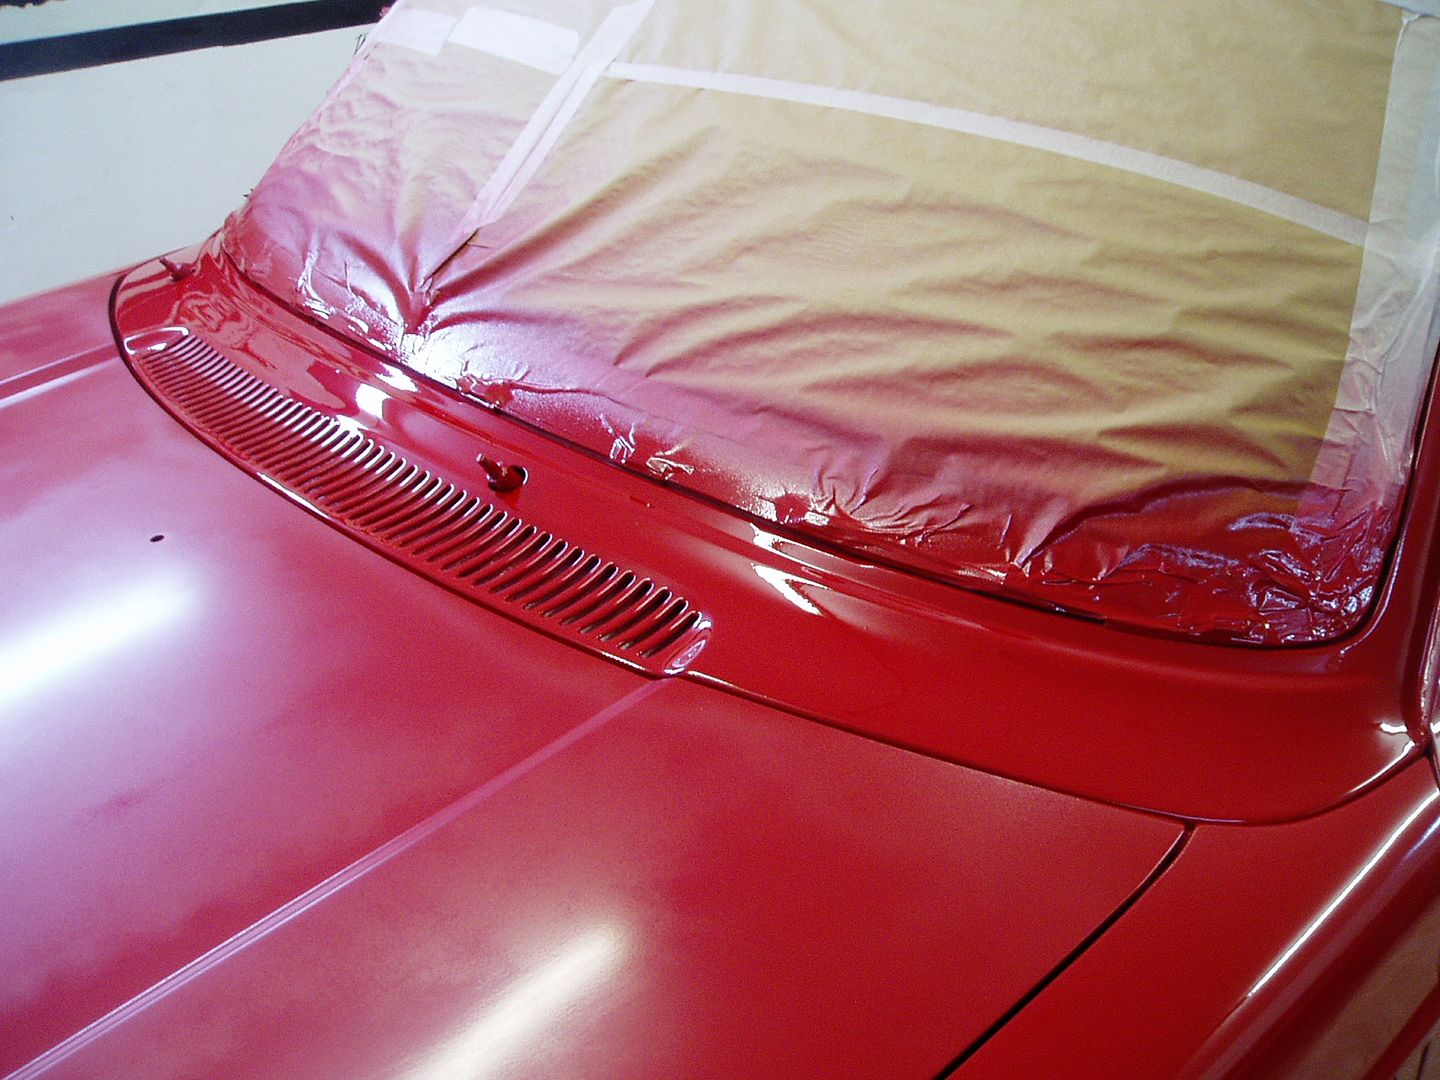 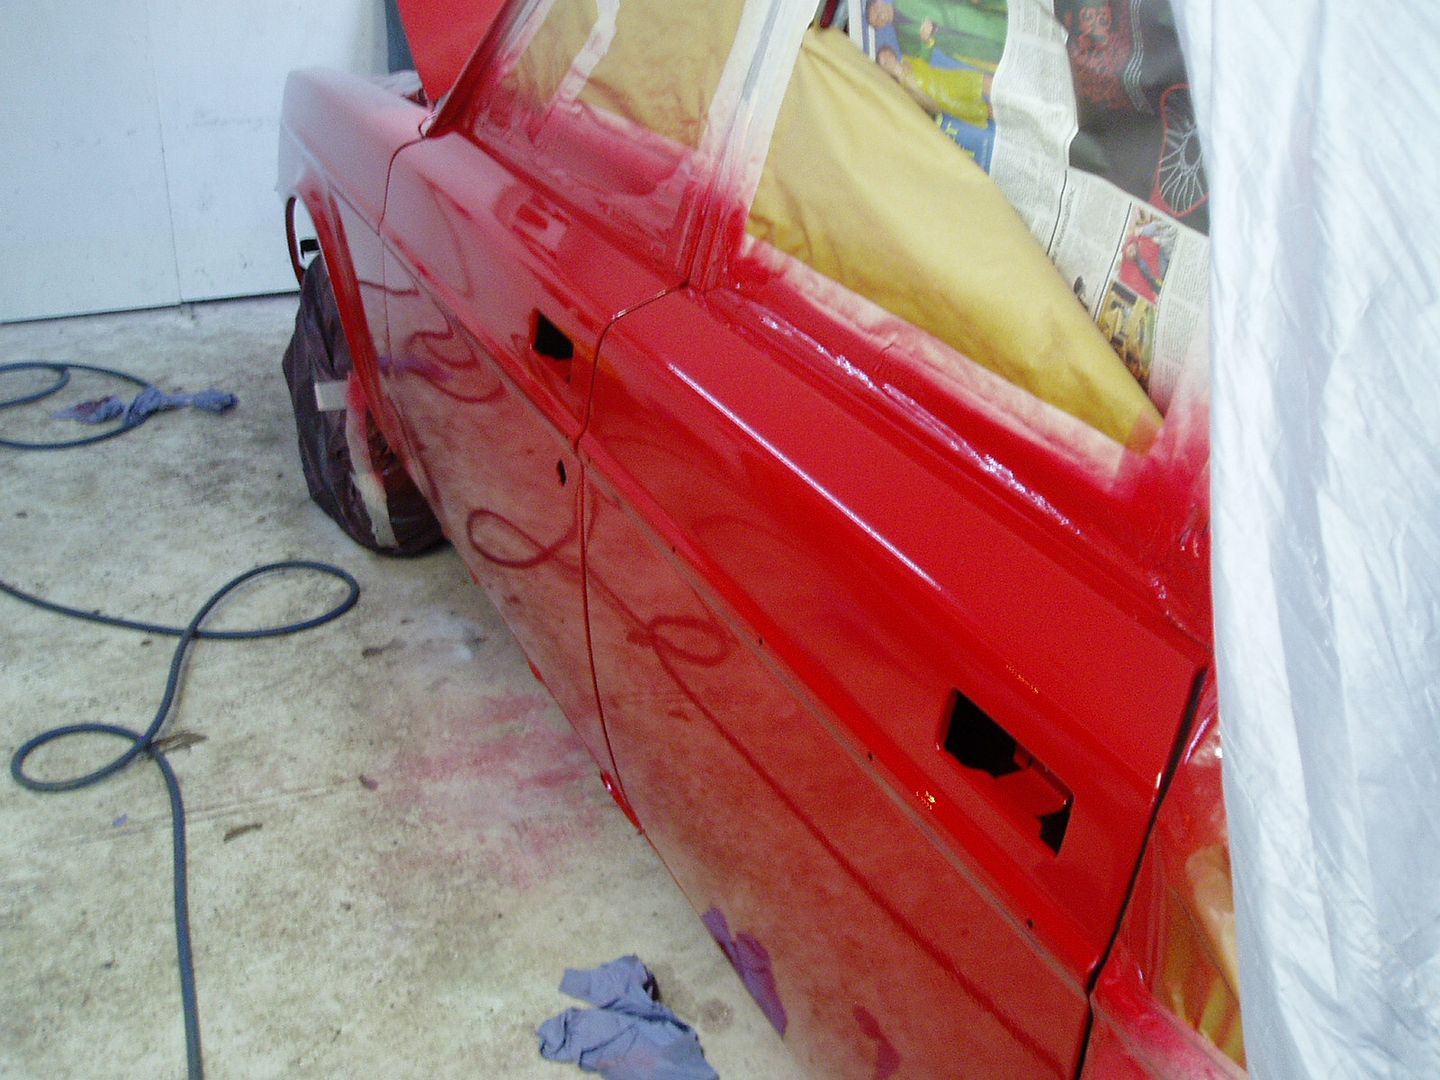 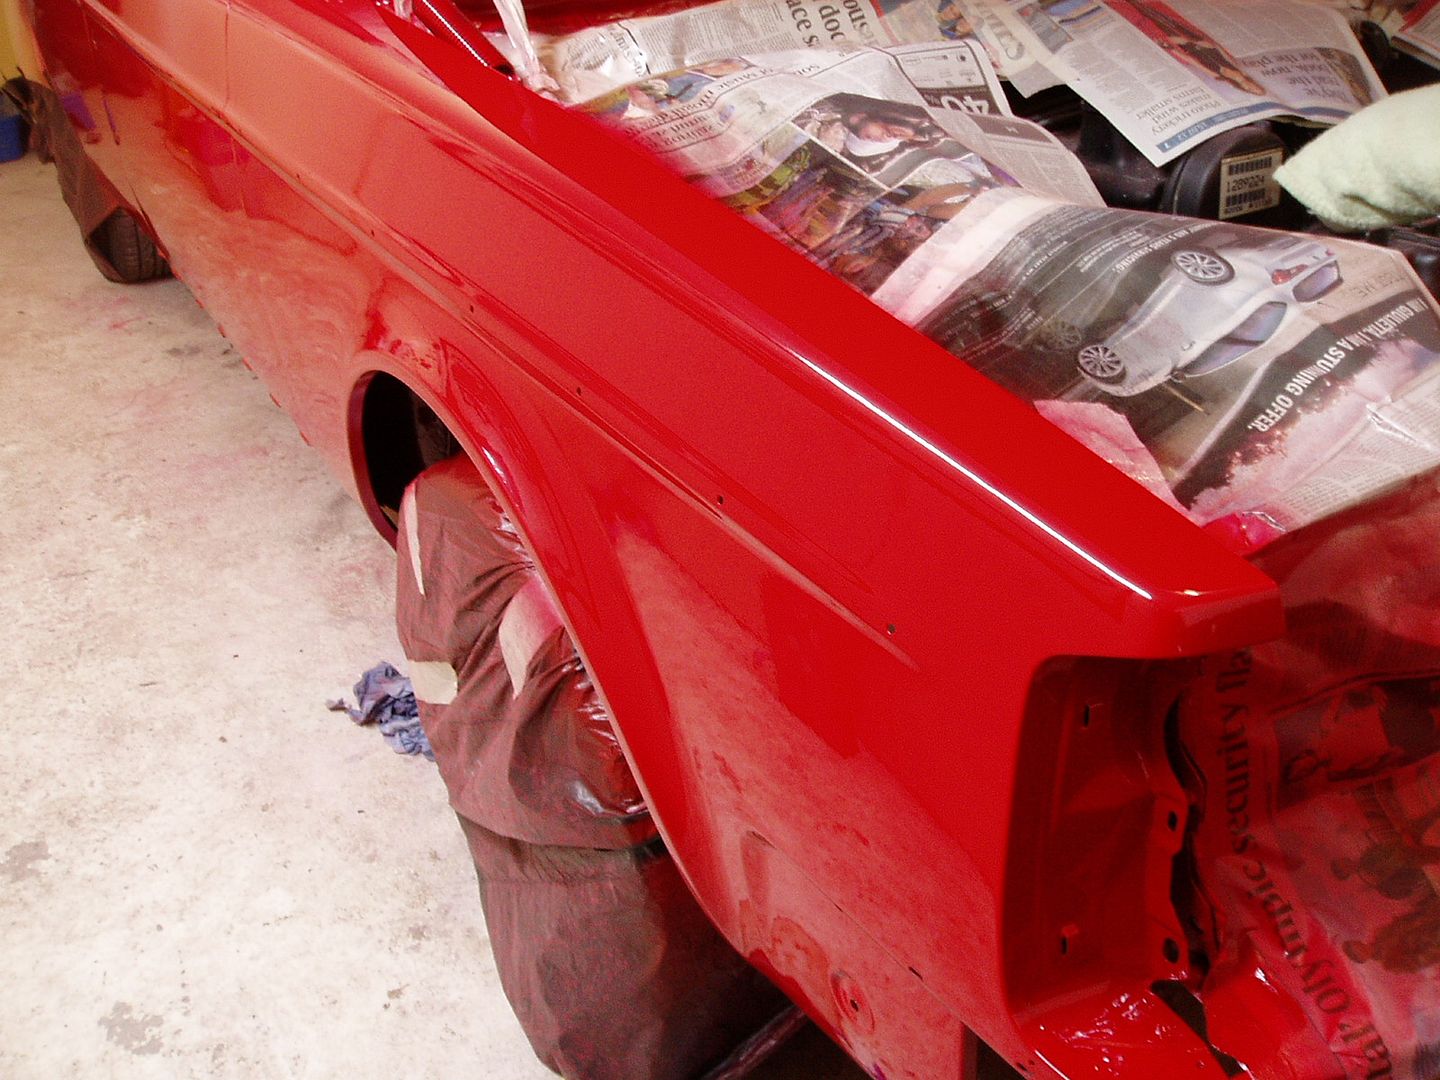 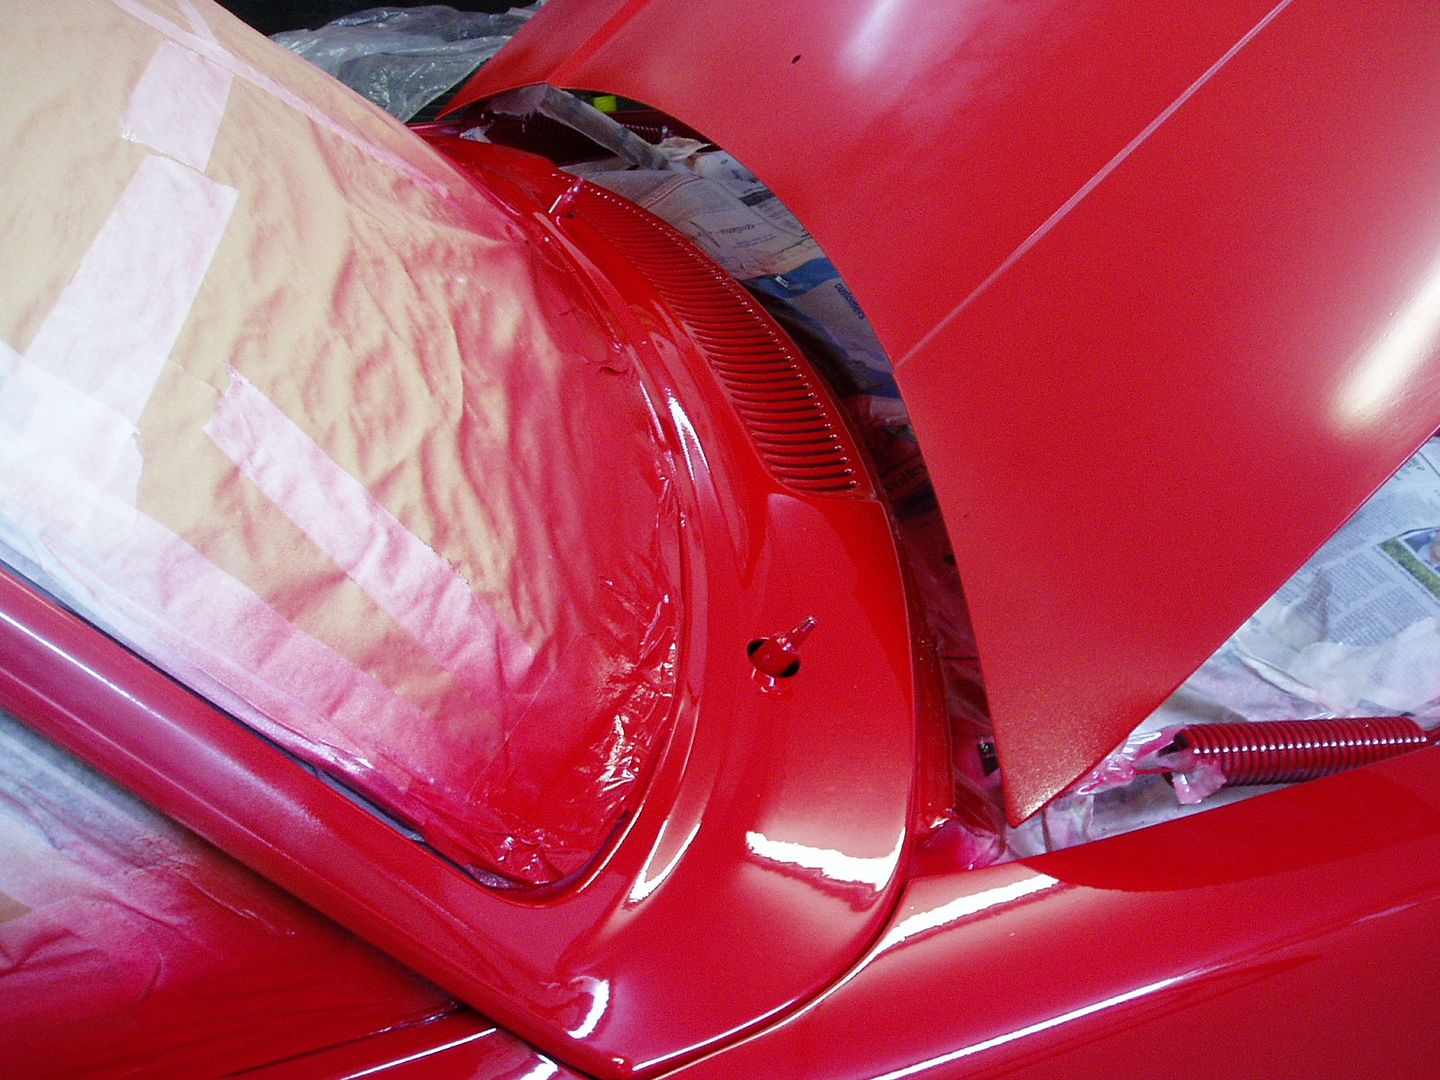 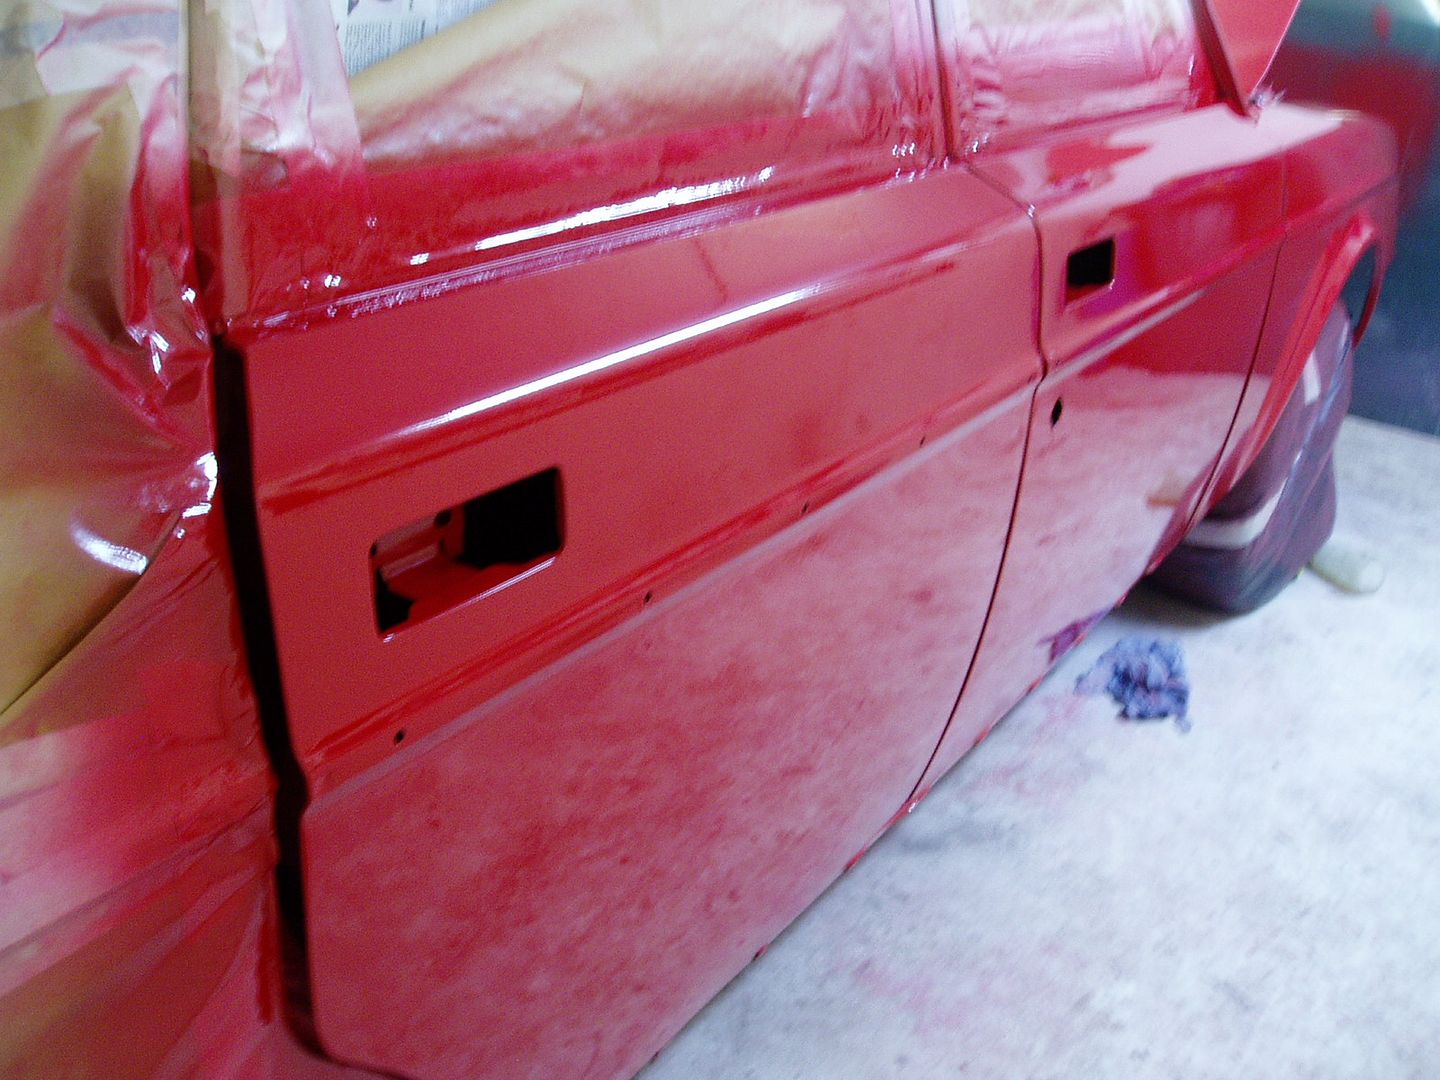 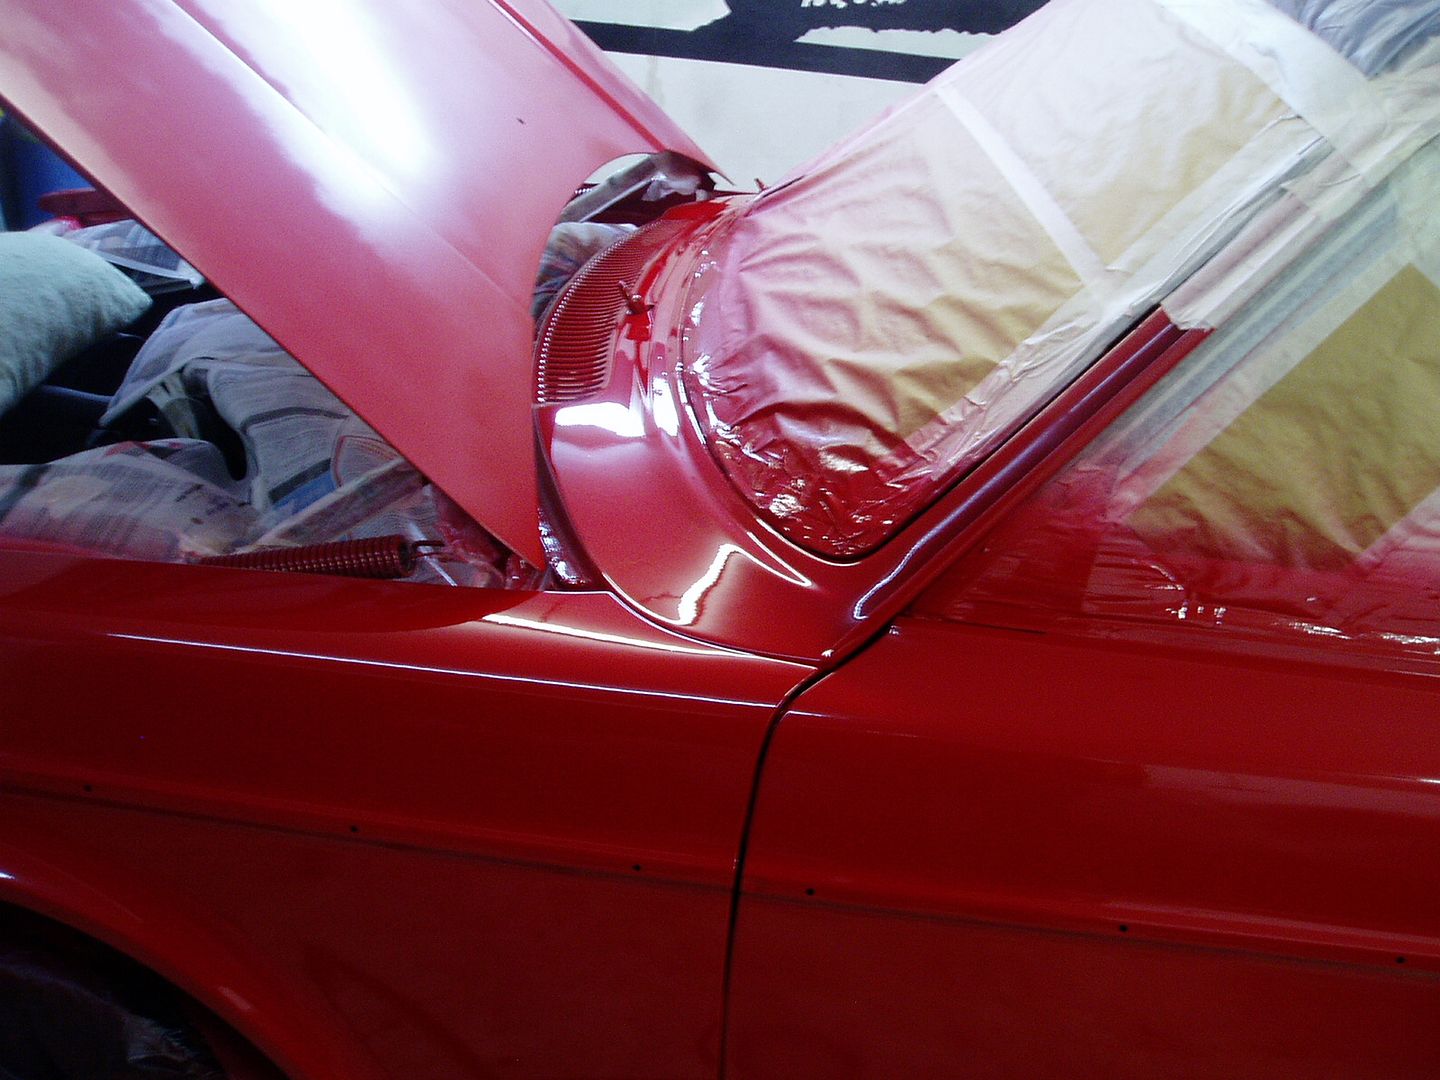 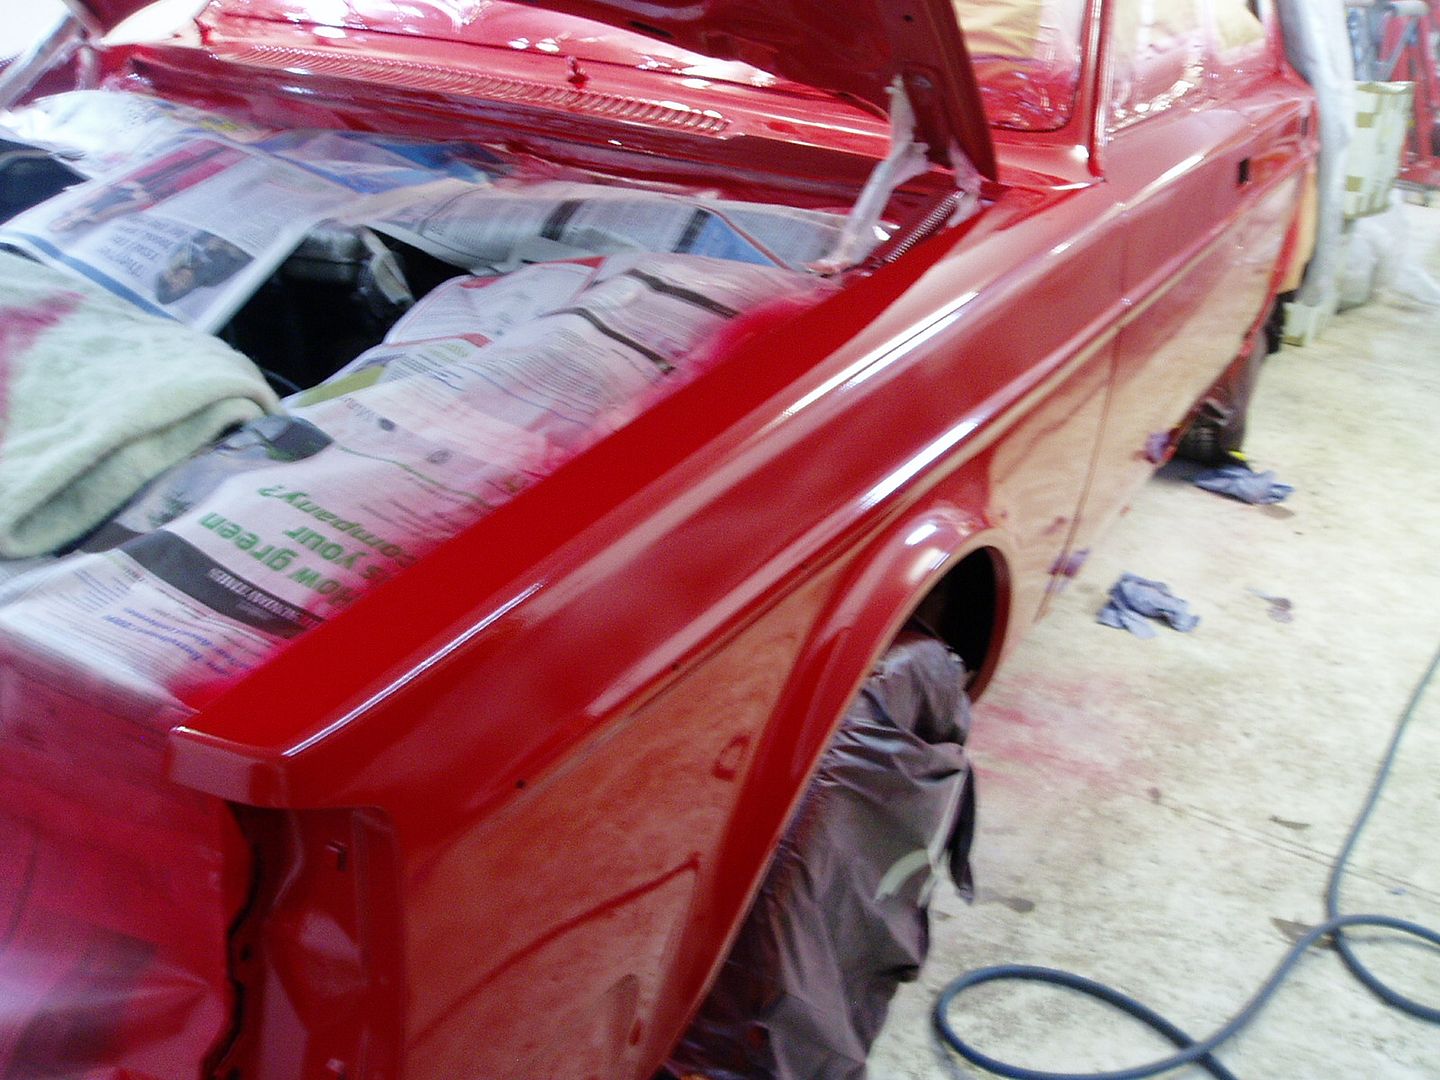 I'm busy with other things for a couple of days now, more on the 245 at the weekend Cheers John |
| |
|
|
johnrh
Part of things
 
Posts: 958
|
|
Oct 12, 2012 19:19:52 GMT
|
Quick update... I found time to prep and repaint the bonnet. Flatted, and masked without taping onto the fresh lacquer 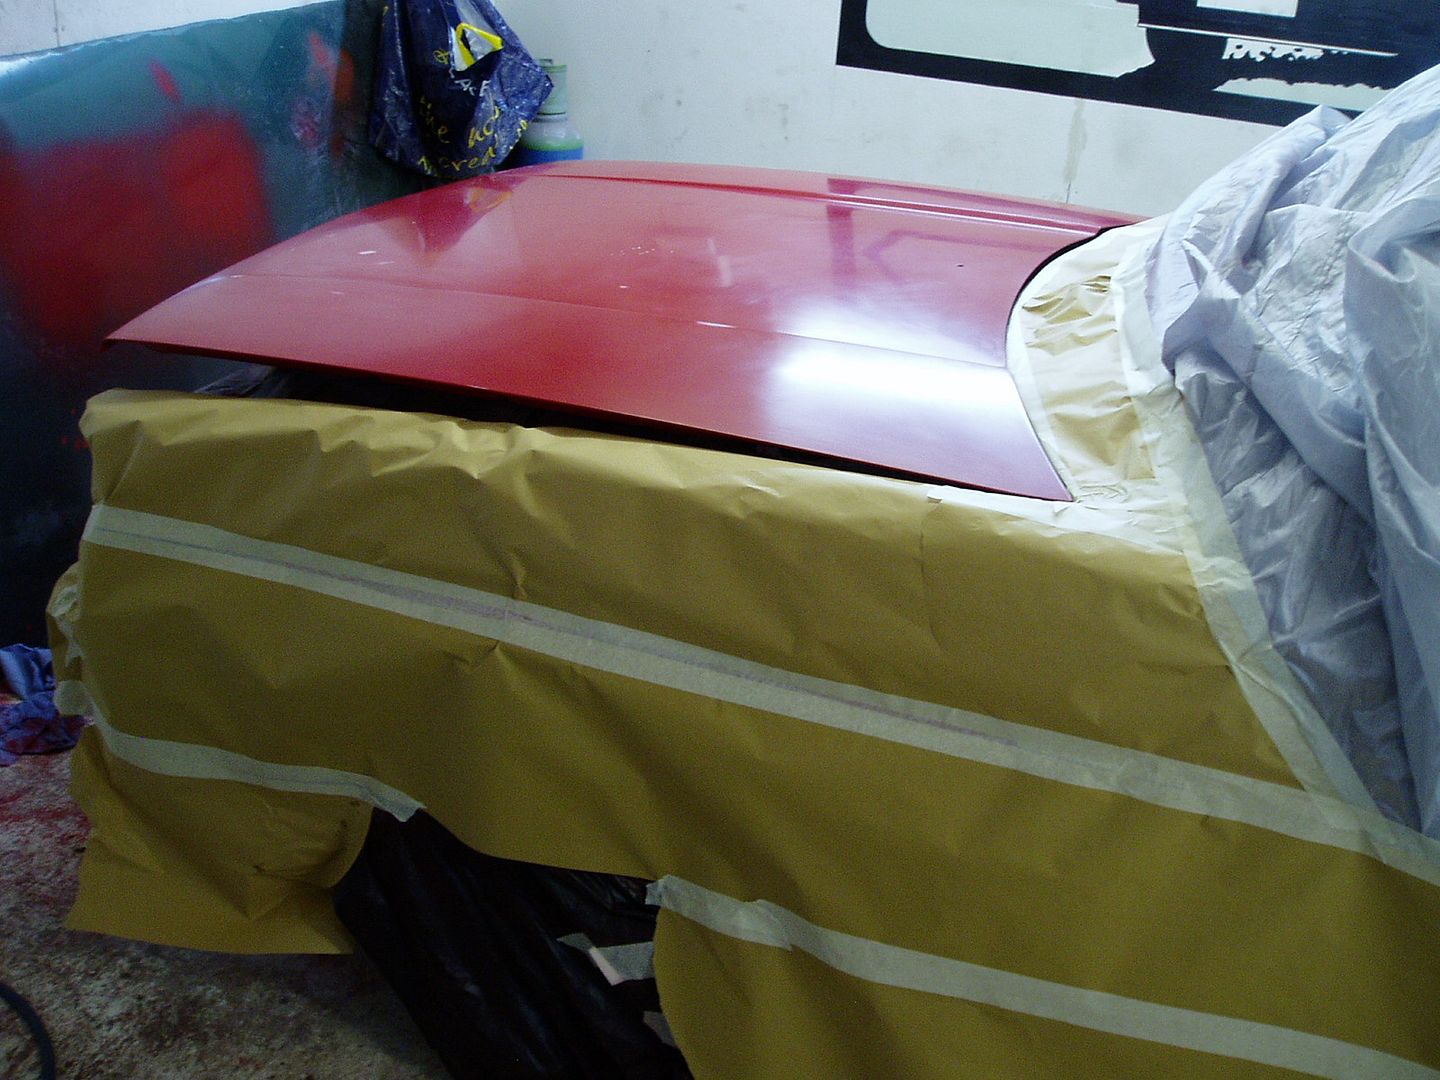 and here I'm dealing with some pin-holes I missed last time 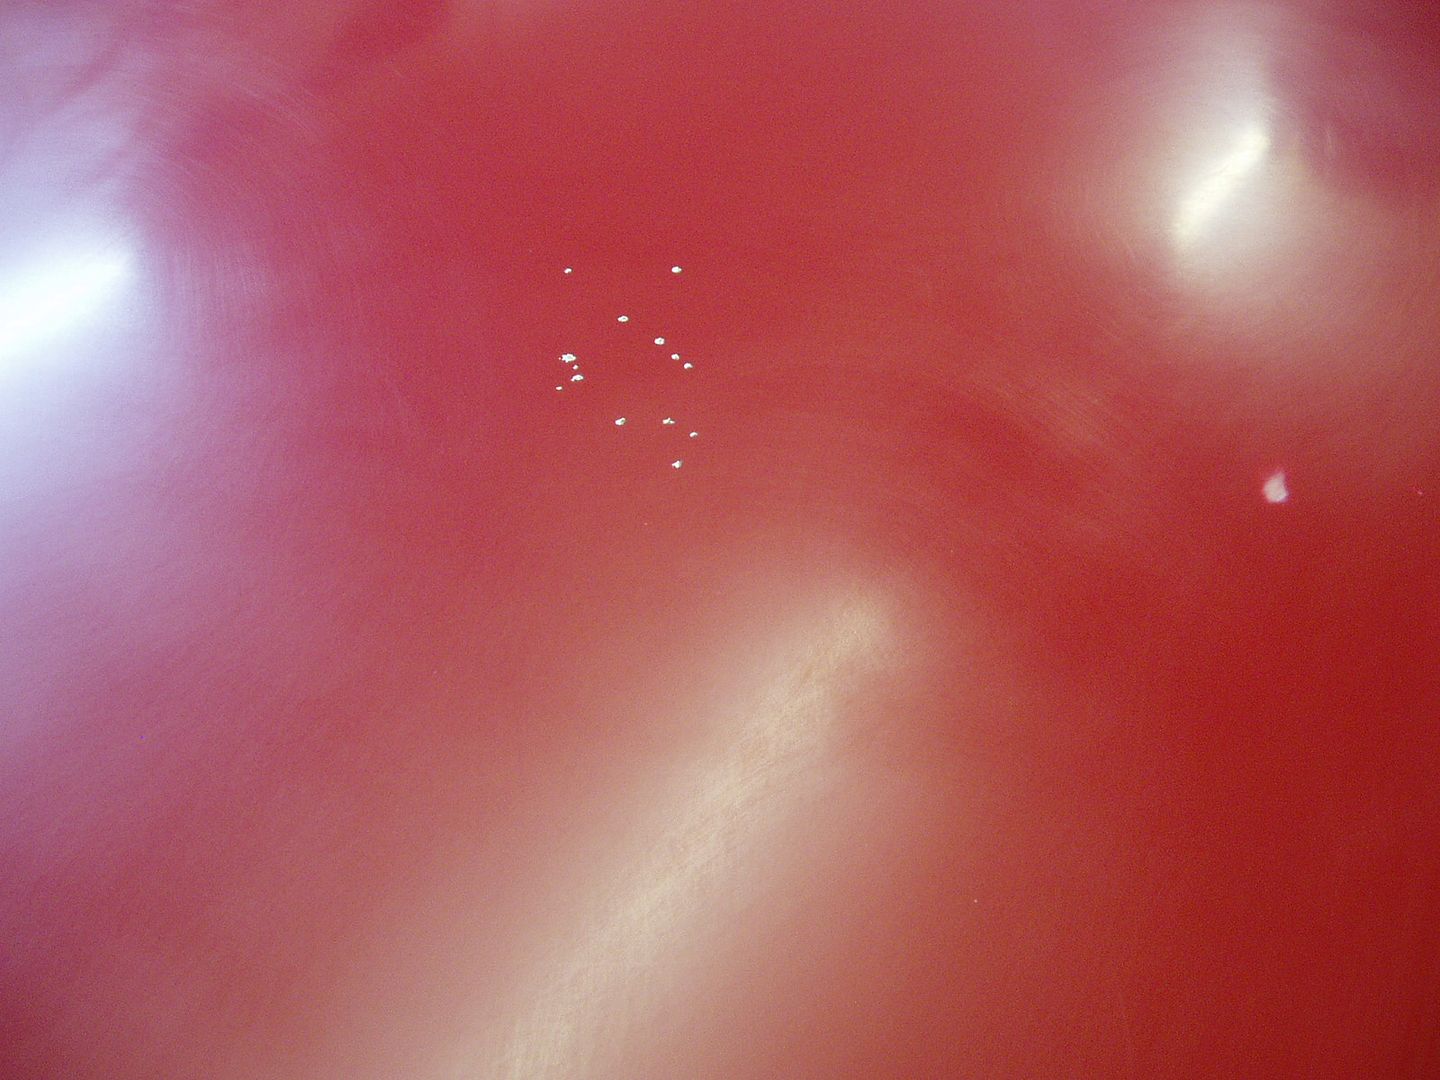 It painted OK this time 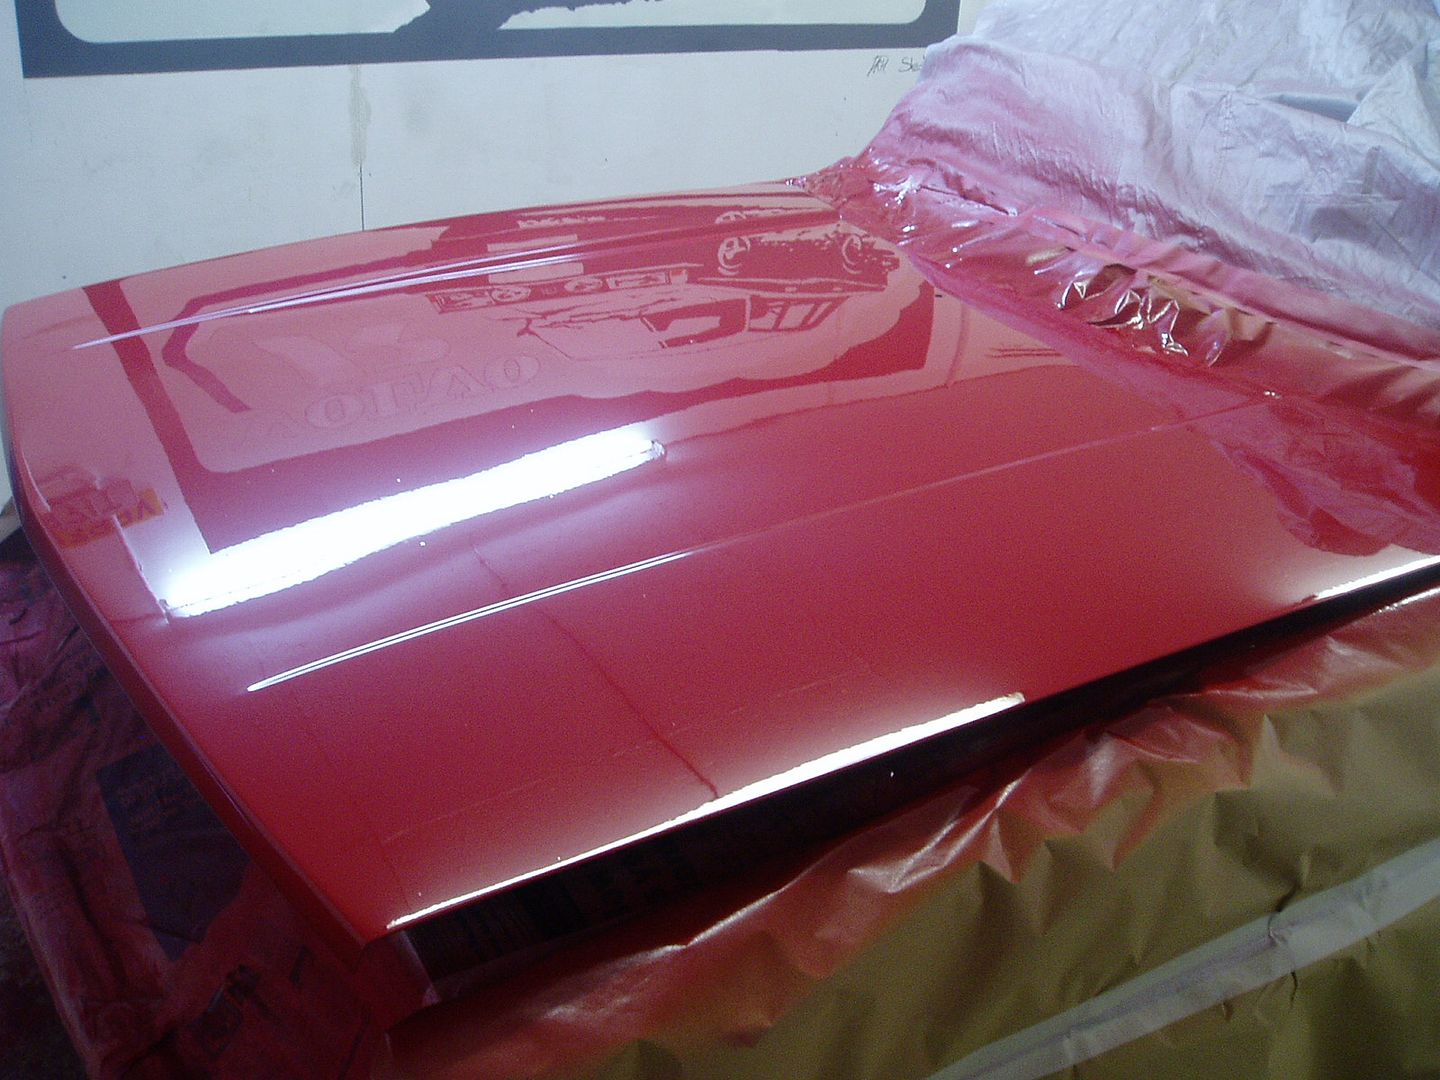 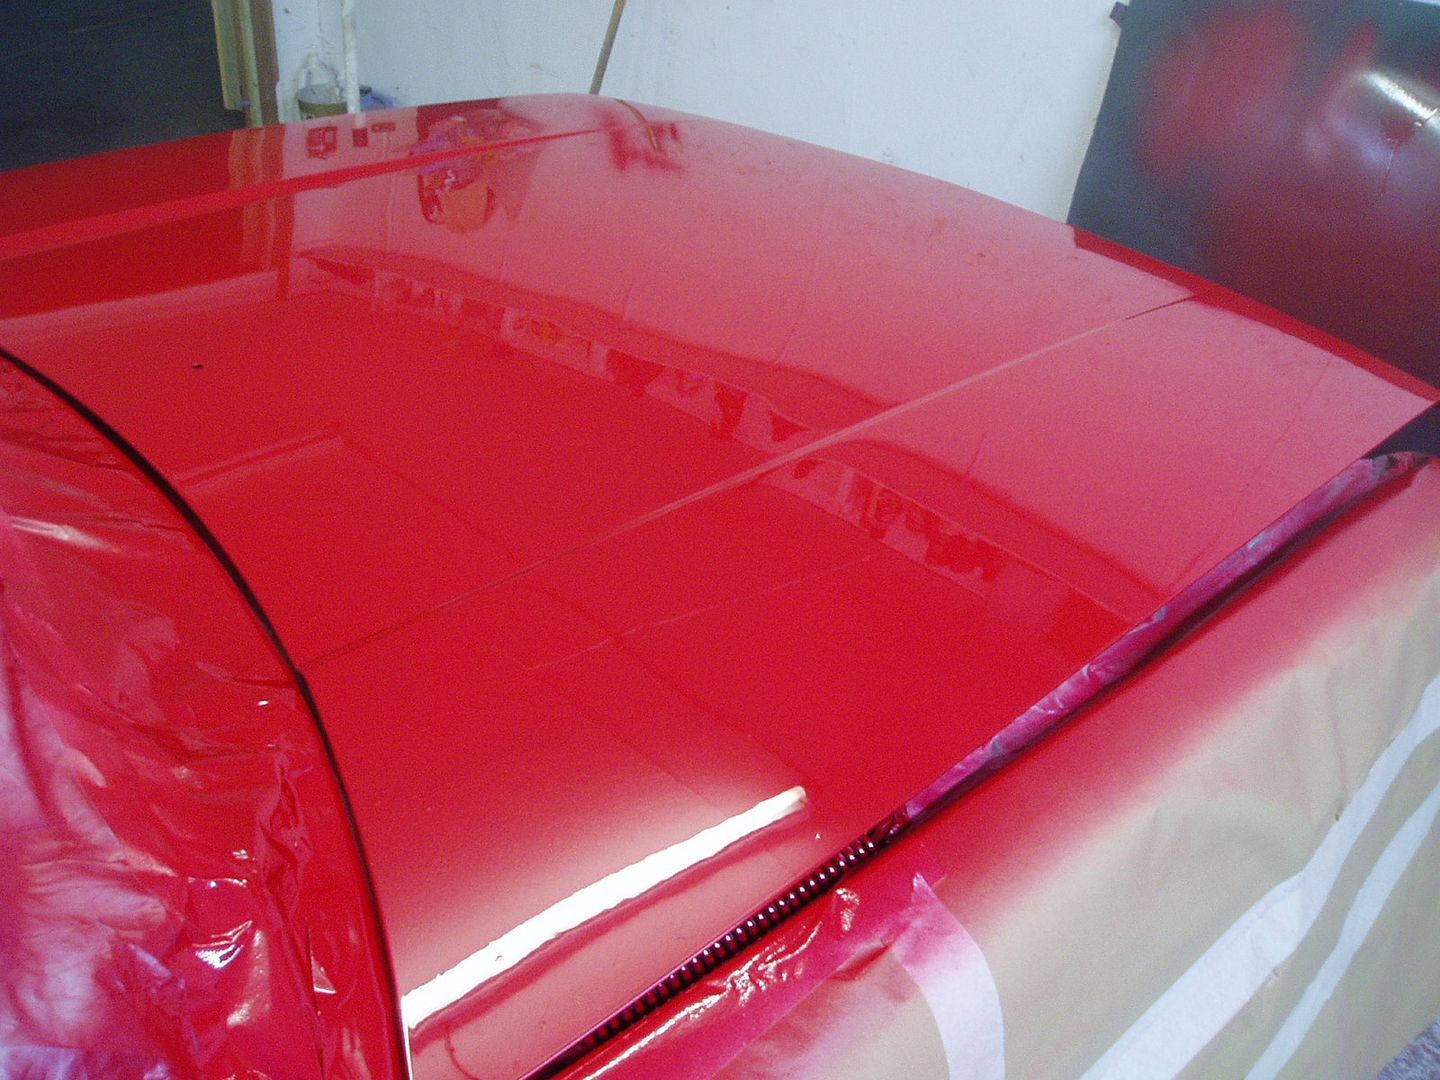 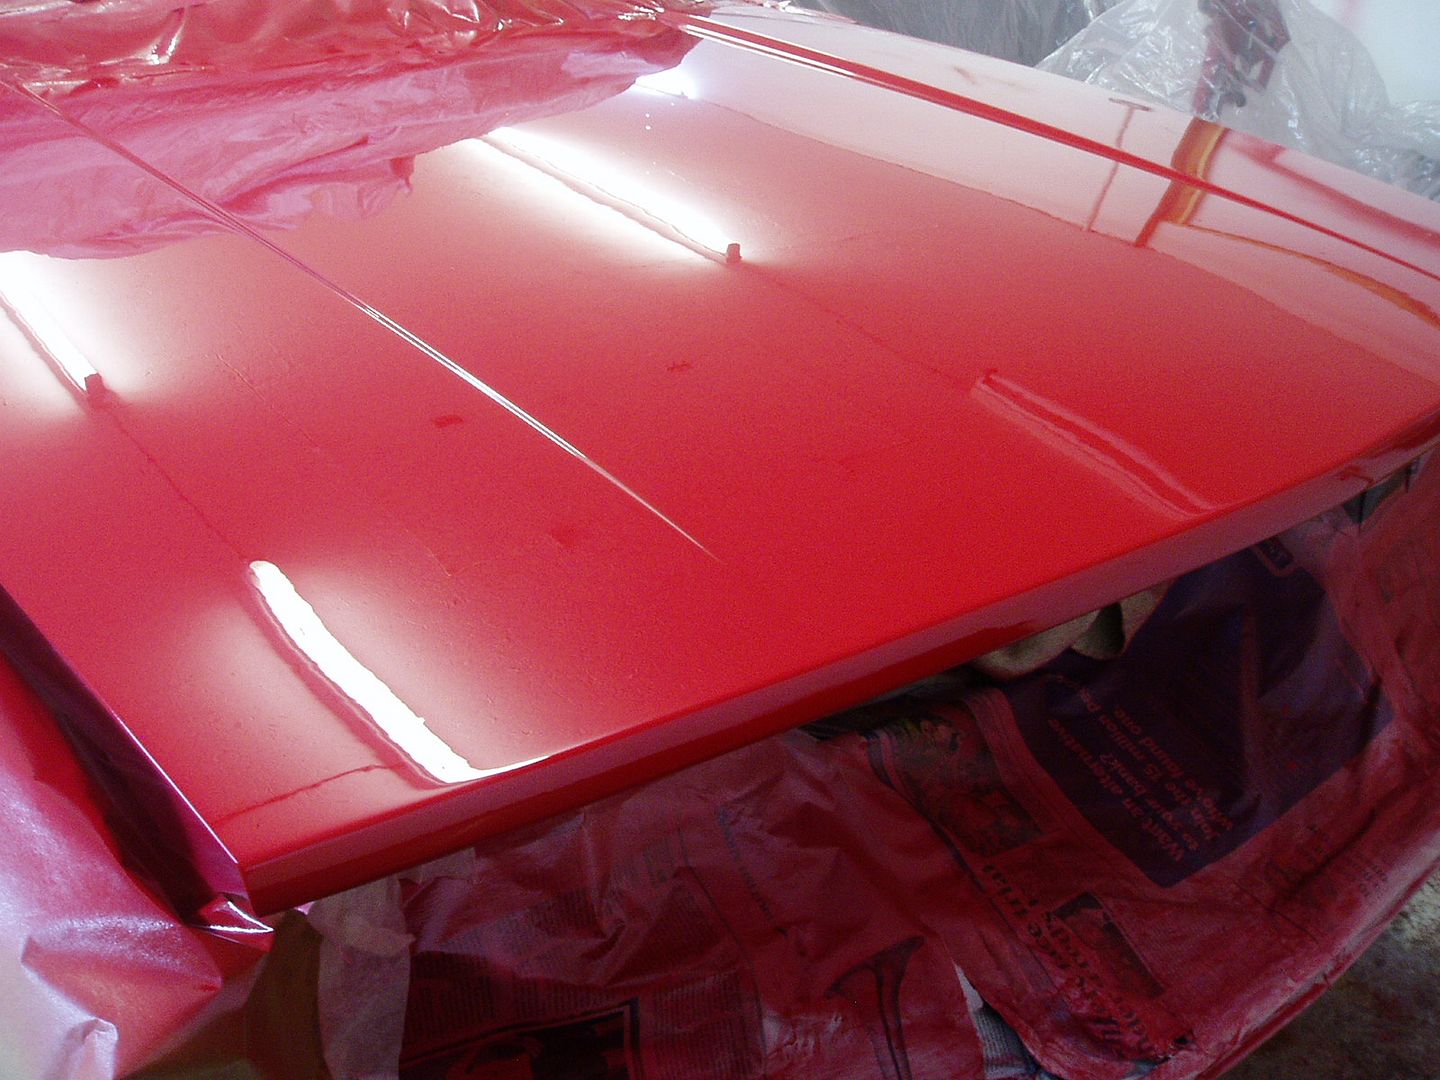 Cheers John |
| |
|
|
|
|
|
Oct 12, 2012 19:24:05 GMT
|
|
Is that a mirror?!?!?!
Me like that paint job...
|
| |
|
|
johnrh
Part of things
 
Posts: 958
|
|
Oct 12, 2012 22:59:20 GMT
|
Is that a mirror?!?!?! Me like that paint job... Haha, thanks! It will be better after flatting and buffing John |
| |
|
|
johnrh
Part of things
 
Posts: 958
|
|
Oct 13, 2012 17:08:53 GMT
|
|
|
| |
|
|
eurogranada
Europe
To tinker or not to tinker, that is the question...
Posts: 2,556
|
|
|
|
|
Lovely project and the 164 is absolutely amazing as well. I've followed that for a while and will be checking up on this one as well!
|
| |
|
|
xjlee
Part of things
 
Posts: 294
|
|
Oct 14, 2012 21:42:57 GMT
|
|
|
| |
|
|
OUTRUN
Part of things
  13...
13...
Posts: 620
|
|
|
|
|
Just seen this, haven't been on RR in ages.
As above mate, your attention to detail is superb! I love early 240's. That psycopathic stare from the round headlamps is the business! Future plans sound great, and I too have seen your 164 project before. Again, immense!
|
| |
I need your help to get back to the year 1985.
|
|
johnrh
Part of things
 
Posts: 958
|
|
|
|
This is one of my favorite builds on RR at the min, I cannot wait to see this all bolted back together, the attention to detail is awesome    Cheers! Yeah I'm looking forward to seeing it come together. The back end will be a while yet, but the front should be taking shape soon. Just seen this, haven't been on RR in ages. As above mate, your attention to detail is superb! I love early 240's. That psycopathic stare from the round headlamps is the business! Future plans sound great, and I too have seen your 164 project before. Again, immense! Many thanks  . I also like the round headlight front, and I have a set-up for the car which will bolt in, for when I fancy a change. But to start with, it's having my favourite front, the 'TV-screen' lights, as per the very first photo in the thread. Cheers John |
| |
|
|
|
|
johnrh
Part of things
 
Posts: 958
|
|
Oct 20, 2012 20:37:30 GMT
|
Hi, Work has been progressing... I am refurbishing a right headlight to match the new-old-stock left one that I found. This is work in progress; I'll post more pictures when it's complete 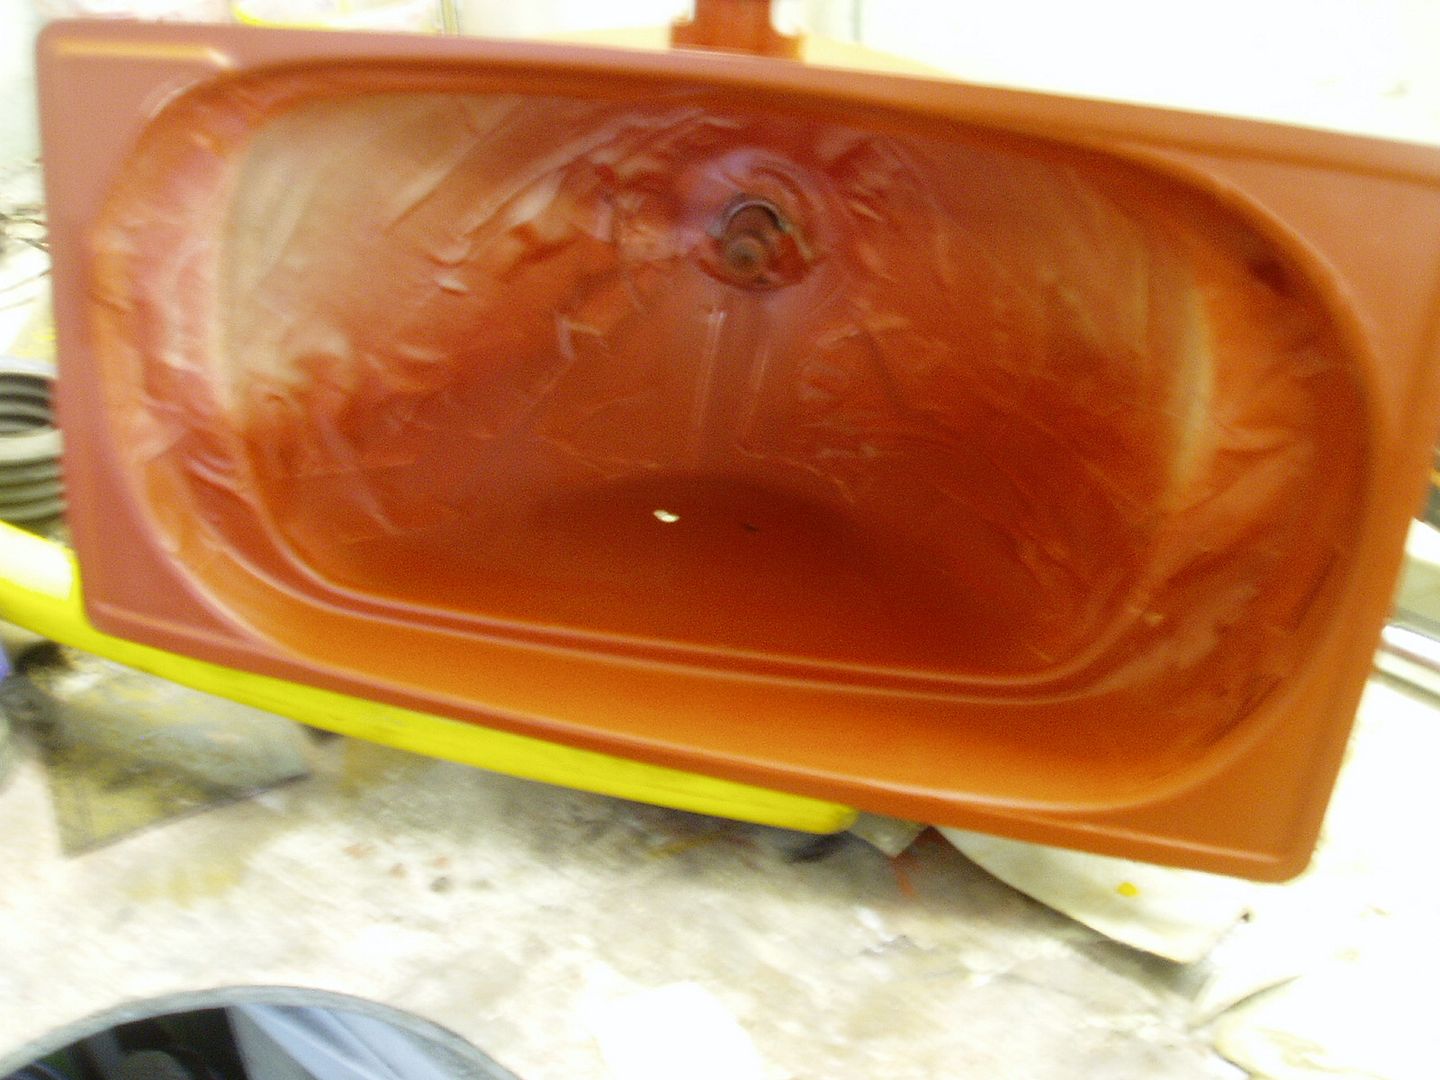 Repainted the headlight holders 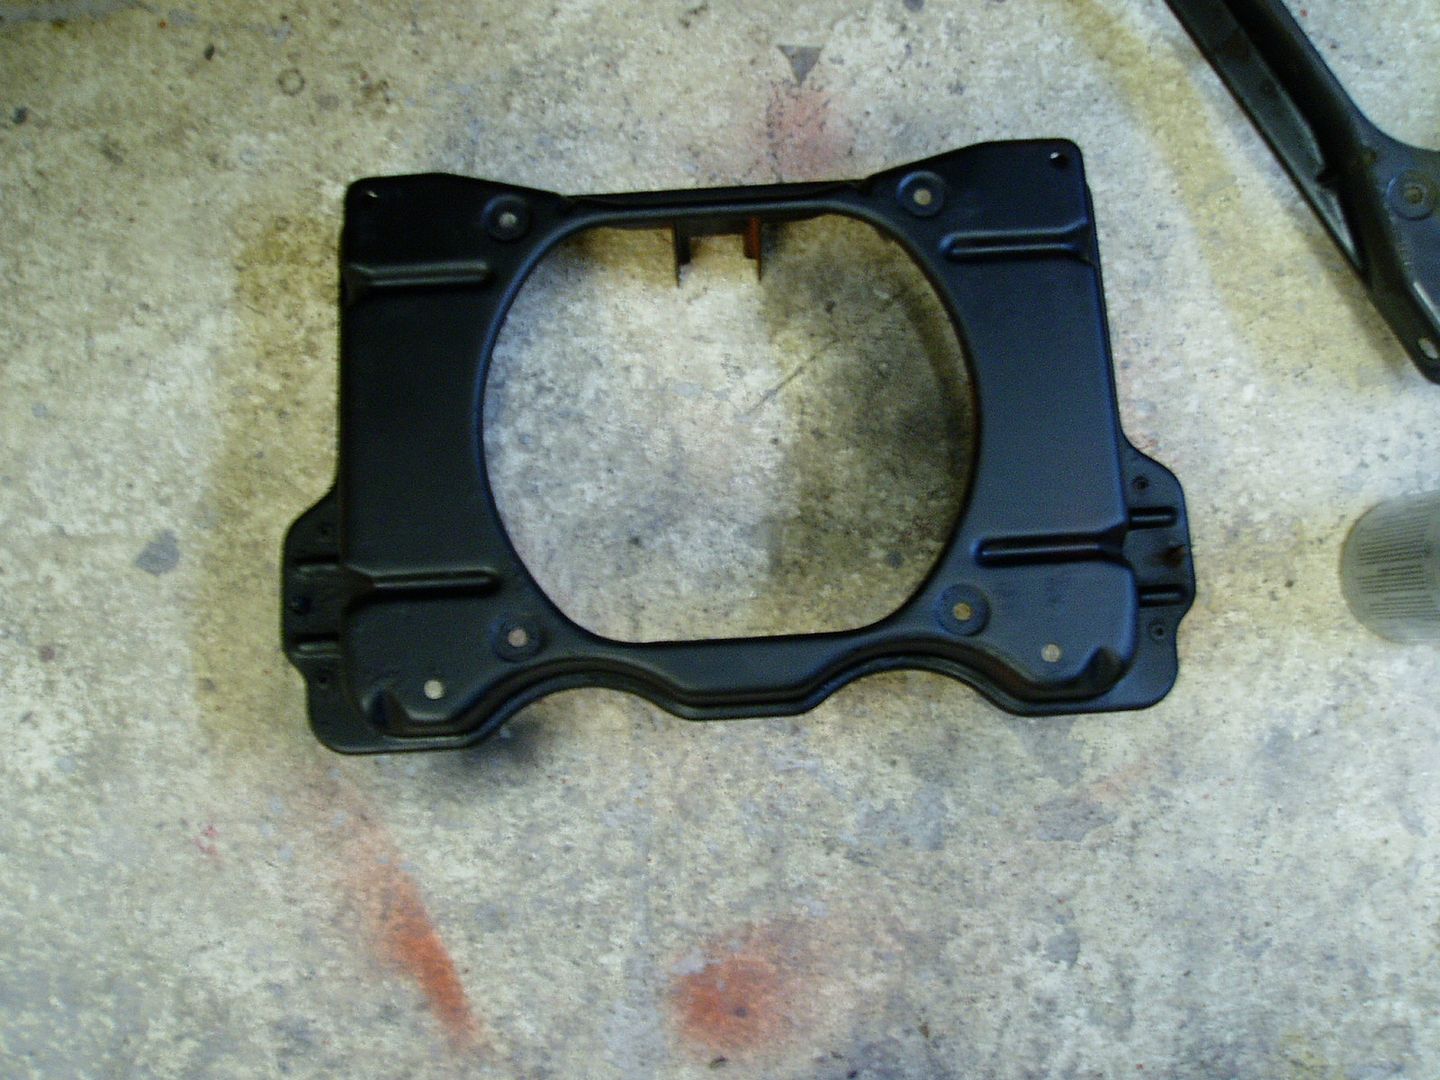 I'm borrowing the 164 bonnet catch for the time being, it had already been sandblasted  Fitted (along with a spare grill, for extra motivation!)  Rear bumper is being prepared because I need the front one soon and it makes sense to paint them both at the same time  Front bumper fittings being de-rusted and painted  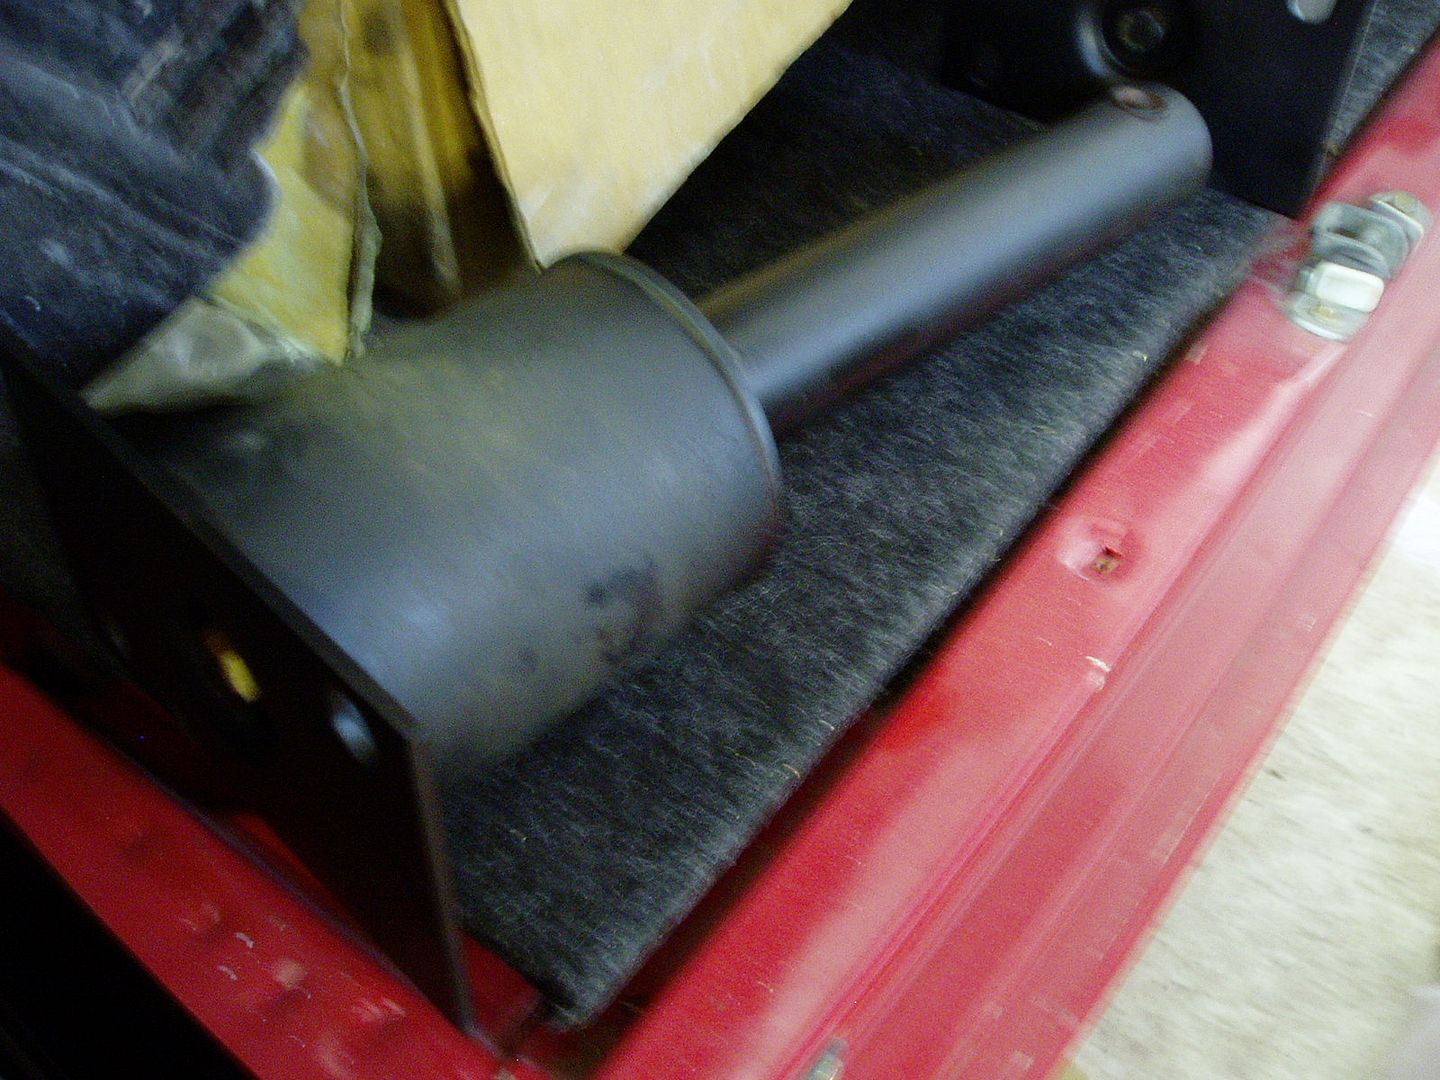   The Polaris wheels have emerged from my cellar to be repainted again (paint reaction spoiled the job at our last attempt) 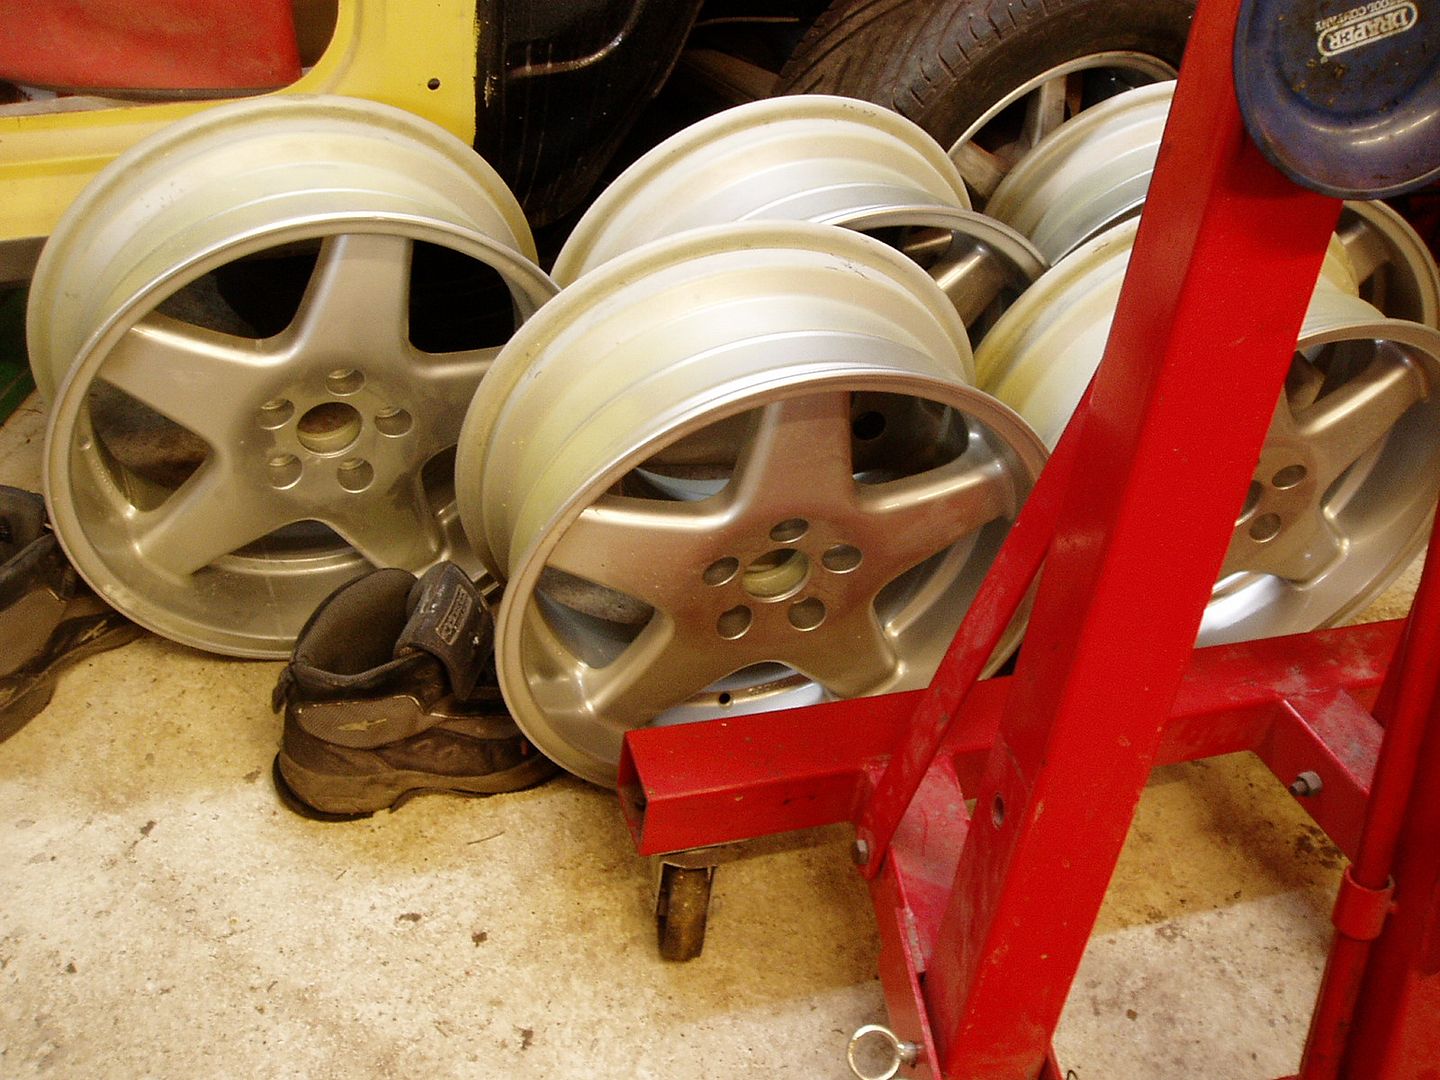 The long job of flatting and buffing the paint. I have now done the four doors and the bonnet; wings and scuttle still to do 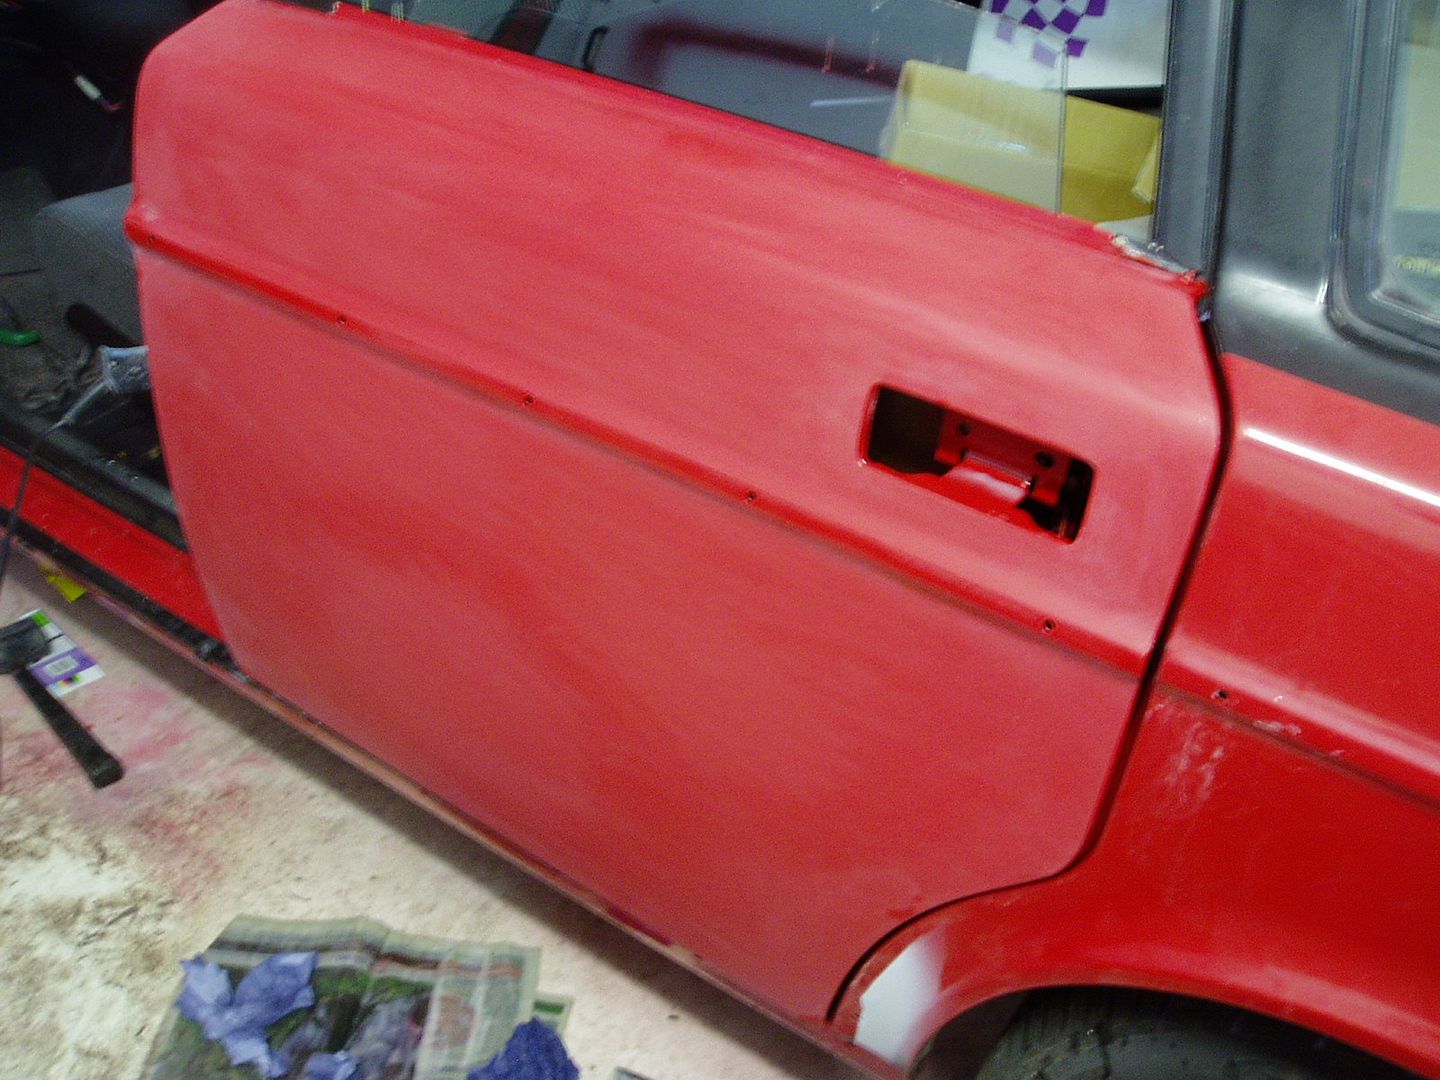 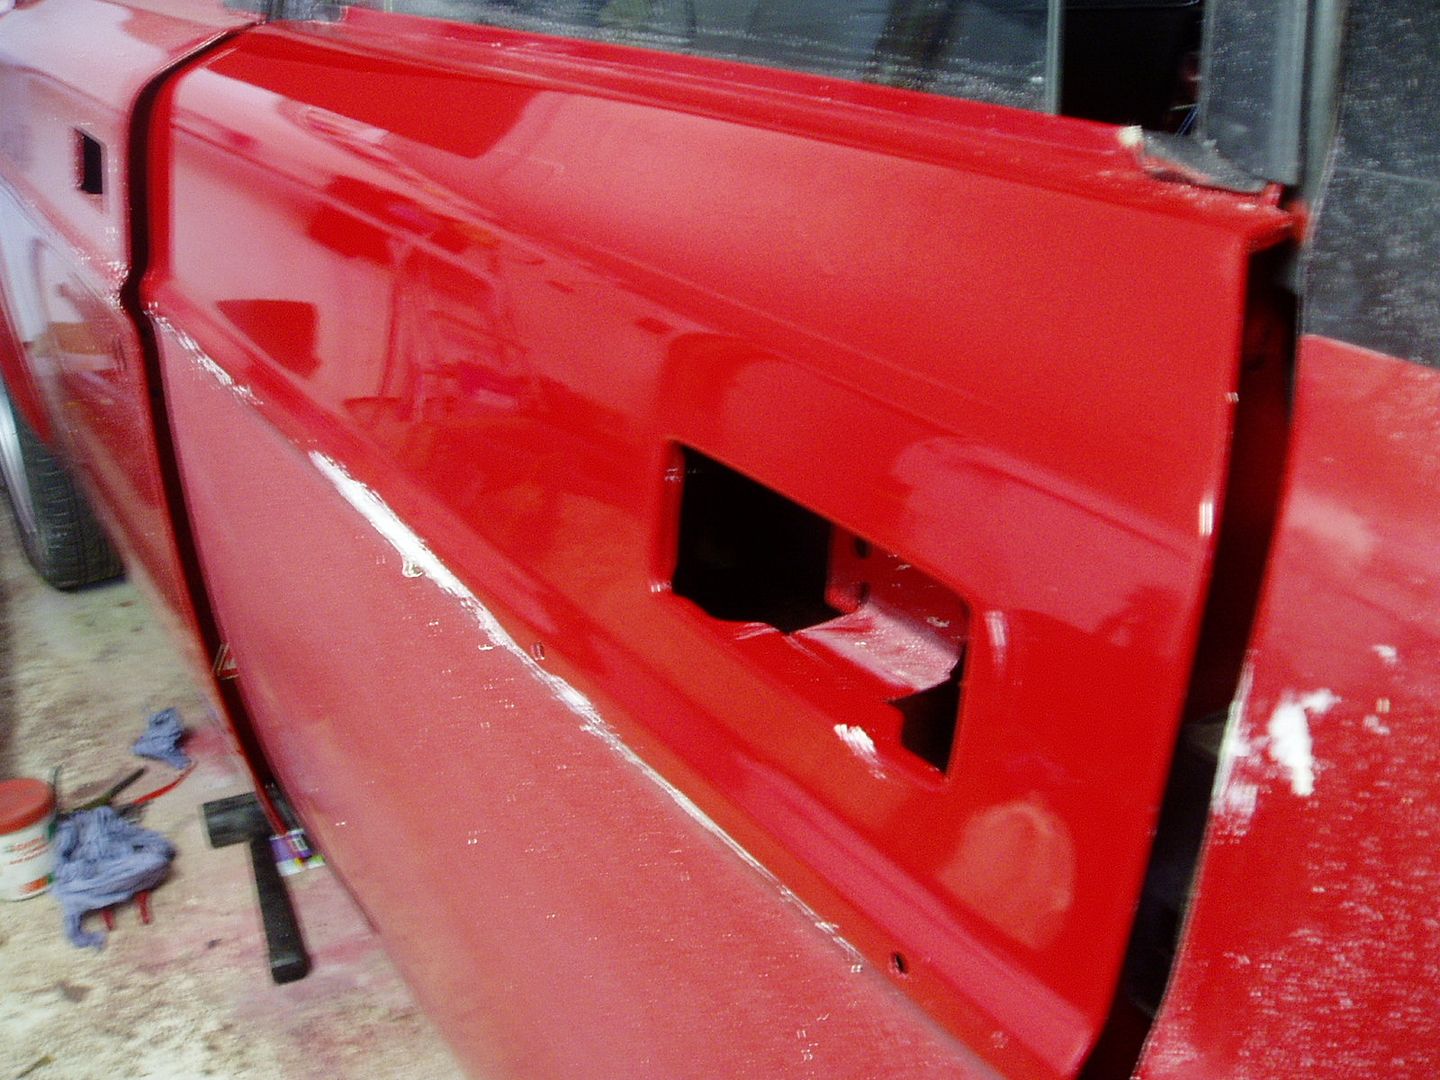   Found a big run on the driver's door, but luckily was able to flat it out completely 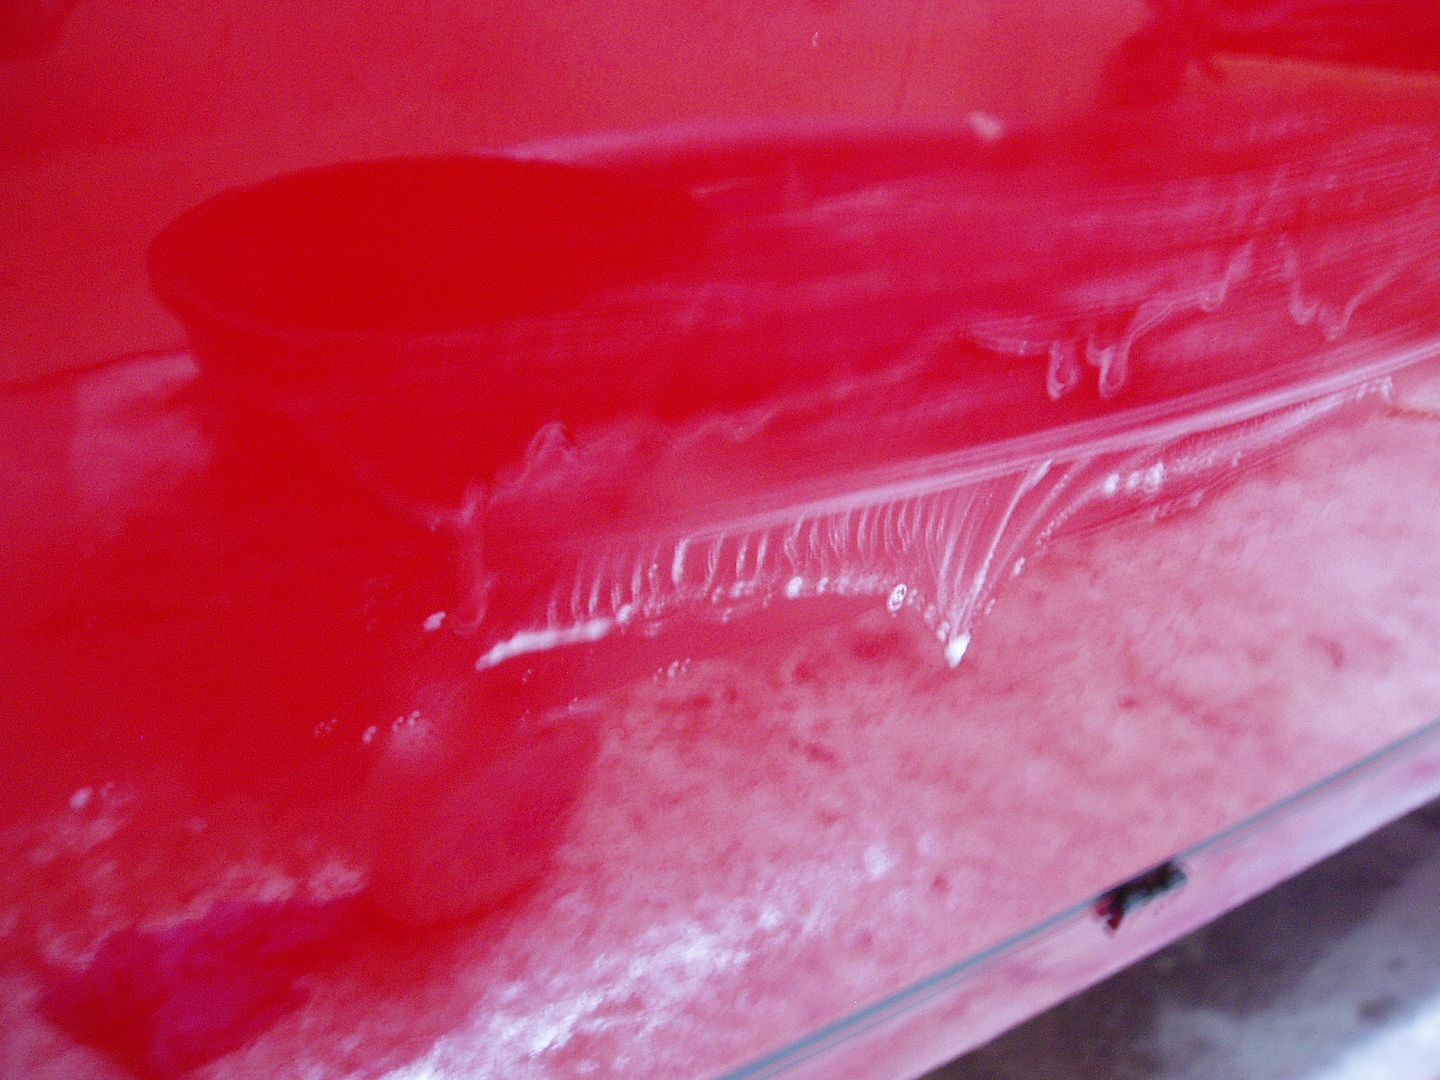  The paint looks better in the photos than in the flesh. It's pretty good from a metre away, but up close there are tiny lines and scratches from the flatting process. That may improve if I buff the whole car again when it's all finished 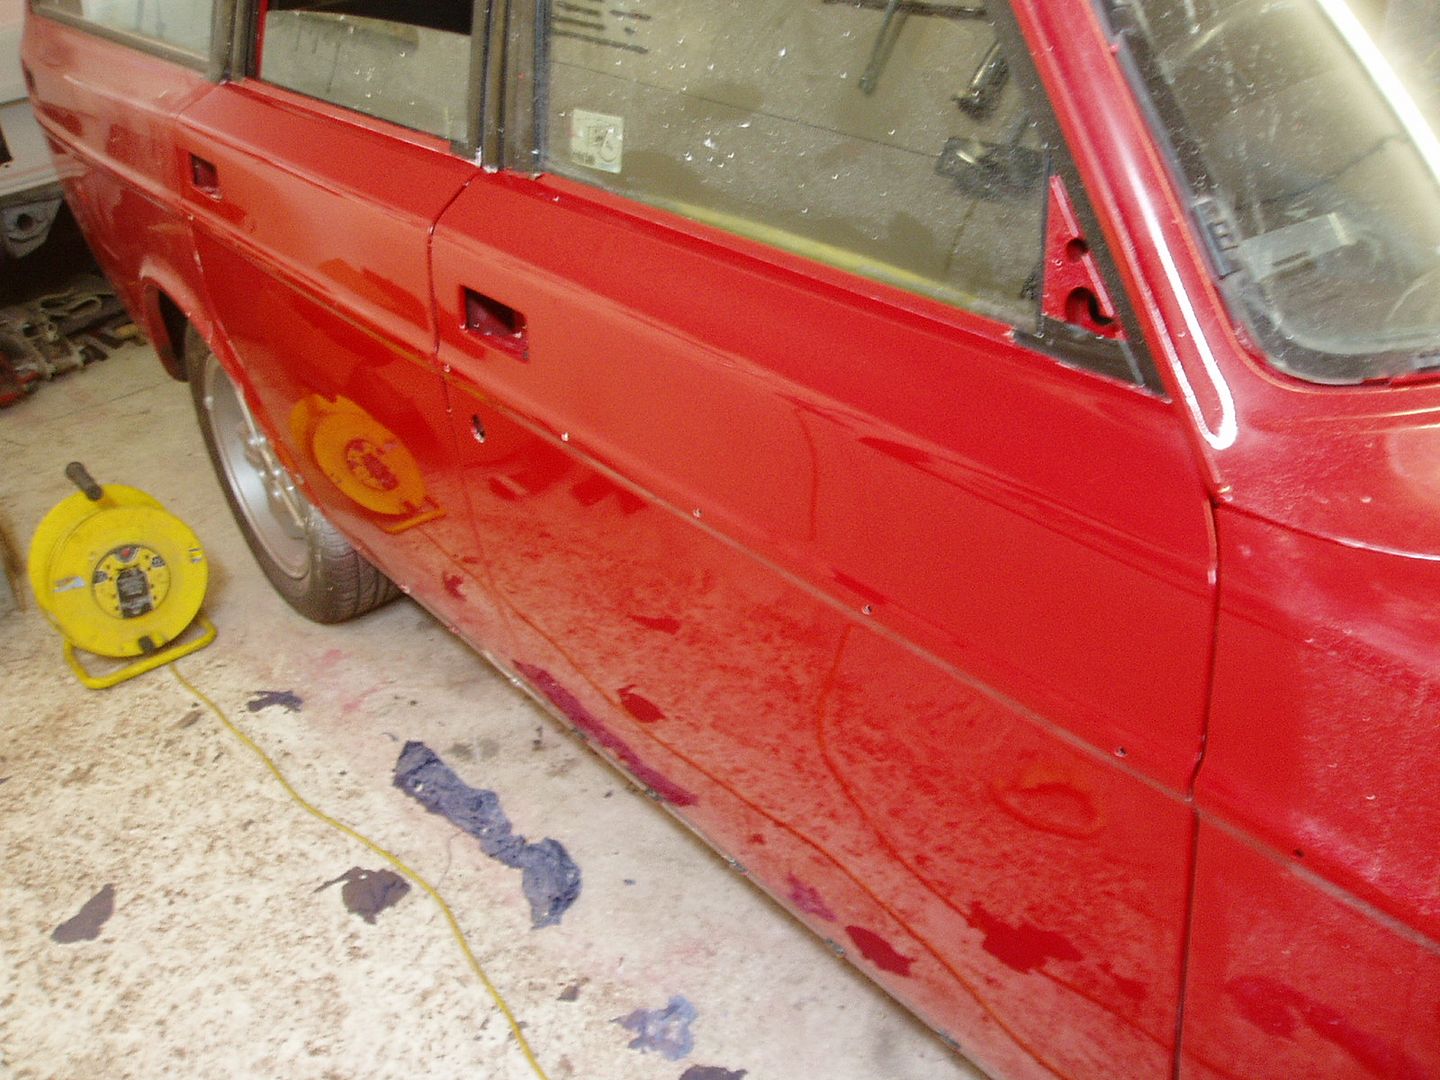 The bonnet is a bit wobbly, as you can see from the reflections. But it's good enough to use for now and I'll keep a lookout for a better one  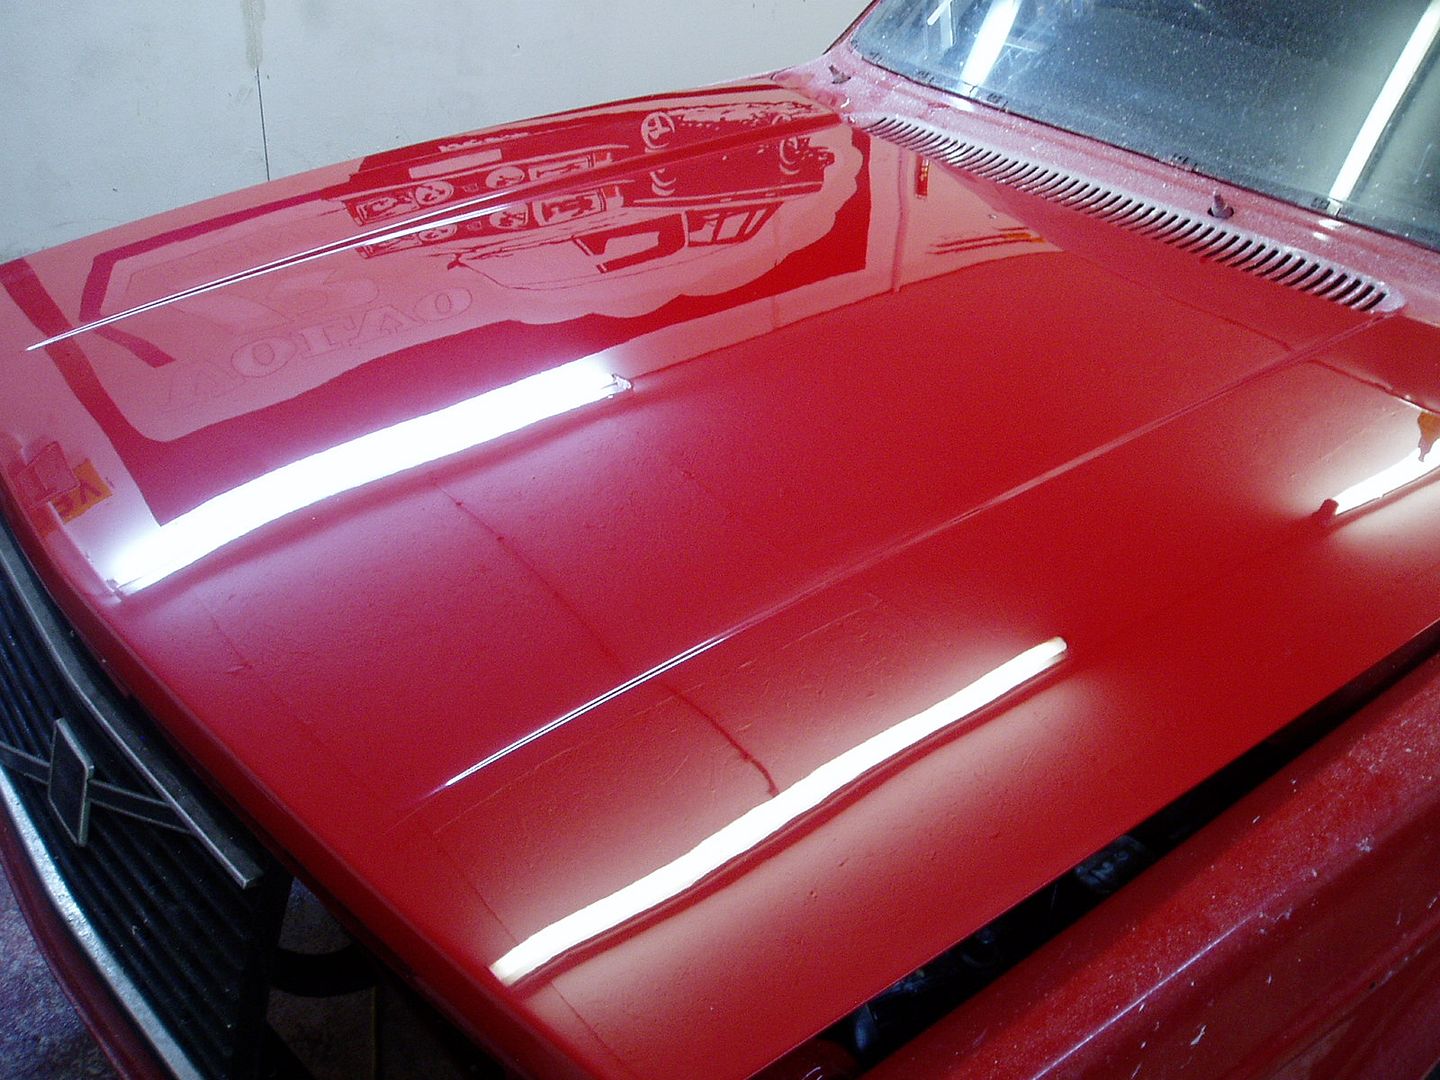 More work soon, but some scumbags tried to steal my Mercedes so that needs to be repaired first. Luckily, 1980s Merc engineering foiled them. Despite a bar through the steering wheel spokes, they failed to break the steering lock. Cheers John |
| |
|
|
johnrh
Part of things
 
Posts: 958
|
|
|
|
|
|
| |
|
|
aws
Part of things
  Just smile and wave boys. Just smile and wave.
Posts: 389
|
|
Oct 21, 2012 16:36:36 GMT
|
|
As always great job. Following with true interest. Have found much of inspiration for my project in your treads. Thanks.
|
| |
|
|
johnrh
Part of things
 
Posts: 958
|
|
Oct 21, 2012 19:19:56 GMT
|
As always great job. Following with true interest. Have found much of inspiration for my project in your treads. Thanks. Thanks for the kind words  Glad you're enjoying it as much as we are! John |
| |
|
|
|
|
|
Oct 21, 2012 19:48:11 GMT
|
As always great job. Following with true interest. Have found much of inspiration for my project in your treads. Thanks. The same in my case... Thanks Johnrh...  |
| |
|
|
johnrh
Part of things
 
Posts: 958
|
|
Oct 21, 2012 20:05:18 GMT
|
Hi, Some more to report on the headlight refurb. These lights are rare. They were only used on the expensive, high specification versions of the 240 for about 2 years. (The early 6 cylinder 262, 264 and 265 models have a similar lamp, the same casing and shape and interchangeable with these, but different in design. The 260 has an extra small reflector added inside the main one, with lens pattern amended to suite). The lamps don't resist corrosion very well, so they are hard to obtain now. I found this new-old-stock unit on eBay, so to make a matching pair that's the refurbishment standard to aim for! 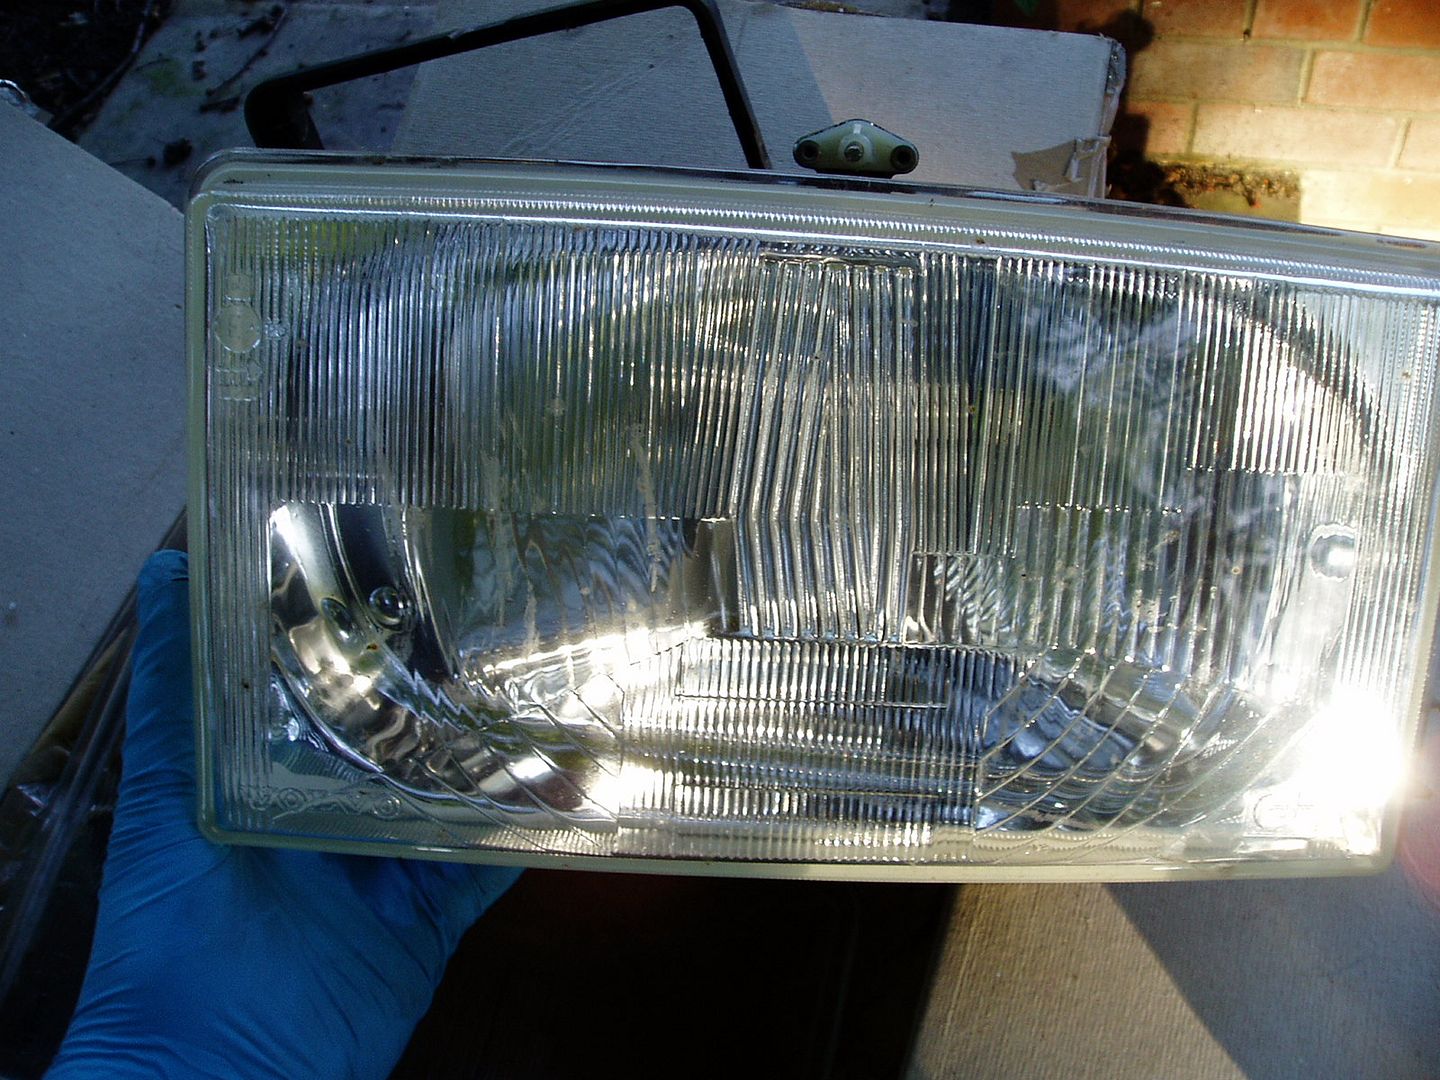 I had intended to use this reflector which came on my 245GLE spares car. Although it looked good, the important part has dulled and could not be brought back to a reflective surface. I'll keep this as a spare, it could possibly be re-plated. 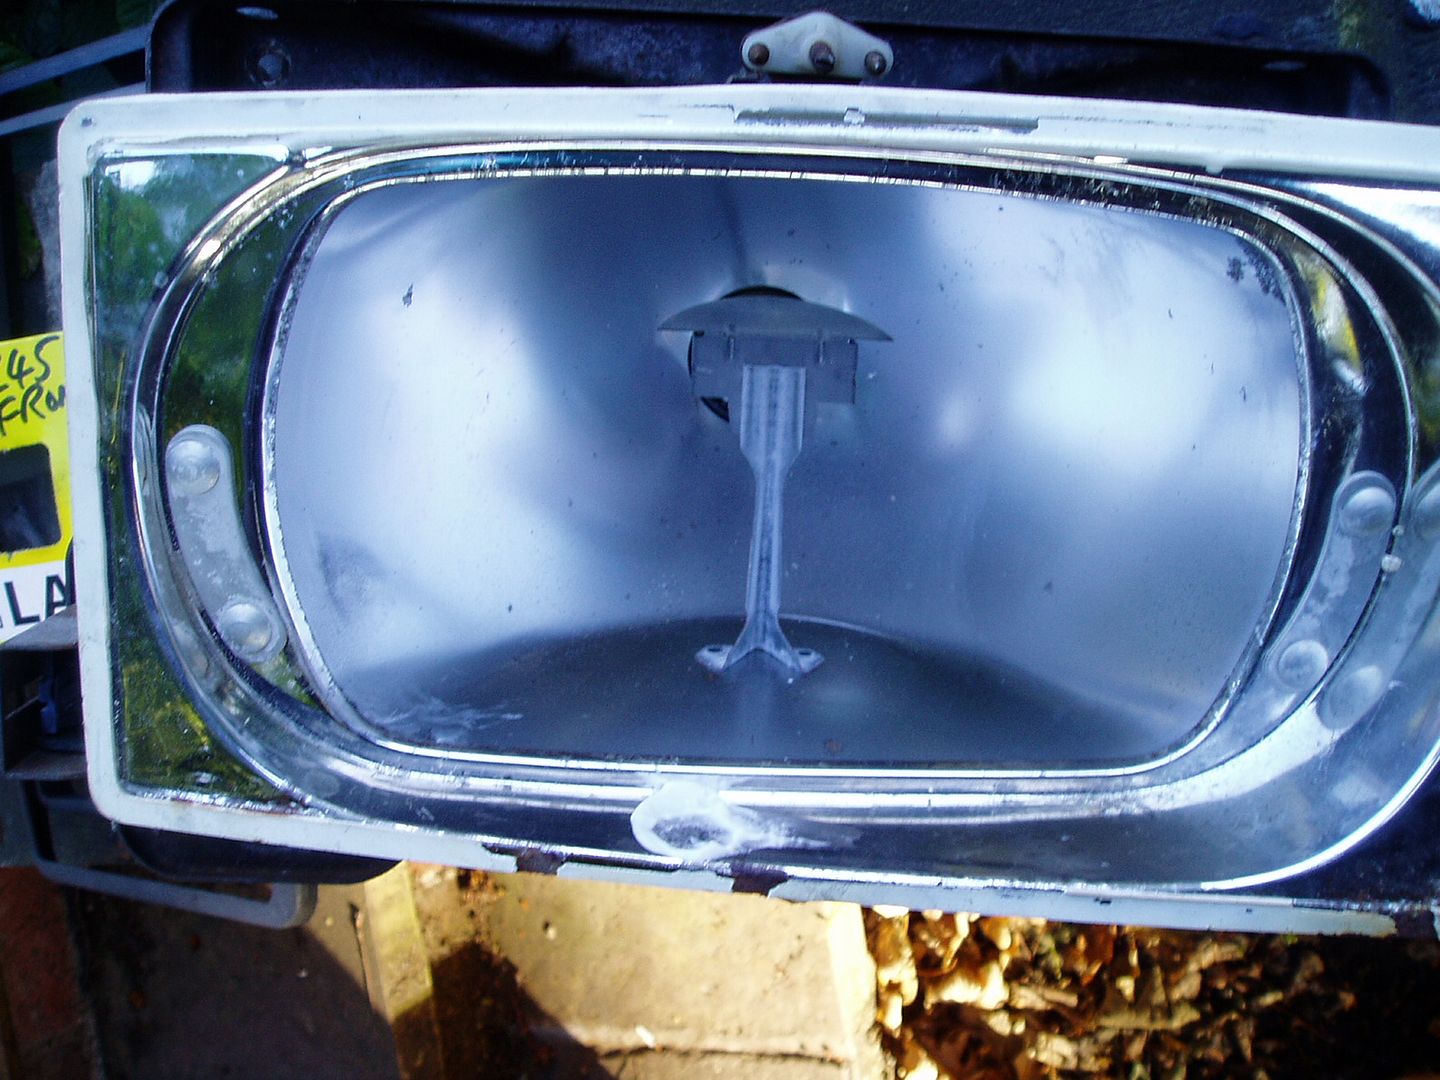 Here is the base lamp I'm using. Big thanks to Jonah on VOC who gave me this, plus some other spares  . The lens was removed by heating to 80 deg C in the oven to soften the glue. The important functional parts of the reflector - above and to the sides of the bulb - are good. The poor areas are mainly cosmetic, so it is suitable for refurbing 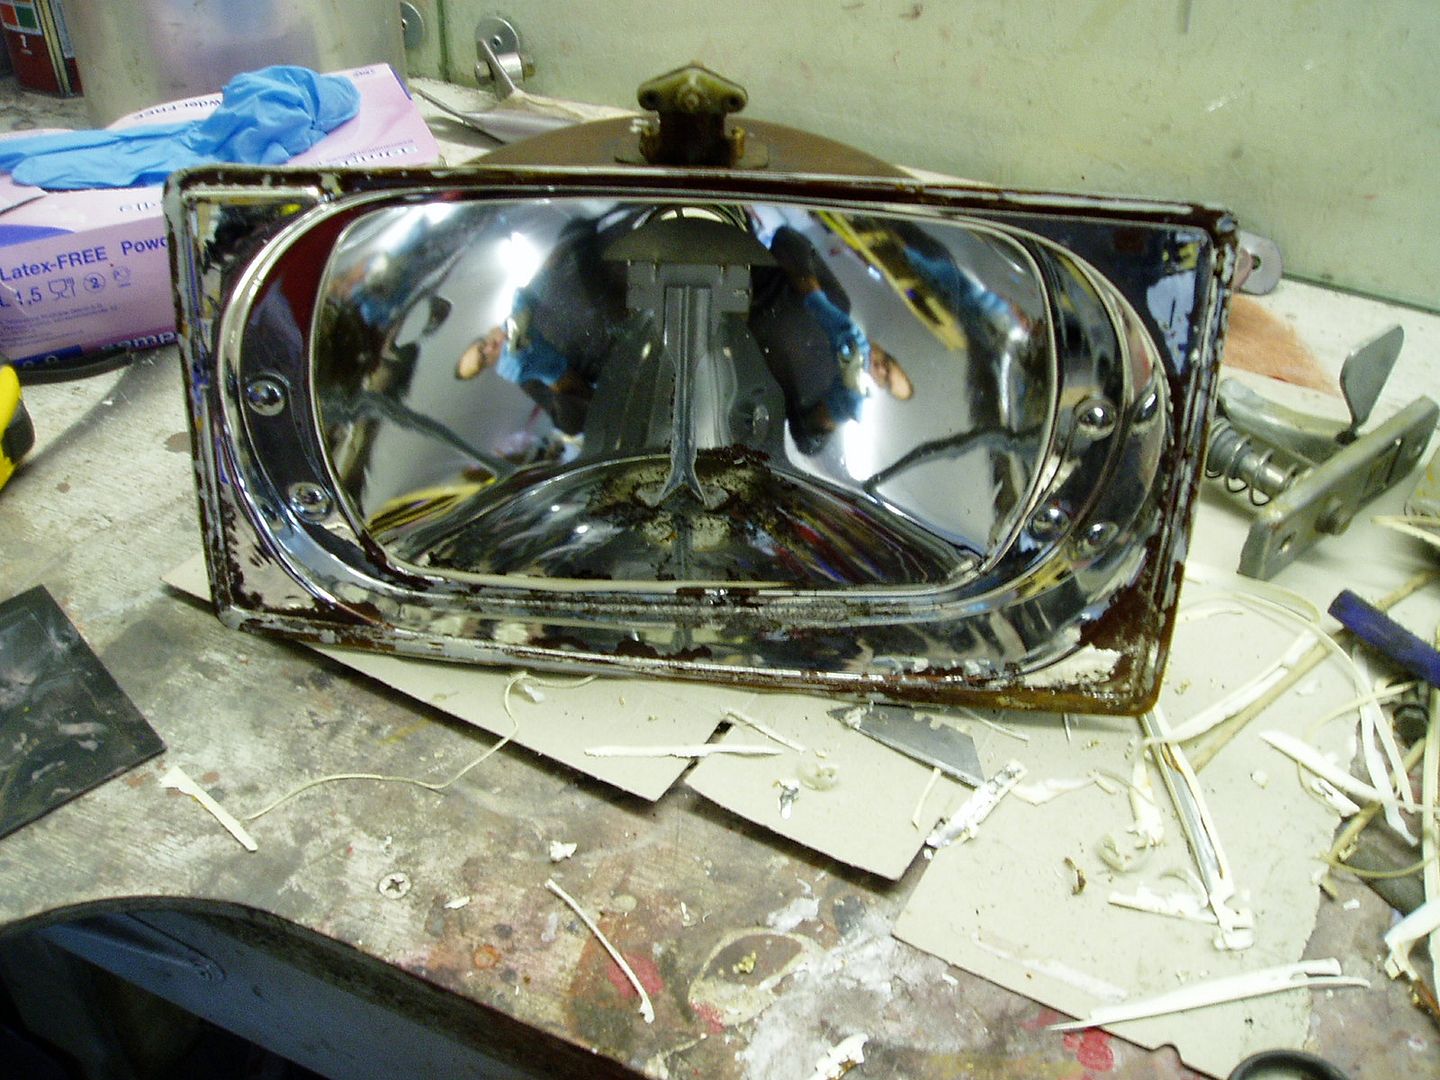 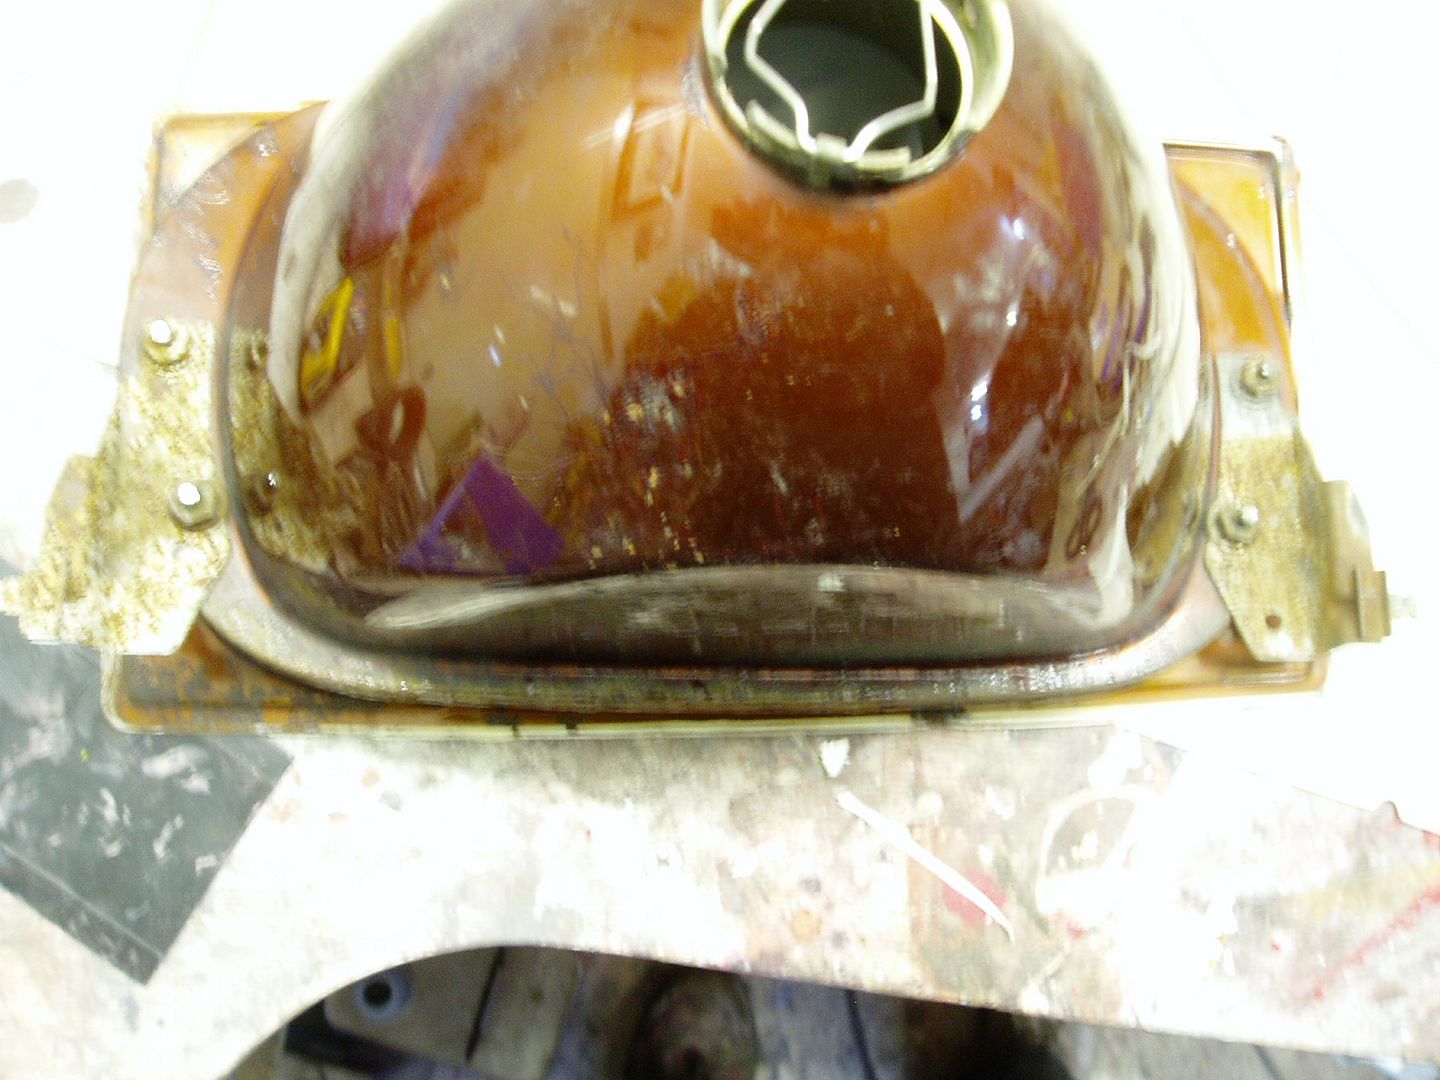 Drilled out the rivets to remove the bulb shield 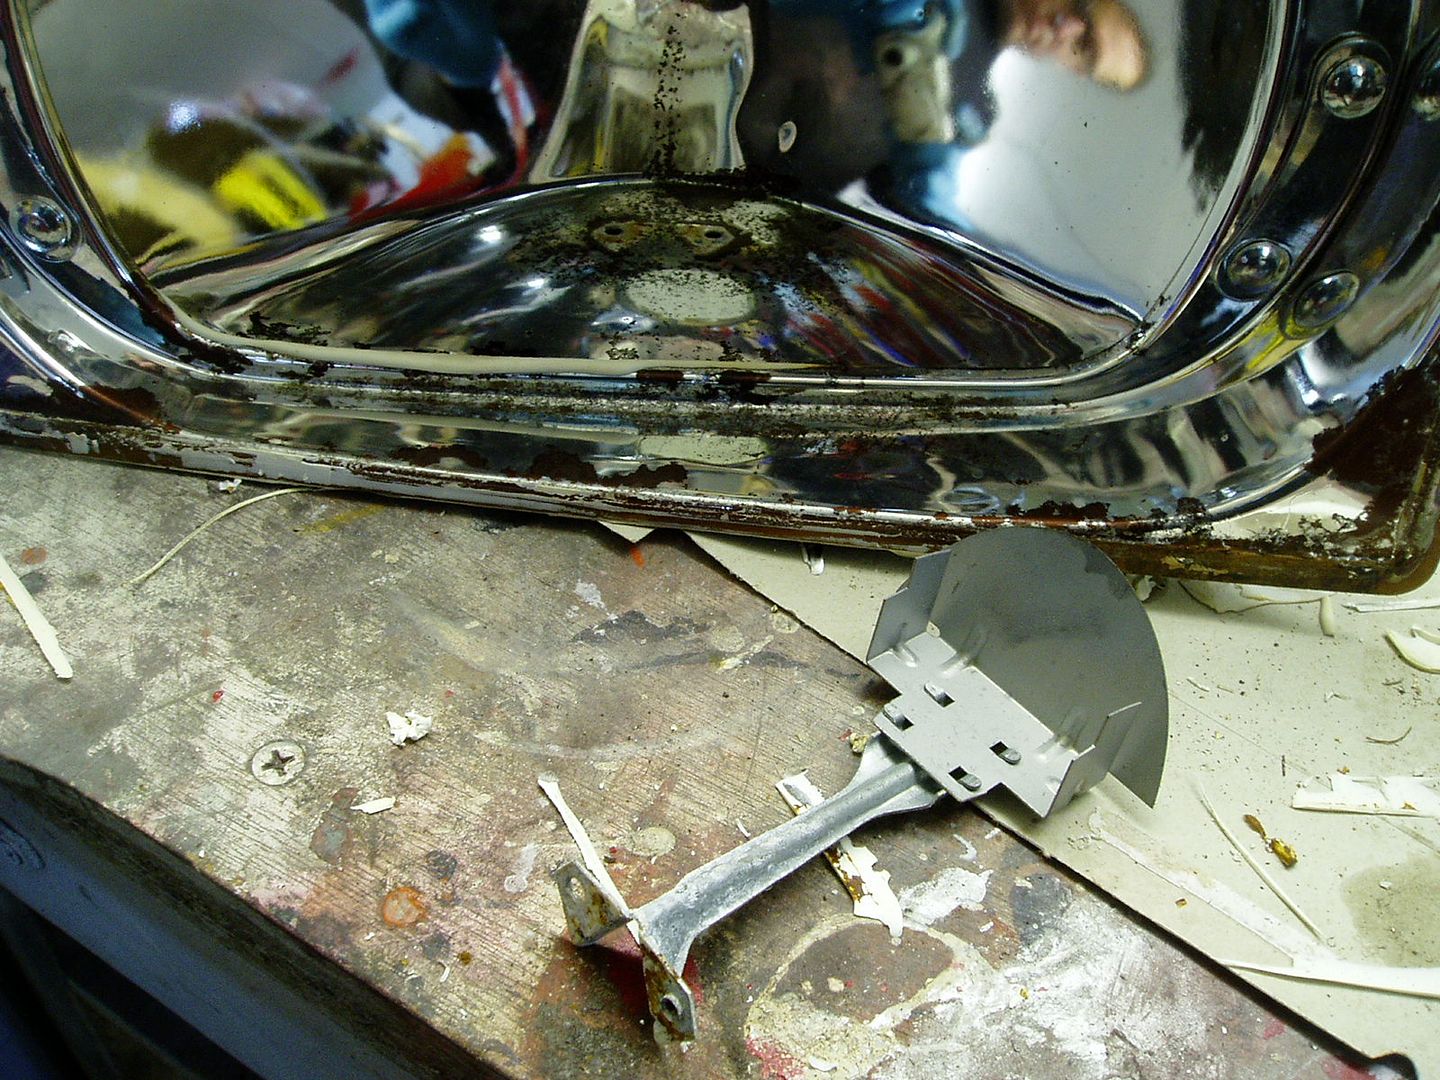 I replaced this broken adjuster screw with a good one from a spare lamp 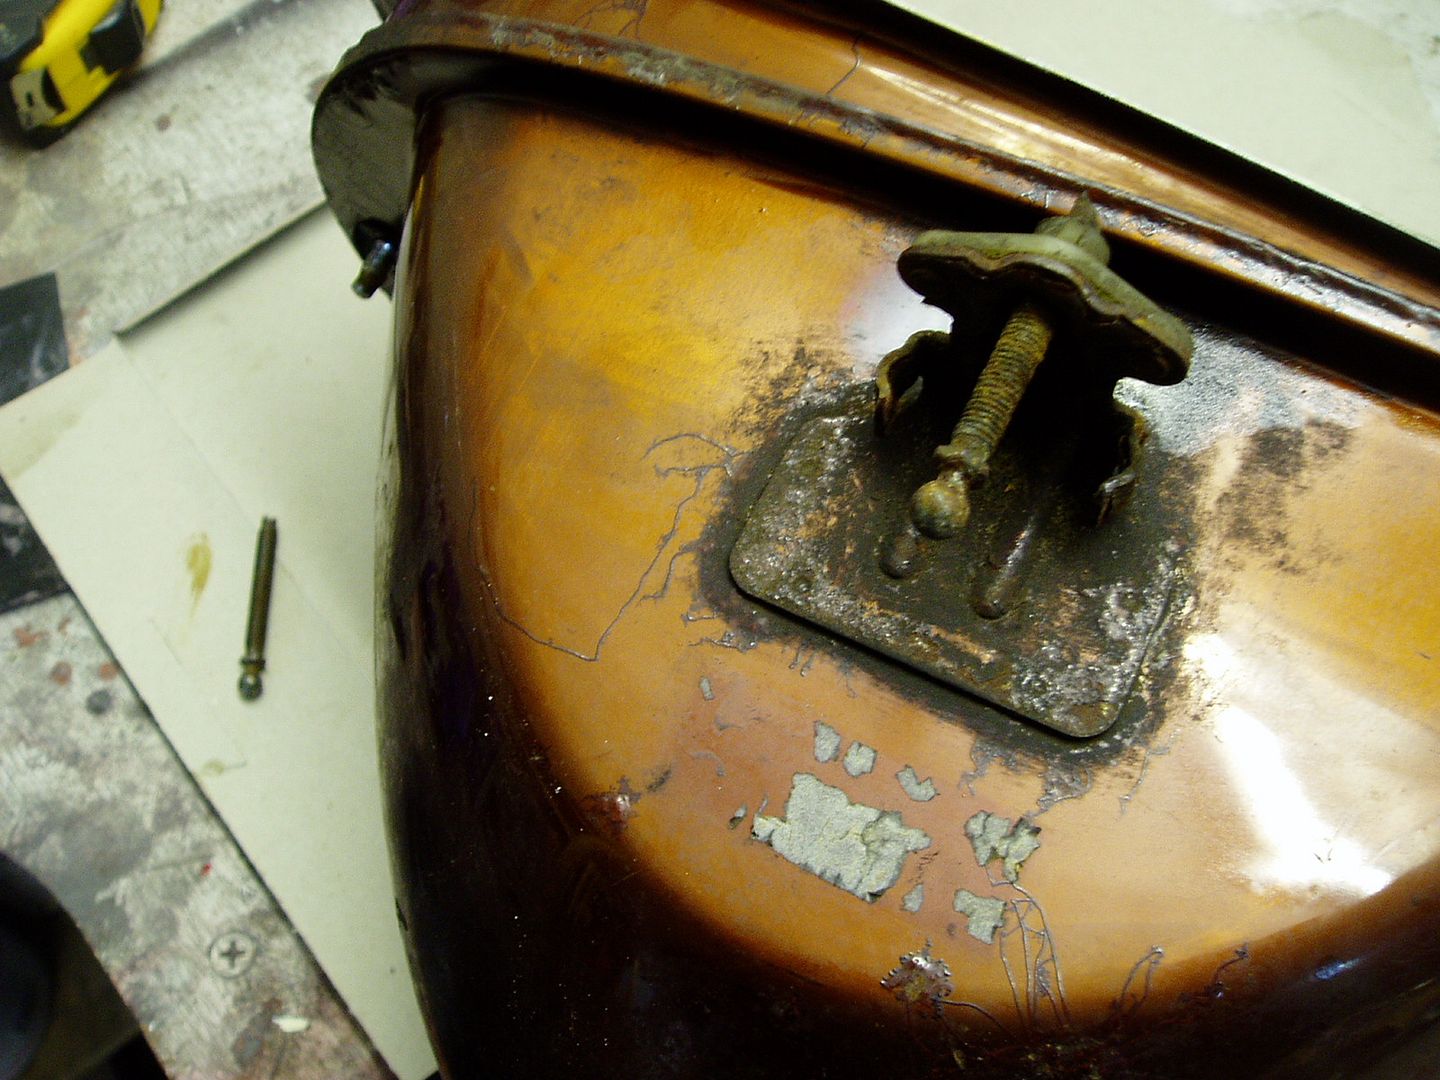 I masked out all the good parts of the reflector and sanded down the rest of the lamp 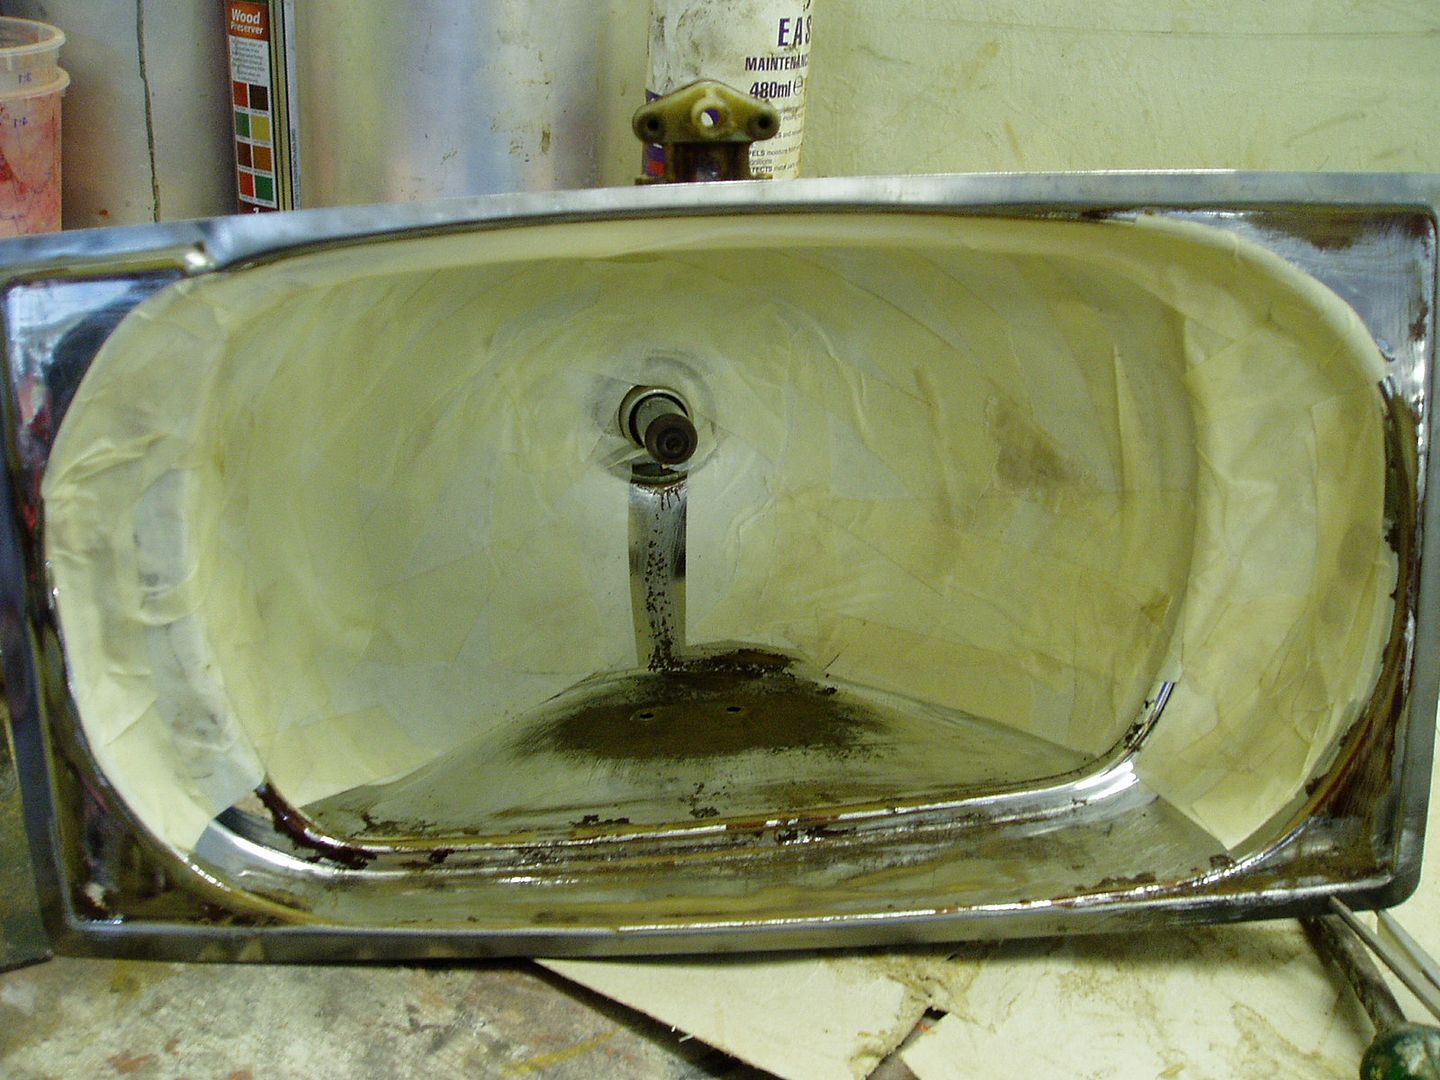  Red oxide primer, front and back, to keep the rust at bay  Then I painted the front with chrome paint (satin black on the back) and removed the masking  I am using chromebrite tape to restore the reflective surface finish. It's hard to get in the UK, mine had be ordered from the US 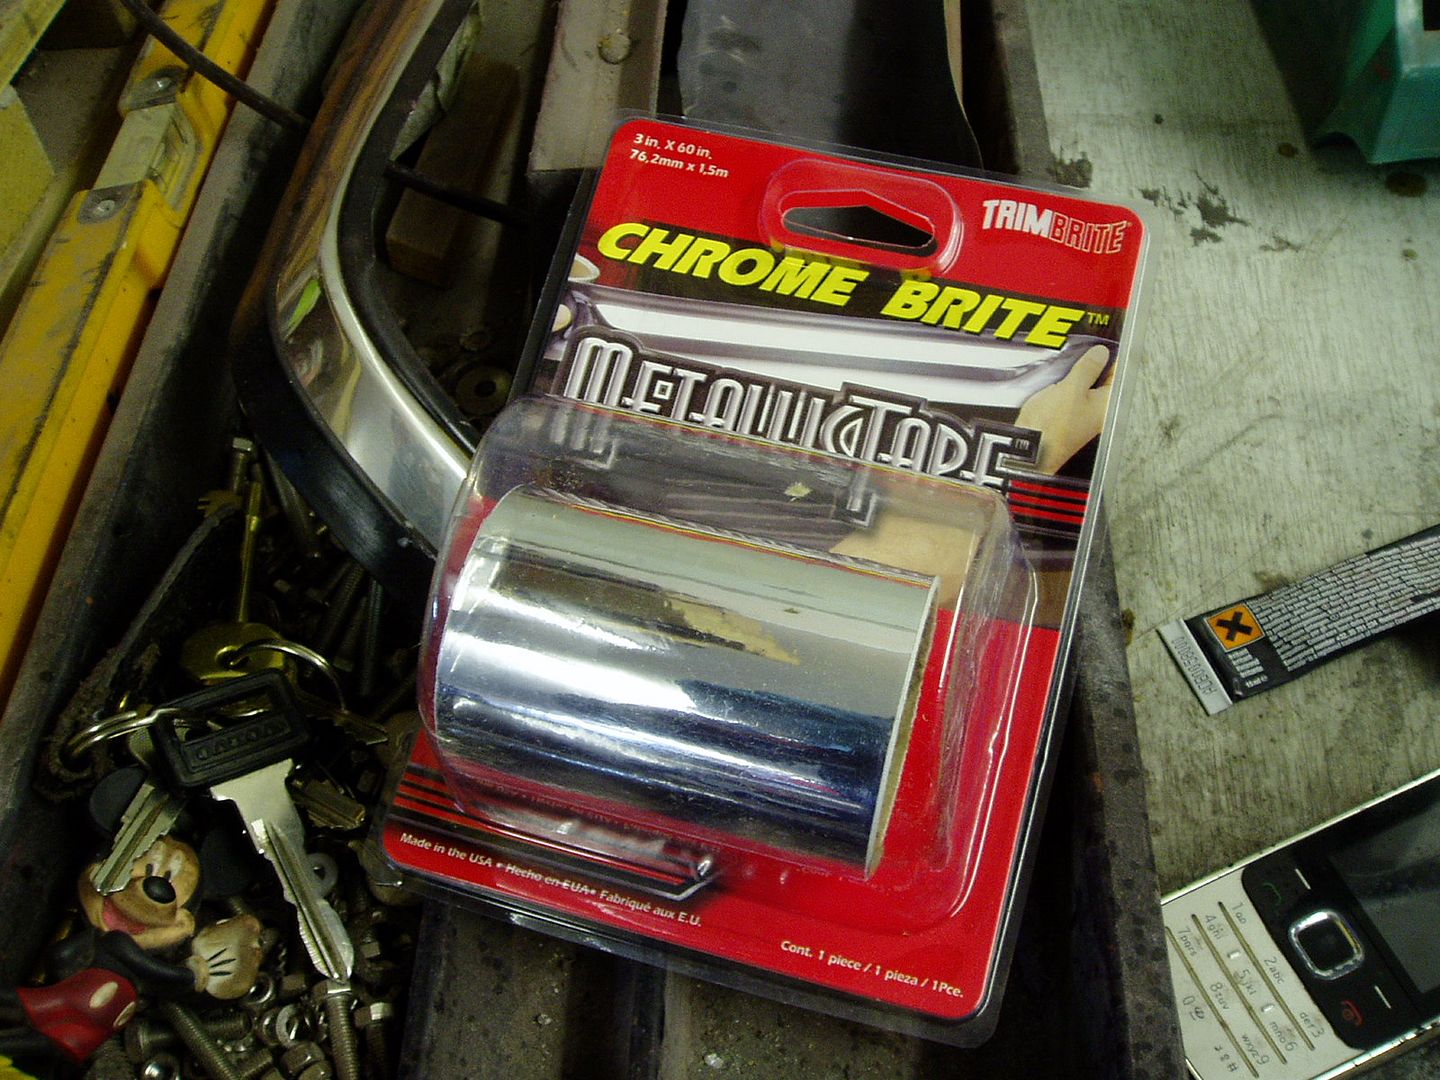 The tape won't stretch, so can't deal with a compound curve. It needs to be cut into small accurate sections to cover the shape of the housing neatly 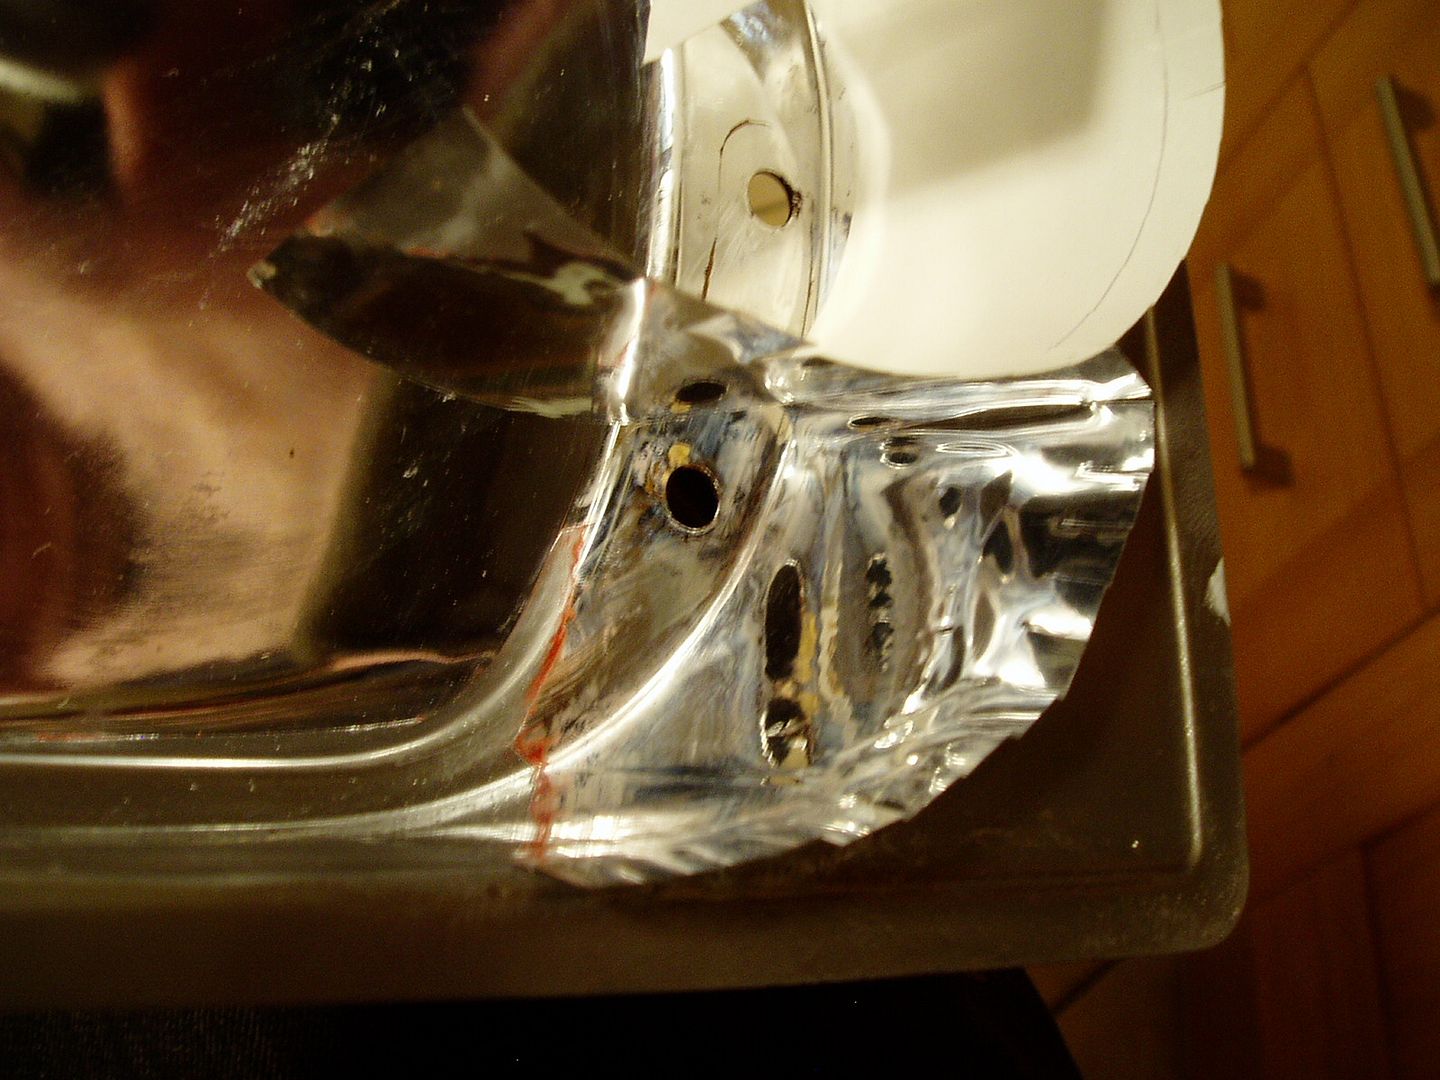 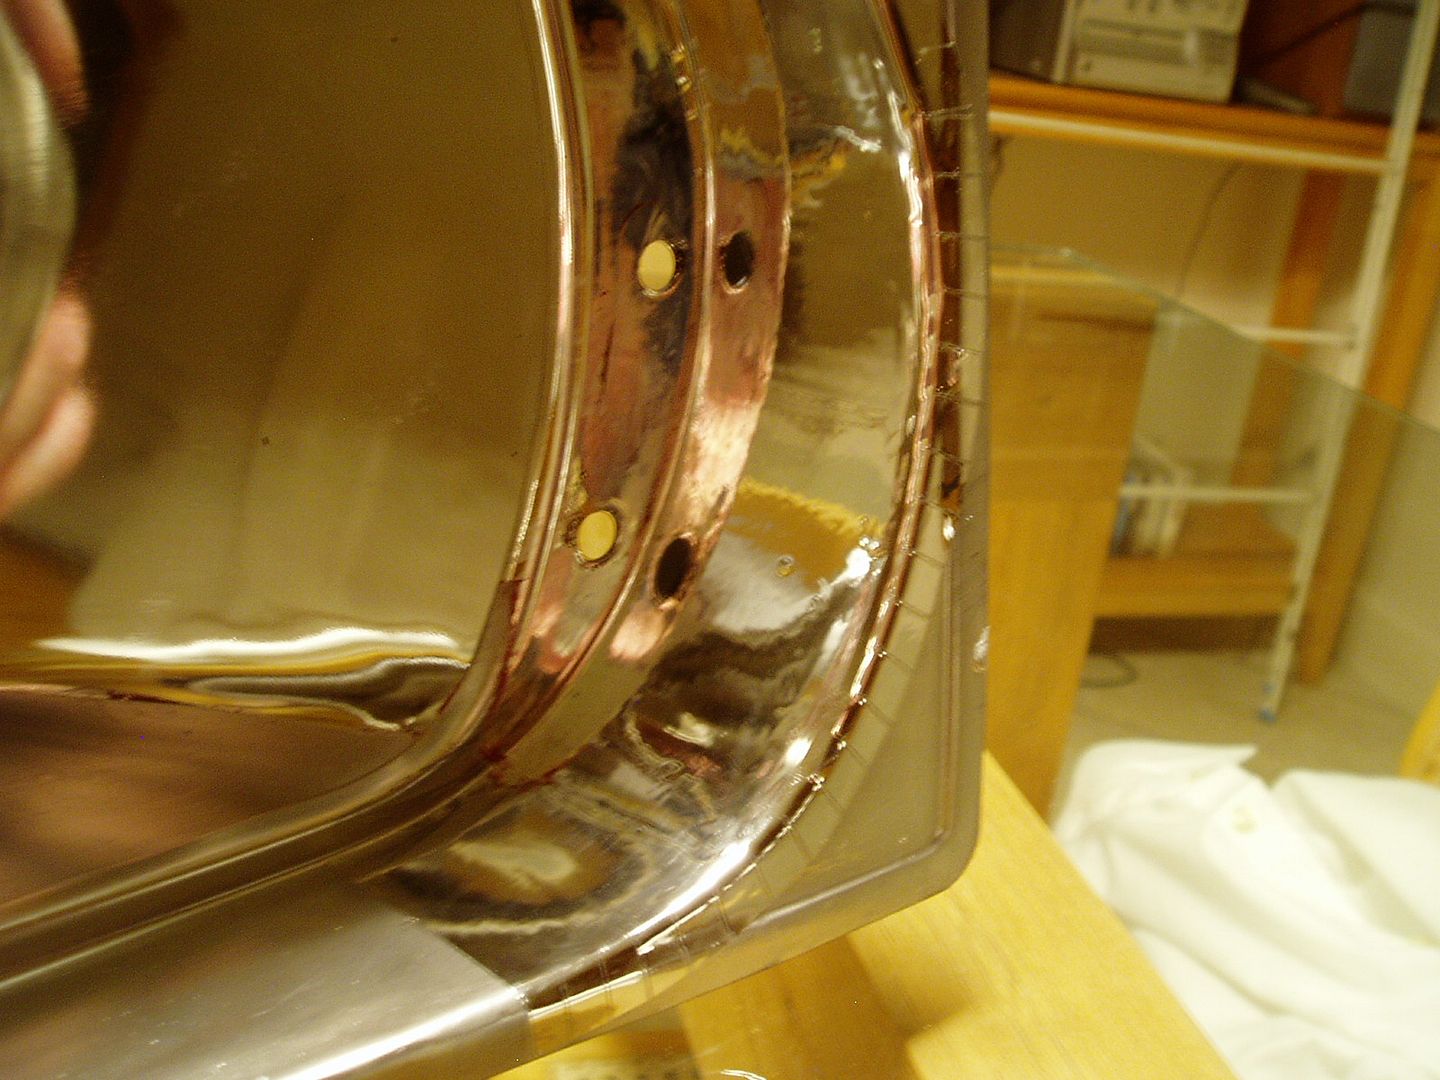 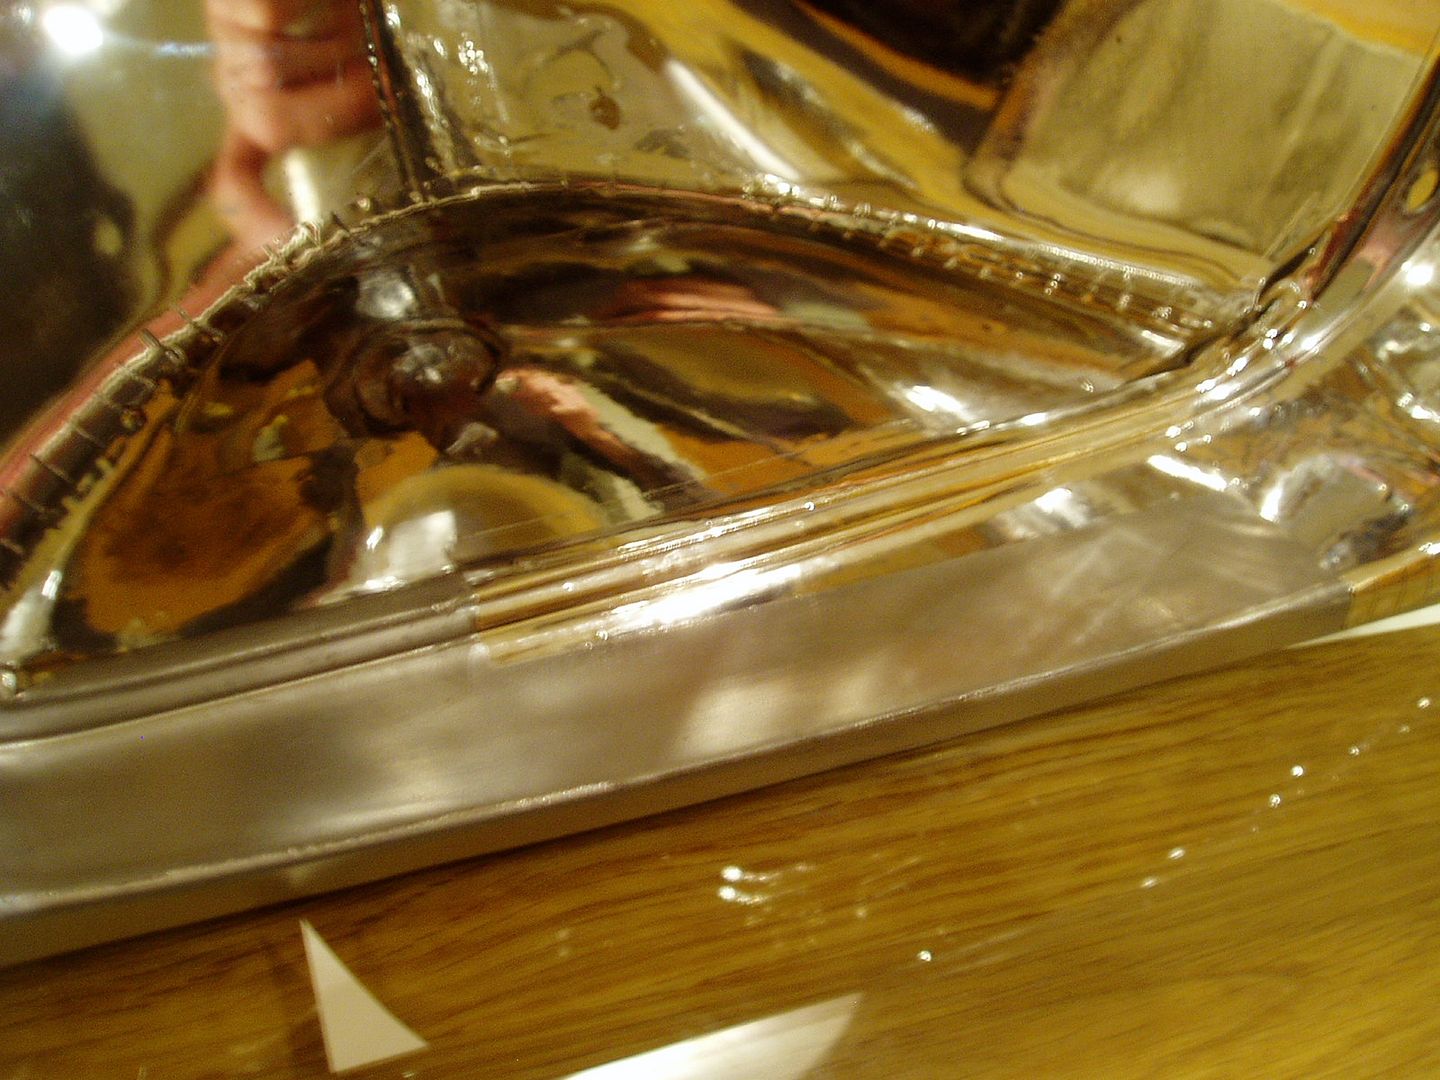 I refitted the bulb shield with small screws and nuts. The lens was cleaned thoroughly, then bonded back on to the casing with white carbond  Here it is fitted 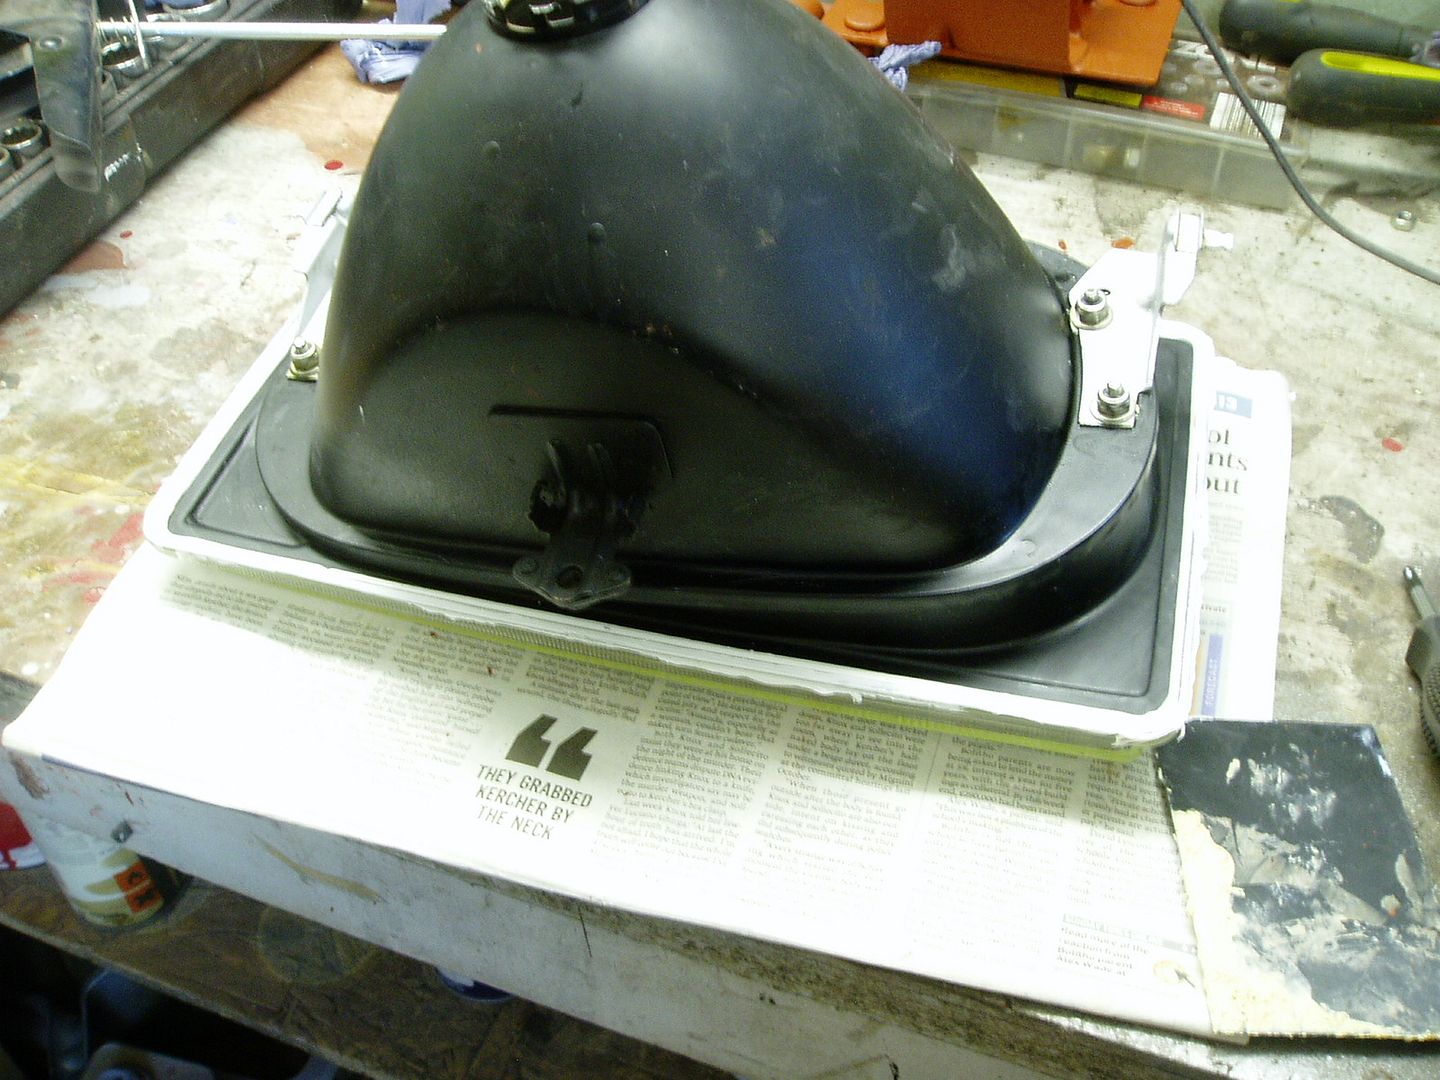 The repair can be seen through the lens up close, but when fitted to the car it will look as clean and bright and the new left lamp 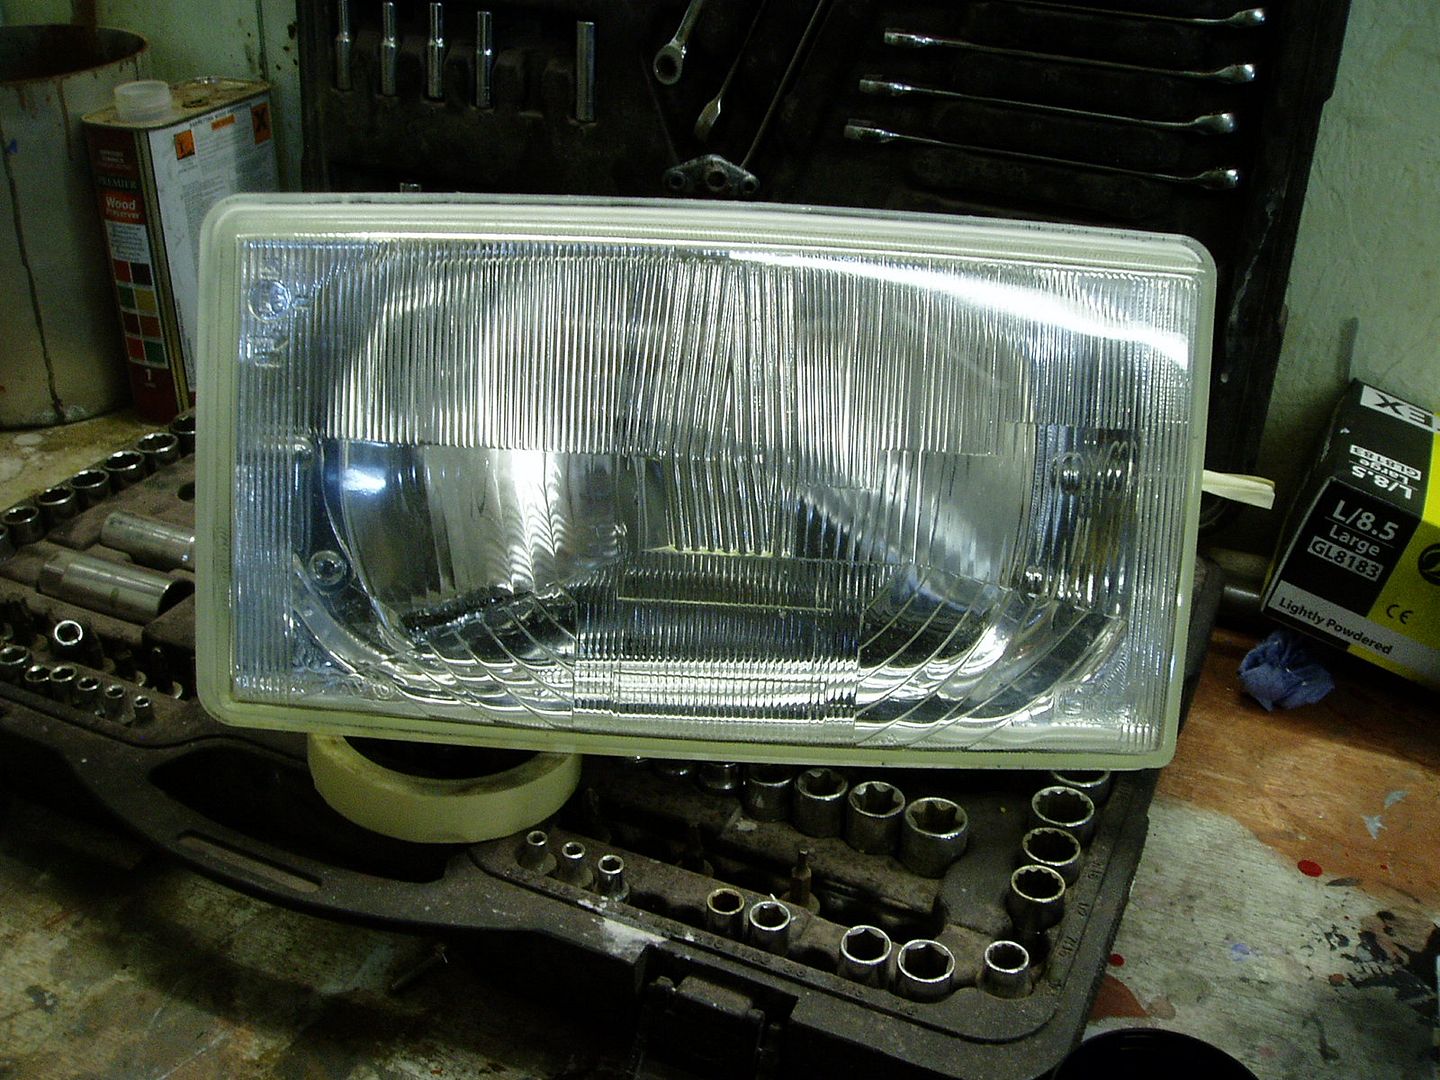 More very soon! Cheers John |
| |
|
|
|
|
|
Oct 22, 2012 16:05:06 GMT
|
|
Keep it up feller.
|
| |
Currently: 1974 Beetle - Golf -
Previously: e38 735i, e34 525iSE, 1972 Beetle, 1991 Scirocco Scala, Morris Minor, 1983 Polo Breadvan, 1991 Mazda MX6
|
|
johnrh
Part of things
 
Posts: 958
|
|
Oct 22, 2012 22:03:05 GMT
|
Haha, don't worry, I will. Motivation is very high, despite (as always) things taking longer than I expected Cheers John |
| |
|
|
|
|
|
Oct 22, 2012 22:17:22 GMT
|
|
Just a question John...
The alu tape won't unglue itself with the passing time and the heat created from the bulb?!?!?
I think it might...
I was thinking about doing this to my volvo 164 head lights and fog lights but I think I'll stick with the chrome paint instead...
How's the 164?!?!
|
| |
|
|
johnrh
Part of things
 
Posts: 958
|
|
Oct 22, 2012 22:41:30 GMT
|
Just a question John... The alu tape won't unglue itself with the passing time and the heat created from the bulb?!?!? I think it might... Yeah, I think you might be right. I tried to 'seal' the tape edges with superglue, which as far as I know resists moderate heat (forgot to mention that in the update) but I do think that i might see tape peeling! I will keep a lookout for another new-old stock light. Even if it was a left-hand-drive lamp, I could use it and transfer my RHD lens onto it. If it peels quickly, I will look into having the dull reflector re-plated. I was thinking about doing this to my volvo 164 head lights and fog lights but I think I'll stick with the chrome paint instead... You should be able to get new headlights for the 164. As far as I know both types are available. Don't use chrome paint for a 'functional' part of the headlight reflector (top or sides) - this would not be safe. A batch of new 164 foglamps were made. Have you seen that? If not I can find the link where I bought mine. The 164 is staring at me saying "work on me!". I am very keen to get back onto it, but I'm also enjoying the break doing the 245. I will stay focused on the 245 until it is running and driving (even with the base spec 2.0 for a while), then get back onto the 164. Even so, the 164 won't be finished for a while yet because I'm short of money and it needs some expensive items (leather re-trim, engine management, custom exhaust header and system...). In about a year, I will have finished paying for my house, so disposable income for silly old car projects will be more!  Cheers John |
| |
|
|
|
|





 . I also like the round headlight front, and I have a set-up for the car which will bolt in, for when I fancy a change. But to start with, it's having my favourite front, the 'TV-screen' lights, as per the very first photo in the thread.


