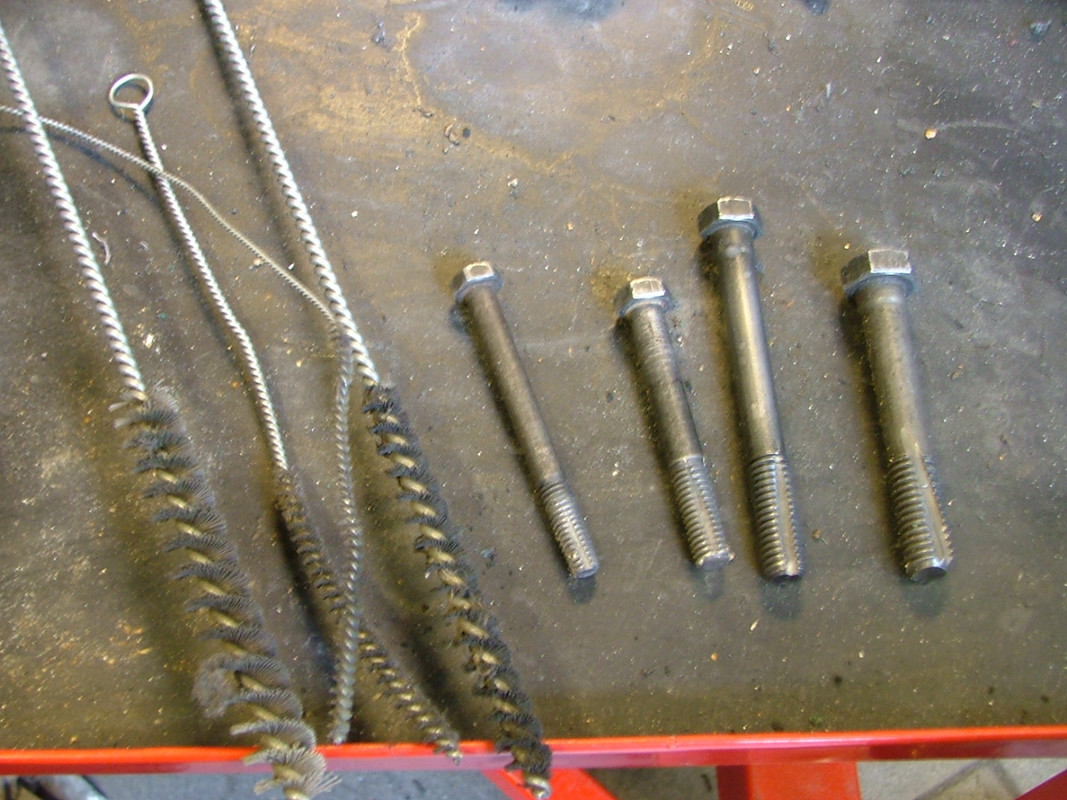
After a few false starts, helicoil kit and helicoils arrived so that I could repair the damaged cylinder head bolt thread in the engine. The supplier initially posted the wrong size kit, but refunded me, sent the correct size (7/16” UNC) and said just keep the first kit. Result. Now I have a spare ¼” UNC helicoil kit.

I did a fair bit of reading about helicoils versus other types of thread repair methods. It seems helicoils are seen as a poor man’s fix, however I think that’s a bit unfair. In this video a chap does back to back comparable tests between a standard thread cut in ally, then a helicoil and then several other more expensive and involved thread repair solutions. The helicoil actually out performed some of the other methods.
The standard helicoil kit comes with helicoils that are 1D long i.e. the length is the same as their diameter.
However, that means there are not many threads in total. So I attempted to buy some 2.5D helicoils. Unfortunately ebay turned up nothing, Cromwell tools said they had some but when they arrived they were the wrong size (correct bag, wrong parts in it) so I did more googling until eventually I found some 3D items. Only problem, they took 2 weeks to arrive!
Helicoil kit
Standard 1D (short) helicoil that coes with kit vs 3D (longer) helicoil

Then it go to squeaky bum time. Helicoiling is simple, but easy to screw up. My cunning plan was to bolt an old cylinder head to the block, then use that as a guide to drill through, so that it helped to keep the drill straight. Unfortunately the drill was too big to pass through the hole in the cylinder head, and I didn’t want to open it up as that would effectively write off the old cylinder head. So nothing for it, other than to free style it.
I turned the engine to help the swarf come out and to make it easier to drill straight. I started off with a 10.5 mm bit to open up the hole, then followed it through with the drill bit that came with the helicoil kit. I taped up the drill bits to mark the depth that I needed. Phew, first stage done, no disasters.
Then it was time to tap the hole. That’s when I realised I didn’t have a tap wrench large enough, so I improvised with two welders mini mole grips. Worked pretty well.

Hole tapped, swarf cleaned out.

Ummm shiny new thread

Then I installed the helicoil
Stud fitted and squeaky bum time over!

On with the heads! Surfaces cleaned up, new composite gaskets, studs in and finger tight, head in position.
The instructions with the ARP kit say to clean the nuts and washers, which I did in some panel wipe. Then you place the washers over the studs, put the special ARP torque compound on the stud threads and the underside of the nuts. There has been much conversation over the years on what torque to do the nuts up too. Some time ago the ARP instructions stated 100lbft in three stages, but people were ripping threads. So the instructions were revised, stating 70 lbft in three stages 25, 50, 70. My kit came with two sets of instructions in the same box, one of them stating 80lbft? Anyway, after further reading on (mostly Land Rover) forums, I went to 70lbft. Hopefully that’s ok. That was for the main 10 head studs. The outer row of 4 on each bank were deleted in the later Rover V8 engines. Apparently they gave uneven clamping force and caused premature gasket failure at the top, into the valley. The usual advice is to just nip them all up, which is what I have done.

Both heads on and torqued up.


I bought a new torque wrench from Halfords. My old one was a £20 cheap draper item, and I wanted something better quality and supposedly calibrated for this work.. While I had it out, I rechecked the torque of the main caps and rods. Rods were fine, as I had done them with a decent low torque wrench, but all the caps were a bit lose. Glad I checked them. Old torque wrench will be retired!

I'm fitting a Kent H200 cam. This is a mild road cam, that gives a mild improvement and good for torque, but unlike the H218 doesn’t put the power higher up the rev range. You don’t see these advertised so much. Mostly its just the H180 and H218. Not sure why, these are meant to be pretty good. The “How to Power Tune the Rover V8 Book” describes the H200 as a …
“23-67-6834 phasing, and reasonable lift of 0.429in/10.9mm for the inlet valves and 0.453in/11.5mm for the exhaust valves. This is a low overlap camshaft, with late exhaust valve opening and delivers good low rpm torque from just above idle.”
Sounds good to me. The Kent website quotes a 20 bhp increase, but we shall have to wait and see. Certainly this cam with the gas flowed heads should work nicely.

All lubed up with the red assembley grease that comes with the kit.

New Land Rover hydraulic lifters, cam sprocket, crank sprocket and chain.

I have trial fitted the timing gears and found the Rover manual a little vague. Cue more reading and this very interesting article.
www.tr8archive.co.uk/Timing1.htmlTurns out the vague manual is leading people to misinterpret the guidance, and then time their engine incorrectly by 1 tooth. This isn’t catastrophic, but robs power at the top end.

Ran out of time again, but getting there now.


