jonomisfit
Club Retro Rides Member
Posts: 1,790
Club RR Member Number: 49
|
|
|
|
I'm running on low burn on the motivation front at the moment, so there was minimal progress on the car. Tidied up one of the patches 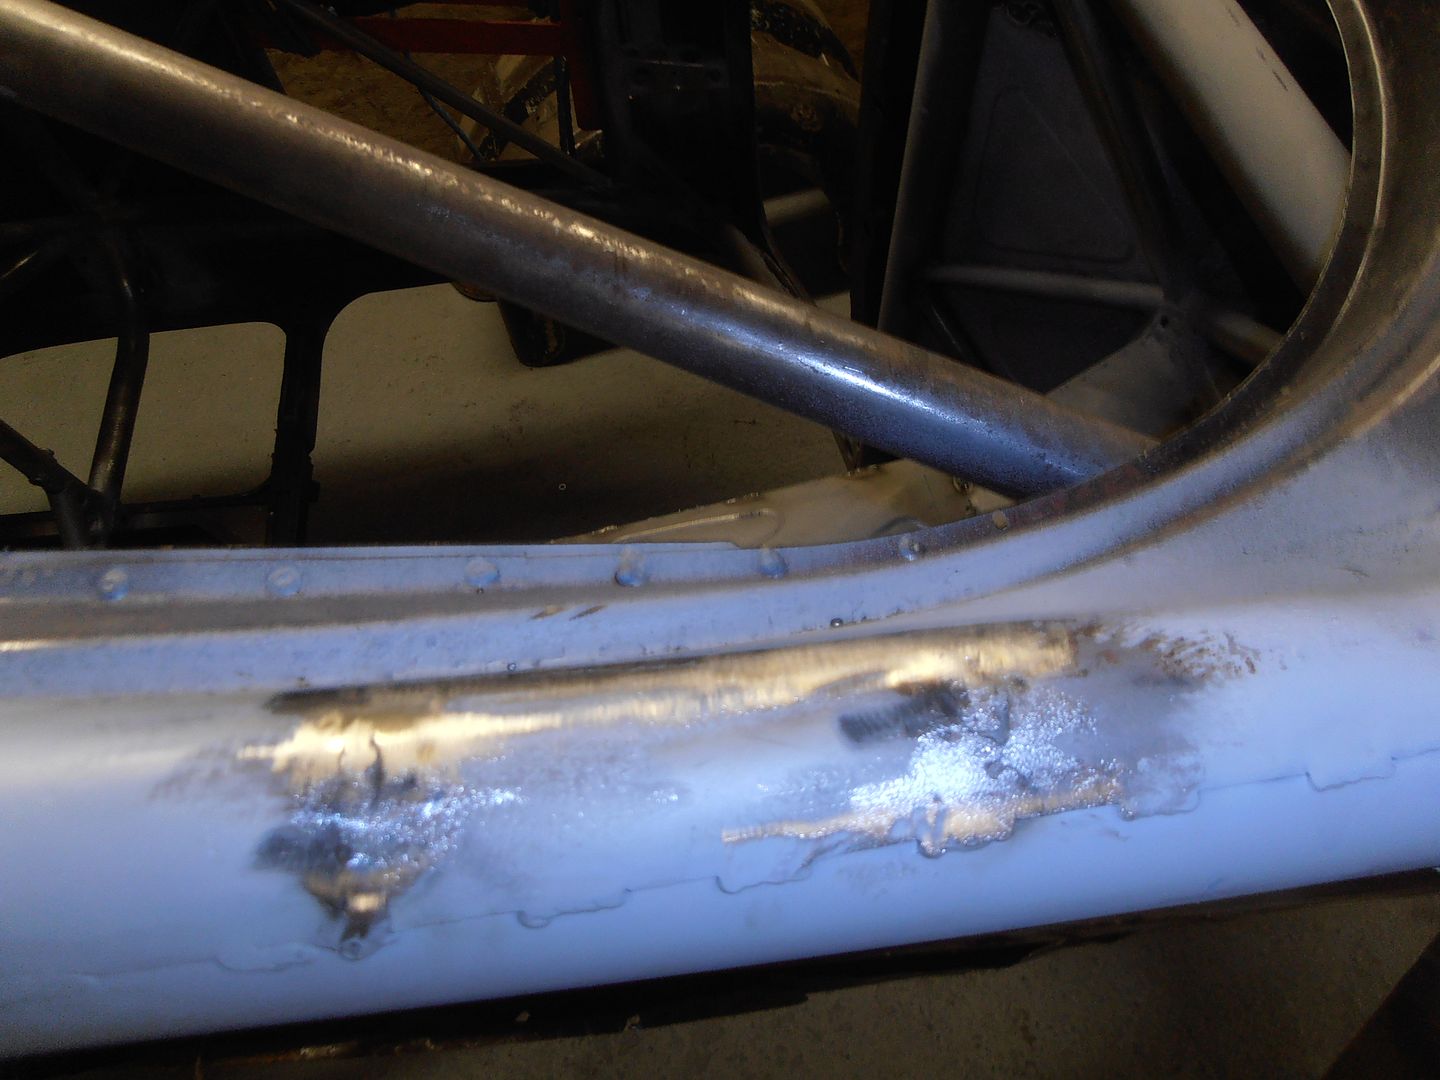 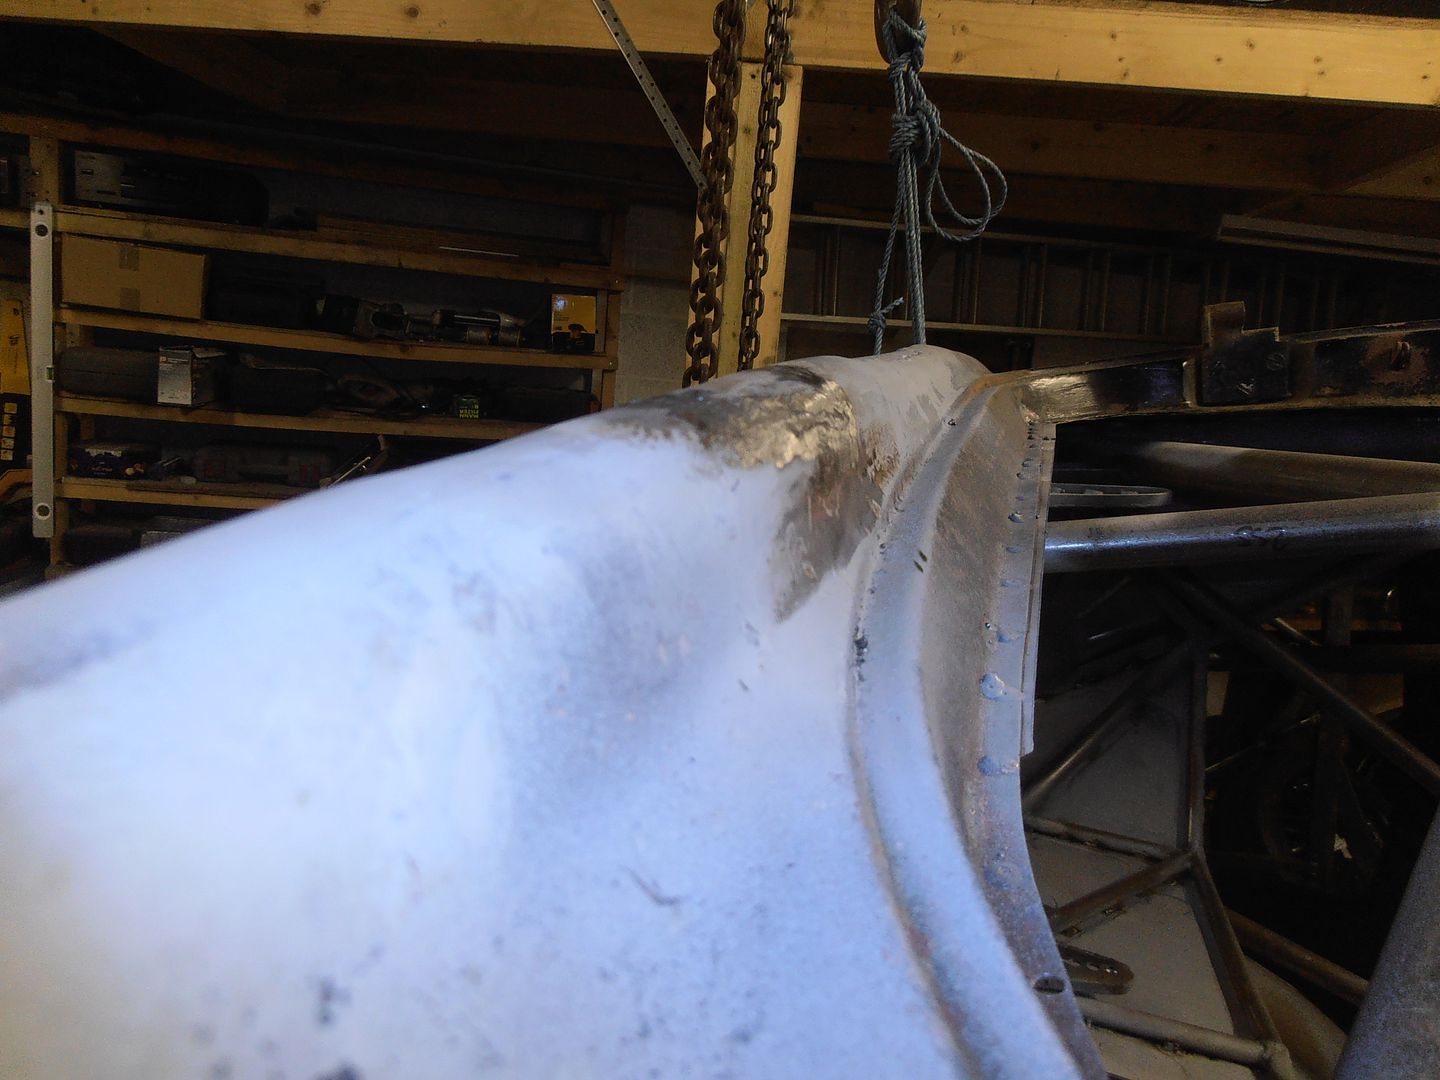 then trimmed back the end of the sill to make the closer panel 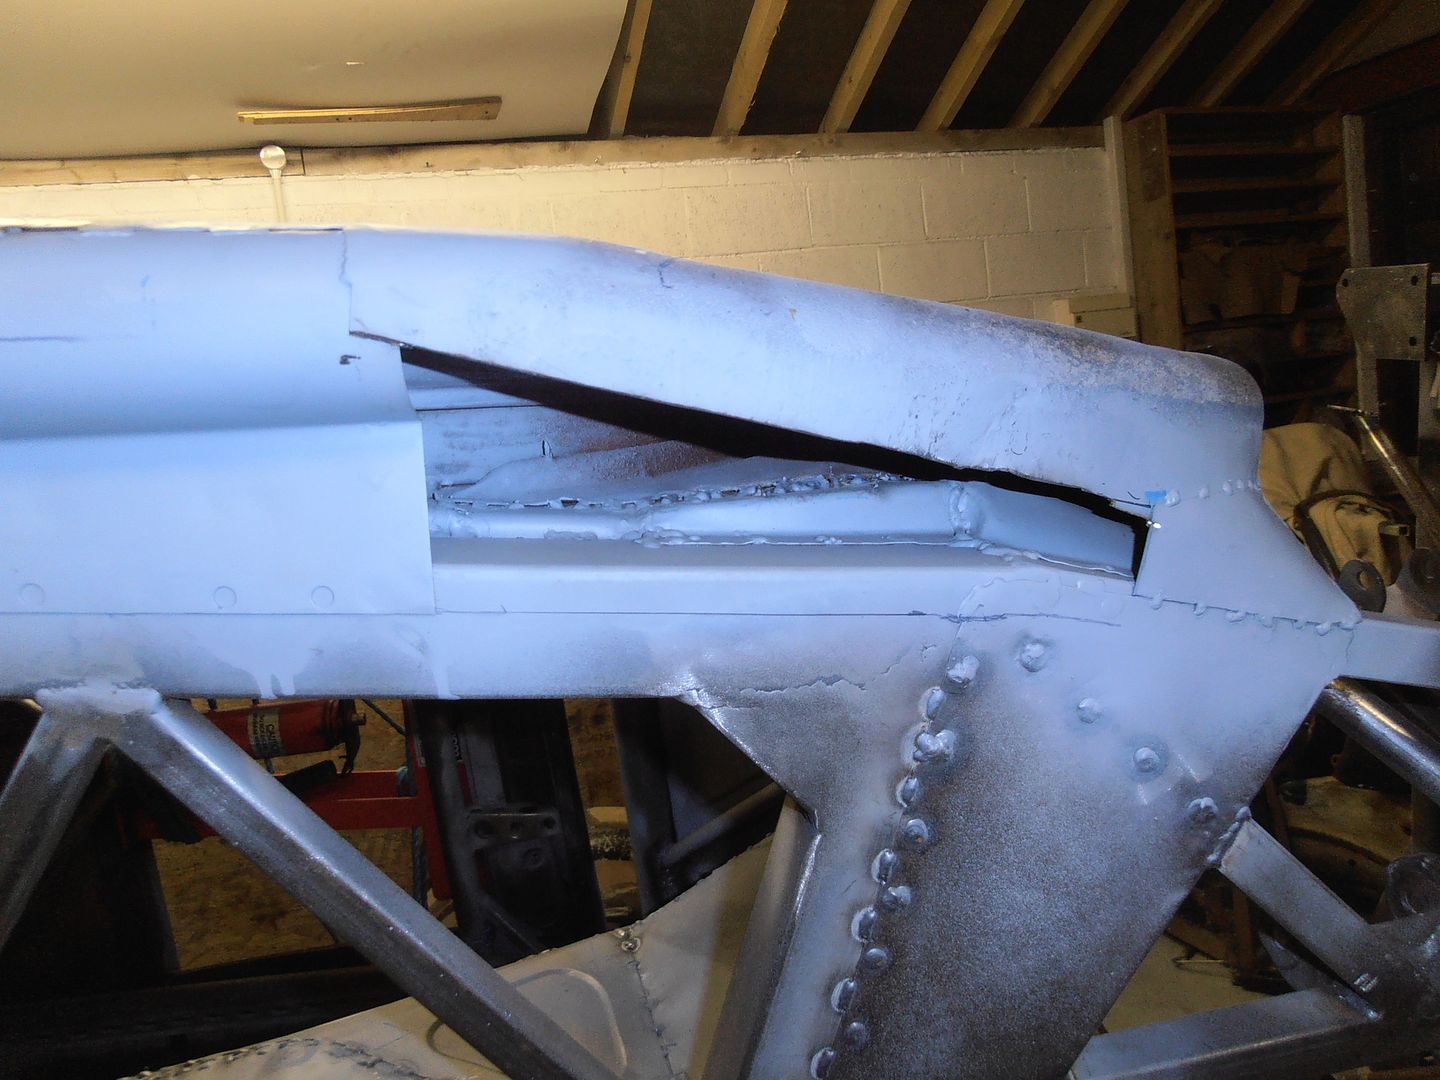 painted the inside with uber primer 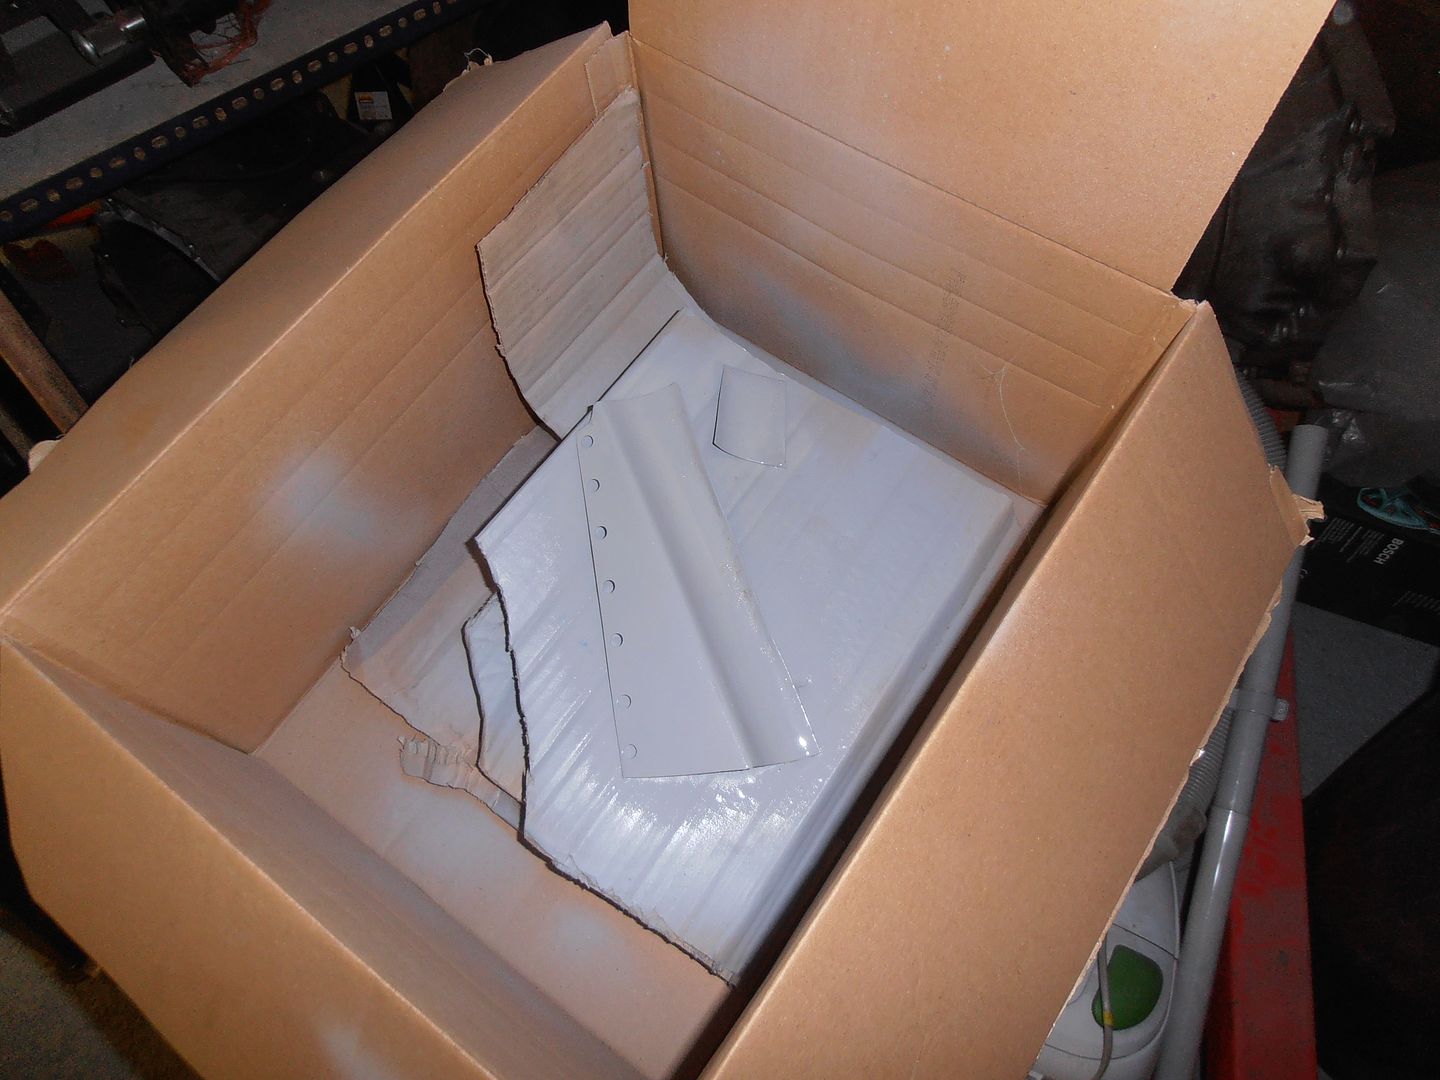 rough clamped in place 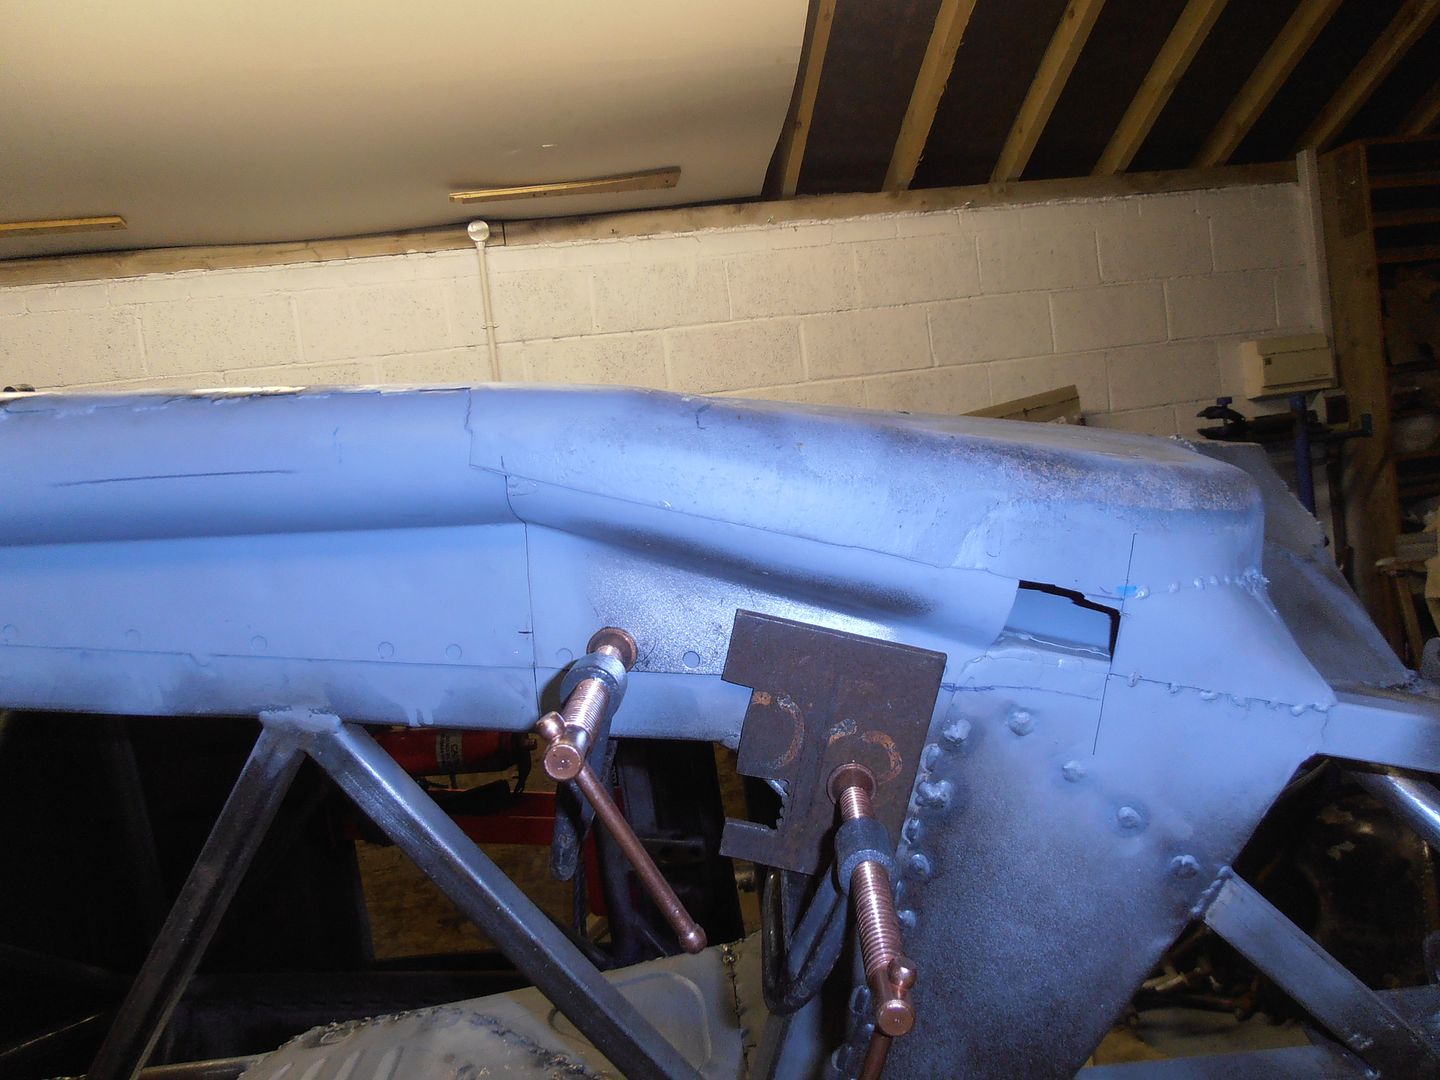 buttoned up 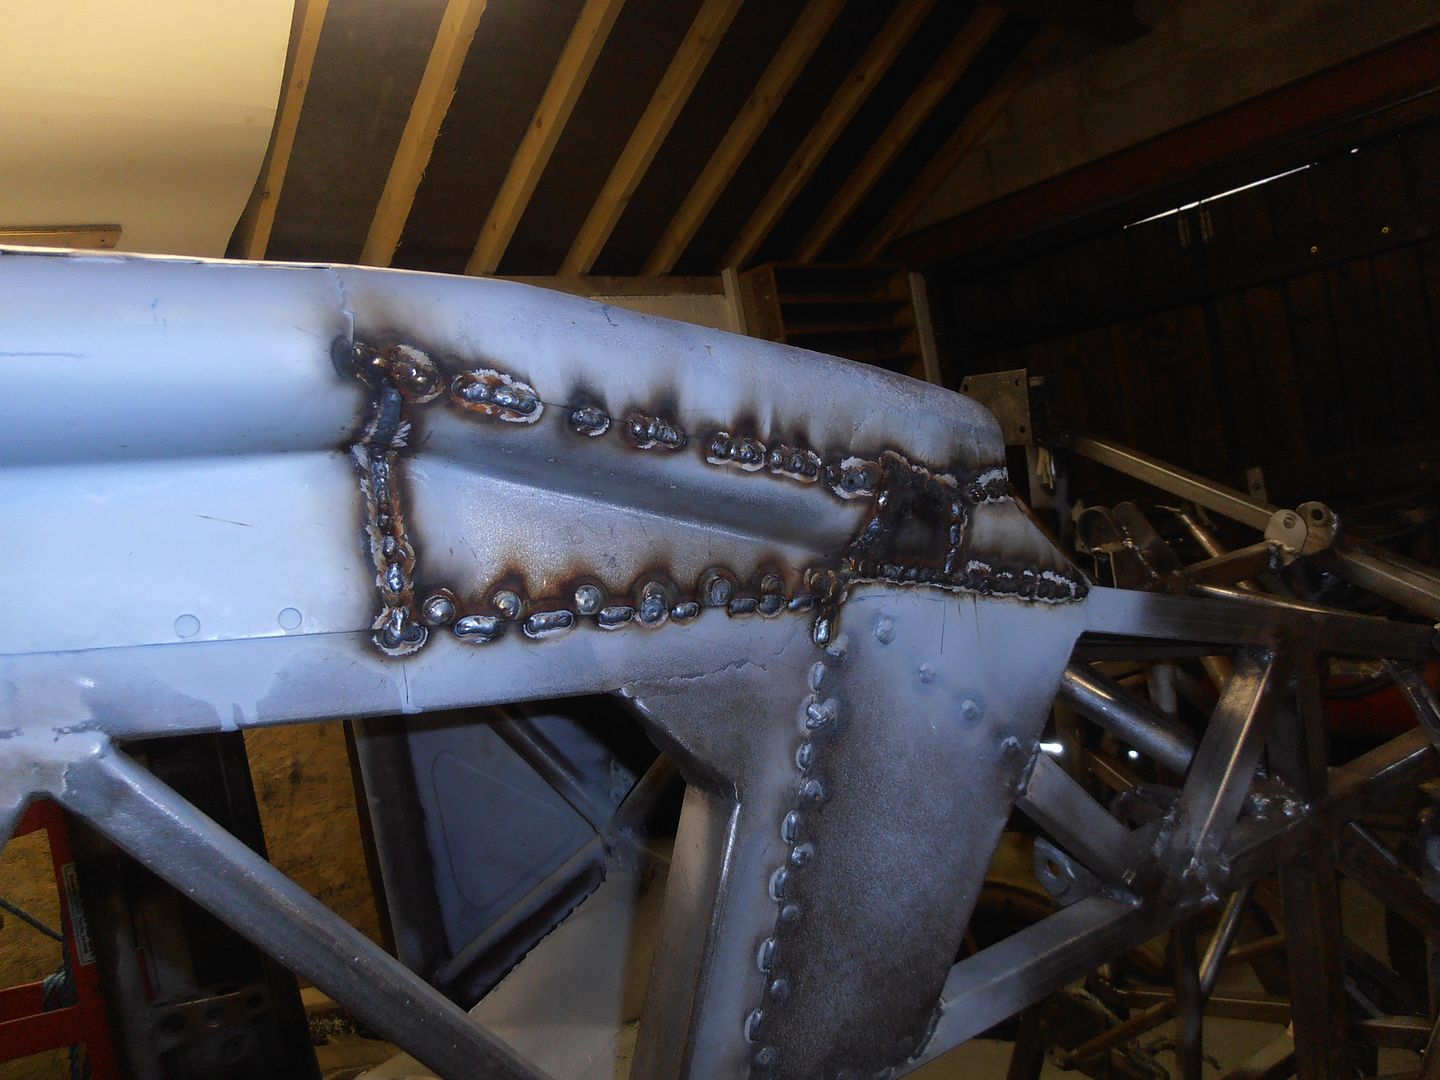 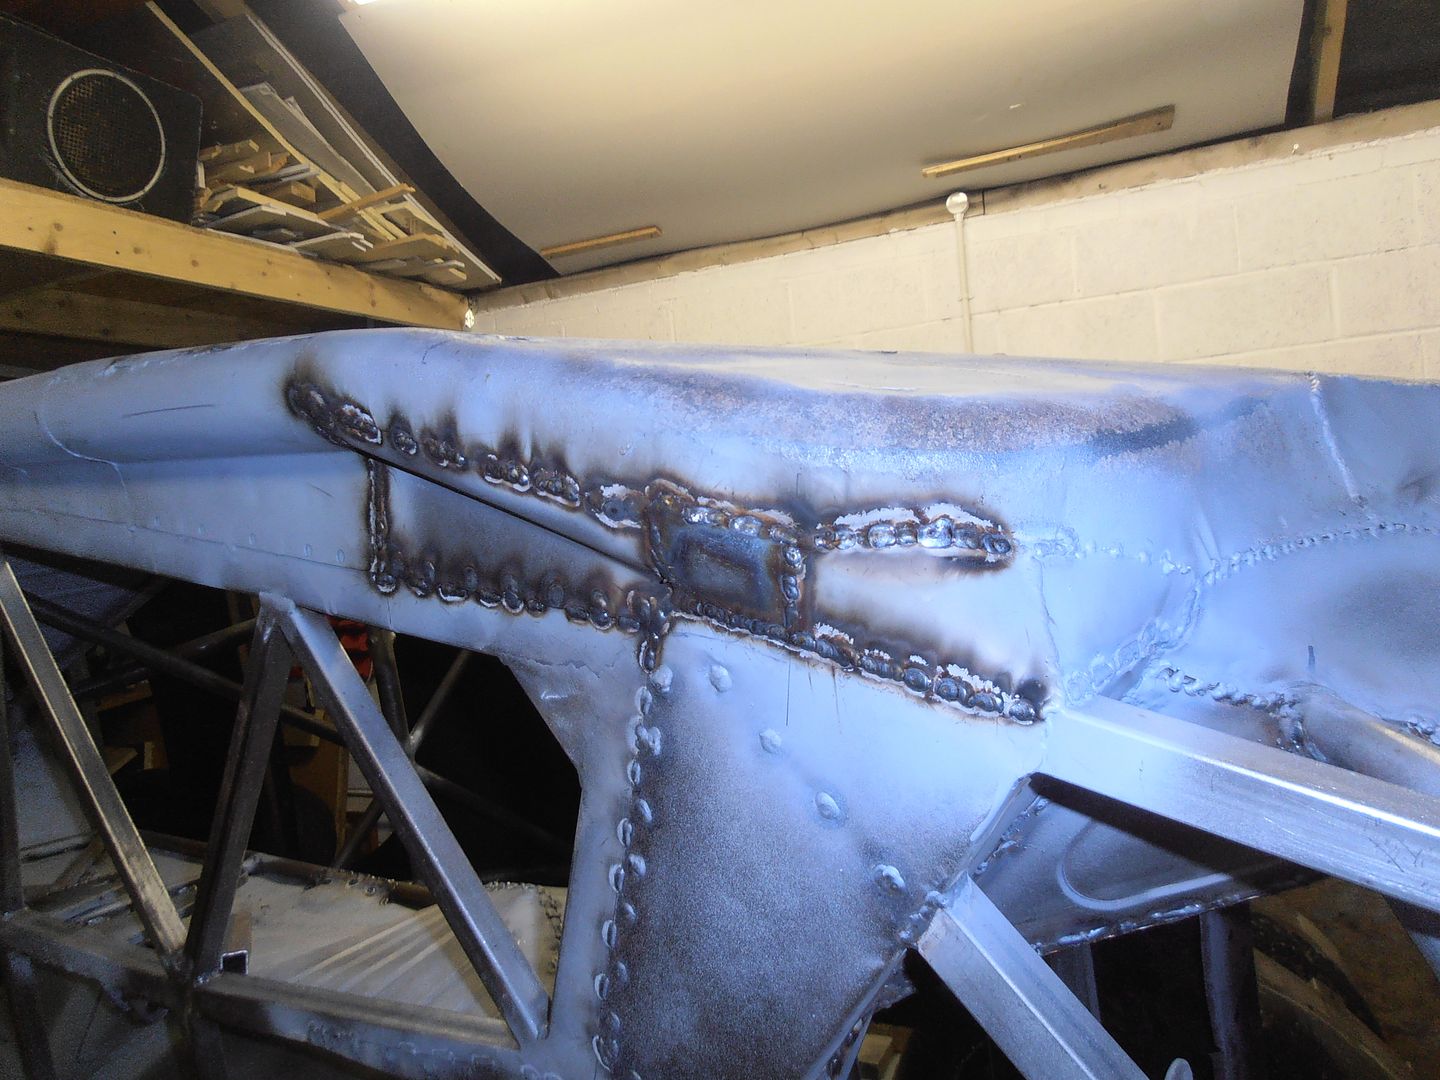 cleaned back a bit 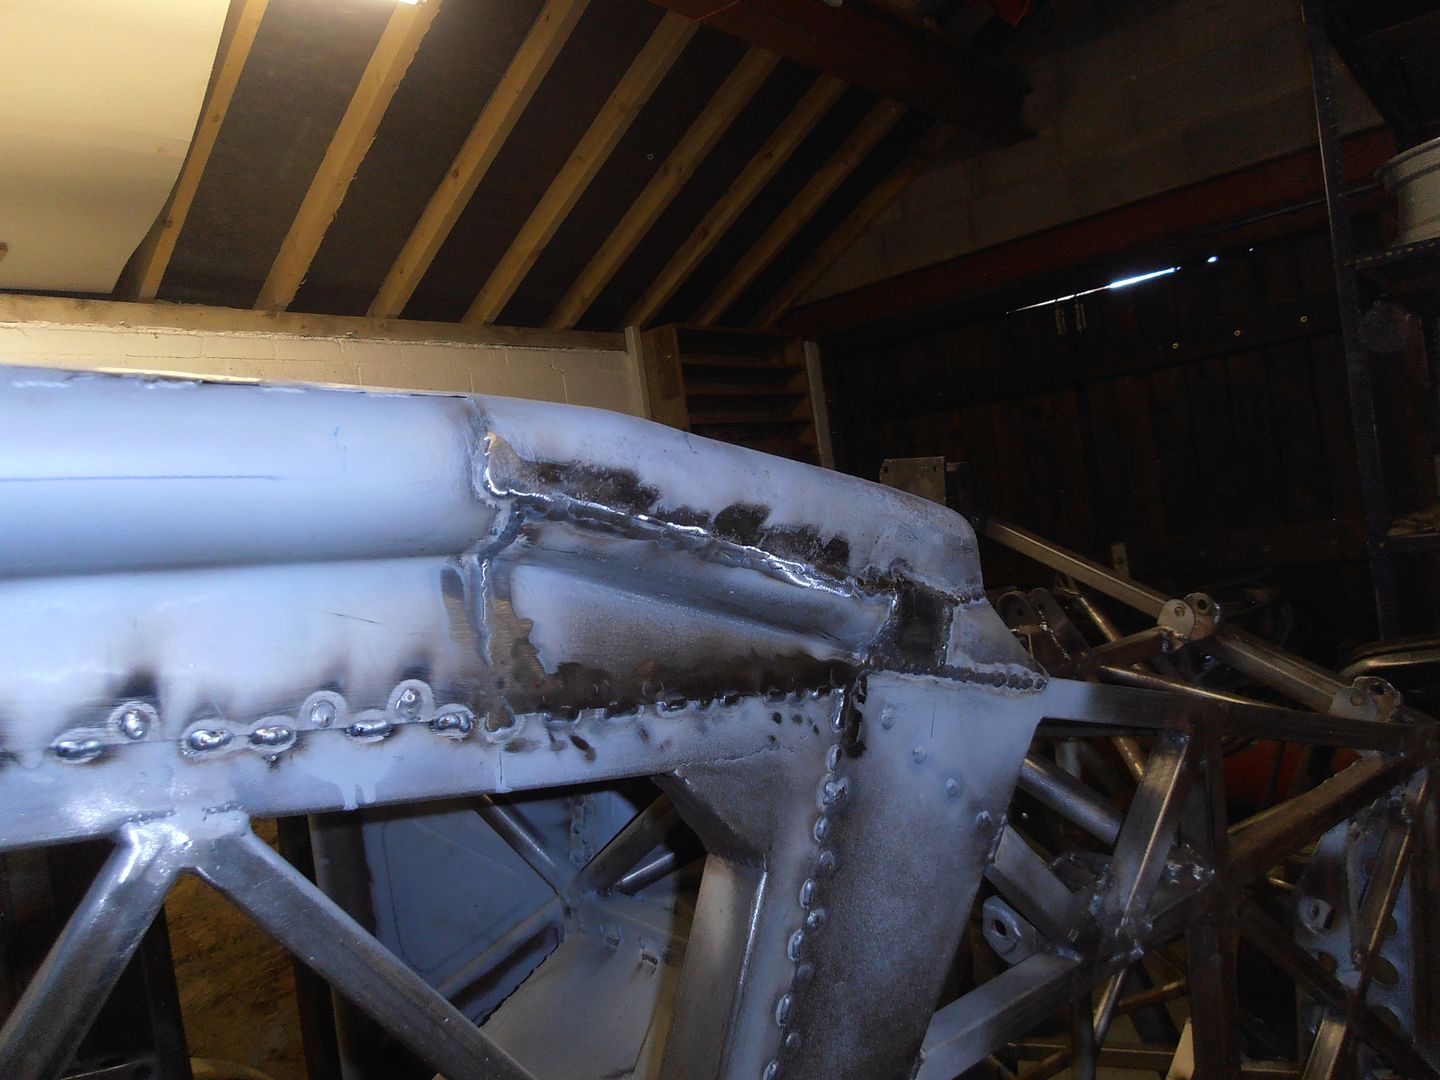 side view 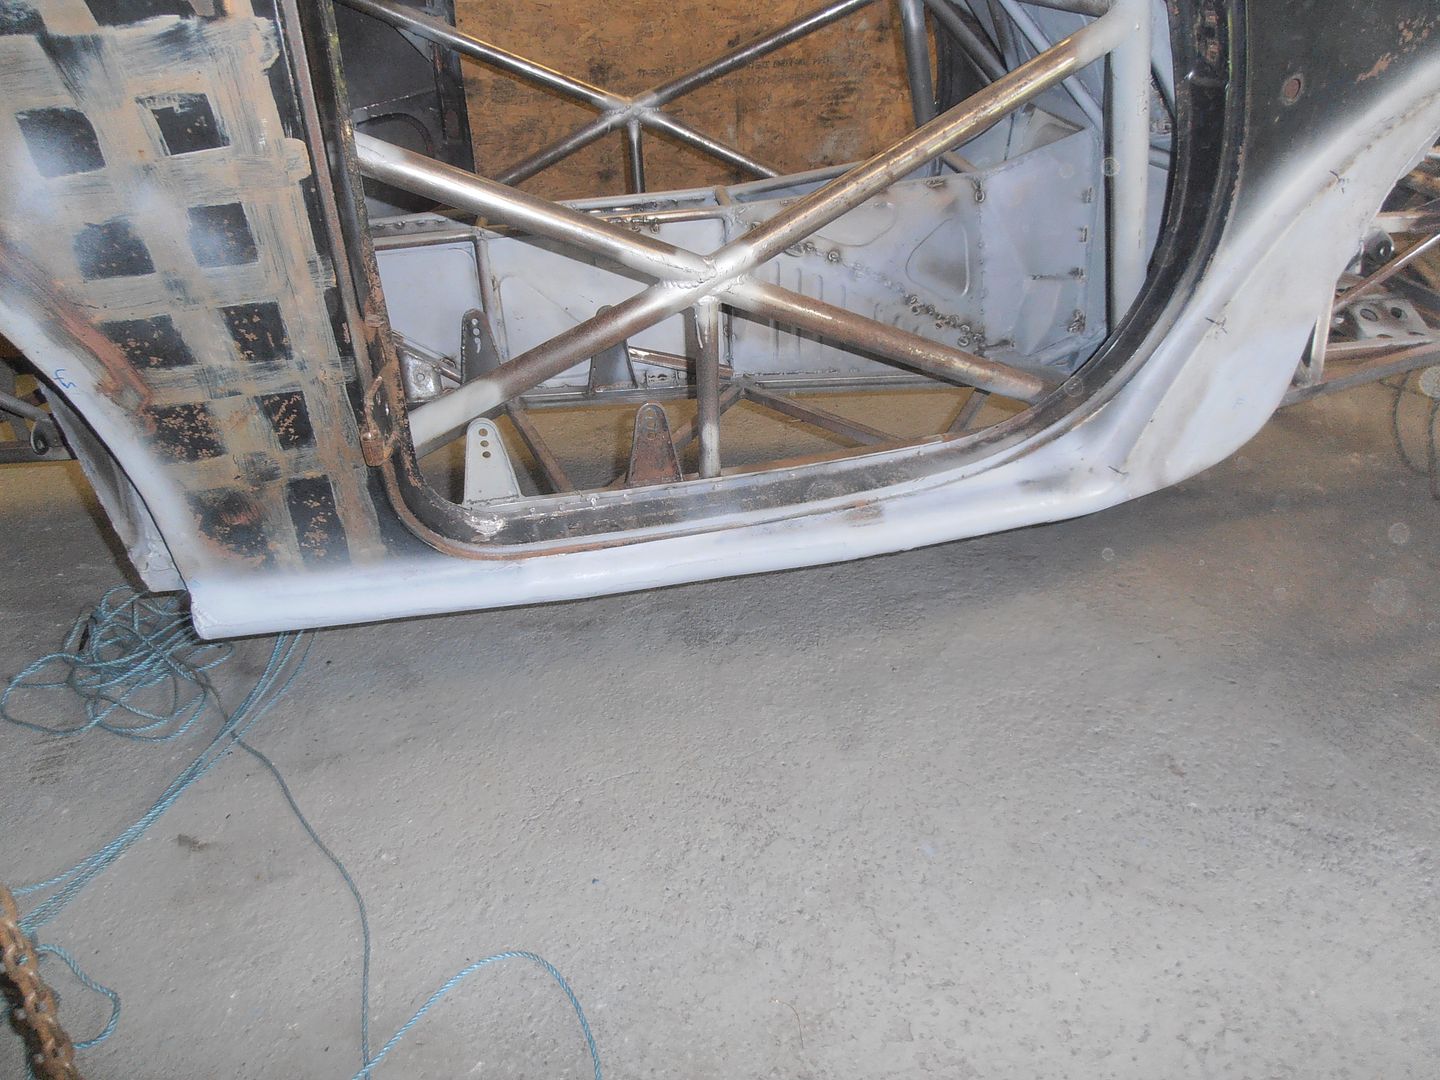 Under view 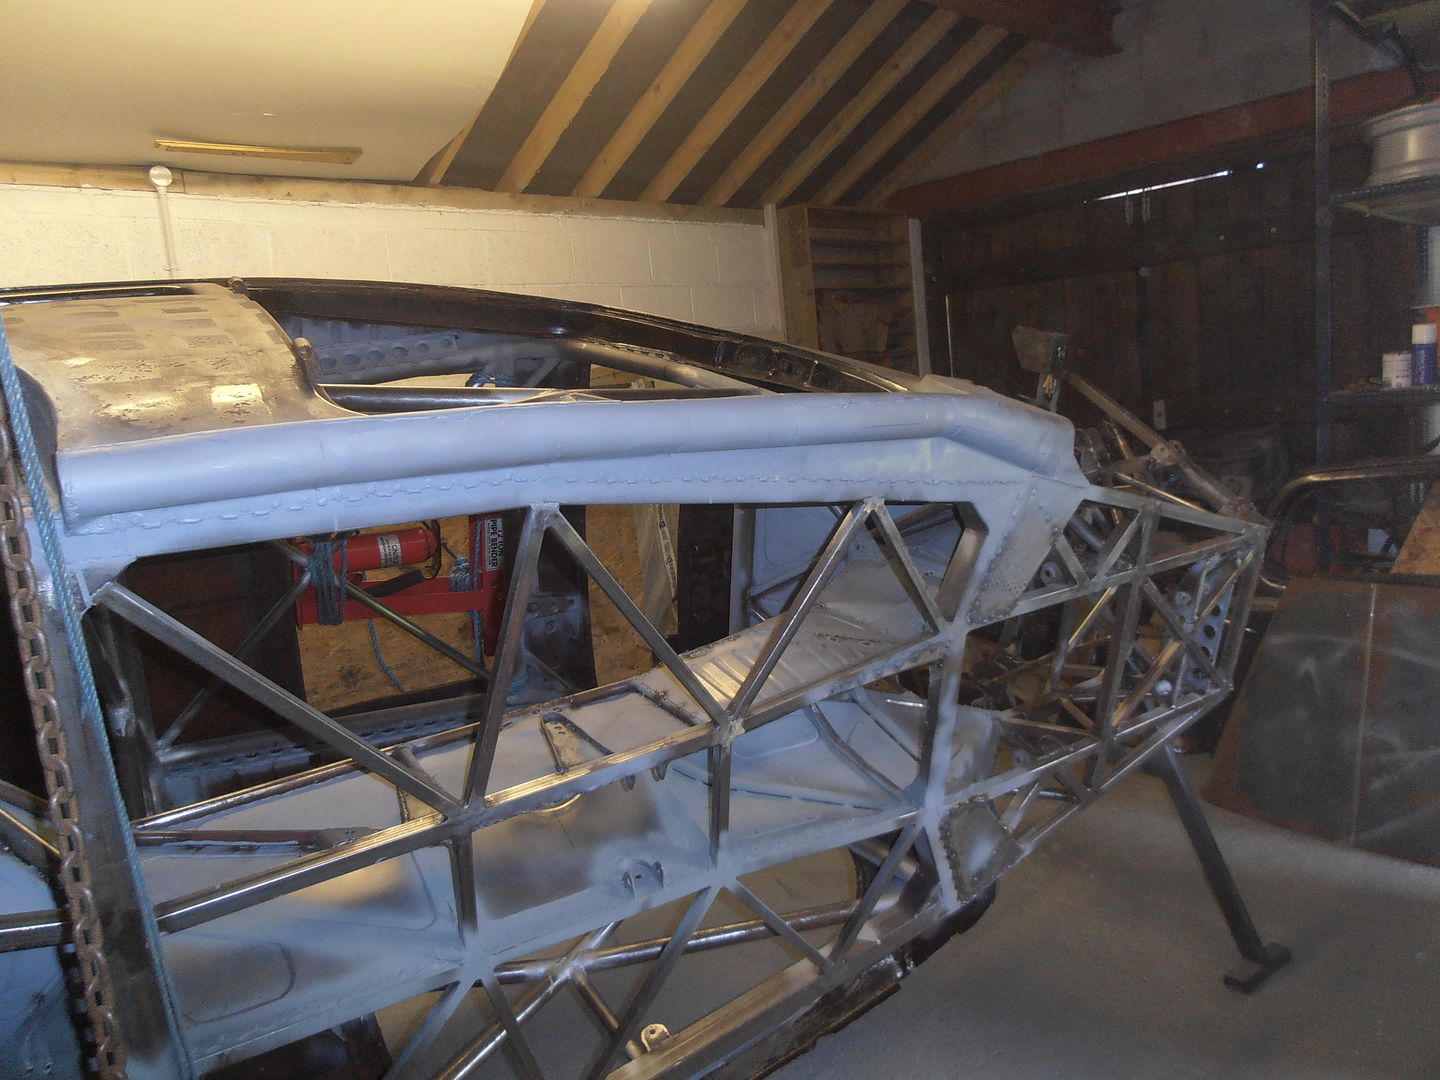 Now its on to the other side Cut along the previous weld points to start 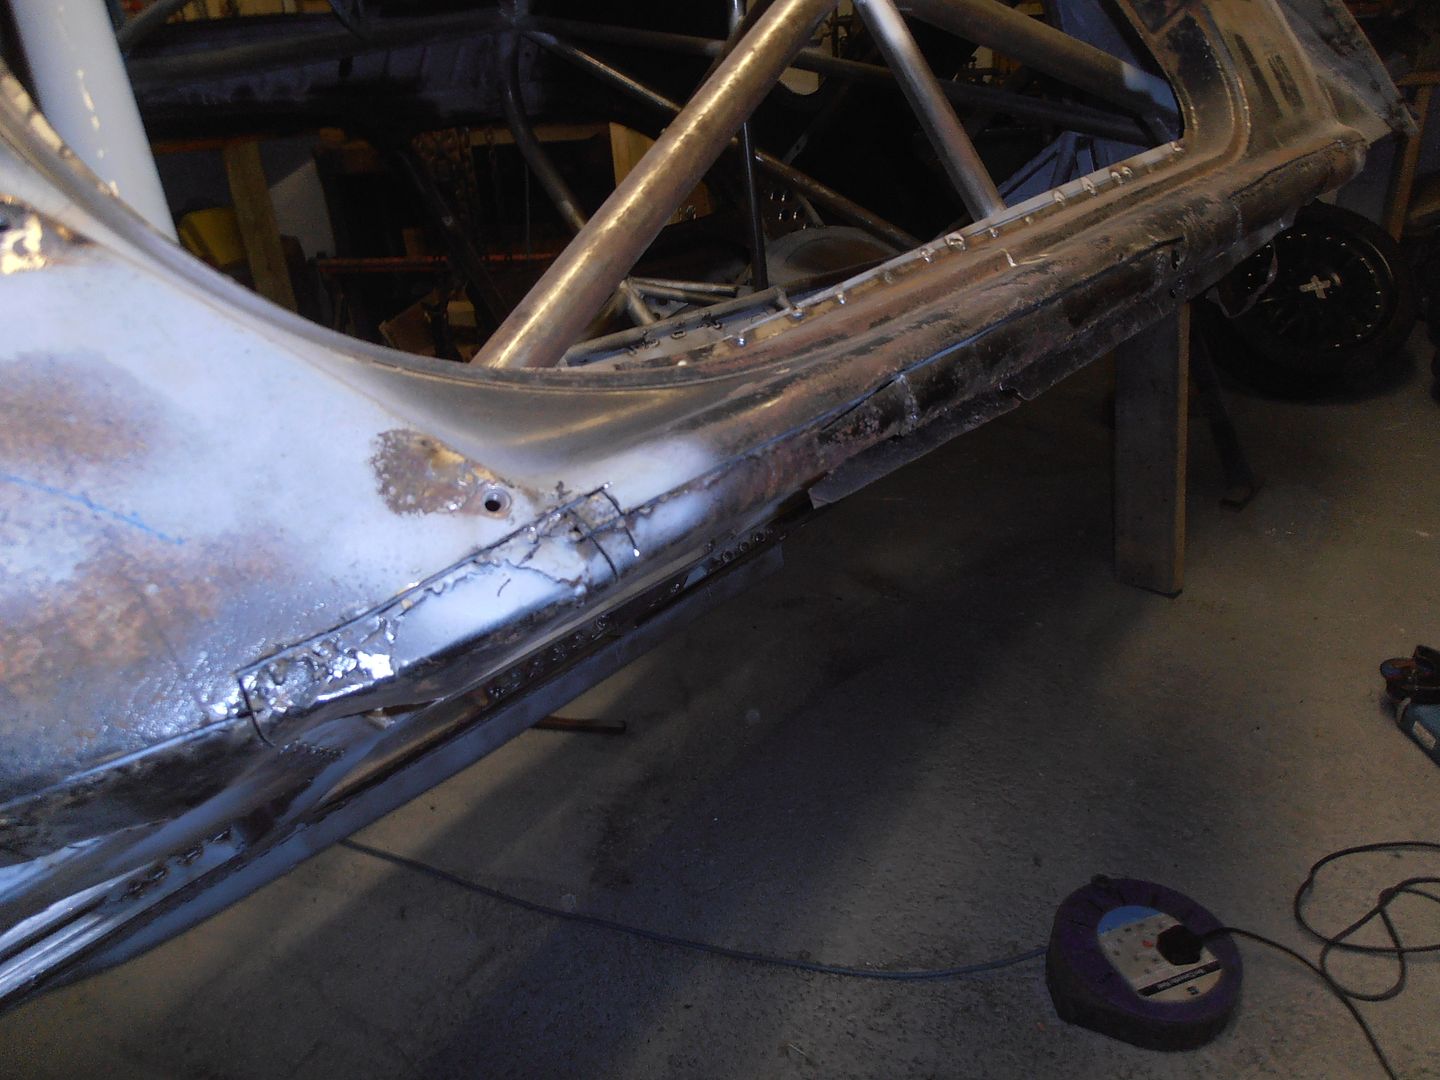 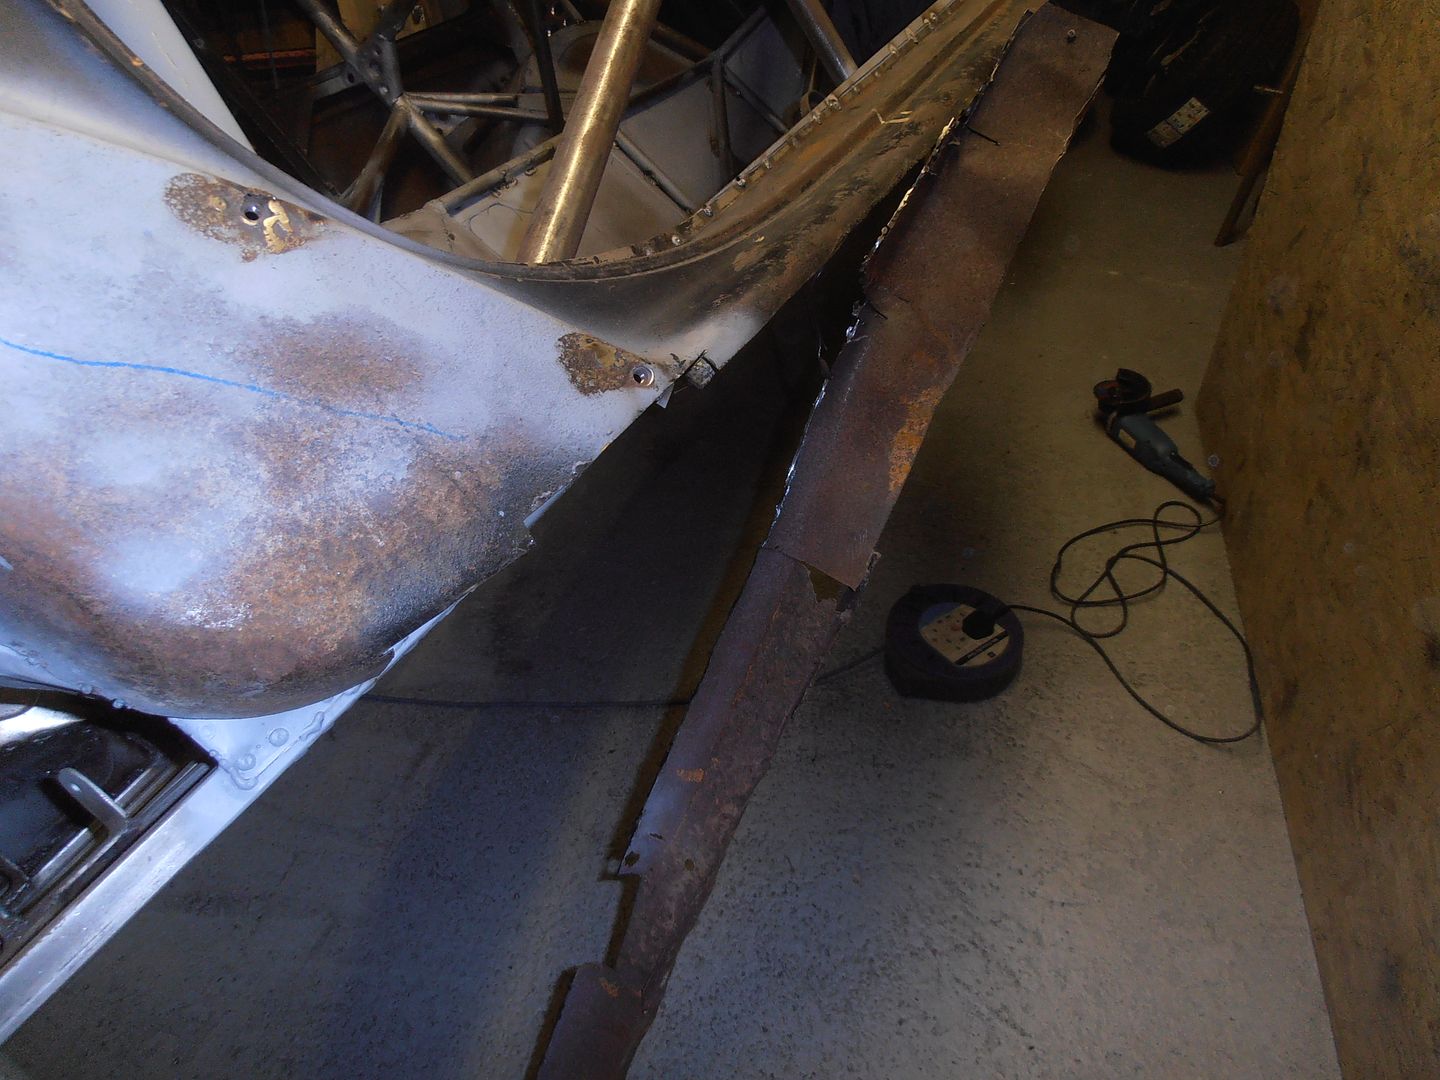 give you a sense of the state of the sills.... 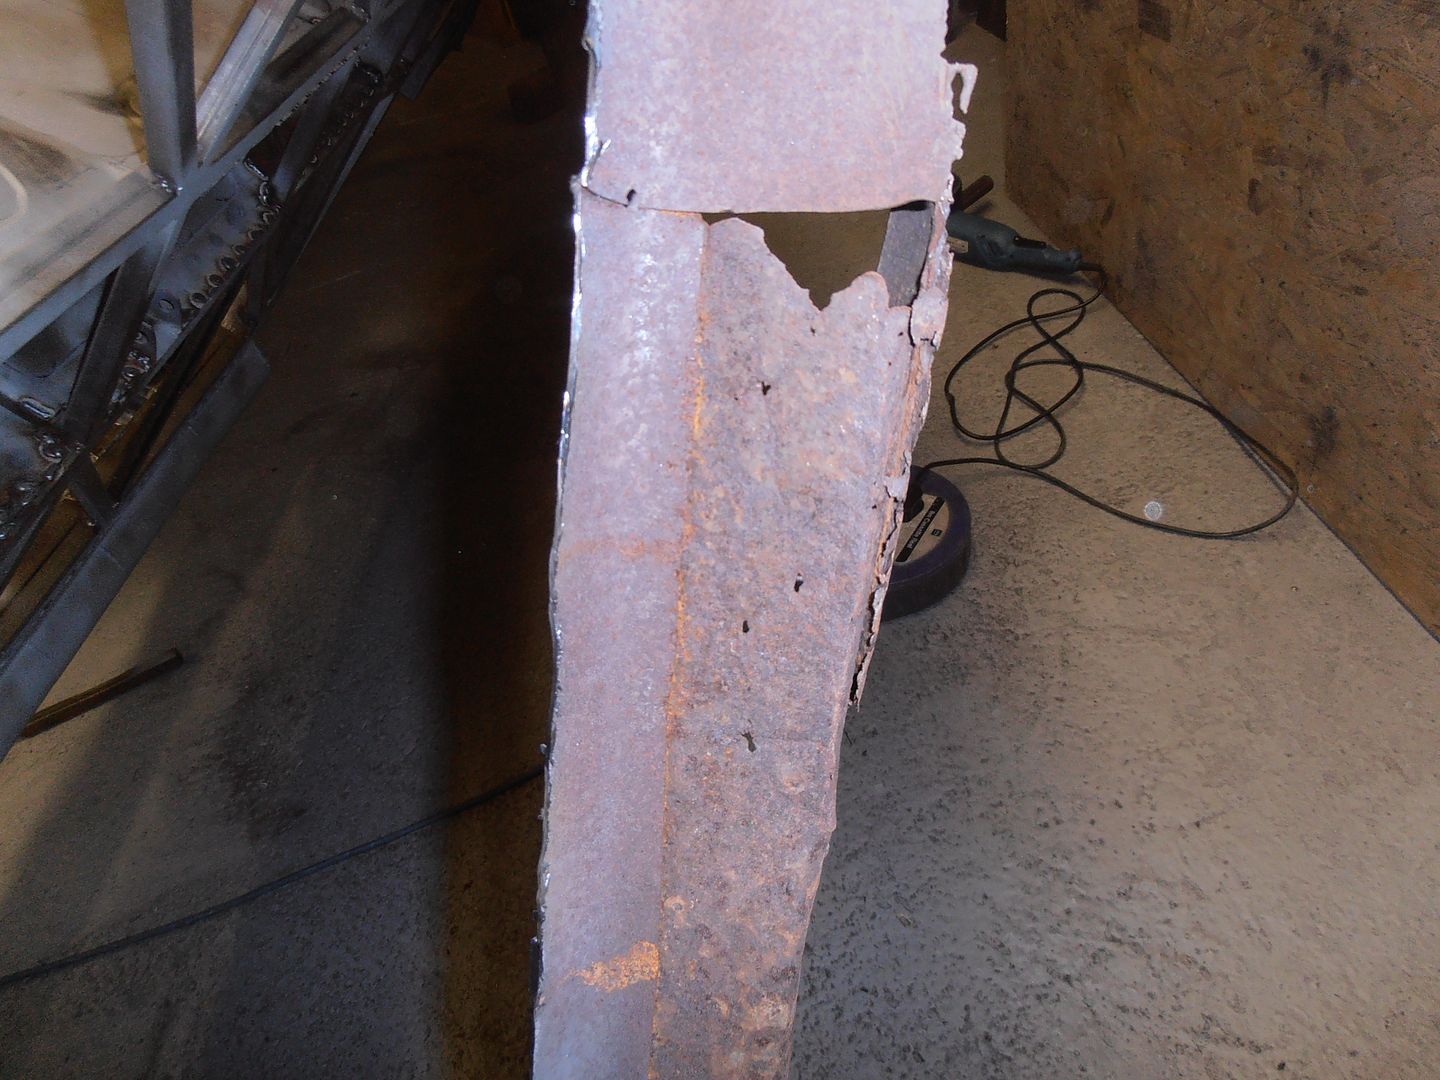 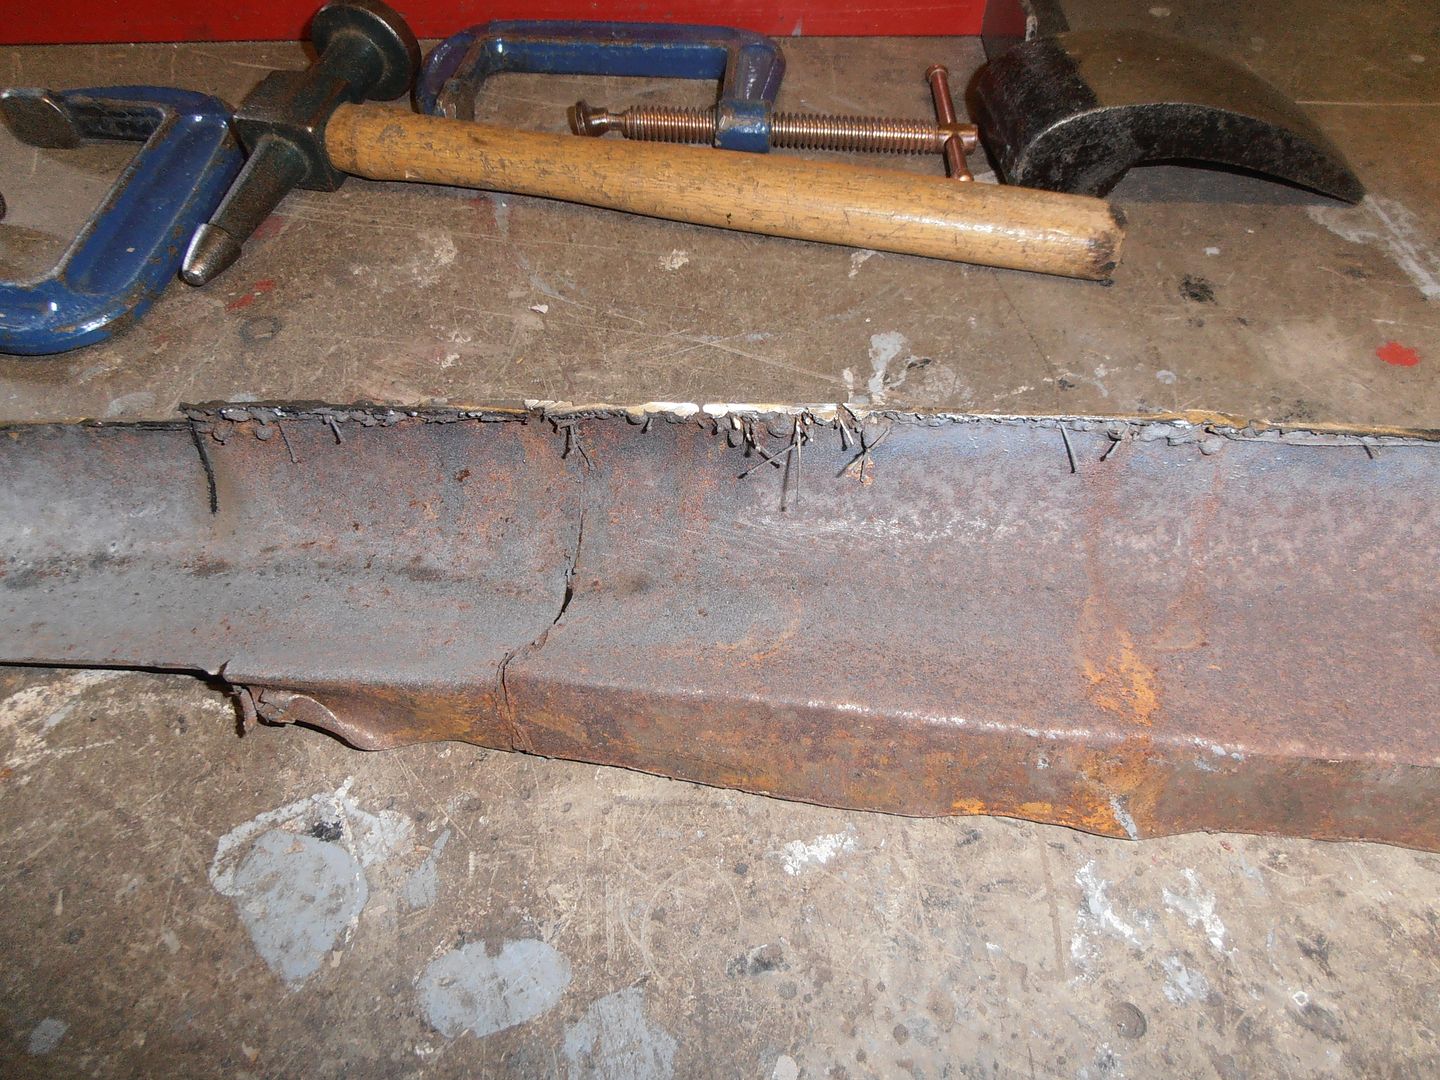 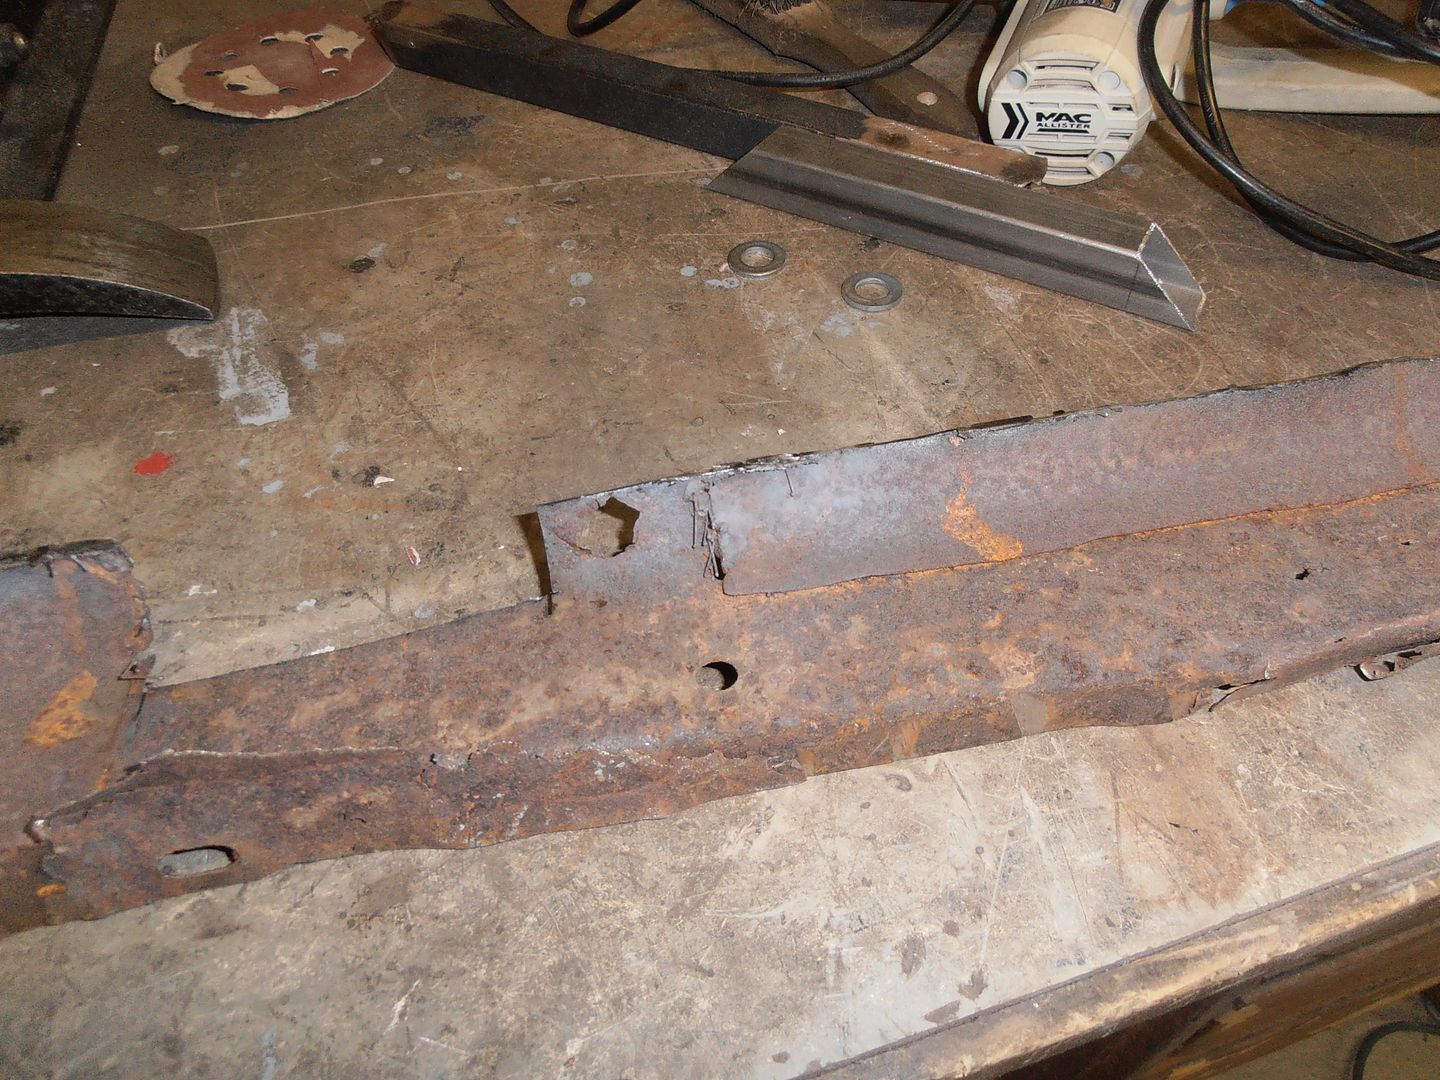 there wasnt much mettle left in some of the bits that were being retained.... 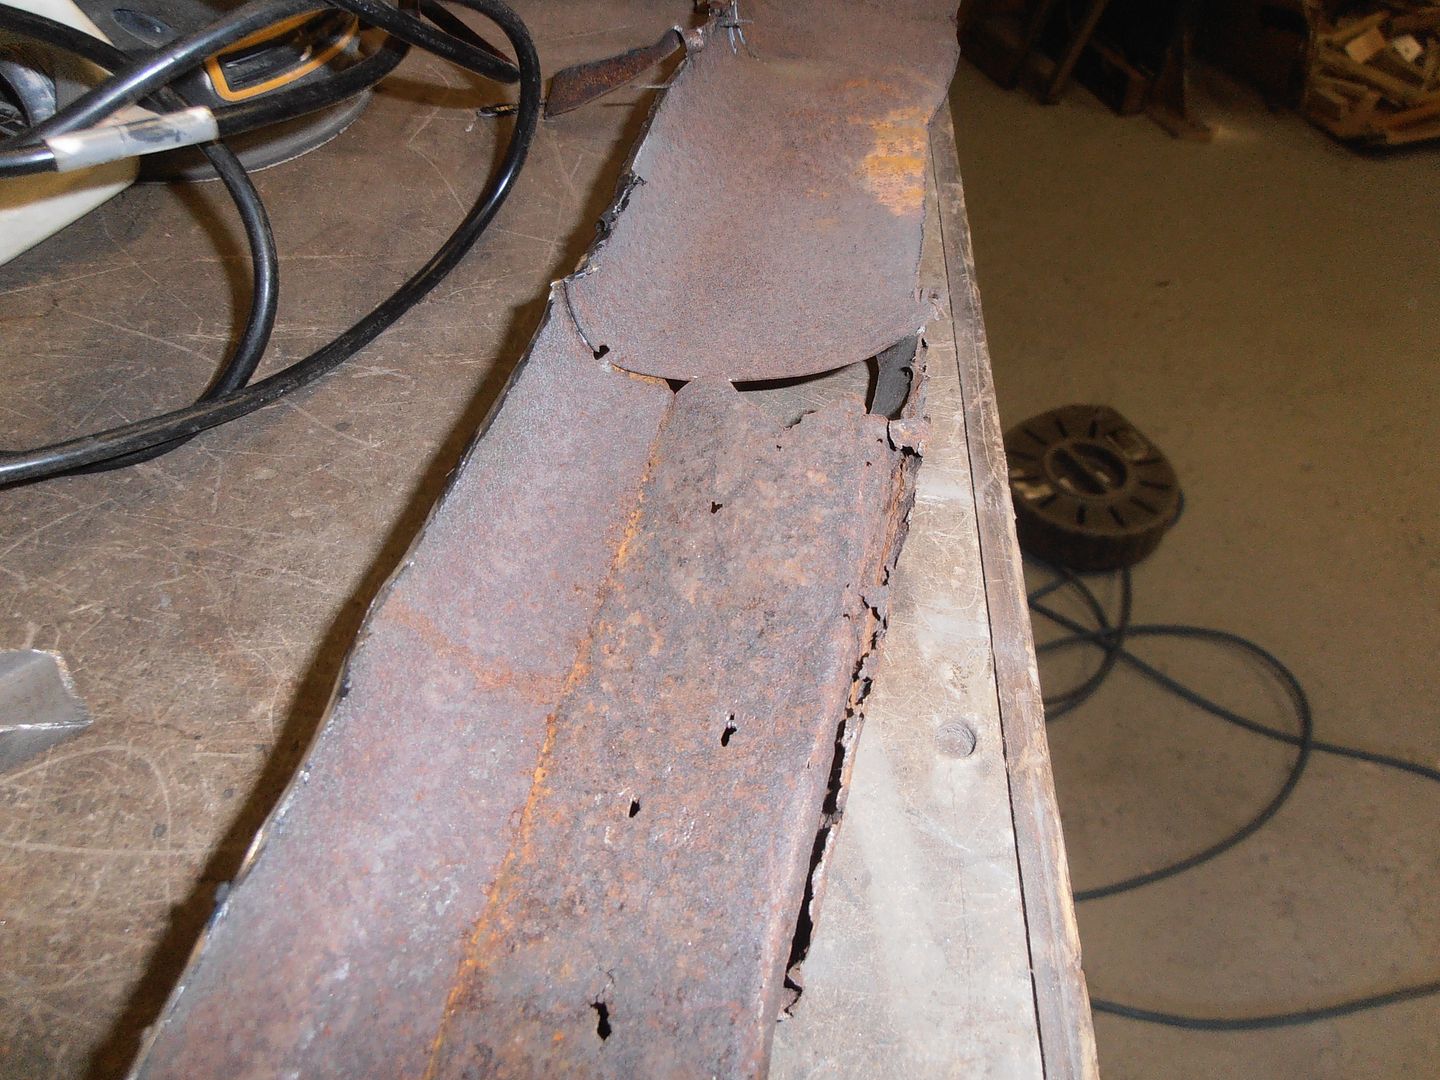 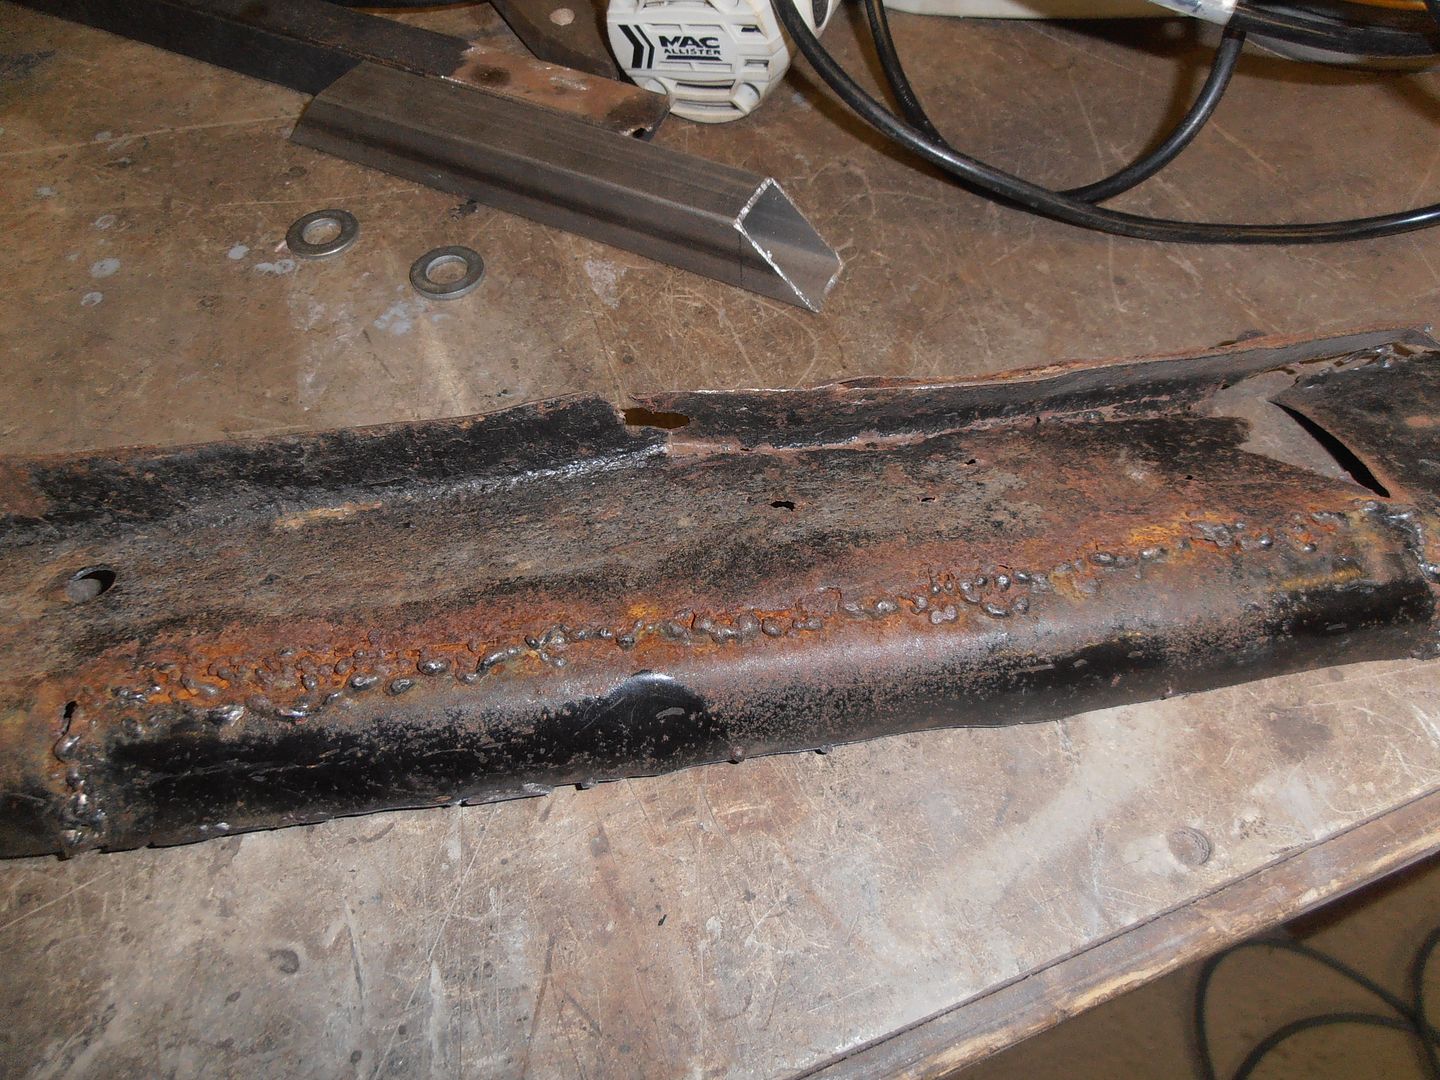 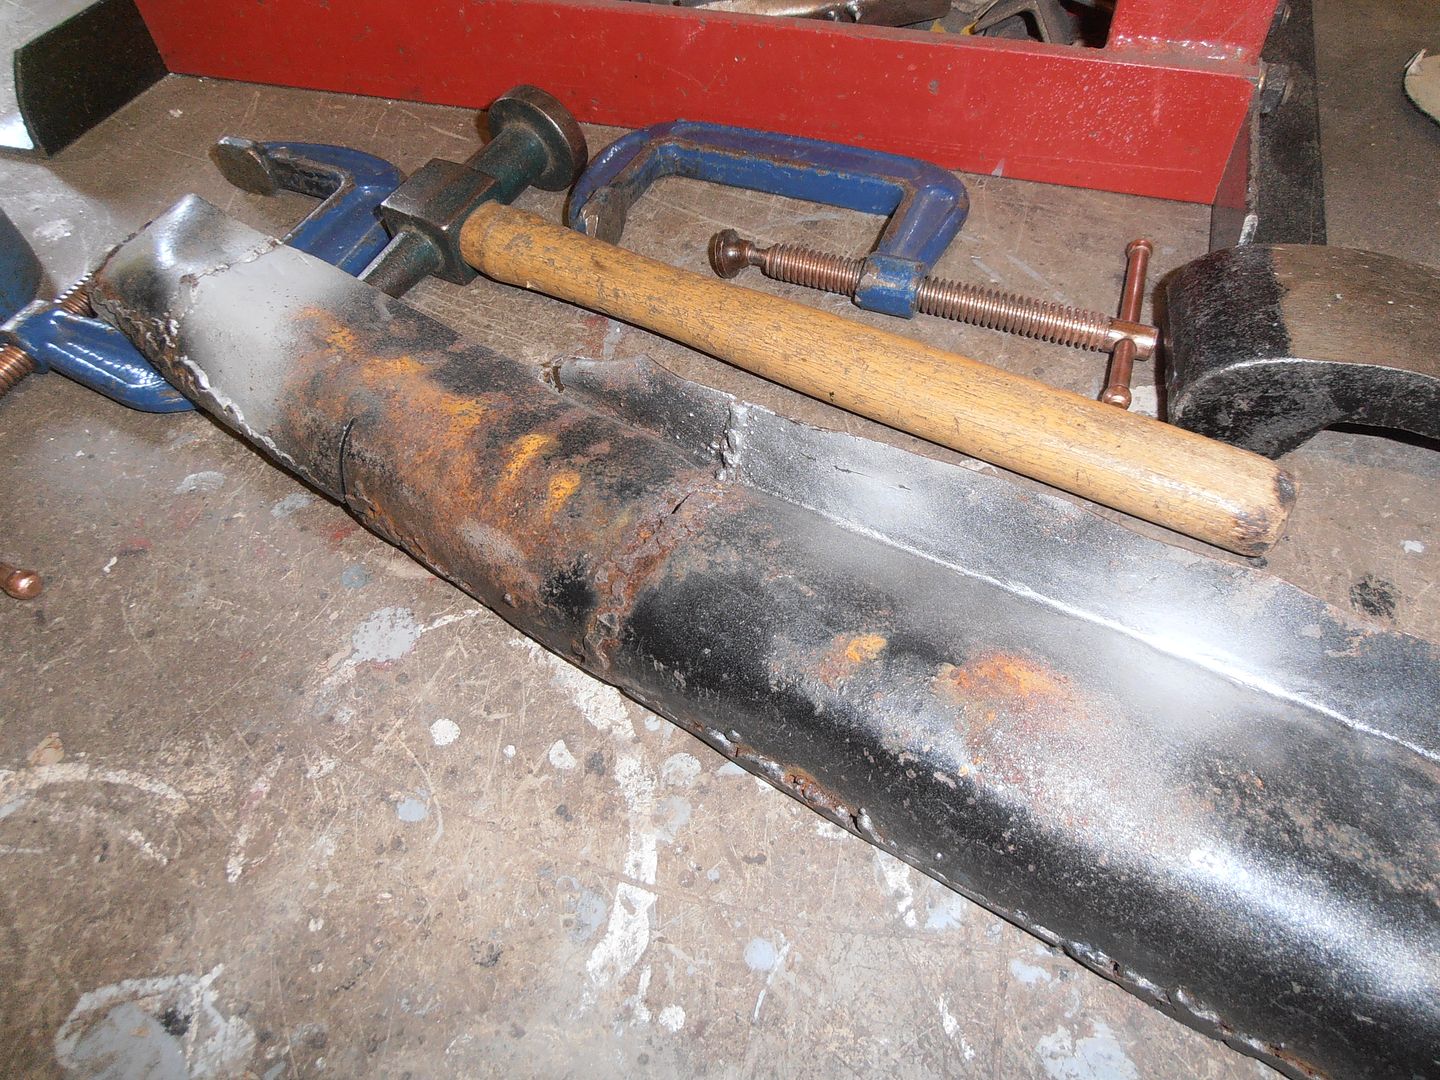 buffed back the inside and lathered on some rust killer 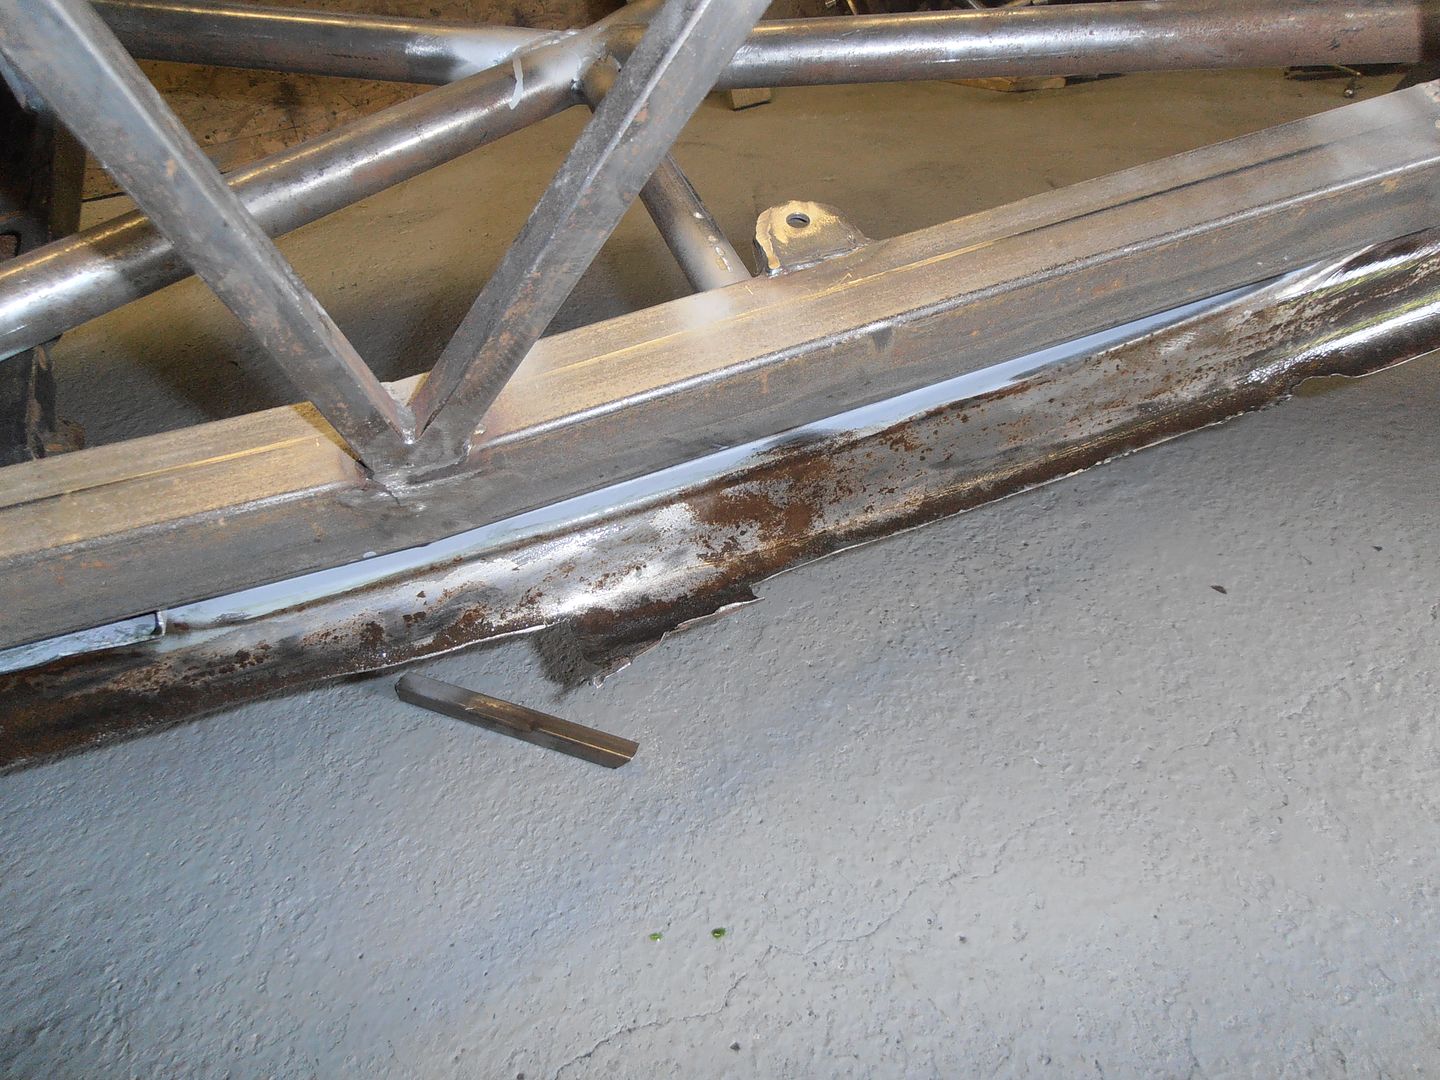  That was it for the weekend. Might be a few weeks till there's any more progress as have some other things on. |
| |
|
|
|
|
jonomisfit
Club Retro Rides Member
Posts: 1,790
Club RR Member Number: 49
|
|
Aug 21, 2016 16:38:21 GMT
|
cleaned off the rust killer and gave everything a clean up and a lick of zinc primer. 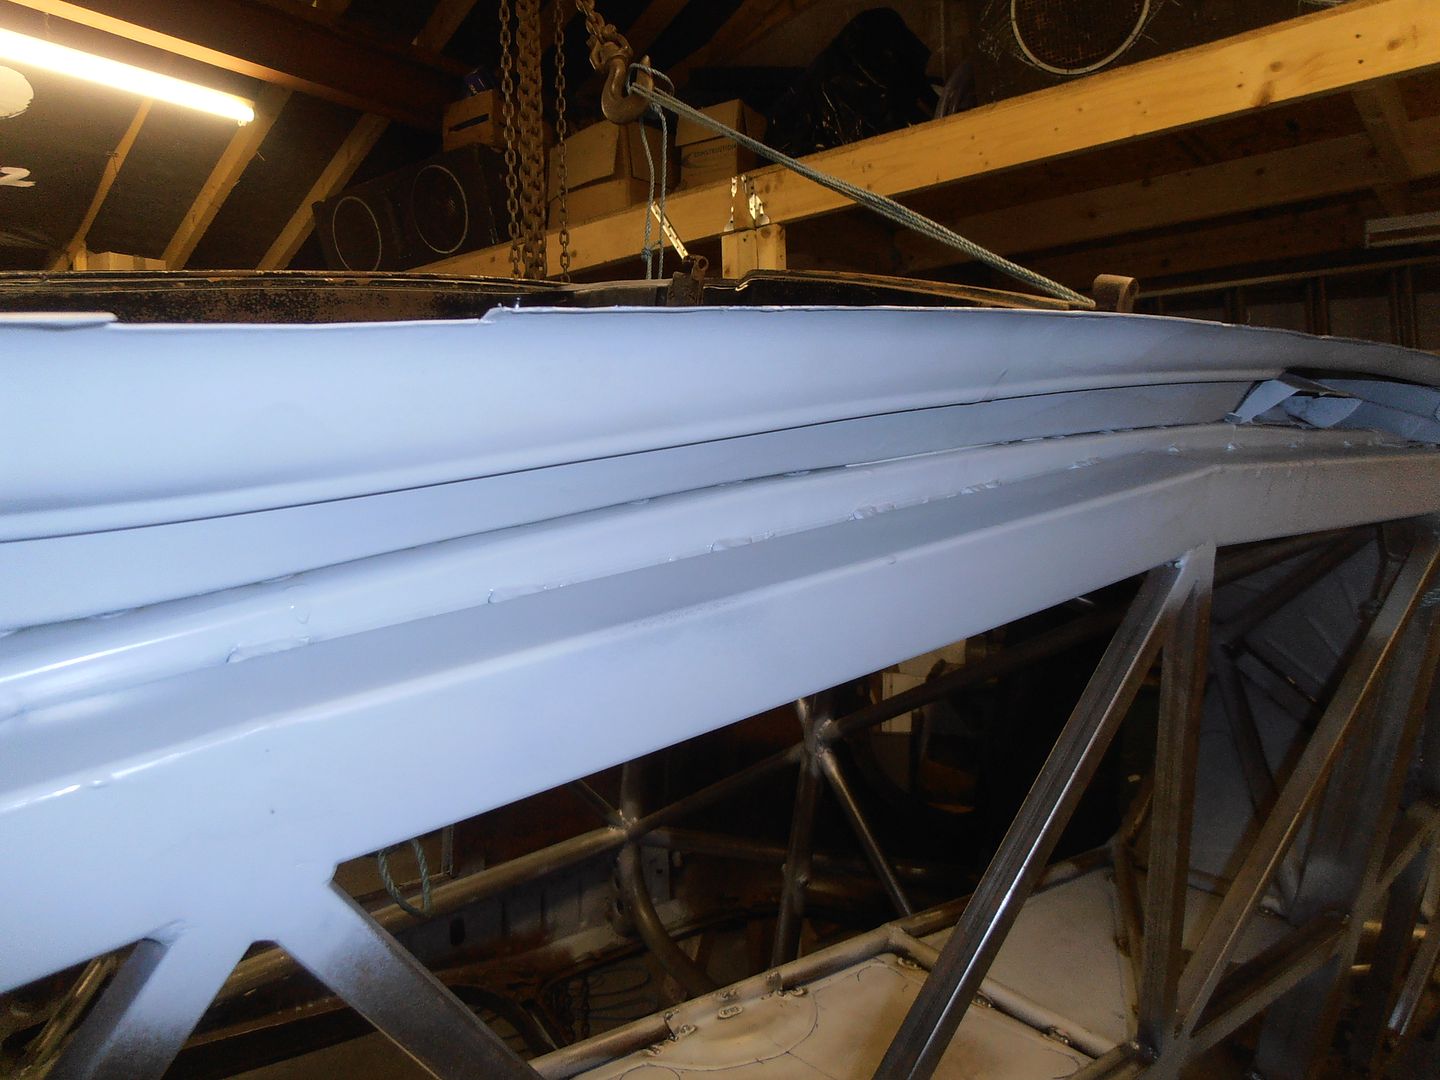 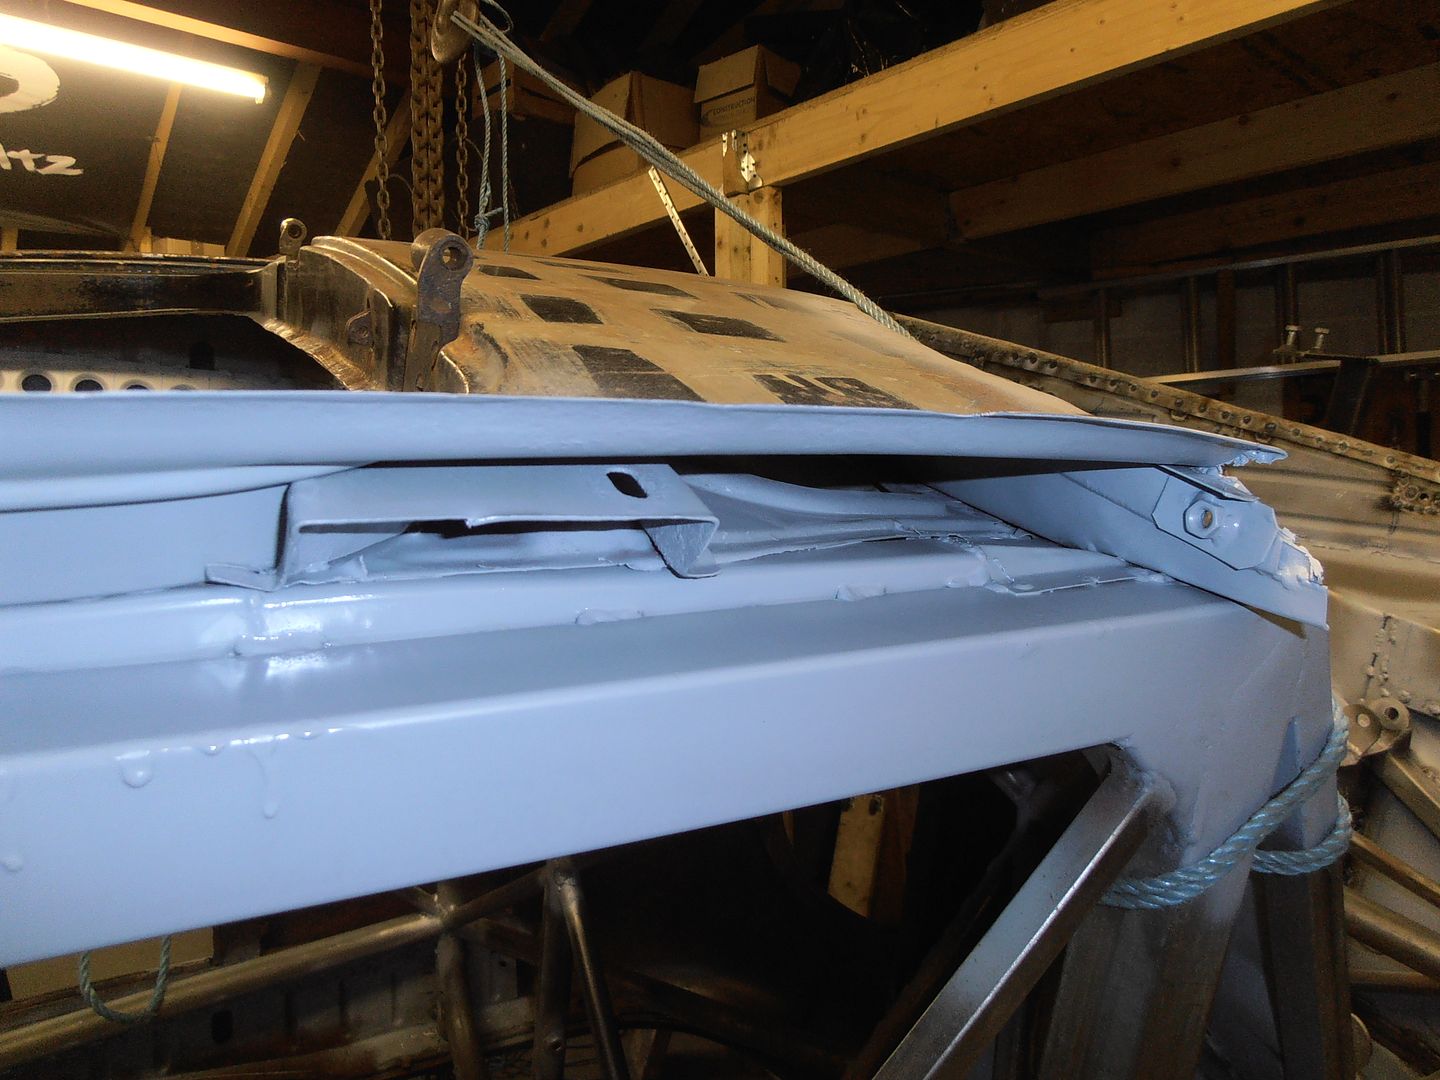 then onto making a cap up for the bottom of the B pillar 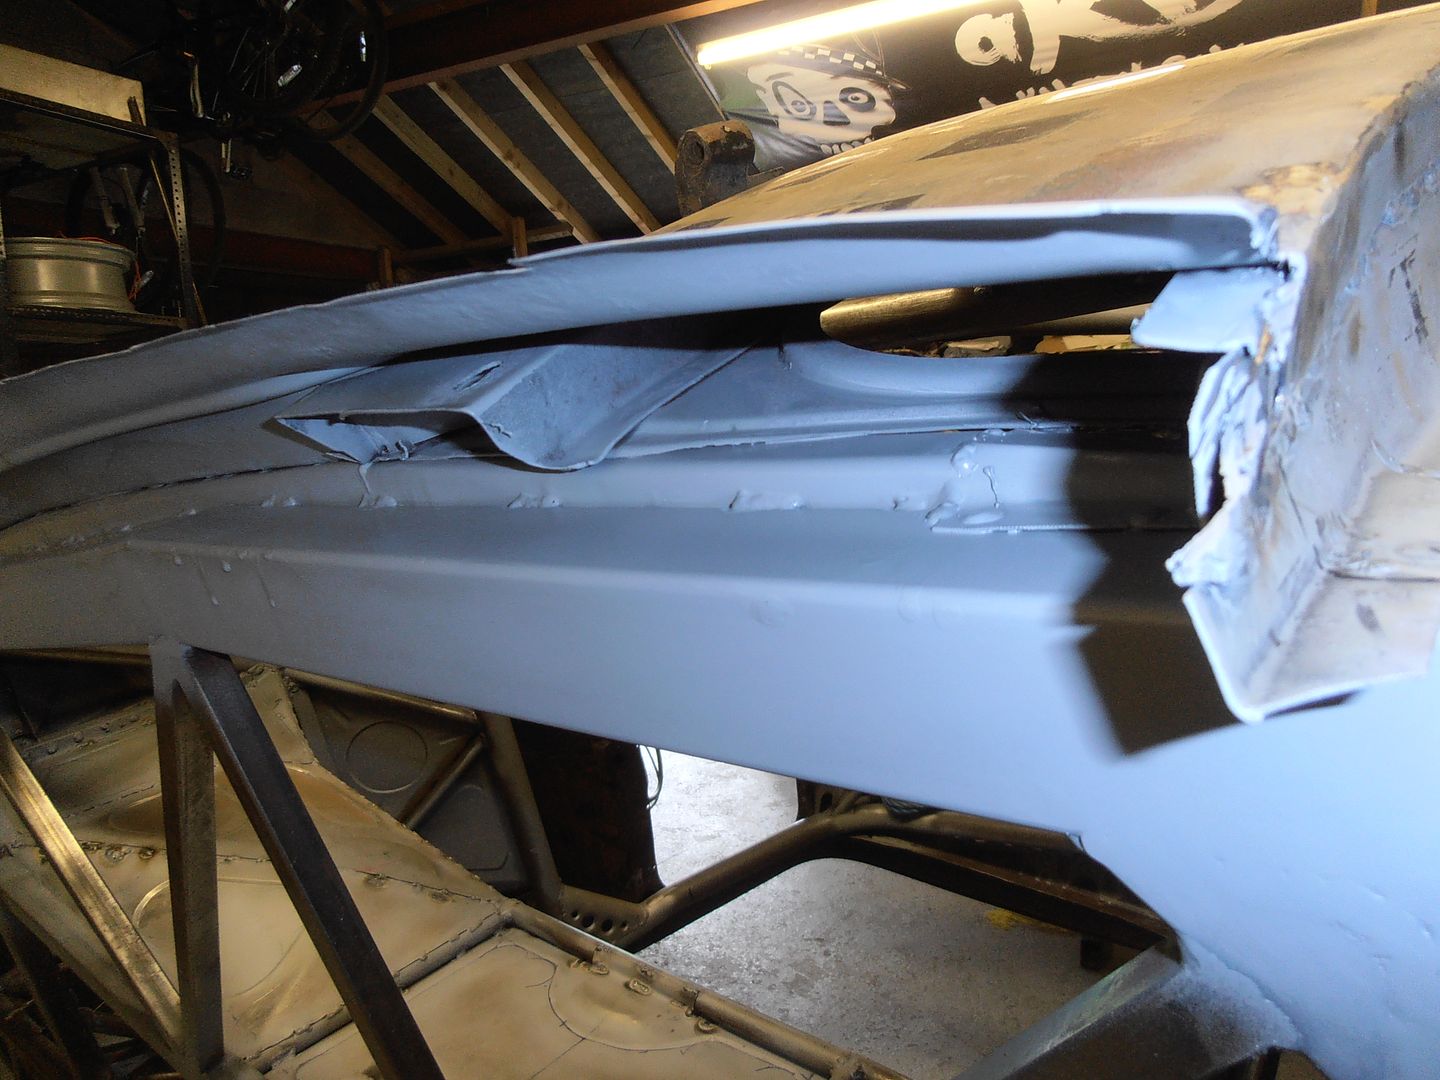 welded in 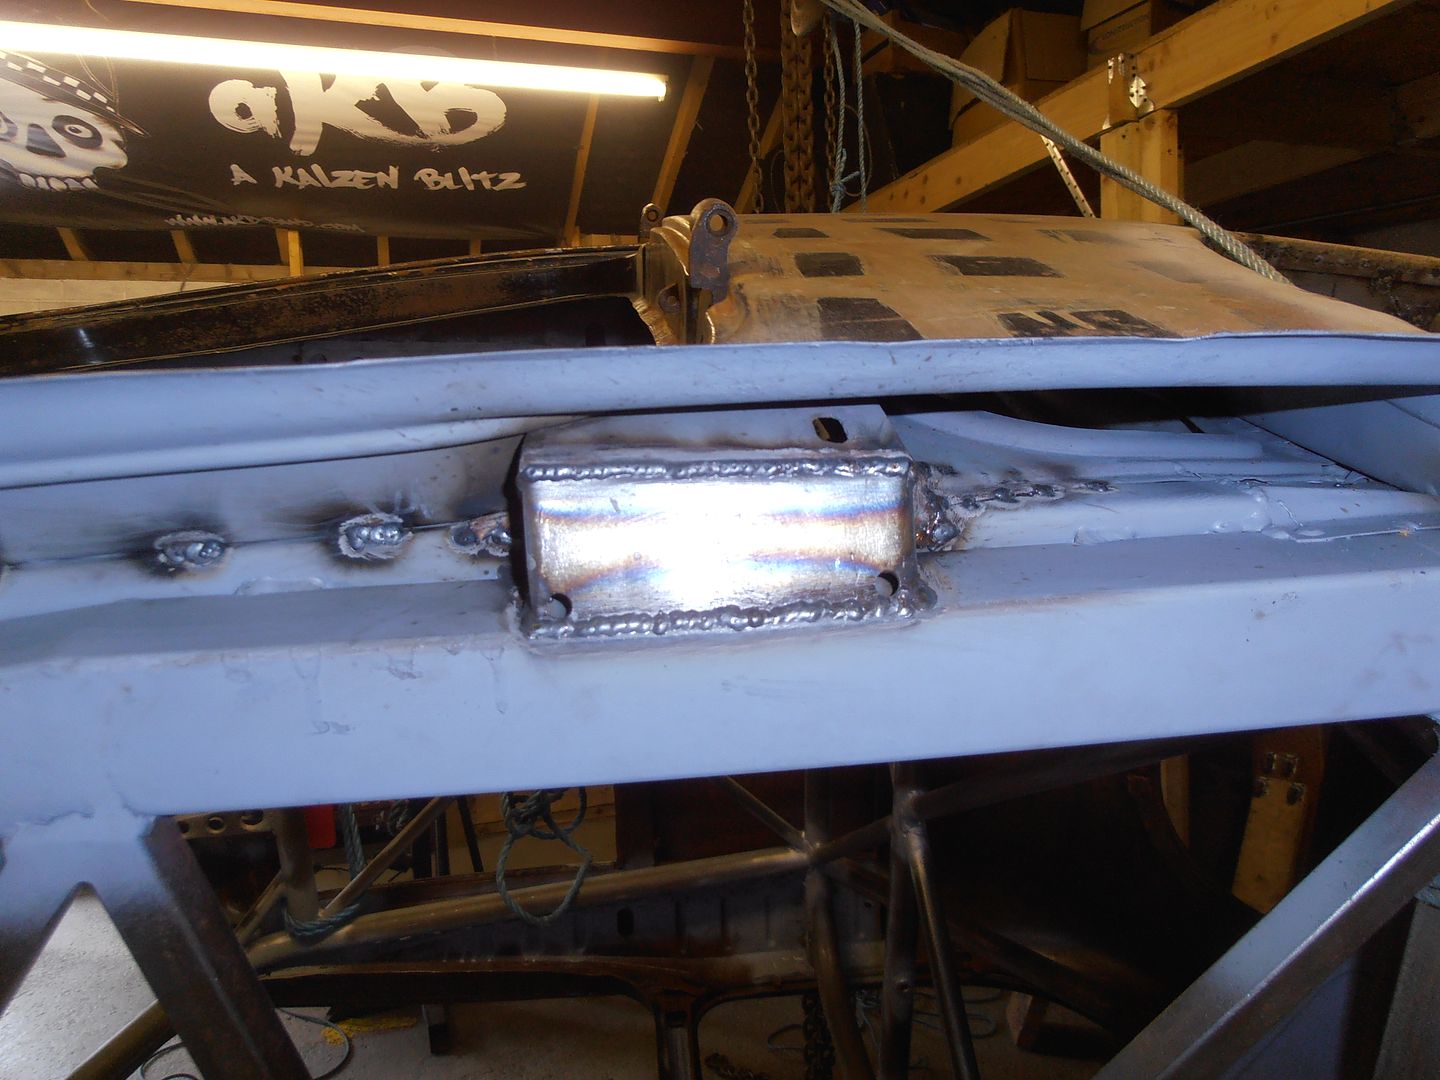 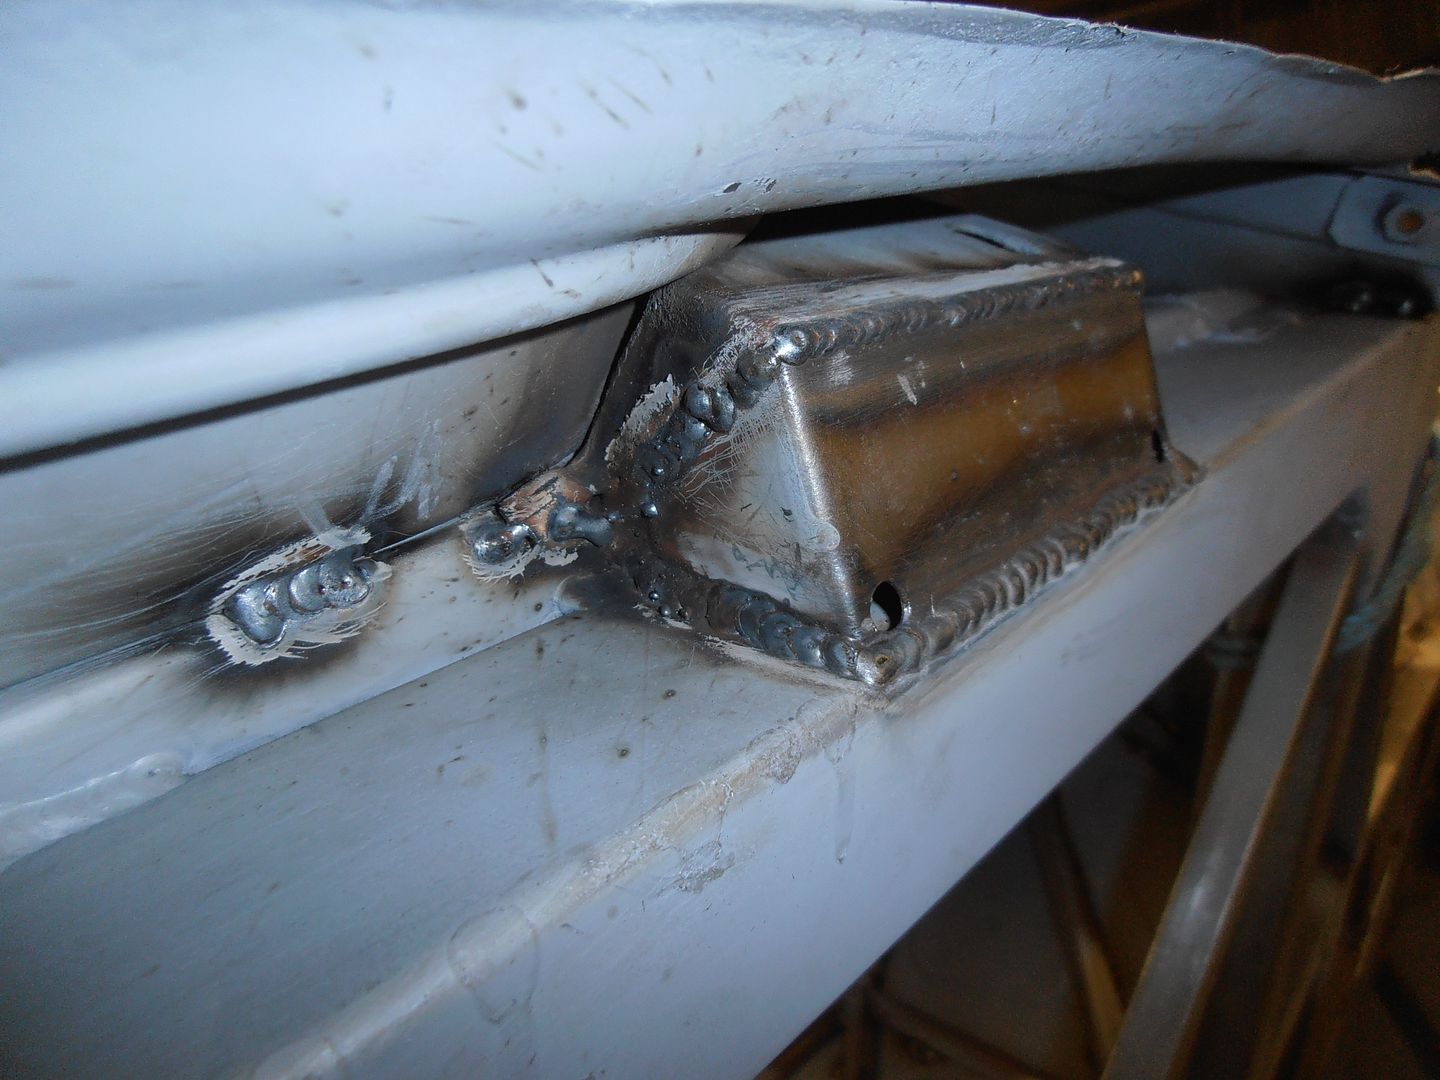 the holes in the corners are to let moisture out. also put a few stitched in on the joint line whilst i was at it  then onto making the sill end closer I formed a circle with a raised lip. Mainly by bending a return round and continuously rotating the cap against a tub whilst tapping it. 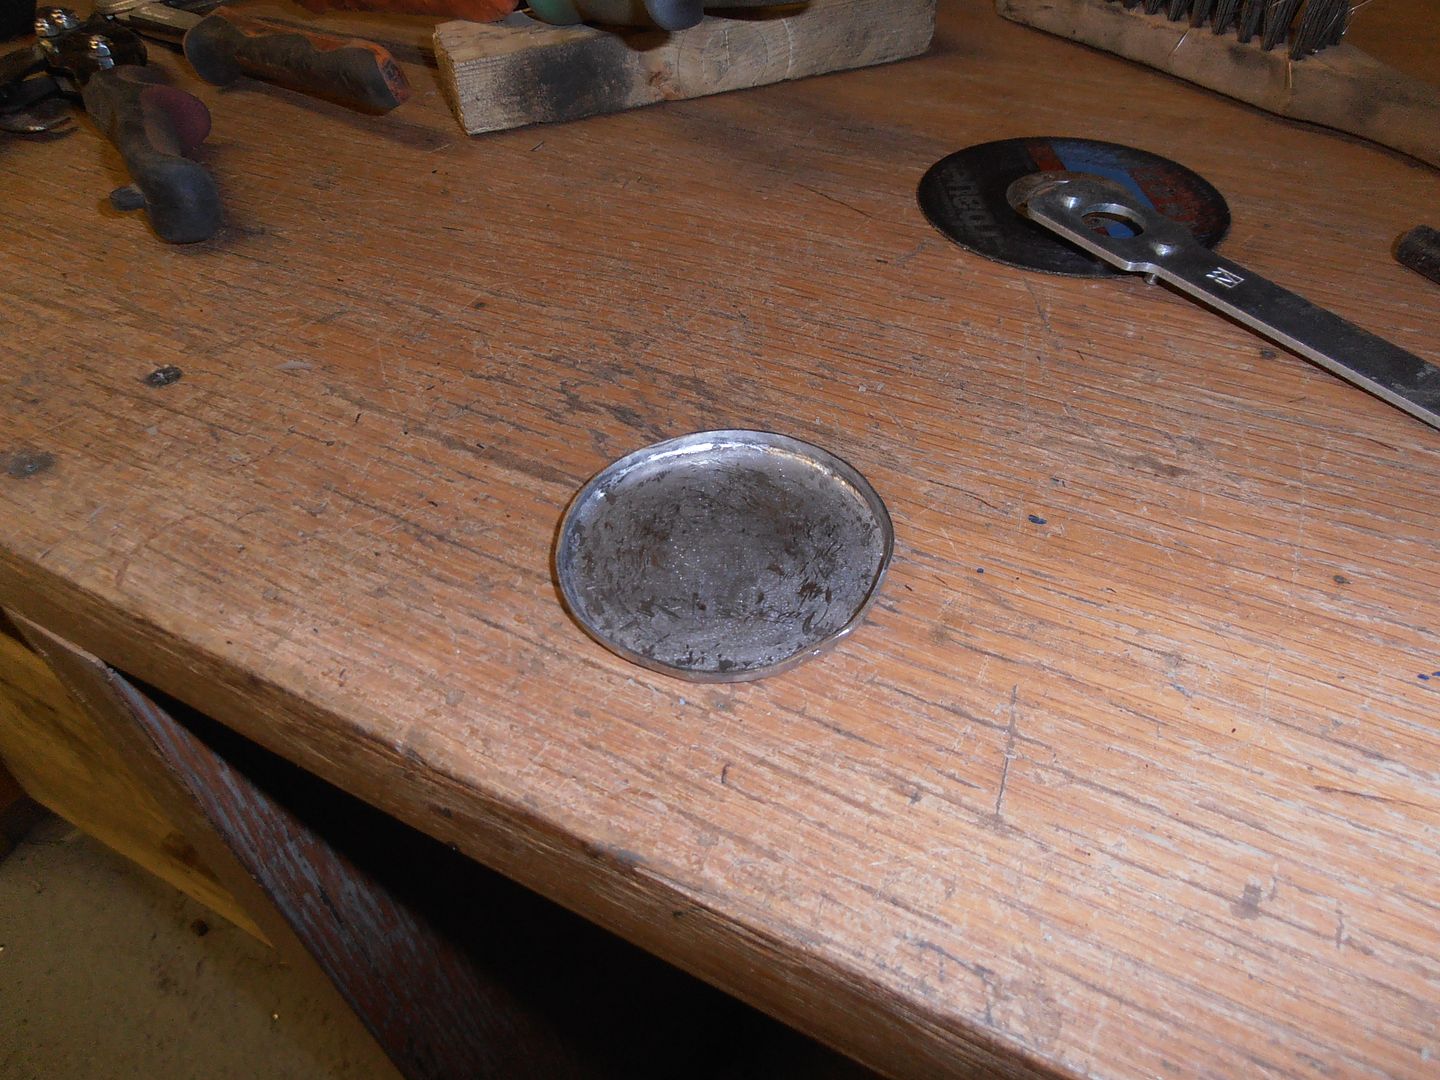 didnt come out too bad. The cut half of it away and welded it in 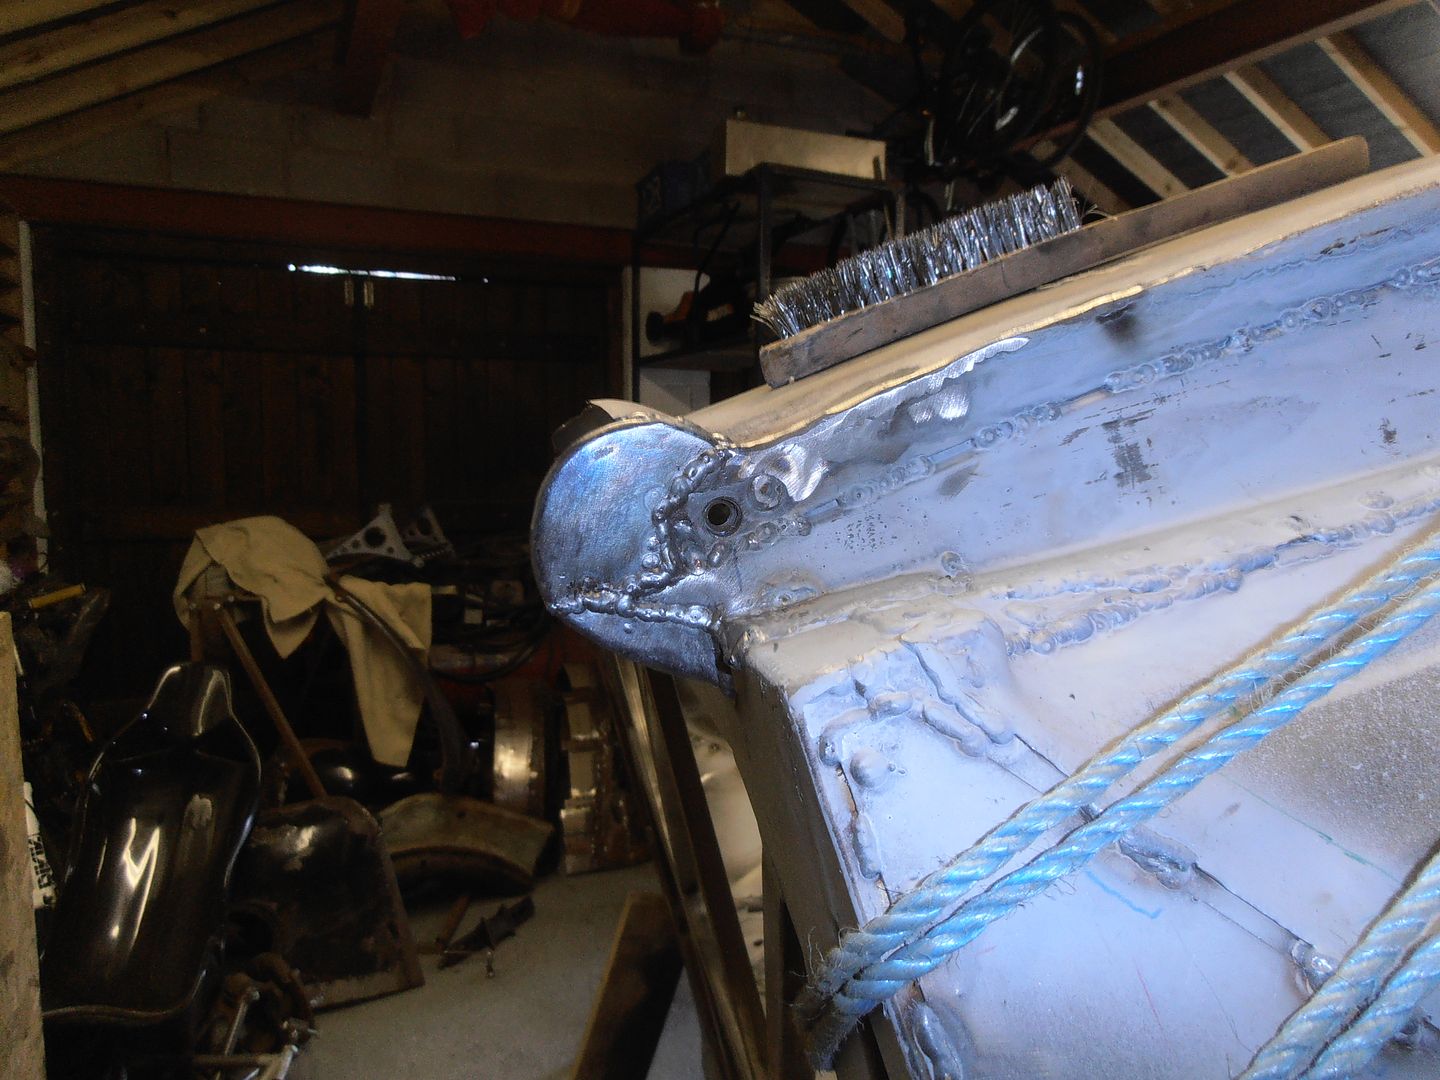 still needs a clean up, but i gave it a buzz of zinc primer anyways as it might be a few weeks till next slot to work on it. 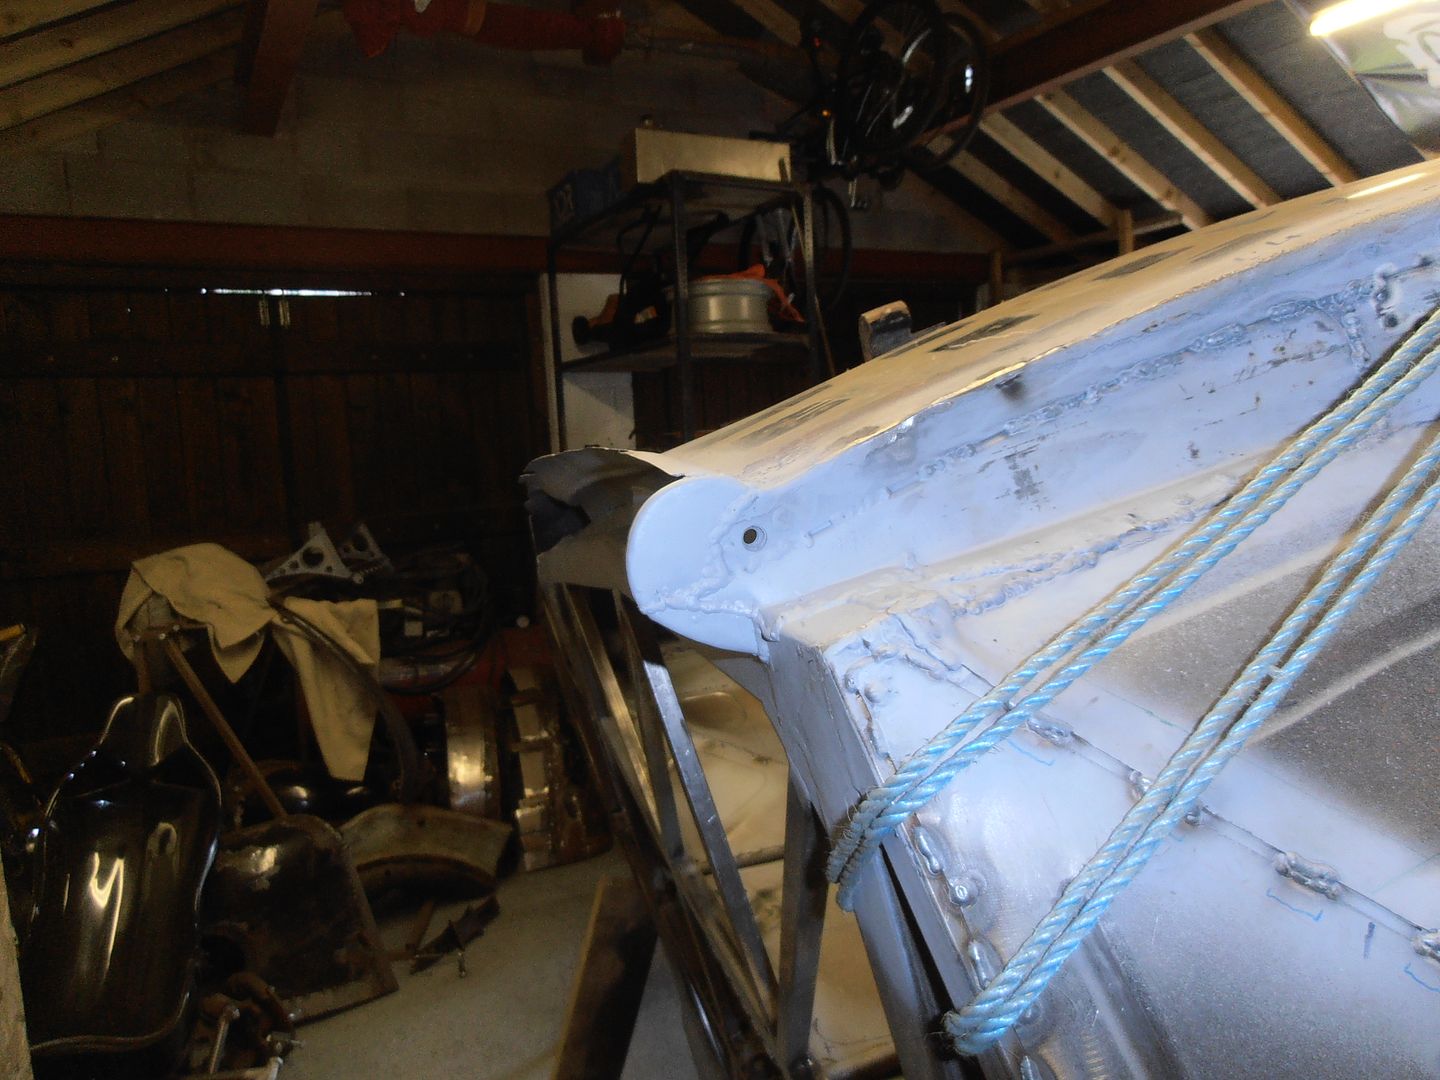 short weekend again, so not huge progress. |
| |
|
|
vulgalour
Club Retro Rides Member
Posts: 7,287
Club RR Member Number: 146
|
|
Aug 21, 2016 21:31:44 GMT
|
|
There is so much welding on this car it makes mine look easy peasy, which it probably is. I have the greatest respect for your determination to see it all through.
|
| |
|
|
|
|
|
Aug 21, 2016 22:02:09 GMT
|
There is so much welding on this car it makes mine look easy peasy, which it probably is. I have the greatest respect for your determination to see it all through. Ditto to this. Thanks for sharing every update too. Keeps makin me feel guilty about not being in the workshop! |
| |
|
|
jonomisfit
Club Retro Rides Member
Posts: 1,790
Club RR Member Number: 49
|
|
Aug 22, 2016 18:52:18 GMT
|
Cheers dudes. There is a small amount of welding to do. Wouldnt have been so bad if the original shell wasnt such a basket case! There's still quite a lot left to do as well  Why didnt i pick an easier project...... |
| |
|
|
mk2cossie
Club Retro Rides Member
Posts: 3,063  Club RR Member Number: 77
|
|
Aug 22, 2016 19:04:05 GMT
|
Cheers dudes. There is a small amount of welding to do. Wouldnt have been so bad if the original shell wasnt such a basket case! There's still quite a lot left to do as well  Why didnt i pick an easier project...... Where's the fun in an easy project though  |
| |
|
|
jonomisfit
Club Retro Rides Member
Posts: 1,790
Club RR Member Number: 49
|
|
Sept 3, 2016 16:38:44 GMT
|
I've not been having much motivation to be working on the car recently, but headed out there for the afternoon. More making of sills. First one was "easy" but this one is more of a challenge as I need to make it match the otherside for depth etc. forming some metal 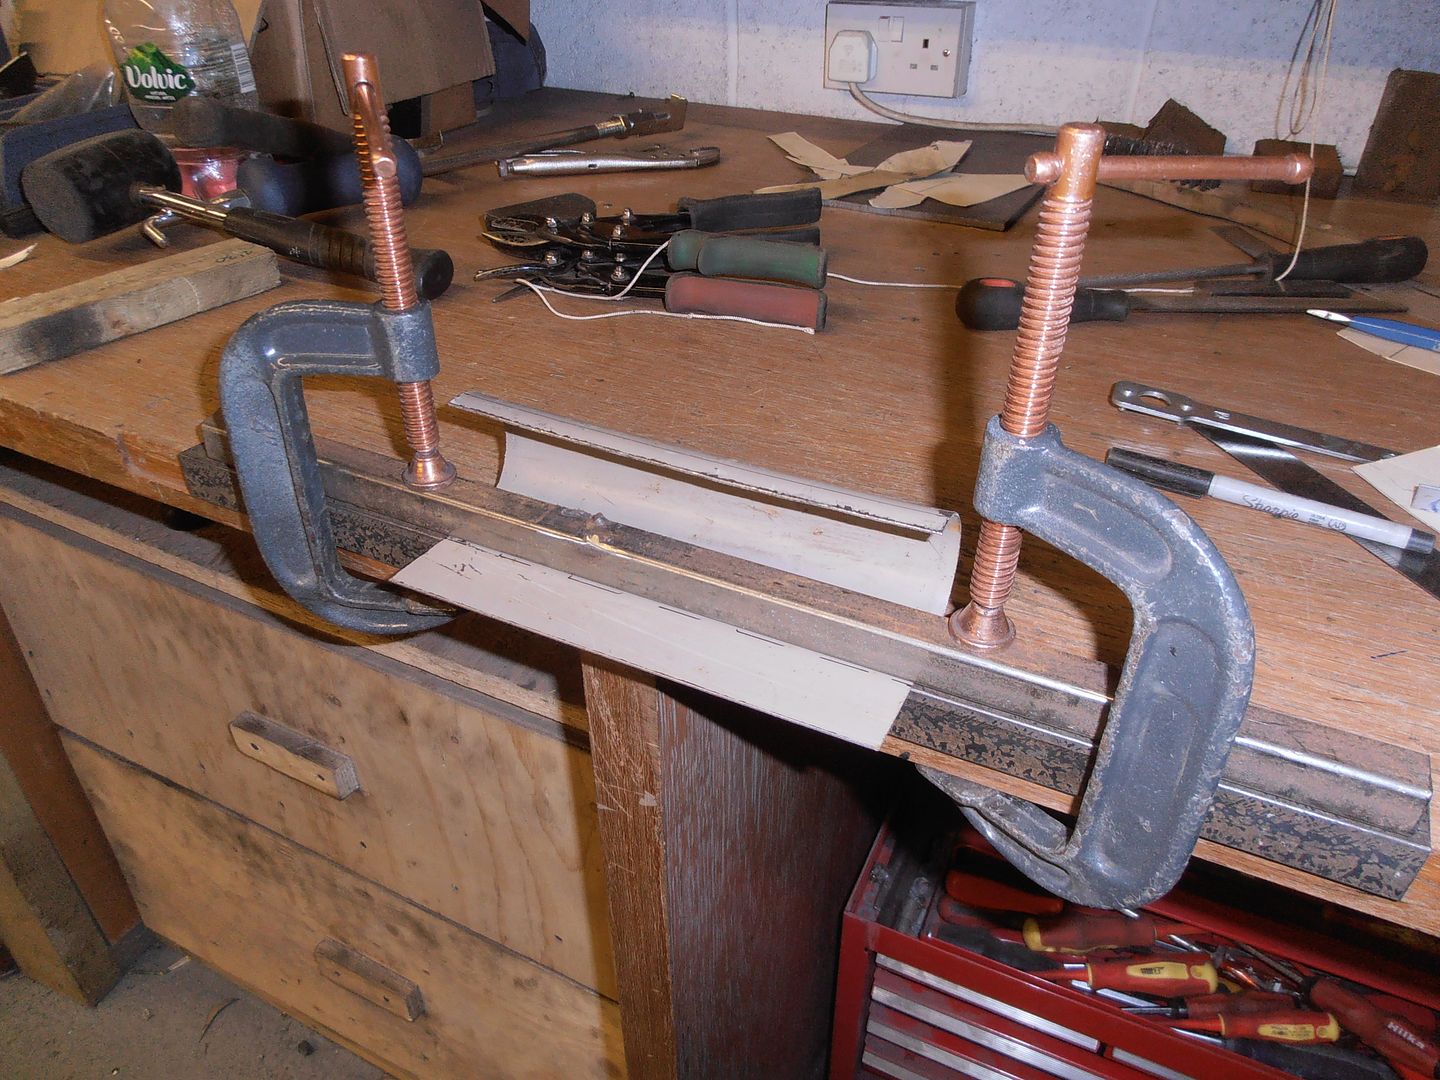 formed. 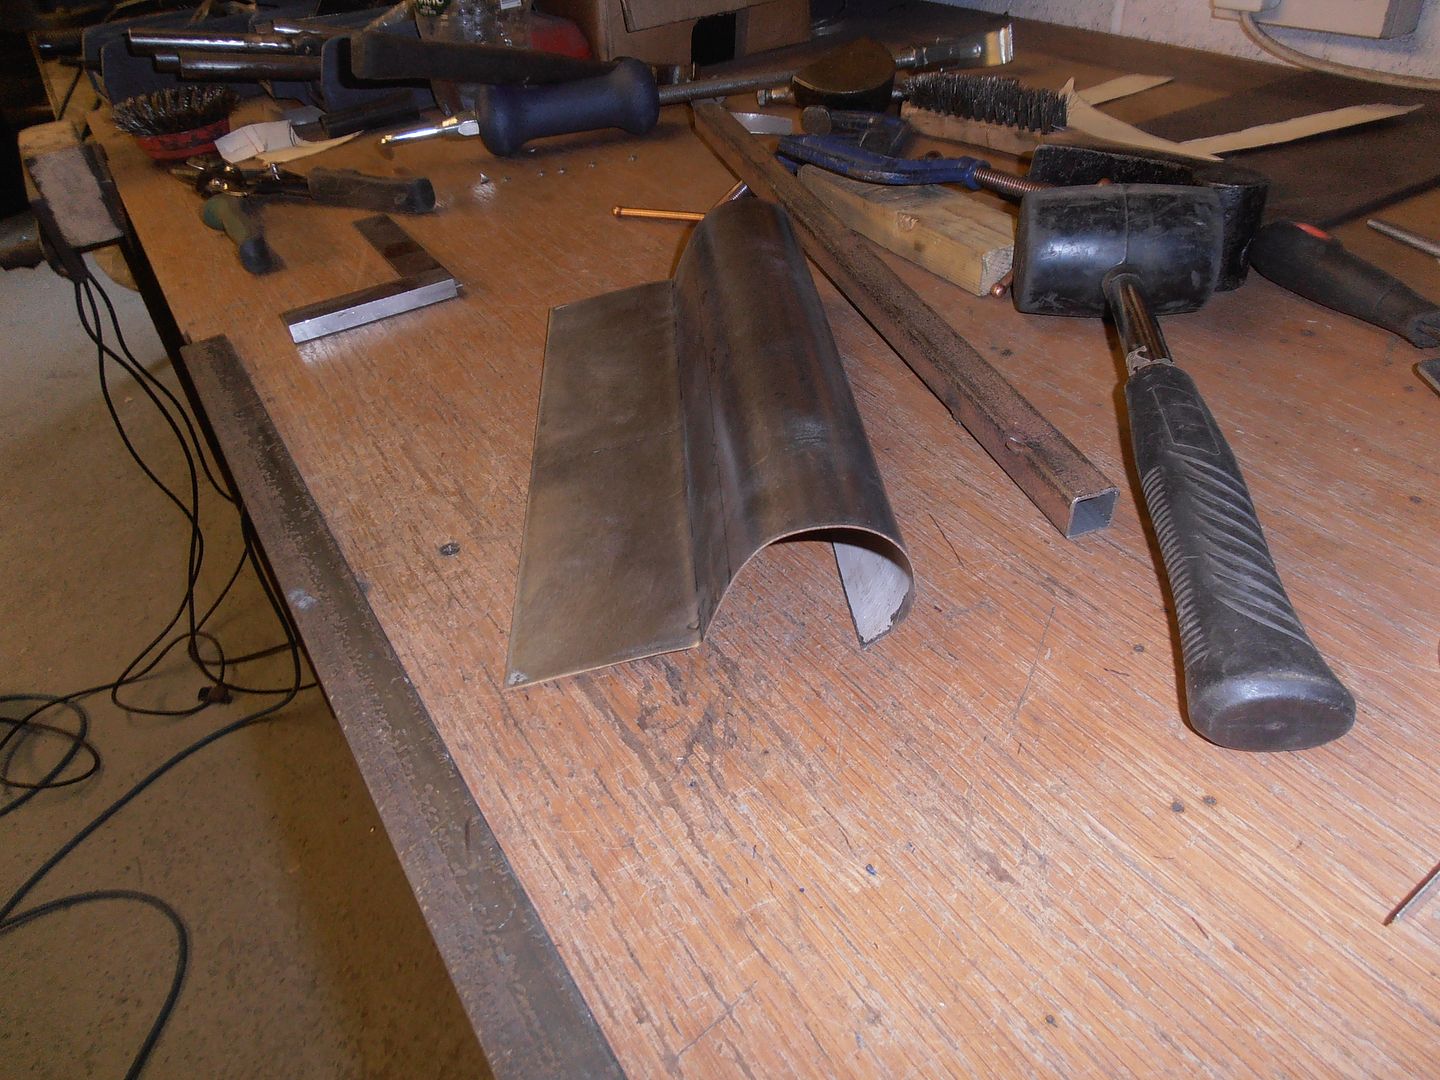 etch primed 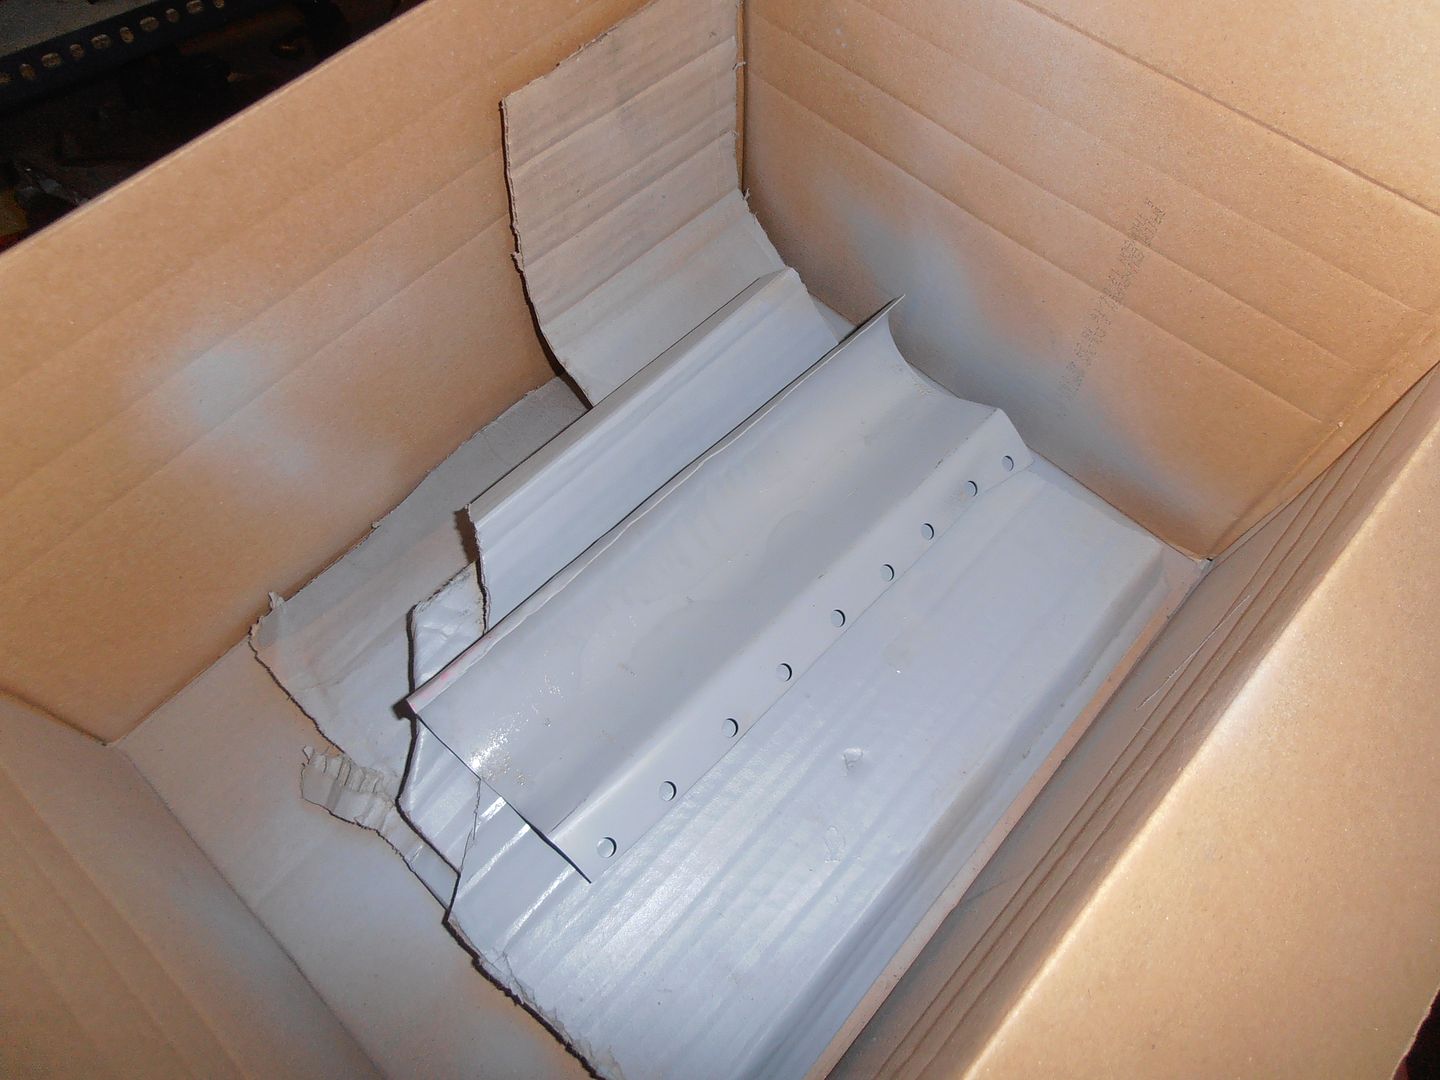 in situ 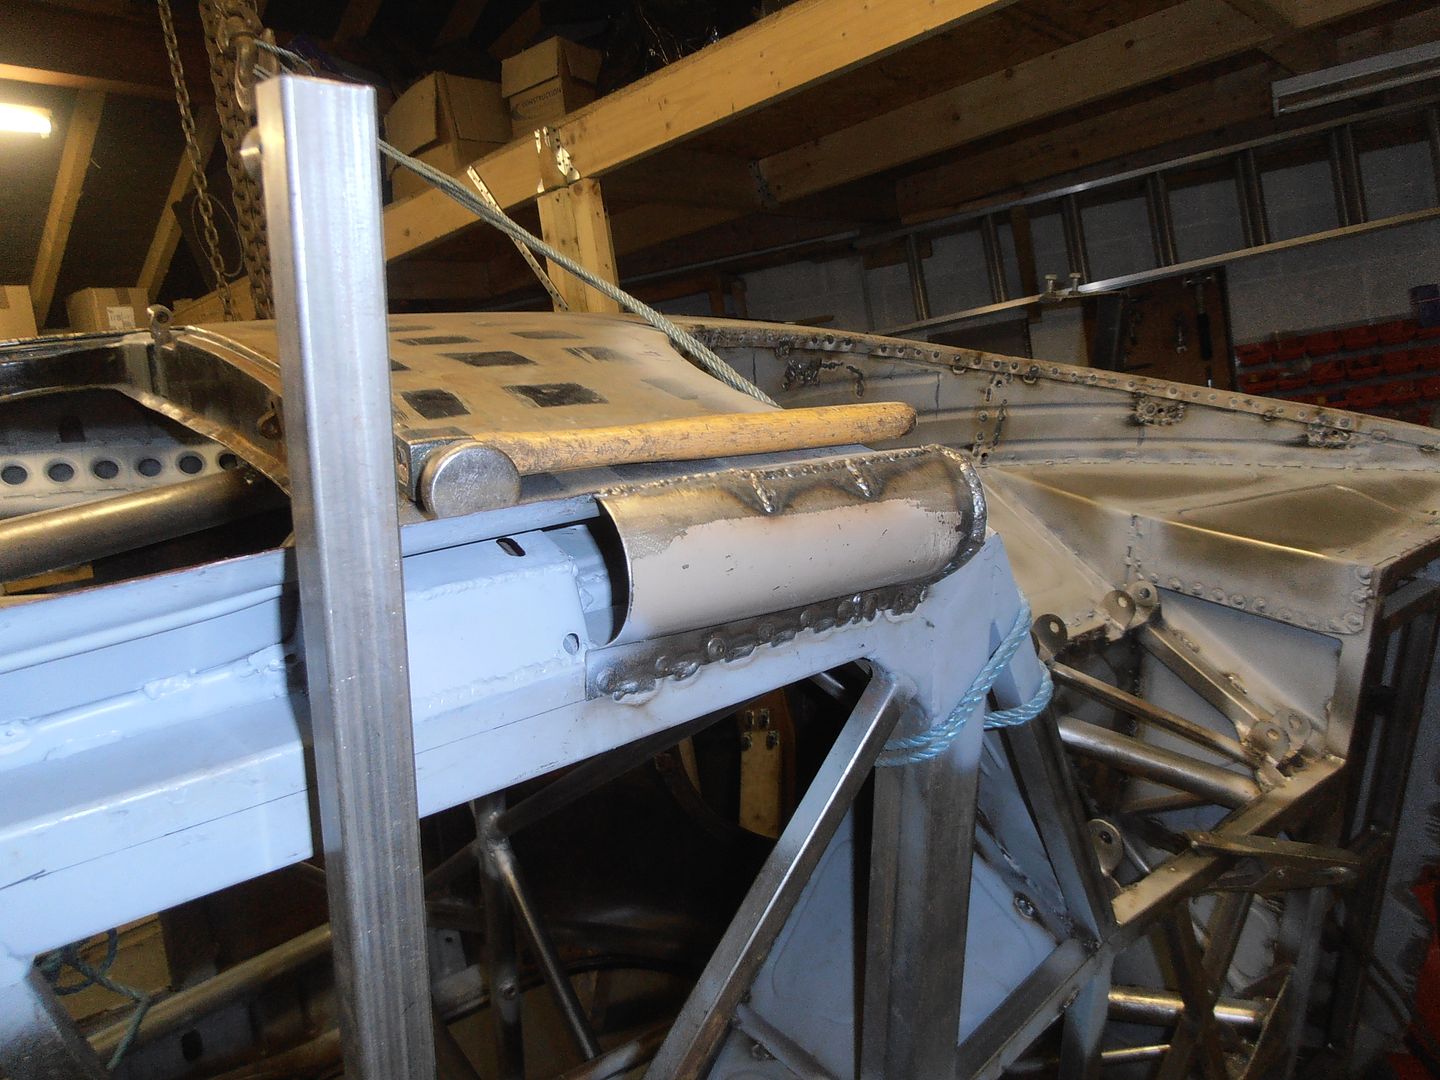 forming next section 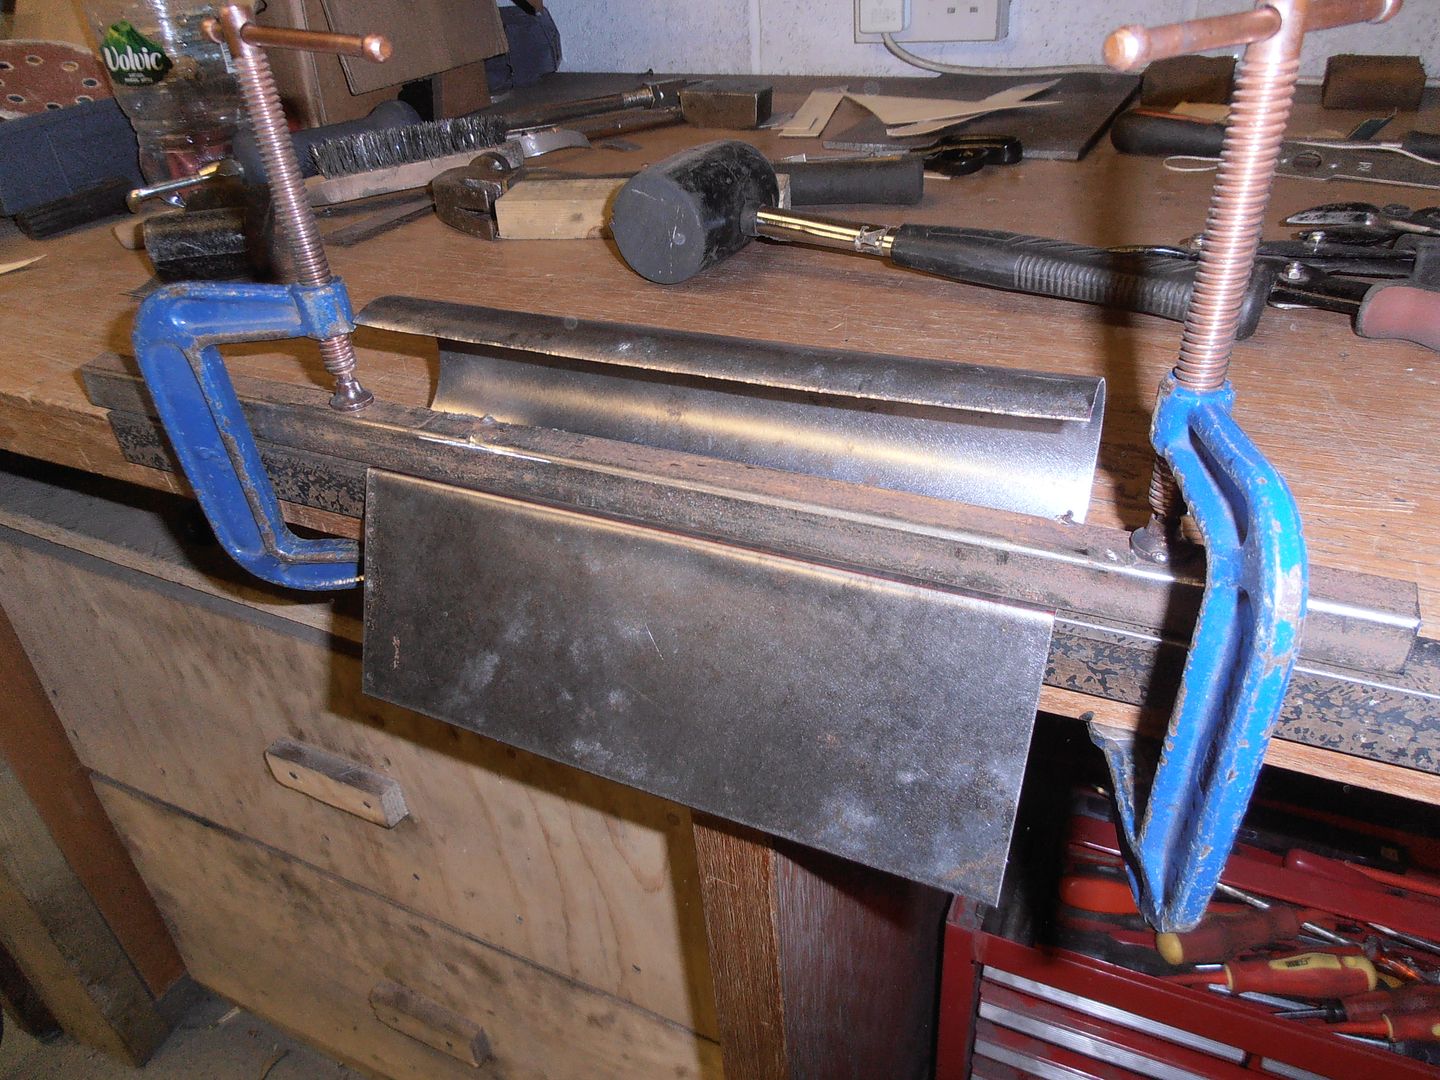 formed 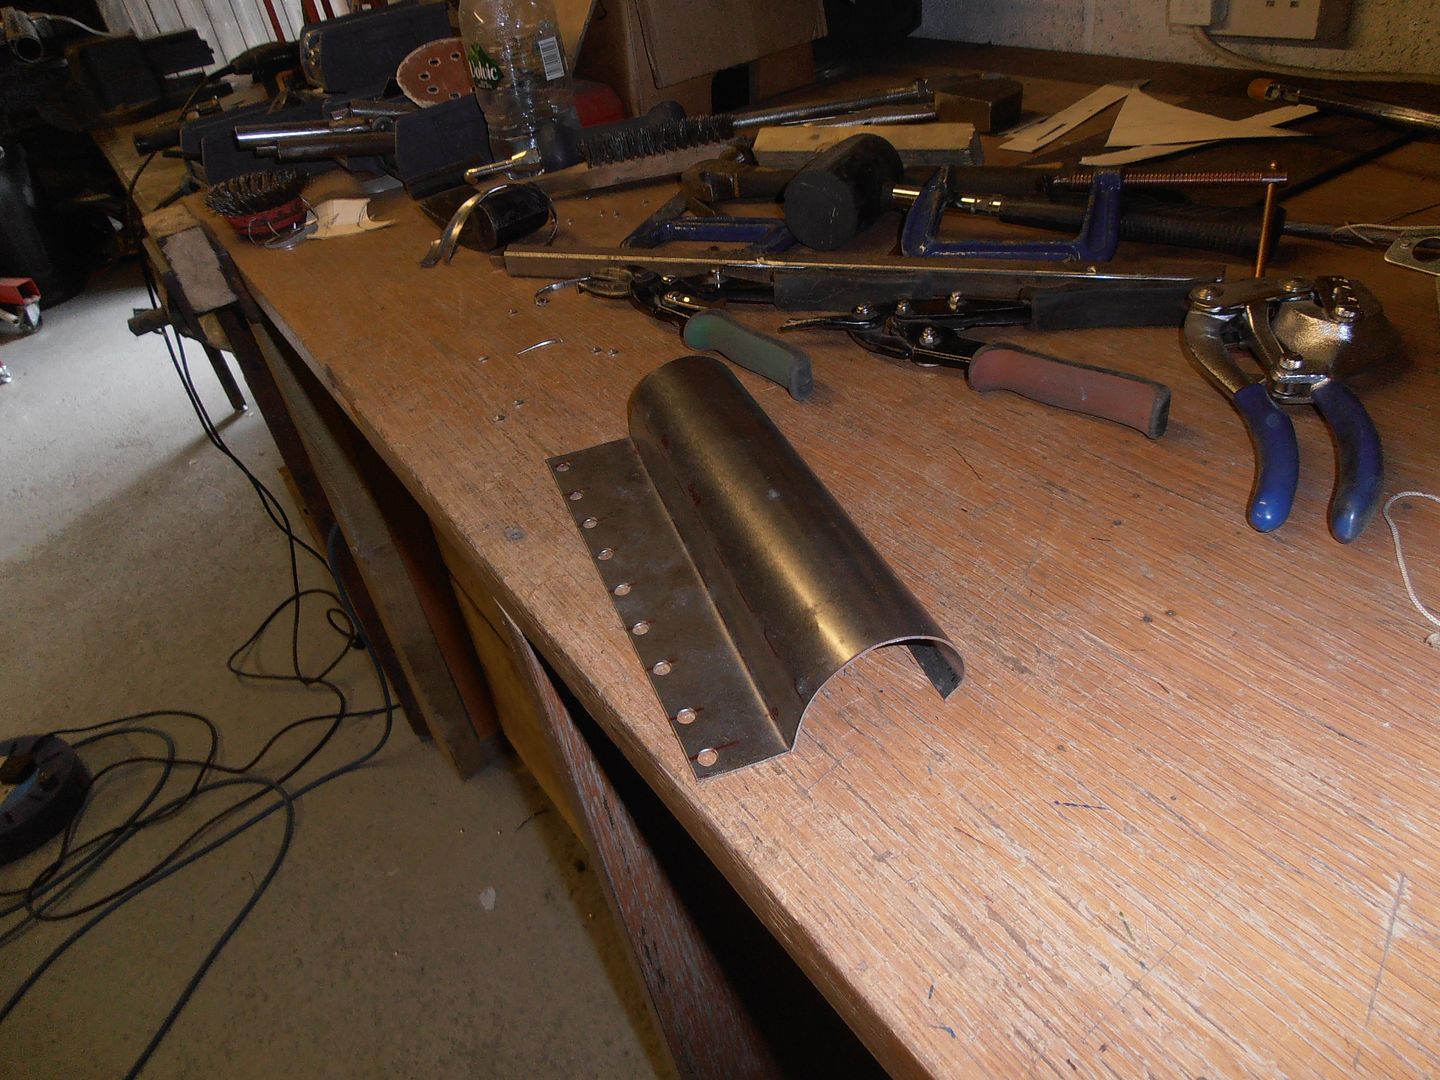 tacked in 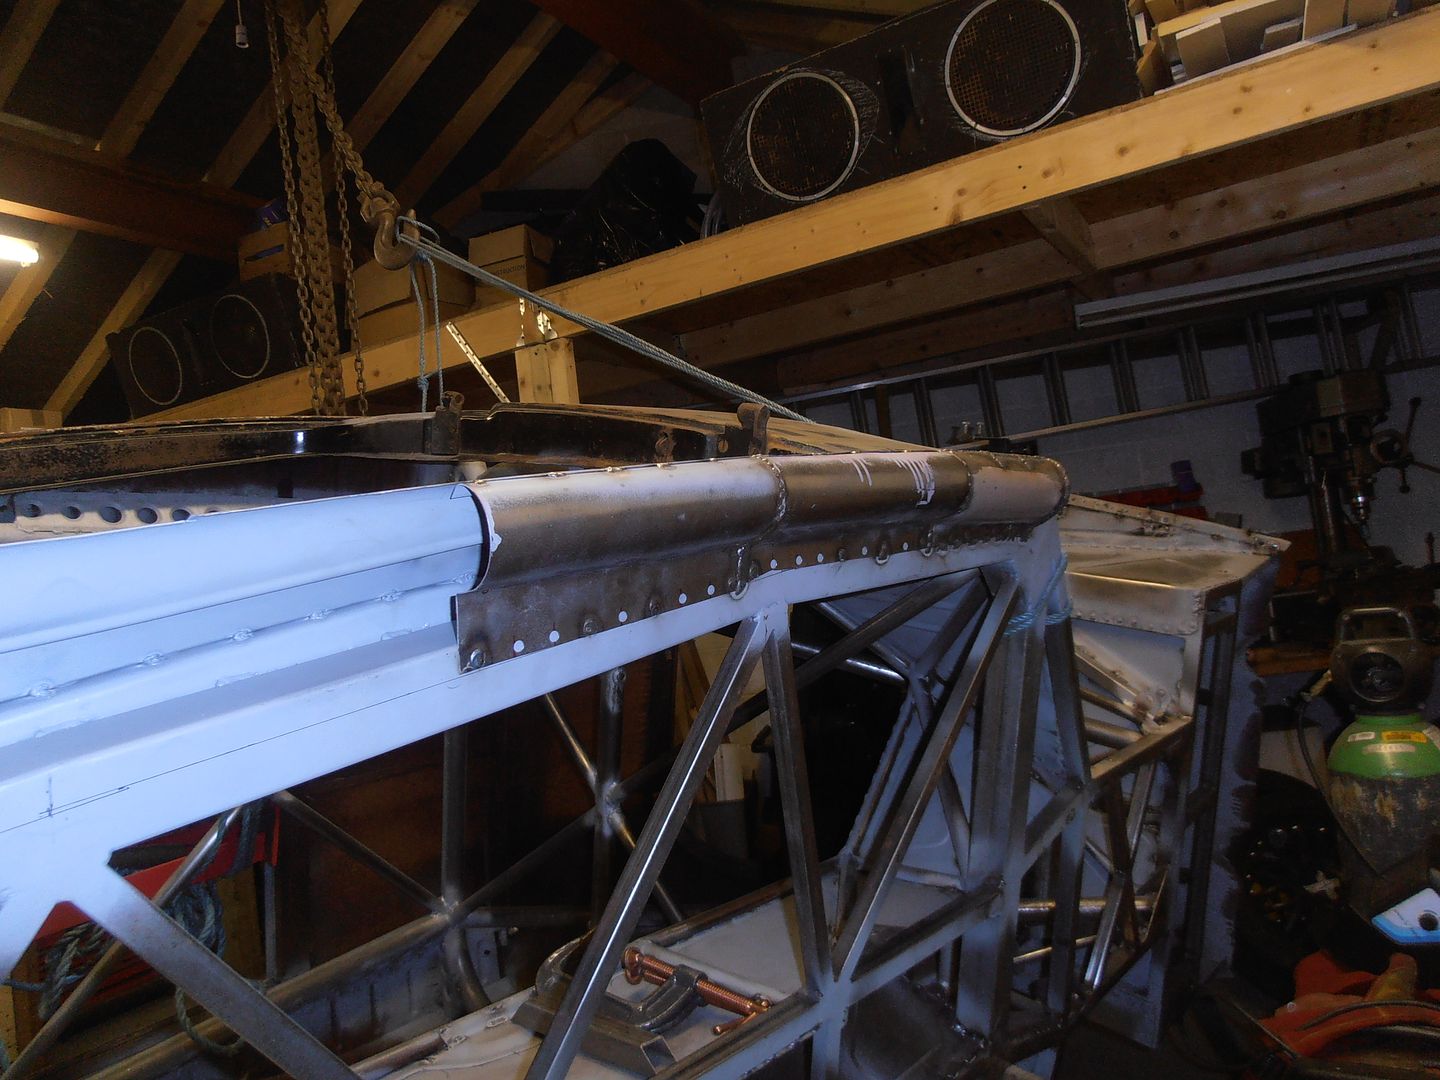 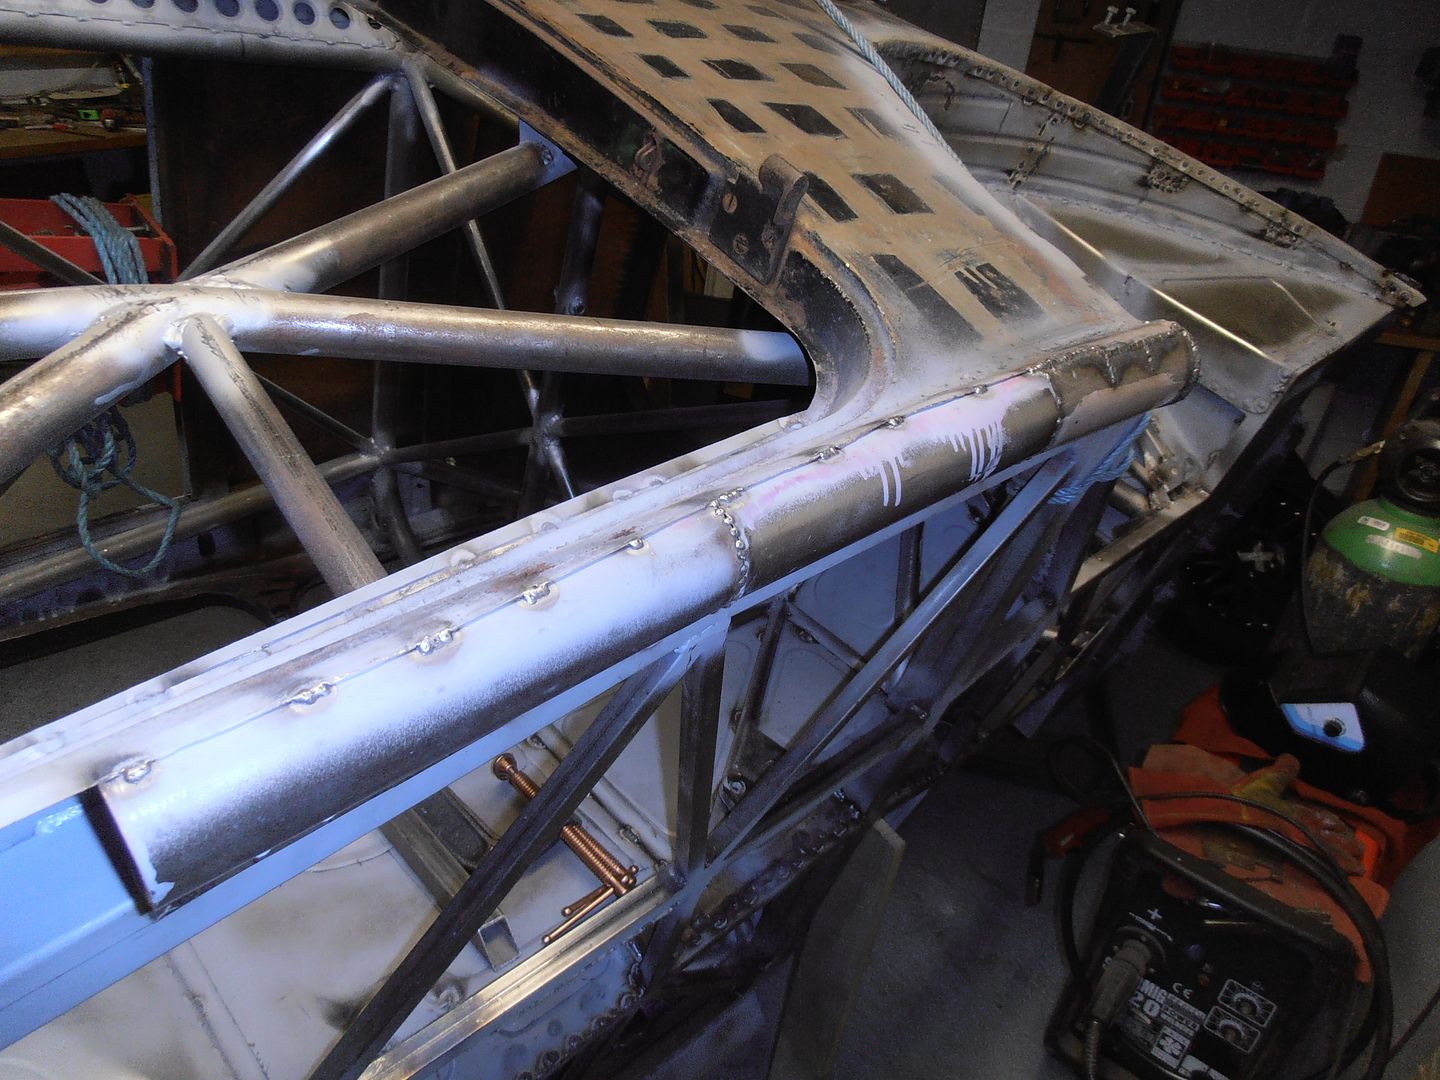 With the amount of "repairs" i cut out, there's quite a lot of additional metalwork on this side 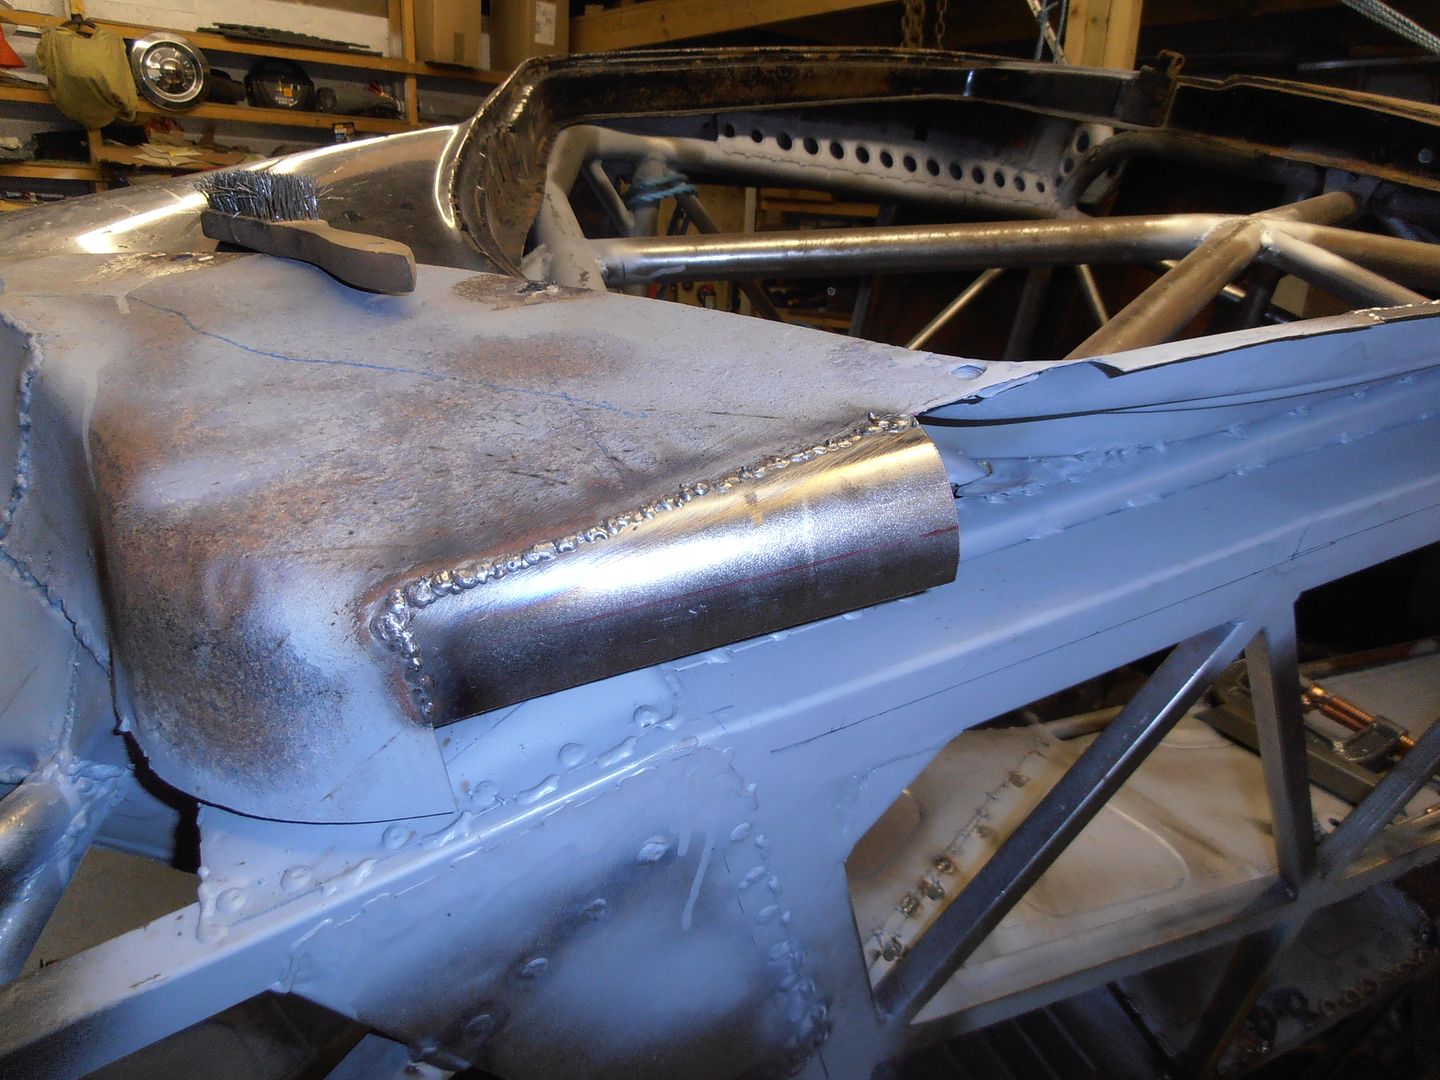 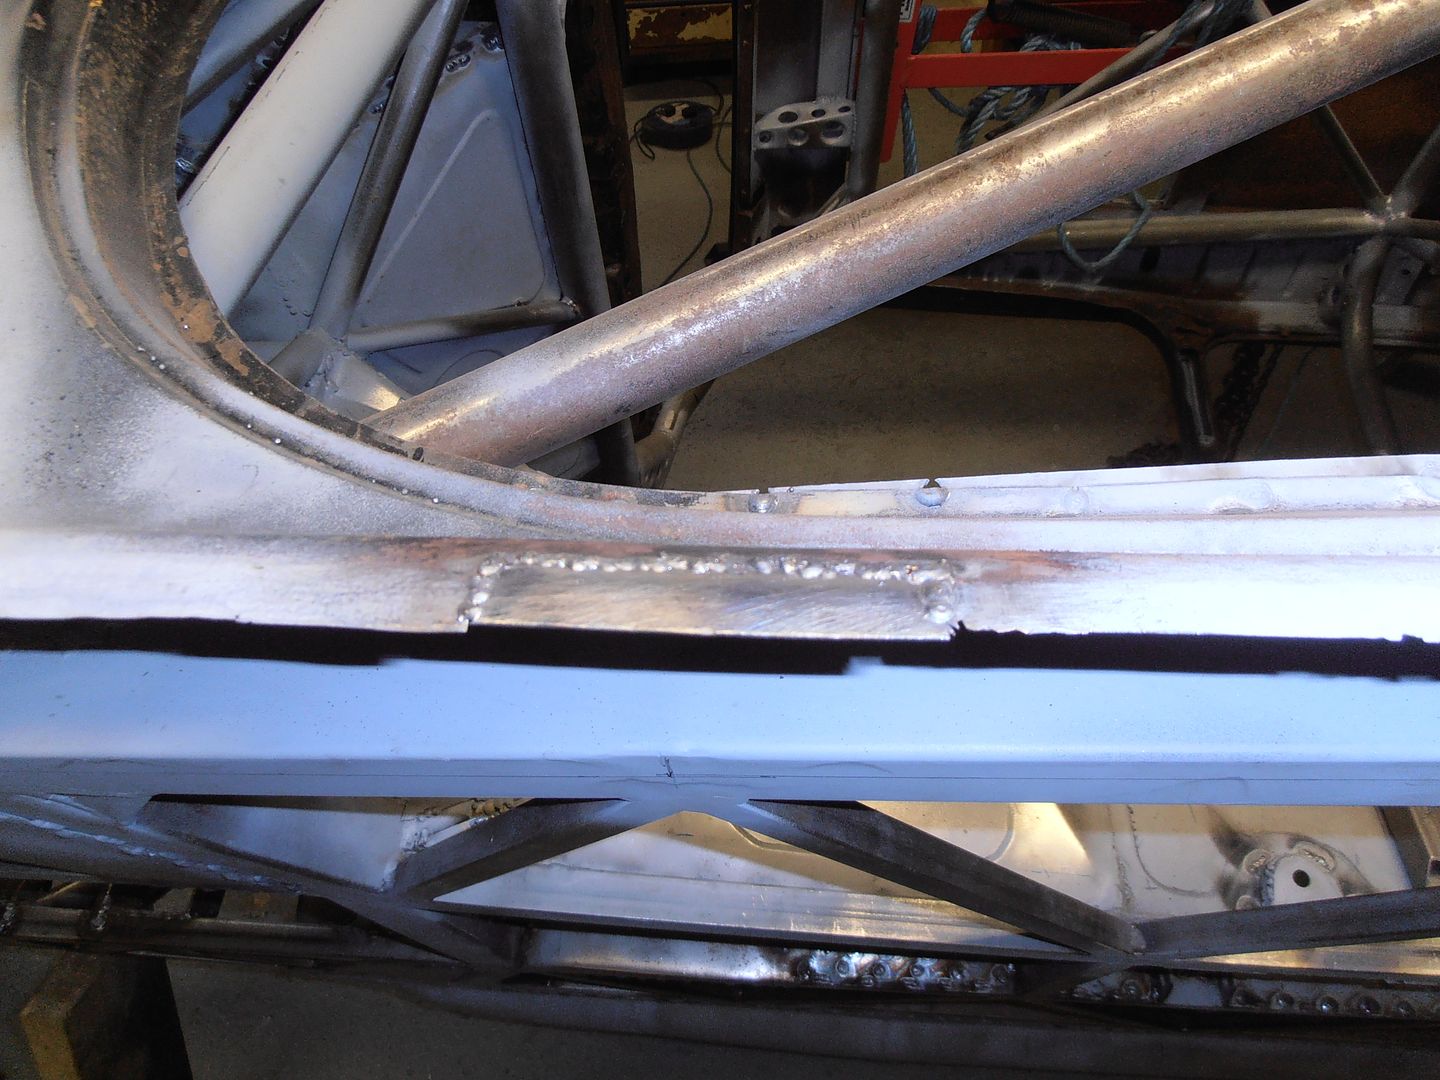 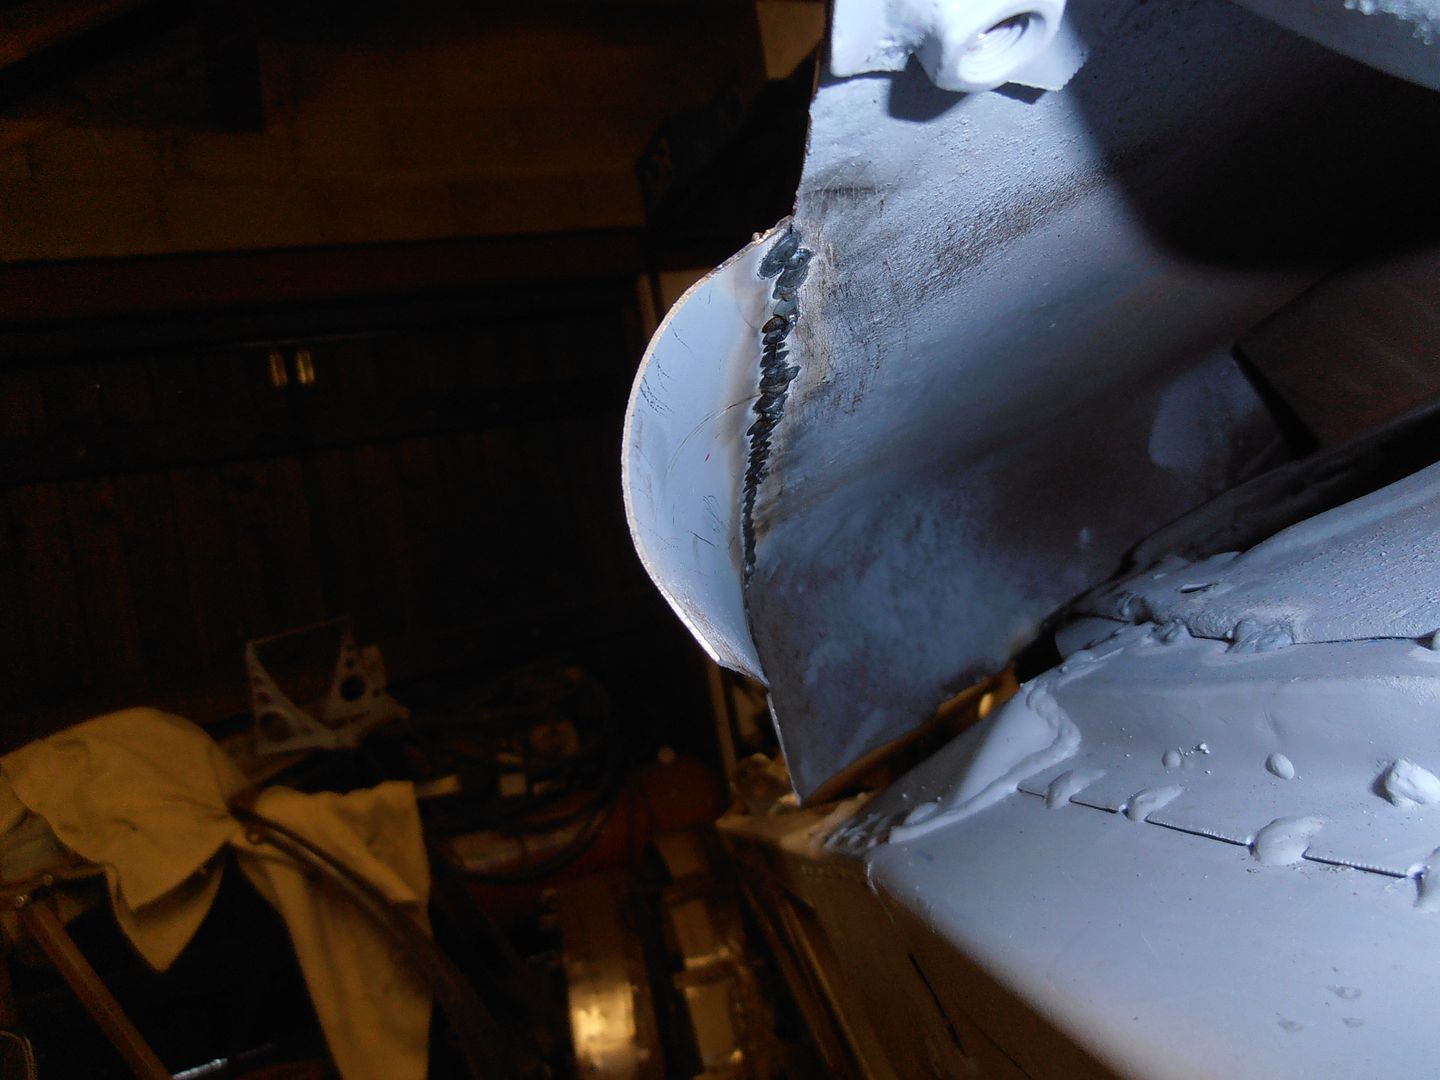 Will see how my motivation levels are tomorrow for doing some more. |
| |
|
|
mk2cossie
Club Retro Rides Member
Posts: 3,063  Club RR Member Number: 77
|
|
Sept 3, 2016 19:16:43 GMT
|
I know what you mean about motivation levels, but it will come back  Nice bit of progress as well, should be quicker doing the second sill with the practise gained from the first  |
| |
|
|
|
|
|
Sept 3, 2016 21:05:58 GMT
|
|
blimey.....I'm exhausted just having sat and read through this build from start to finish. I'm torn between it being totally inspirational or an documentation of a compulsive fabrication obsession?!! either way it's mind blowing to see what you have achieved , truly amazing. to my mind the only shame is that the original patina will be lost by the end of the build. totally bookmarked!
|
| |
Last Edit: Sept 4, 2016 12:24:30 GMT by strikey
'80 s1 924 turbo..hibernating
'80 golf gli cabriolet...doing impression of a skip
'97 pug 106 commuter...continuing cheapness making me smile!
firm believer in the k.i.s.s and f.i.s.h principles.
|
|
|
|
|
Sept 4, 2016 12:22:43 GMT
|
|
Just read this thread through, strange that I hadn't caught it before.
I love the idea and the execution, really great fabrication and thought gone into each piece, I got some great tips I can use and I can't wait for the next update.
I bet after the epic welding sessions you see weld beads in your dreams? I know I do.
|
| |
|
|
|
|
|
|
|
Oct 13, 2016 12:42:26 GMT
|
I've been following that one. I do like the front grill they've made. If i was going steampunk it'd have to end up looking like this model.  or Nemo's car from the league of extraordinary gentlemen 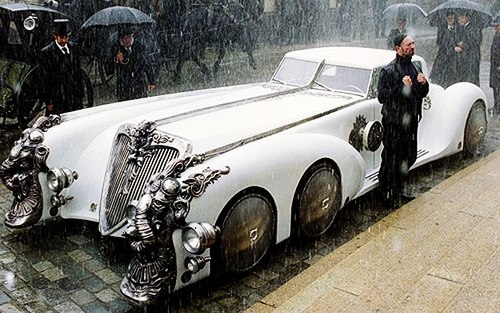 Much appreciated :-) Loving your build fella, serious amount of awesome going on so far, I registered on here purely to subscribe to your build, looking forward to seeing it finished now :-) |
| |
|
|
jonomisfit
Club Retro Rides Member
Posts: 1,790
Club RR Member Number: 49
|
|
Oct 16, 2016 16:25:27 GMT
|
|
Thanks for the nice words folks.
I like the patina look, but i think i'll struggle to get it IVA friendly without resorting to some filling. I don't think filler looks good mixed with patina, it just look unfinished.
will see what happens as I progress though.
My motivation levels have been low for the past 6 weeks (plus i've had other things on). They feel like they are rising thought, so hopefully i'll be back in the workshop next weekend and there'll be some more pics.
|
| |
|
|
jonomisfit
Club Retro Rides Member
Posts: 1,790
Club RR Member Number: 49
|
|
Oct 22, 2016 19:06:24 GMT
|
Well, stone the crows I finally woke up with some motivation today after only 7 weeks. where was I again. oh yeah, the sill 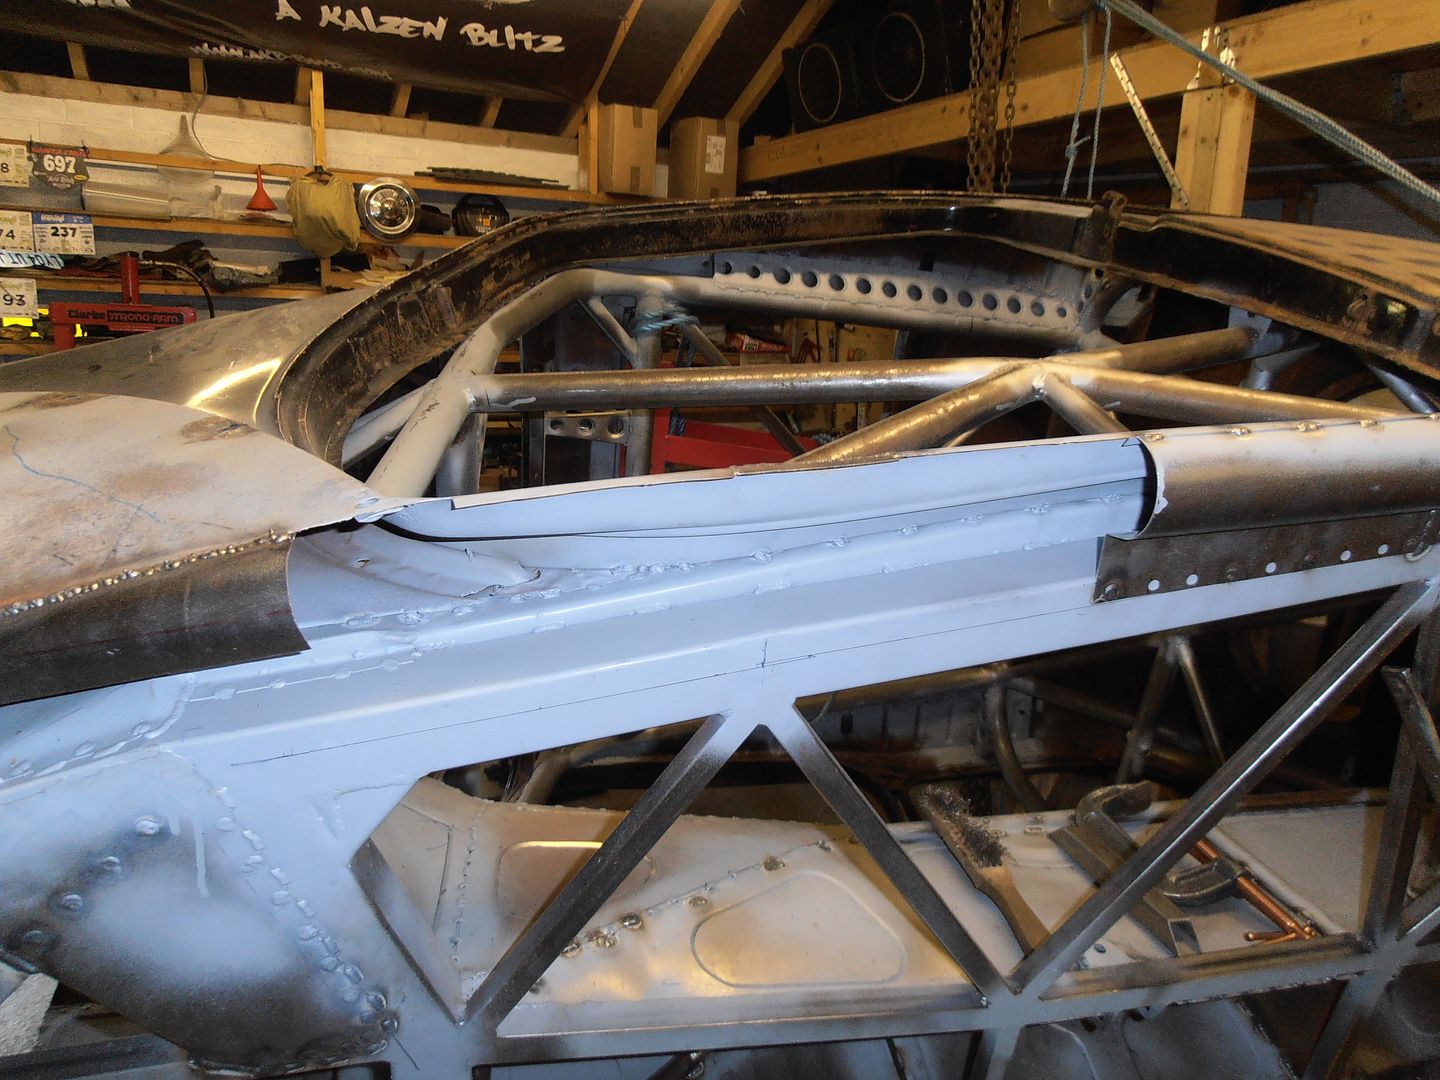 start the front closer 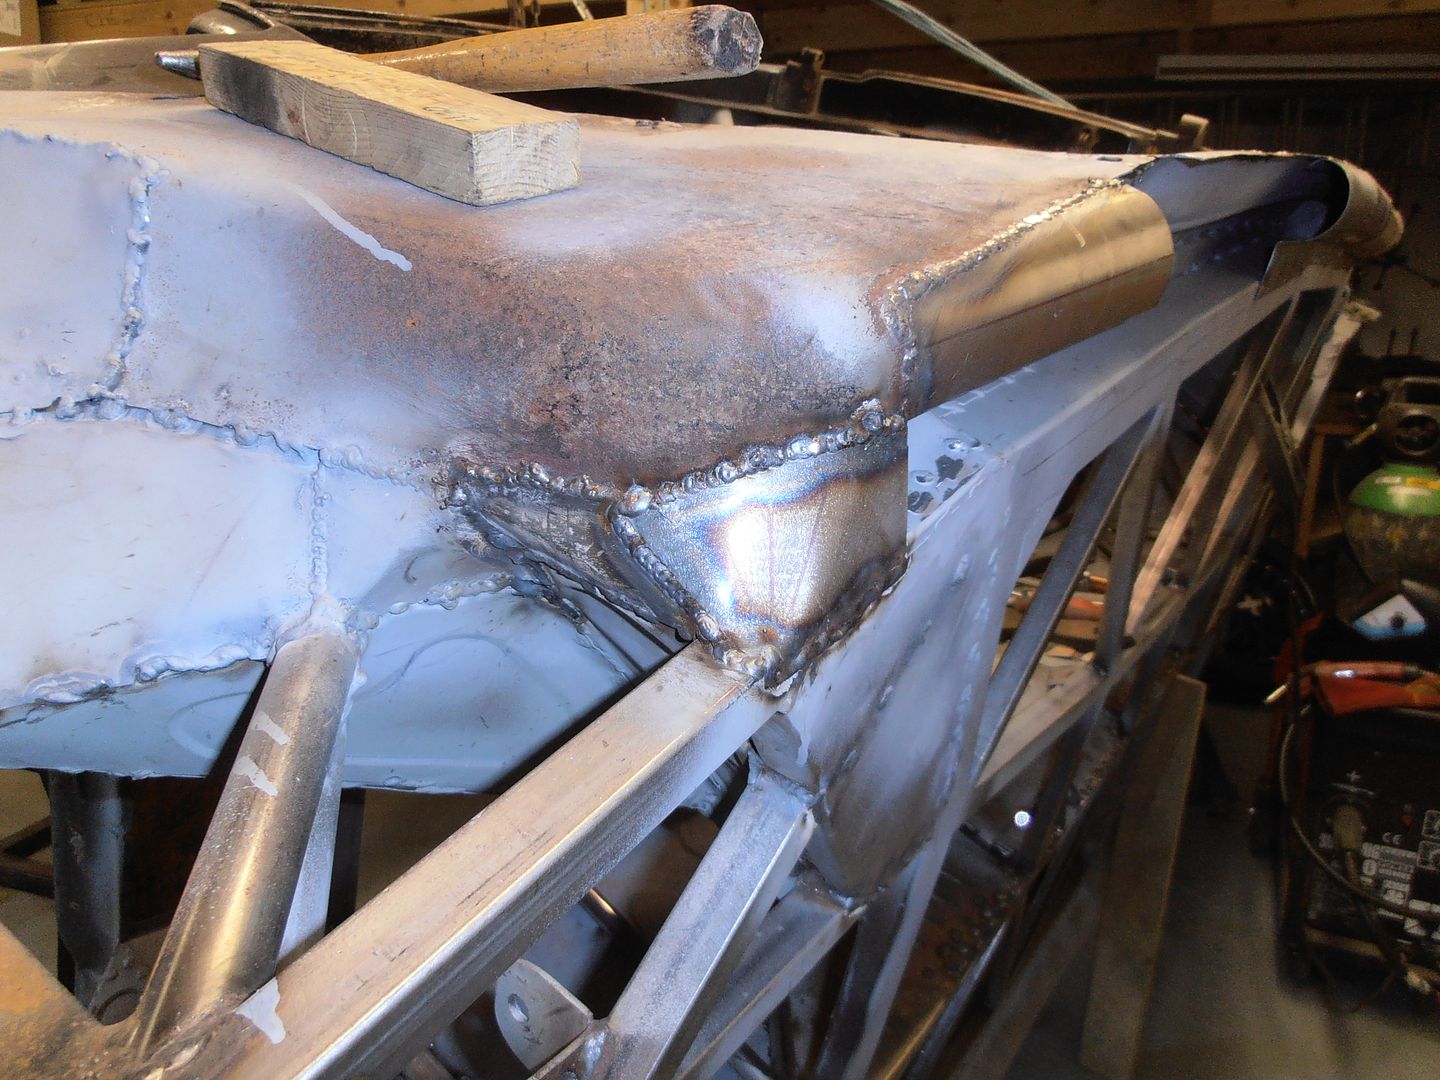 patch in a hole I made when trimming the shell.... 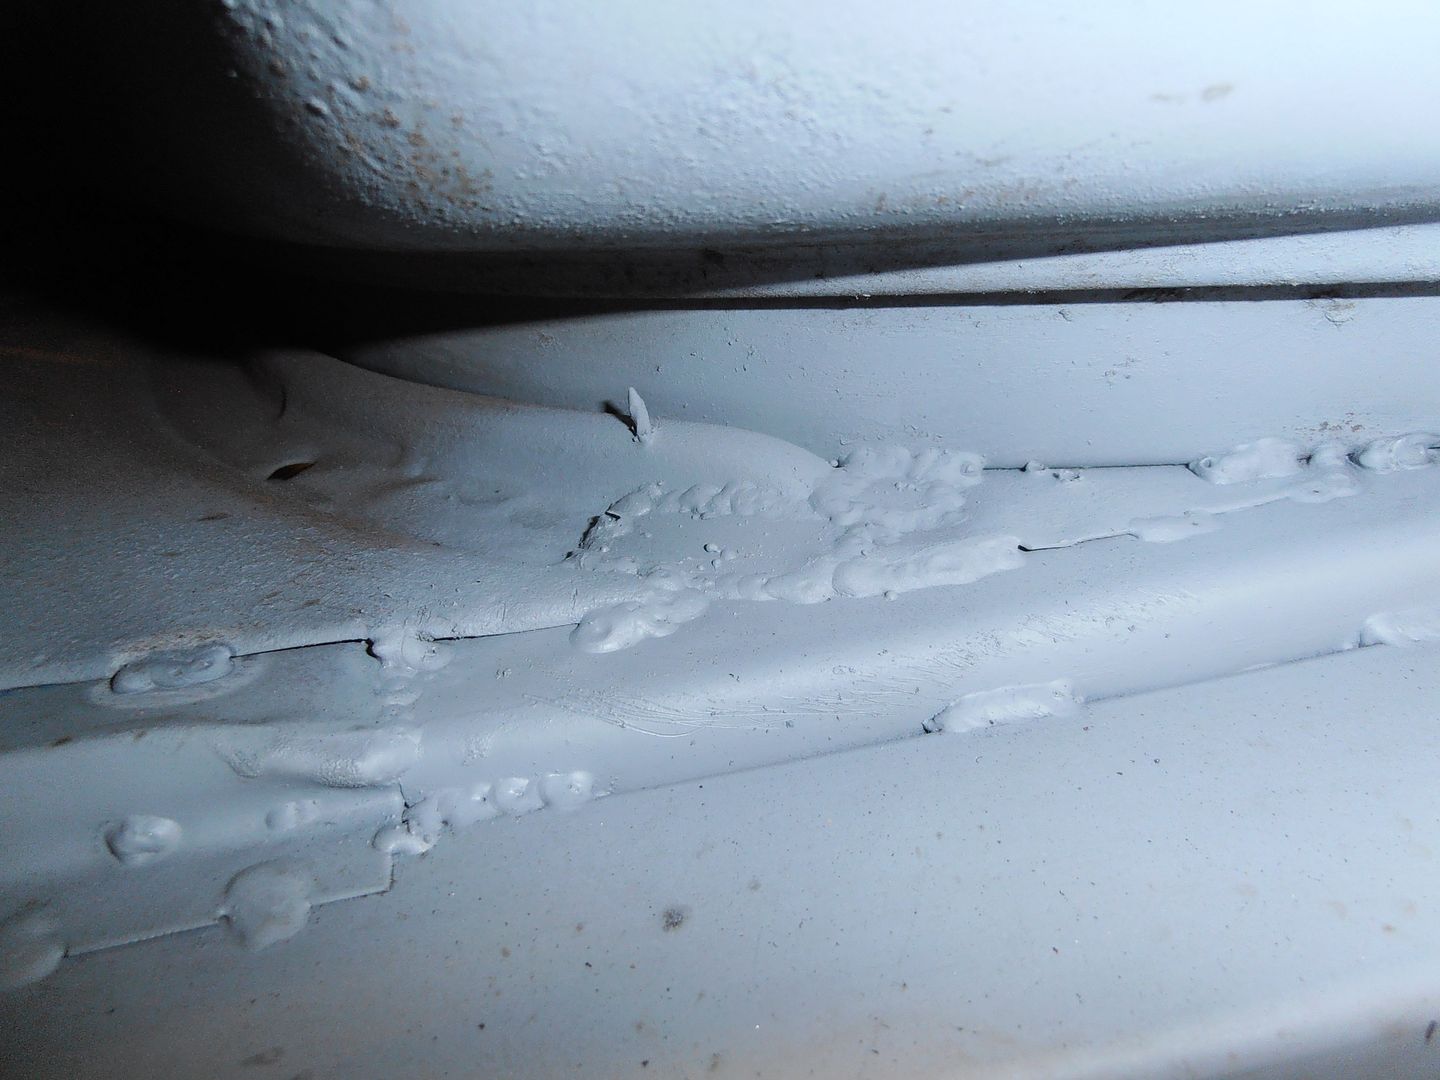 then start on some more pieces of sill 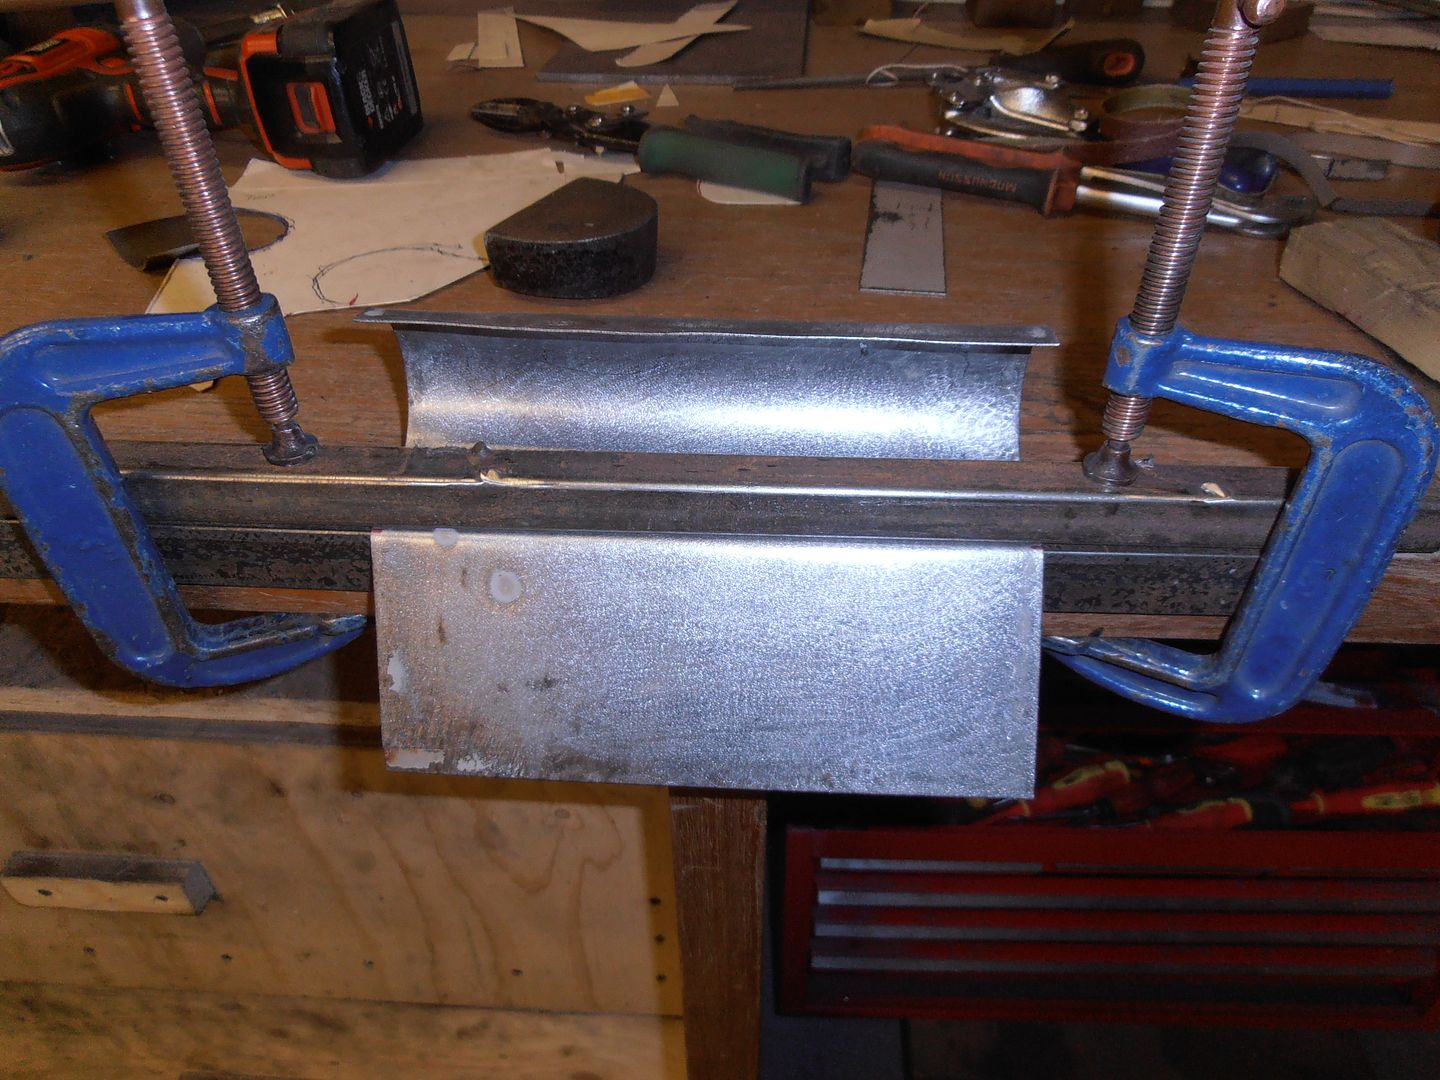 cut roll fold 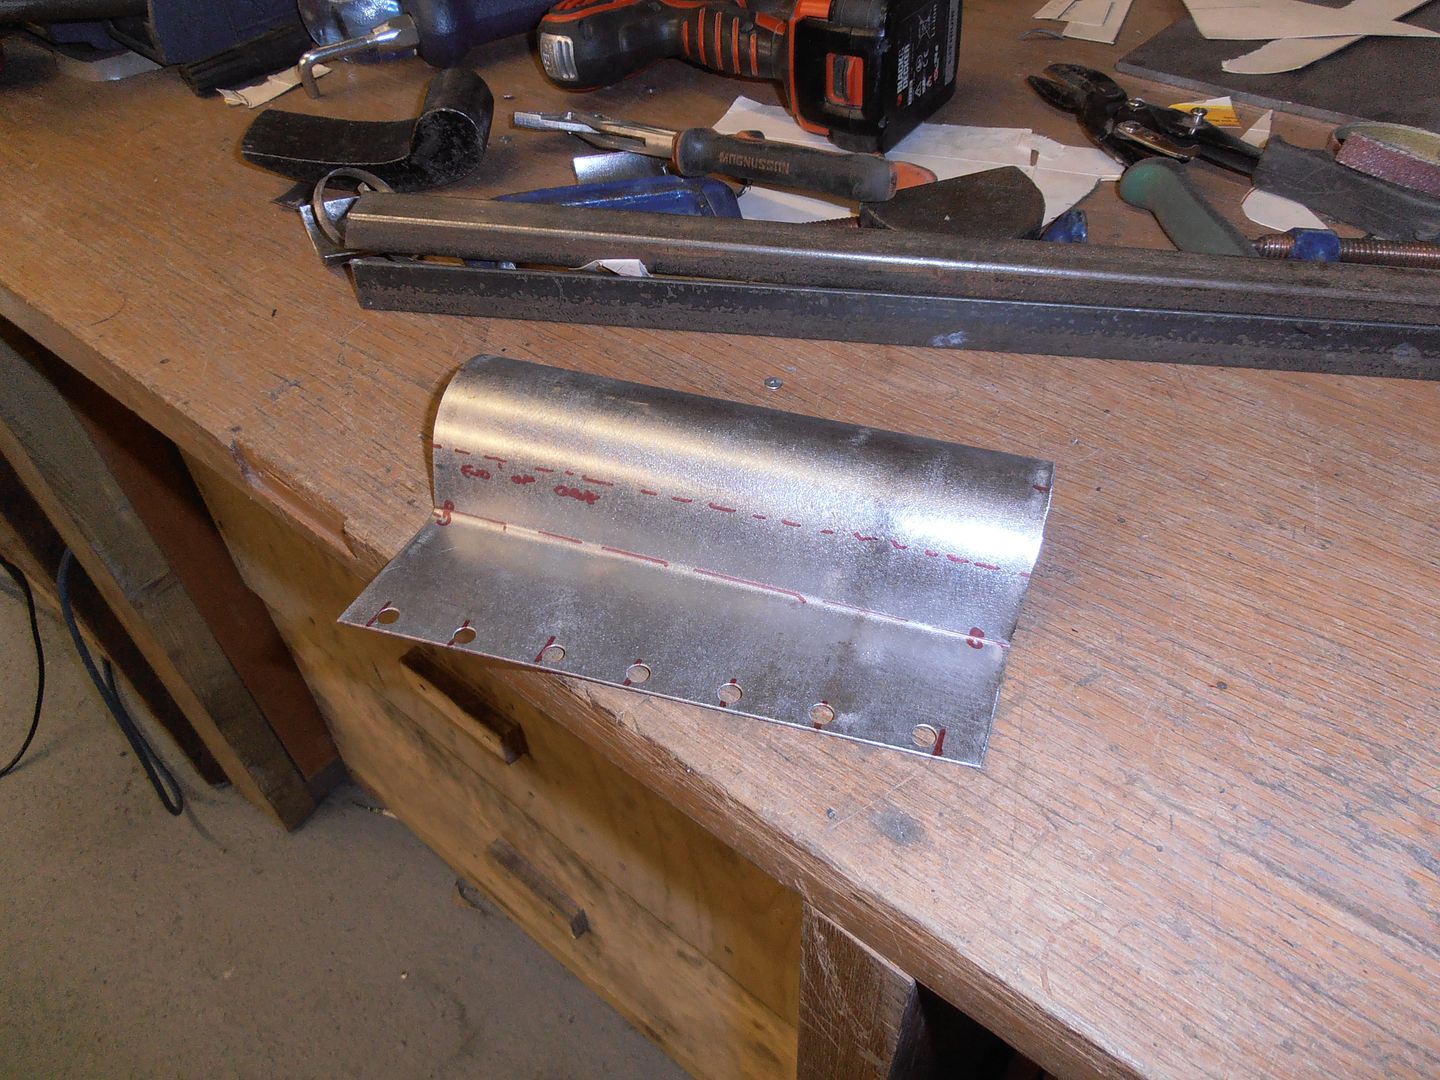 and another piece 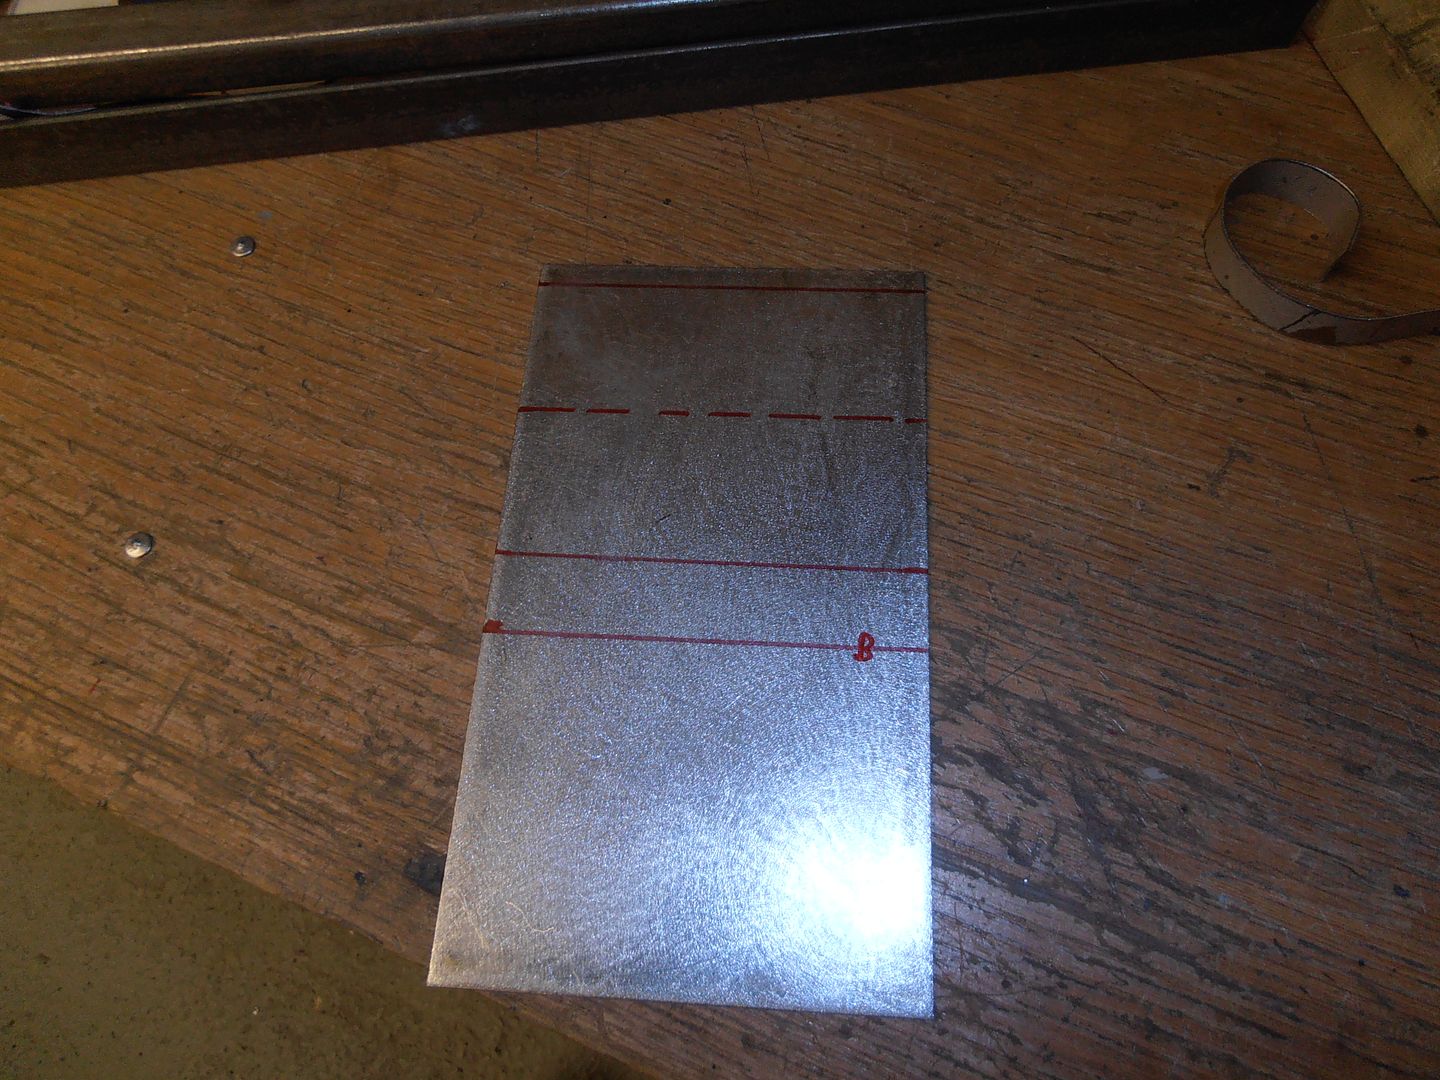 start welding them in 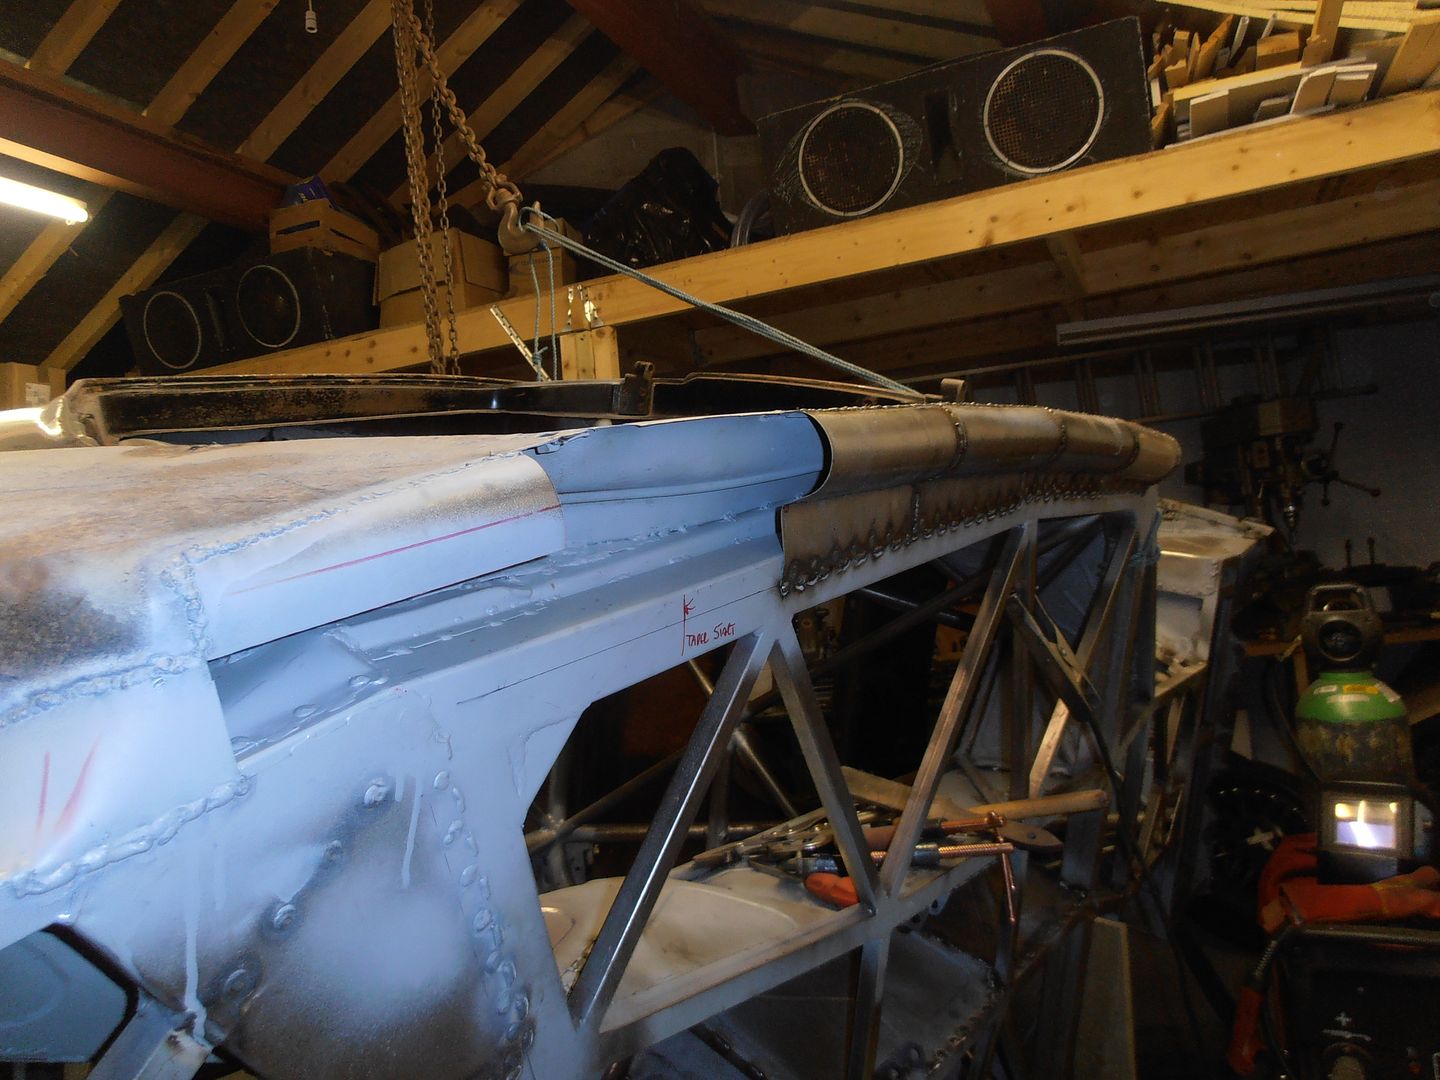 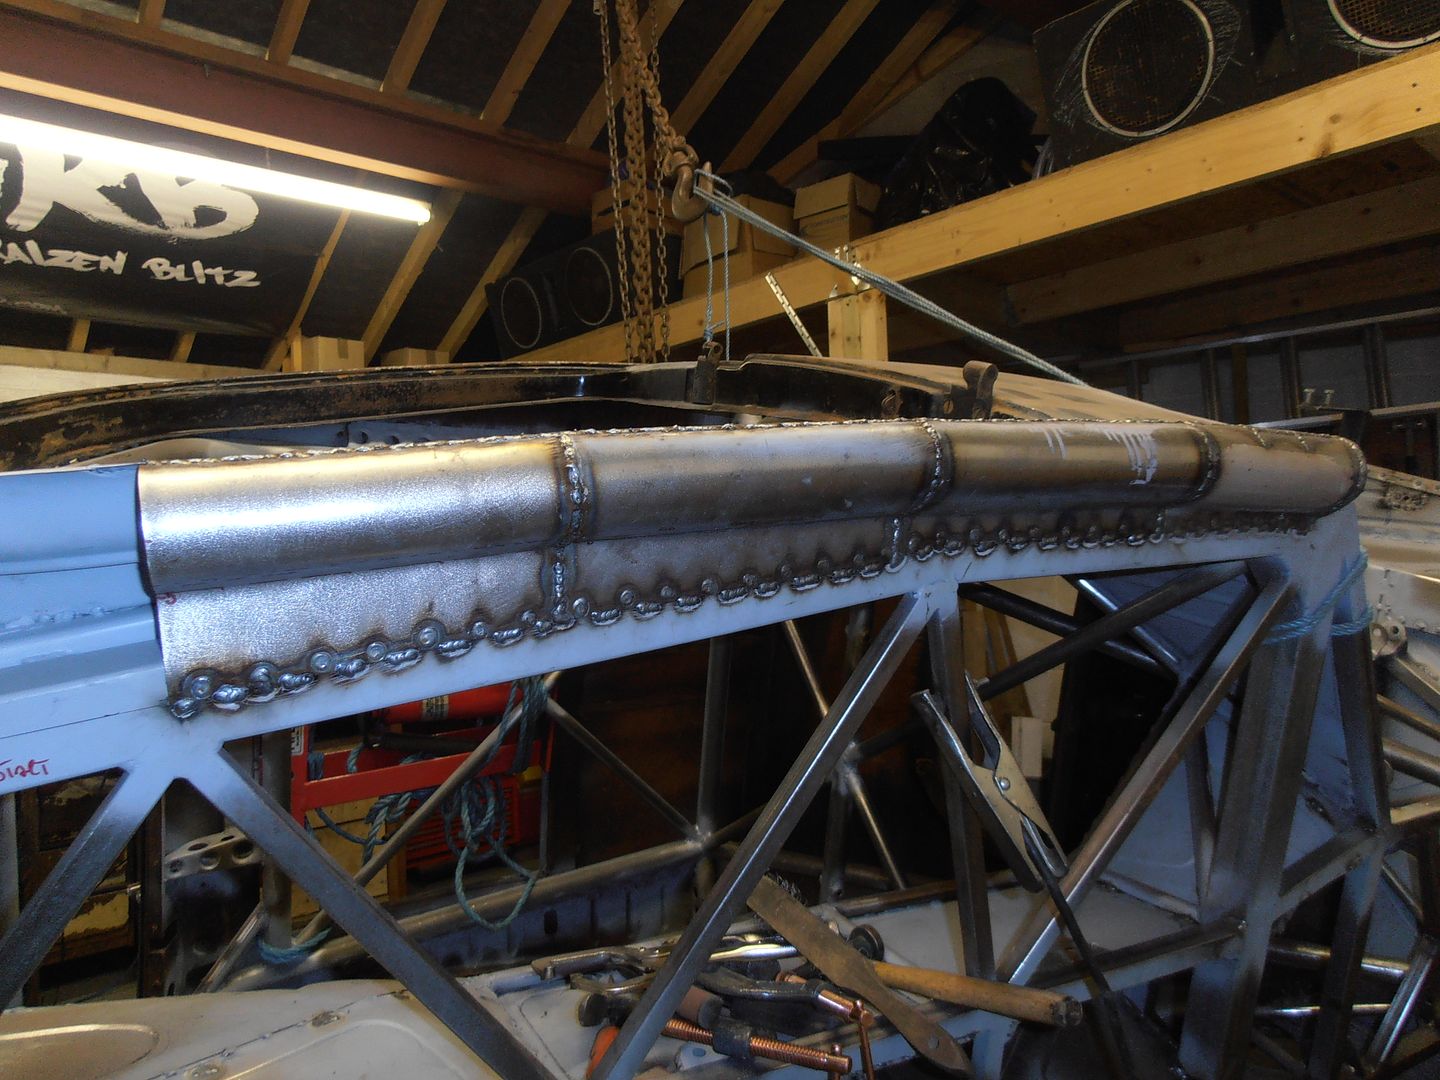 and then start the rest of the taper / closer. Made more difficult on this side as there's even less original metal left. Start with a bend 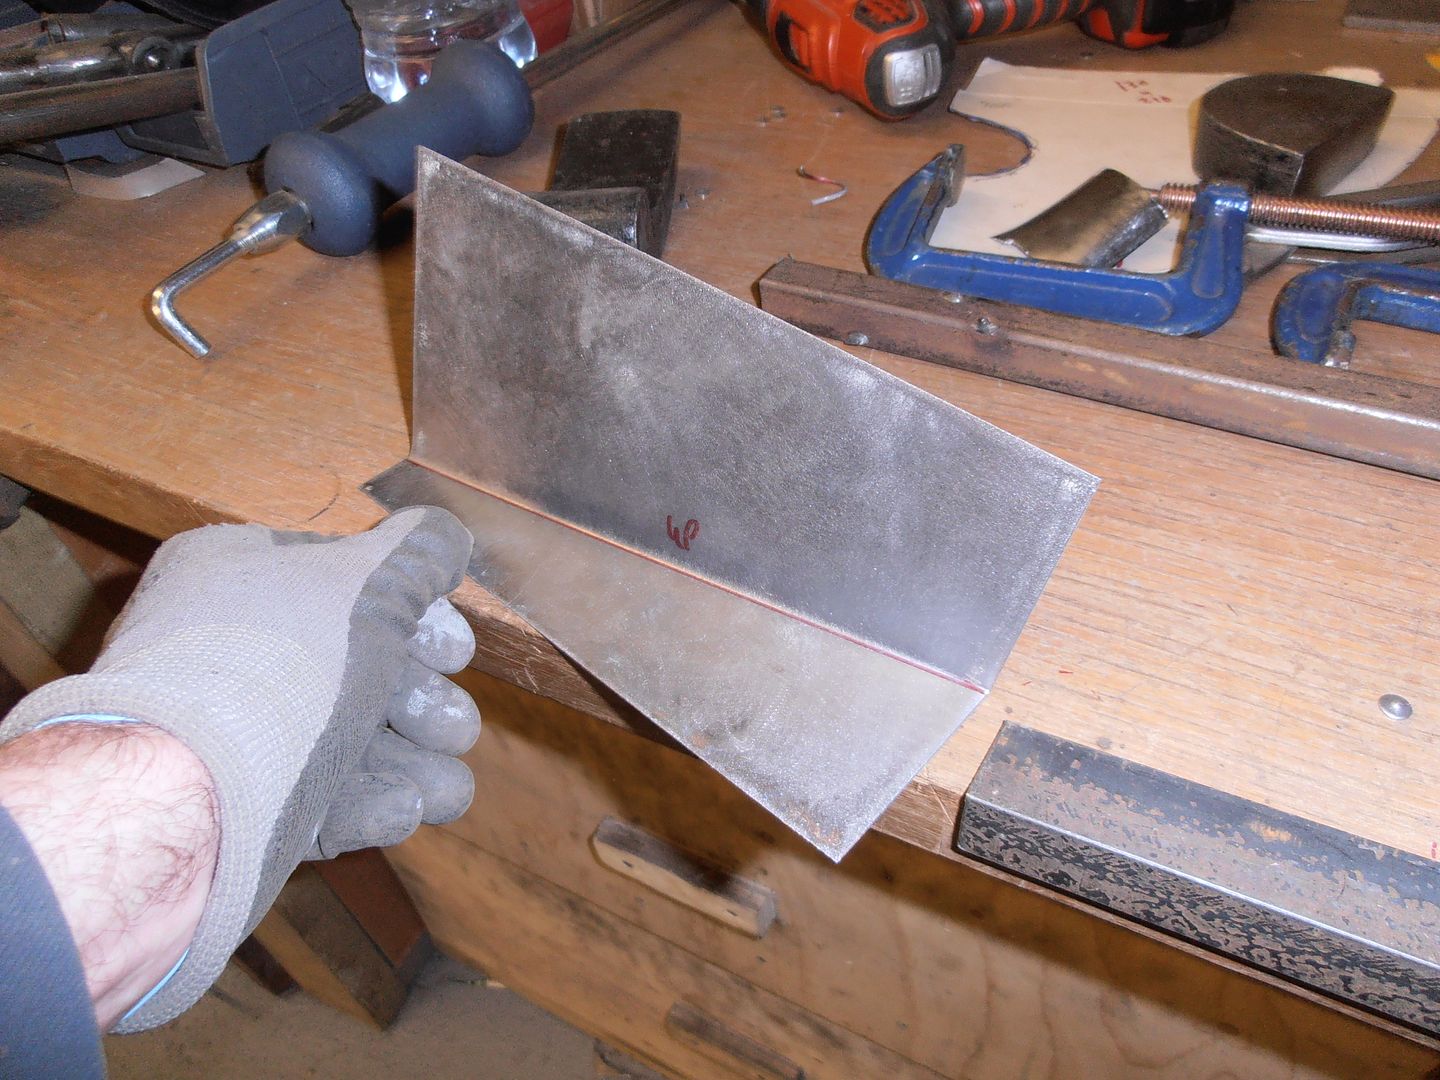 where it needs to fill the hole 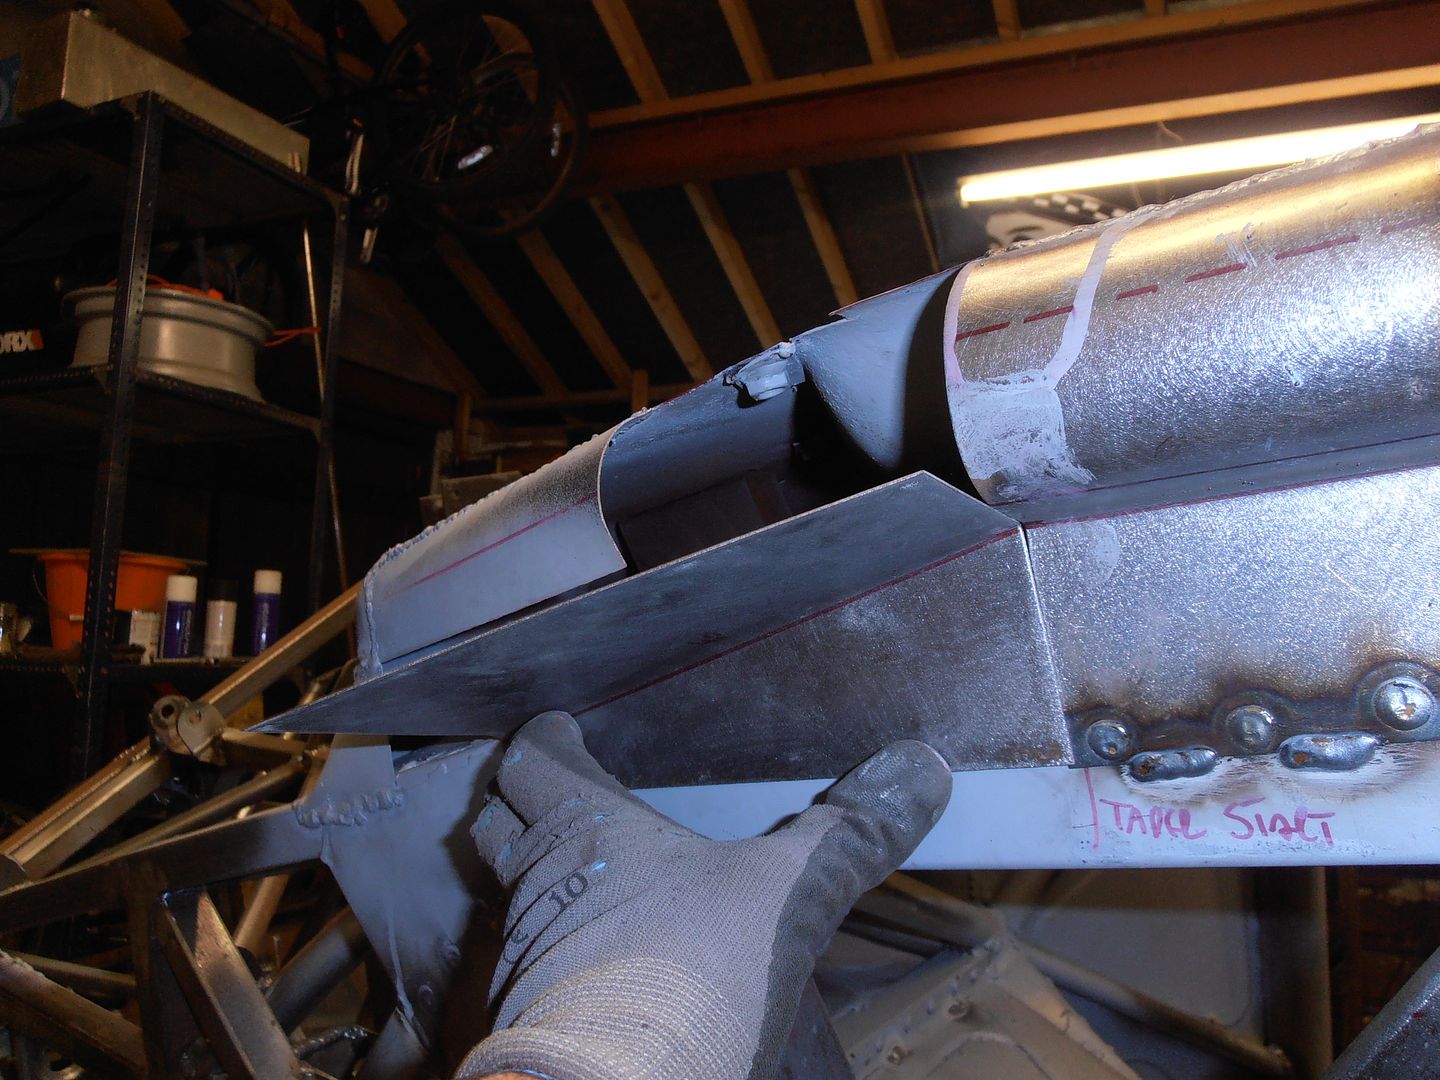 decide i'd be better off getting the edge nicely squared up first 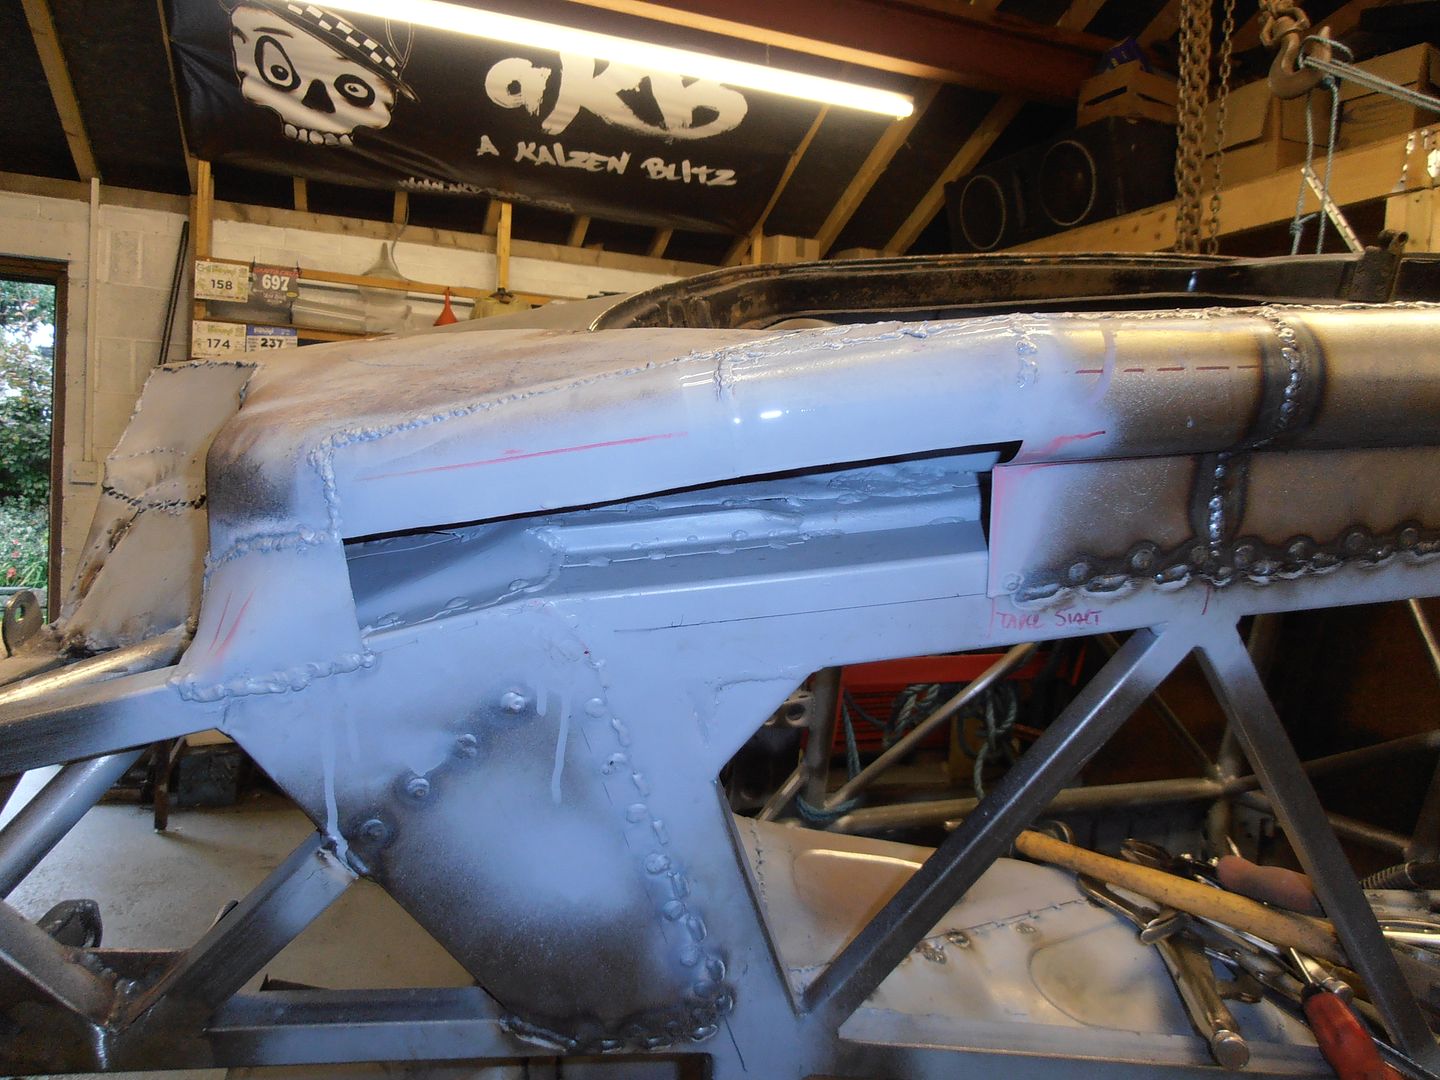 then after much much adjusting weld in 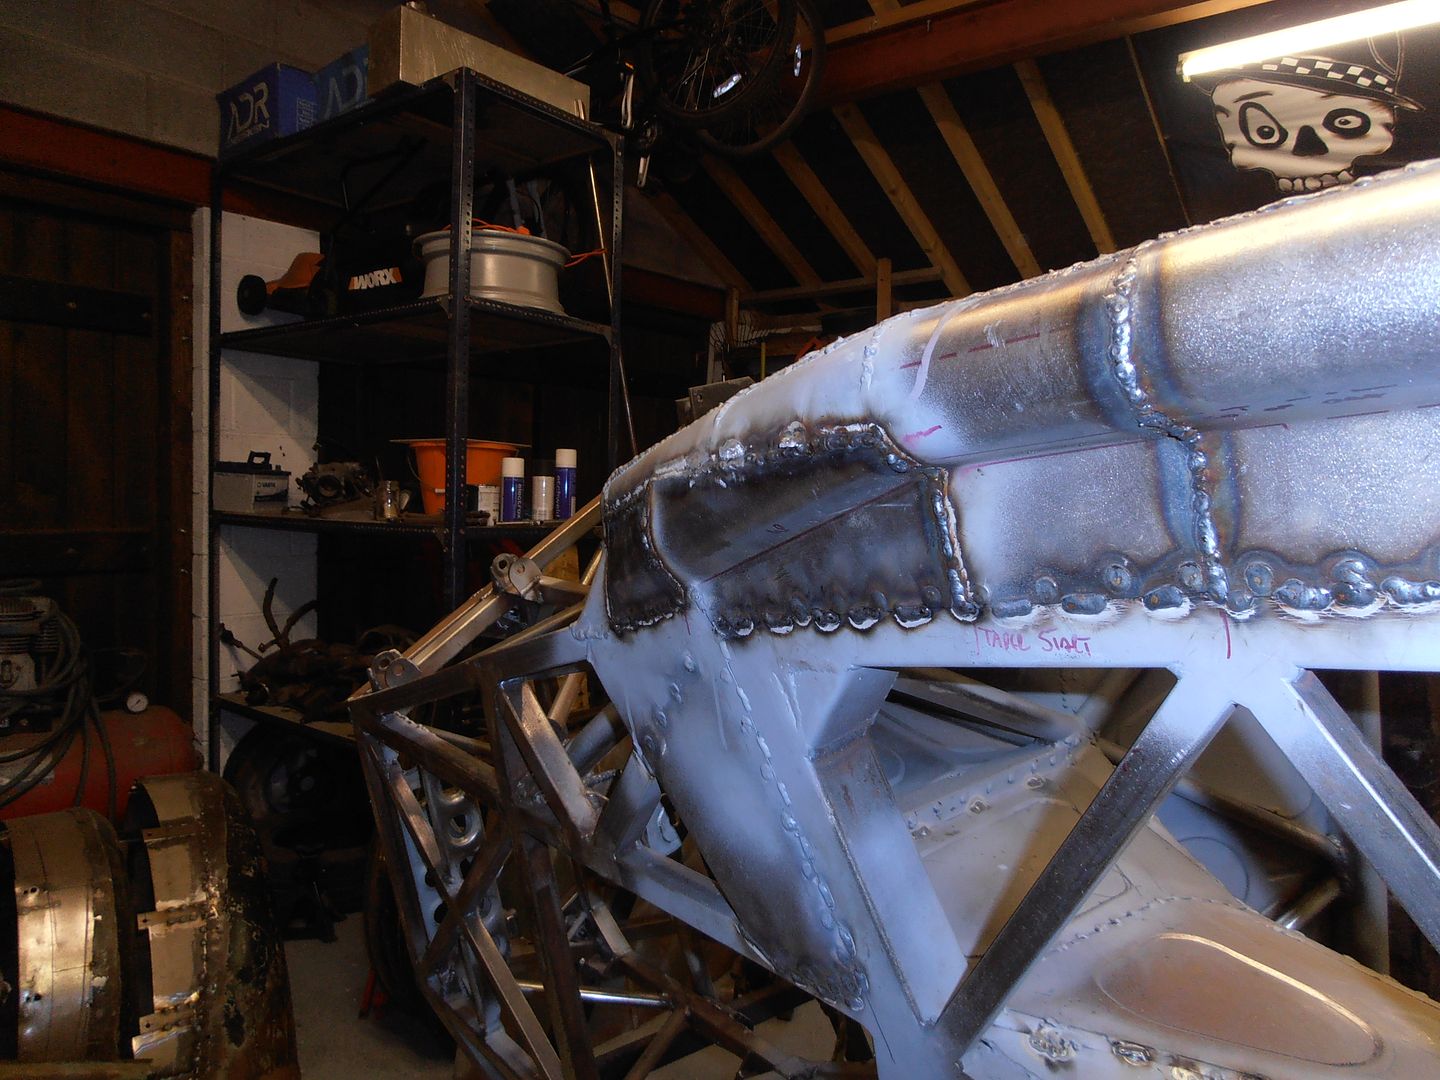 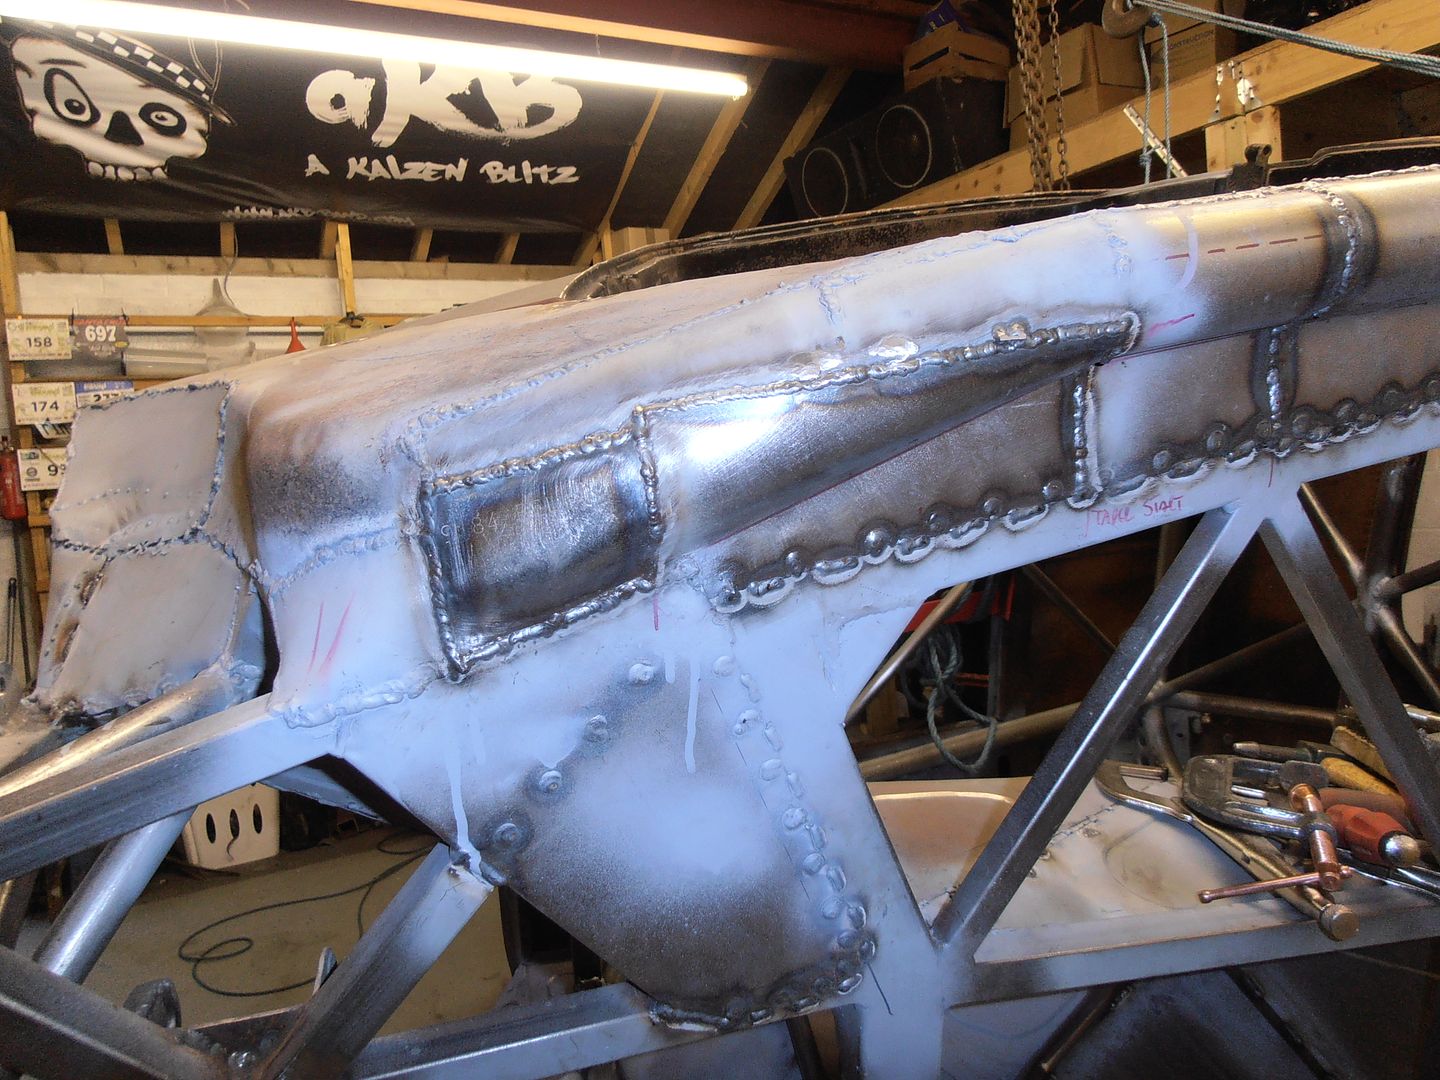 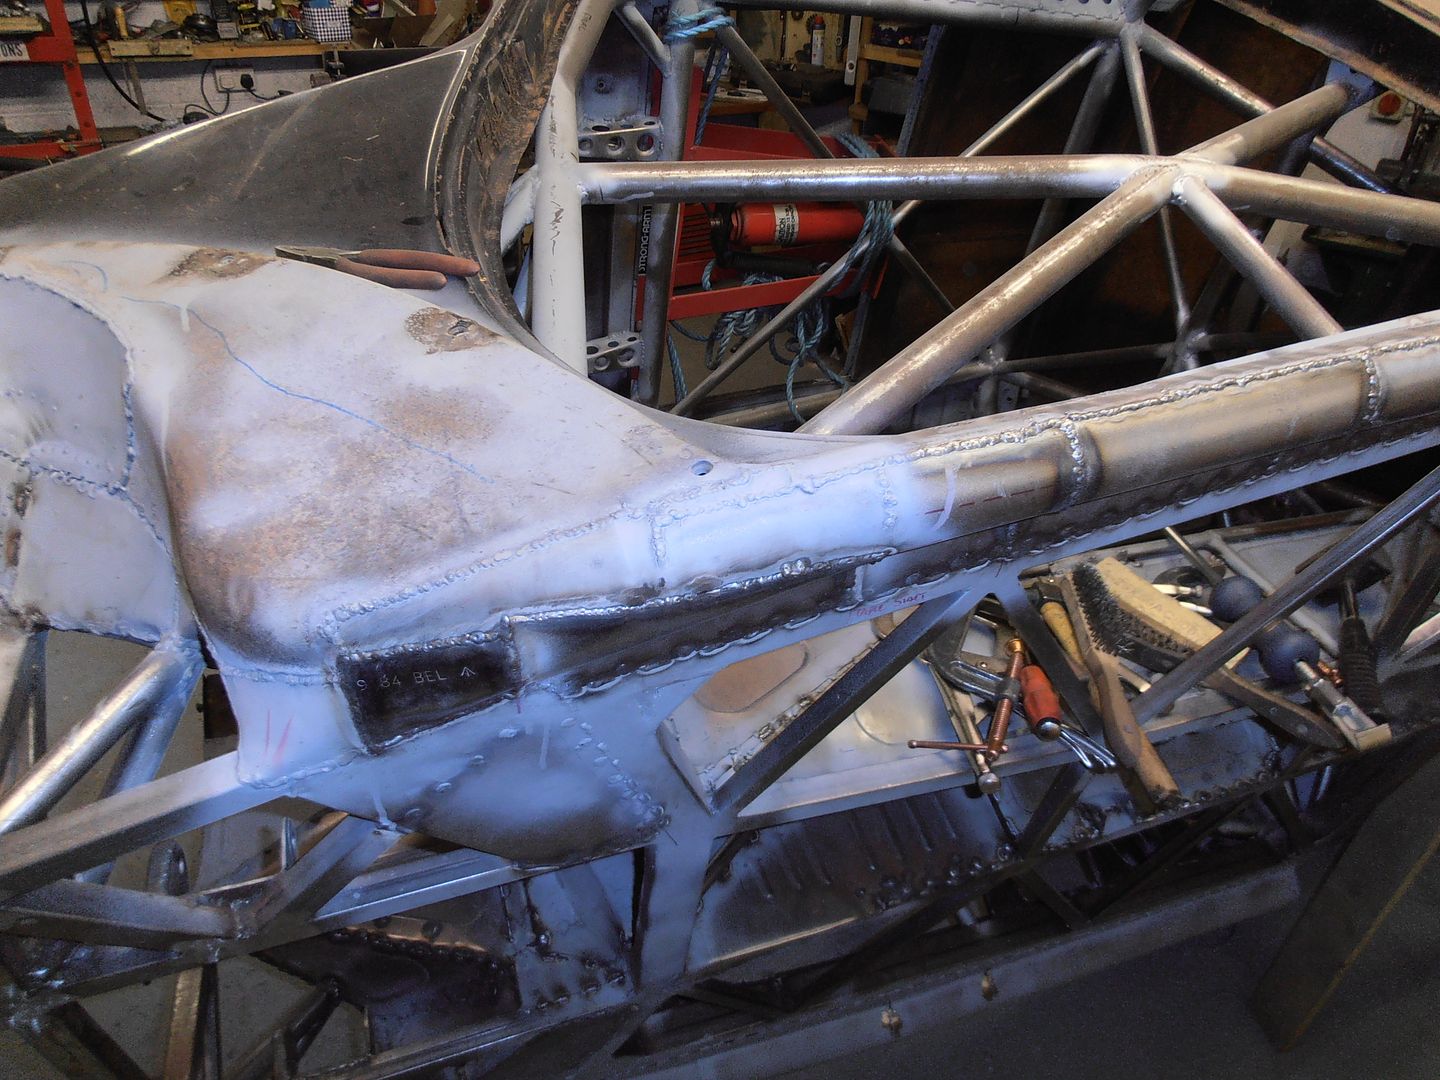 it all looks like a patchwork quilt a bit, but hopefully will look ok once I clean it all back up. do some more stitching and plug welding 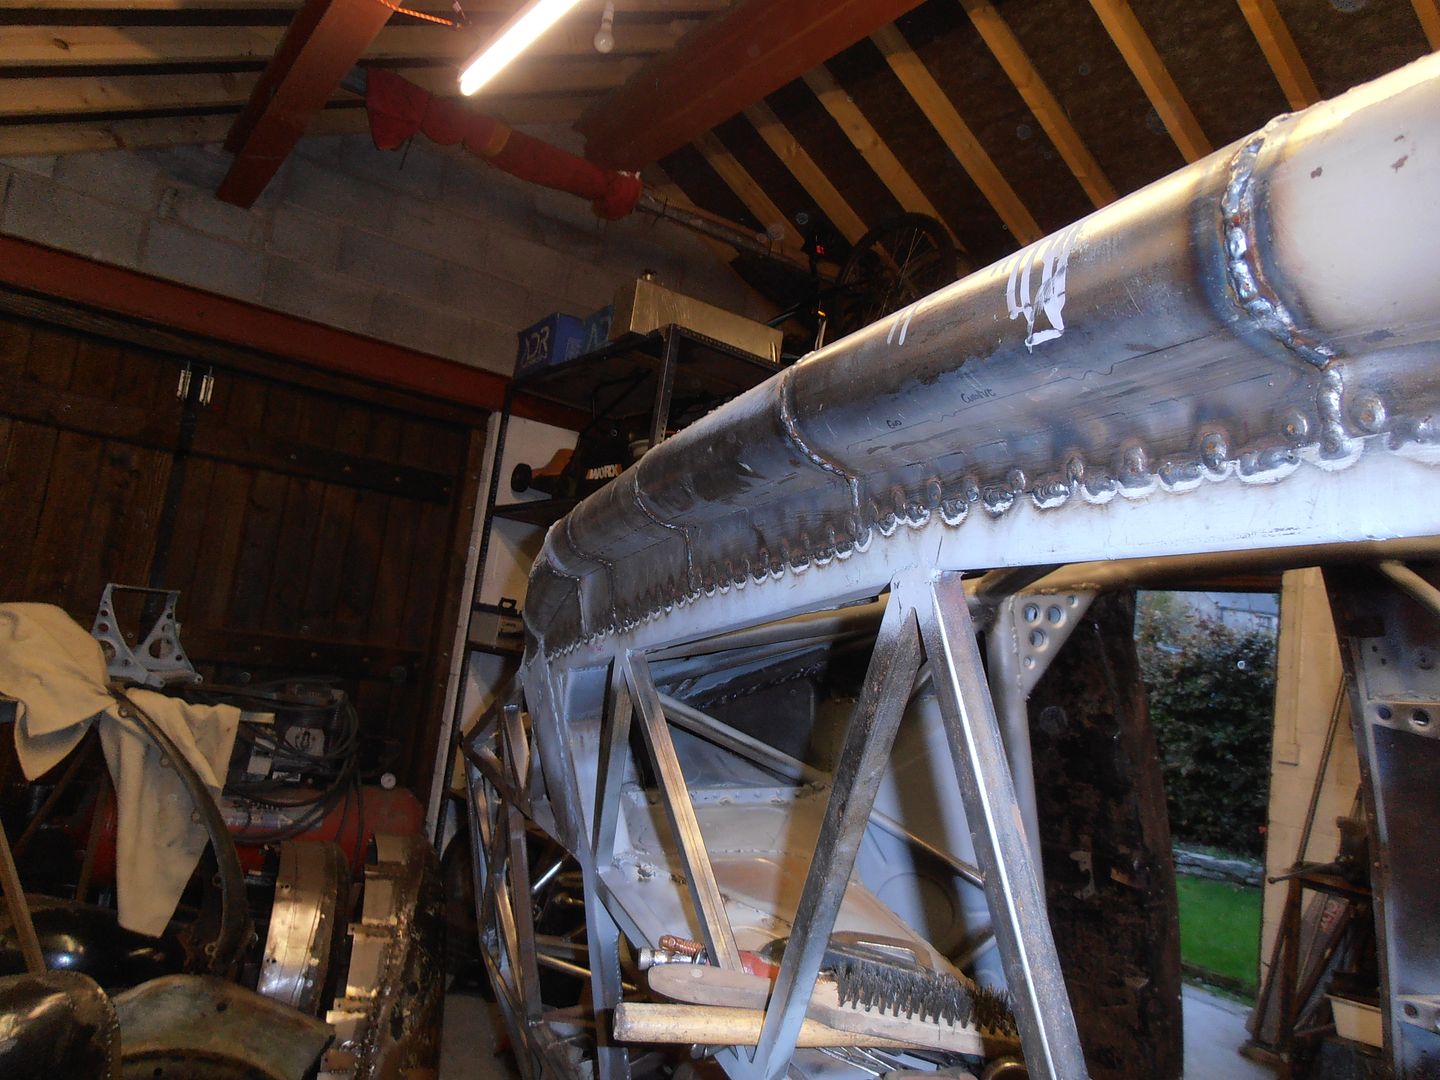 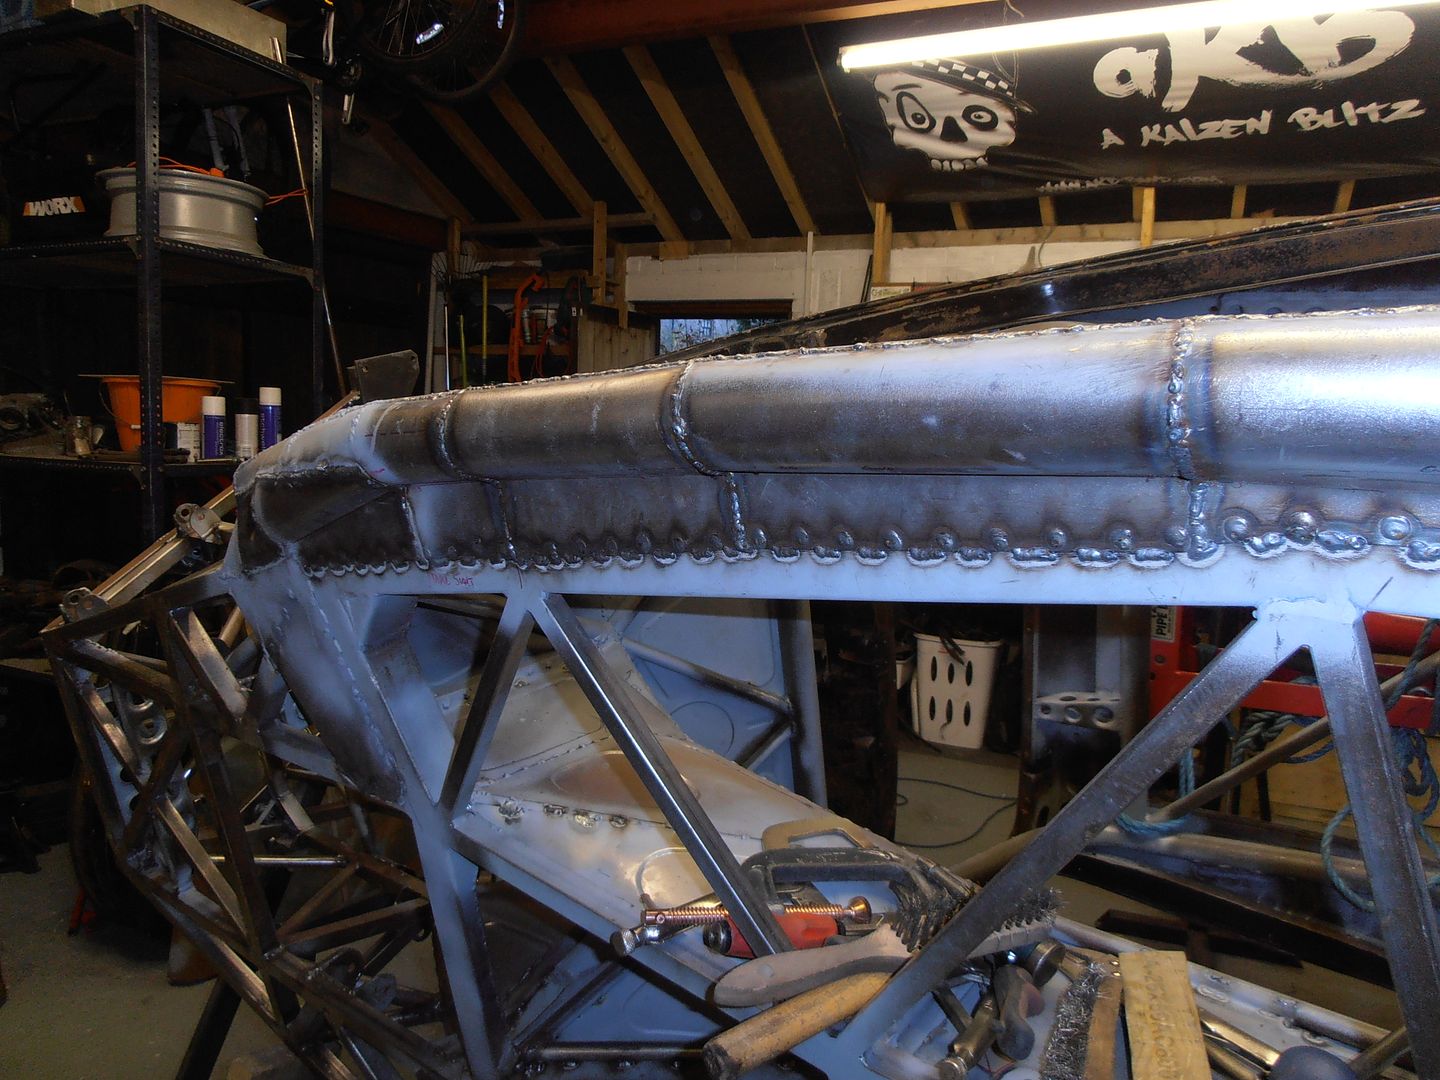 Next on the list is start cleaning back all the welds on the underside, fiish any other inaccessible welding inside and out, then look at fitting the sheet aluminium floor. It'll be bonded and blind riveted on. I just need to check if bonding has to be bare metal to metal or if I can zinc prime first to prevent corrosion. |
| |
|
|
logicaluk
Posted a lot
   Every days a school day round here
Posts: 1,373
|
|
Oct 23, 2016 12:35:33 GMT
|
|
So glad youve got your mojo back. Properley impressive work that is.
Dan
|
| |
|
|
jonomisfit
Club Retro Rides Member
Posts: 1,790
Club RR Member Number: 49
|
|
Oct 23, 2016 14:09:57 GMT
|
No much work today, or at least not much to see. I've mainly started cleaning back welds etc. and doing some finishing welds where they are needed. flipped over on the spit 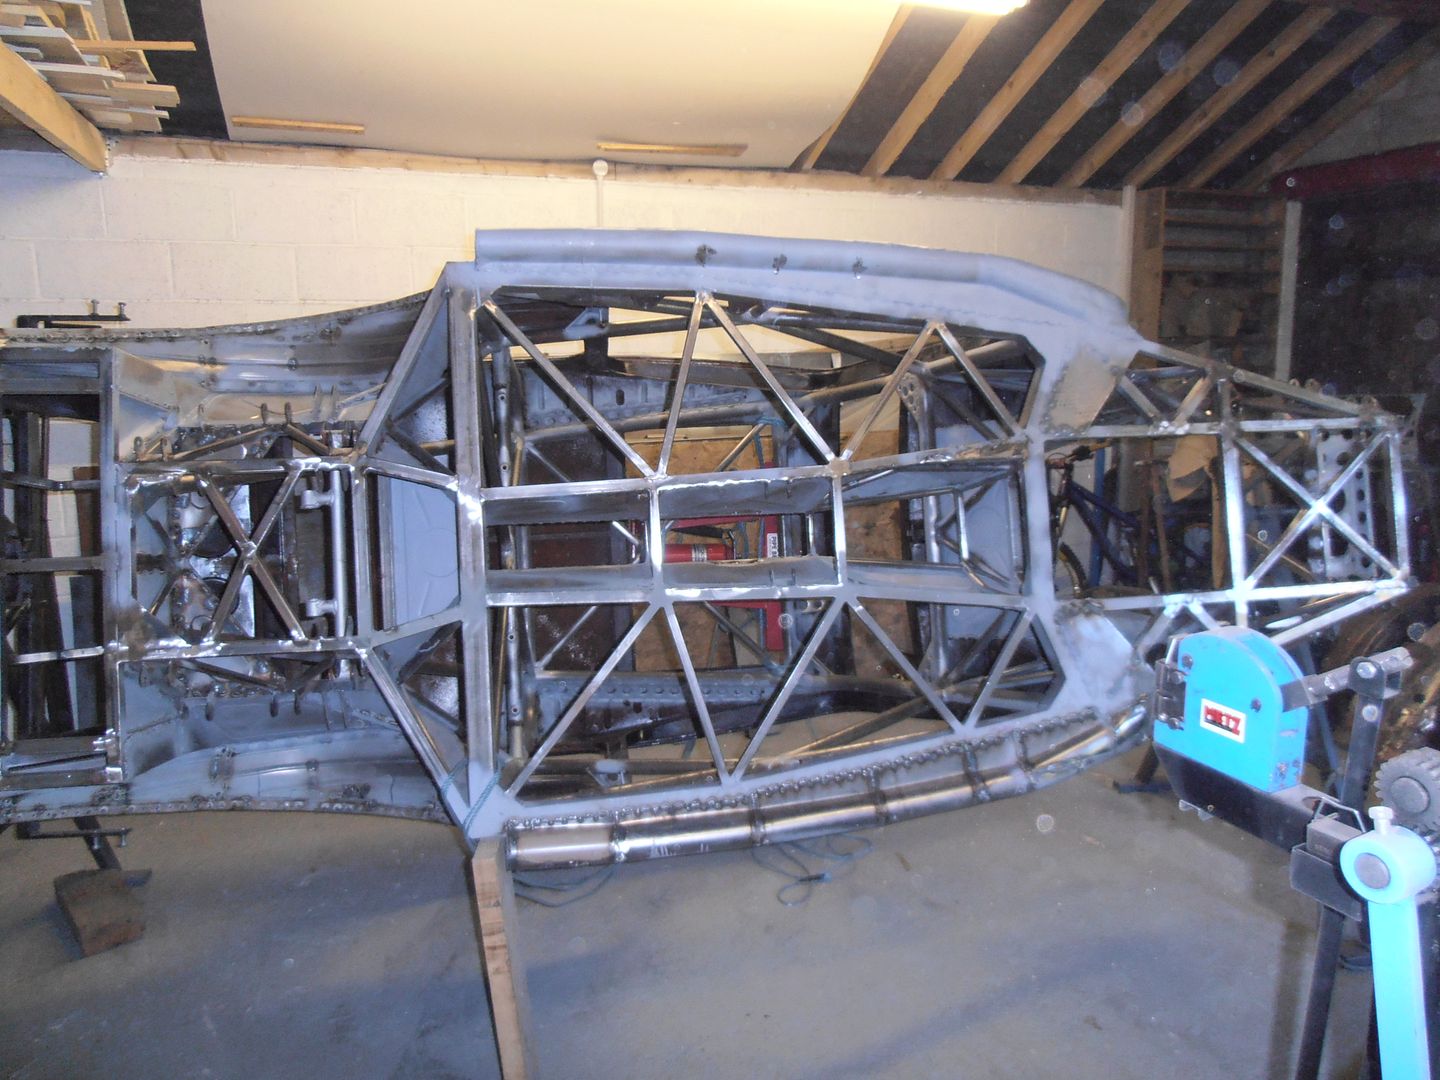 some more cleaning up and zinc priming 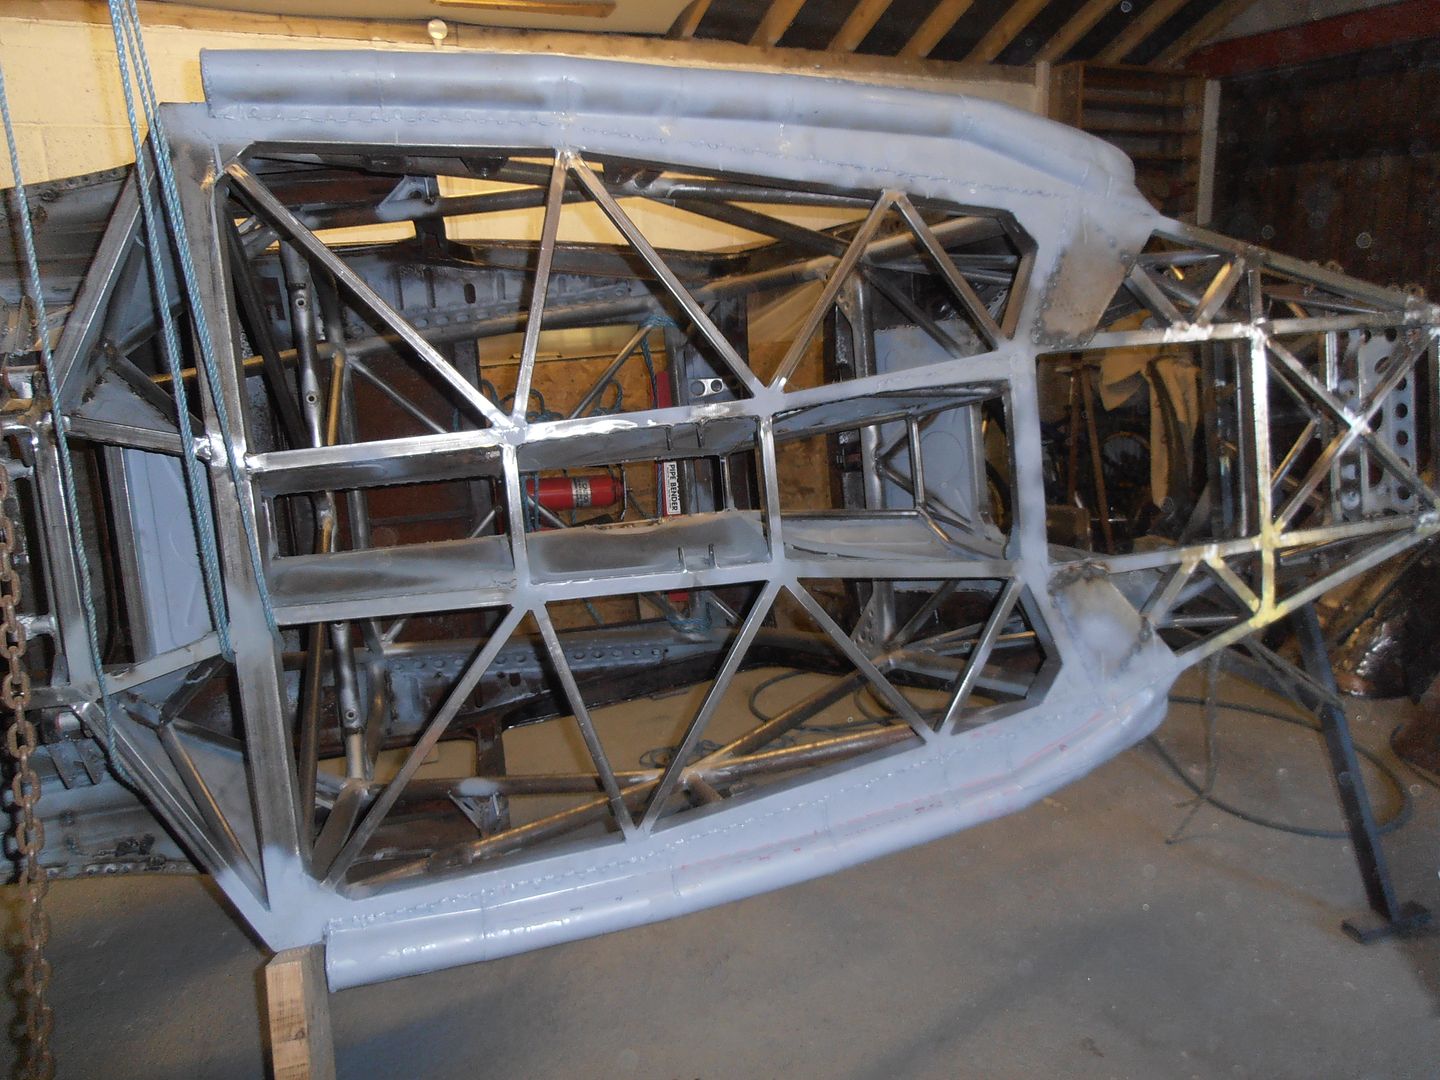 started welding the roof / cage interface gussets in 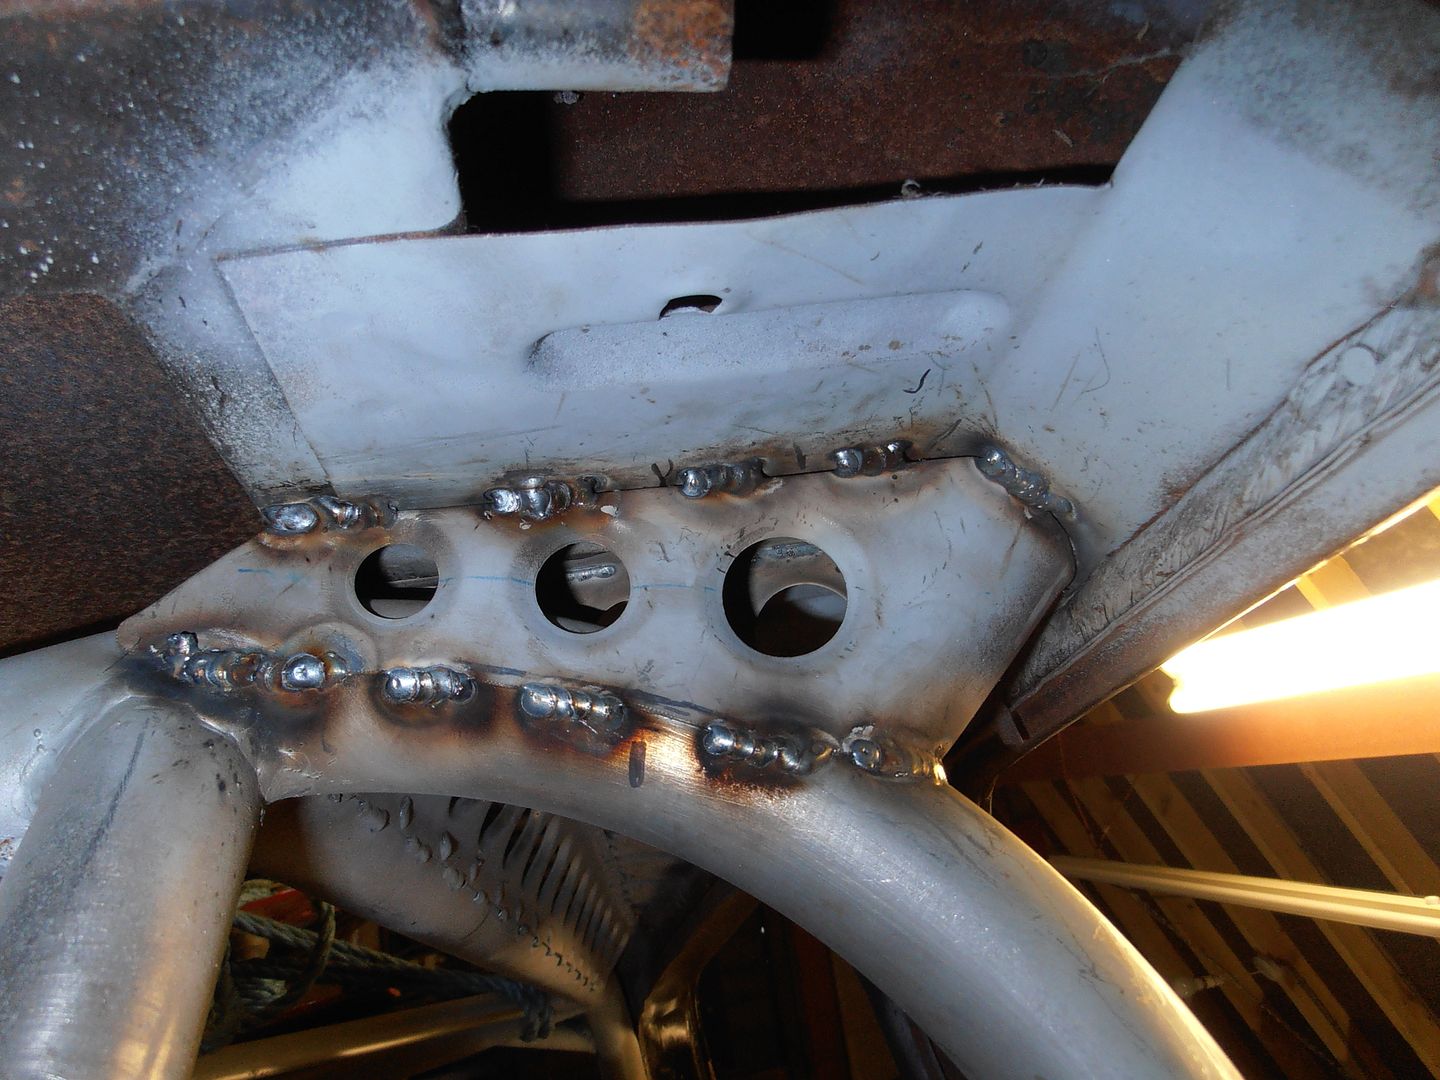 Thats it picture wise, and likely to be that way for the next few sessions. Probably be a few weeks till another update as i've got some things on. |
| |
|
|
|
|
|
Oct 23, 2016 17:45:18 GMT
|
to be frank, the car is very symmetrical with its triangulation and sort of "truss bridge" construction. it doesnt look like a patchwork quilt at all, i think the section by section angular tubed sill works fine. its kind of like "lames" , the overlapping fillets between joins in a medieval suit of armor, an automotive armadillo  |
| |
Last Edit: Oct 23, 2016 17:49:18 GMT by darrenh
|
|
|
|
|
Oct 23, 2016 18:01:22 GMT
|
|
Armadillo, haha that's a good name for a car
|
| |
|
|
vulgalour
Club Retro Rides Member
Posts: 7,287
Club RR Member Number: 146
|
|
|
|
|
It does look very neat, an awful lot of work in such a small space of a car too.
|
| |
|
|
jonomisfit
Club Retro Rides Member
Posts: 1,790
Club RR Member Number: 49
|
|
Nov 19, 2016 17:54:28 GMT
|
I like armadillo, that could make the list for the cars name. :-) I spent a bit of time today on the car, mainly welding / tidying up lots of little bits. Rear module corner gussets bottom closer plates 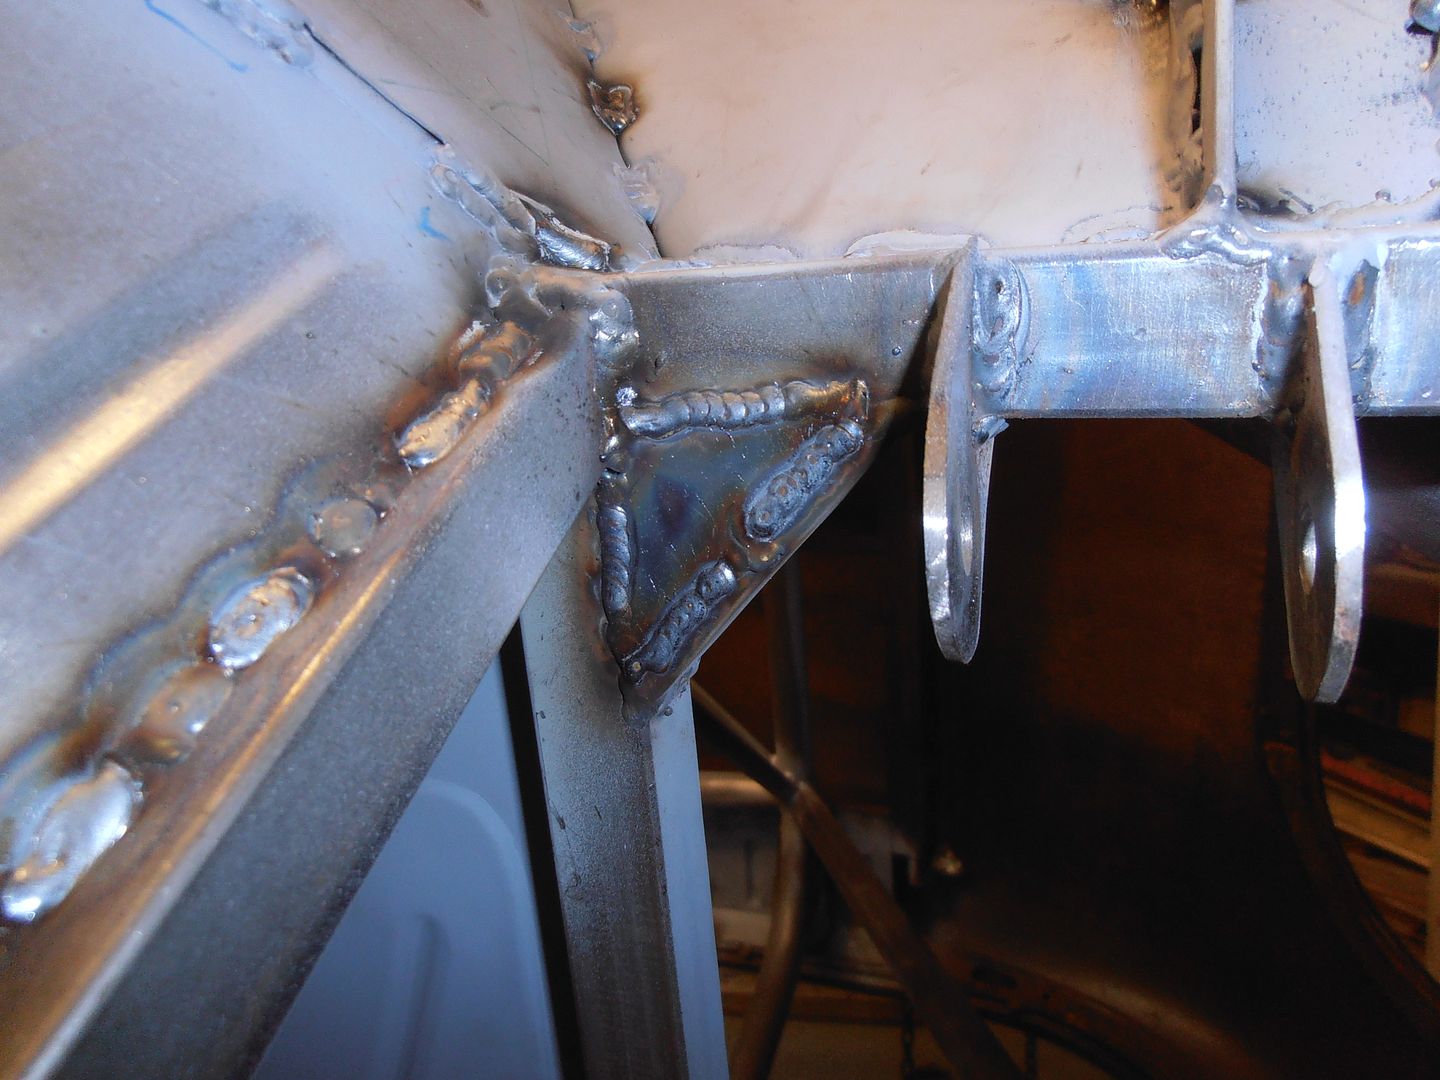 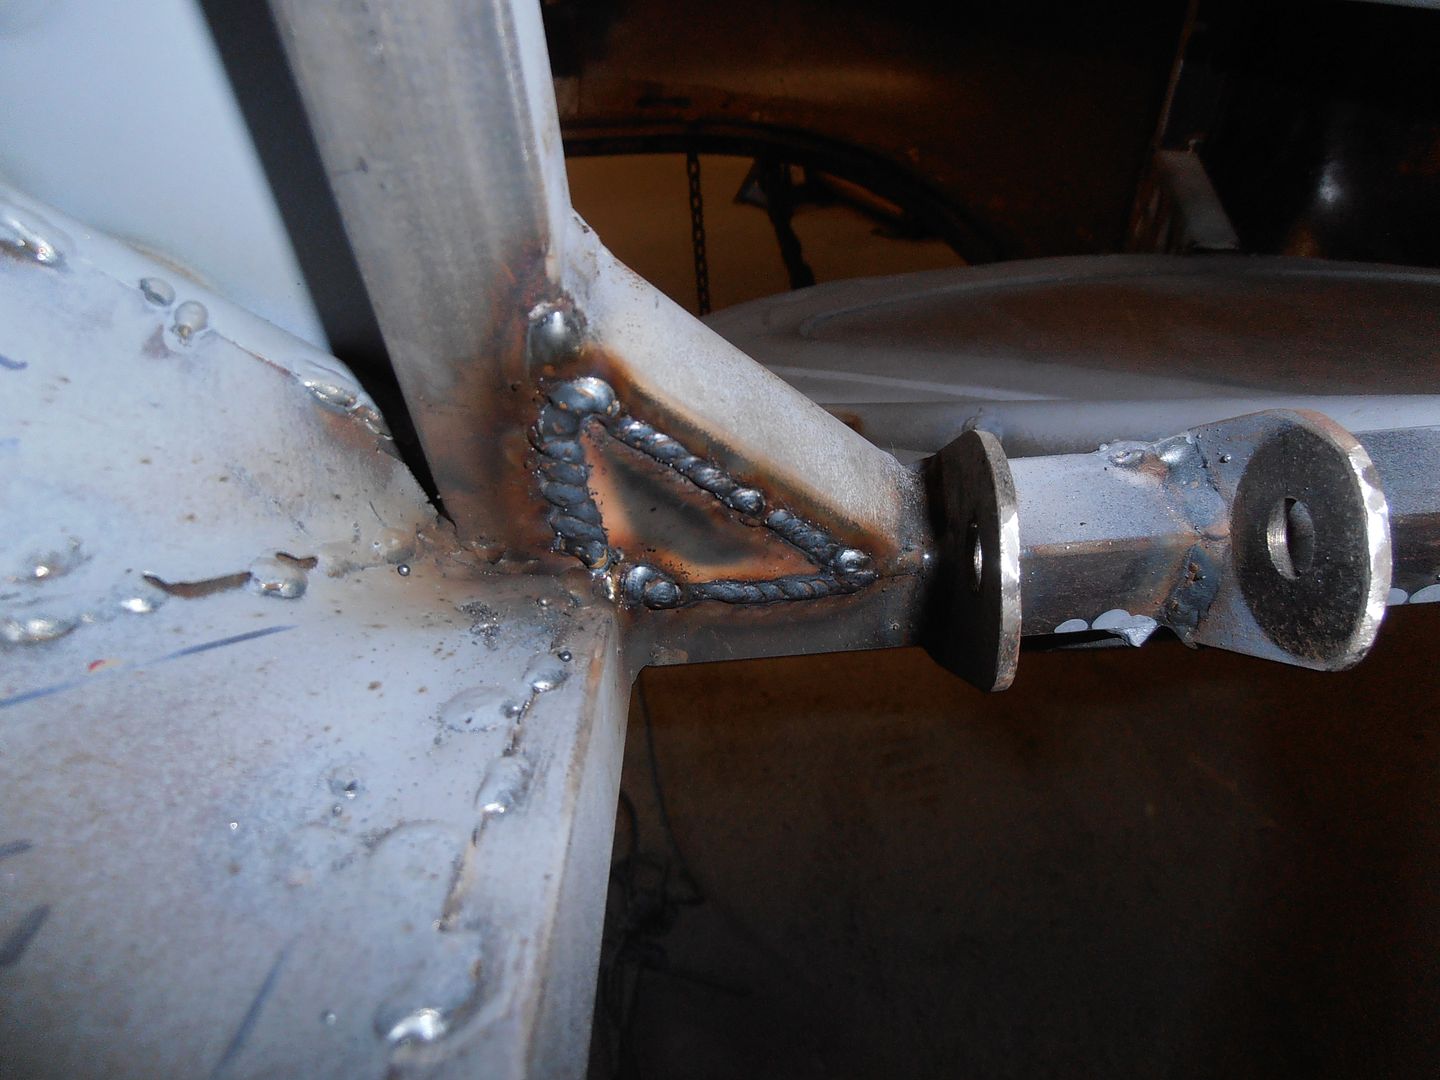 more stitches 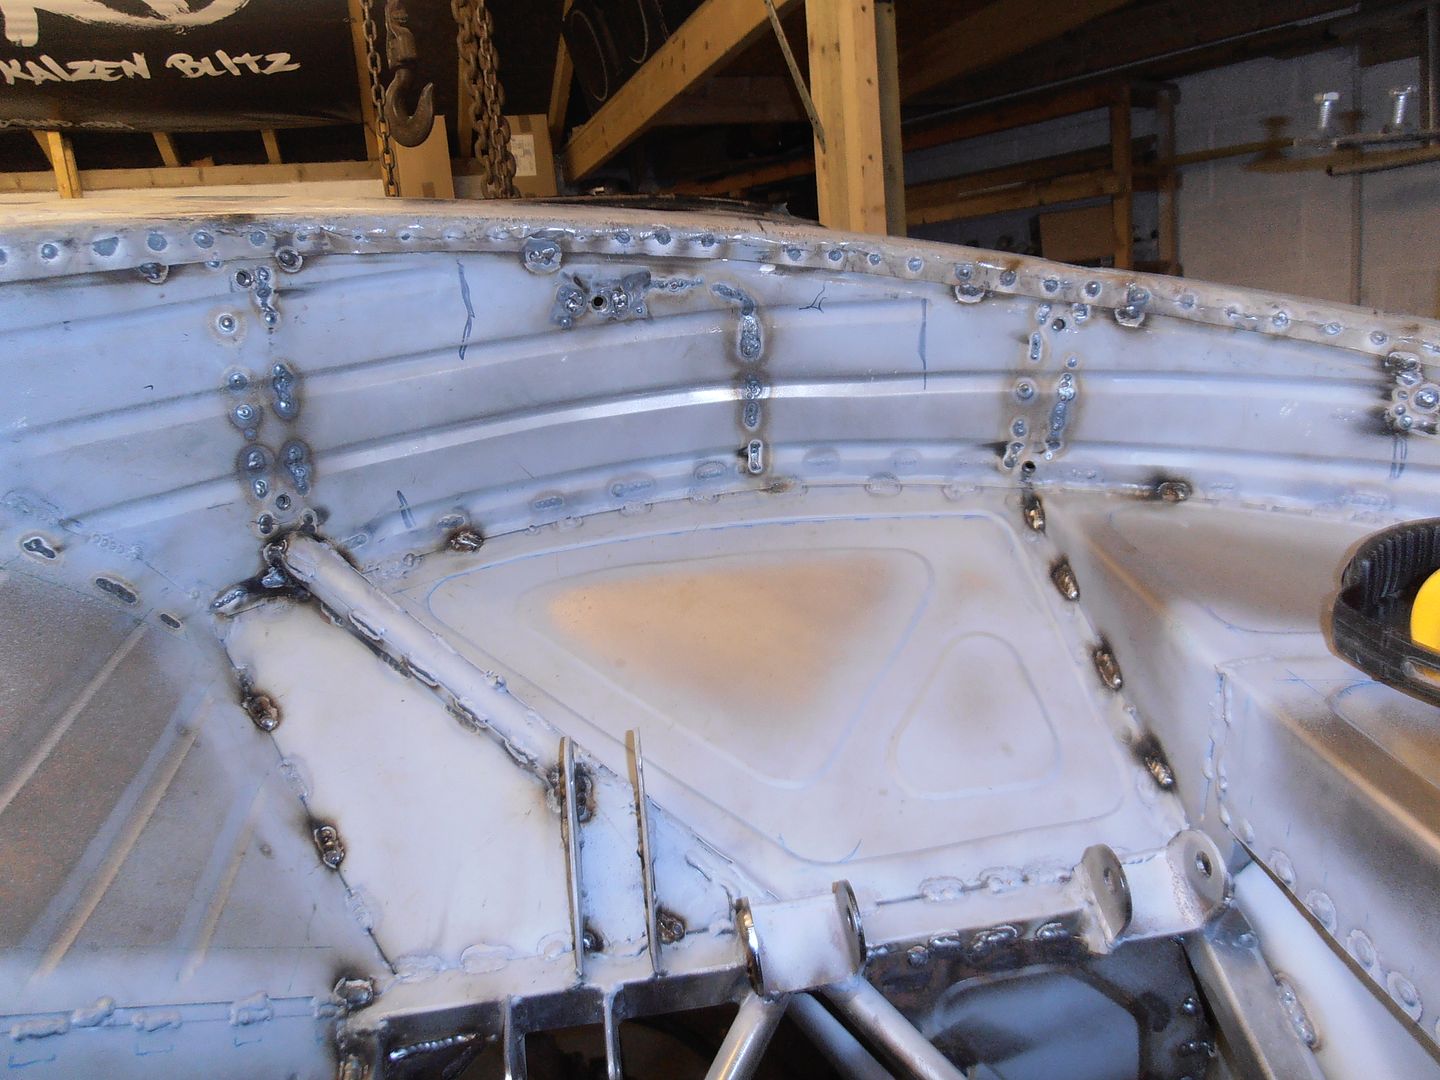 and more 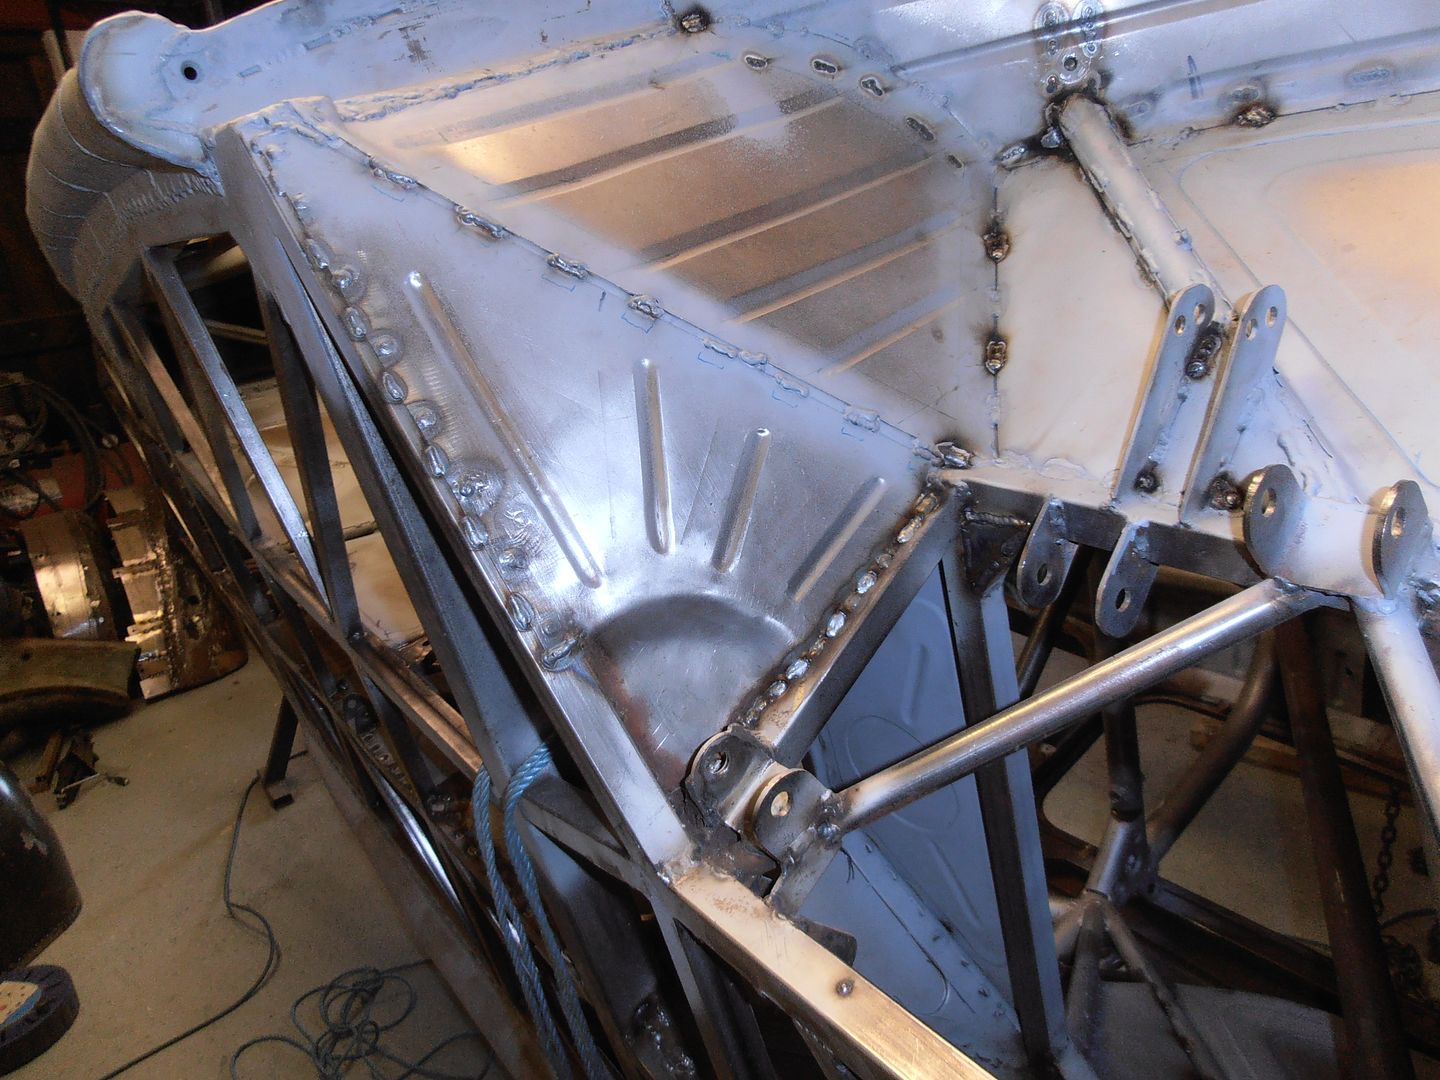 and more 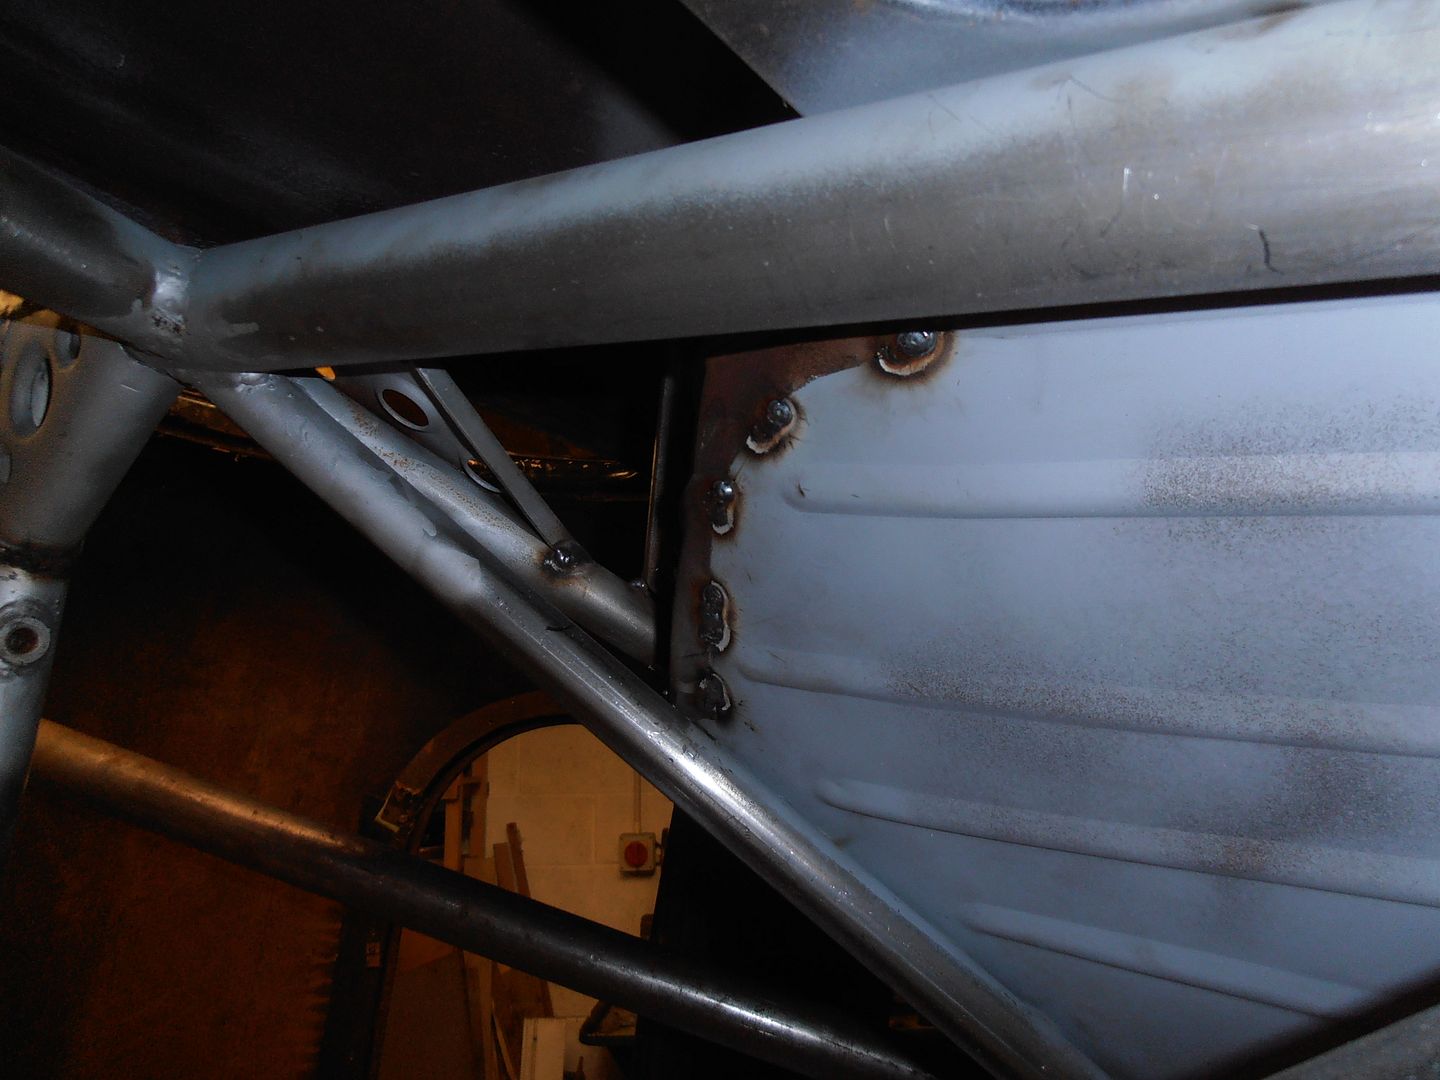 these dents were irritating me. So tacked on some washers and slide hammer applied 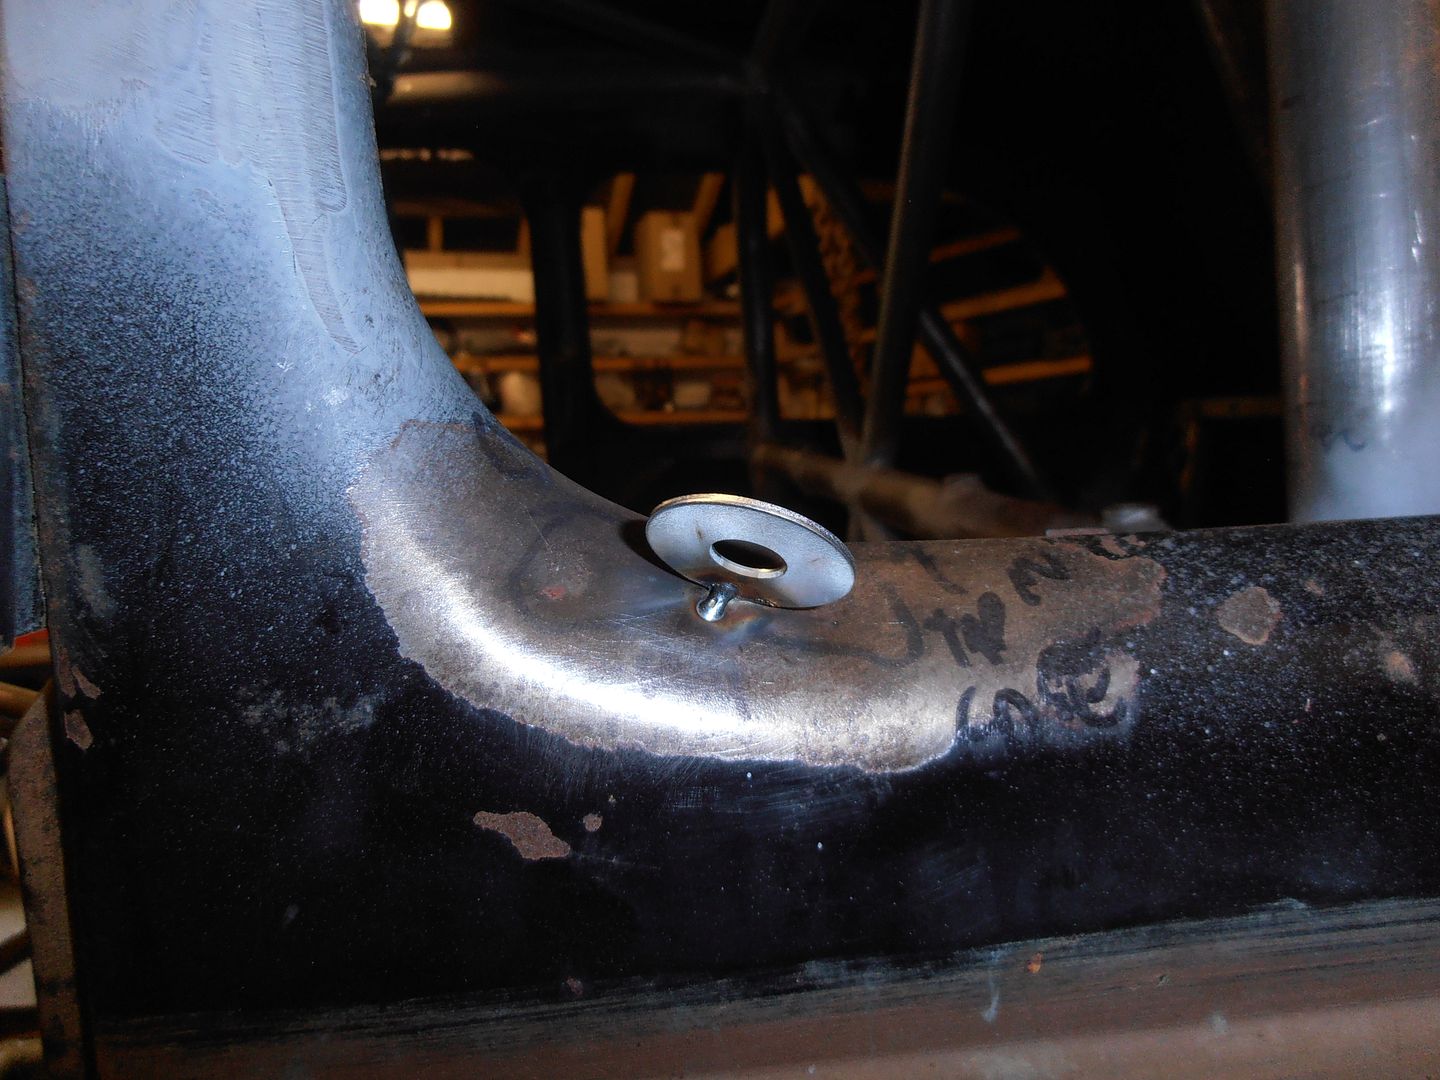 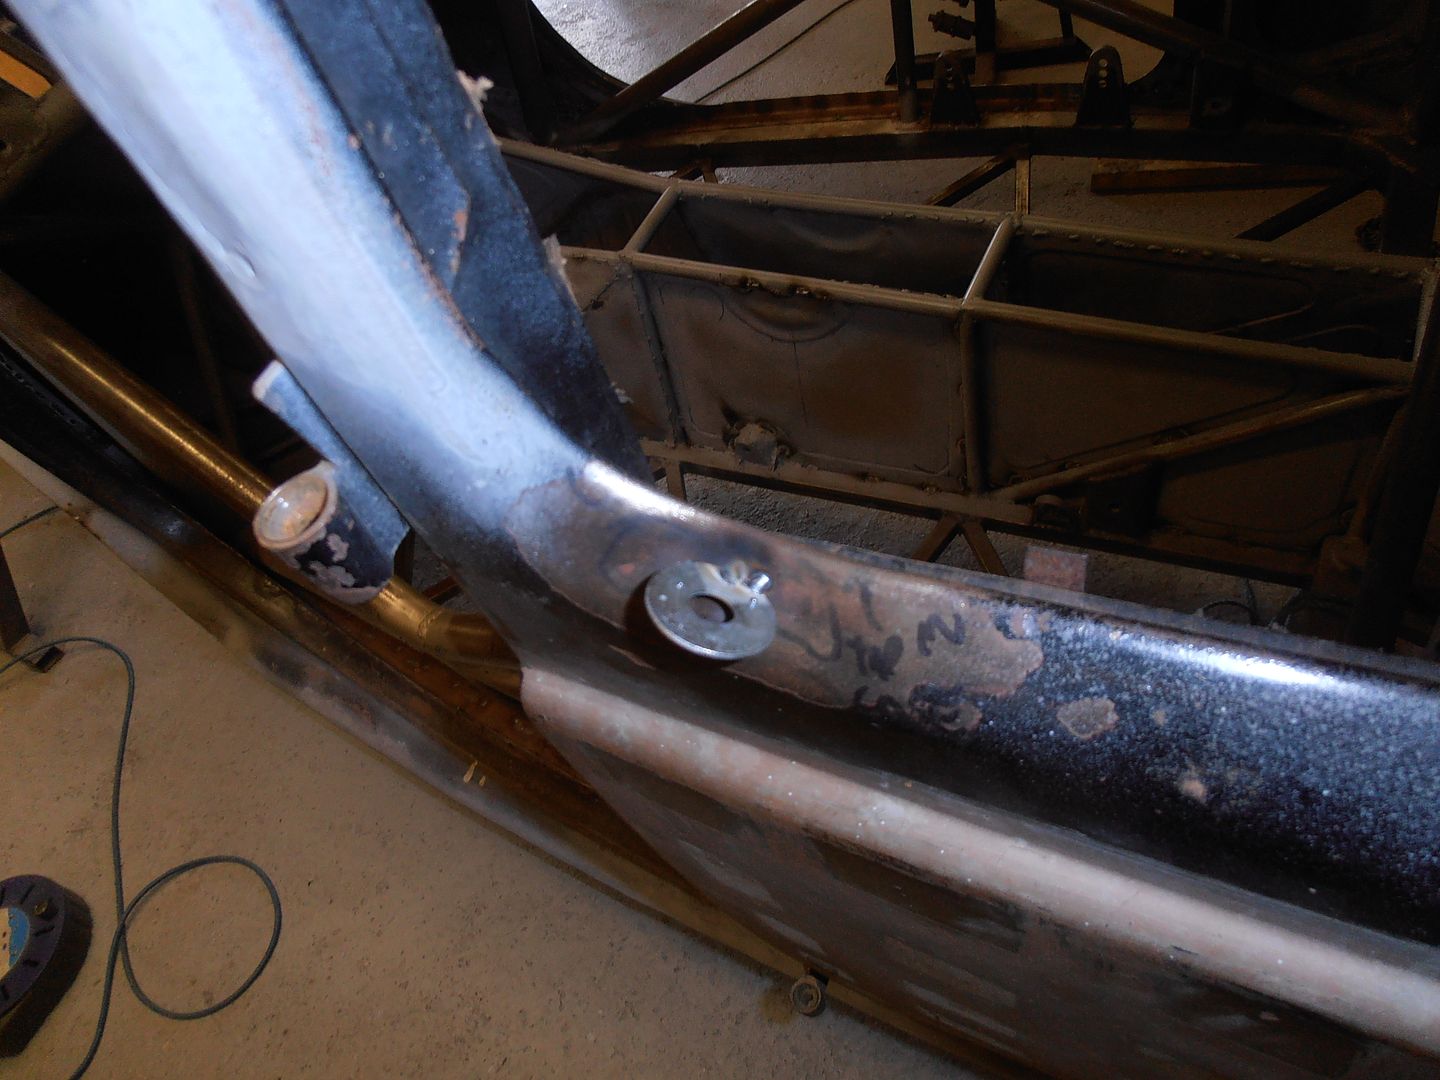 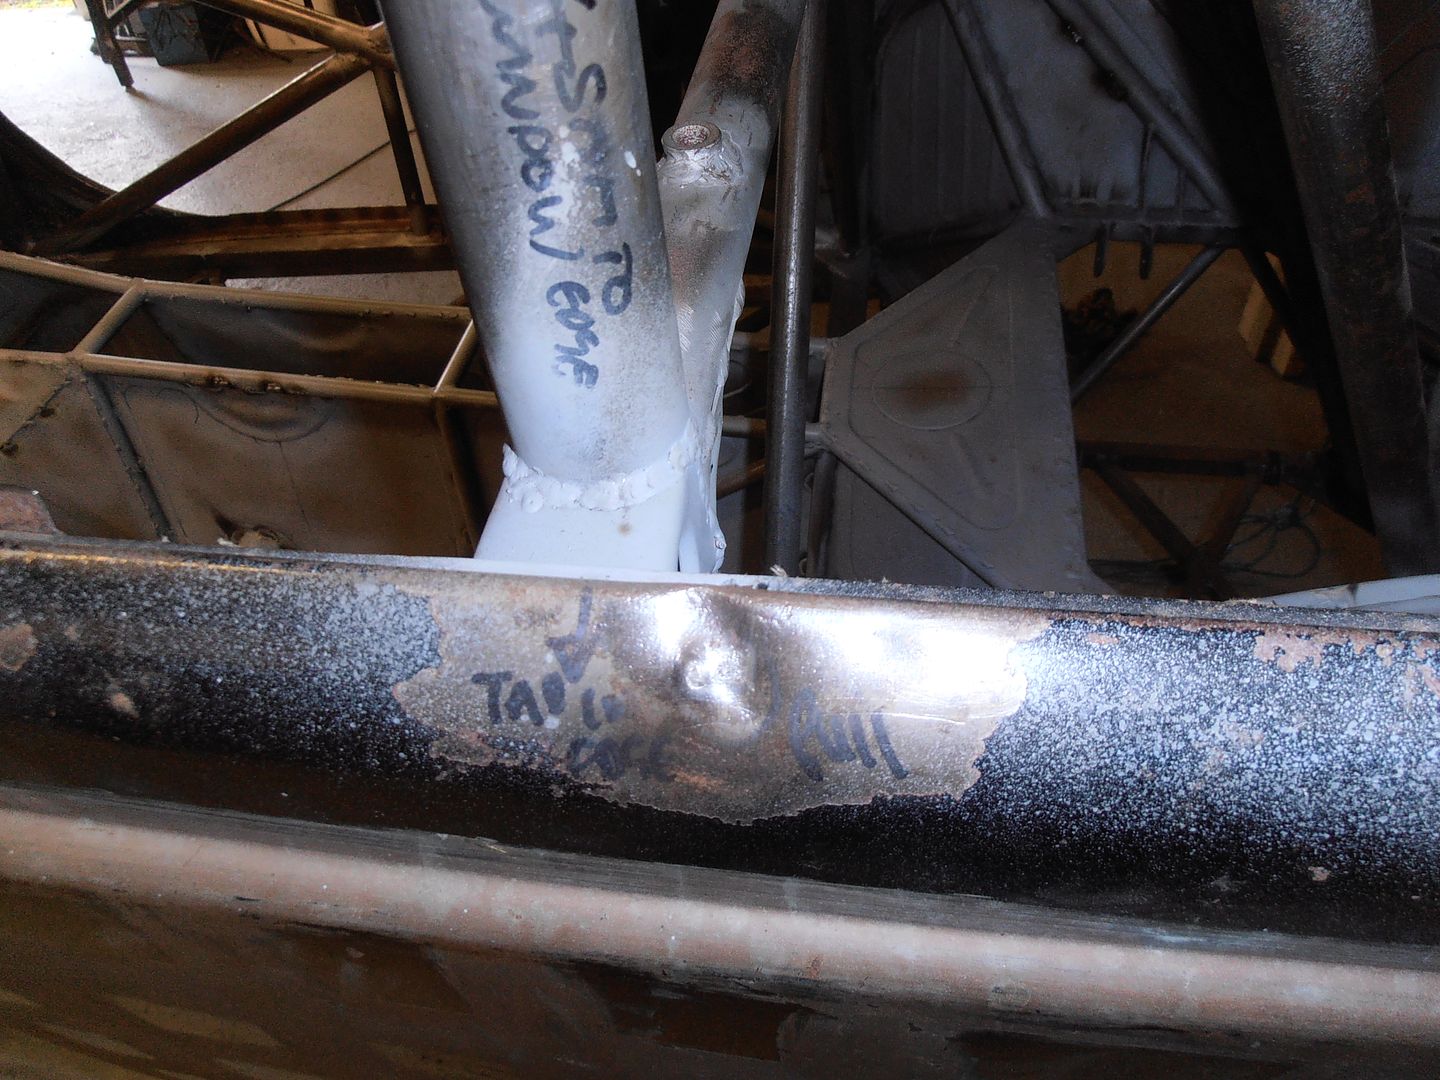 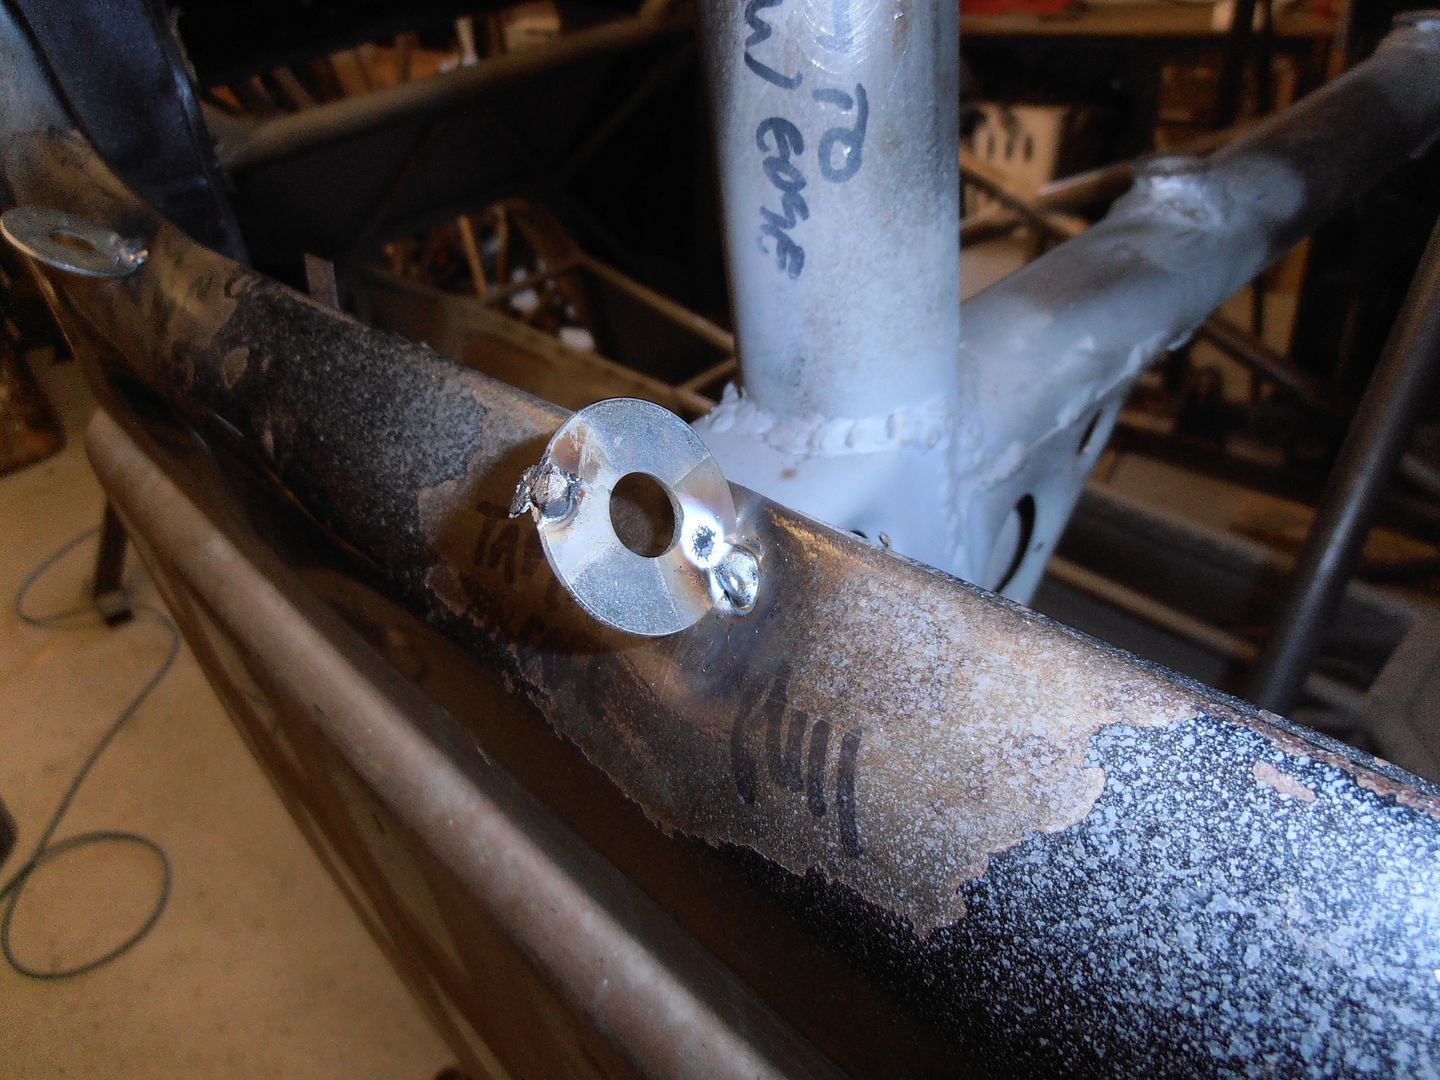 not completely gone, but much better 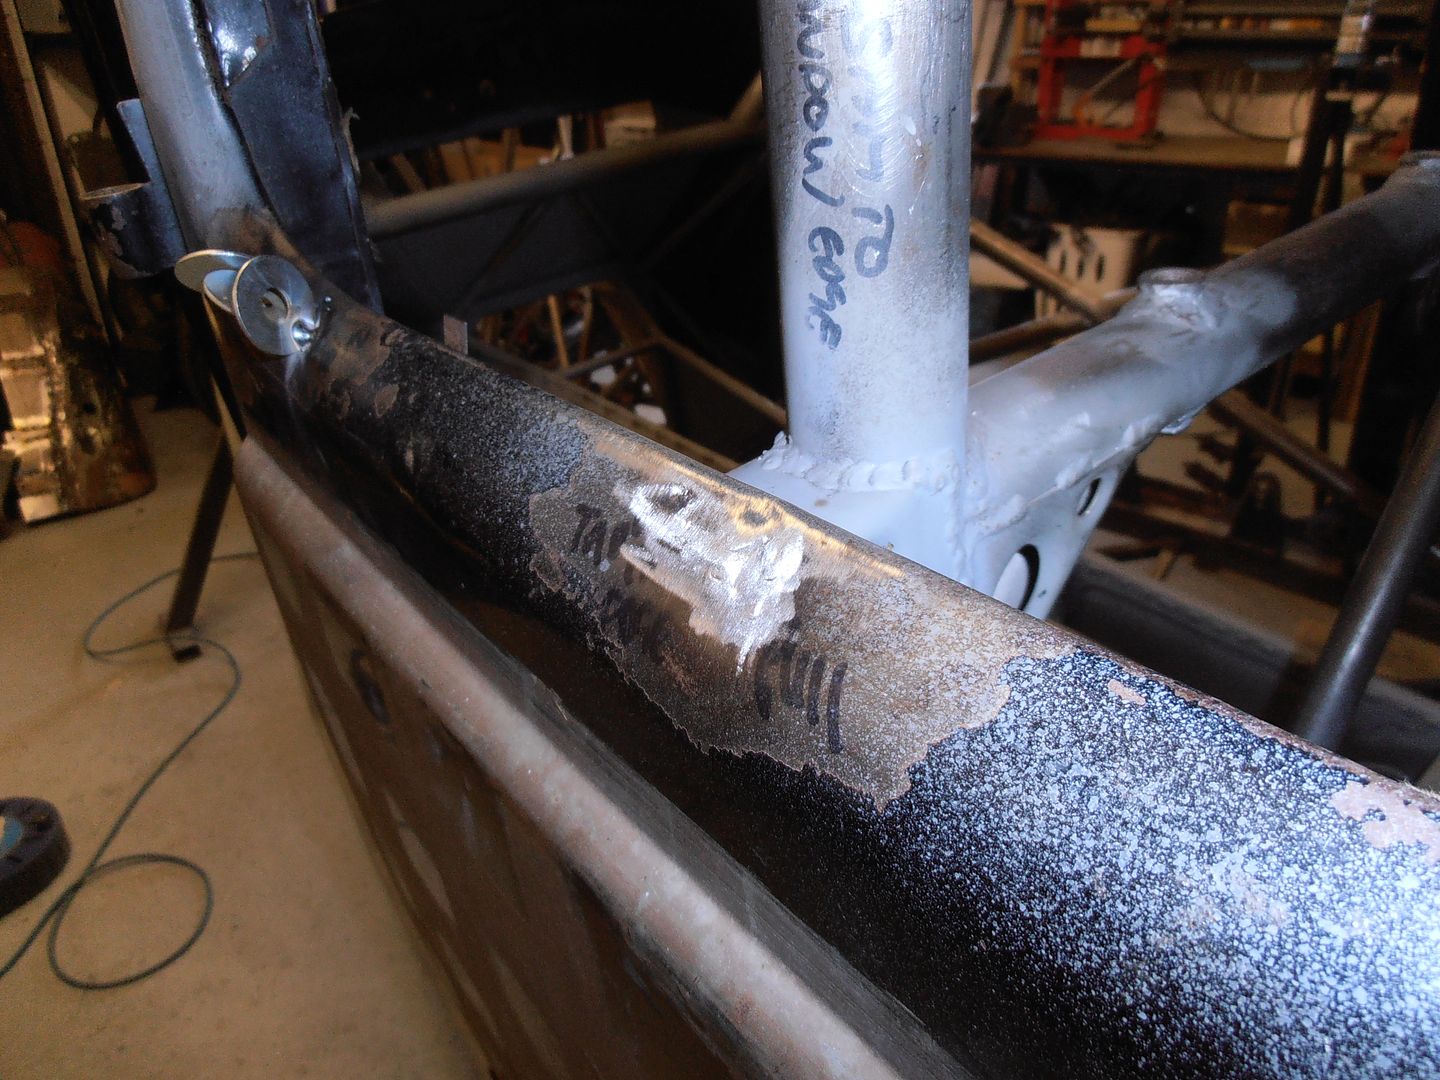 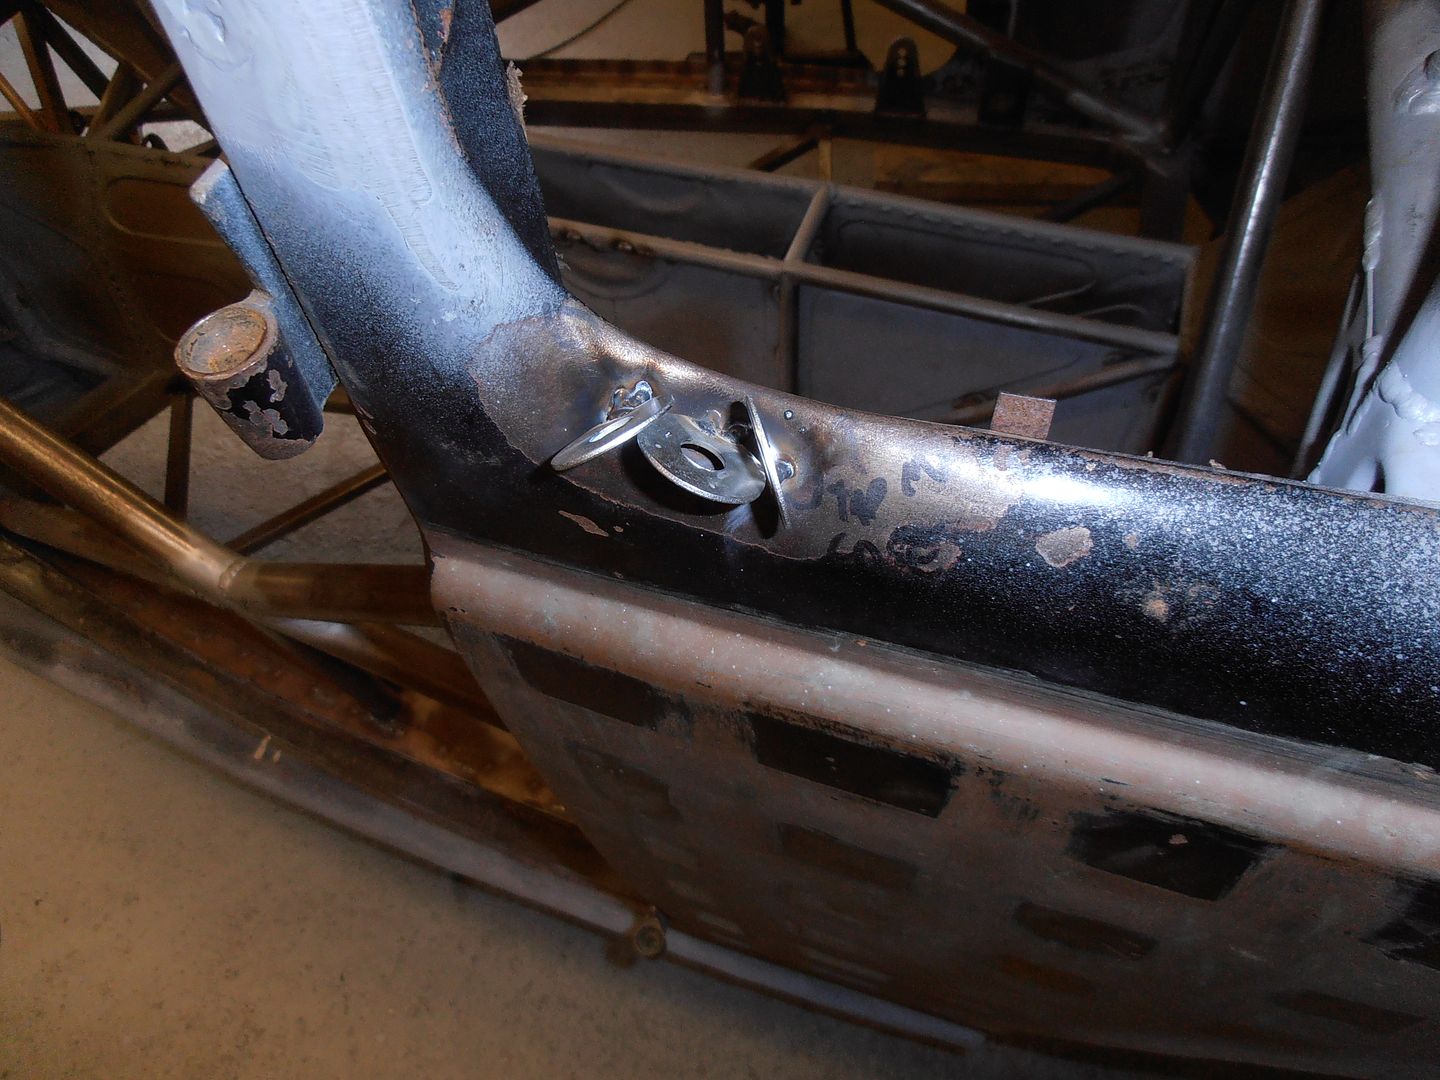 again, not perfect, but much better than it was 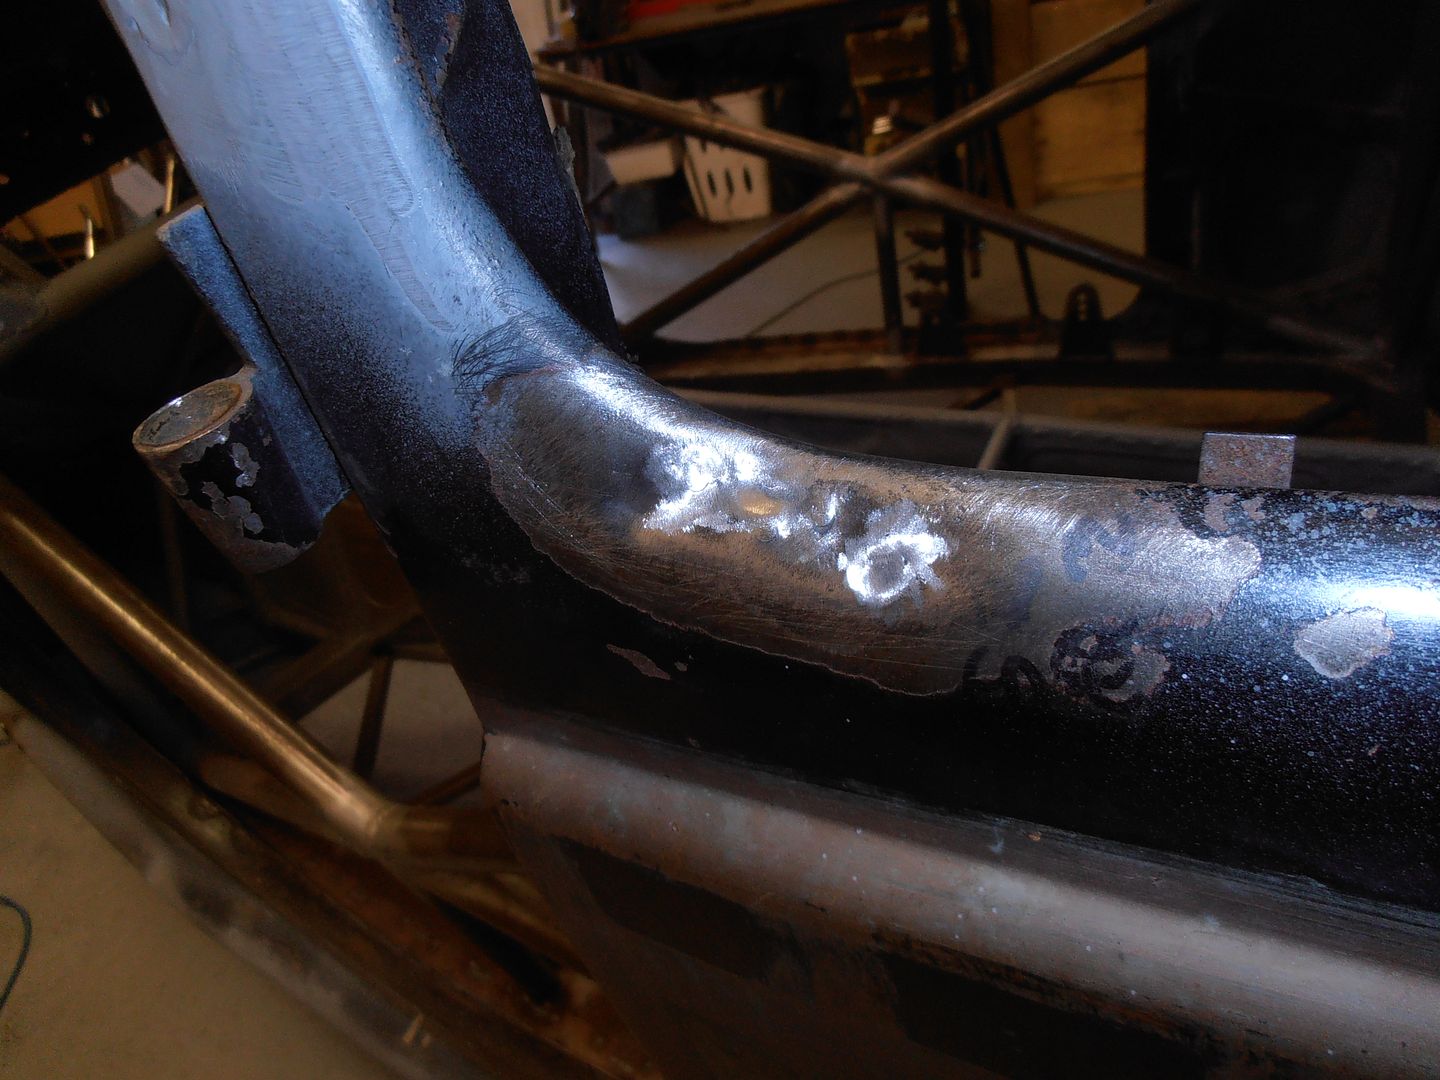 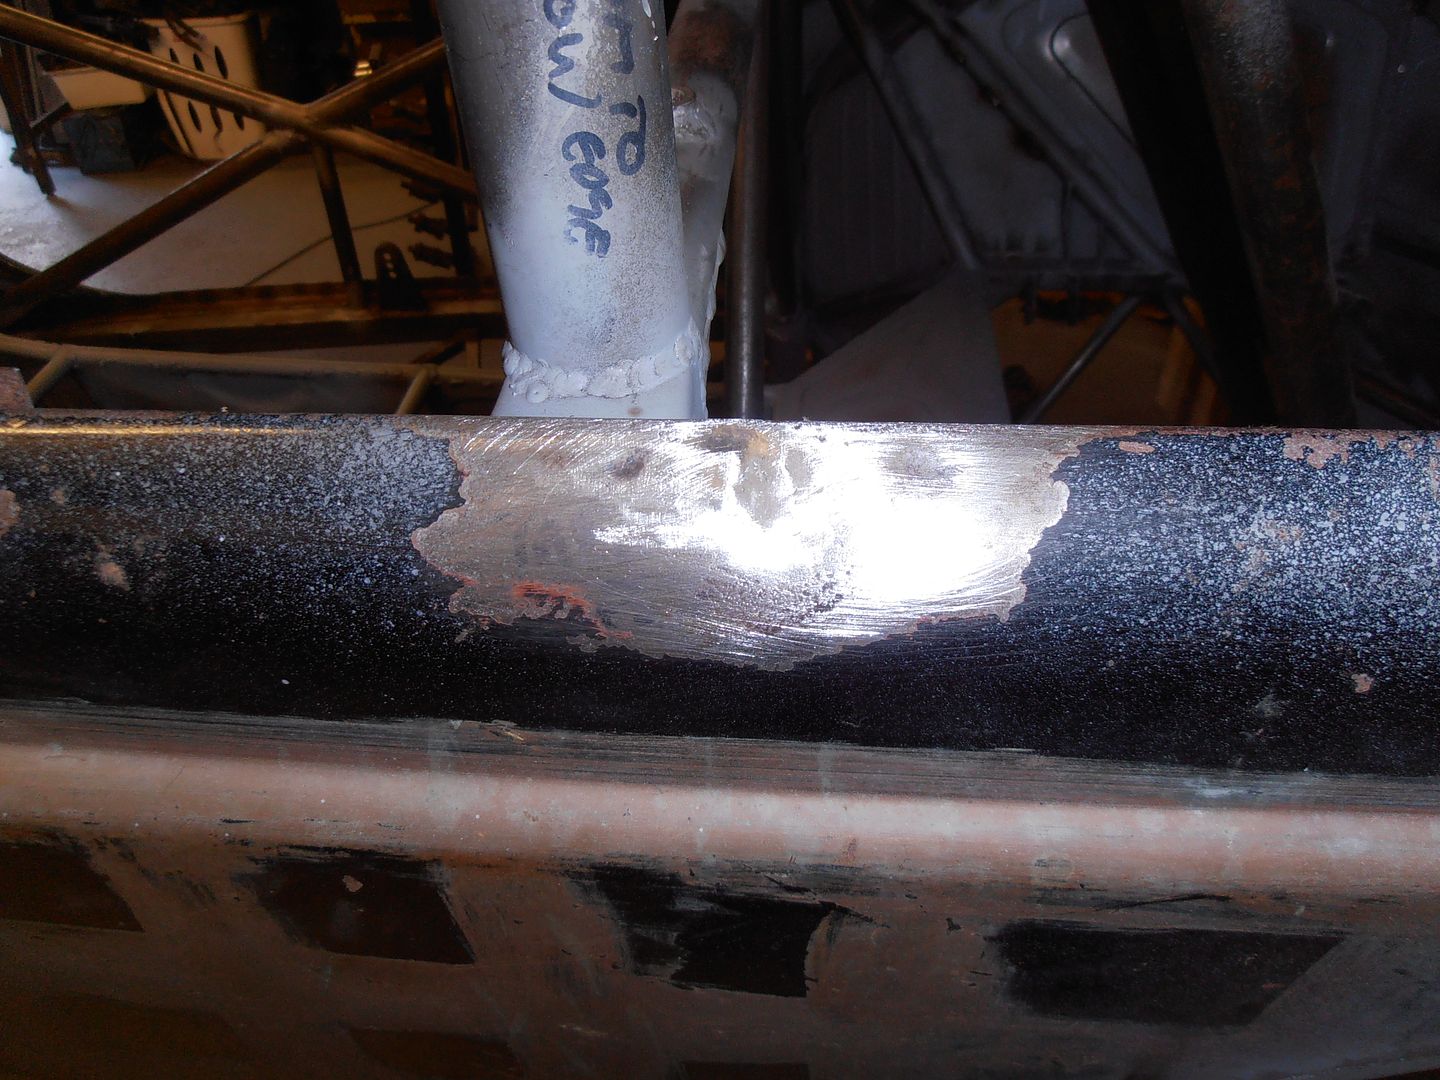 more stitches 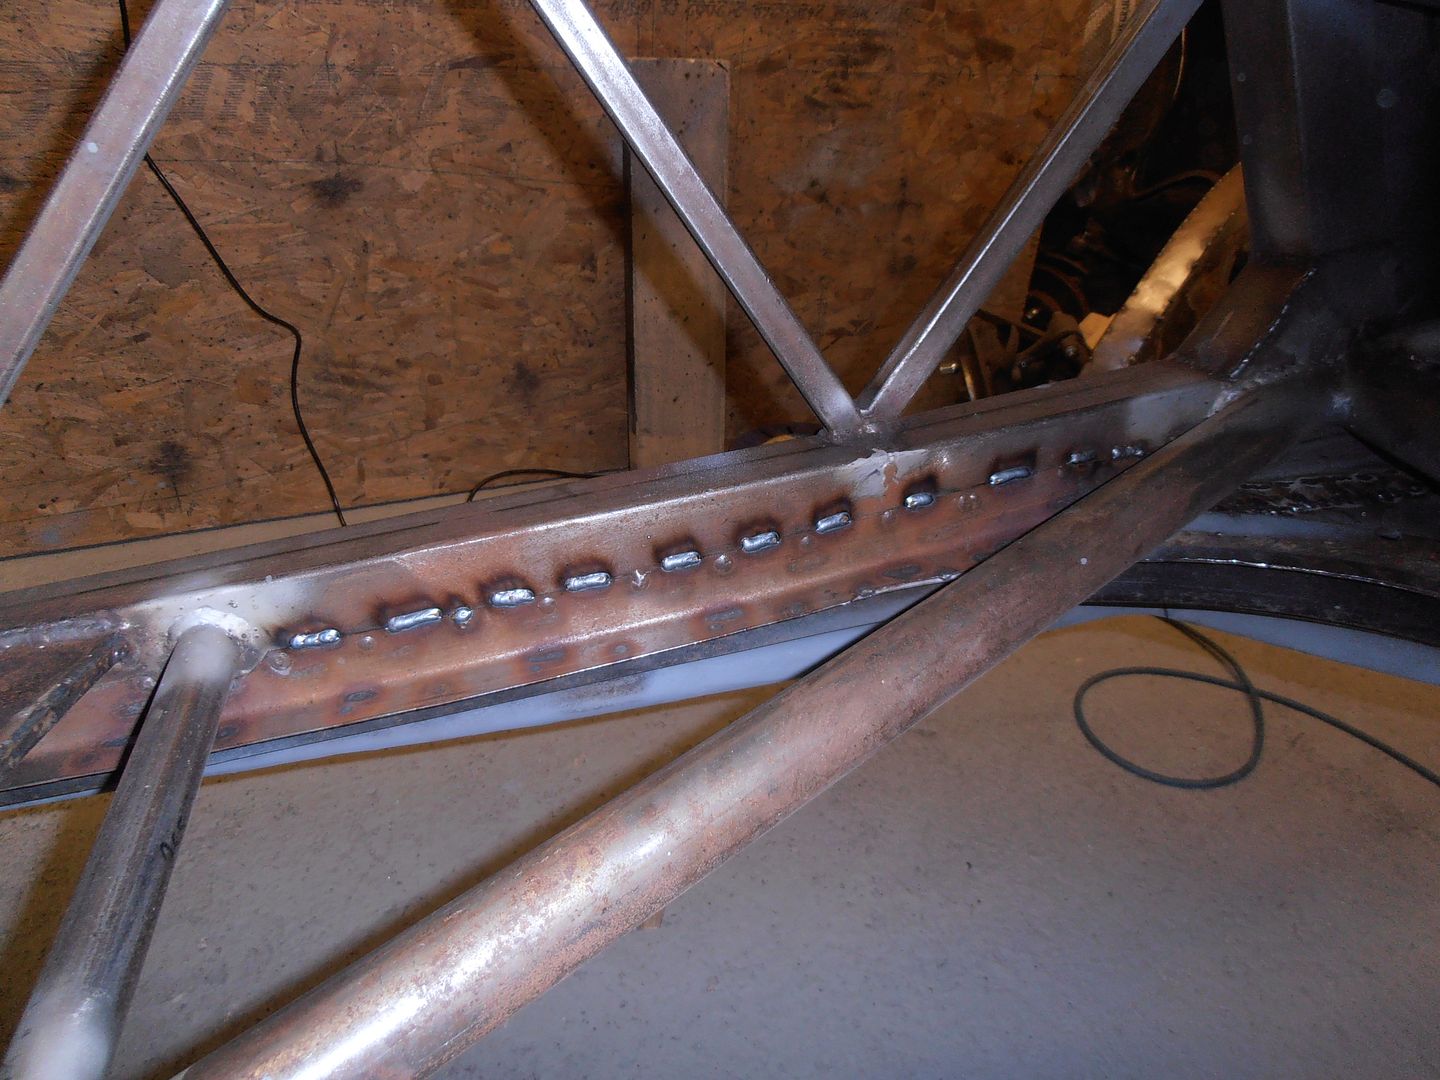 and more 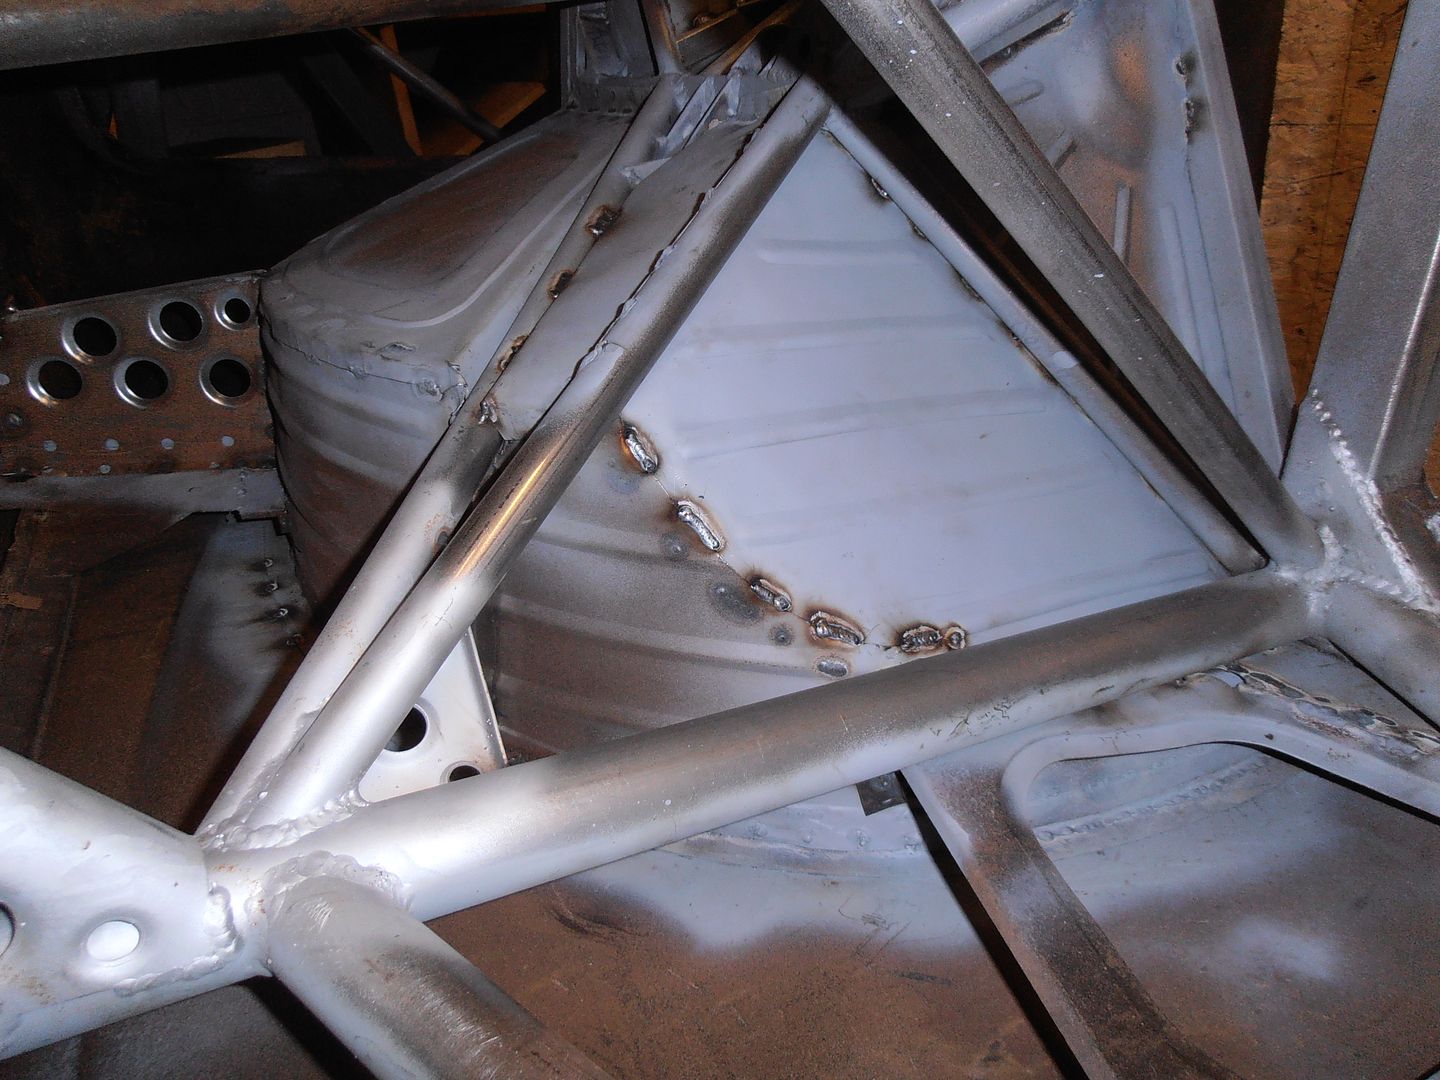 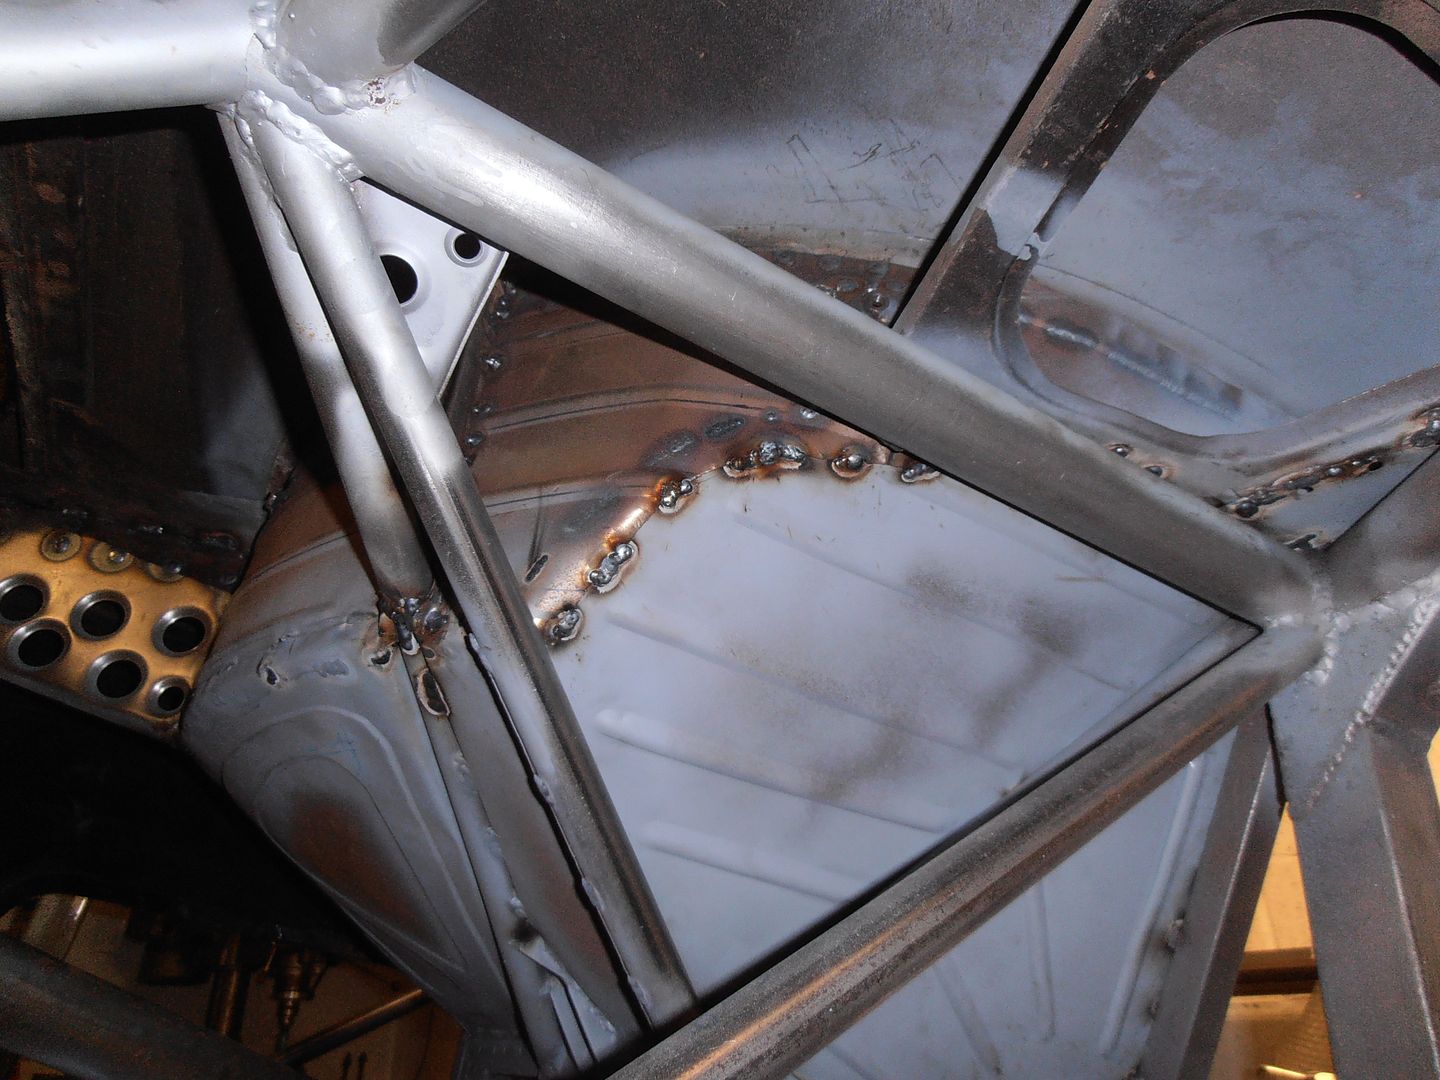 welded in the gusset plates 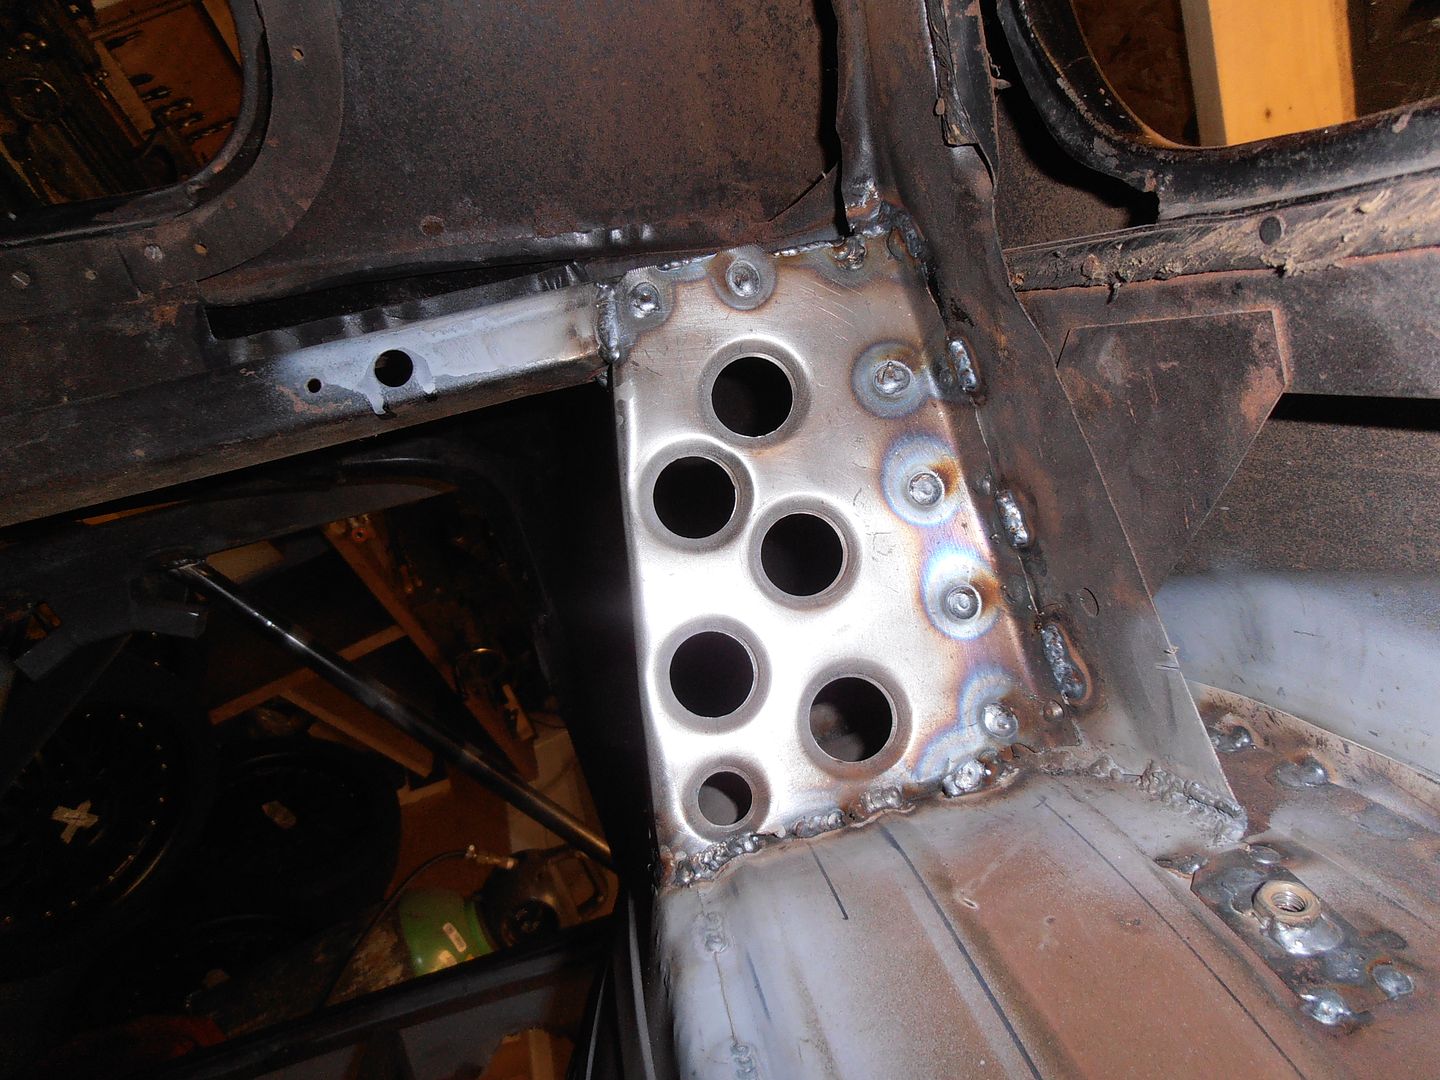 finished seaming some bits i'd only stitched on the sill 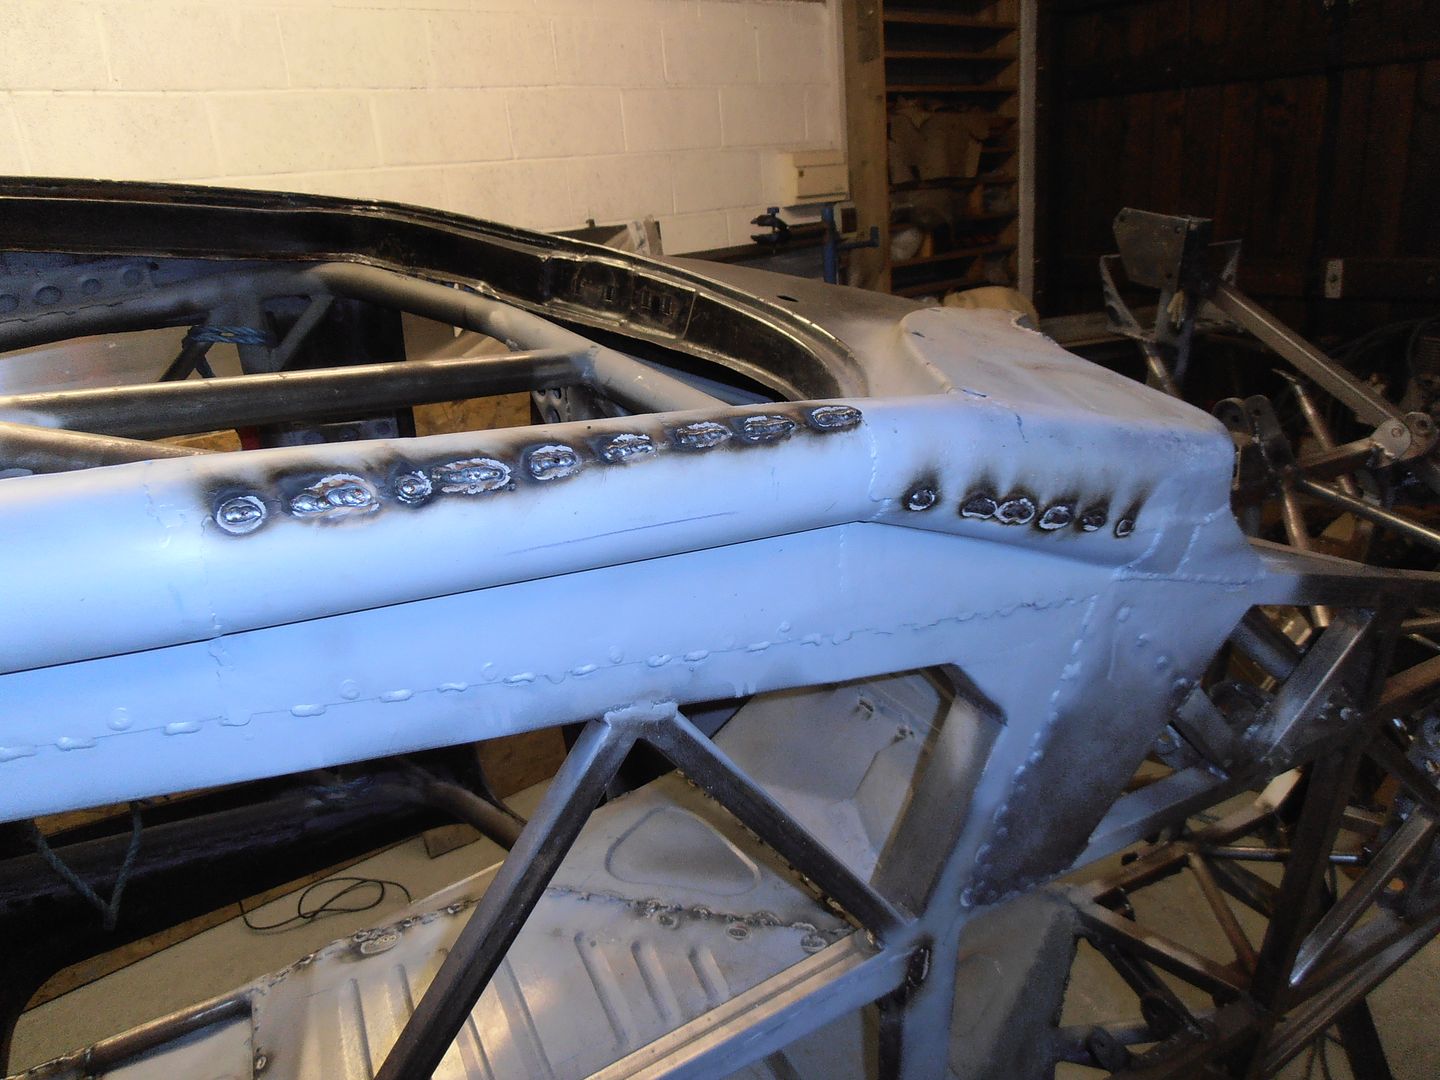 then decided, whilst i'm here i'll make the template for the aluminium piece of the floor 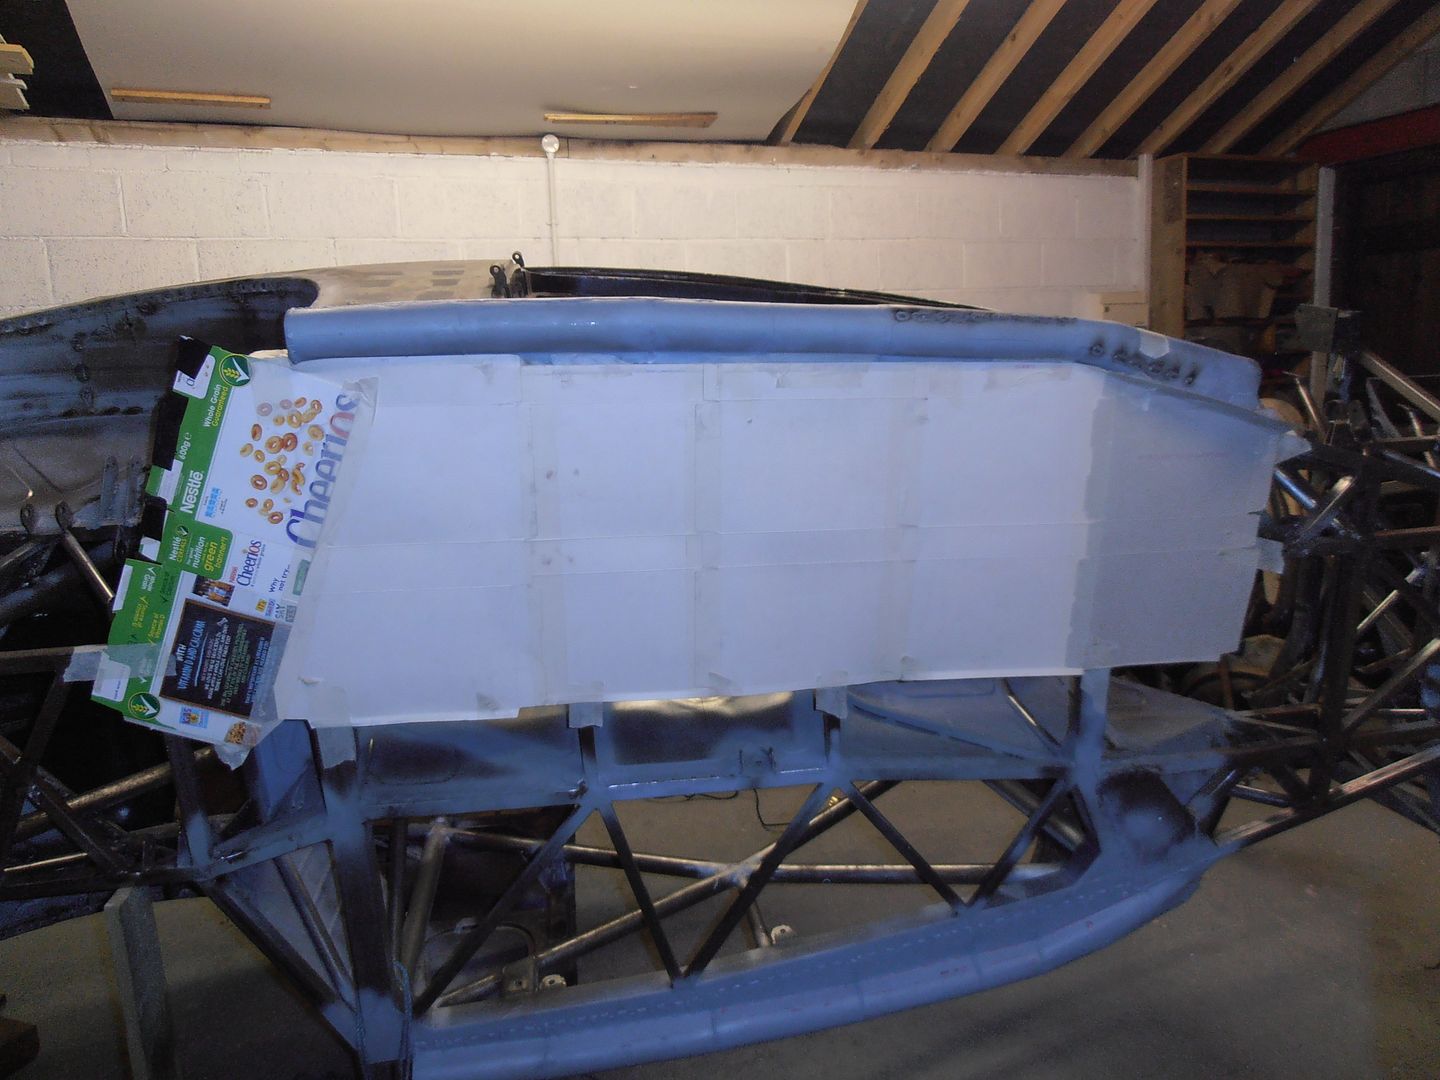 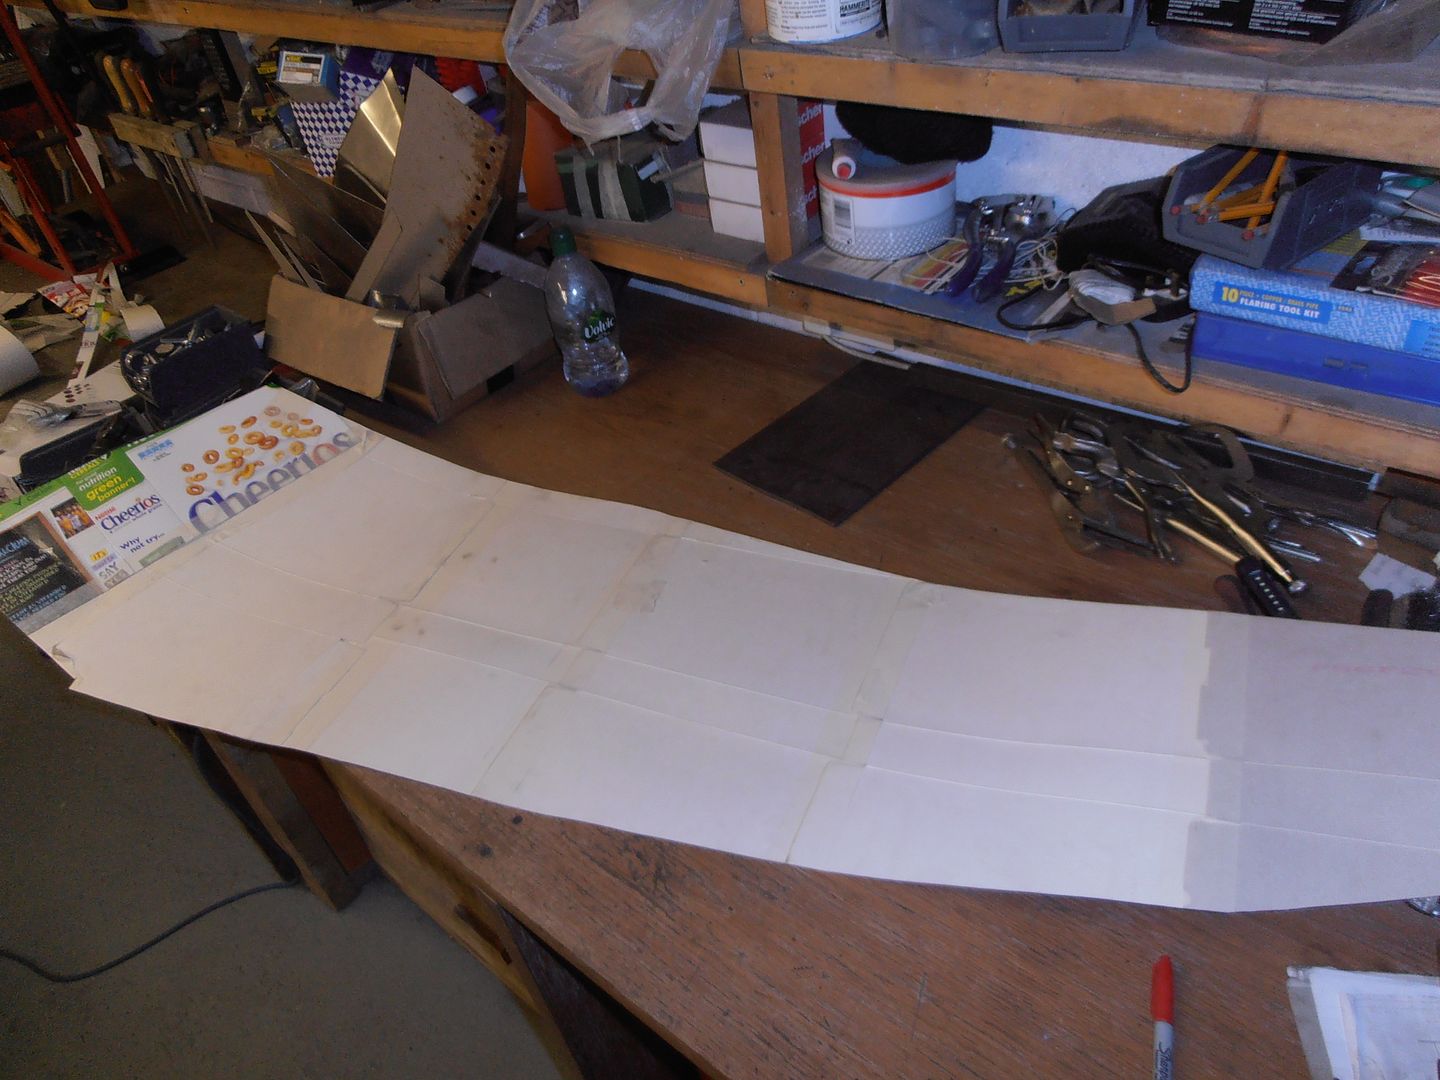 finished template 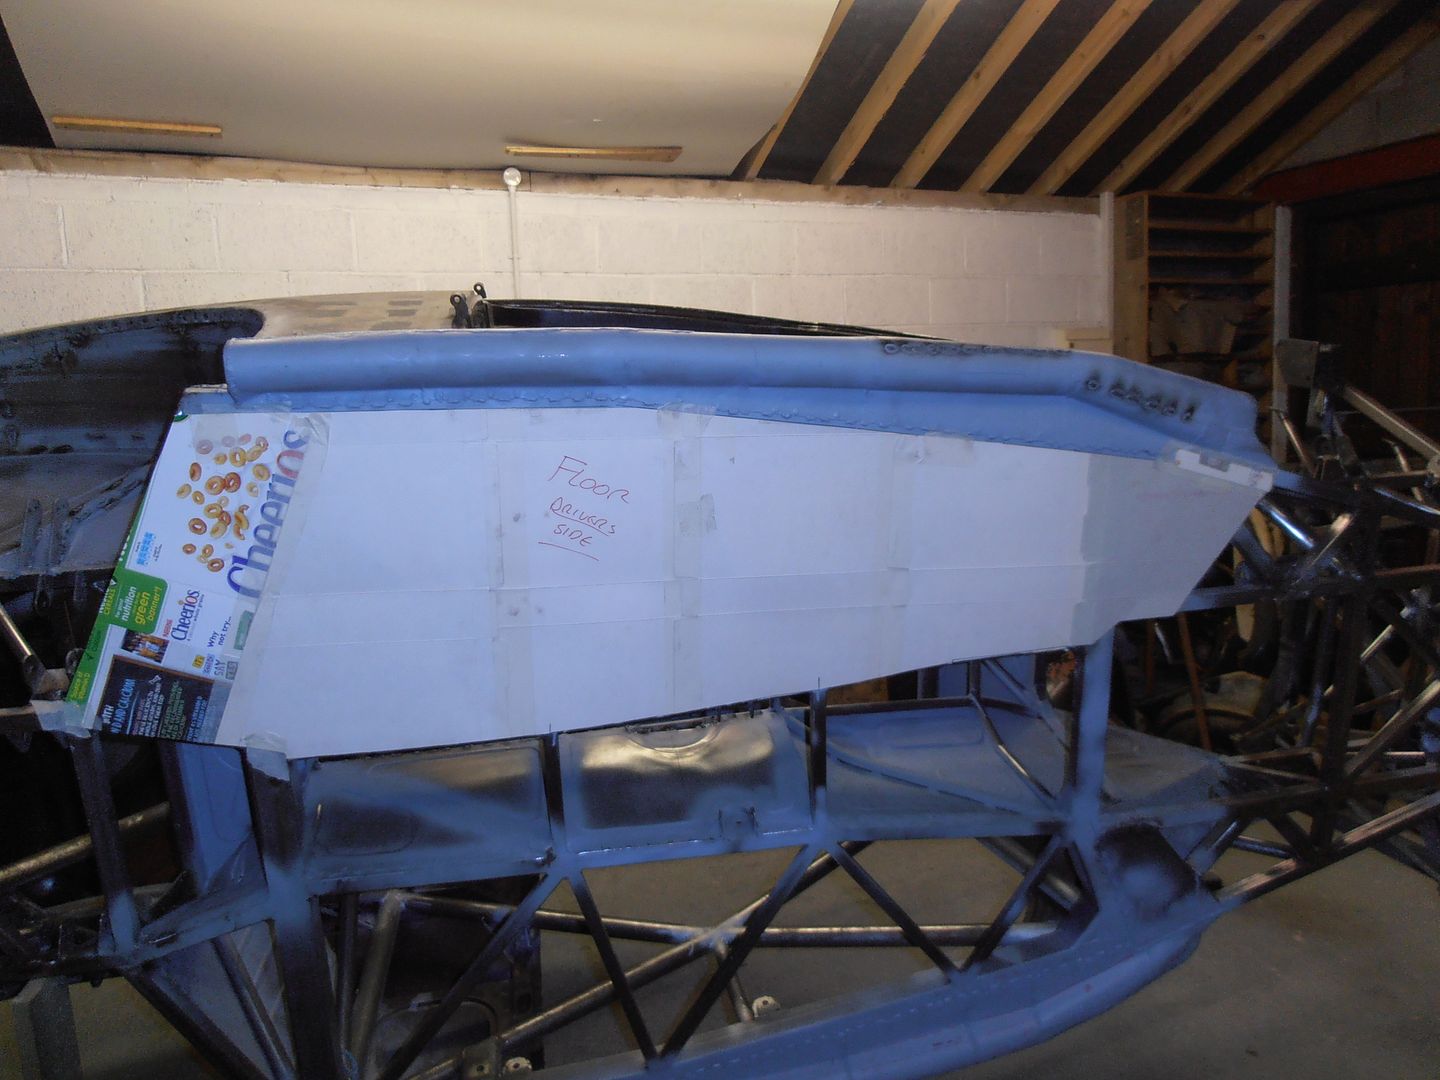 seamed up this previously stitched section as it will run in the front wheel spray area (both sides done) 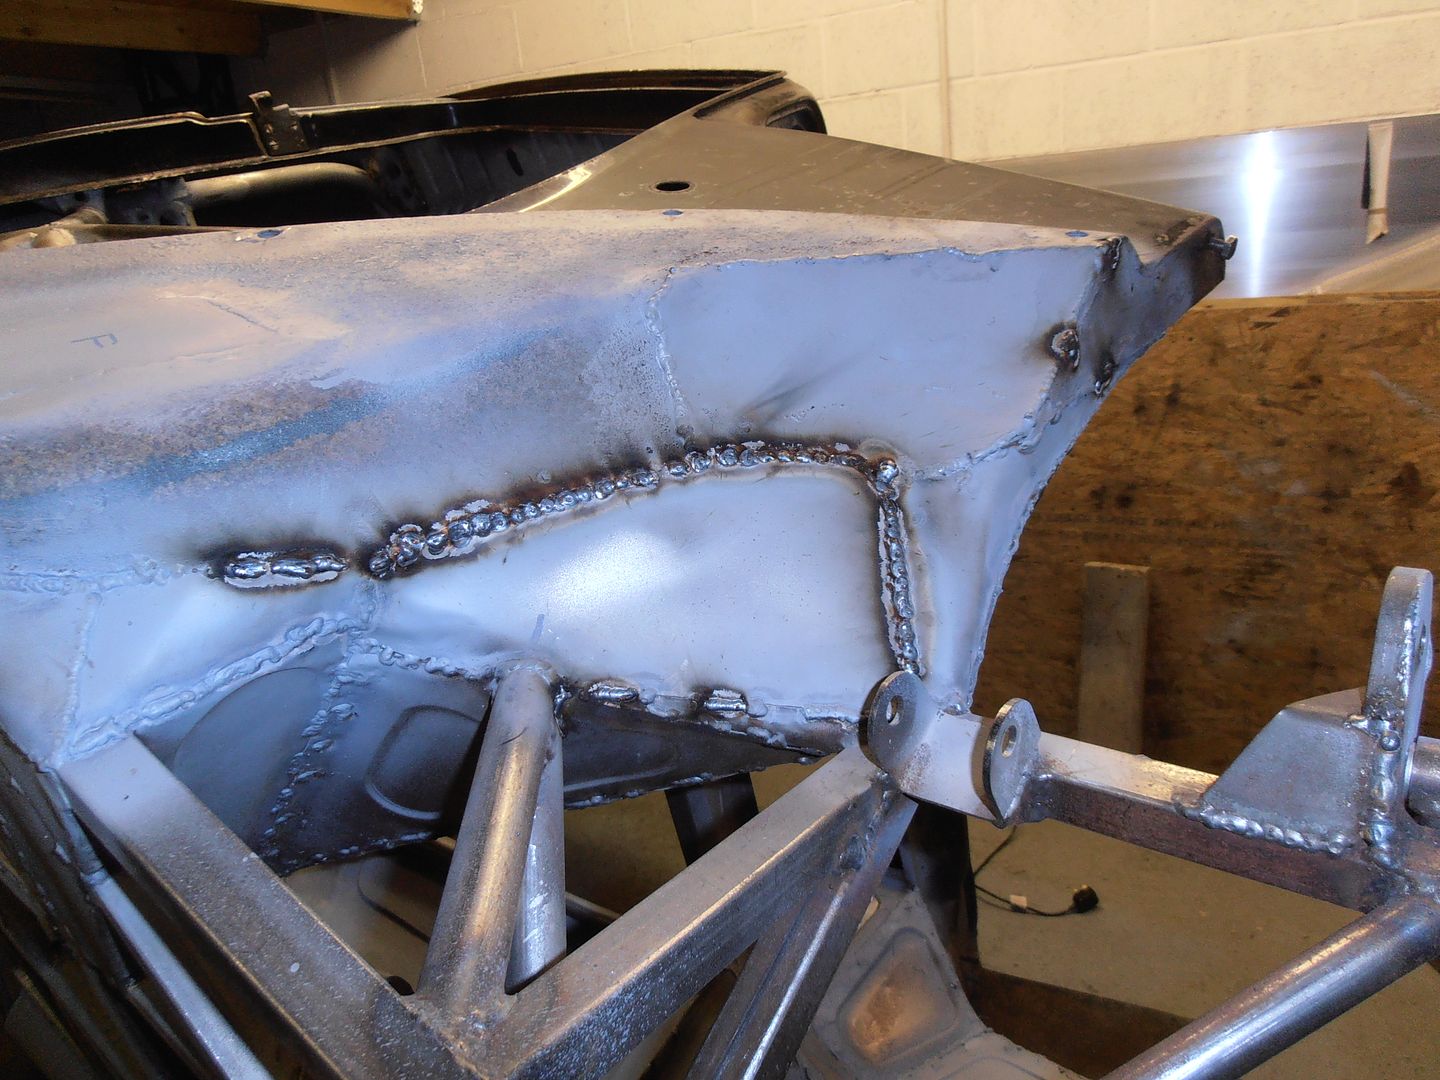 more stitching 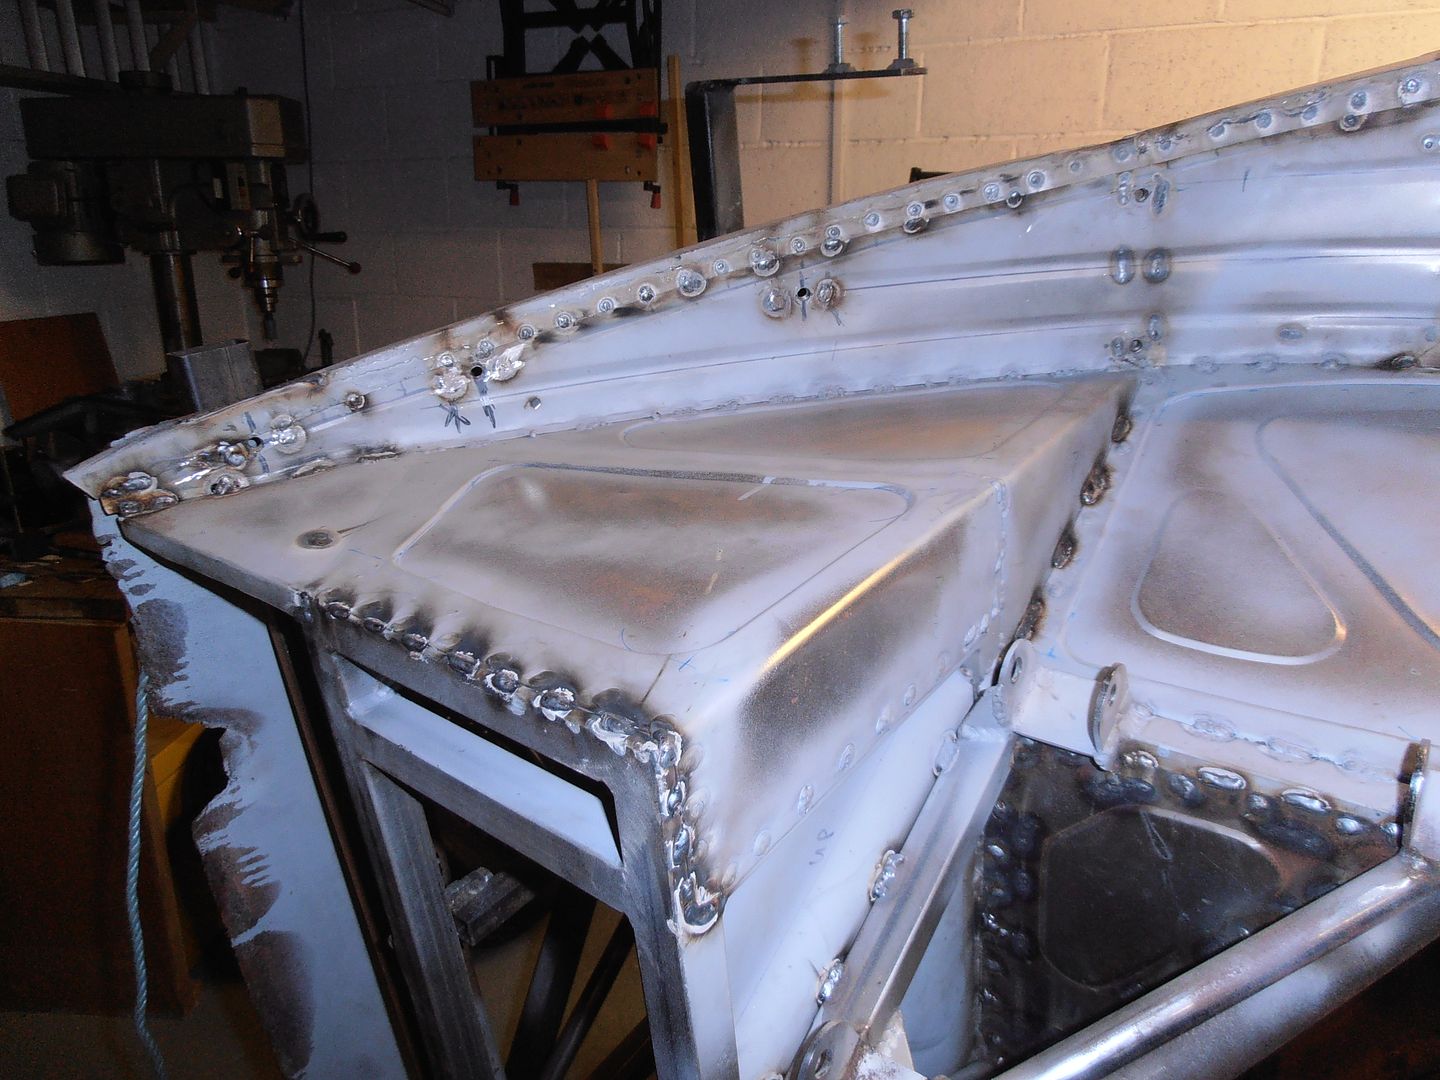 filled some holes 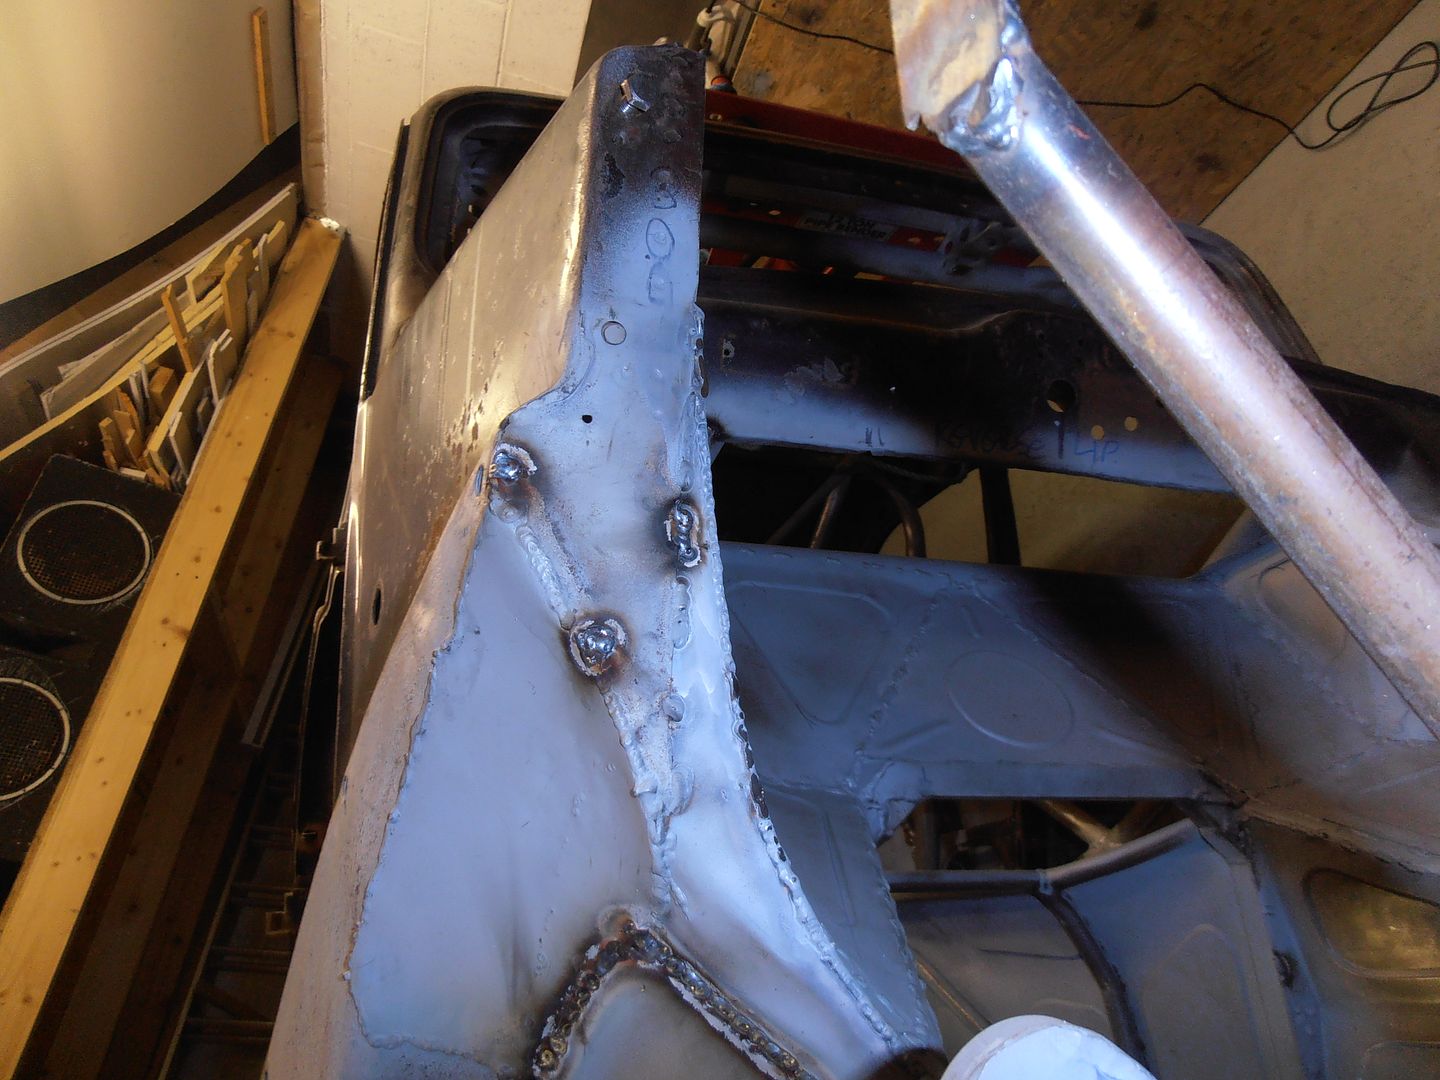 welded the other tub stiffener up 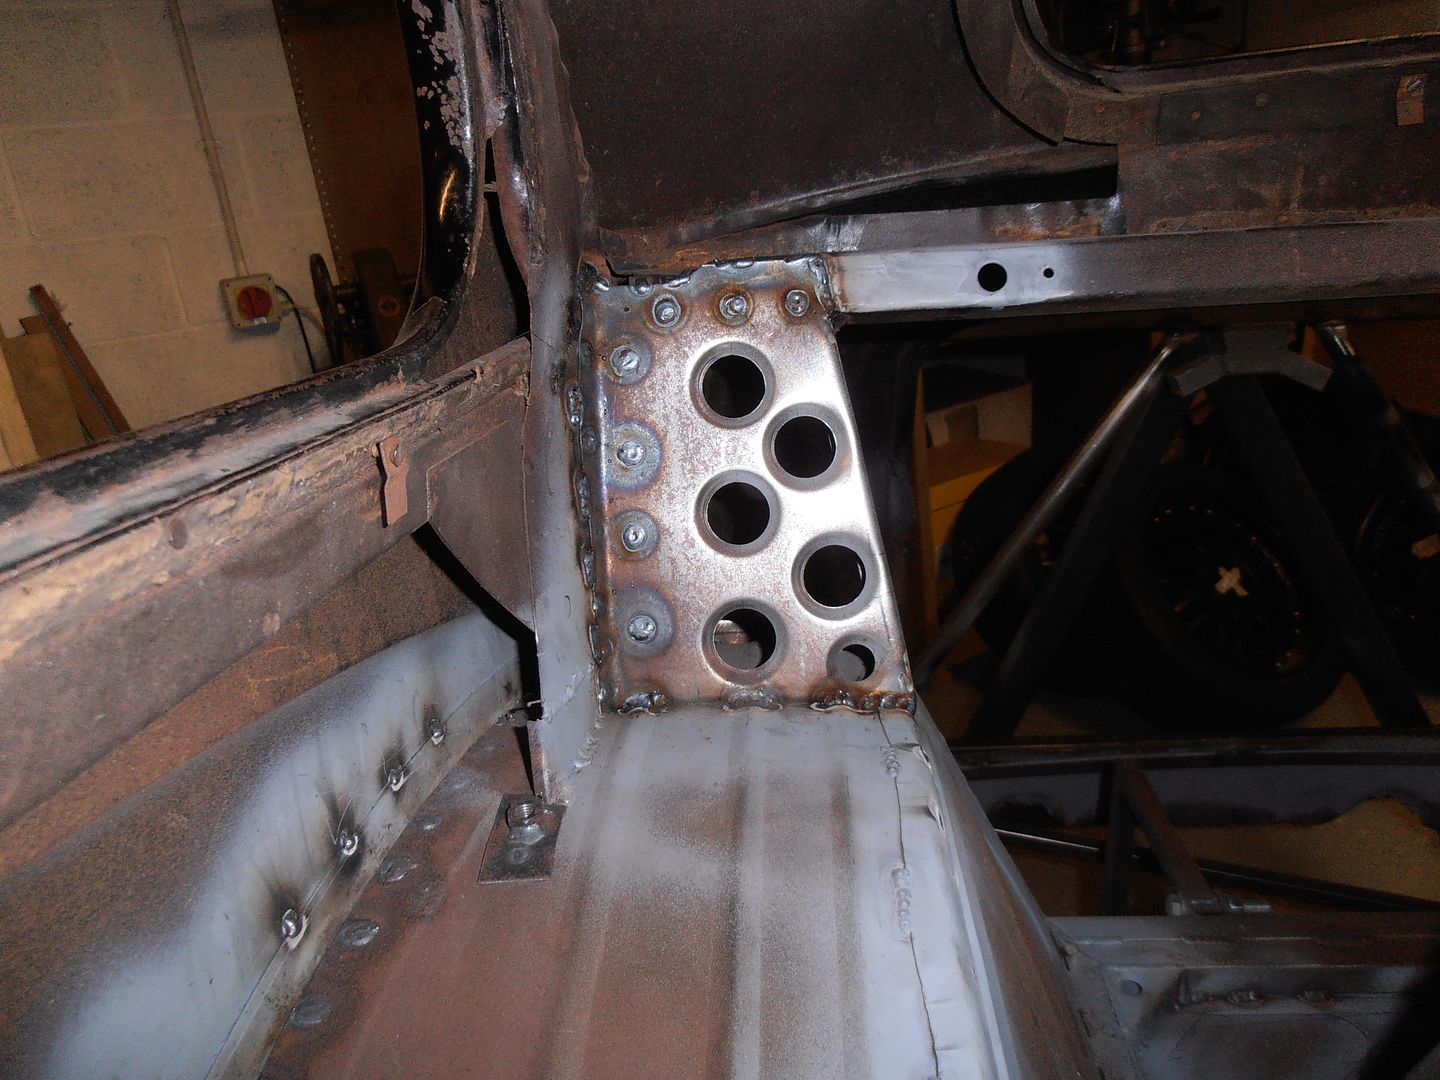 i'm now trying to decide if swaged hole gusset plates are needed on the door x bars, and the point where the upper door back reaches the screen tube. Just for aesthetics reasons 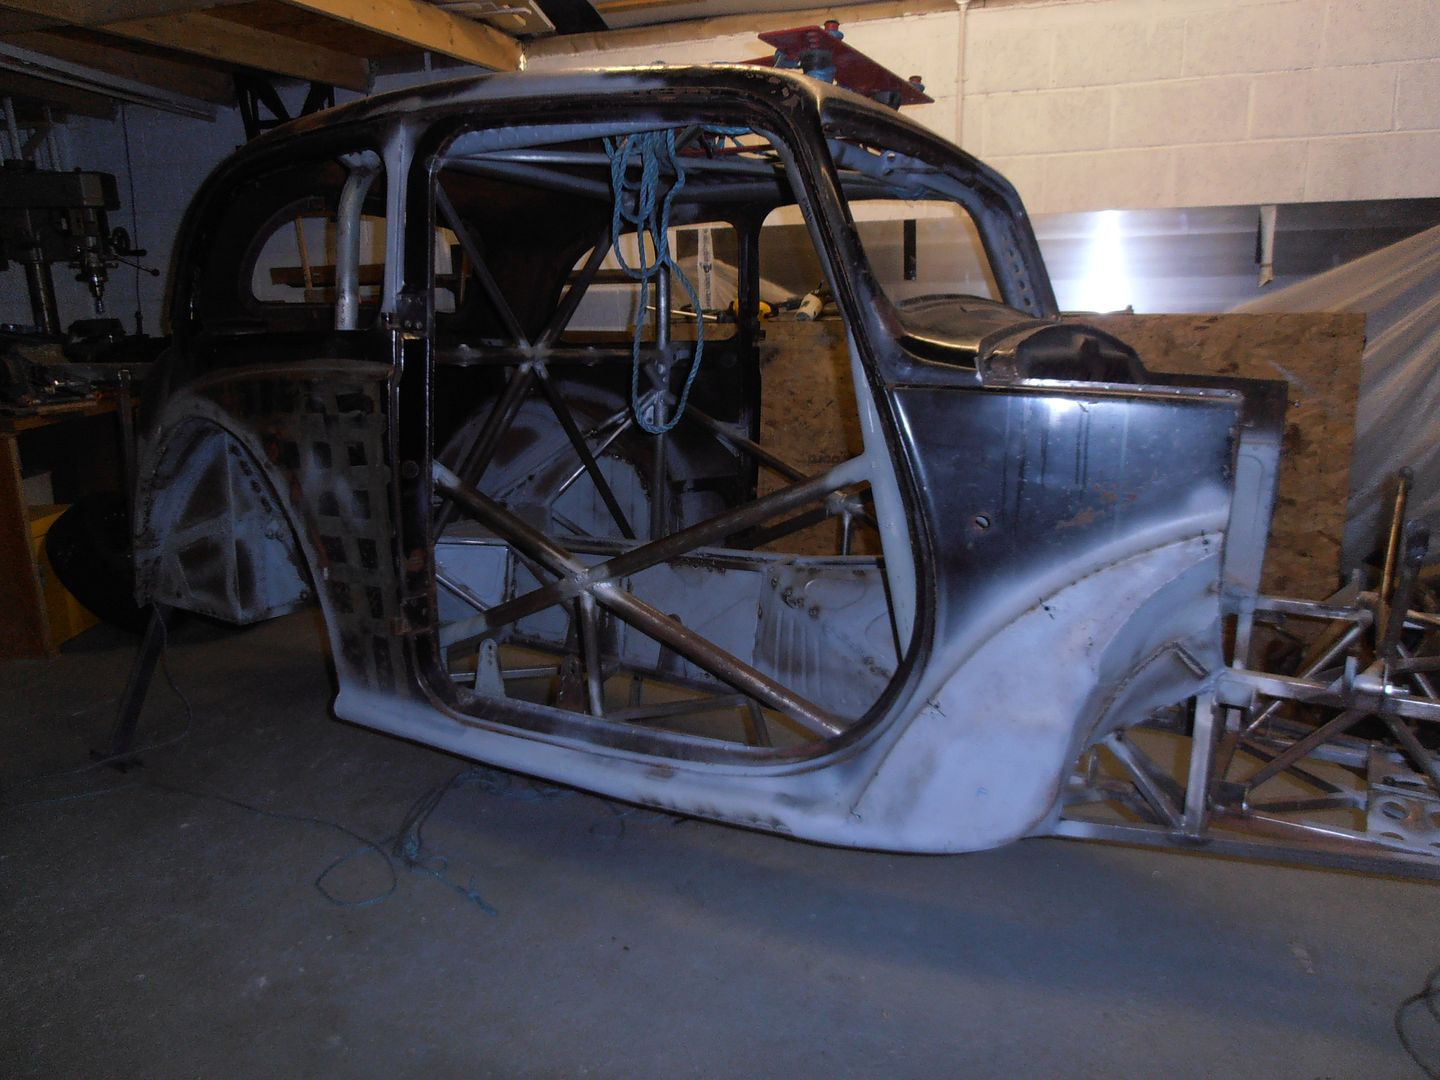 Then again, making more of these bits might just be a way to prevent actual progress on it all. I need to drop it off the spit so I can do the rear panel / boot opening. Will see what motivation grabs me. |
| |
Last Edit: Nov 19, 2016 17:54:44 GMT by jonomisfit
|
|
vulgalour
Club Retro Rides Member
Posts: 7,287
Club RR Member Number: 146
|
|
Nov 19, 2016 18:18:01 GMT
|
|
That's a lot of work and you can really see the finished shape appearing now that you're joining it all up. For the door openings, I'd leave the holed plates off, it looks really smart as it is now and doesn't need to be made fussier. Adding more plates in may make the cabin feel even more cramped too, at least as it stands you can see past the bars which gives you the illusion of having more space.
That last picture feels like a milestone snapshot with all the sills a uniform shape, the inner arches panelled in and the cage all welded in place. The pressings on the panels lend it a nice finished look that smooth panels wouldn't have. I'm glad you're still working on this project, updates are always exciting to see how much closer you've got to it coming together as a car.
|
| |
|
|
|
|


