|
|
|
|
|
|
Punch the running board holes the other way up, then your shoes have something to grip on when you stand on them in the wet.
Looking good, good progress since I read this last (a while back!)
--Phil
|
| |
|
|
|
|
jonomisfit
Club Retro Rides Member
Posts: 1,790
Club RR Member Number: 49
|
|
|
|
Unfortunately that will likely fall foul of IVA "no sharp edges" rules. The running boards are only ornamental / to hide the exhaust anyways so they wont be designed for people to stand on. i'm off today, so spent some garage time. Template 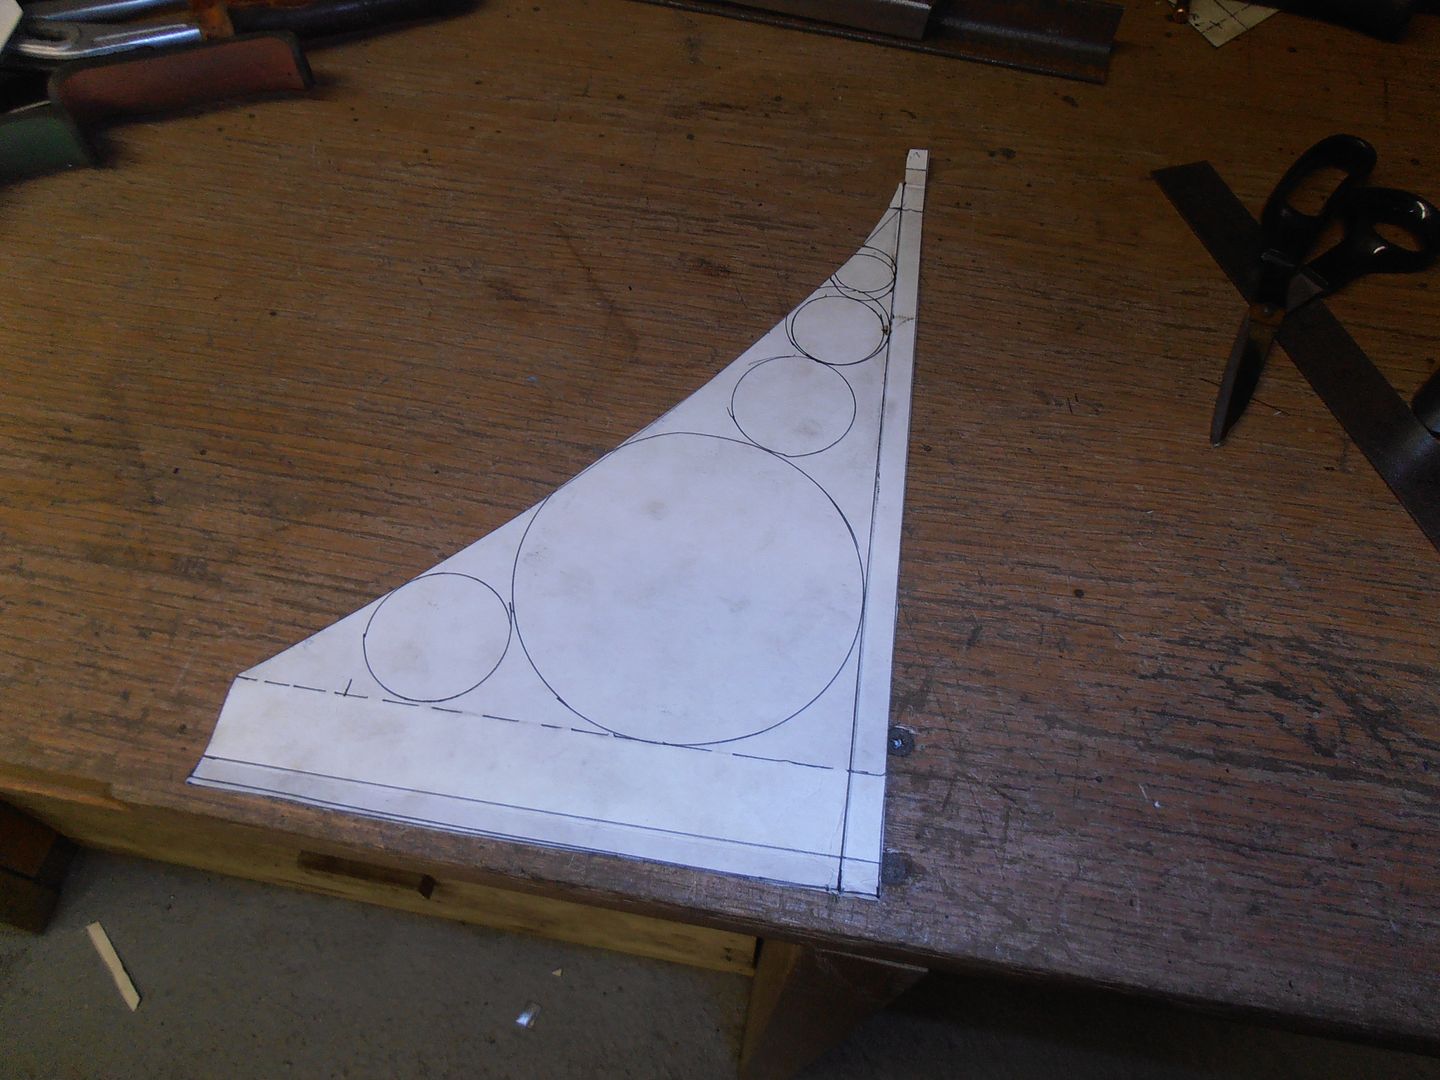 steel 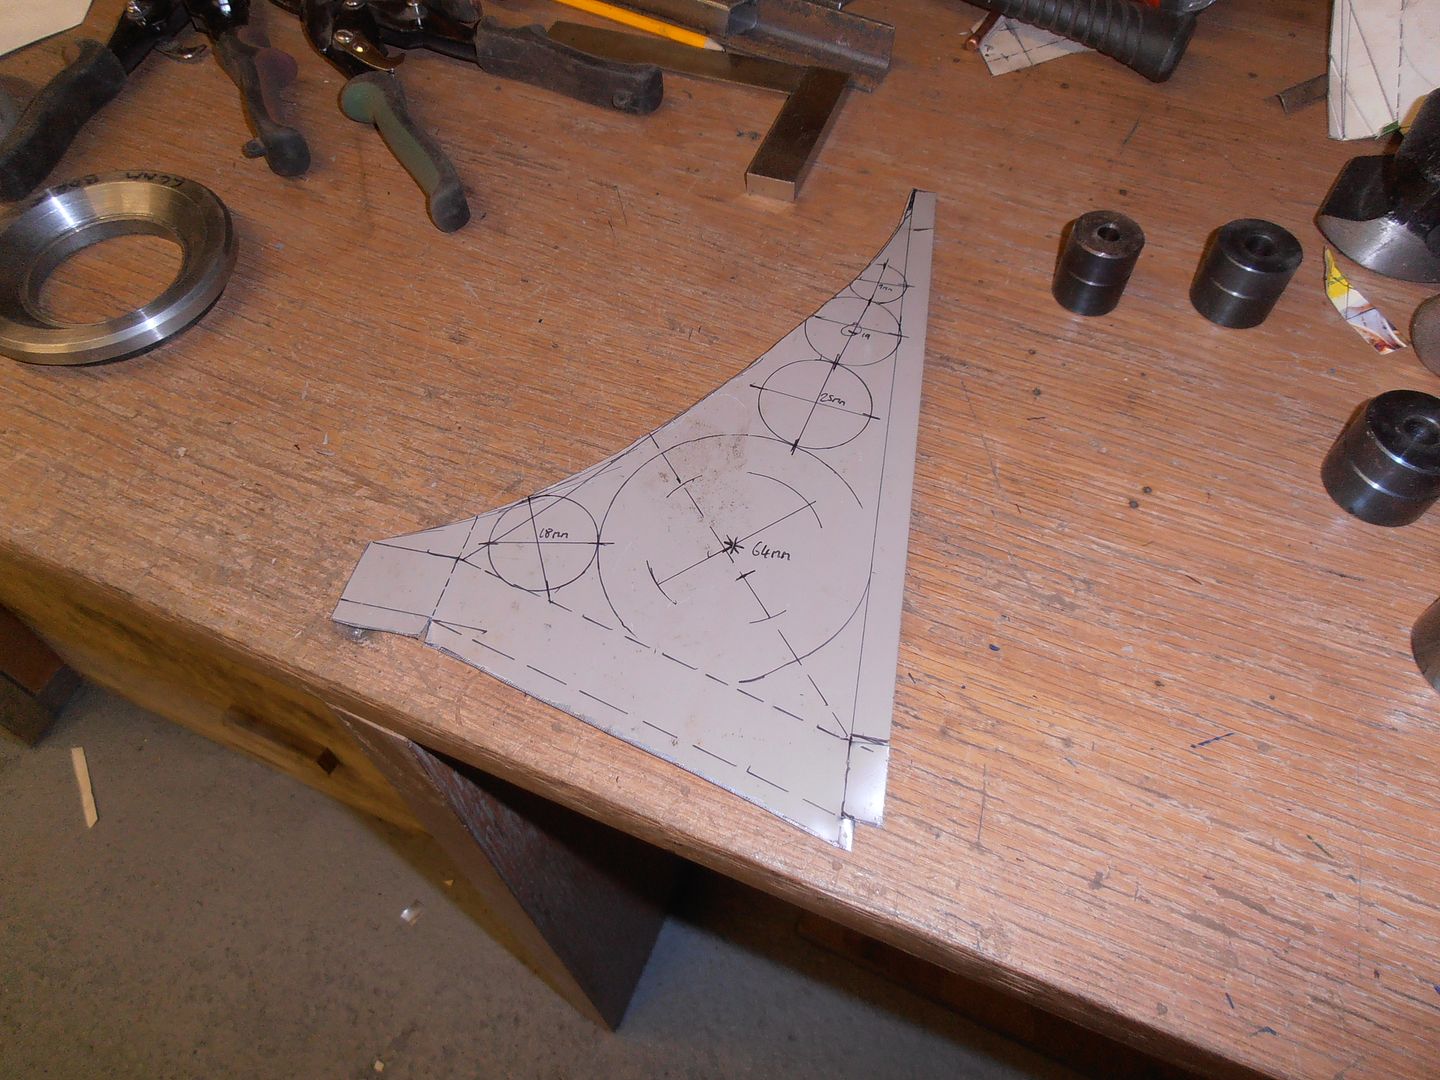 cut and punched 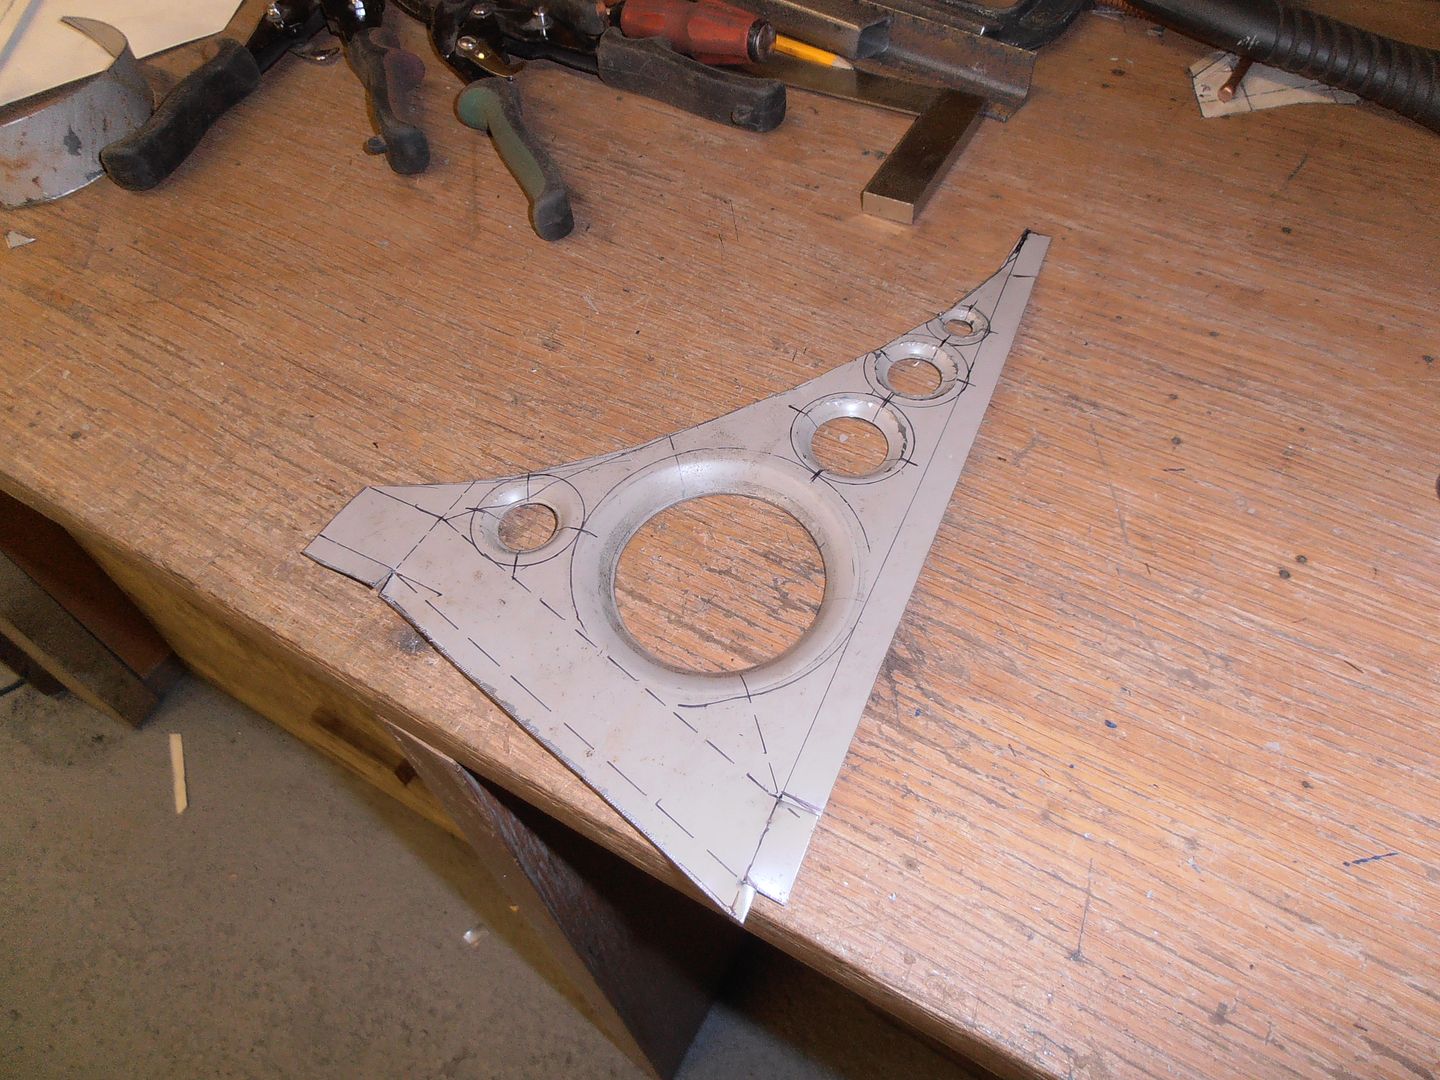 folded 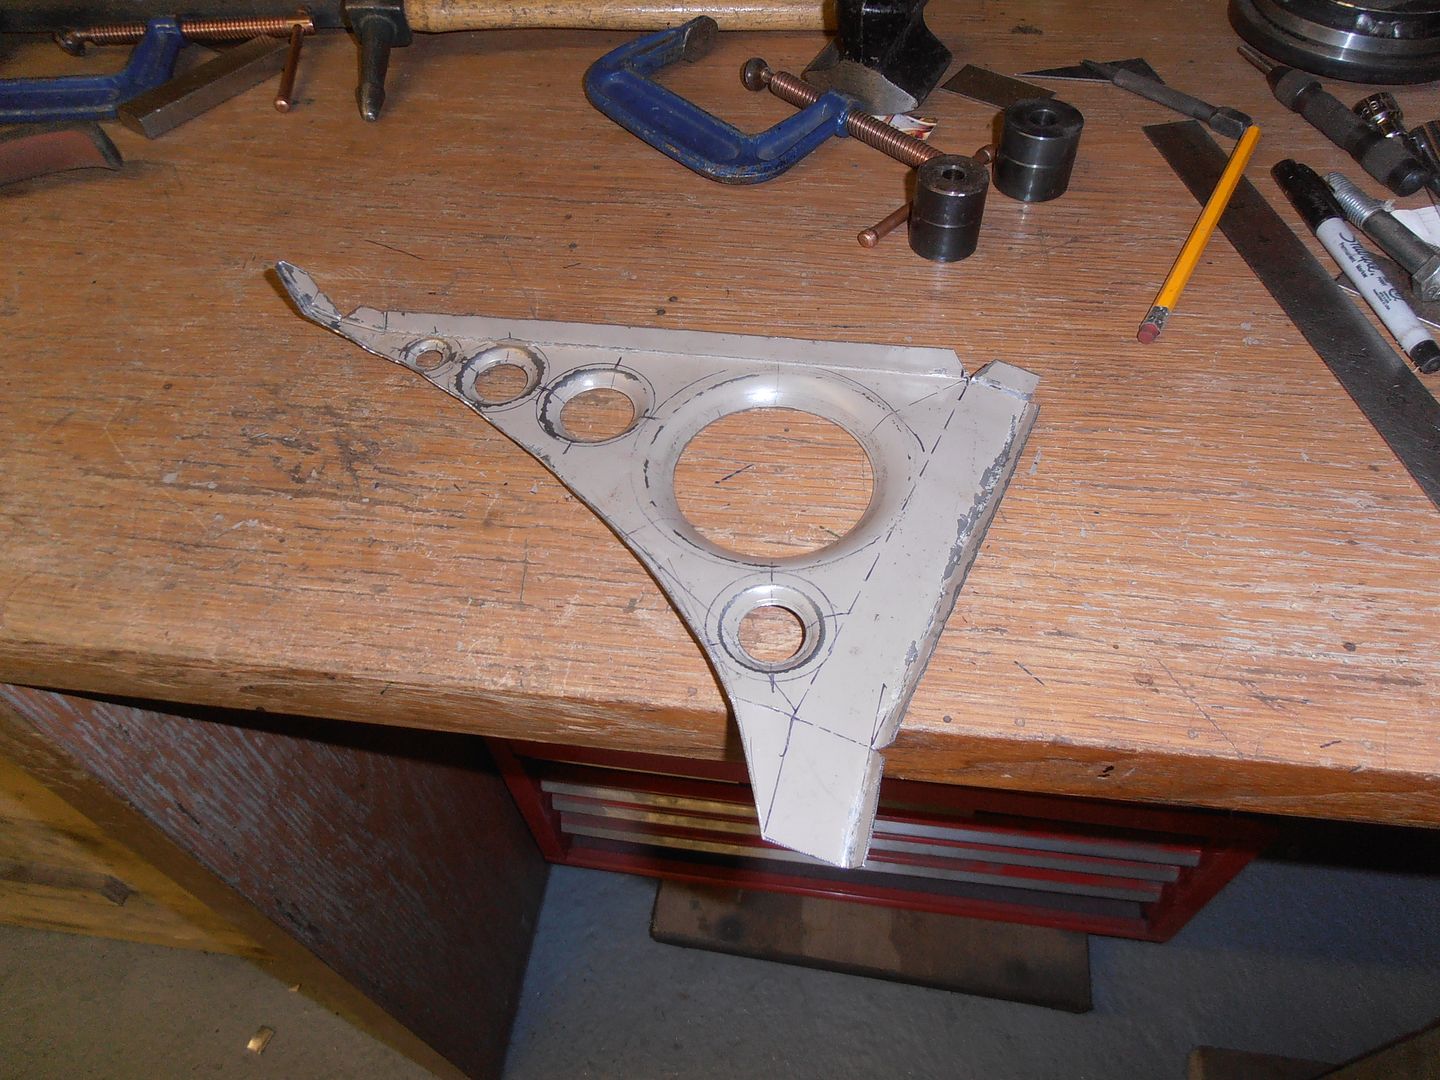 tacked in 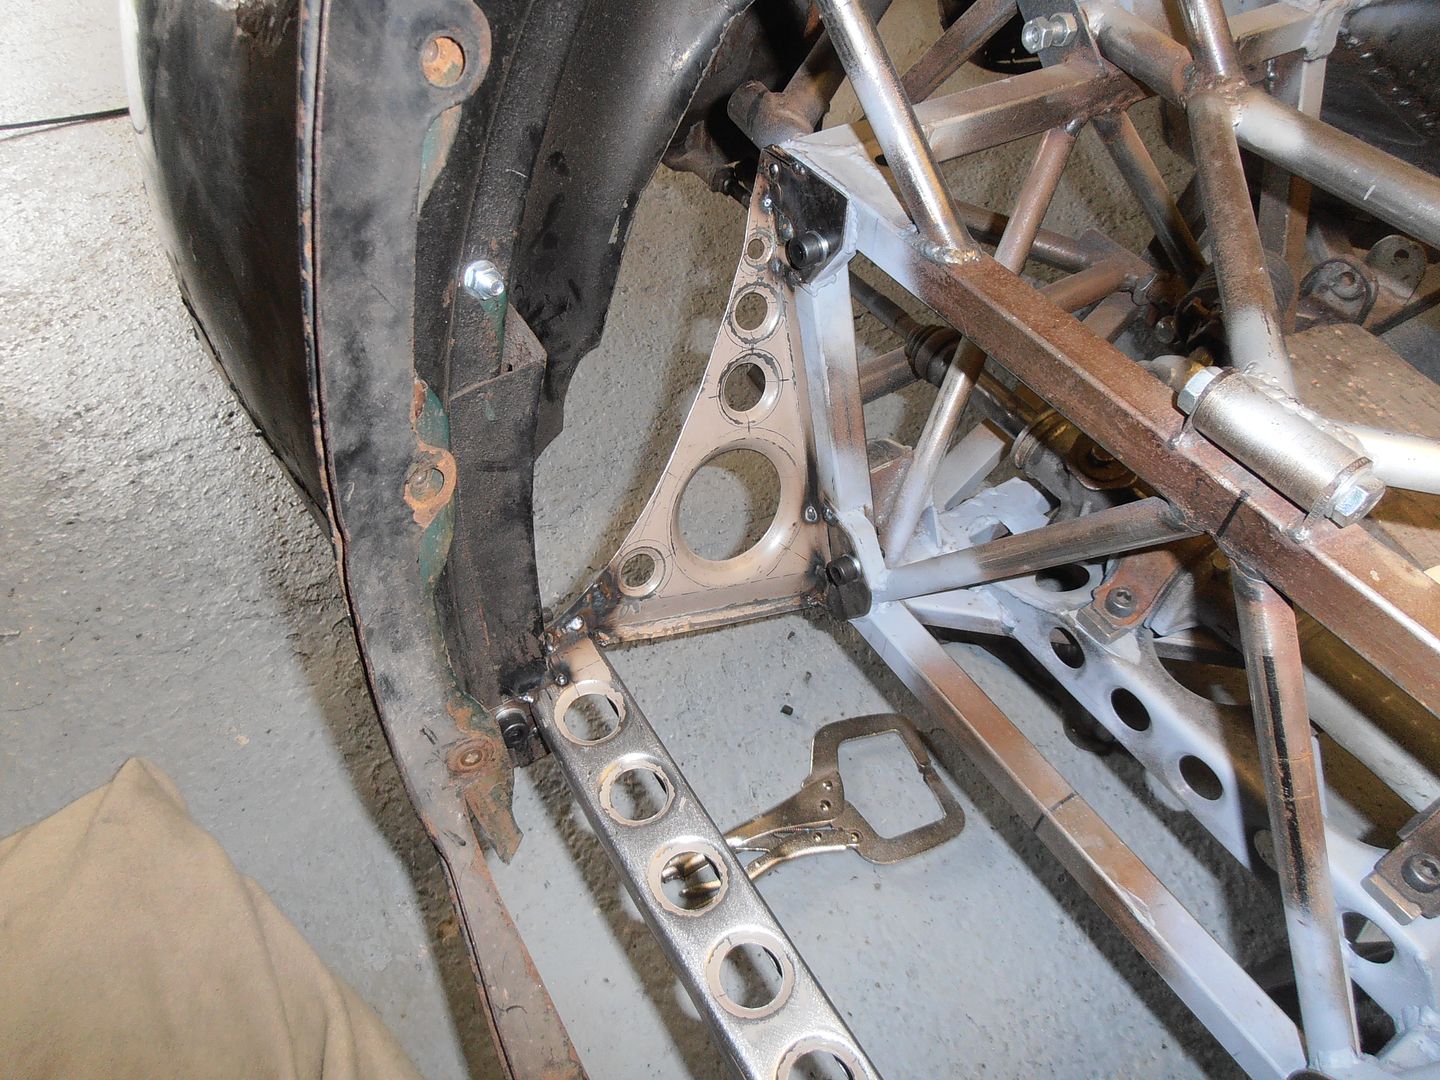 the other side 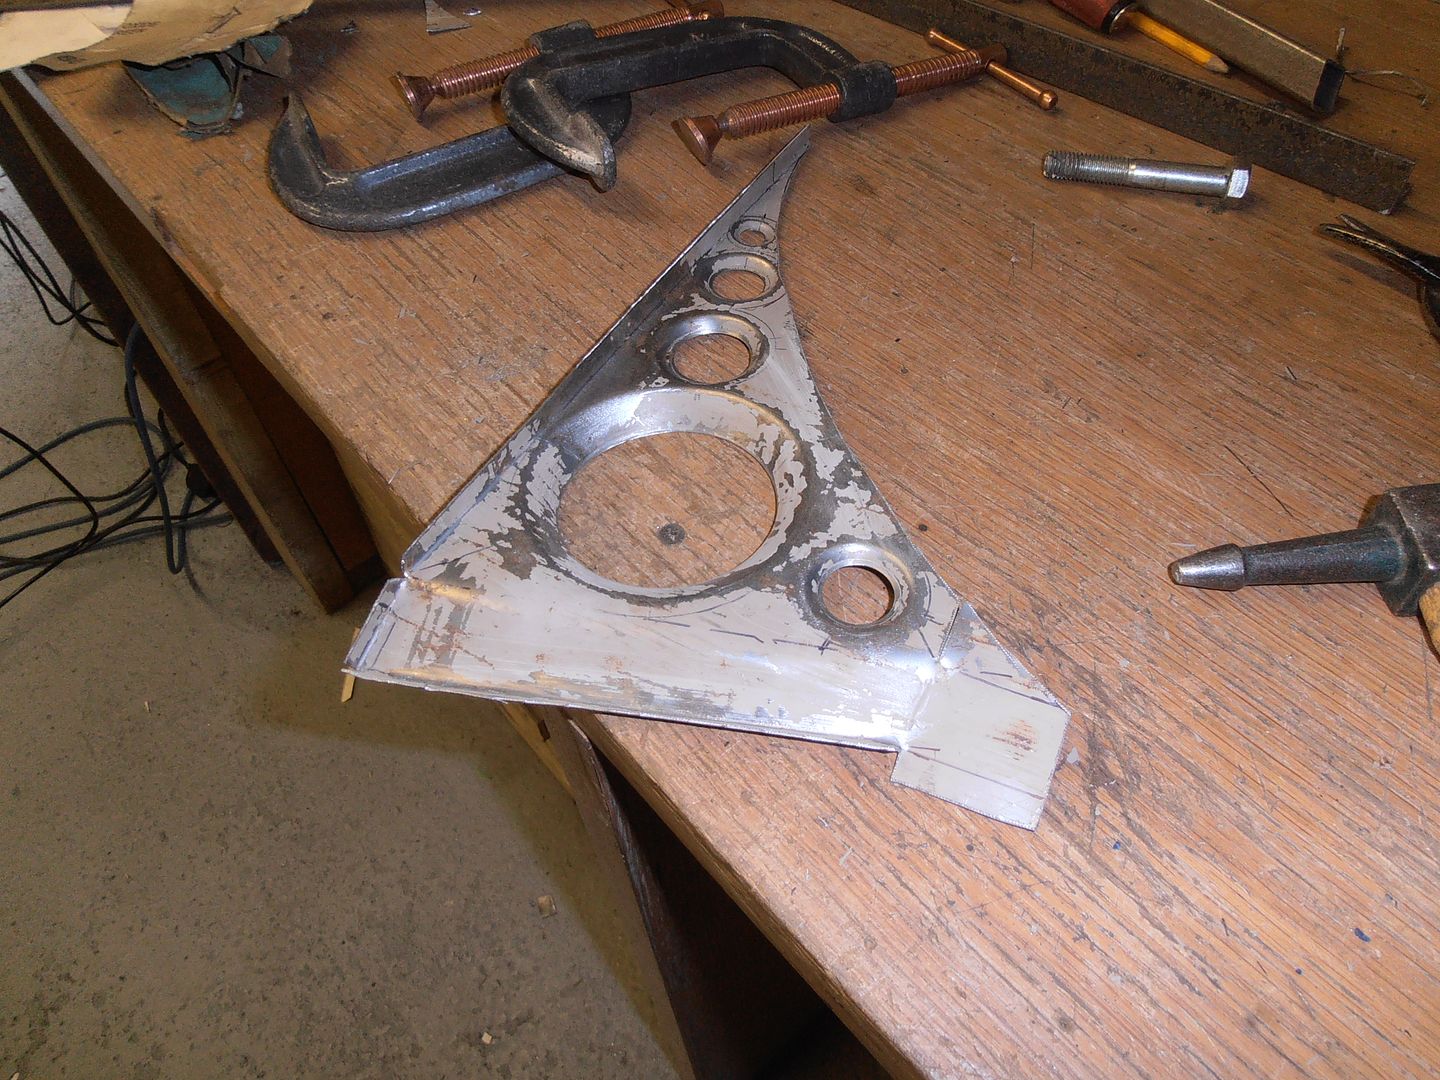 tacked in 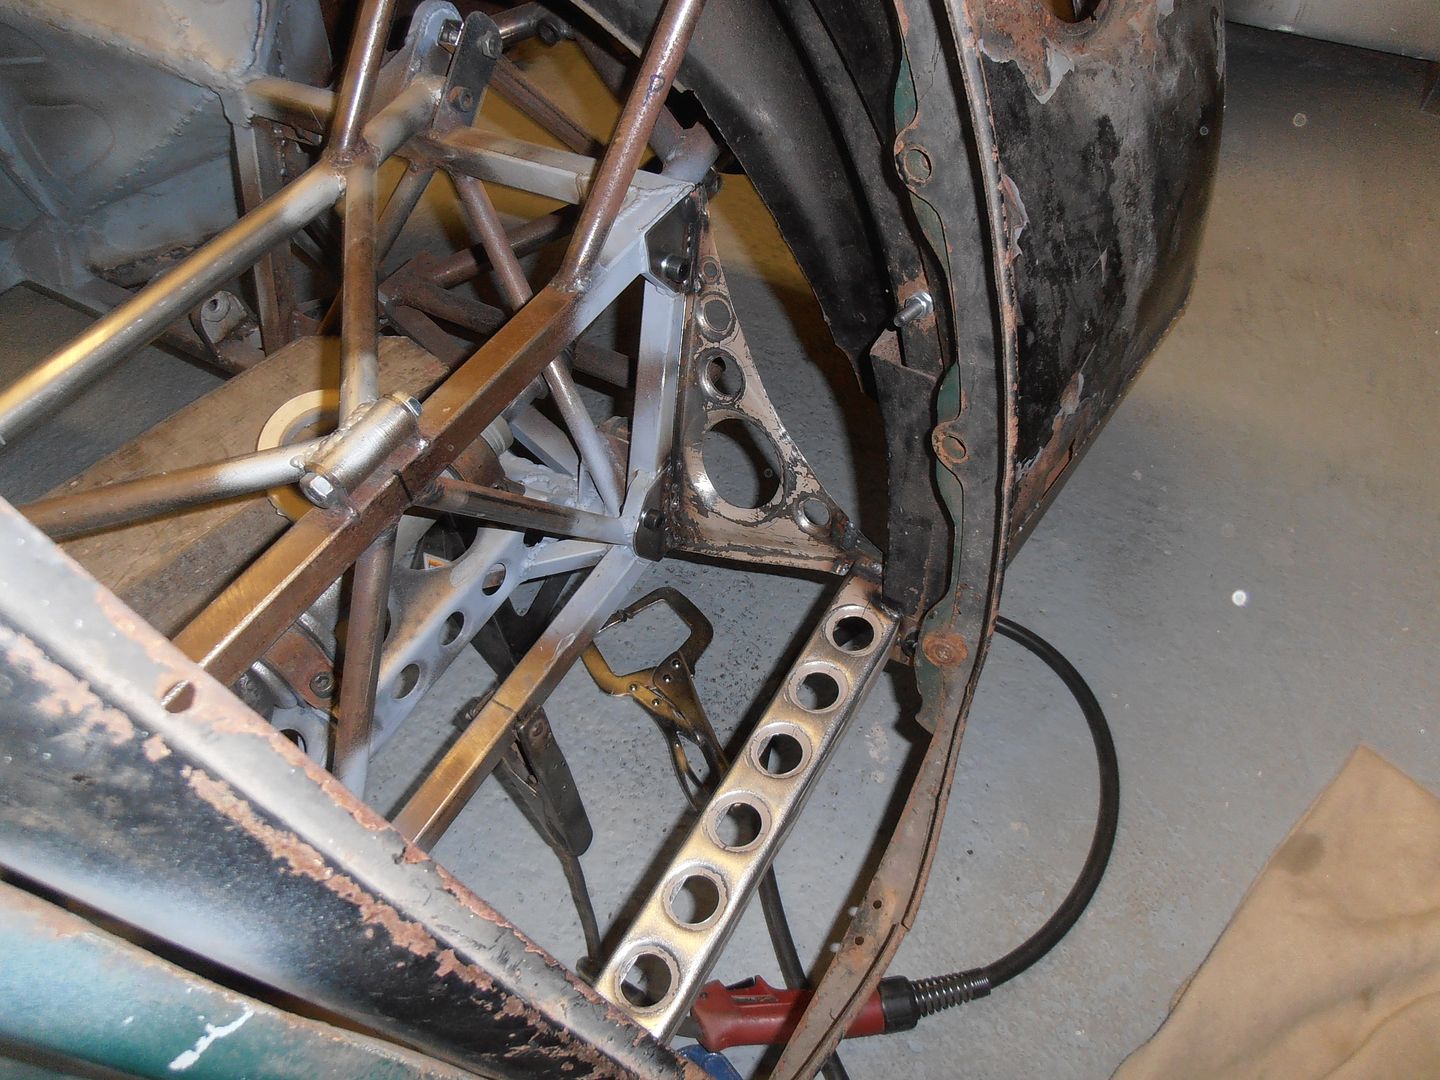 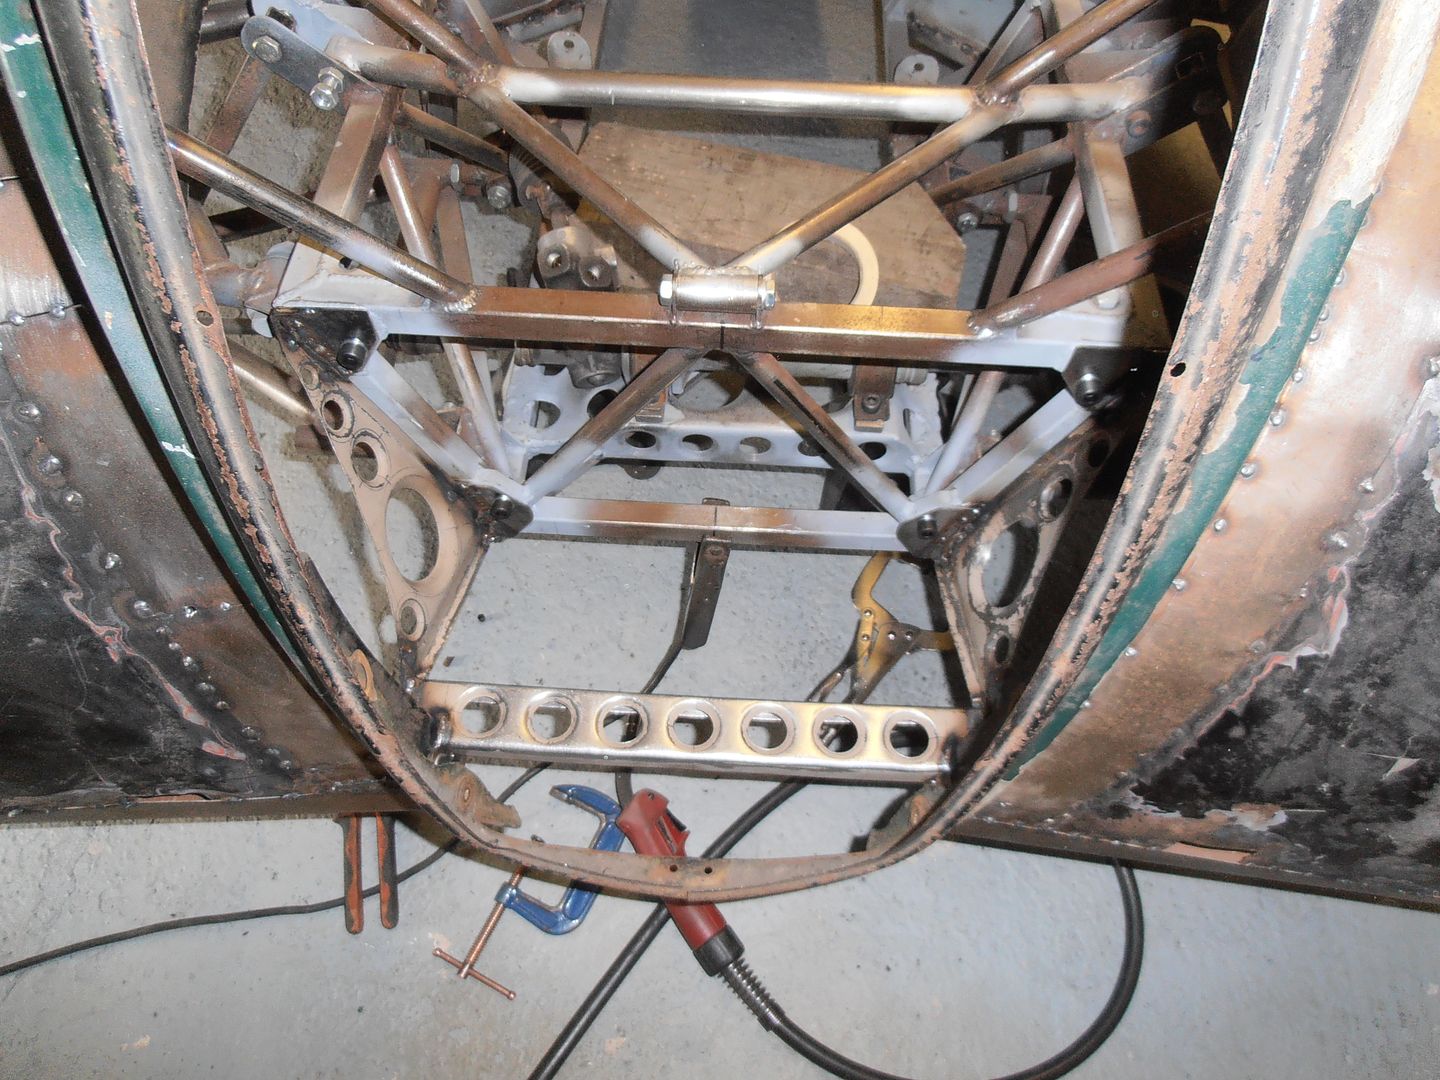 tacking on the edge strip 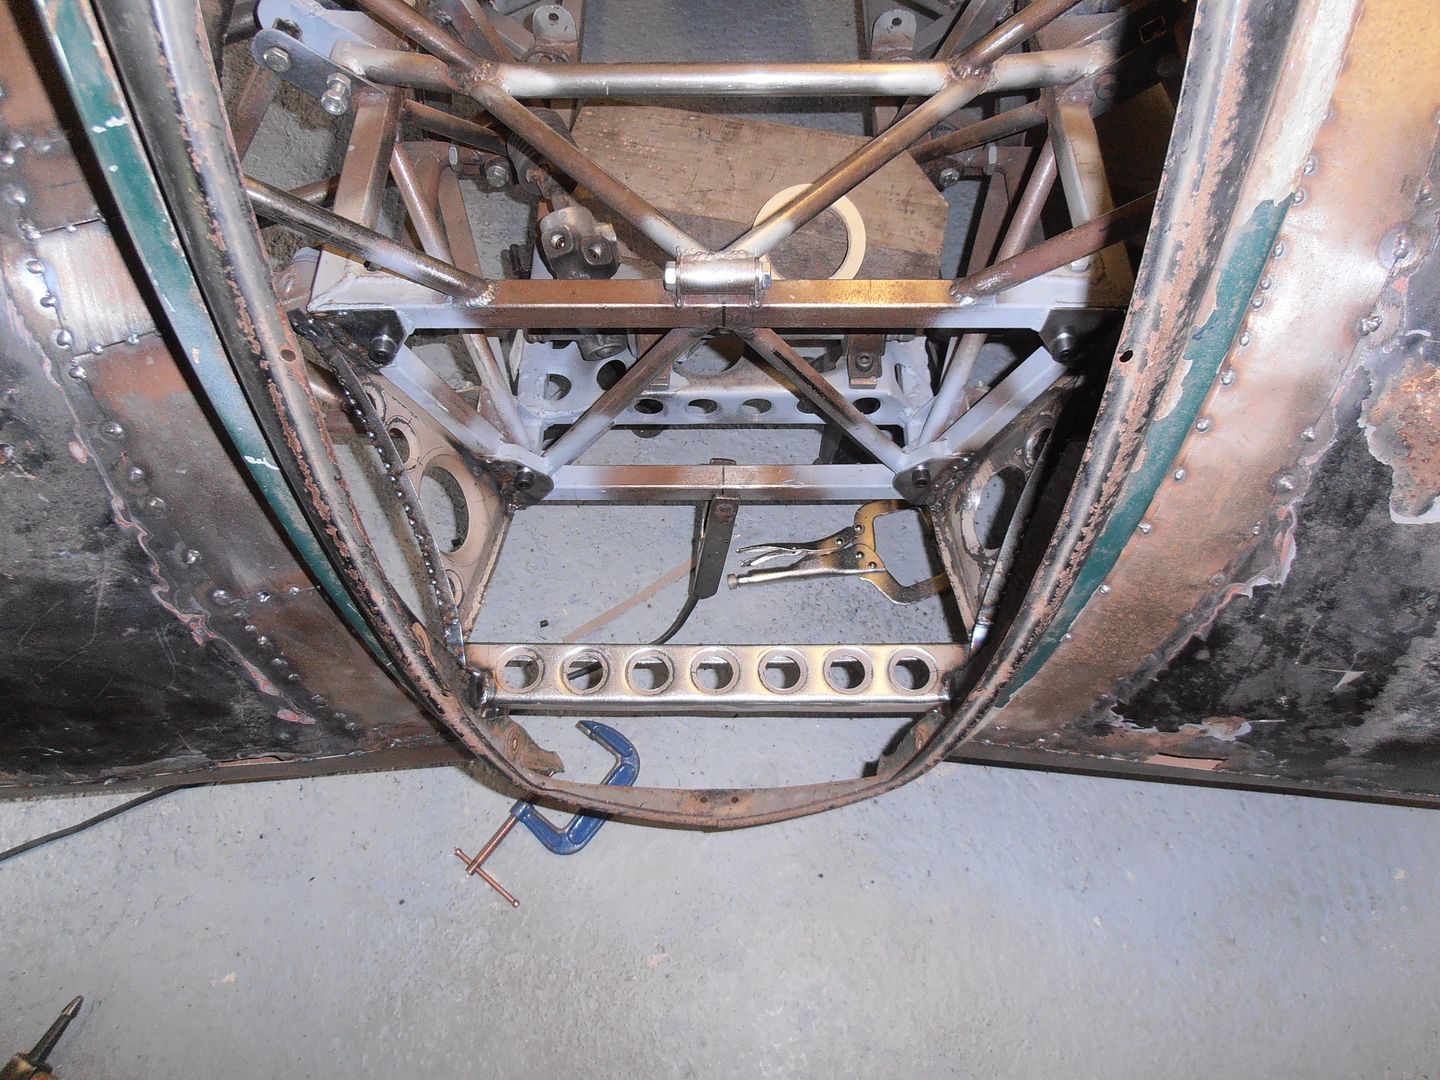 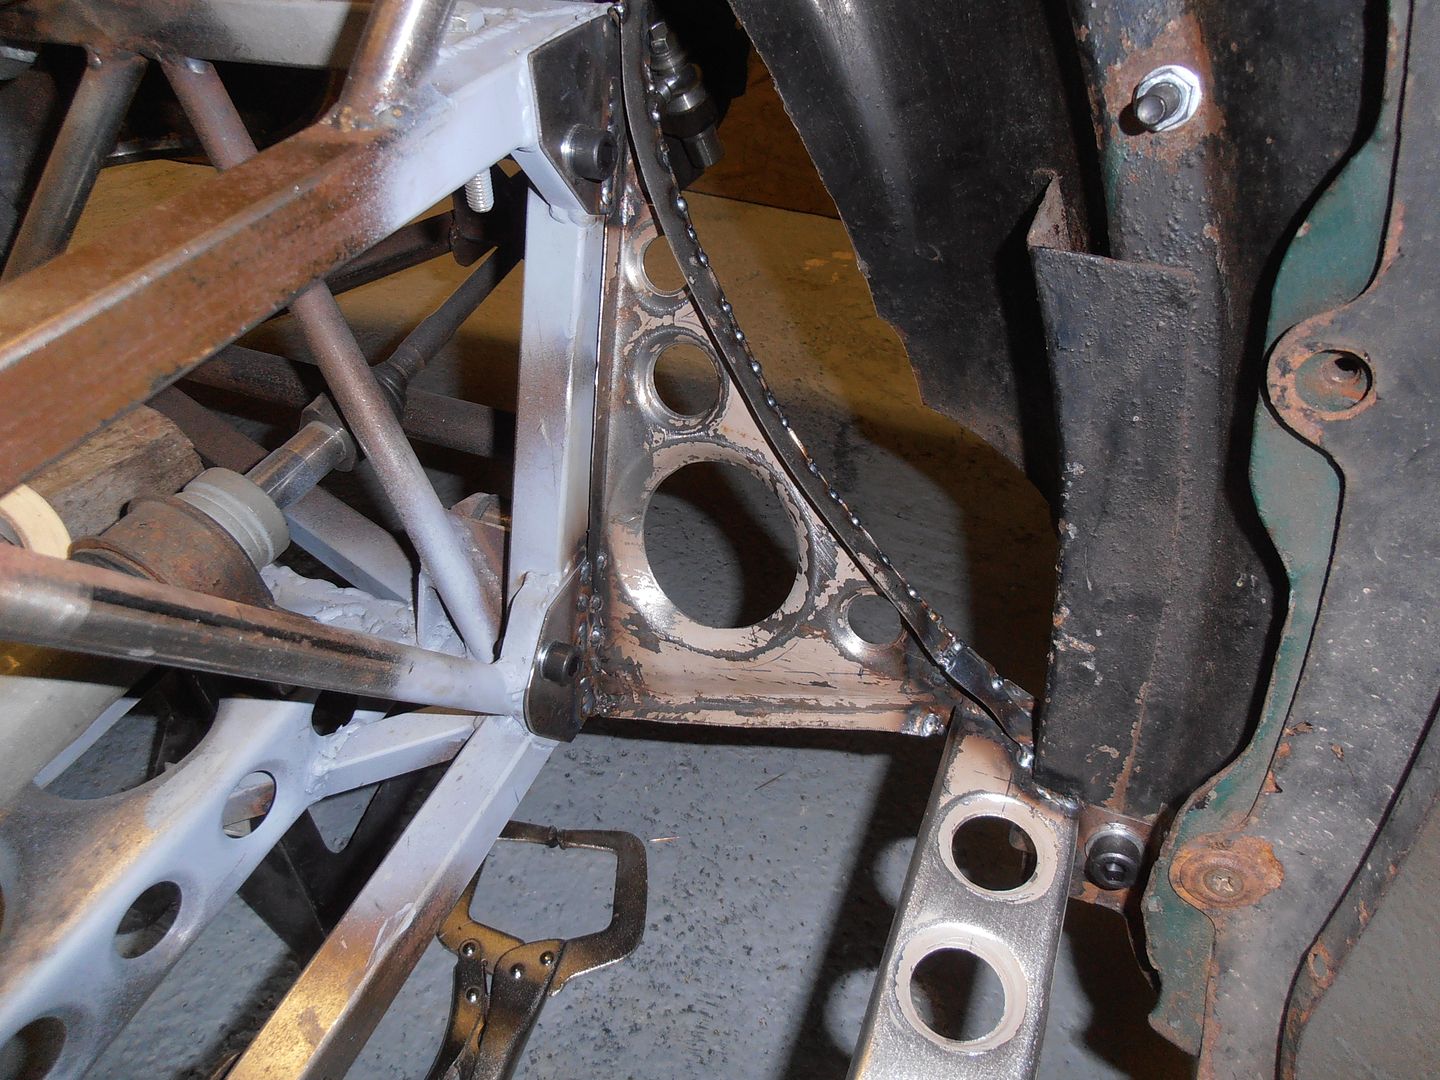 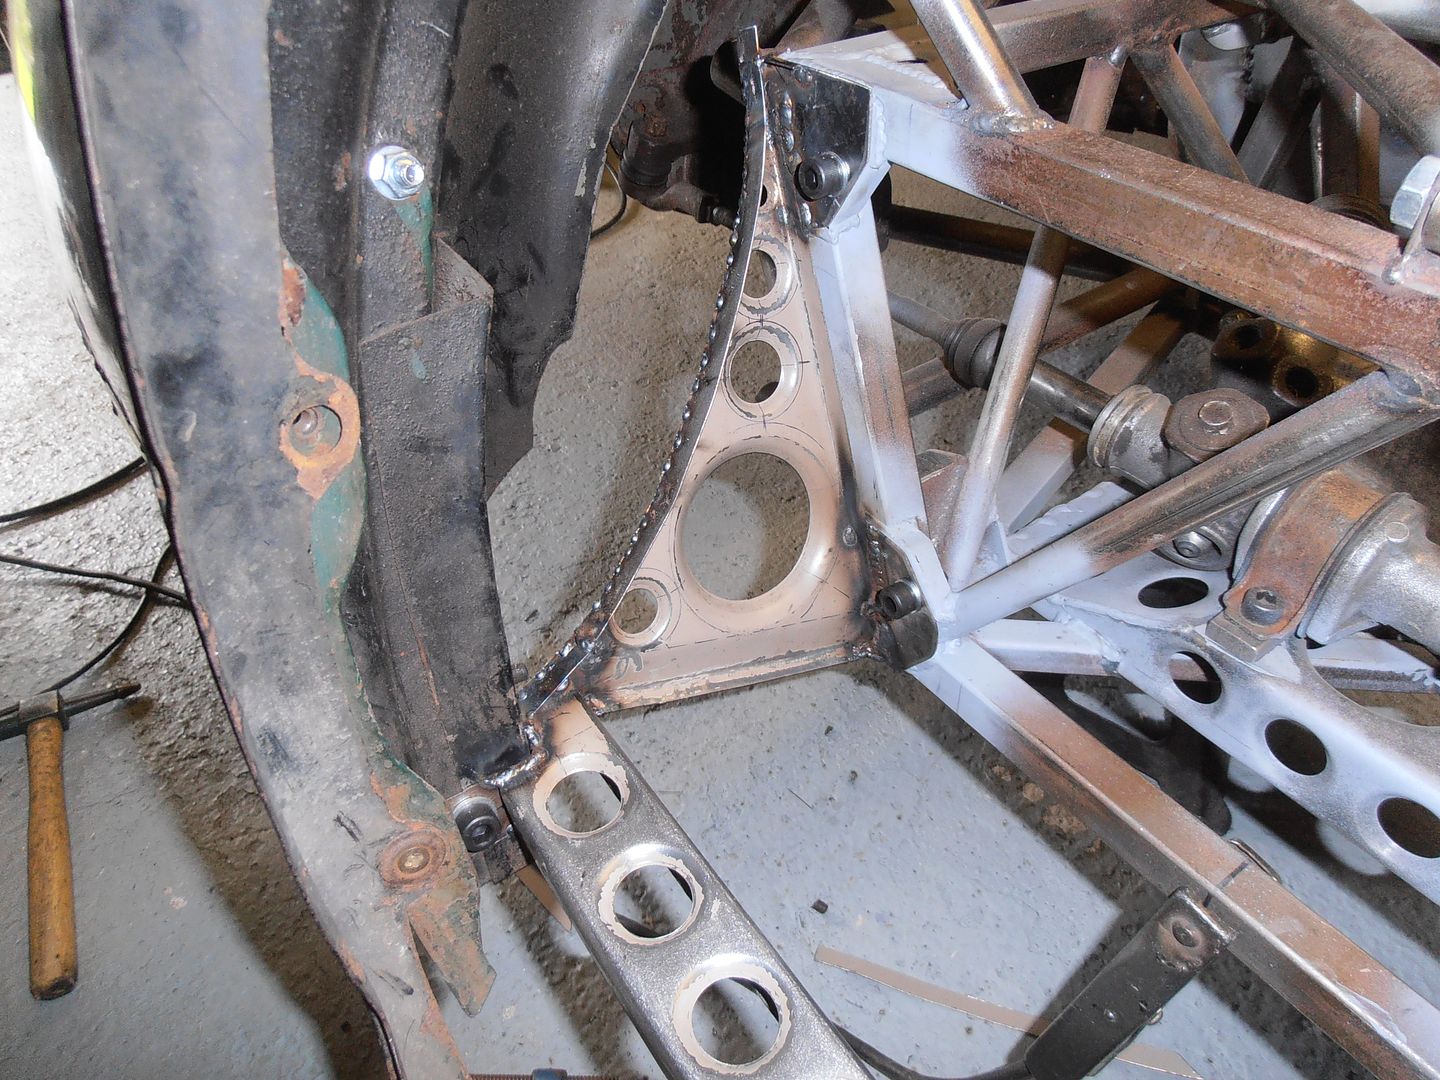 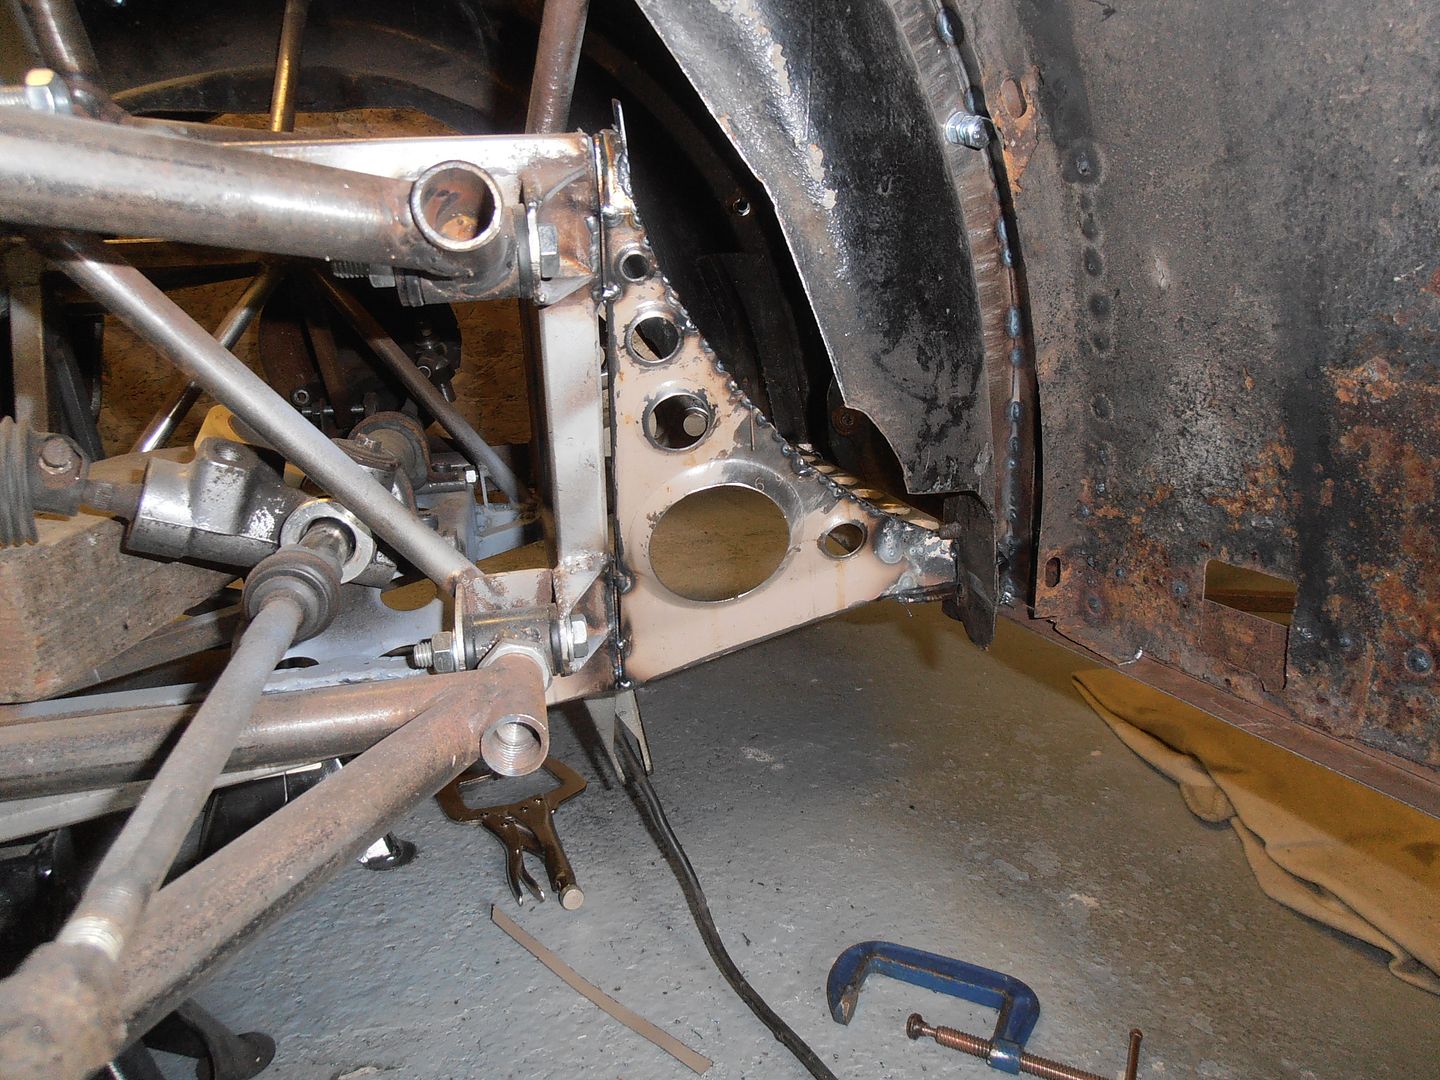 light tidy up 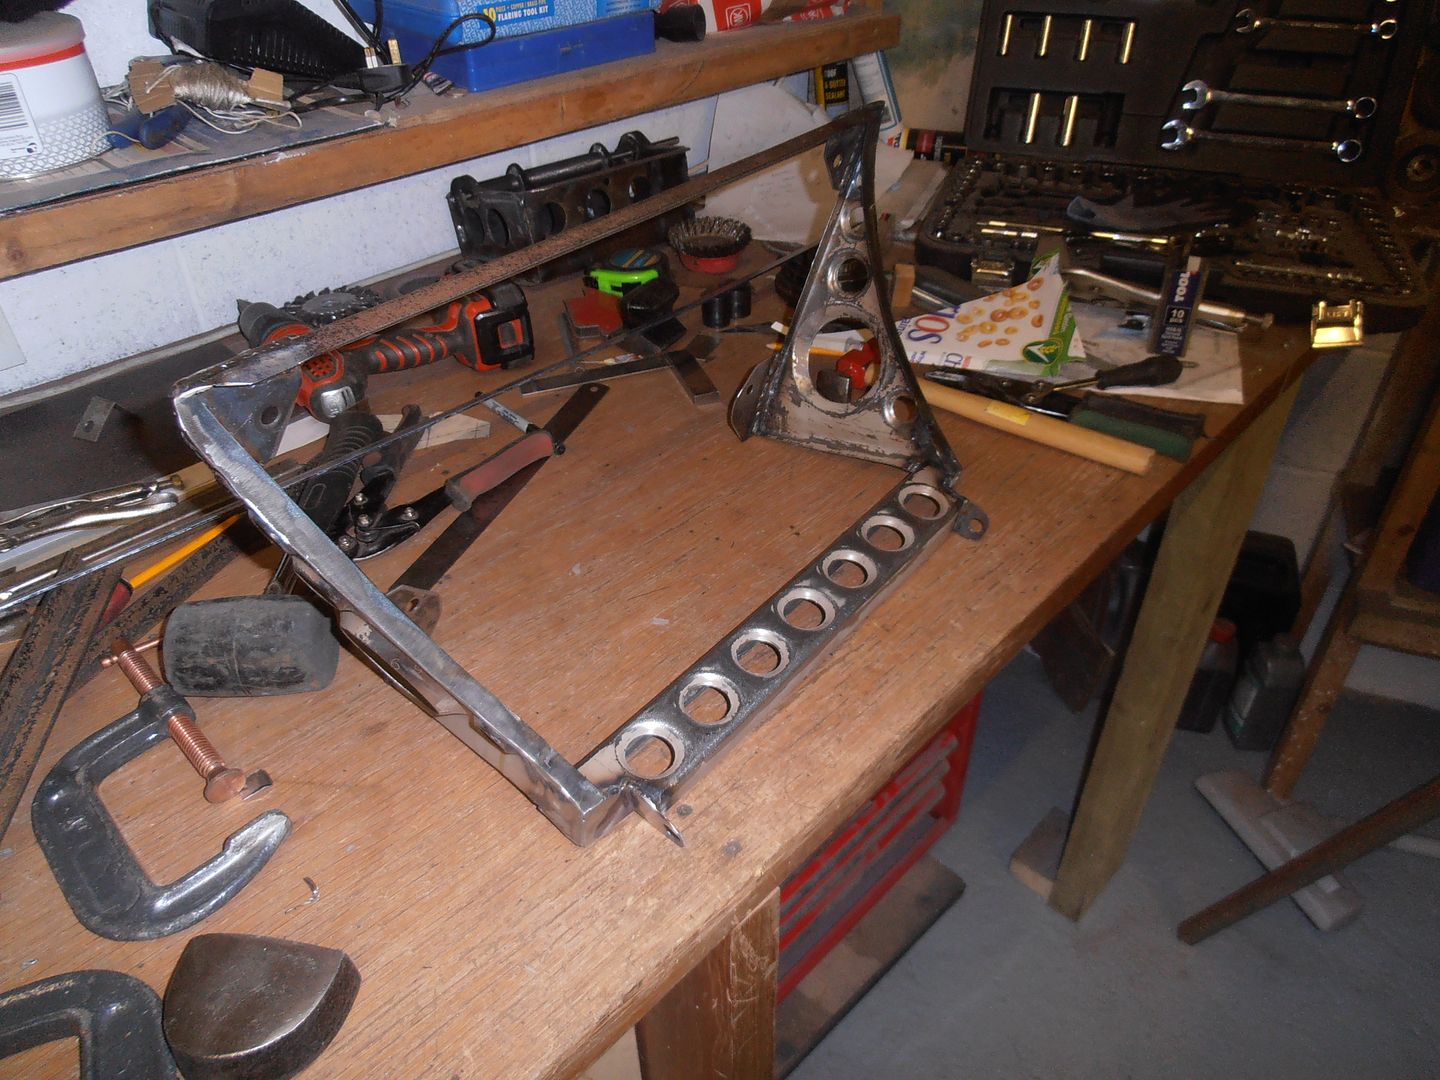 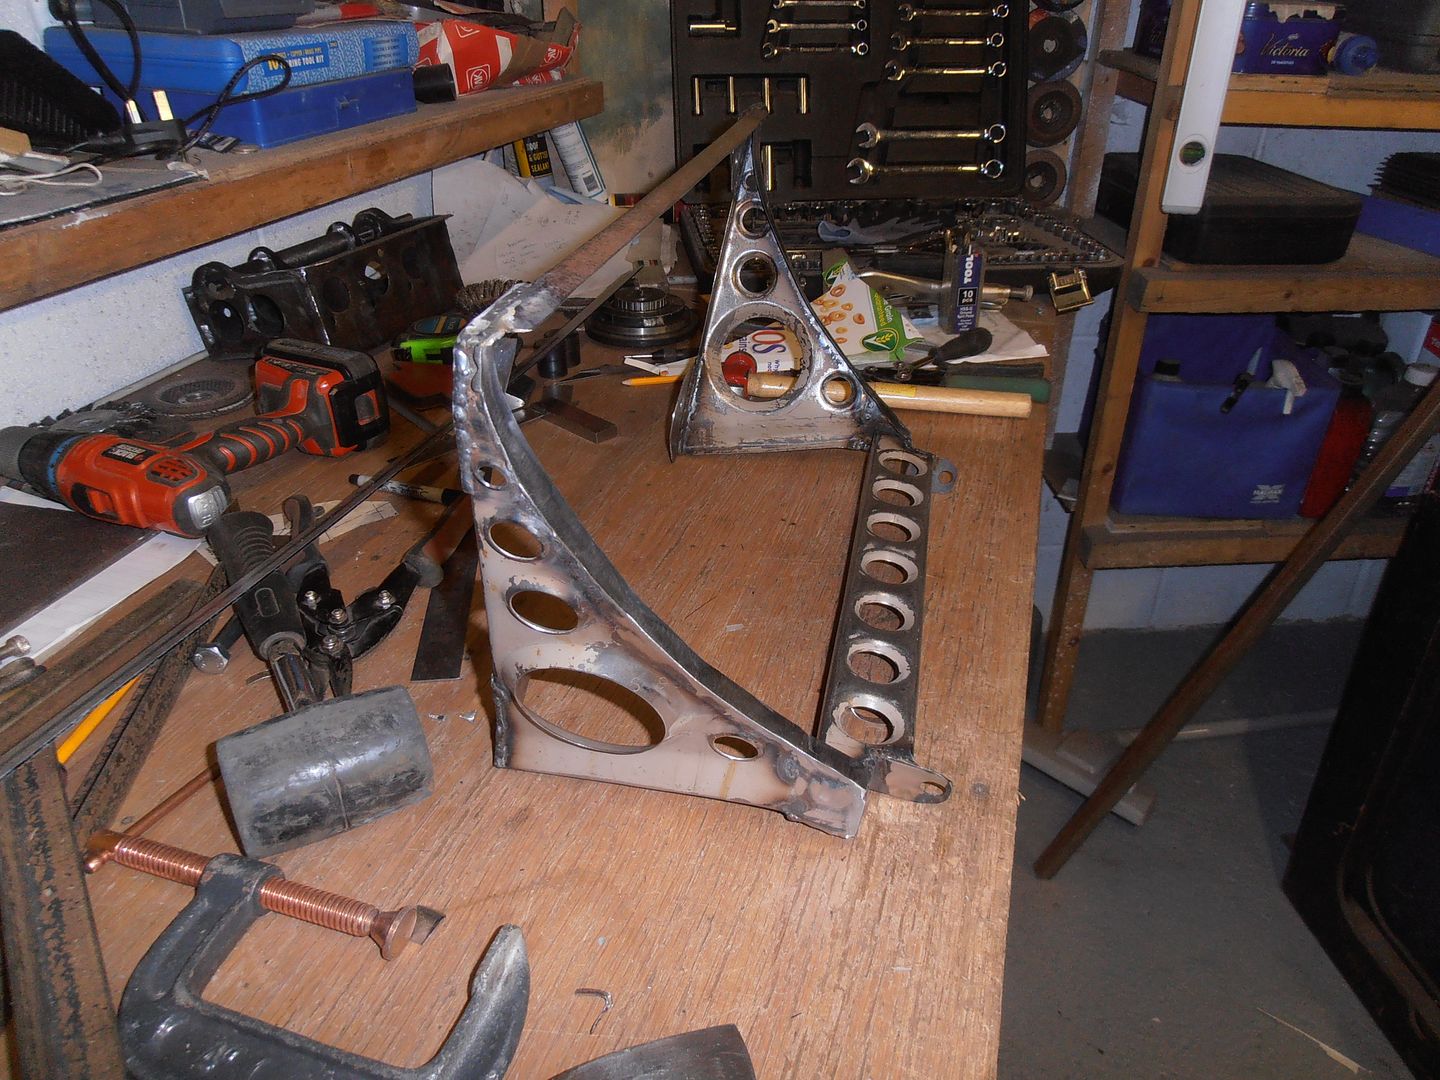 then a quick prime to prevent rusting 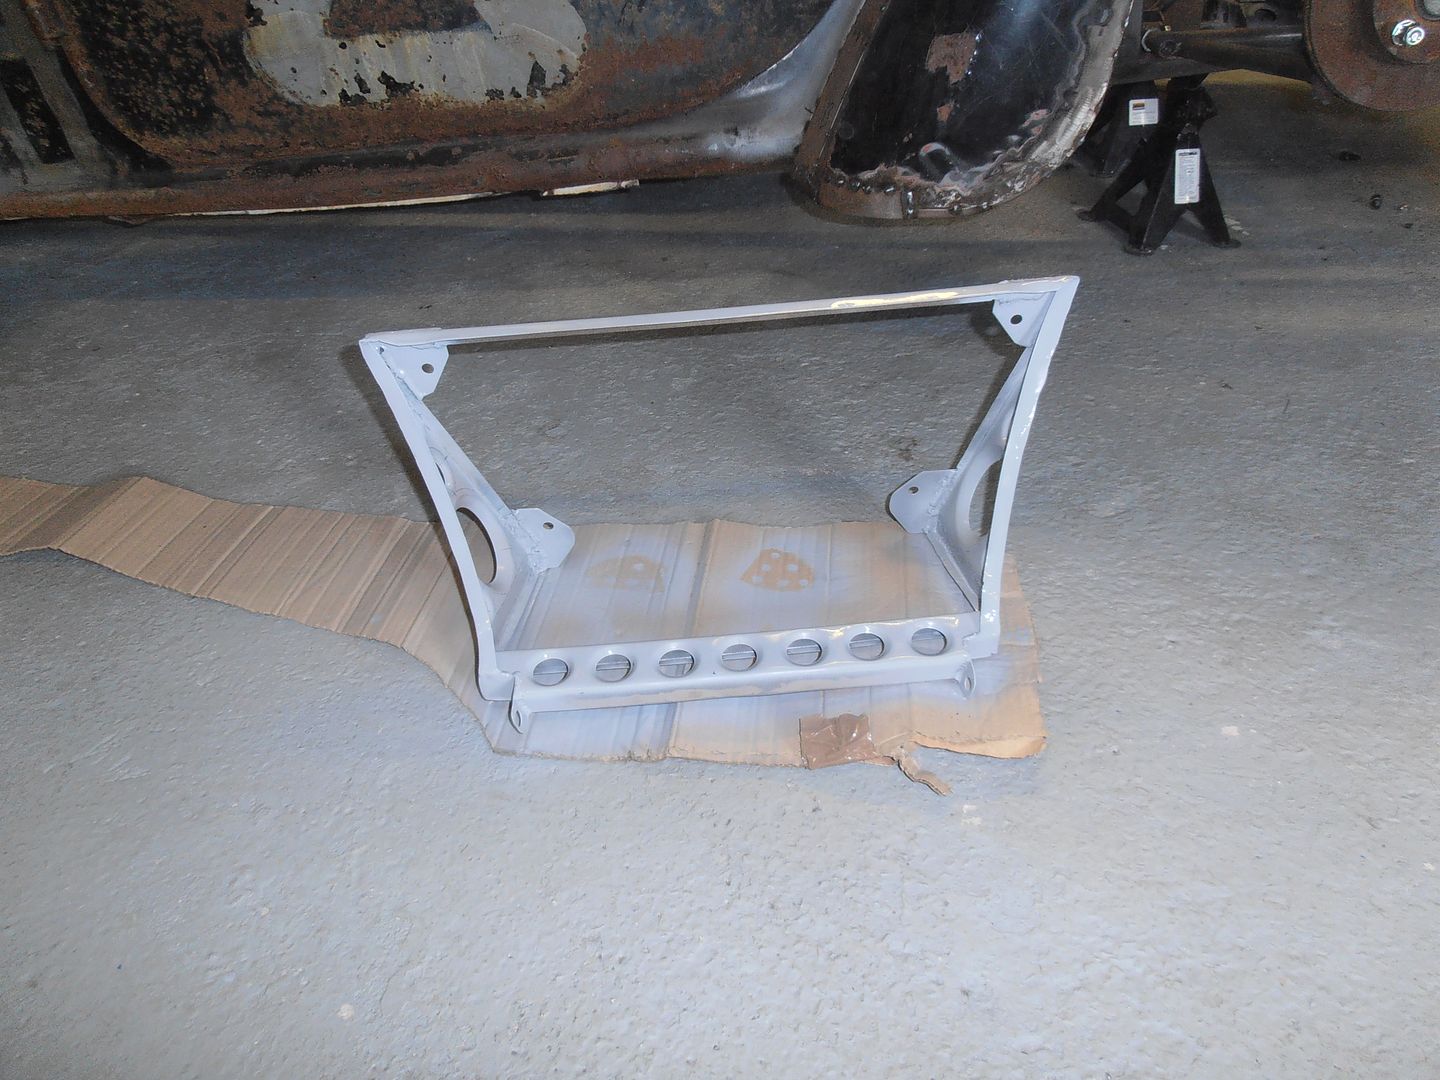 It still needs a better tidy up and a little fettle, but it also needs tabs welded on for the radiator support, so will do all that once i get round to buying a radiator Will see if I get back on it this week. |
| |
|
|
|
|
|
|
|
|
Cracking work fella, It'll be a right beastie when its done!
|
| |
Too many projects, not enough time.
|
|
jonomisfit
Club Retro Rides Member
Posts: 1,790
Club RR Member Number: 49
|
|
|
|
thanks Dude. I turned the morris from looking reasonably complete to this.... 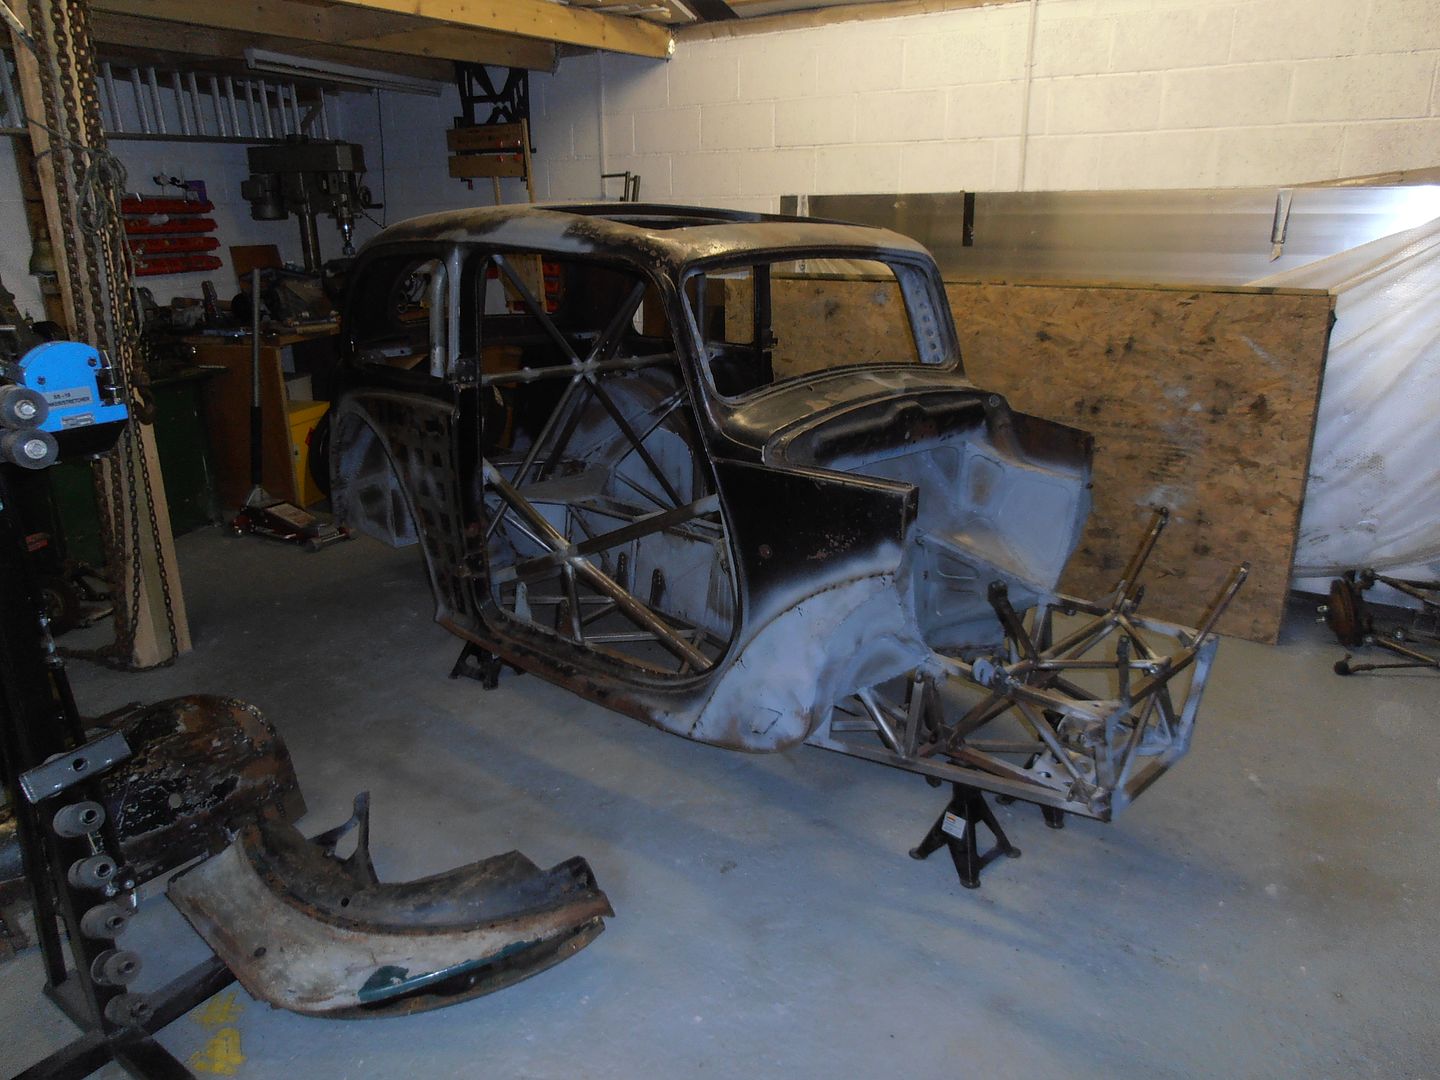 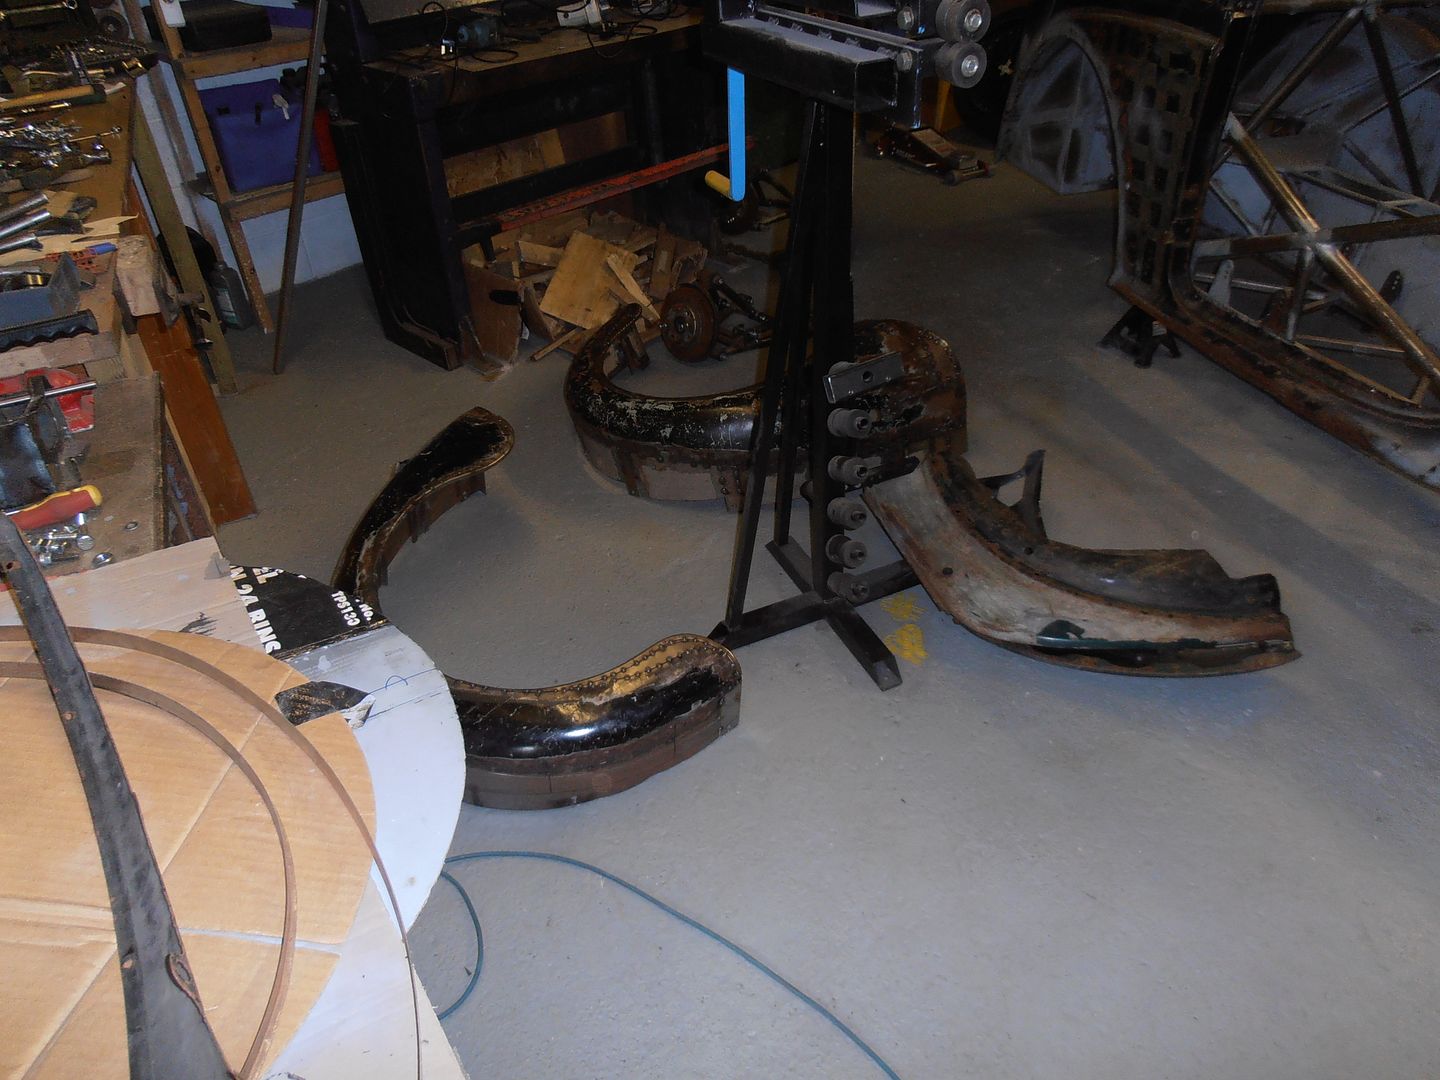 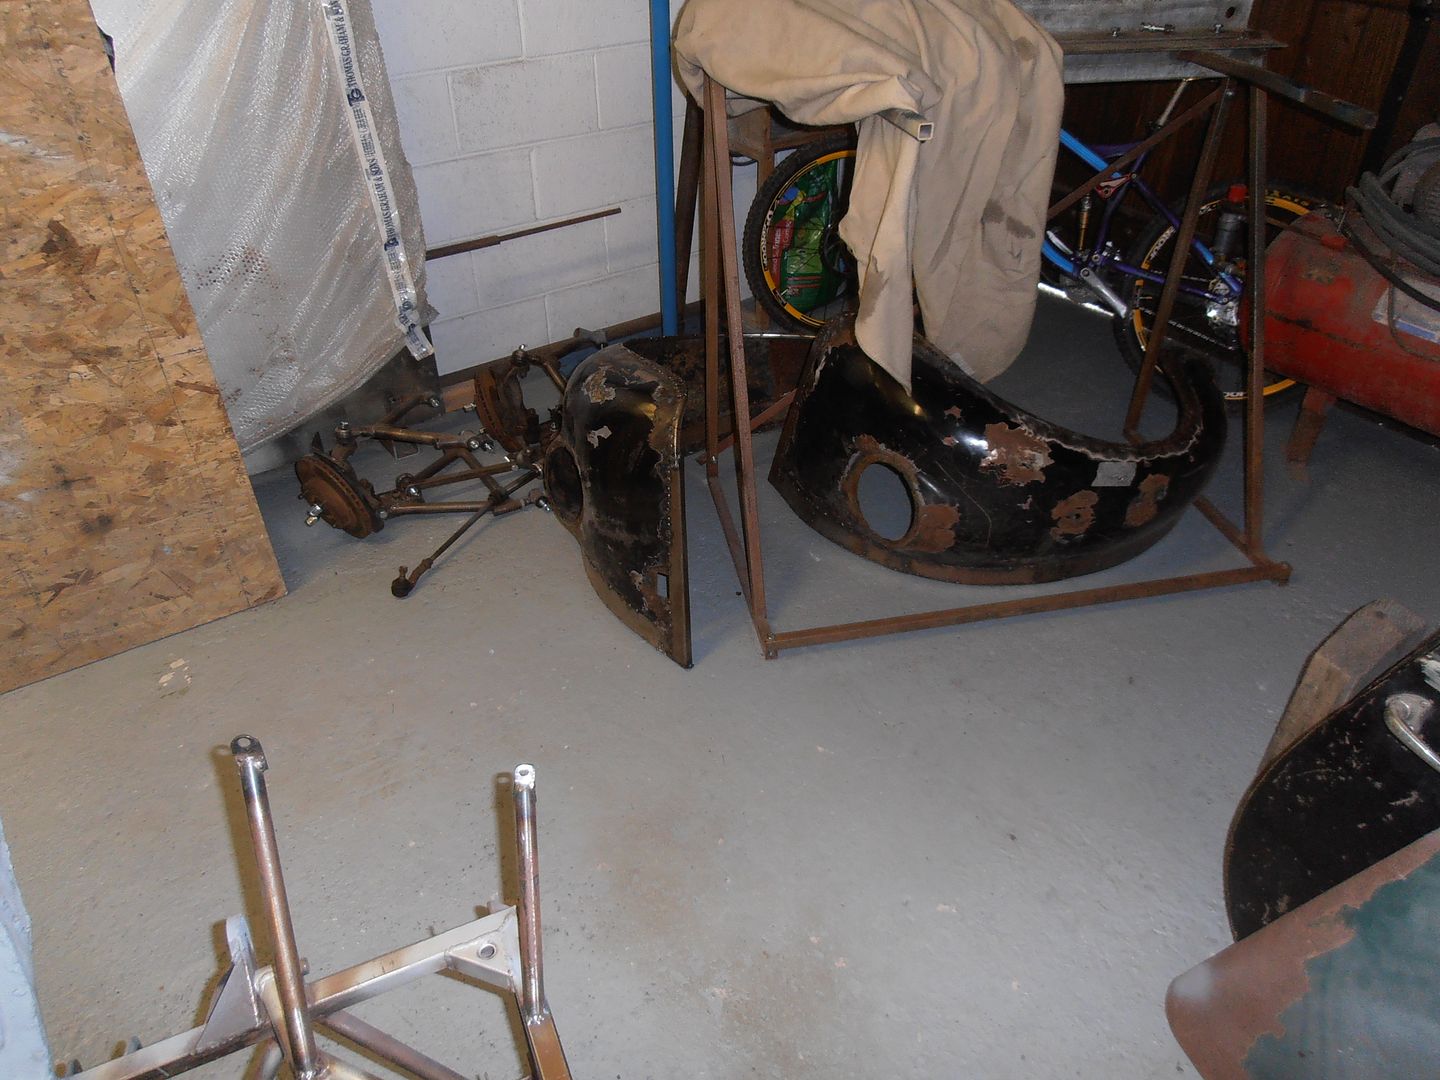 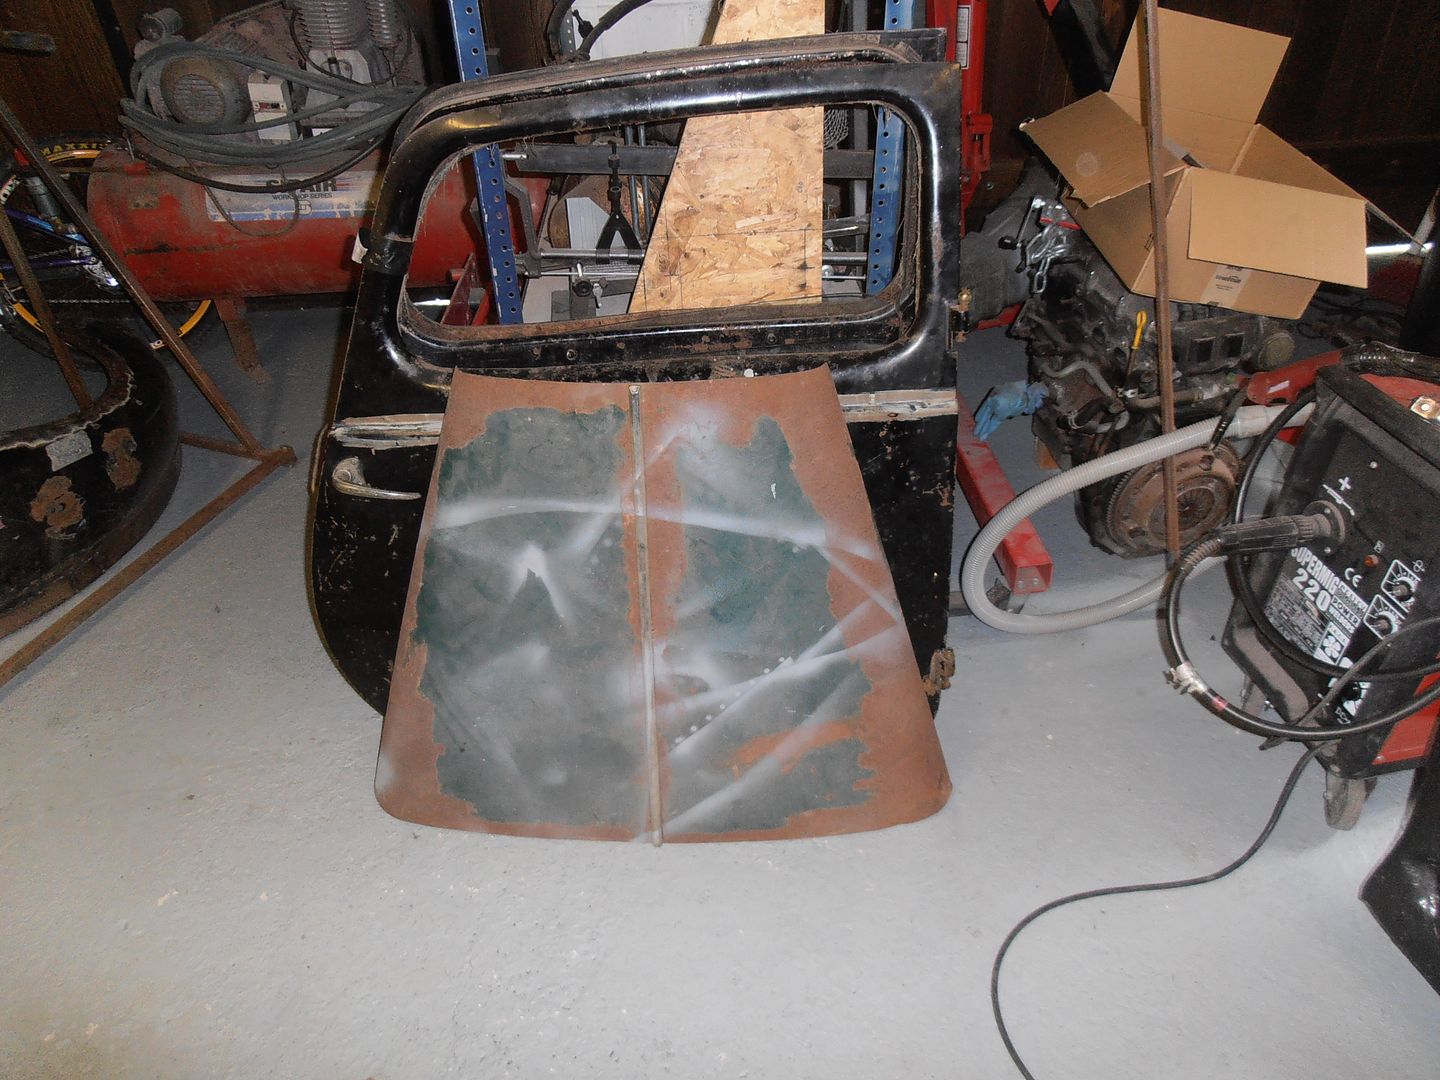 Took about an hour all in, which isnt bad considering how many bolts there are on things.... then made a start on the front spit supports 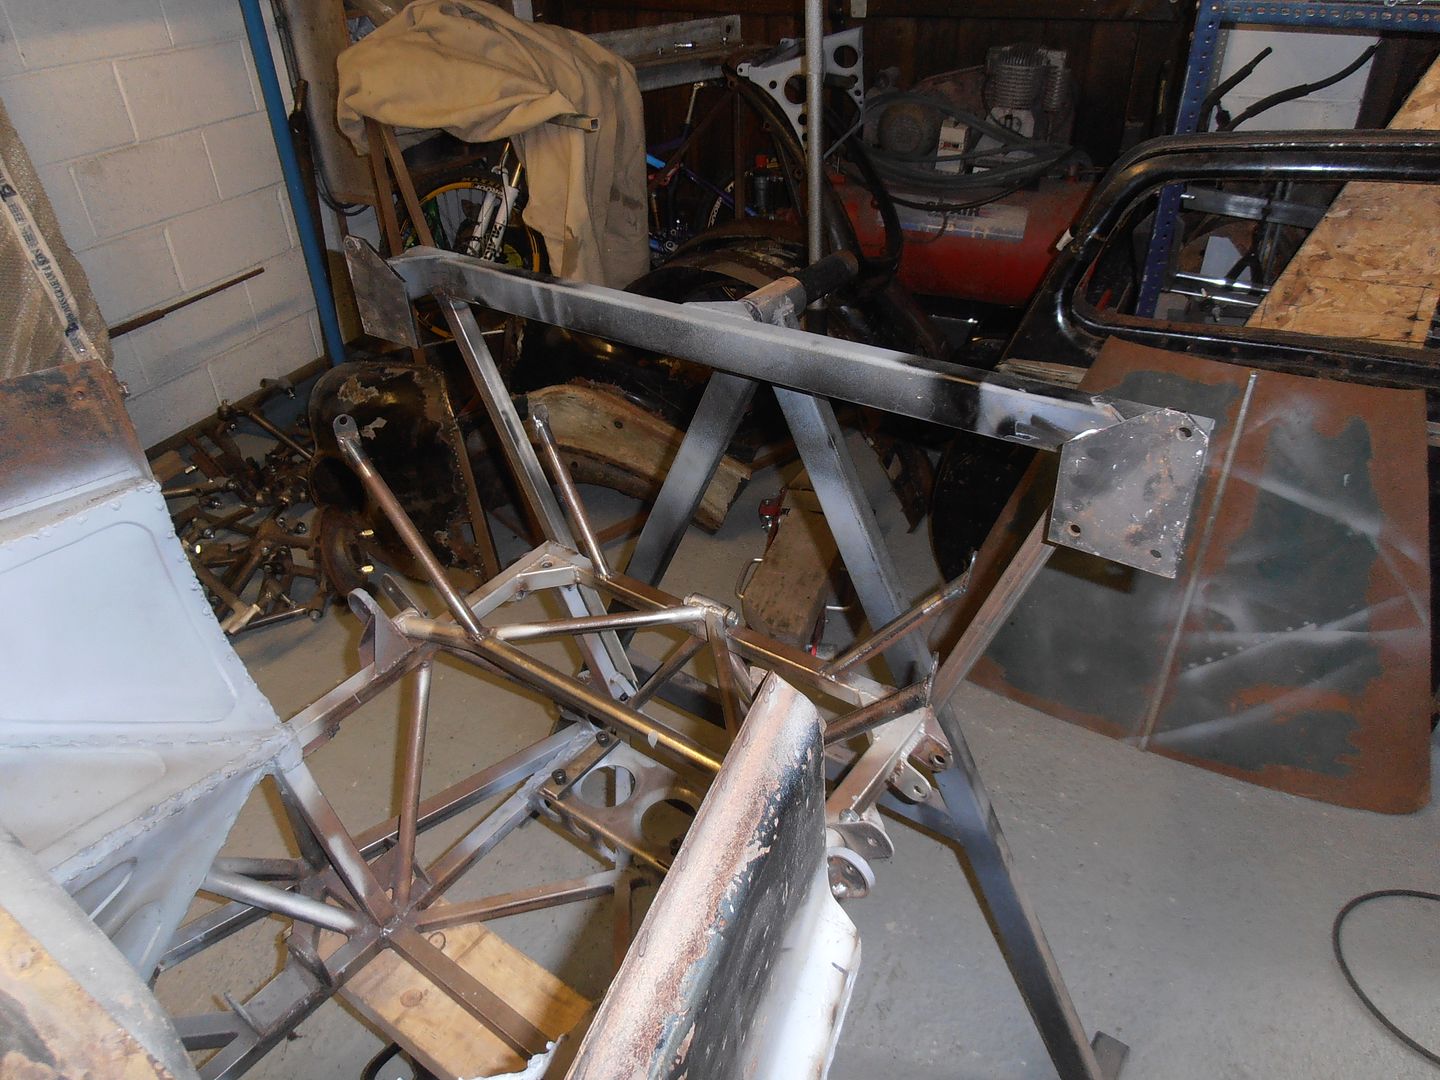 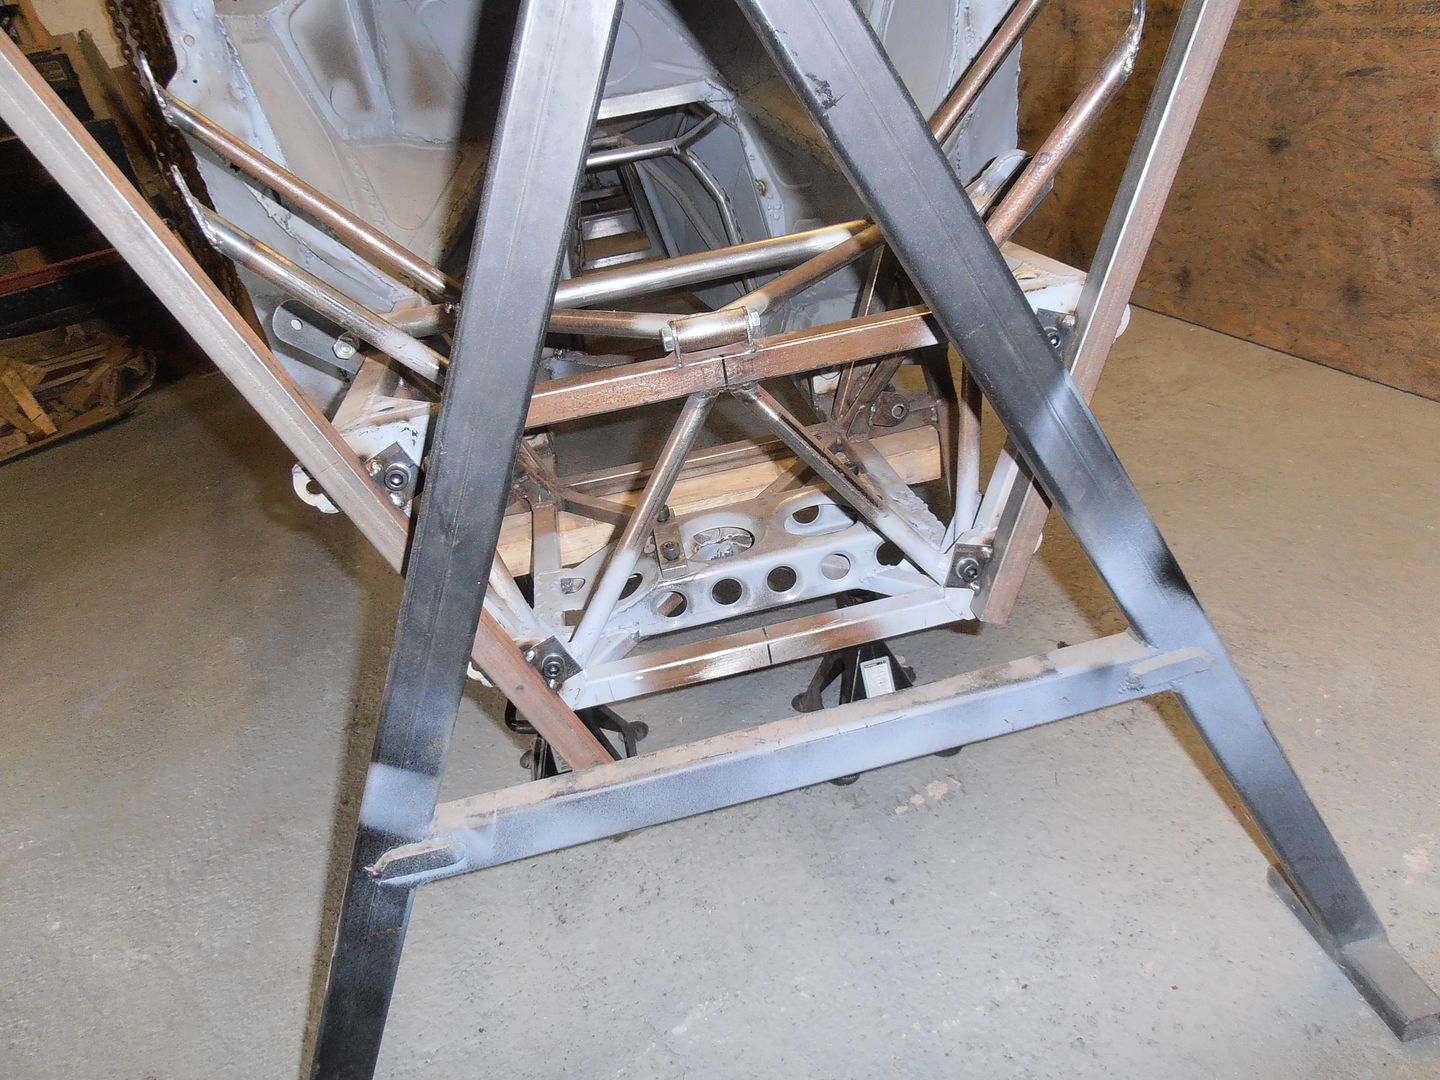 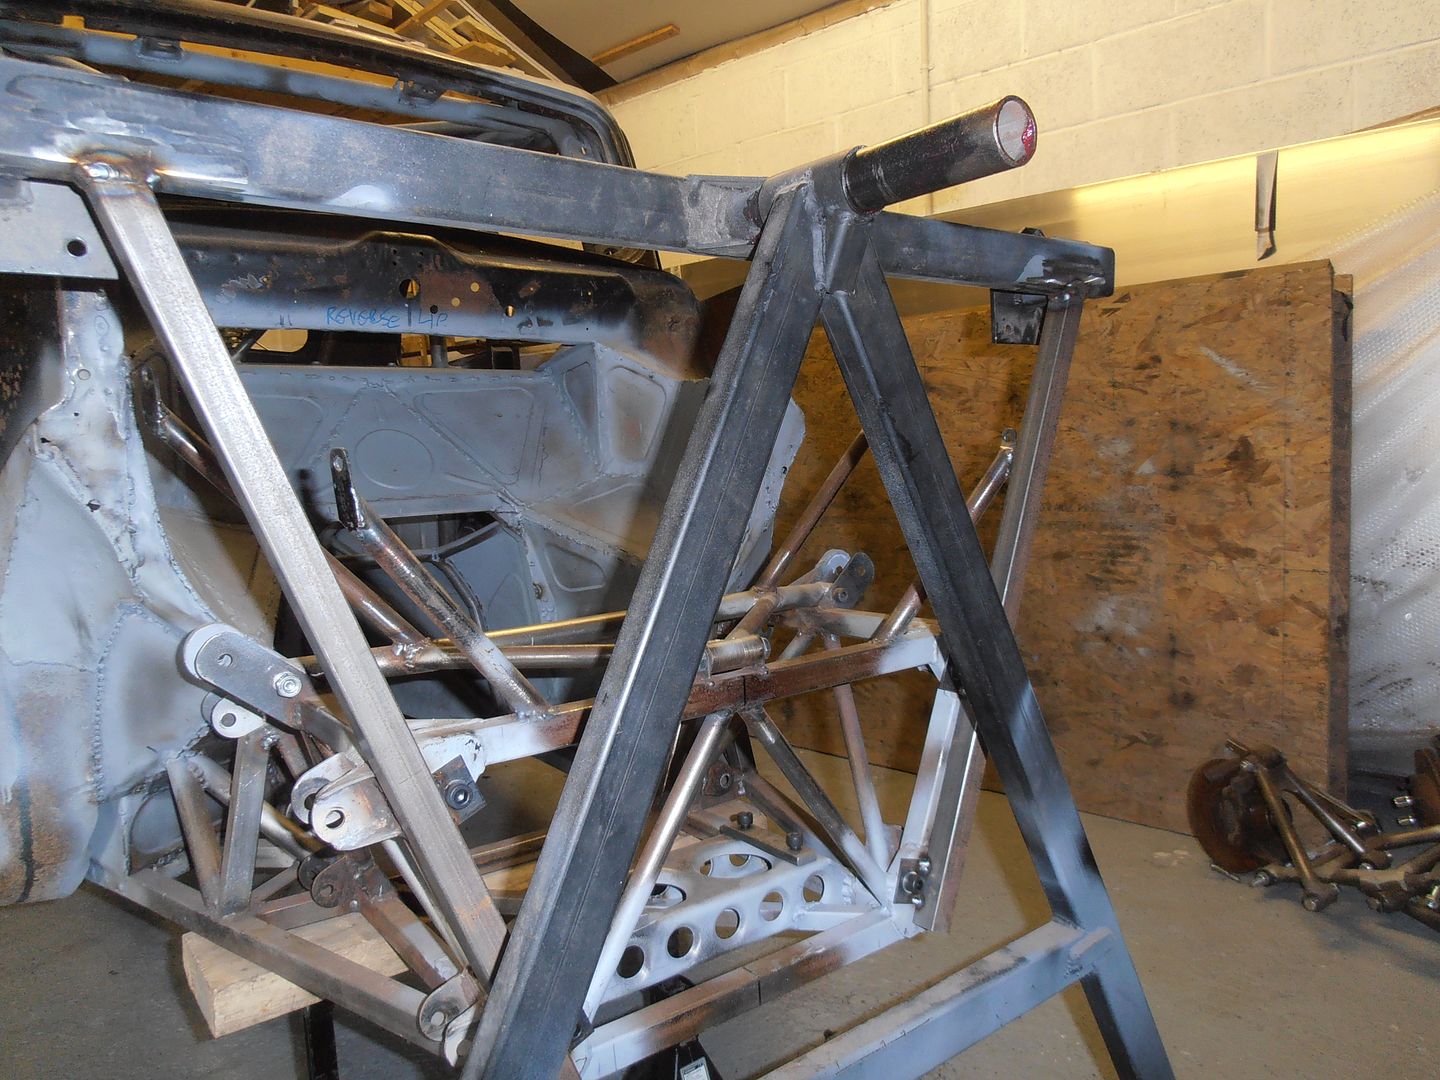 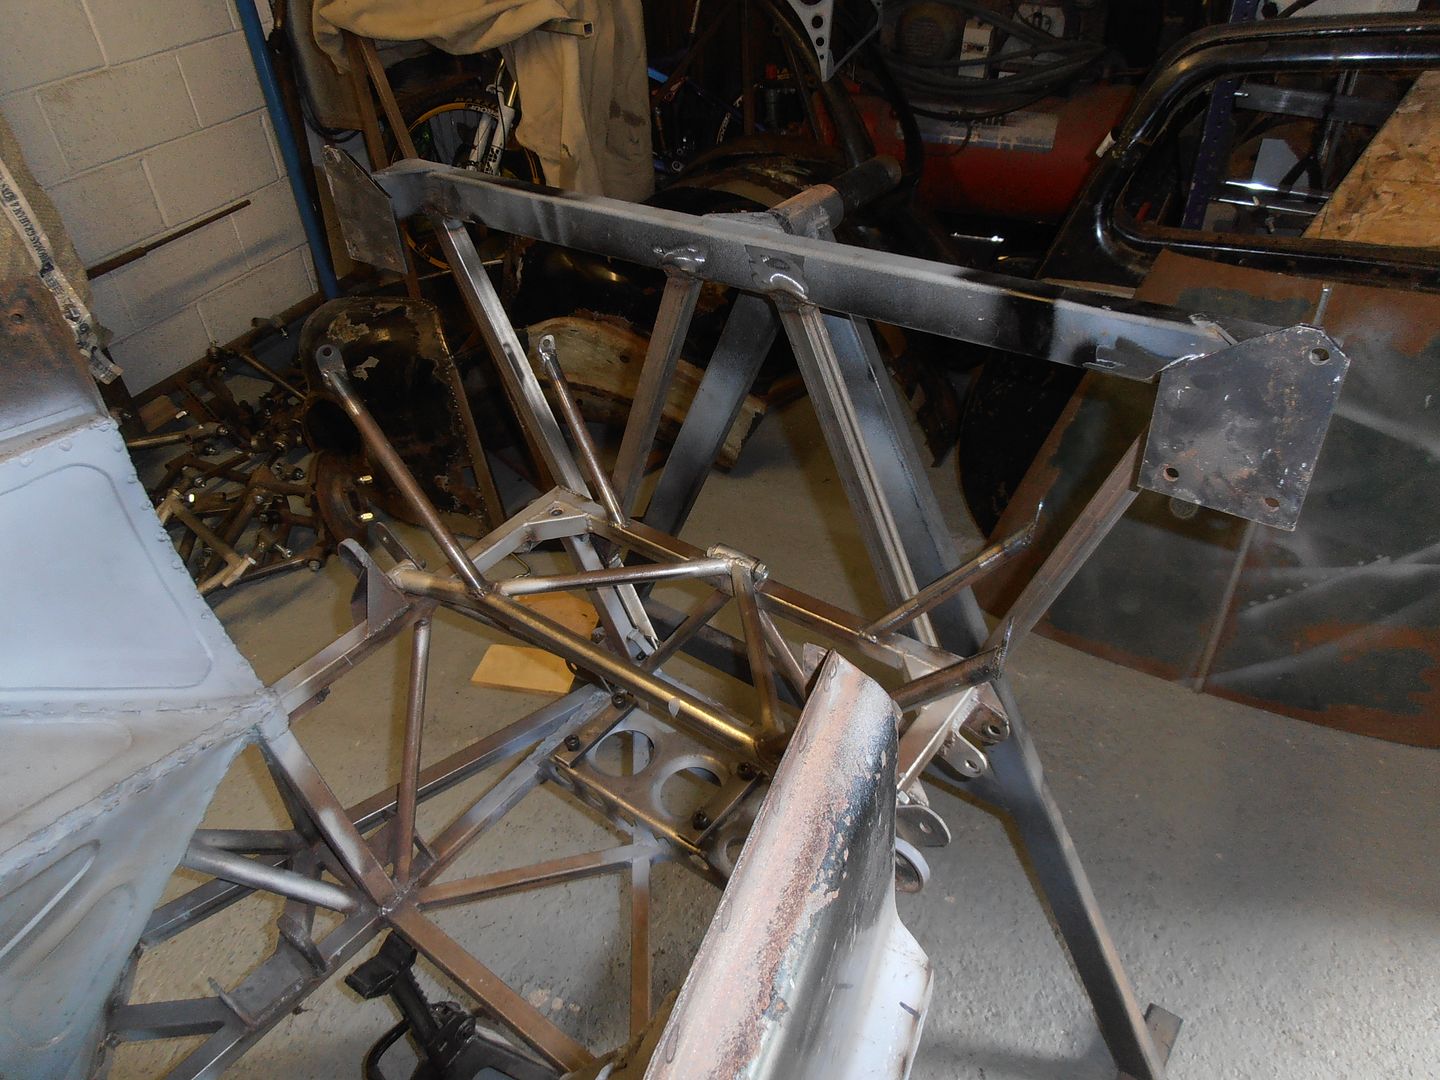 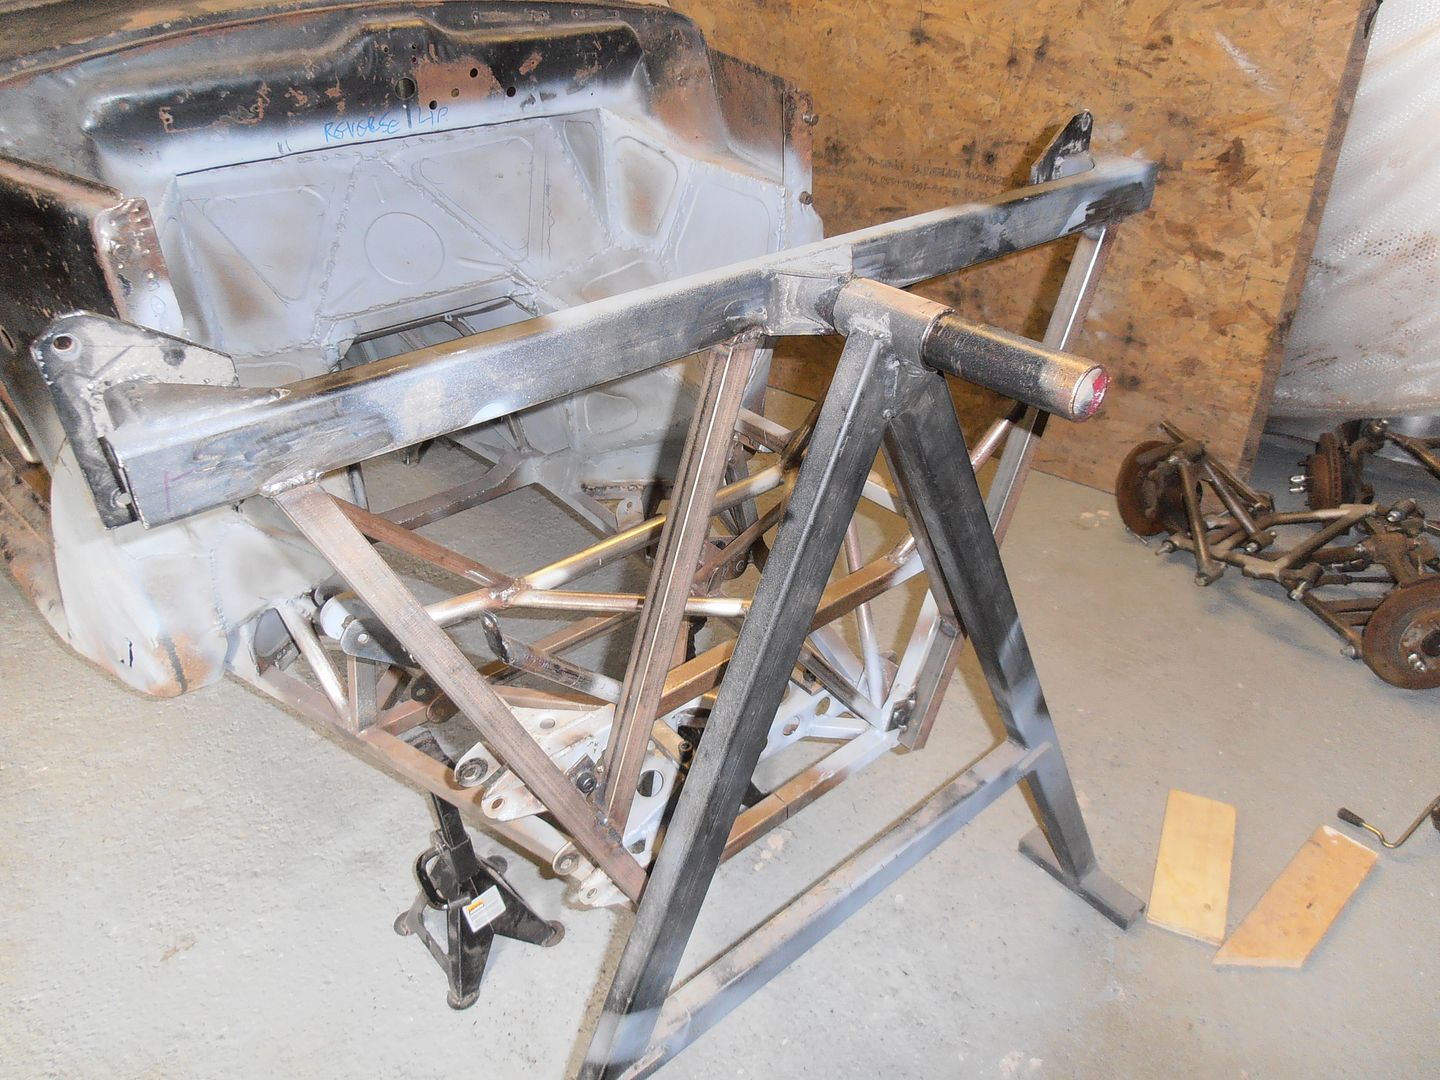 still to get a few gussets / load spreaders at the joints. I suspect the centre of gravity will be below the pivot point, but this means I should be able to strap something heavy to the cross cross brace in the roof and balance it up. The front is also the easy end.... Will see how the back end does tomorrow as it needs some spigots machined up to go in the bumper mounts holes. |
| |
|
|
jonomisfit
Club Retro Rides Member
Posts: 1,790
Club RR Member Number: 49
|
|
|
|
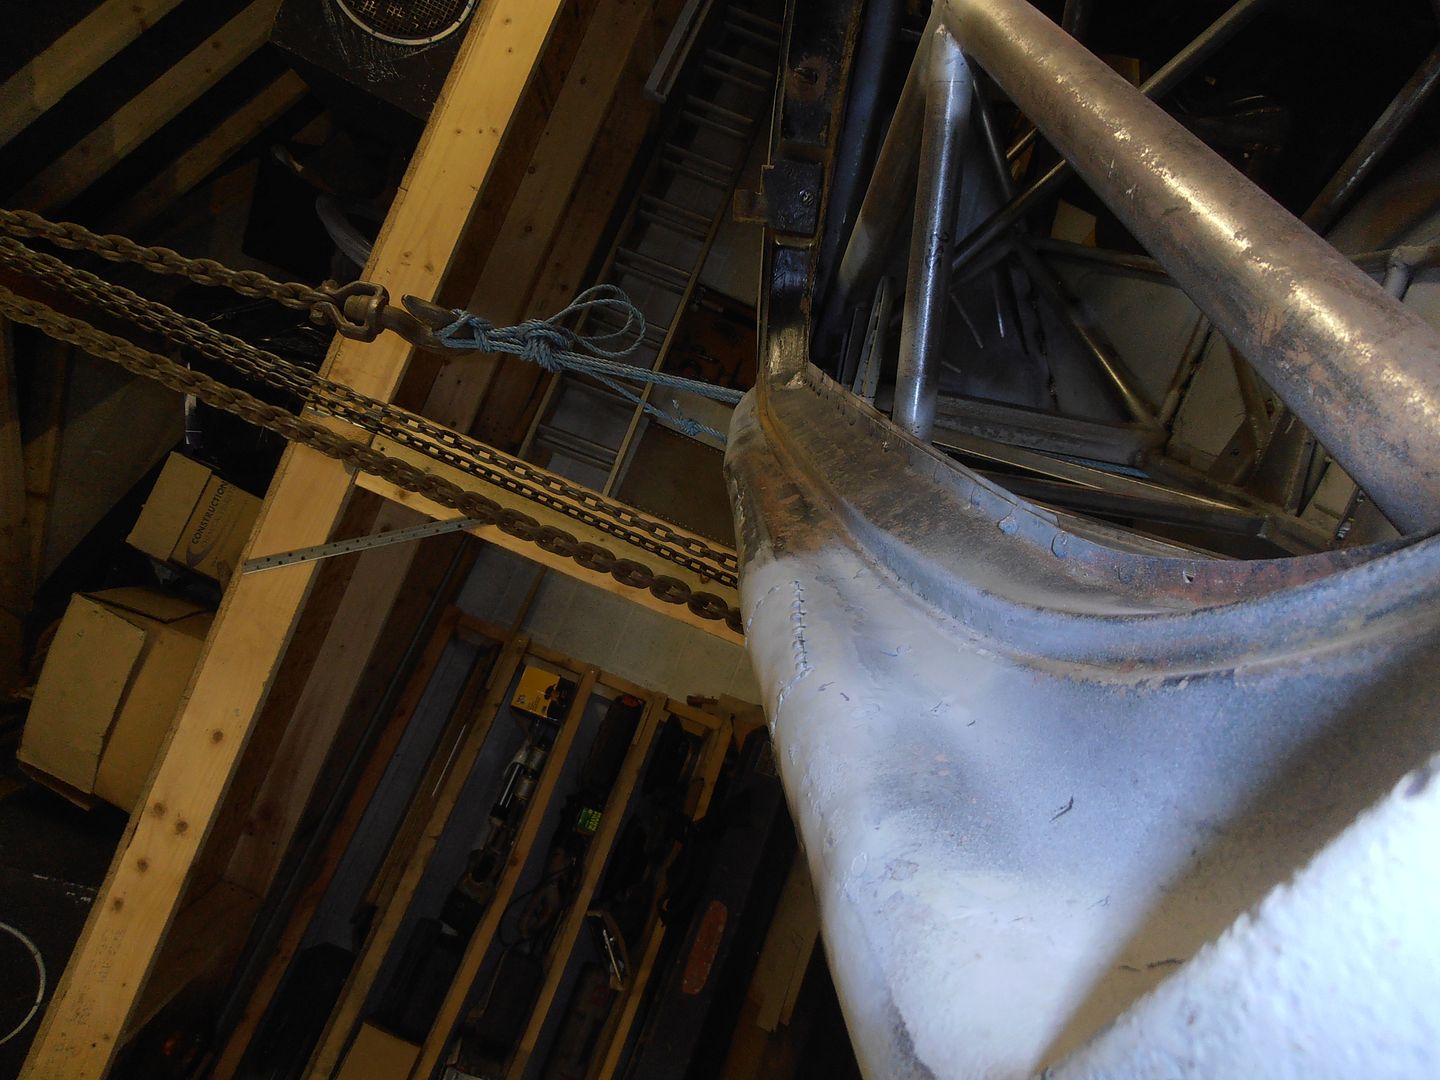
Started on the rear spit support. much turning 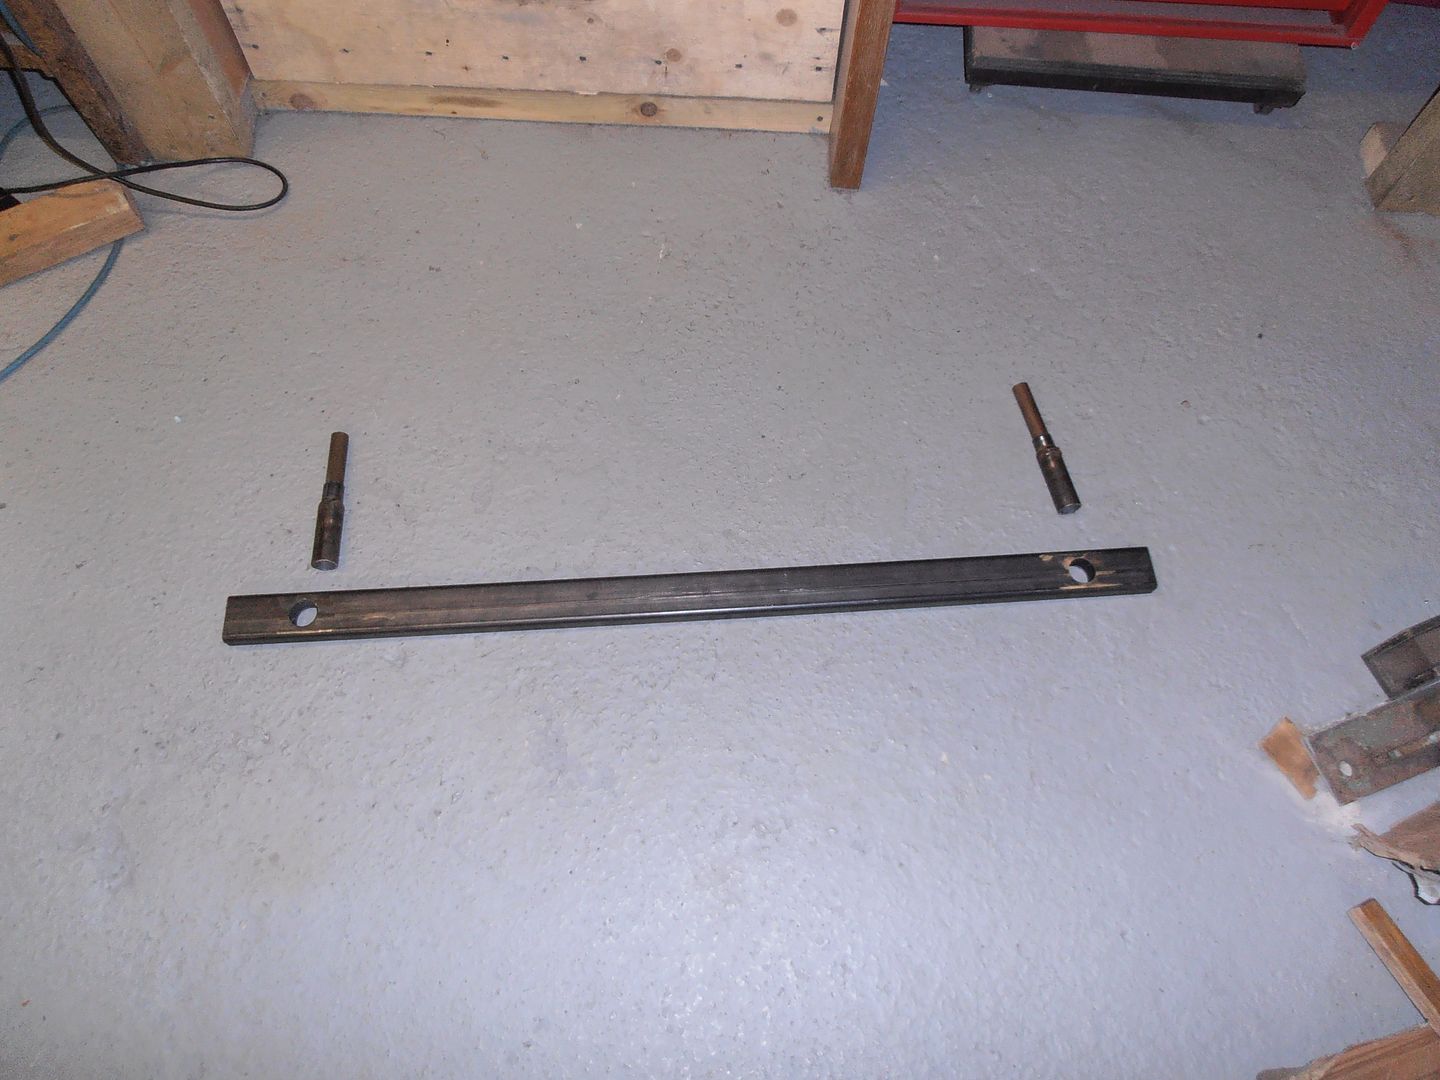 in situ 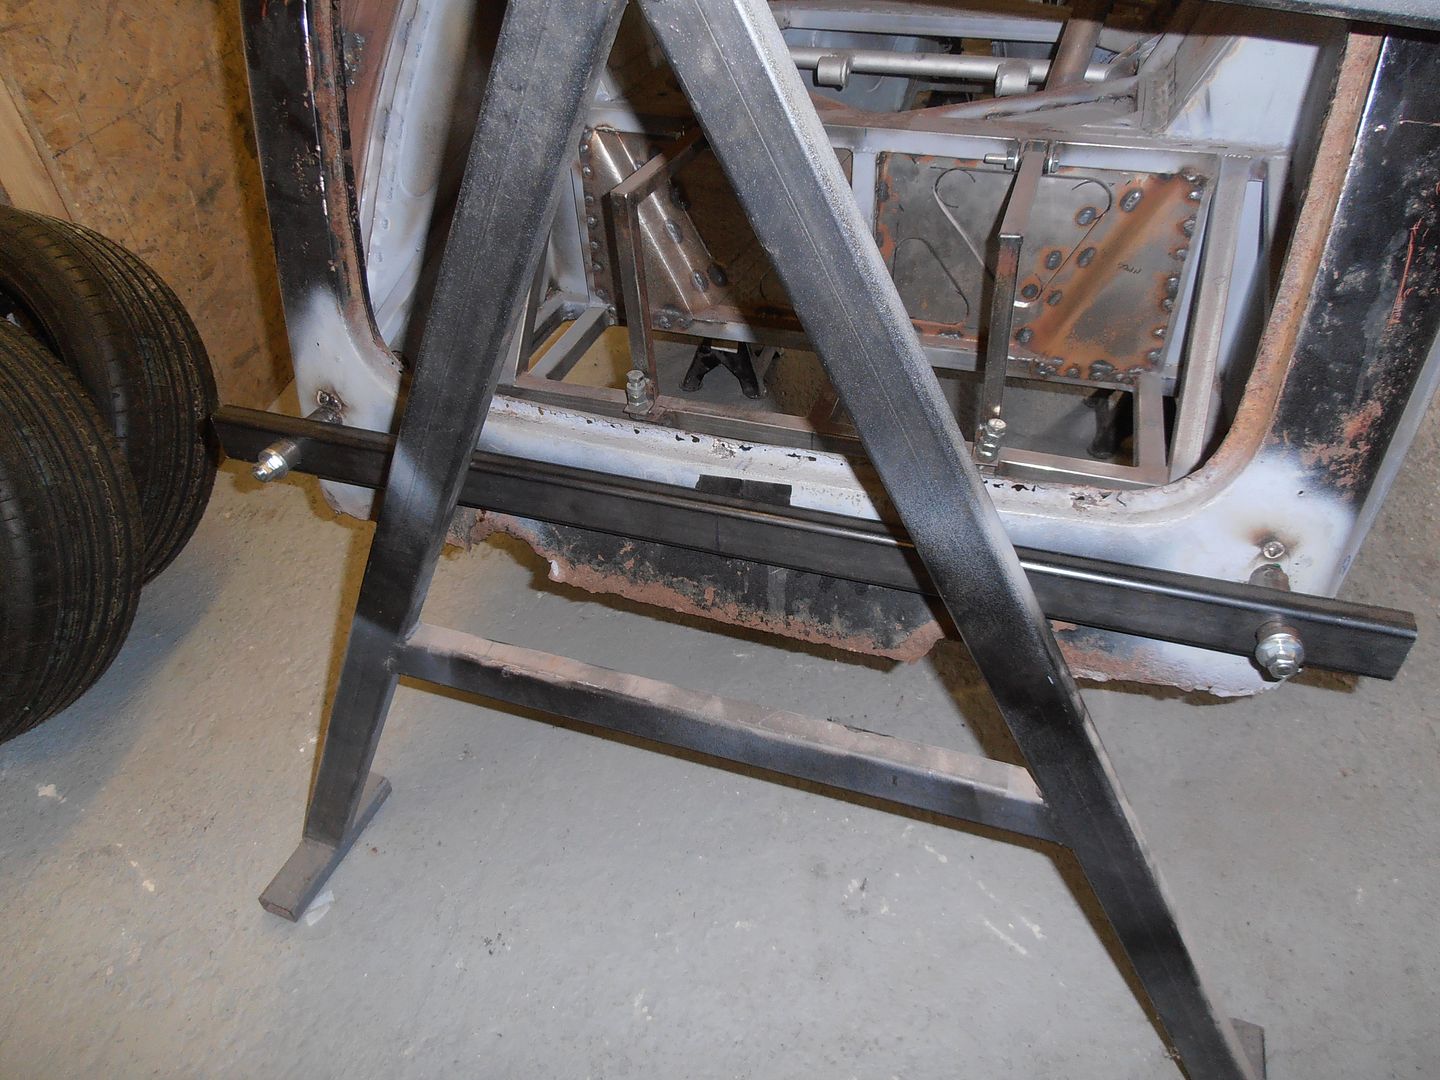 Braces welded in 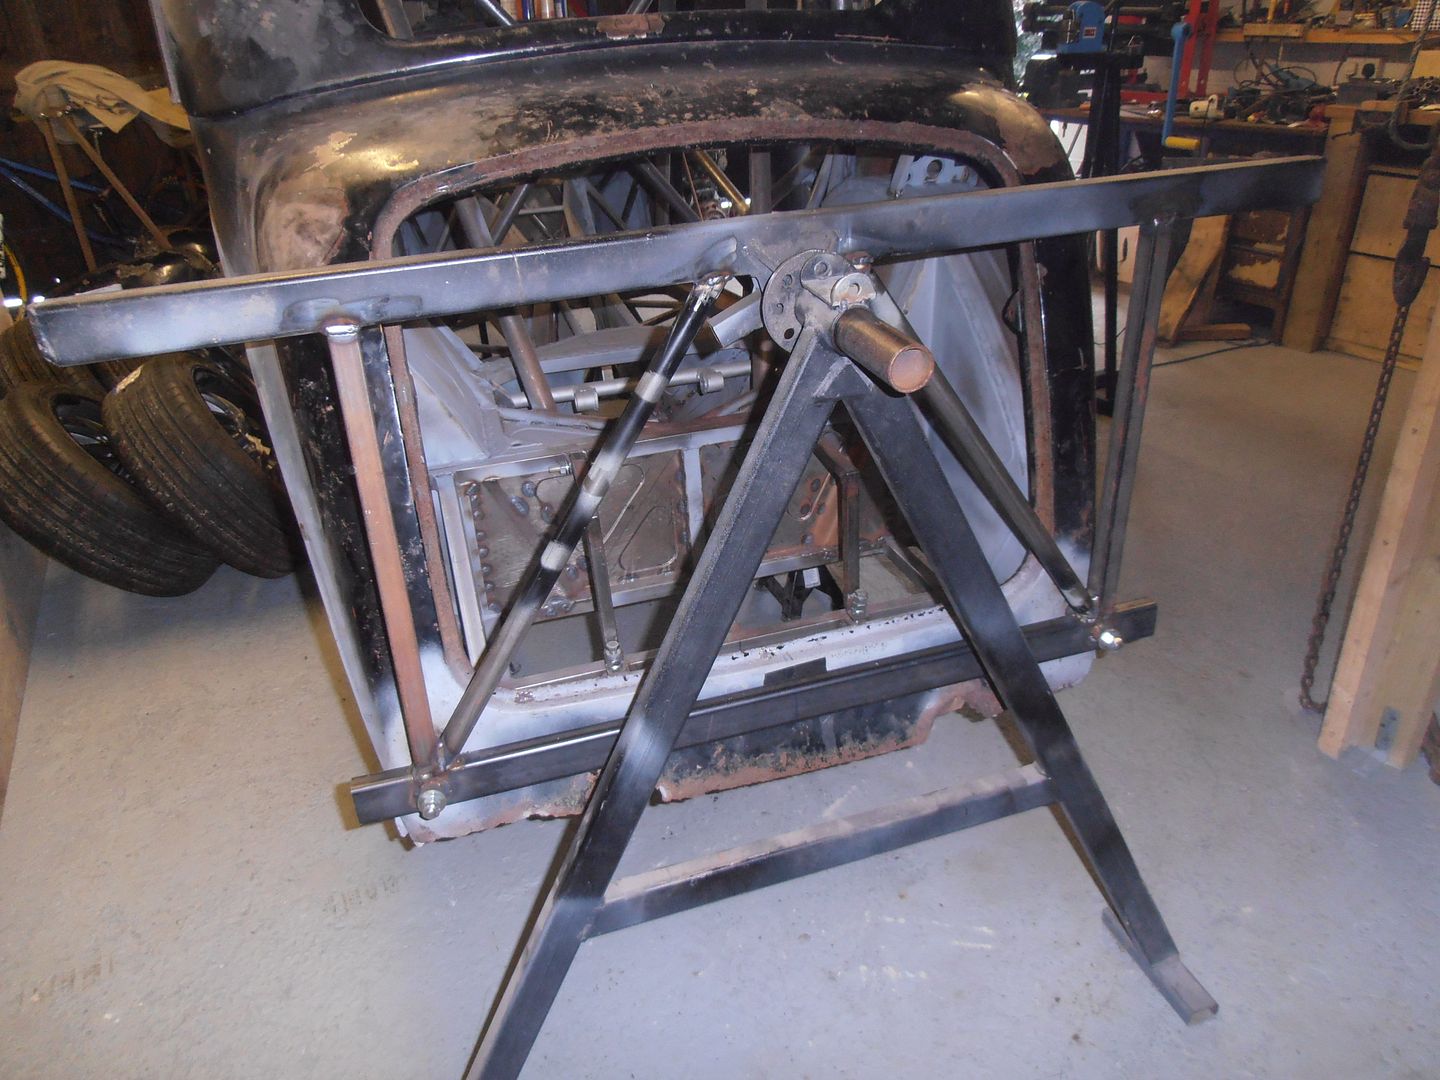 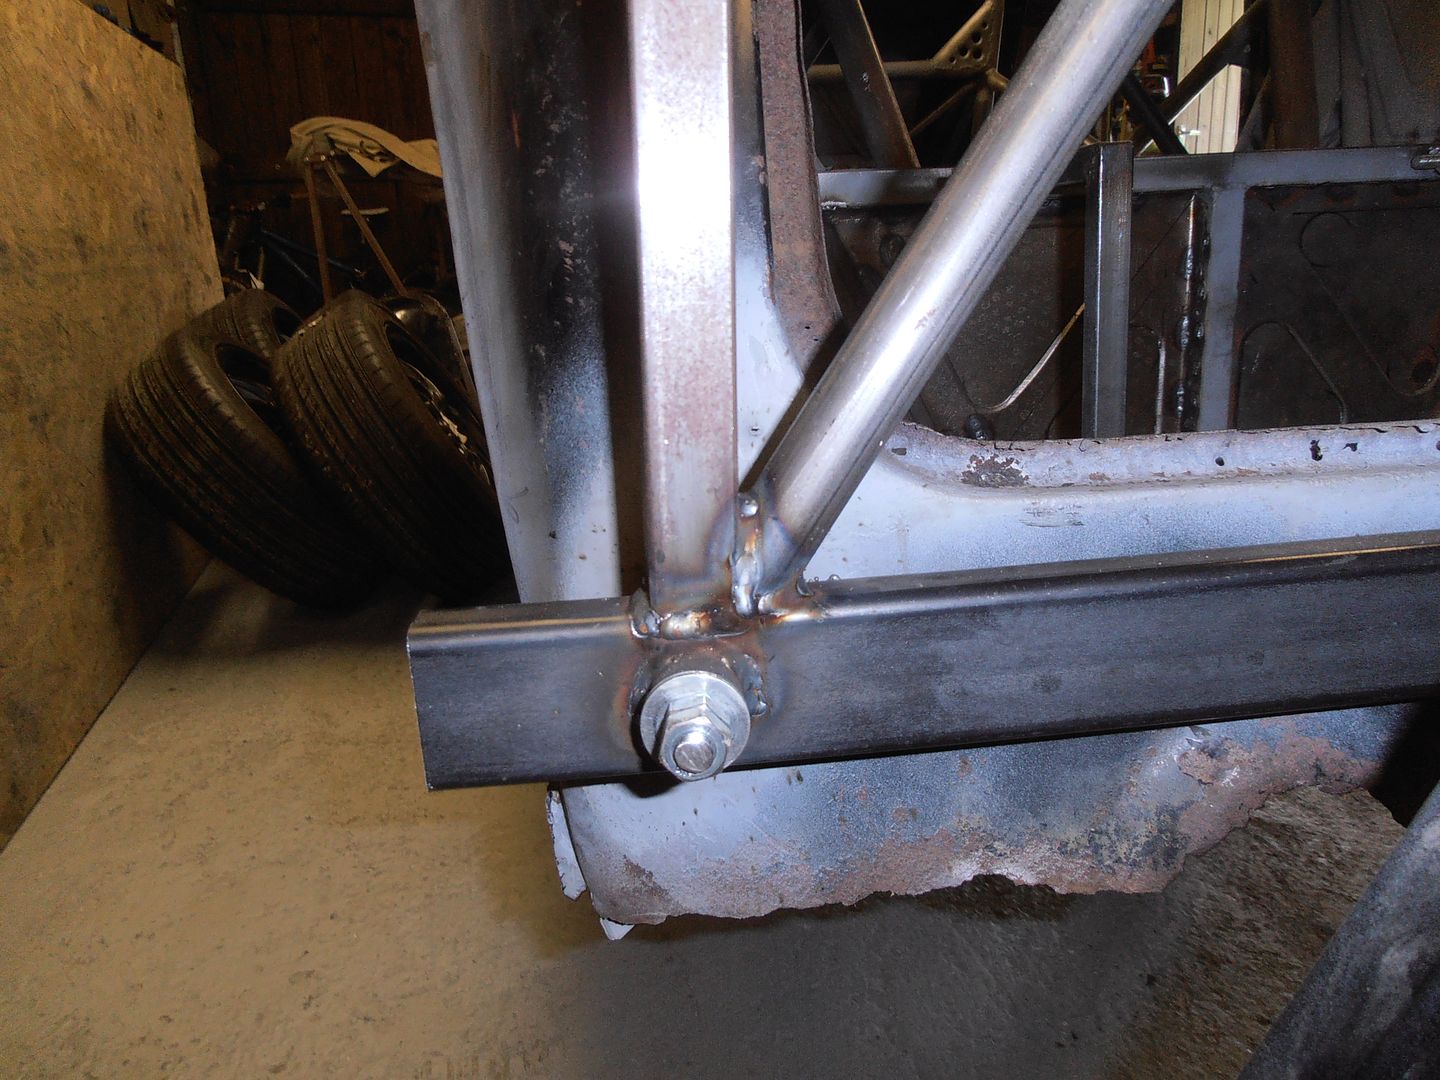 then went round and put gussets over all the welds. I don't fancy the car being supported on only but welds 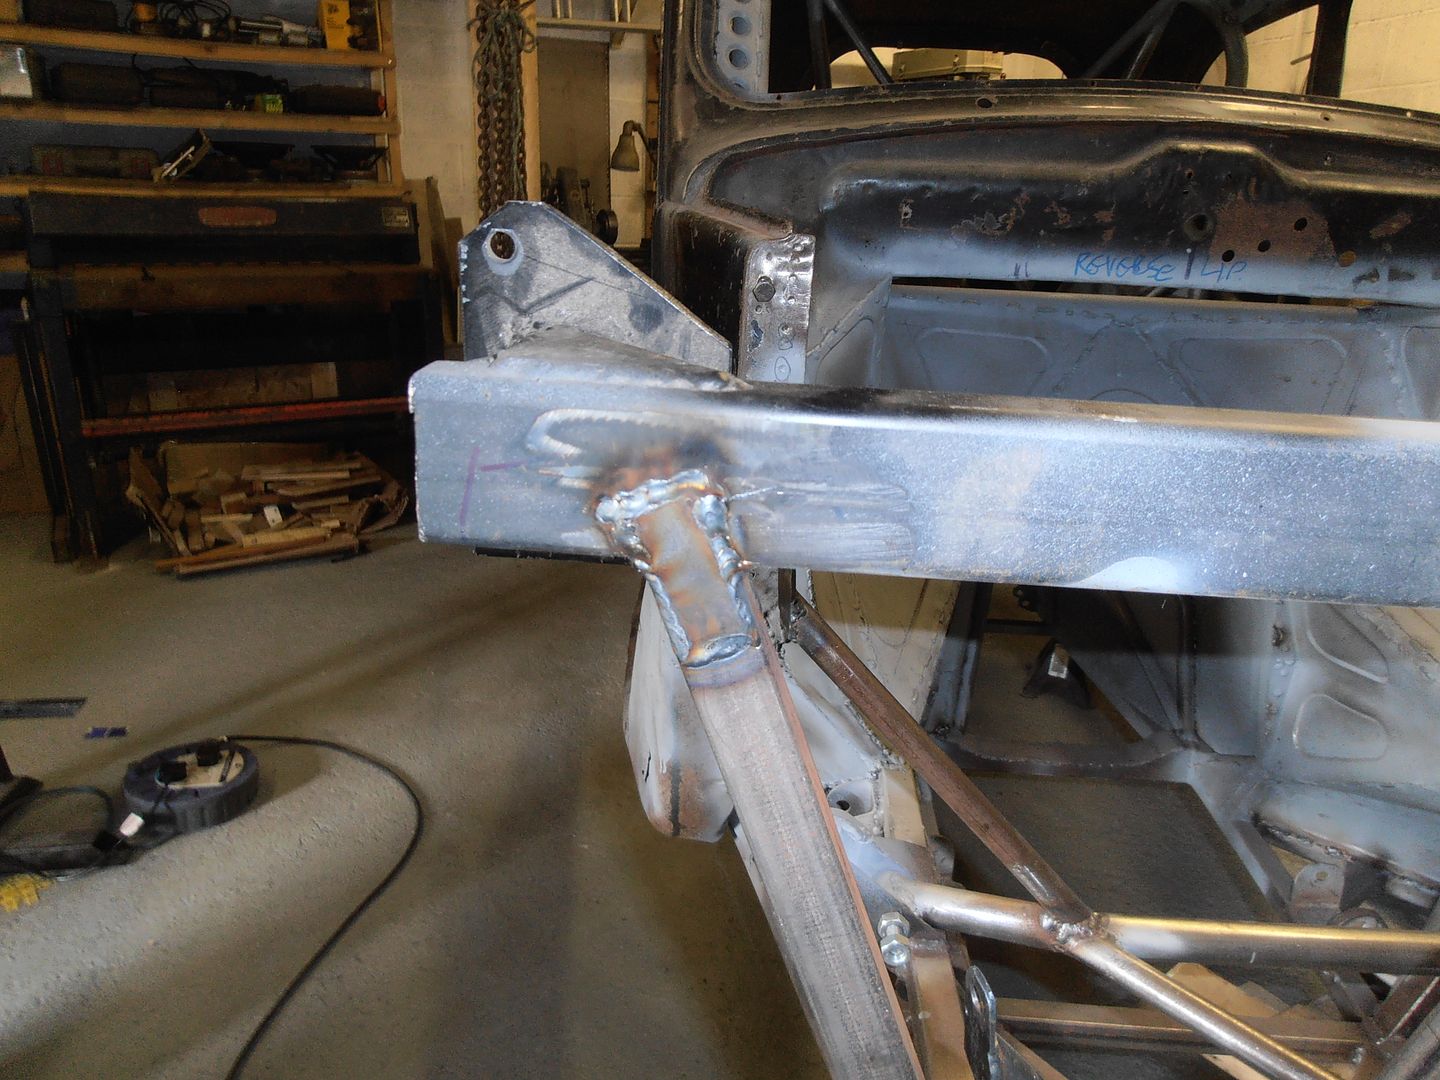 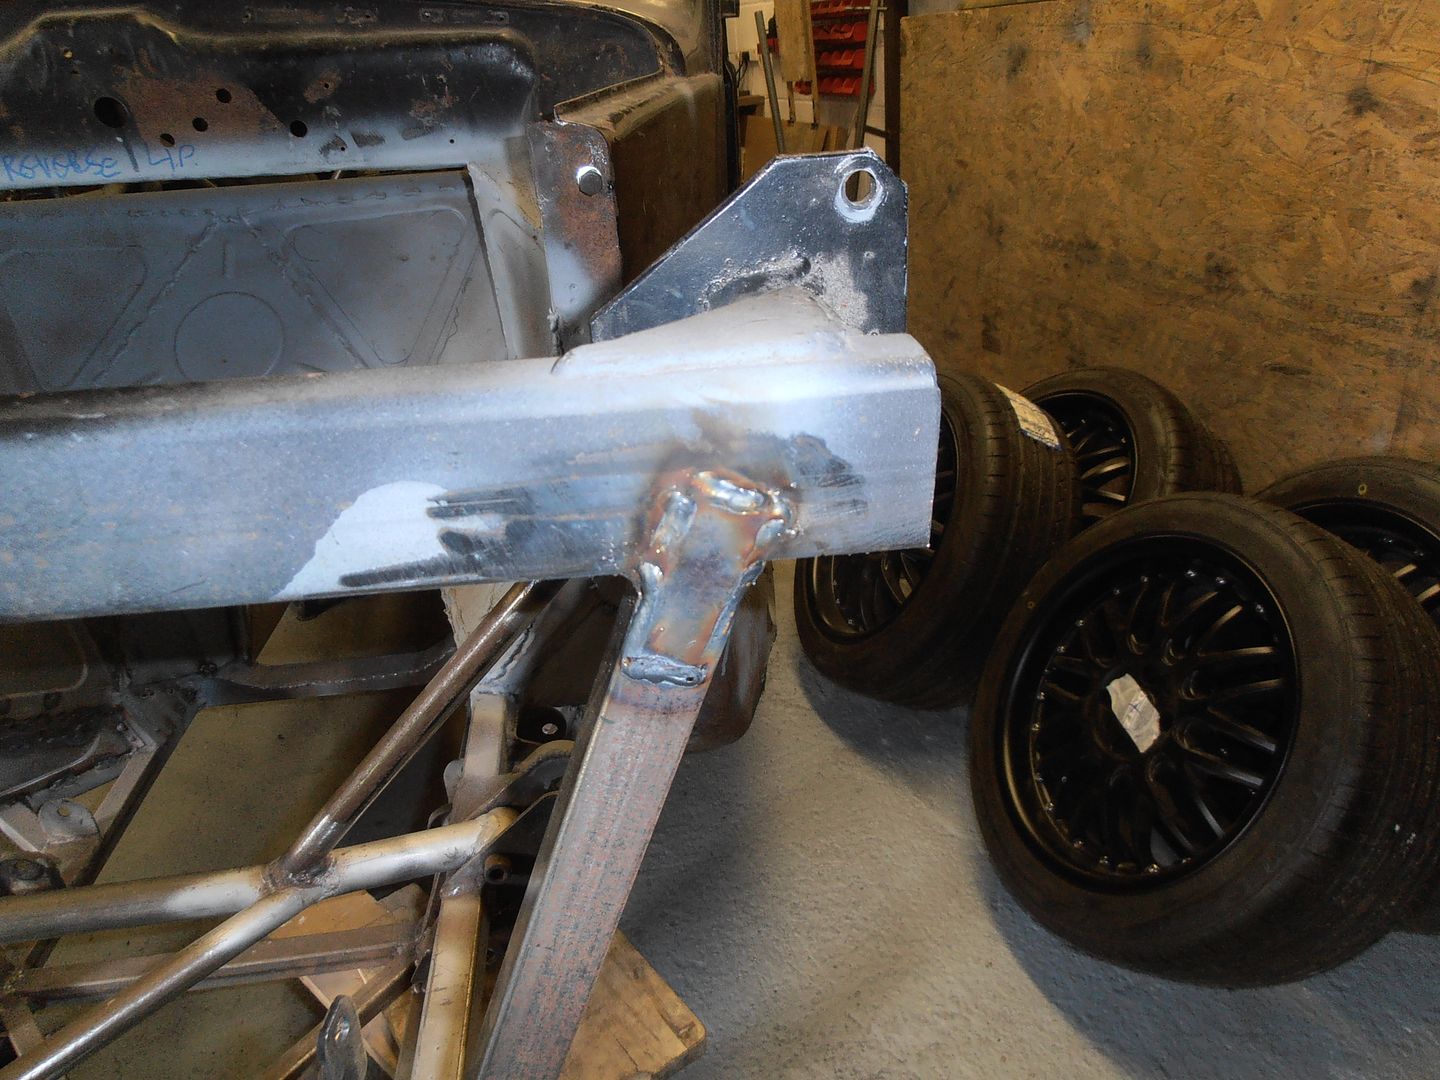 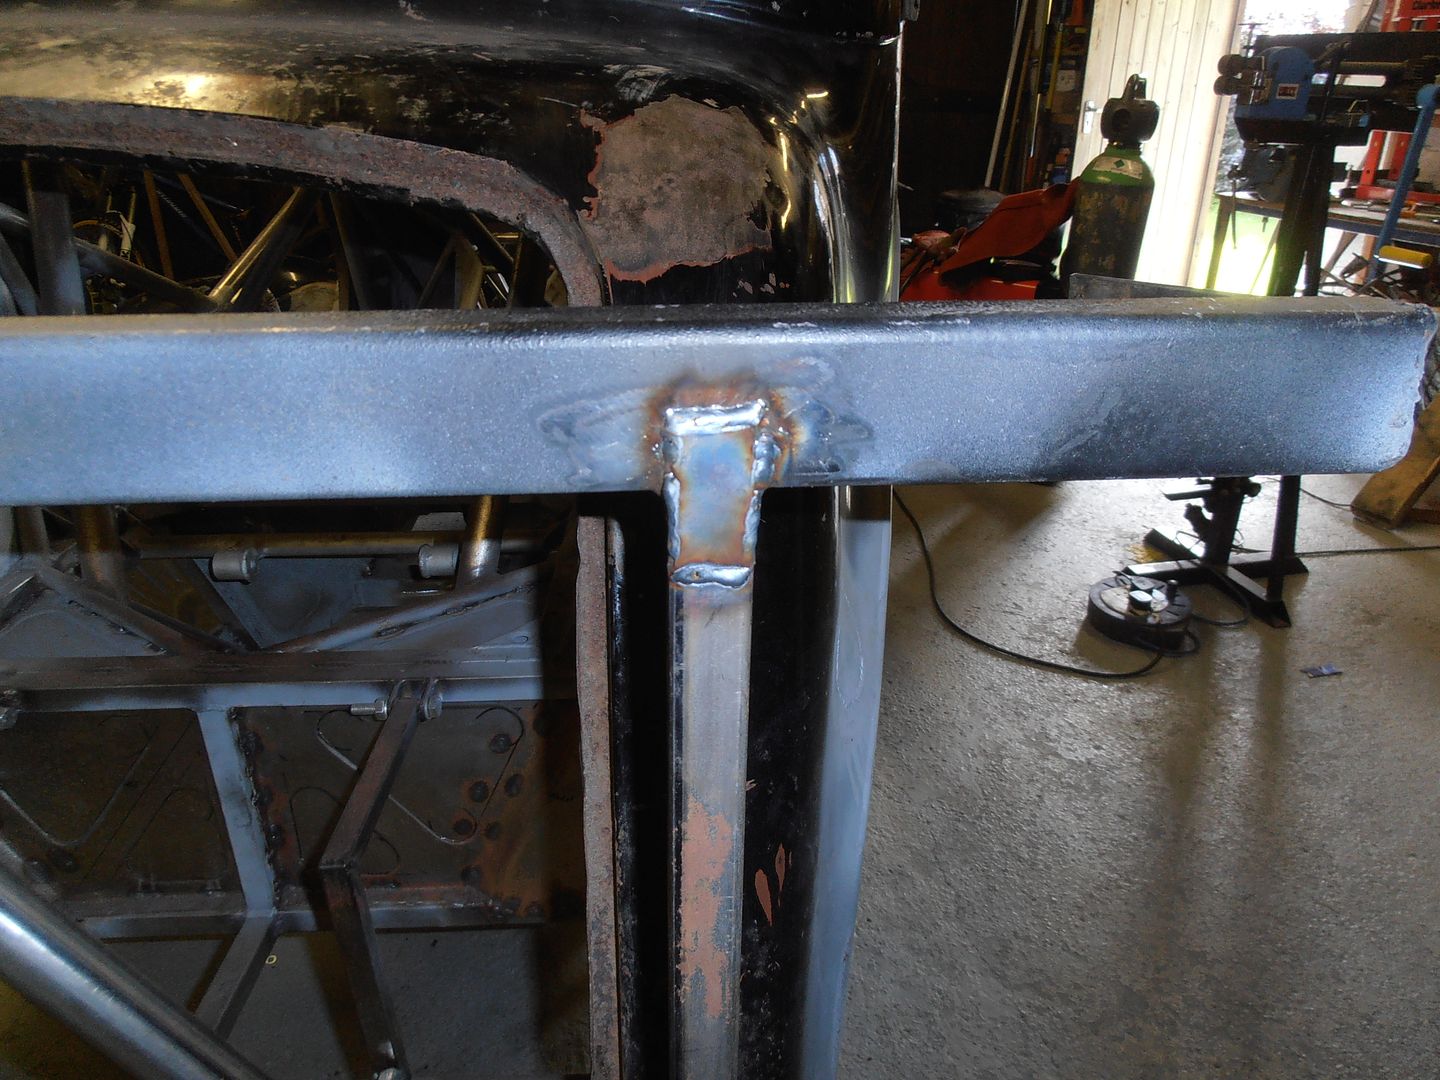 etc.. I then realised i didnt have a diagonal in the floor of the boot space, so quickly put one in. I don't fancy the rear end lozenging when turned over. As expected, the pivot was a fair bit above the mass centroid. Added a counter balance 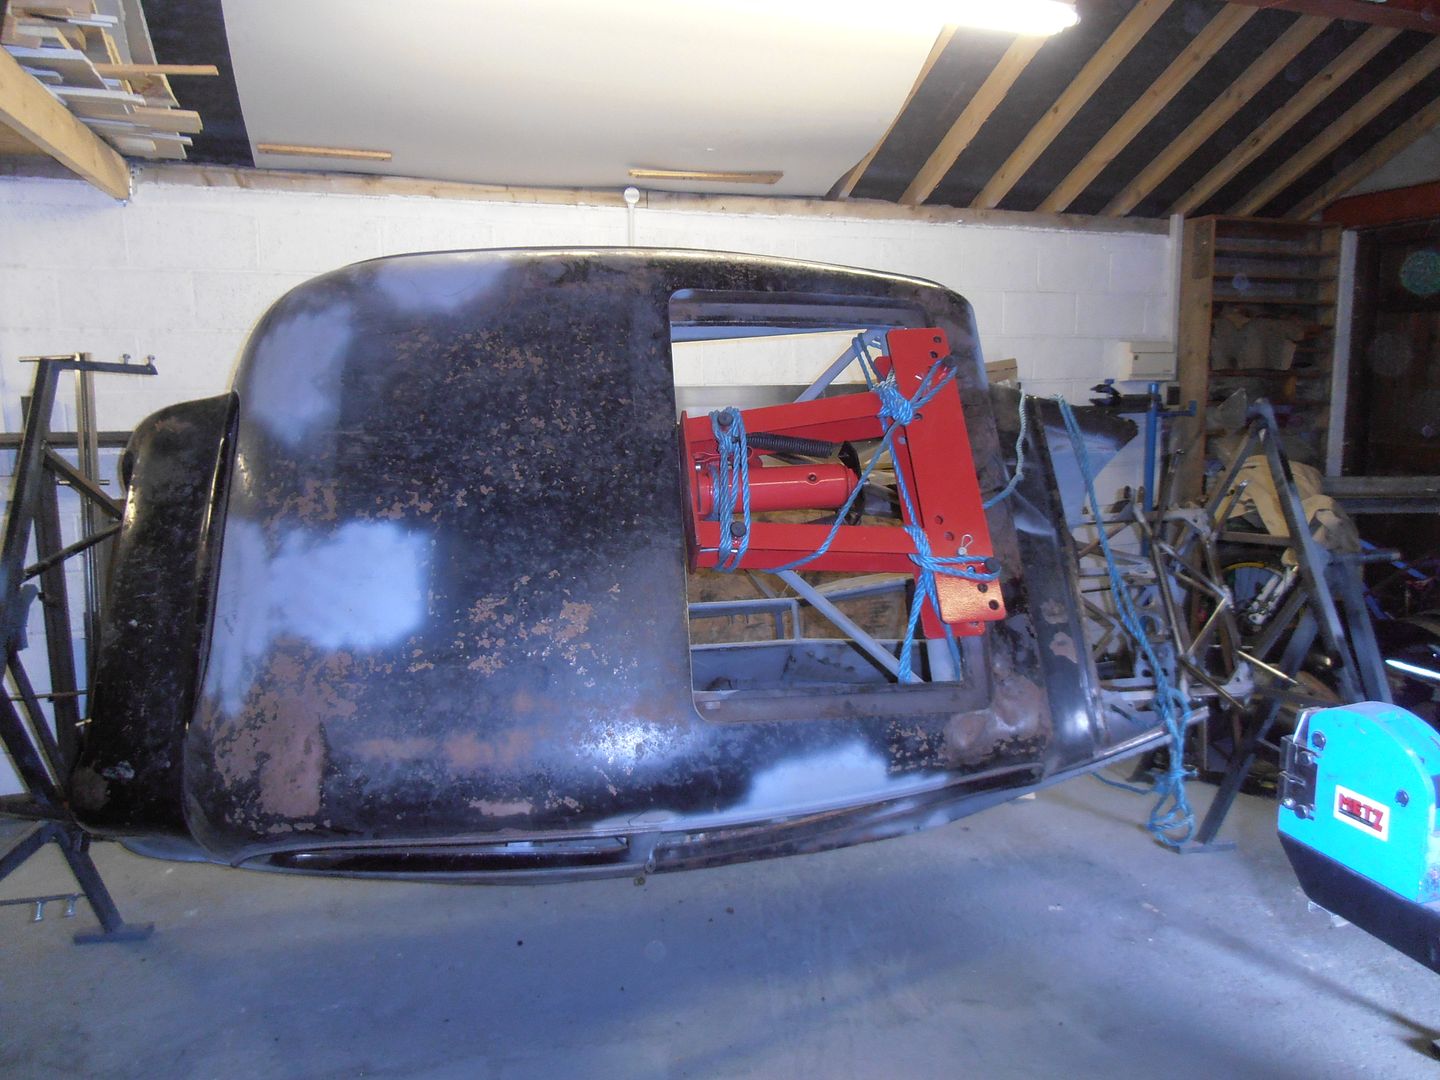 this made it now just slightly bottom heavy, which means it stays put when its on the stops. It looks like its retained by two little bits of wood, but its tied off at either end, and I also put the chainblock on it as well. Underside 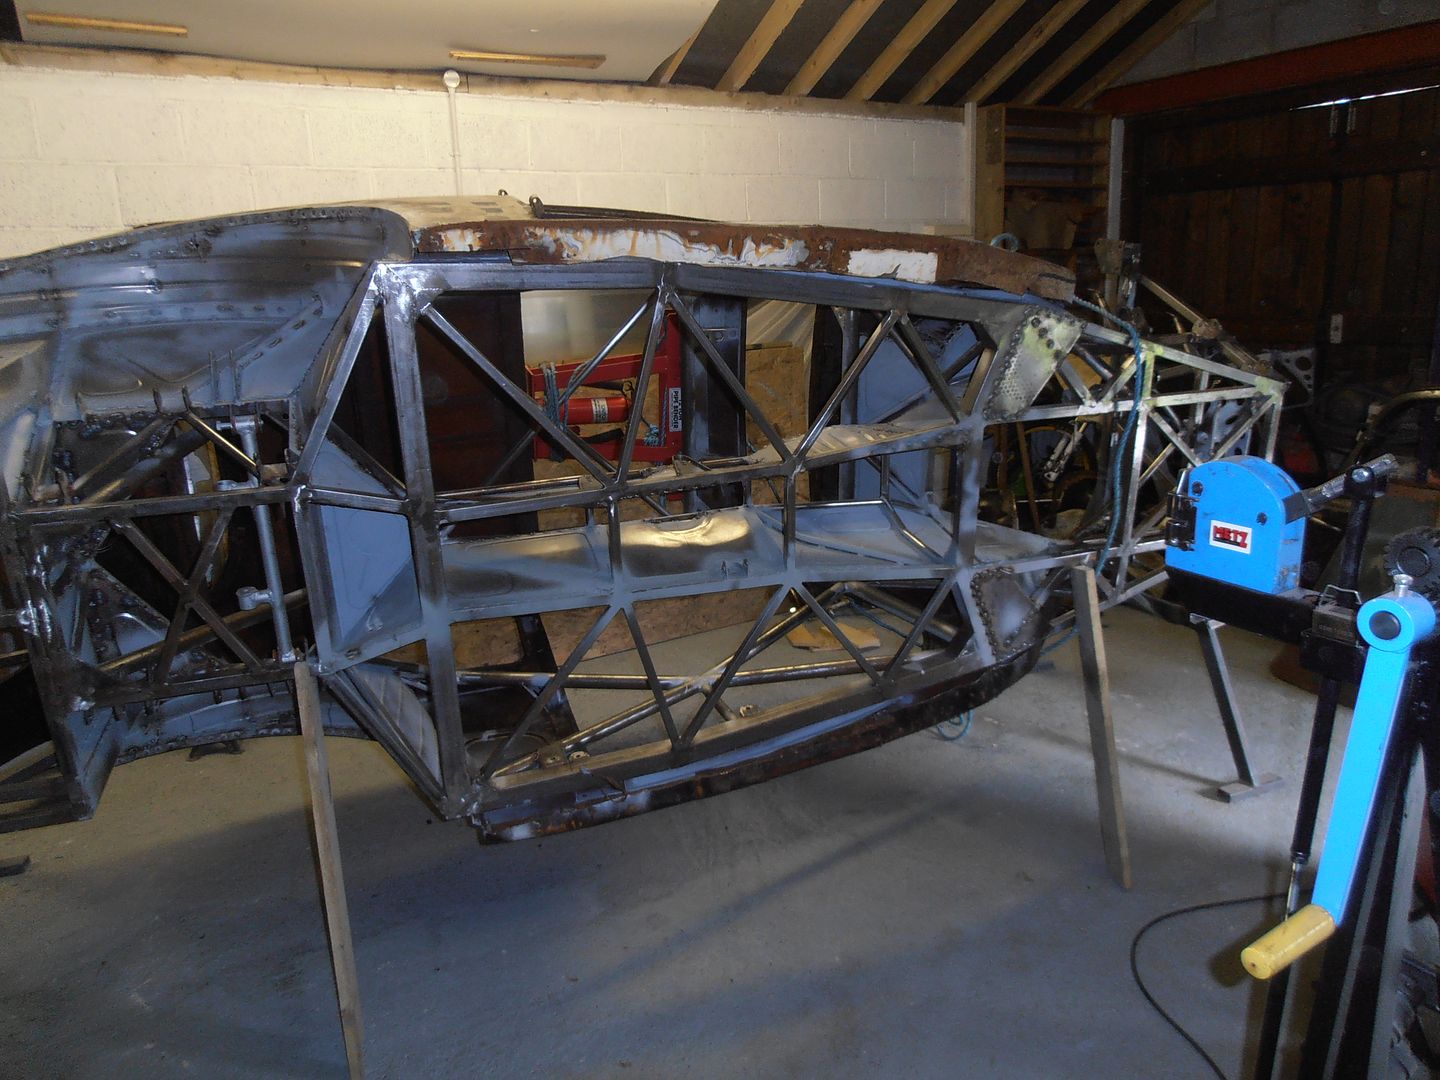 and the main reason I've stuck it on the turn over spit 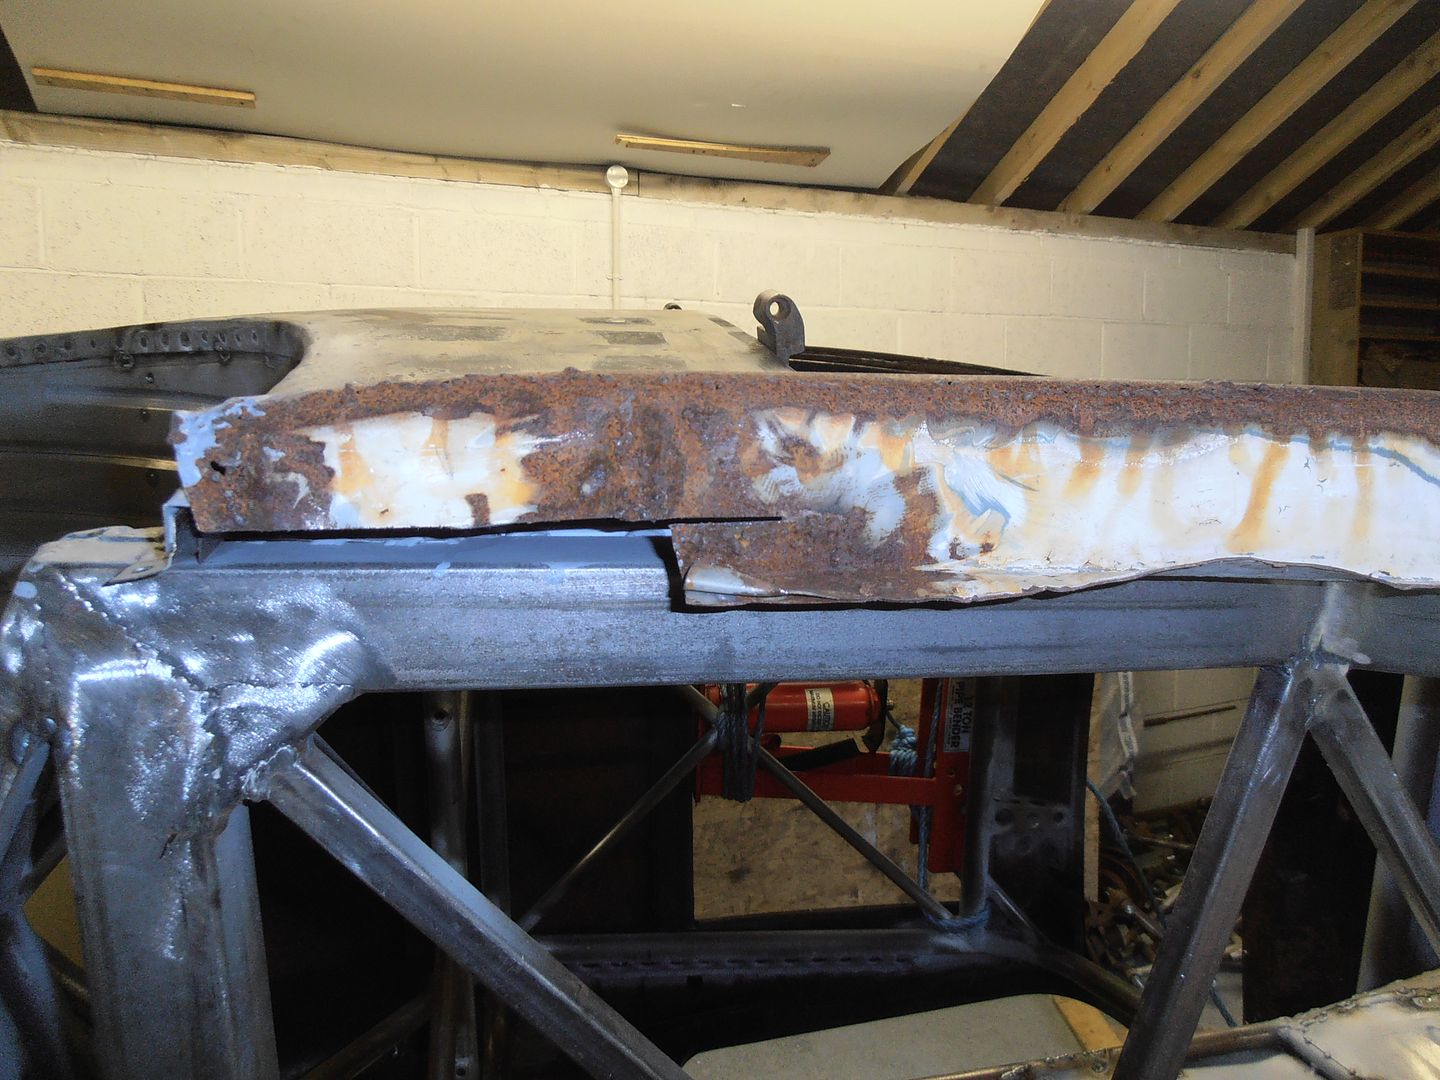 a much bag of uglyness 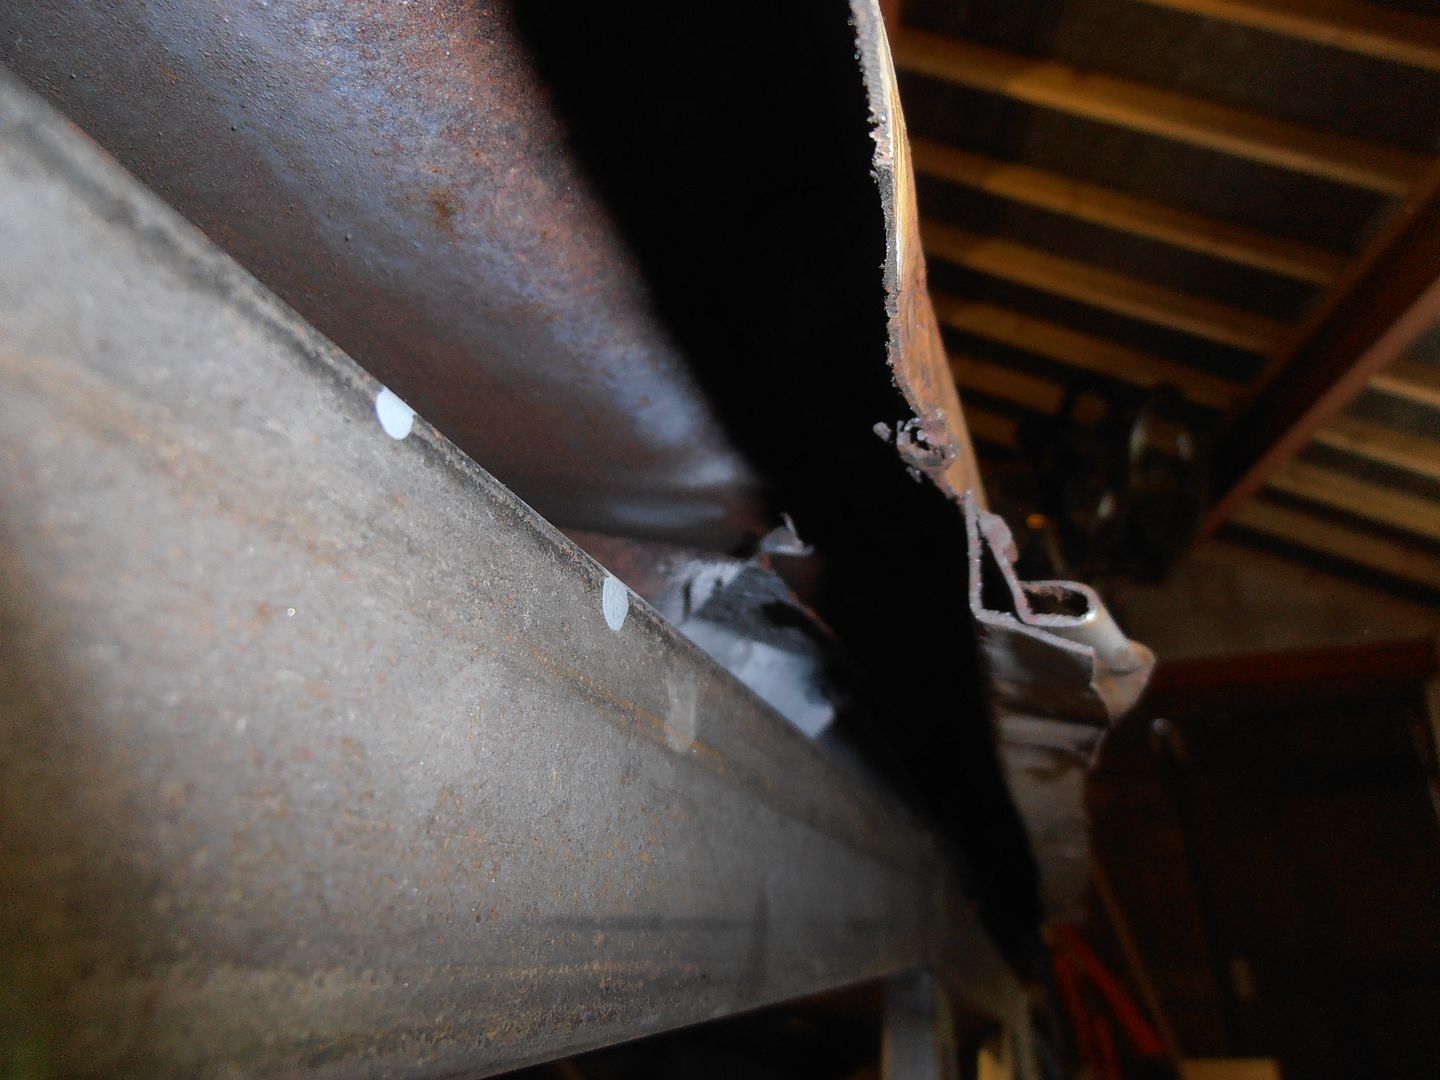 i need to replace the lower 50mm or so of the sill, and then make it tie back nicely to the chassis. But thats a job for the next visit to the workshop. |
| |
|
|
vulgalour
Club Retro Rides Member
Posts: 7,287
Club RR Member Number: 146
|
|
|
|
|
Wow, you really are quite industrious with this. Are we onto the next stage of tidying up and getting things more polished now you've torn it down and flipped it over?
|
| |
|
|
jonomisfit
Club Retro Rides Member
Posts: 1,790
Club RR Member Number: 49
|
|
|
|
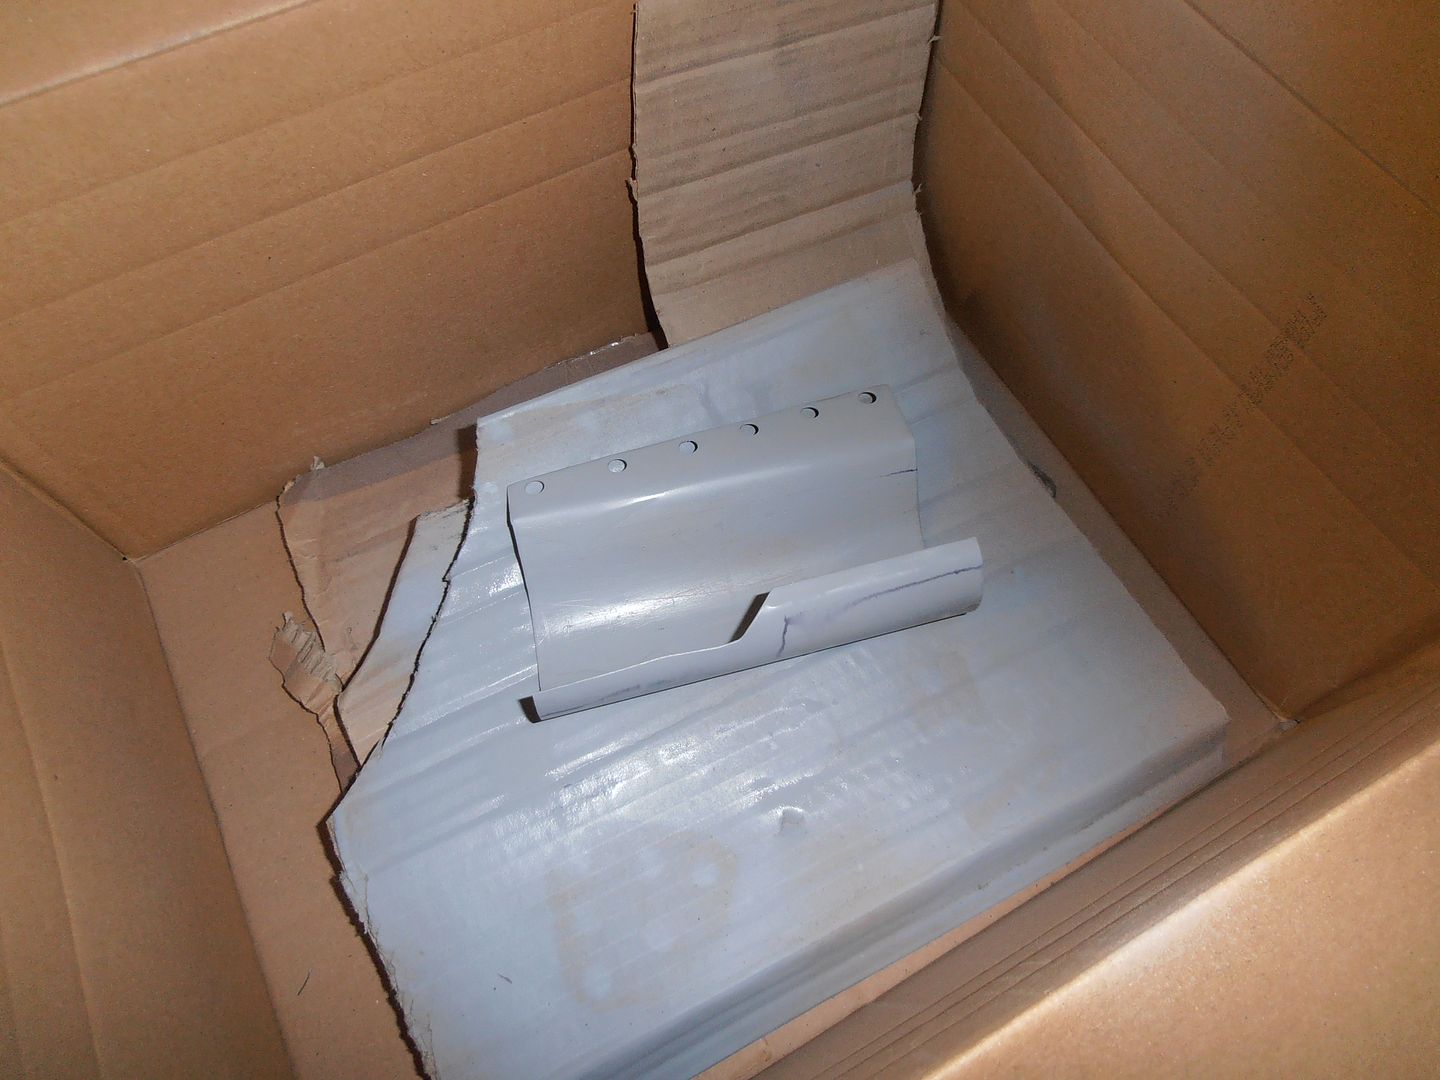
Hopefully so, but the spit is mainly for sills access. Its much easier welding on its side than upside down. Little progress today as I started feeling rough so have stopped early. not sure why someone cut this flap, but its annoyed me for ages 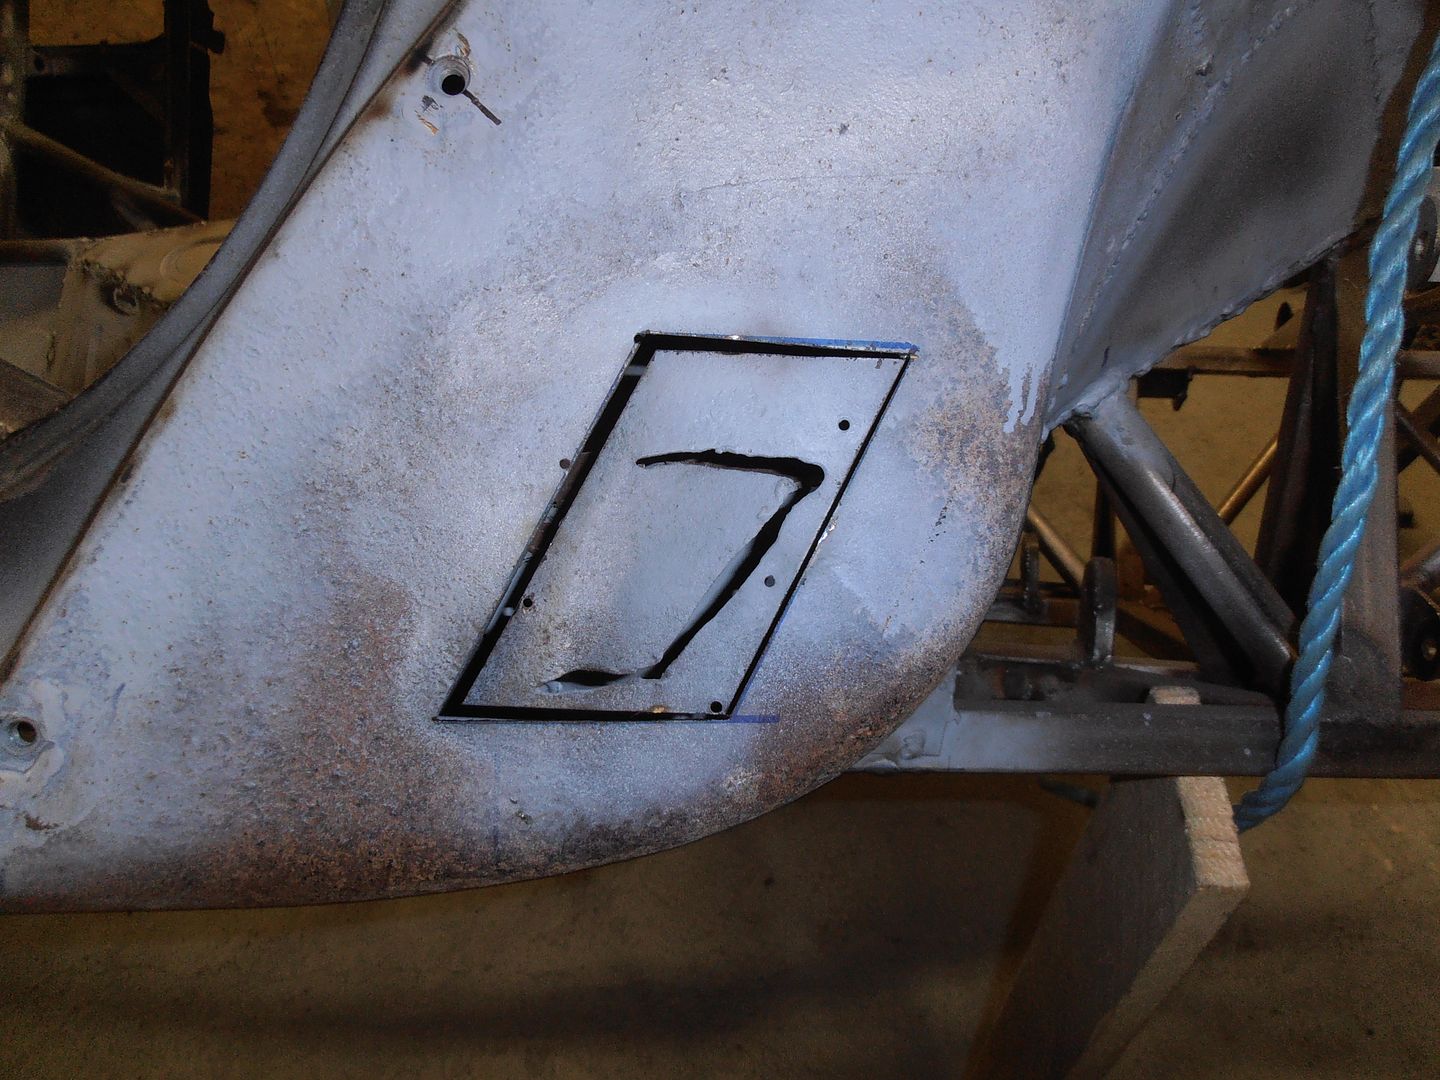 gone 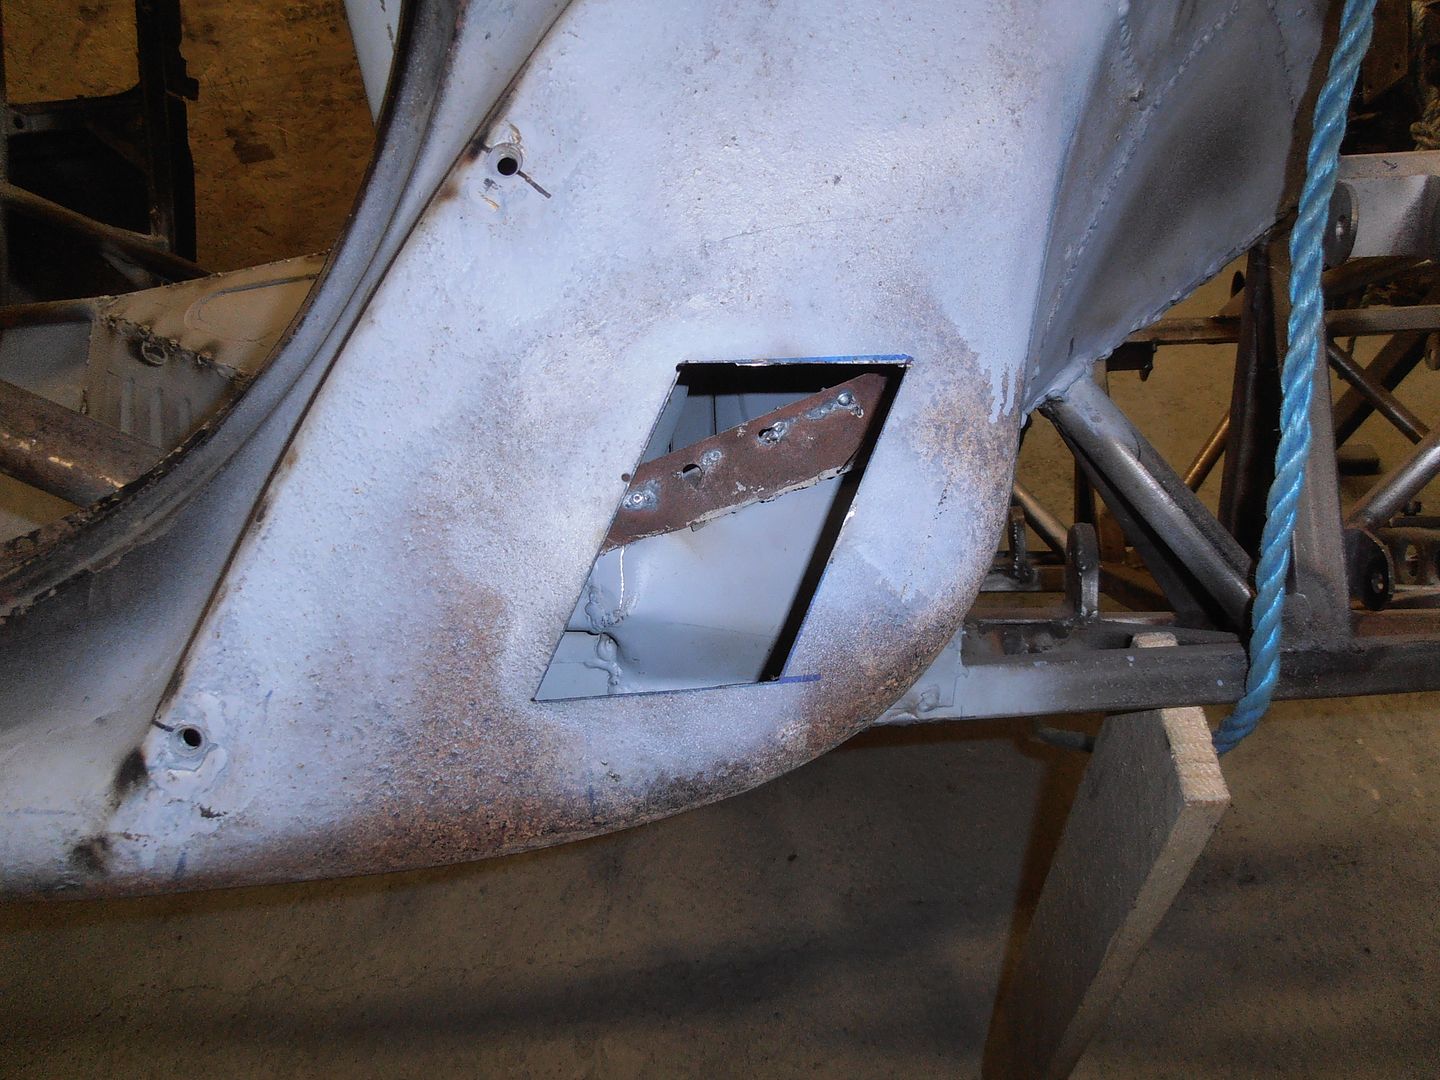 patch 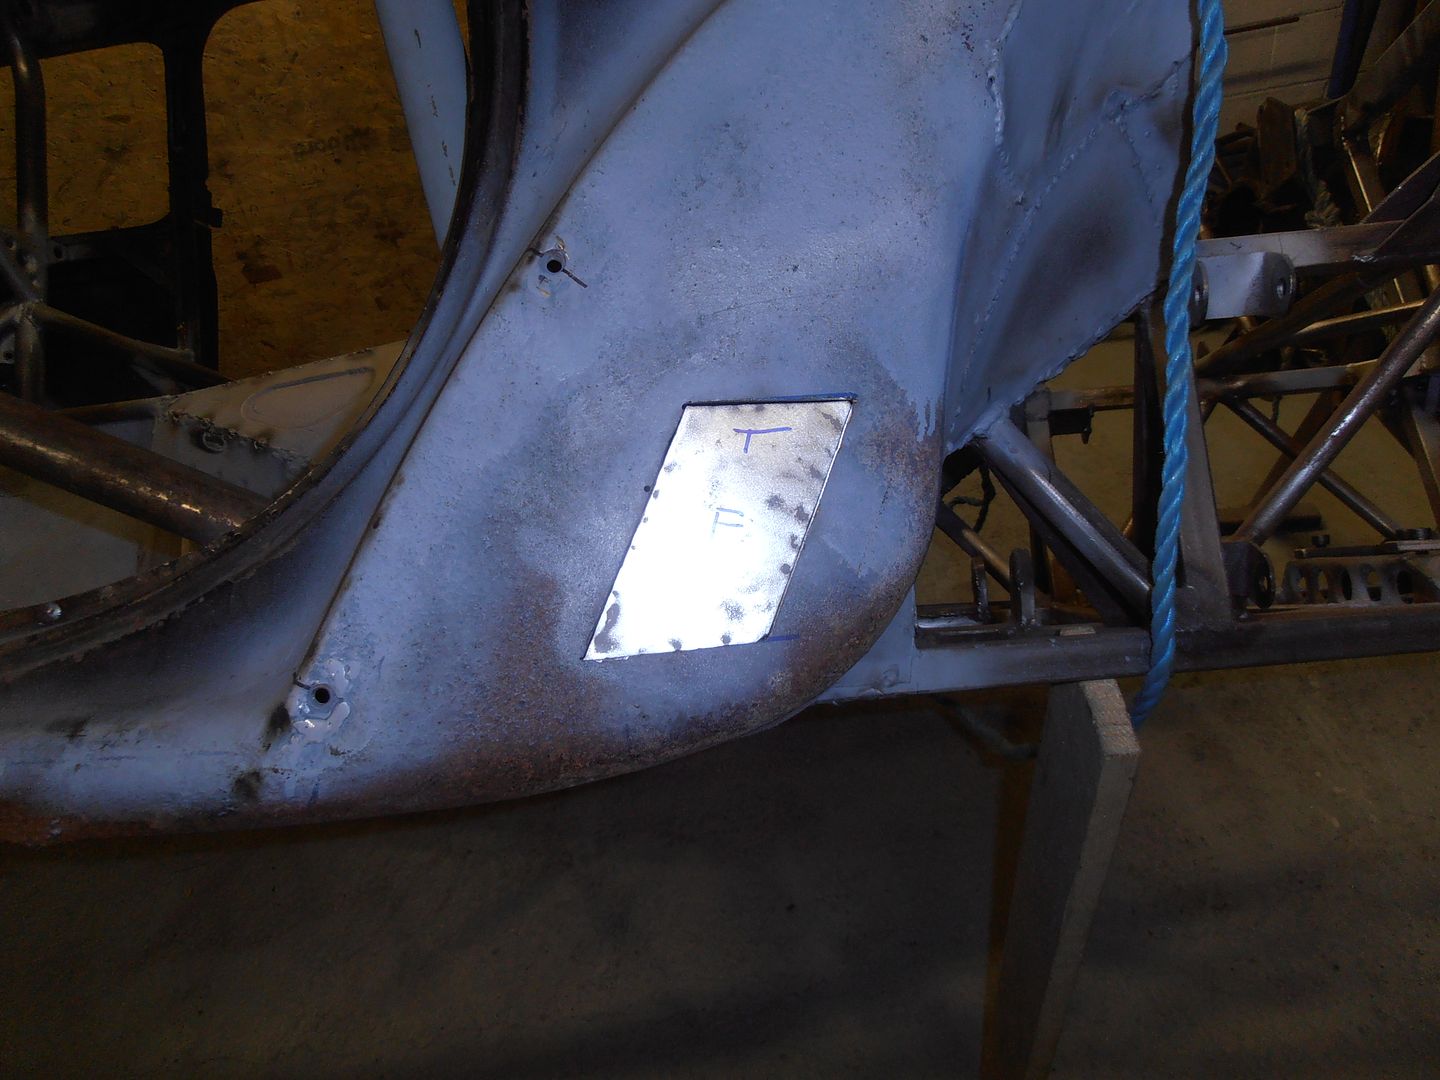 welded 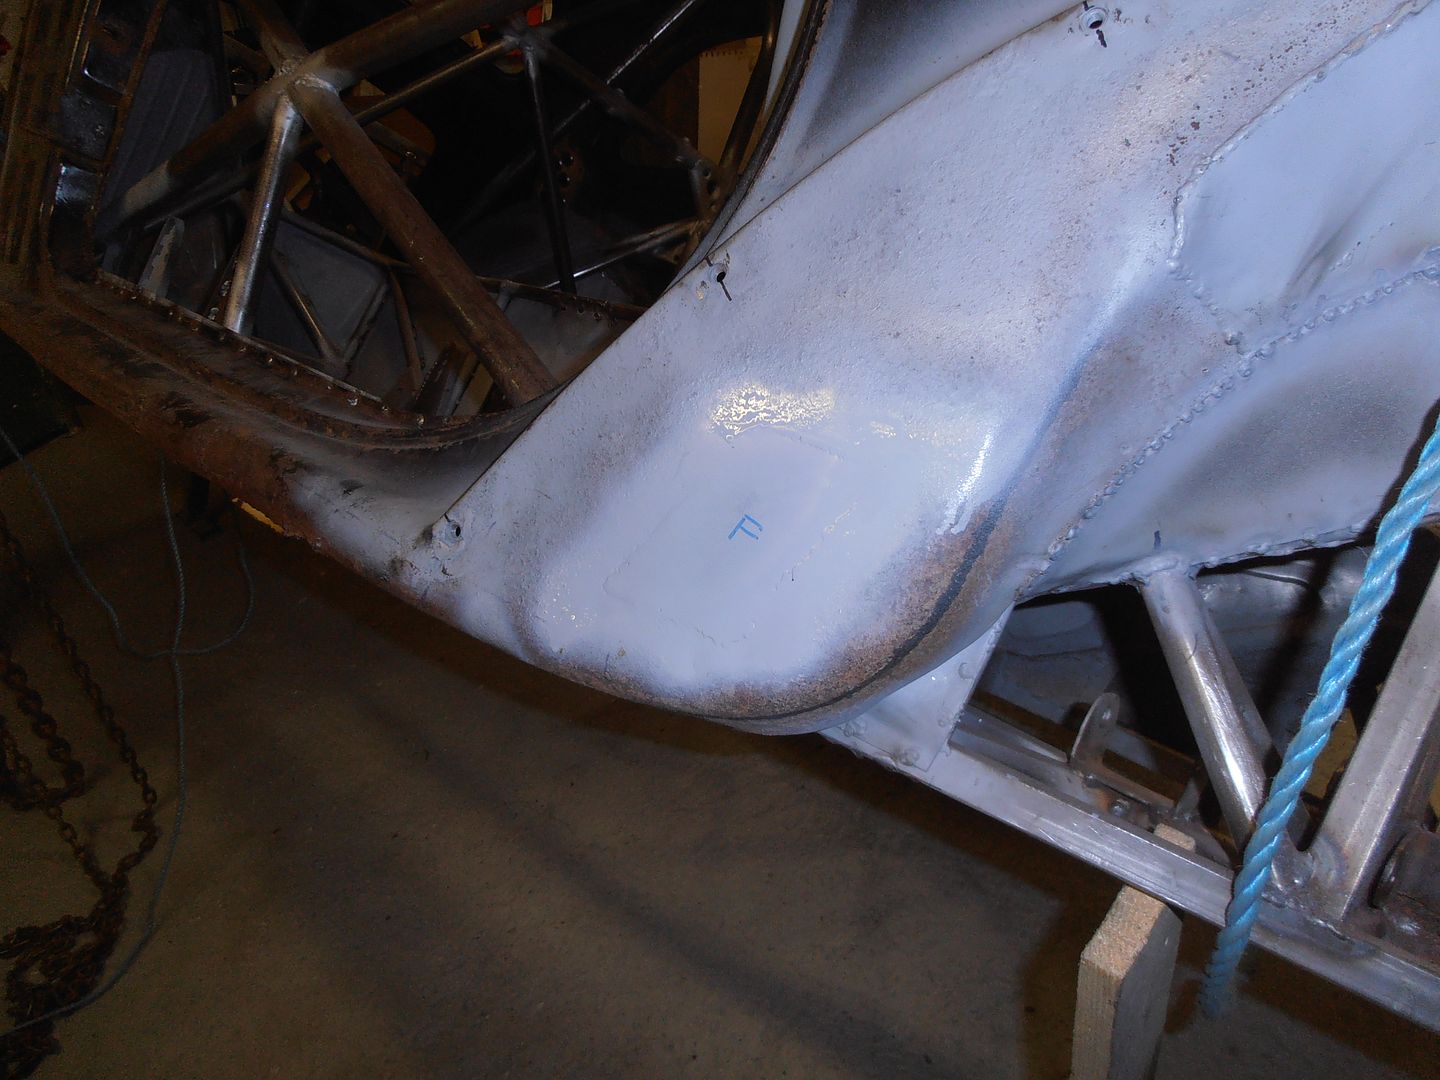 I then thought I should close out the front edge and get a nice firm platform to work from for the sill. Its a hugely awkward shape as curves in three directions and has to link onto box section. pieced in 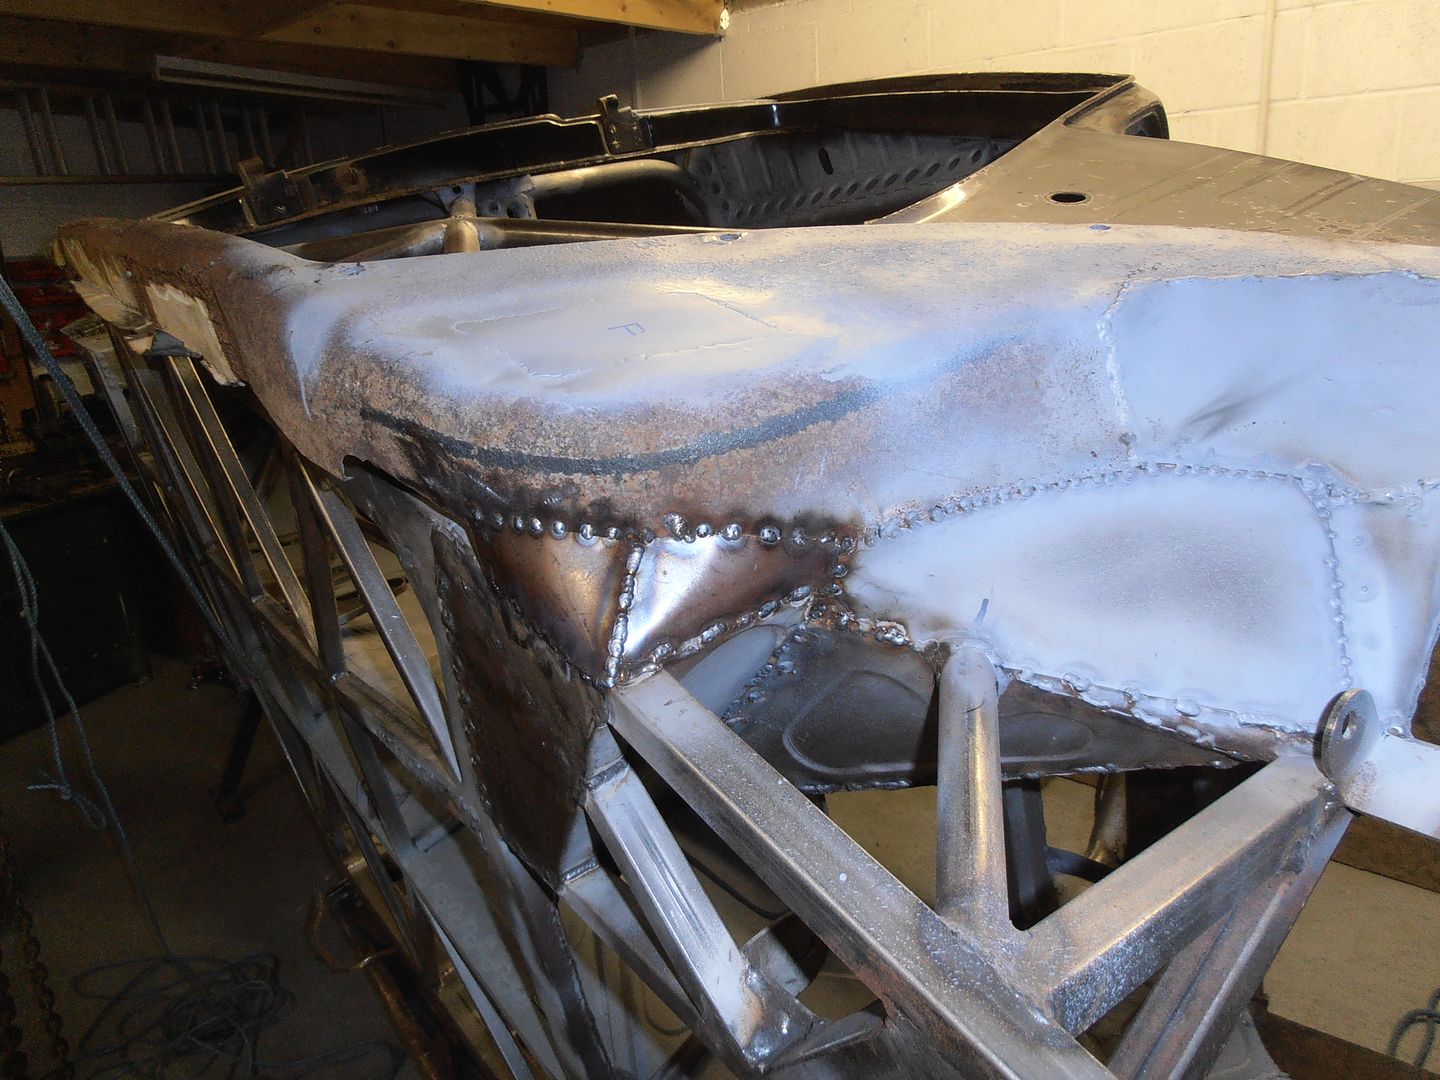 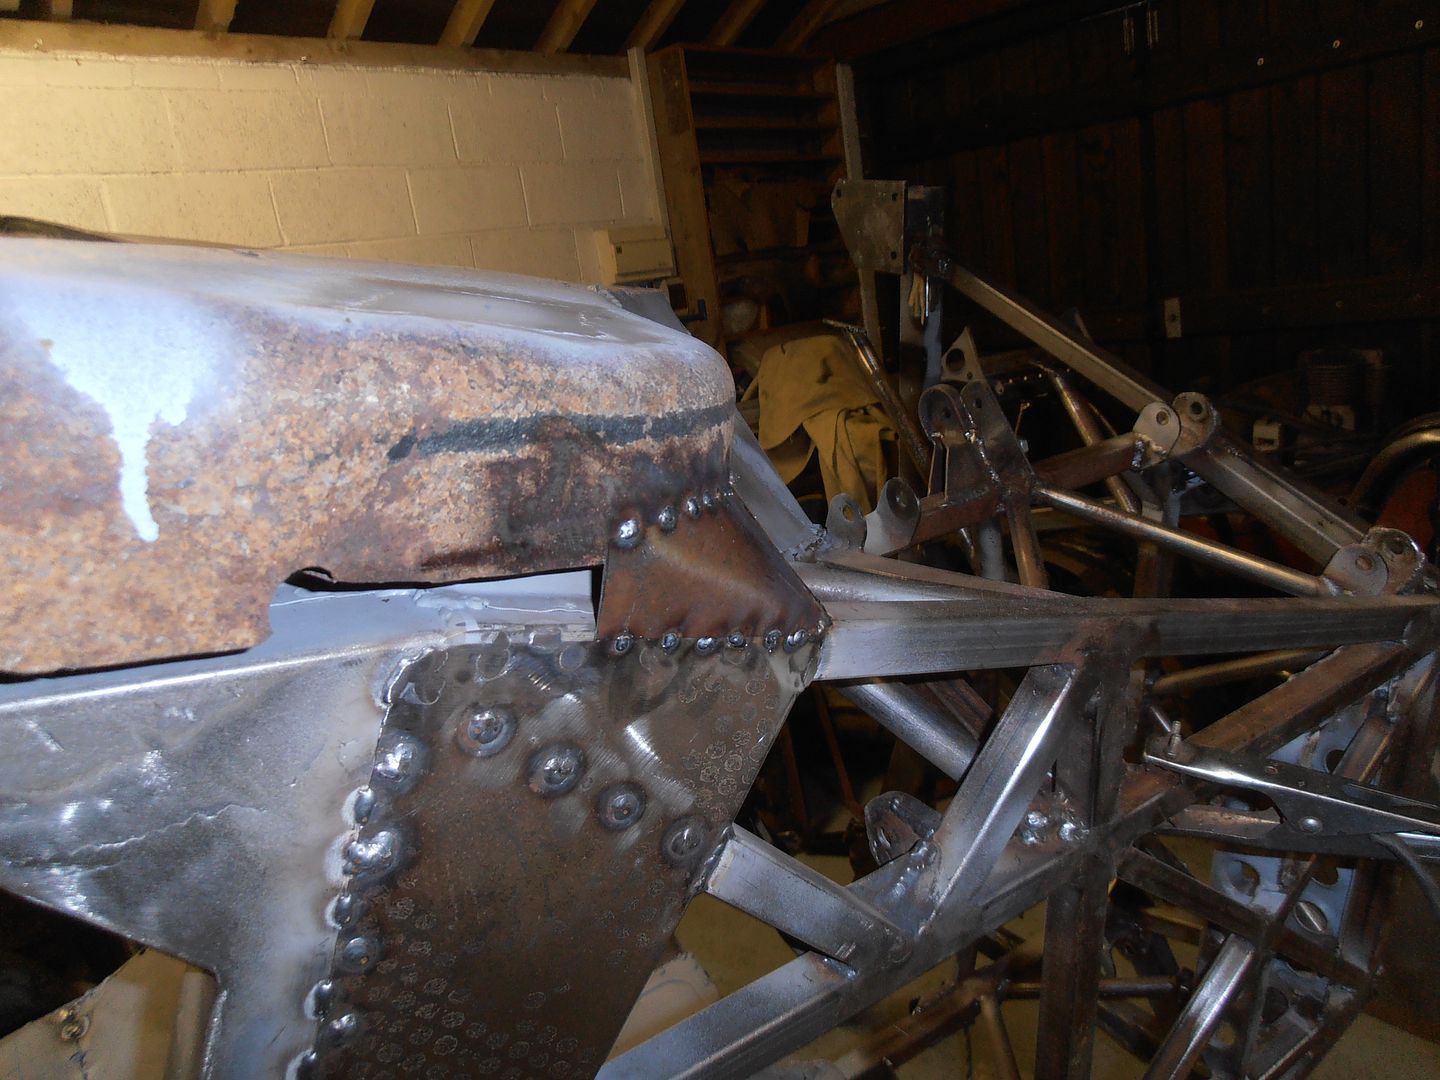 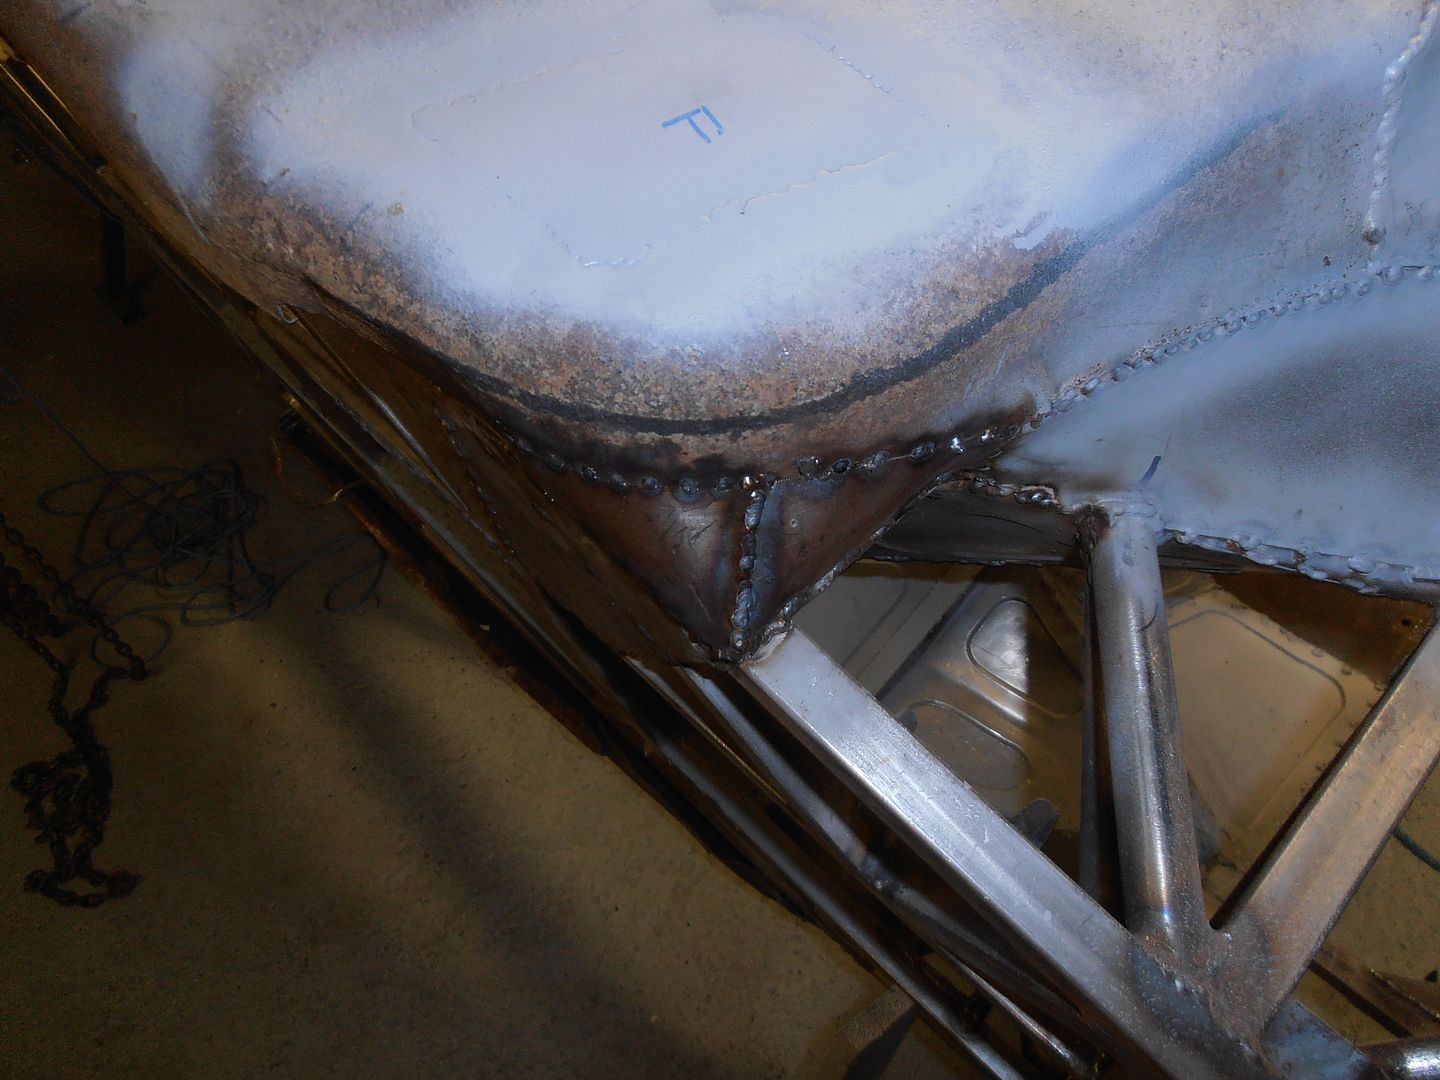 Before I started cutting out the scrap metal that was welded in.... I thought I should make a template of the only unadulterated piece left. At least i'll have something to refer shape back to. 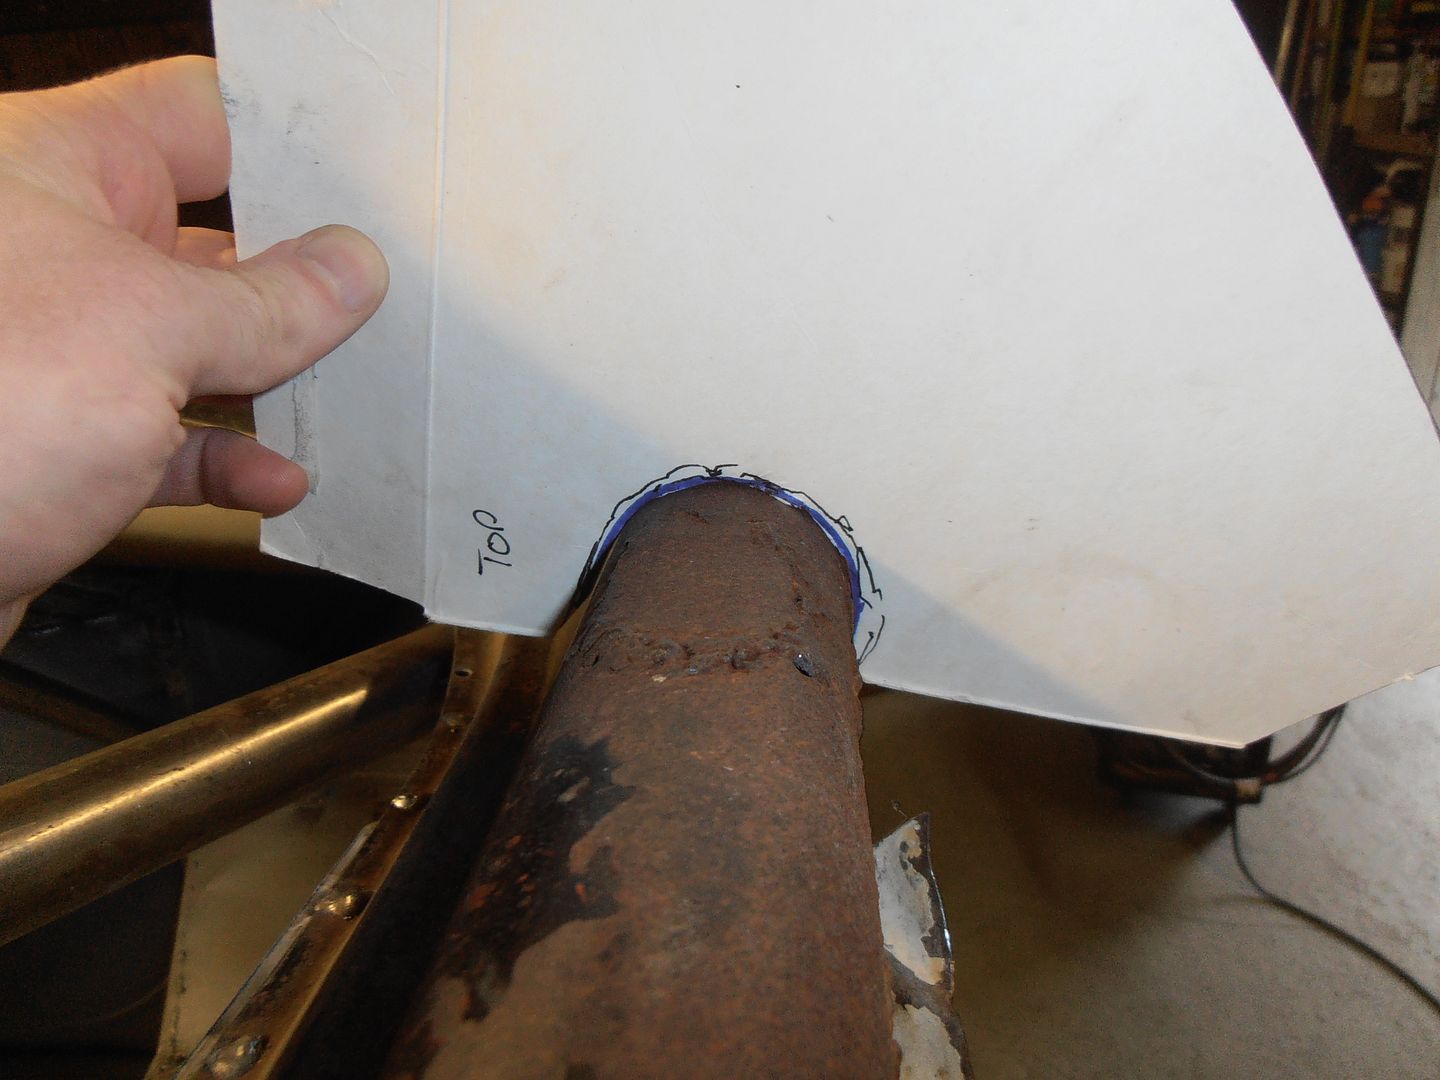 yes... in the foreground that is a flat patch that was welded on to a curved surface..... |
| |
|
|
|
|
|
|
|
|
Probably ran out of soup cans to turn in to patches?
I forget if it was mentioned already. What's happening with the floor of this?
On top of or underneath all of your framing?
Just wondering if you will be spending a few hours cleaning up while it's accessible.
|
| |
|
|
jonomisfit
Club Retro Rides Member
Posts: 1,790
Club RR Member Number: 49
|
|
Jul 11, 2016 18:40:41 GMT
|
|
I think it might be old washing machine. Its about 1.5mm thick.
In a couple of the images there's a sheet of aluminium hiding in the background. Thats the floor.
It'll be flat and on the outside with the sill return forming a step down to the sill height (flat bottomed with edge fences). It'll also be bonded and rivetted on. I'm not 100% decided on the areas around the wishbones, but I think i will use a flexible plastic sheet - PVC etc.
The inside will have 19mm thick insulation sheet (celotex etc.) bonded onto the floor as:
- Its the right height to give a flat internal floor (internal floor bracing is 19mm box)
- It should reduce the disturbing clattering sounds you get from gravel etc. hitting bare aluminium floors
- a sheet weights the best part of nothing unlike bitumen based deadining pads.
The floor underside will be getting a full clean up / finishing before its back down on the ground again.
|
| |
|
|
|
|
|
|
|
So the floor from the bottom will be one/two big flat panels or with ribs? And the inside will be framework with insulation in between them to the same height? Or will it be flush with something over the top? Sorry, just trying to work out how it's going to look.  |
| |
|
|
|
|
|
|
|
Jul 13, 2016 11:30:58 GMT
|
|
if the current frame and body was on the ground, you stood with your torso through the sunroof and straps over your shoulders tied to the roll cage (like in worlds strongest man) do you think you could lift it ?
|
| |
Last Edit: Jul 13, 2016 11:32:39 GMT by darrenh
|
|
jonomisfit
Club Retro Rides Member
Posts: 1,790
Club RR Member Number: 49
|
|
Jul 13, 2016 17:46:57 GMT
|
|
It'll be flat sheet on the outside. All the reinforcing and insulation inside.
The outside edges will have the step. Like a venturi tunnel.
Inside the insulation will be level with the top of the reinforcing. There will be aluminium covers in the foot Wells but the rest will be open top with only carpet on it.
I don't think I could, at least not without severe risk of a hernia.
I weighed the chassis on its own at about 120kg. Which i could just lift. The body must weigh a further 60kg or so as it was fairly OK to lift.
Combined is likely beyond my limit.
It's fairly easy to lift either end. With the back being heavier.
I was aiming for sub 300kg if possible including boot bonnet and doors. Which is the main reason I need composite bolt ons.
|
| |
Last Edit: Jul 13, 2016 17:51:50 GMT by jonomisfit
|
|
jonomisfit
Club Retro Rides Member
Posts: 1,790
Club RR Member Number: 49
|
|
Jul 16, 2016 17:30:45 GMT
|
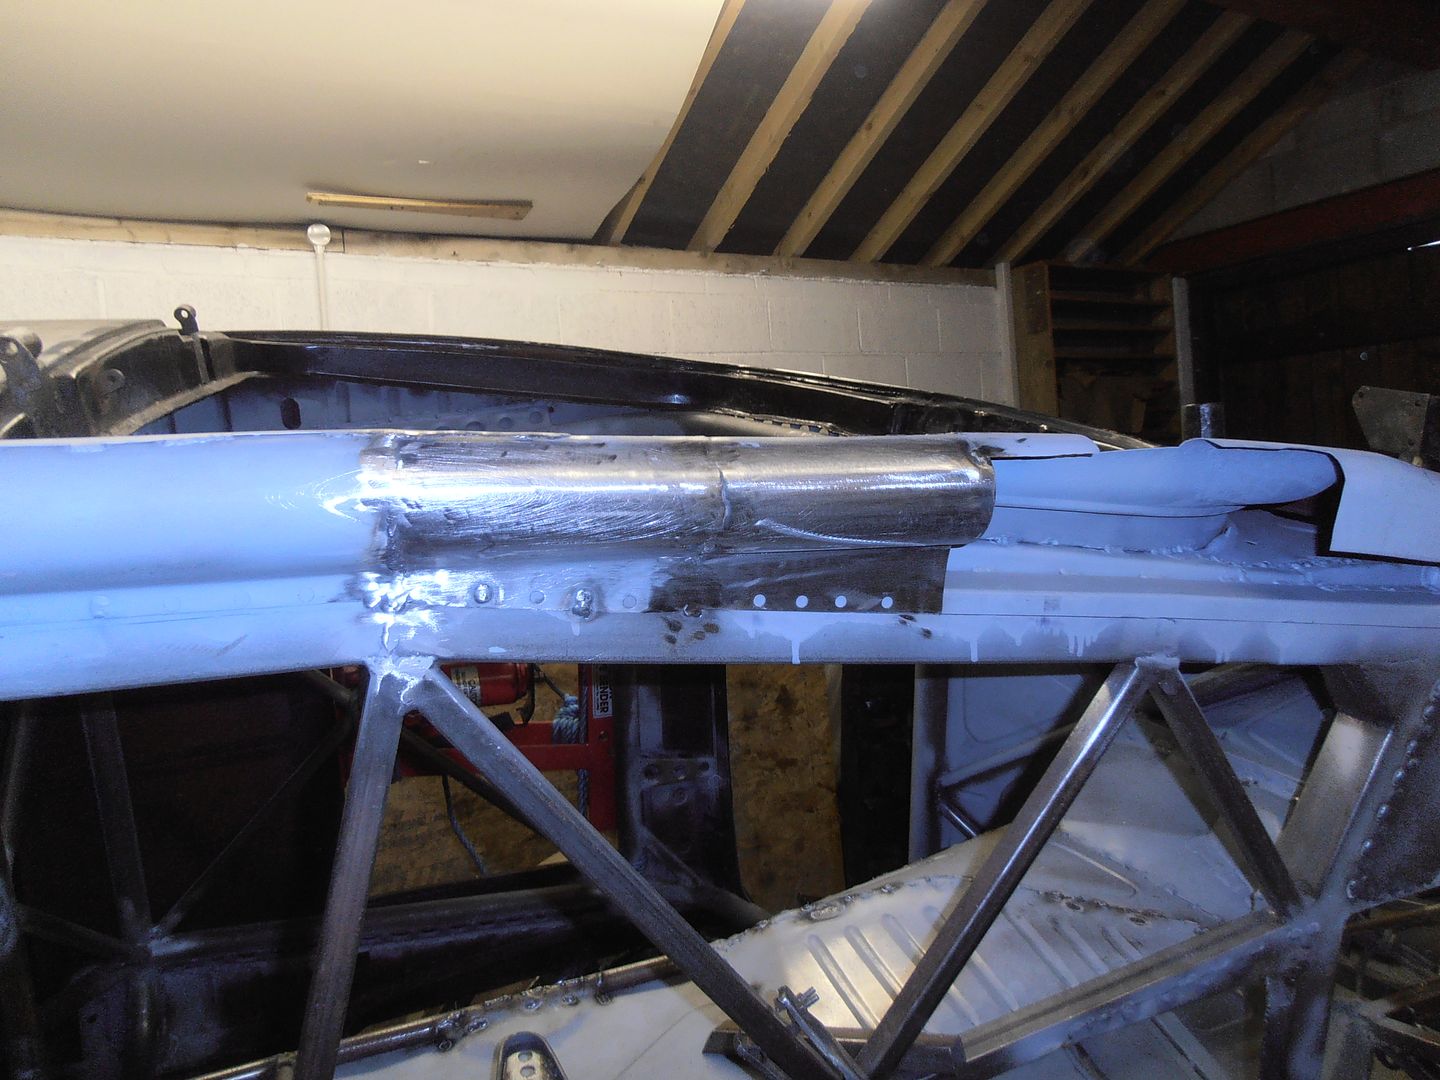
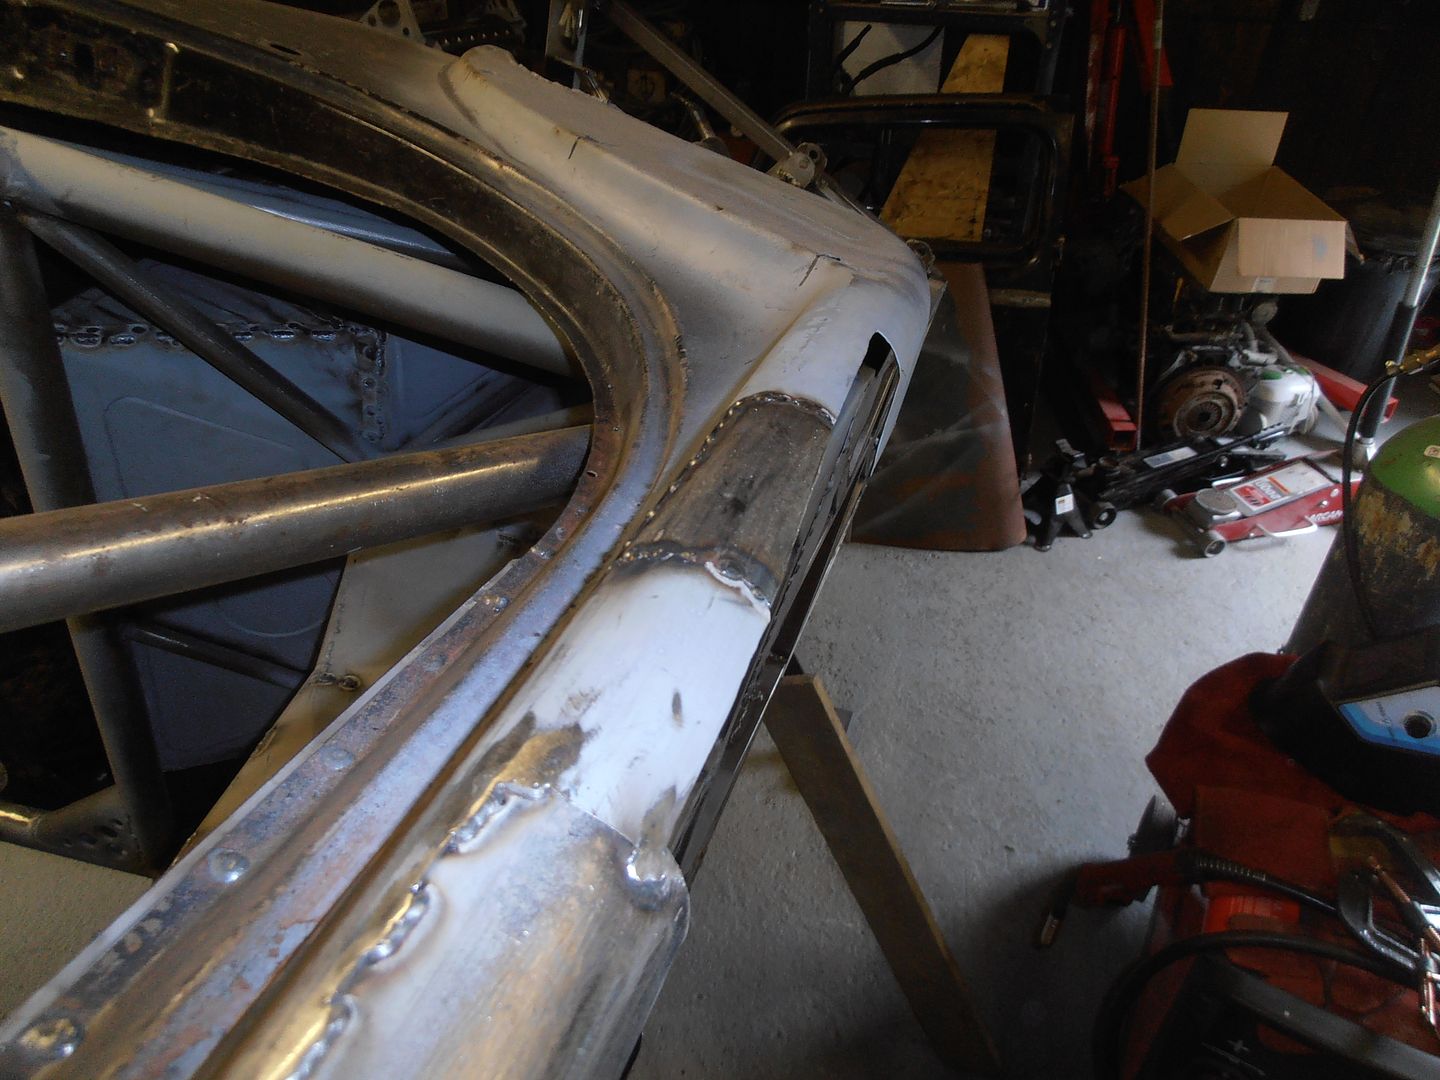
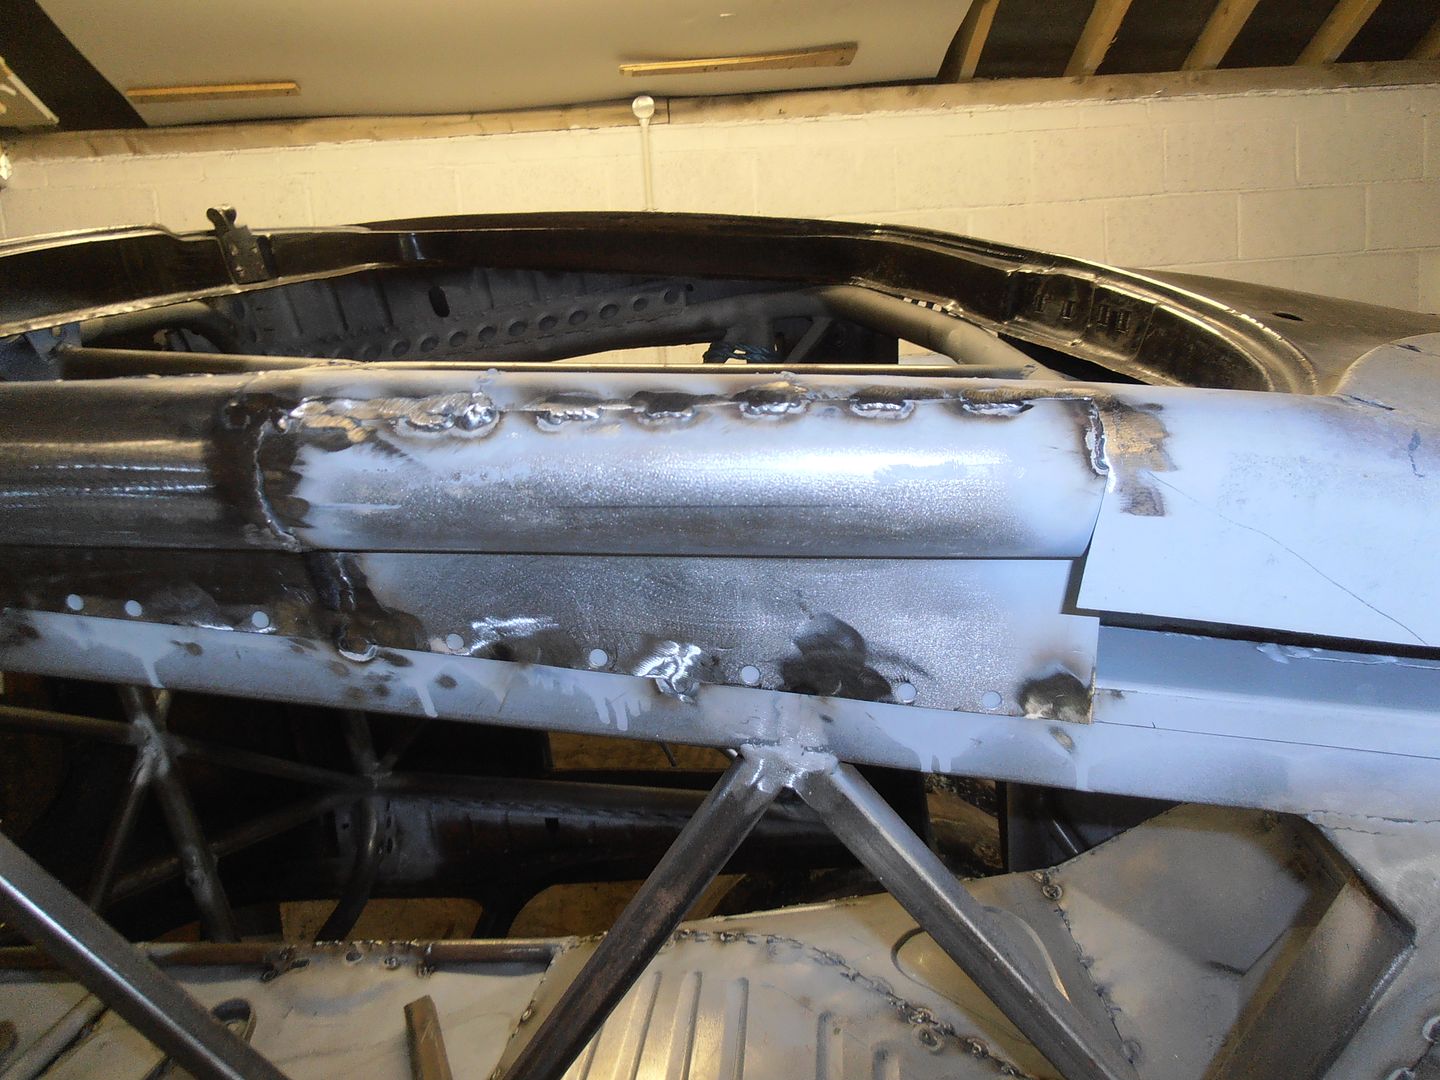
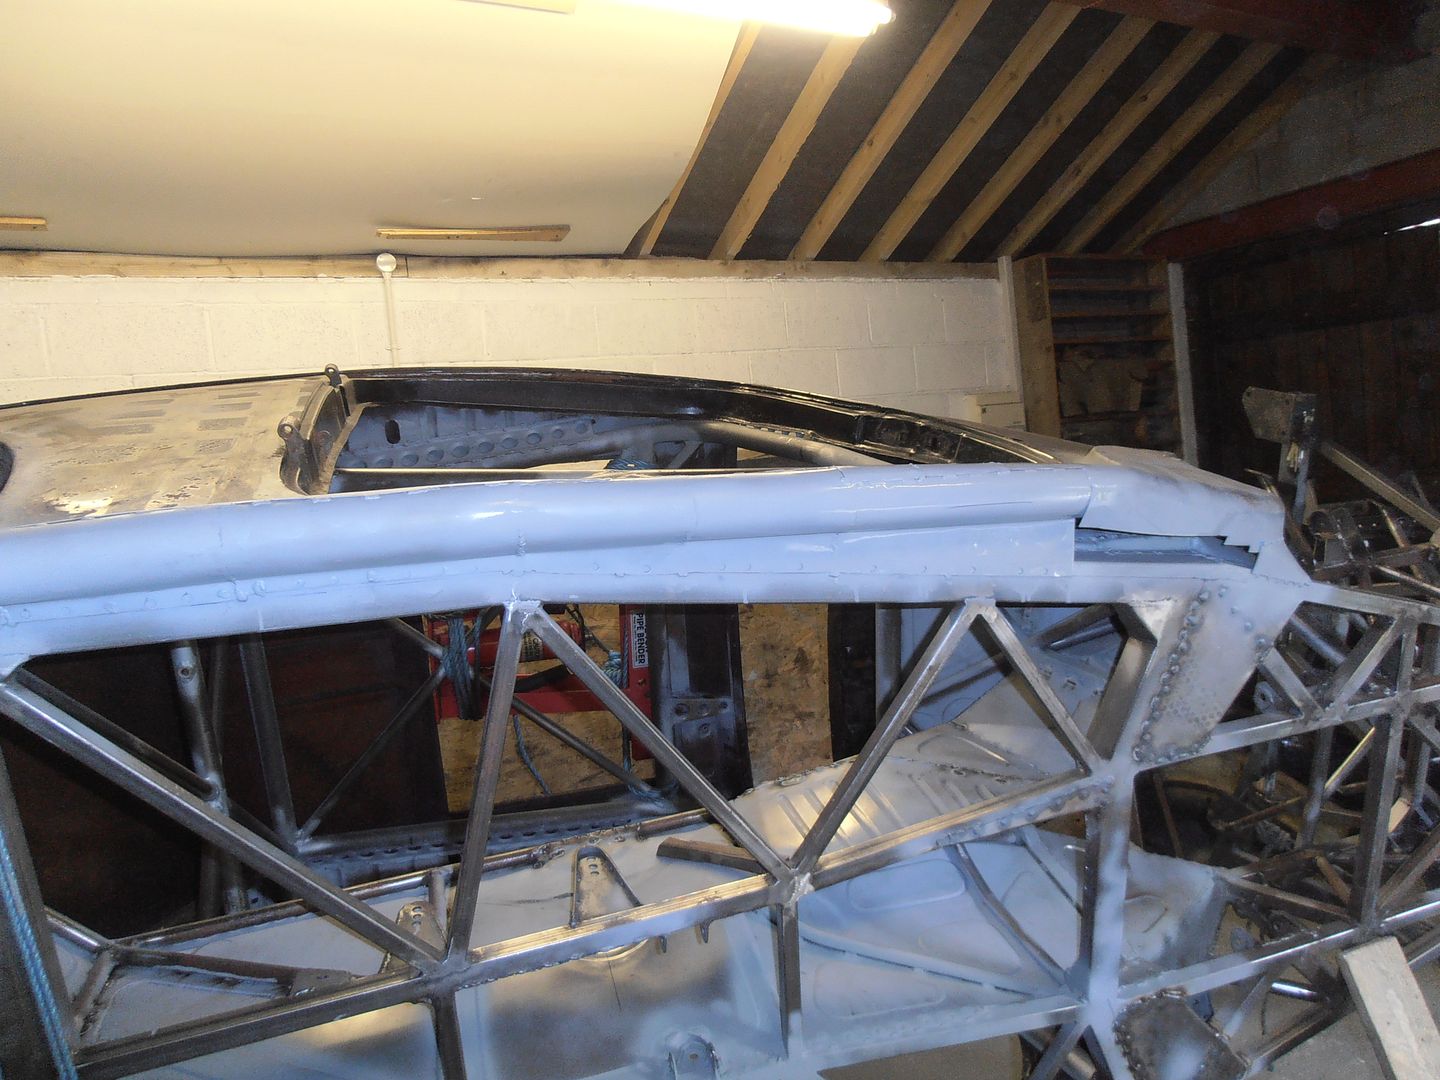
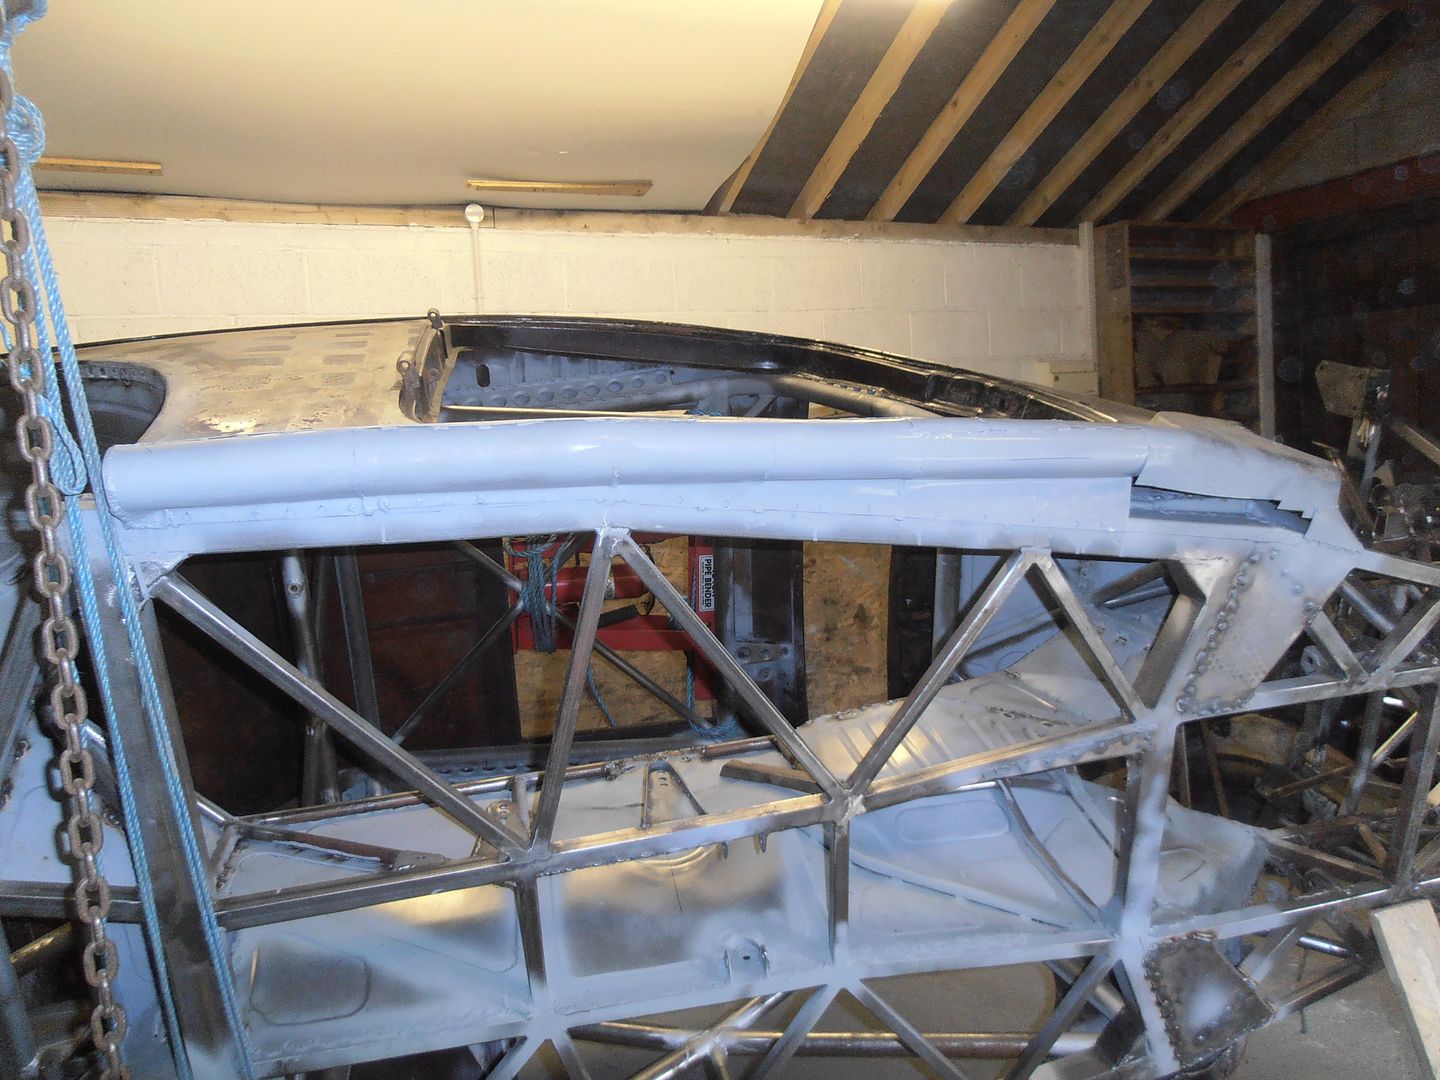
So i made a start on the sills. They are in a truly horrific state. cut cut cut.... 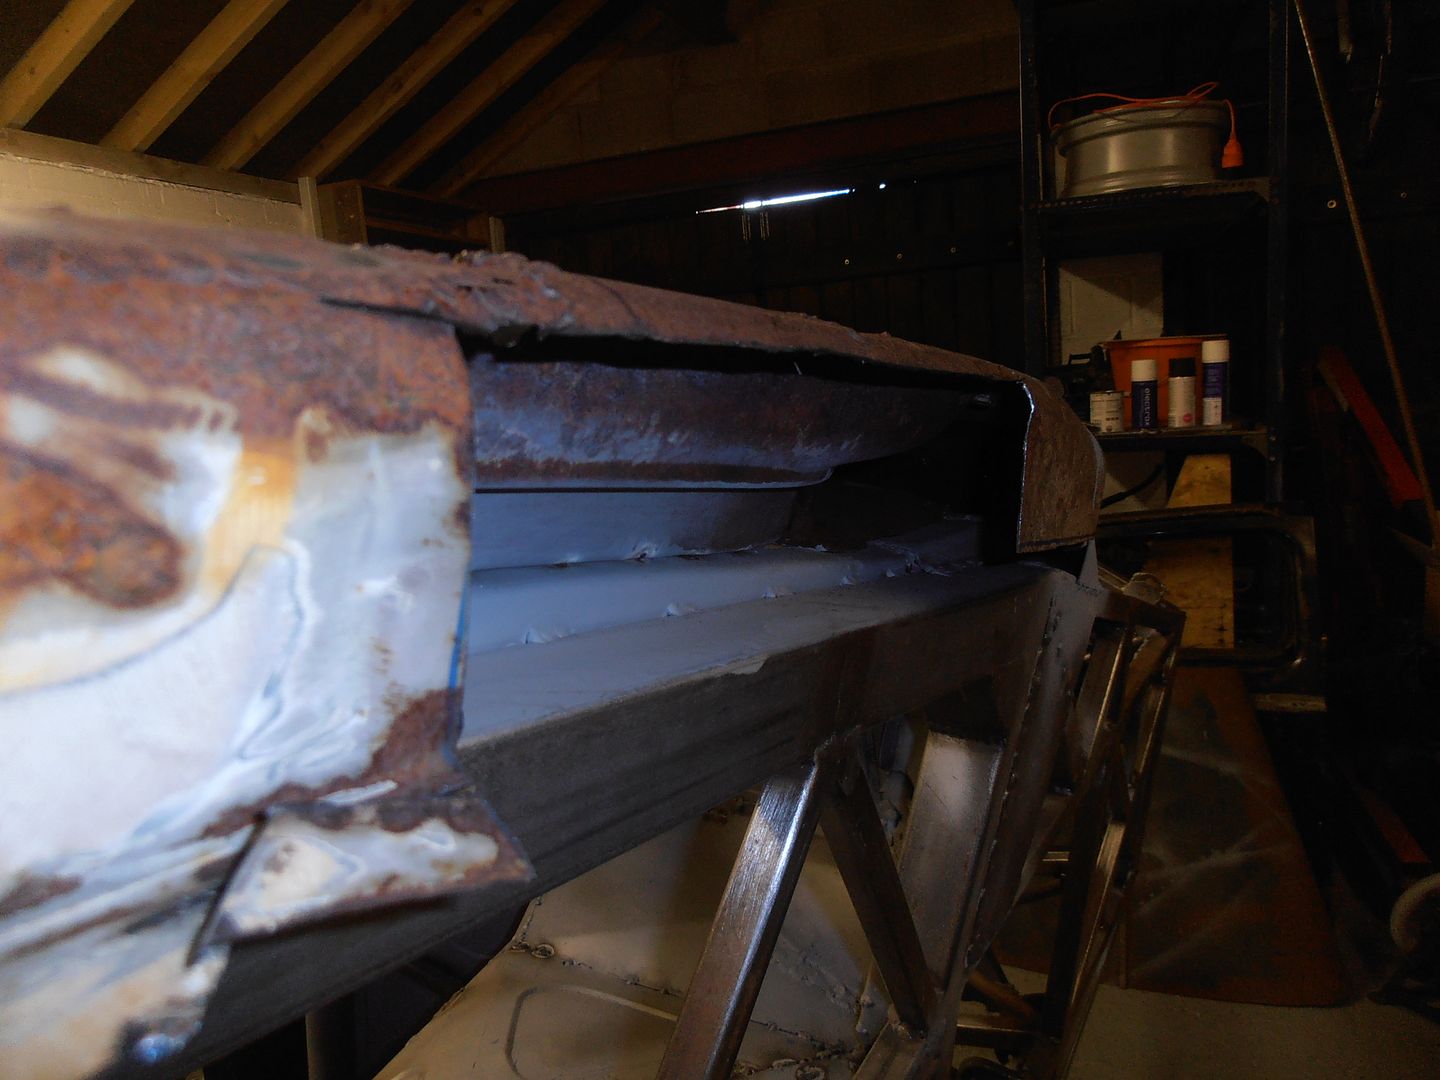 the "repair" section 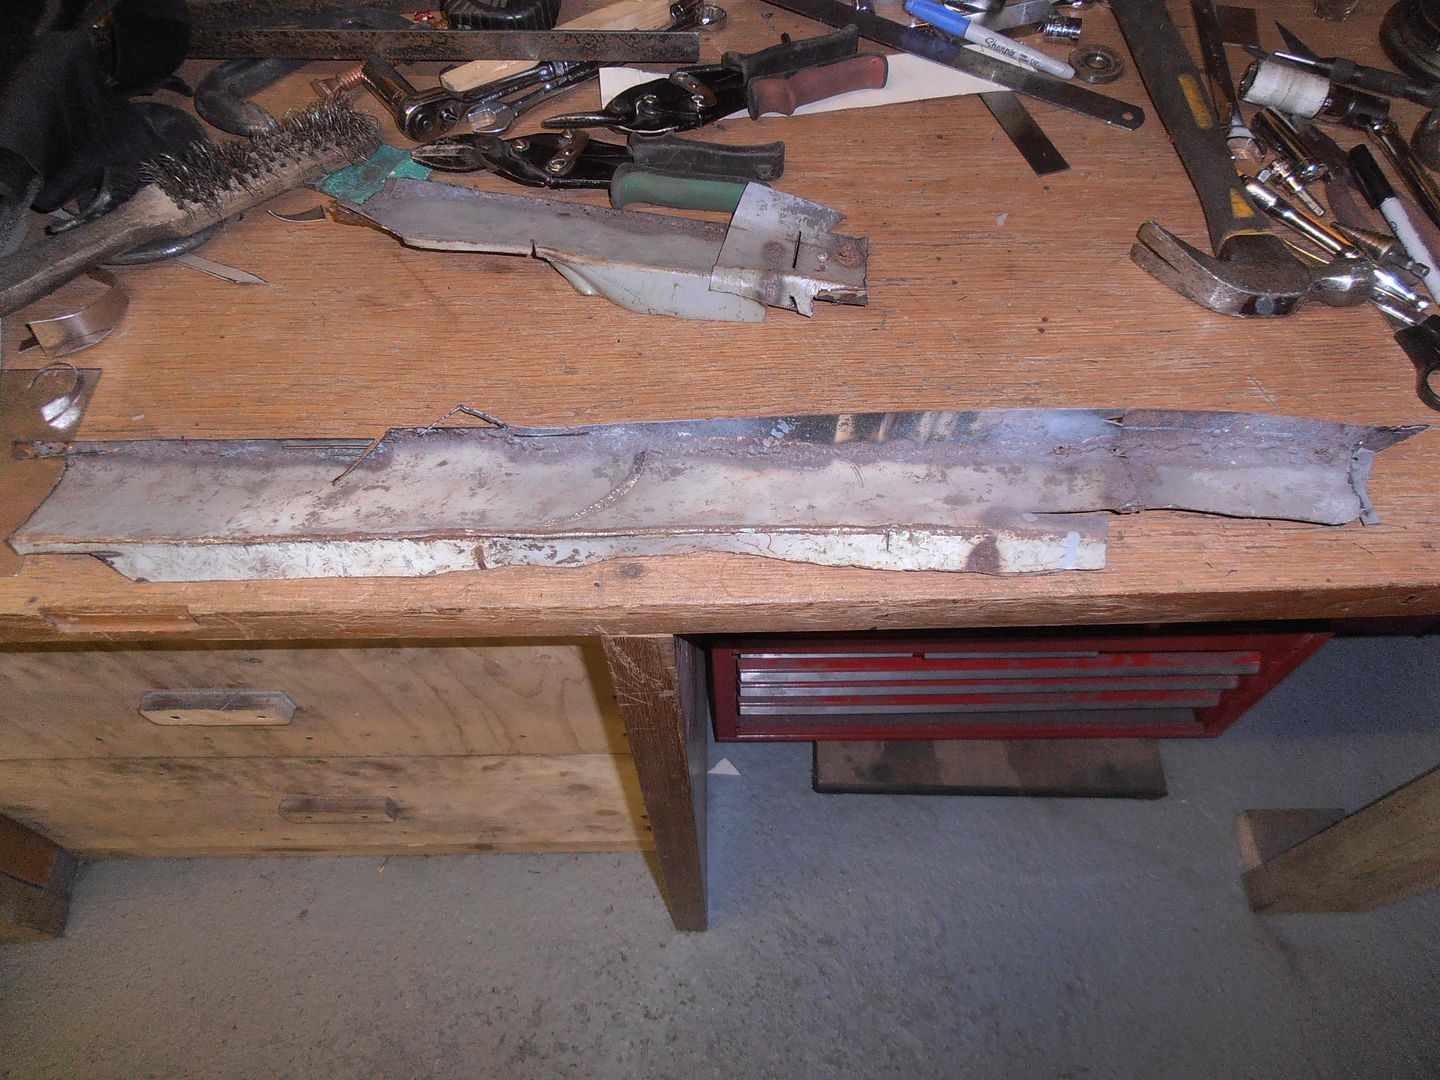 cut some more 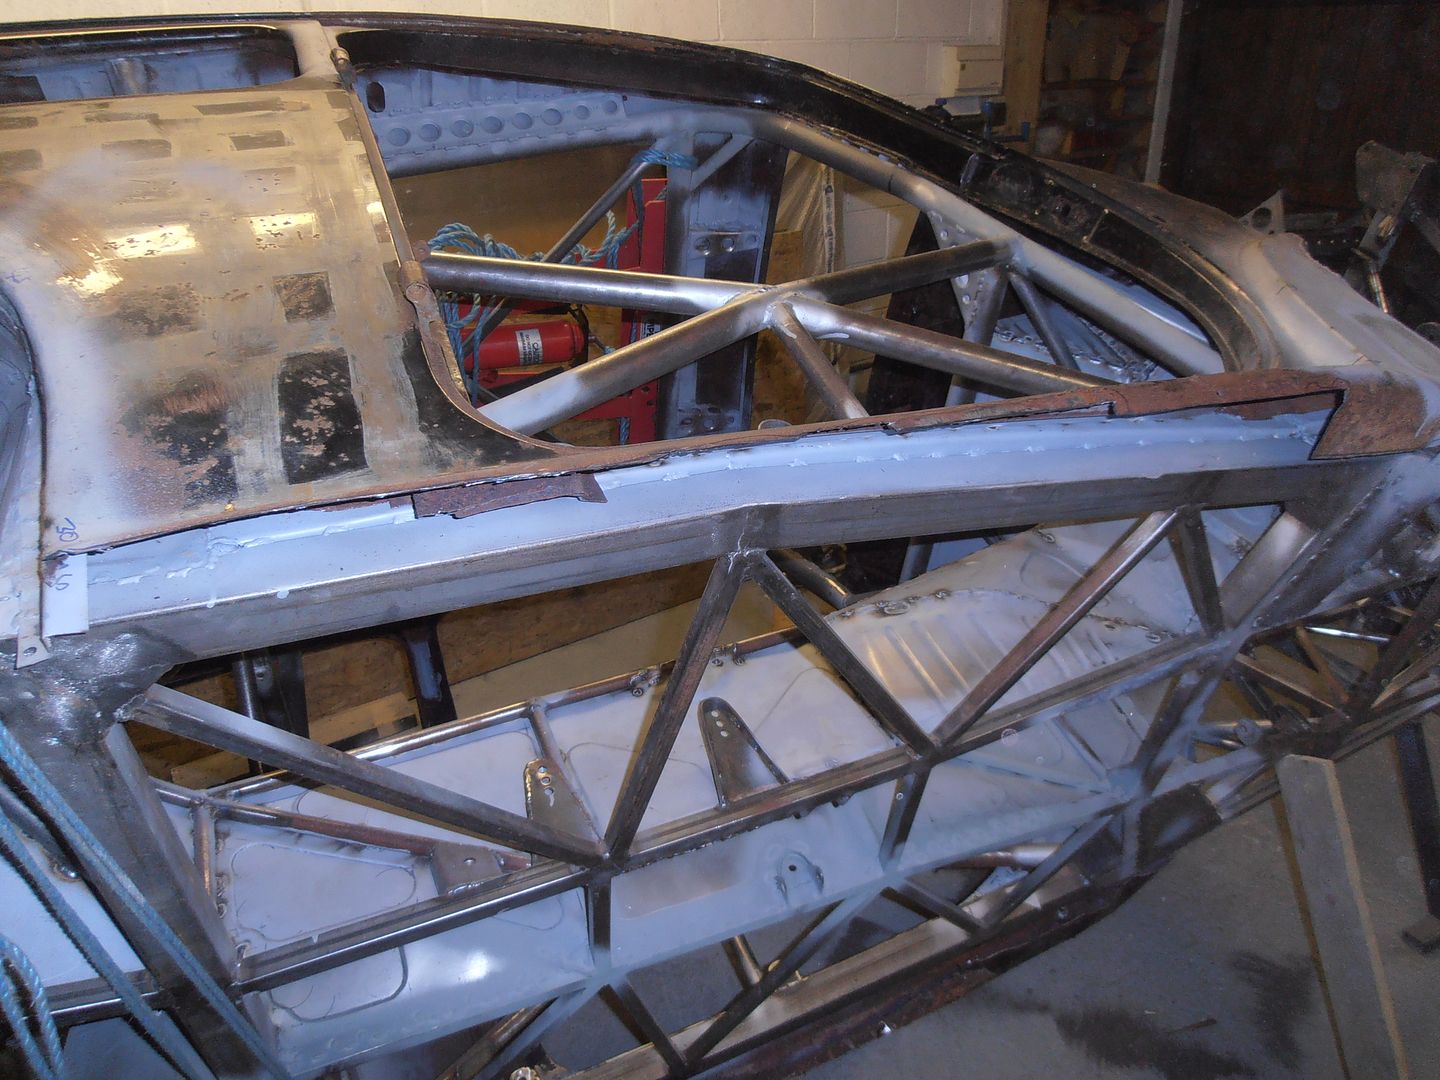 a fair amount nibbled out 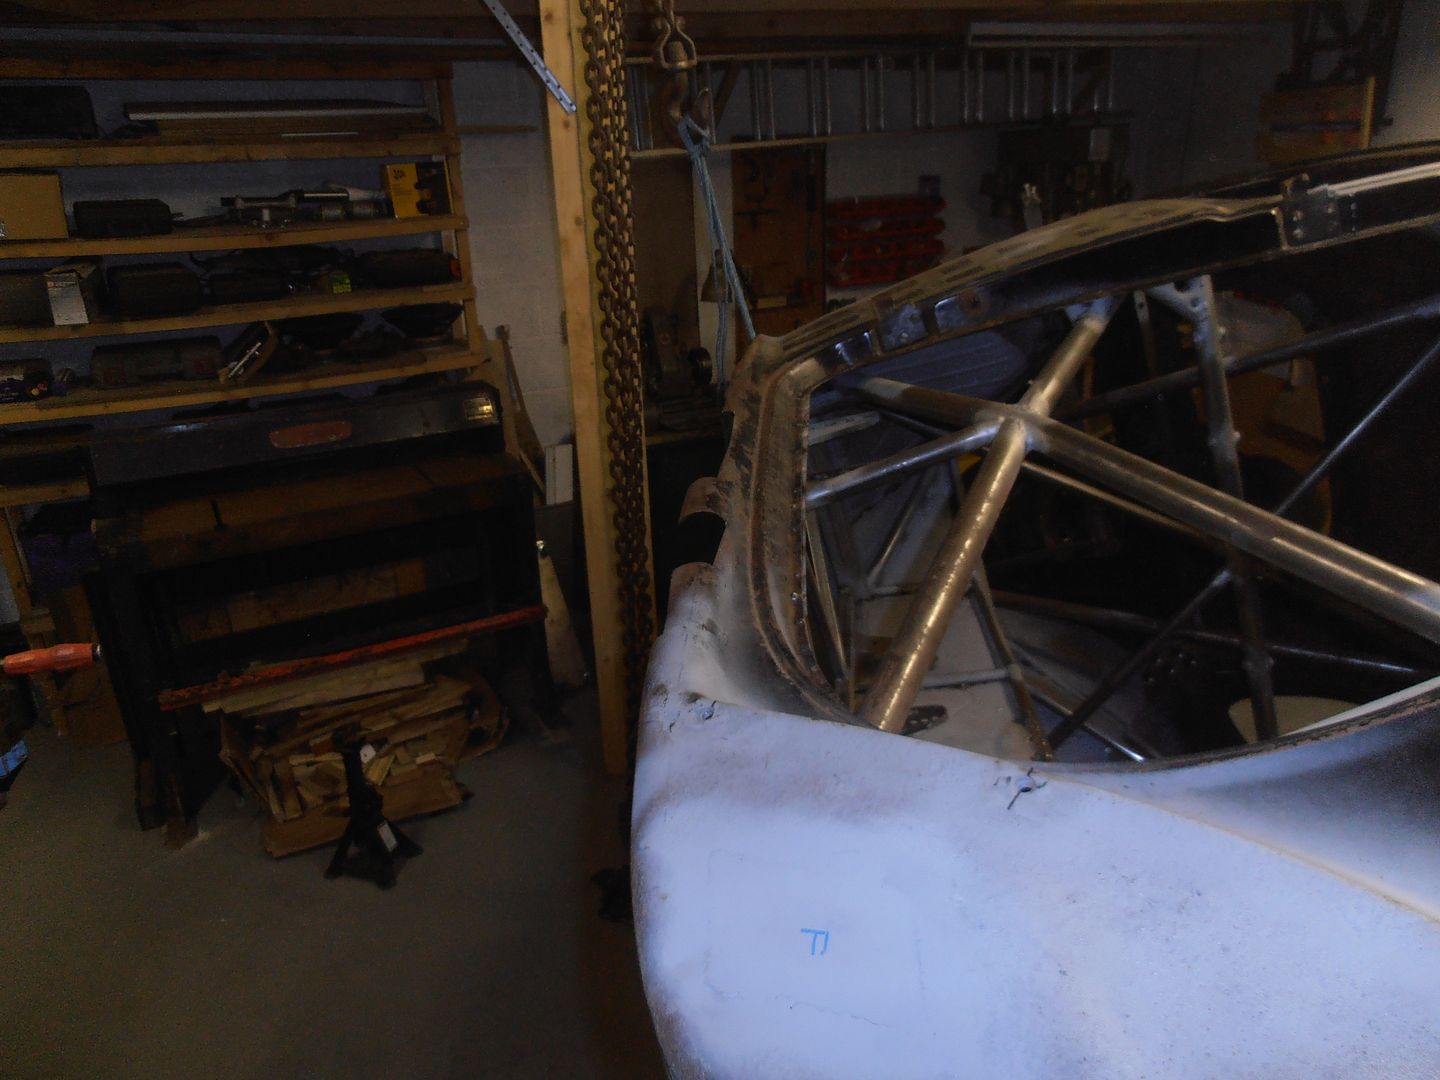 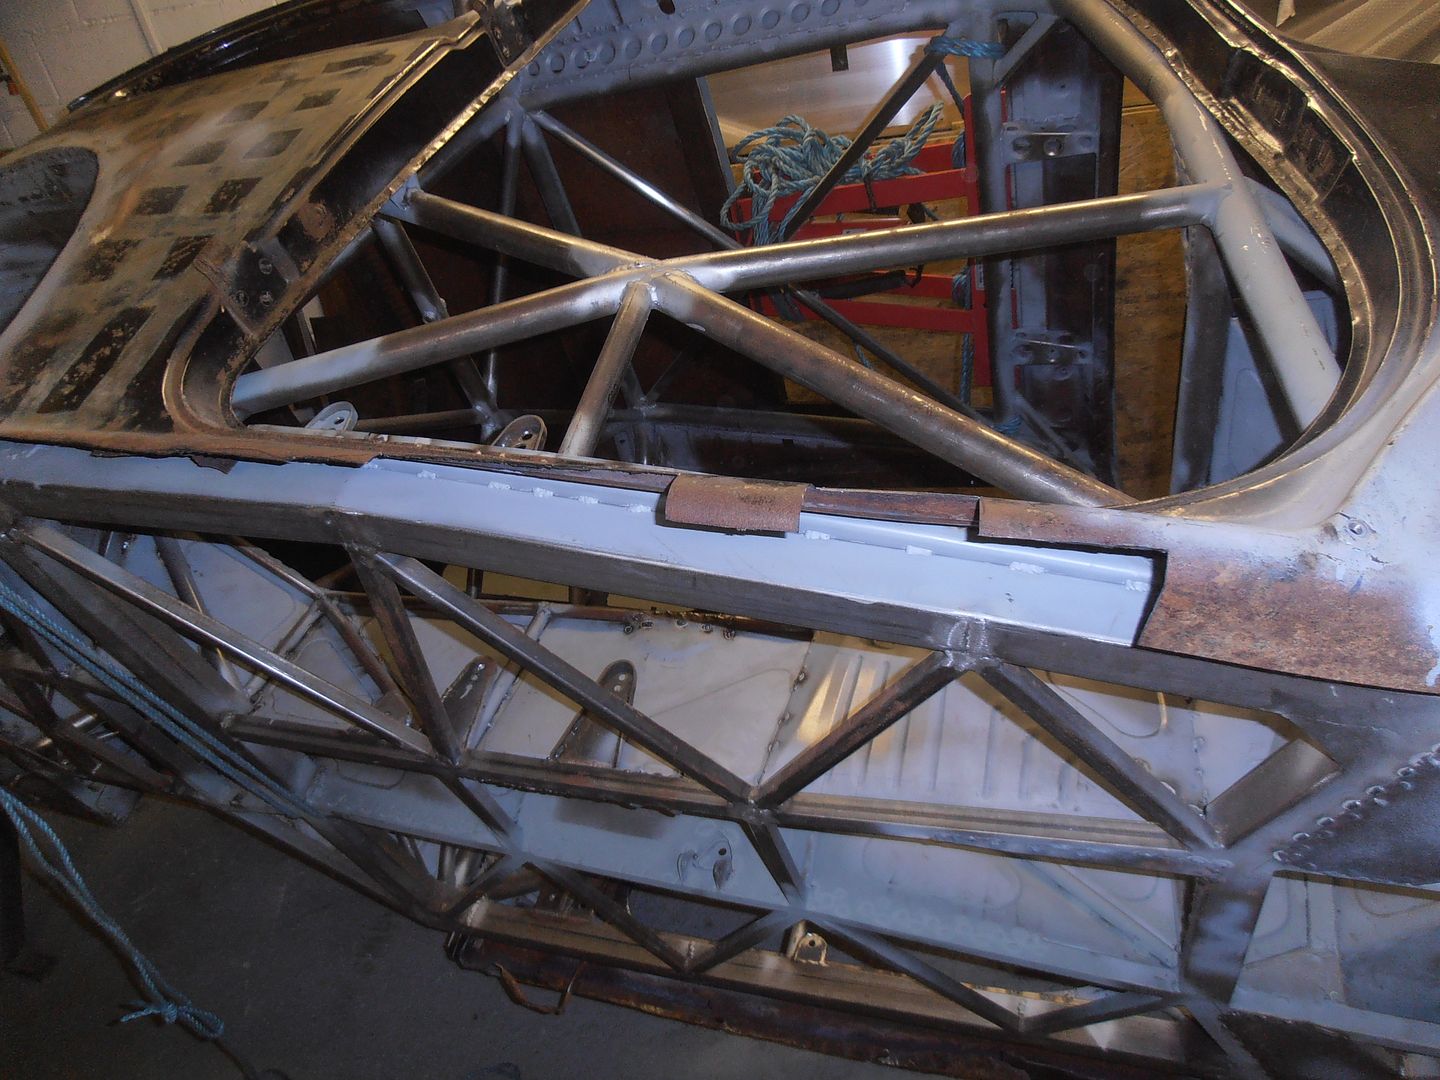 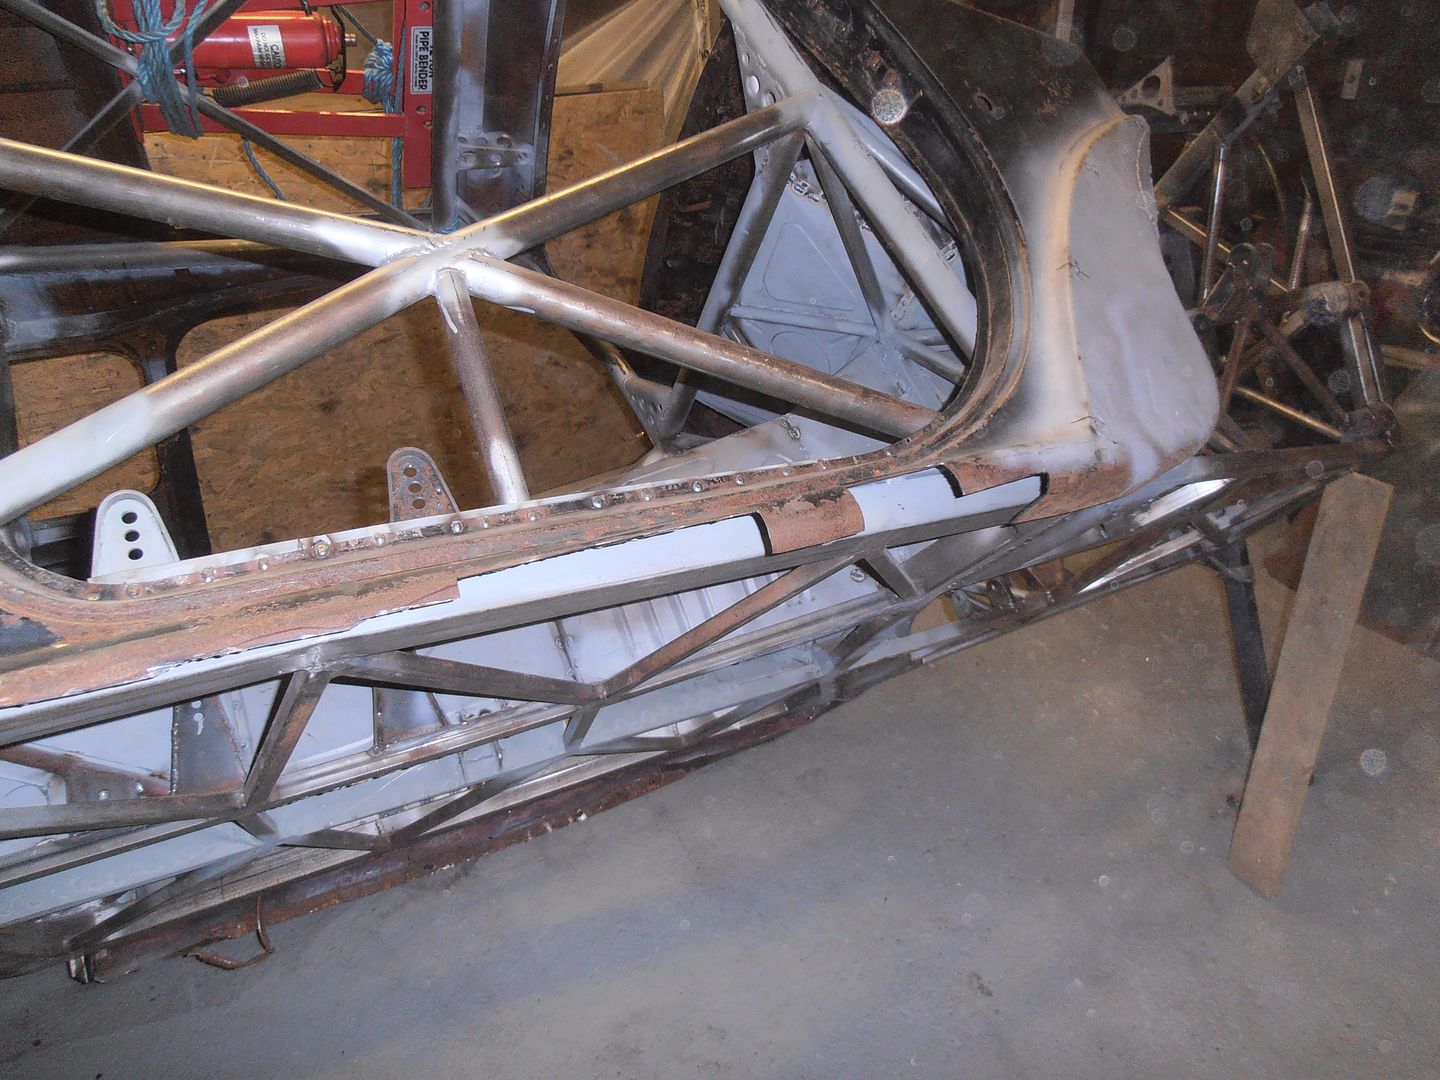 made a template piece up to set the profile I want linking the sill back to the chassis 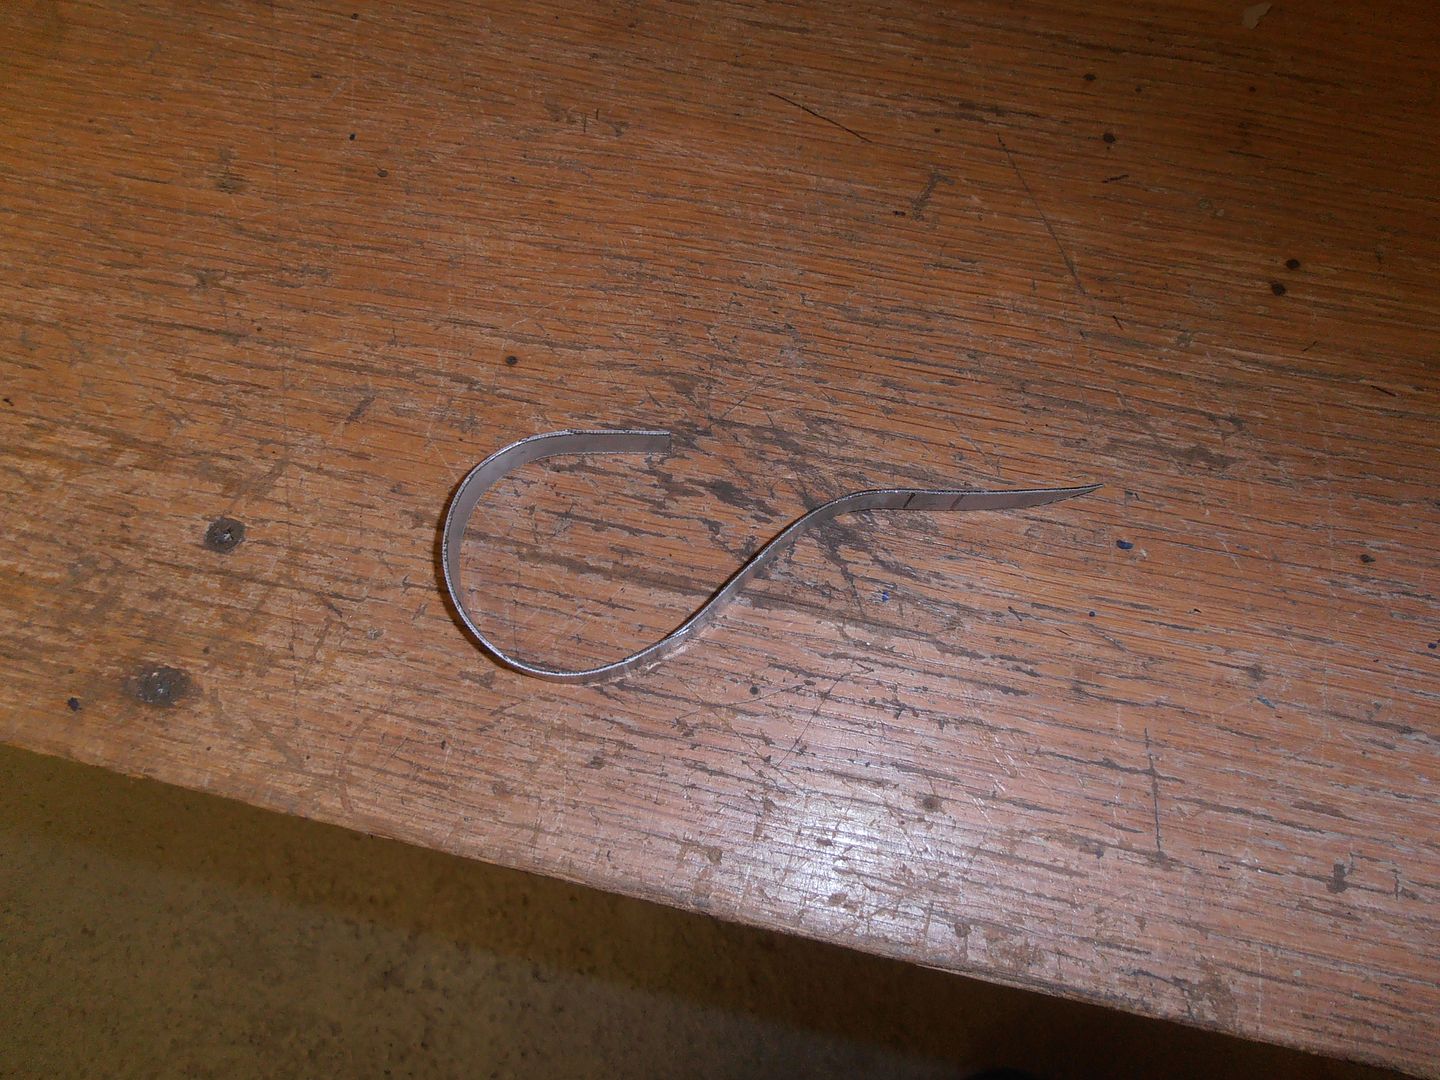 fits like so 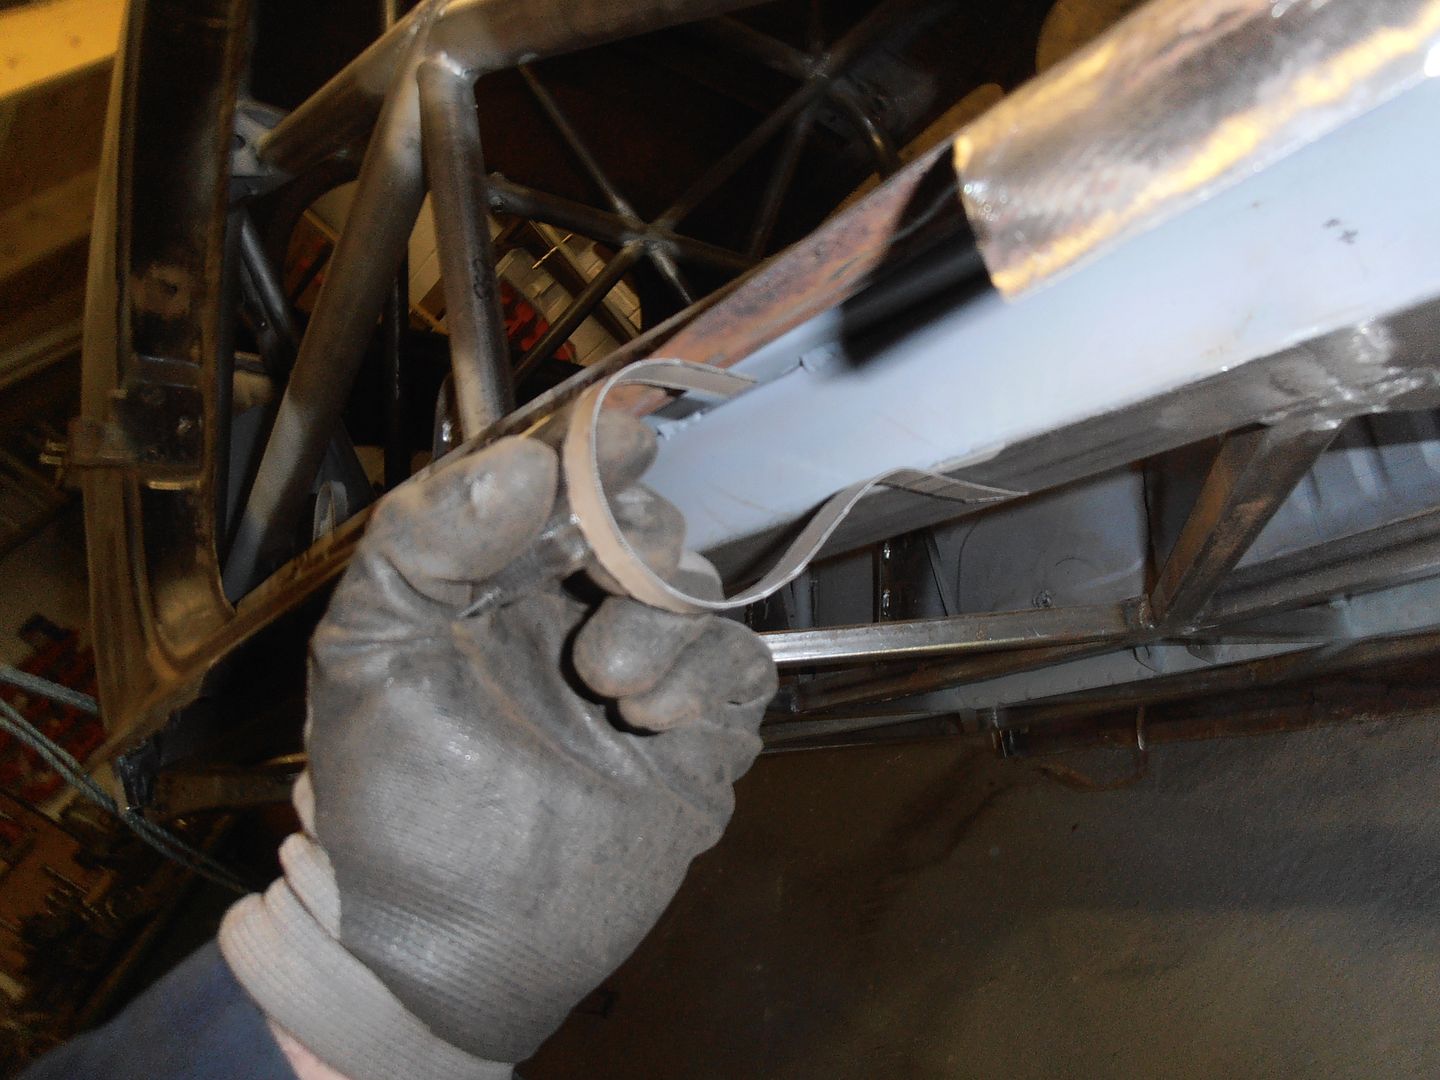 i tried in a few places, and as expected the template will change shape all along its length. Joy, that'll be fun making the panel :-) a few more stitch welds whilst this is all exposed 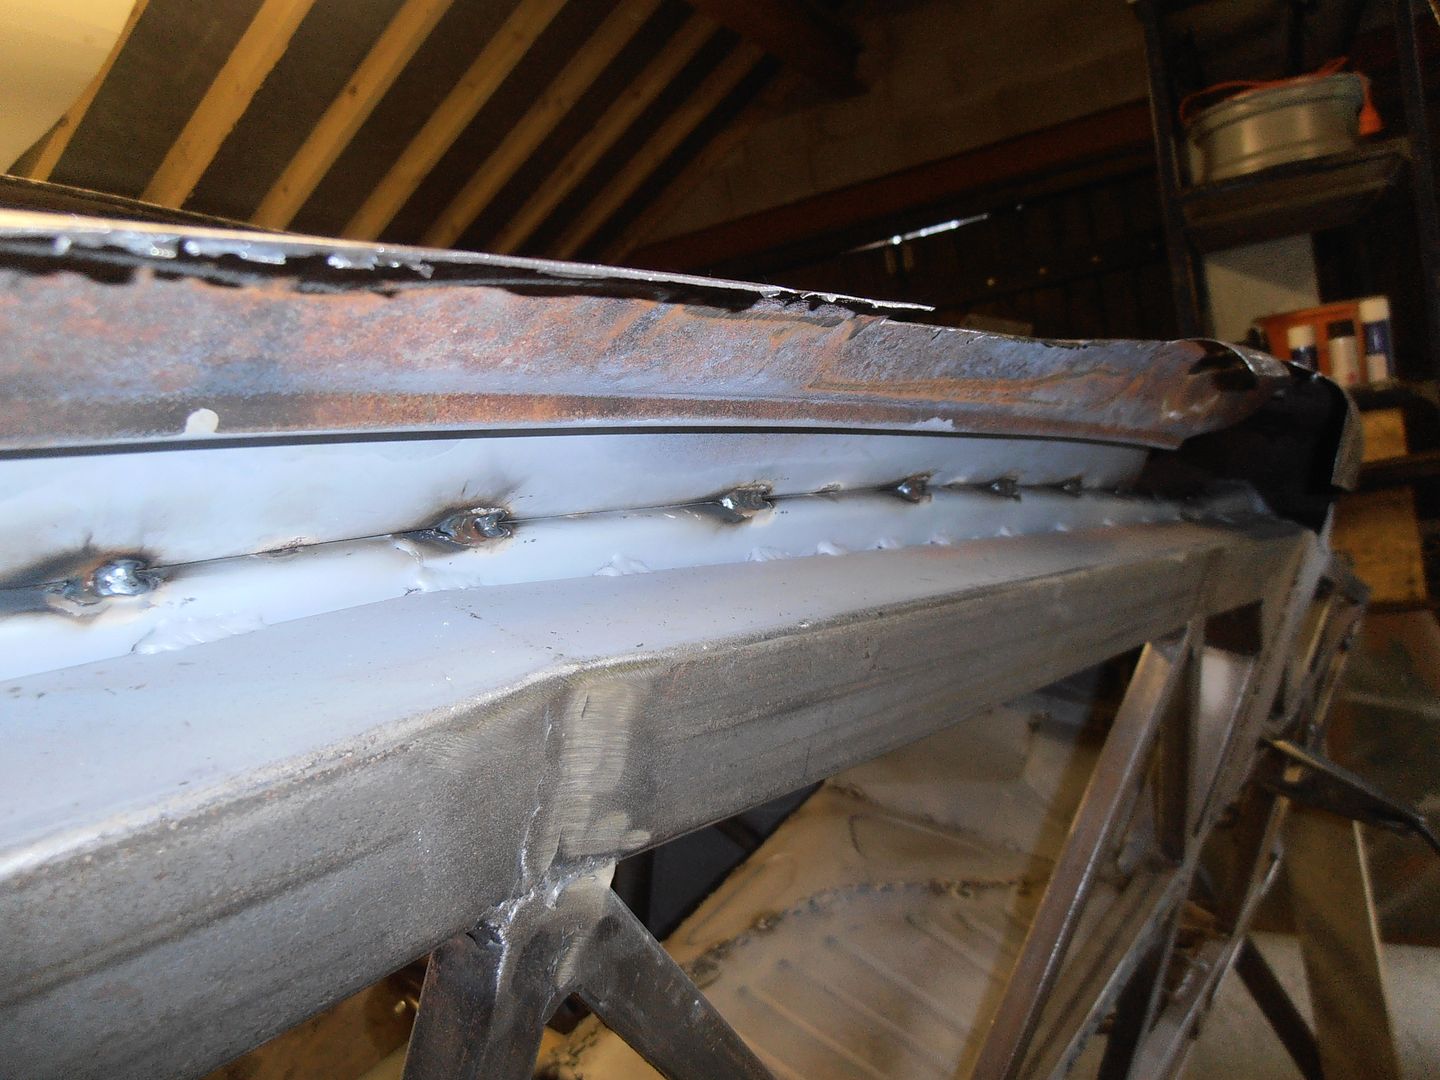 i also put a few tacks on the now visible sides of most of the joint panels. Close out the bottom of the B pillar. 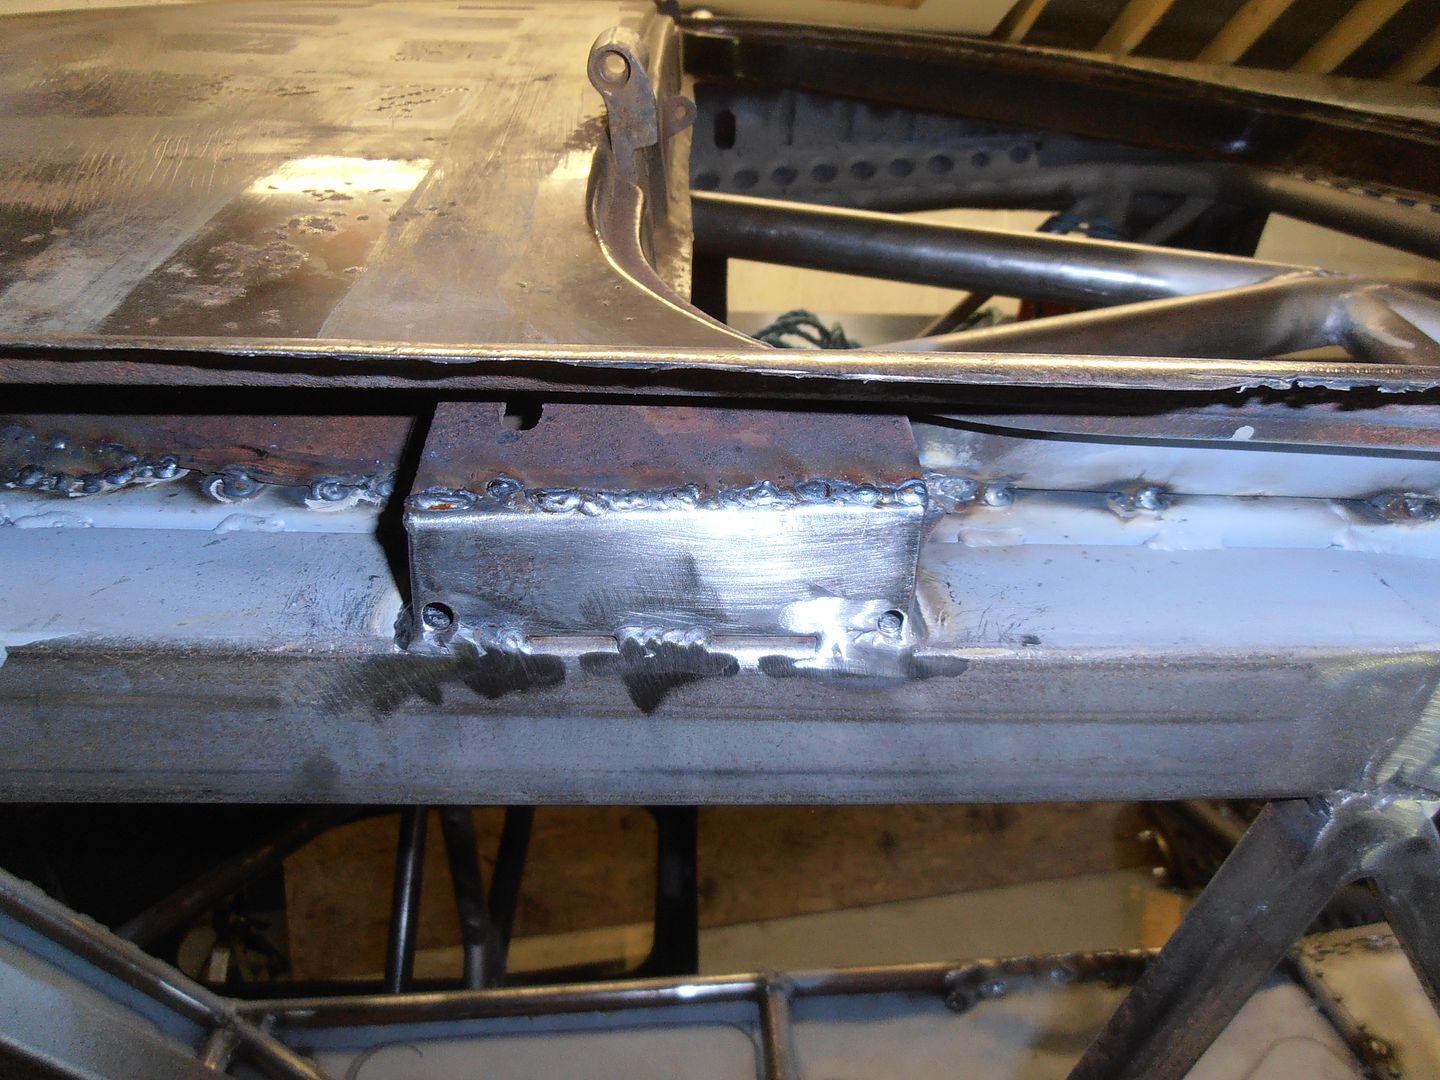 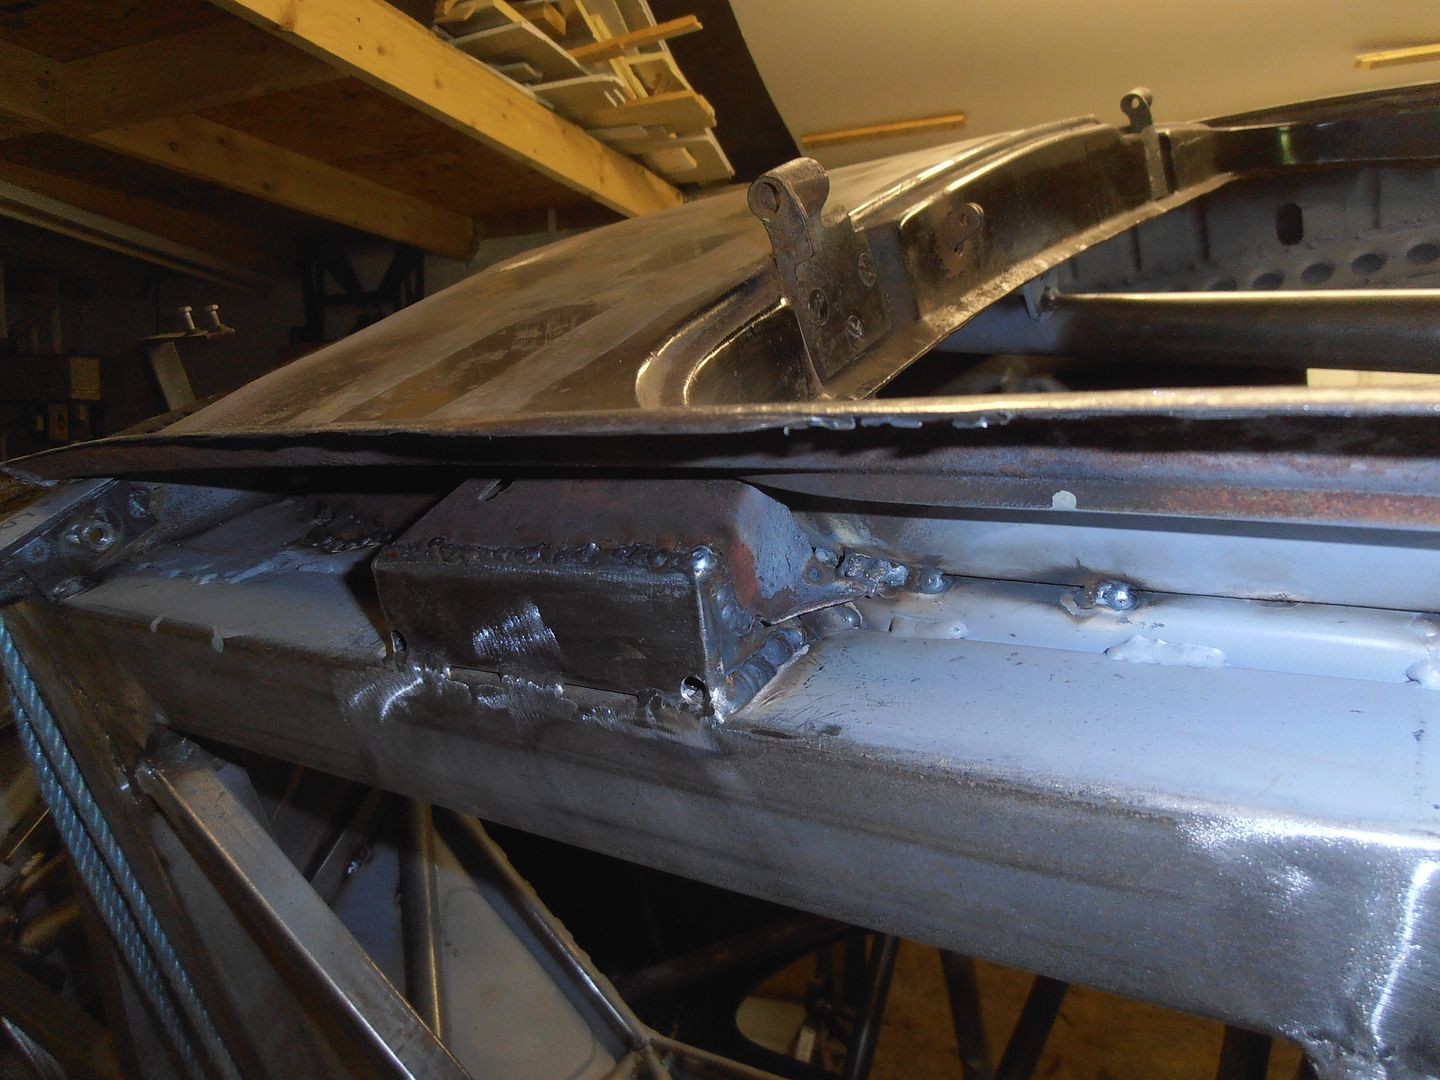 The holes in the corners are to let any trapped moisture drain into the sill. weld through prime 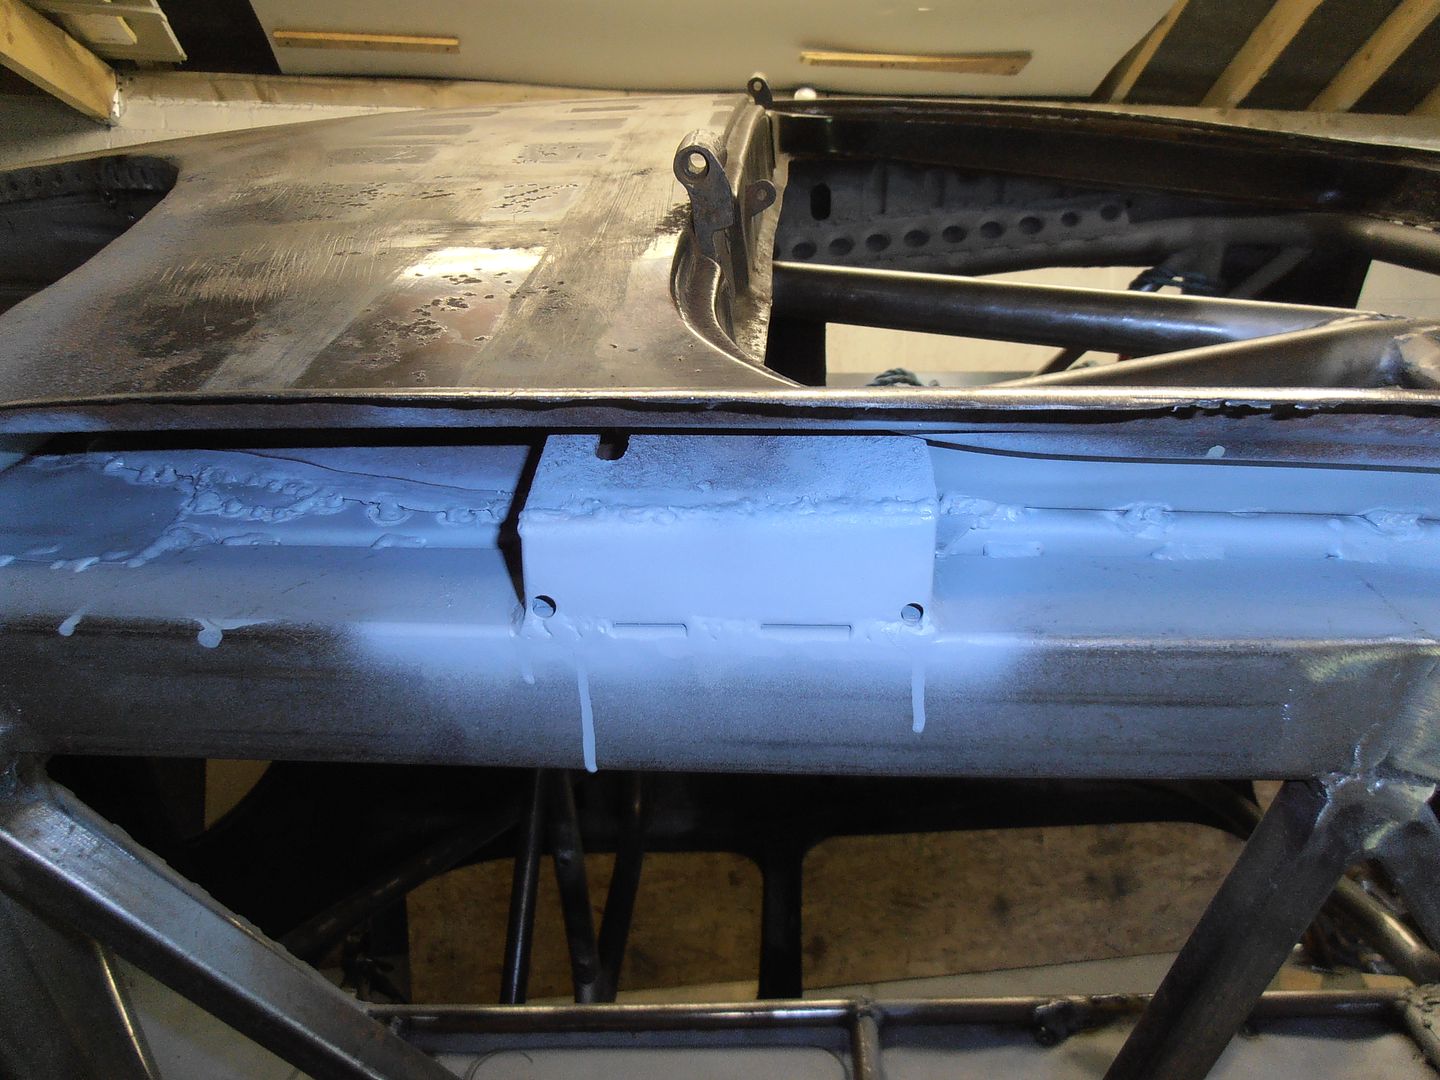 Now to start making the sill... gulp. End closer piece 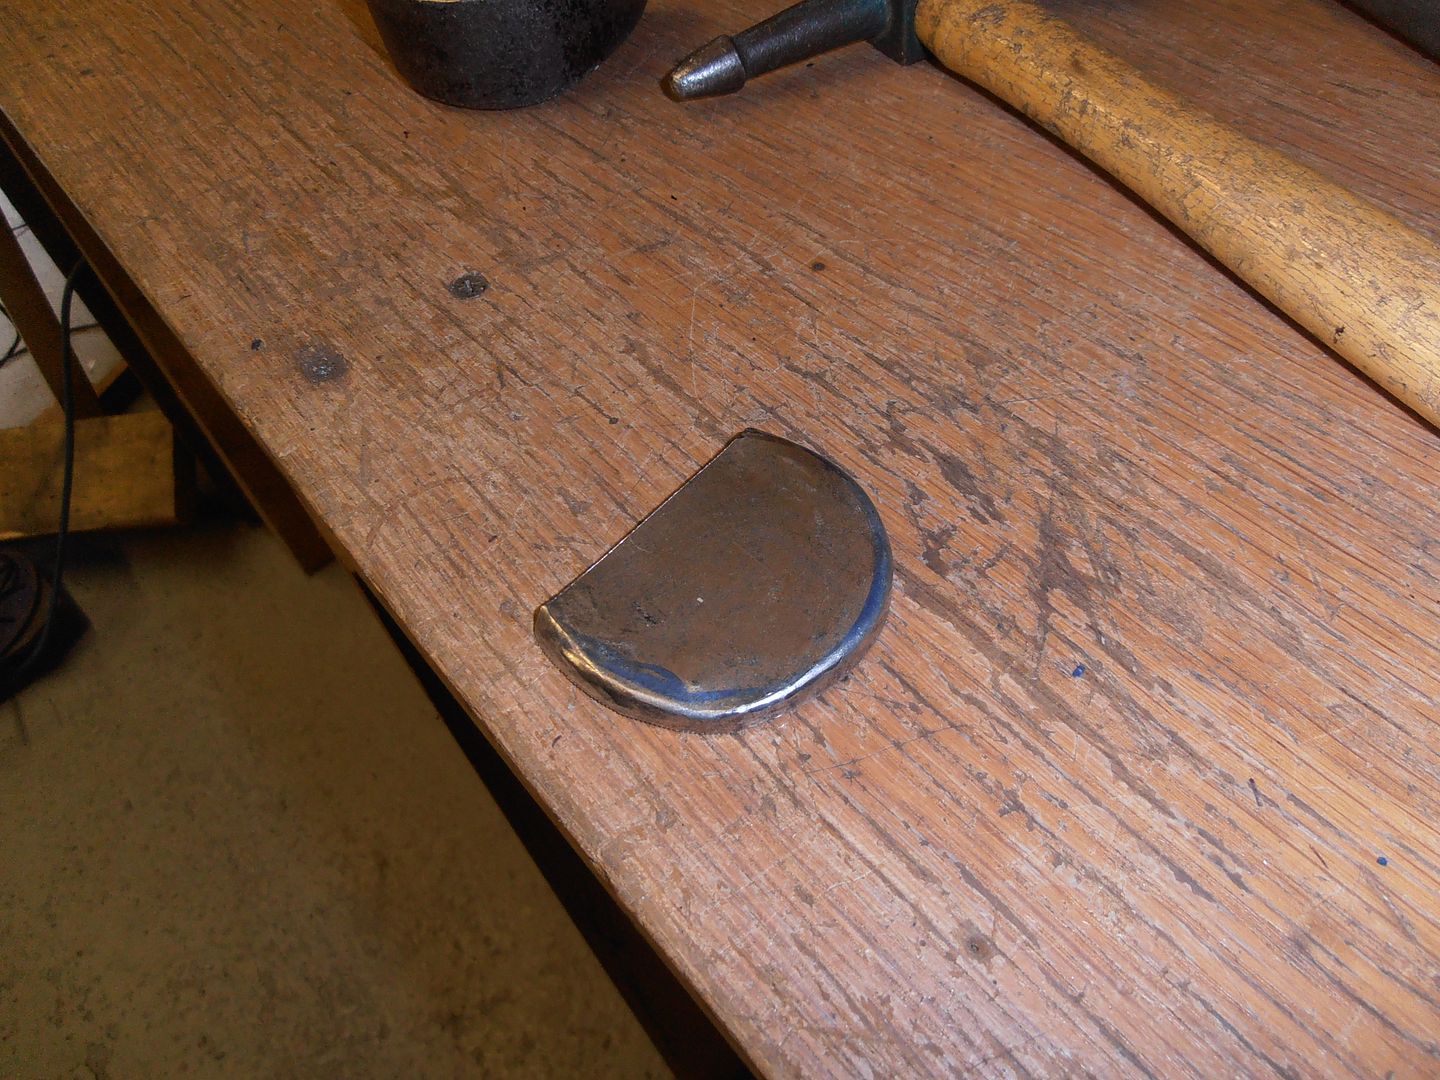 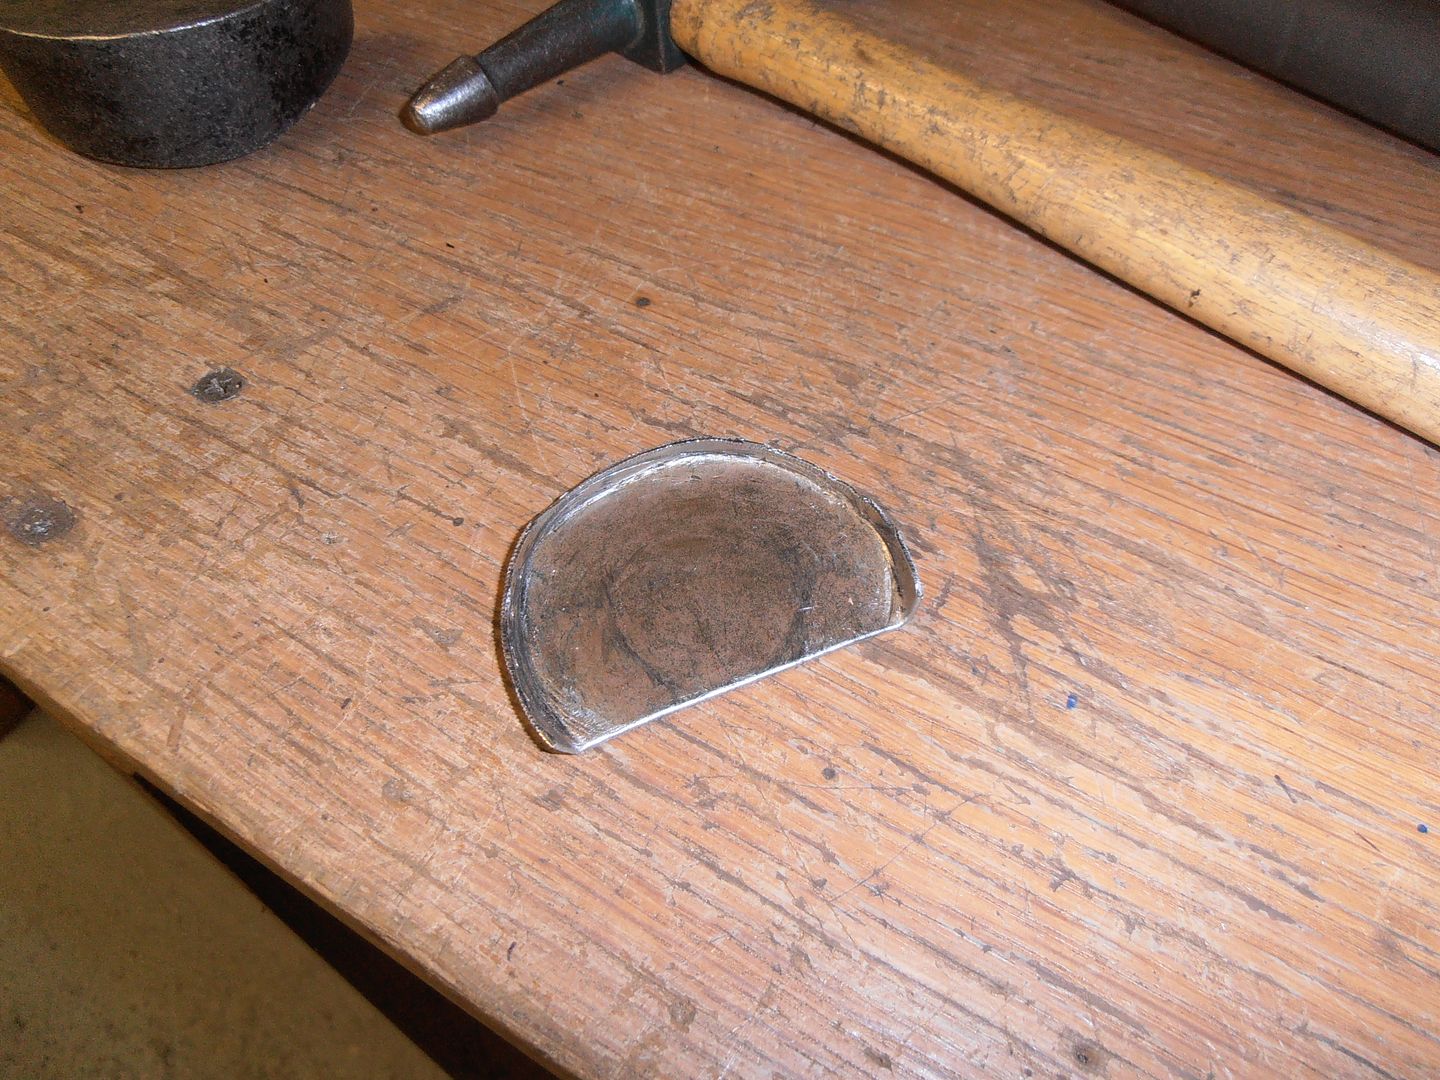 pieces in here 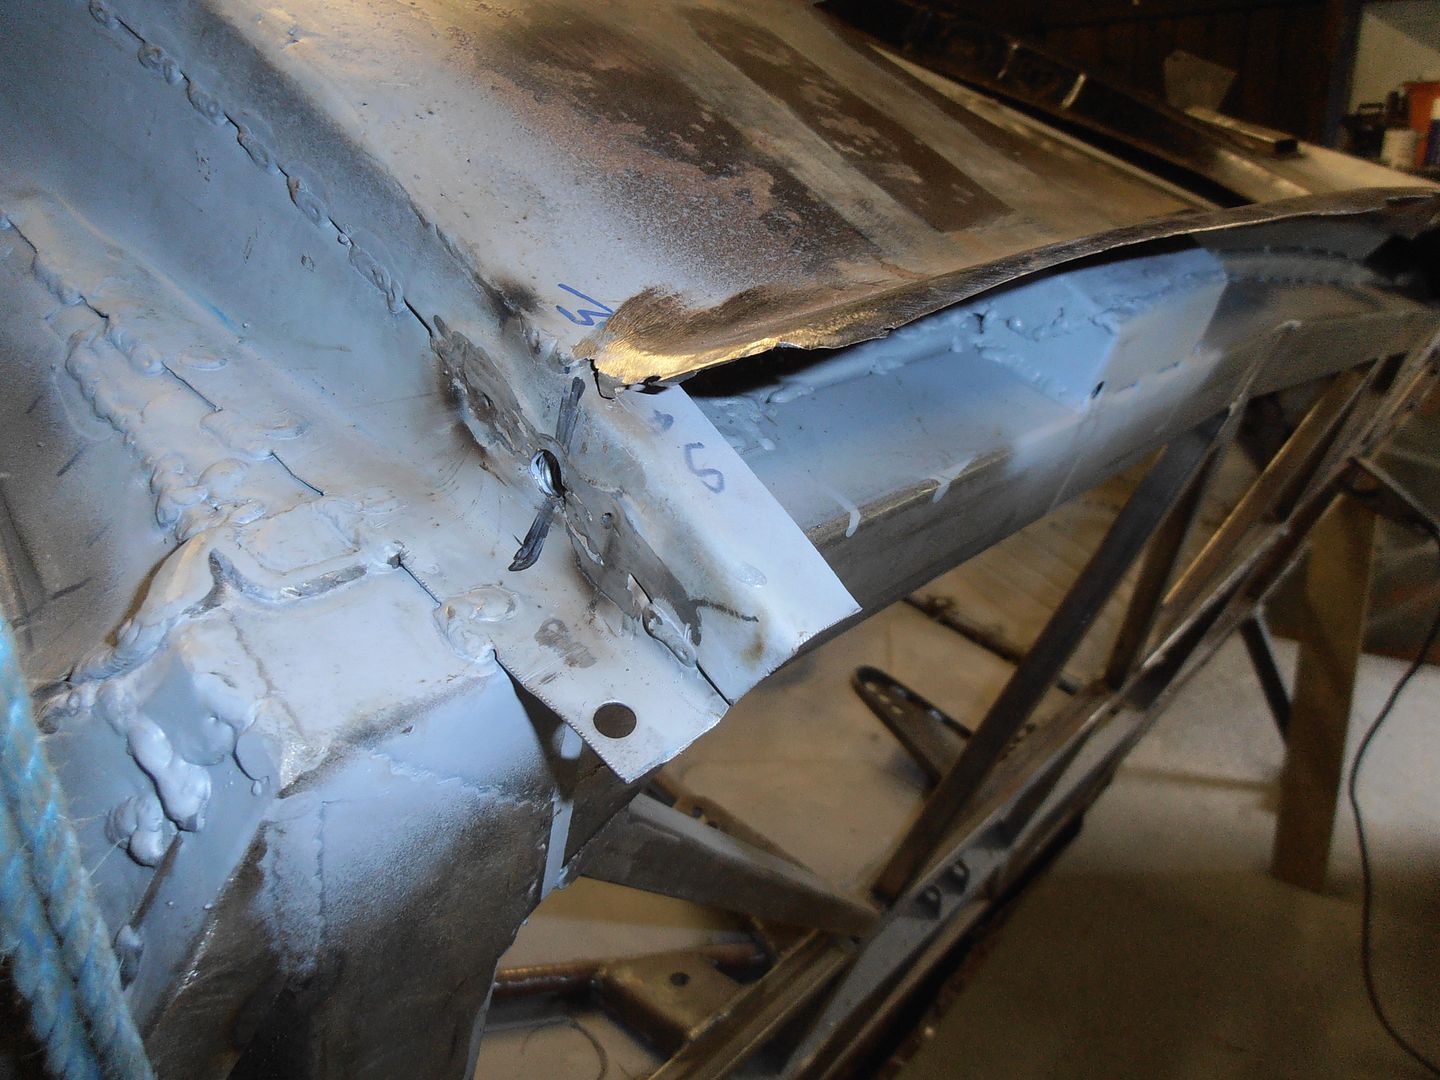 like so 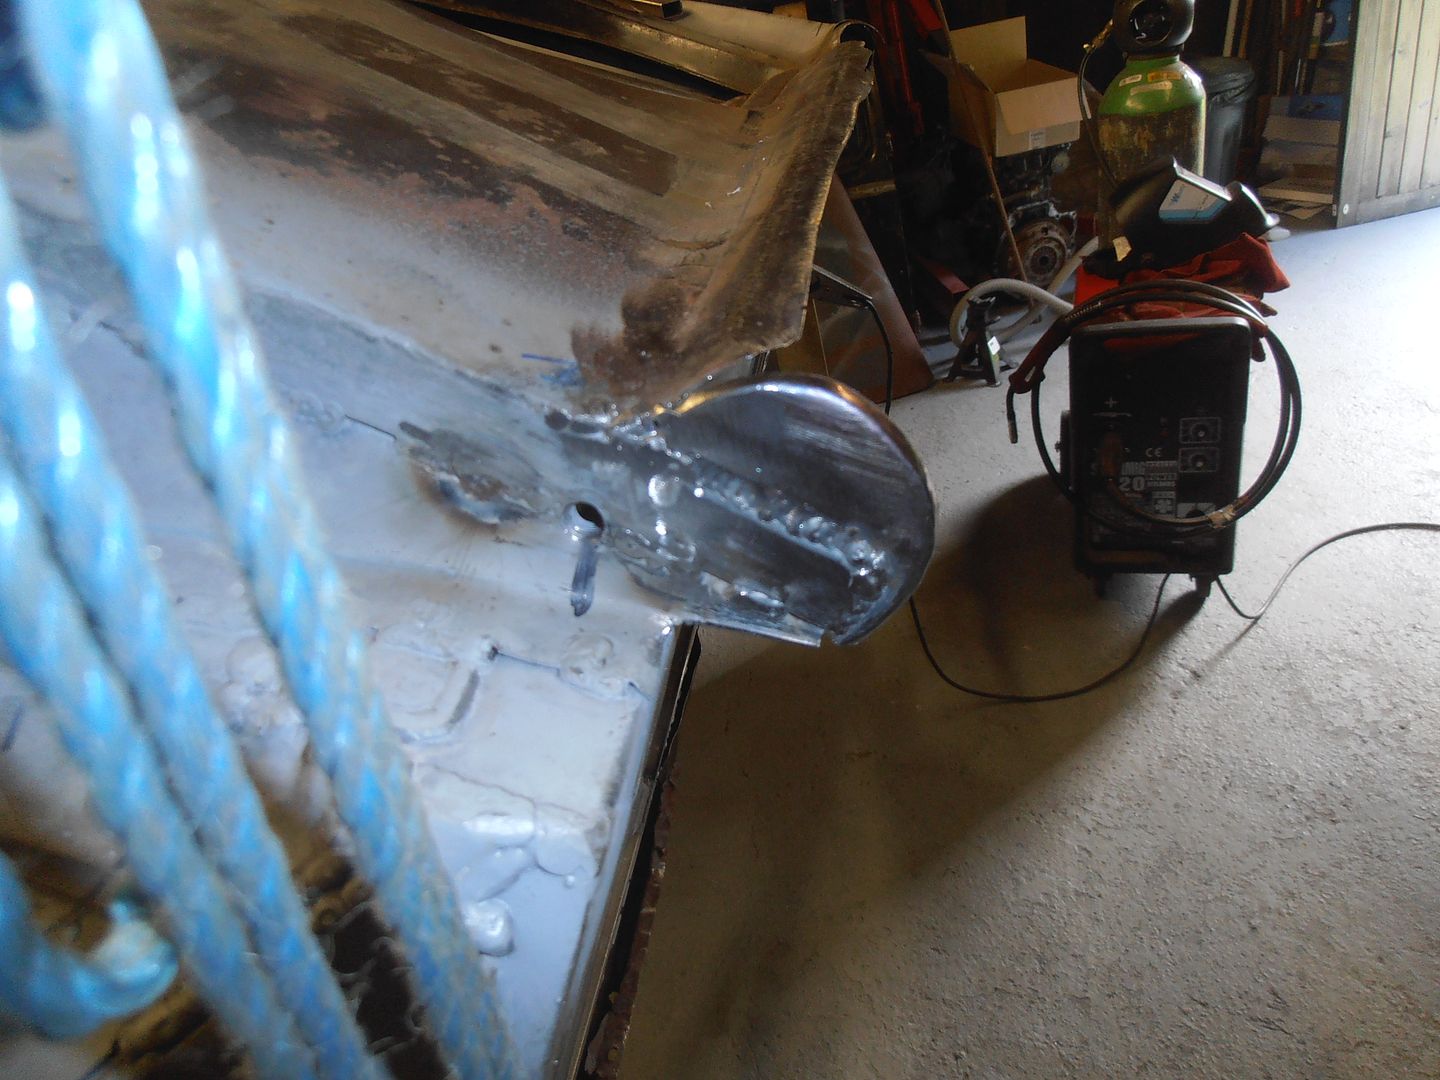 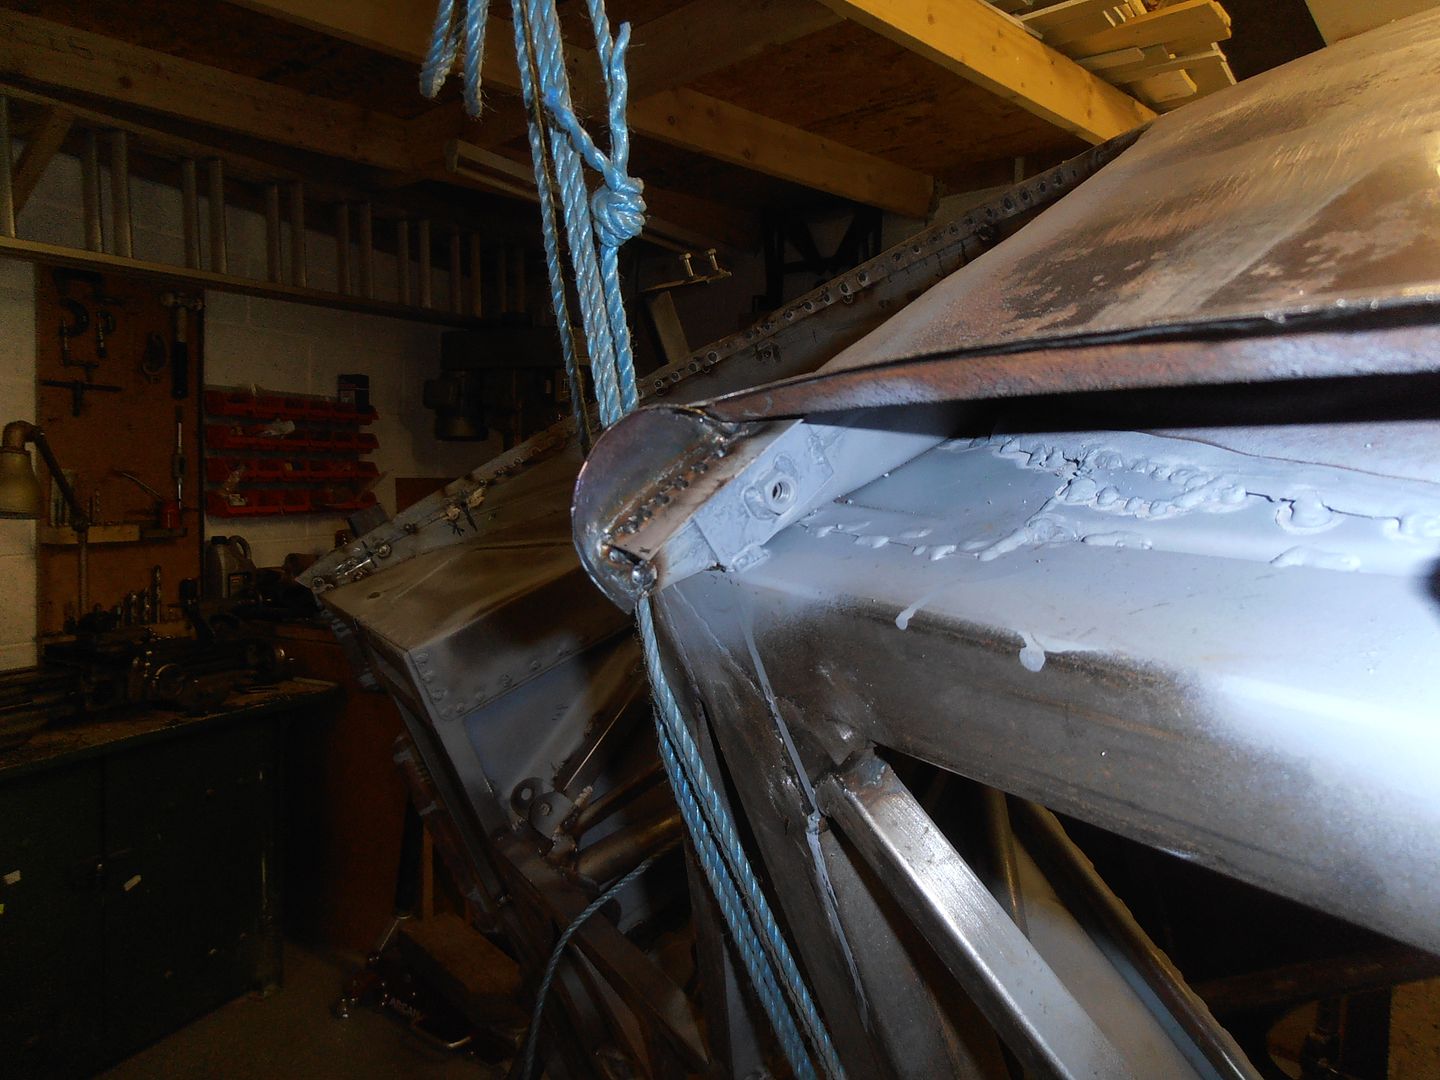 then started the first piece of sill that goes from the end to the B pillar. I'm making it in sections as its a mare to make.Hopefully when all pieces together it'll look ok. 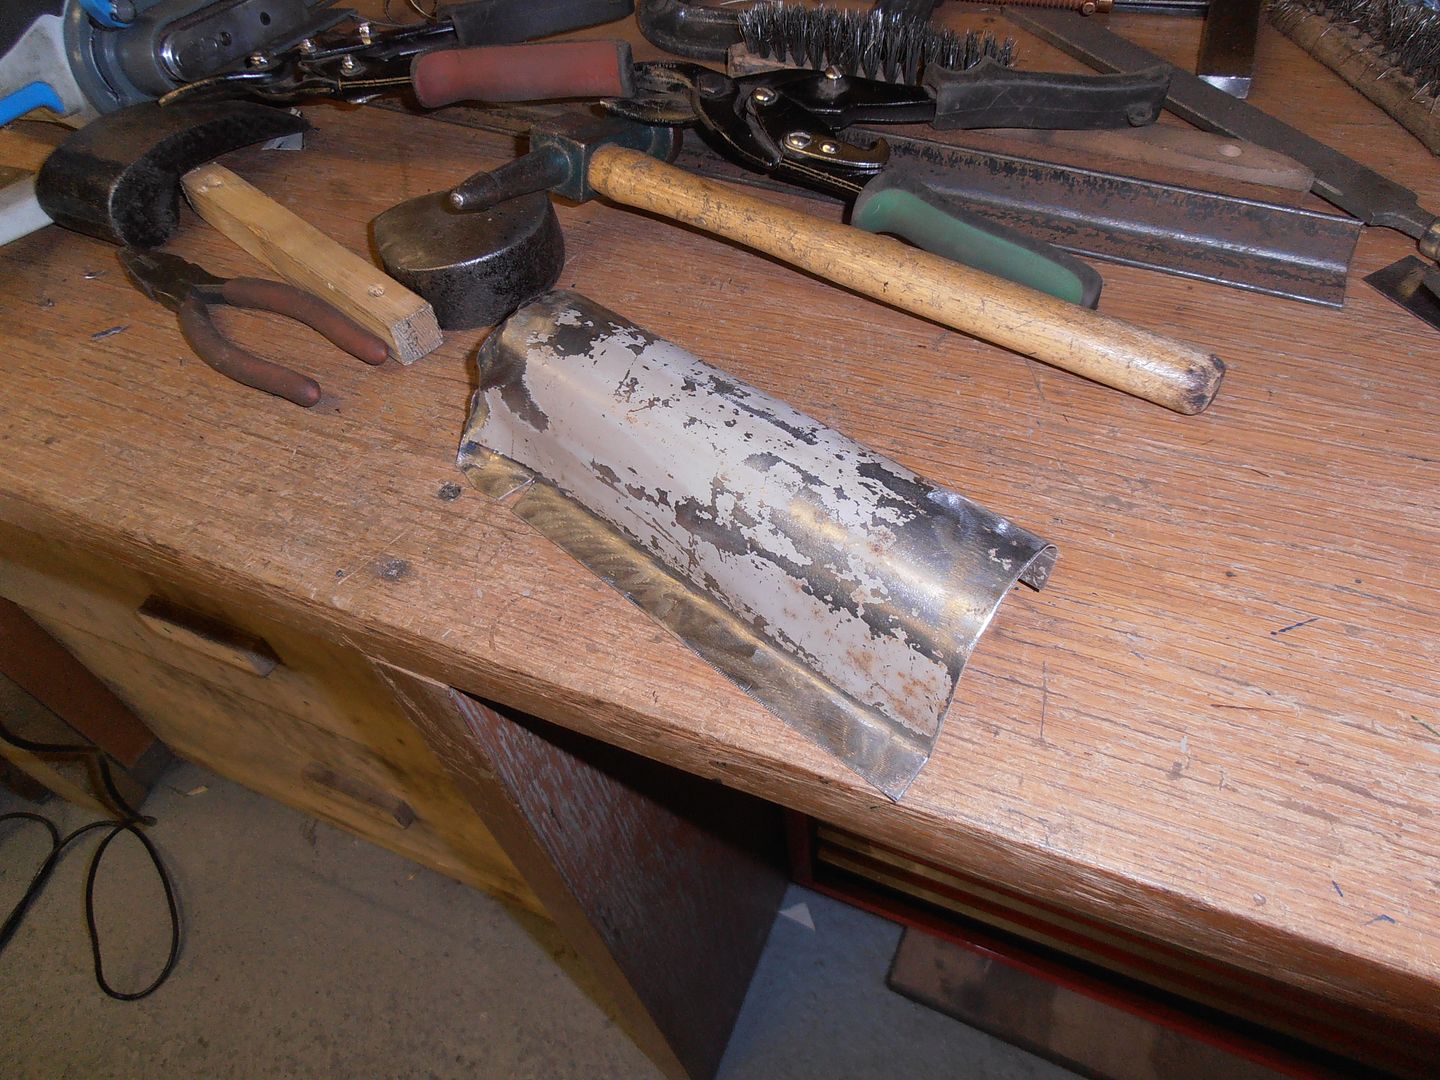 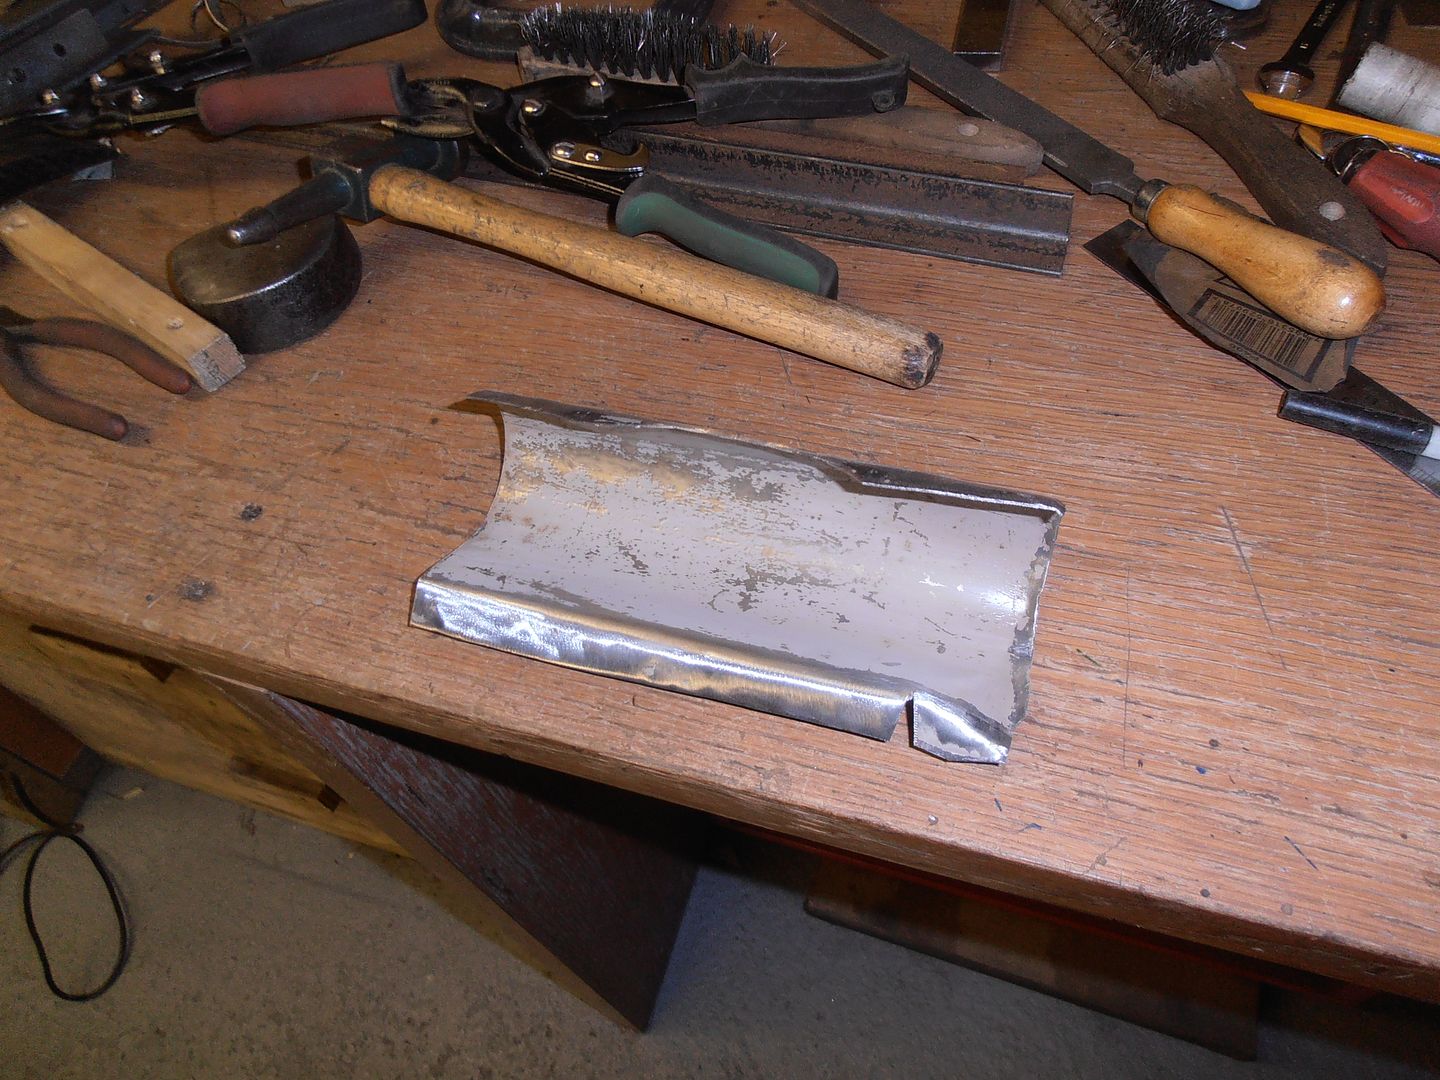 It looks simple but was a pain. it changes section along its length and the angles of the flange at the top and bottom also change cleaned and primed up internally then tacked in place. 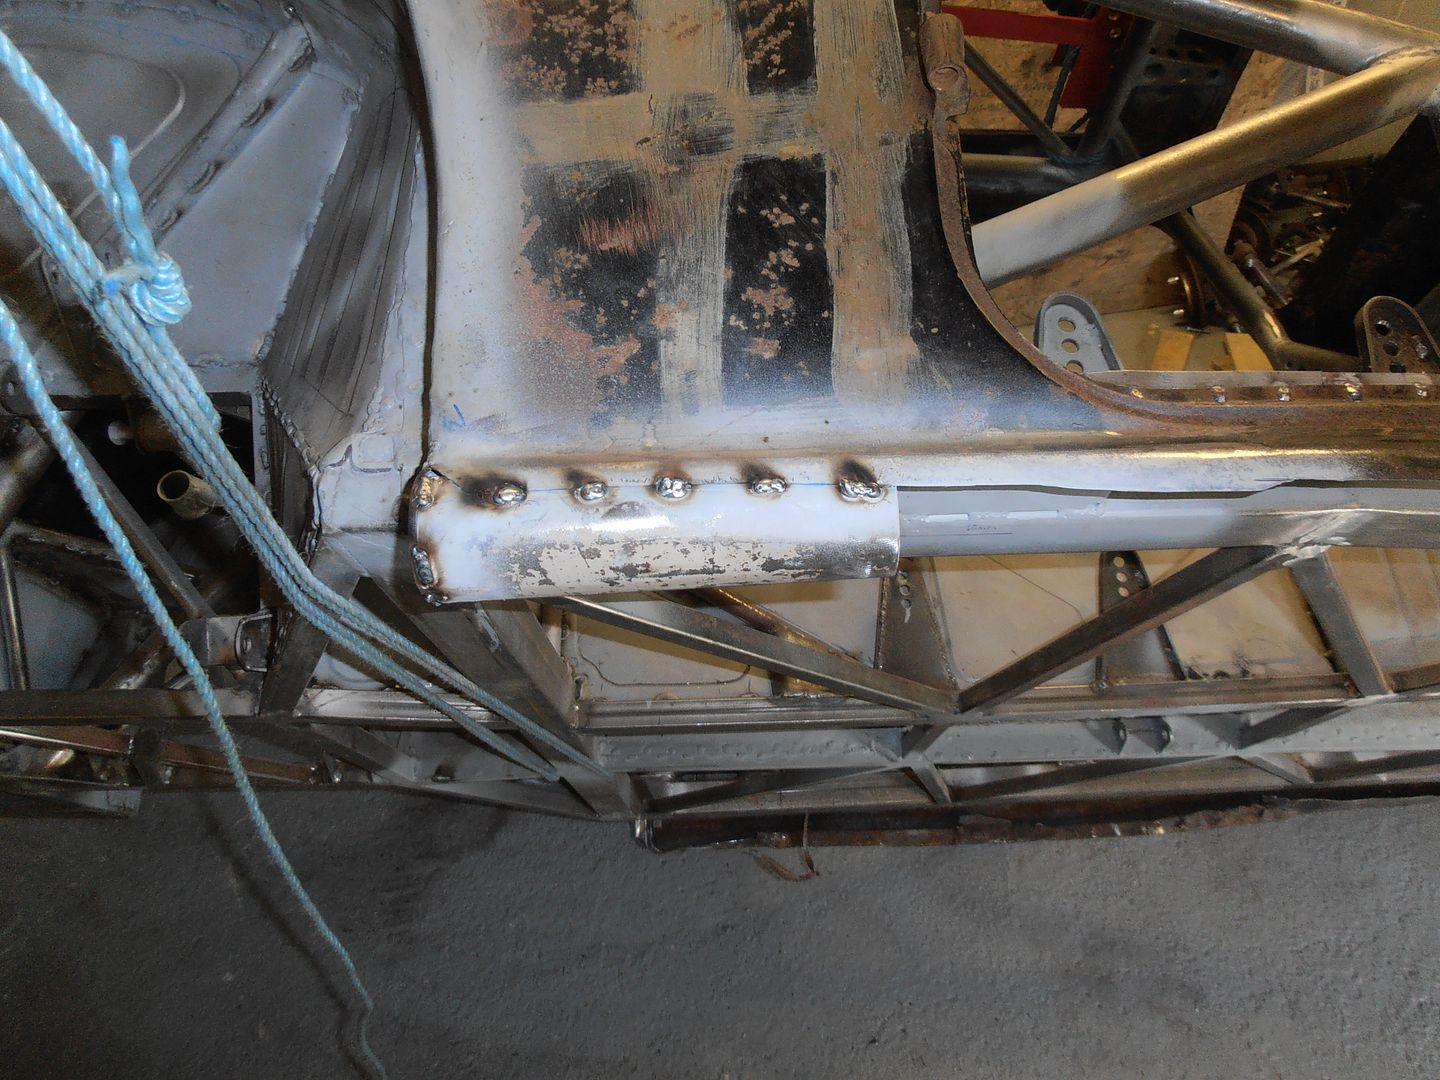 you can see some of the taper etc in it as well. 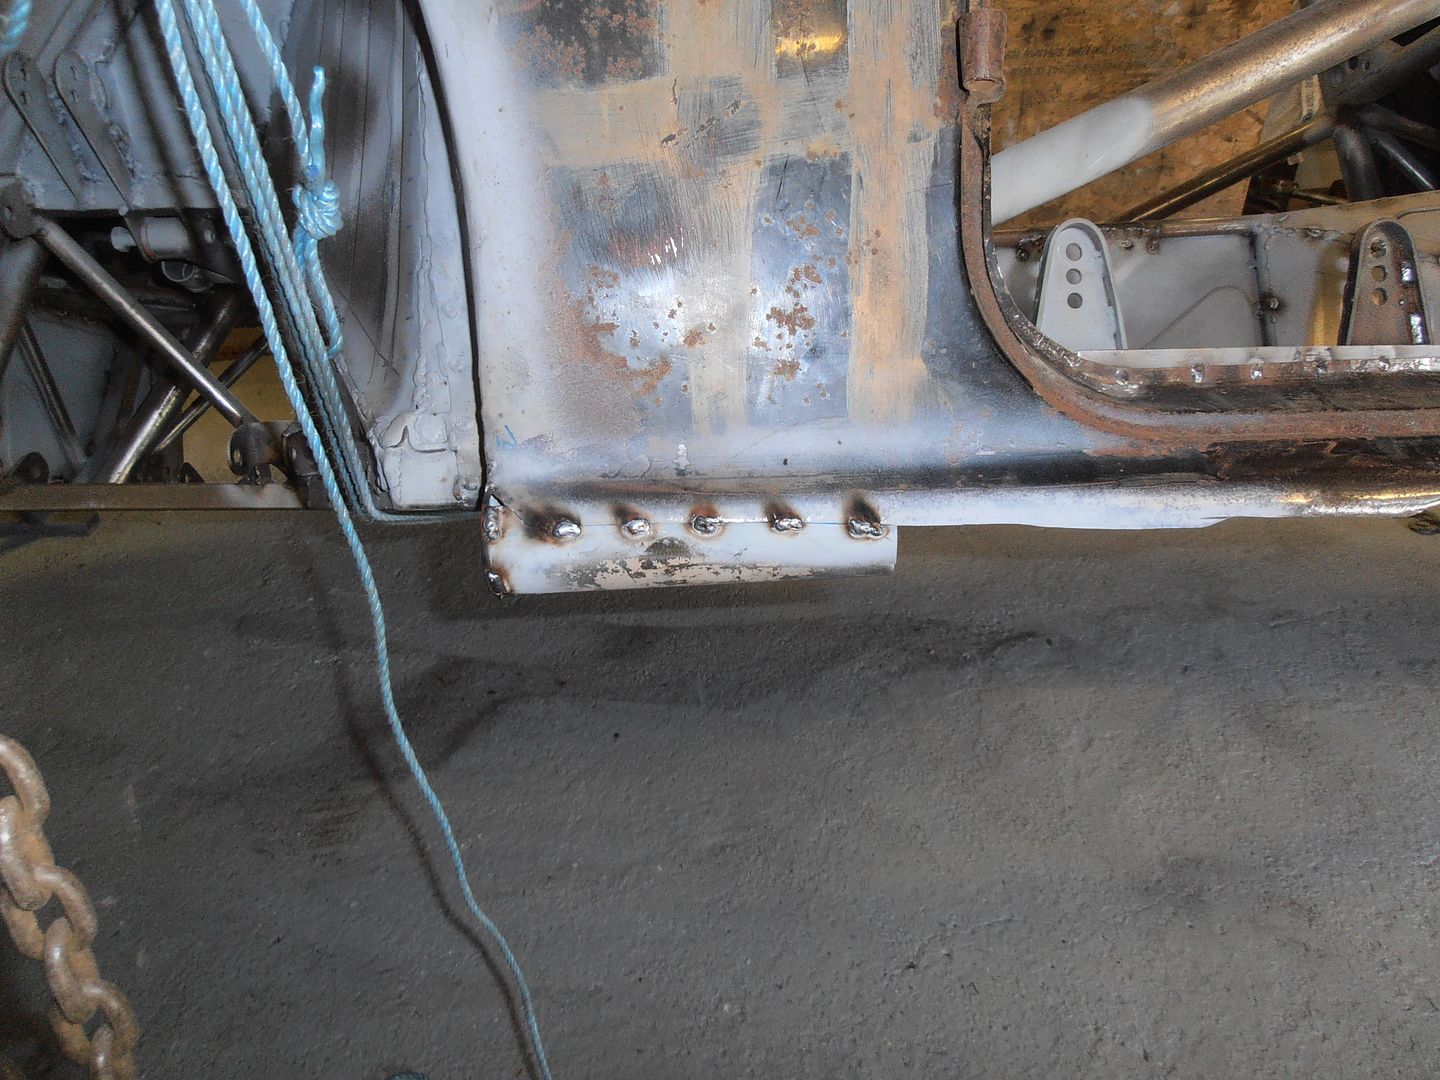 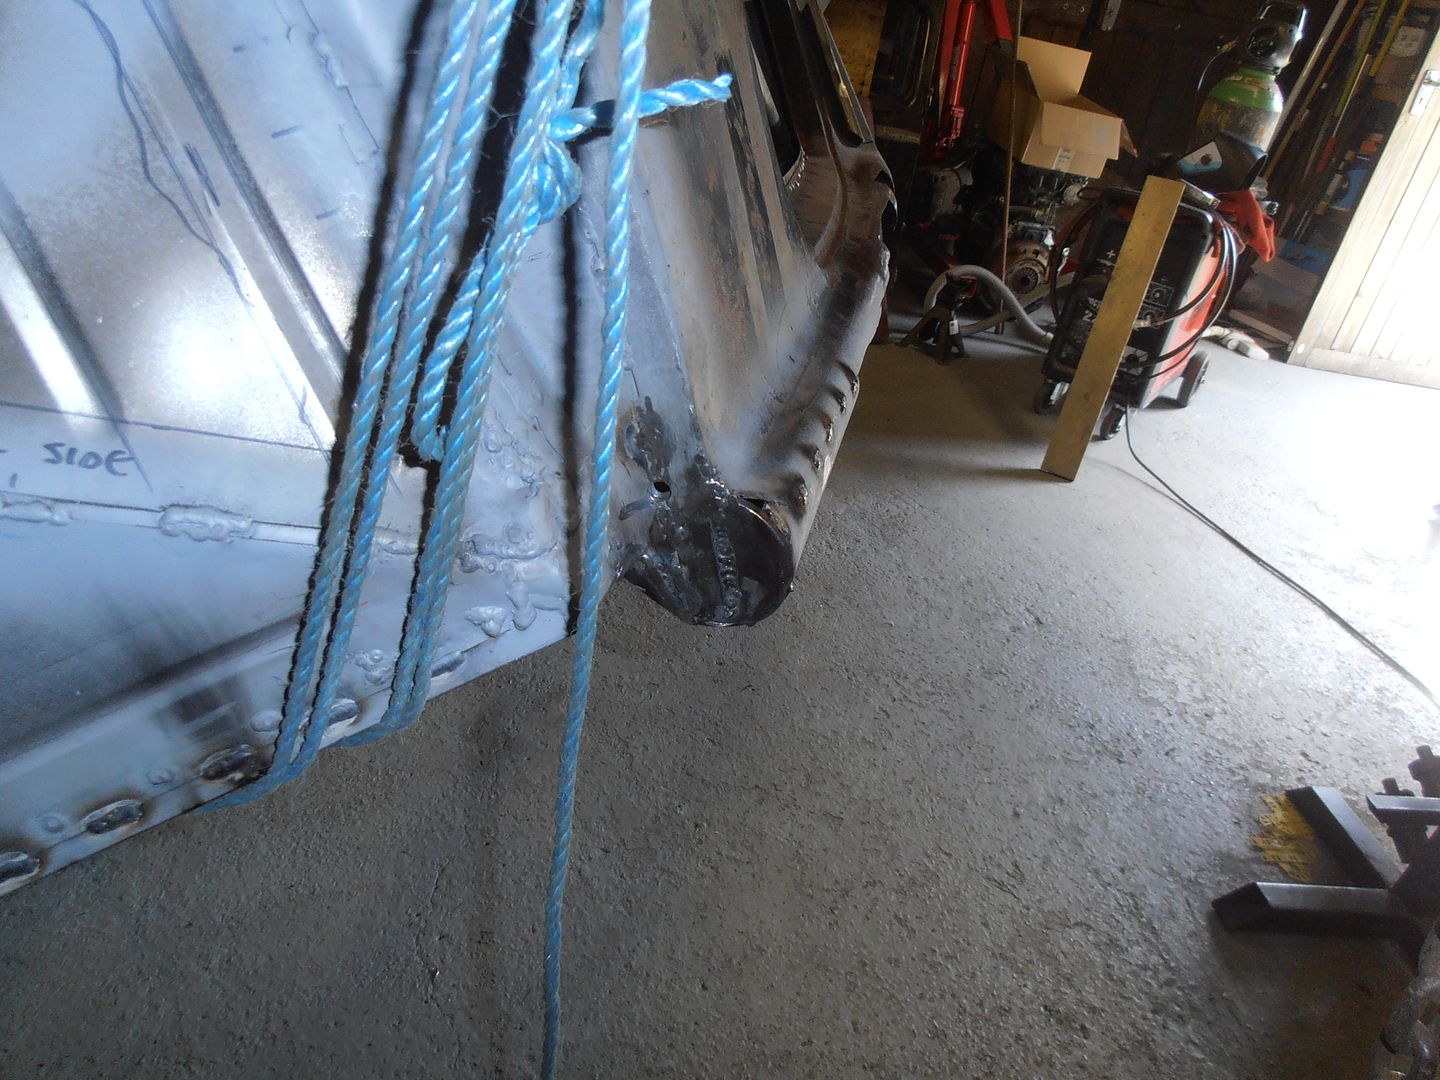 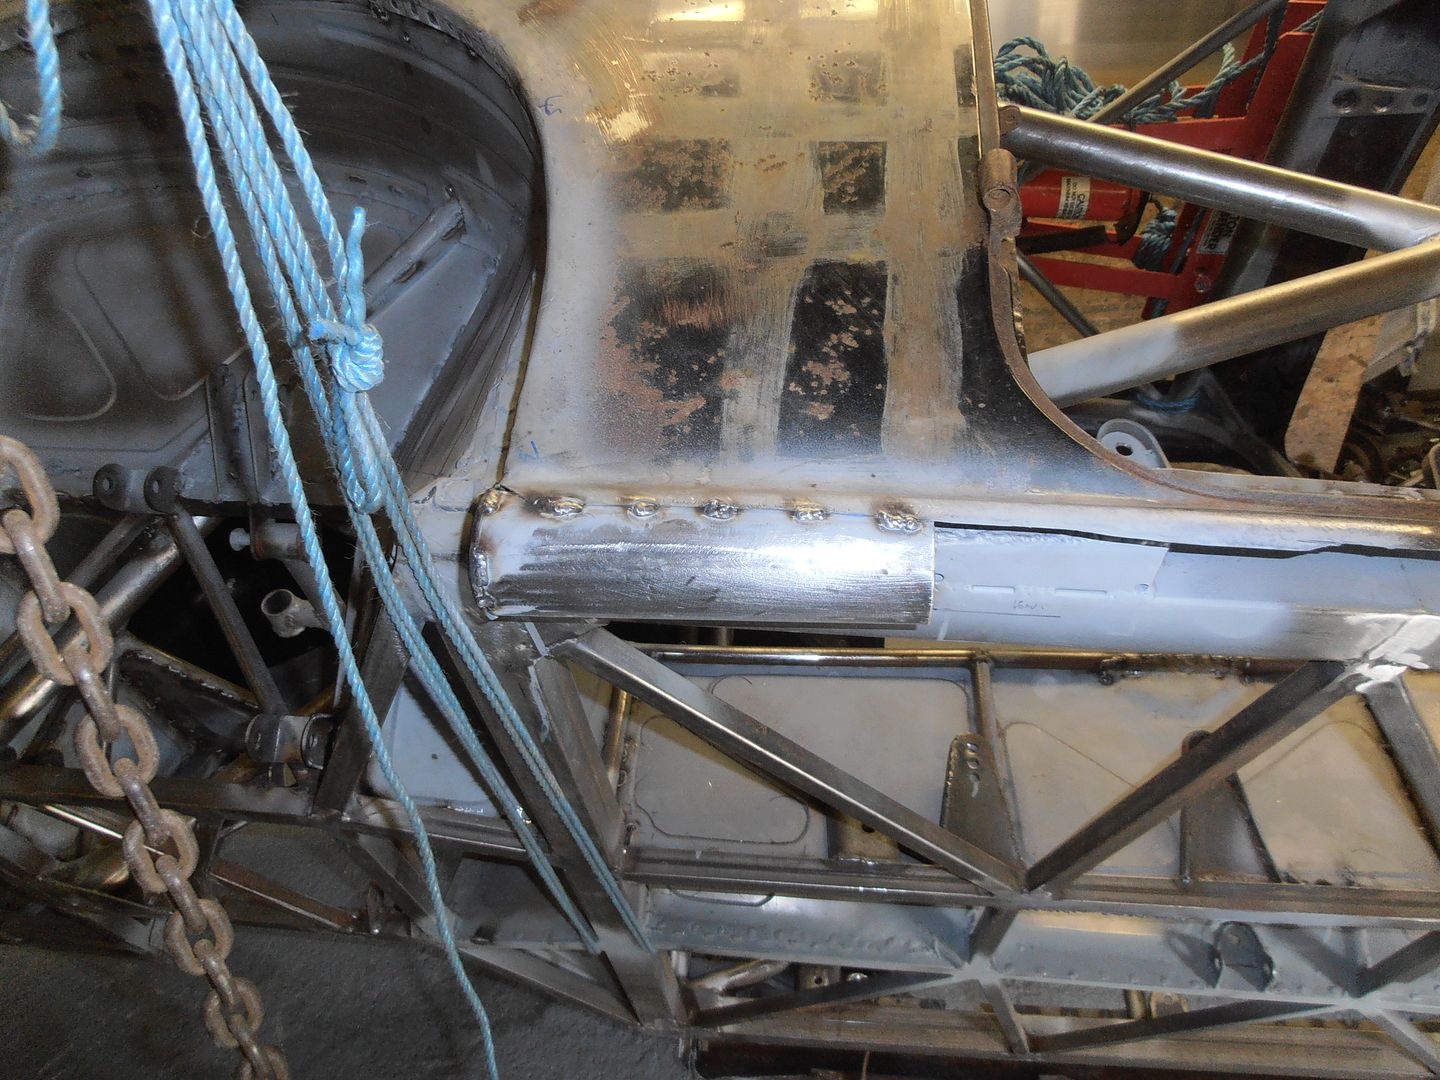 Will see what I can do tomorrow. |
| |
|
|
melle
South West
It'll come out in the wash.
Posts: 2,011
|
|
Jul 16, 2016 20:13:28 GMT
|
|
With my crappy BT internet it takes ages for this thread to load due to the amount of photos but it's always worth it. Keep up the good work!
|
| |
www.saabv4.com'70 Saab 96 V4 "The Devil's Own V4" '77 Saab 95 V4 van conversion project '88 Saab 900i 8V
|
|
jonomisfit
Club Retro Rides Member
Posts: 1,790
Club RR Member Number: 49
|
|
Jul 16, 2016 20:30:02 GMT
|
|
People like pictures, I like pictures :-)
|
| |
|
|
vulgalour
Club Retro Rides Member
Posts: 7,287
Club RR Member Number: 146
|
|
Jul 16, 2016 21:04:39 GMT
|
|
I don't envy you that panel fabrication at all!
|
| |
|
|
jonomisfit
Club Retro Rides Member
Posts: 1,790
Club RR Member Number: 49
|
|
Jul 17, 2016 15:55:23 GMT
|
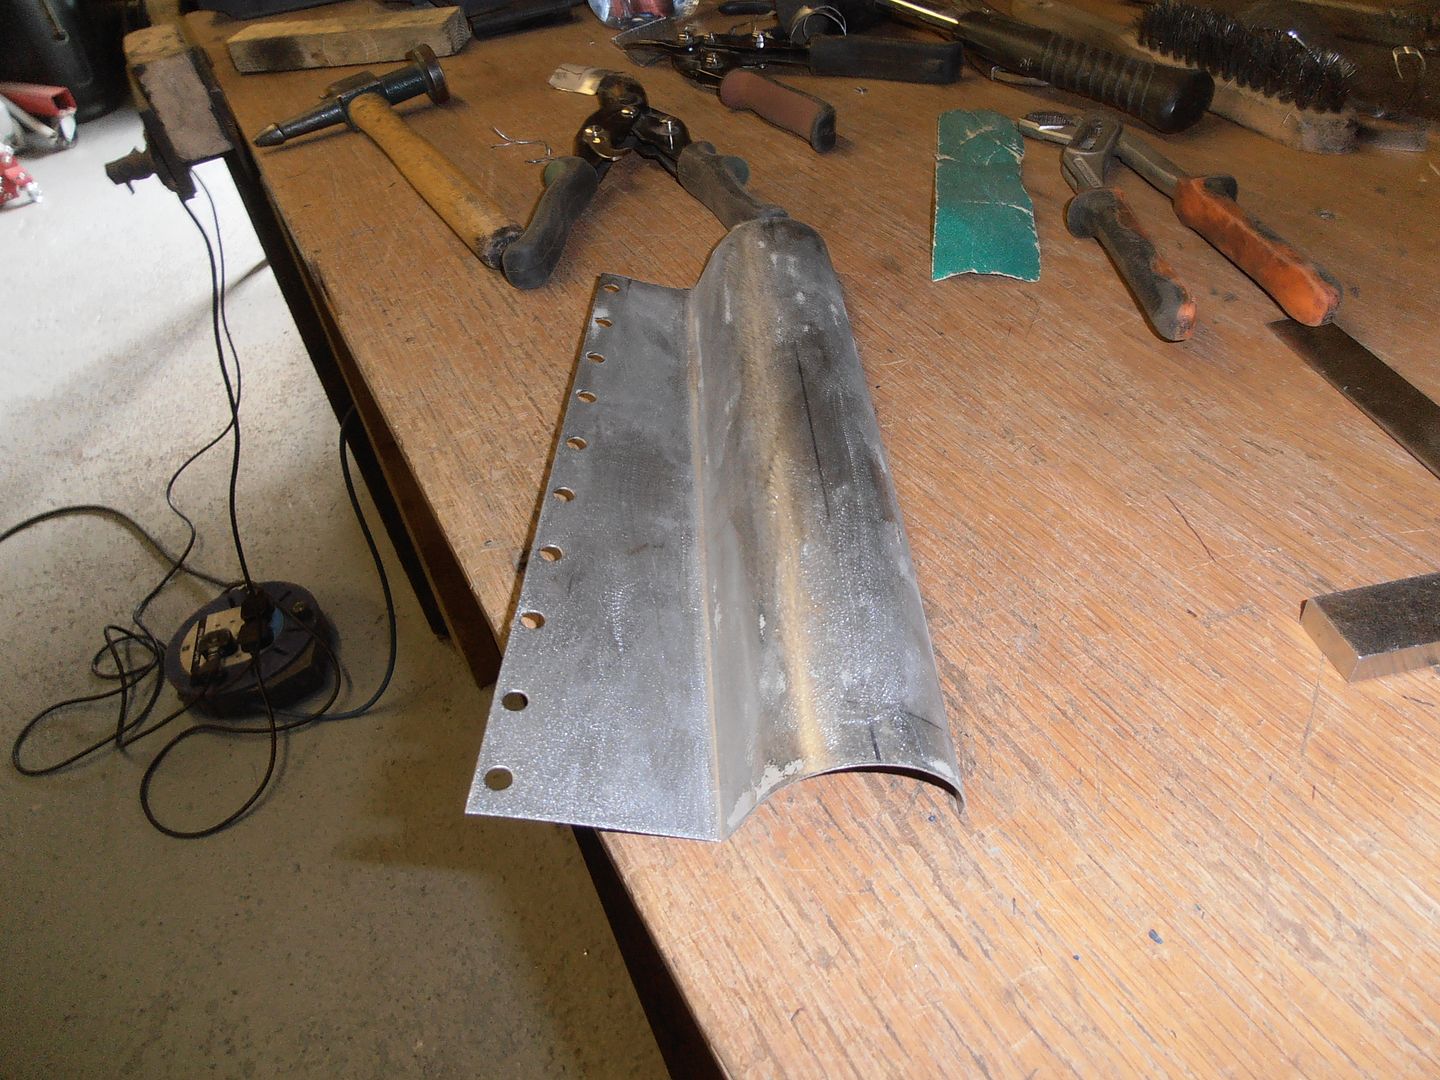
only a little bit on the morris today as I've had a few other things on. Cut some metal 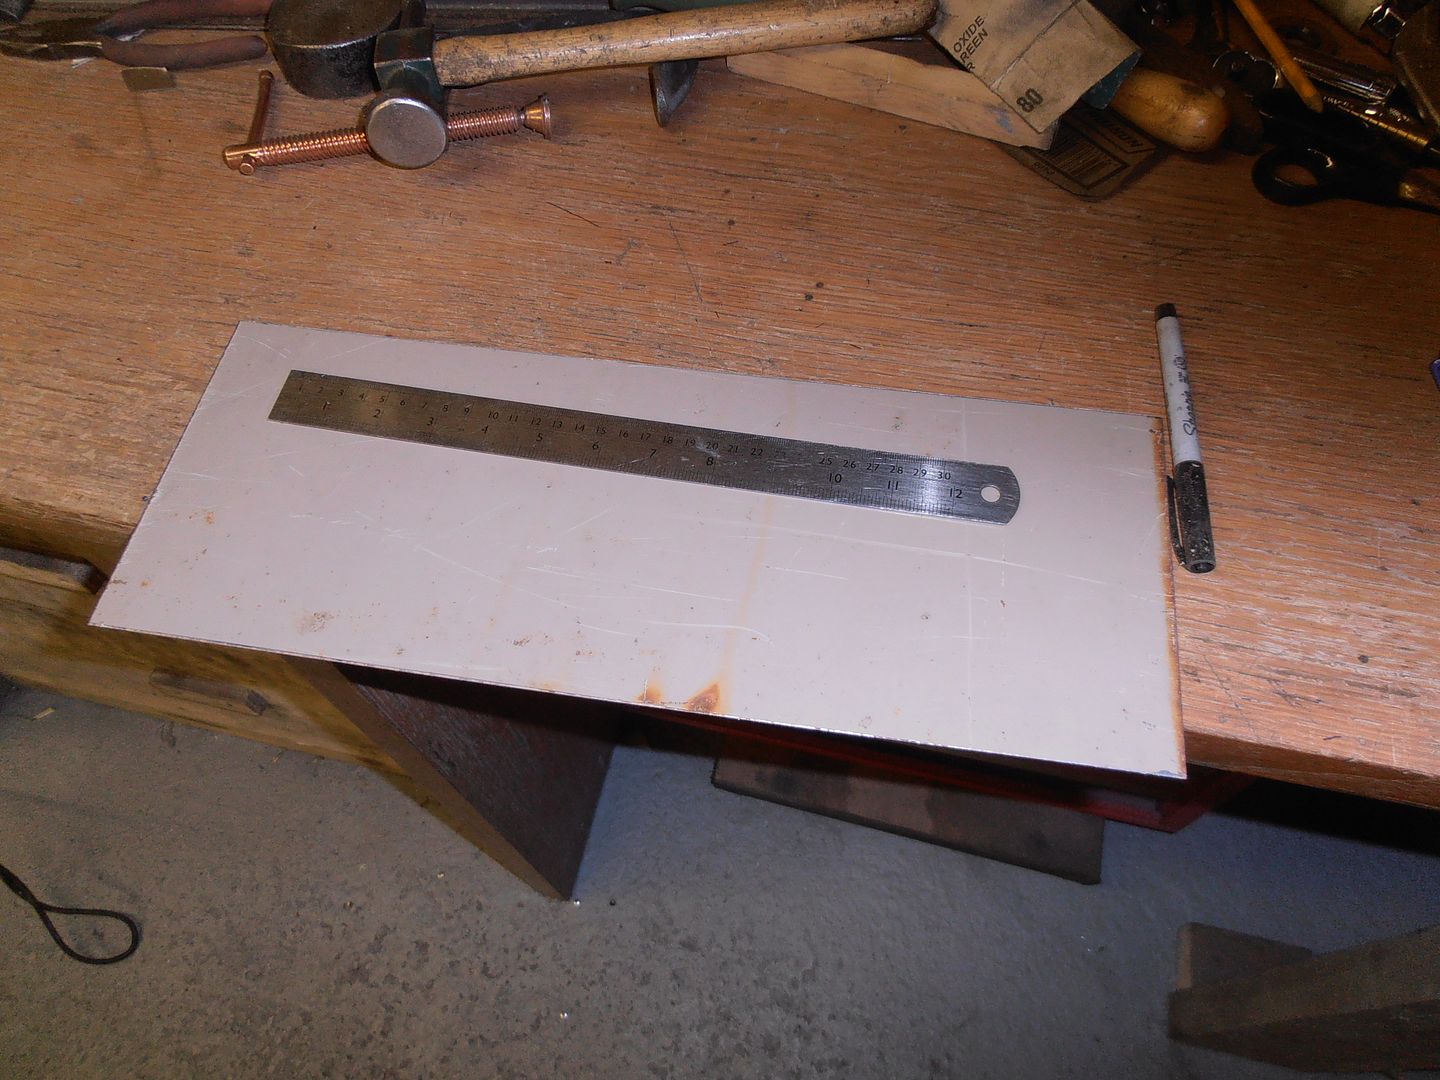 attach to bending tube 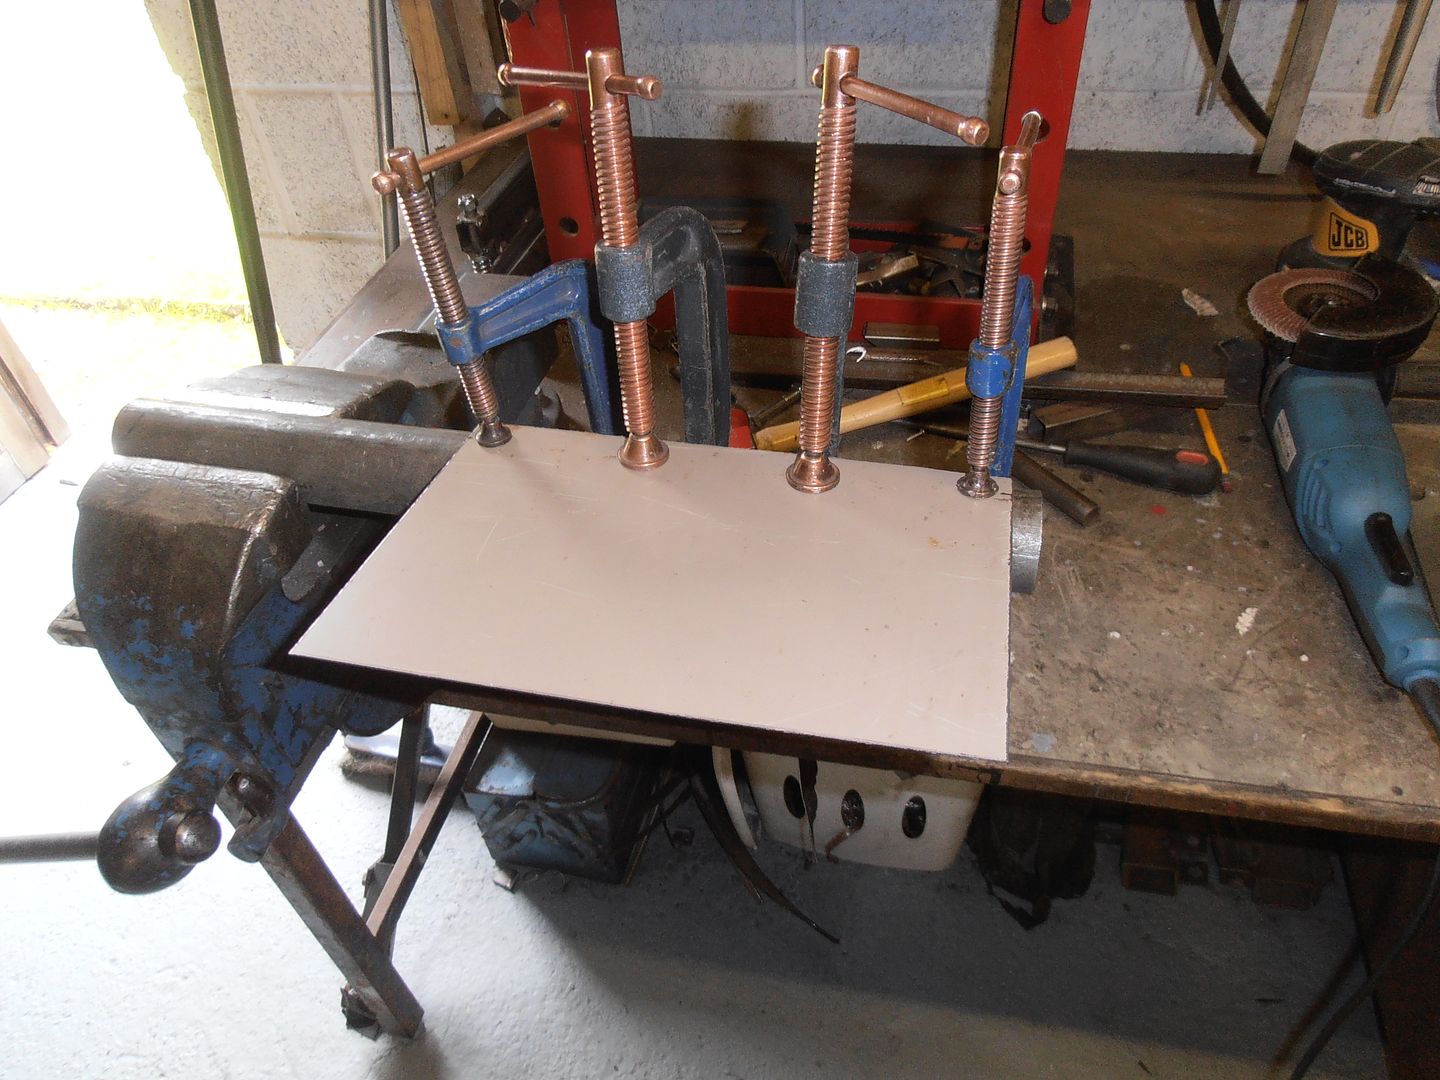 bend some 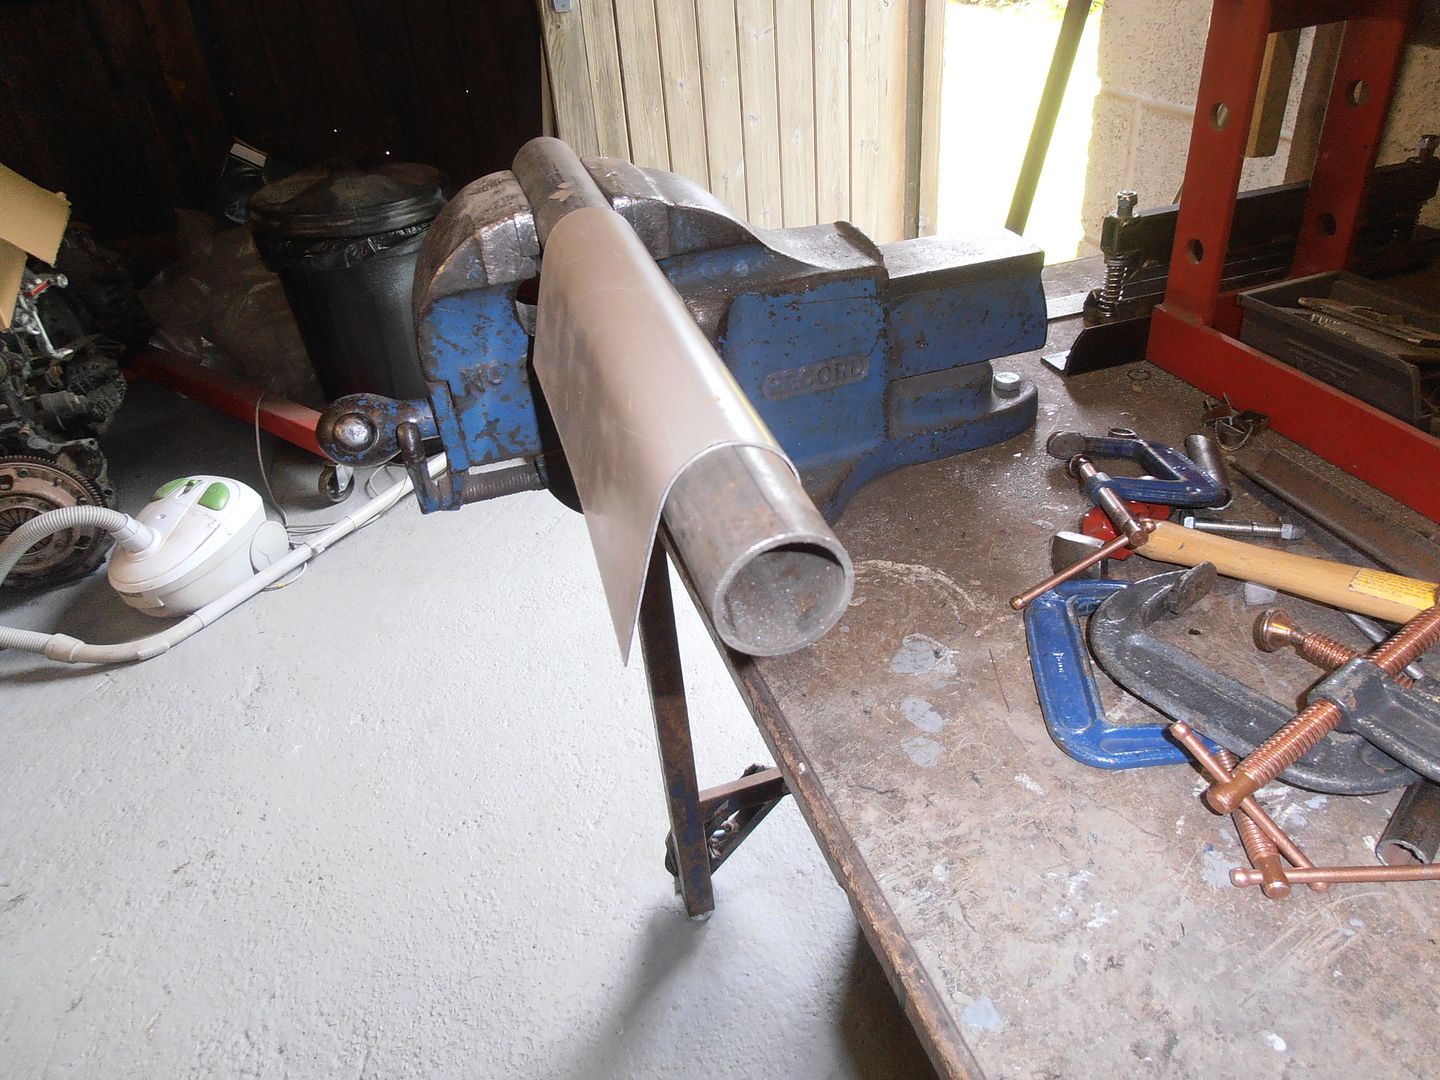 checked against template 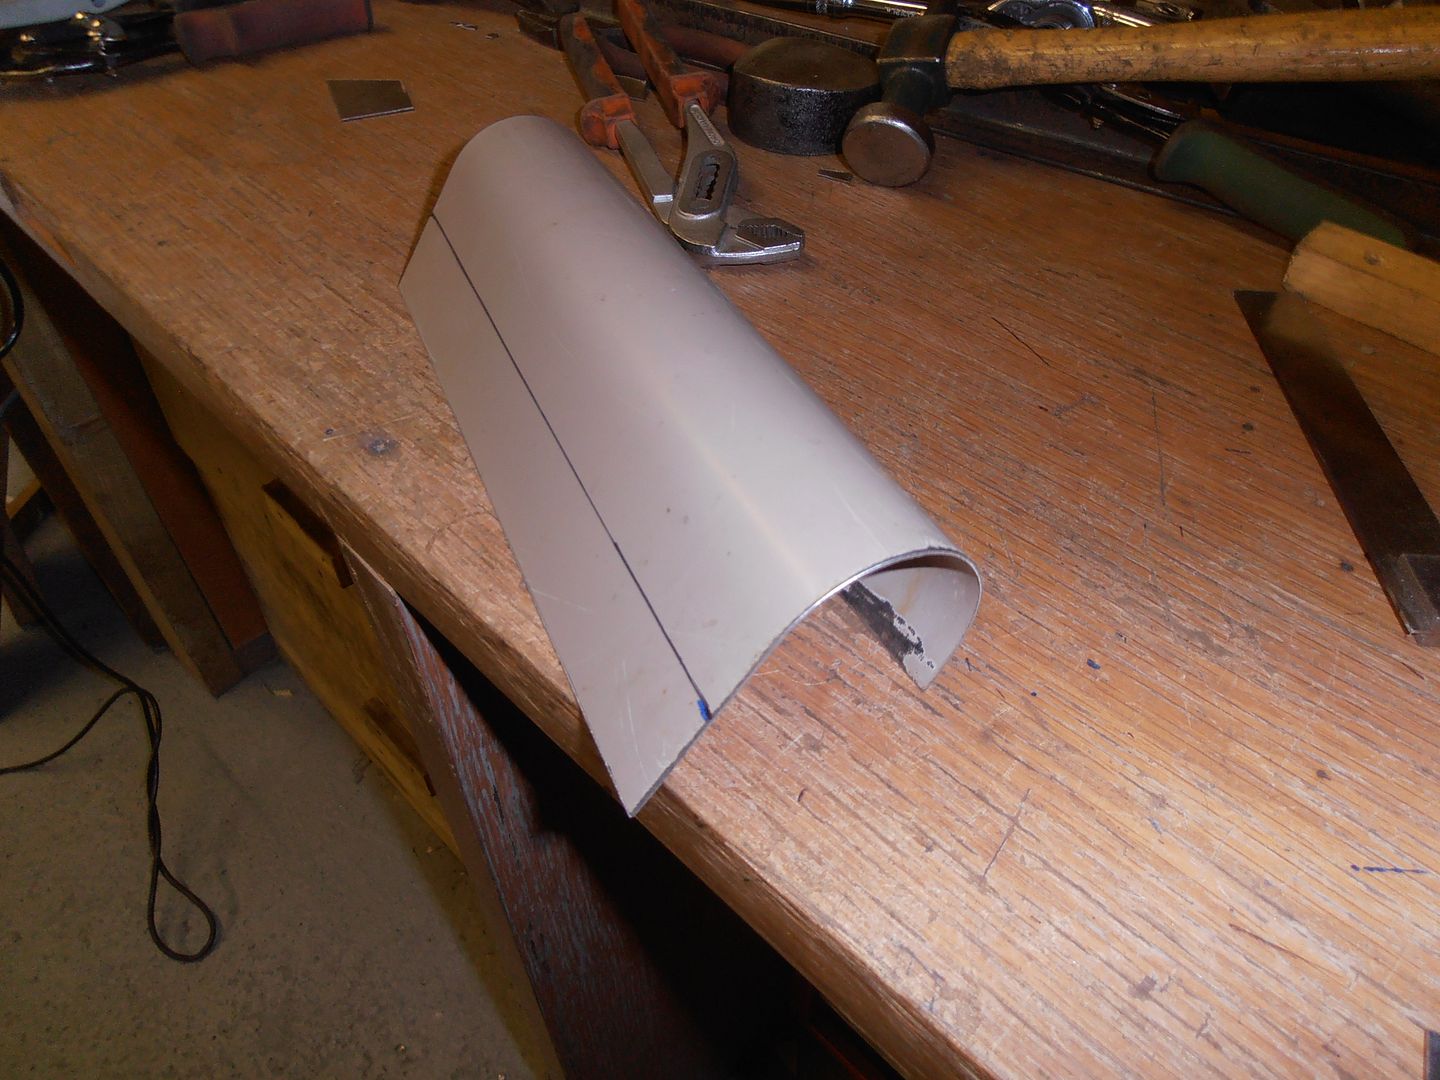 adjust the curve end to end to suit the bend in the sill 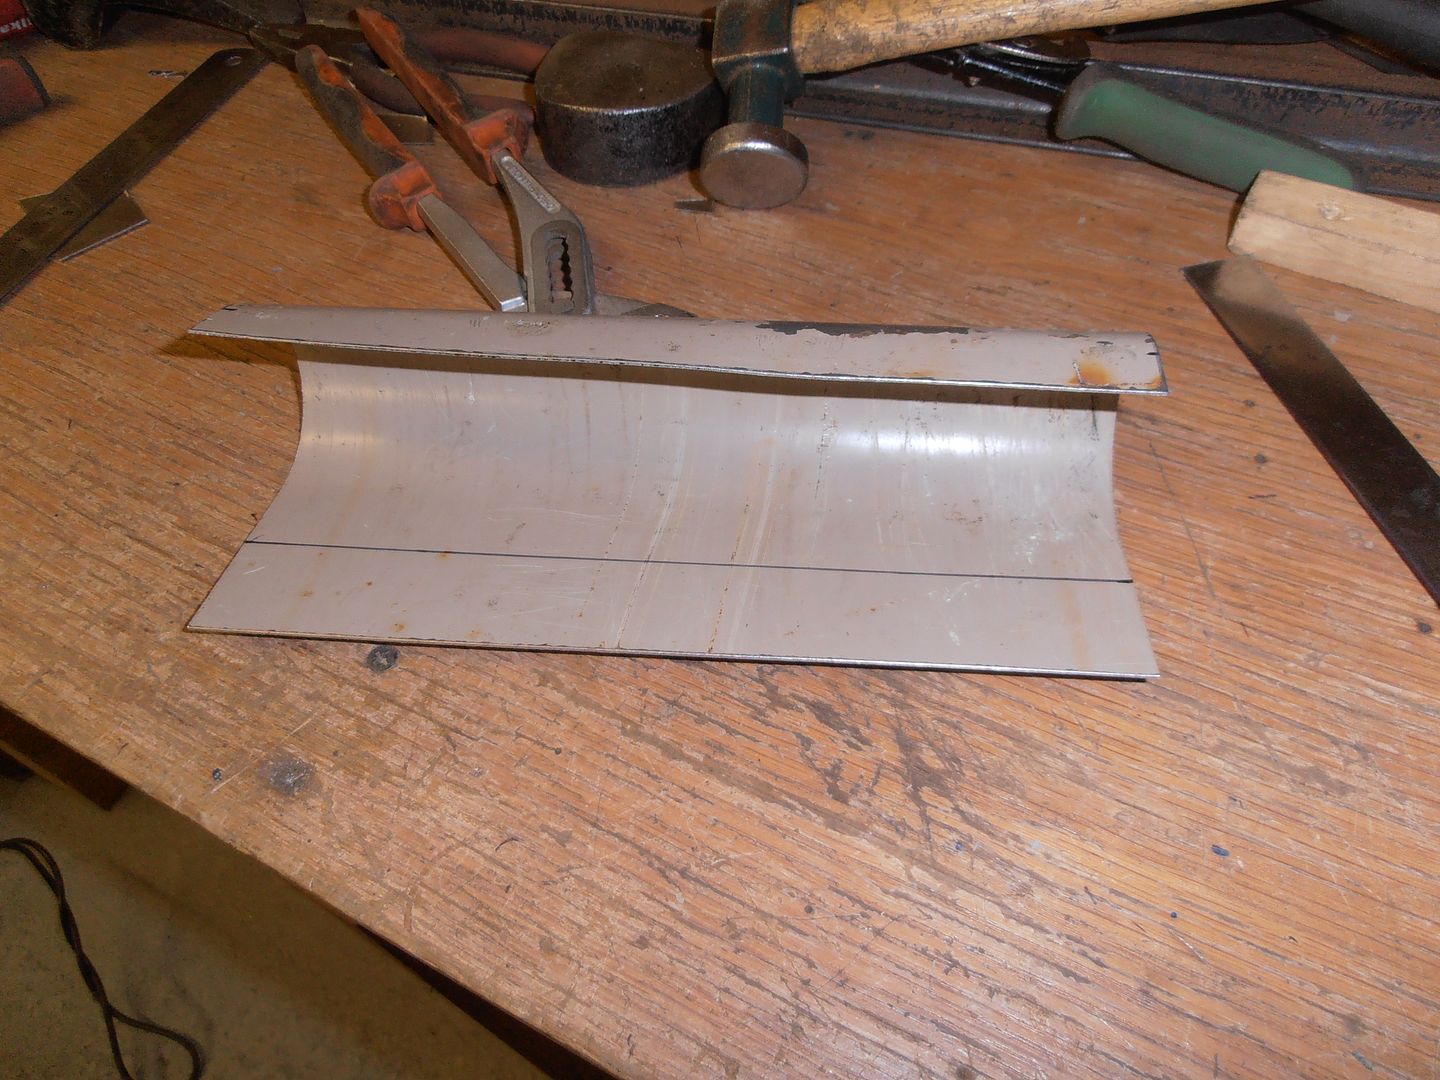 bend the return lip 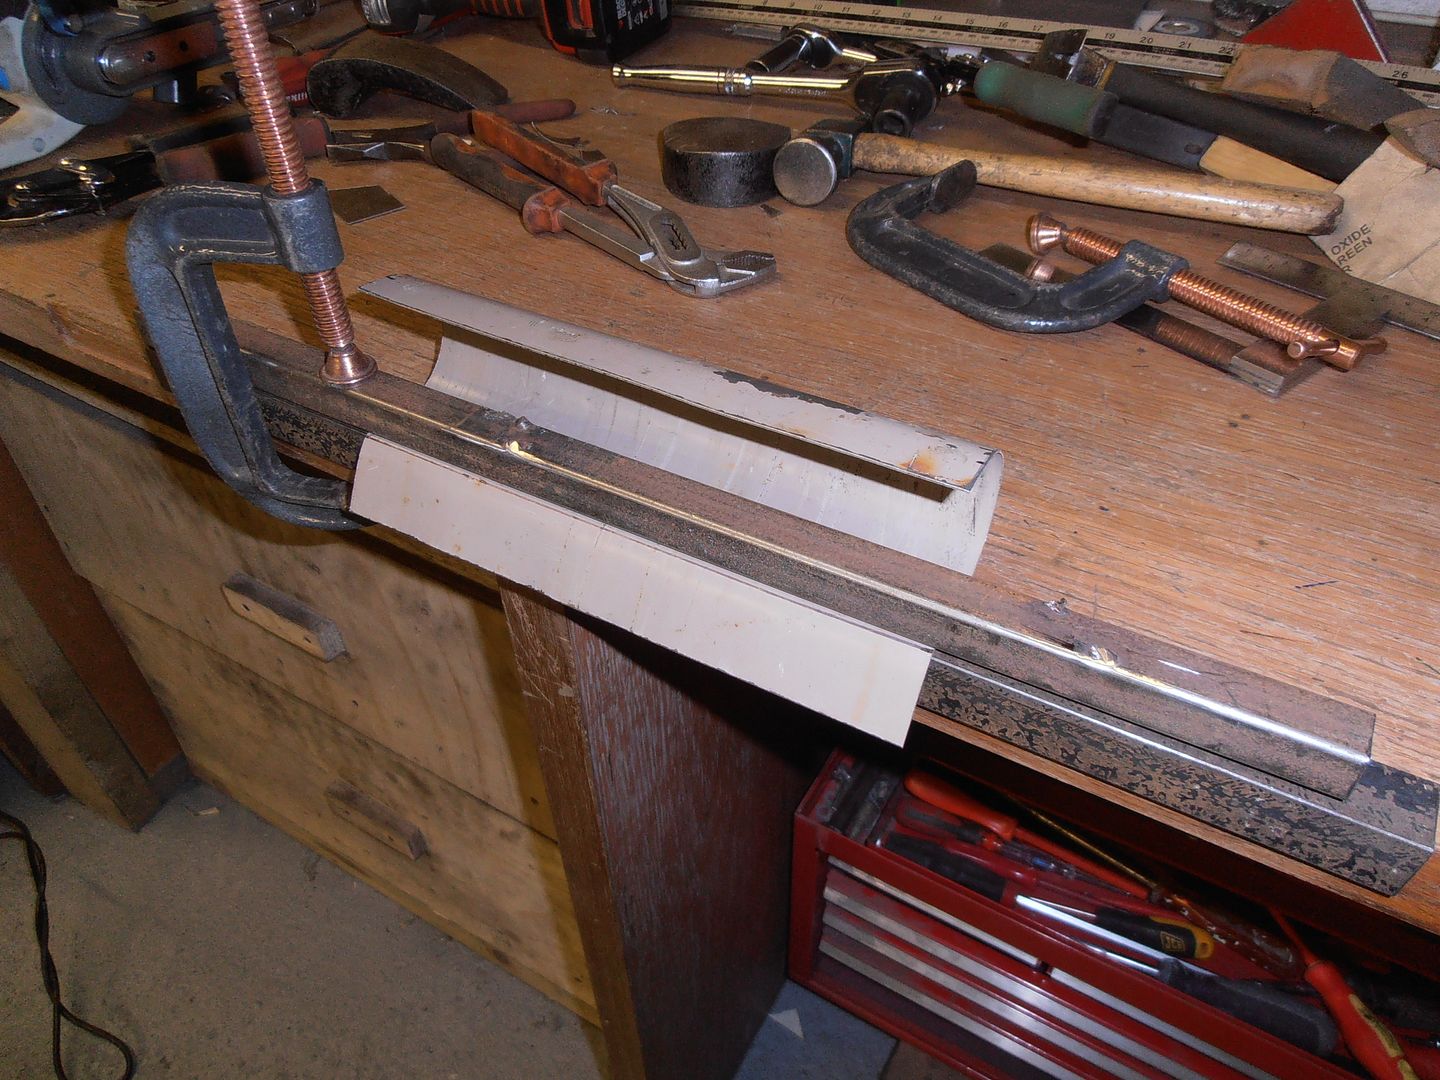 clean up and zinc prime the interior of the sill 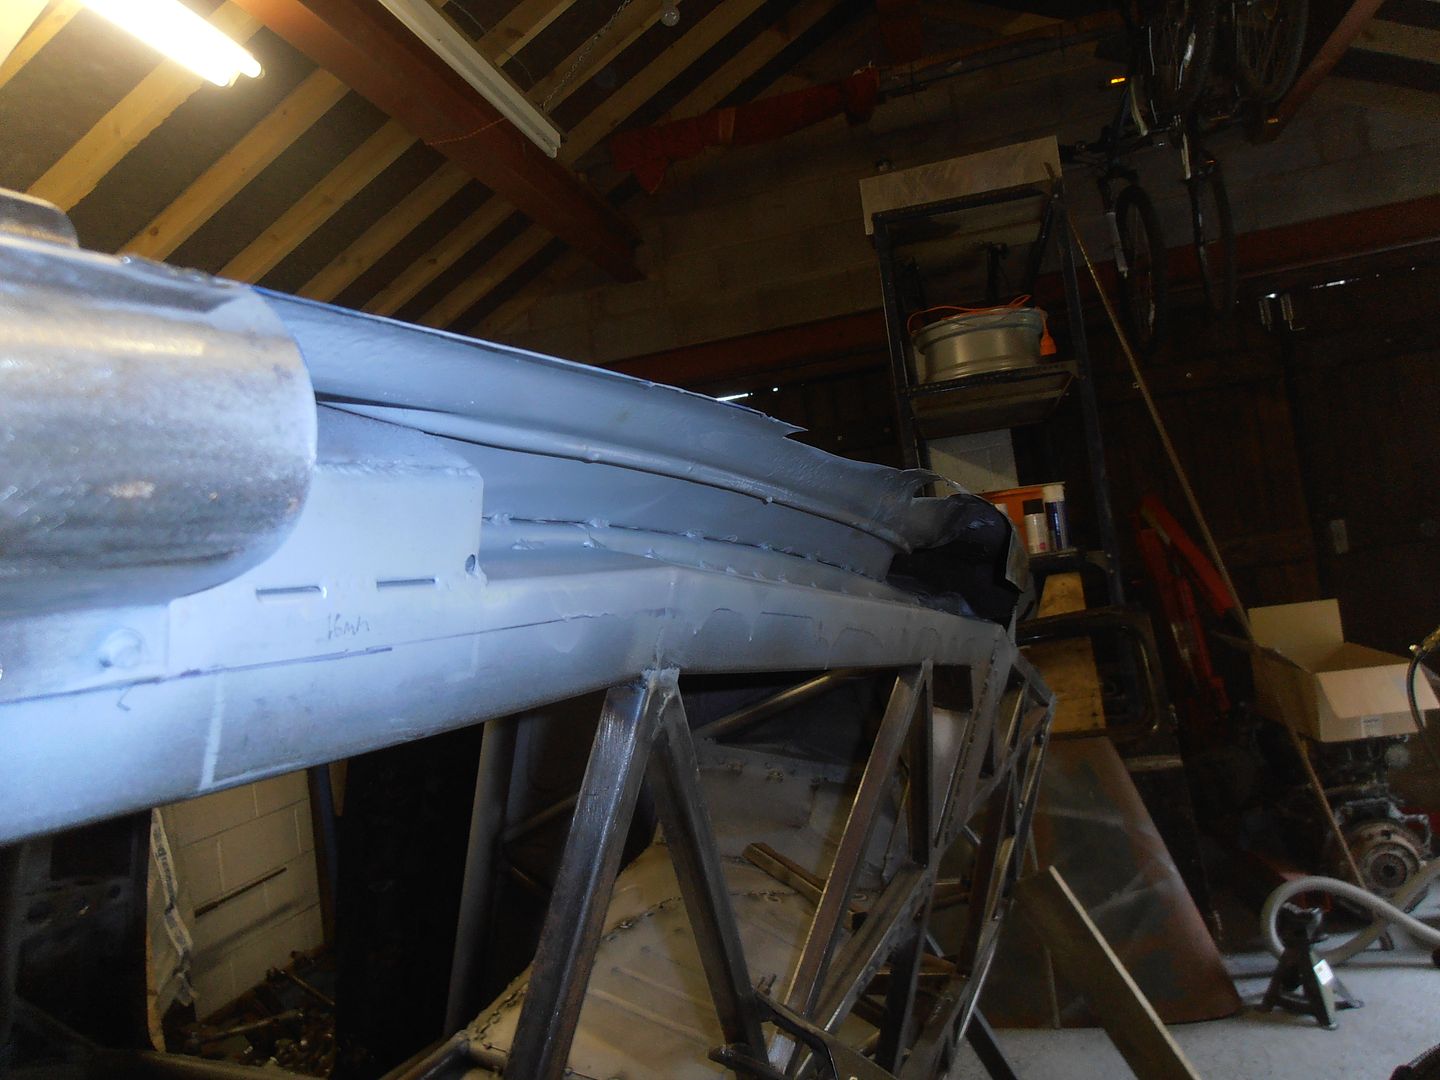 clean up and zinc prime the interior of the panel 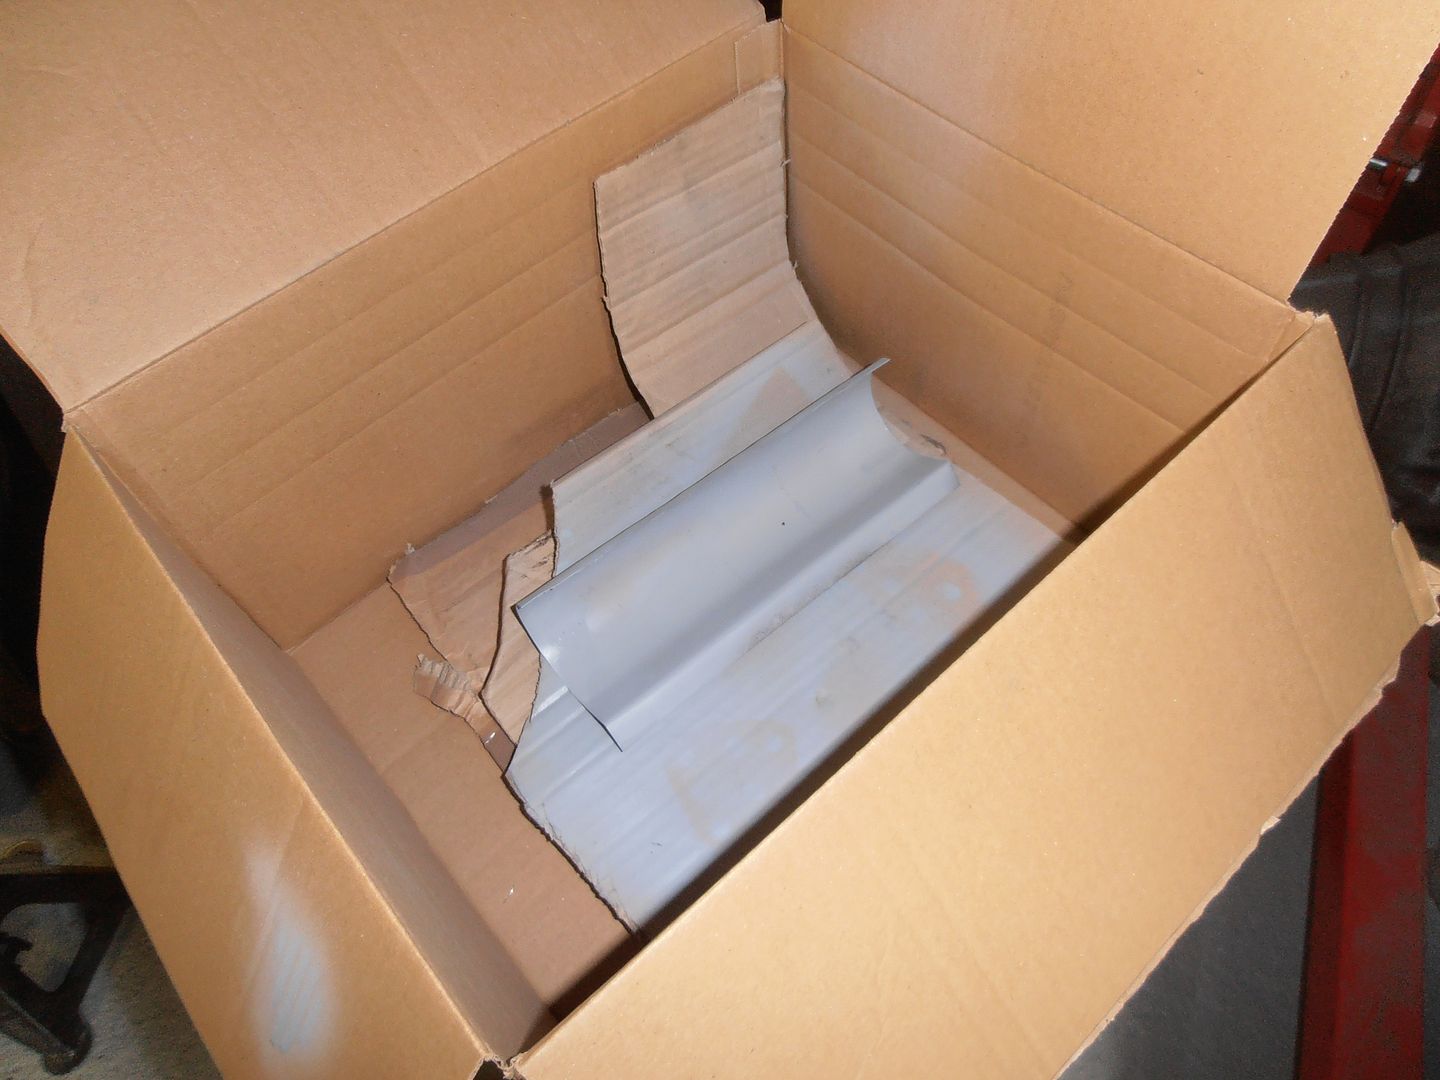 weldy weldy 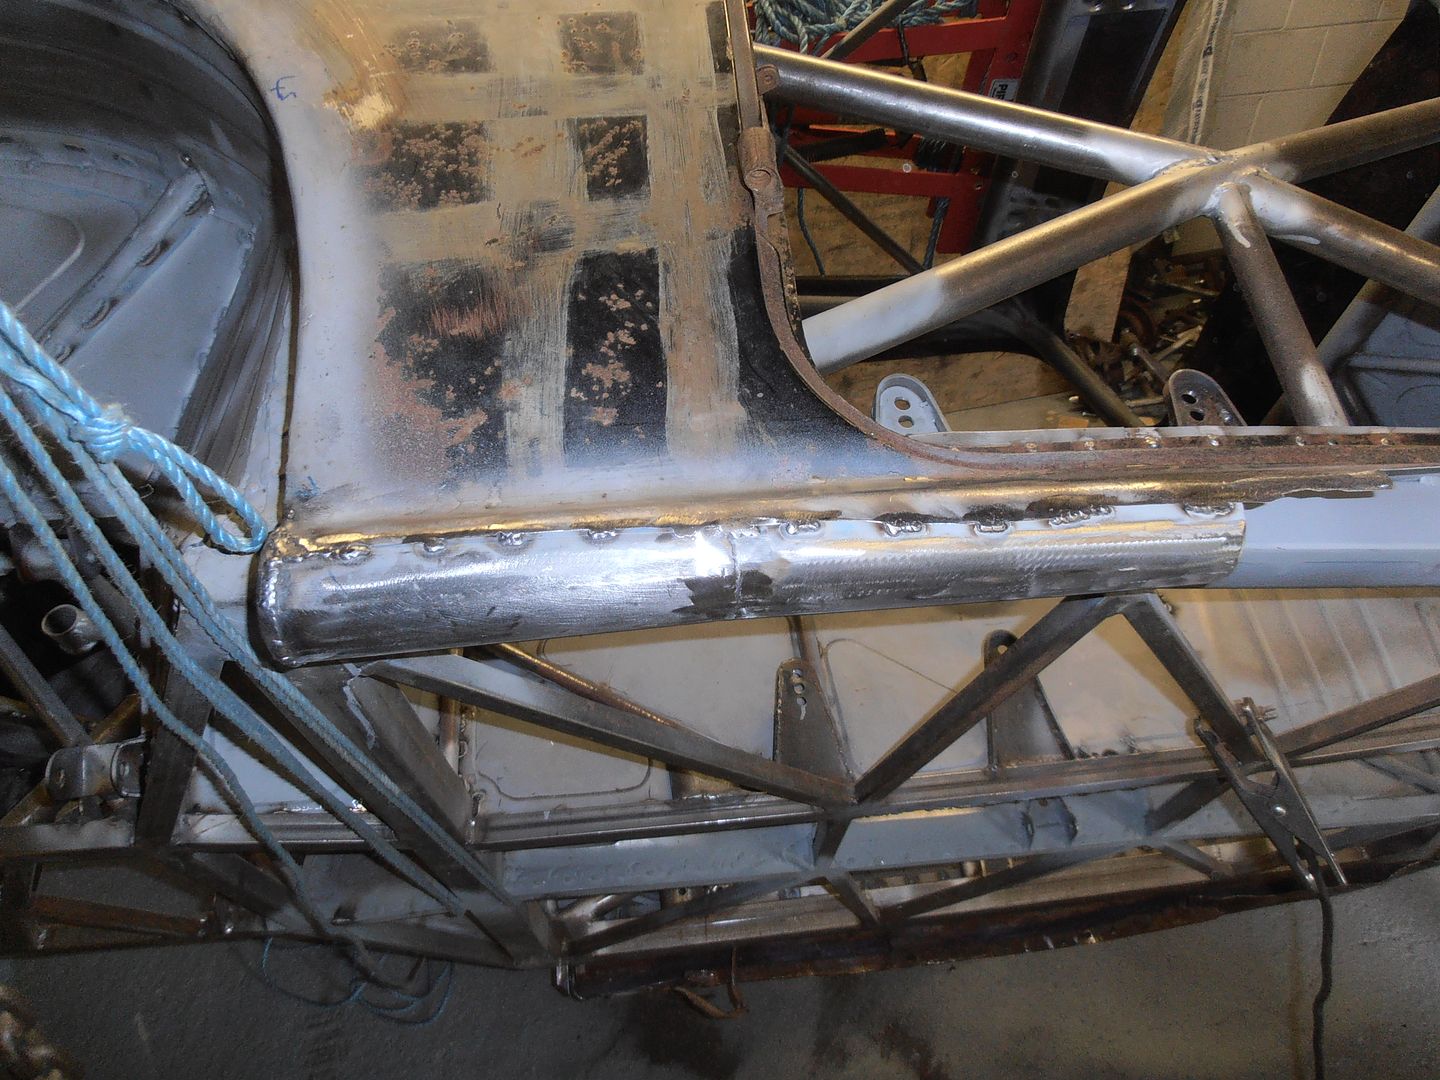 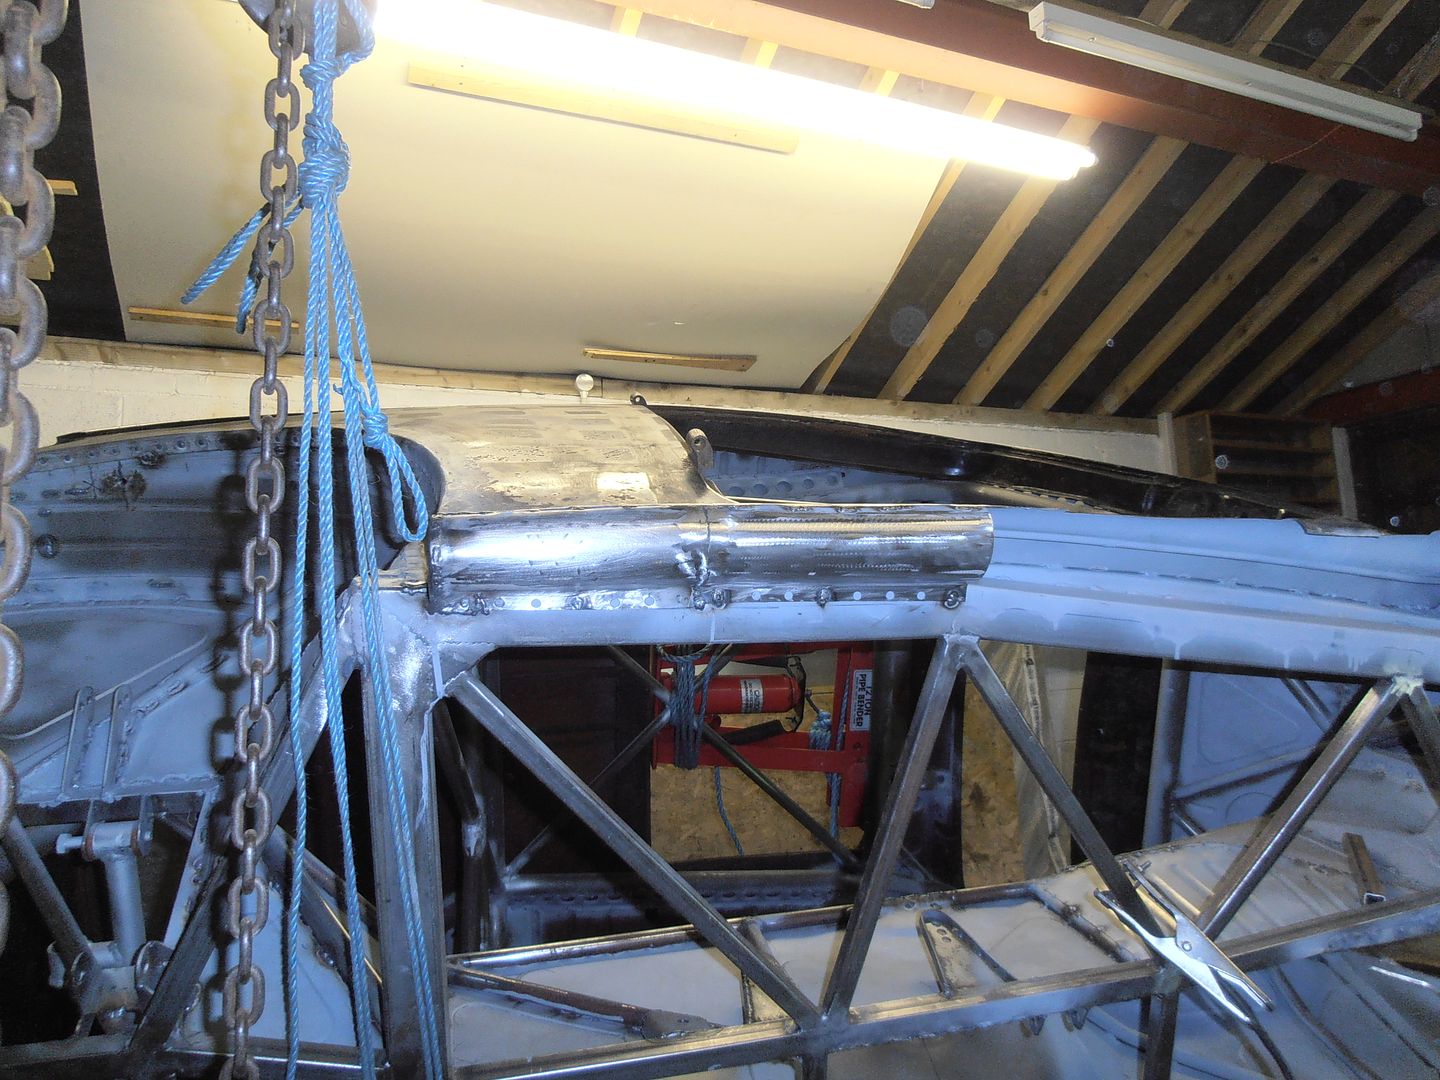 cleaned and primed 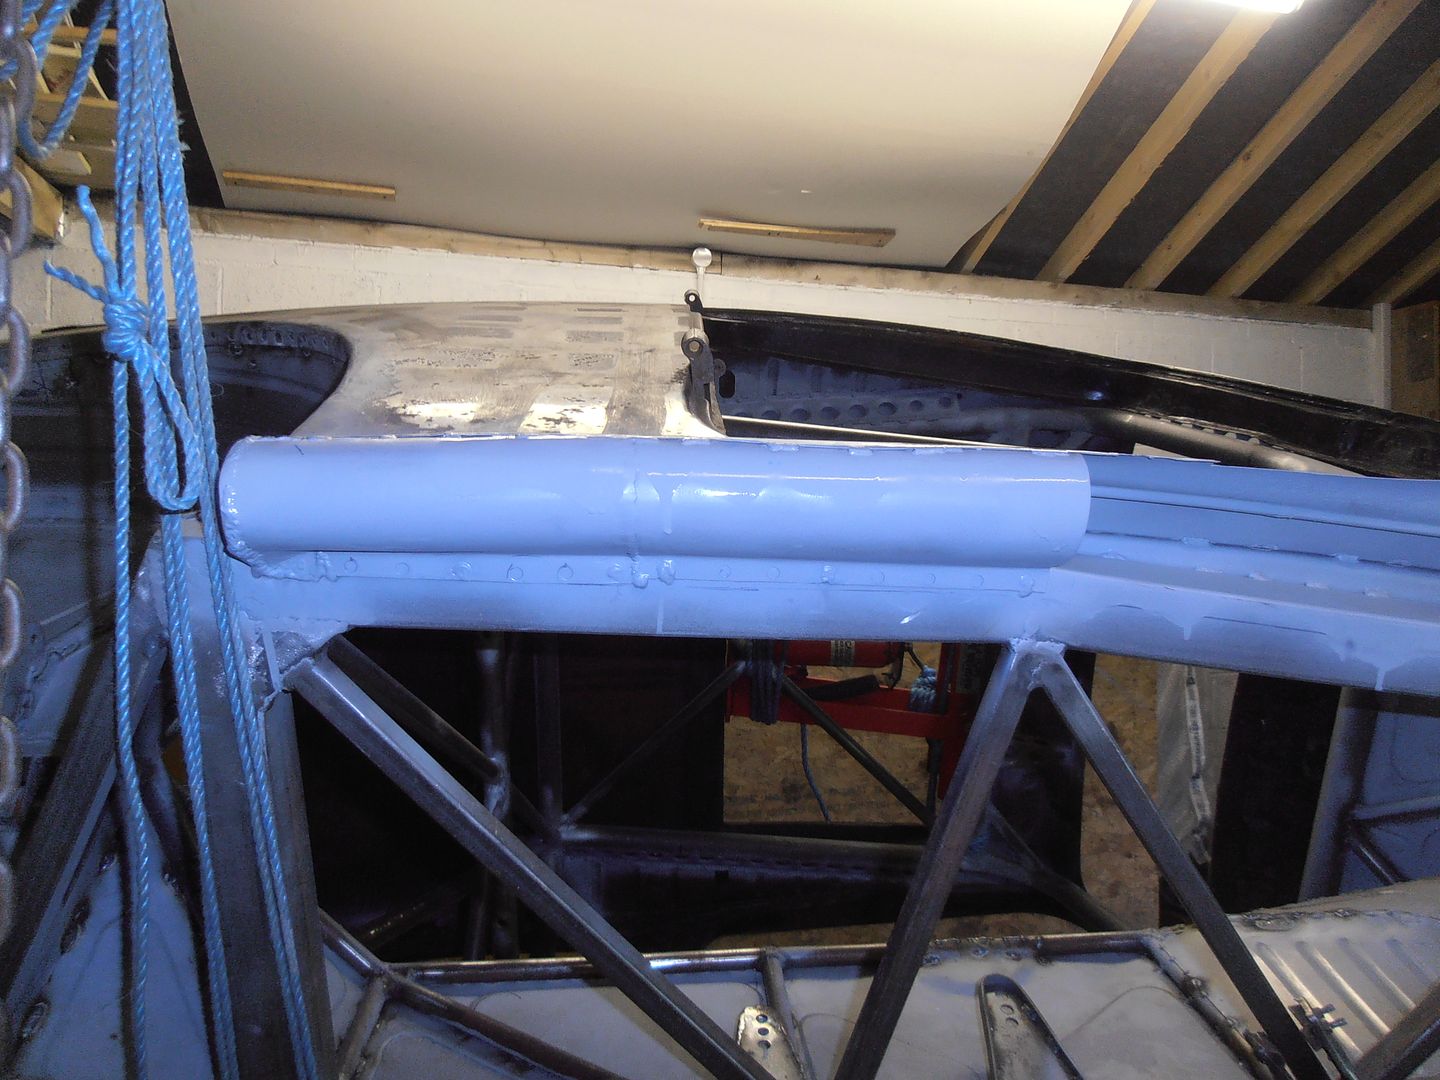 whilst it looks segmented from below, from side / above it looks to naturally follow the sill line. Which is good. Will see how much more I get next weekend. |
| |
|
|
jonomisfit
Club Retro Rides Member
Posts: 1,790
Club RR Member Number: 49
|
|
Jul 31, 2016 17:18:11 GMT
|
|
|
| |
|
|
vulgalour
Club Retro Rides Member
Posts: 7,287
Club RR Member Number: 146
|
|
|
|
|
That doesn't look too bad in pictures, just seems to need a little bit of finishing to smooth it out a bit. I suspect the weld lines are making the sections look convex when they're actually not, what with the way the light's hitting them. It depends as well on your end result, if you don't mind it being a bit rough and ready then it's fine as it is but if you're after perfection then there's quite a way to go.
That reminds me, what is the end appearance goal on this one? Is it perfection or will a few battle scars be acceptable? It does seem to be built to do a job rather than to just sit around looking pretty so I'm hoping the end look is more towards the rough and ready (but not scruffy and broken) look than the prisitine trailer queen, with the way you've got the arches and wheels looking it would really suit it to have some used-abused aggression about it.
|
| |
|
|
jonomisfit
Club Retro Rides Member
Posts: 1,790
Club RR Member Number: 49
|
|
|
|
|
Its never going to be perfect, so i'm not intending to make it so.
That said it'll be getting as good a go as I can at getting it fairly straightened out, but with the amount of distortion / dents / repairs i'll settle for a fairly functional appearance.
Whilst i quite like the rough and patched in look to some degrees I very much doubt it would ever get past the IVA inspection on sharp edges etc. It'll all need to be tidied in before then.
|
| |
|
|
|
|


