delux
Part of things
  There's treasure everywhere!
Posts: 531
|
|
|
|
|
I agree Chas the upside down oil filter is mess waiting to happen every time it needs changing!
As for body work there's nothing I'm planning on doing right away as The Hoff's in good shape body wise - I'd like to be on he road very soon, although a wheel refurb is due.
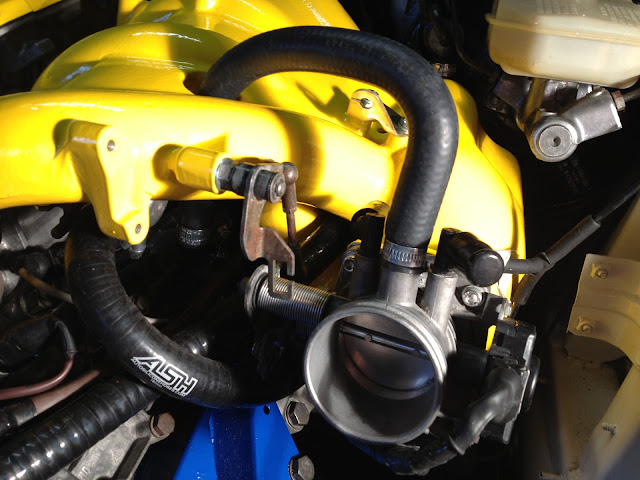
I was hoping some hoses would arrive for the weekend but no...so there's wiring and some vacuum hoses to tackle later before I can think about the intake.
|
| |
|
|
|
|
delux
Part of things
  There's treasure everywhere!
Posts: 531
|
|
|
|
Sunday morning sexy engine photo: 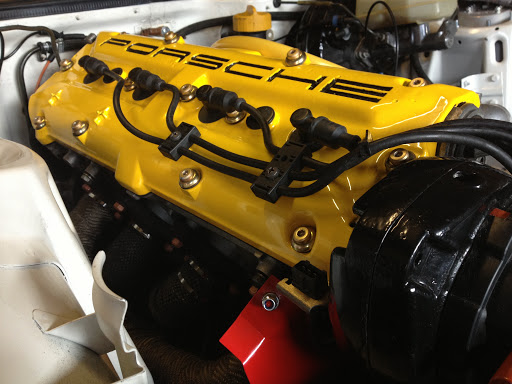  |
| |
|
|
|
|
|
|
|
|
think I might need to head to the smallest room with my laptop!!!!
|
| |
|
|
|
|
|
|
|
Good work Dude  |
| |
|
|
ChasR
RR Helper
motivation
Posts: 10,309
Club RR Member Number: 170
|
|
Jun 11, 2013 12:19:34 GMT
|
|
That is a lovely shot of the engine bay. That must look stunning in the flesh! No jealousy here at all!
|
| |
|
|
sumpcracker
Posted a lot
   Yes, I’m still here.
Posts: 1,751
|
|
Jun 11, 2013 12:55:20 GMT
|
Yes, that looks very nice! I love the way you fettle your parts  |
| |
|
|
delux
Part of things
  There's treasure everywhere!
Posts: 531
|
|
Jun 29, 2013 10:50:25 GMT
|
Thanks guys - it's been head down inside the engine bay and underneath the dash trying to figure out where all the connectors 'connect' to. The ones on the engine are easy enough - I have reference pics but... 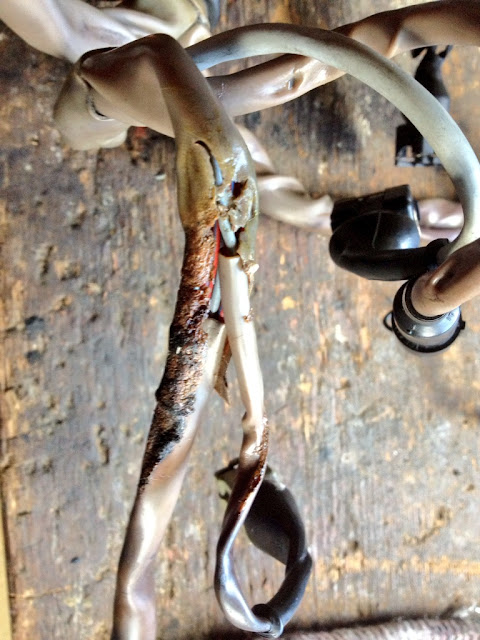 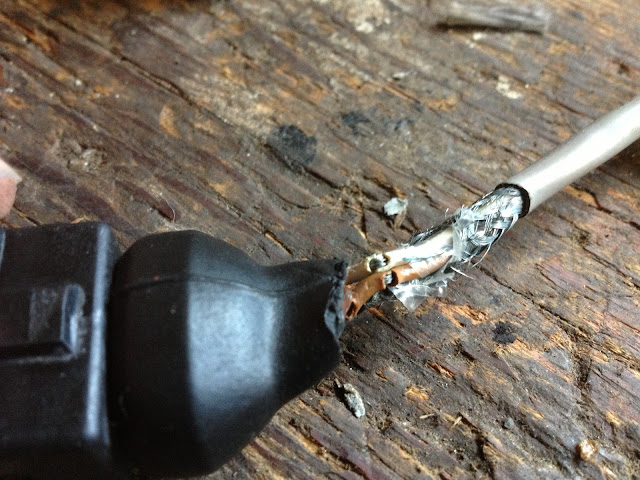 I've had to lengthen the cable to the throttle position sensor and tidy up all the nicks and cracks in the loom - it's looking much better now. Found this amazing silicon Temptape from Car Builder Solutions that is perfect for this job - you wind it on and it somehow sticks to itself without adhesive. 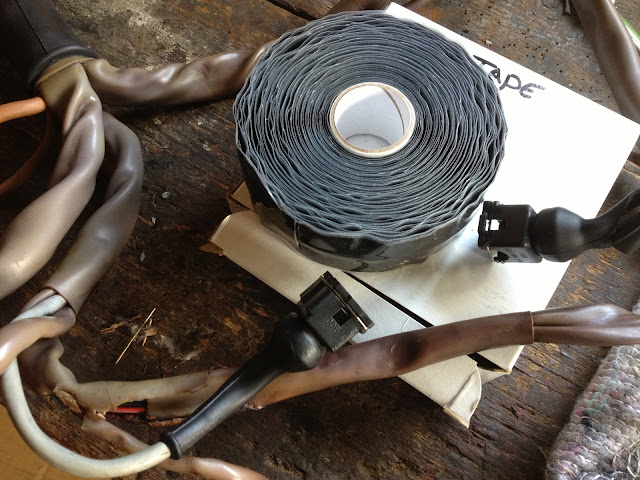 I started wrapping up the loom where it needed attention: 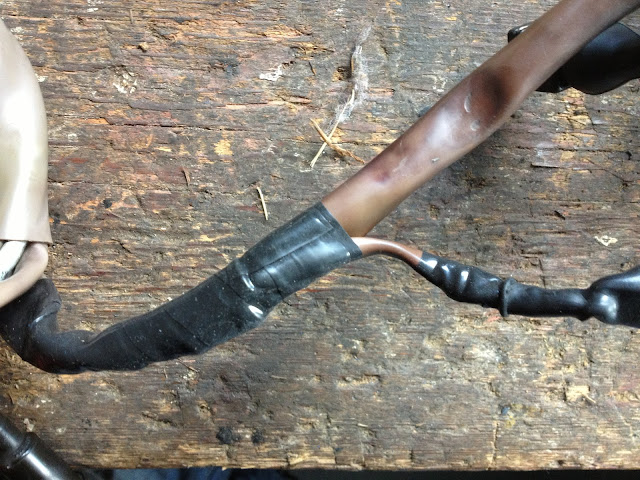 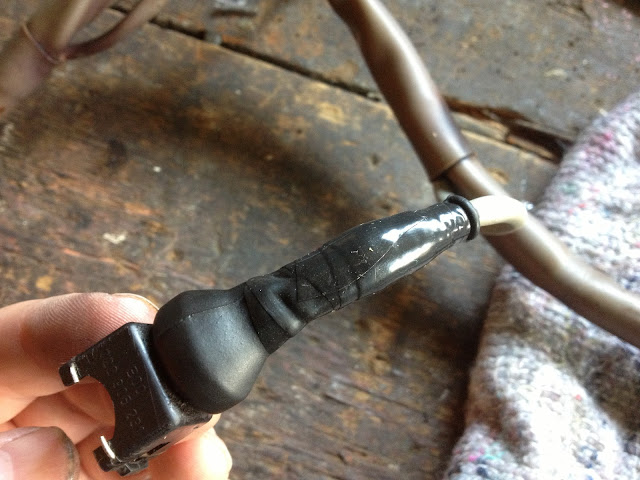 That's gone well enough but now I'm stumped by a couple of connectors - some of which appear to be duplicates... This one is just above the ECU under the dash - looks a lot like the one in the engine bay near the brake booster - but that's already got a connector...what the heck is this for? 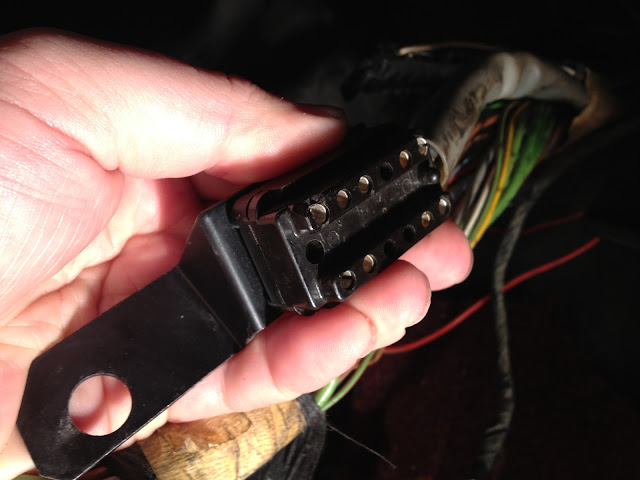 Any ideas? |
| |
Last Edit: Jun 29, 2013 11:04:49 GMT by delux
|
|
ChasR
RR Helper
motivation
Posts: 10,309
Club RR Member Number: 170
|
|
Sept 12, 2013 21:46:41 GMT
|
Any progress on this? It looked to be coming along really well last time  . |
| |
|
|
delux
Part of things
  There's treasure everywhere!
Posts: 531
|
|
Sept 16, 2013 17:13:14 GMT
|
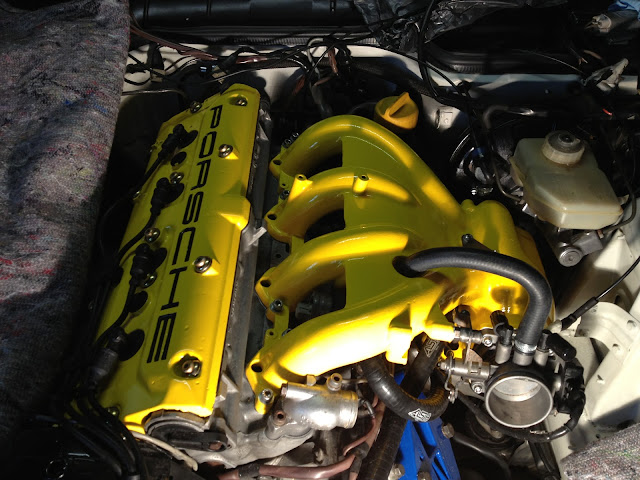
Ah yes sunny summer is over and TheHoff was beckoning from the garage on the weekend, so I ventured in... here's what I've been up to! I solved a couple of my "what the heck connects to this?" issues I was having with the engine harness. The big round connector... 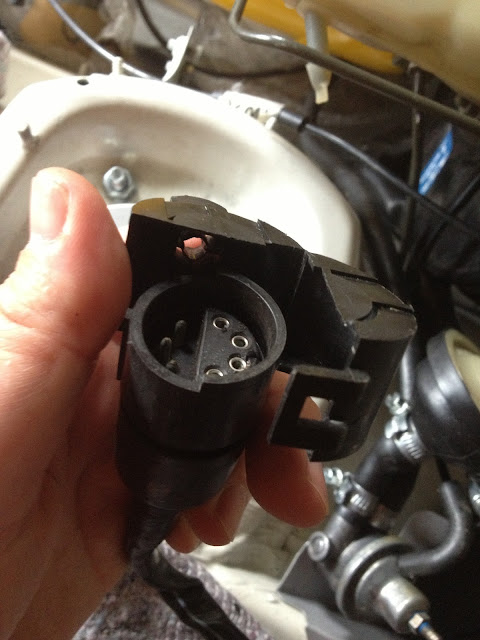 ...needed this resistor plugging in - got it off a bloke breaking yet another 944S (they're going to disappear soon at this rate)  With that plugged in I dared to look under the gearbox at the rear and saw a great big oily puddle... 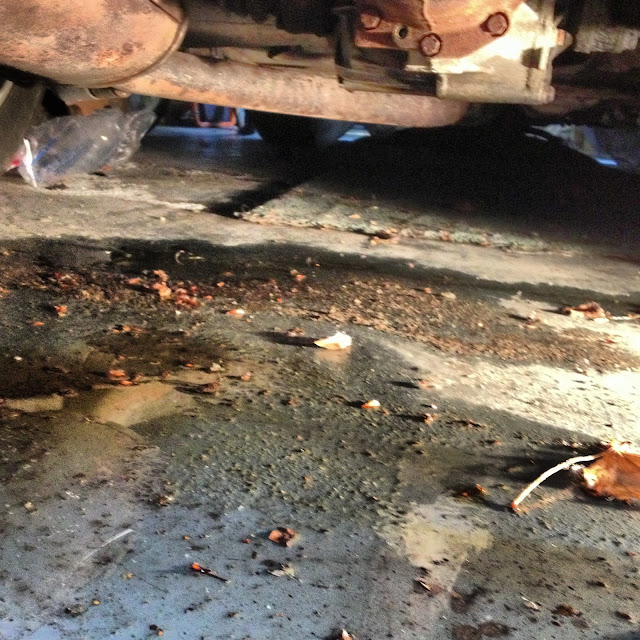 ...this had more than a little perplexed as TheHoff hasn't been on the road except when I rolled it down the drive and onto the back of a car transporter when I moved a few months ago... the fix was easy (I hope), it turns out (hahahaha) that I mustn't have tightened the gearbox drainplug properly when I did an oil change - but that was 2 years ago...   Anyway it's all tight now - only a spirited drive will tell if the gearbox has seen better days. Then it was into the engine bay to mock up the intake and various hoses & vacuum pipes - why the heck is it such a tangle of tubes Mr. Porsche engineer? I used the outgoing S intake as a pattern to follow and connected all the hoses in the same order and "flow" on the new spangly S2 intake:  but before I got to deep into that I did a mild porting to match the gasket to the intake (no work was required on the block side - thankfully!) 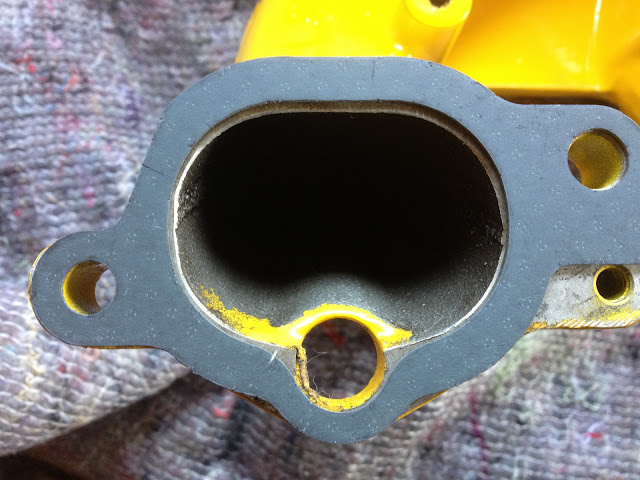 Then gave the inside a jolly good clean to remove all residue and trace of fillings: 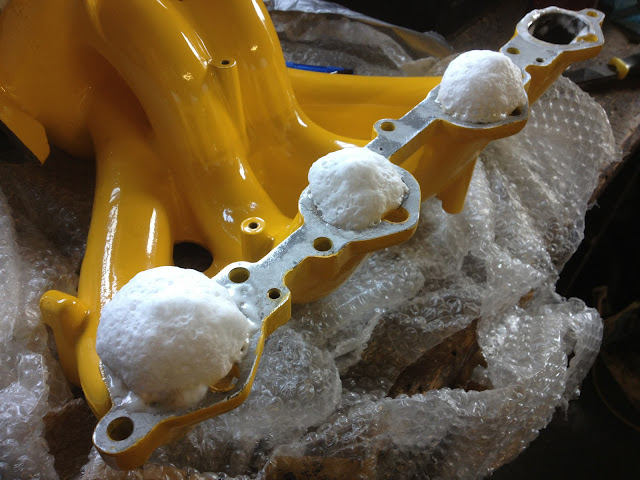 On went the various hoses and idle thingy: 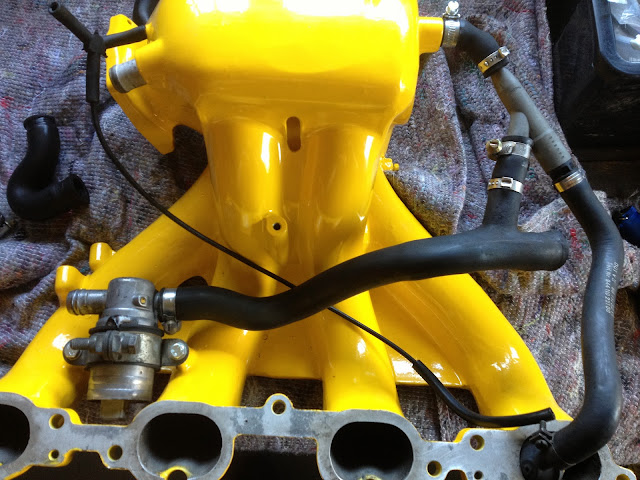 When I was finally happy with the test fitting I placed the new gasket in place and bolted down the intake with some nice new screws: 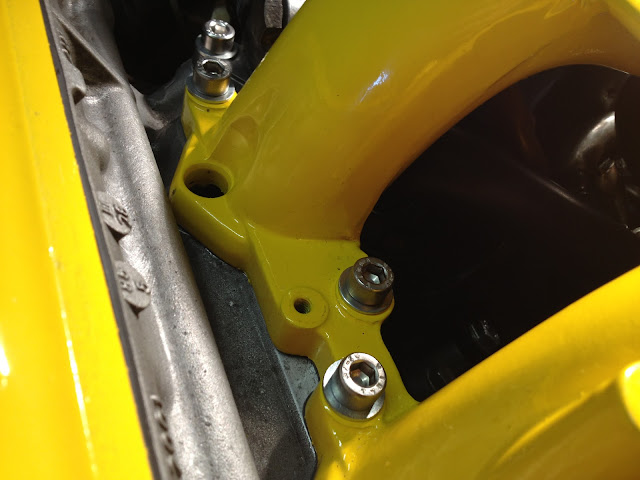 Then it was time to run some hose from the AOS through the intake to the throttle body position - I had to be a little creative to get things to route correctly:  Next it's the turn of the throttle body! Next it's the turn of the throttle body! |
| |
|
|
delux
Part of things
  There's treasure everywhere!
Posts: 531
|
|
Sept 17, 2013 19:15:59 GMT
|
|
|
| |
|
|
|
|
ChasR
RR Helper
motivation
Posts: 10,309
Club RR Member Number: 170
|
|
Sept 17, 2013 20:02:38 GMT
|
Good to see this is not miles away from being started  . That engine bay is a work of art it has to be said! Why did you go for the S2 inlet combination? Was your previous manifold in a poor state of repair (the S items are magnesium are they not)? |
| |
|
|
|
|
|
Sept 18, 2013 2:36:51 GMT
|
|
beautiful work!
|
| |
|
|
delux
Part of things
  There's treasure everywhere!
Posts: 531
|
|
Sept 18, 2013 12:06:58 GMT
|
Thanks Robs30m - I am enjoying most of this! Good to see this is not miles away from being started  . That engine bay is a work of art it has to be said! Why did you go for the S2 inlet combination? Was your previous manifold in a poor state of repair (the S items are magnesium are they not)? Cheers Chas. I went for the S2 manifold and intake purely because it offers better performance (I'm told) than the strange S version. If anything the S2 version is lighter than the cumbersome reverse intake system of the S. They way I see it is; Porsche developed the S2 later than the S - so they must have learned a thing or two about improving the breathing etc which is why they did away with the S intake system bearing in mind it's the same 16v head. Guys in the states who've done this upgrade to their S models note better performance so I figure why not! Thanks for interest in my project! |
| |
|
|
delux
Part of things
  There's treasure everywhere!
Posts: 531
|
|
Sept 28, 2013 19:35:35 GMT
|
Major setback today...  This one sheared bolt means I have to pull the whole engine to remove the bit left in the flywheel... It snapped before it even reached its recommended torque setting while tightening up the ring gear to flywheel bolts...  Sux and I don't even want to think about all the work I have to reverse just to get to the remnants of this forsaken bolt... |
| |
|
|
delux
Part of things
  There's treasure everywhere!
Posts: 531
|
|
Sept 30, 2013 21:11:47 GMT
|
Right so my Sunday involved undoing all the stuff I'd done...pulled off the intake, hoses, and wiring loom then pulled the engine out the top as before. Two and a half hours later I had the engine swinging on the hoist... 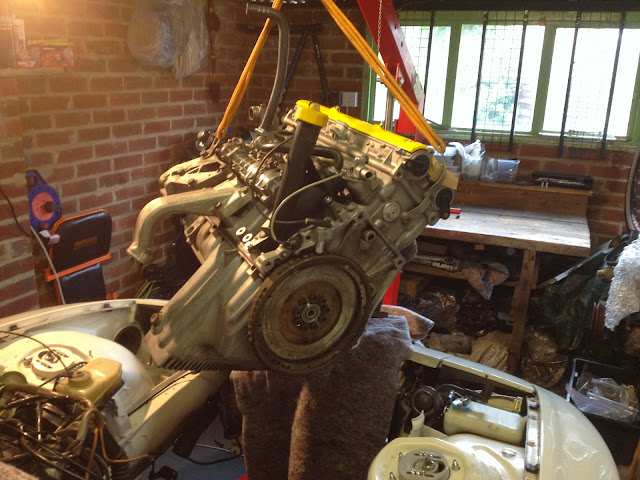 Thankfully there was enough of the snapped screw bolt to get a grip on with a pair of vice grips:  A few twists and the sucker was out of there. Installation was then the reverse of removal! It's all back in the bowels of TheHoff now with the 9 bolts securing the ring gear, pressure plate and flywheel tightened secrely without any drama! |
| |
|
|
bstardchild
Club Retro Rides Member
Posts: 14,975
Club RR Member Number: 71
|
|
Sept 30, 2013 22:33:30 GMT
|
|
Must have been a bad bolt if it came out with mole grips after shearing??
|
| |
|
|
delux
Part of things
  There's treasure everywhere!
Posts: 531
|
|
|
|
Right-O then... ..Squeezed some more time out in the garage over the last couple of weeks while I've been sorting out the remaining wiring issues - got to say had some awesome help over on the TIPEC board from Rhett and Hallsy that's got me to the point of thinking I may start TheHoff sometime very soon… In the mean time I refurbed and resealed the green top injectors - before:  After: 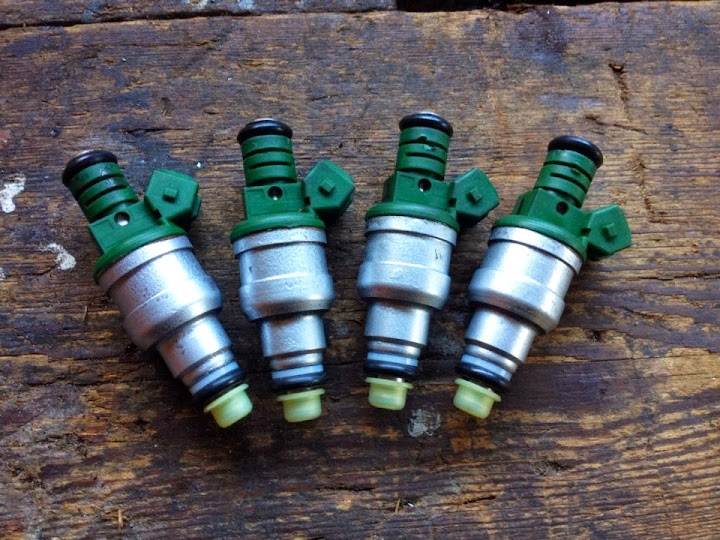 Once those were done I could refit the fuel rail along with a new longer length return fuel hose - all snug with new clamps from CBS: 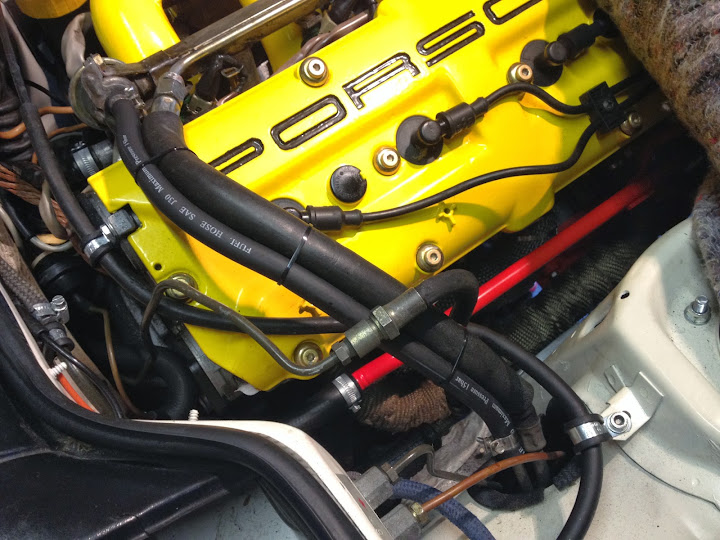 And yes, that's a nice red water return pipe that's been powder coated and hooked up too! Along with a new main coolant hose that does away with the awkward arrangement that was on this 16v engine - much neater now I think! 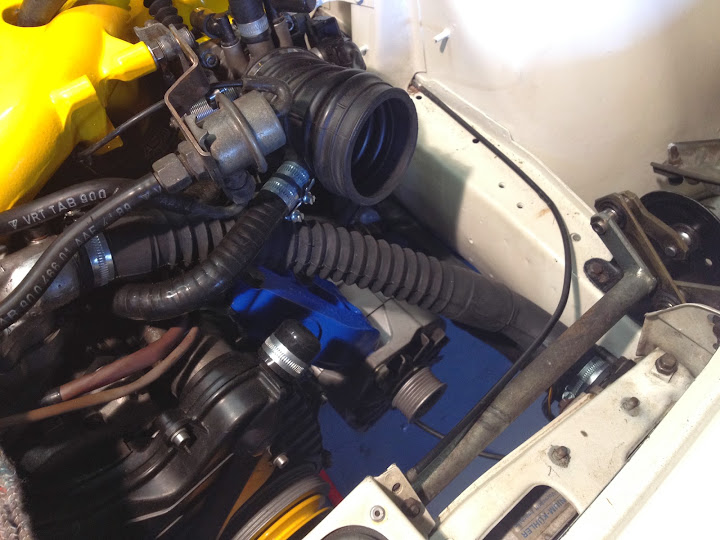 I also solved a little issue with the length of the accelerator cable with a widget that I found in the Car Builder Solutions catalog (yes, quite a few useful bits in there) - it allowed me to set the length exactly. It was a perfect fit in the new plastic coupler I got from my OPC. 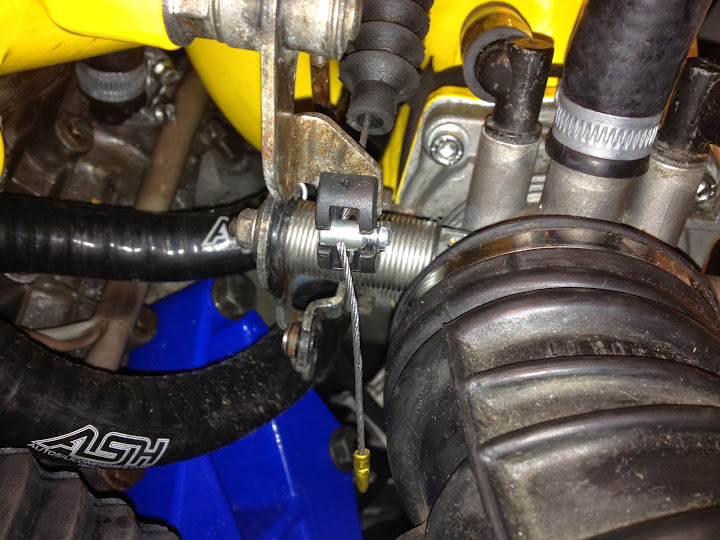 I'm still amazed that Porsche carry new parts for these cars! Thankfully they may not recognise the 944/924 often but so long as they stock the little parts I'm happy! New correct S2 oil dip stick guide collected and fitted with new seal: 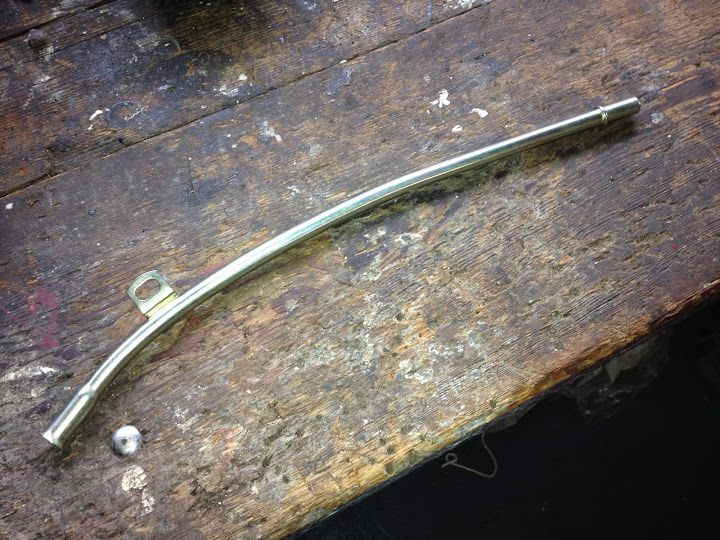 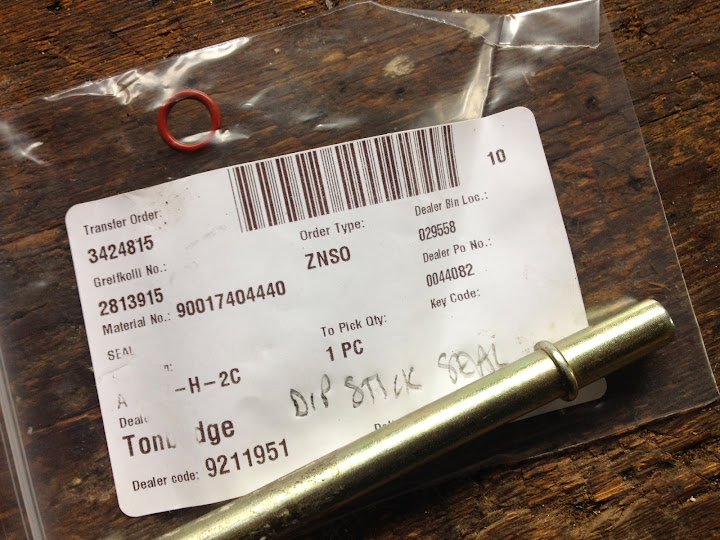 Then it was on to TheHoffs viagra bit - the mangy looking starter motor!  A little freshen up was in order before fitting it into the bowls of the dirty underside… 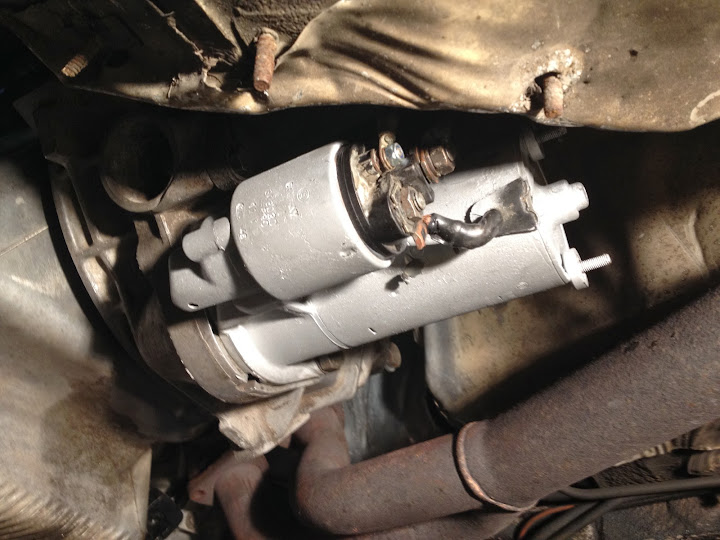 I sure would like to freshen up the underside when I see this! |
| |
|
|
sumpcracker
Posted a lot
   Yes, I’m still here.
Posts: 1,751
|
|
|
|
Just amazing! So clean, so right. I feel your pain on removing the engine again, I have had mine out 4 times  |
| |
|
|
delux
Part of things
  There's treasure everywhere!
Posts: 531
|
|
|
|
|
Cheers Gav.
In other Saturday morning news - TheHoff now has a stable mate - a 924... News at 11 as they say stateside. Need to think of a project name too
|
| |
|
|
|
|
|
|
|
|
Pics of the 924. Now! If it's going to be anything like your 944 then it'll be a stunner
|
| |
'73 Commer Campervan under full restoration, '83 VW T25 Doka under partial restoration to become rolling project, '04 Saab 9-3 Vector Sport modified and certainly not finished...
|
|
|
|


