gess
Part of things
 
Posts: 220 
|
|
|
|
|
I had a look at Osrams web page regarding those LED bulbs, they appear to be very good, but quite costly at least here in Norway. I was considering putting som H7s in my daily but the cost was to high.
Is it difficult to make them fit inside the headlight housing?
I would like to see pictures of the light pattern.
|
| |
|
|
|
|
mk2cossie
Club Retro Rides Member
Posts: 3,062  Club RR Member Number: 77
|
|
Sept 2, 2020 19:00:54 GMT
|
I had a look at Osrams web page regarding those LED bulbs, they appear to be very good, but quite costly at least here in Norway. I was considering putting som H7s in my daily but the cost was to high. Is it difficult to make them fit inside the headlight housing? I would like to see pictures of the light pattern. For me with the H4 fitment in the Granada spring and twist bulb retainers, it took a few attempts to get the LED retaining ring fitted and the LED unit fitting without the assembly rattling in the headlight unit. But there wasn't any real modifications needed, just getting the right tension/angle on the bezel rings. I noticed Halfords sell them, however mine came from Amazon for £76 I think. Which is expensive, but hopefully if they ever give problems it will be easier to sort replacements. As for pattern, the phone camera adjusts the exposure. So there doesn't look a huge difference in pics... Osram Silverstar halogens on dipped 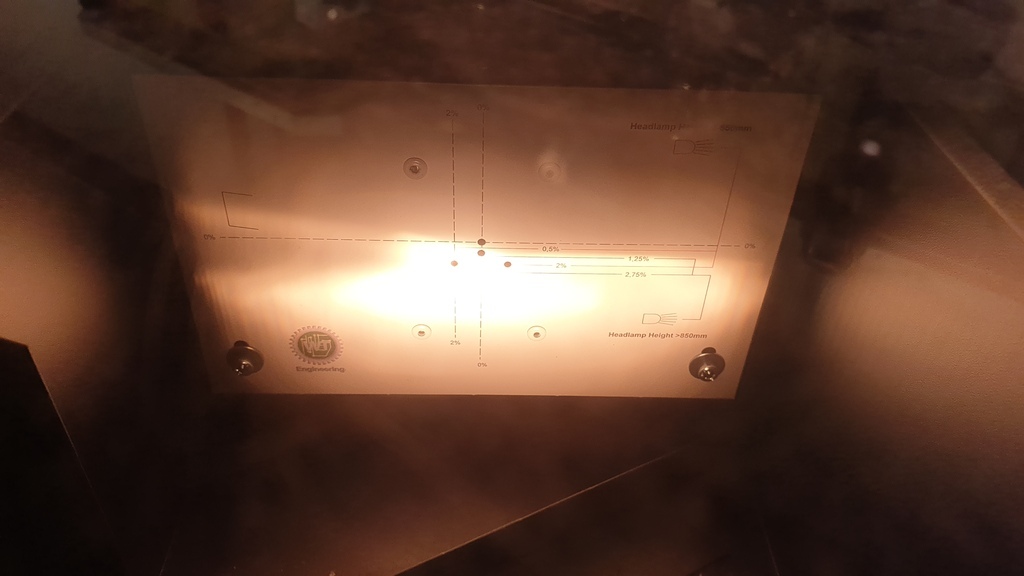 And LED dipped 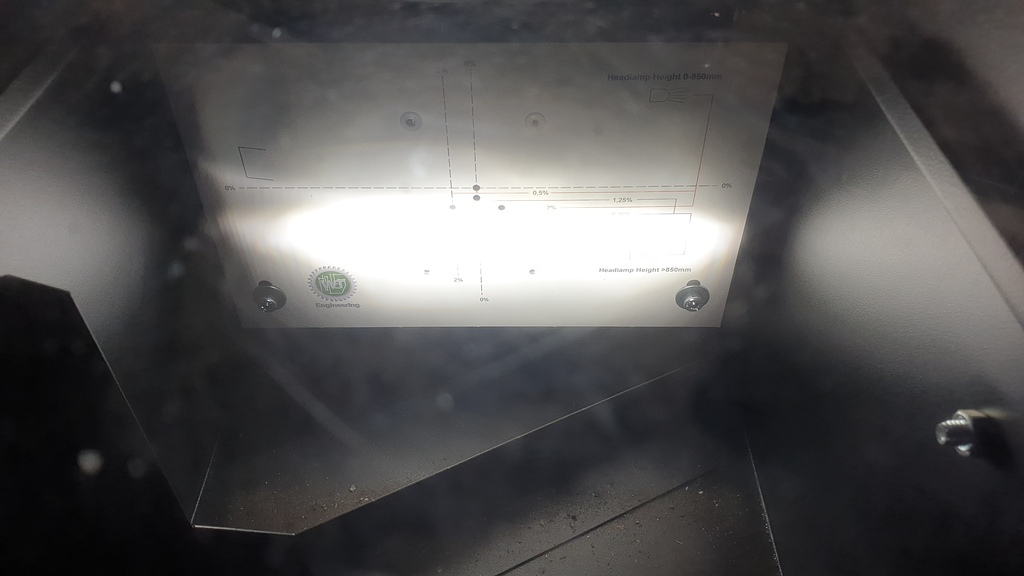 Halogen main 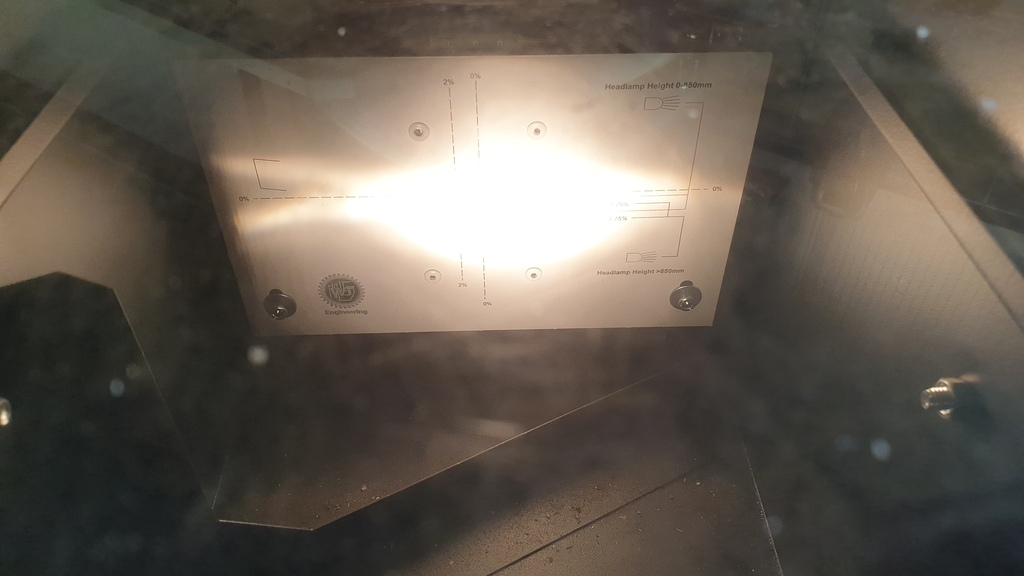 LED main 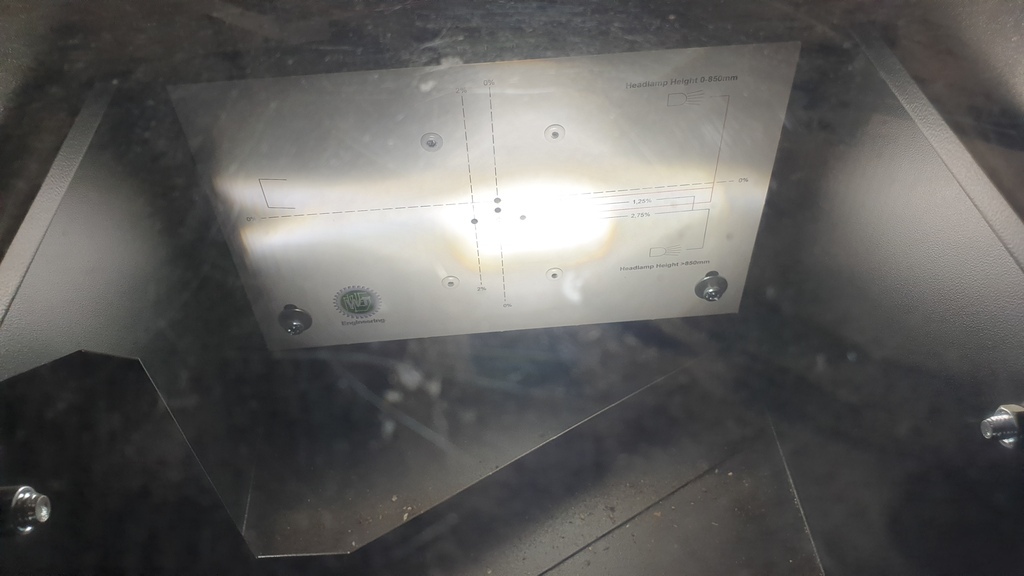 There is also a lumen meter on the beam alignment thingy as well, and all the LED readings were higher, although not huge amounts improvement. What that says for the Osram halogens versus the LED at night time I don't yet know  |
| |
|
|
mk2cossie
Club Retro Rides Member
Posts: 3,062  Club RR Member Number: 77
|
|
Sept 12, 2020 20:37:44 GMT
|
I've only had a few small updates lately, and random progress pics. I shall upload all the pictures when the odd jobs are done and write out the corresponding essay to accompany them  I can confirm that the Osram LED upgrade is FRICKIN AMAZING!  |
| |
|
|
mk2cossie
Club Retro Rides Member
Posts: 3,062  Club RR Member Number: 77
|
|
|
|
After spending a bit of time on Saturday replacing the handbrake cable, last night I was greeted with the left hand cam cover gasket releasing engine oil straight out on to the manifold collector and producing copious amounts of Bond style smoke screen fog  This would've been bearable if I hadn't just arrived at a friends house 6 miles from home  So a very concerned effort to drive home last night after watching Harry Potter and not over stressing the car and keeping an Eagle eye on the oil pressure gauge, and I now know what this coming Saturday will entail  |
| |
|
|
mr
Posted a lot
  
Posts: 1,619
|
|
|
|
|
What type of fuel cut off switch mate, an inertia one?
Was thinking of fitting one to my car at some point
|
| |
Got the car from 105 bhp at the crank to 152 at the wheels.nitrous going on next.....if it ain't broke,keep bolting on go faster parts until it is........ www.fordgranadaclubuk.freefo.de |
|
mk2cossie
Club Retro Rides Member
Posts: 3,062  Club RR Member Number: 77
|
|
|
|
What type of fuel cut off switch mate, an inertia one? Was thinking of fitting one to my car at some point Yup, an inertial fuel cut off switch. Came out of the mk3 Granada that the engine was in  |
| |
|
|
mr
Posted a lot
  
Posts: 1,619
|
|
|
|
|
cool, i'll be looking onto getting one too. if my car ever sees daylight again it should probably have one
|
| |
Got the car from 105 bhp at the crank to 152 at the wheels.nitrous going on next.....if it ain't broke,keep bolting on go faster parts until it is........ www.fordgranadaclubuk.freefo.de |
|
eurogranada
Europe
To tinker or not to tinker, that is the question...
Posts: 2,556
|
|
|
|
|
Good luck on the cam covers....
These engines do like to leak it seems... But then again, the youngest are 20+ years old.
|
| |
|
|
mk2cossie
Club Retro Rides Member
Posts: 3,062  Club RR Member Number: 77
|
|
|
|
Good luck on the cam covers.... These engines do like to leak it seems... But then again, the youngest are 20+ years old. Thank you! I found my tube of Honda sealant at work today, and I have a spare gasket for the leaky cam cover in stock as well  So all being well, Saturday will be the end game for that little blighter! |
| |
|
|
mk2cossie
Club Retro Rides Member
Posts: 3,062  Club RR Member Number: 77
|
|
Oct 17, 2020 19:32:53 GMT
|
No pics to update with from today, but last week was a wasted time at work doing the cam cover gasket for it to be worse than before I had started it! So today was almost a rinse and repeat of last Saturday, only this time without the leaky cam cover filling up the 3 spark plug holes! Also tried the modified inlet manifold for fitment and space availability as well, that clears all the important bits and just needs a throttle cable bracket making up for it  |
| |
|
|
|
|
mr
Posted a lot
  
Posts: 1,619
|
|
|
|
|
did the headlight rear covers fit over those new bulbs? they look loads longer at the rear. if they don't, I may possibly have spares that you can modify to your hearts content in the box of Granada stuff in the loft.
|
| |
Last Edit: Oct 19, 2020 6:56:24 GMT by mr
Got the car from 105 bhp at the crank to 152 at the wheels.nitrous going on next.....if it ain't broke,keep bolting on go faster parts until it is........ www.fordgranadaclubuk.freefo.de |
|
mk2cossie
Club Retro Rides Member
Posts: 3,062  Club RR Member Number: 77
|
|
Oct 19, 2020 12:47:10 GMT
|
The LED bulbs fit in the headlights fine, and the rear covers are both on without any faff as well  |
| |
|
|
mk2cossie
Club Retro Rides Member
Posts: 3,062  Club RR Member Number: 77
|
|
Oct 25, 2020 21:40:35 GMT
|
So, last Saturday was a retrace all the steps to sort the cam cover leak that I had just replaced. And a week later that seems to be cured and leak free! So yesterday was an 8 hour shift for something not needed at all, but that I had as a "just" project to do as and when. A while ago I made an MDF panel for under the glovebox to replace the wobbly cardboard, fibre thingy that was there 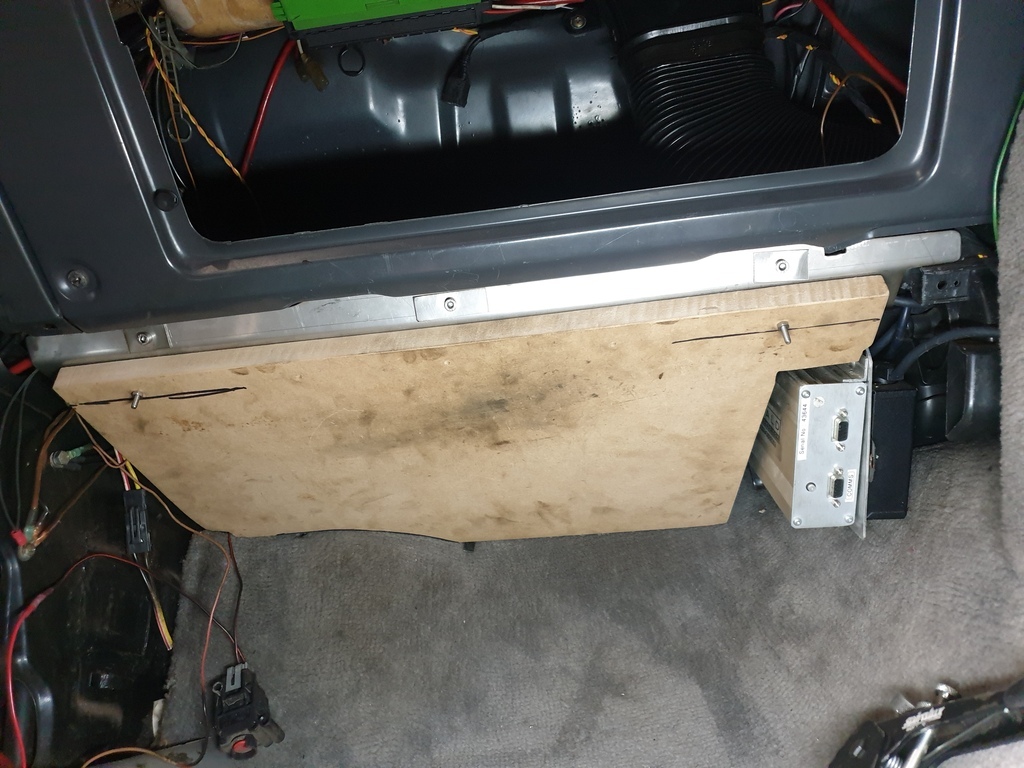 Completely over the top, as it is 18mm thick. But I have lots of that spare, so it was used! And via Amazon I got a nice little spud of a speaker 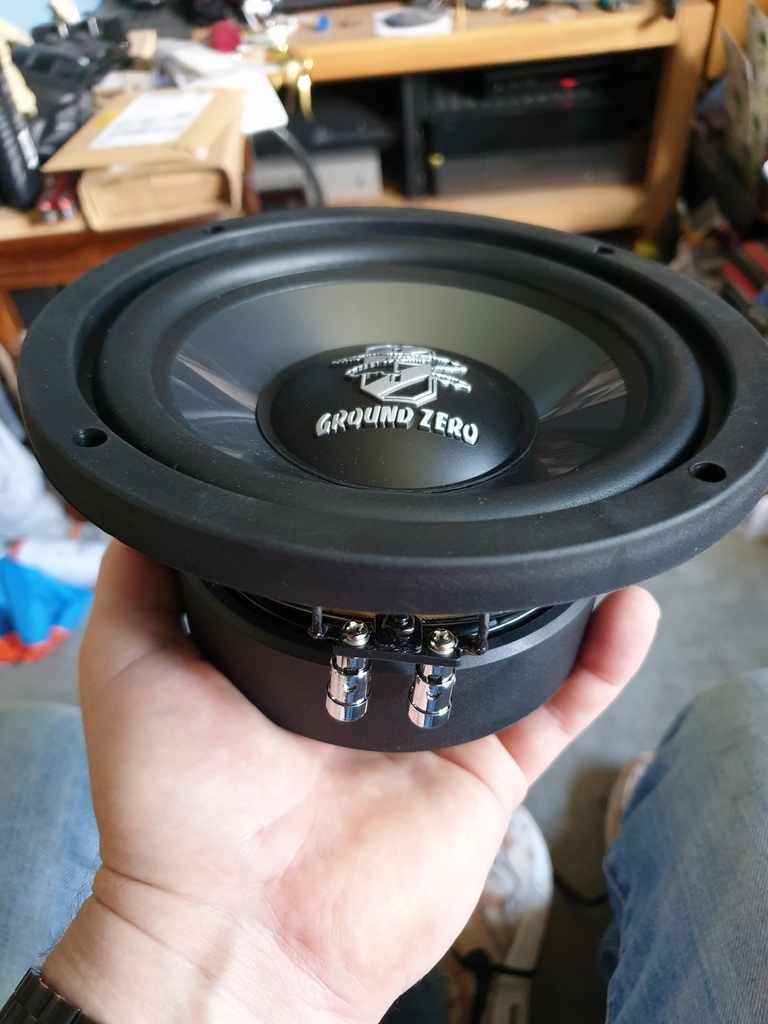 Powered by a lovely little Vibe blackbox 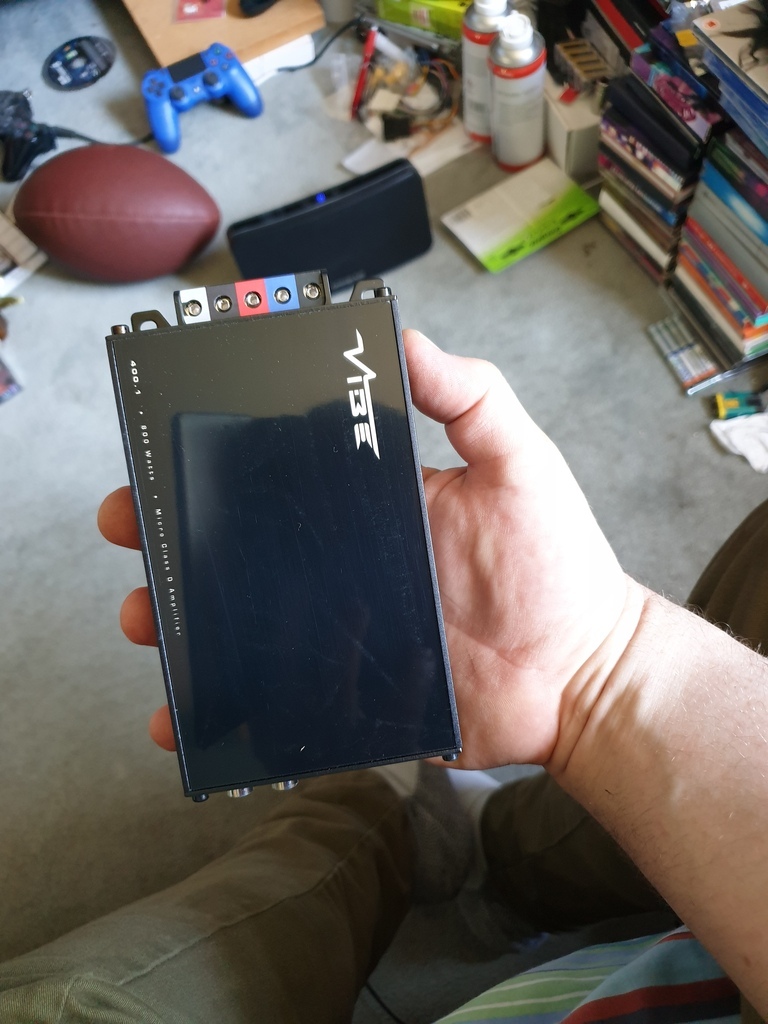 Which was mounted just out the way on a one off stainless steel bracket 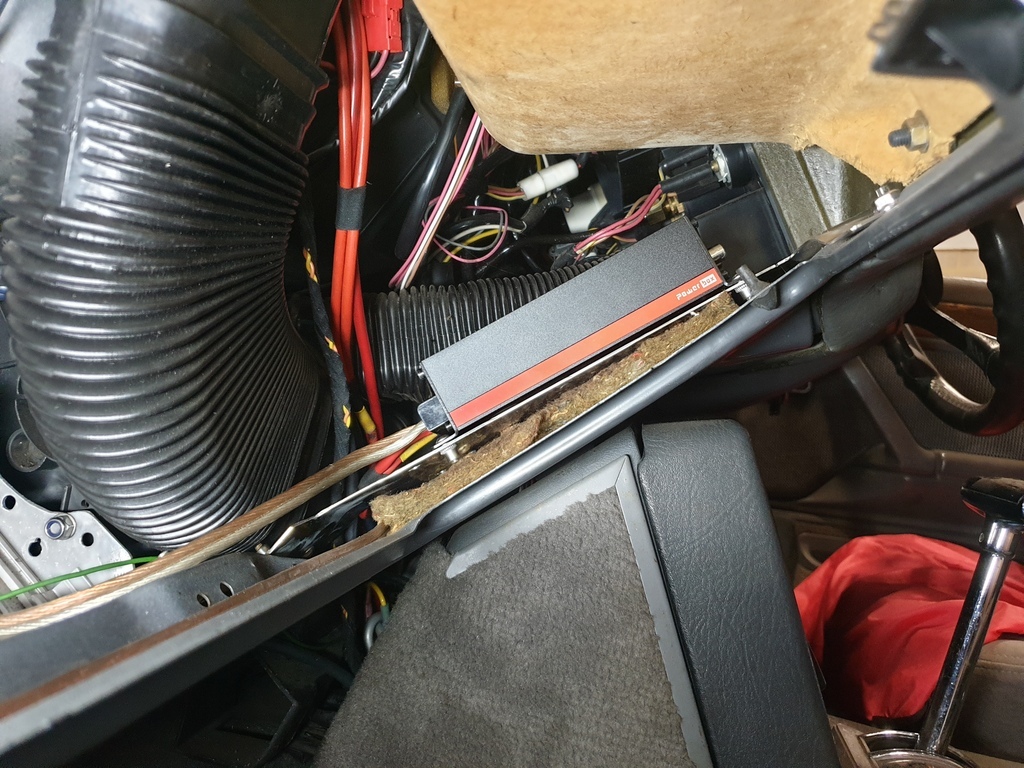 The sub was mounted just on the board for about a month or more with the glovebox in place (not really sealing it). I eventually got around to chopping a port hole/slot in to the baffle board (of which I don't seem to have a picture) And asked my ex nicely if she could sort out some 9mm MDF on my cut list 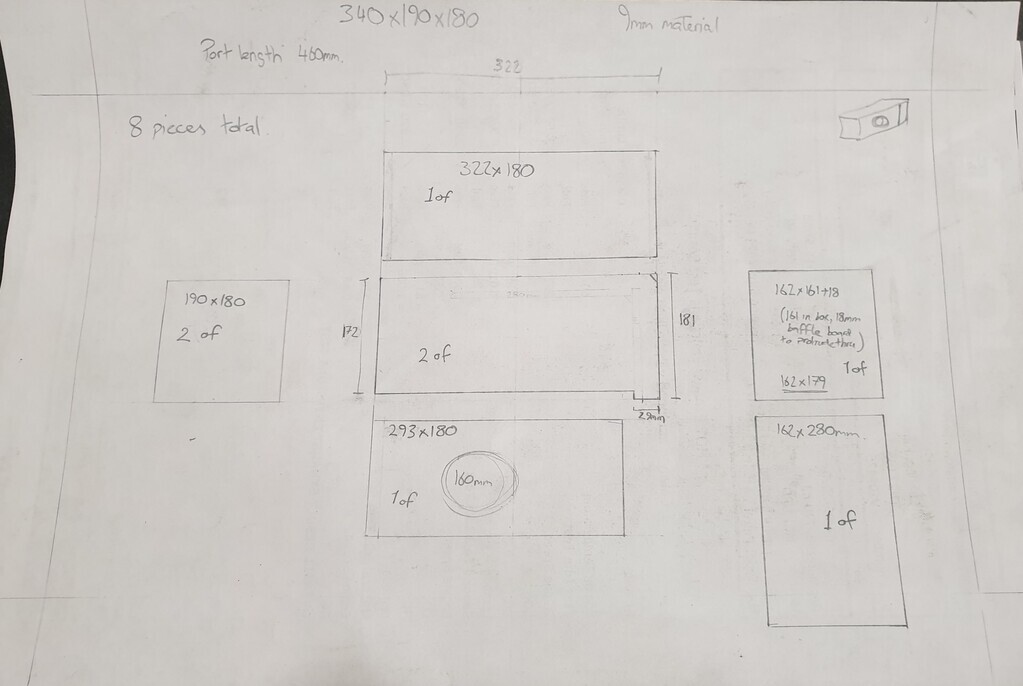 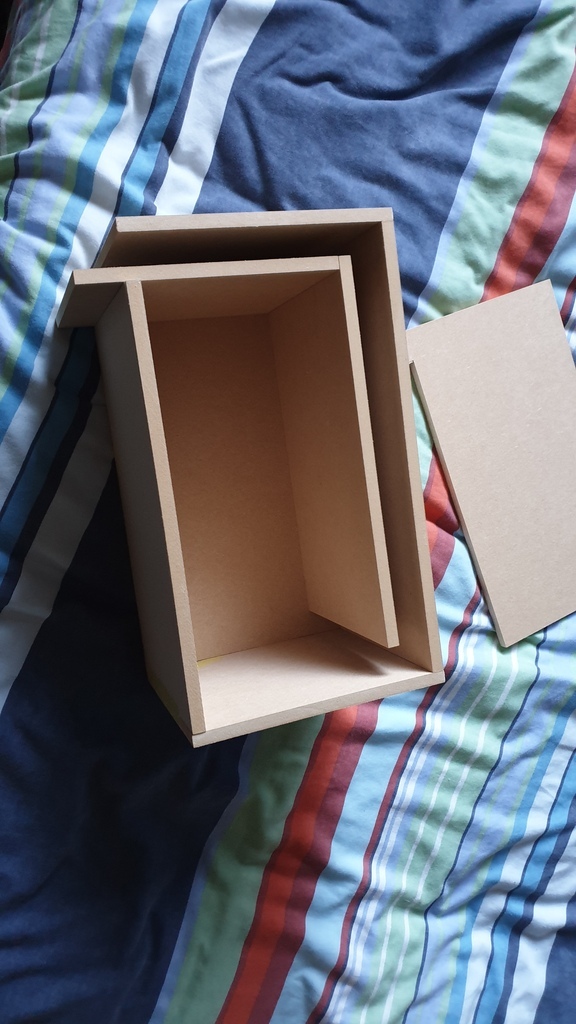 So Saturday was screwing that lot together, chopping a hole in the correct bit and hoping it would fit where I had measured up  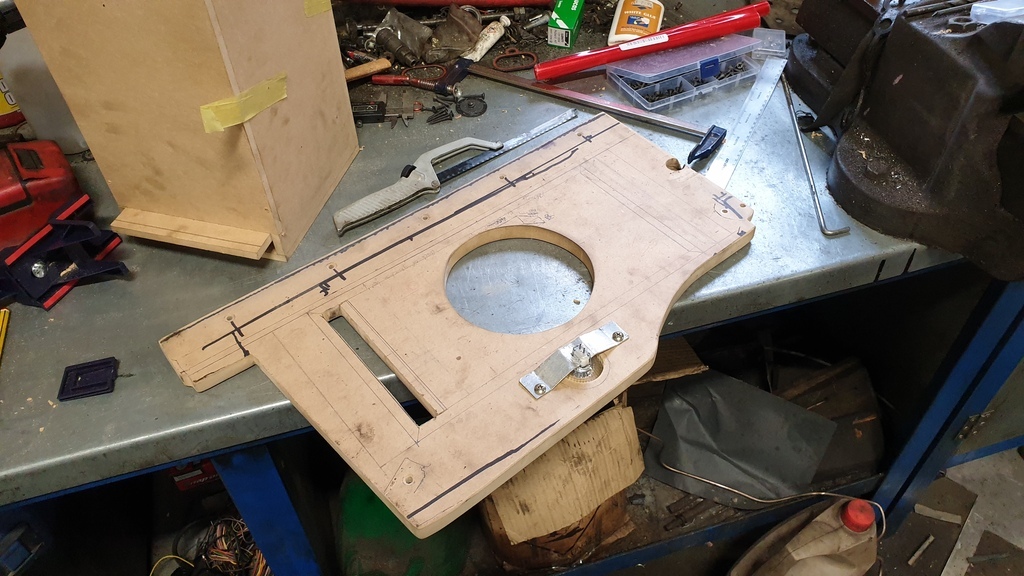 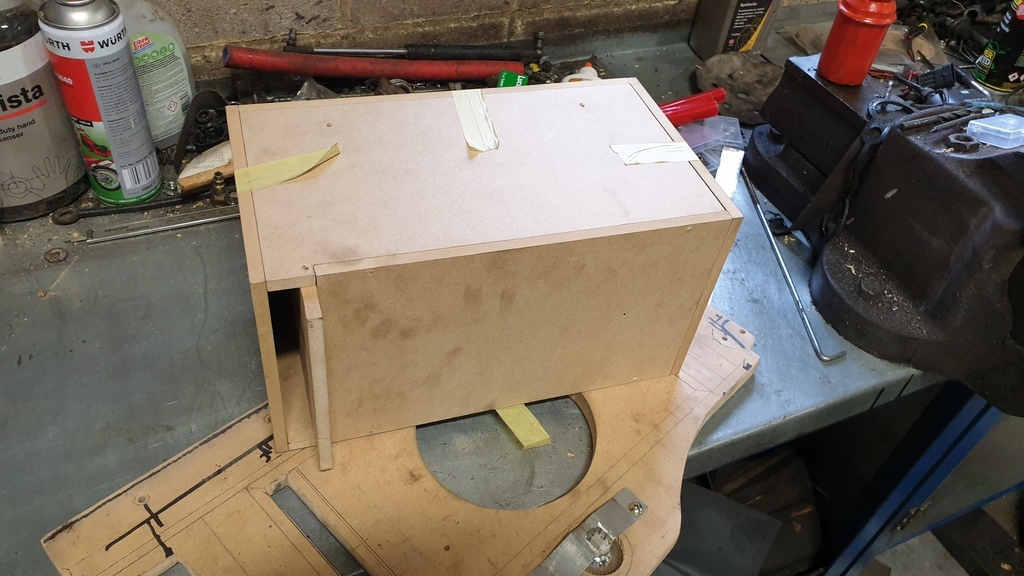 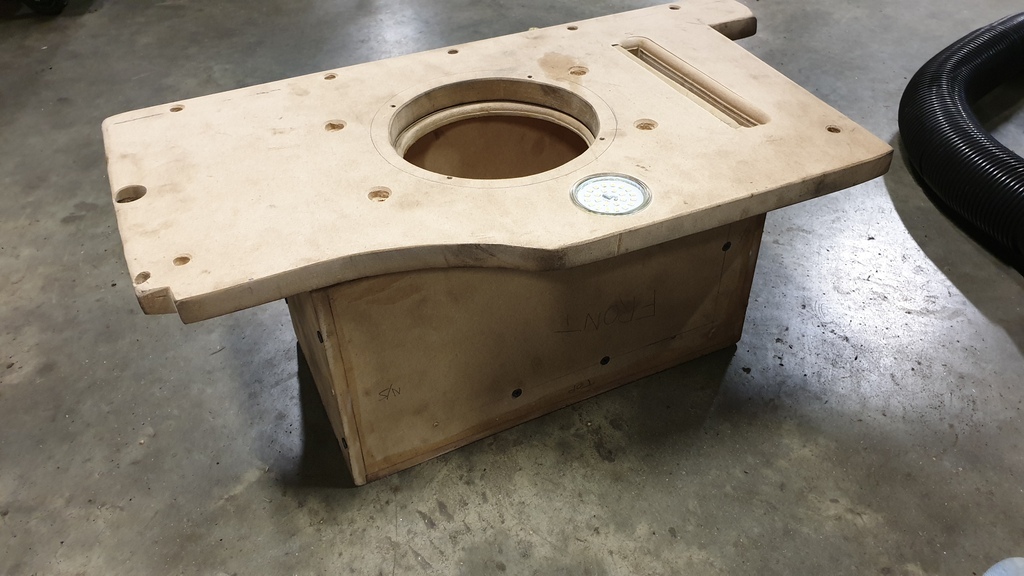 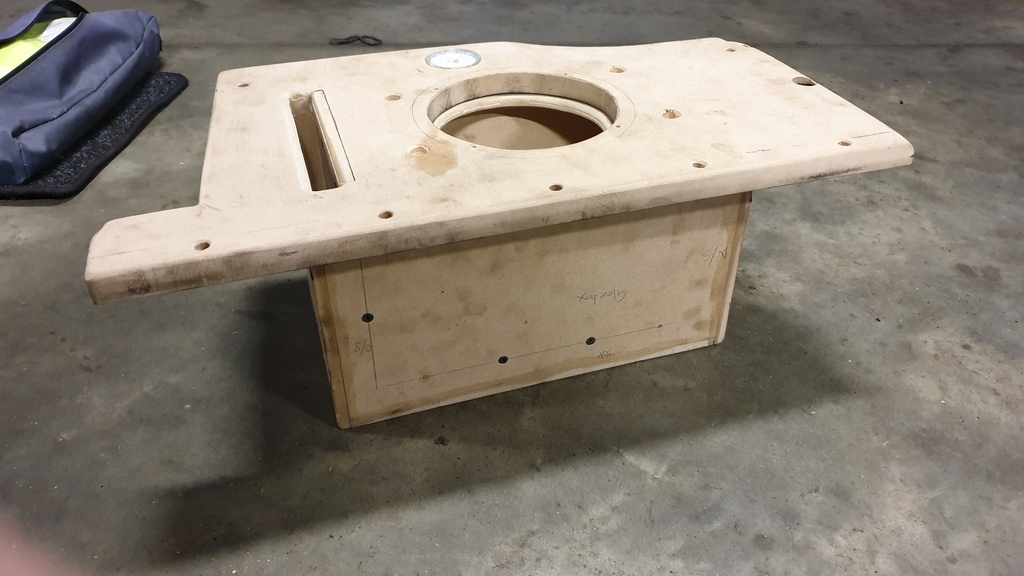 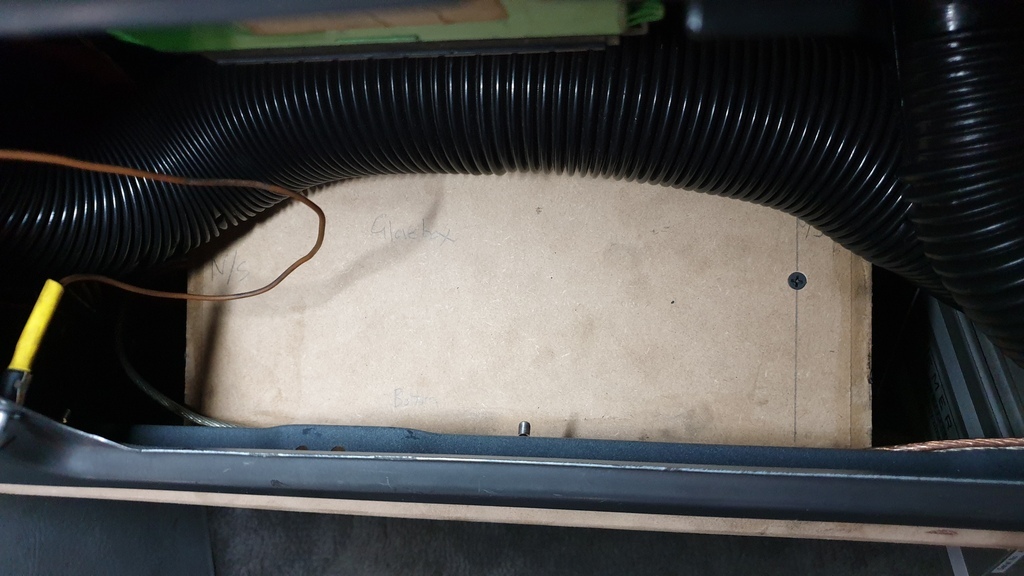 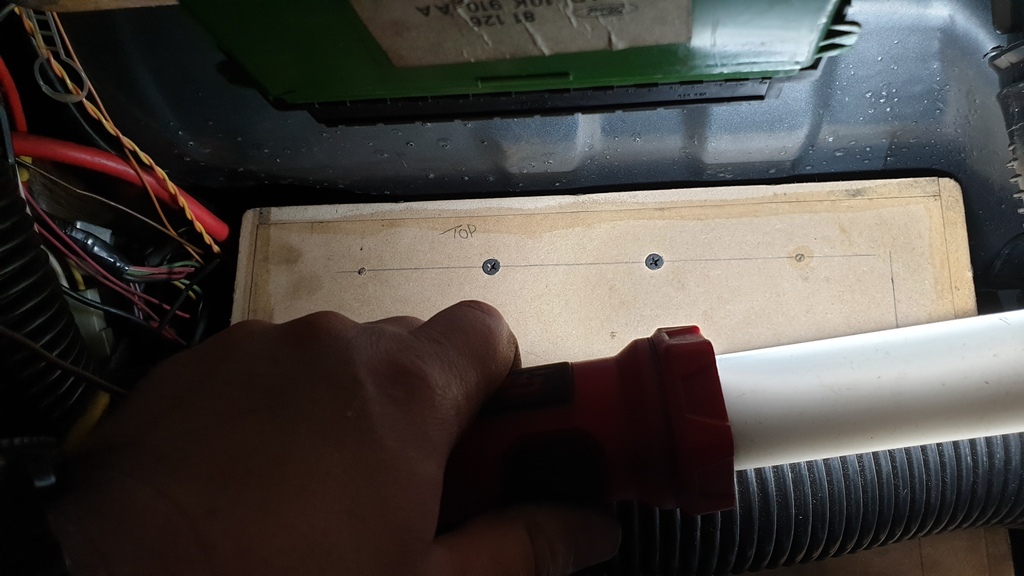 Well, its a tad on the tight side! But its in there and isn't going anywhere, so I'd say that's a win  |
| |
|
|
mk2cossie
Club Retro Rides Member
Posts: 3,062  Club RR Member Number: 77
|
|
Oct 25, 2020 21:45:54 GMT
|
And how does it sound I may hear you ask? Well, if I can just upload a video, you can witness for yourselves! Bare in mind it is just 2 pairs of 5inch components, and the 6.5 inch sub in the baffle ported box (headphones or better speakers than the mobile device anyone may be using recommended  ) It appears I can't upload a video like I can a picture  (No idea how long it will be safe on YouTube tho) |
| |
Last Edit: Oct 25, 2020 22:18:58 GMT by mk2cossie
|
|
mr
Posted a lot
  
Posts: 1,619
|
|
|
|
|
having stuff just because is the only way. i've just bought an led kit for my car ....just because.
looks and sounds really well done.....so well done
did you ever finish the rears?
|
| |
Got the car from 105 bhp at the crank to 152 at the wheels.nitrous going on next.....if it ain't broke,keep bolting on go faster parts until it is........ www.fordgranadaclubuk.freefo.de |
|
mk2cossie
Club Retro Rides Member
Posts: 3,062  Club RR Member Number: 77
|
|
|
|
mr the rear speakers are in, but need sorting properly and covering still. Been in there a little while now, and working fine other wise  Also managed to replace the engine mounts on Saturday, and sort out a couple of baggy power steering pipes... The engine mounts have been in there since the engine conversion 11 ish years ago now, so decided it was time for a refresh! Got a new pair from Burton, along with a pair of stainless steel engine mount covers to beef them up a bit. The covers are meant for 54mm tall mounts and not the 41mm tall ones I use. So the angle grinder was placed on the bench at work the shield used as a guide and the covers spun against the 1mm cutting disc to make a groove around each one, then placed in the bench vice and cut properly. The engine mounting brackets were then removed and the new bits assembled on to them and then refitted to the car. Only trouble being that the stainless steel bits made the mounting brackets sit higher up and a complete  to bolt back on to the block. Far too much time spend doing that and making a guide for one side and they were in... 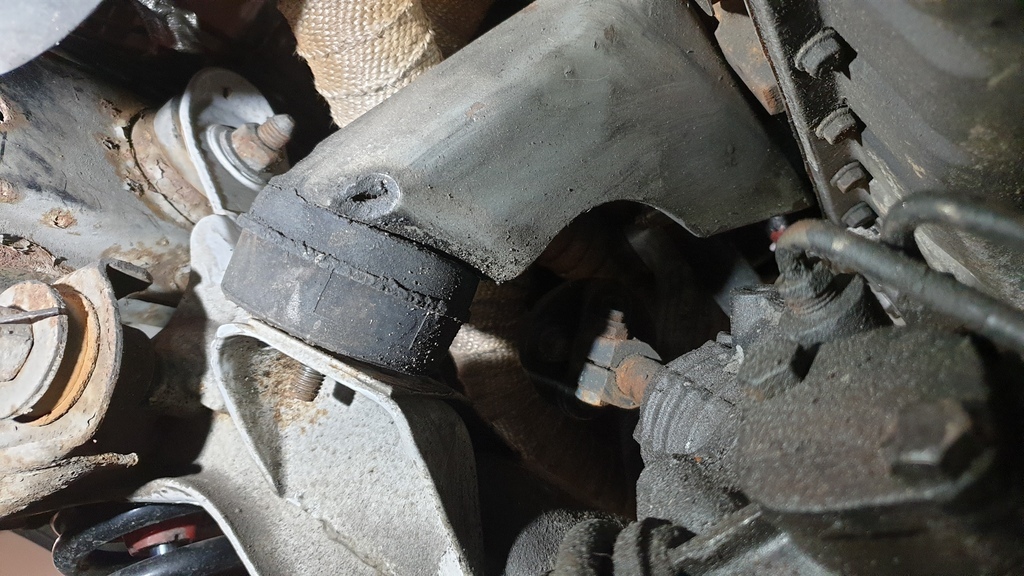 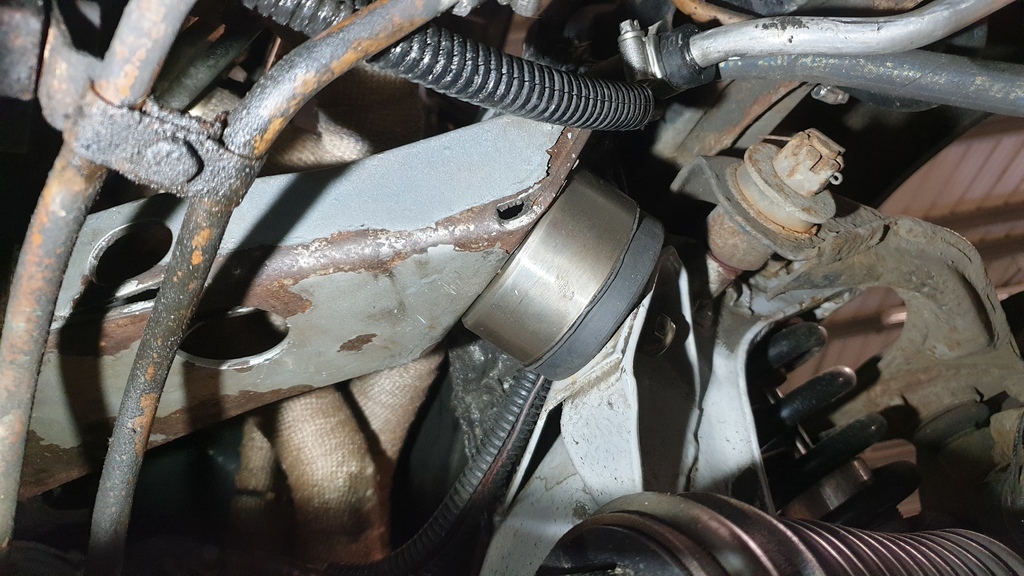 On the flip side, the first job of the day was bending up a bit of alloy tube to replace a section of PAS fluid return hose. And secure the feed hose between pump and rack in the inner arch area. That was almost a joy, and quite therapeutic to do getting the bends in just the right places 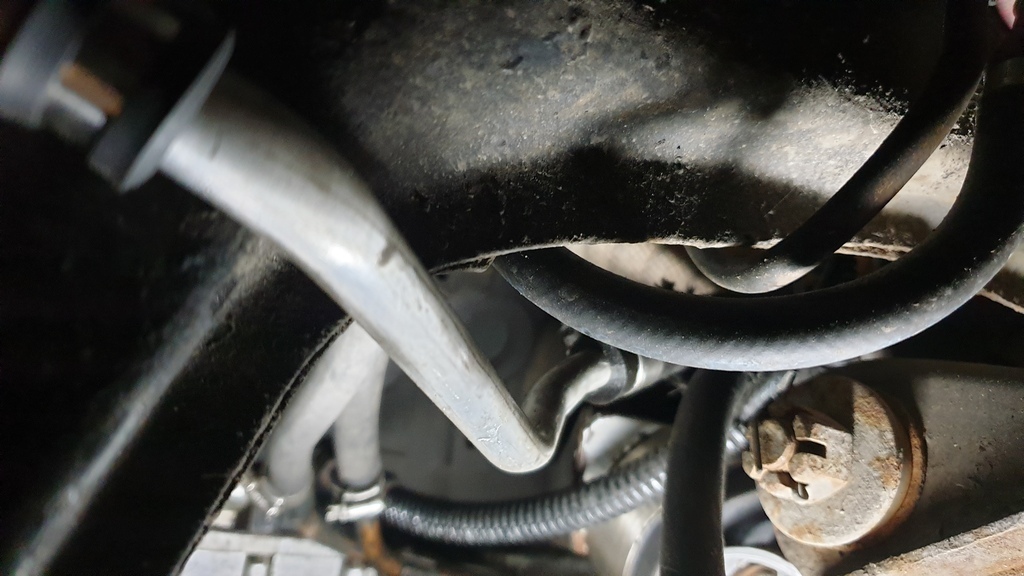 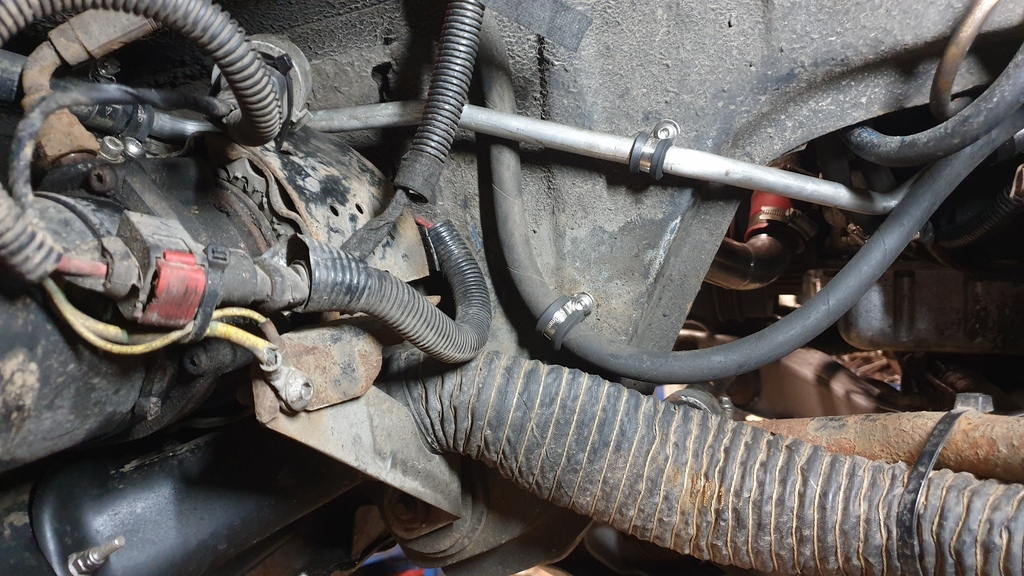
|
| |
|
|
mk2cossie
Club Retro Rides Member
Posts: 3,062  Club RR Member Number: 77
|
|
|
|
First of all, Happy New Year everyone! Hope we are all glad to see the end of that year now! On Tuesday I was booked in to have the battery and charging checked out on the ole girl, as the battery has been going flat if left for 3 days! It was previously fine when left for a couple of weeks and would burst in to life. So off to Milwaukee Motor Company in Tunbridge Wells I went, and after a space was cleared in the diminutive workshop my car was squeezed in. First port of call was to see what the current draw was, so I climbed in the boot and disconnected the battery and held the multi meter leads between battery terminal and clamp. Next to no drain once the radio and CD changer had settled on first reconnect of the battery, so on to an epic old battery tester/amp meter on the battery leads up front. Battery voltage was around 11.8v before start up, and with everything switched on and the engine fast idling the alternator was chucking out 14-15volts, and a whopping 15amps of oomph  So the alternator will be coming off and sent off for a rebuild soon. The rest of last week was spent making a mk2 version of the front sub box baffle. Plenty of 18mm MDF in stock, and the old baffle used as a rough template to outline. The mk2 version has better coverage to fill gaps, and a little kick out behind the ECU. 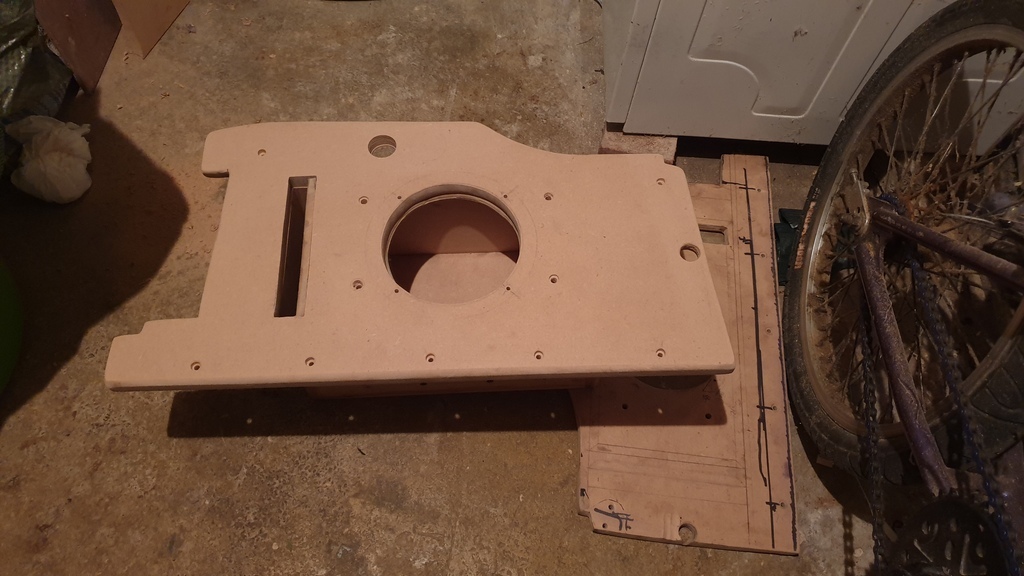 Sub hole cut out with a jigsaw, getting better at that now 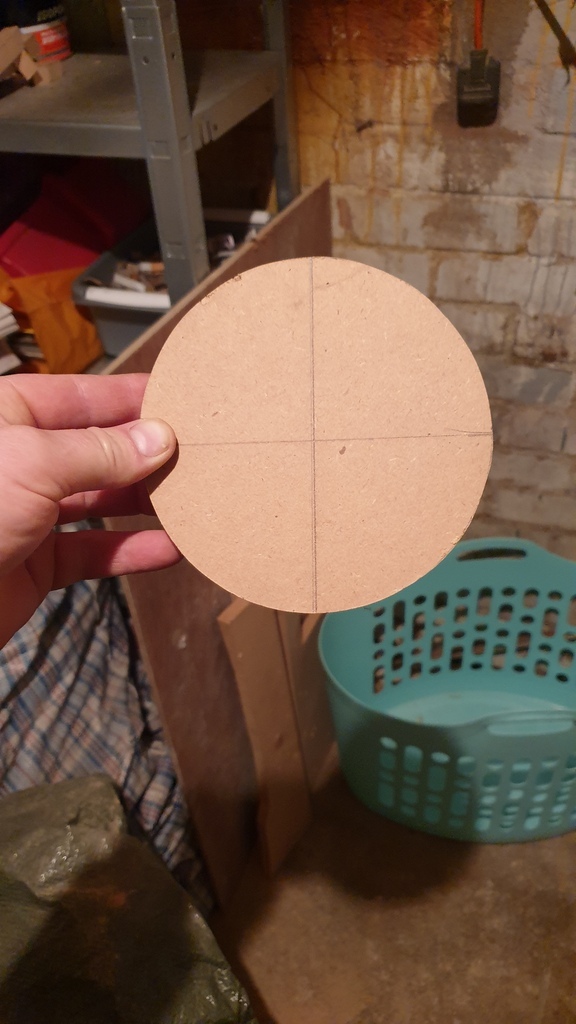 And a chuffing great step drill used to made the hole for the footwell lamp 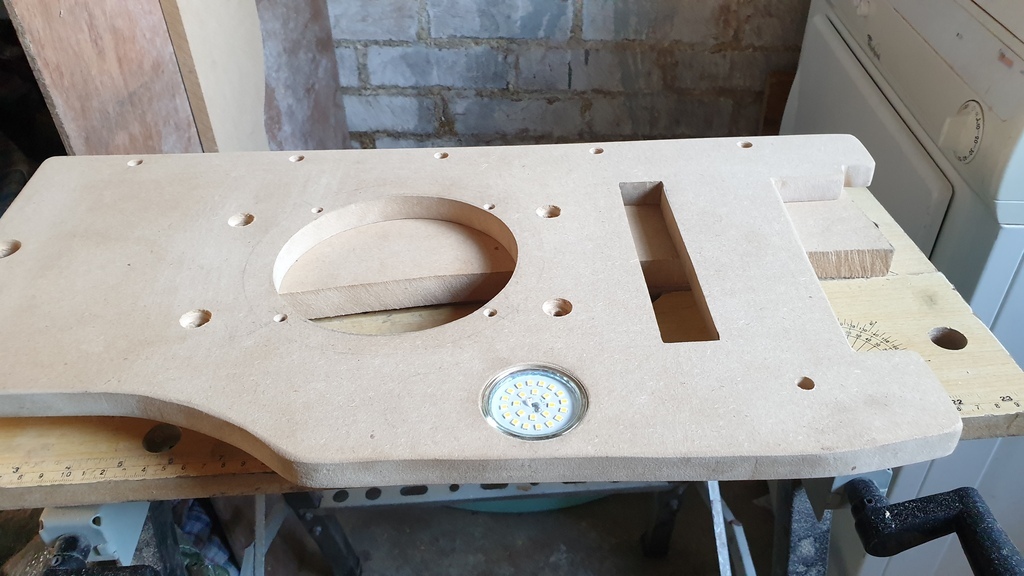 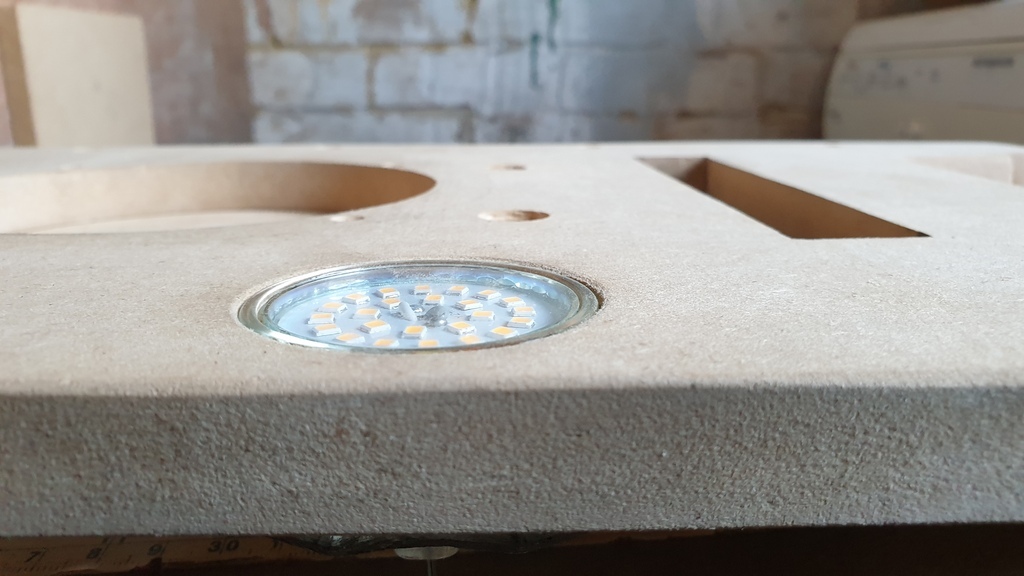 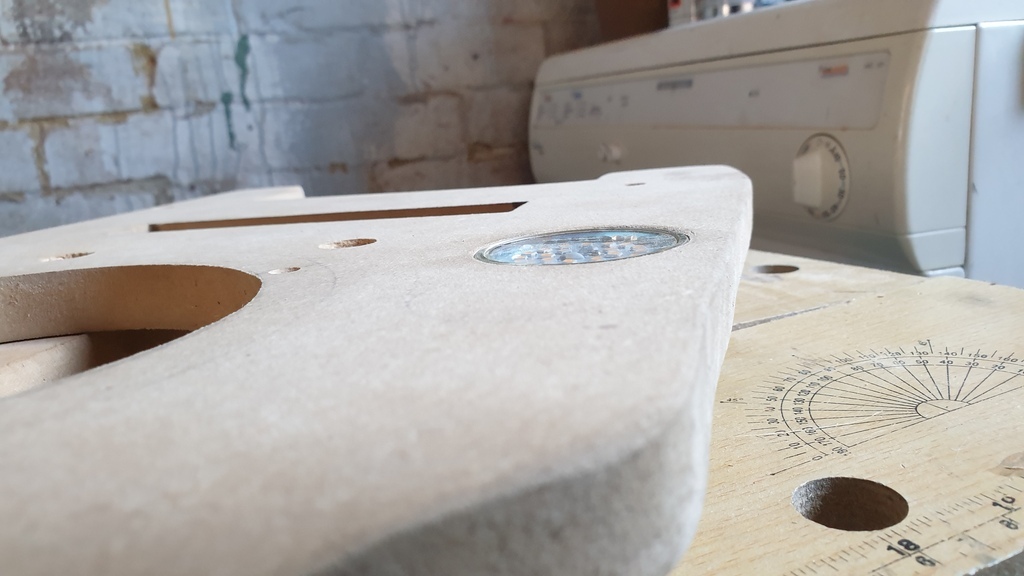 And gave the sub box a bit of a covering so it will blend in a bit better and hopefully not chatter 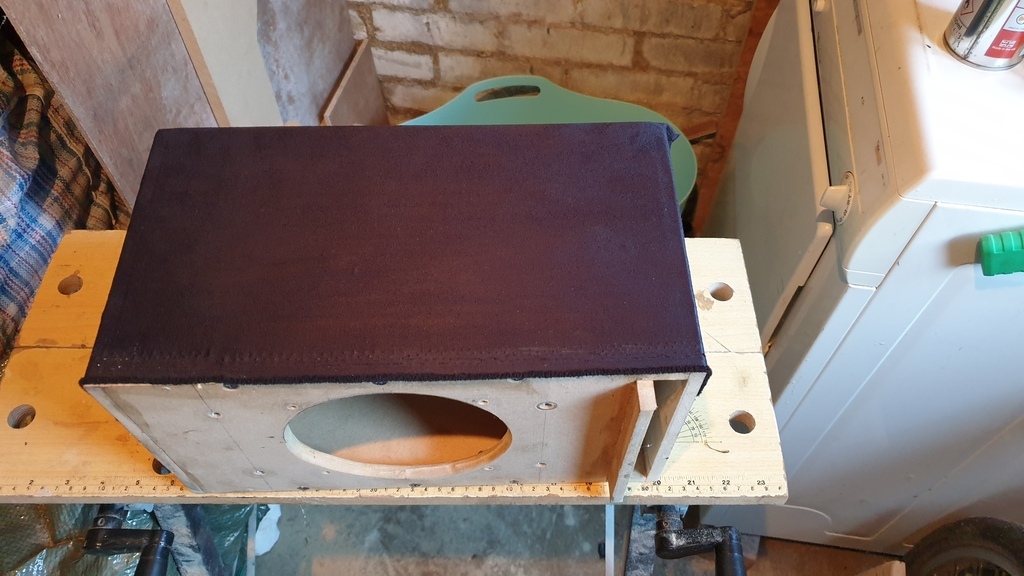 |
| |
|
|
ChasR
RR Helper
motivation
Posts: 10,309
Club RR Member Number: 170
|
|
|
|
|
Some great progress on this!
I'll have to check out the Osram LEDs for the Mondeo, as that could use brighter headlamps. They are the projector style in there mind you.
That's some nice work on the Sub. The handy thing with front mounted subs is that you kill alot of birds with one stone, including:
-mid-bass issues, as the sub can partially do these, as opposed to the mids needing to do this
-Time alignment issues ; the path length differences are minor now between the sub and the front components
-Sound stage improvements from bringing all of the speakers up front.
It's something I've wanted to do in a couple of cars I've had in the past but the cars have either had no room (Merc W108), or I didn't keep them long enough. That or they were like the 2CV!
|
| |
|
|
mk2cossie
Club Retro Rides Member
Posts: 3,062  Club RR Member Number: 77
|
|
|
|
ChasR From experience at work, projector style lights are nowhere near as fussy with bulbs as the ones with the reflector/beam pattern maker behind the bulb element. When I went to Tunbridge Wells for the work on Tuesday, the front sub was out and the lack of bass is noticeable! Even with the 1500w 10 inch sub in the boot  It certainly makes a difference with the front one, the only downside is that there isn't enough room for the glovebox, sub box, and the tube for the window vent 
|
| |
|
|
|
|
|
|
|
To be fair a sturdy box to mount a speaker to should help with sound quality  nothing at all to do with that being the material at hand... |
| |
|
|
|
|


 )
)
 to bolt back on to the block. Far too much time spend doing that and making a guide for one side and they were in...


