|
|
|
|
|
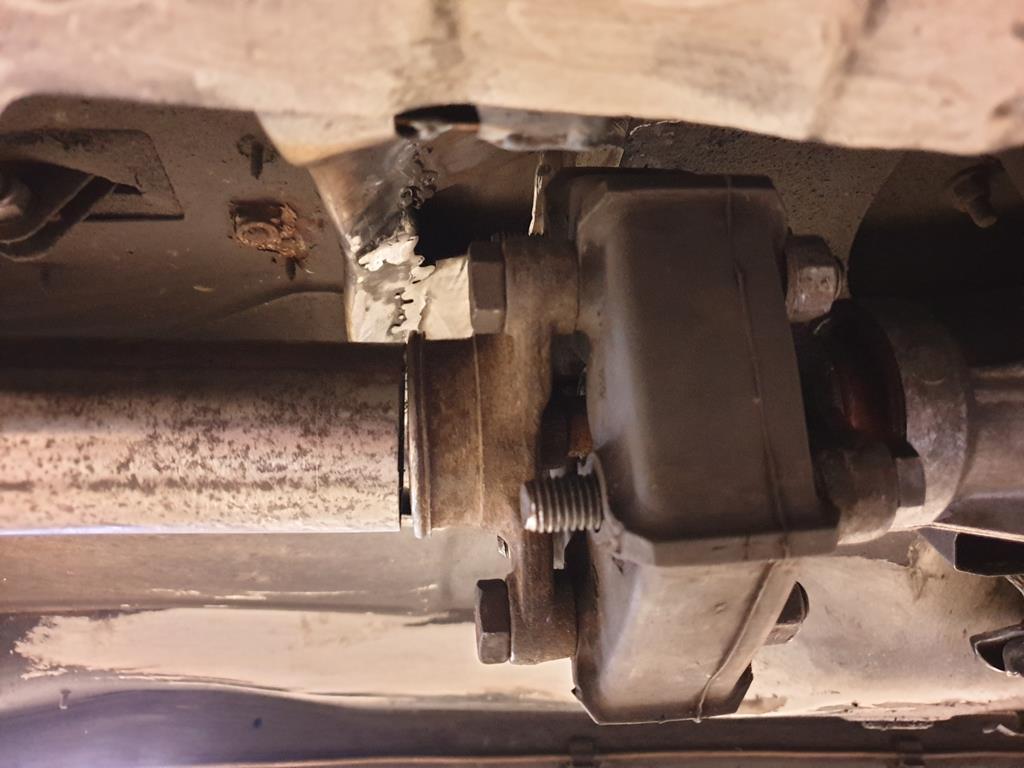
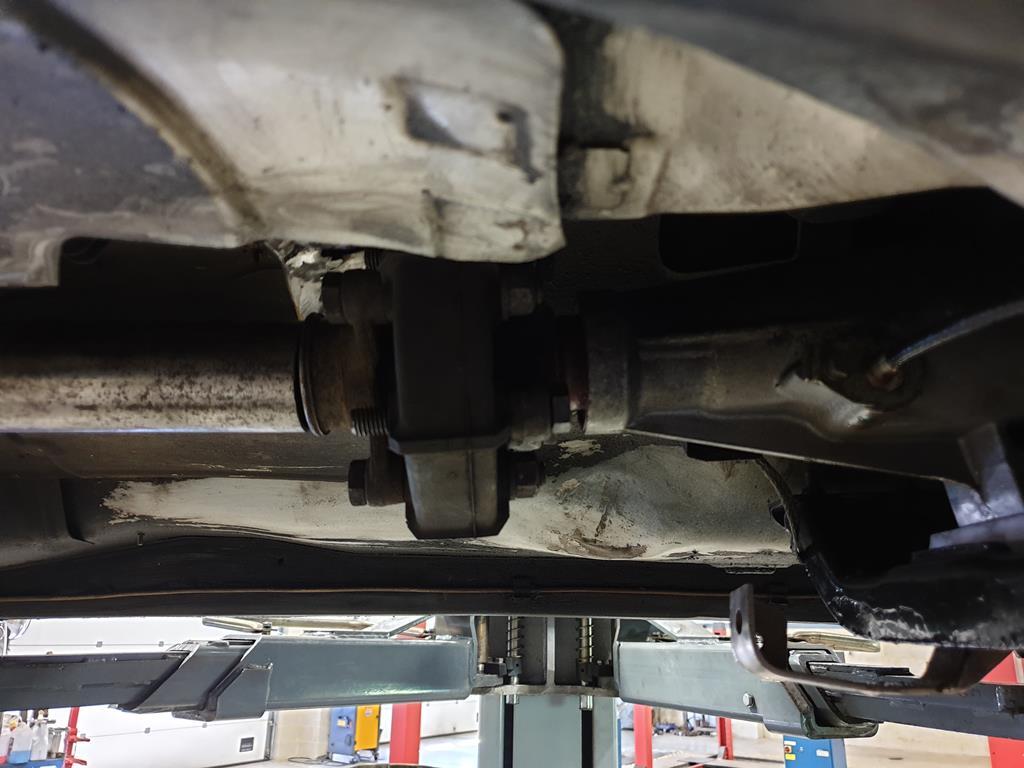
Shortening the coupling would be a good idea (there's plenty on BMWs, and there's a formula you can use to convert measurements to PCDs). However, they don't just bolt directly onto the propshaft. There's often a little centreing bearing that slots into the yoke on the other side. You'd need to shorten than by the distance you lose from the coupling. Might still be doable depending on the design though  |
| |
|
|
|
|
mk2cossie
Club Retro Rides Member
Posts: 3,062  Club RR Member Number: 77
|
|
May 27, 2020 16:39:44 GMT
|
Shortening the coupling would be a good idea (there's plenty on BMWs, and there's a formula you can use to convert measurements to PCDs). However, they don't just bolt directly onto the propshaft. There's often a little centreing bearing that slots into the yoke on the other side. You'd need to shorten than by the distance you lose from the coupling. Might still be doable depending on the design though  Shorten the coupling?  its thick ole rubbery stuff with metal bits in it, not sure it would like being trimmed down  The front section of prop shaft being shortened is the easiest option, and I can always just put the custom 1 piece prop back in for now anyway  |
| |
|
|
|
|
|
May 27, 2020 17:07:04 GMT
|
|
Ah, I more thought replace with a BMW one or a different modern. E46s have a rubber coupling in the same position that's a lot narrower than that. Think there's two sizes, one for most and a bigger diameter one for the 330d.
Still, shortening props isn't rocket science. Managed it on my Spit (although it's untested as yet). Grind off the old weld, cut to length making sure it's a nice 90-degree cut (I found some adjustment with a set square was needed), then press the old end back in, weld up and get balanced.
|
| |
|
|
mk2cossie
Club Retro Rides Member
Posts: 3,062  Club RR Member Number: 77
|
|
|
|
|
|
| |
|
|
|
|
|
|
|
|
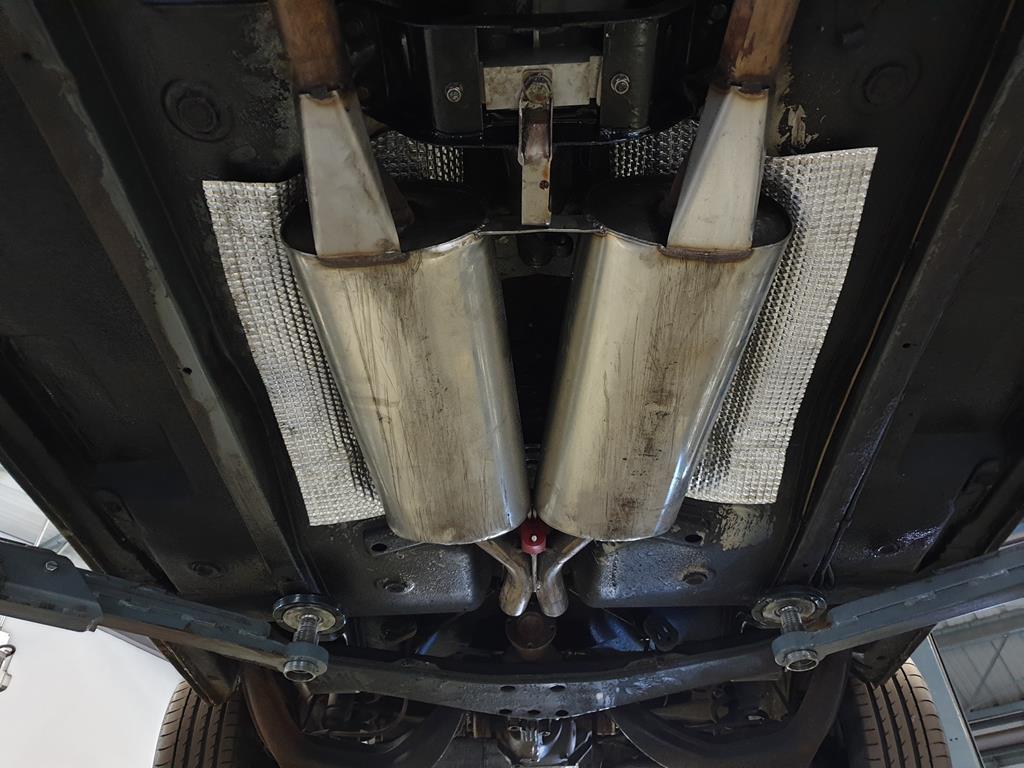
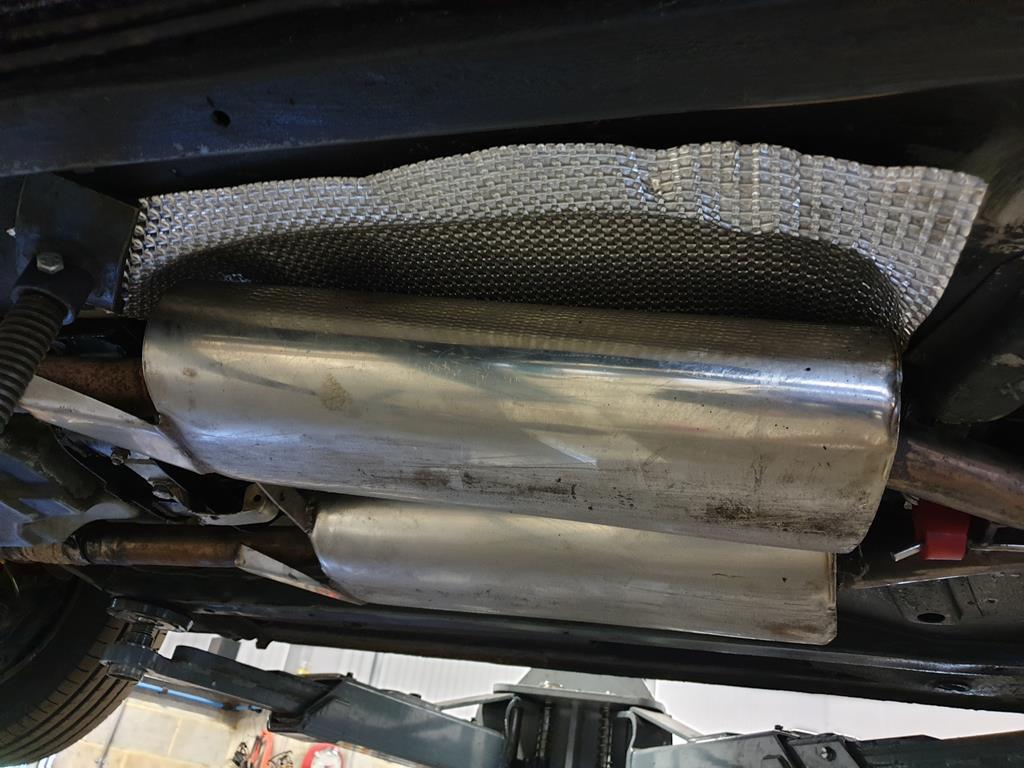
Nice skid plates on the silencers.
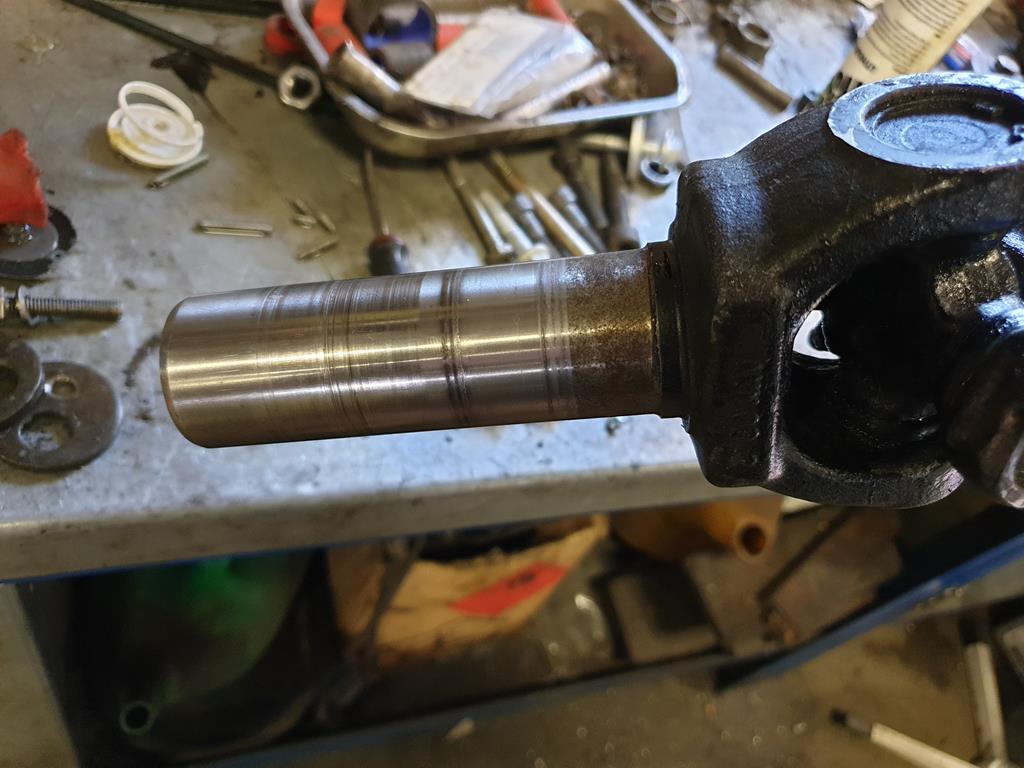
Prop does look a bit grooved - you might need to keep an eye on the gearbox fluid levels, but apart from leaving a wet patch on the drive it wont hurt anything if you left it.
|
| |
|
|
|
|
|
|
|
|
Looks good to me. From the research I've been doing on the Alfa 75 it seems like angular deflection in the propshaft couplings is one of the real life-limiting factors for these. The Alfa guibos seem to be designed to support a lot of deflection, although careful alignment still helps with their lifespan.
Does the rear of the gearbox point directly at the diff flange or is it off a bit?
|
| |
|
|
mk2cossie
Club Retro Rides Member
Posts: 3,062  Club RR Member Number: 77
|
|
|
|
Looks good to me. From the research I've been doing on the Alfa 75 it seems like angular deflection in the propshaft couplings is one of the real life-limiting factors for these. The Alfa guibos seem to be designed to support a lot of deflection, although careful alignment still helps with their lifespan. Does the rear of the gearbox point directly at the diff flange or is it off a bit? From what I can guesstimate the gearbox end points to below the diff input flange. By how much I've no idea tho, shall have a bit of an investigate tomorrow  |
| |
|
|
|
|
|
|
|
|
They are meant to be misaligned - ideally the diff should be nose up and the gearbox tail down. On live axles its normally 3 degrees nose up and 3 degrees tail down on gearbox. This makes the bearings in the prop ujs revolve around which keeps the grease spread around the rollers.
|
| |
|
|
|
|
|
|
|
|
Hooke's joints are supposed to have an angle on them, the guibo's are supposed to be nigh on straight, this is why they are usually used with at least a 2 piece prop. Production cars usually have a variety of centre bearing brackets to achieve this.
|
| |
|
|
mk2cossie
Club Retro Rides Member
Posts: 3,062  Club RR Member Number: 77
|
|
|
|
Managed another day of tinkering time at work today  And another delivery turned up of car parts this morning too! Started off with tidying up all the wiring beside the centre console and ECU 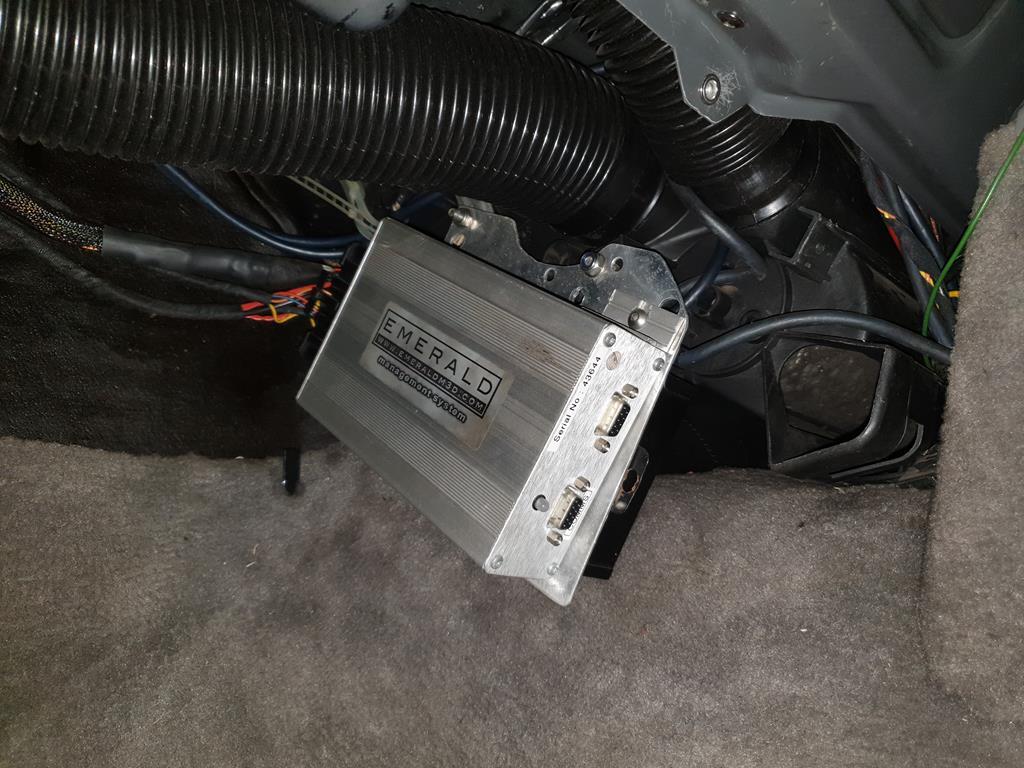 Followed by spending far too much time making a cardboard template for the area underneath the glovebox  But that's for another time... My delivery had oil hose and a couple of adapters for the oil catch can, so that went from a bit of a cobbled together mess 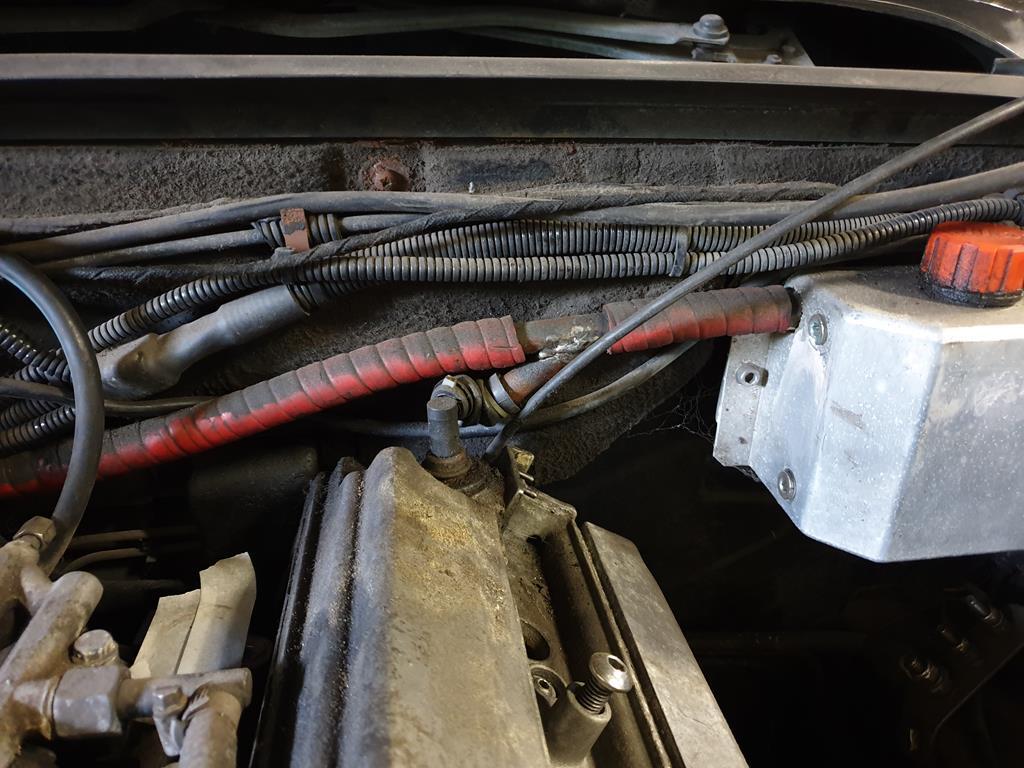 To this 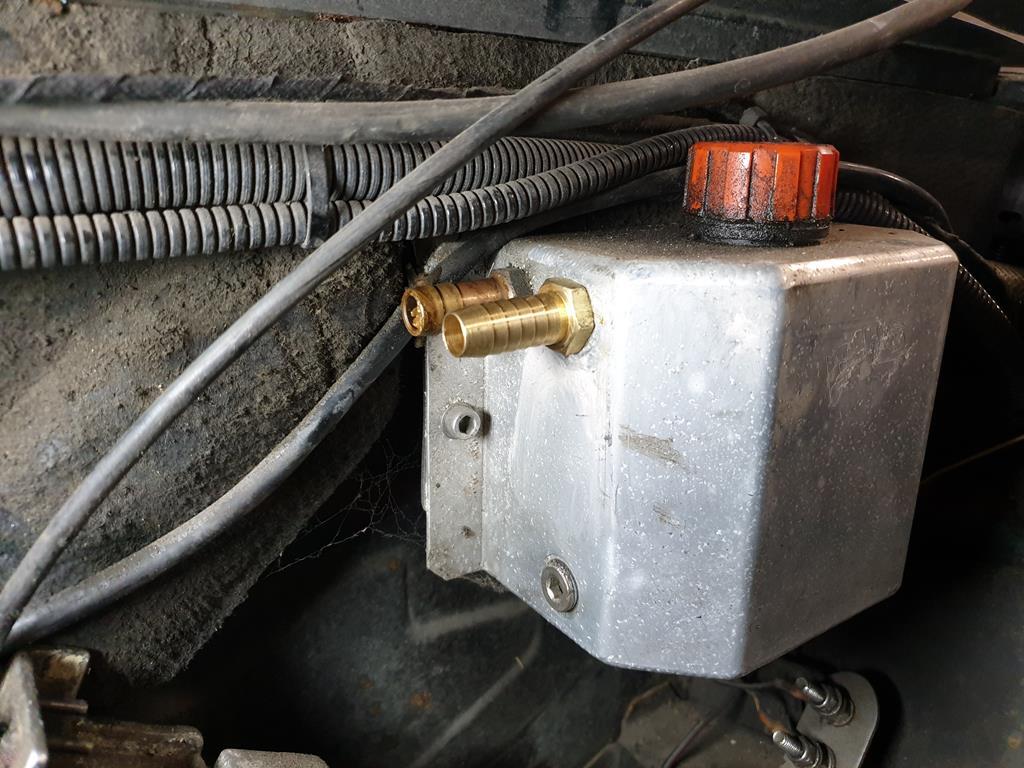 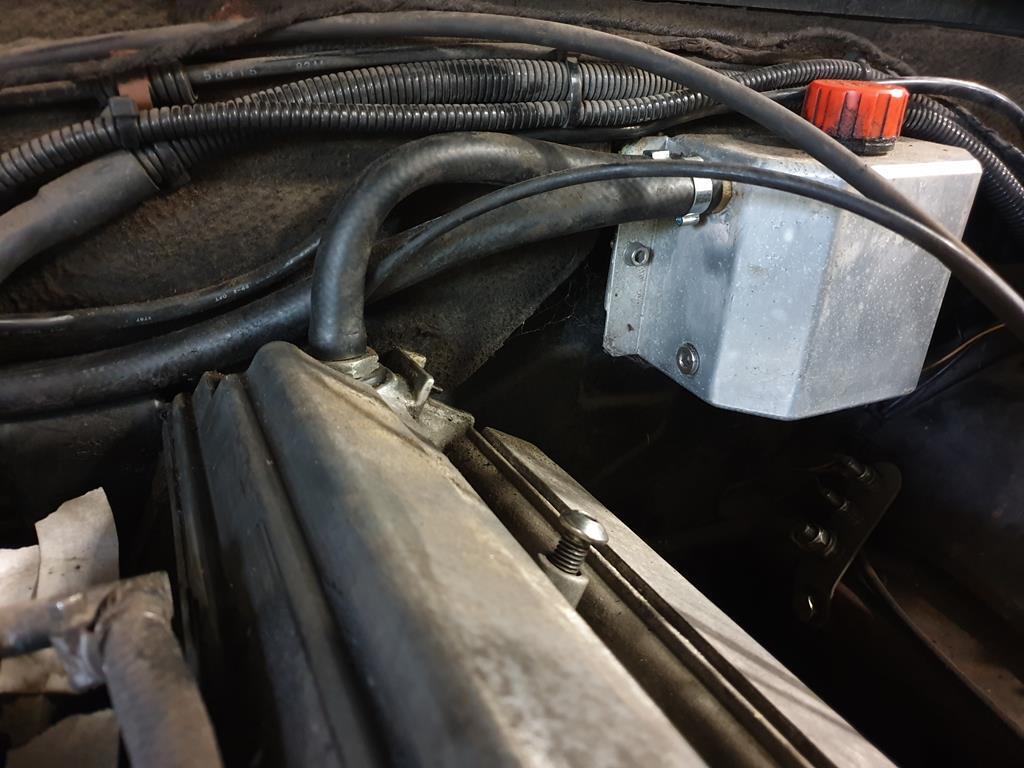 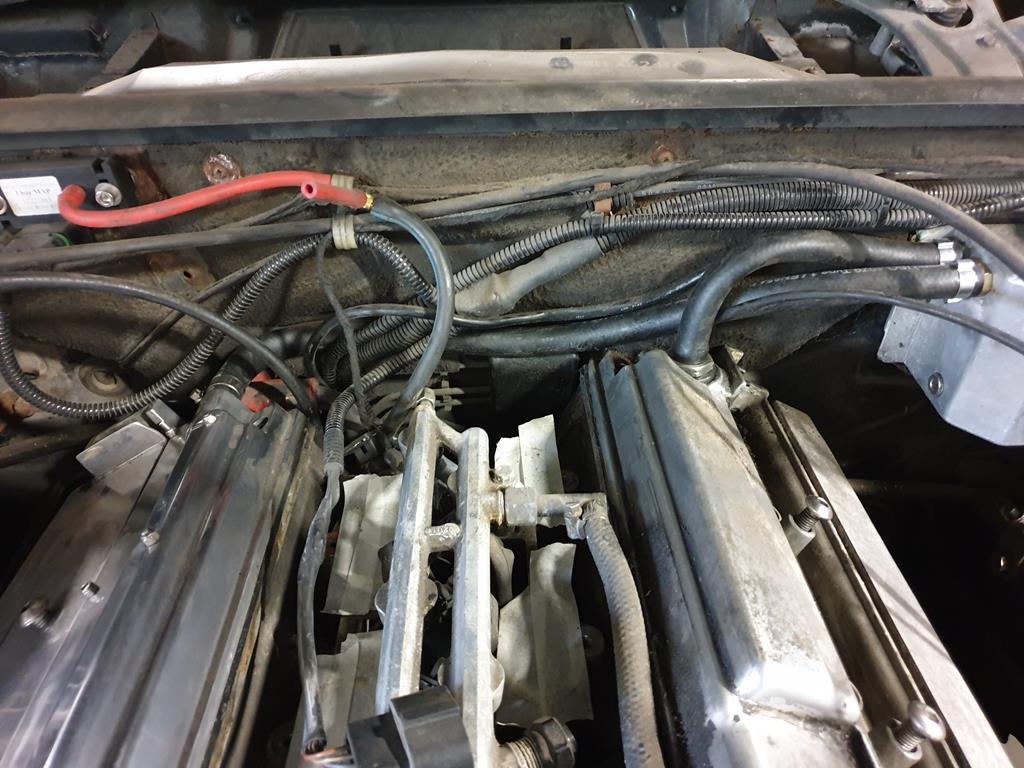 And some more exhaust wrap was also in the delivery, so the silencer section inlets got wrapped as well. They just need some paint on them and they can go back on 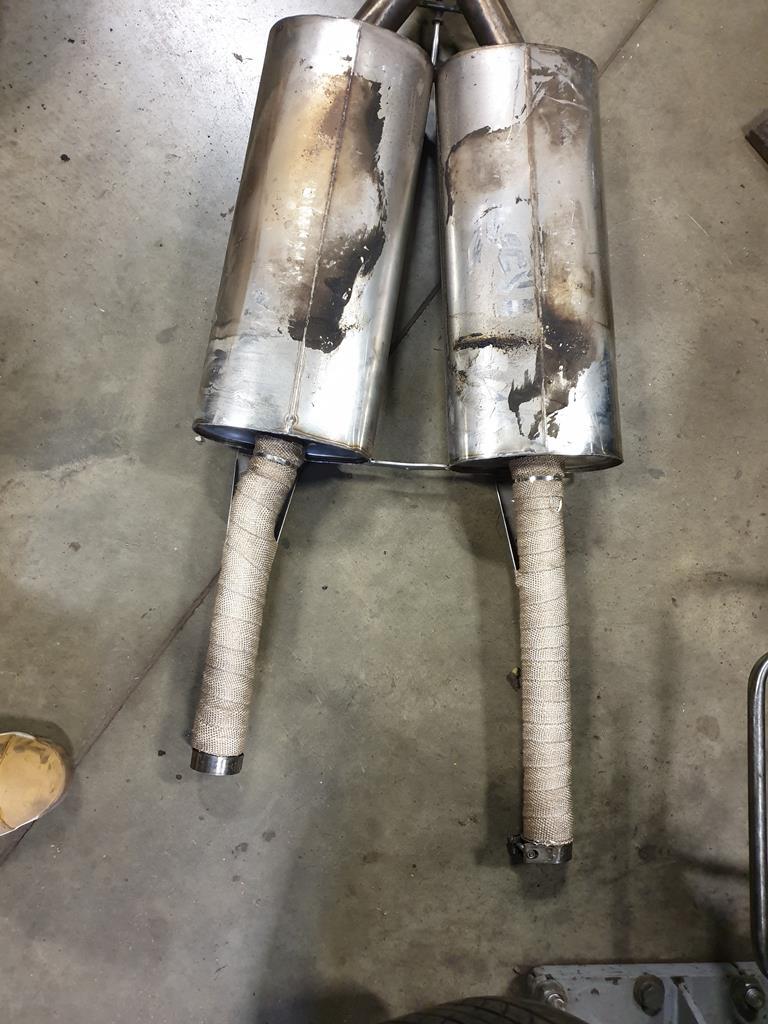 |
| |
|
|
|
|
|
|
|
|
|
Much neater on the catch can  nice work! |
| |
|
|
mr
Posted a lot
  
Posts: 1,619
|
|
|
|
|
someones been busy , nice to see your still at it mate
|
| |
Got the car from 105 bhp at the crank to 152 at the wheels.nitrous going on next.....if it ain't broke,keep bolting on go faster parts until it is........ www.fordgranadaclubuk.freefo.de |
|
mk2cossie
Club Retro Rides Member
Posts: 3,062  Club RR Member Number: 77
|
|
Jun 15, 2020 17:16:45 GMT
|
someones been busy , nice to see you're still at it mate Thanks mr  Had a bit more tinkering on Saturday the 13th. Didnt take any pictures tho, as it was just tidying up and re-loom tape some of the bits of harness in the engine bay and to power steering pump. And made the dent in the N/S/F wing less pronounced as well Oh, and also squashed the ducting for the brake cooling a bit. So that won't be rubbed away by the tyres on full lock hopefully! mr also knows what my side project is, but that will be updated on here in time  |
| |
|
|
mk2cossie
Club Retro Rides Member
Posts: 3,062  Club RR Member Number: 77
|
|
Jun 26, 2020 18:50:15 GMT
|
Right then, not exactly the most picture heavy of build threads on here. But this week I have been off of work on holiday, and I've been at work all 5 days working on my car  The other MOT tester was back off furlough this week, and the boss wants my car driving at least so it isn't in the workshop taking up space  So Monday morning started with making a plate and baffle board for behind the glovebox area 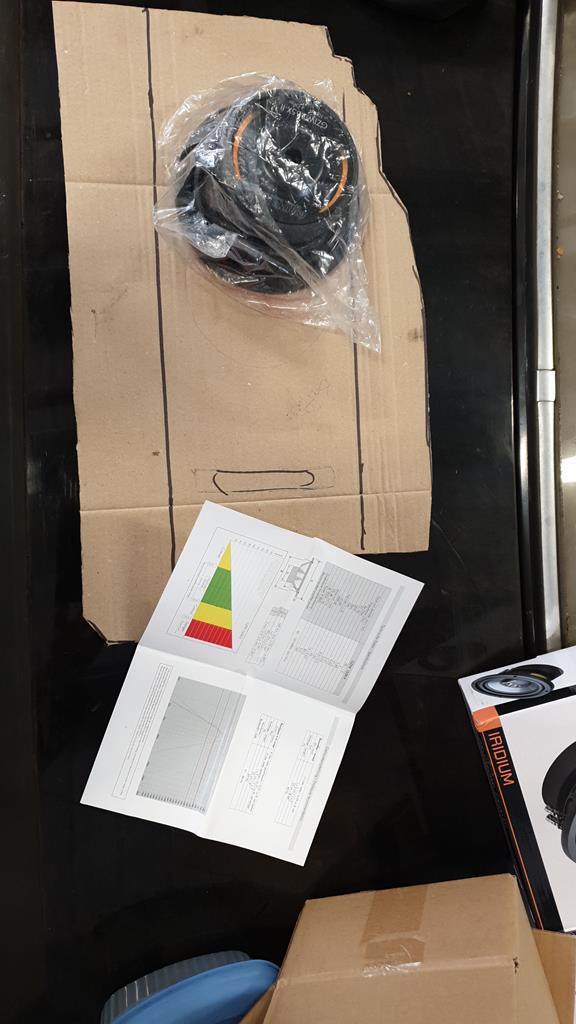 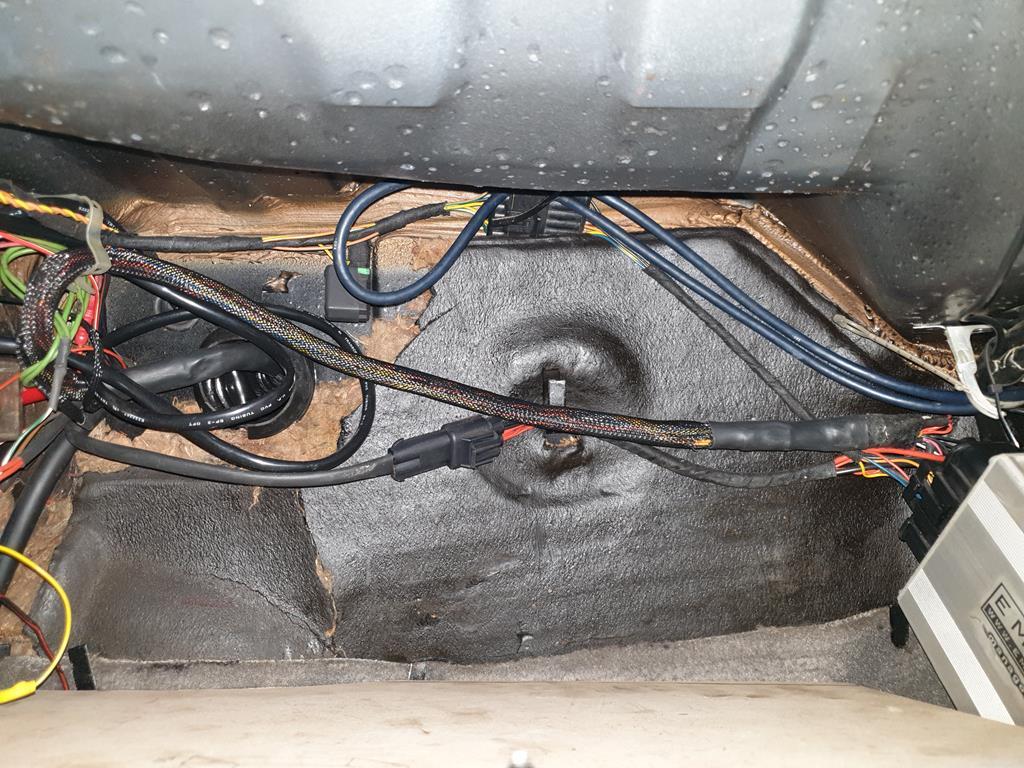 With a cut out to clear the Emerald 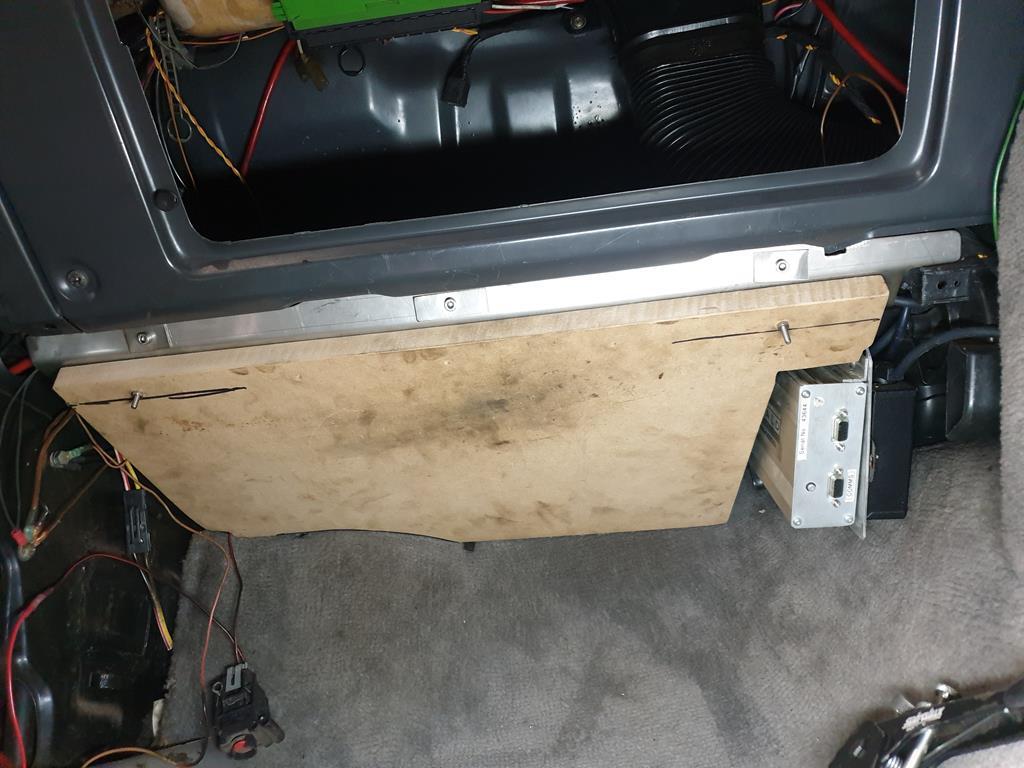 And a lot of faff getting it just the right shape. Then today, whilst refitting the A post trim panel discovered the board wants to occupy the same space  So a bit more trimming and fettling got me to this 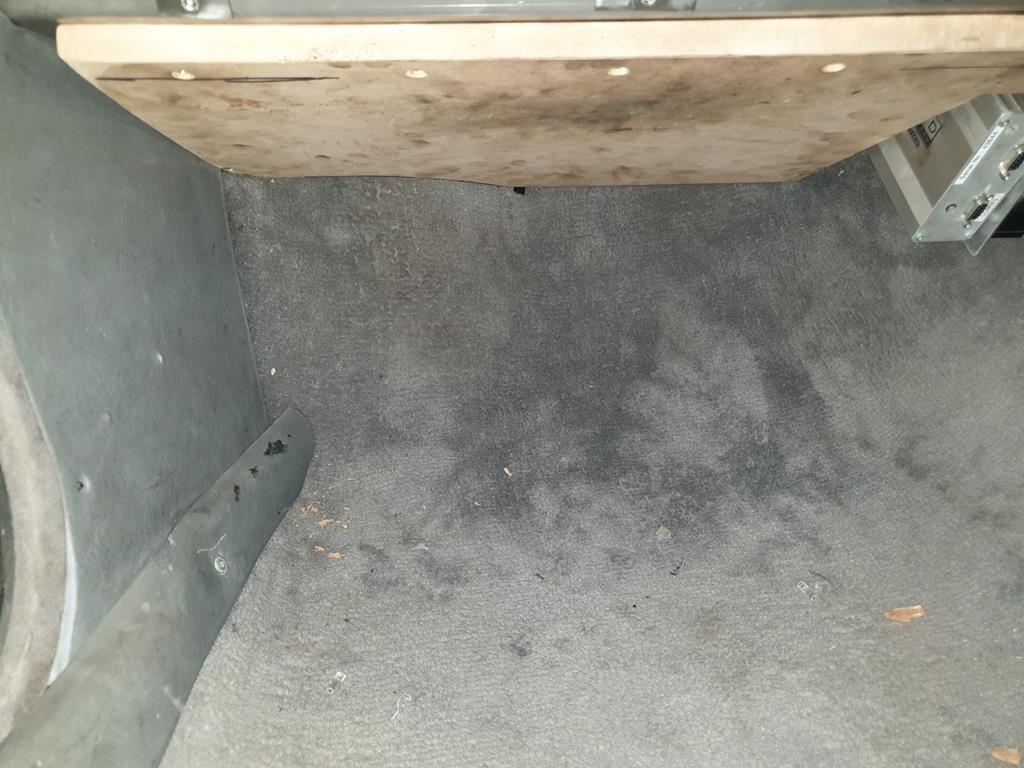 With a nice sized space behind the glovebox to fill at some point as well, and fitted the fused distribution box too 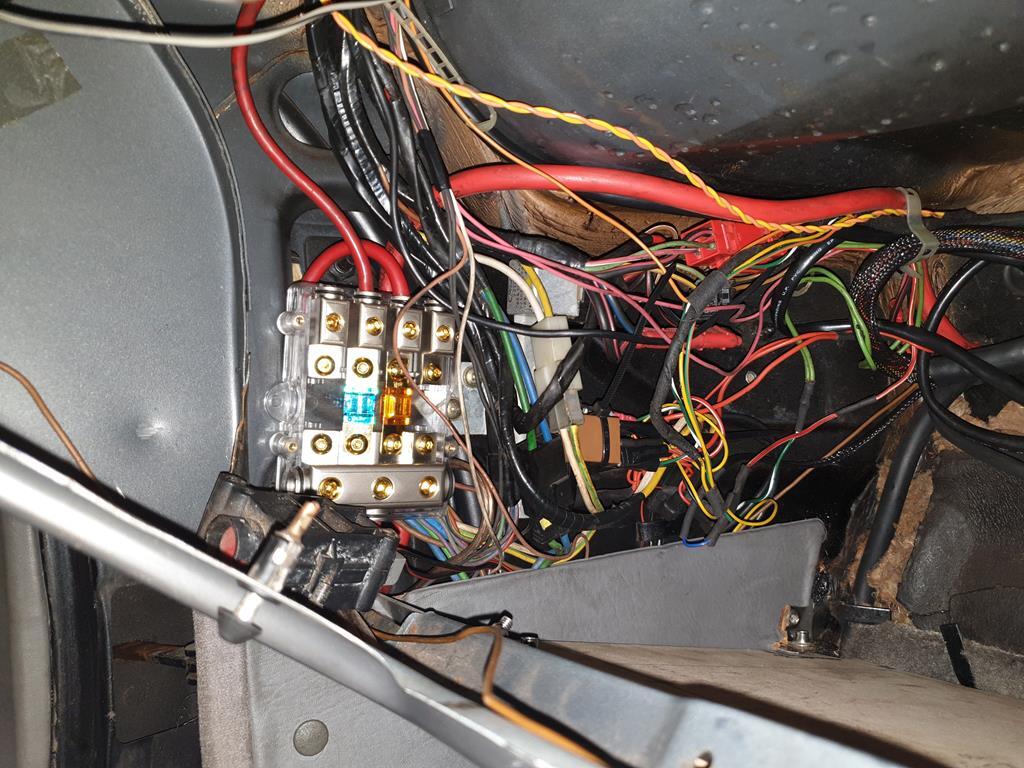 My cam cover gasket set arrived on Thursday last week as well, so I could get on with the nearside cam cover sealing! 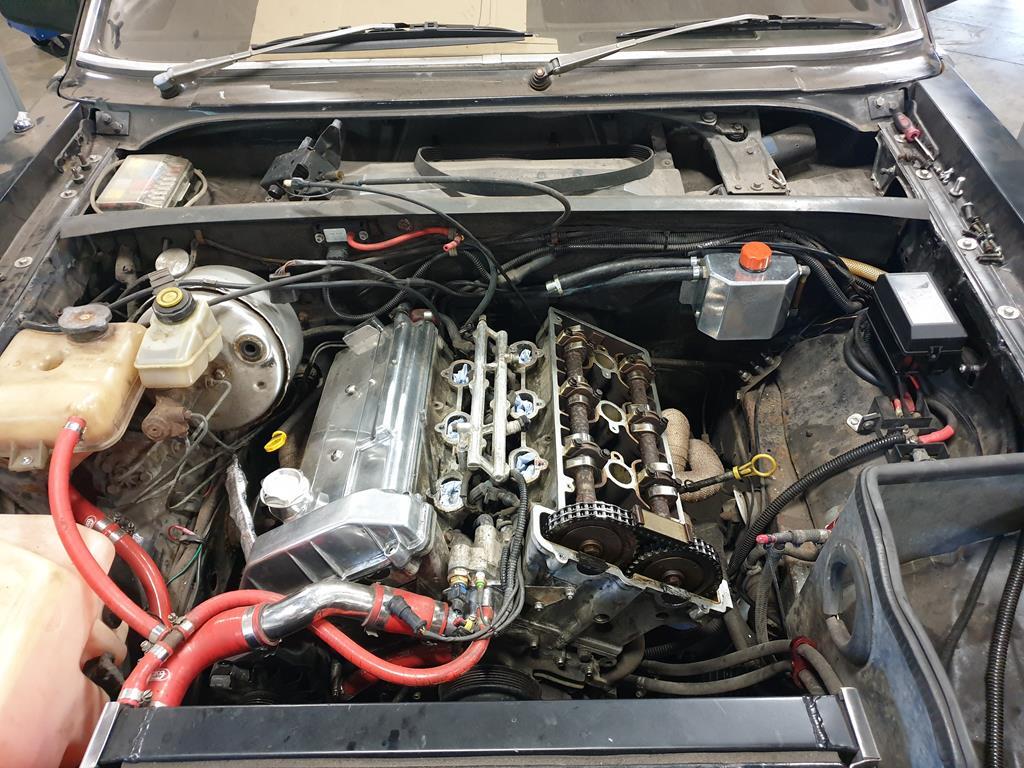 Also needed to replace the fuel hose that was showing signs of age and cracking up too 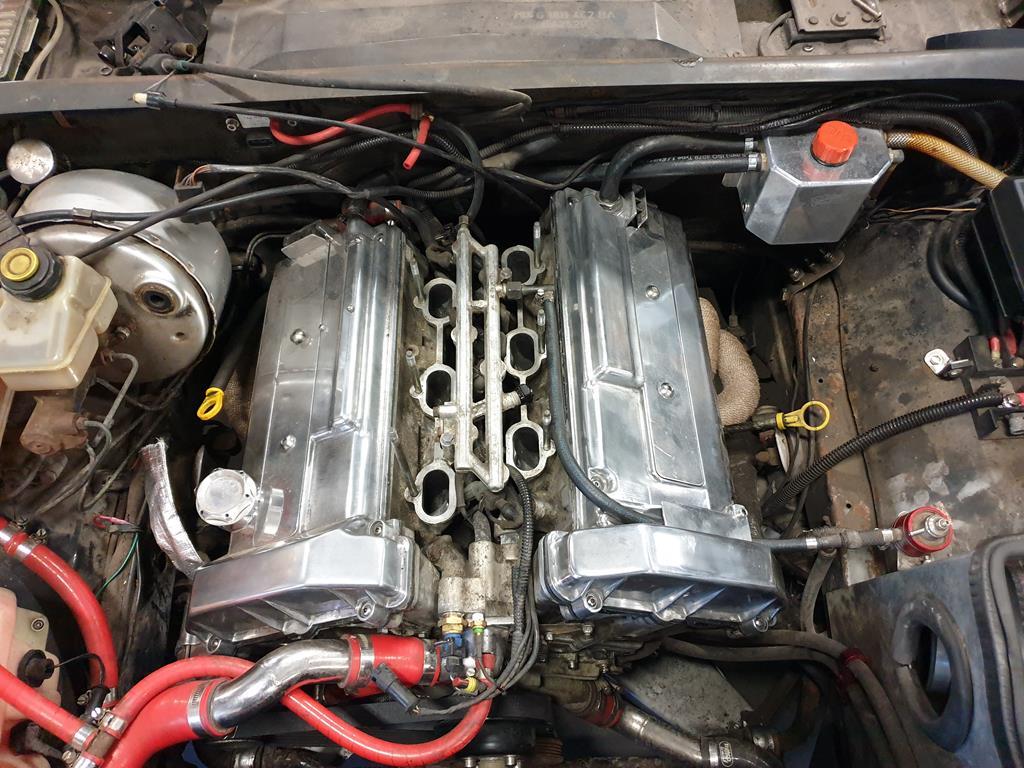 Refitted the alternator and nipped the belt adjustment up 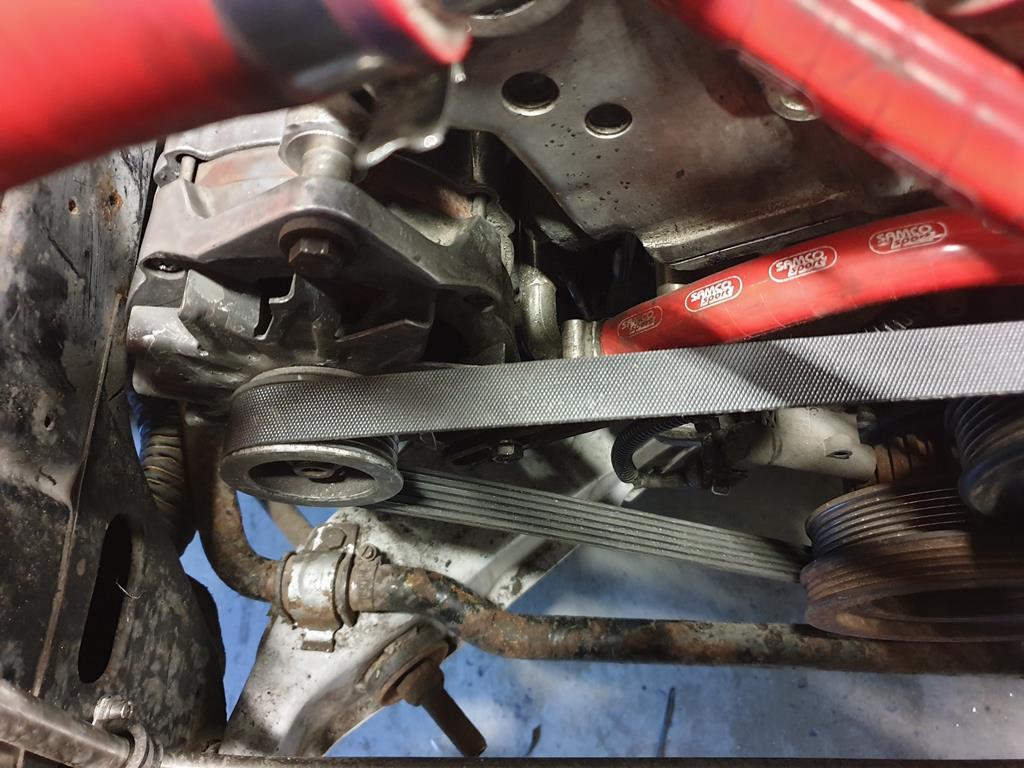 Then fitted the new inlet manifold gaskets and refitted the inlet manifold itself (with a slight concern there isnt enough room with the coil pack mounted at the back and the new oil breather pipework!) 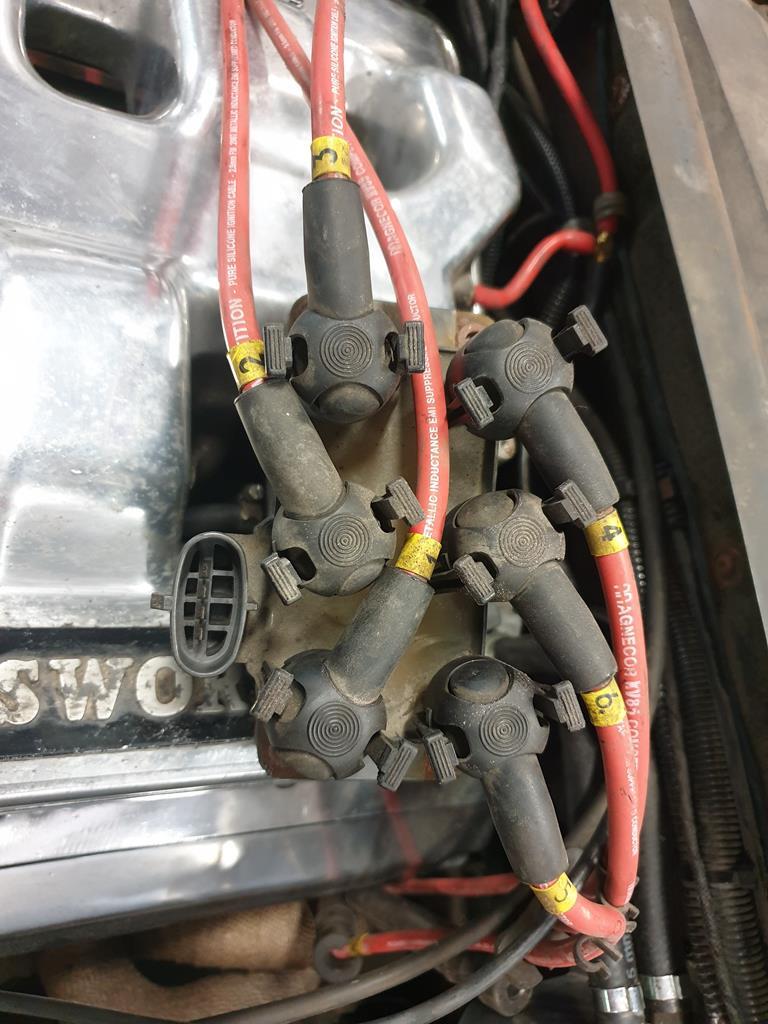 And replaced the HT leads as well 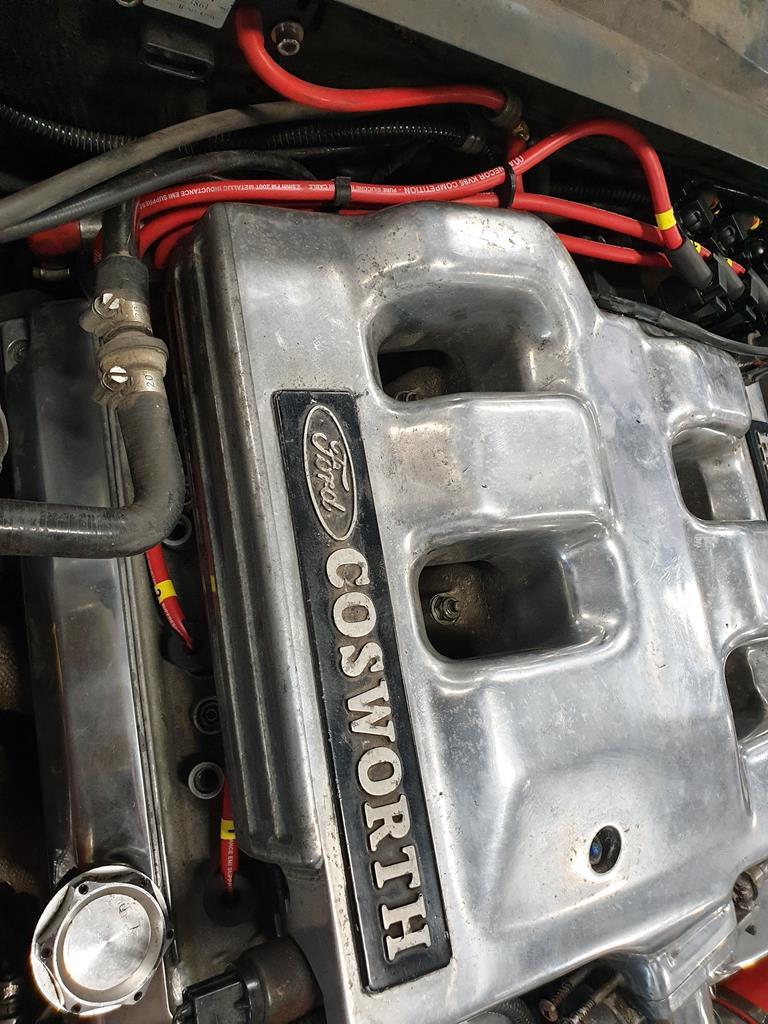 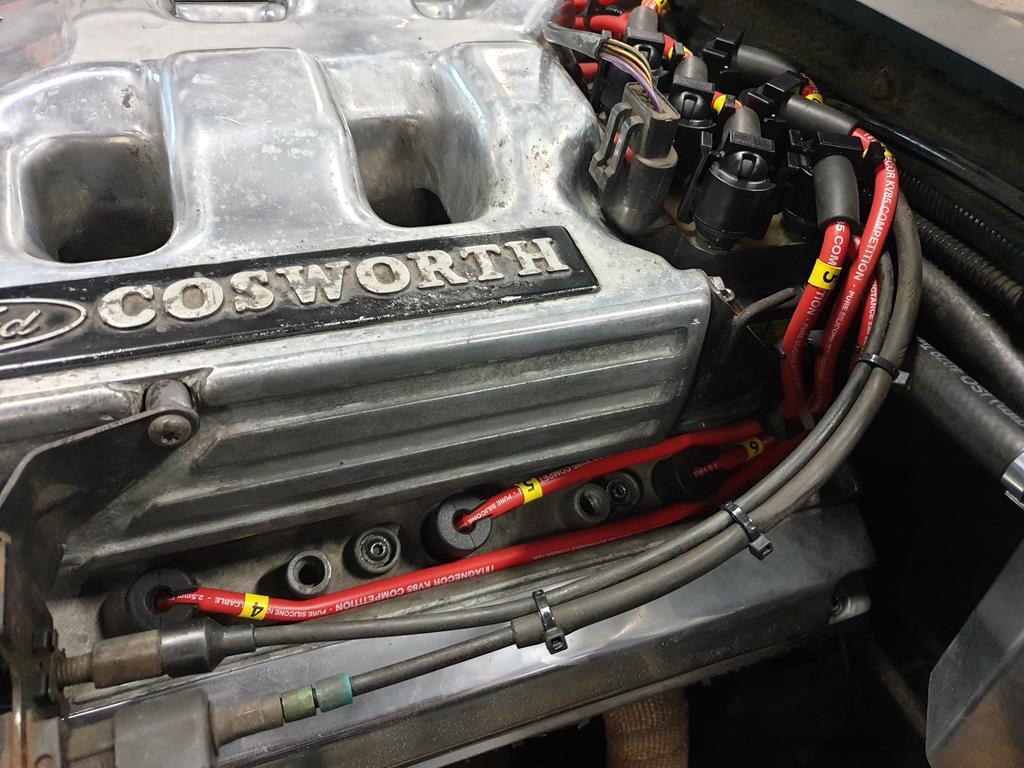 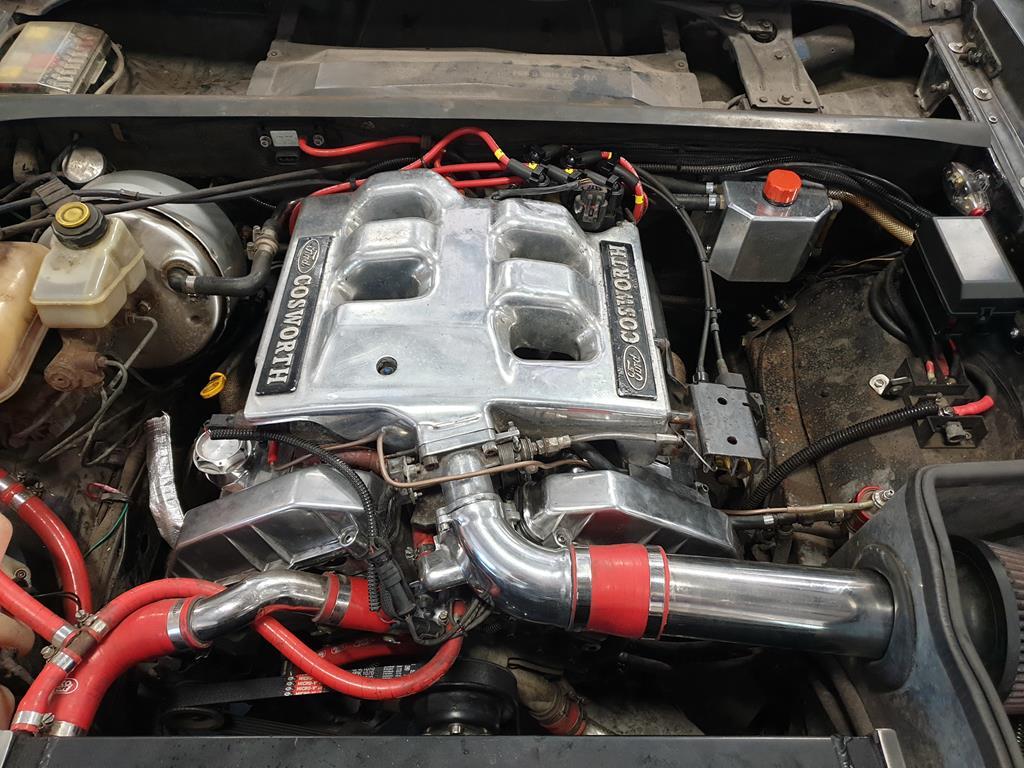 Then when that was all back together, the moment of truth! Would it fire up? It would, and it needed a blip to put the charge light out. Then it would just about idle then cut out! Ran it at a slightly fast idle to get some heat in to it, and it would then idle but at 18:1 AFR  Then I discovered I'd been a dingbat and had left the vacuum pipework off for the fuel pressure regulator. So rather than remove the inlet manifold I just made a temporary pipe that goes over the throttle body! Done the trick, and I then ran the car up to temp. 2 fan cycles and there appears to be no oil leaks up the top now, and all the exhaust wrap has huffed out all its smoke too  So tomorrow is refit the bonnet, finish off tidying up the wiring, and refit the bonnet by myself so I can have a road test in the ole girl for the first time since lockdown began  |
| |
|
|
mk2cossie
Club Retro Rides Member
Posts: 3,062  Club RR Member Number: 77
|
|
Jul 12, 2020 14:28:58 GMT
|
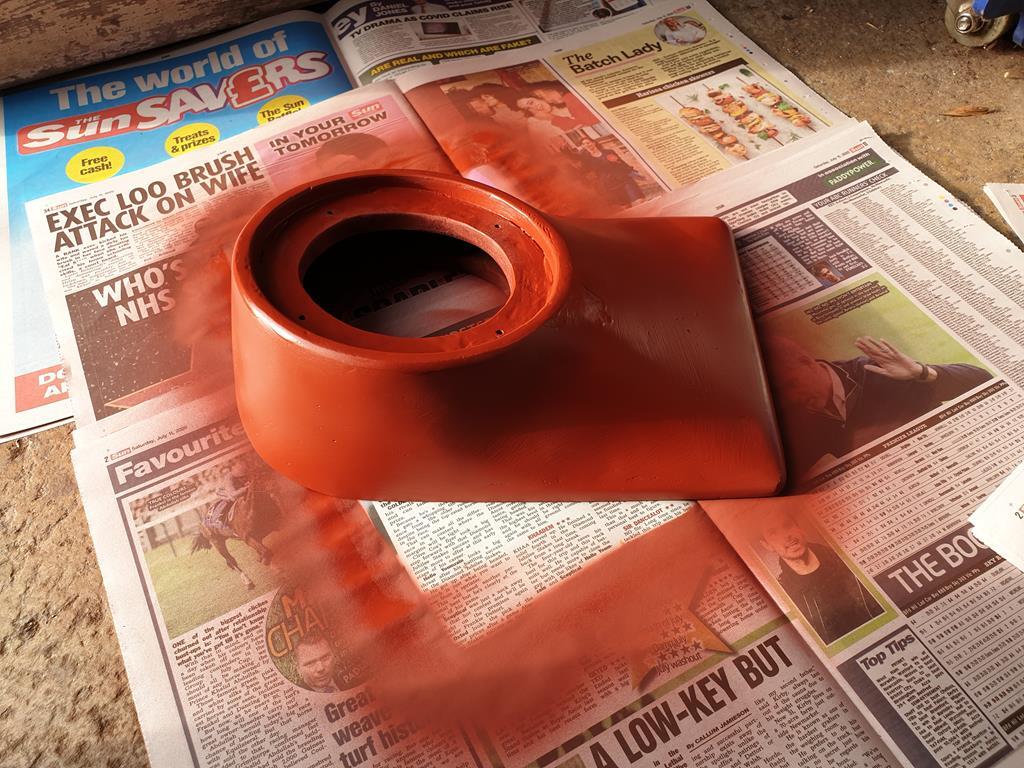
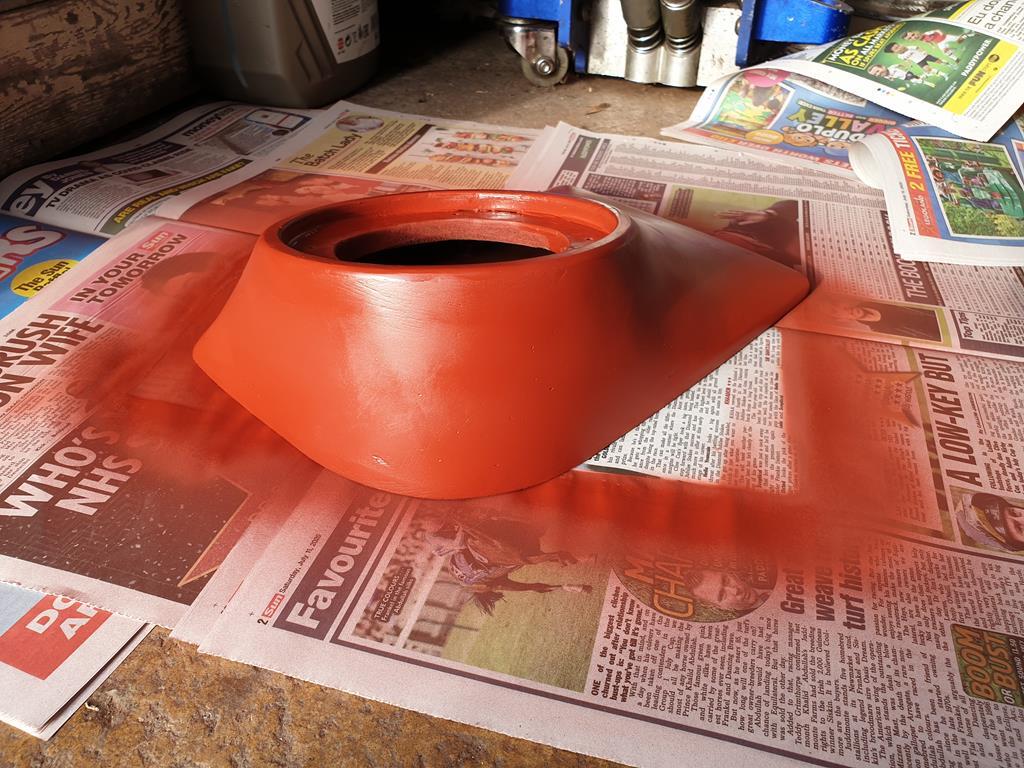
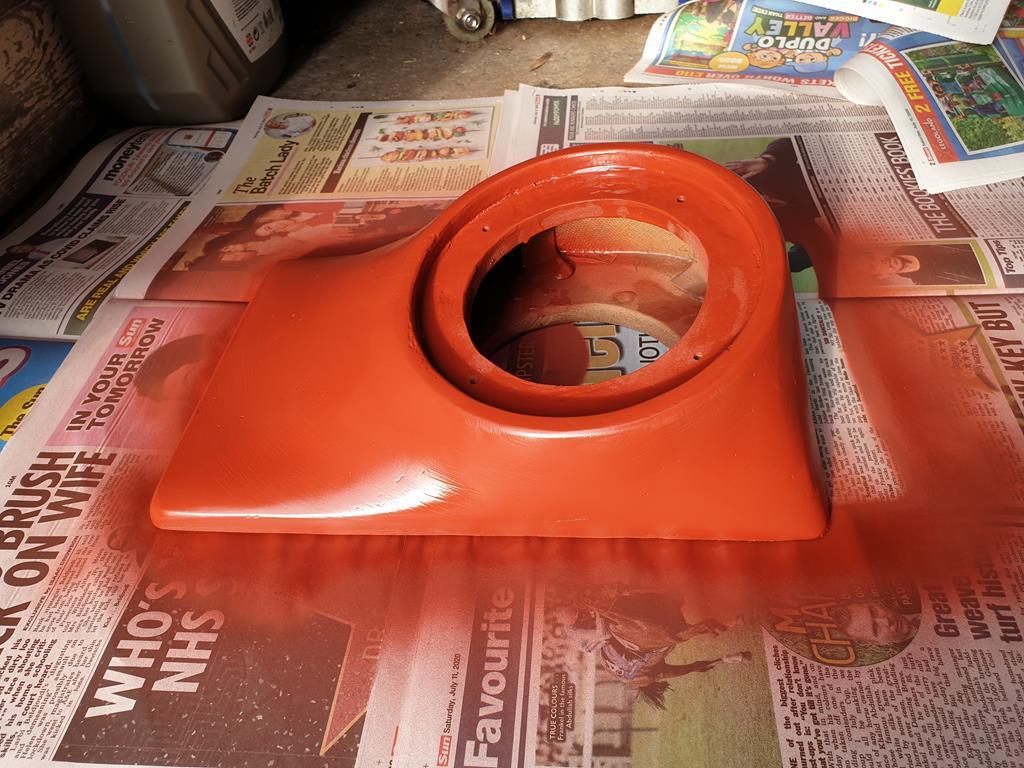
I must admit I've not been using the car much since having it back on the road/out of the workshop! Filled it up with fuel on Thursday after work, and took it out for a blast last night (Saturday 11th) I have still been tinkering tho, and today I have the drivers door card off and currently titivating the speaker pod I made about 15 years ago  A few cracks and they have always been thin, and the fabric over both is dead 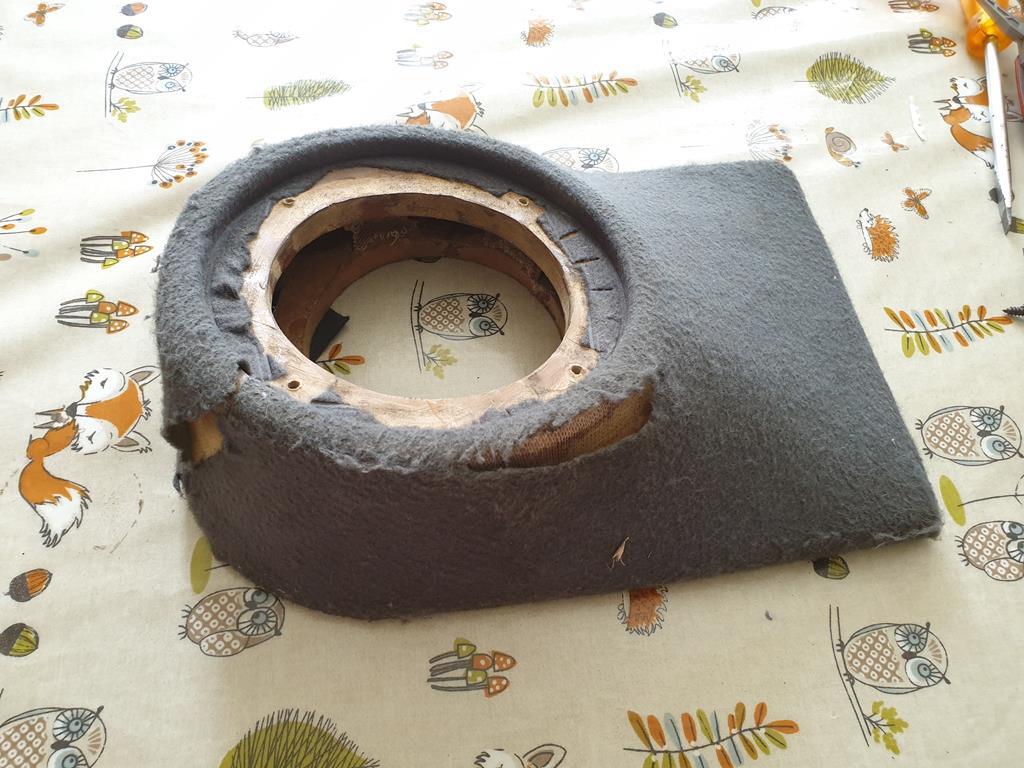 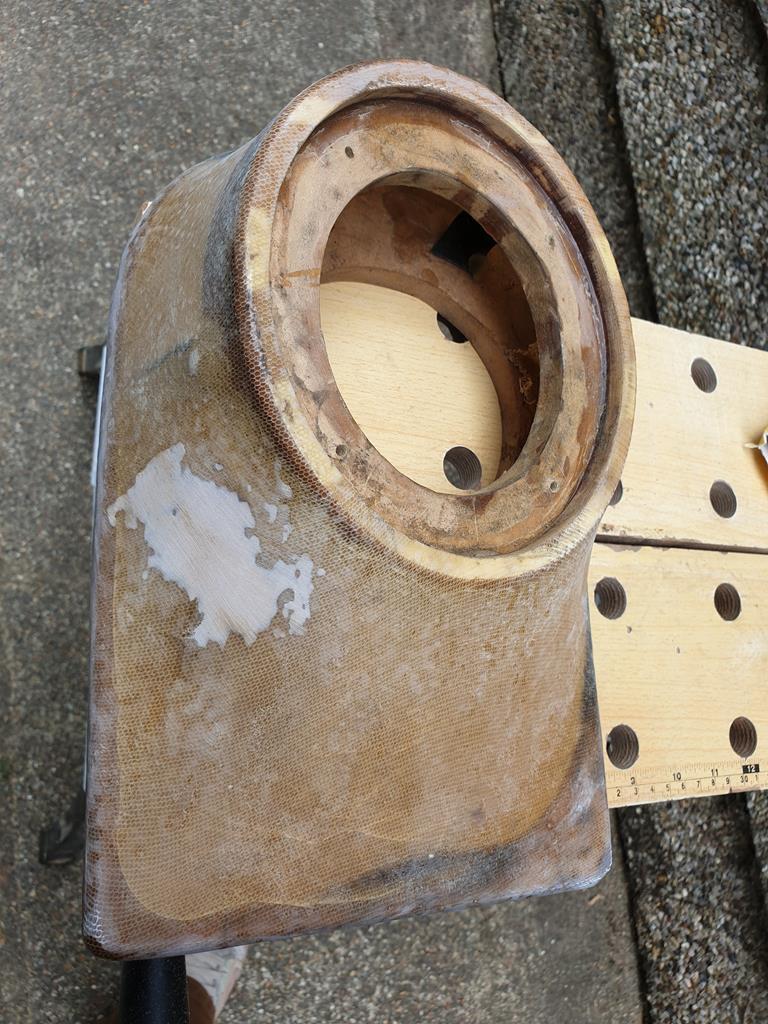 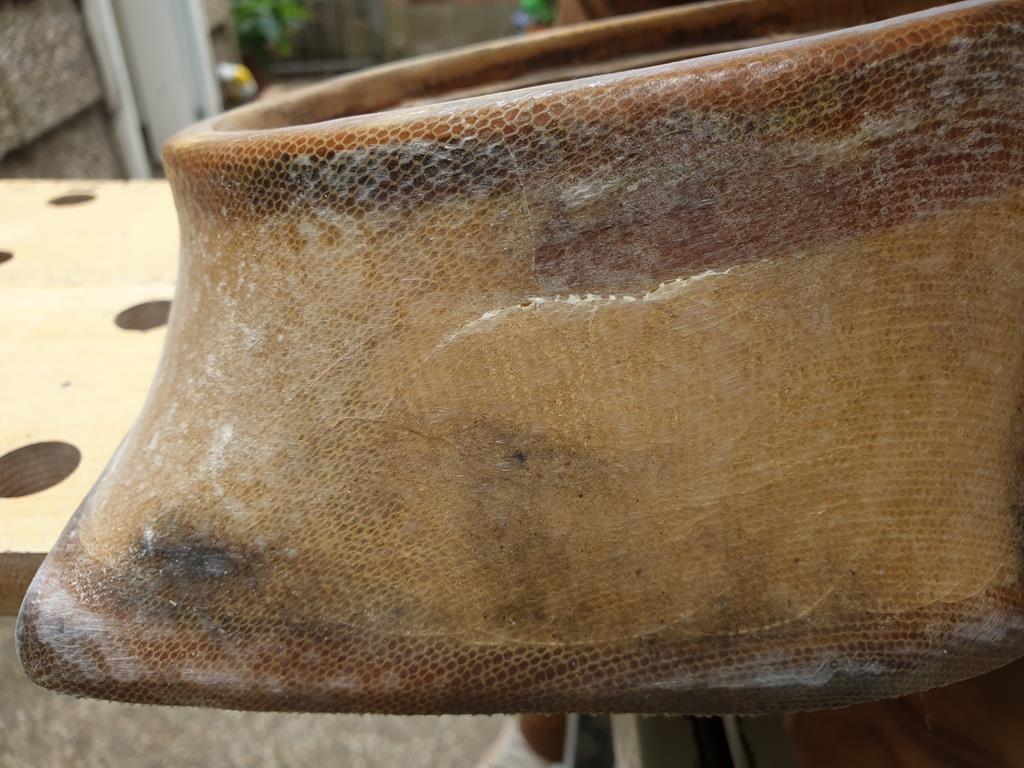 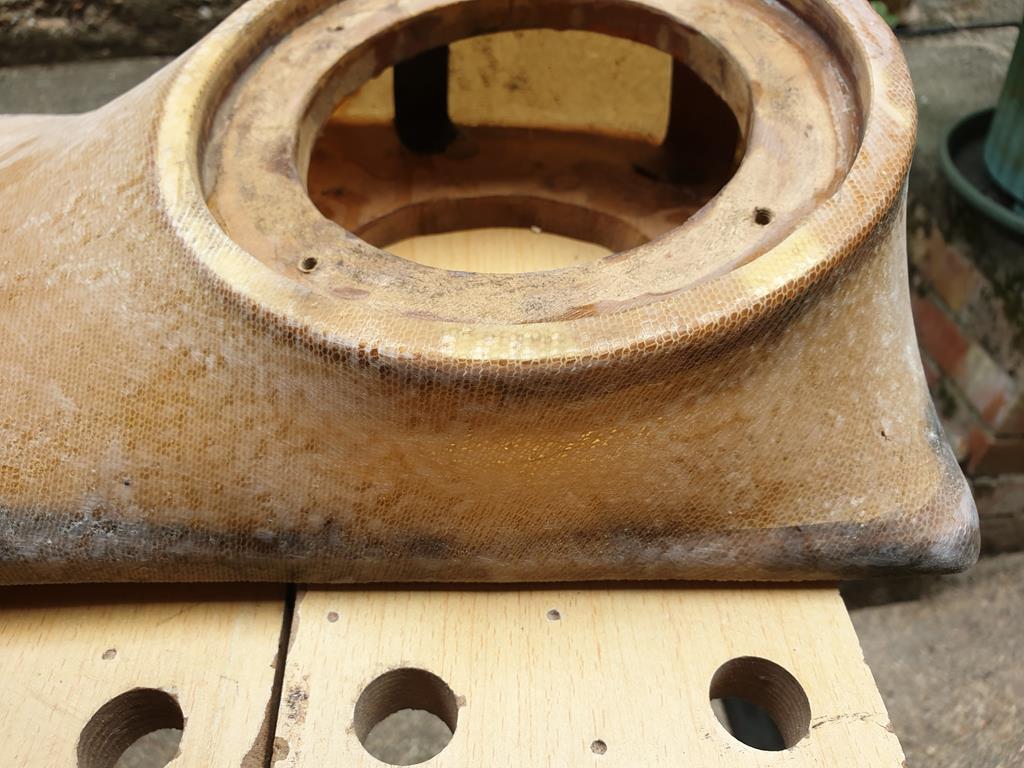 So a coat of resin and some matting in a couple of places for a bit of reinforcement 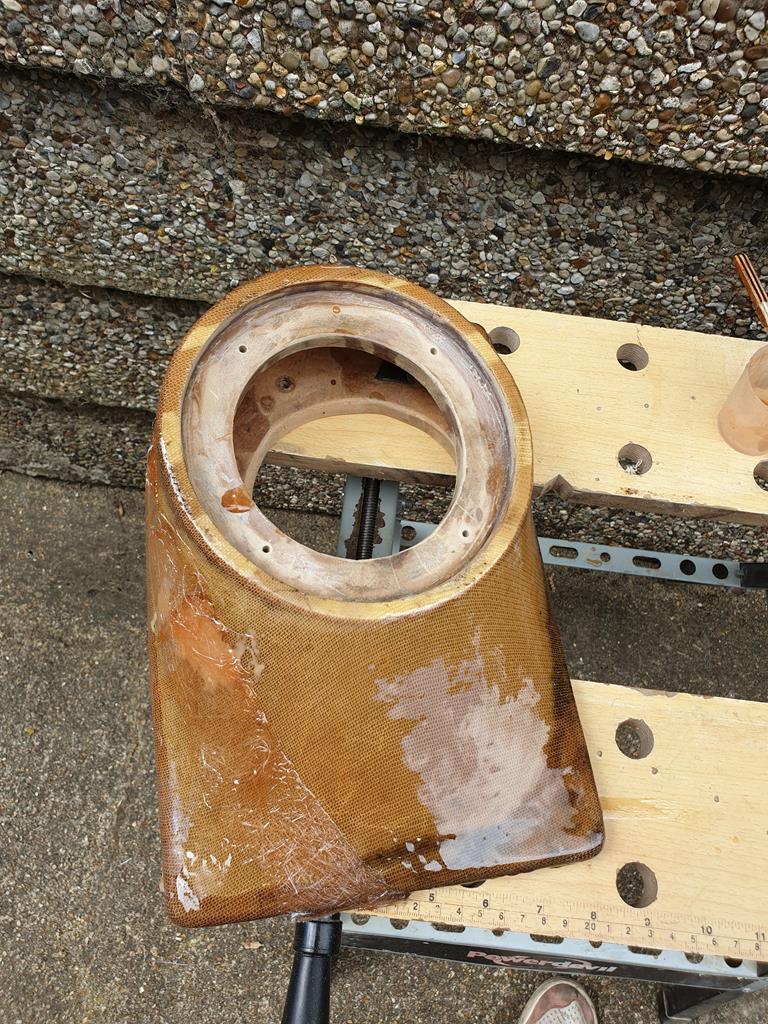 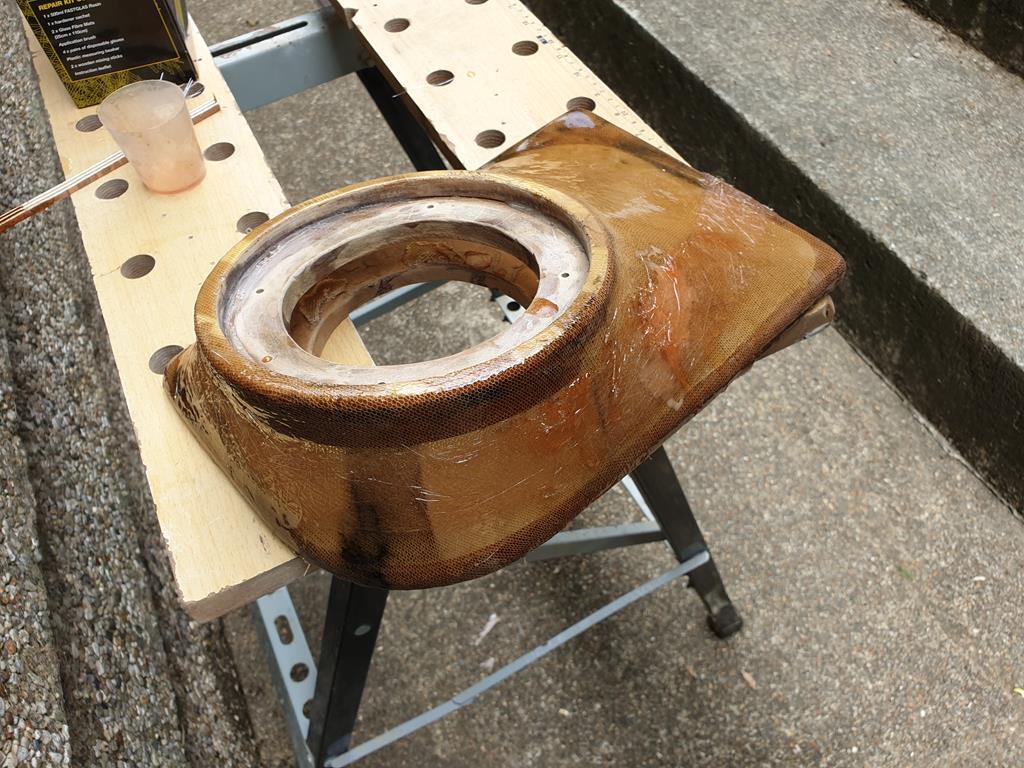 And some filler for good measure too 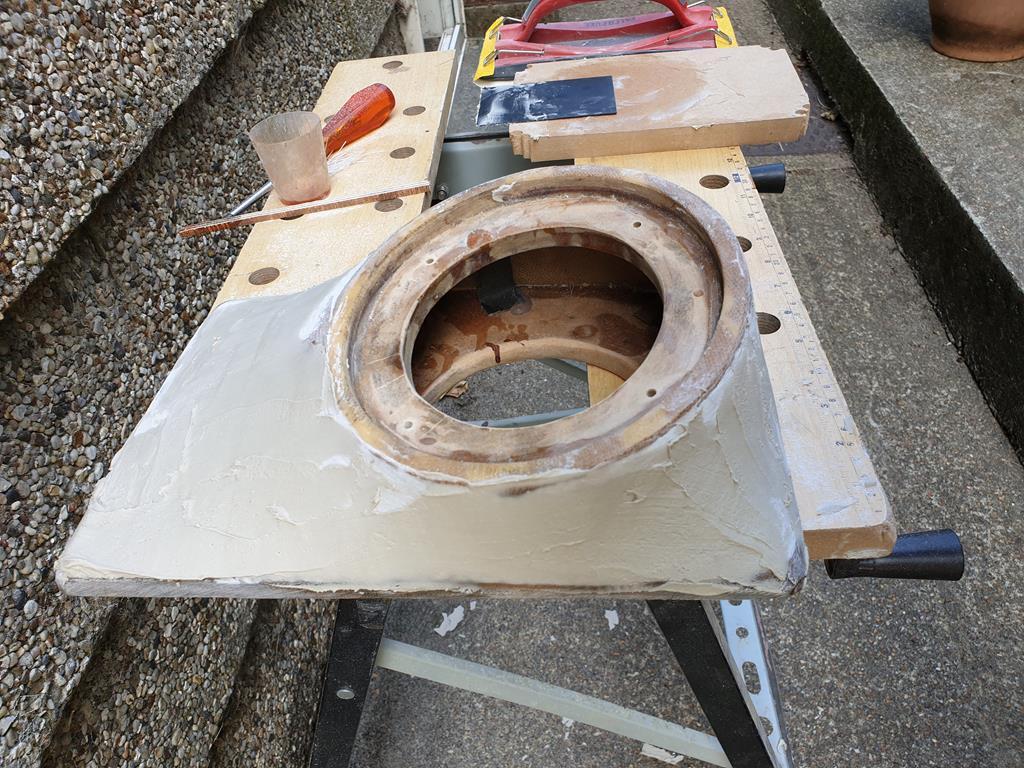 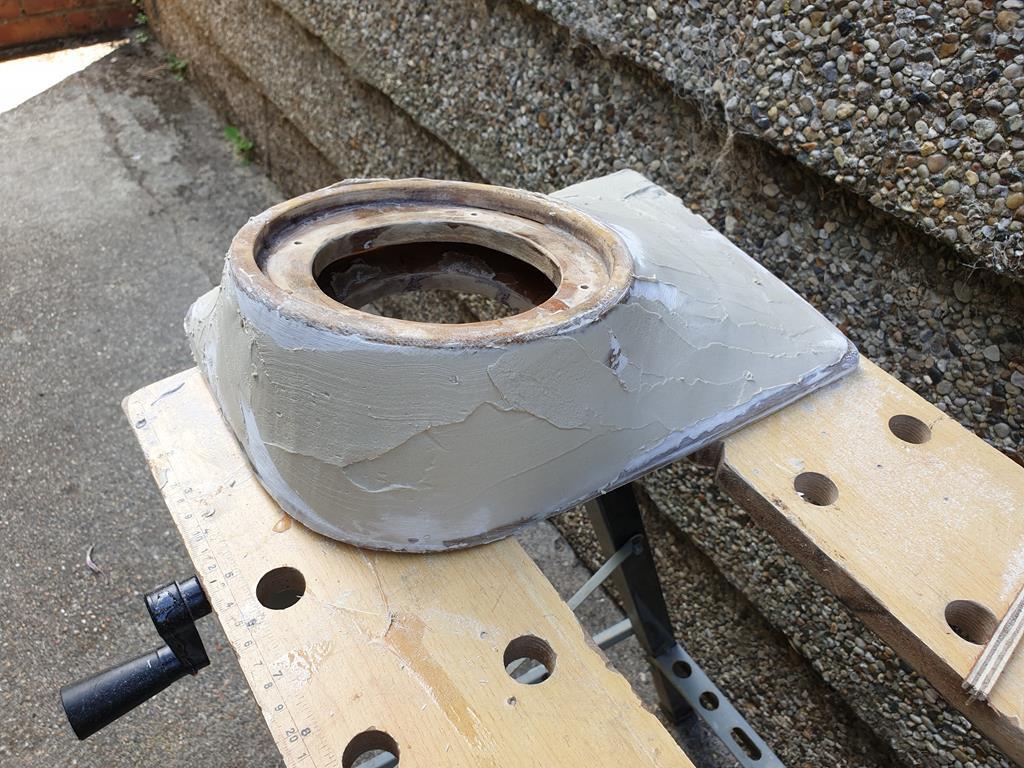 And also spent most of yesterday sorting out the instrument cluster illumination. No pictures of progress, and it was messy with dust and grime anyway. The little blue plastic bulb covers had died from the heat of 501 bulbs, and had turned yellow inside and also gone brittle. So the covers were removed, and I installed the array of Osram LED replacements I had in there. They were certainly bright enough, but not very inkeeping with the age of the car (which originally had a green glow to all the dash as well) So I slipped some green silicone covers over the main illumination points, and pretty happy with the results! Only had 4 in the packet, so I've ordered more now that I know they work  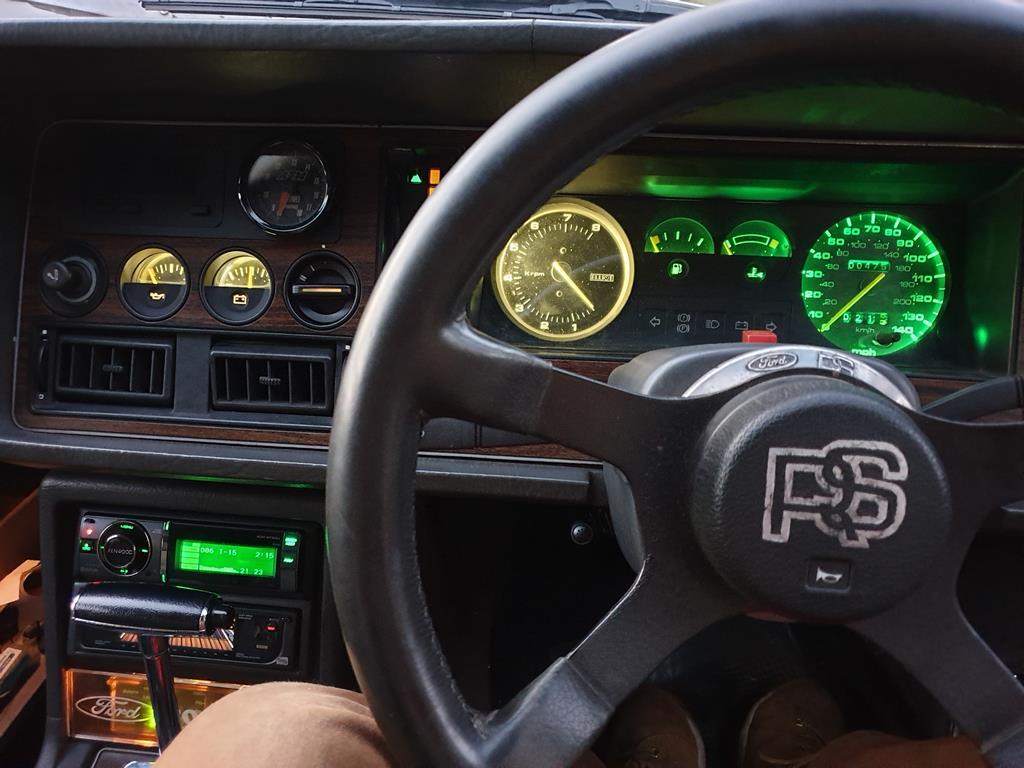 |
| |
|
|
mk2cossie
Club Retro Rides Member
Posts: 3,062  Club RR Member Number: 77
|
|
Jul 13, 2020 20:00:35 GMT
|
|
|
| |
|
|
|
|
|
Jul 13, 2020 20:11:18 GMT
|
|
Those speaker pods are so MaxPower 🤣🤣
|
| |
|
|
mk2cossie
Club Retro Rides Member
Posts: 3,062  Club RR Member Number: 77
|
|
Jul 13, 2020 20:56:43 GMT
|
Those speaker pods are so MaxPower 🤣🤣 They are only red as that's the colour primer I had  They will be trimmed in the finest grey alcantara drapes when I get my Harris in gear |
| |
|
|
mr
Posted a lot
  
Posts: 1,619
|
|
|
|
|
making more progress than me......got my cage in (loosely) as you already know but that now leaves a complete retrimming of my back half of the car out to match now.i've not had any time off during the lockdown thing so will have to wait until everyones back at work and then drop some leave in. recon I could sort all the mk2 interior stuff out in a day so just waiting for the time.just a thought,id probably be tempted to add a pair of small discrete led puddle spot lights under the speaker pods at the very bottom for when you open the doors. they do ford ones as youd expect ,but you may be able to find cosworth ones too
|
| |
Got the car from 105 bhp at the crank to 152 at the wheels.nitrous going on next.....if it ain't broke,keep bolting on go faster parts until it is........ www.fordgranadaclubuk.freefo.de |
|
mk2cossie
Club Retro Rides Member
Posts: 3,062  Club RR Member Number: 77
|
|
|
|
For the effort of running 2 more wires to the doors, I will give that a miss. Theres currently no spare room in the door wiring rubbers anyway  |
| |
|
|
|
|


 its thick ole rubbery stuff with metal bits in it, not sure it would like being trimmed down
