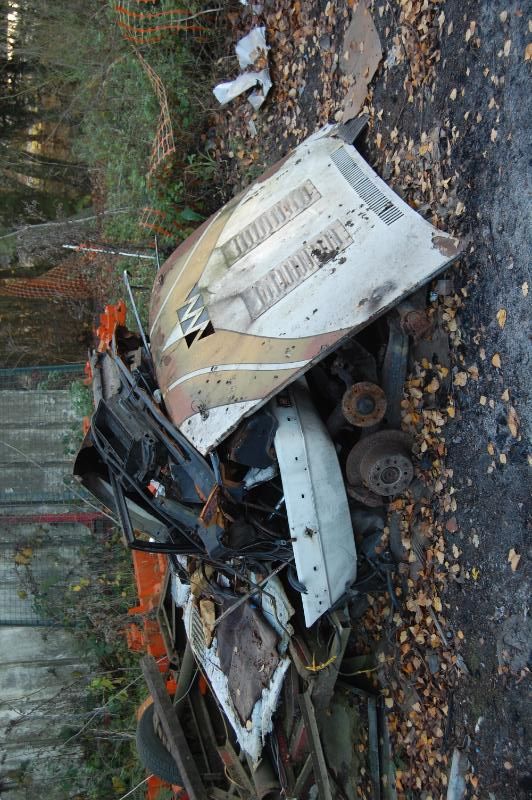
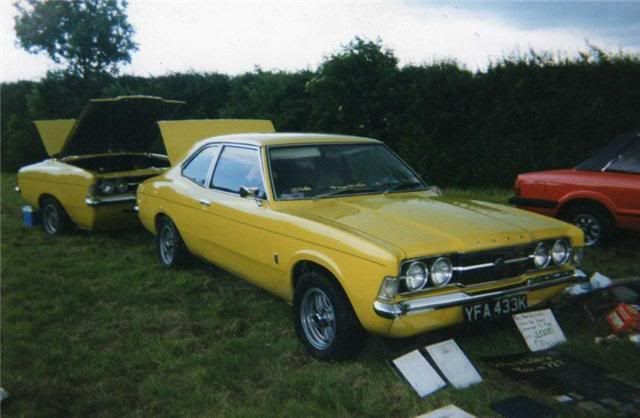
This has taken me a while

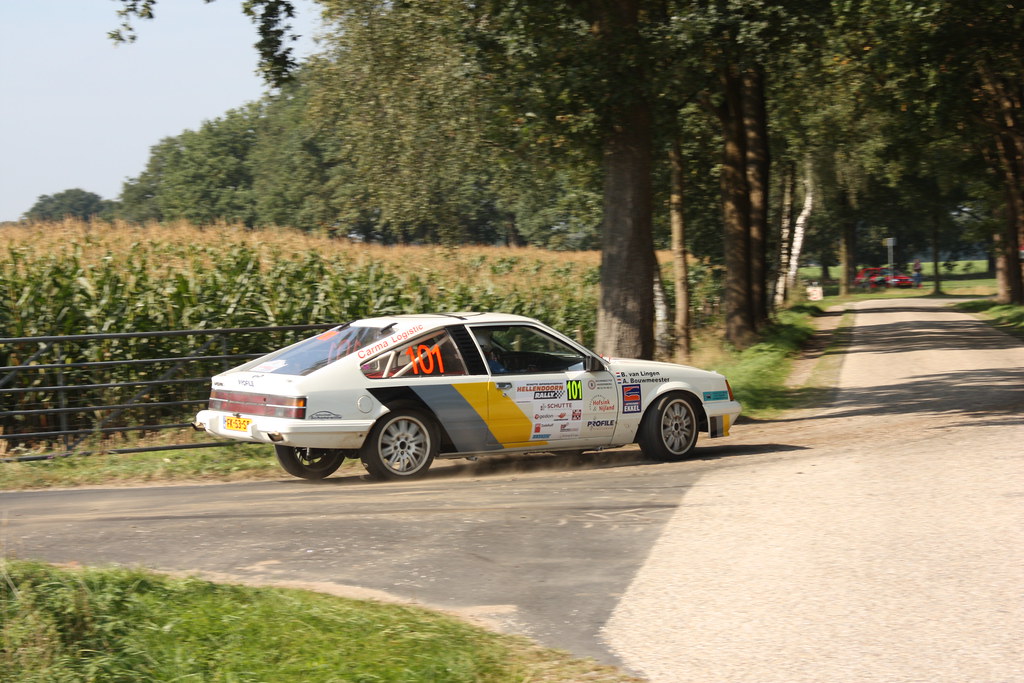
So having lost my original storage I needed to push the Rally Monza up the project list as the only place it could be stored was at a shot blasting place near me – stored really isn’t the correct word – basically I could take it there and get it ready for blasting but it needed to be to a time line (ie not just sit there taking up space to be done eventually)
I committed to getting it ready for blasting by end of November (bearing in mind my annual vacation is always two weeks and in November the amount of time I had wasn’t as much as I’d like)
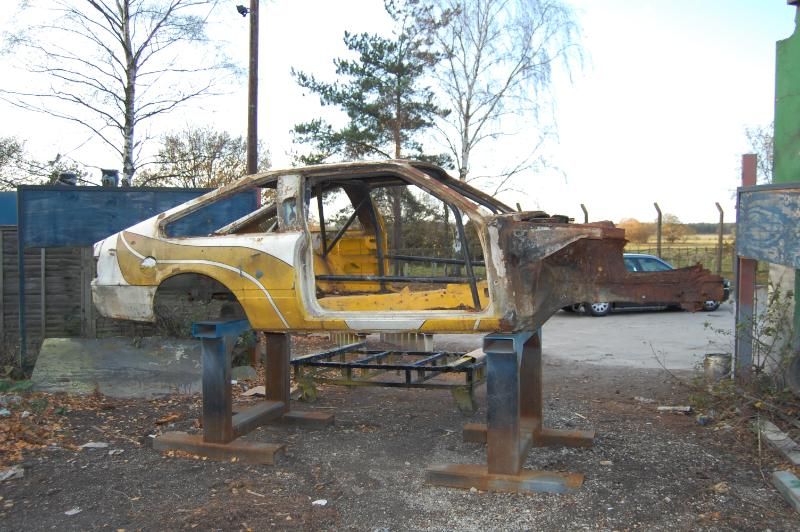
As a result I’ve been a bit busy trying to get the car down to a bare shell so that it can be blasted and then we can see where we go from there.
Now the car had some bespoke parts many had been used to identify it for what it really was and it would be a shame if they were all lost so a heavy handed approach wasn’t going to work. I wanted to remove them without damaging the parts or the shell and I pretty much achieved this except for the fuel cell area so might as well start with that
Rear bumper and tail lightsBumper was toast and fixing methods used were very agricultural – bolted straight thro to the shell with long bolts and some crudely fabricated brackets – had to be removed to get access to the rear valance so easiest way was chosen – cut the tops of the bolts....
Fuel Cell and internal and external rear shell modsSo the fuel cell was sandwiched between a very neat folded top cover that was bonded to the rear boot floor, the boot floor and an enlarged spare wheel well that extended all the way to the rear valance (lower cover).
The rear valance was very rotten, typical Monza rot area, the lower cover was also in a pretty bad way neither were going to survive the blasting process but I couldn’t cut the lower cover out from outside because I had no way of knowing how close the fuel cell was to the metal.
I decided to get a better view by removing a section of the rear valance – it’s double skinned but the inner skin is pressed and has a few holes in it. I could see the tank top once I got the rear lights out. I could also see the top cover had some signwriting on it too I could read “quid eng” so that intrigued me and I was pretty sure that there was a gap at the back of the tank.
The outer skin rear valance removal revealed large quantities of sponge, expanding foam and most of it was soaked. Once the outer skin was removed I could see I had an inch or two between end of the tank and inner valance so confidently sliced that out too – ended up looking like this (picture taken after tank removed)
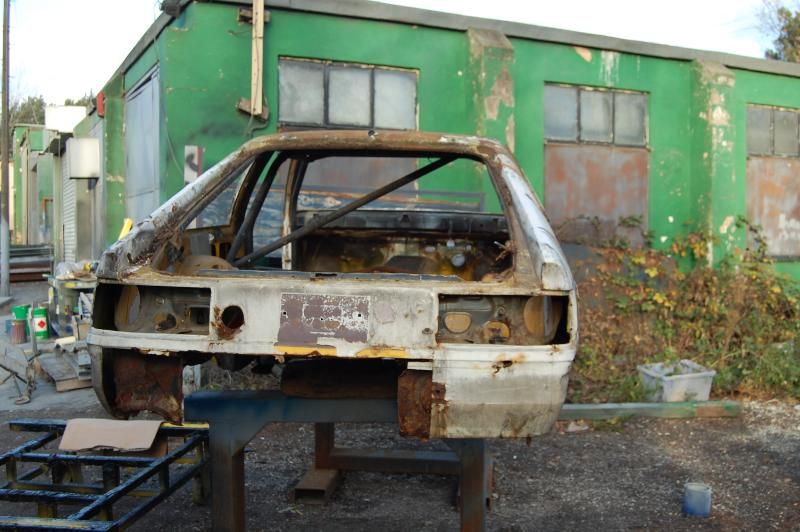
I could see the tank at this point I could then also see that the tank had been packed all the way round with foam and well as being laid on carpet in the enlarged and modified spare wheel well. At this point I was able to pull the carpet out from under the tank (Yuck moment) and get some of the foam packing out. I couldn’t pull the tank out of the back due to strapping above but I did have the clearance now to remove the very bottom of the lower cover – so with care I cut the bottom out of the lower cover.
The tank was then relatively easy to remove and most importantly undamaged.
Then I could peer up and resolve the mystery of “quid Eng”
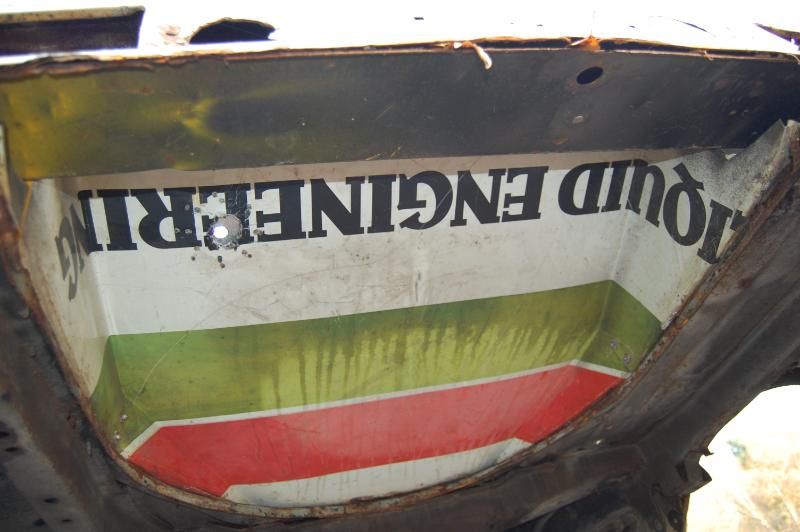
Great use of whatever was to hand that would do the job in 1986/7
 Doors
DoorsFirst need to make everyone aware I can’t use the doors – they’d been butchered internally to remove all the framework/structure and converted to plastic windows – I’m pretty sure I’ve already said what my plans for the car are so I could never use the doors in that.
Door hinges are welded to the shell and welded to the doors so two options – Plan A knock the hinge pins out Pan B cut the hinge part off the door to leave something that would be easy to salvage the body part of the hinge.
In order to knock the pins out the wings had to come off – had to come off for another reason but off they came (more on front end later) Correct size punch chosen and despite my best efforts the hinge pins didn’t move a mm – Plan B then......
So two holes were cut in the outer door skin and the doors were separated from the car – slight comedy moment when I opened the door to remove it and place it in the removed pile and found I’d forgotten to disconnect the check strap – one hand holding the door other hand with slitting disc on an angle grinder – job done (the next door I did the same but disconnect the check strap before I started
Tailgate Also modified but in a way I didn’t want to keep as it had also be converted to plastic window but what I didn’t appreciate was that the tailgate buck had been welded to the shell and in a heck of a lot of places. The outer skin was cut off first then I could find the welded areas and cut the tailgate buck around the weld points before finally grinding the sections that remained attached – the I was tailgate free
Rear Quarter lightsRear quarter light seals and associated framing removed from body – revealed a rather large rust hole hidden by repair tape..... That’ll be the first bad area of rust I’ll have to deal with
Suspension and cross membersAll dropped to the floor in one lump for the front and one for the rear – I can strip that lot down later. (to do this I had to remove the PAS and steering/idler arms but it all had to come off anyway.
InteriorWhat was left of the interior all had to be removed (Dash, heater box,windscreen wiper assembly, blower motor, wiring relays, steering column, fuel and brake lines, pedal box probably some other stuff I’ve forgotten) All made way more pleasant by the odd dead bird, a wasps nest in the heater box and other detritus I really don’t want to think about but a consequence of outside partially covered storage. (the pedal box was very interesting but I’ll save that for when it being re-assembled as I haven’t taken pictures of any of the bespoke parts that were so key to identifying the car way back when this thread started)

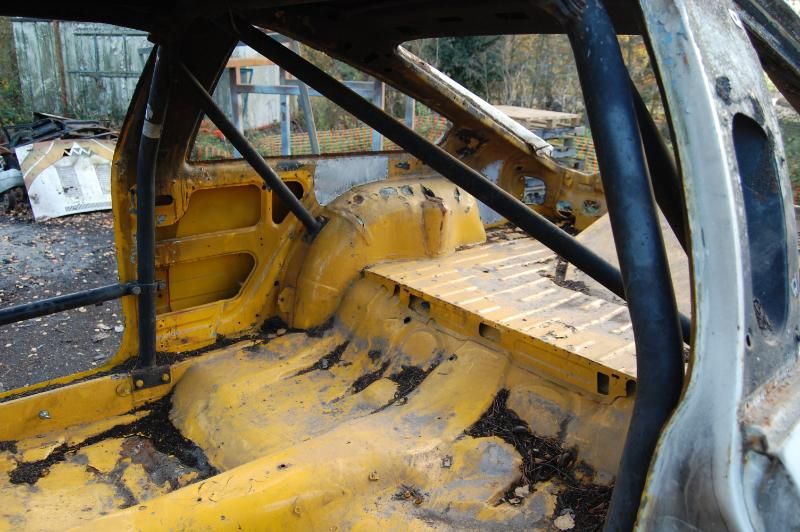
So now I was left with a front end to tackle - removing the wings had made everything much clearer
I’ll just take a moment to recap the visual history of the car and make some important distinctions
The shell is a 1979 shell (raiding my photobucket account here)
Frank O’Rourke used it looking like this

Can’t find a front end shot from when the car was owned by Frank so visually front end would have originally looked like this
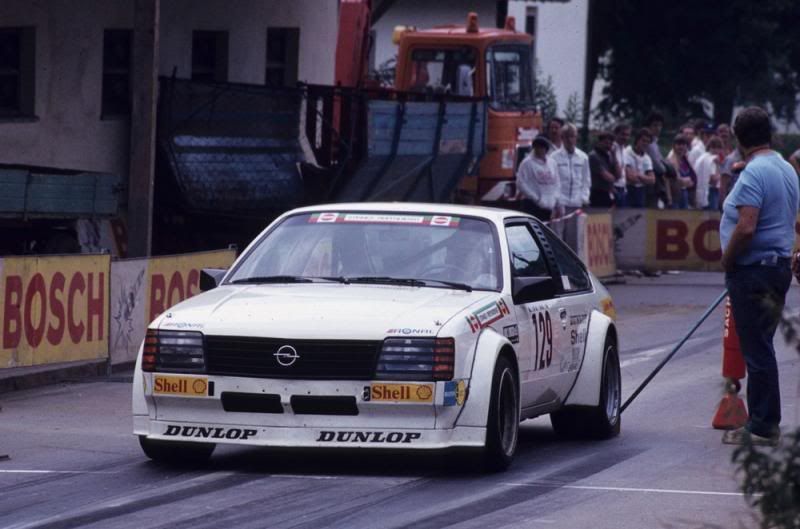
Now the GSE has much bigger lights and you will have to trust my knowledge here but they don’t fit in earlier cars. So I knew that some fairly substantial work had been done to the front end of Austin McHales Monza to give it the appearance of a much later GSE
Like below
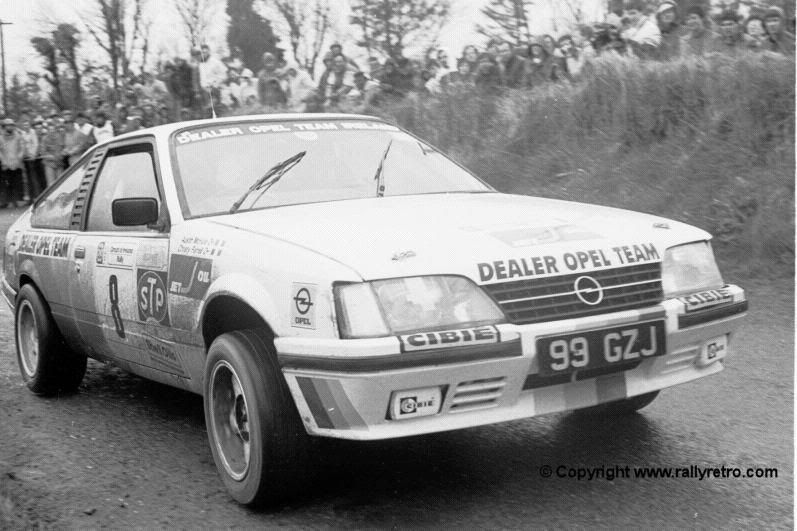
Now when I had the wings off I was reminded of a post earlier on here (or possibly on another forum) and it made it very clear to me that what had been done was to replace the original front end with a later car (this may have been done as a result of accident damage or to get the look of a later car) and it hadn’t been done very well this and some serious rot along the edge of the inner wing hidden right under where the wings bolt on and the welding looked more like arc than mig. The remaining metal was paper thin and was likely to look like a teabag after blasting. I had to face it I was well out of my comfort zone so I had a chat with Ian from T&B and together we came up the best option which was remove it all.

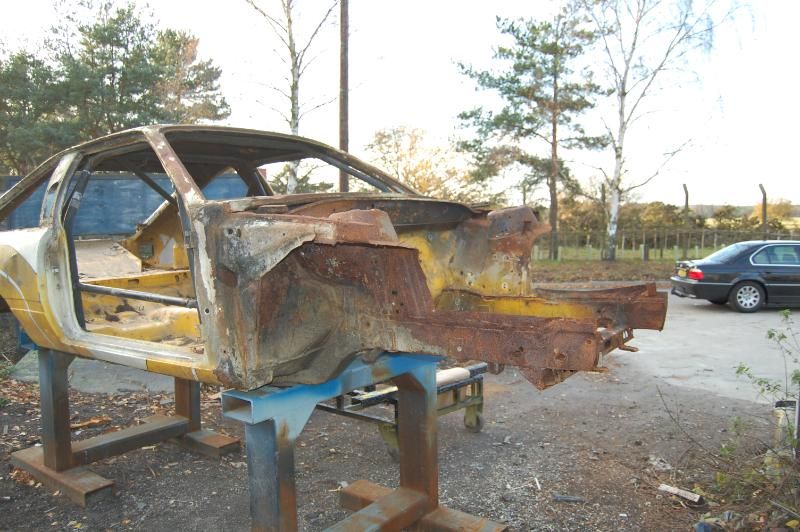
The chassis rails are tied together at the front with what is left of the cross brace that runs under the rad. OK it looks a bit drastic but no point keeping metal that was unlikely to survive the blasting process
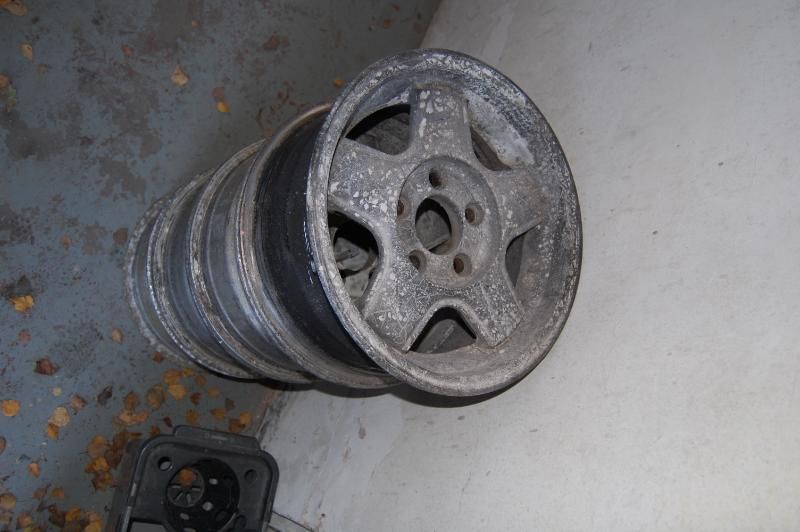
In other news - Wheels stacked and ready for refurbishment
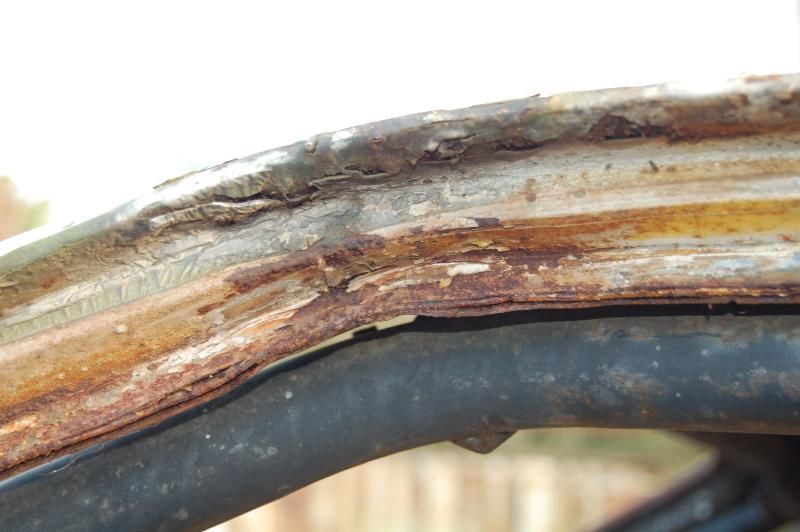
Overall impressions of the shell – quite solid in all the usual Monza weak areas – three areas need some attention (apart from the completely missing front end removed) – the hole in the driver side quarter light/wing, a hole in the fire wall in the drivers side front wheel well (under the scuttle) and I’ve kinda trashed the rear valance which is now proper fugged
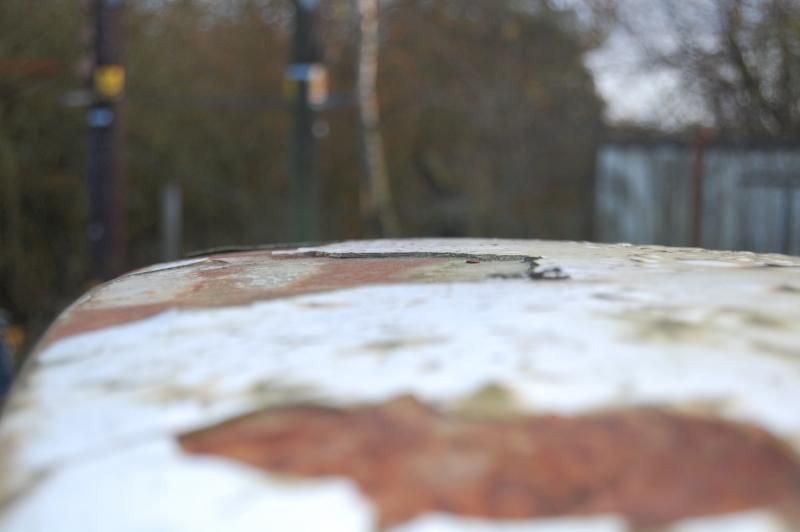
Some other signs of a chequered past

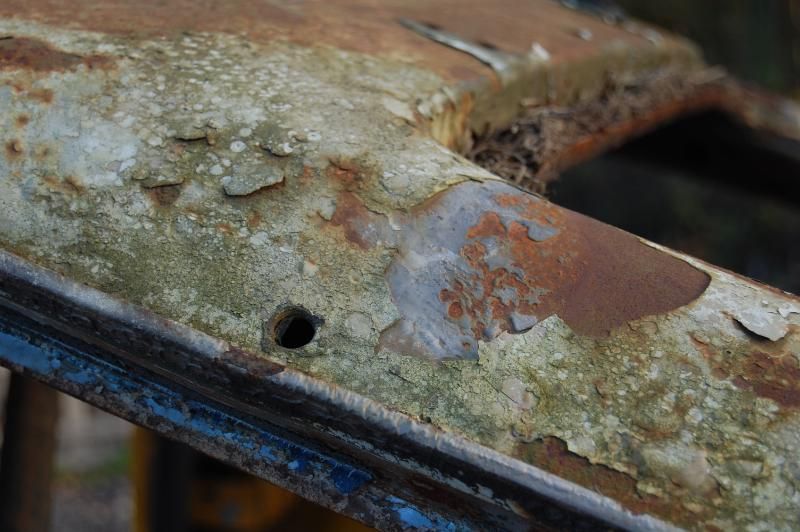
I’ll stick this here it might have been posted before
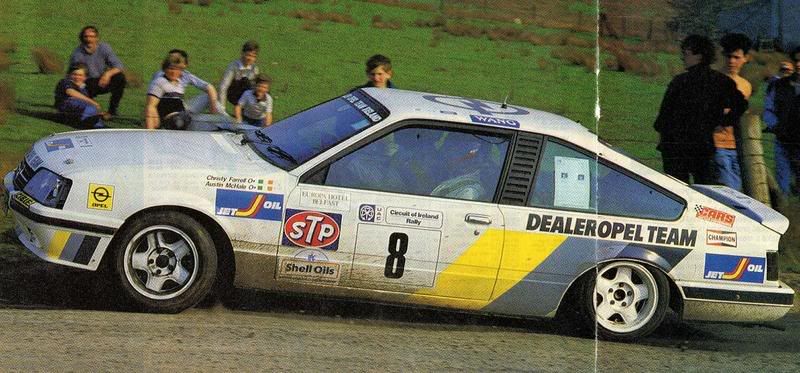
Only because that’s the goal and like everyone I need a little motivation sometimes ;D


