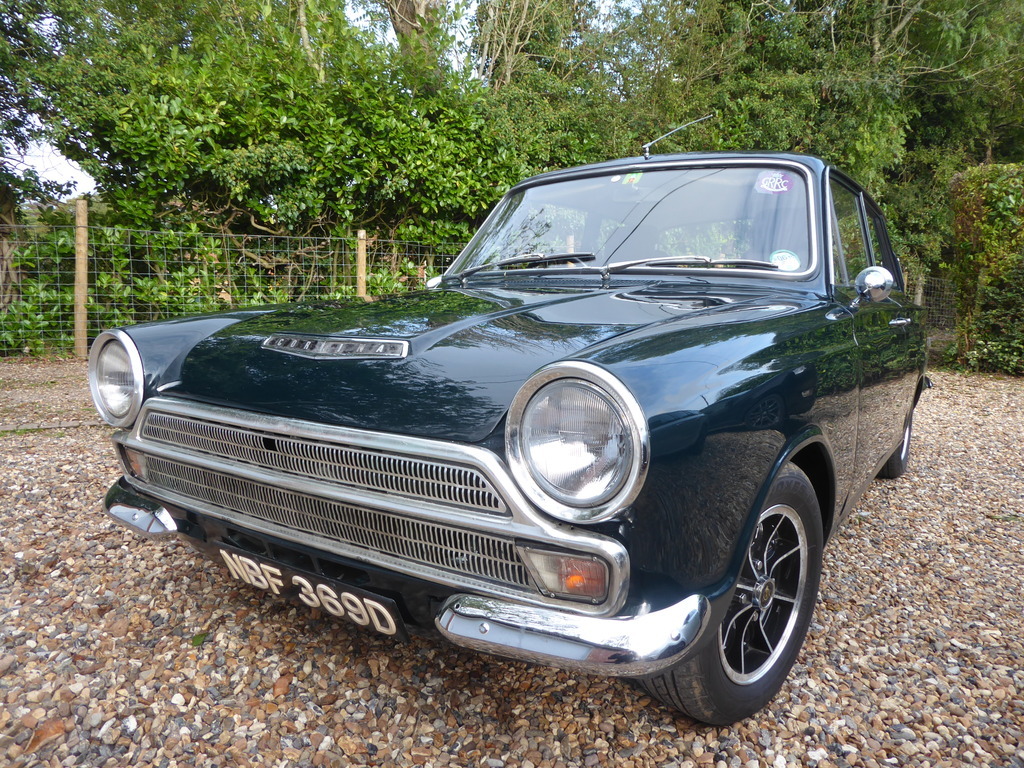
|
|
|
Jul 19, 2012 11:39:53 GMT
|
Right. Starting with the RH side indicator as I had already removed it as I had access to it, the clear lense is cracked etc but for the time being it will be ok unless another better one turns up then I'll keep that one for a spare 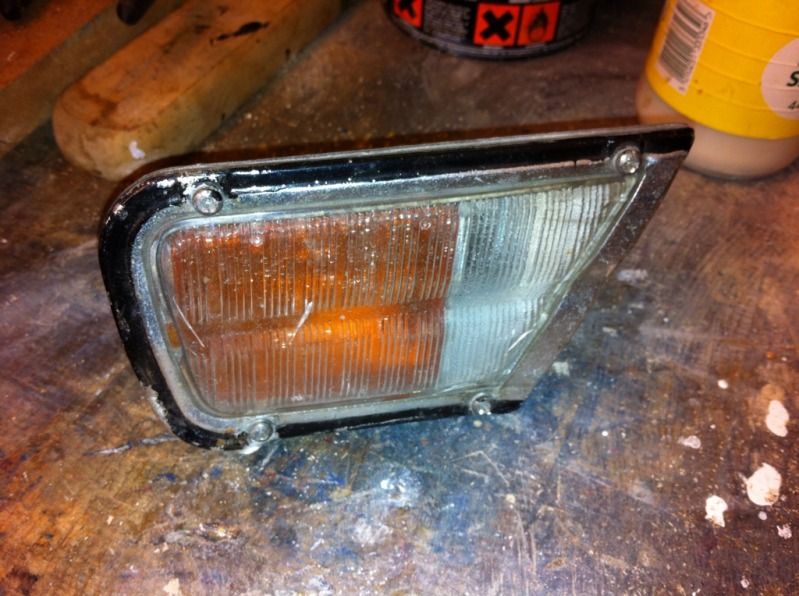 it was covered in dirt/underseal which was a curse word to remove! 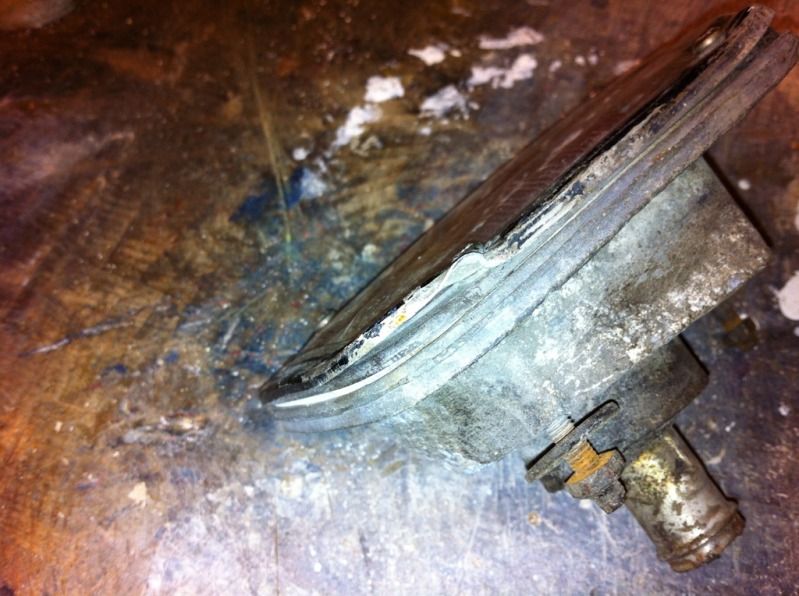 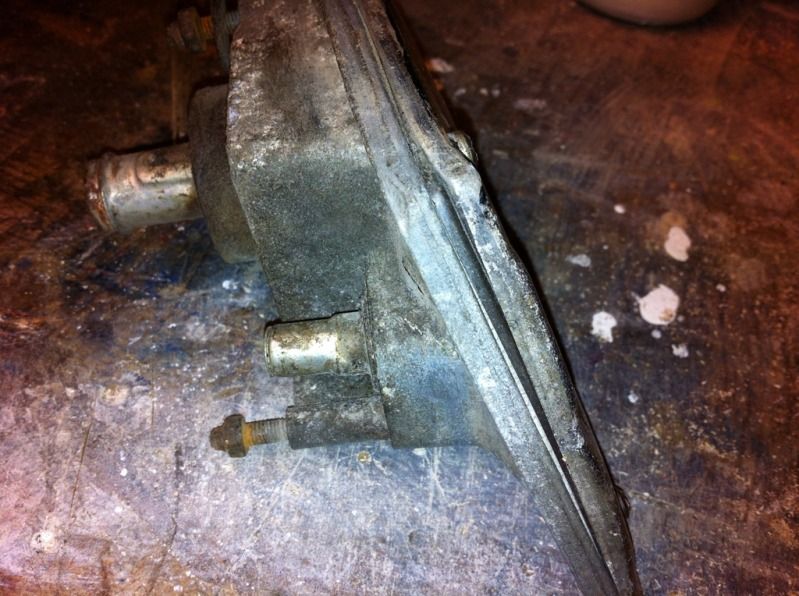 the trim has been knocked about but I think I have a spare one somewhere but I will have a go at straightening this one out - at the end of the day it couldn't be much worse! 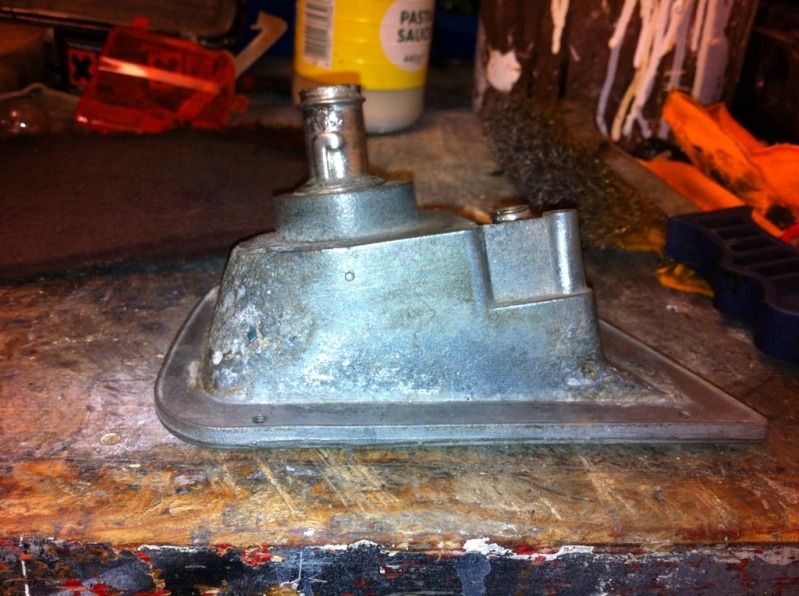 Cleaned up a bit and its starting to look ok till you see the corner 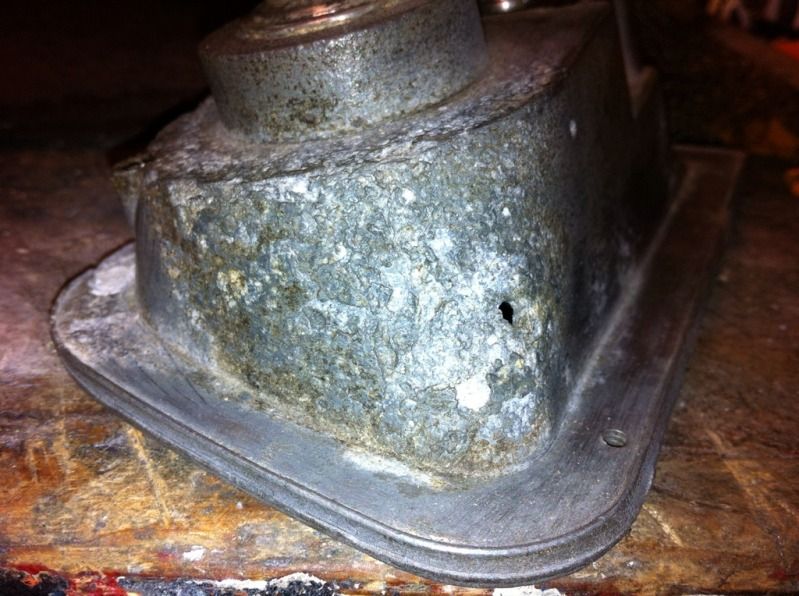 curse word! this is wasn't meant to happen! but I think I can sort it out using some metal filler 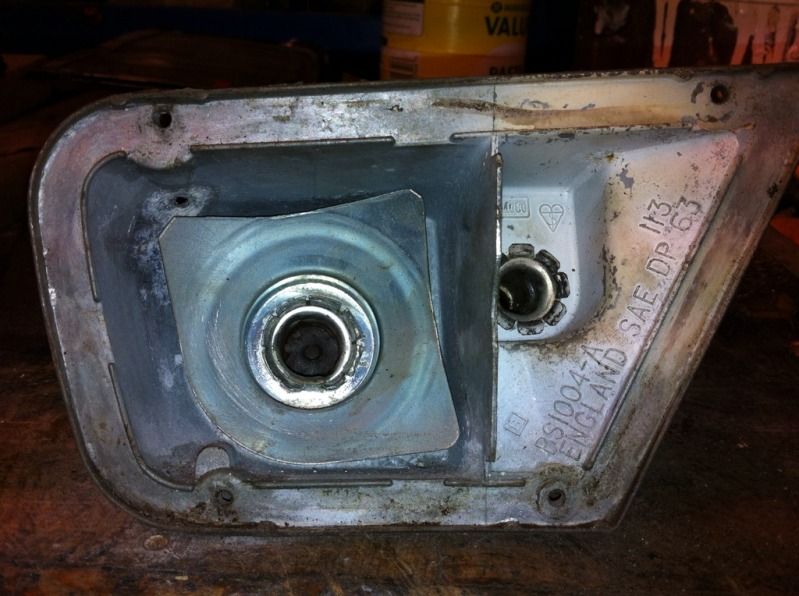 it is cleaner though! 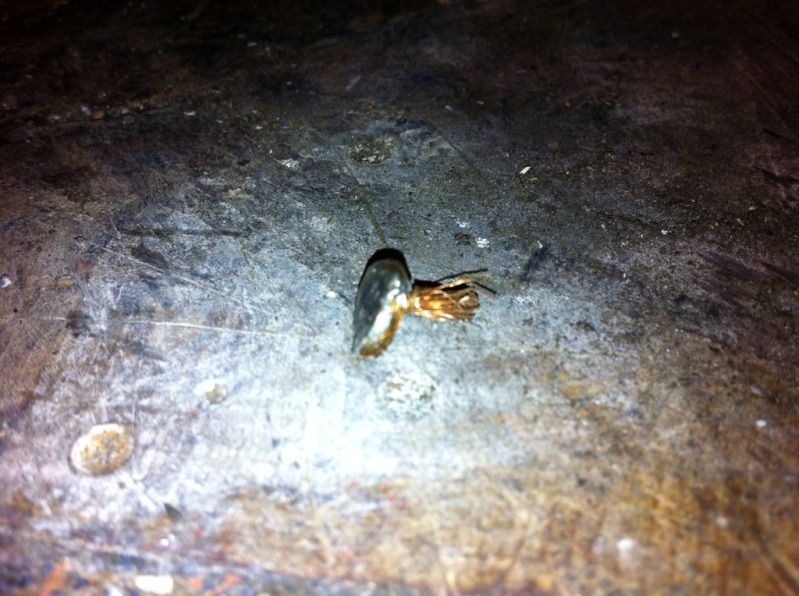 this explains why the indicator was a bit temperamental I will get the body tidied then start re wiring it with a better connection for the bulbs etc |
| |
1966 Ford Cortina GT
2018 Ford Fiesta ST
Full time engineer, part time waffler on Youtube - see Jim_Builds
|
|
|
|
|
|
|
Jul 19, 2012 11:56:33 GMT
|
Its good to see you're making progress - that indicator unit looks in much better nick than most I've seen, I've had them with most of the back eaten away! The Mk1 Cortina Owners Club sell new sidelight/indicator lenses, but they are £17 a side! Good luck with it.  |
| |
Old Fords never die they just go sideways
|
|
|
|
|
Jul 19, 2012 12:38:58 GMT
|
Its good to see you're making progress - that indicator unit looks in much better nick than most I've seen, I've had them with most of the back eaten away! The Mk1 Cortina Owners Club sell new sidelight/indicator lenses, but they are £17 a side! Good luck with it.  Thanks! I will bear that in mind about the new lenses - the indicator is great but its the clear outer one that has taken the brunt of the damage! If you don't mind me asking - is the sidelight area supposed to be white or is it overspray (just was'nt sure if it was an attempt to make the bulbs brighter) also what connector does your mk1 had as this one had badly fitted spade one and I was thinking about pinning a proper kit or some bullet type connectors if anyone has some photos of the wiring to their side lights/indicators I'd be really grateful to see them |
| |
1966 Ford Cortina GT
2018 Ford Fiesta ST
Full time engineer, part time waffler on Youtube - see Jim_Builds
|
|
|
|
|
Jul 19, 2012 14:03:13 GMT
|
Its good to see you're making progress - that indicator unit looks in much better nick than most I've seen, I've had them with most of the back eaten away! The Mk1 Cortina Owners Club sell new sidelight/indicator lenses, but they are £17 a side! Good luck with it.  Thanks! I will bear that in mind about the new lenses - the indicator is great but its the clear outer one that has taken the brunt of the damage! If you don't mind me asking - is the sidelight area supposed to be white or is it overspray (just was'nt sure if it was an attempt to make the bulbs brighter) also what connector does your mk1 had as this one had badly fitted spade one and I was thinking about pinning a proper kit or some bullet type connectors if anyone has some photos of the wiring to their side lights/indicators I'd be really grateful to see them I'm pretty sure a NOS unit I bought a while ago had white paint in the sidelight area - so it is probably supposed to be there! I'm pretty sure my sidelights/indicators had bullet type connectors, but it's been a while since I looked at one.   |
| |
Old Fords never die they just go sideways
|
|
|
|
|
|
|
|
That's great, I'll pick some metal filler from halfords later and crack on with the light tomorrow when I get home from the girlfriends
|
| |
1966 Ford Cortina GT
2018 Ford Fiesta ST
Full time engineer, part time waffler on Youtube - see Jim_Builds
|
|
|
|
|
Jul 25, 2012 11:52:09 GMT
|
Right I applied the chemical metal Monday night after getting back from work and let it over night toharden as it stil felt a bit tacky after being sat for an hour - so I carried on with them last night which was better because I sat outside in the garden with a cup of tea! 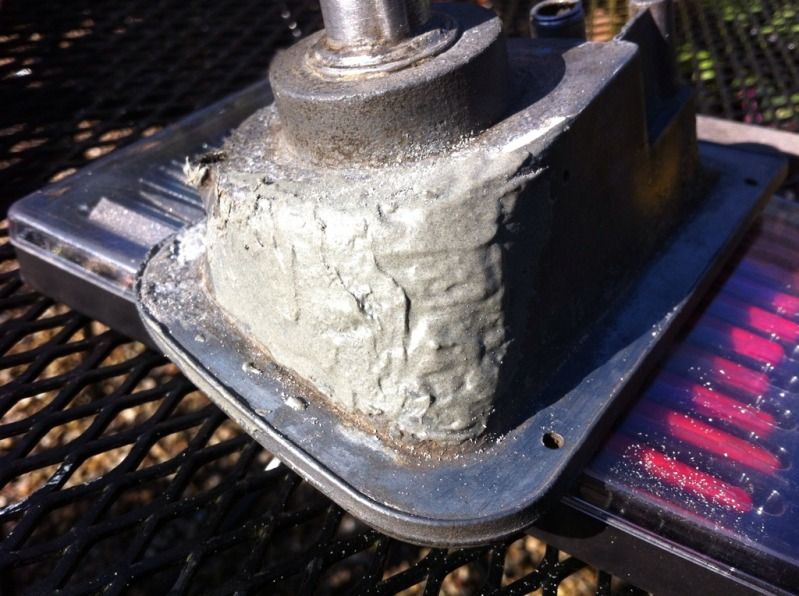 looking all gammy from applying filler! 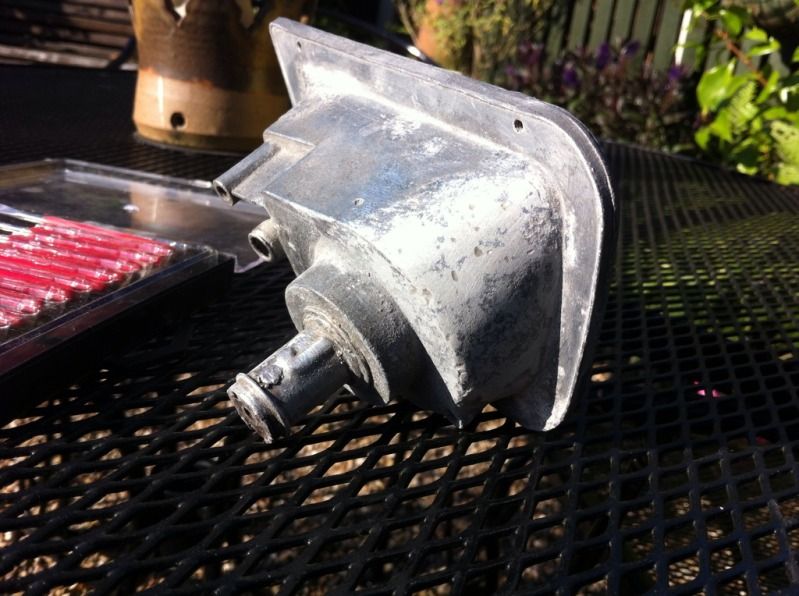 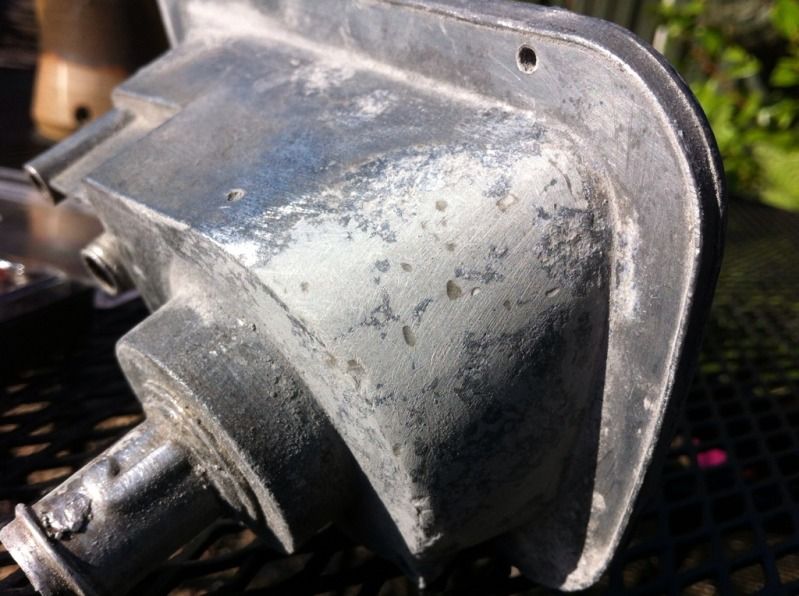 A lot smoother if I was really anal I'd sort the bits that aren't smooth enough but at the end of the day its sealed and it looks a lot better 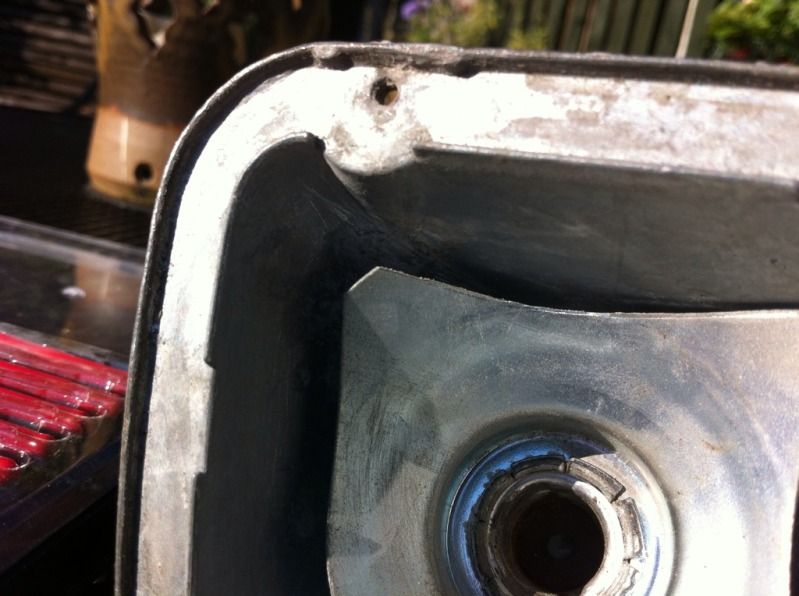 Just to prove its sealed! 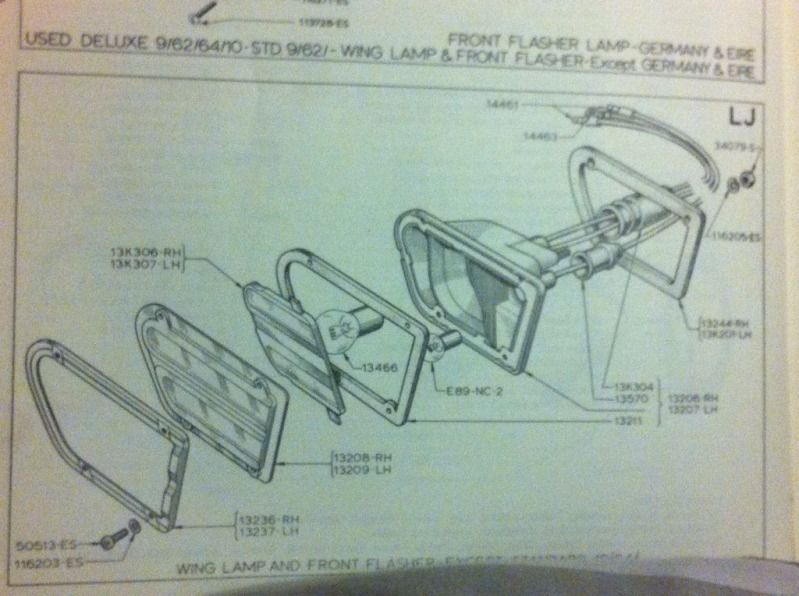 I have been looking in one of my Ford books (parts list for the Cortina - if anyone needs part numbers or nut and bolt details let me know!) I need to find some of the rubber covers as mine are spent - I know that the owners club don't do them but does anyone out there know where I could get a replacement? 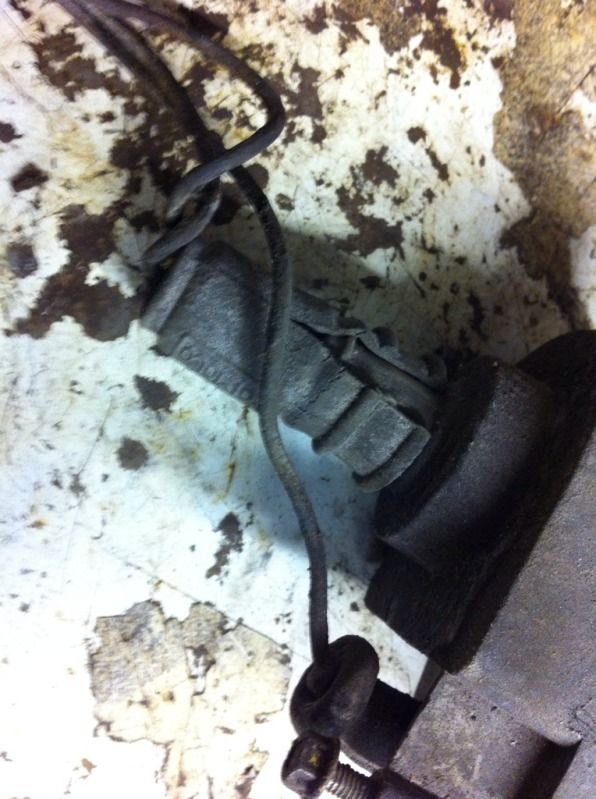 and 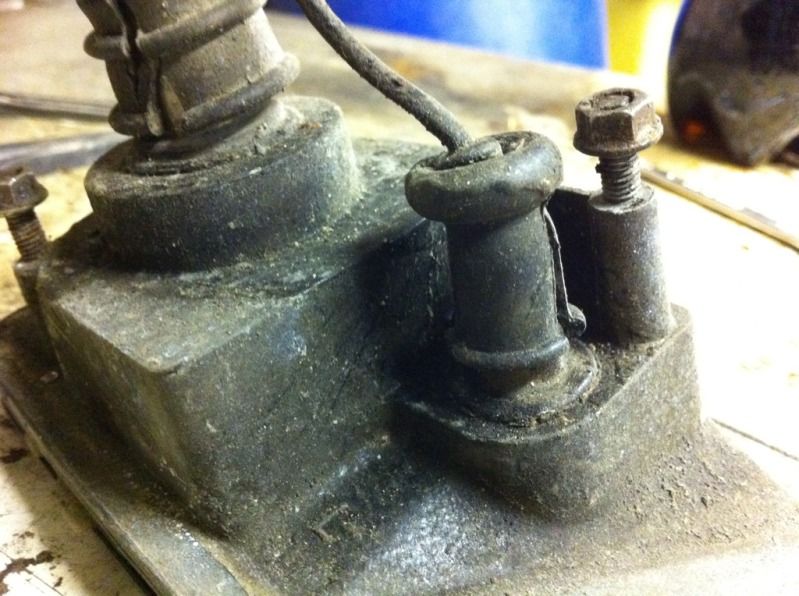 I have taken these from the passengers side light which is where I found this problem: 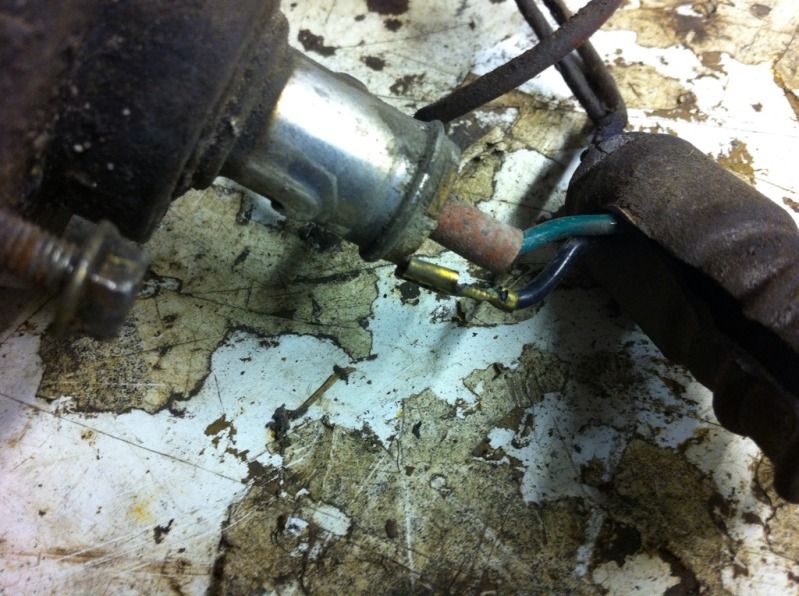 The spade connection for the earth cable has come off on the drivers side light - would soldering on a new one work? would it be too fragile? |
| |
1966 Ford Cortina GT
2018 Ford Fiesta ST
Full time engineer, part time waffler on Youtube - see Jim_Builds
|
|
|
|
|
Aug 17, 2012 11:41:34 GMT
|
|
I am still getting on with the cortina but at the moment I am removing the underseal from under the wheel arches and the interior - someone undersealed the bulkhead??
I will get some photos together when I find something interesting!
I should also point out that this needs to be done in a well ventilated area otherwise you may end up going on a voyage to Neptune on a magic swan!
|
| |
1966 Ford Cortina GT
2018 Ford Fiesta ST
Full time engineer, part time waffler on Youtube - see Jim_Builds
|
|
|
|
|
Sept 4, 2012 20:33:03 GMT
|
I have been finishing off a few bits under the drivers side inner wing and not its all shiny but its getting there 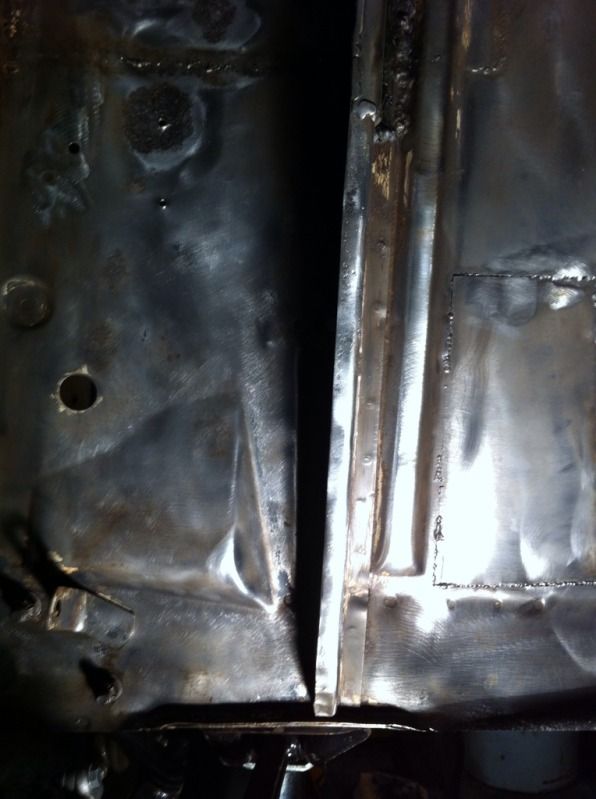 it appears that when the strut tops were changed the person forgot to take the original metal out... as you do 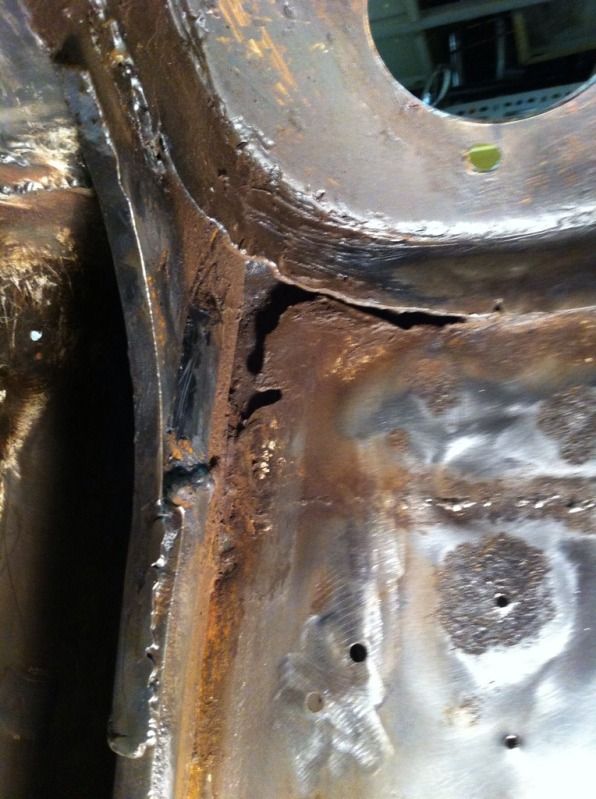 and found this small hole which isnt so bad 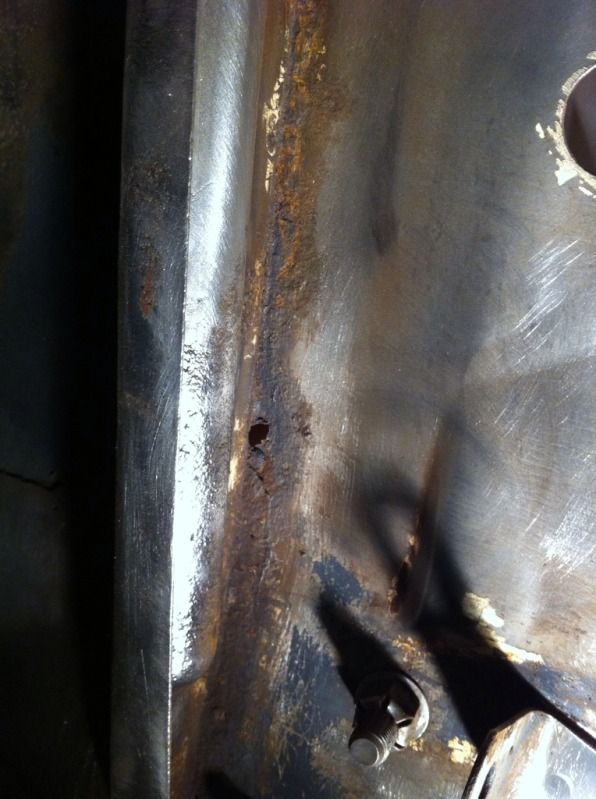 tonight i thought id take the paint off the sill and see what state that was in so I know what panels I need to get as I am going to get the big/hard welding done by someone who knows what they are doing the sill looks to be good but it does have a dent in what should be ok to just pull out and tidy up rather than replace which is good... the problem is that i caught the door with the wire bush and some body filler dust flew out which was worrying - it turns out that i had caught the bottom of the drivers door which looked to be in good condition - I was wrong it was fill of filler it looks as though it was knocked down a bit then skimmed over with filler - not the first time this was done on the car! this is also the same story for the drivers side rear door too! Upset is an understatement 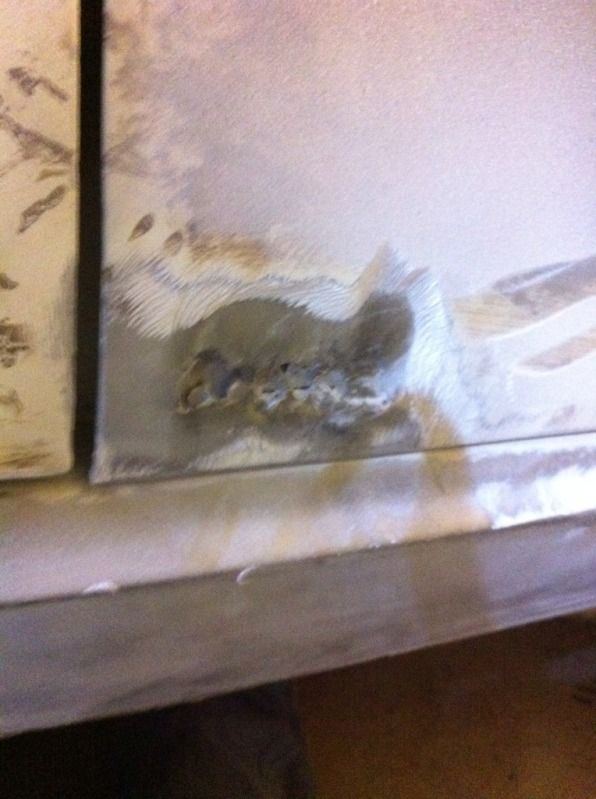 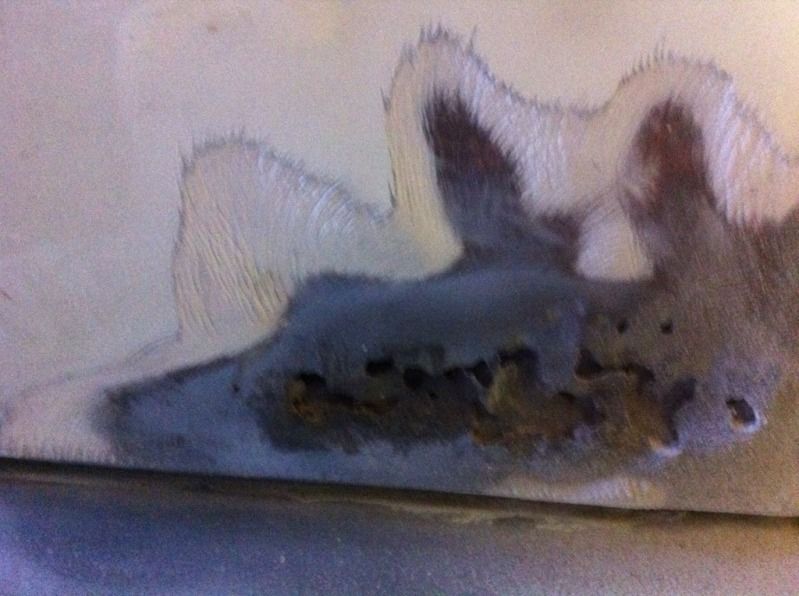 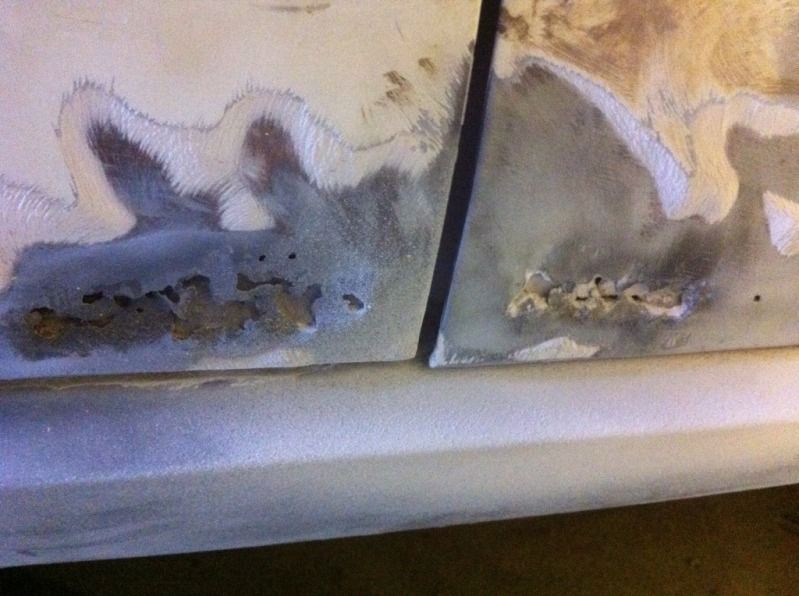 |
| |
1966 Ford Cortina GT
2018 Ford Fiesta ST
Full time engineer, part time waffler on Youtube - see Jim_Builds
|
|
Clement
Europe
ambitious but rubbish
Posts: 2,095
|
|
|
|
|
Ouch! I think I have the same thing, it's disappoiting but with a 40+ year old car I guess we have to expect it really.
|
| |
|
|
|
|
|
|
|
|
I don't mind the rust I know that its going to happen but its the series of bodges that have been done by previous owners that annoy me - they must have spent a fortune on filler as opposed to sorting the car properly
it is a mojo killer!
|
| |
1966 Ford Cortina GT
2018 Ford Fiesta ST
Full time engineer, part time waffler on Youtube - see Jim_Builds
|
|
|
|
|
|
|
|
|
|
A little update as it has been a while, I have managed to rewire one if the undicatirs and it wired first time which was a but unexpected as I've never tried anything like that before, I have a few phitis but I'll put them up when they are all complete and shiny.
In the meantime I have managed to space out thefront damoers as I found that the top mounts were moving because the are much shorter than the original ones and it was simething I had not taken into consideration but the bearing cup was the perfect height and diameter for the job so the car can go back on the ground which is great
I did however find that the welding that I had done hasn't penetrated well enough so that will need to be addressed - I have gone back to the drawing board to start again as I'm not happy with the quality of my welding I'll get it sorted I just need some help
And to finish on a positive note I have been making a pin board for my tools as I was getting tired of them getting muddled up in my tool chest the boxes in the left will have cutting discs, welding clamps and glasses etc in and I will add my screw drivers and hammers afterni have got some spring clamp things (technical I know!)
|
| |
1966 Ford Cortina GT
2018 Ford Fiesta ST
Full time engineer, part time waffler on Youtube - see Jim_Builds
|
|
|
|
|
Nov 12, 2012 22:26:38 GMT
|
For a bit of a challenge and a mojo boost I had a go at making my own gearknob I've never used a wood lathe before and I enjoyed it but as I haven't fully decided what style knob i want I'd make a few and see how I get on starting with an offcut from dad's wood stash (the lathe is his toy) I got it centred and set up in and ready to whittle down to something that looks like a gearknob. 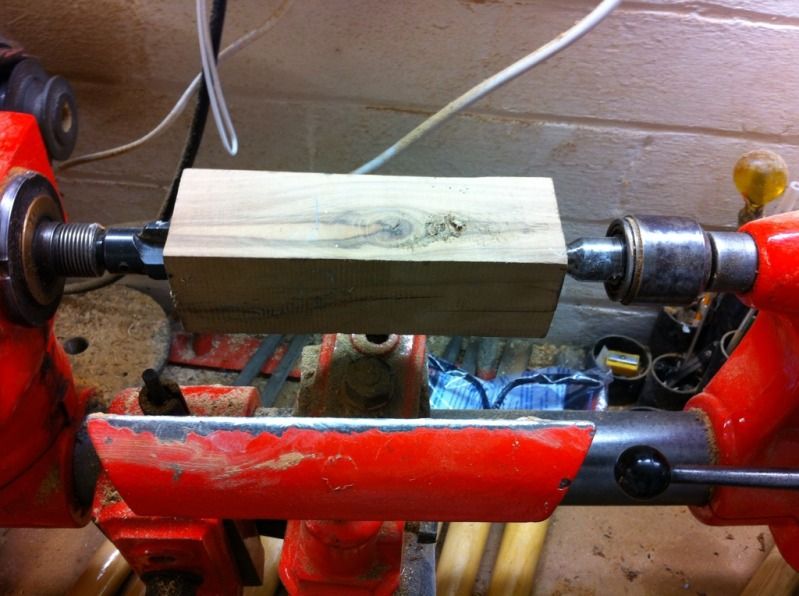 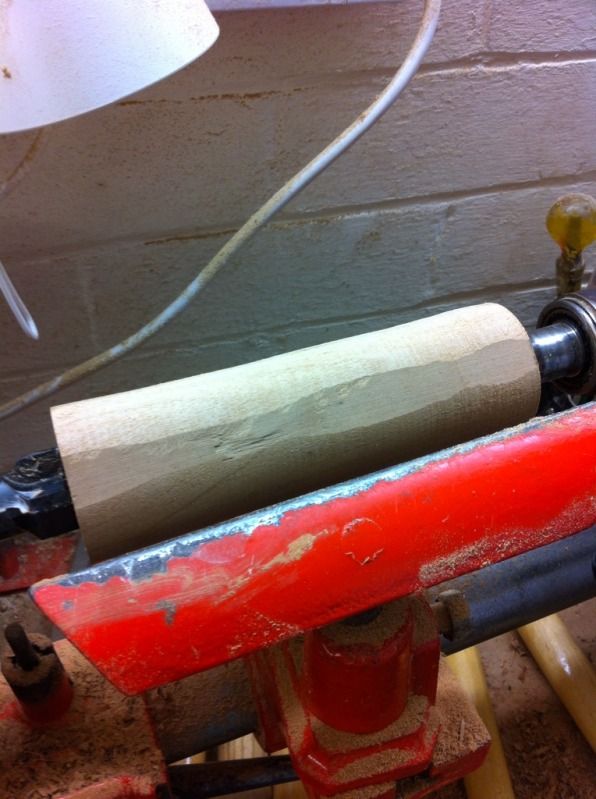 after a few mins I had made a square peg into a round(ish) one! 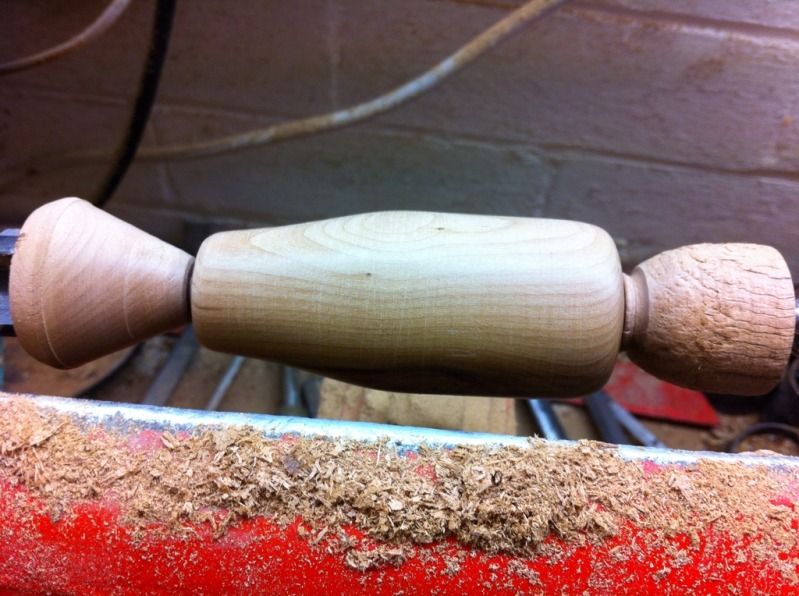 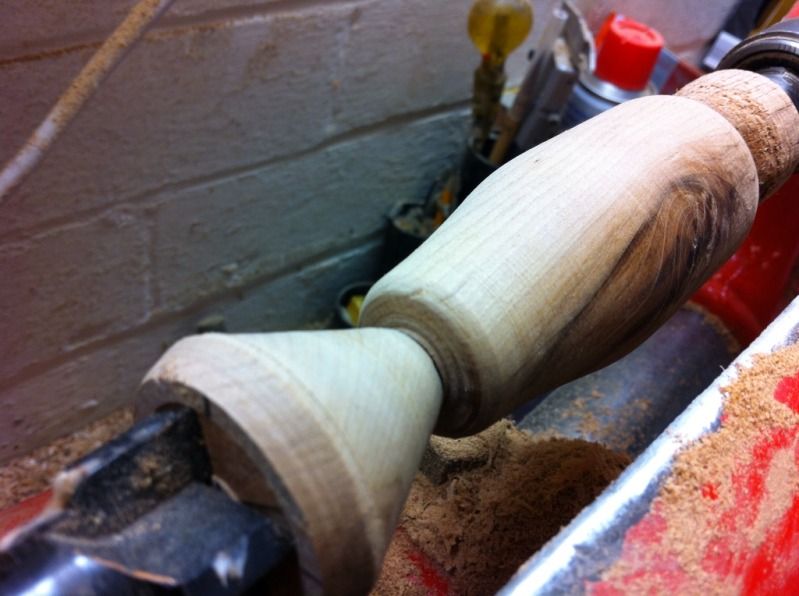 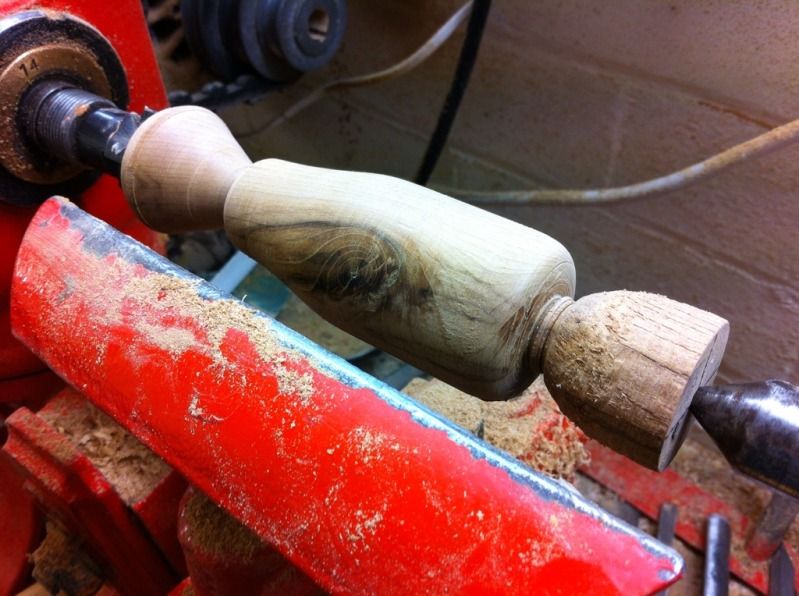 I had a rough idea of the shape and size I wanted and this is only 0.5mm dia thicker which is good It does have a knot/ crack but it doesnt feel as bad as it looks 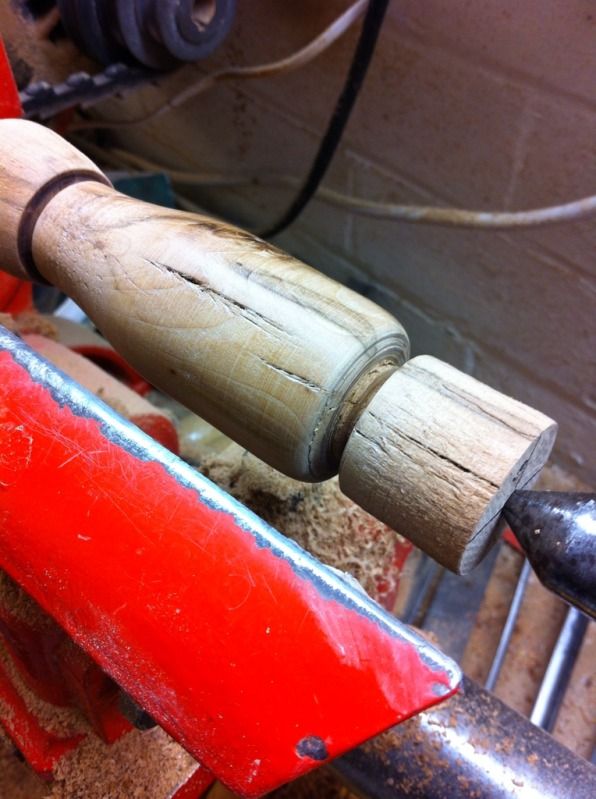 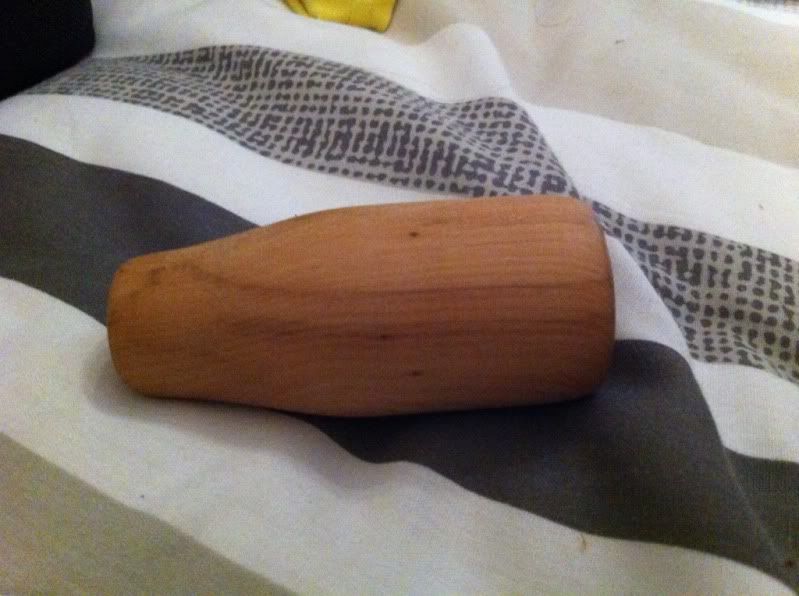 all cut off now it needs a bit of finishing and drilling but I think I'll use some nylon piping for the thread insert bit I may need to use a die on the gearstick too |
| |
1966 Ford Cortina GT
2018 Ford Fiesta ST
Full time engineer, part time waffler on Youtube - see Jim_Builds
|
|
|
|
|
Dec 18, 2012 14:15:48 GMT
|
|
it's been a while since i updated this as I have beenmoving in with the mrs and christmas stuff
since the gearknob I have stripped, cleaned and painted the pedal box which is now sat in a box till I need to refit it,
I have also got the welder working on the proper gas bottles so I have been practicing to get the right setup which seems to have worked an I have started to work on a tricky area which i will post pics of later but it has been fun hitting metal with hammers!
|
| |
1966 Ford Cortina GT
2018 Ford Fiesta ST
Full time engineer, part time waffler on Youtube - see Jim_Builds
|
|
|
|
|
Dec 31, 2012 14:46:26 GMT
|
I haven't done much over christmas as I have had some bad news which has really left me deflated about the car, I'm hoping I'll get past this soon but I did have a bad experince this morning that put me off when my cutting disc shattered - I'm ok just frustrated.  I have been thinking about having someone do the tough welding jobs that I can't - does anyone know of any restorers/ car welders in the nottingham area? |
| |
1966 Ford Cortina GT
2018 Ford Fiesta ST
Full time engineer, part time waffler on Youtube - see Jim_Builds
|
|
|
|
|
Dec 31, 2012 21:33:28 GMT
|
|
Shattered cutting discs are not fun at all, main thing is you're okay.
This project reminds me a lot of my own - its not a gt but it is a 4 door mk1, and I've halted it for a while aswell because I need some motivation to get the welding started - its the last piece of the puzzle along with paint but by no means easy.
I just keep looking around other people's cortina build threads which is inspiring me to get in gear.
Love the car though, looks like you're doing a great job too - don't give up!
|
| |
1966 MK1 Cortina
1971 Hillman Super Imp
1985 Volvo 360 GLEi
1986 Volvo 340 1.7
1990 Mercedes 190e 2.0
1993 Peugeot 205 STDT
|
|
|
|
|
Dec 31, 2012 21:43:30 GMT
|
Let the discs do the work ,They usually brake up when there forced Are they quality discs? As for the welding ,Its well expensive these days,I'm sure you can do it  If you were closer i would help you out mate ,Keep at it ,Be worth while in the end  |
| |
|
|
|
|
|
|
|
|
Derskine - its good to hear of other mk1's being restored, do you have any pics?
I have tried some new discs from a local motor factors as I happened to be there at the time but I think I will stick to the machine mart ones.
The plan really is to get the big welding jobs done but I also want the chassis measuring as I think its bad repairs could be a result of an accident rather than rust but it would put me at ease knowing its all ok.
thanks for the kind words too guys
|
| |
1966 Ford Cortina GT
2018 Ford Fiesta ST
Full time engineer, part time waffler on Youtube - see Jim_Builds
|
|
|
|
|
|
|
I fancied spending a few hours after I got home from work on the car to try and boost some inspiration and motivation for tomorrow when I try to do some more body repairs and welding So I thought I would look at the front bumper as I had not replaced the original one when the front valence was replaced a few years ago. I had bought one off ebay but it has been sat for ages and I figured I'd try to get it to sit a bit closer to the body and give the front end a smoother look as at the moment it looks like the body and the bumper have fallen out! first off was to cut out the bumper bracket holes, I will shape these properly at a later date. 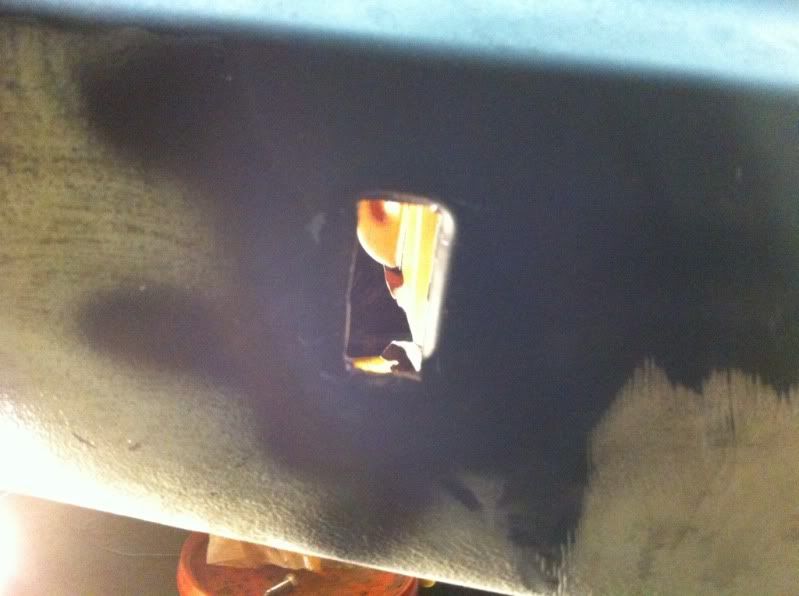 I got these brackets a while ago! I don't mid playing with them a bit as they have seen better days 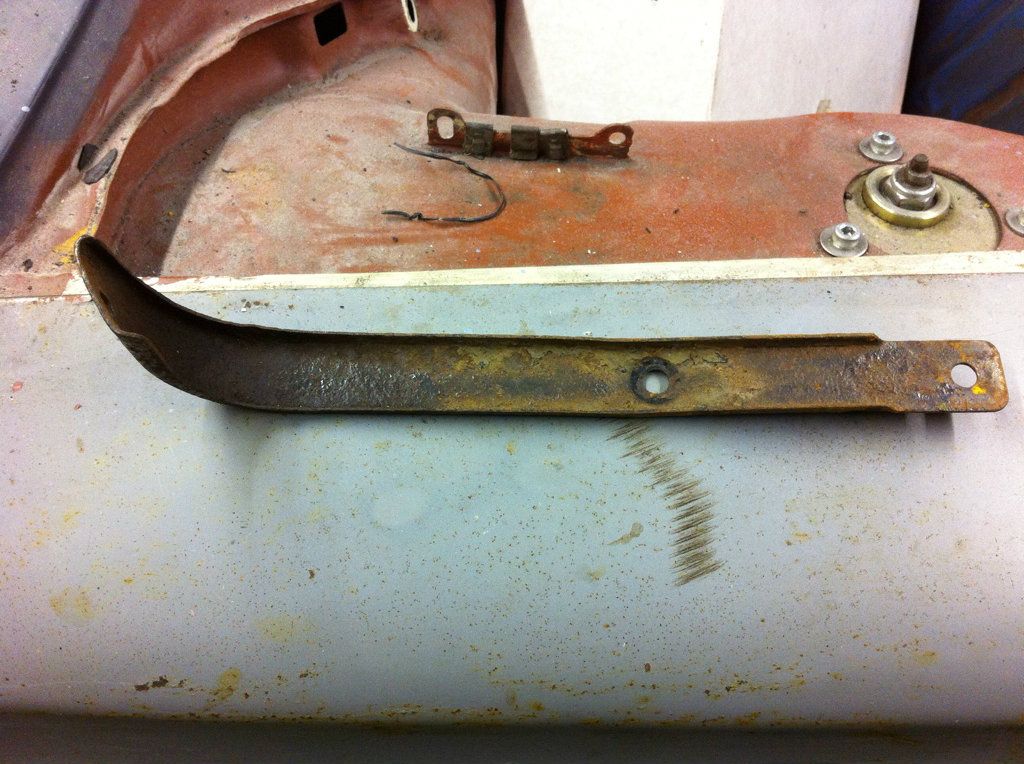 when I went to fit the bumper however I thought something was odd as it was over to one side and was at an odd angle - fortunatly I have some other brackets somewhere so I should be able to make up a set 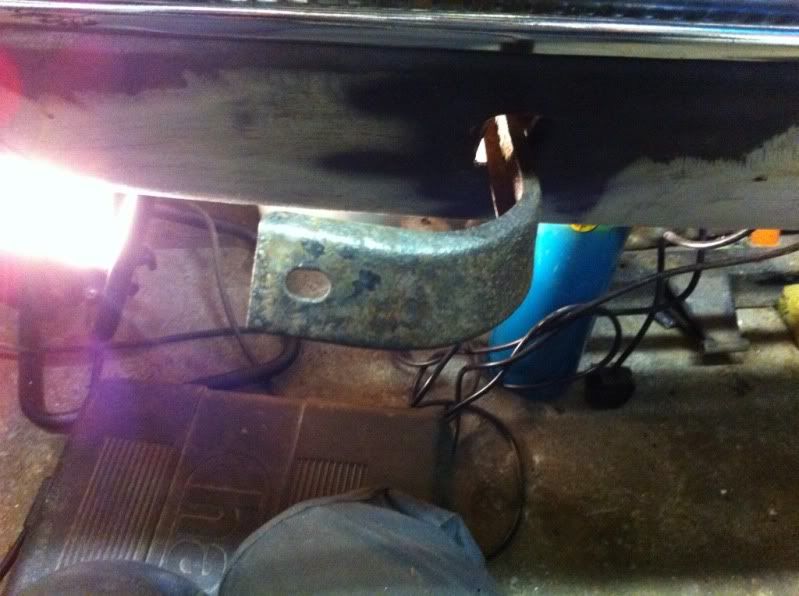 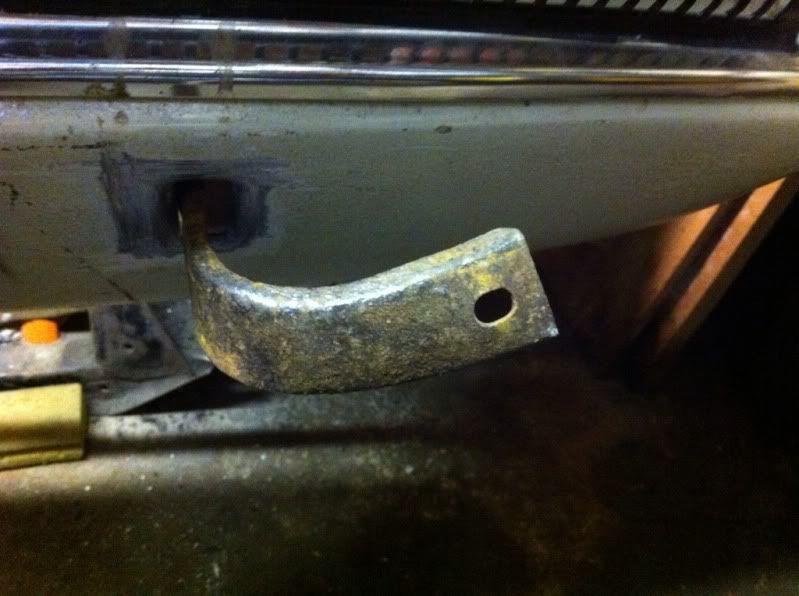 I found my stash of rear bumpers - one has really good chrome but has a small dent in it - is it easy to pull something like this out? 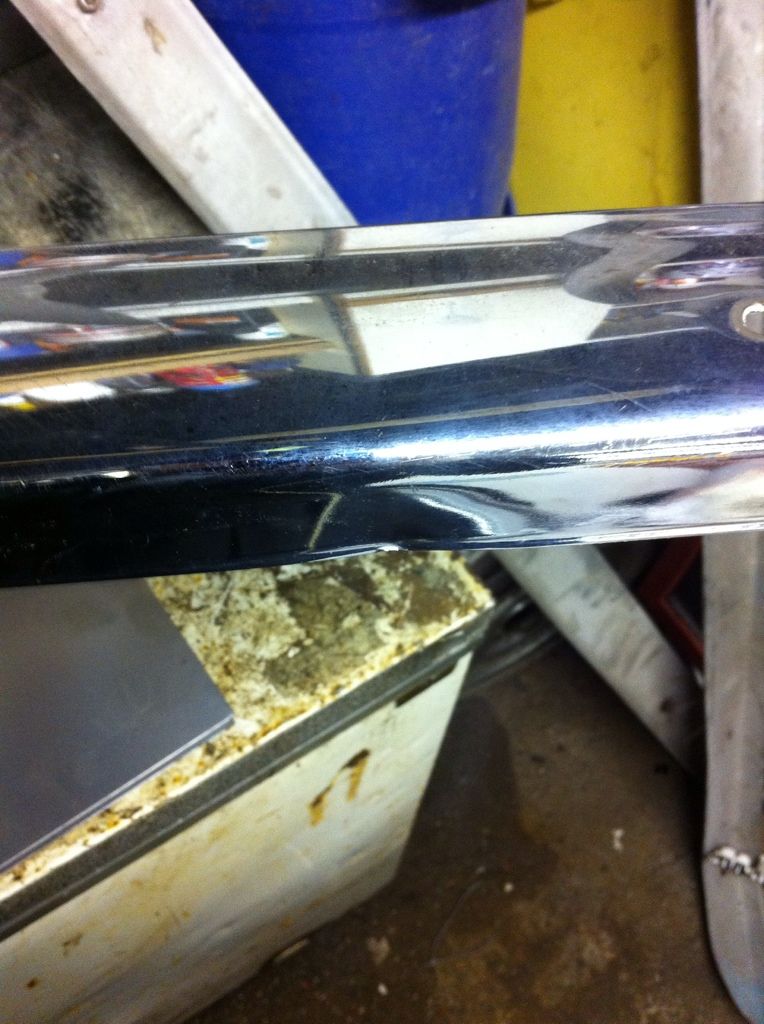 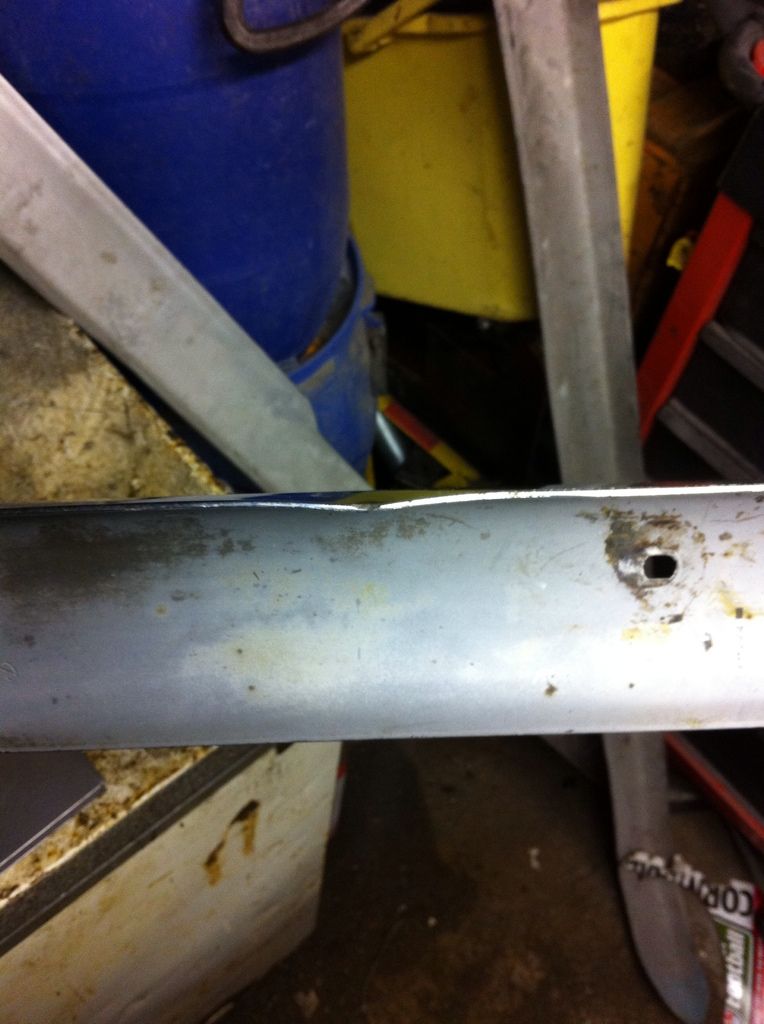 on the plus side after last weeks trouble I felt like I got somewhere today |
| |
Last Edit: Jan 4, 2013 19:59:08 GMT by jim
1966 Ford Cortina GT
2018 Ford Fiesta ST
Full time engineer, part time waffler on Youtube - see Jim_Builds
|
|
|
|
|
|
|
|
Dead easy to repair that bumper ,Use thick wood on the chrome side a brass mallet inside to tap it out
I'm looking for a rear bumper if theres and decent spares ?
|
| |
|
|
|
|
|
|
|
|
I have one that's straighter but it needs chrominance and the 3rd one needs sent repairs and chroming
|
| |
1966 Ford Cortina GT
2018 Ford Fiesta ST
Full time engineer, part time waffler on Youtube - see Jim_Builds
|
|
|
|


