Cheers Davey.
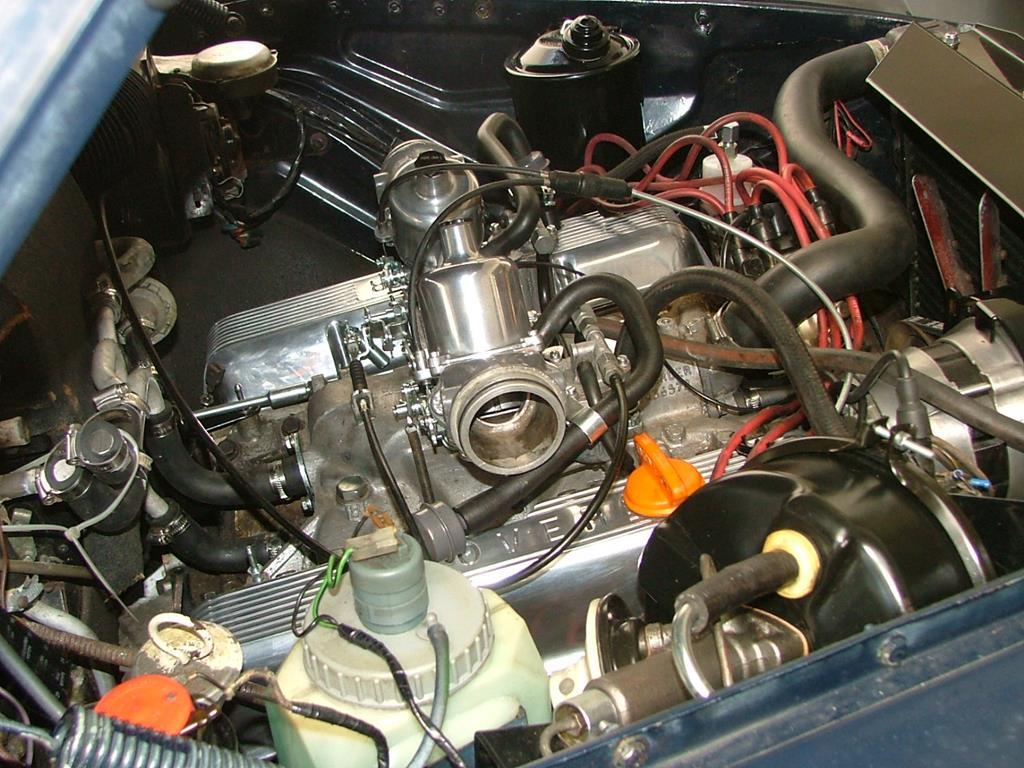
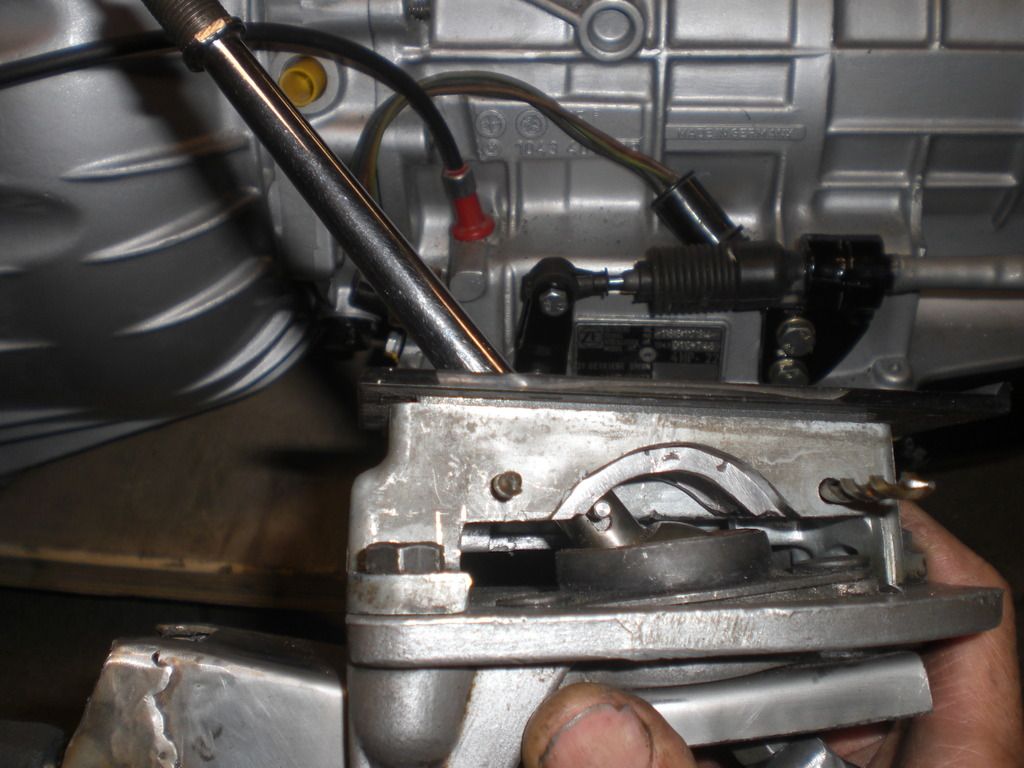
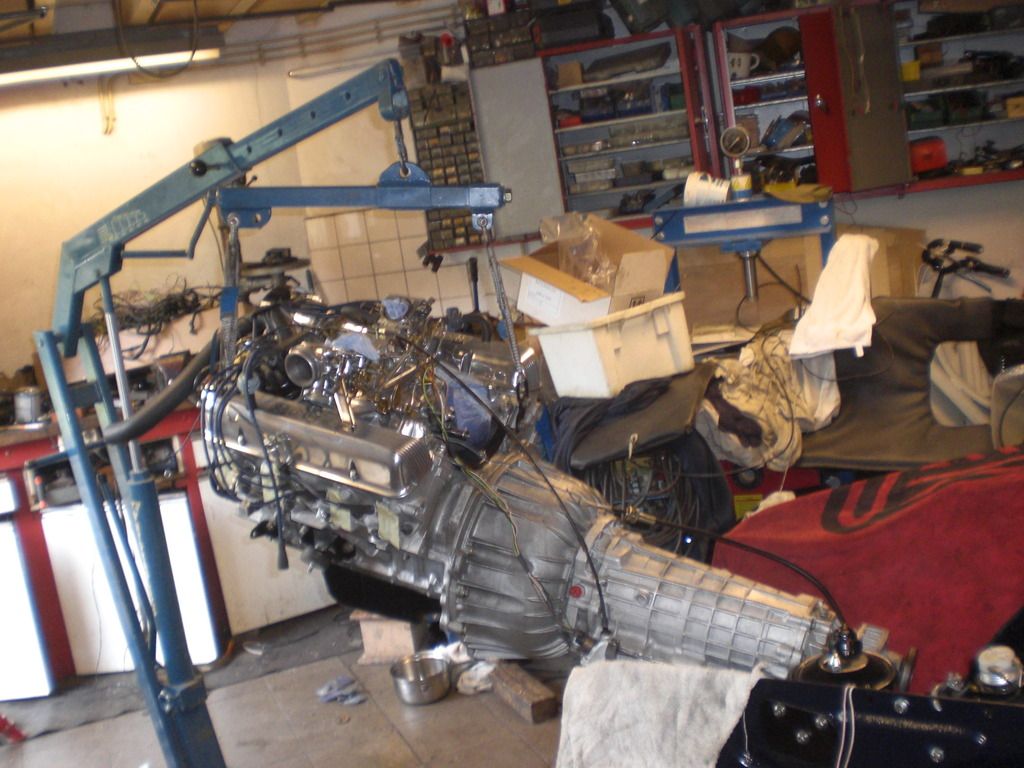
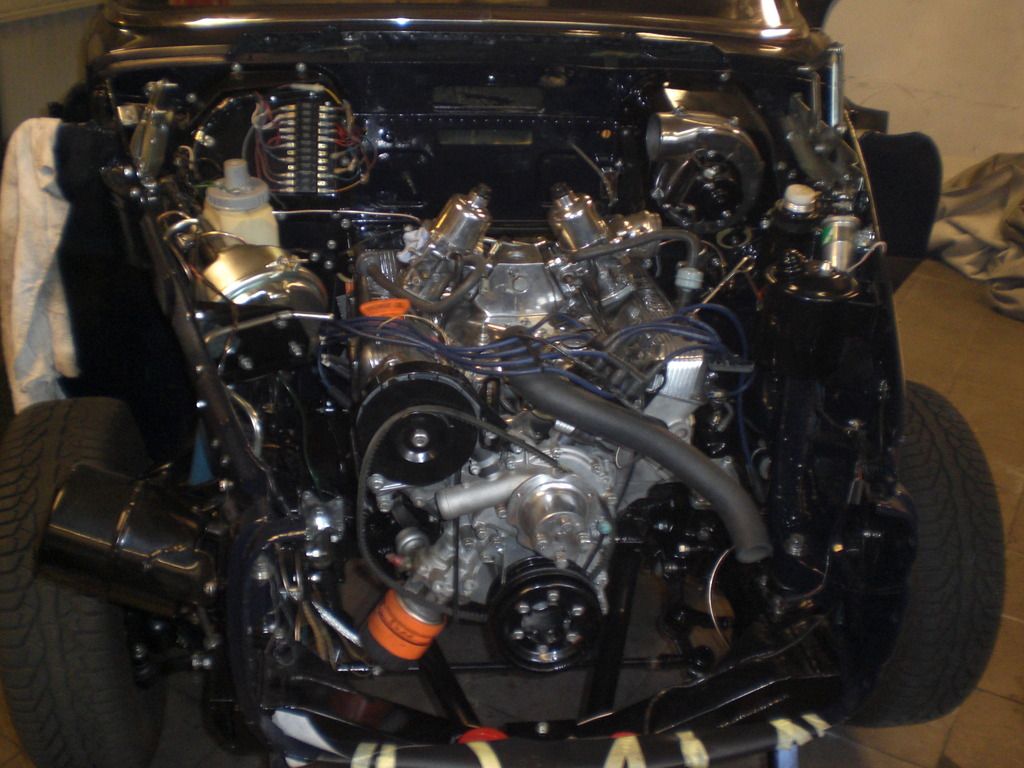
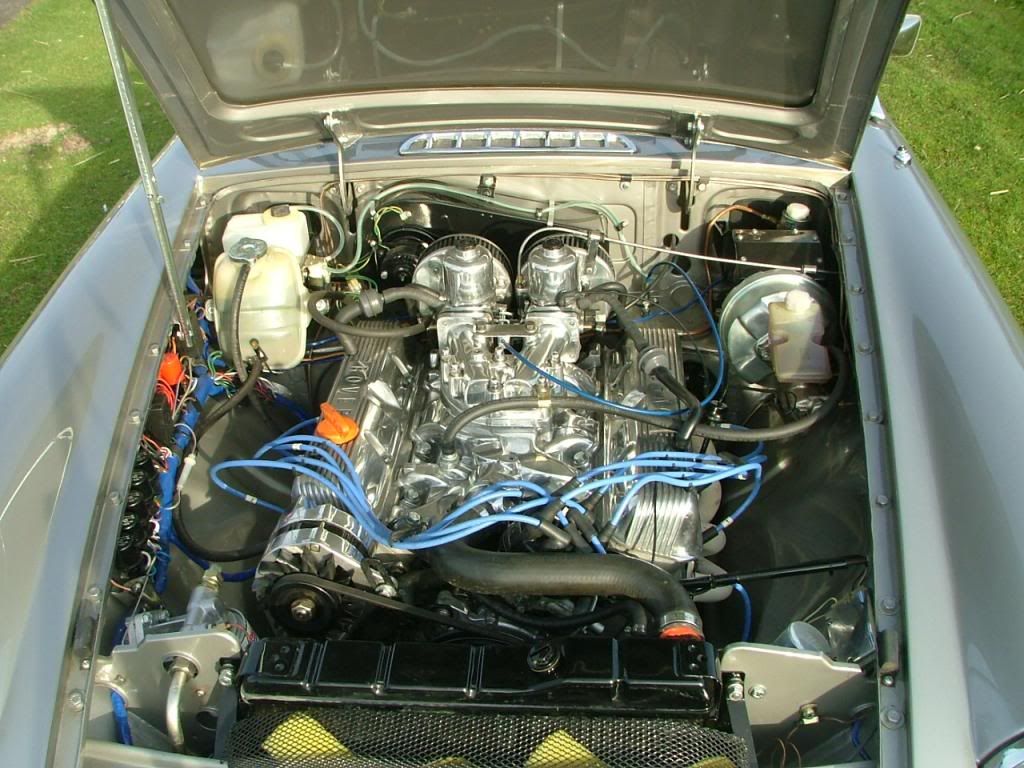
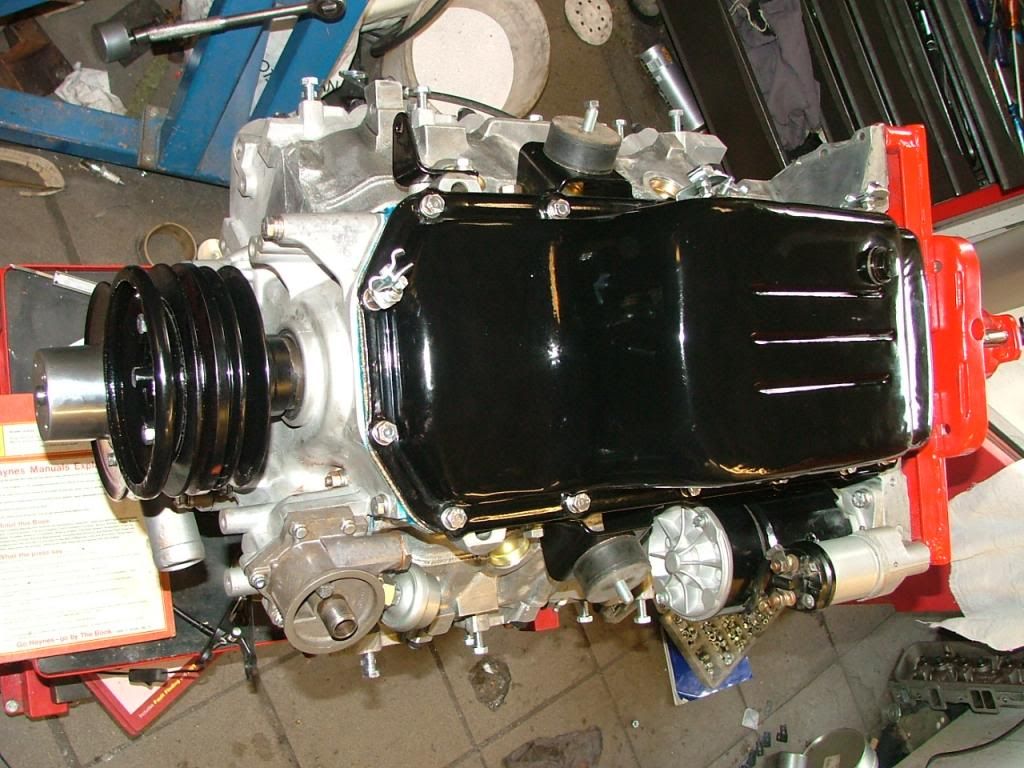
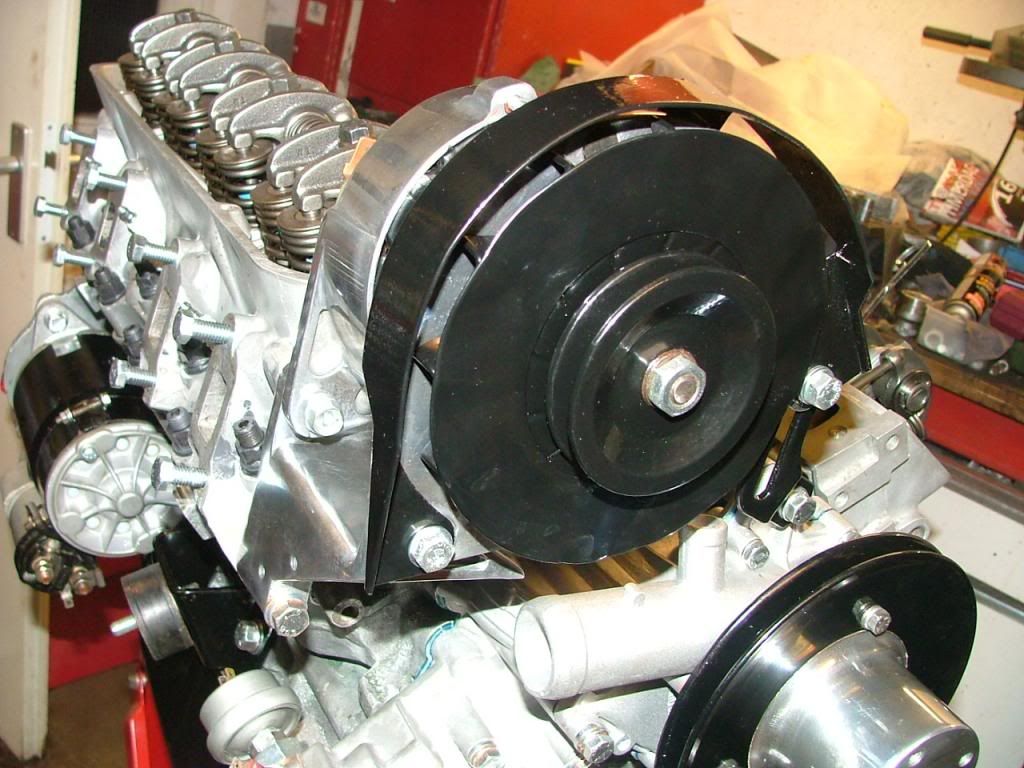
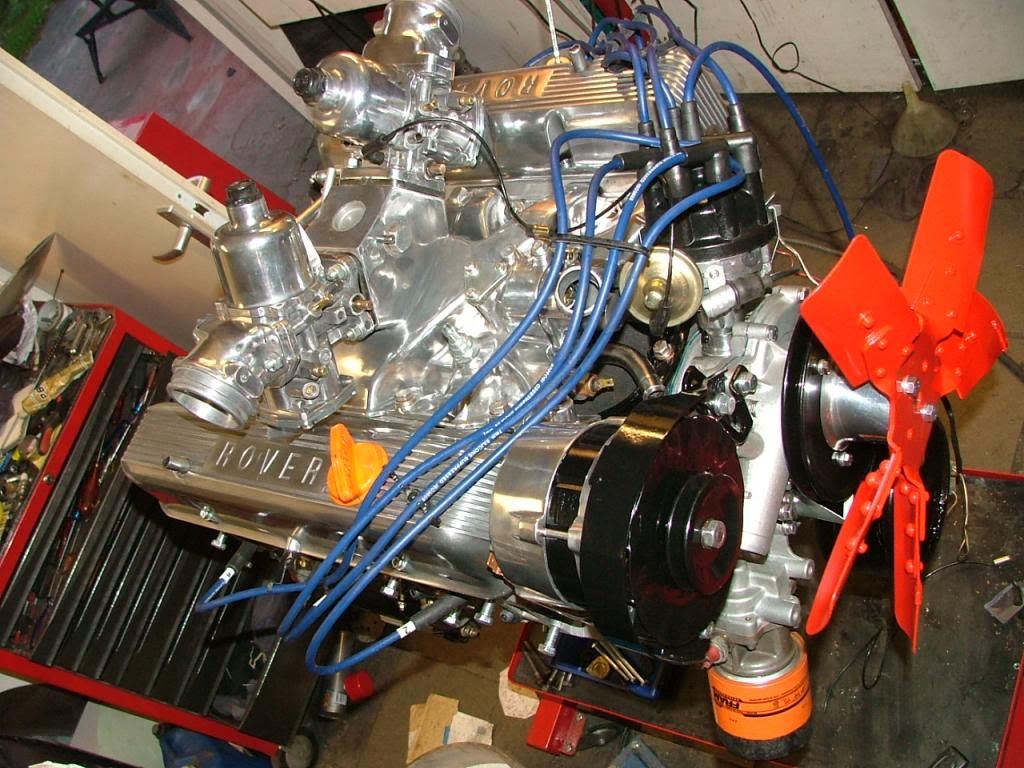
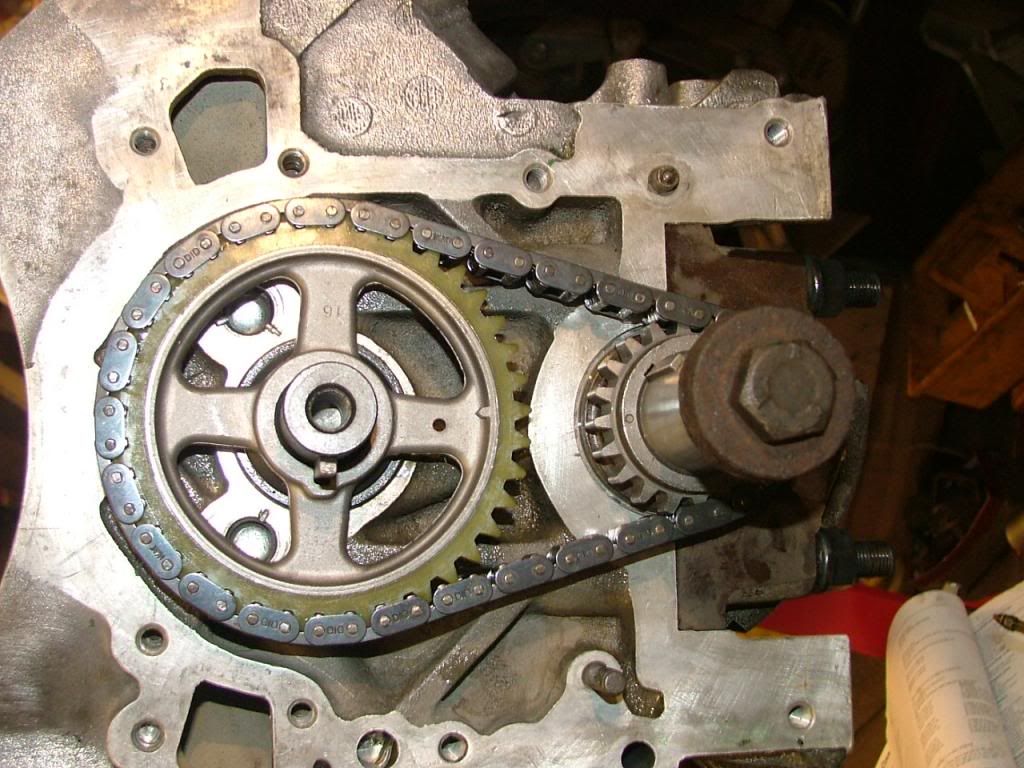
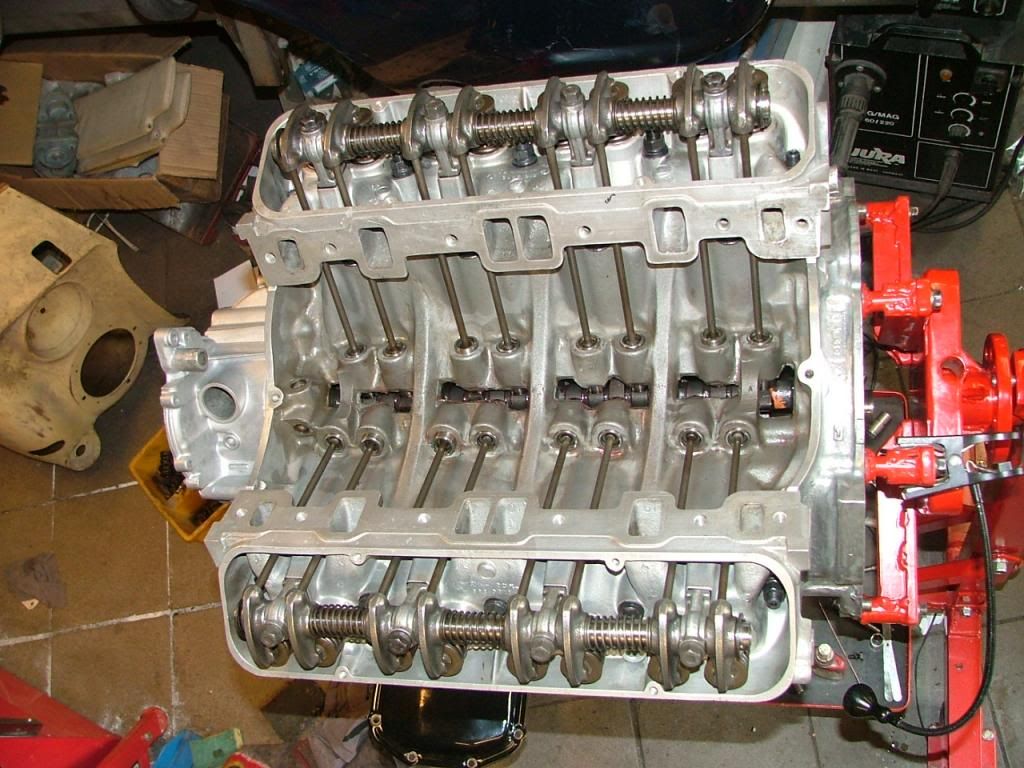
Next step is to fit the engine and box as i need space in the garage as the panels will return from the paint shop next week. This was done to the engine some time ago.
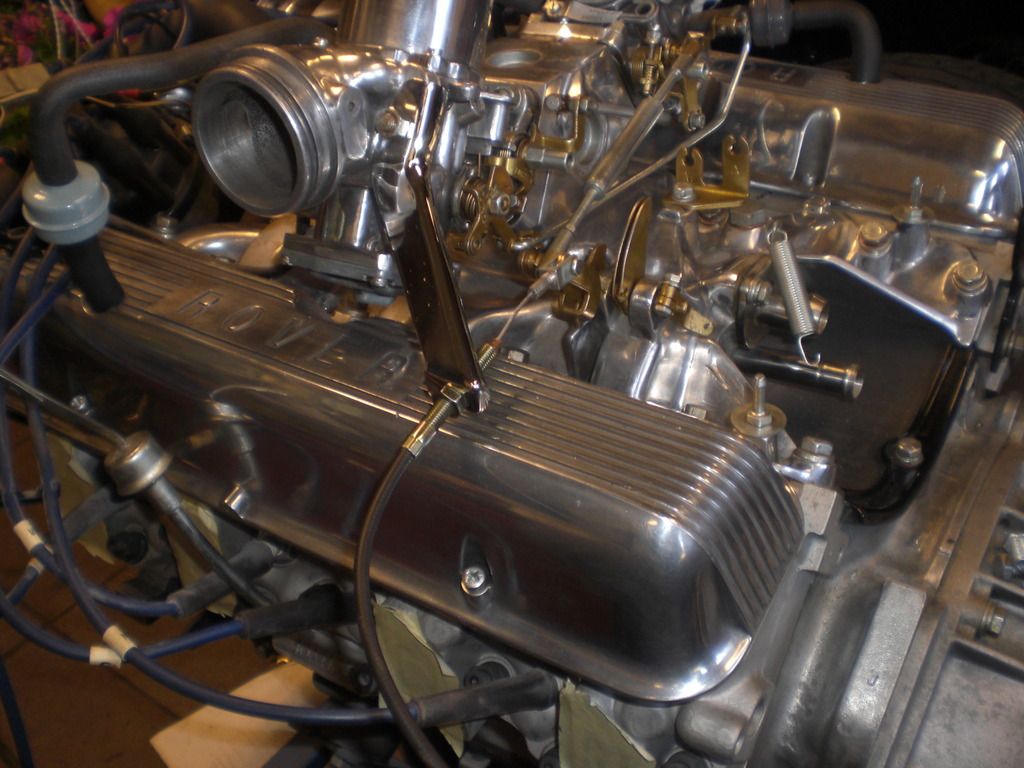
I had 3 Rover V8 engines. An original P5B engine out of the spare car but this engine has a rope seal so i didn't want to use it. Then i have a 3.9l engine which was fitted to the "driver" P5B. I drove this car (on LPG) for approx 10.000km without problems and hardly oil and water consumption. Then i have a 3,5 SD1 engine which i bought from a scrapyard with an LT 77 for Euro 250,- approx. 10 years ago as a spares engine for my MGB. 10 years ago, I opened the engine at home and found it was overhauled recently. I removed the pistons and put these in a box, greased the bores and crank shaft and other parts and it has been standing in my garden shed for approx 10 years.
i first dismantled the 3,9l
Because the car was running on LPG the engine was very clean inside.
The combustion chambers also looked very good
The crankshaft bearings looked pretty worn as the brass was visible on a few main bearing shells
Measuring the pistons and bores of the 3.9 engine showed a clearance of more then 0,1mm so these would need a rebore according factory specs.
Then took the 3.5l Sd1 engine out of the shed
The grease lasted well and no corrosion was visible on the bores or the crankshaft and other steel components.
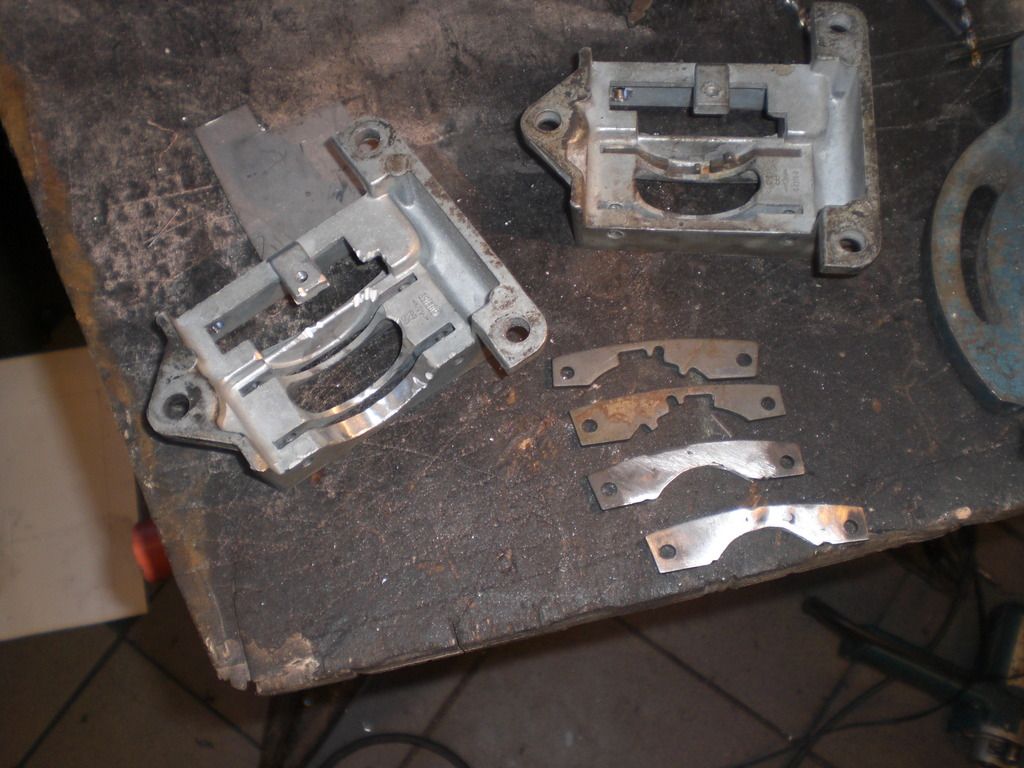
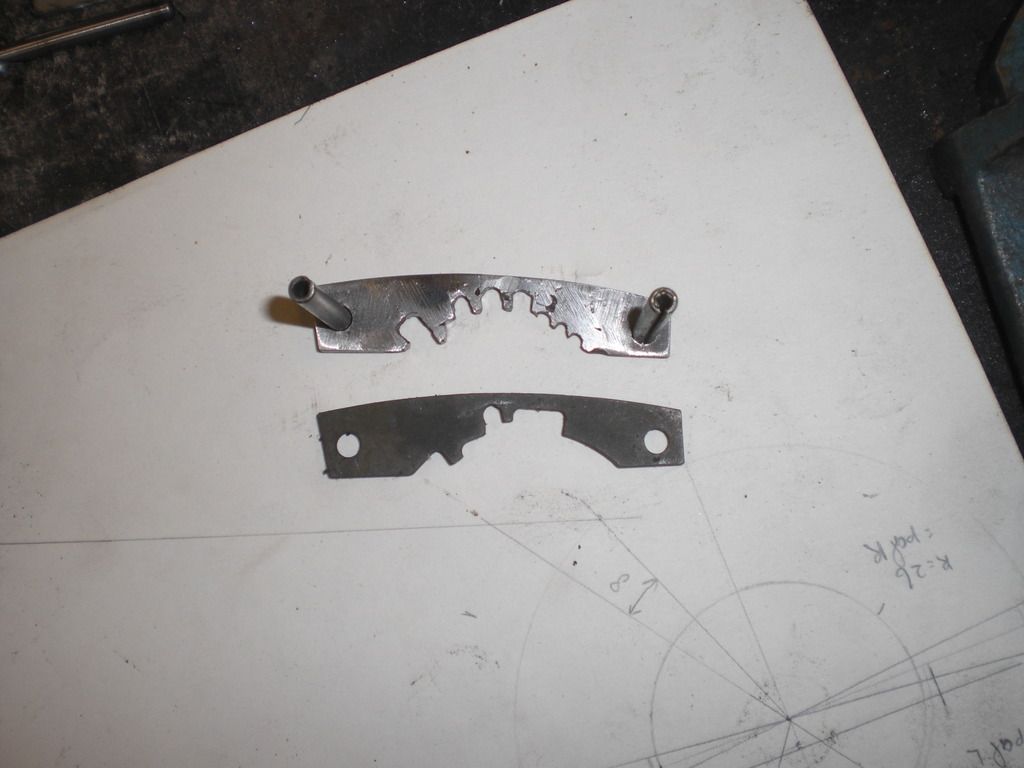
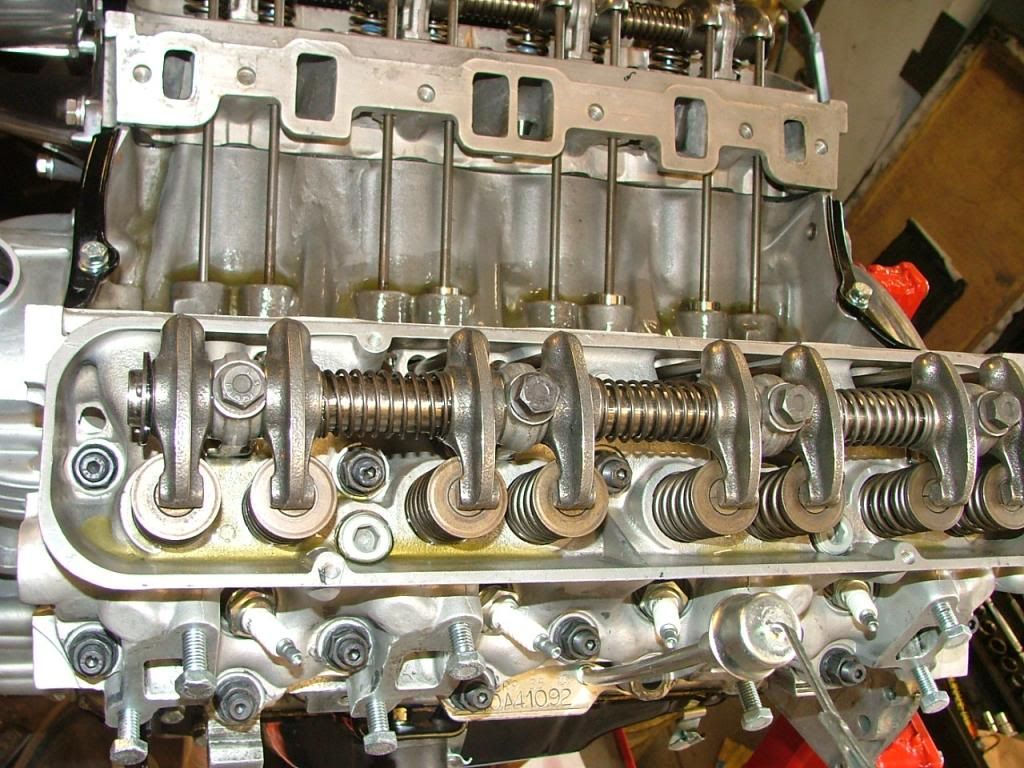
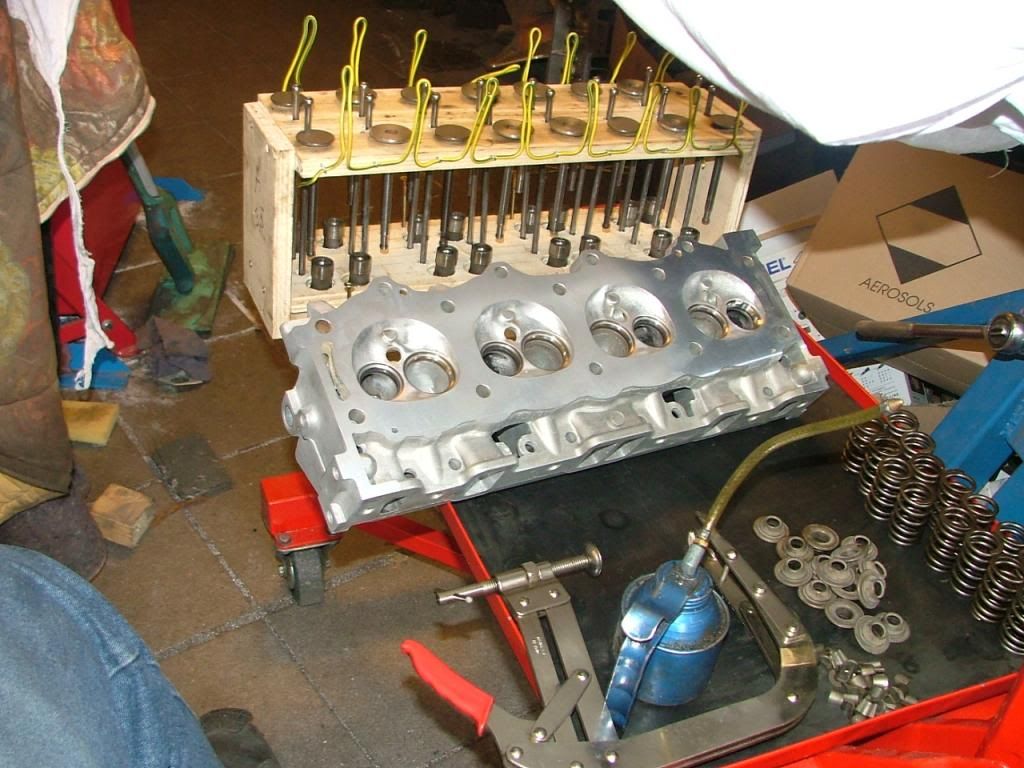
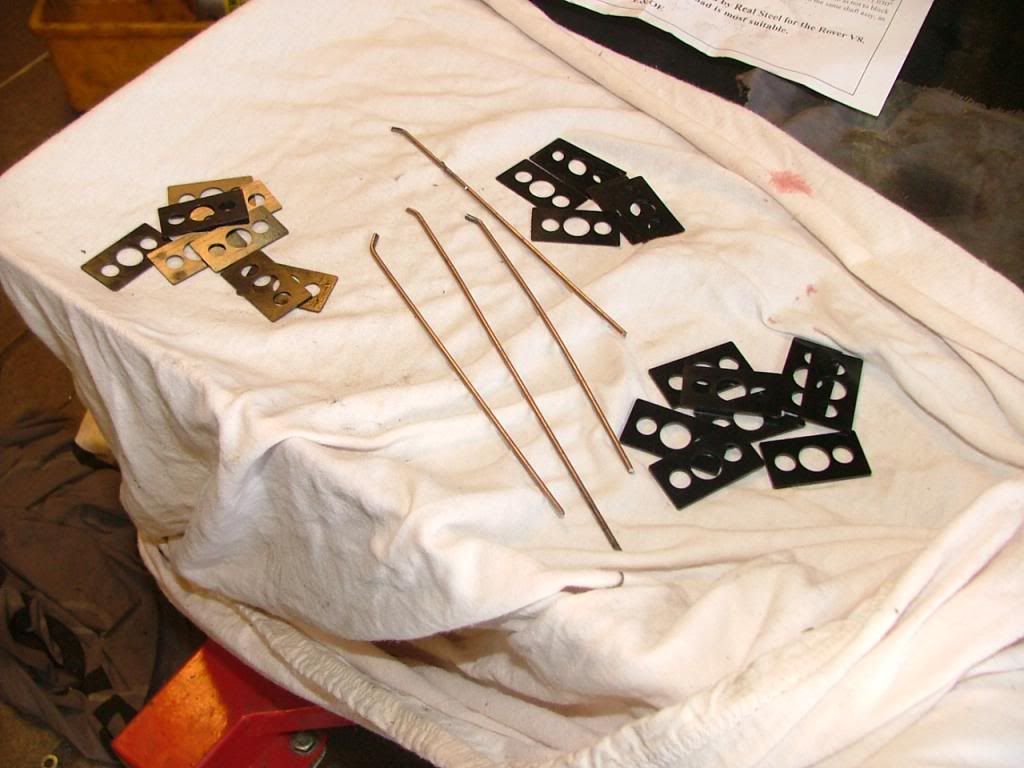
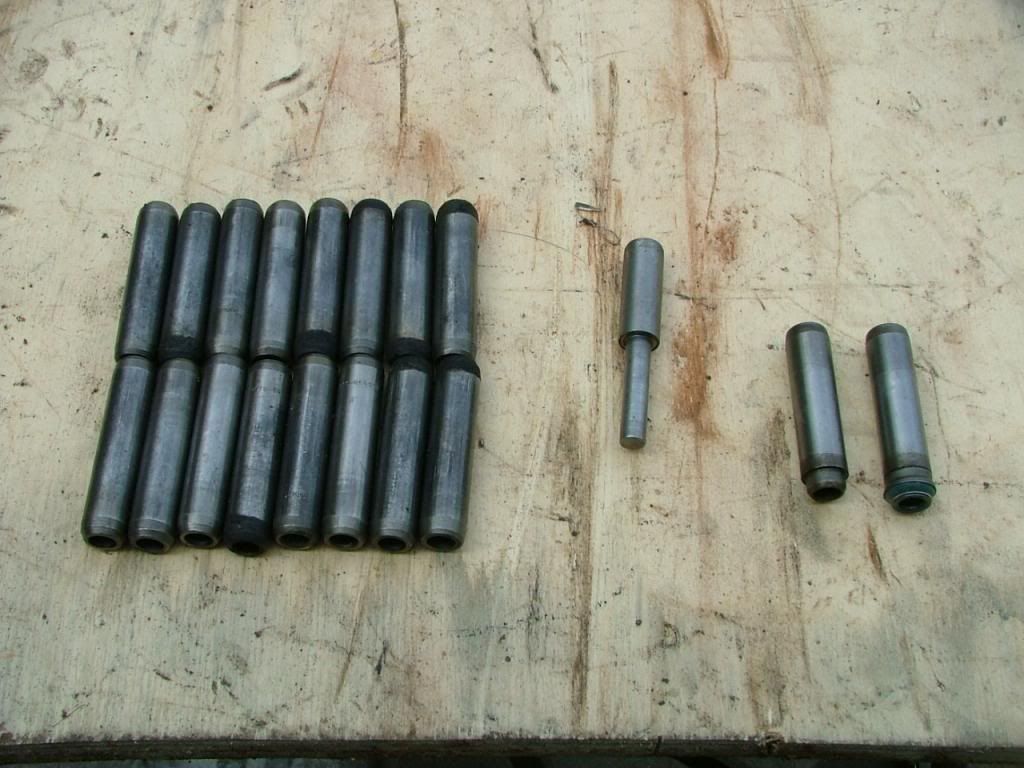
Made 2 storage components for the valves and related parts
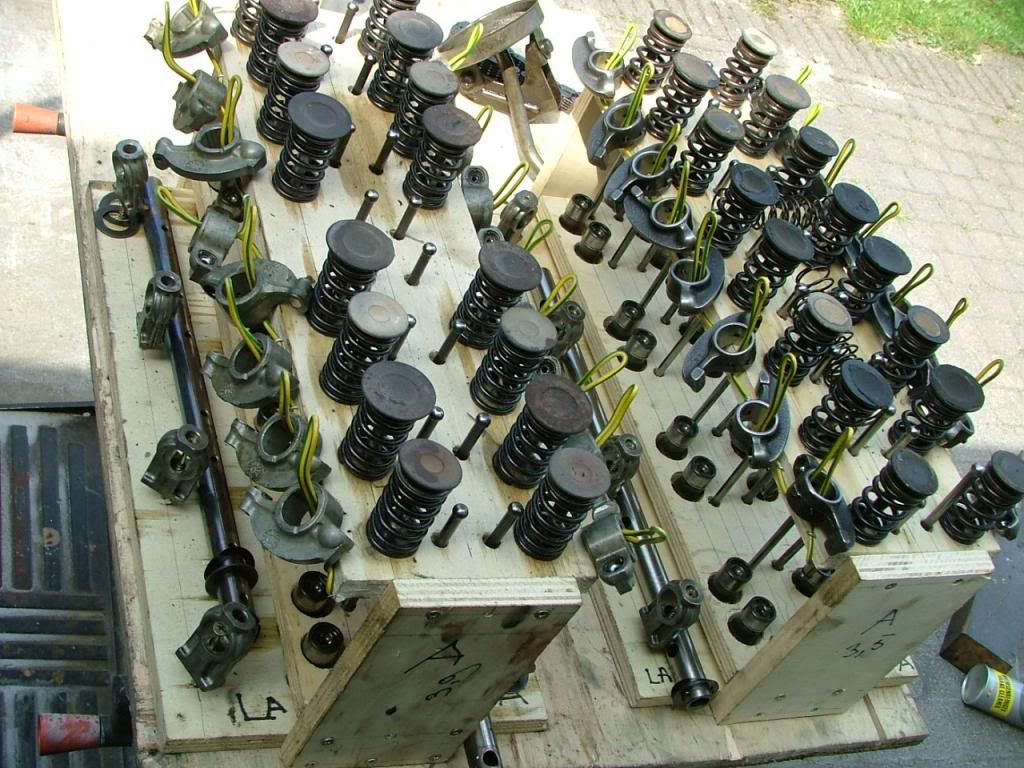
On the left side the 3.9 components which show the original rockers. On the right side the 3.5 components which show after market steel rockers.
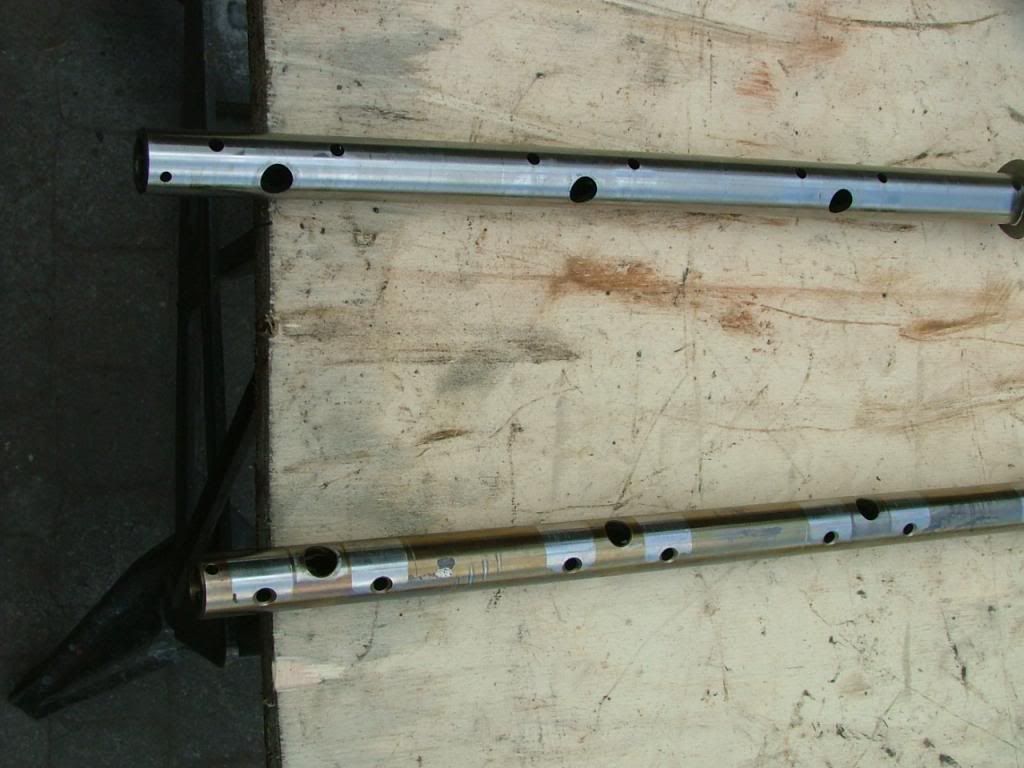
Underneath a picture of one 3.9 lit rocker shaft (RH) and one aftermarket rocker shaft (LH). The picture shows wear on the 3.9l shaft and no wear on the 3.5l aftermarket shaft
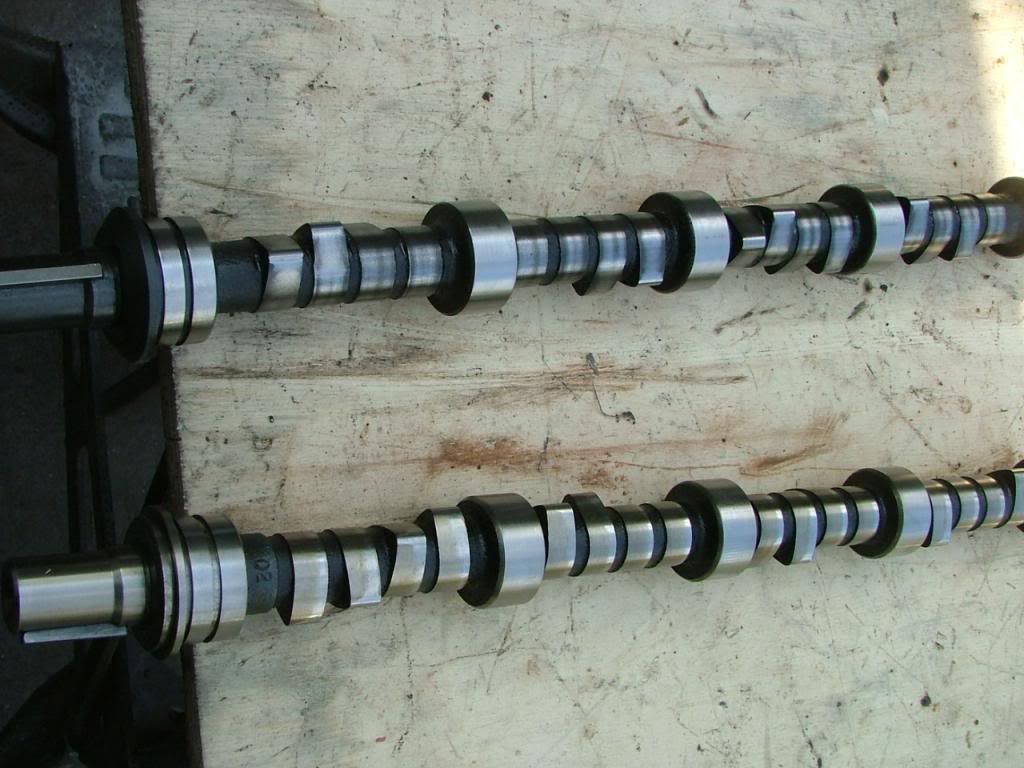
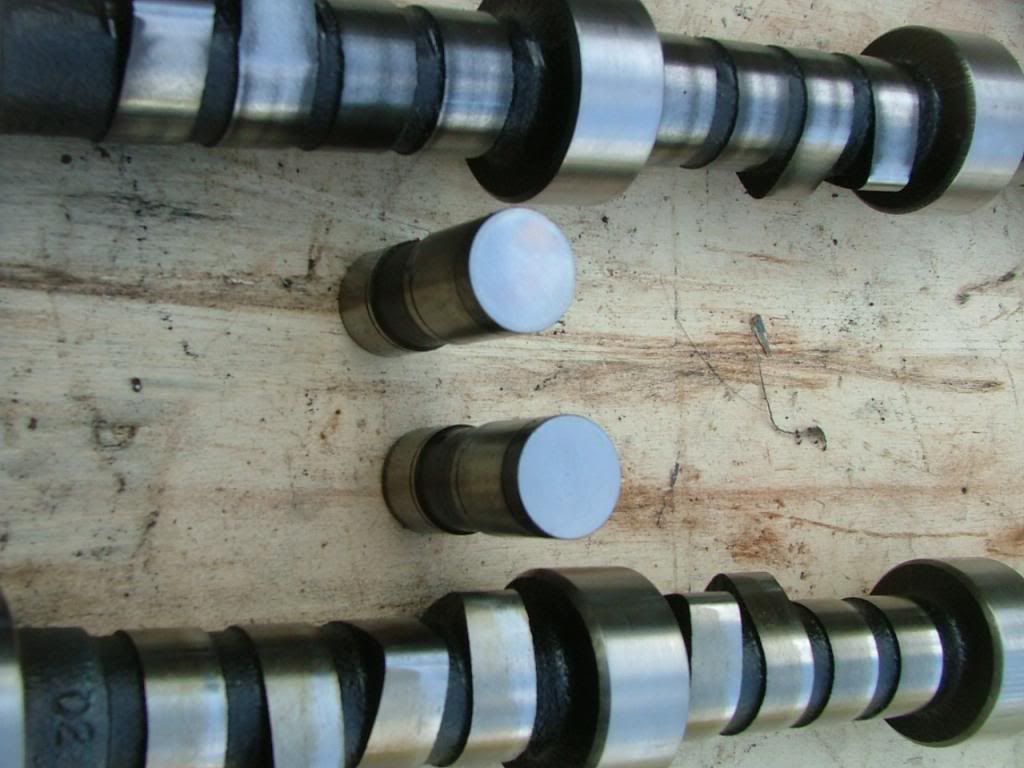
Underneath the 3.5 camshaft (LH) and the 3.9 camshaft. The black marks from the hardening proces on the 3.5 shaft have not fully gone so it has not done many miles since fitting. The 3.9 shaft shows some pitting on the cam lobes but is not worn.
Underneath 2 cam followers. None of the followers showed wear.
Although the 3.5 shafts looks very good, i will replace the camshaft for a "mild road" one with a wider torgue range. I also did this on my MG V8 and am very pleased with this.
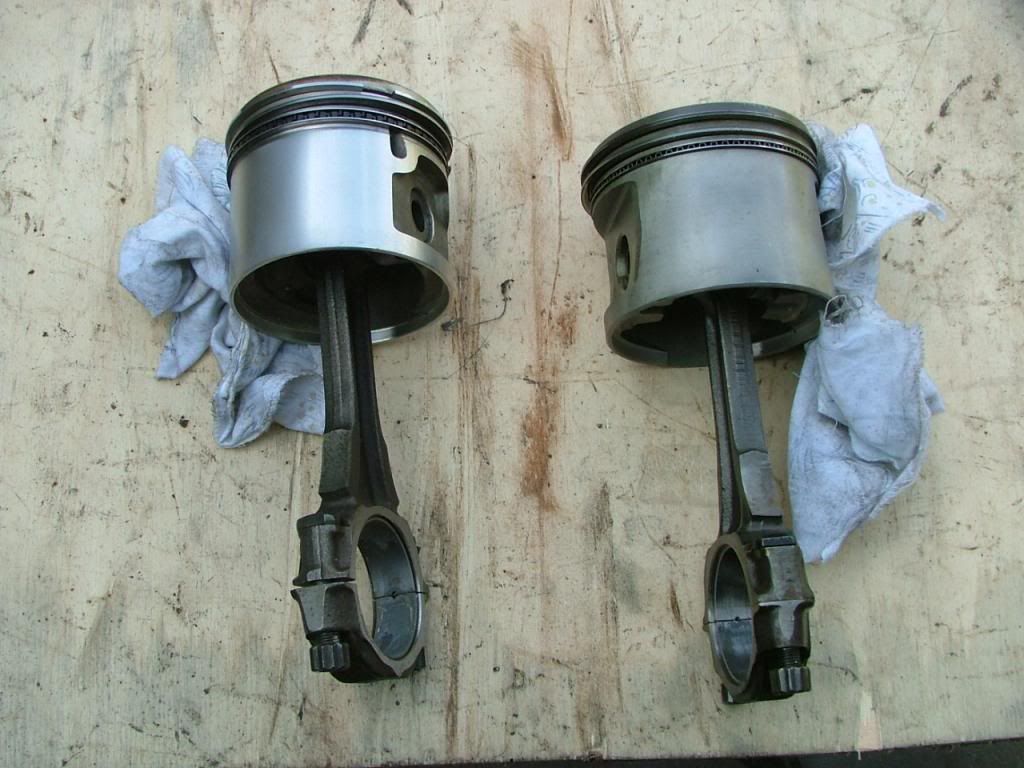
Here a picture of a piston from the 3.5 engine on the LH side which is really almost new and a picture of a 3.9 piston (RH)
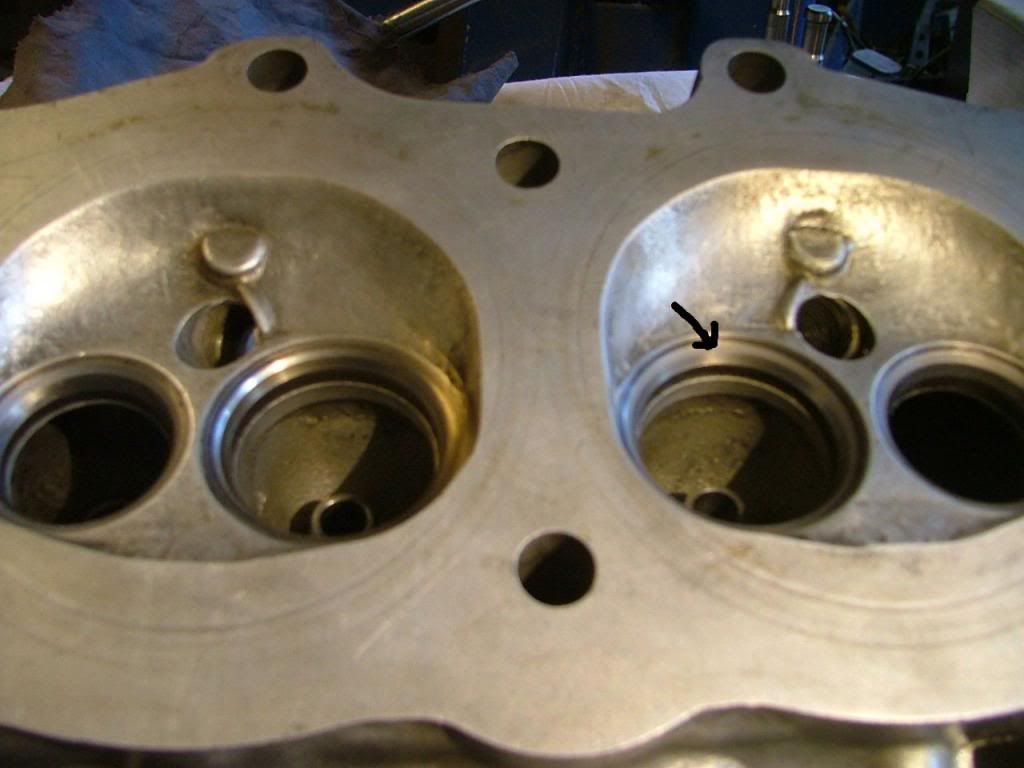
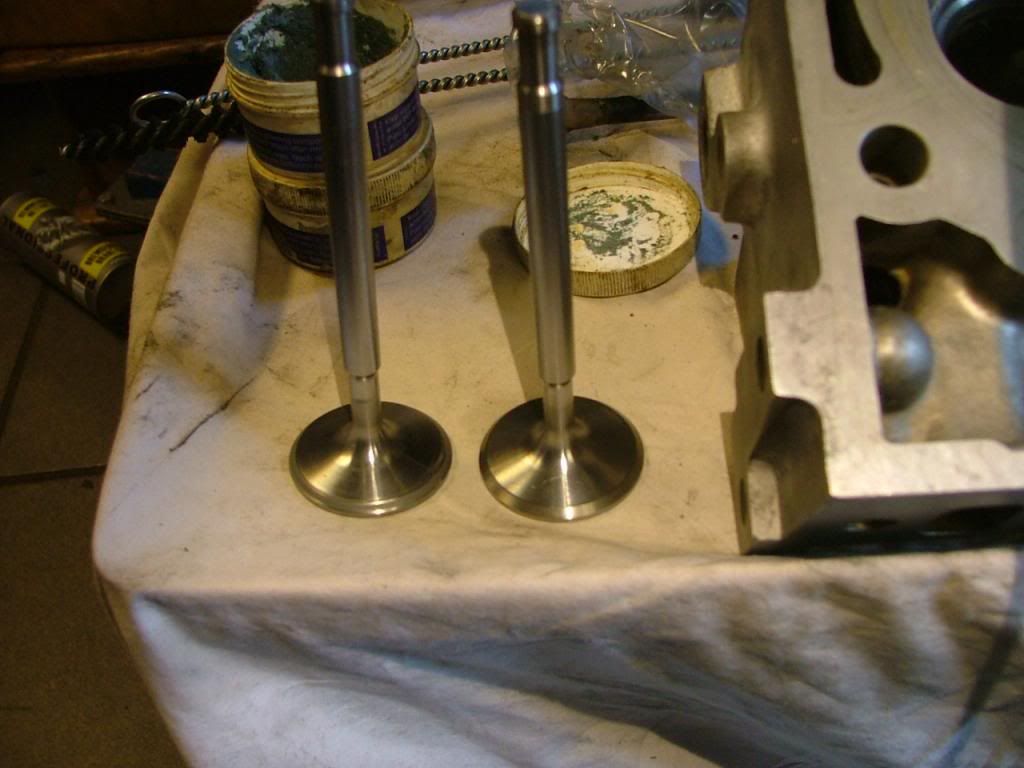
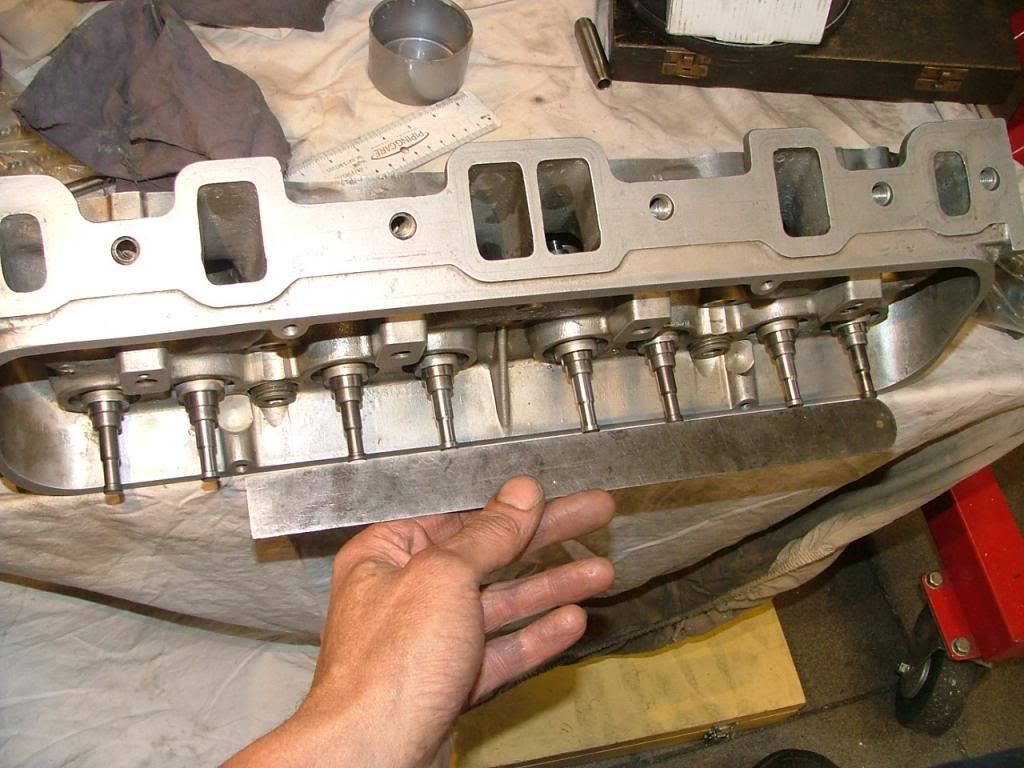
I have a preference for the 3.9l heads because of better breathing but inspection showed that the valve seats of the 3.9 were worn.
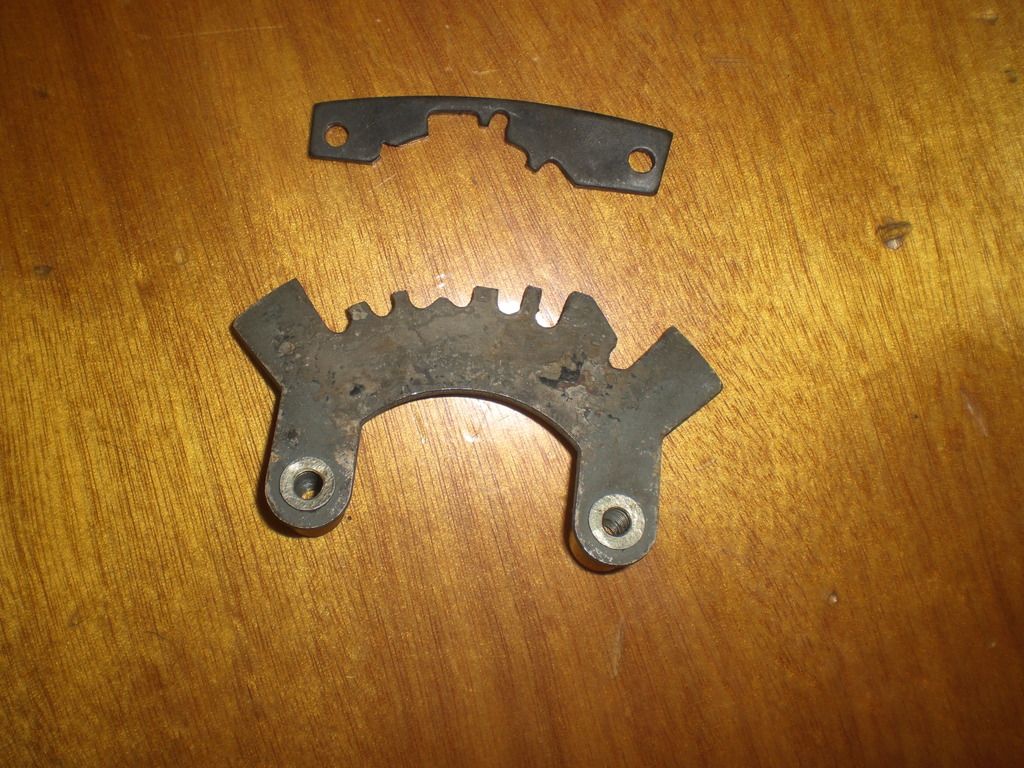
The picture of the valves underneath shows that the valves seats are worn.
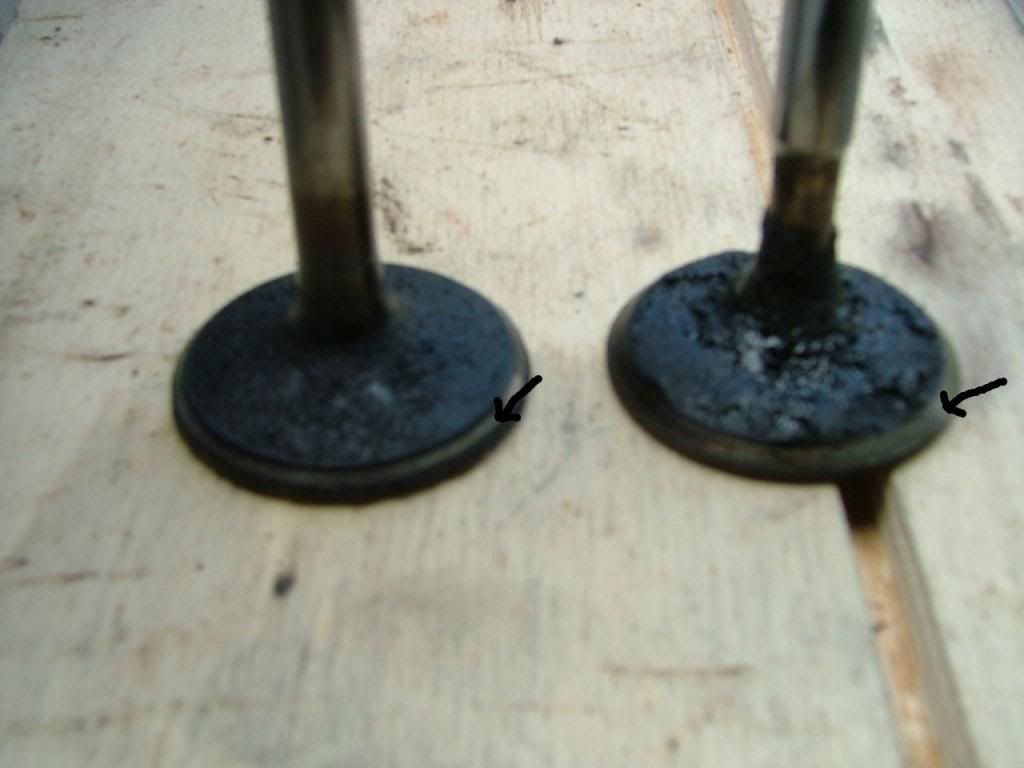
On the RH side the valve of the 3.9l engine. The contact area between valve and seat (arrowed) is too wide and is much smaller on the Sd1 engine valve (LH). So i will use the SD1 heads.
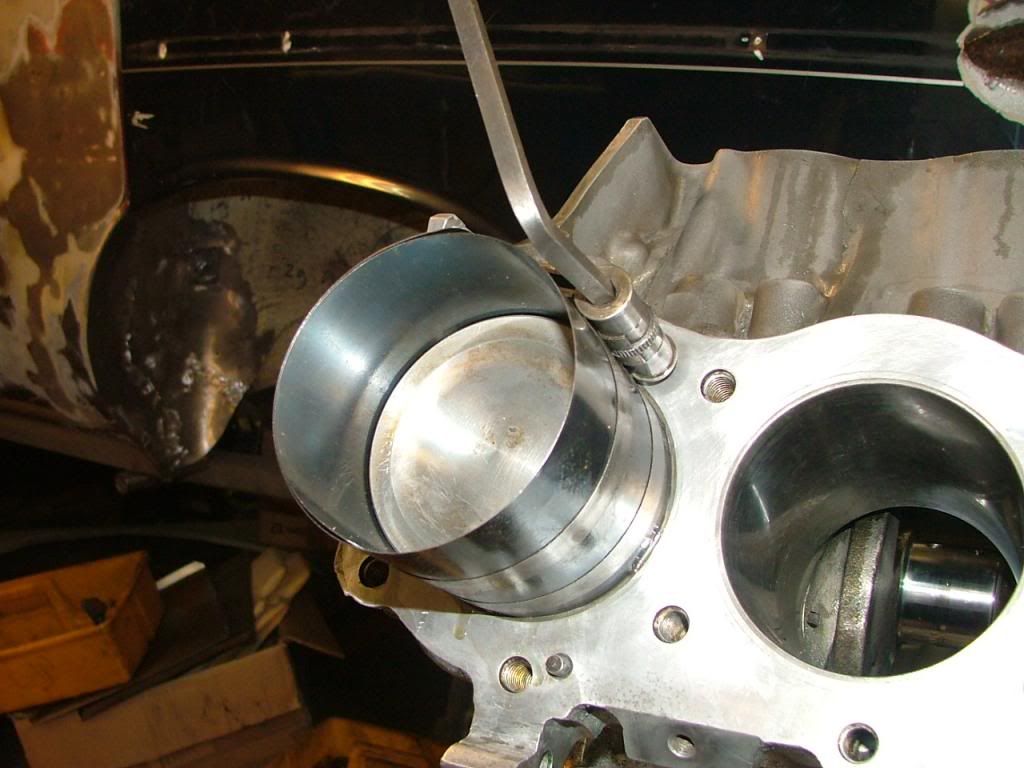
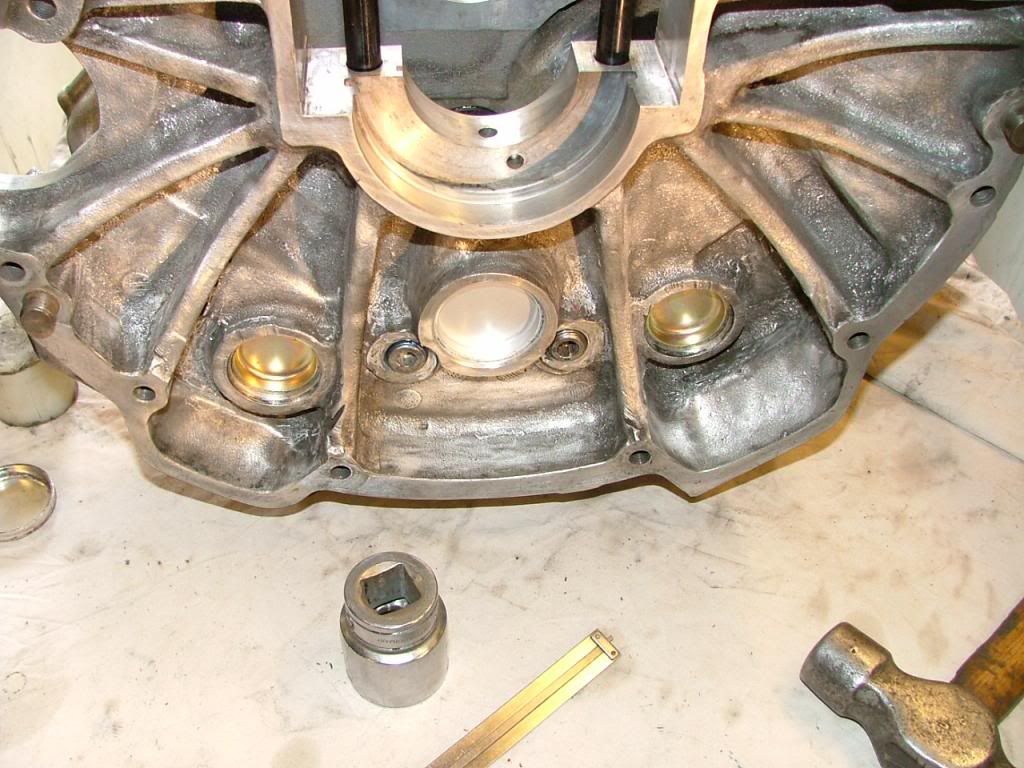
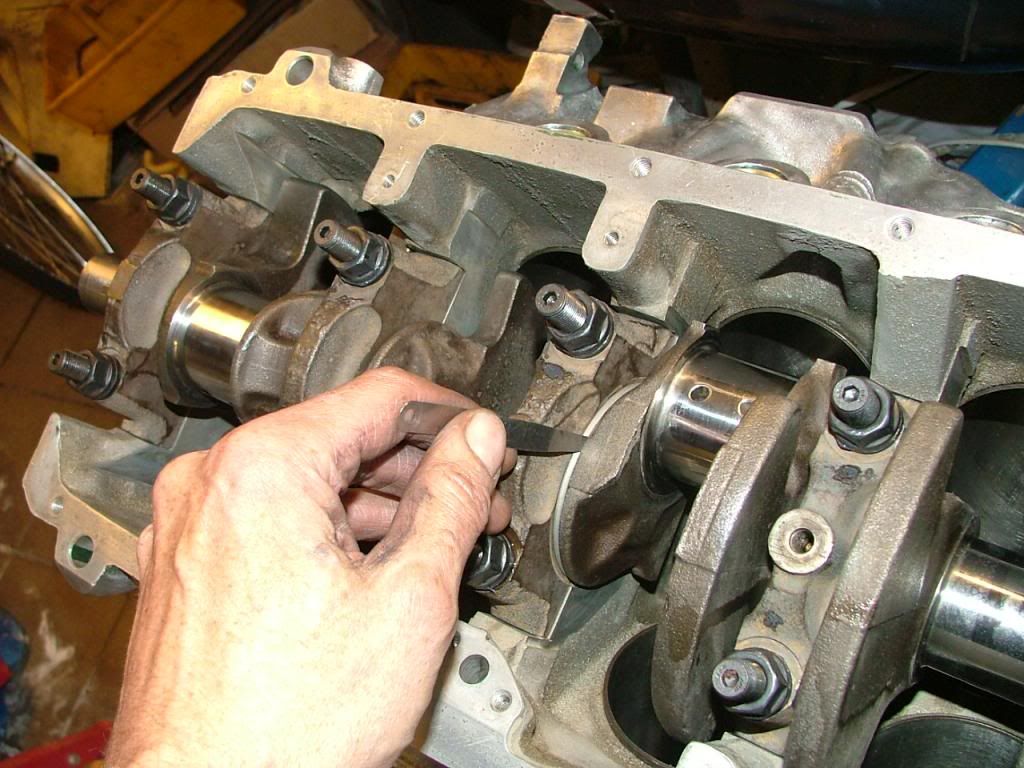
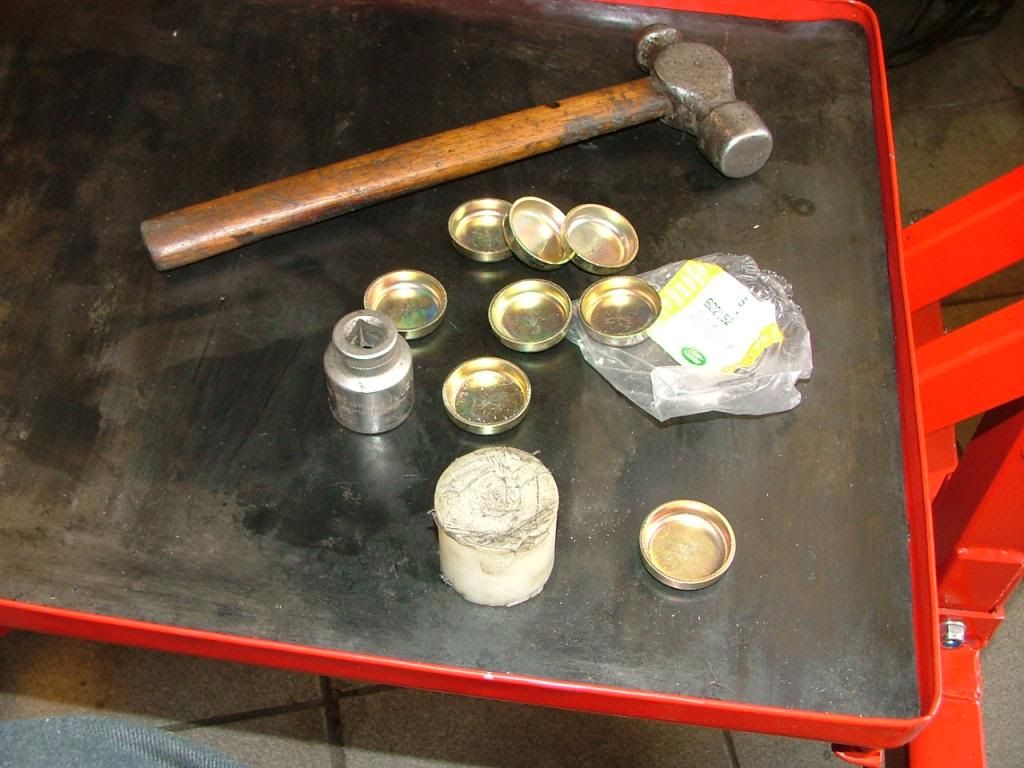
Removed the freeze plugs on the 3.5 engine as i was not sure that was done during the last rebuild and didn't know what the 10 year storage had done to the plugs. The plugs the side's were removed with a socket. i welded a bolts on the plugs on the rear end and pulled these out with a nut and a steel bar as can be seen in the picture underneath.

The plugs were very good but i couldn't take the risk
I checked the clearance between valves and valve guides and on a few the clearance was more then 0,1 mm. The inlet valves showed a fair amount of carbon deposits so i decided to replace the guides. Also because the Sd1 guides have these foolish rubber rings as oil seal and i wanted to fit the later type guides which have a decent seal.
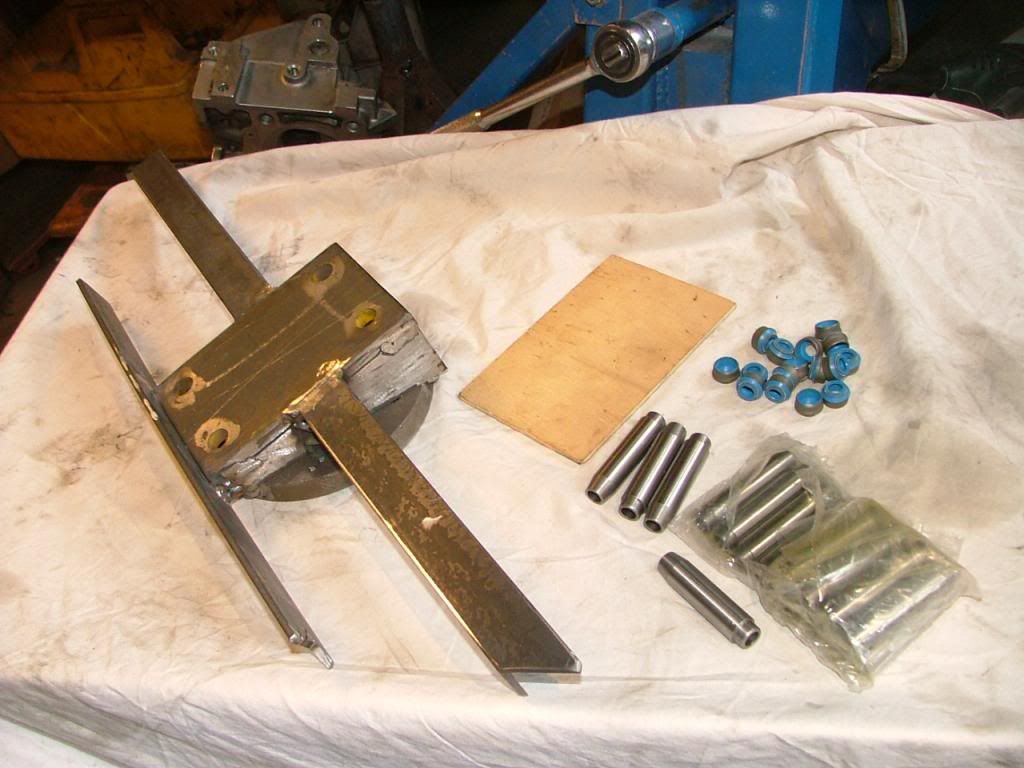
The guides came out well but needed a fair amount of hammering with a heavy hammer. On the LH side you find the SD1 guides, on the RH the later type guides, one with the oil seal removed and one with the oil seal still fitted. In the middle you find a tool i asked a friend to machine which is really needed otherwise the guides will deform when hammering out.
I have an official Rover SD1 WSM and this states that the guide have to be hammered out from the valve side. I did this with an exhaust valve guide on the 3.9 heads and carbon deposits reamed out the hole in the head. So i decided to hammer out the guides on the Sd1 head from the rocker side. It is very difficult to clean all carbon deposits from the guide.
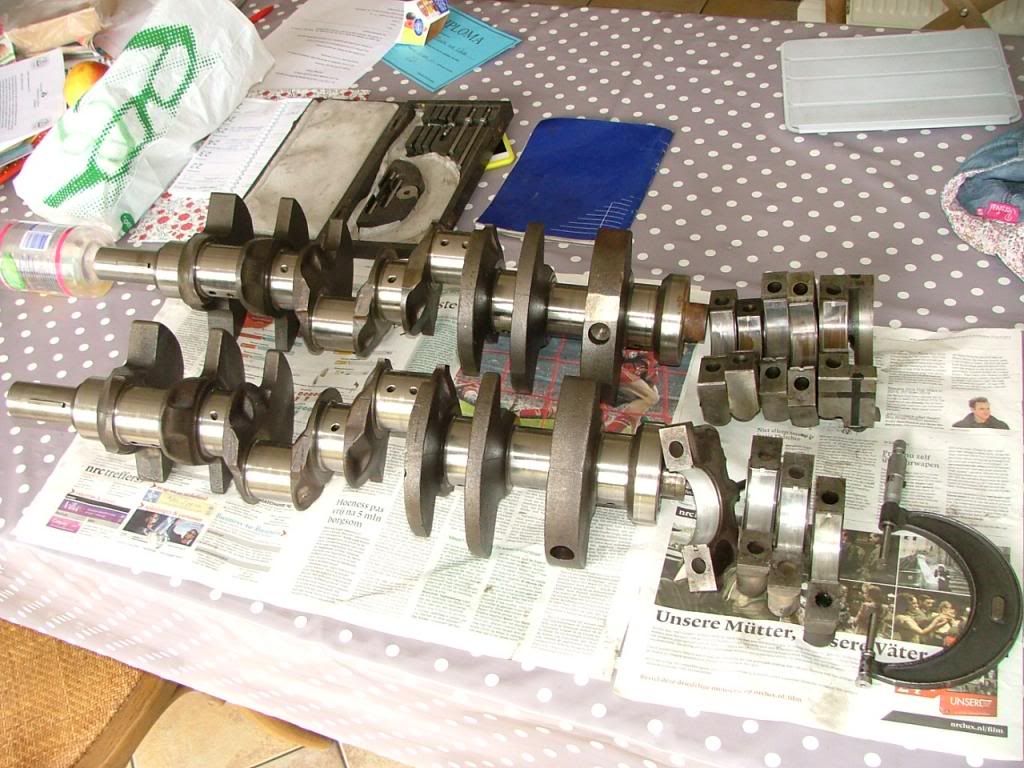
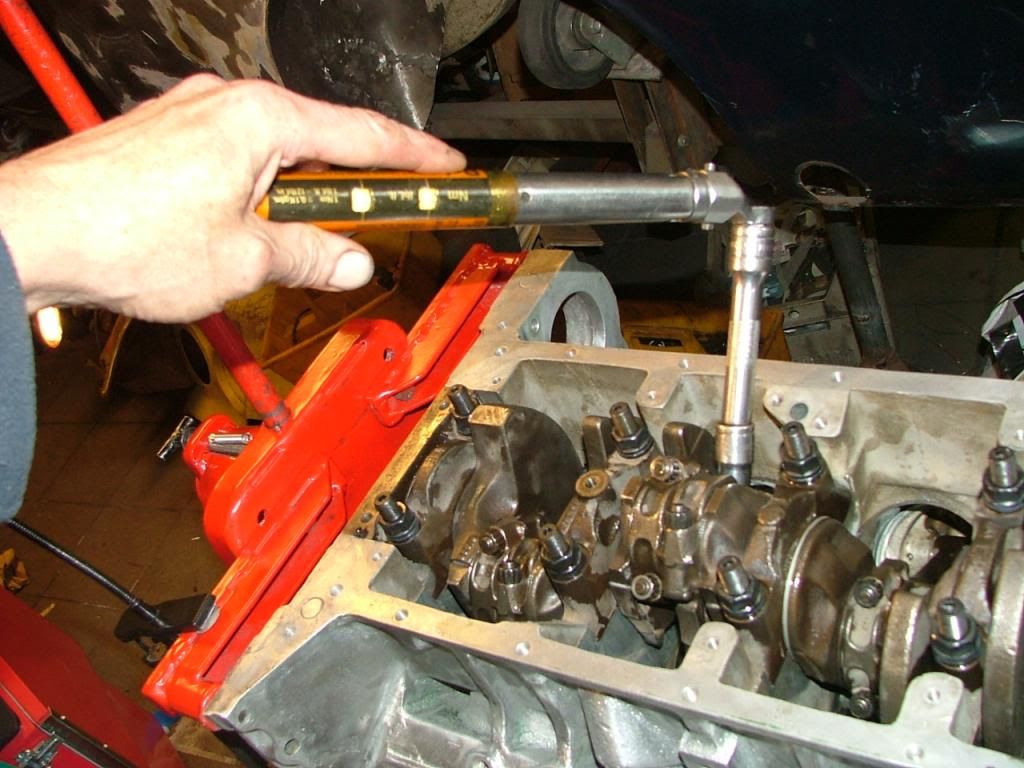
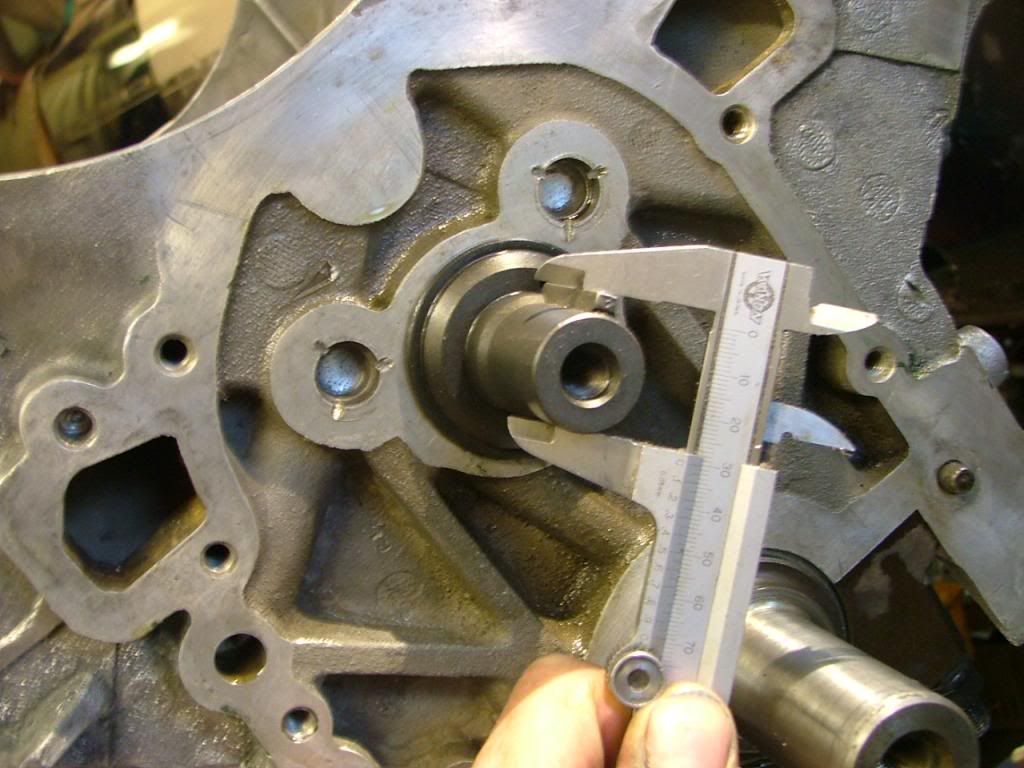
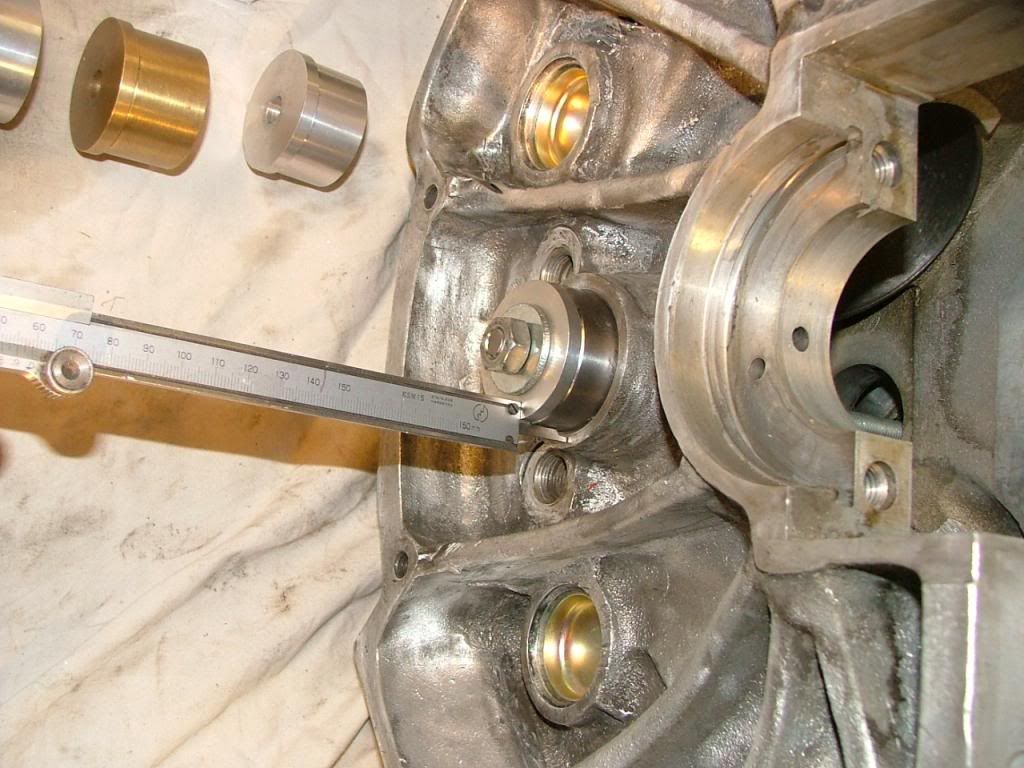
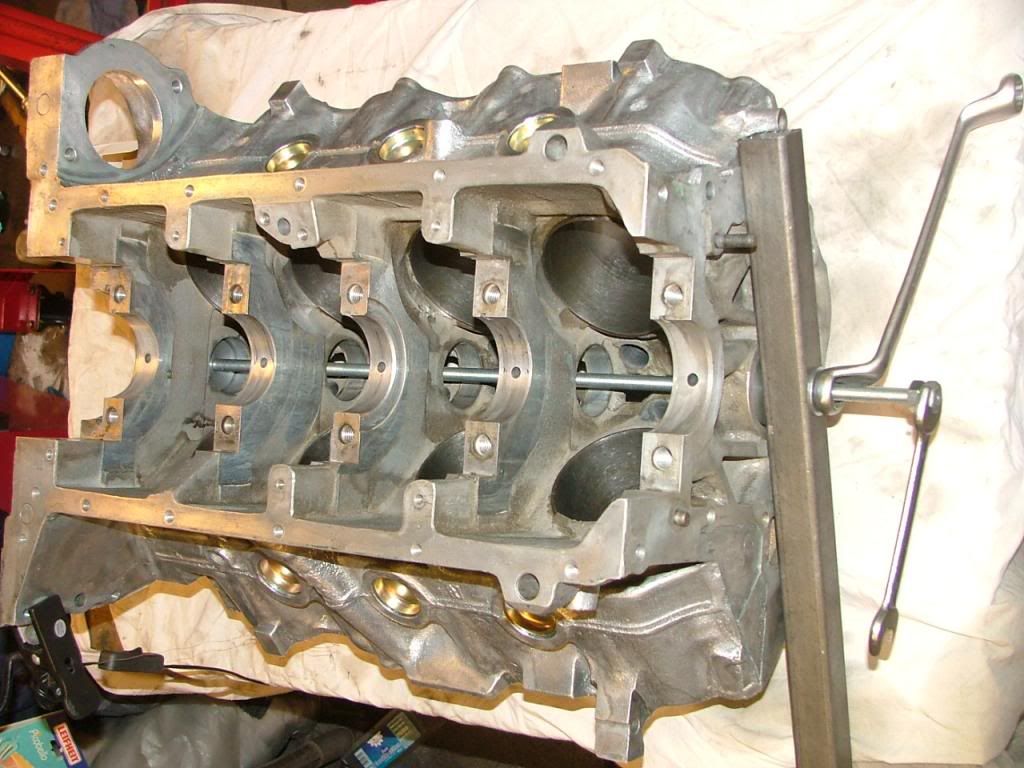
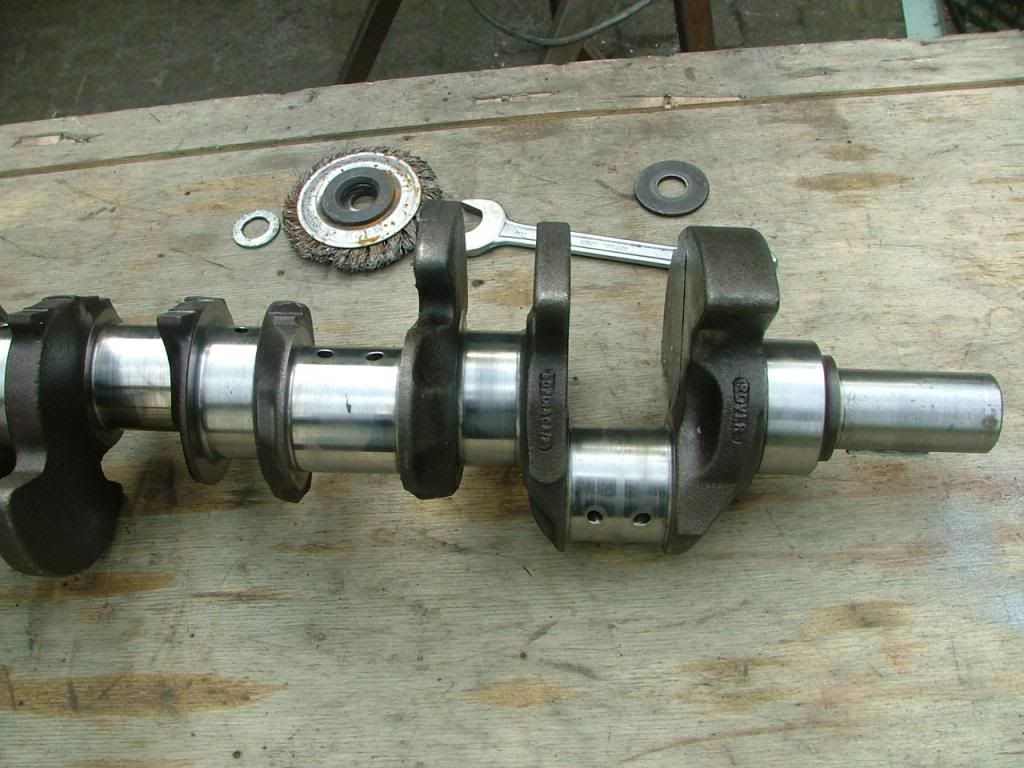
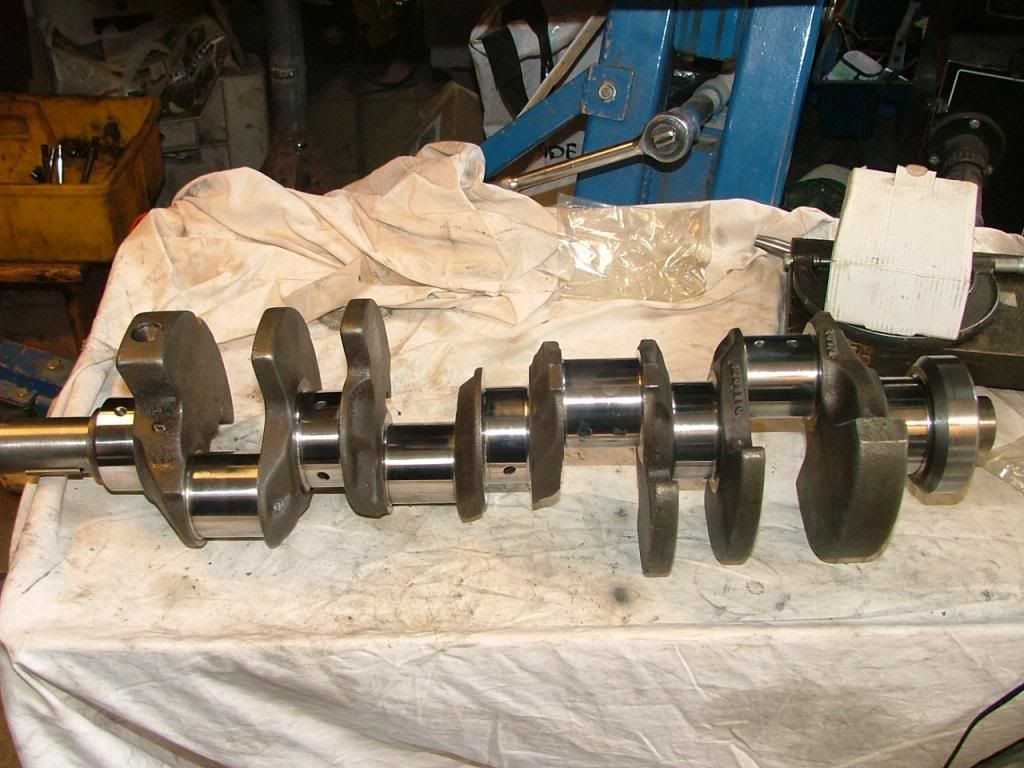
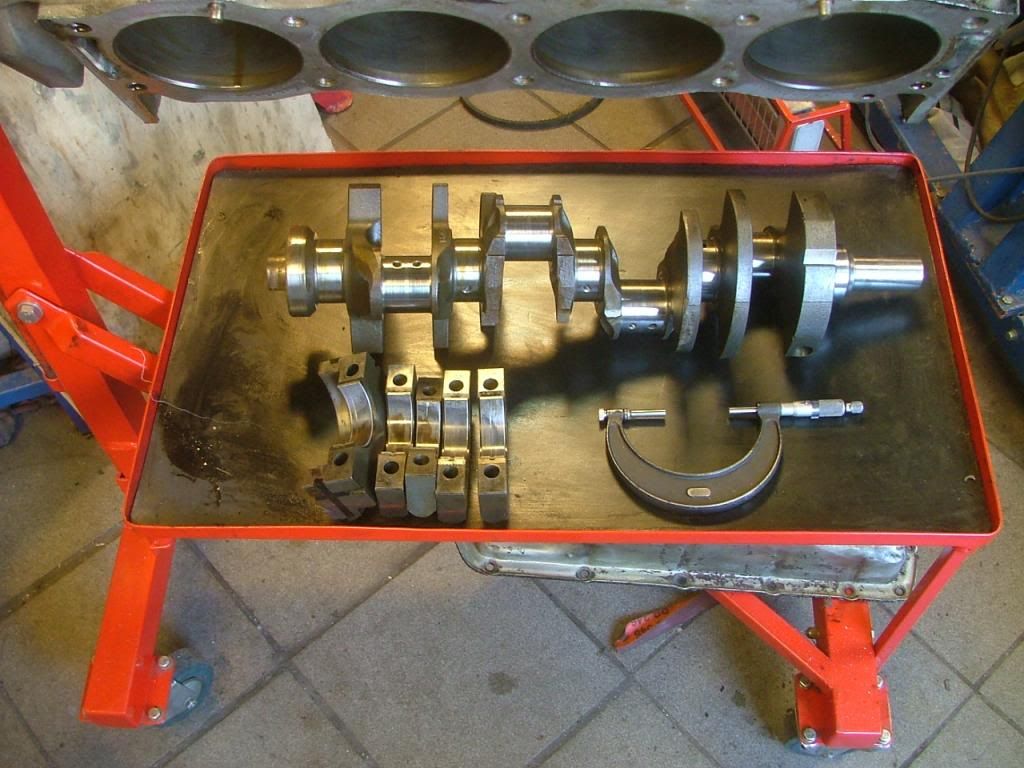
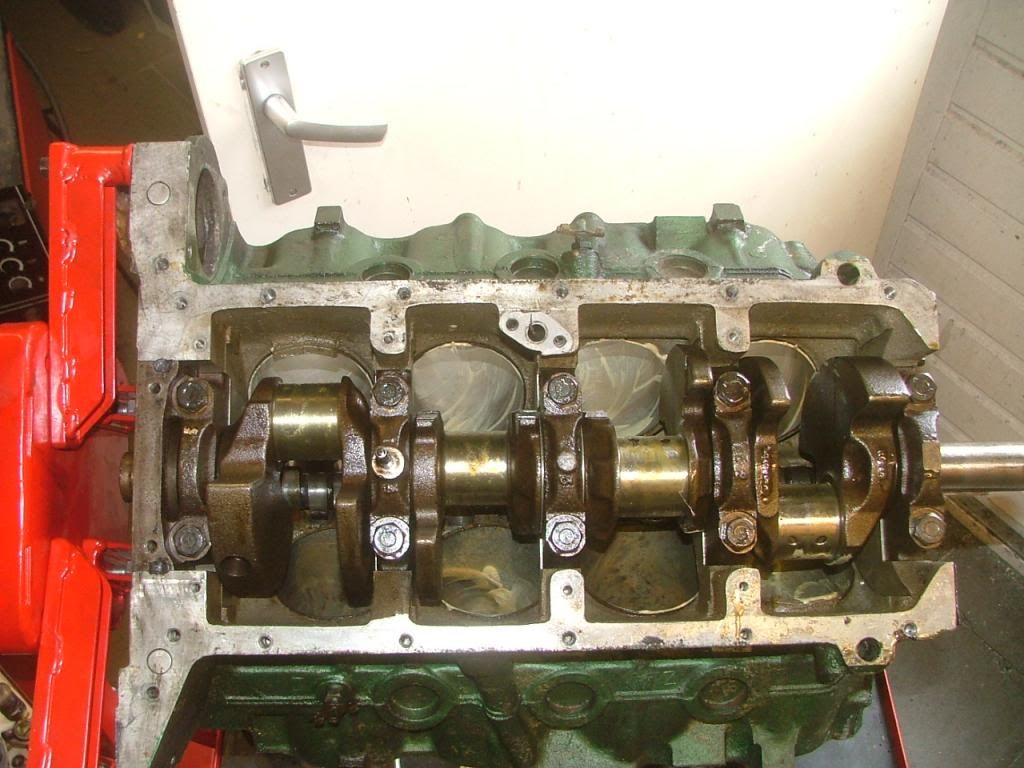
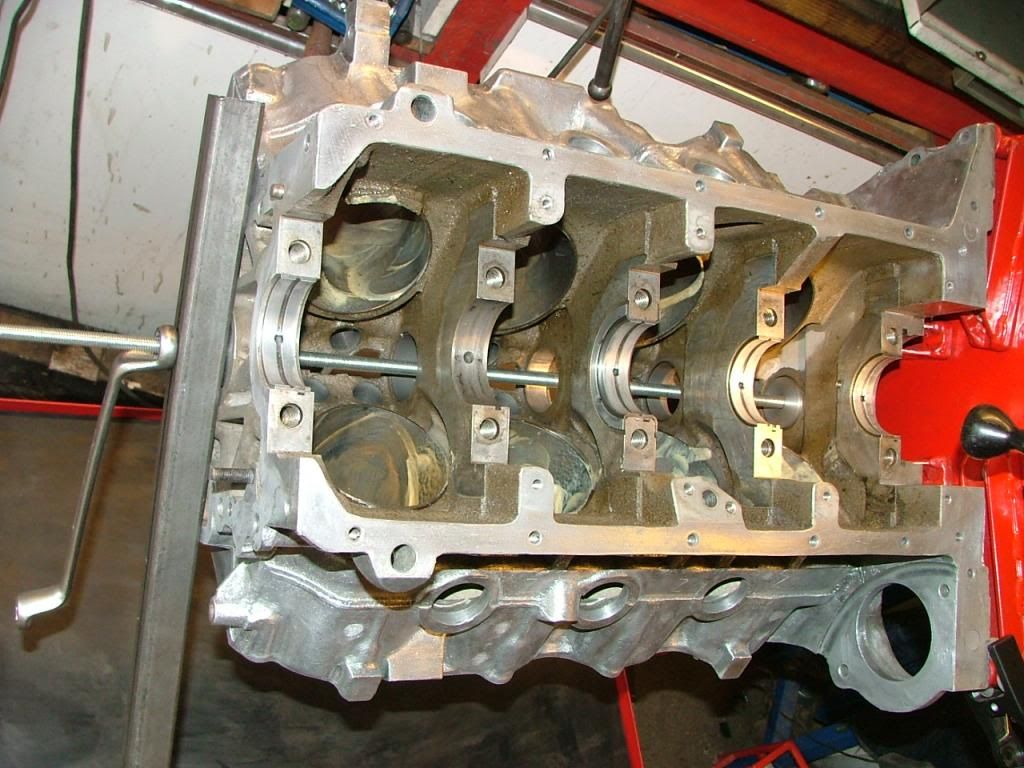
With a micrometer, i measured the journal diameters of both crankshafts. The 3.9 and 3.5 crankshafts are fully identical.
Measurements showed that the Sd1 crankshaft had been reground. All journals were within spec but the 3.9 crankshaft had a nasty scratch on 1 of the main bearing journals as can be seen in the picture beneath
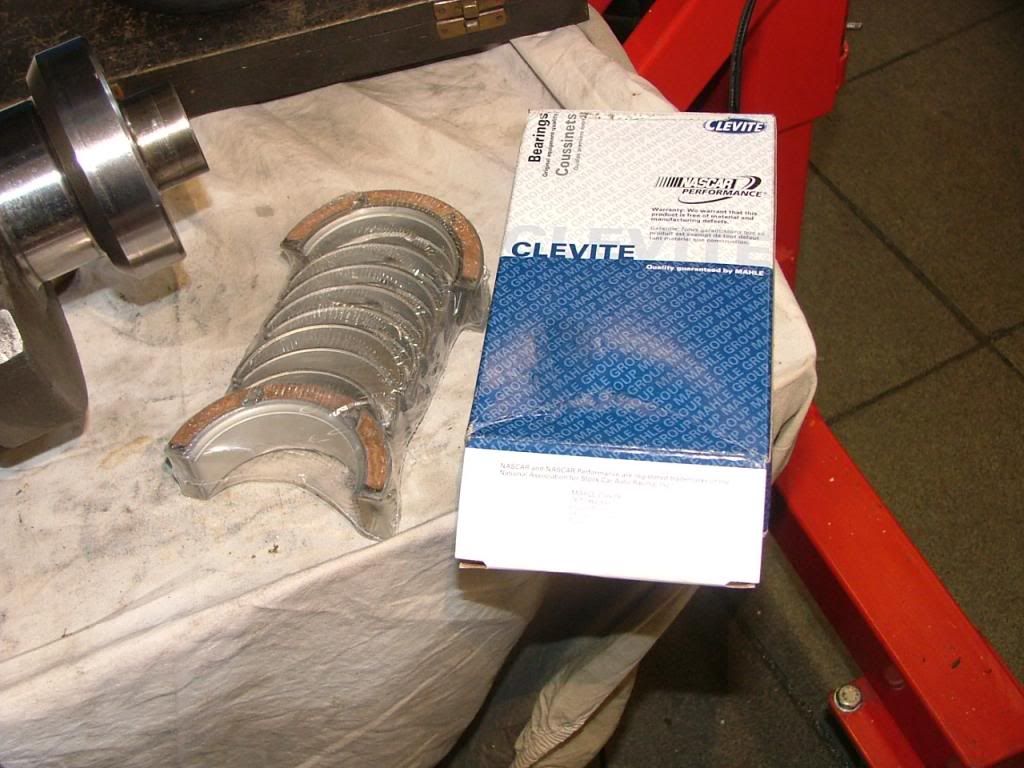
Although the shells of the SD1 engine looked good, i will replace these after polishing the bearing journals. On the picture the worn 3.9 shels are visible and this didn't worn out the main journals.
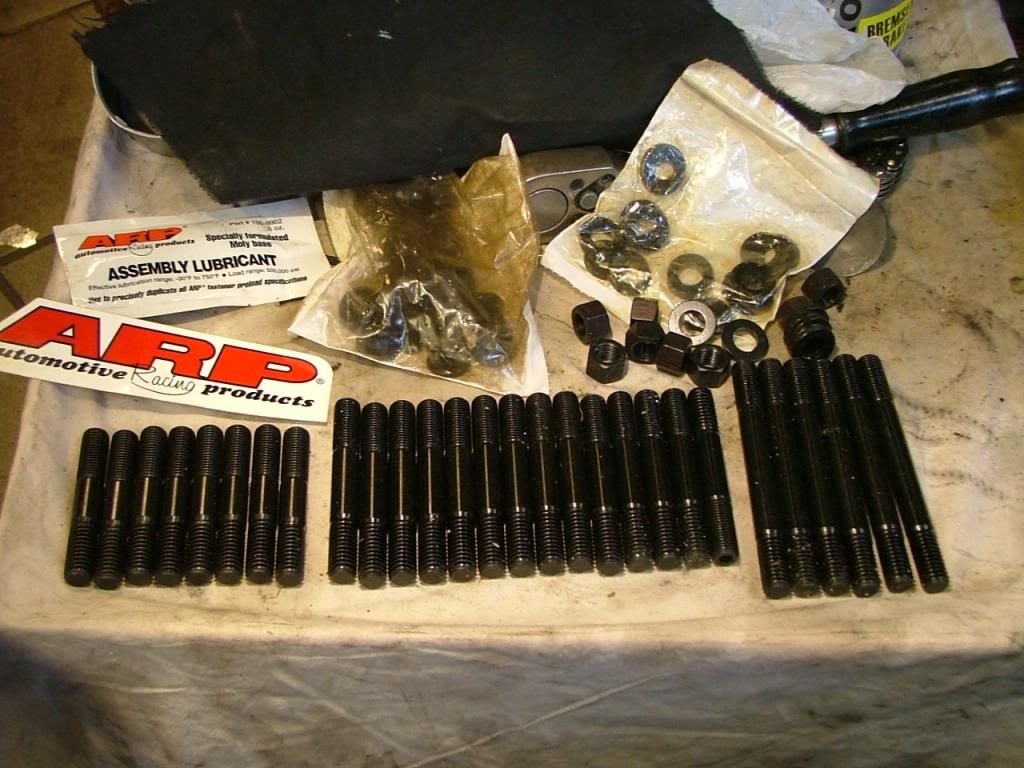
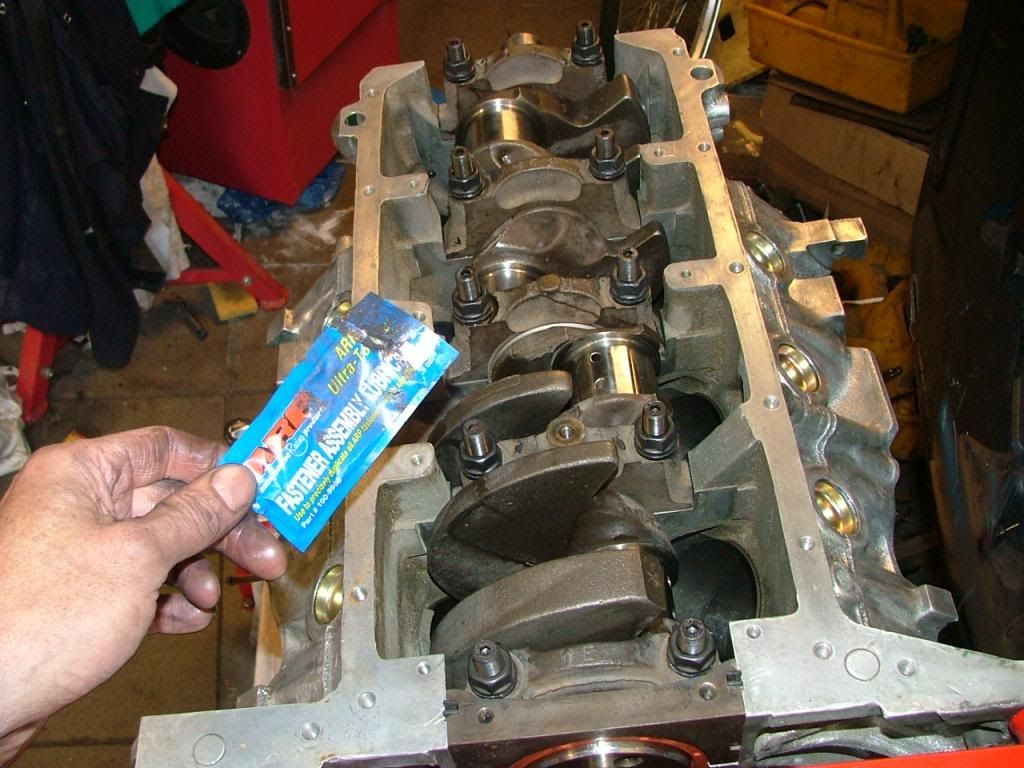
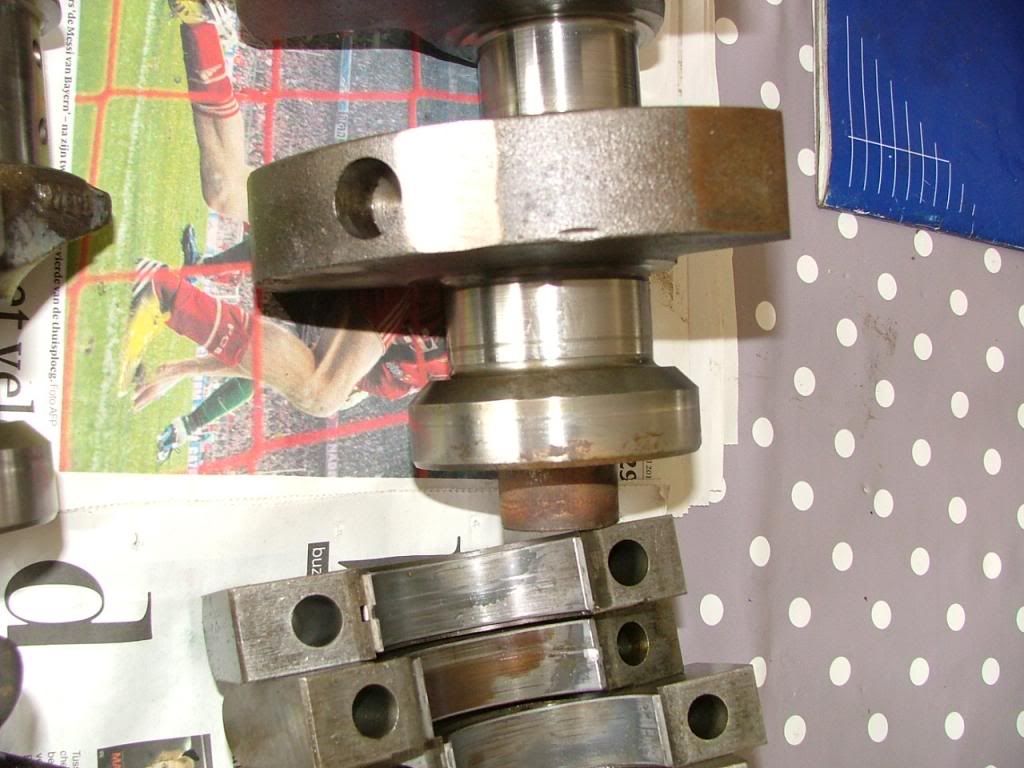
The main bearing caps on the 3.9 engine differ from the 3.5 (see picture beneath). I have heared rumors of main bearing bolt coming loose. On my Rover V8 engine in my MGB, i replaced the main bearing bolts by ARP studs and will do this on this engine also.
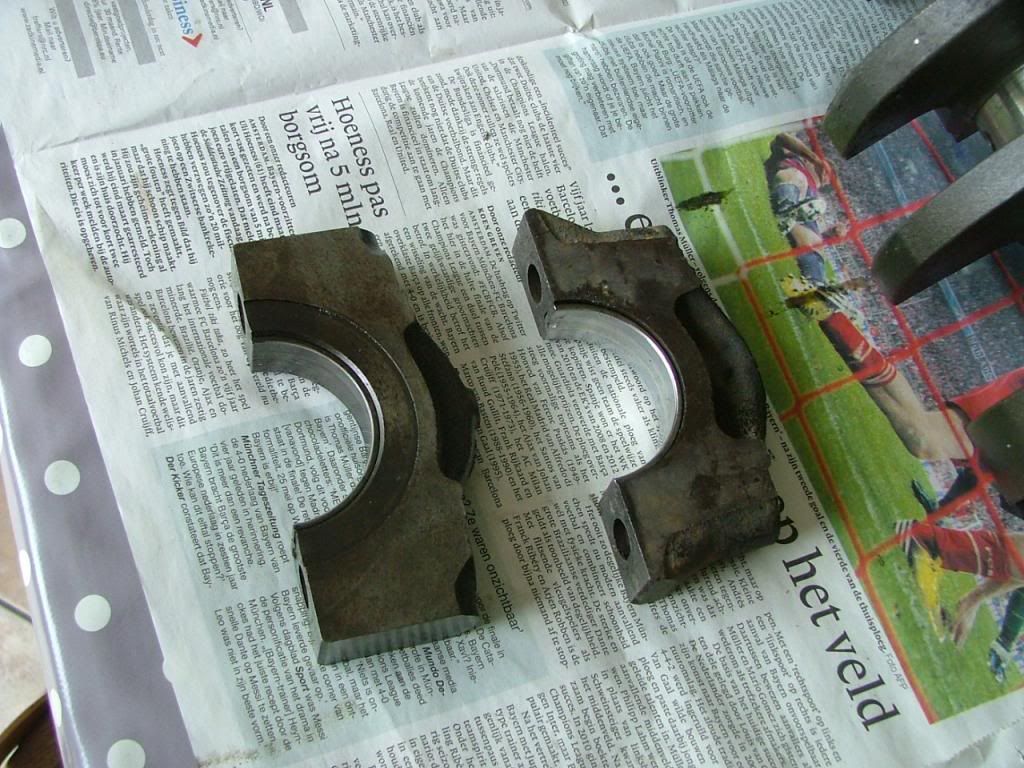
On the left the 3.9 bearing cap, the 3.5 bearing cap on the RH side.
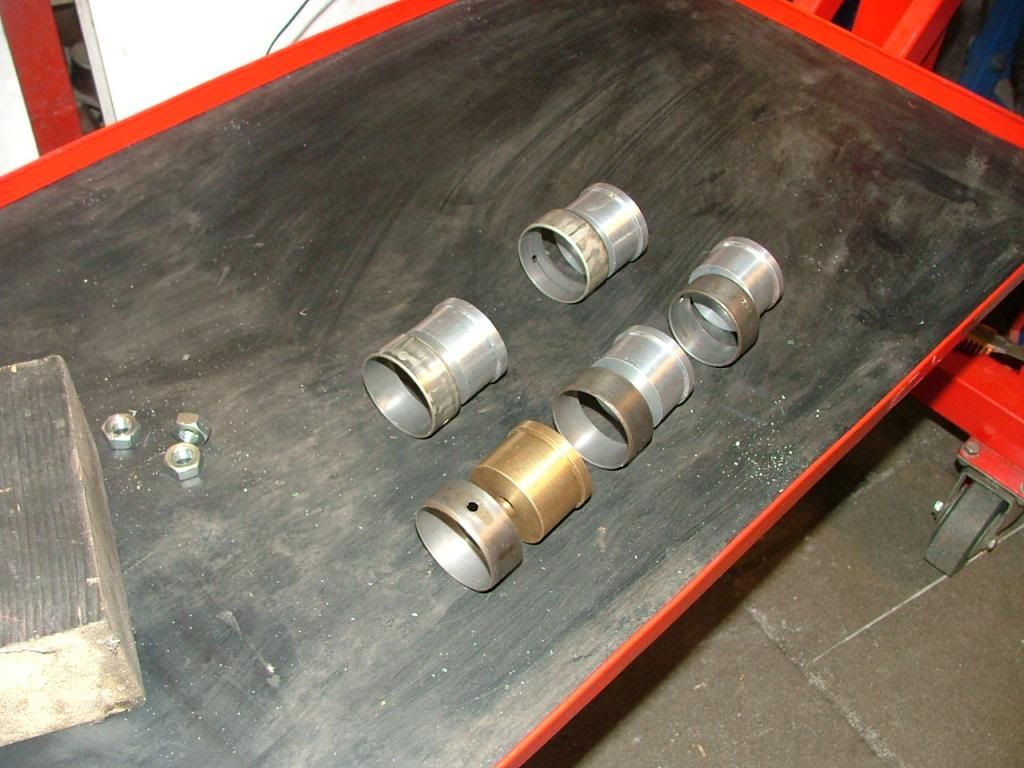
I also want to replace the camshaft bearing. I also did this on my MGB V8 and it was a difficult job without special tools.
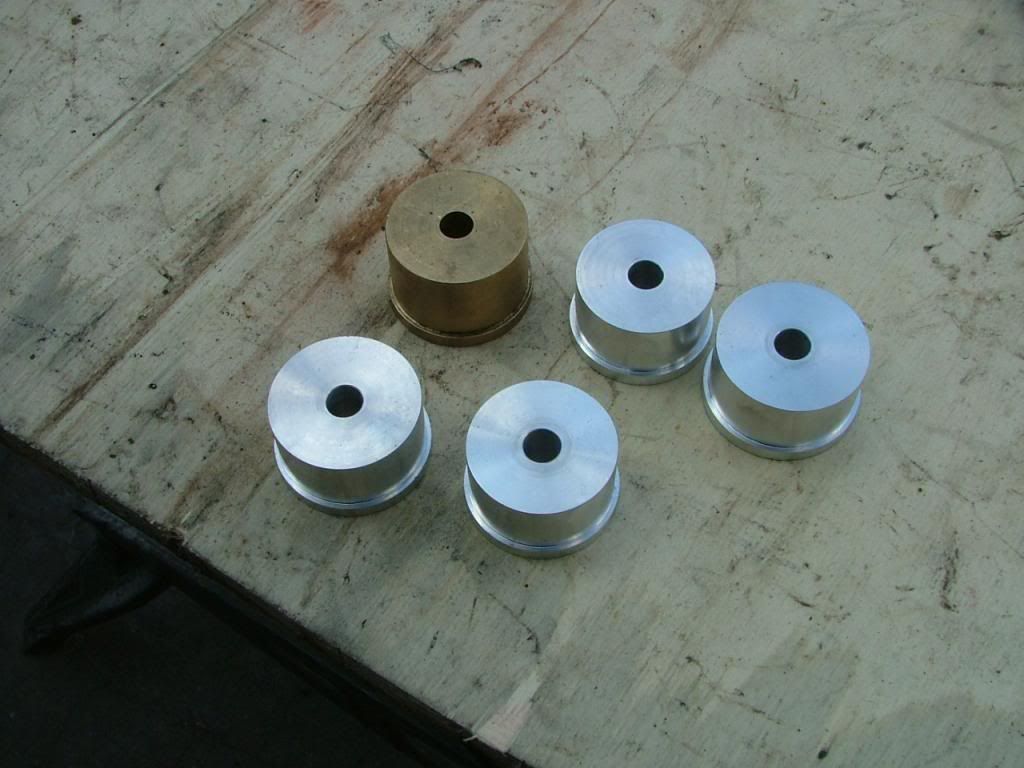
I asked my machining friend to machine some tools for me which are shown beneath. The bronze colored one, i used in the past for a 4 cilinder MGB engine and was the same size as needed for the Rover.
he bearings haven't been removed yet but i will show some pictures of this proces because i believe this not done on a lot of Rover V8 overhauls.
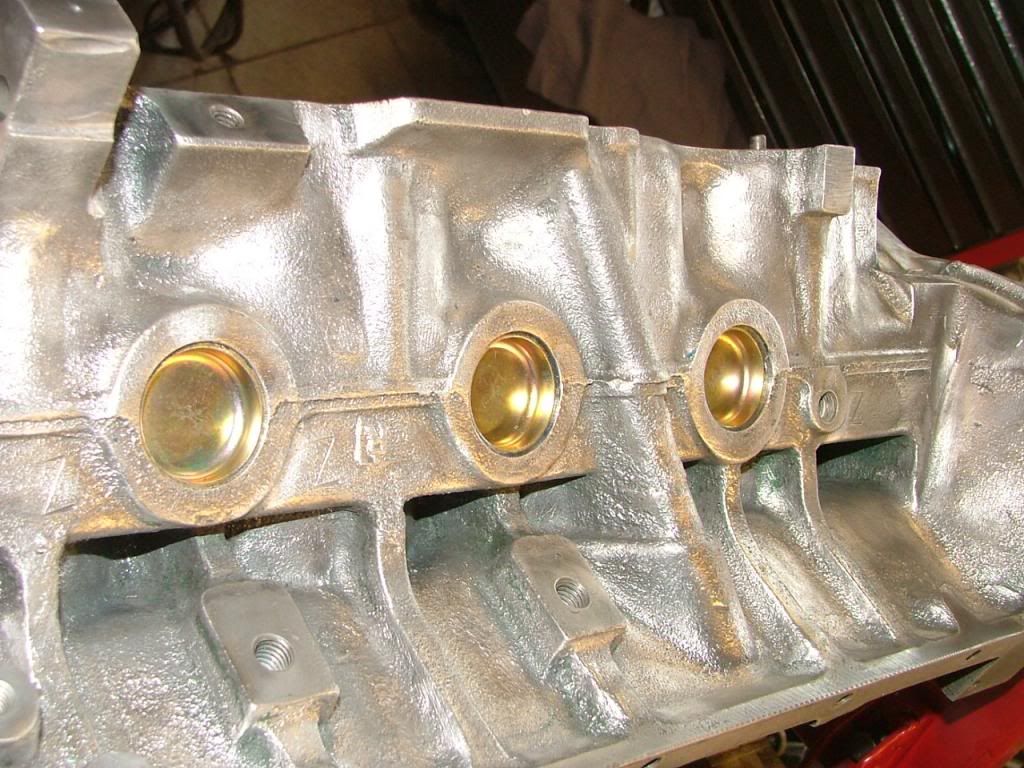
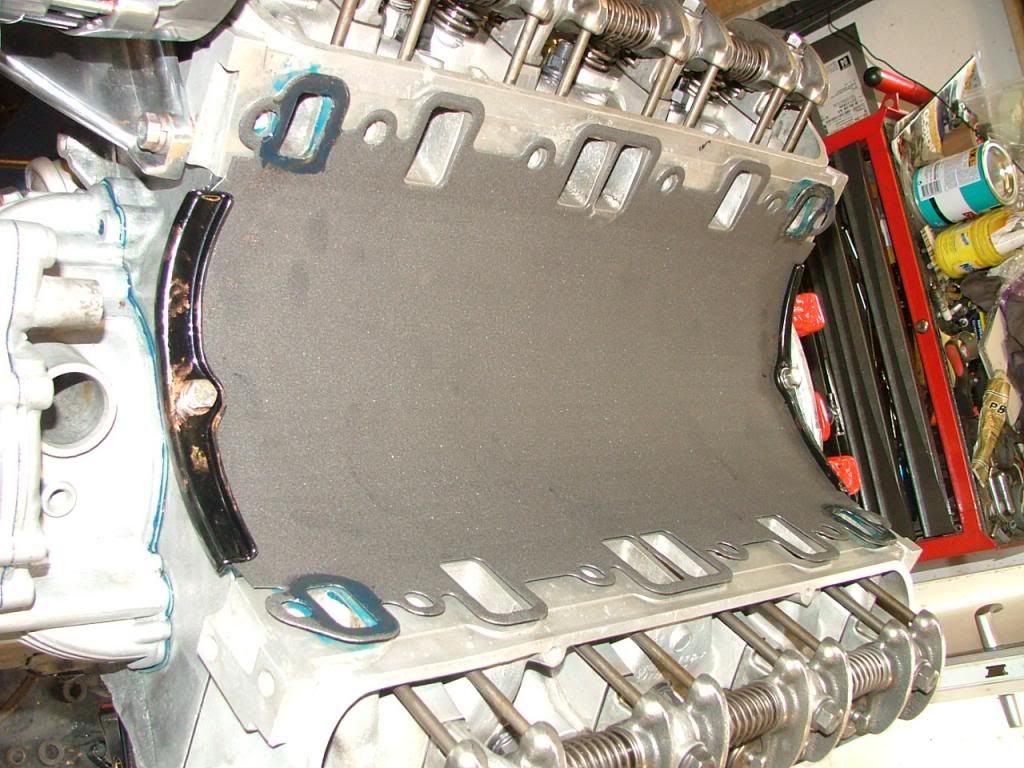
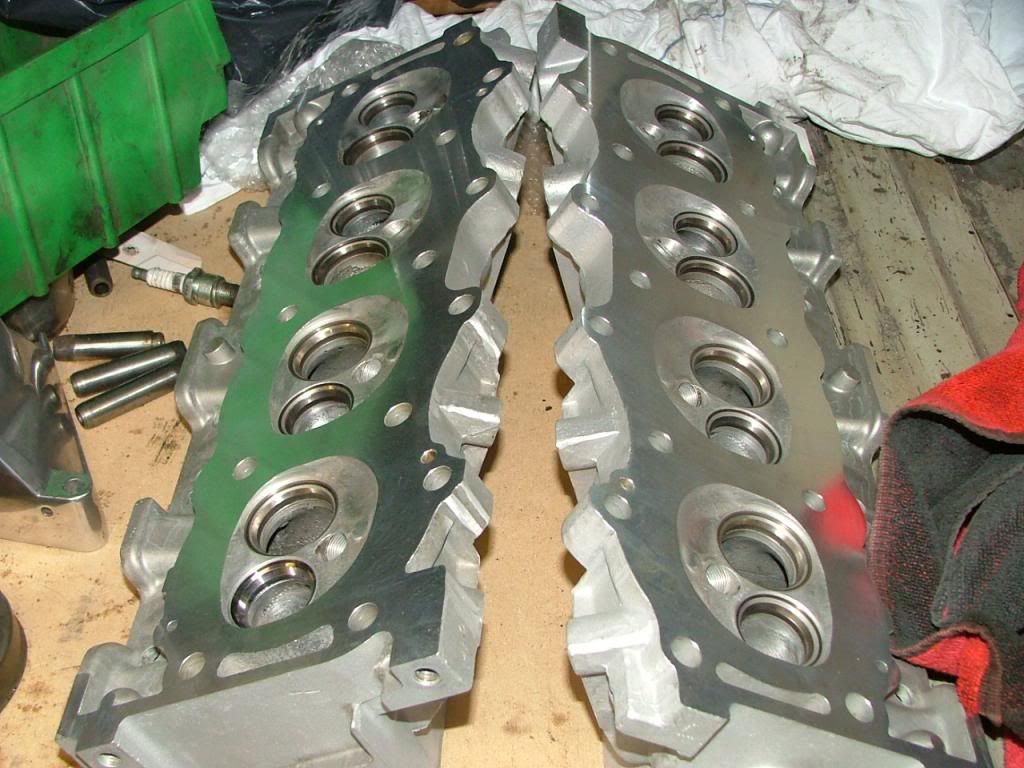
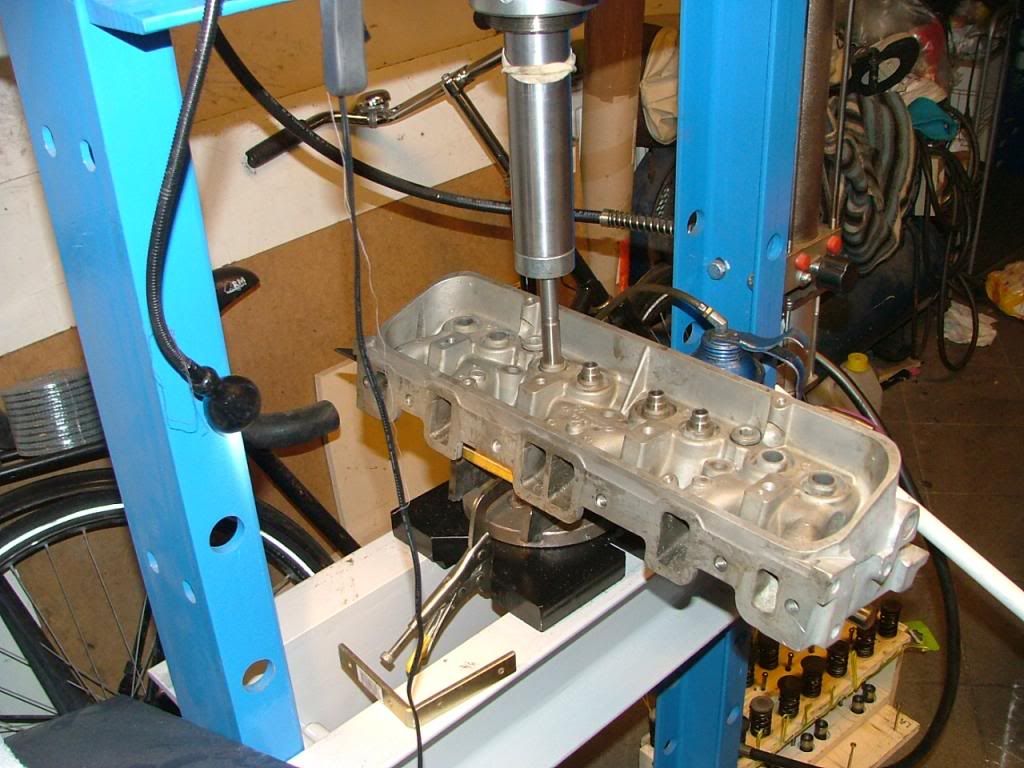
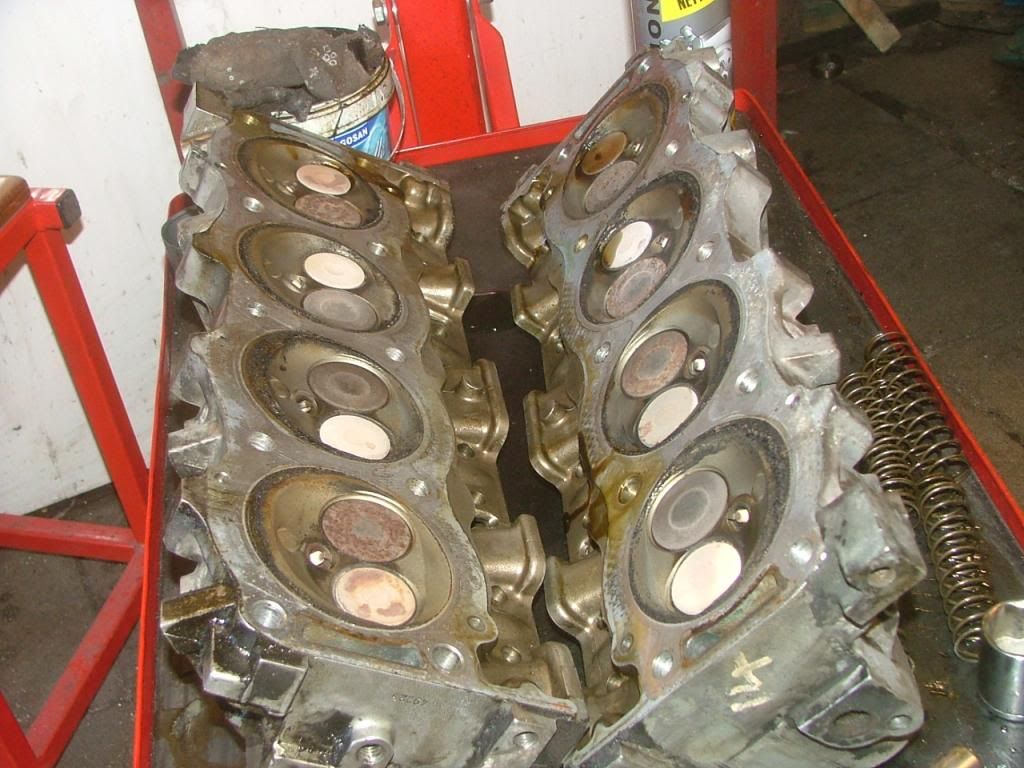
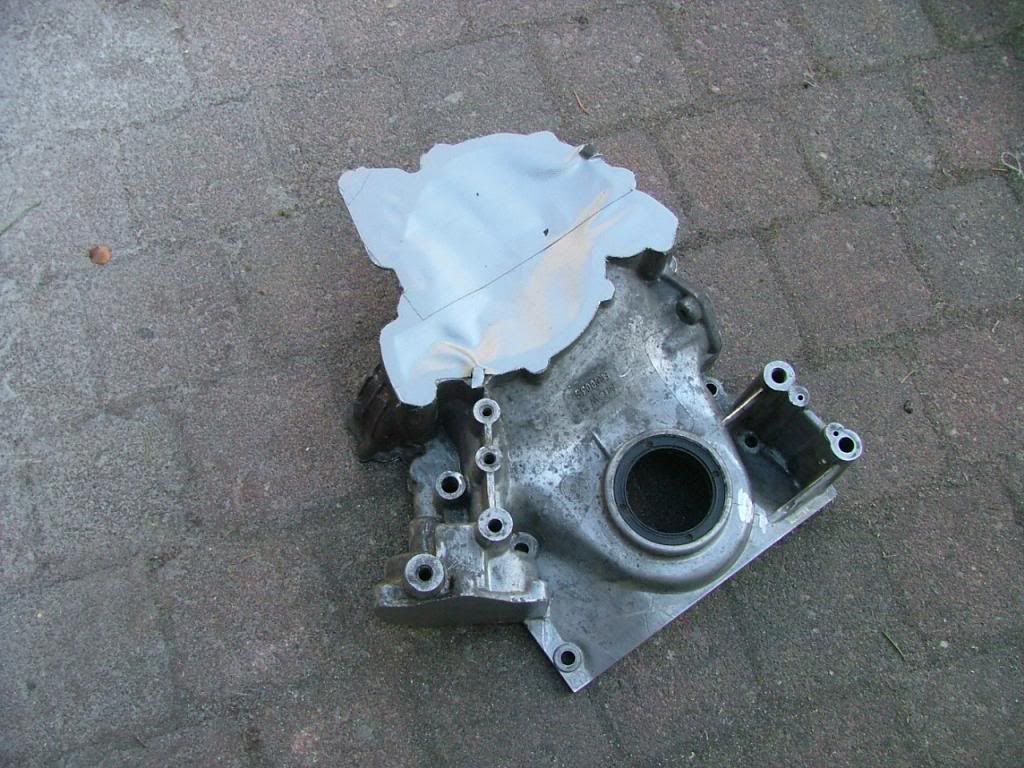
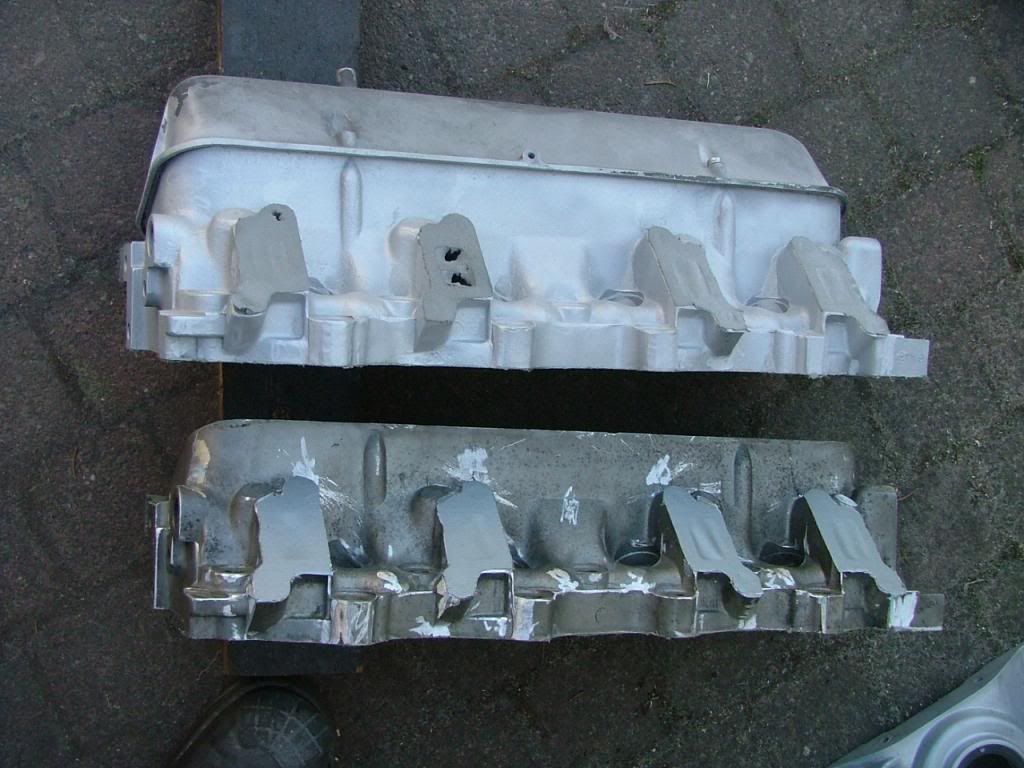
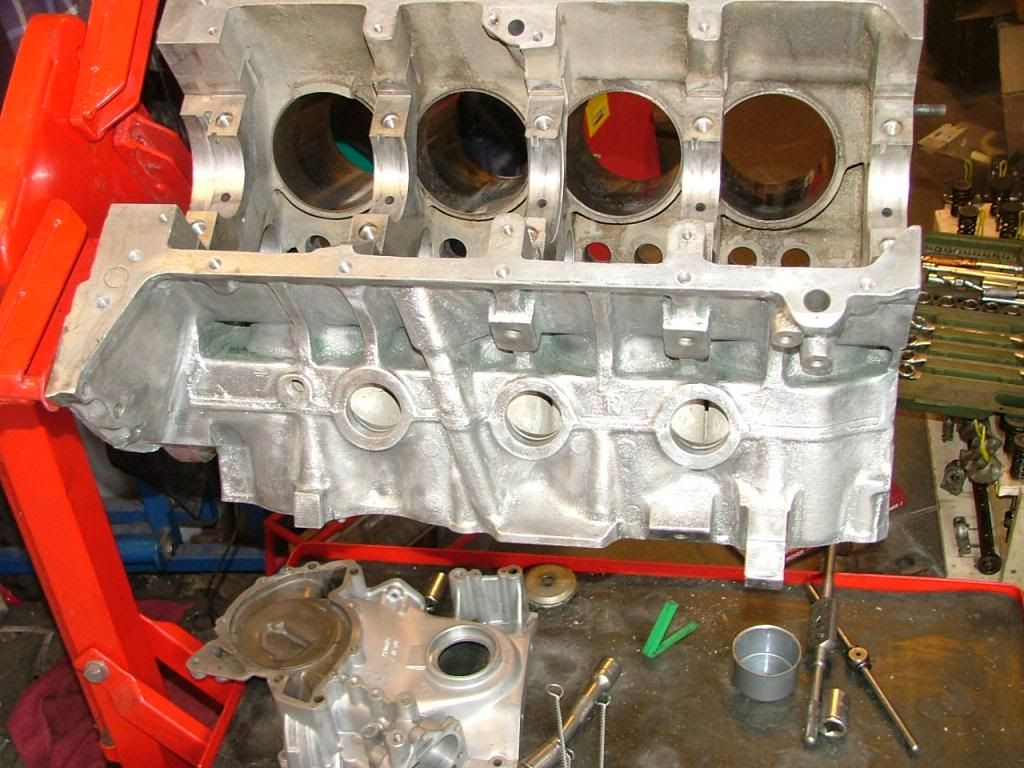
Decided to bead blast the heads and the front cover because there were lots of corrosion spots
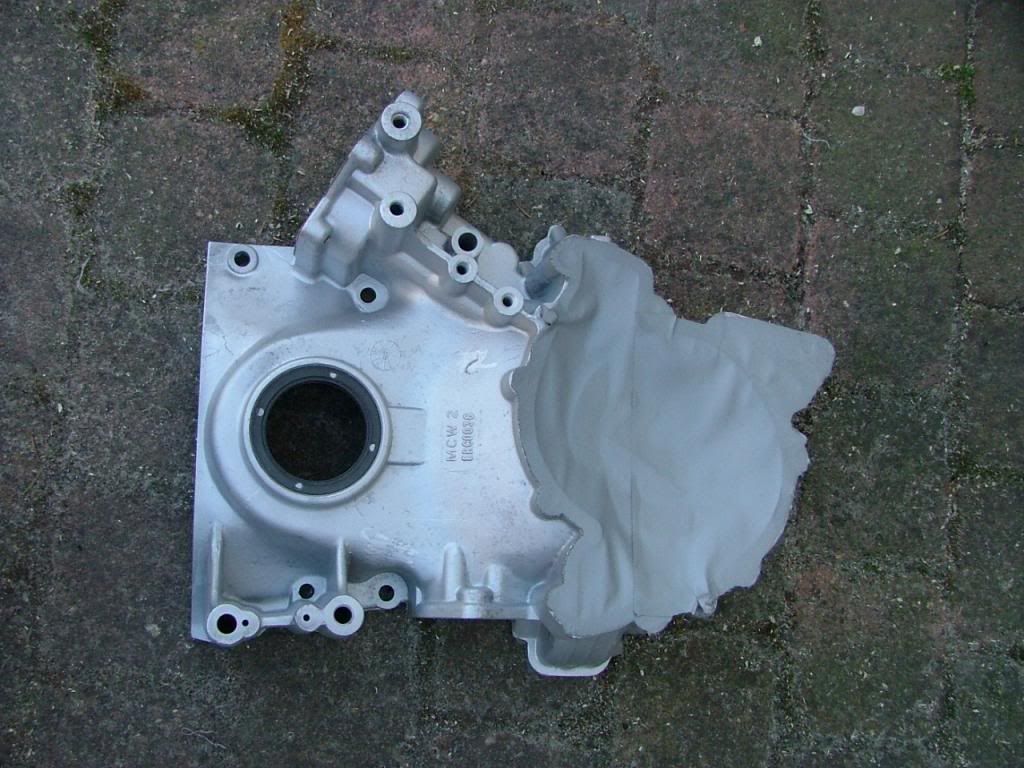
Here 1 of the heads done and the difference is clearly visible
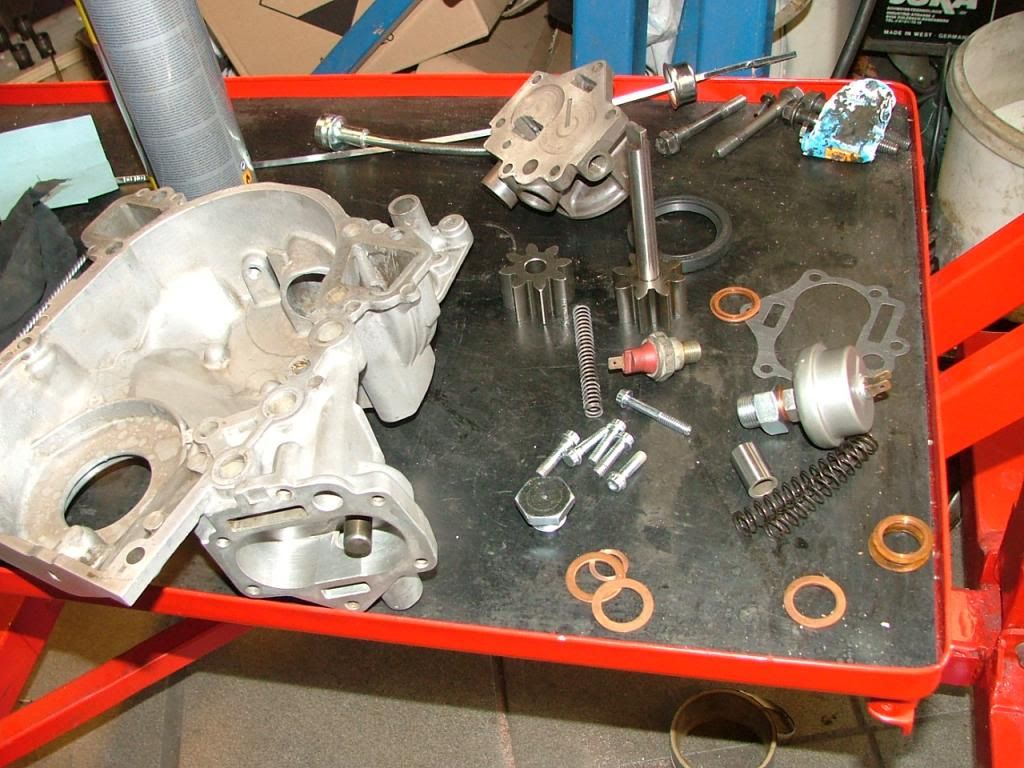
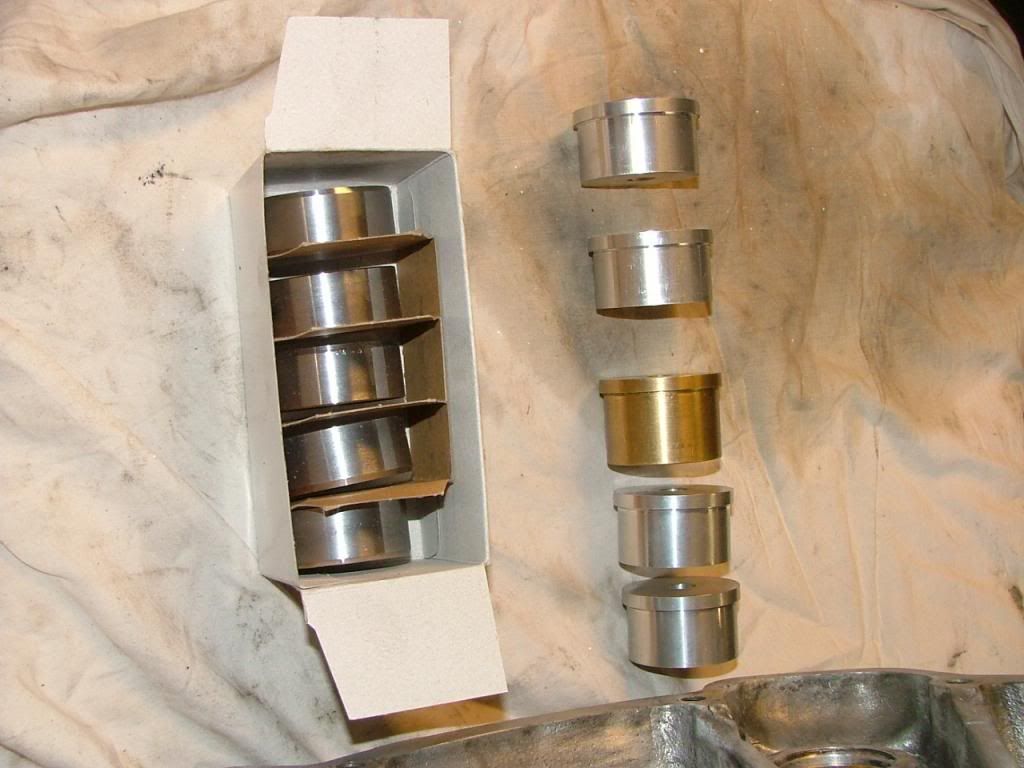
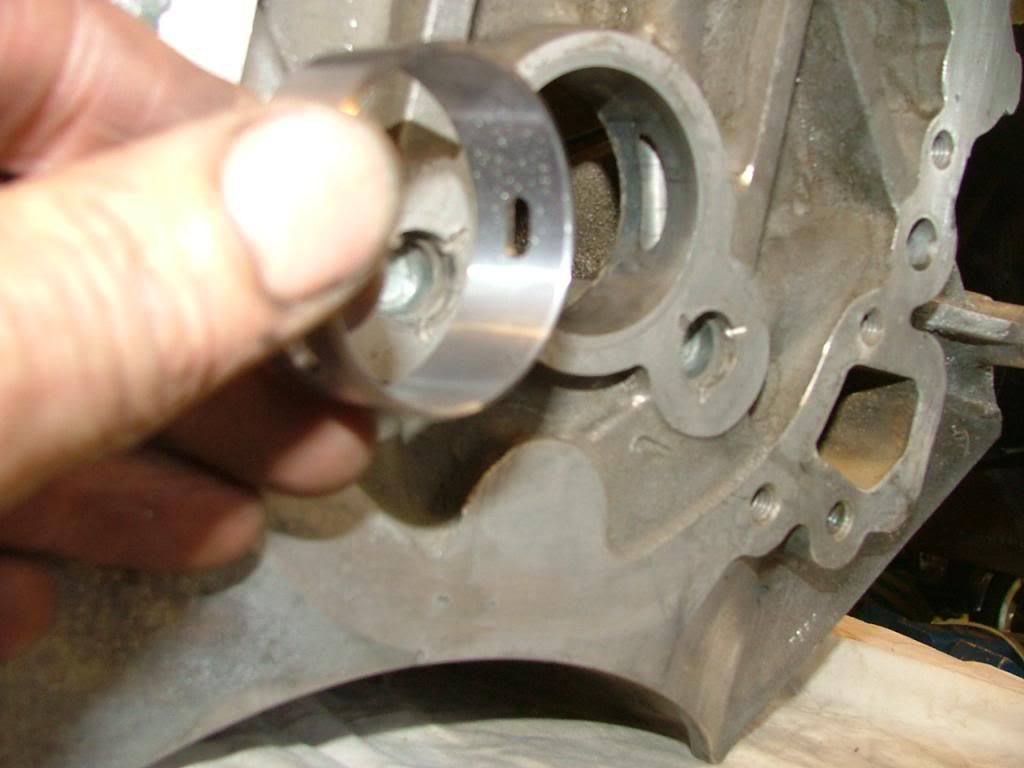
Removed the camshaft bearings with the special tools, a piece of M10 thread and a steel bar
The bearings came out well
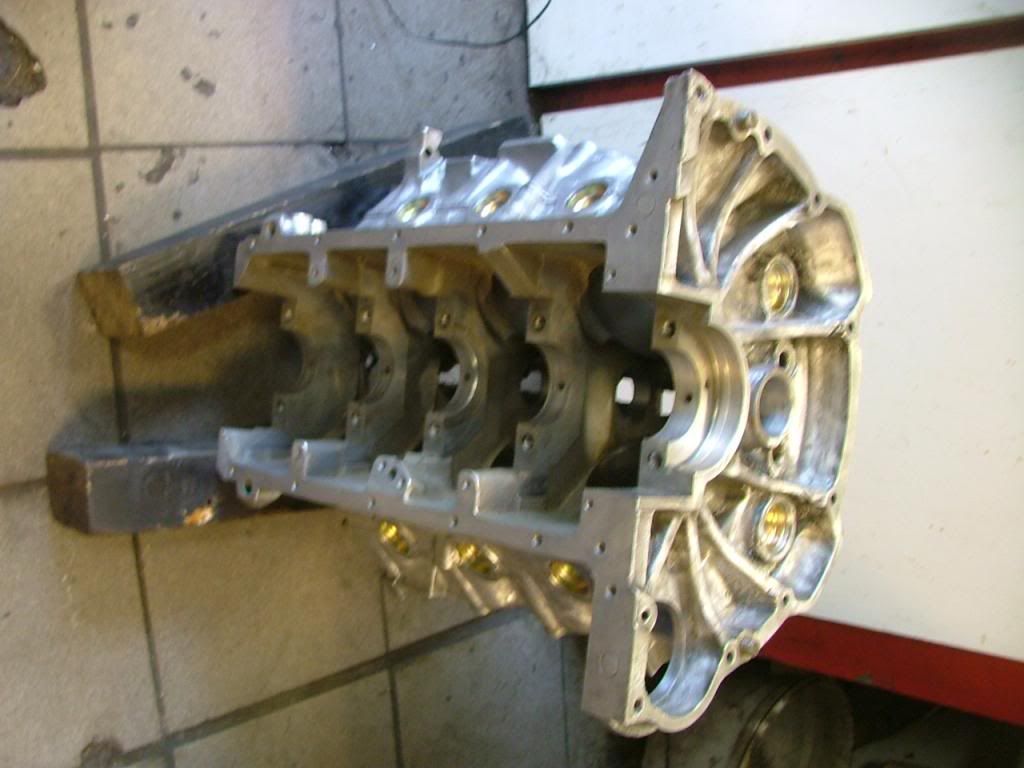
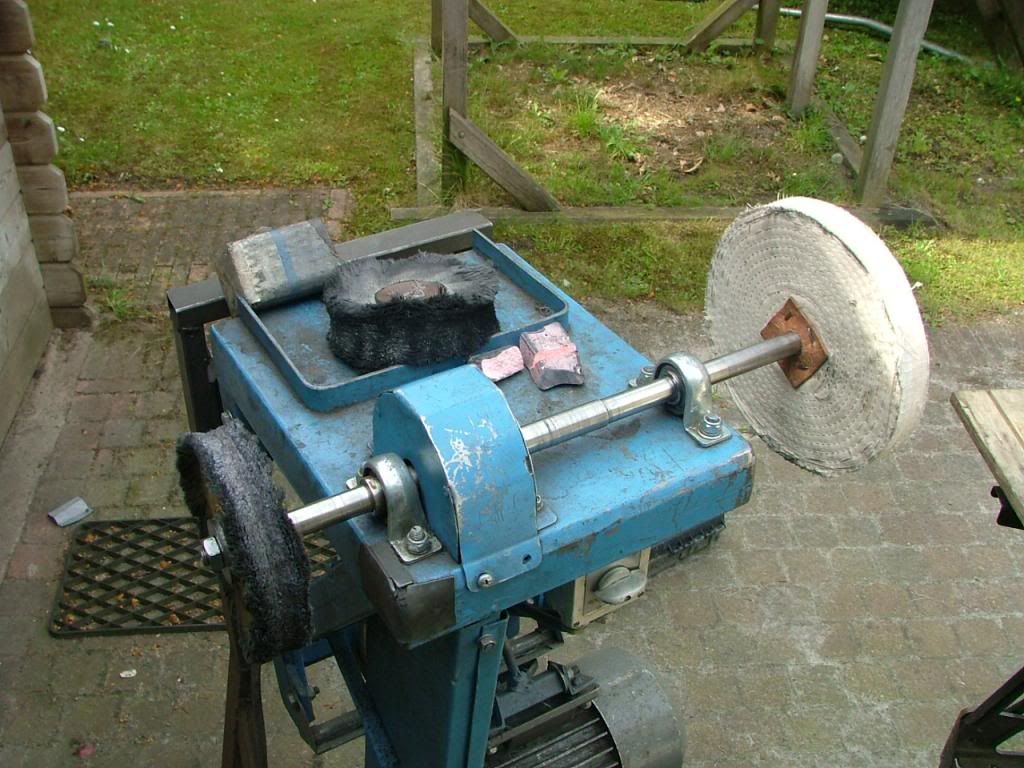
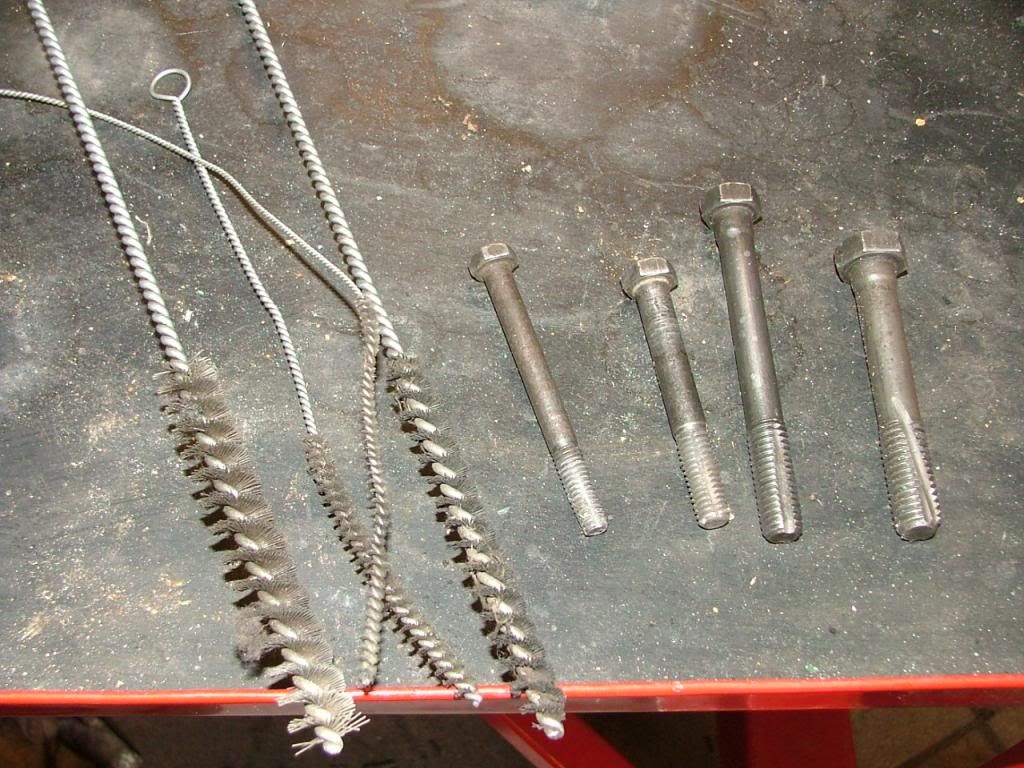
I removed the green paint with paint stripper and cleaned the outside with a rotating wire brush
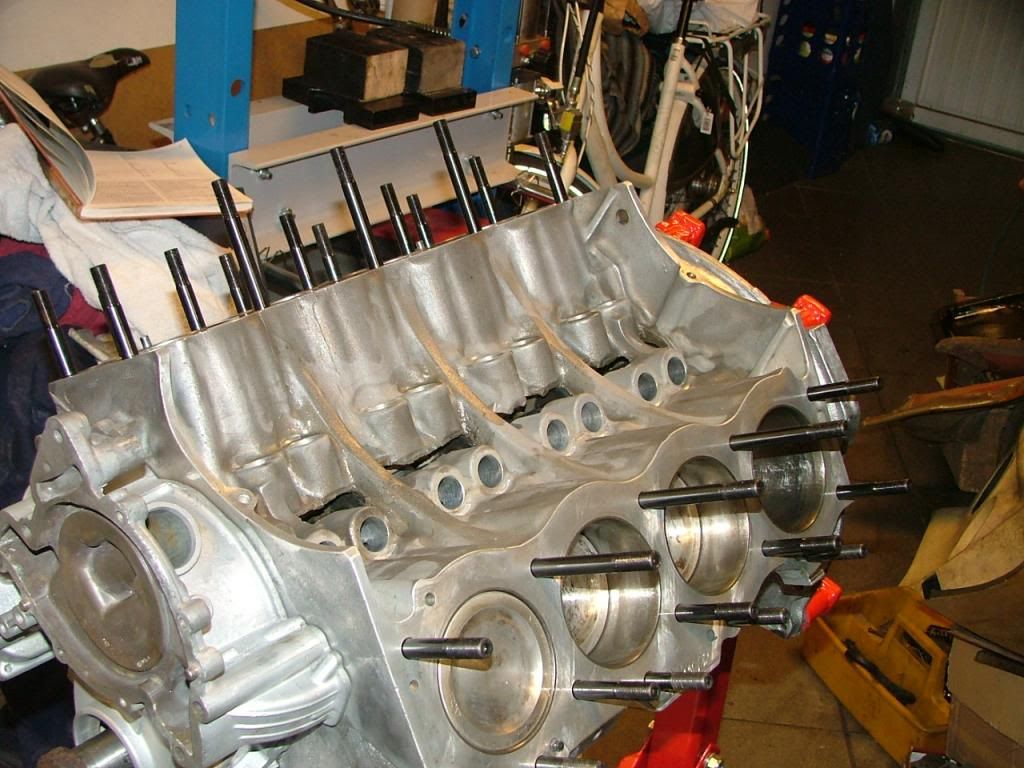
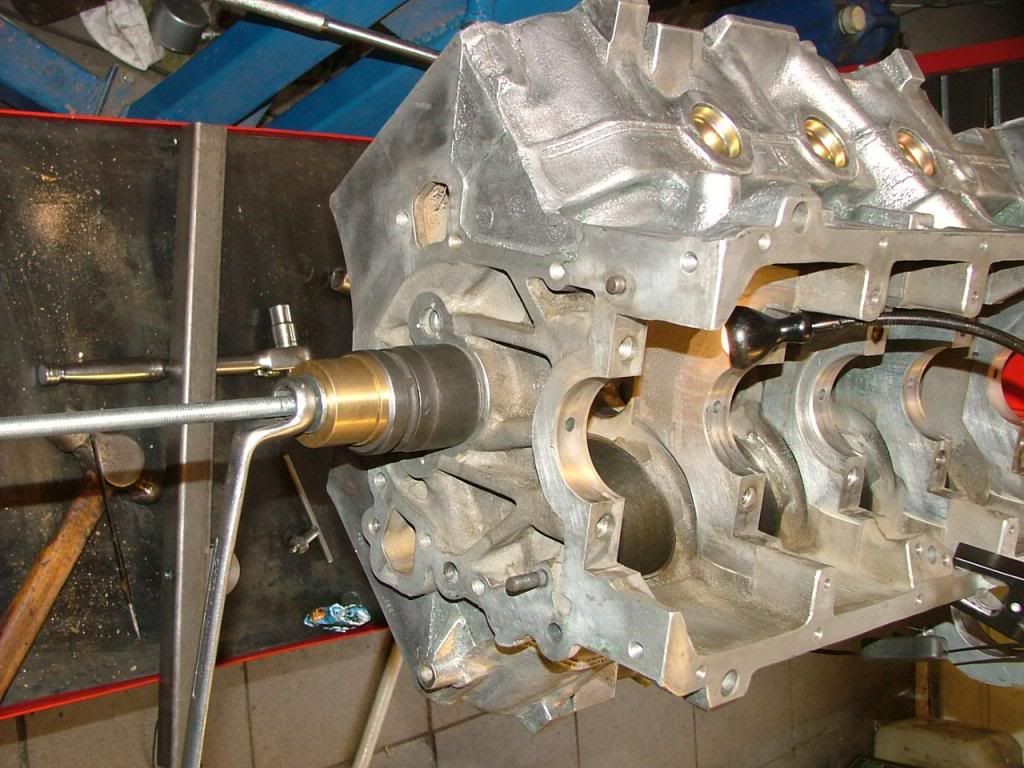
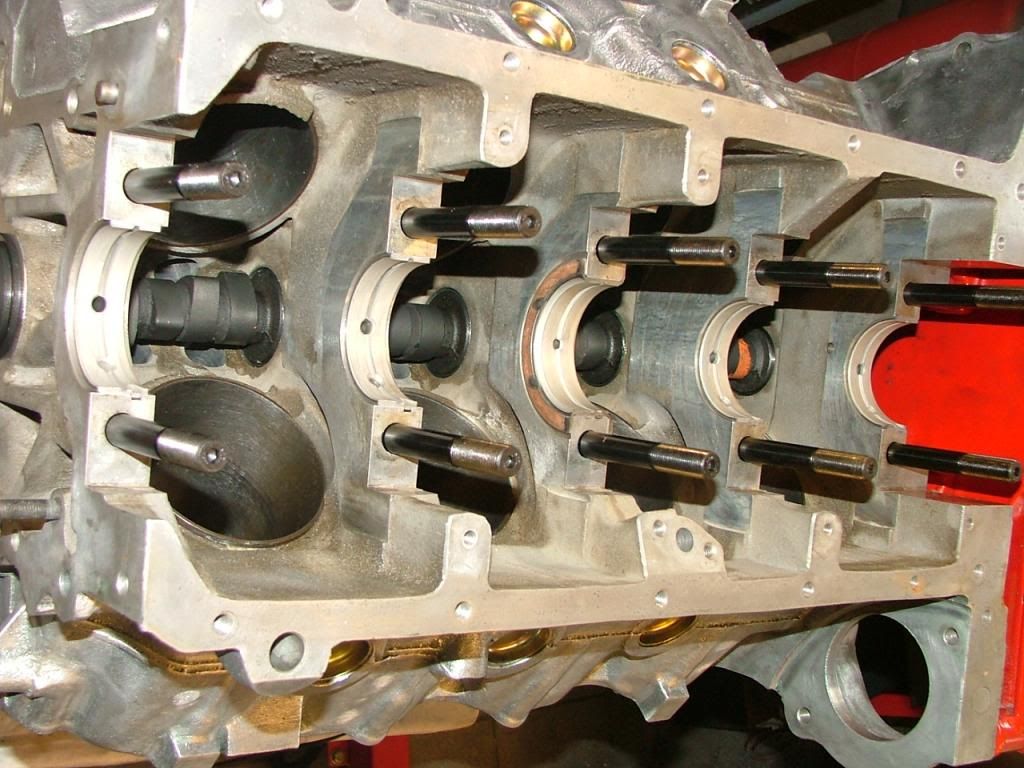
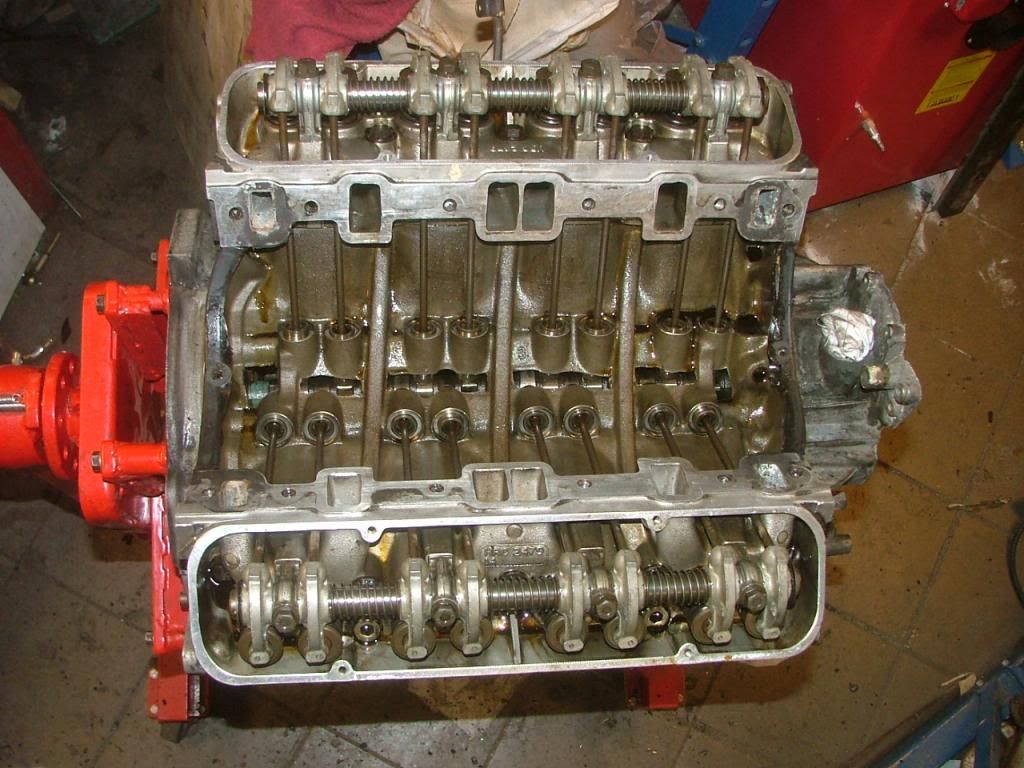
Then cleaned the inside of the engine and all oil canals with small brushes. Also cleaned all the threads. As i don't have a UNC tap set i made some sleeves in old bolts and used these as a tap.
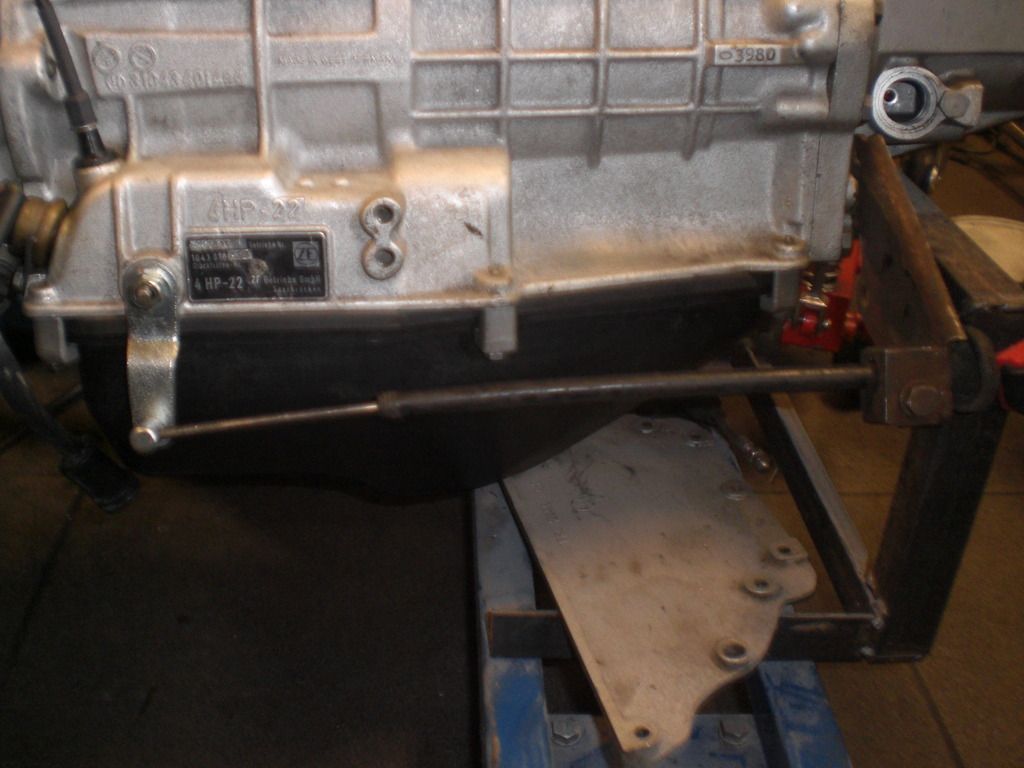
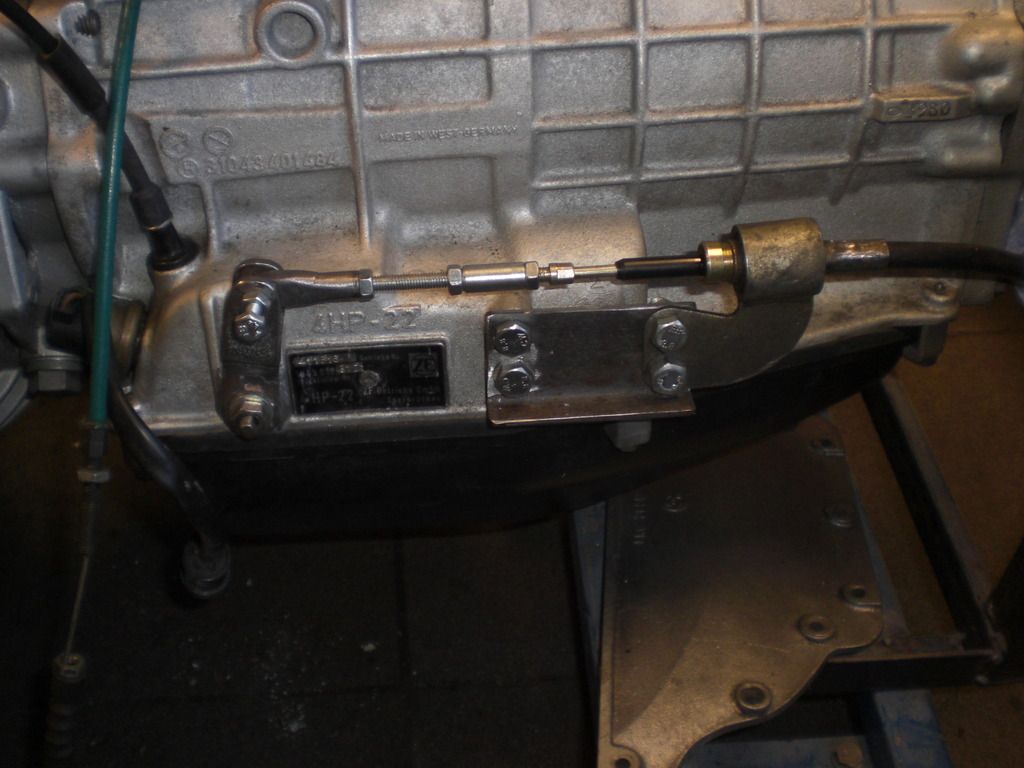
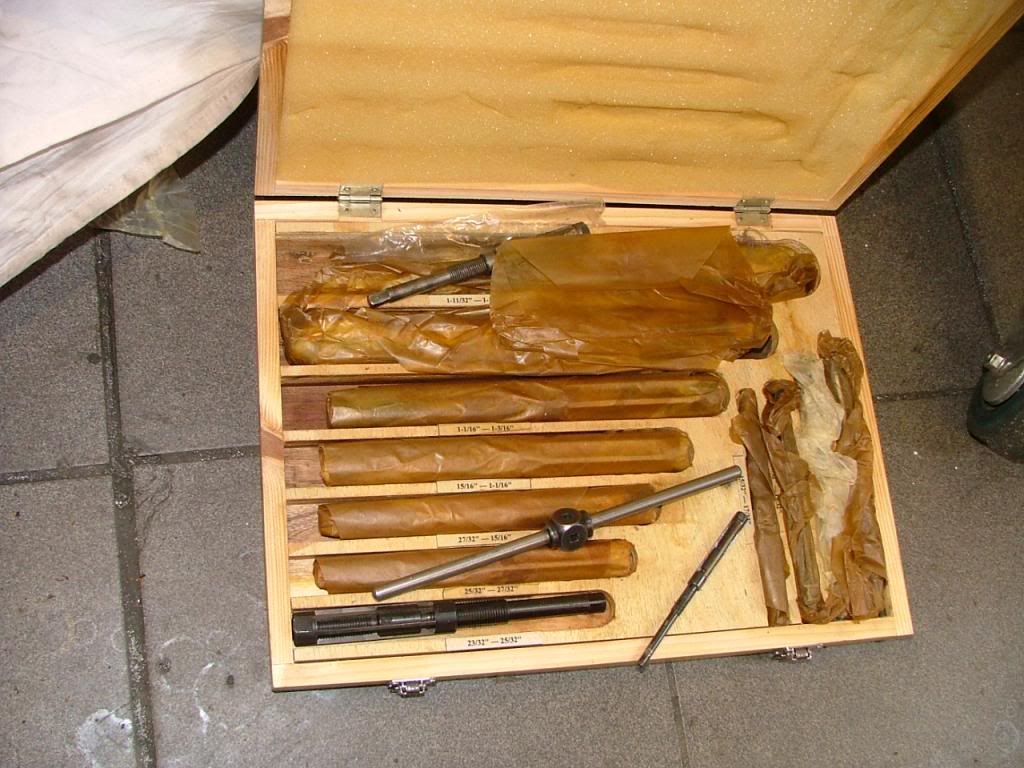
The parts for rebuiding the V8 arrived. I bought all the parts from Jim Robinson (JRV8) who rebuilds V8 engines for a living. Some time ago he managed to find a 4ZF HP22 for me and communication and supply went very smooth so i choose him to supply the V8 parts. And he didn't disappoint me: gives prompt answers on questions, gives a clear overview of possible options together with his own valuable experience and quick delivery. Really a nice professional to deal with.

Then fitted the core plugs. First hammered these in with a hard piece of plastic and then positioned these a little deeper with a socket
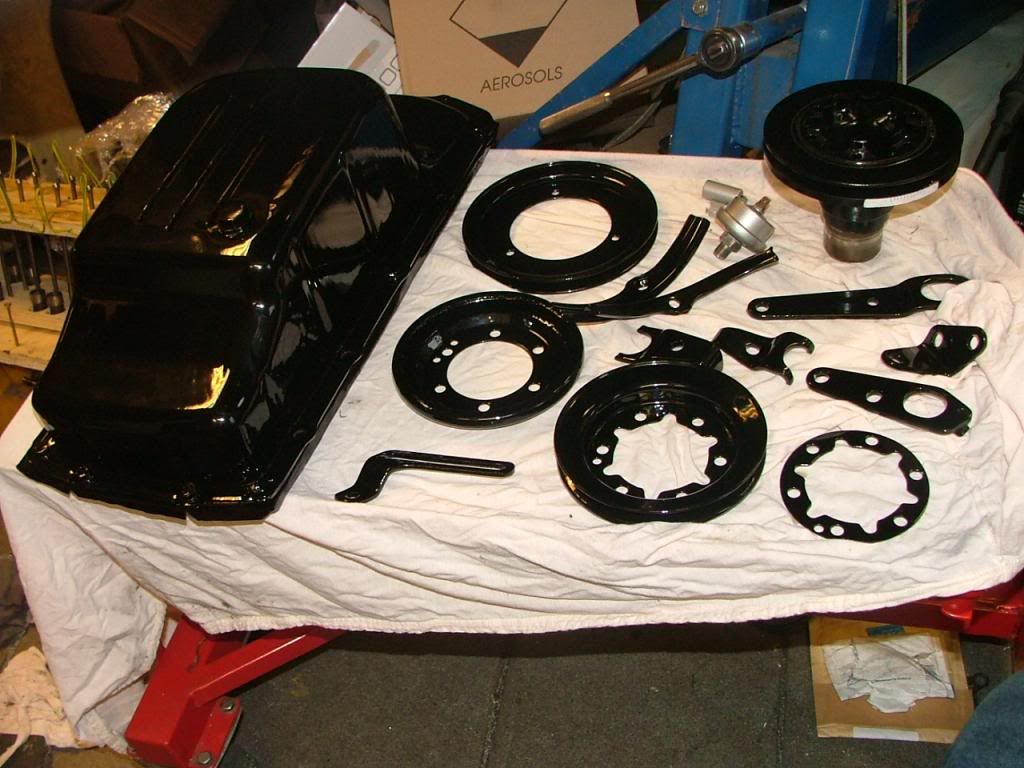
The plugs as fitted on 1 of the sides. I put some fluid gasket into the bores where the plugs were fitted