|
|
|
Jun 18, 2023 22:51:41 GMT
|
So, what's happened in the last three weeks? A few things... As I mentioned I had a three month old Bosch MAF fail, ordered another and fitted it. That lasted all of c.10 miles after I when wide open throttle! Almost all engine power lost, the usual fault codes and misfires on several cylinders. Refitted an old Bosch MAF I had, it worked but there was engine flat spots @ 3 & 5000 rpm. Fitted my spare Pierburg MAF but disconnected the MAF voltage clamp and left the IAT resistor in place. All good, the car pulled like a champ. I've since covered 250 miles and still good. Doing a 340 mile round trip next week, the car will get a proper workout then. My main concern was why two new genuine Bosch MAF's failed, both failed after I fitted the third version of a S/C but this could be coincidence. There's five possibilities I can think of: 1. Some engine coolant/debris found it's way into the inlet hose of I.C when changing over the S/C's, possible but doubtful. 2. Some left over alloy flakes were still lodged in the S.C intake pipe after I ported it, again possible but doubtful, I really did make sure I had cleaned out the pipe after grinding and polishing it. 3. Some excess grease from the S/C rear bearings got to the MAF's. I did make sure there was enough grease but nothing excessive. 4. The Bosch MAF's didn't like the voltage clamp, thus they failed rather quickly. Again, doubtful as nobody has reported MAF clamps causing MAF failure. Now, Bosch has redesigned their MAF's and just maybe this has something to do with it. Photo below. 5. I use oiled air filters, had a cone fitted and then changed over to a modified stock air filter box with an oiled panel filter, excess oil could damage the MAF but I've never had an issue on that front, ran the oiled cone for 8,000 miles+ and have used them previously in other cars without any problems. Now, people have had issues but every time it was caused by over oiling the filter. Best course of action was to remove the I.C., boost hoses & pipes and remove the outlet cover from the S/C and inspect. Everything was as clean as whistle, including the S/C rotors. I found no debris, alloy flakes/dust or dirt etc. Cleaned everything anyway, washed out the I.C twice and both the water and brake cleaner came out clean. Having said that, debris could have been there and by the time I checked everything it had been digested by the engine and there was no evidence left? I wish there was, at least then I know I screwed up and what caused two MAF's to fail. On a positive note, I made a warranty claim against one of the MAF's which was accepted and I received a full refund. New Bosch design MAF in the foreground. 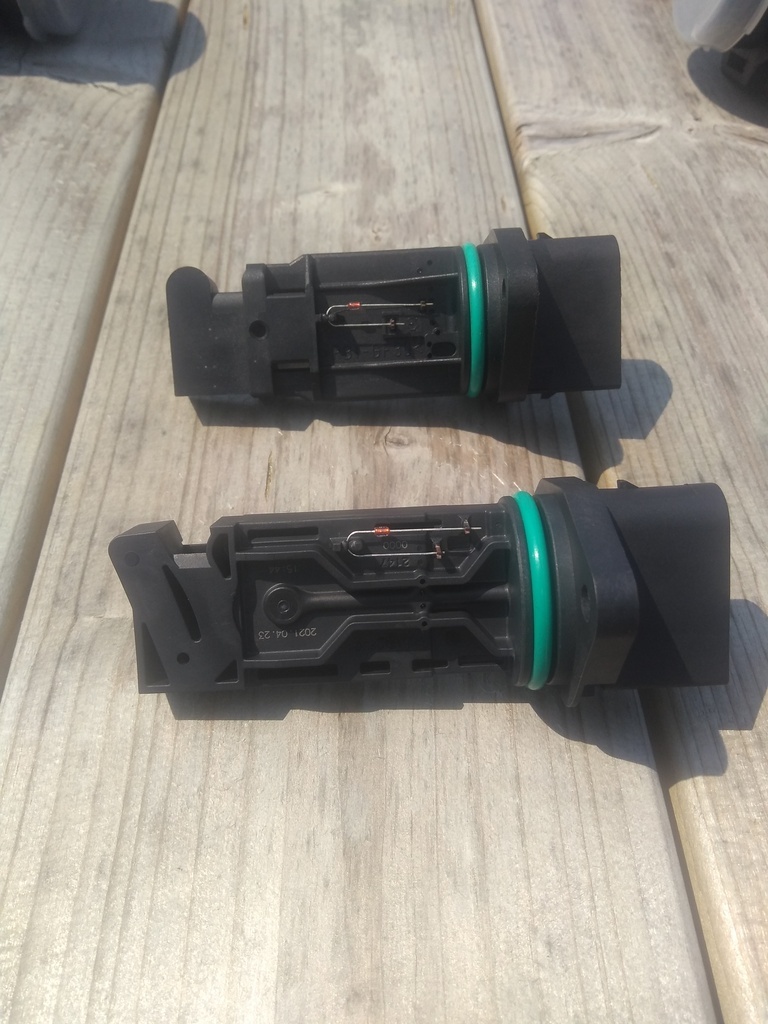 Checked the spark plugs, nice color on all but managed to crack the insulator on one because while taking it out I was not paying attention. They'd covered 10,000 miles so fitted a new set. The engine idle was rough on cold start up and was progressively getting worse. The usual suspects are a vacuum leak, MAF, engine temp switch etc. I had, as good preventive maintenance replaced the temp switch about 40,000 miles ago with a Beru switch. Reckoned, it was no harm to refit the original switch and bingo cold start idle back to normal. I'll order a new switch soon. I ordered a new Pierburg MAF to replace the old one I have currently fitted and I bought a Pipercross oiled panel air filter to replace the old stock paper filter. The Pipercross may not flow a whole lot better but I reckoned it better to have than not. It has defiantly changed the induction sound but not made the sound more intrusive. 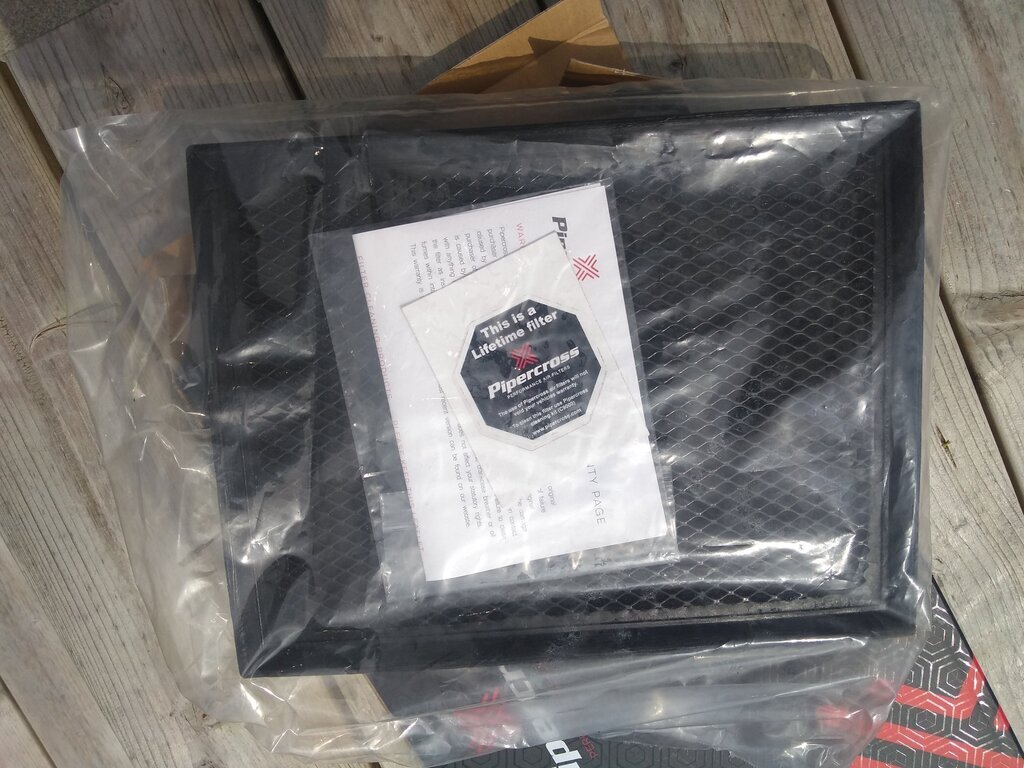 I removed the standalone IAT gauge, it worked but didn't react quick enough to my liking. I may refit at some stage. And last but not least I've had a slight vibration in the steering wheel, suspecting front wheels need balancing I decided to just check and adjust the wheel bearings and then had the wheels balanced, that sorted the issue. So, there you have it, a busy three weeks and annoying at the same time too. Oh, I rarely post photos of the old machine, don't look too close. Still it would look o.k. to a blind man on a galloping horse! 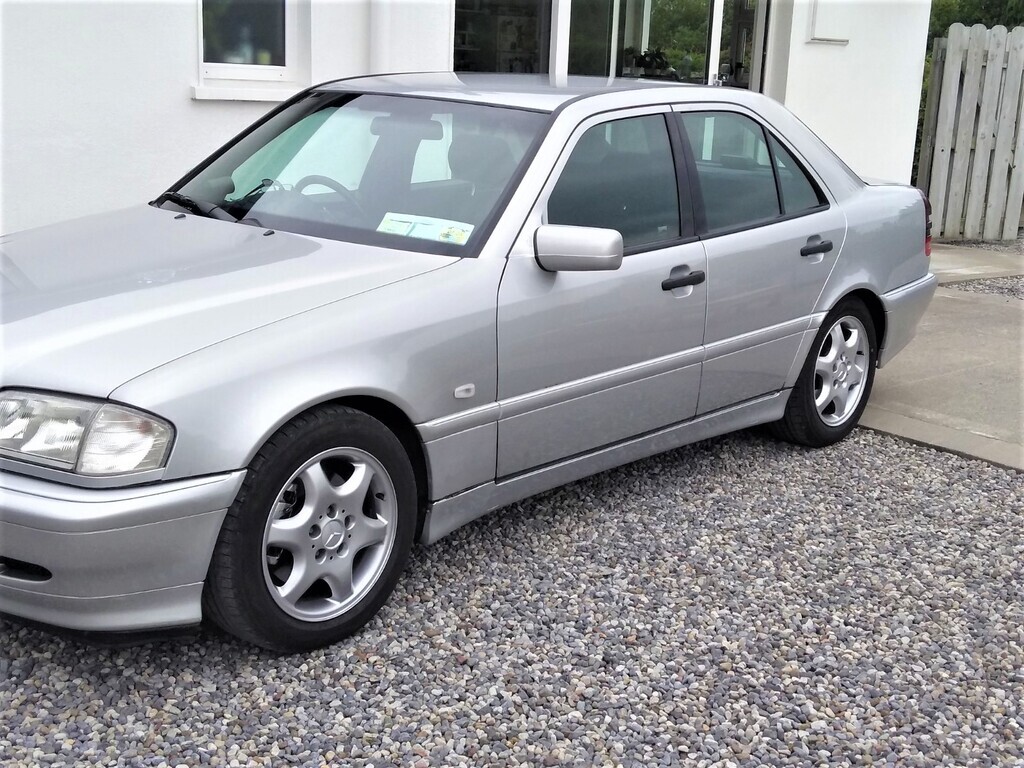    |
| |
Last Edit: Jun 19, 2023 8:11:56 GMT by Woofwoof
Still learning...still spending...still breaking things!
|
|
|
|
|
|
|
Jun 16, 2023 20:52:53 GMT
|
"I can't see me selling this one" Sorry, haven't we heard that before ?? 😁😁😁😁 Seriously, it looks stunning, Nigel A lovely navy 250TD C-Class rings a bell  |
| |
Still learning...still spending...still breaking things!
|
|
|
|
|
Jun 14, 2023 21:57:49 GMT
|
|
Underrated cars, especially the torquey & fuel efficient 230 Kompressor's. Prices are on the rise too.
|
| |
Still learning...still spending...still breaking things!
|
|
|
|
|
Jun 12, 2023 21:11:16 GMT
|
|
It's in good company with what looks like a Lancia Gamma Berlina.
|
| |
Last Edit: Jun 12, 2023 21:12:10 GMT by Woofwoof
Still learning...still spending...still breaking things!
|
|
|
|
|
|
|
Just to remind myself of what I've done recently. Coming up: Fitting V3.0 Ported S/C. Replacing the MAF (originally replaced in March but failed). Gaining 50bhp with a Pipercross panel filter! Removing the new standalone I.A.T. gauge. Replacing the plugs. And maybe I'll wash the car and post a photo  |
| |
Still learning...still spending...still breaking things!
|
|
|
|
|
|
|
|
Excellent, really excellent.
|
| |
Still learning...still spending...still breaking things!
|
|
|
|
|
|
|
😬 that bad eh? Good job I didn't push too hard when driving at the nurburgring then 😅 Ha,ha. If it did understeer, say at 90mph+, all you'd need to do is, get quickly off the throttle, don't brake and hope the next bit of road is straight! 😁 |
| |
Still learning...still spending...still breaking things!
|
|
|
|
|
|
|
Just a couple of photos to give you all an idea of how the lower arm bush removal is going...  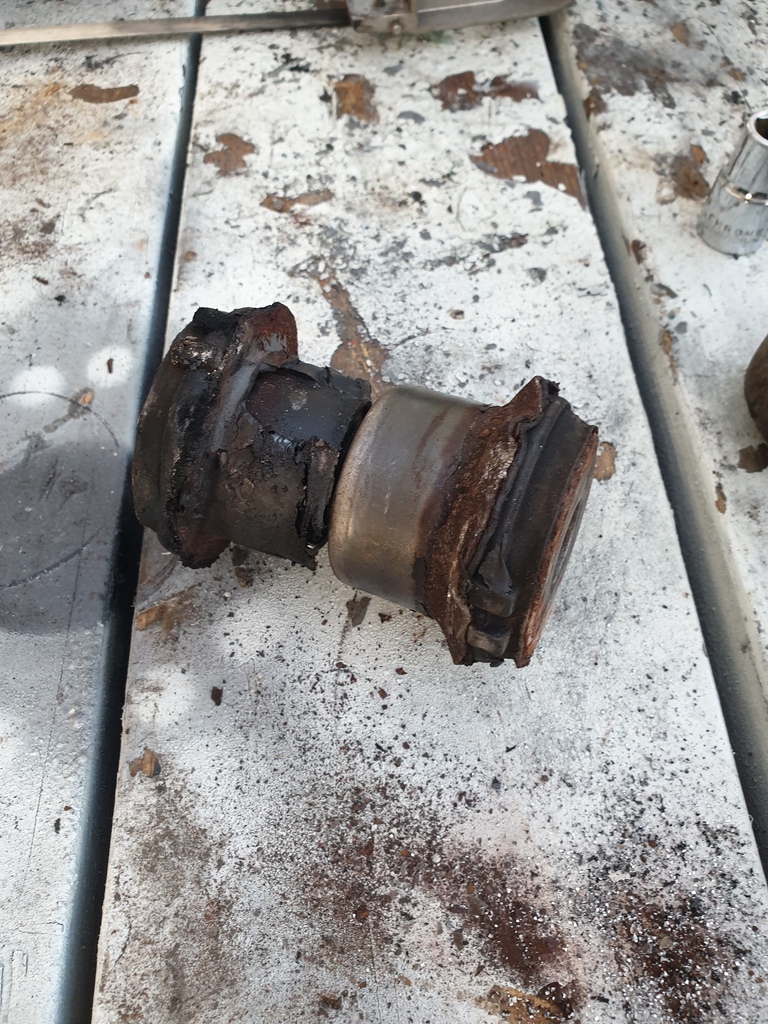 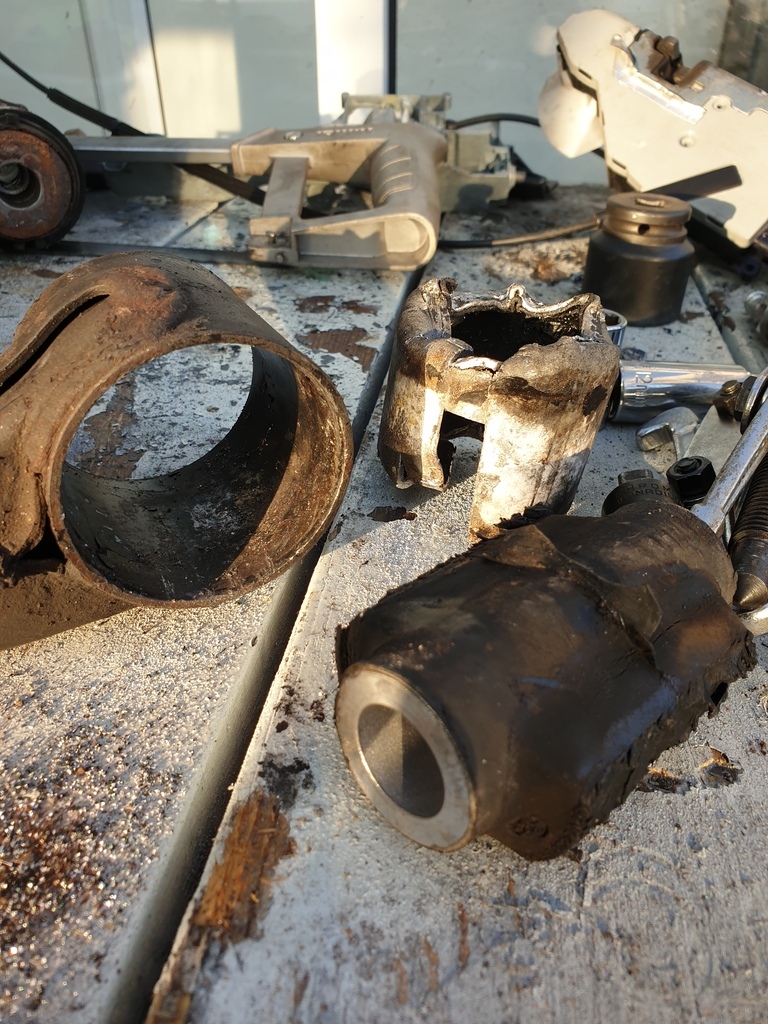 They're putting up a fight but I'm on the last one out of the four now. The other void bush that I didn't take a photo of was totally knackered so it's a good job I'm changing them. Shall soon be wire brush and paint out for the lower arms, and the underside bits of the car that need it, do the sump, finish oil change, drop car and shuffle it over so I can get the Drivers wing off, before getting the car back up again to tackle the holes. Yeah, reckoned the void bushes were gone. Deadly on a sweeping A or B road at high speed. Sudden understeer, real sudden. Ask me how I know...🙂 |
| |
Last Edit: Jun 6, 2023 12:42:53 GMT by Woofwoof
Still learning...still spending...still breaking things!
|
|
|
|
|
|
|
I've used engine oil flushes in the past and not noticed a huge amount of difference but I could have been starting with a fairly well maintained engine.. I often hear the notion of issues with flushes dislodging stuff inside the engine, but I don't know how many engines have actually failed that way or if it's one of those things that gets often repeated around the internet? Engine oil in itself often ends up being quite a contentious topic! The one that I have experience of didn't fail as such (an early 24V Senator I got cheap - right place right time) I looked inside the oil filler cap and it was black and full of carbon - I'd never seen an engine as bad, it looked like it had never seen an oil change, I was much younger and to me it seemed like an engine flush was the solution however it went from 1. a quiet engine to a very rattly one all the hydraulic tappets started complaining very vocally 2. a 500ml of oil per 3,000 mls engine (admittedly poor for one of these engines but it didn't visibly smoke and didn't leak oil) to a 1 litre of oil per 500 miles which was quite frankly embarrassing to drive (due to the smoke kicked out on acceleration and deceleration) Engine seals (crankshaft seals) that were previously dry leaked profusely I've got some pictures somewhere of the head when I stripped it down and compared to a normal well serviced cars it was basically tar and carbon coating over every part that didn't move..... I've never used a flushing solution since - I've had other cars with patchy service history and adopted a several oil changes in short succession and never had the same issues (to me it just seems a much more gentle way to try to remove deposits slowly and clean up the internals) I think the flush just proved the engine was shagged anyway, lack oil changes as you say. Not doing the flush would have put off the evil day of excessive oil burning and leaks. I think a flush is just good preventive maintenance but it's not for reviving worn or badly maintained engines. |
| |
Still learning...still spending...still breaking things!
|
|
|
|
|
|
|
I've read a lot to say engine flush in an old engine is a bad idea - loosens a lot of curse word you'd rather it didn't. Lots of professionals say, as already suggested, more frequent oil changes with a cheap oil. I think if the engine is old and an oil flush could 'damage' it, then is already due for a rebuild or very close to. Possibly not flushing it just adds a little extra time to a worn engine. As you say just changing oil more often. Then again, the old engine might have been in better condition if was flushed every so often before it got to the stage that doing a flush is considered bad news. |
| |
Still learning...still spending...still breaking things!
|
|
|
|
|
May 31, 2023 22:53:26 GMT
|
|
I've used engine flush several times. Different brands over the years, the last few times it's been Liqi Moly. Does the job. I've use ATM also. Trick is how you use it, engine oil temp I think is key.
With a specific flush, I first have the engine up to temp, actual heat in the oil. Drop the oil and change the filter. Refill with fresh oil and a new filter, engine back up temp. Then add the flush, run @ idle 20 minutes.
Drop the oil, you'll see the flush has worked also cut open the oil filter for inspection. Fresh oil & filter again. I suspect, flushing is only really worthwhile every 30k miles or more, I certainly wouldn't bother at every oil change. But I do always flush any car I've just bought.
If the engine is already leaking oil it's probably not wise to do a flush as I reckon there's a strong possibility the leak will get worse.
|
| |
Last Edit: May 31, 2023 23:00:08 GMT by Woofwoof
Still learning...still spending...still breaking things!
|
|
|
|
|
May 30, 2023 11:03:34 GMT
|
|
I have spare set of lower arms with bushes removed, maybe fit K-Mac at some stage.
And like you didn't have a suitable puller for the bushes. I managed to knock them out somehow, iirc it wasn't too difficult.
|
| |
Still learning...still spending...still breaking things!
|
|
|
|
|
May 28, 2023 11:06:43 GMT
|
|
Great stuff. You're car will be transformed with the new suspension. Have a look inside the lower arm bushes, there's a good chance the void bushes are shot/broken.
Keep up the good work.
|
| |
Still learning...still spending...still breaking things!
|
|
|
|
|
May 25, 2023 16:41:33 GMT
|
Cheers, some good ideas. Yes, I agree, I want the biggest garage possible... But.. At some point in the future, its possible that a house extension across the current area of the car port is on the cards. Since a Timber / Steel / Sectional garage would not join onto the house very well, or look particularly good even if it did, then I need to bear that in mind to avoid having to demolish the garage again! I need to work out the minimum width for a passage between the two, that isn't a dark cramped damp and horrible alleyway! I think (me thinking is not always good!) you might be better having the plans sorted for the extension first before building a garage. Or a least know what effect if any the extension will have on a garage while keeping visual esthetics looking uniform. So may be a block built garage to match the future extension? Done well, you could do without a side passage, personally I'd avoid it, if space started to feel limited as there would access to the rear of the house via the garage anyway. If you don't mind me saying so, ideally you should build the extension first allowing for a garage or build both together - yeah, it becomes a bigger hit financially in one go, a much bigger hit but cheaper overall. Anyway, whatever way you go wishing you luck and hopefully you'll update the progress. Ps. Also consider resale value of the house, may not be a factor but if it was ever on the cards that you might move, a block built garage matching the extension is the way to go imo. |
| |
Last Edit: May 25, 2023 16:50:31 GMT by Woofwoof
Still learning...still spending...still breaking things!
|
|
|
|
|
|
|
Spacers? When I saw this new post from you, I reckoned you got some 16 or 17'' wheels. Nope very happy with the smaller wheel look They’ll definitely be staying on, the stance/look is exactly I how I wanted this car to look, I had seen a few on W202 pages on Instagram and went the oem 15” route I’m well pleased with the car now My painter will be on a few bits after the summers gone for me I gathered that. Just couldn't resist pulling your leg on the back of previous comments over the wheel size. Variety, is the spice of life! |
| |
Still learning...still spending...still breaking things!
|
|
|
|
|
May 24, 2023 22:31:02 GMT
|
Yep I’ve just bought some 10mm spacers to go on shortly 👍 Spacers? When I saw this new post from you, I reckoned you got some 16 or 17'' wheels. |
| |
Still learning...still spending...still breaking things!
|
|
|
|
|
May 23, 2023 21:13:05 GMT
|
I built a garage (6mx9m) several years ago. When I say 'built', bought a steel insulated garage and laid the the foundations, base ring beam and floor myself. I also had the same issue as you, the ground wasn't level, 400mm drop. I didn't bother building a retaining wall, I built a level timber frame to act as shuttering pegged in with rebar, filled with hardcore 6/7'' below top level then compacted. Shuttered a frame for the concrete base ring beam. Garage was bolted to this and them 6/7'' of concrete was poured for the floor. Everything was done within two weeks. The advantages of the steel garage was cost and plenty of options offered for windows and skylights ,side doors, roller doors,double doors, colour, no painting required and sod all maintenance etc. The only downsides with the steel is the insulation is exposed inside and bolt on shelving to the uprights will only take light loads, needs free standing shelving for heavy stuff. Anyway, worth considering just on cost alone and no messing about with builders as steel garages are erected in a day. In an ideal world I would have gone block built but cost/value was a priority. Top tip, no matter what type of garage you build, build the biggest practically possible in keeping with house even if you have to get PP. Here's a random photo from the web, it looks like 5mx8m. 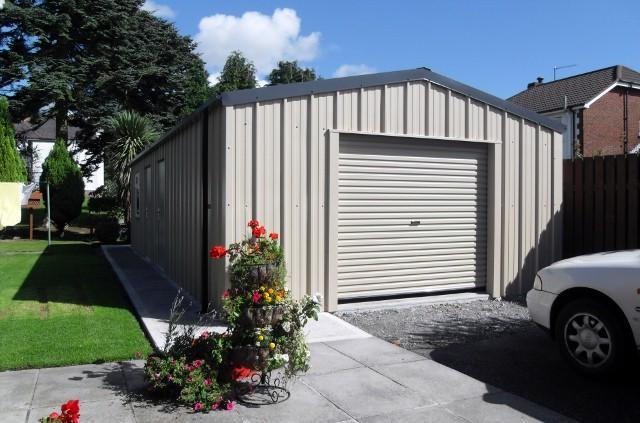 |
| |
Last Edit: May 24, 2023 13:56:35 GMT by Woofwoof
Still learning...still spending...still breaking things!
|
|
|
|
|
May 19, 2023 21:14:31 GMT
|
I got tried of the noise from the ported & overdriven S/C even with the sealed air box & ITG cone filter. I had lined the box with insulation foam sheets, all sides including the lid but it was still too loud. Here on the left.  What to do? The stock air filter housing is well designed and keeps the stock S/C noise levels very well suppressed, but it becomes a restriction and flow is maxed out when hitting above 250 bhp. In actual fact if the engine is tuned for 270 bhp or more the filter housing will cost 15-18 bhp at max rev's. Now, I'm at approx 250 bhp refitting the stock housing shouldn't cause a lost in max power but may not give the best throttle response, but I'm unsure about that. Since I was using 75mm diameter hoses for the inlet & outlet of the homebrew sealed air box I decided to use the same on the stock air filter housing rather than stick with the original 63mm. A few mod's later to the filter housing including removing the interior baffling at the inlet and outlets and job done. What a different from a noise perspective, along with no noticeable lost in throttle response or outright power and LTFT's and AFR's haven't changed. Inlet, basically the same as I used with the sealed air box but larger that the original stock inlet. 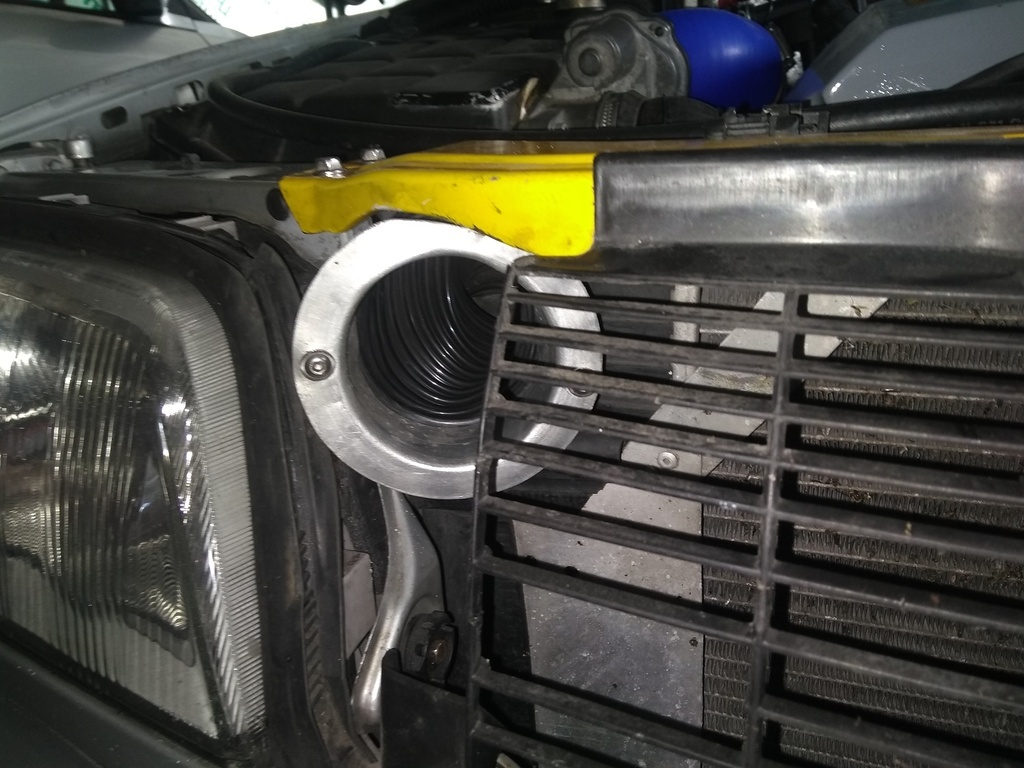 Outlet, removed the 63mm built in flange and fitted a 75mm aftermarket flange, sealed with epoxy glue - messy but great stuff. 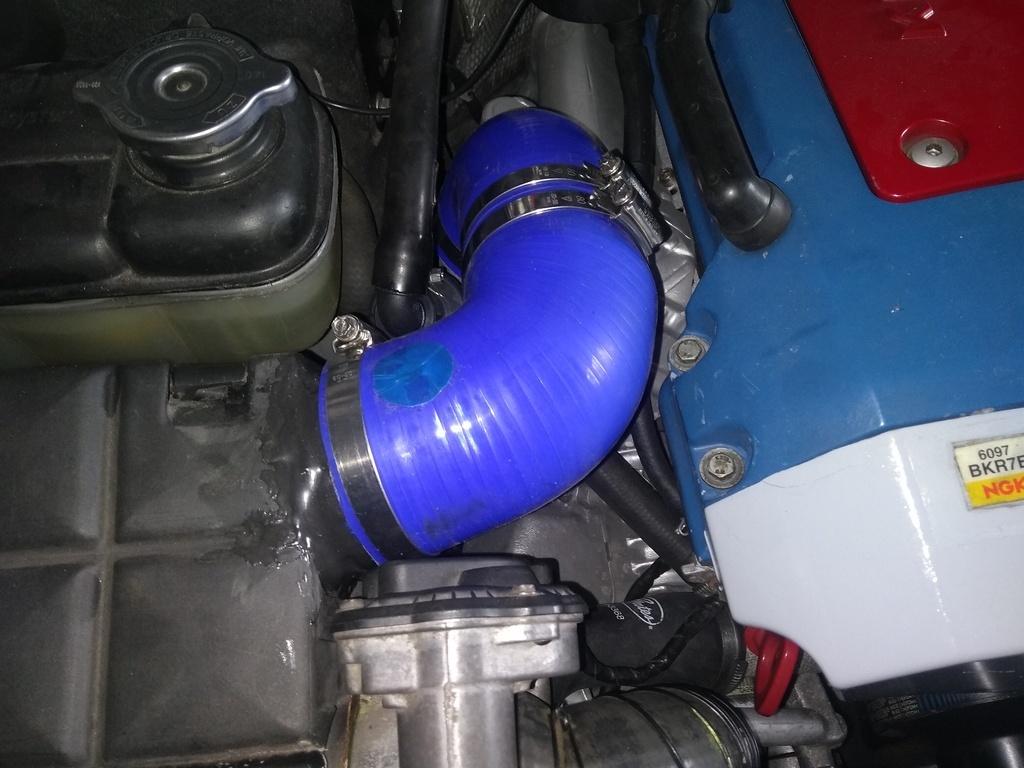 Inlet connected into air filter housing. Nice and smooth alloy pipe right into the housing.  |
| |
Last Edit: May 20, 2023 12:37:38 GMT by Woofwoof
Still learning...still spending...still breaking things!
|
|
|
|
|
May 18, 2023 21:35:05 GMT
|
|
In a nutshell you need to use an OBD scanner with a 38 pin adapter that's capable to diagnose transmission fault codes. A genuine Carsoft 7.4 will but there's others like Autotel etc.
Stuck in 2nd is not an uncommon fault, can't remember the causes but a search on web should help.
|
| |
Still learning...still spending...still breaking things!
|
|
|
|
|
|
|
IAT standalone gauge connected up and working. The only downside is it does not react to temp changes as quickly as the live data via the OBD. But, it told me what I needed to know - the resister fitment into the IAT signal in the MAF is working as intended. When the live data read out states 25C, the gauge reads 35C which is bang on the money. Boost & IAT gauge temporarily mounted with double sided tape. I need to find a permanent suitable location. 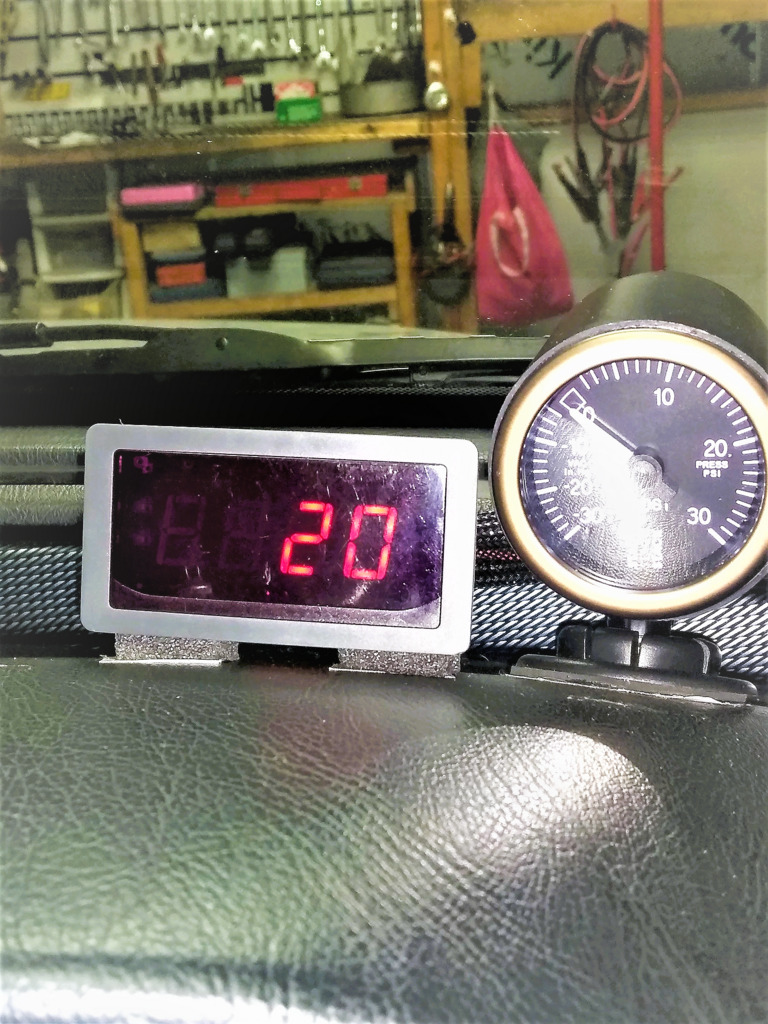 Temp probe plumbed into inlet hose. 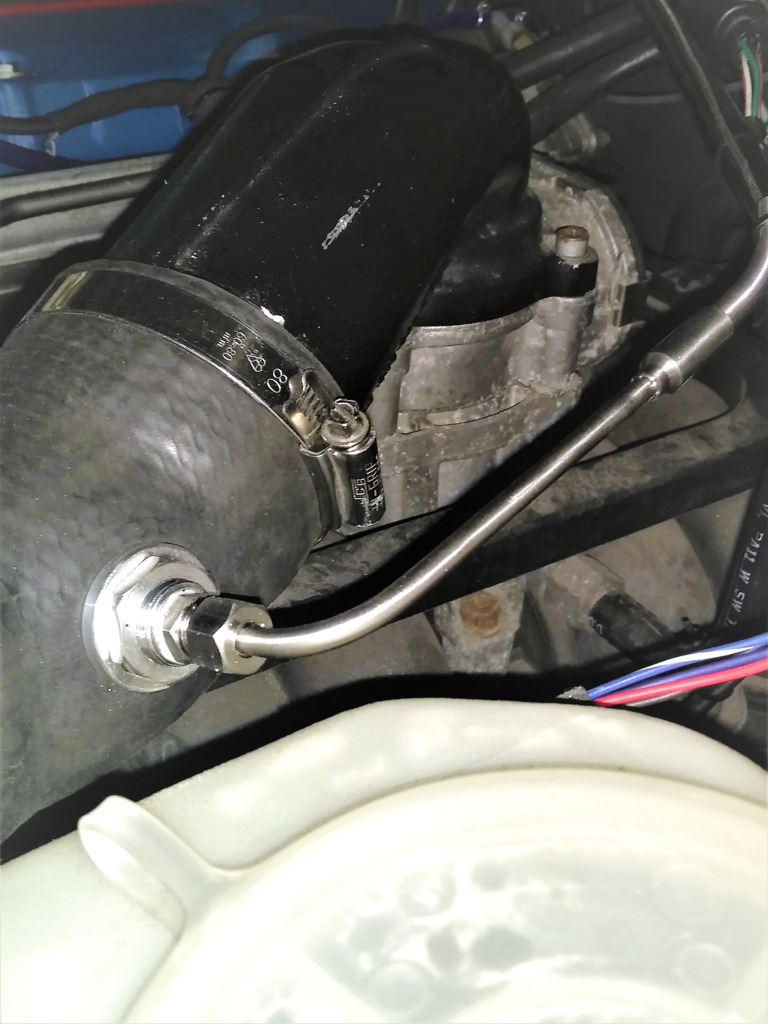 |
| |
Still learning...still spending...still breaking things!
|
|
|
|


