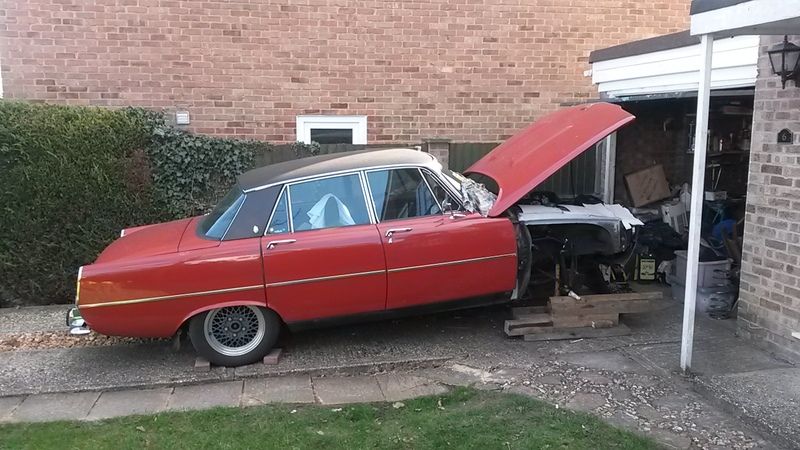
OK so now time for part 3, its well overdue...
As i said in my last post I had been planning to go full on Megasquirt, which is something I had previously done to my LR 90.
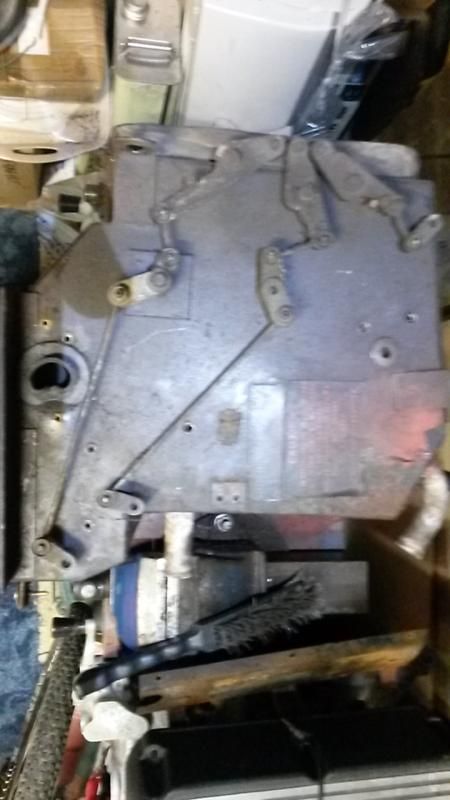
The first step was to literally replace the Megajolt unit with the MS one, running ignition only. IN this way I could make sure the ignition side of things was all sorted before I moved onto fuel. Being my daily downtime has to be kept to a minimum wherever possible.
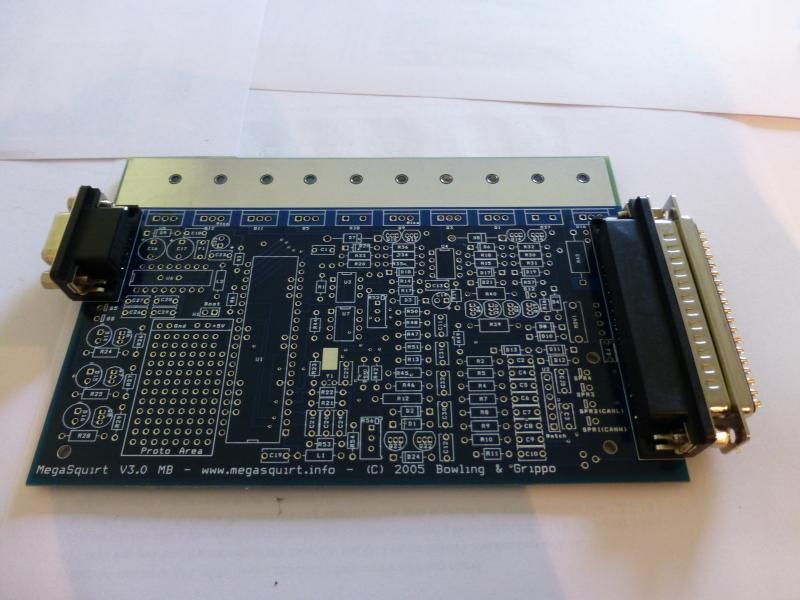
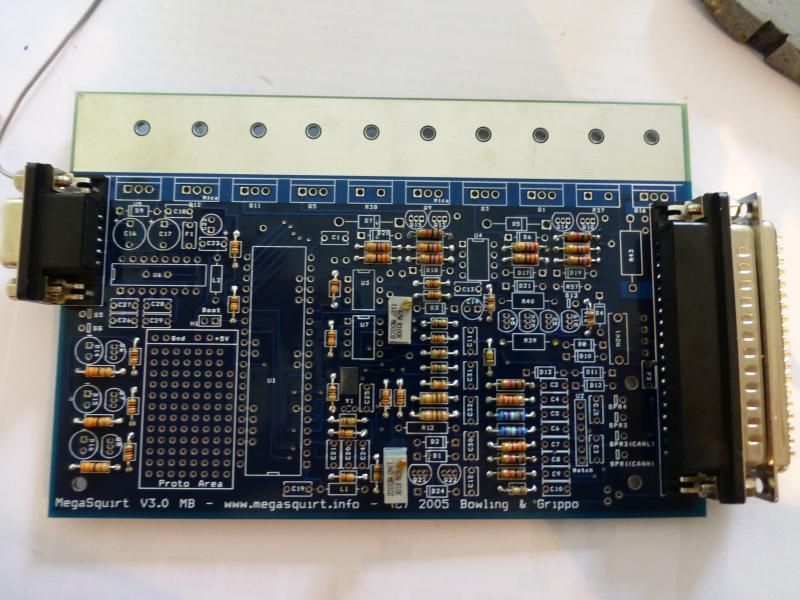
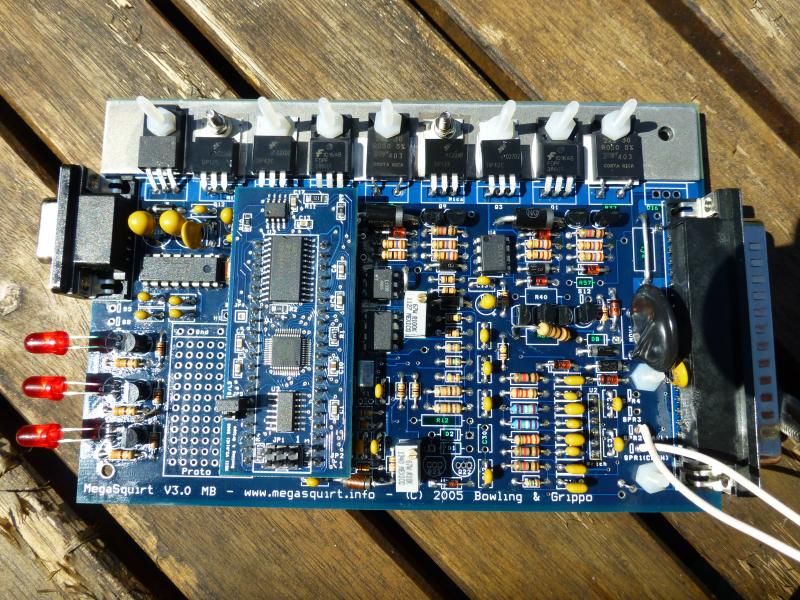
So i ordered the kit, and assembled it:

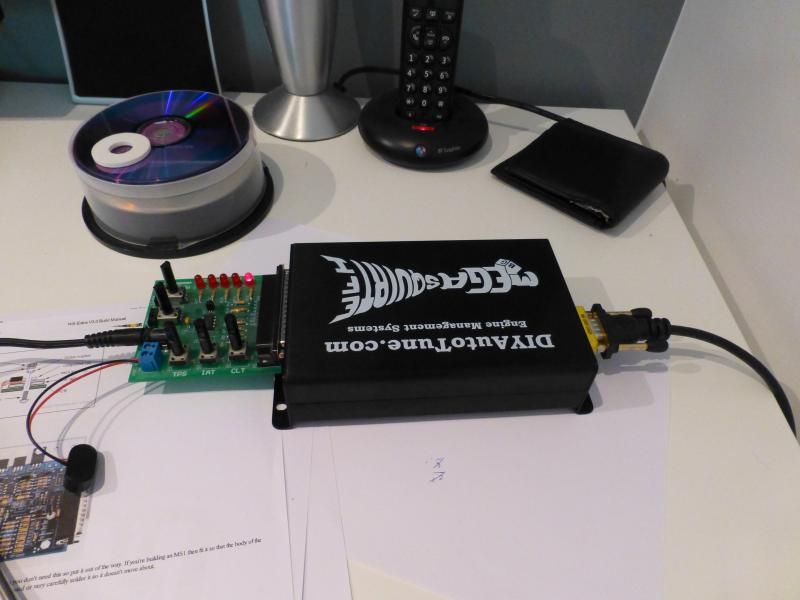
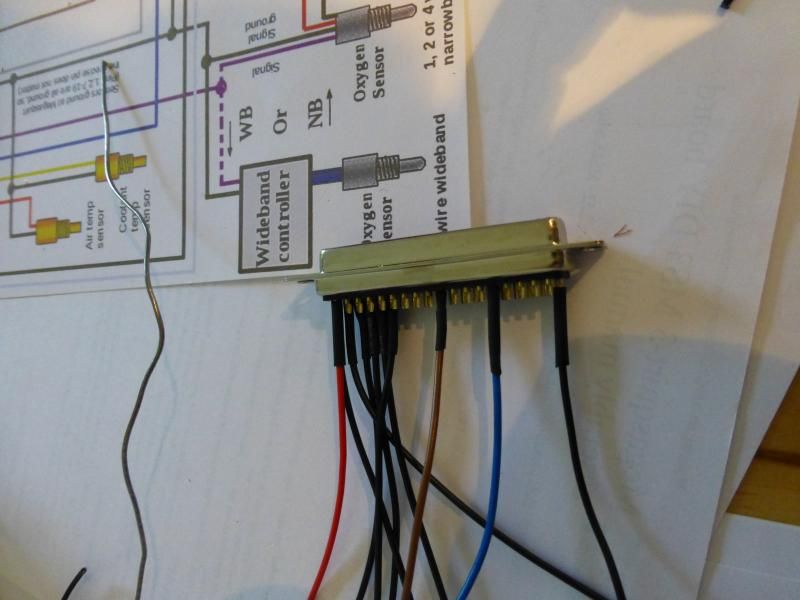
Then I did some wiring, and mounted it temporarily on those sticky pads things that cable ties go through:
And life was good - I had Megasquirt running, and even got all fancy and was connecting via bluetooth and "MSDroid" on my phone:

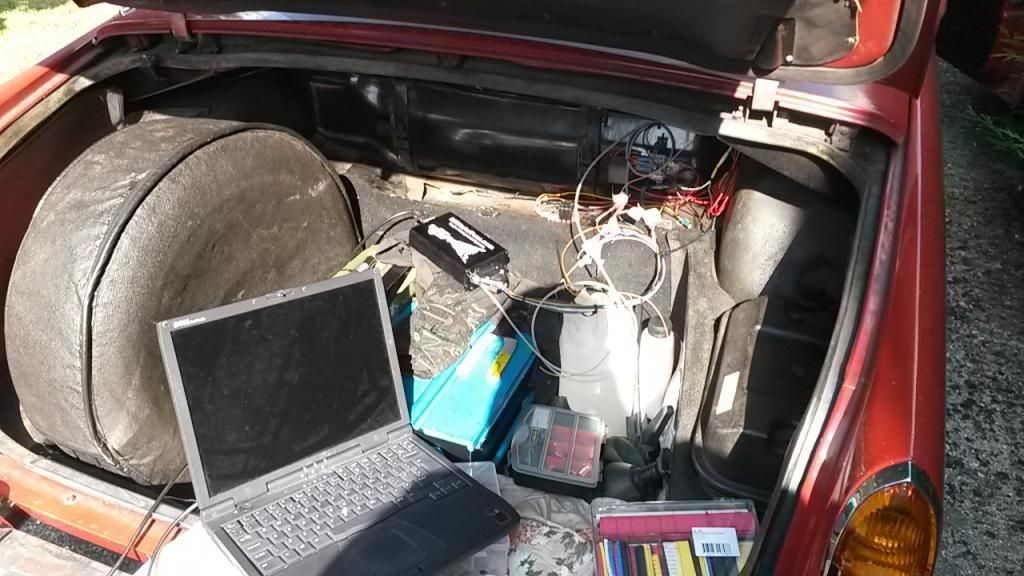
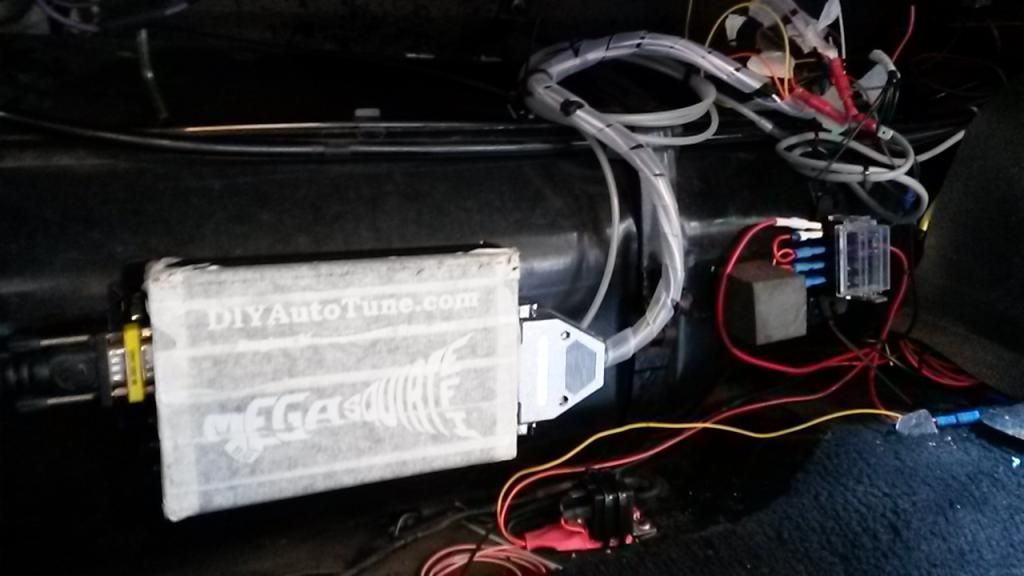
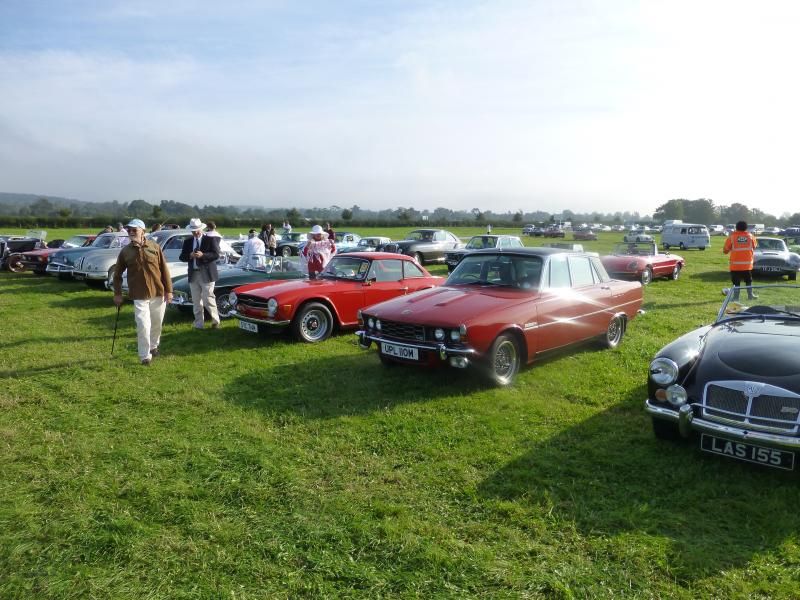
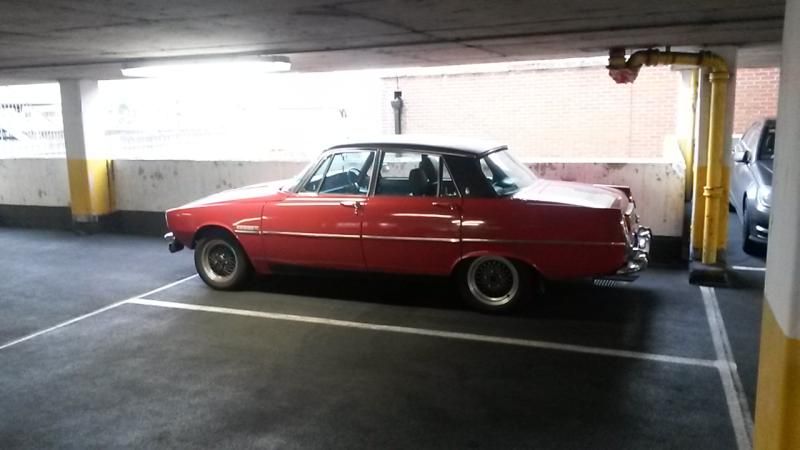
The car carried on like that for a bit, and went here there and everywhere, including the Goodwood Revival:

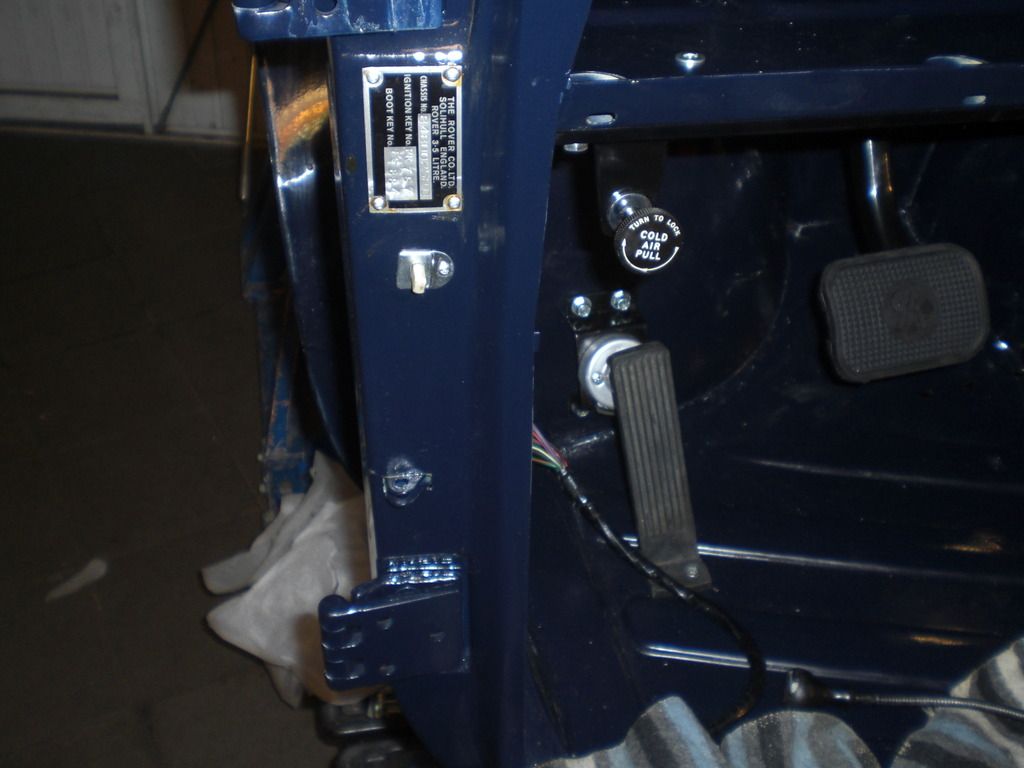
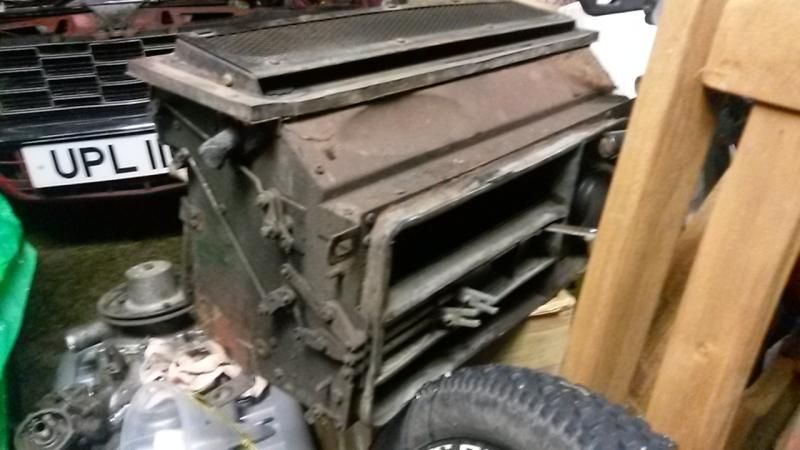
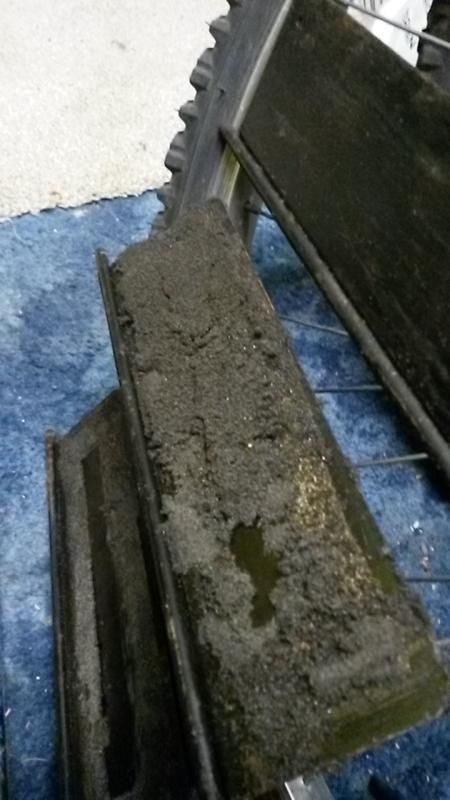
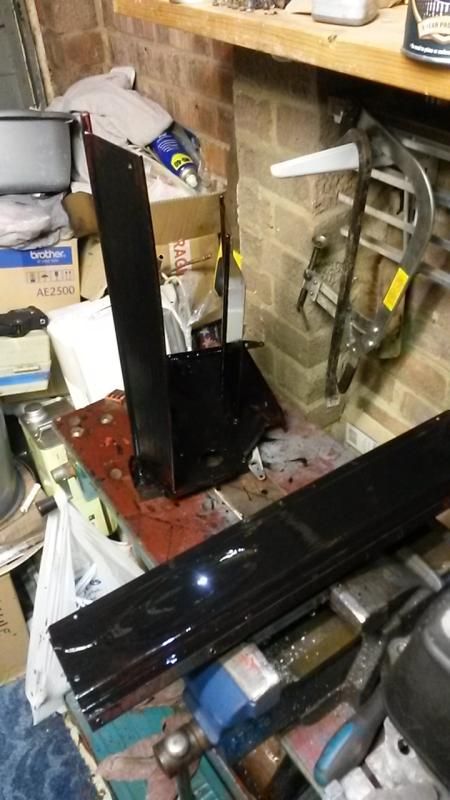
Next up to be sorted was the heater, which had been getting gradually more and more pathetically lukewarm. Commonly on these the foam that seals the multitude of flaps inside the heater box had disintegrated, giving no sealing ability at all and allowing the hot and cold air to mix willy-nilly. This was rectified (excuse the crappy pics):
Heater out
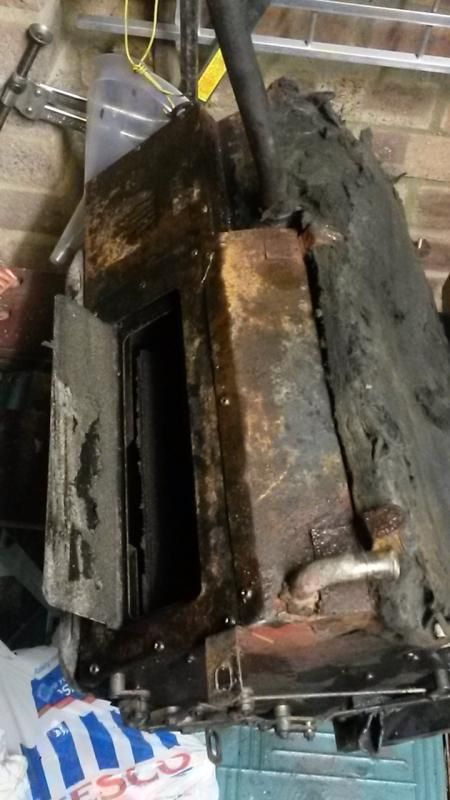
Dead foam
Many levers, for many flaps:
More knackered foam:
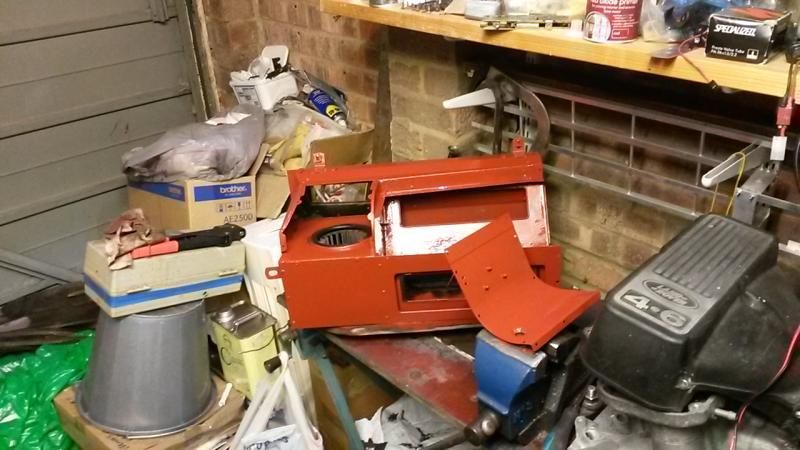
Red oxide makes everything look sexy again:
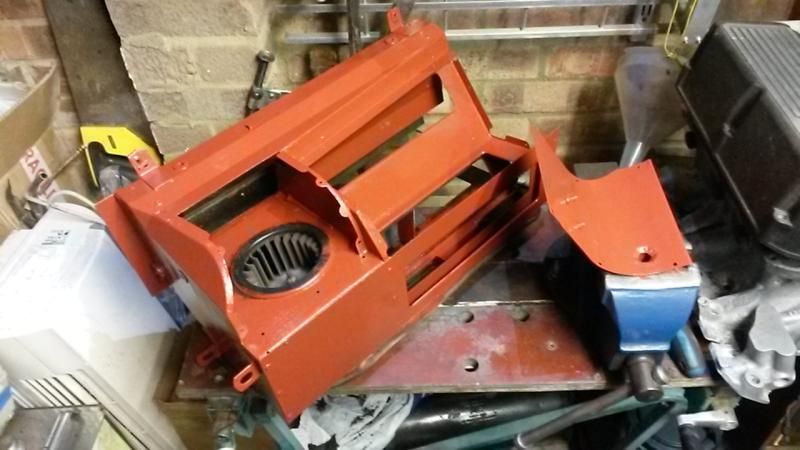
Start painting black:
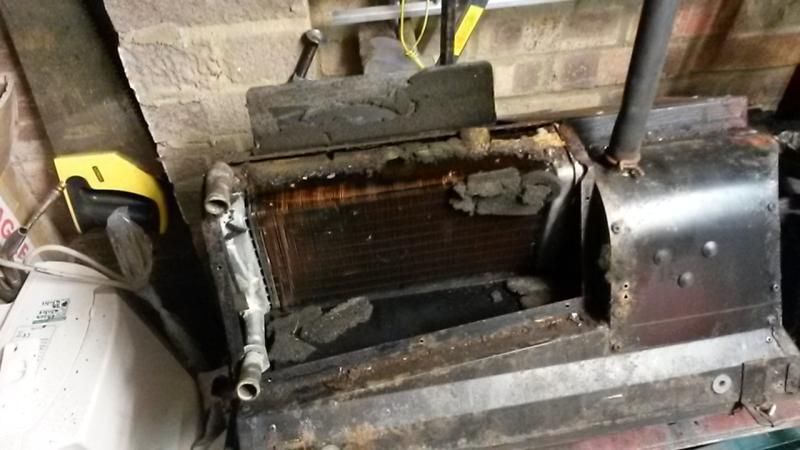
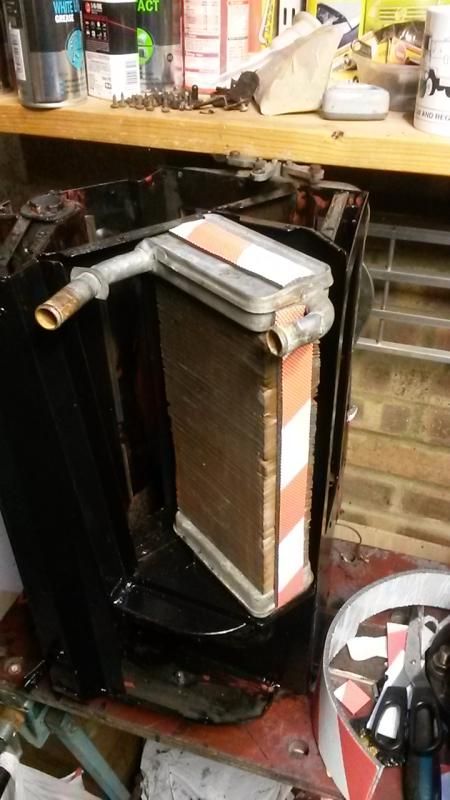
New (old) matrix fitted with new foam to seal and make sure air has to pass through it and not around:
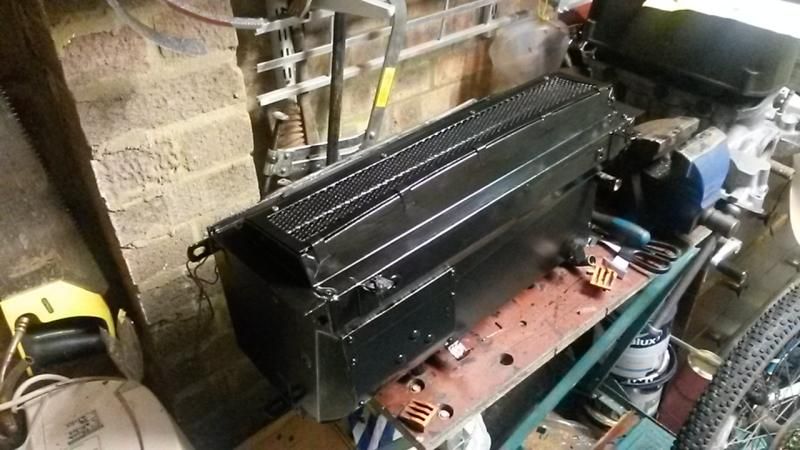
Back together
Rubbish picture of it back in the car:
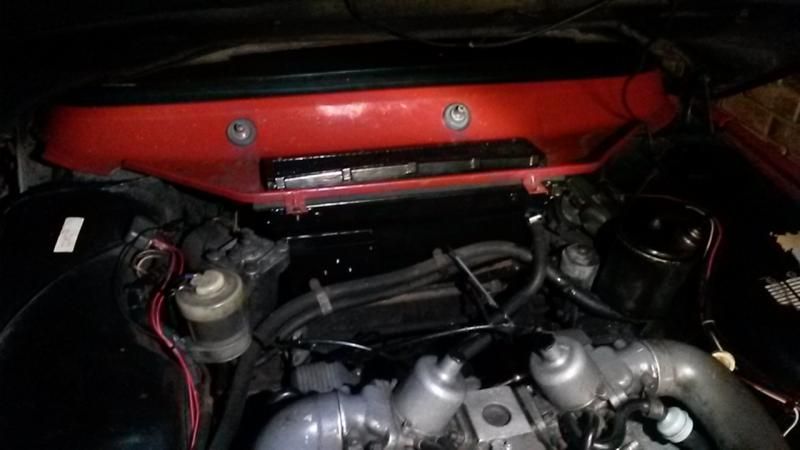
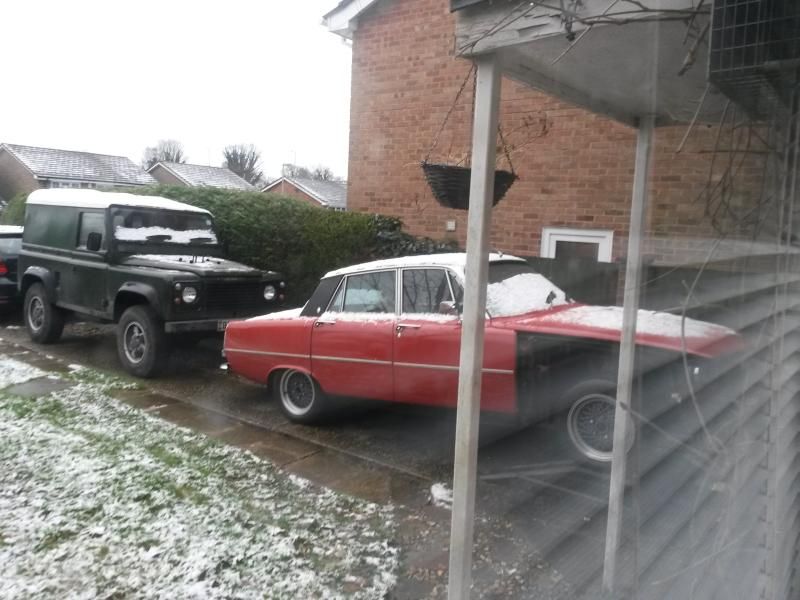
And so with a working heater, the car continued in its duties (which it had without the heater fitted) but in a much more comfortable way than previously!
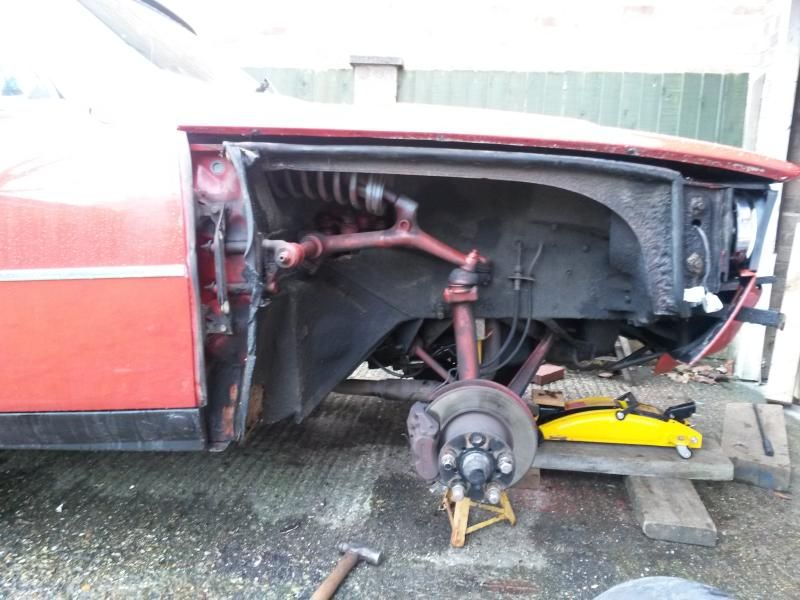
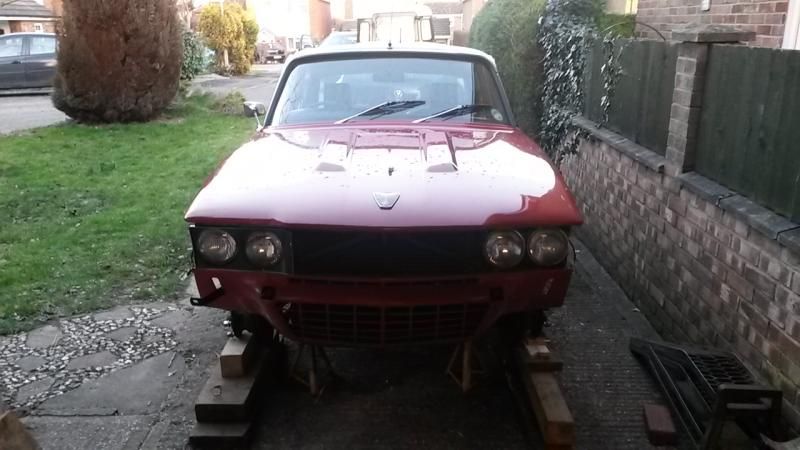
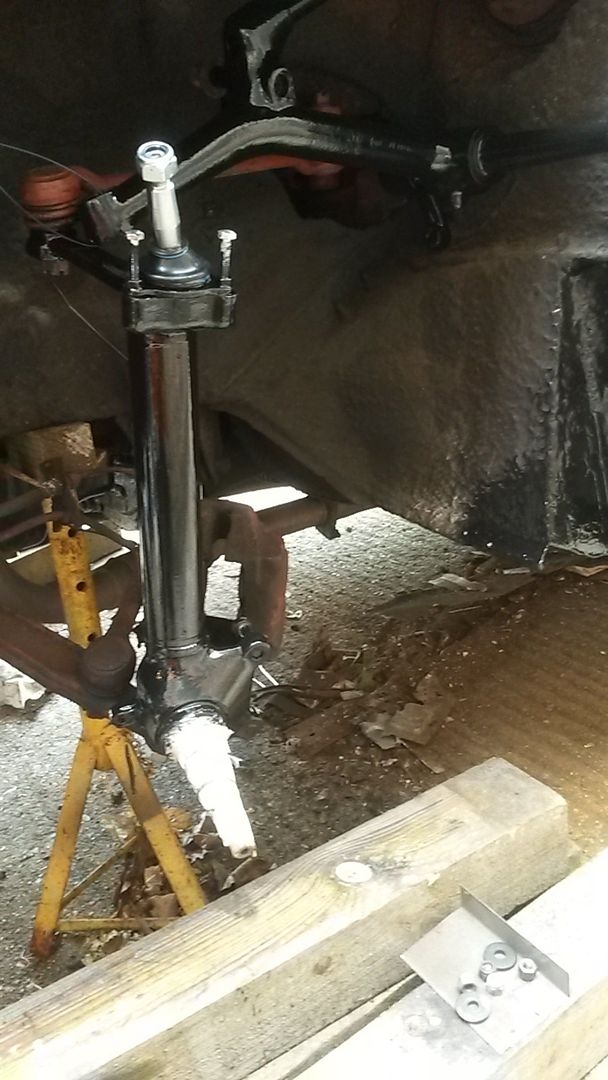
However the next challenge was about to be thrown my way. Driving to work one week the car developed a knocking sound over bumps, so I bit the bullet, ordered a set of new suspension bushes and resolved myself to having to deal with the deadly p6 front suspension. These cars have a funny setup where the spring is in a horizontal position, and even with the suspension fully dropped, the spring is under a fair bit of compression. I was used to a Landrover where you just jack the thing high enough in the air to pull the spring out!
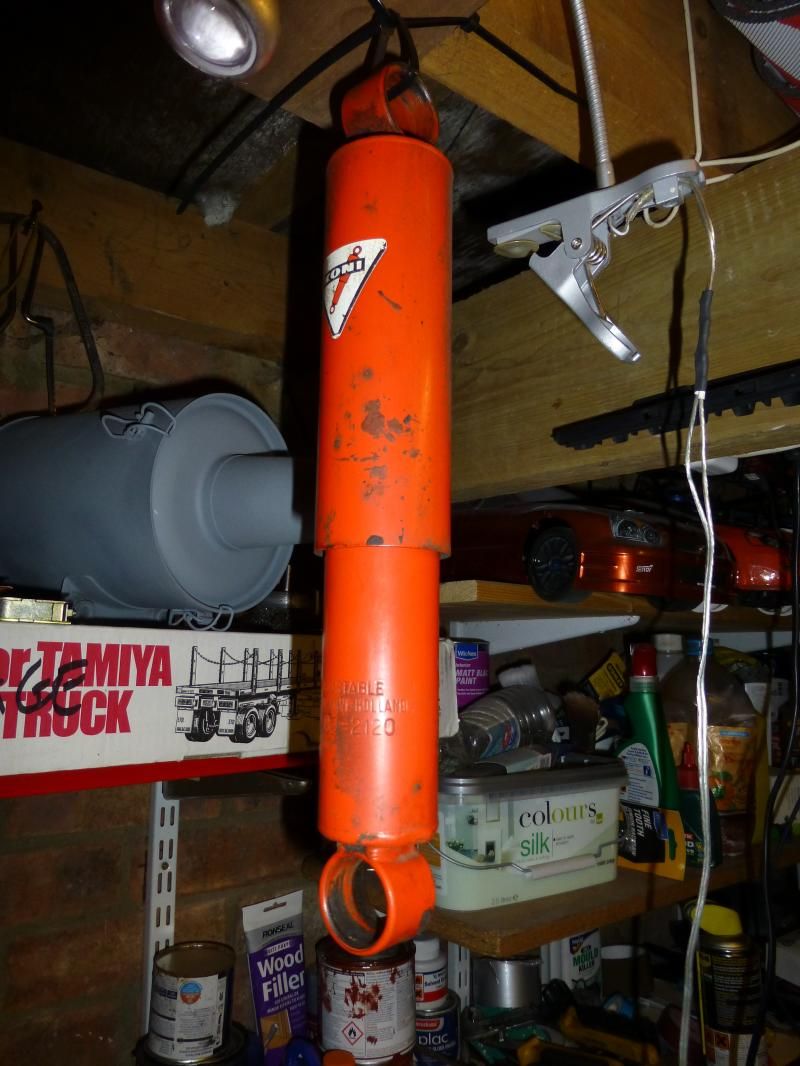
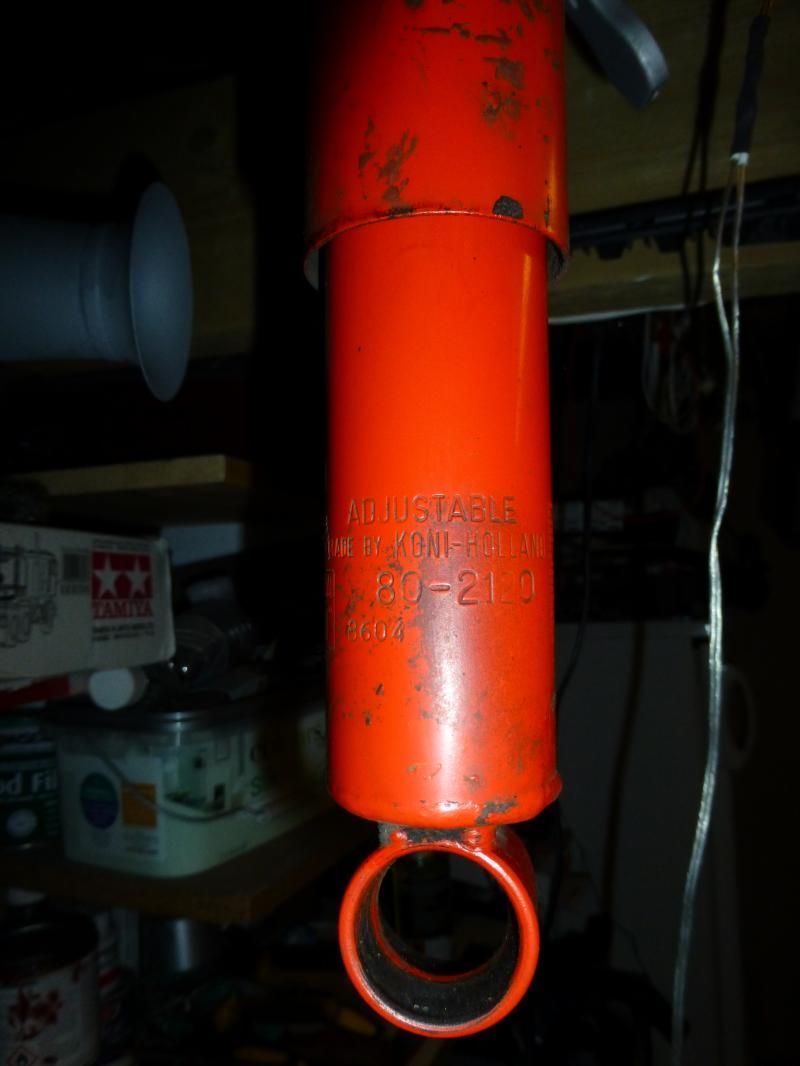
Hmmm.... adjustable Koni's? nice!
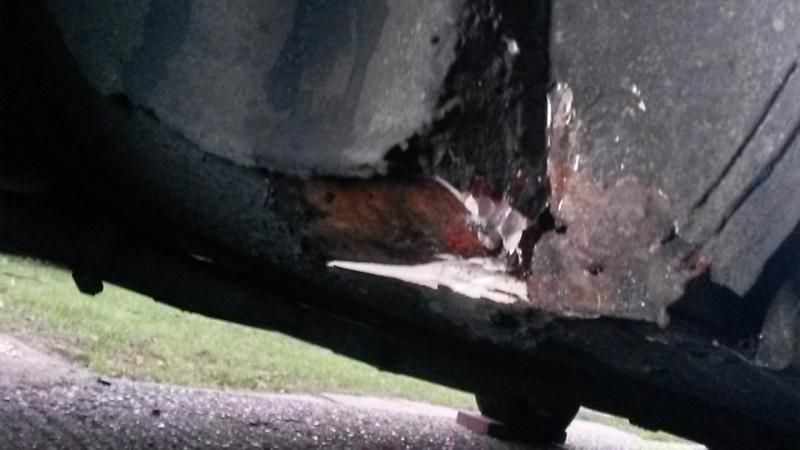
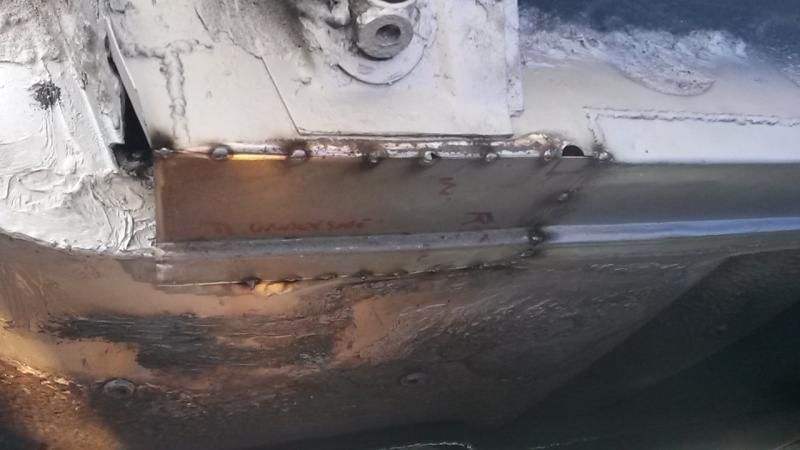
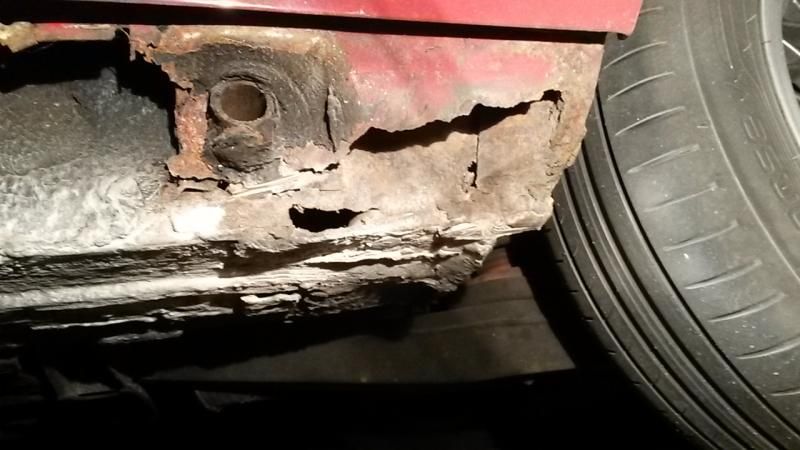
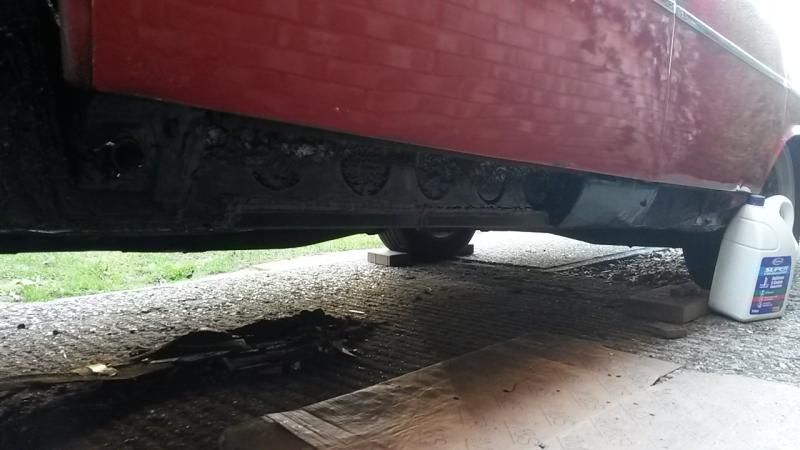
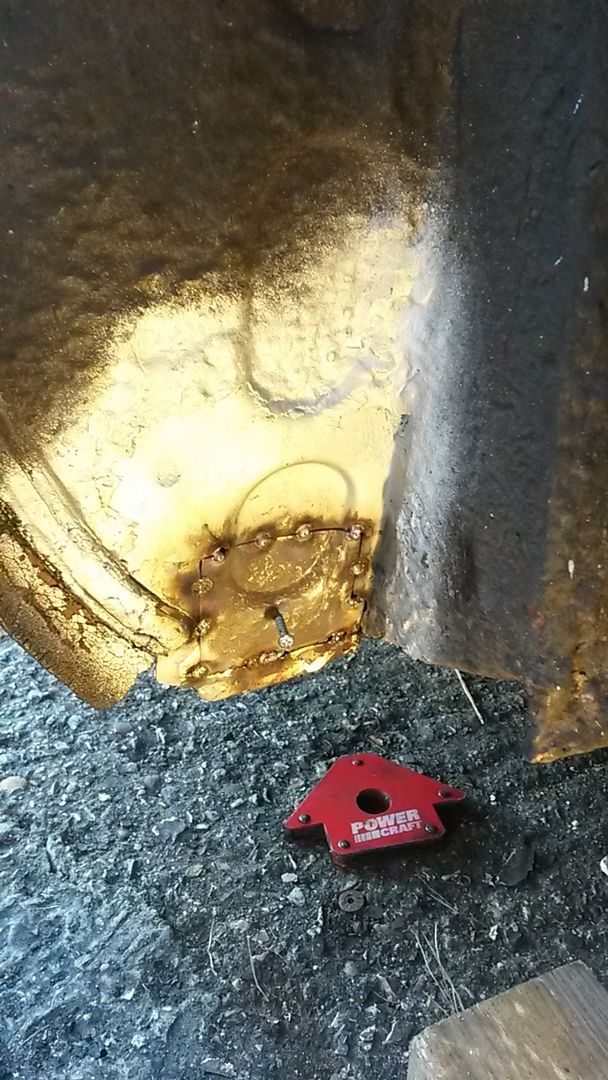
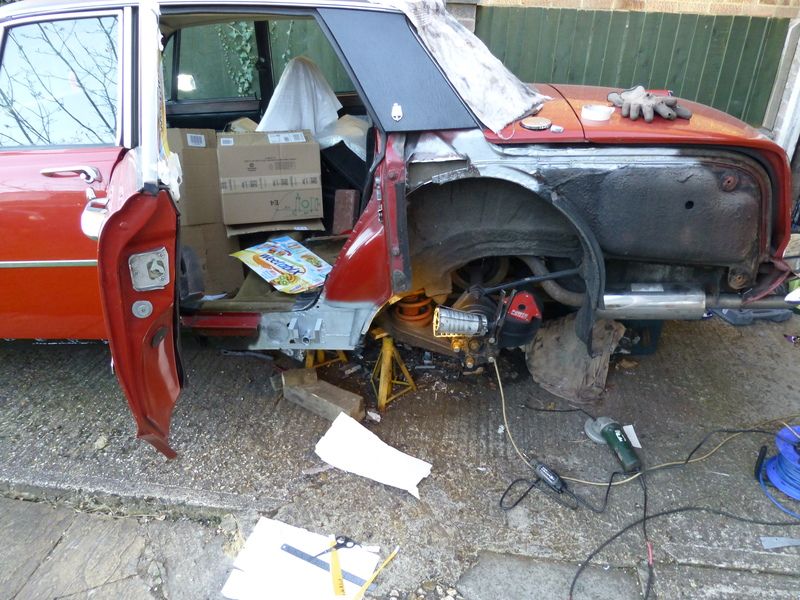
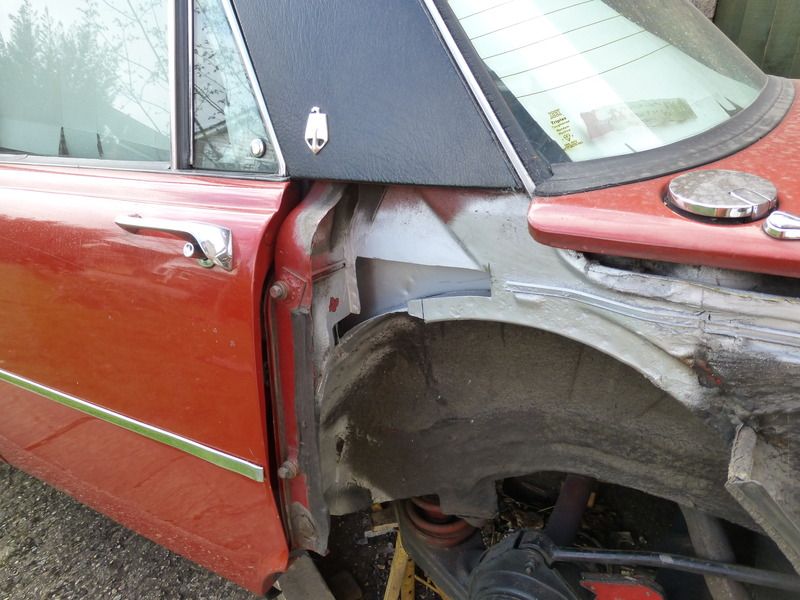
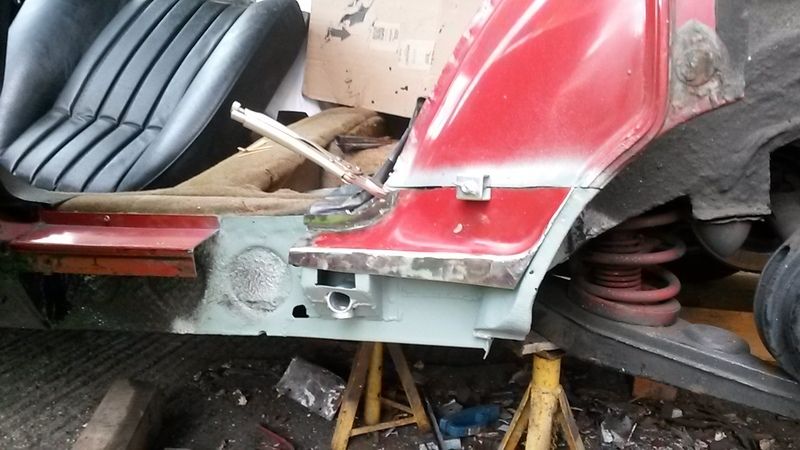
And it was about here that the nightmare began. It all started with my prodding with my screwdrivers around the wheelarches and front of the sills while I had access to it all.... You can guess how that ended. Yep! Rust ... and filler. Why do people do it??
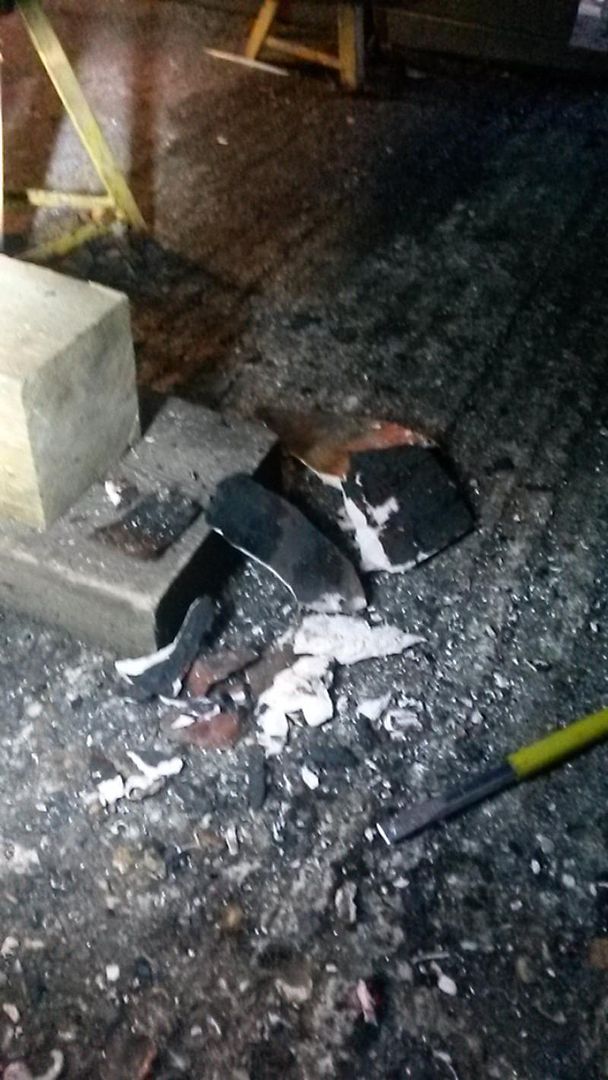
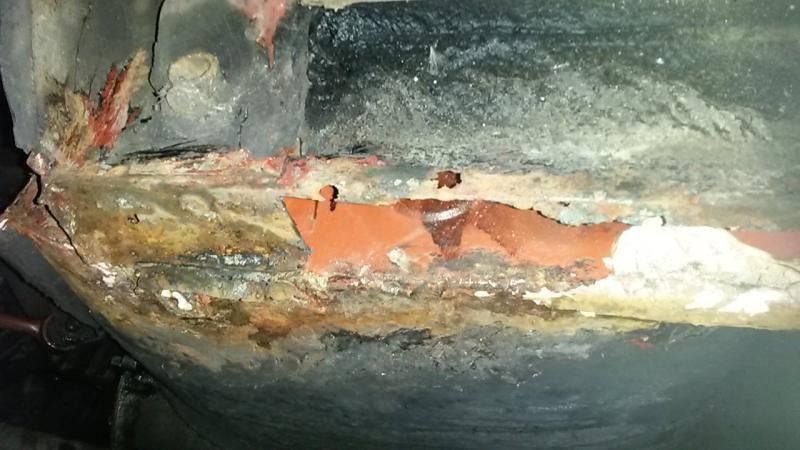
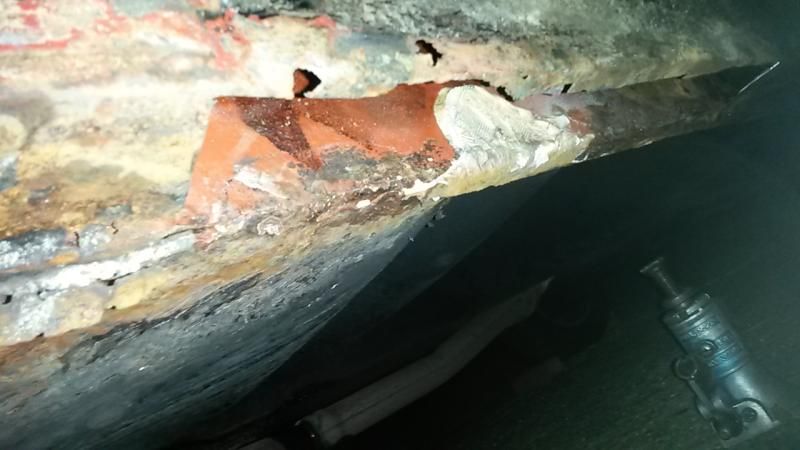
The extent of the rot was pretty bad. It had been cunningly hidden with a combination of steel plates riveted in place, fibreglass, body filler and a load of underseal. The entire passenger outer sill was shot, the inner at the ends. I couldnt bring myself to check the other side at the point, I thought "I'll look when I've fixed this".
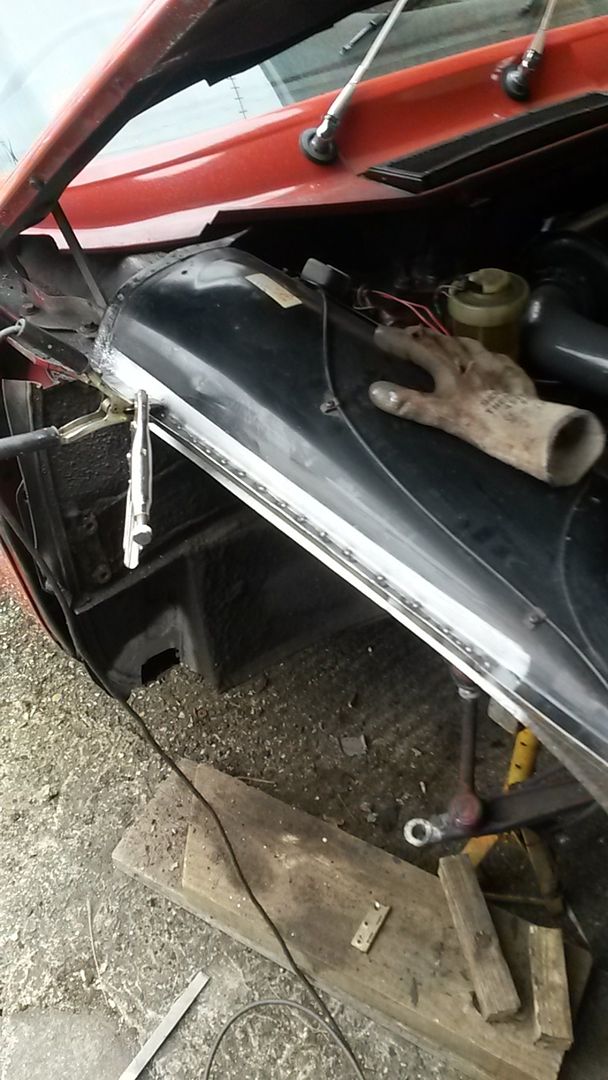
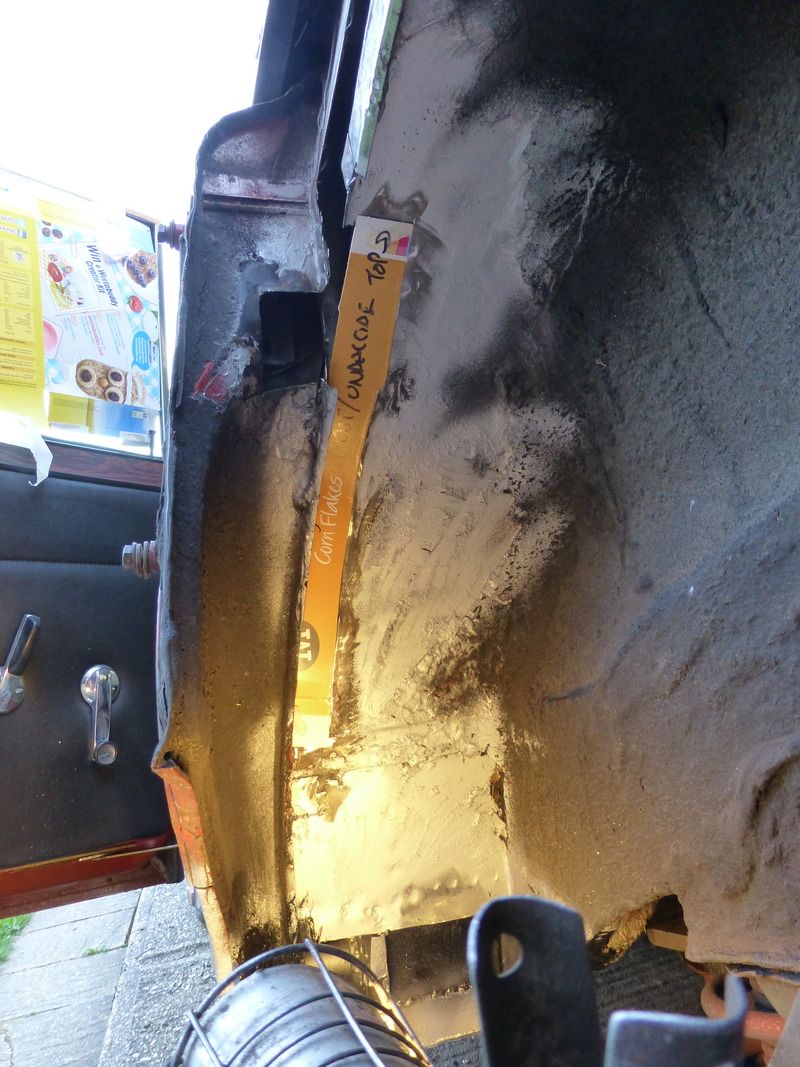
Here is a blurry shot of the front of the sill/back of front wheelarch and splash panel:
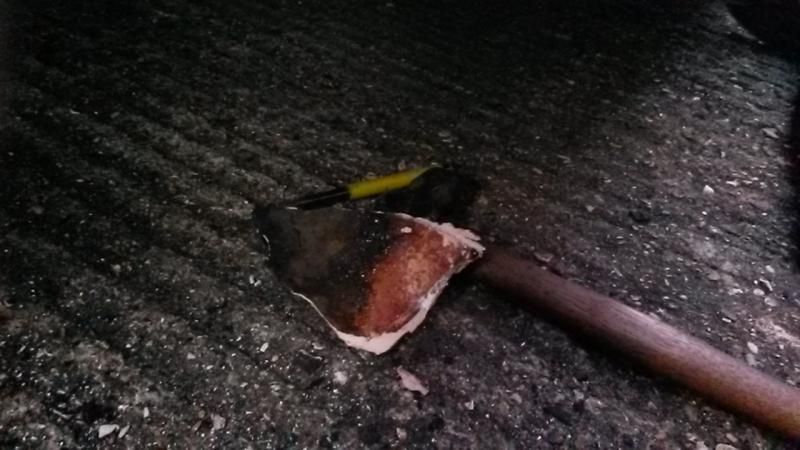
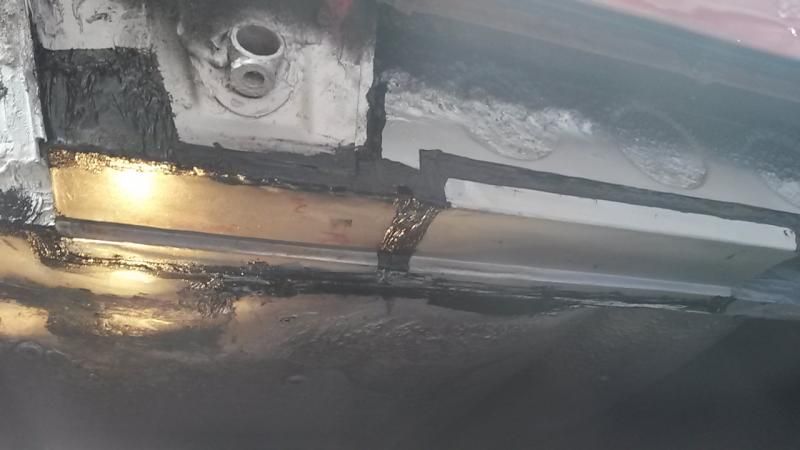
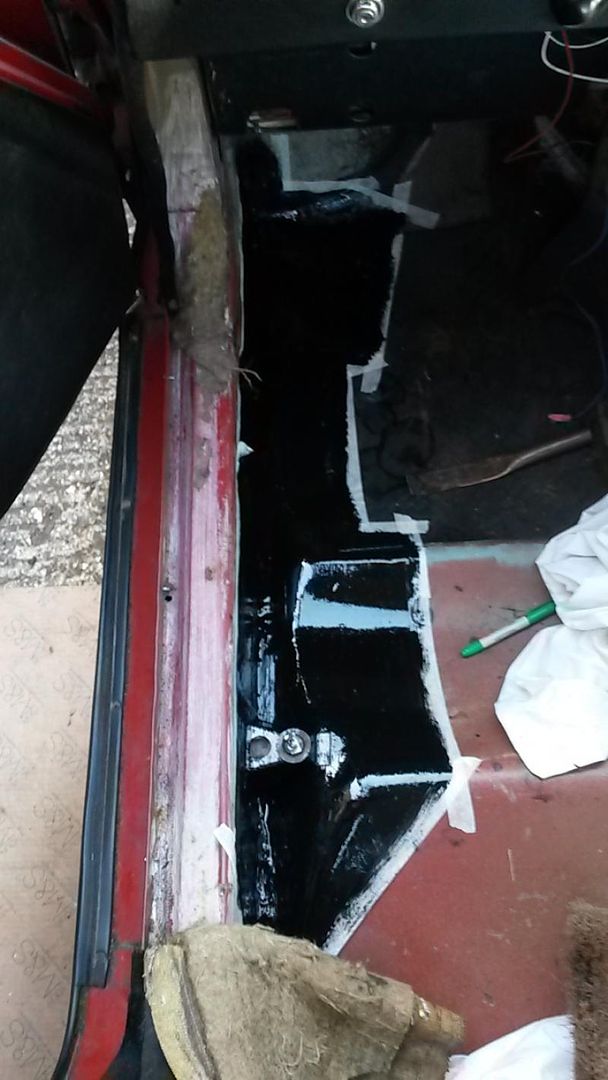
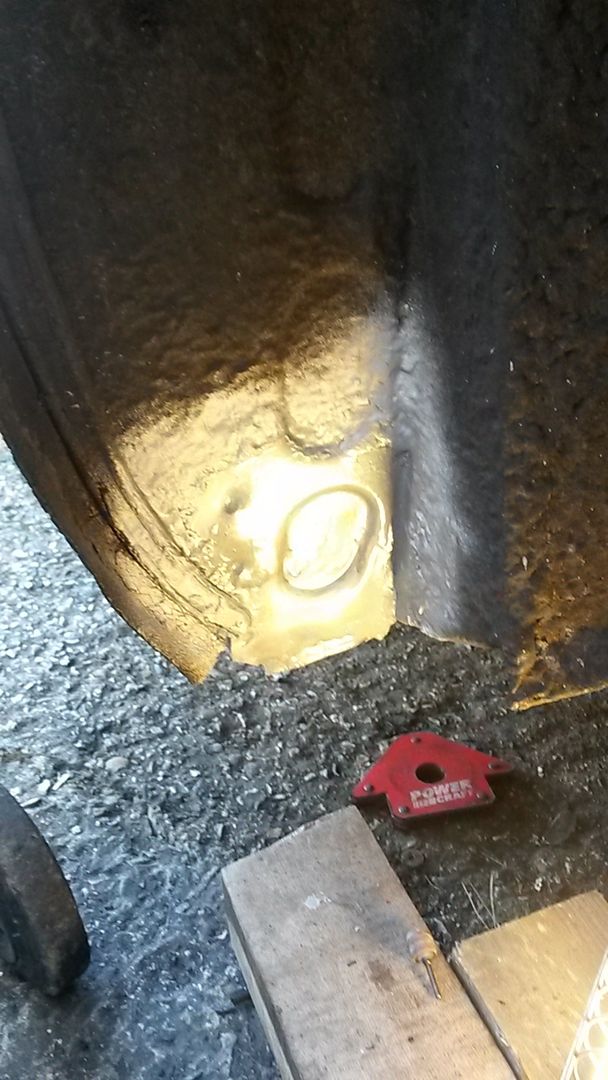
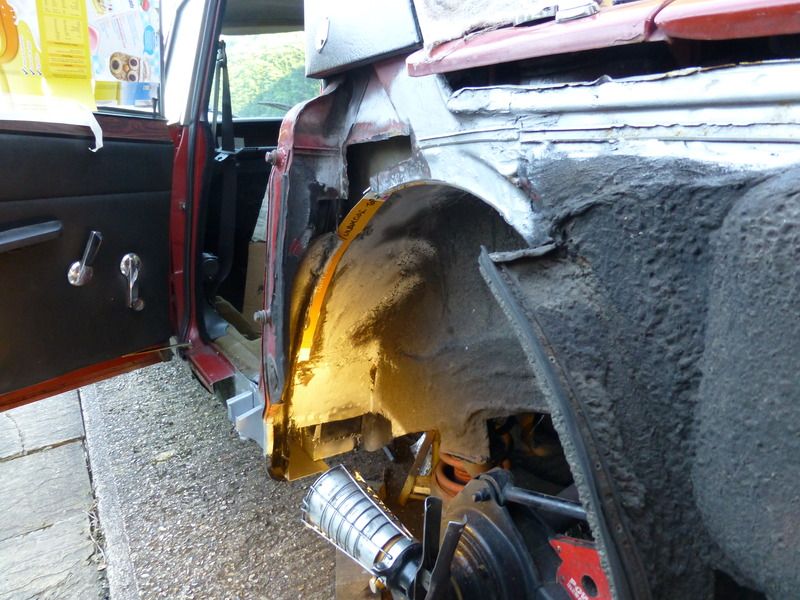
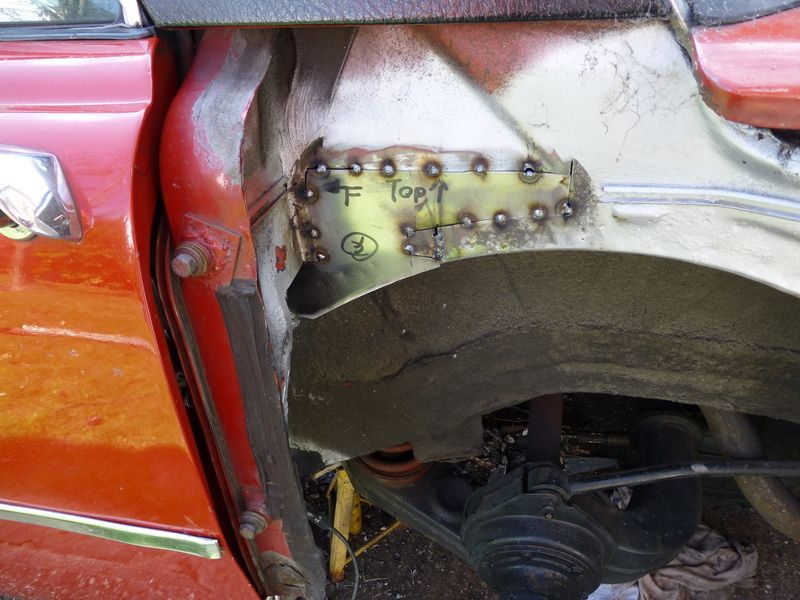
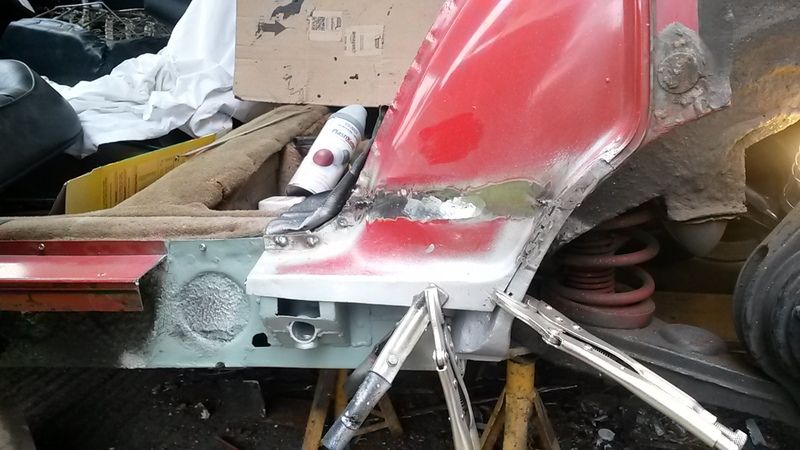
From the side, with most of the wibblepoo removed:
The angle grinder got involved:

And then the welder too:
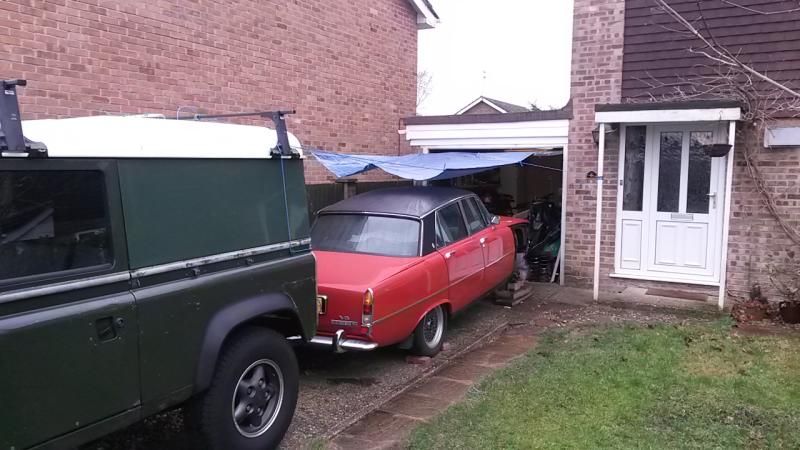
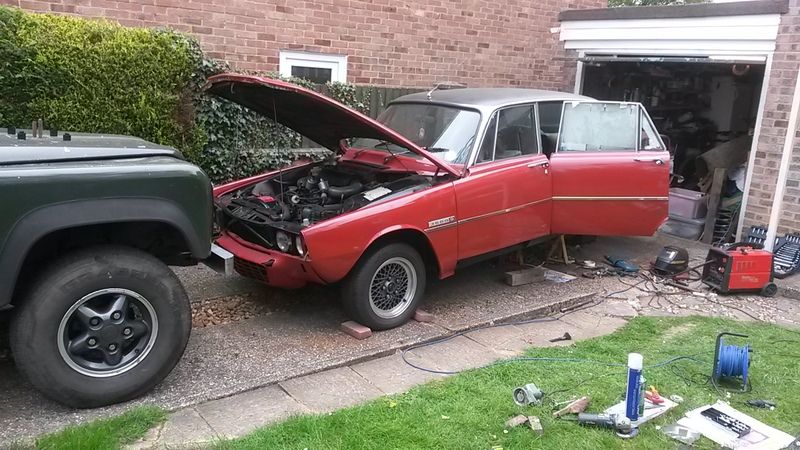
Weather was not ideal, but at least I had a driveway to work on (unlike my old house):
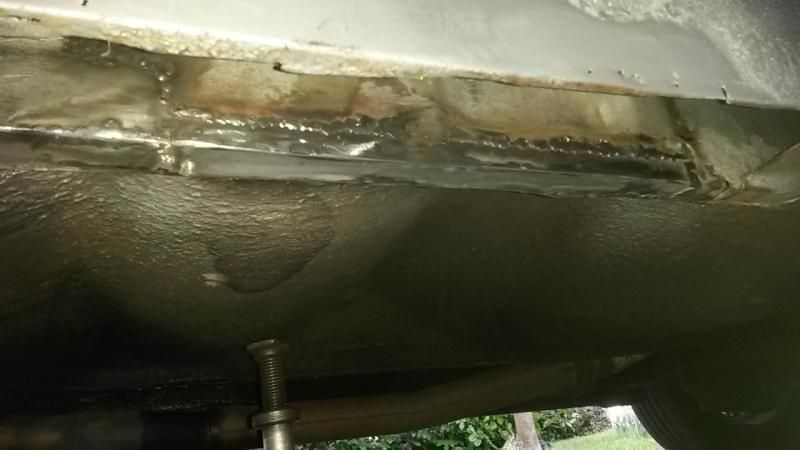
Tack, tack tack:
Weld, weld:
Repeat:
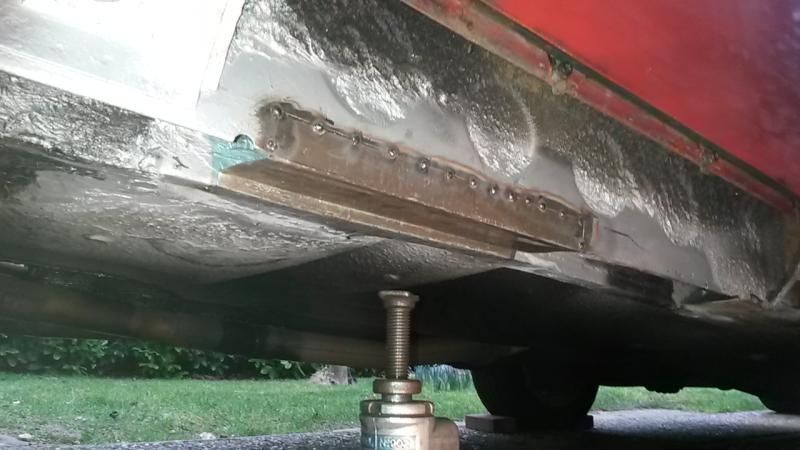
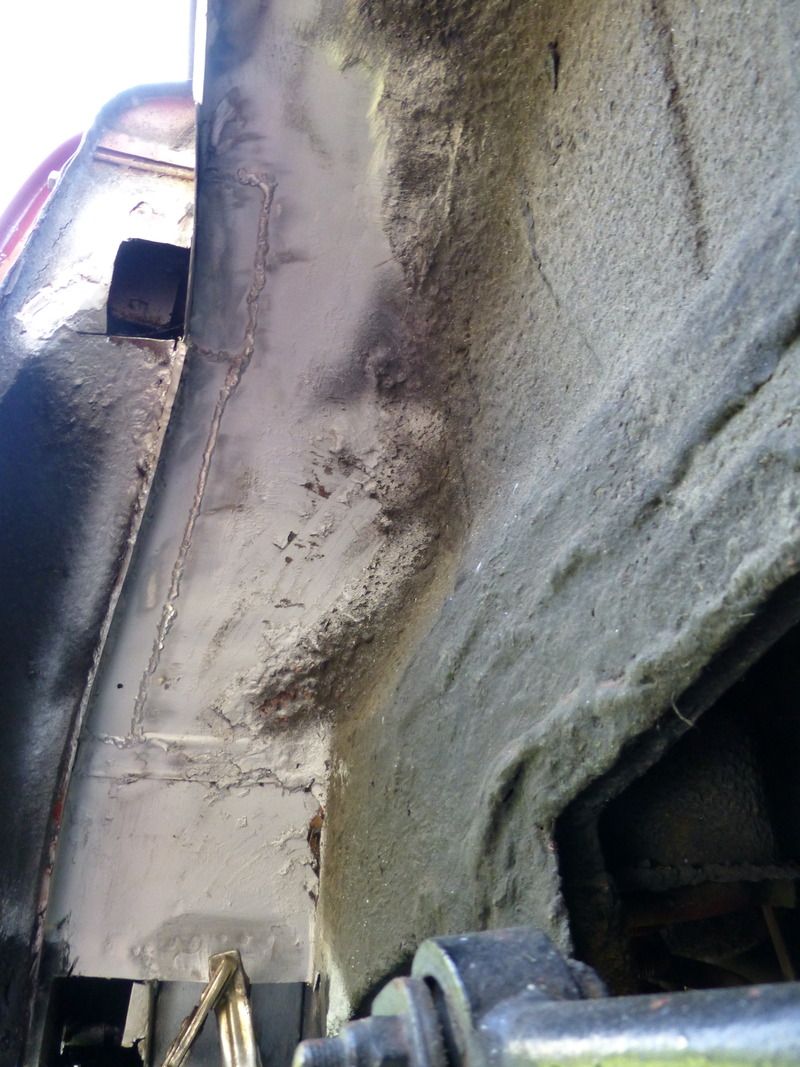
Seam seal:
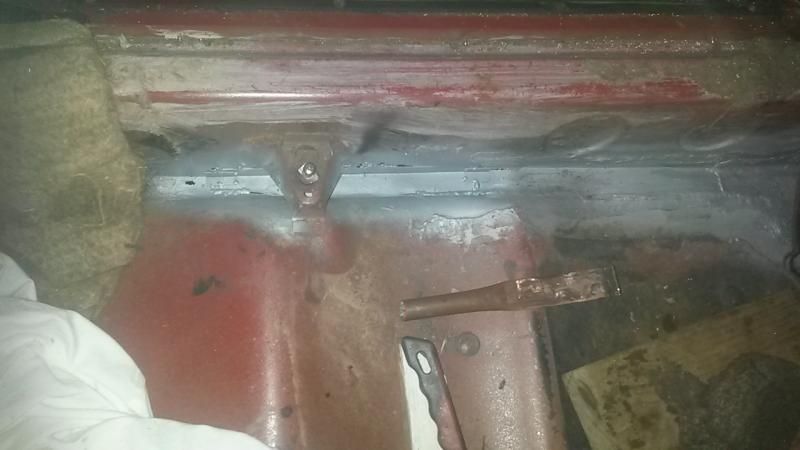
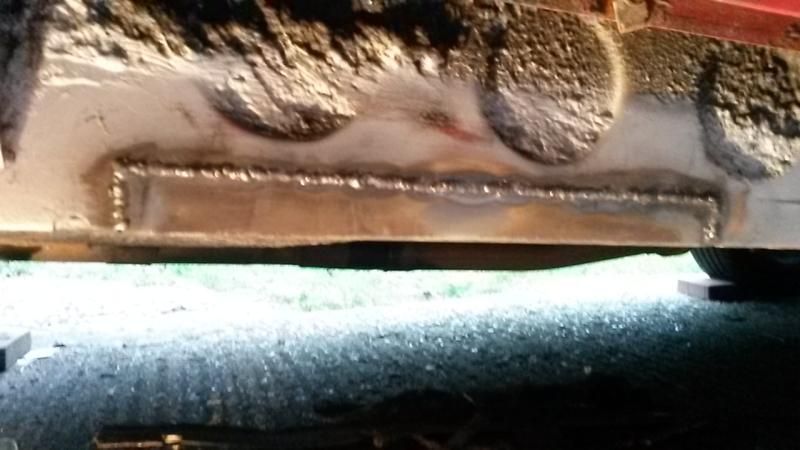
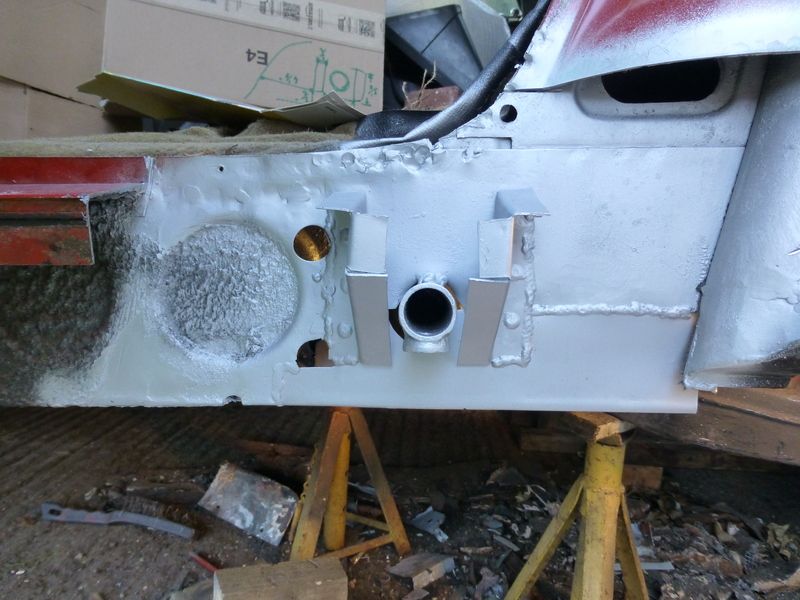
Rear jacking point:
CAD
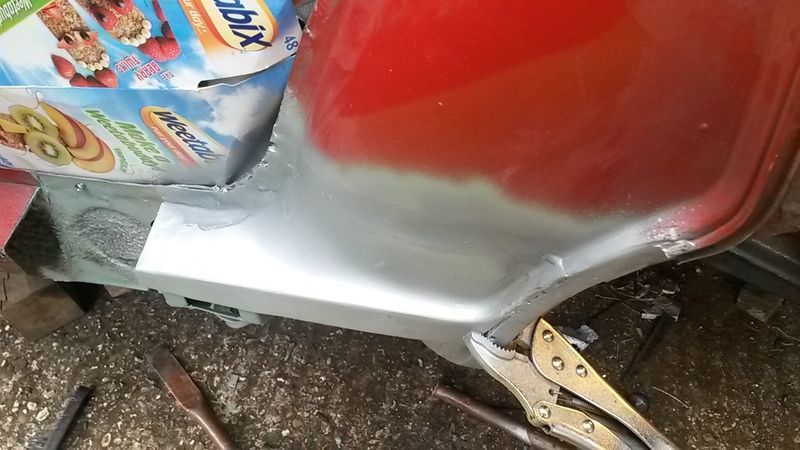
Slowly working my way along from front to back I managed to get the sill and jacking point all done
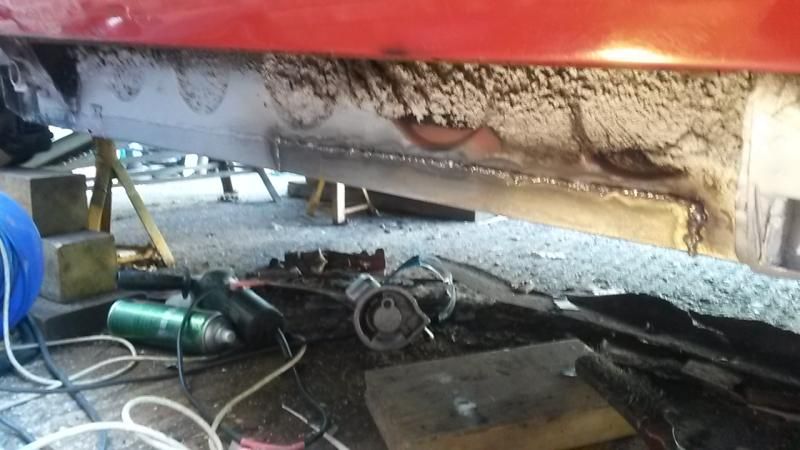
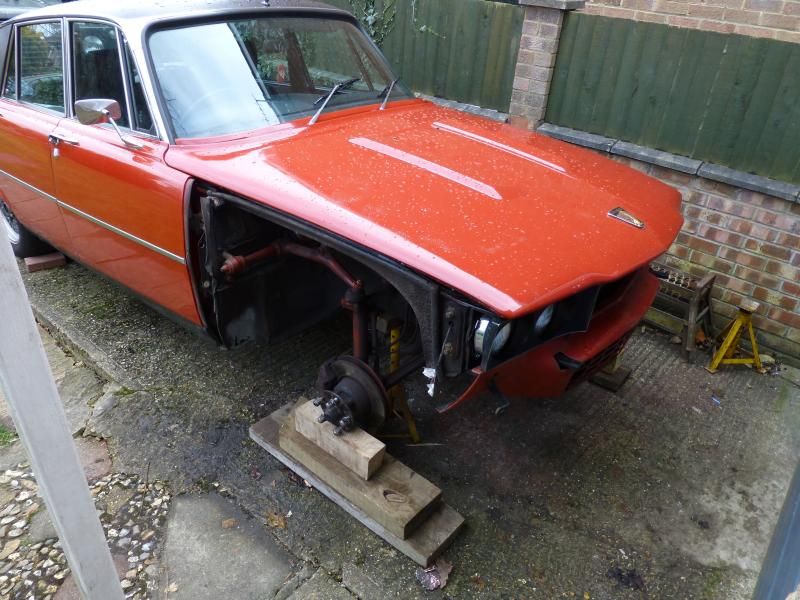
I really needed to turn the car around though so that I had better access to the d-post and rear wheelarch. This meant continuing with what had got me here orginally. The suspension:
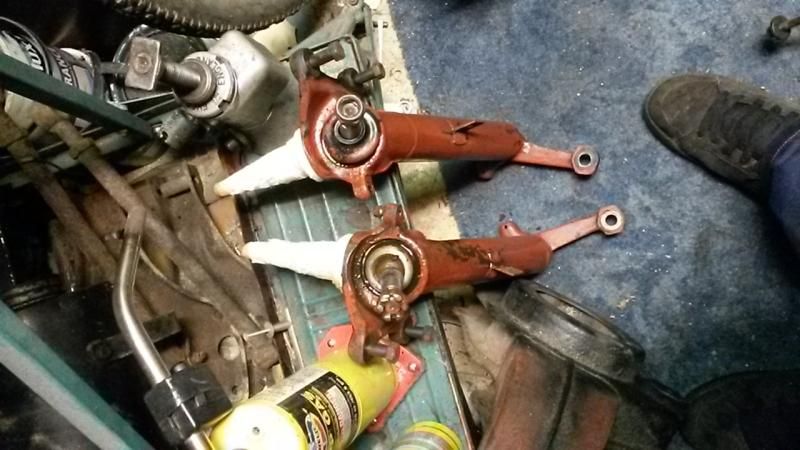
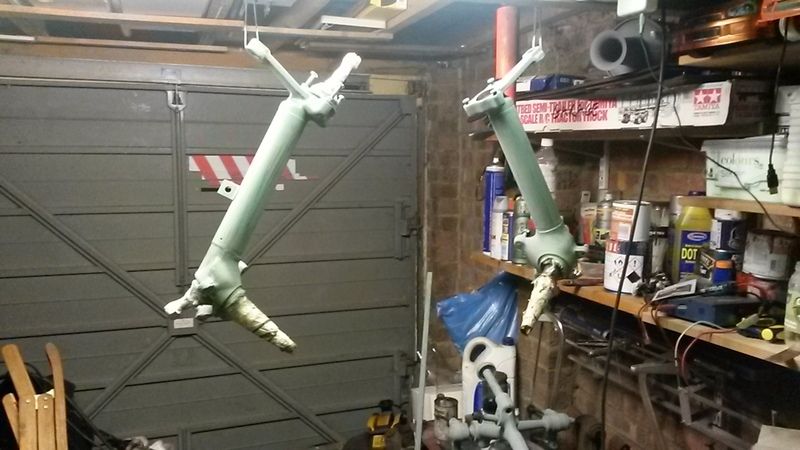
Cleaned up, ready for new balljoints and then paint:
More welding:
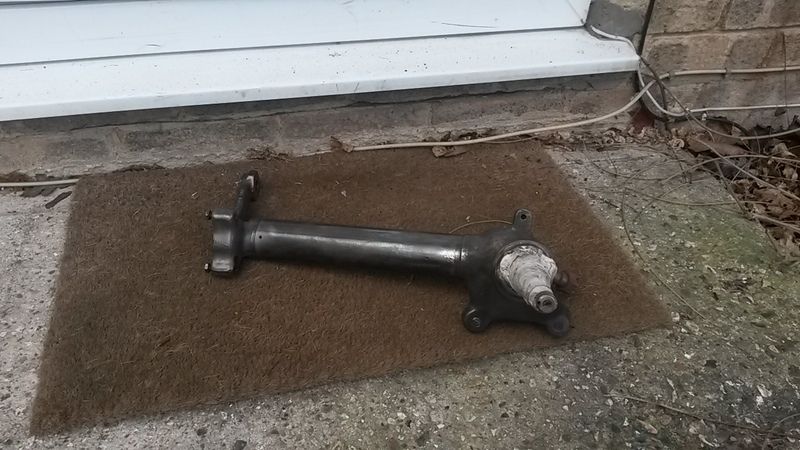
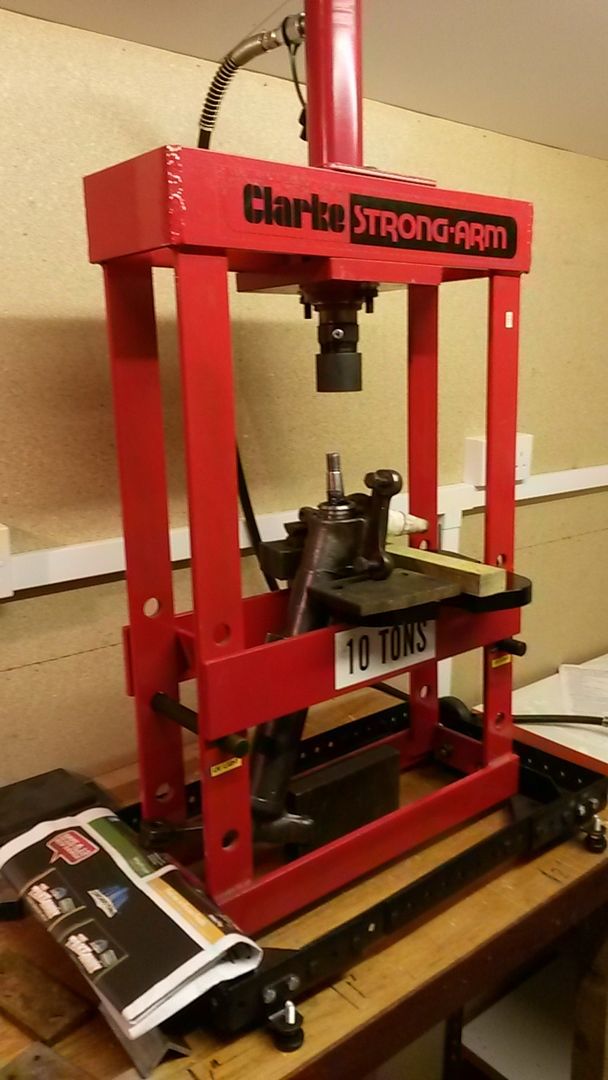
I then nipped over to my parents house to use the press, and got the new balljoints fitted to the uprights:
Paint:
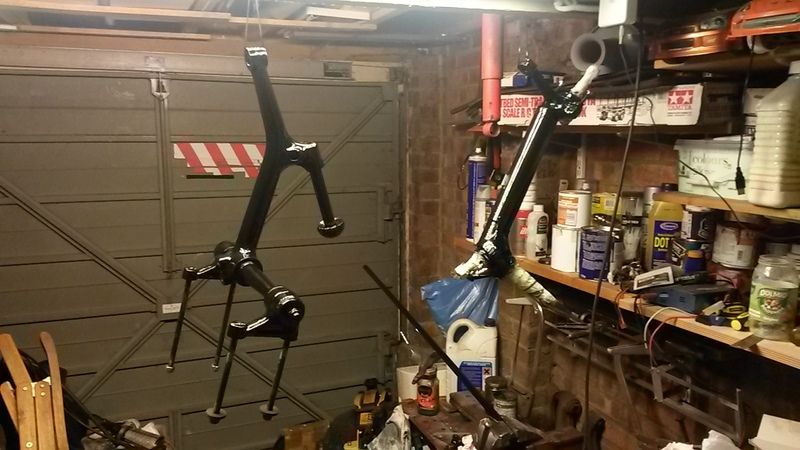
Going back on the car:
Finished off some little bits of welding and painting:

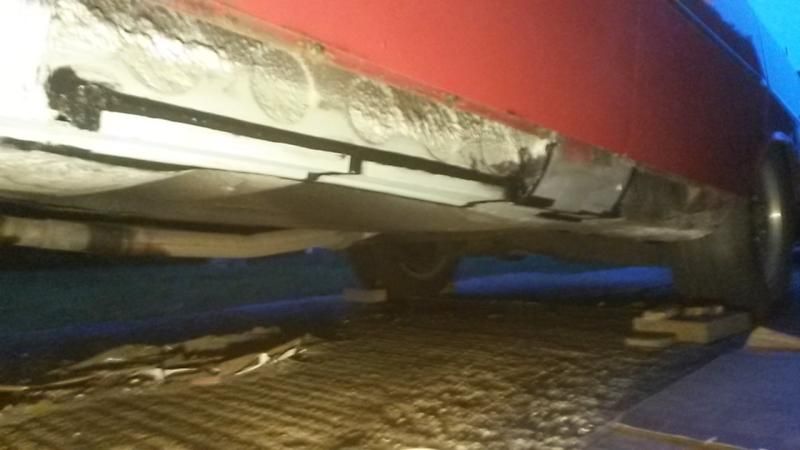
Then I turned the car around and got started on the rear end of the passenger sill. I seem to be missing some pictures here as we seem to be diving into when I had rebuilt it all:

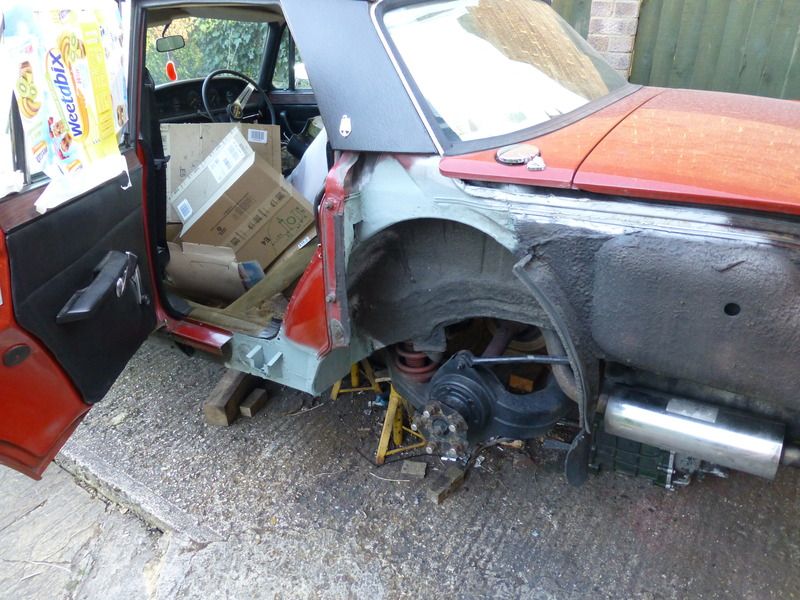
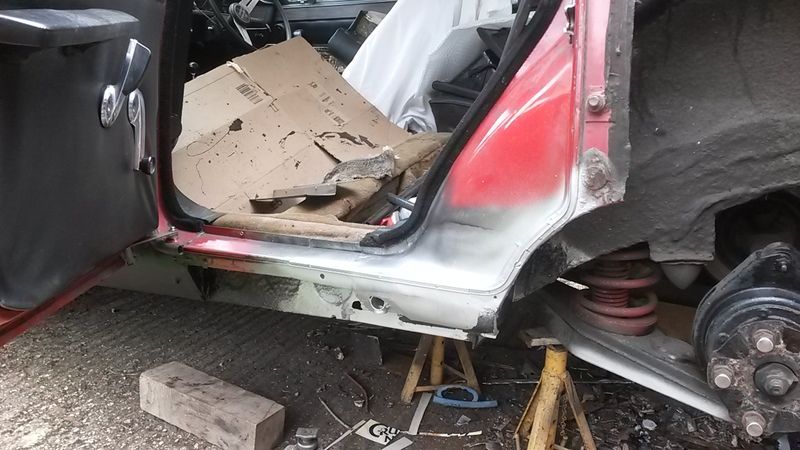
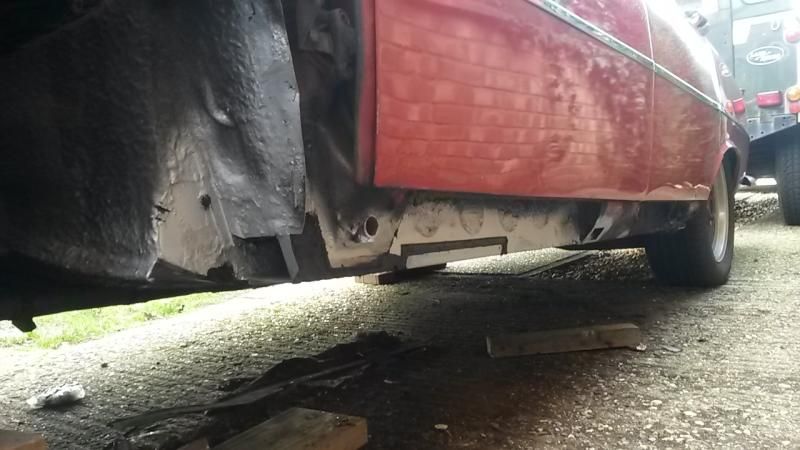
And so now at this stage I had a car with a drivers side sill made of metal and not junk, and the car was a lot more solid than it was before.
But what else was lurking? Find out next time.... Even typing that lot out was tiring!