What a lovely car. How hard was it to do the injection conversion? Is there a good place to read up on it?
Thank you- The Megasquirt injection on the RV8 is a pretty well trodden path, so fairly easy to do. The car uses the inlet manifold and fuel injection gear from a Range Rover/ Discovery, and spark is provided by the Ford EDIS system. A 36-1 toothed triggerwheel is fitted behind the crank pulley. In the boot a normal facet pump feeds a swirl pot in the boot, which then feeds an external EFI pump. Theres a lot to read about on
www.msextra.com but I first came across the idea on
www.lr4x4.com - there are quite a few useful threads on there which are worth a read.
Excellent thread - really enjoyed the journey so far
Thanks - there's a bit to go yet!
Superb stuff!! Amazing skill and determination...
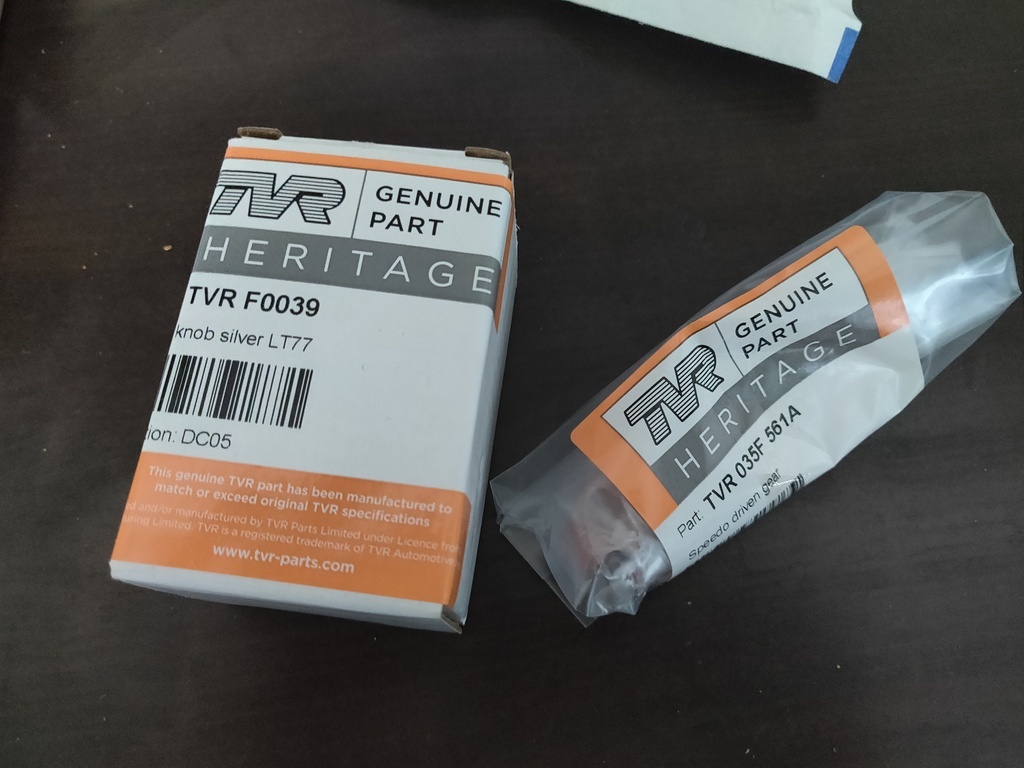
I just cannot wait to see your shiny, silver knob in place (that will be cold in the winter so get those driving gloves at the ready)!!
Thank you - i can confirm that the knob is indeed excellent, very shiny and feels great in your hand!
Nice mods on the P6
There is a small O-ring fitted on the shaft of the shifting mechanism. It is better to replace that o-ring as it can leak if the o-ring is not replaced, even when this shaft is in a high position
Peter
Even better get the rear housing machined to take a proper seal, the O rings don't last long (my TR7 is leaking again after about 5 years and probably only 15,000 miles)
Thanks guys - i did replace the o-ring but hadn't considered getting the housing machined. I have a "new" spare box in the garage which i may rebuild when more pressing jobs are complete on the car, probably an idea to be implemented on that one.
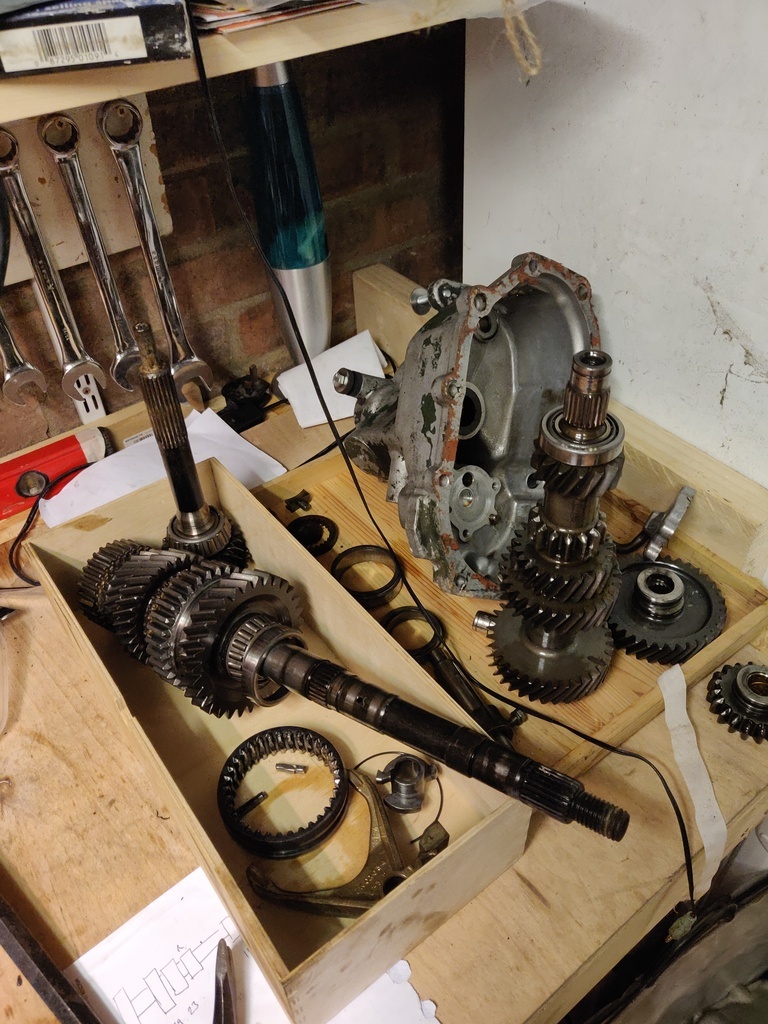
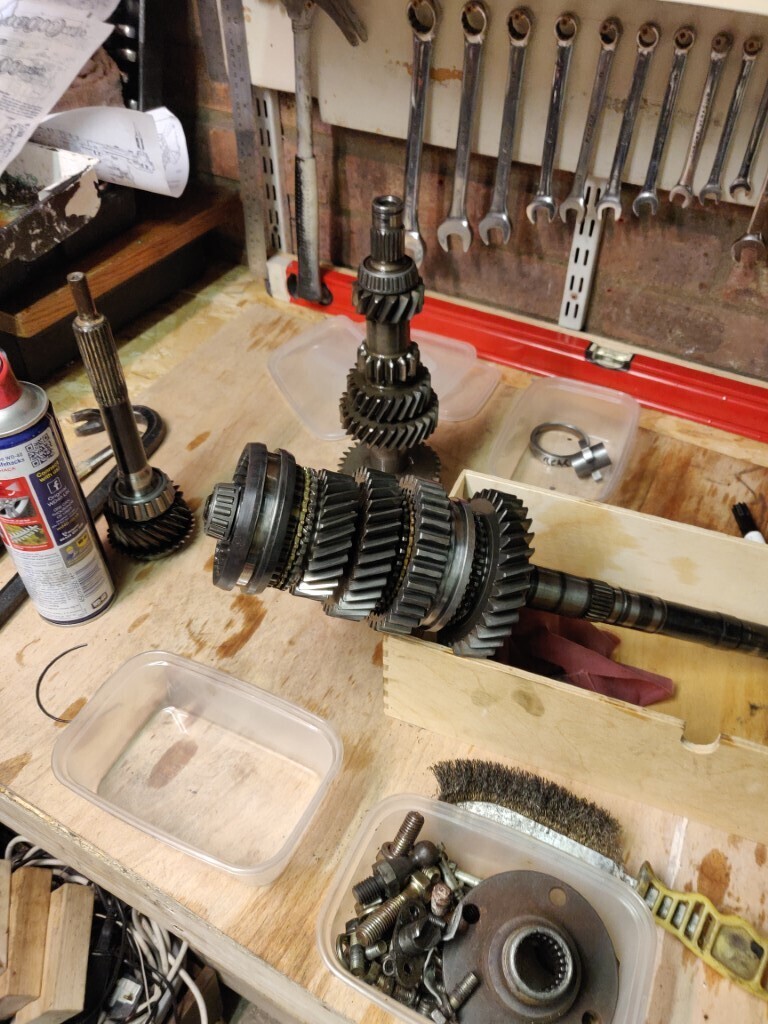
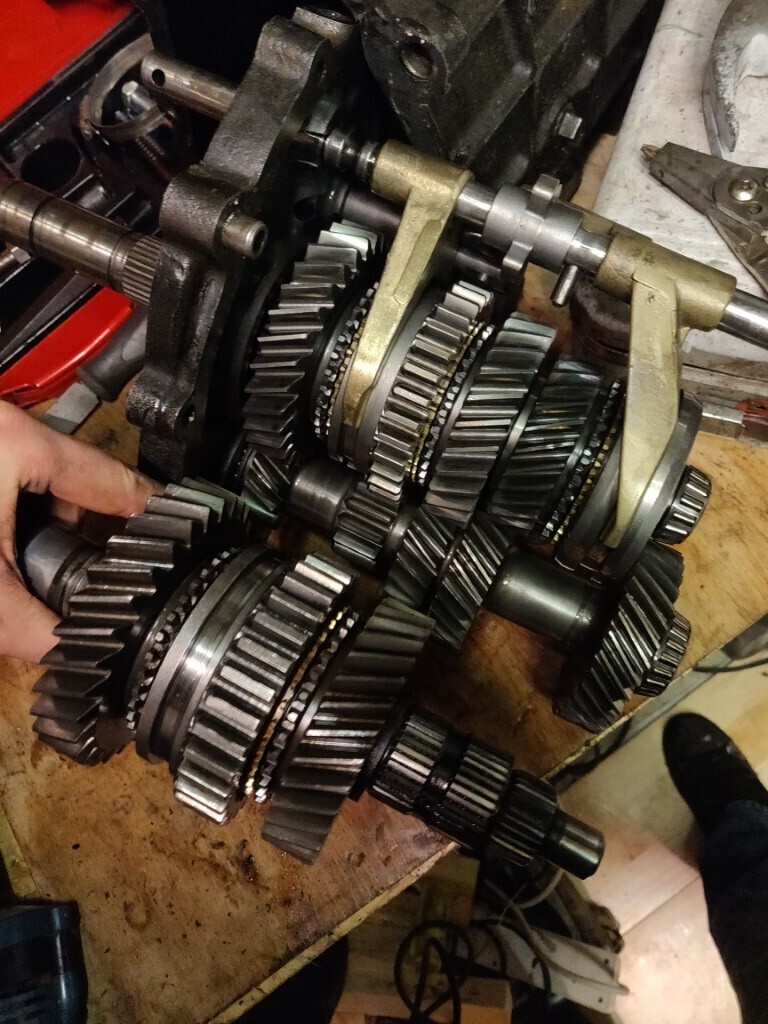
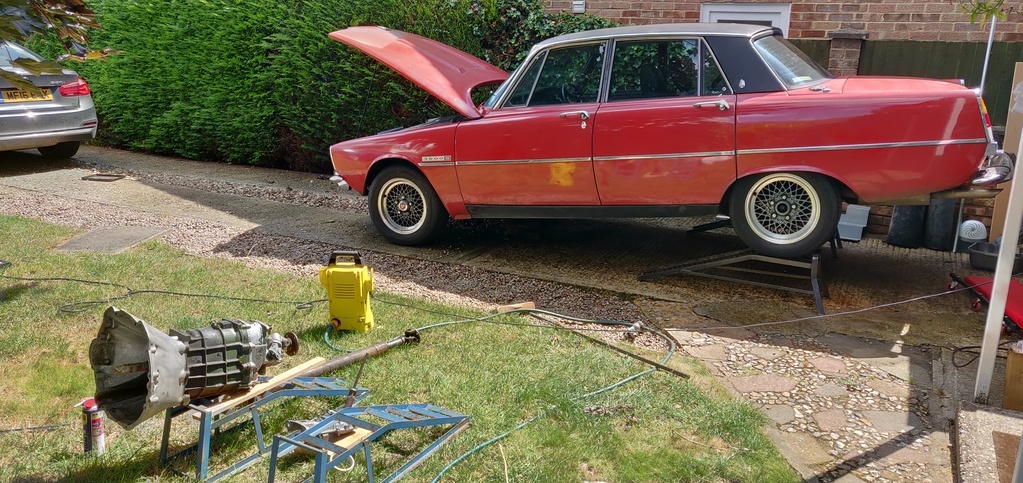
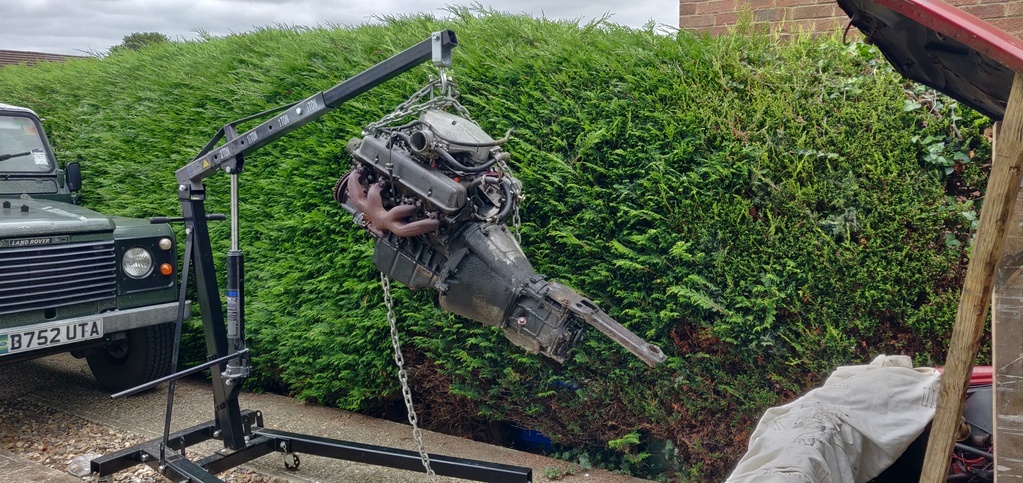
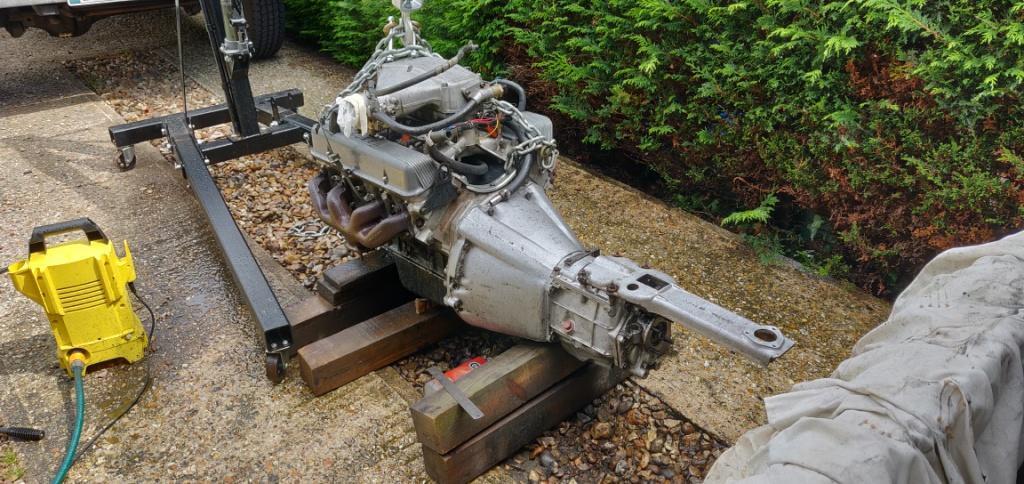
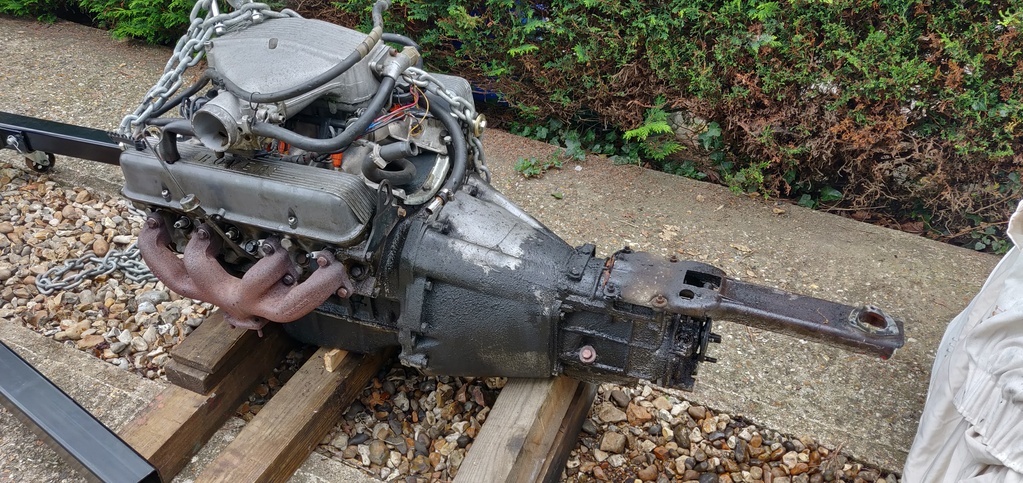
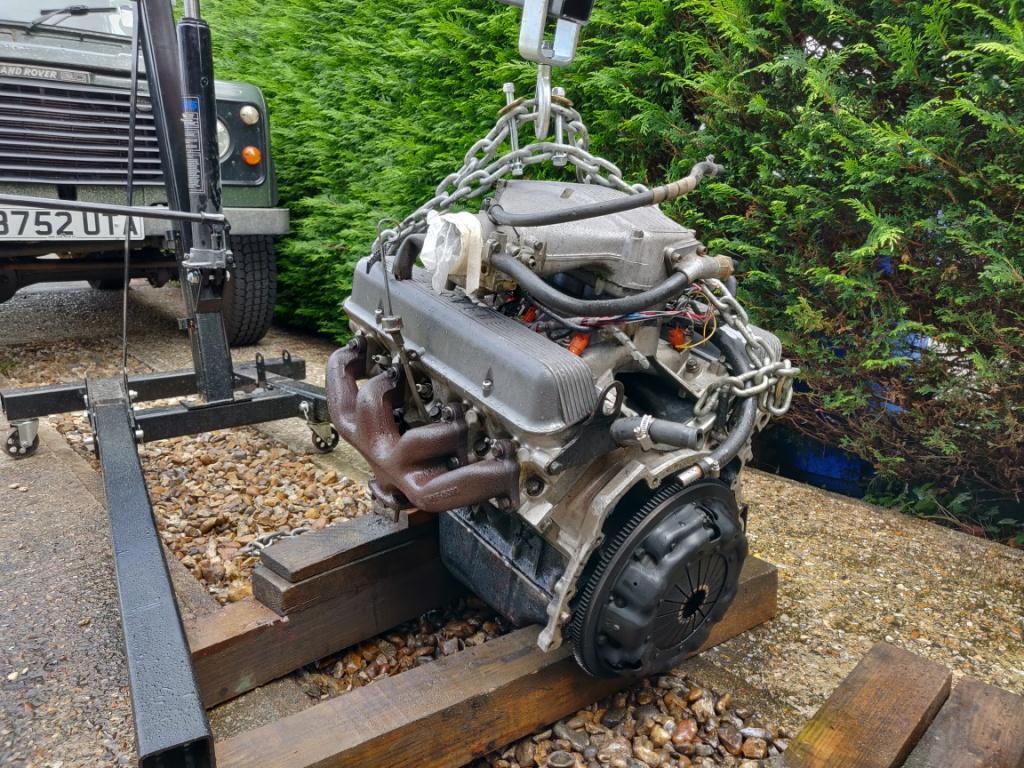
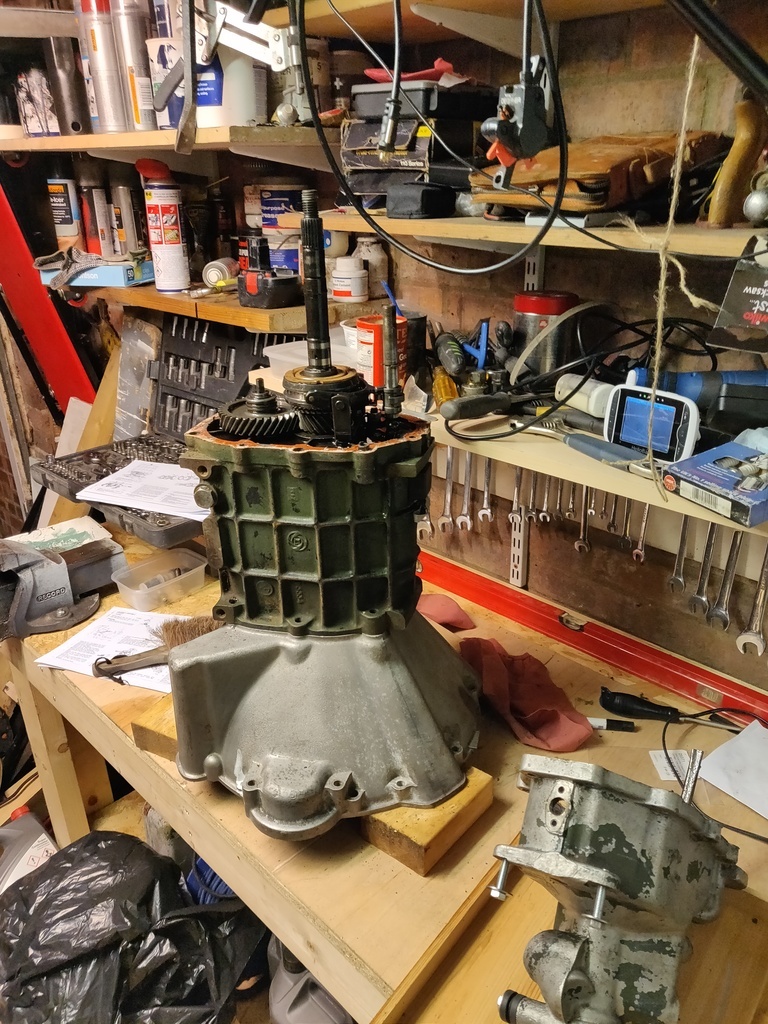
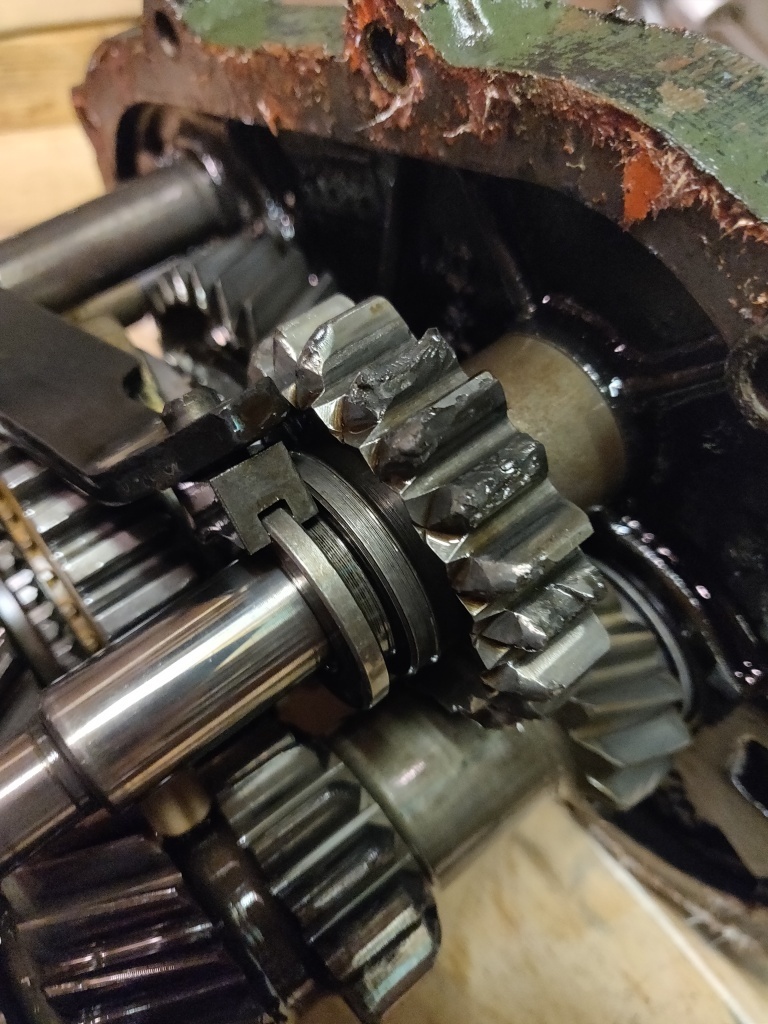
Right, so where were we? Oh yes, a gearbox full of crunchy metal bits...
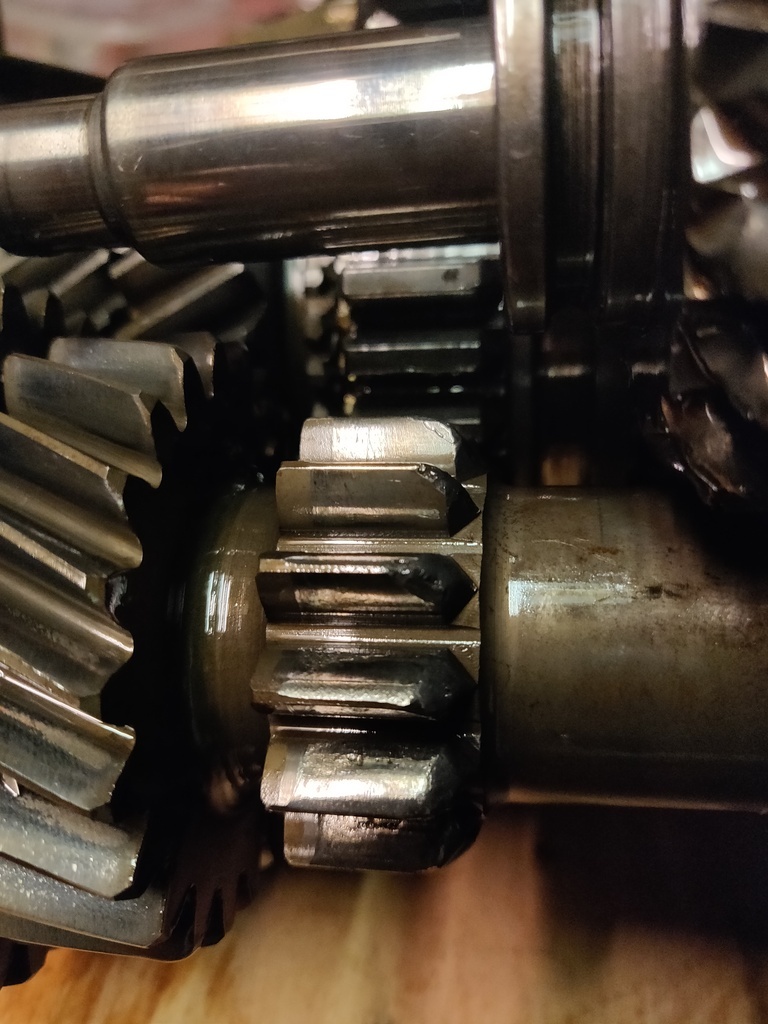
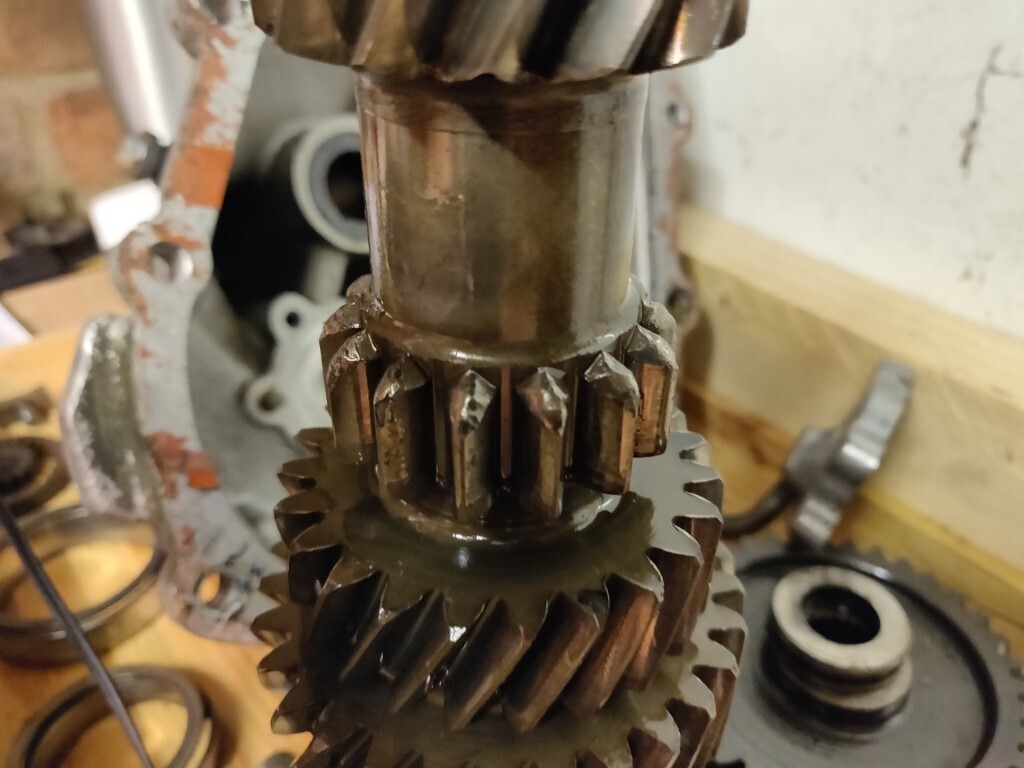
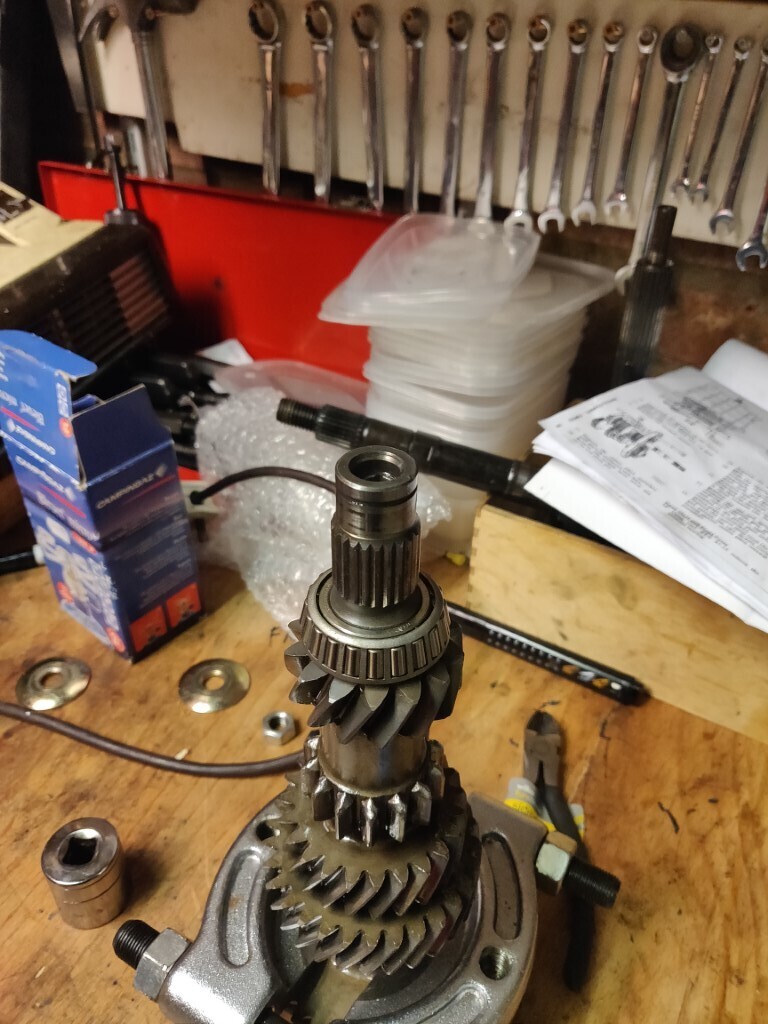
The layshaft was slightly chewed up, not ideal:
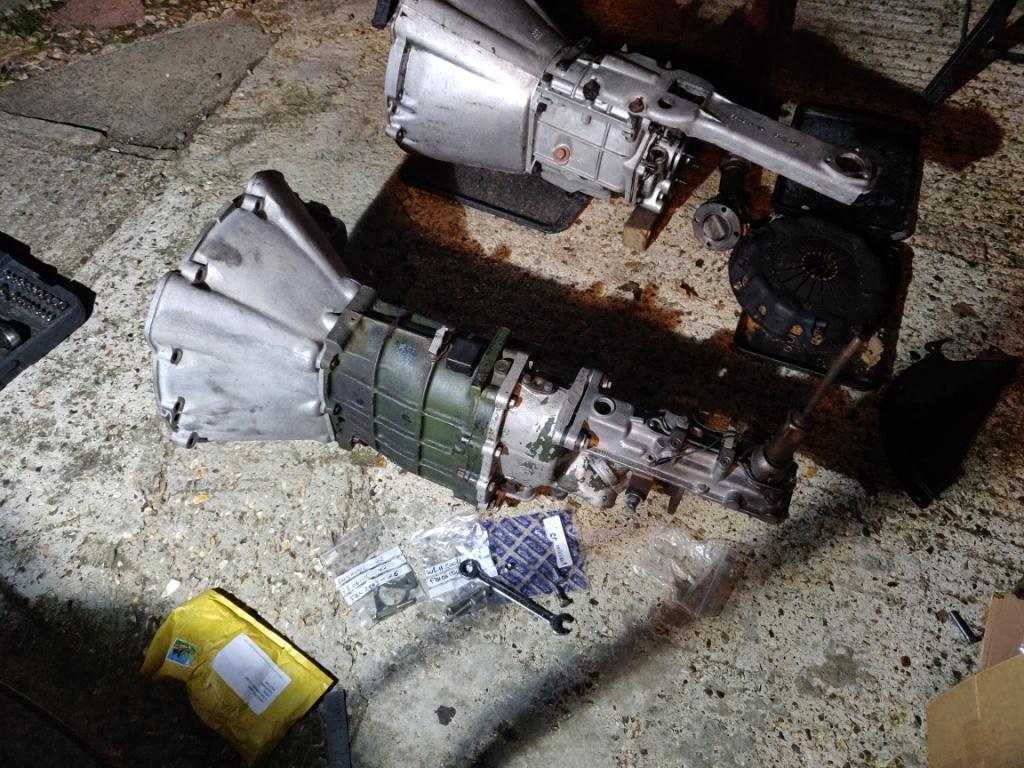
"No worries" i thought, "the box
must share some parts with the 4WD LT77's used in LR products..." I googled around and did some serious investigation into what bits could be found, which might fit from Land-rover etc. Turns out that 2wd and 4wd LT77's are not really that similar. They look the same from the outside, they work the same but things were changed with bearing sizes etc that means not too many bits are interchangeable. The mainshaft on the LR is thicker for example, with larger bearings. I did find a layshaft online new, but it was priced at something like £900. I therefore decided my layshaft would be fine if I dressed the teeth a bit before refitting.

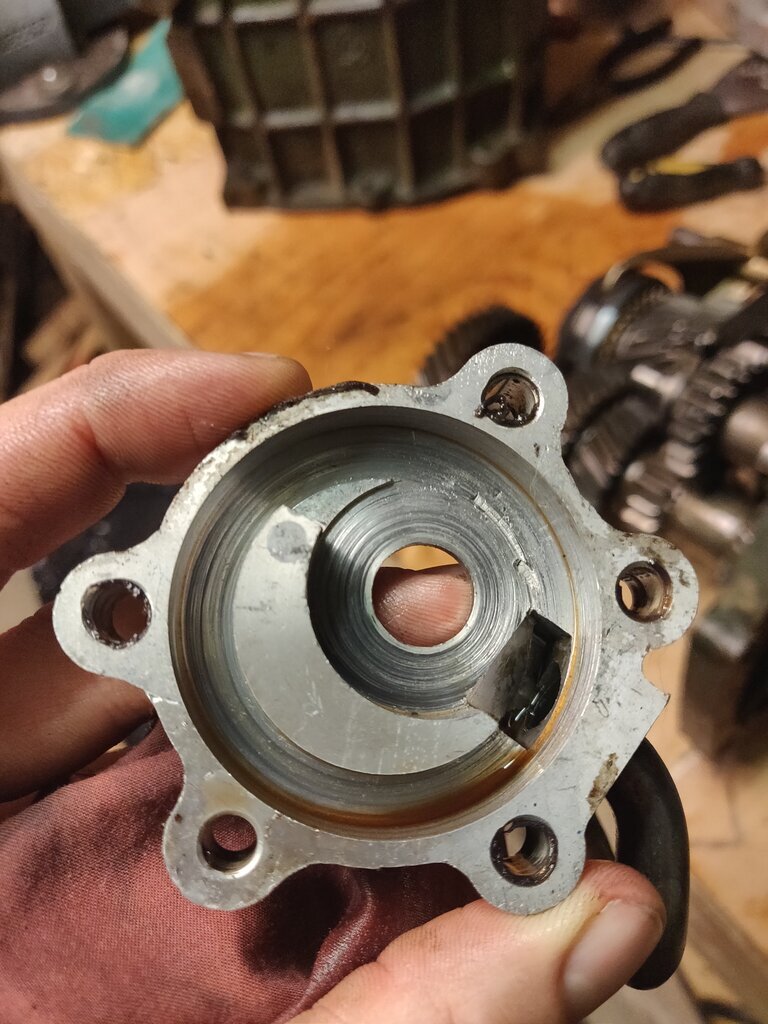
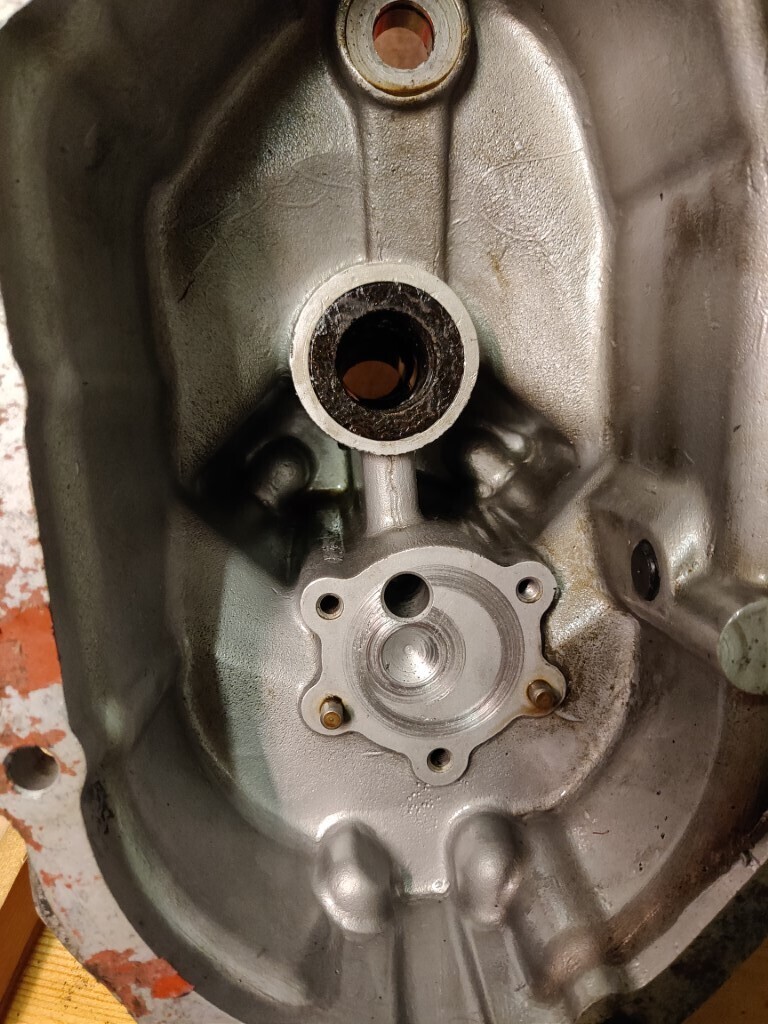
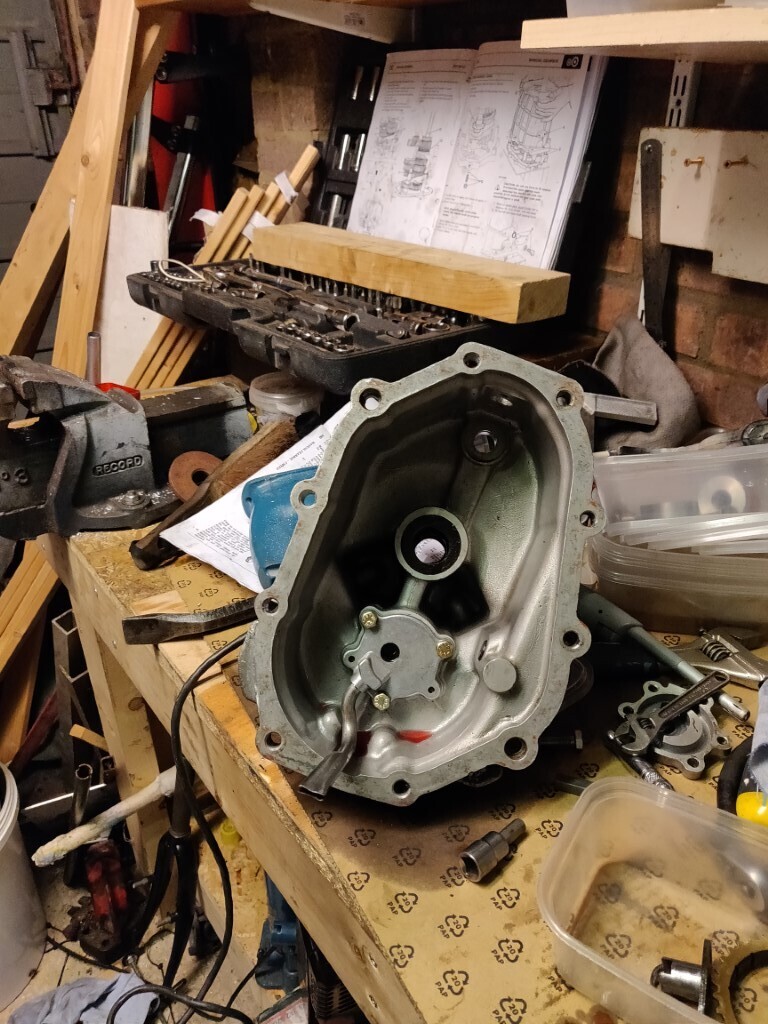
The tail housing was scored like the oil pump, but not anywhere so deep:
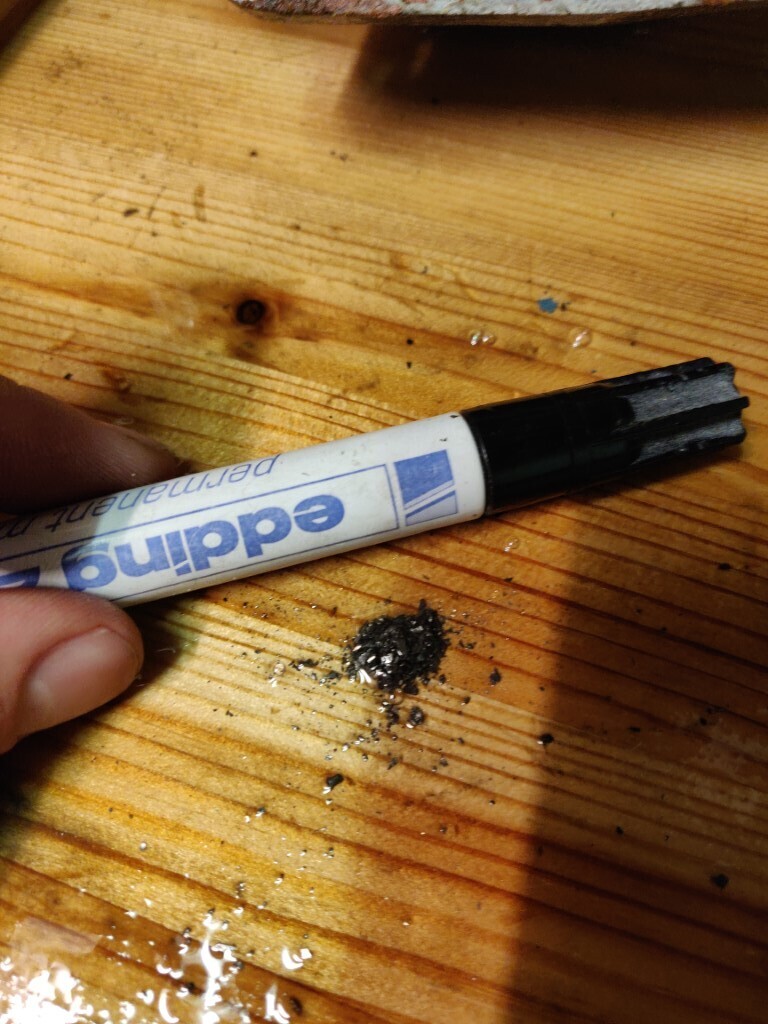
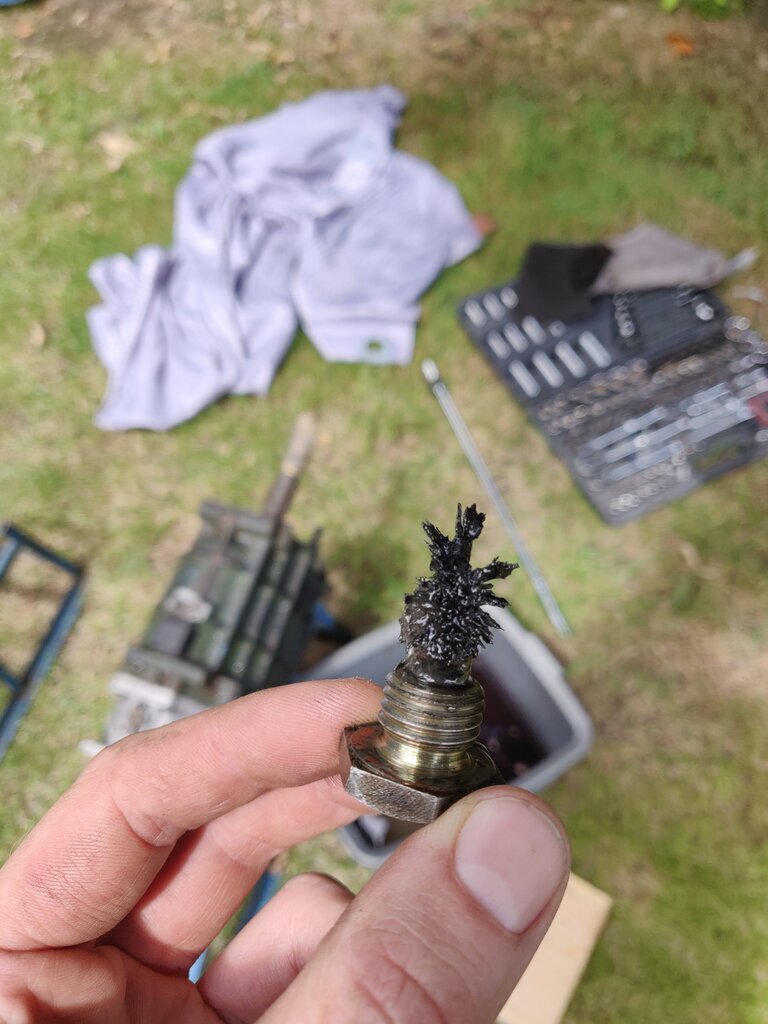
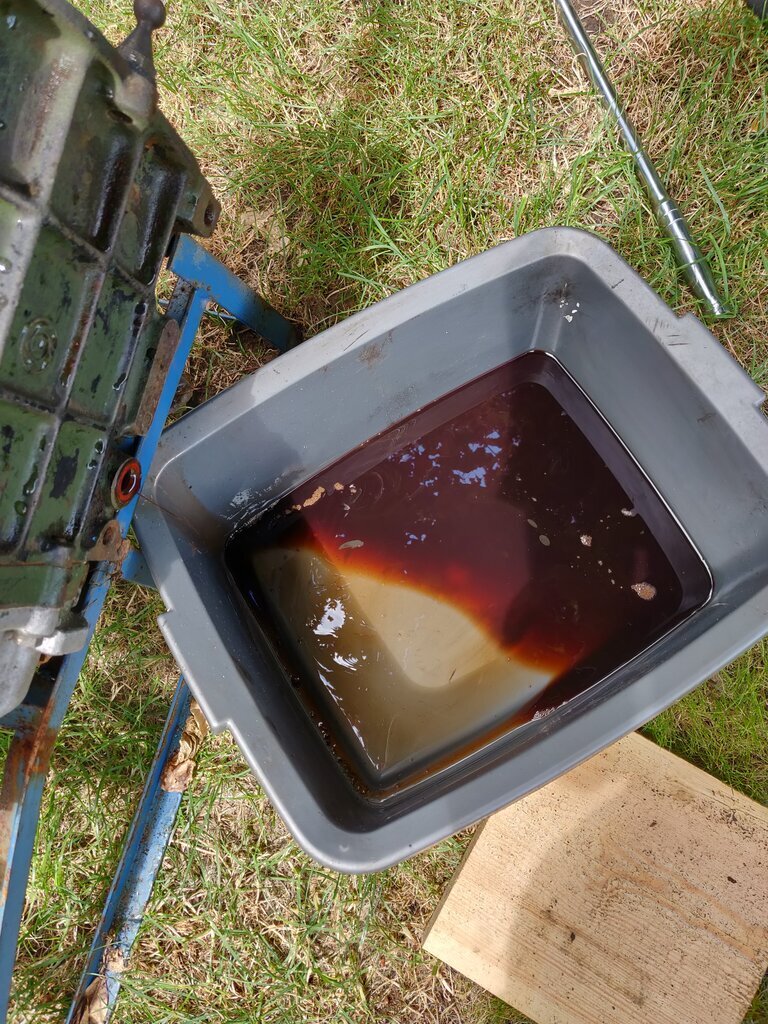
I blasted everything through with copious amounts of brake cleaner etc, here's a sample of what came out the tail housing -argh! :
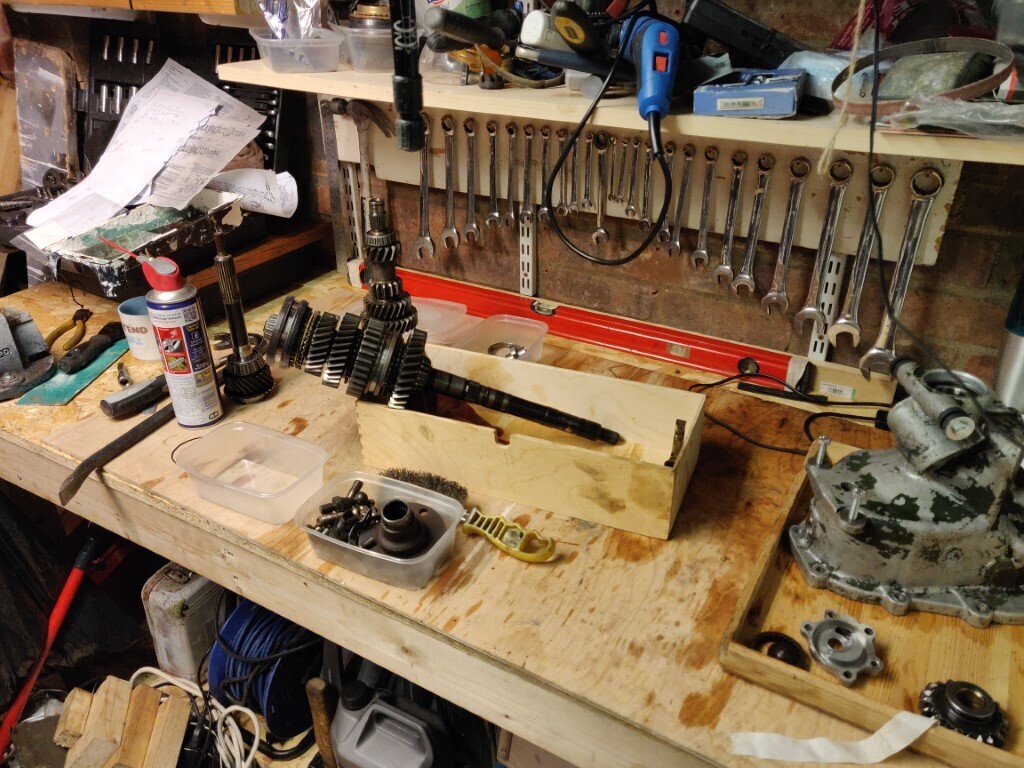
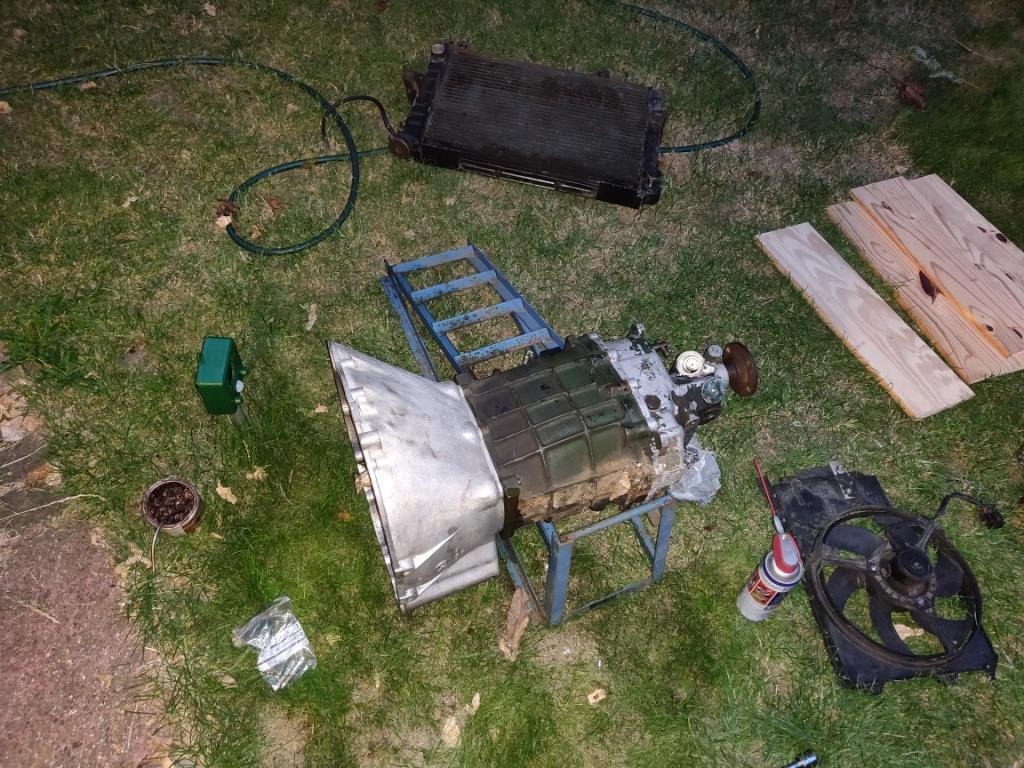
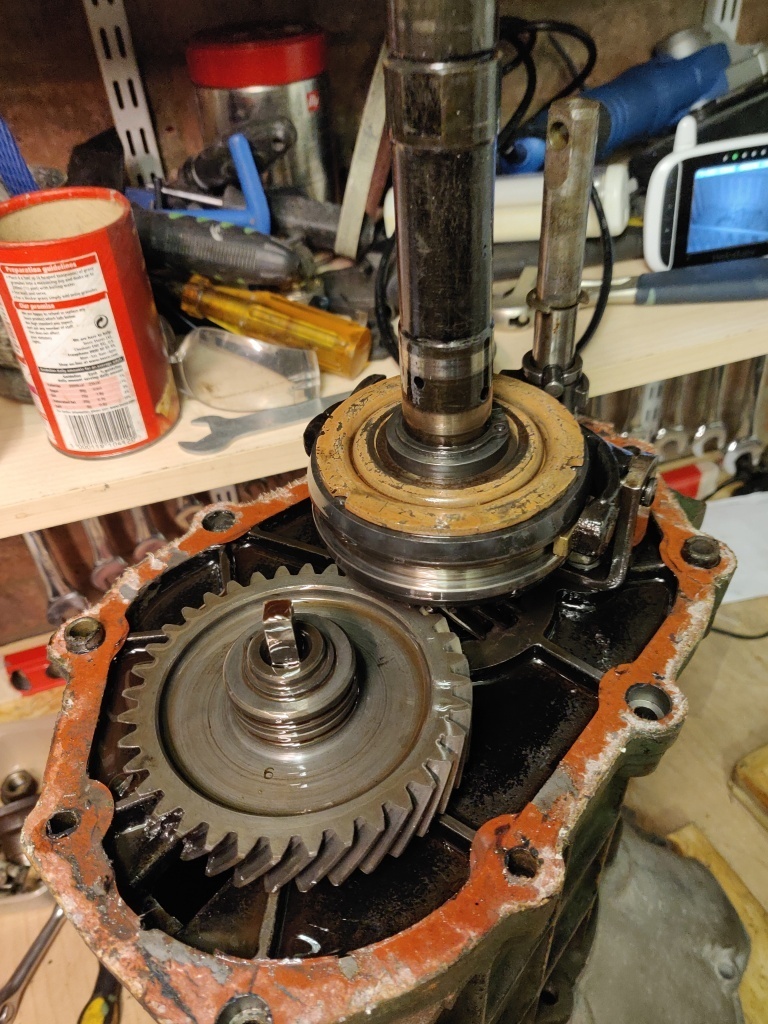
With that done I turned my attention to the more complicated bits:
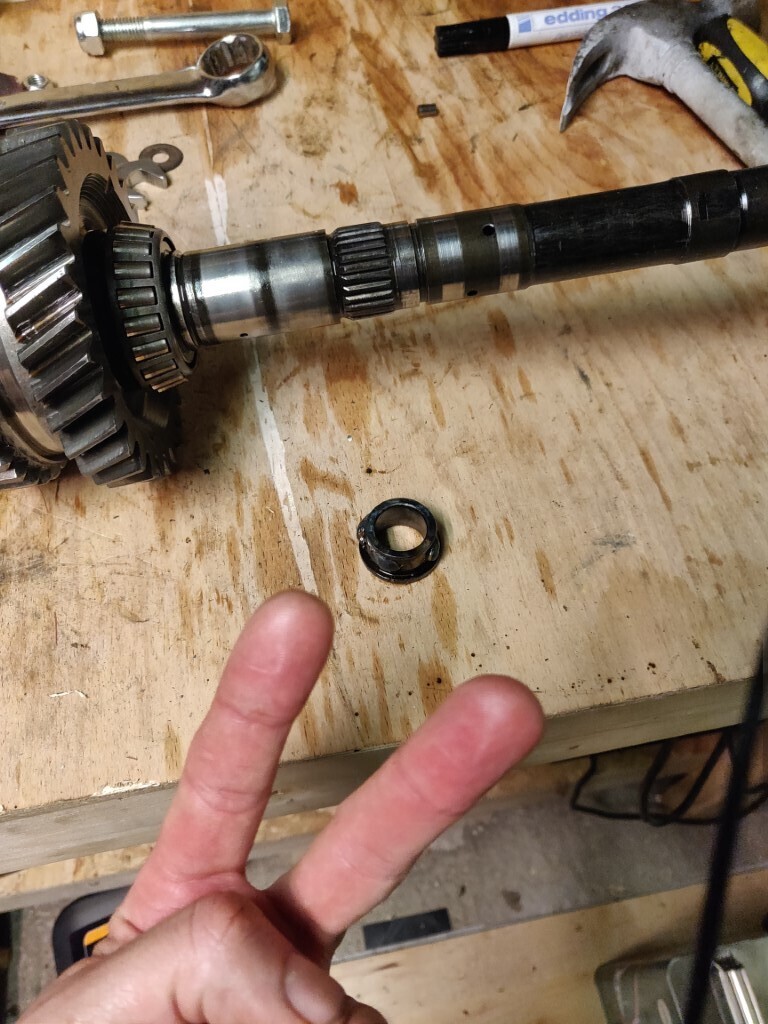
The small bearing on the end of the mainshaft would not budge - so i blobbed a bit of weld on, and the heat released it:
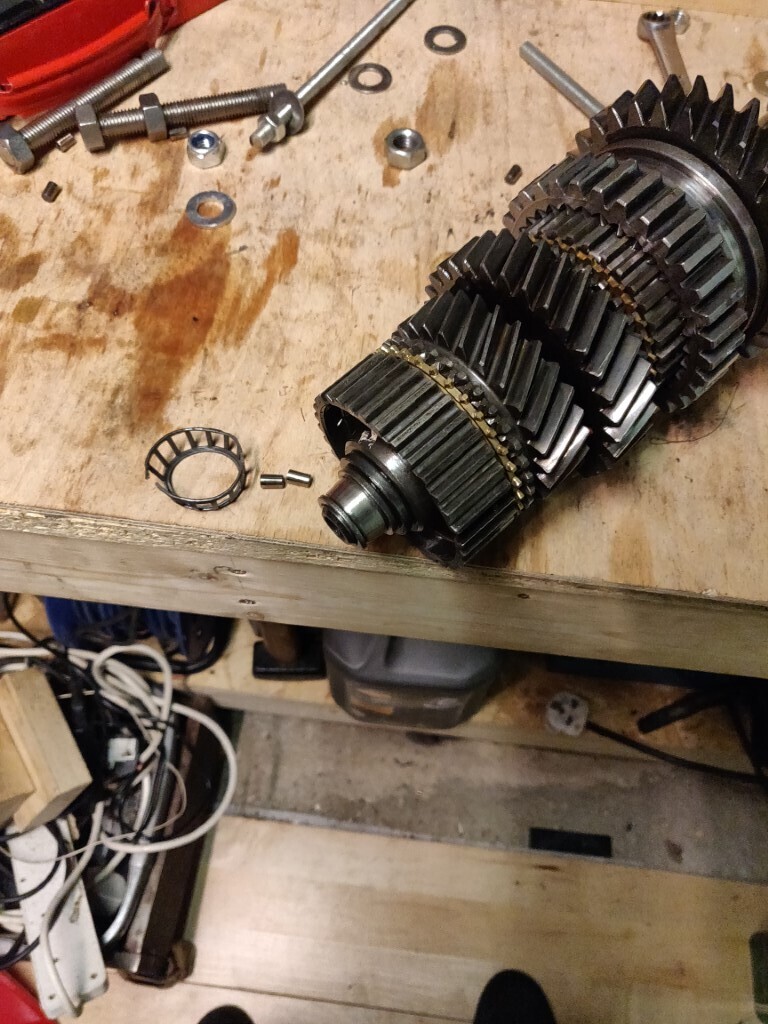
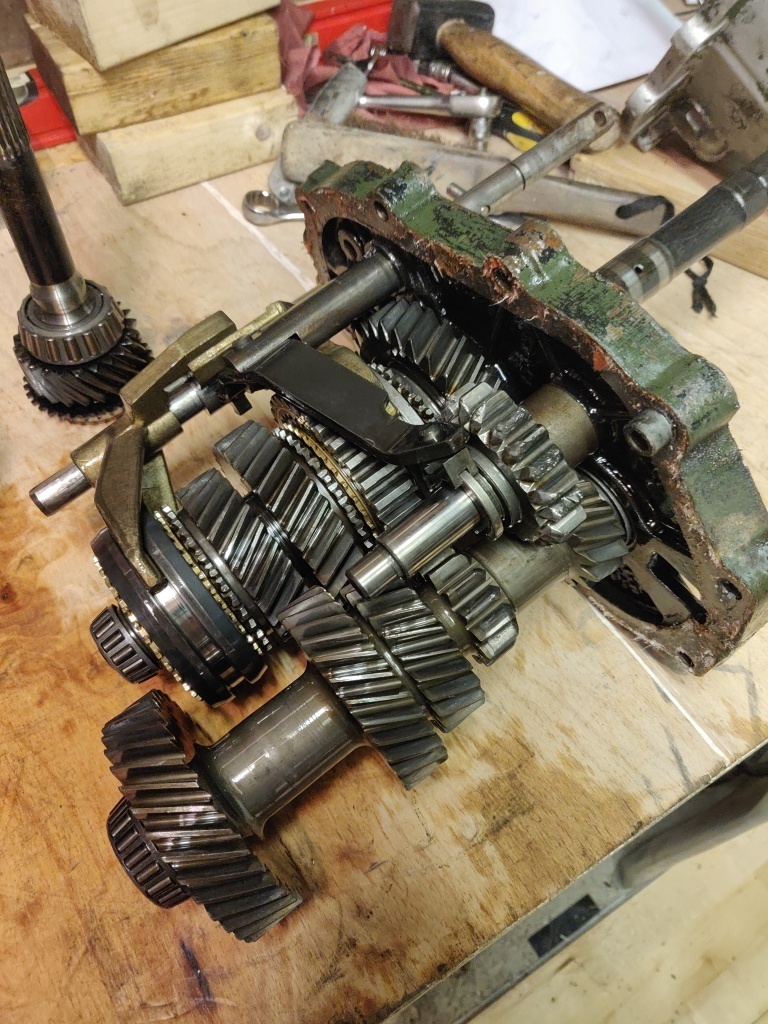
Eventually i had things apart:
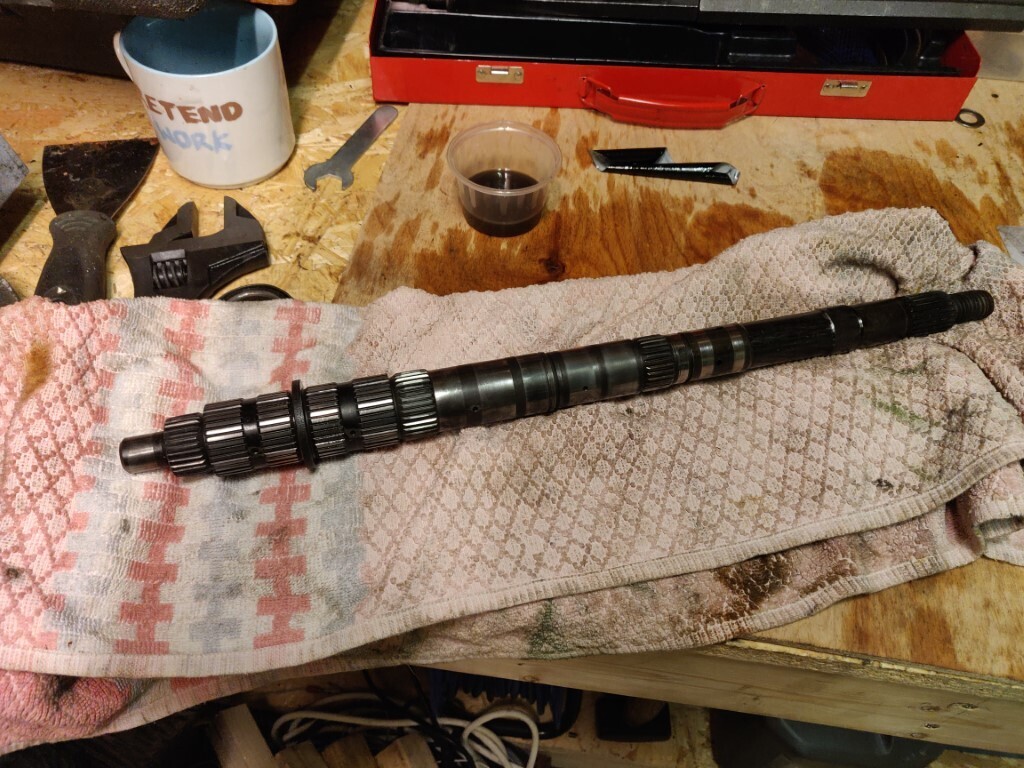
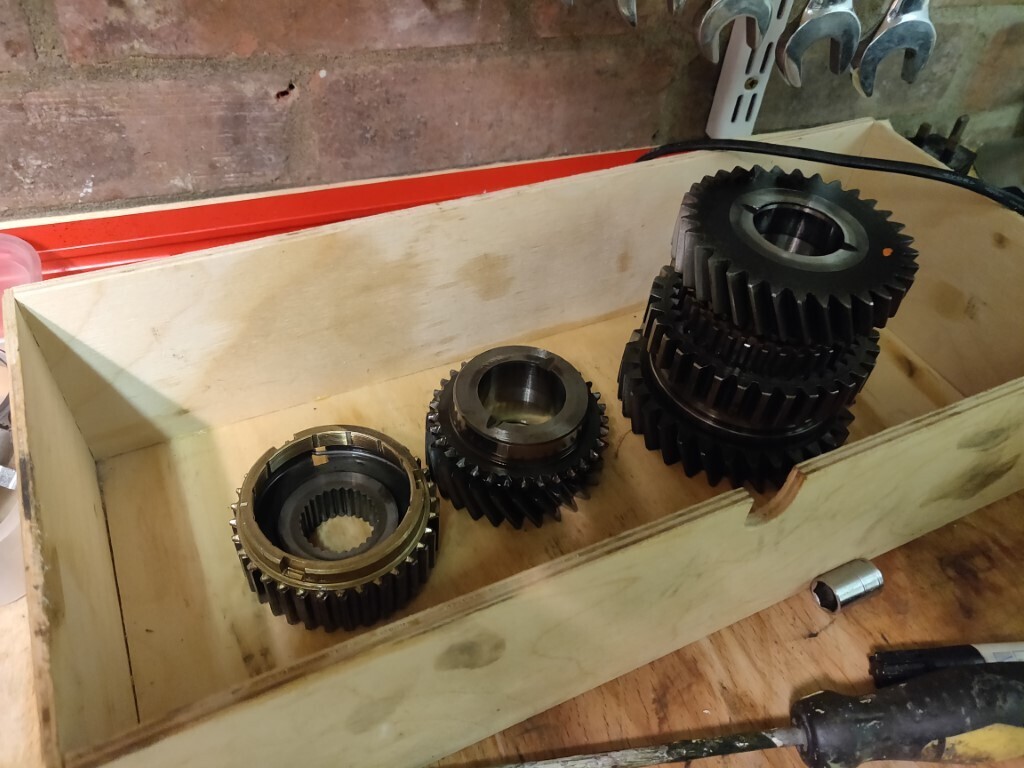
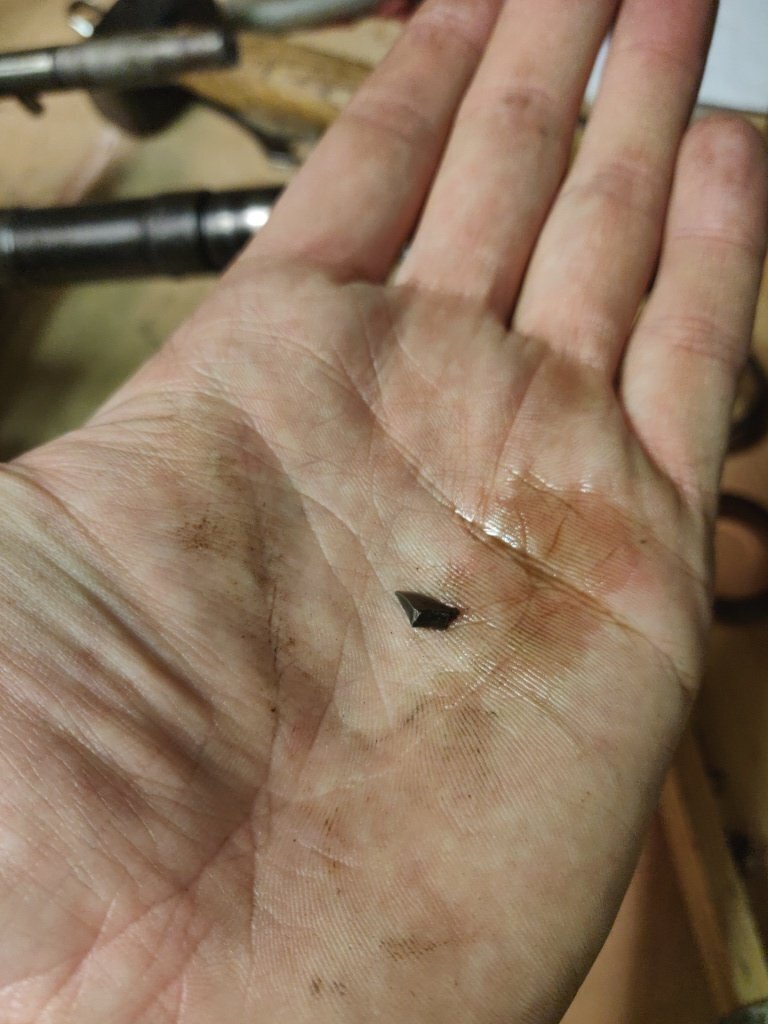
And set about using my eBay "gun cleaning kit" to clean out all the oilways. More metallic grit was removed:

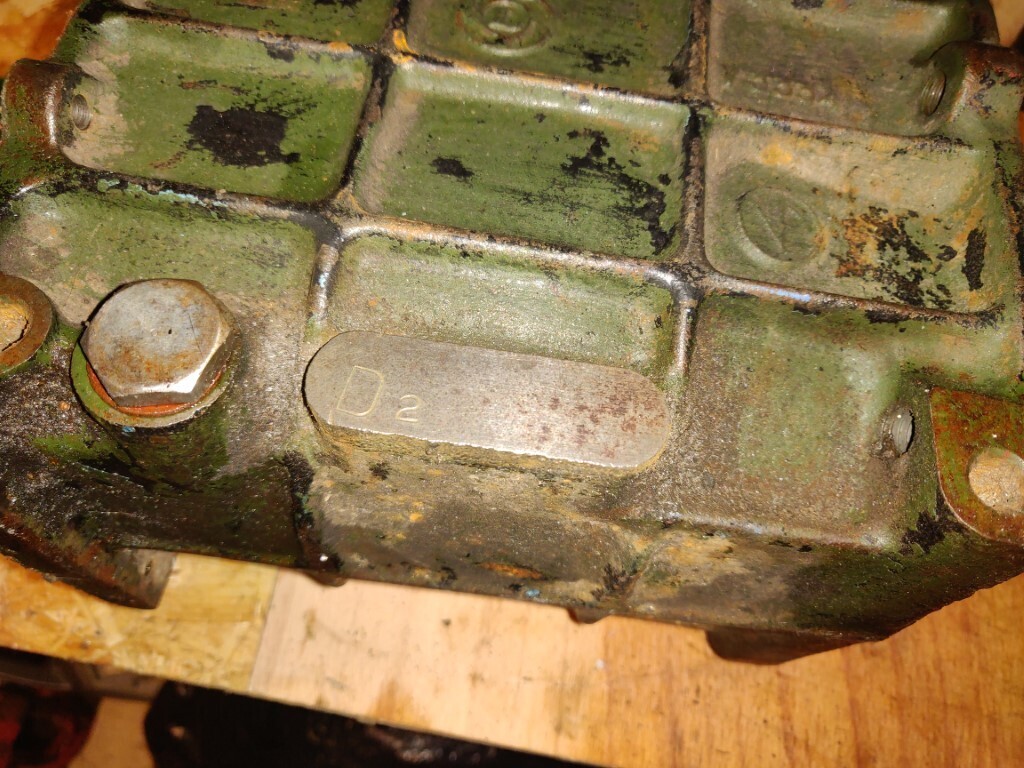
The box looked like it had been apart before, as some bits looked newer than the rest - nothing i can prove for certain, but it felt that way. Checking the box number showed that it doesn't have a regular serial number, just a "D2" which might indicate its been rebuilt somewhere in the past:
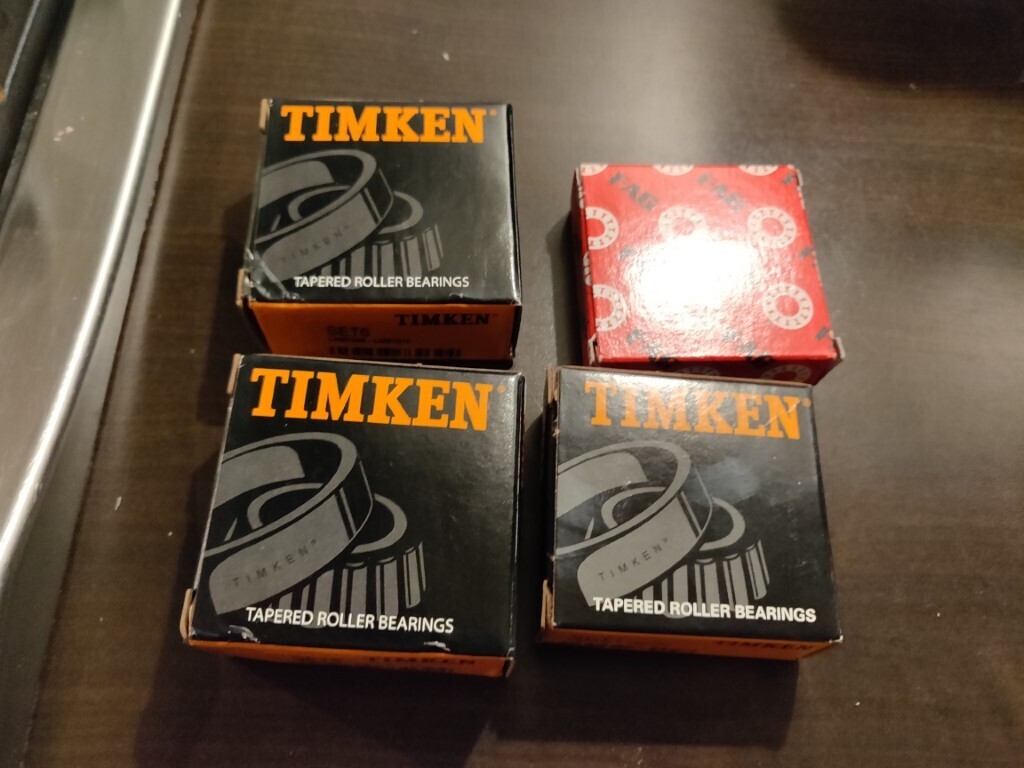
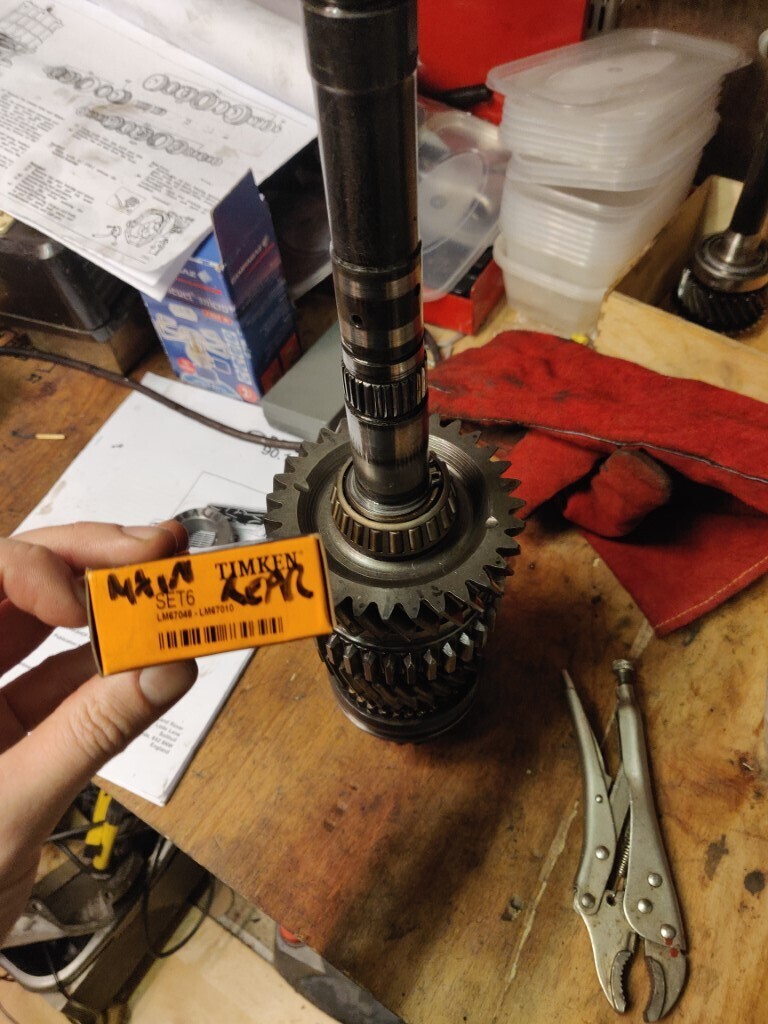
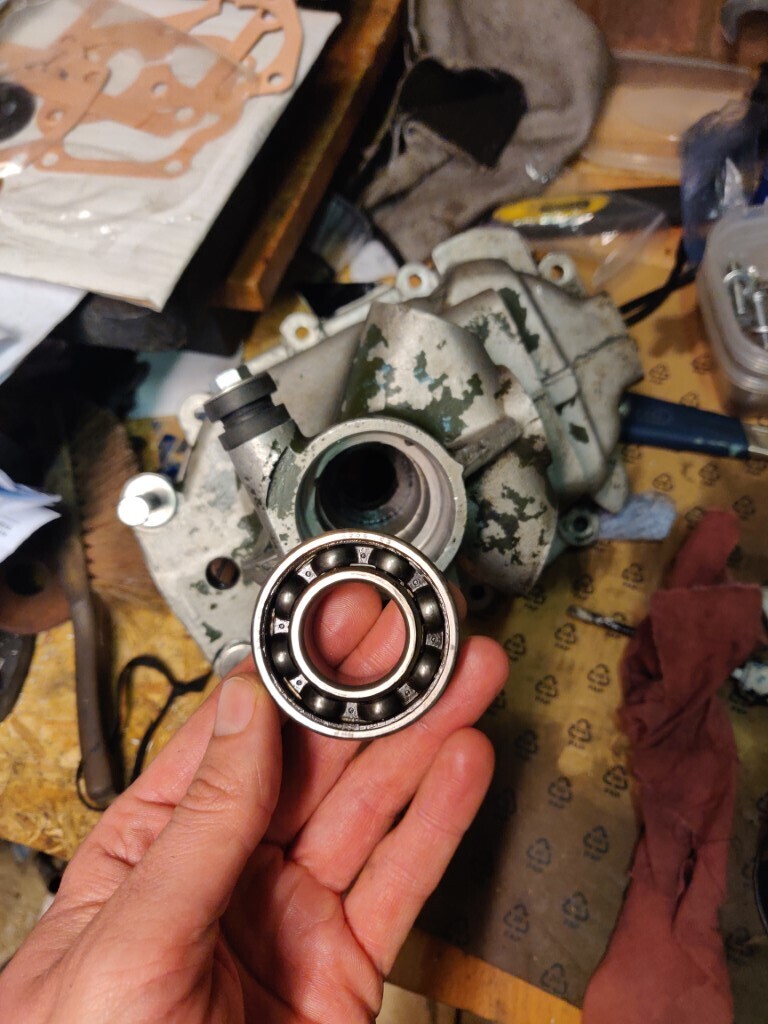
New bearings arrived, my Dad had some new unused Synchro rings in his garage, and new oil pump bits were also ordered:
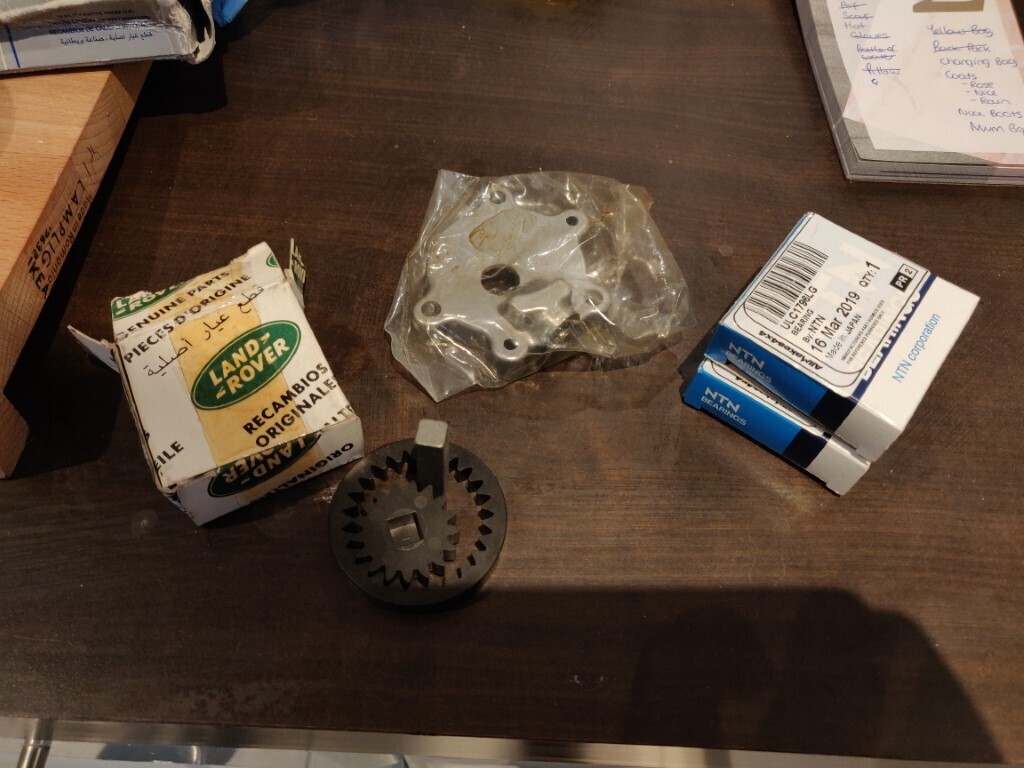
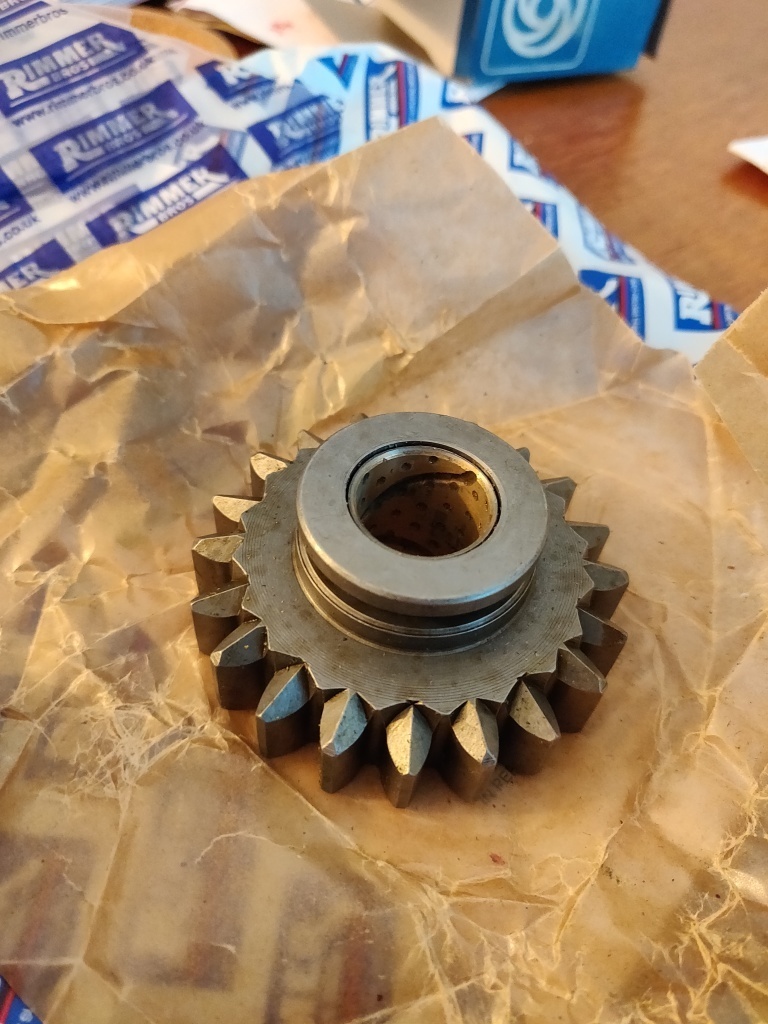
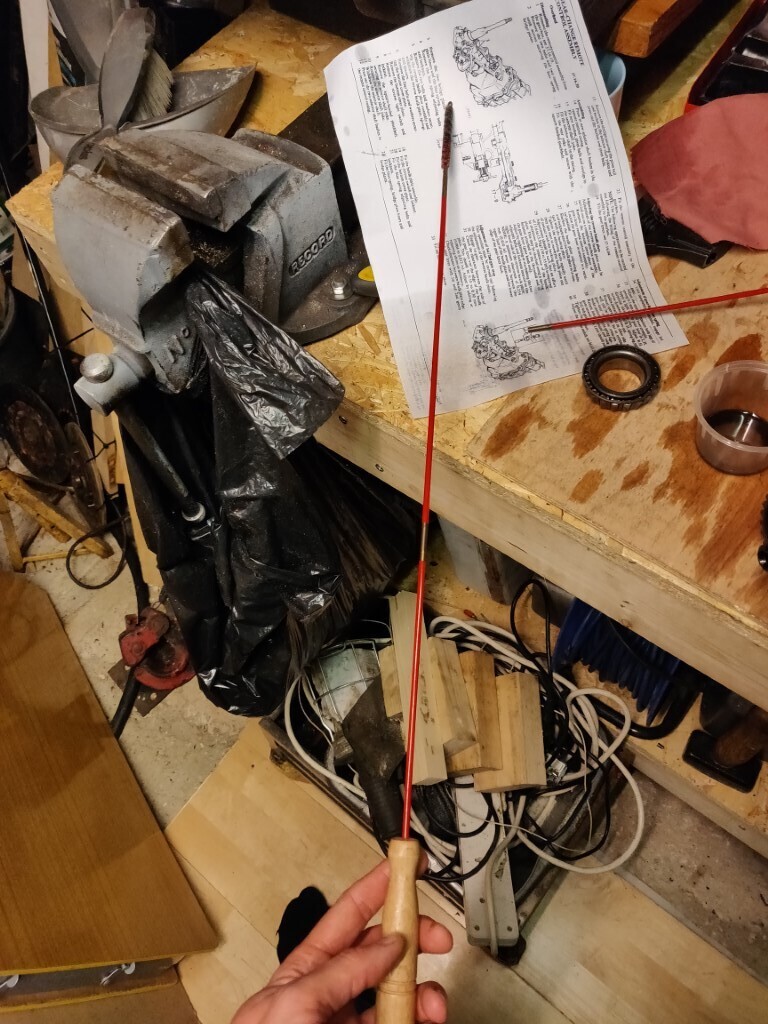
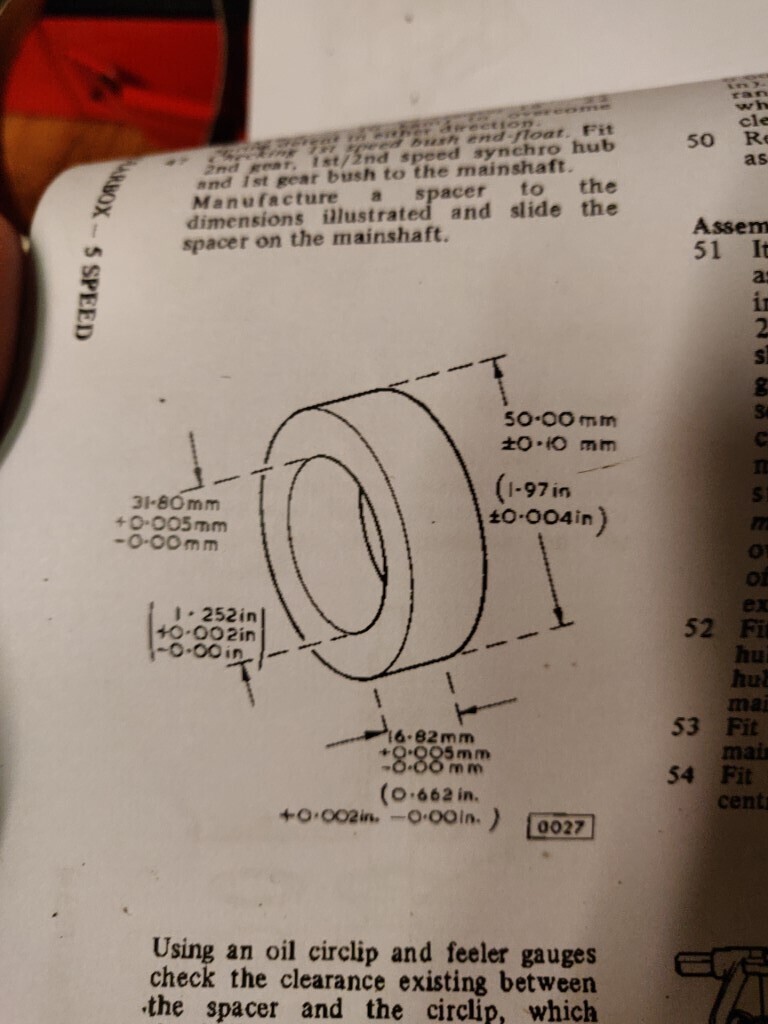
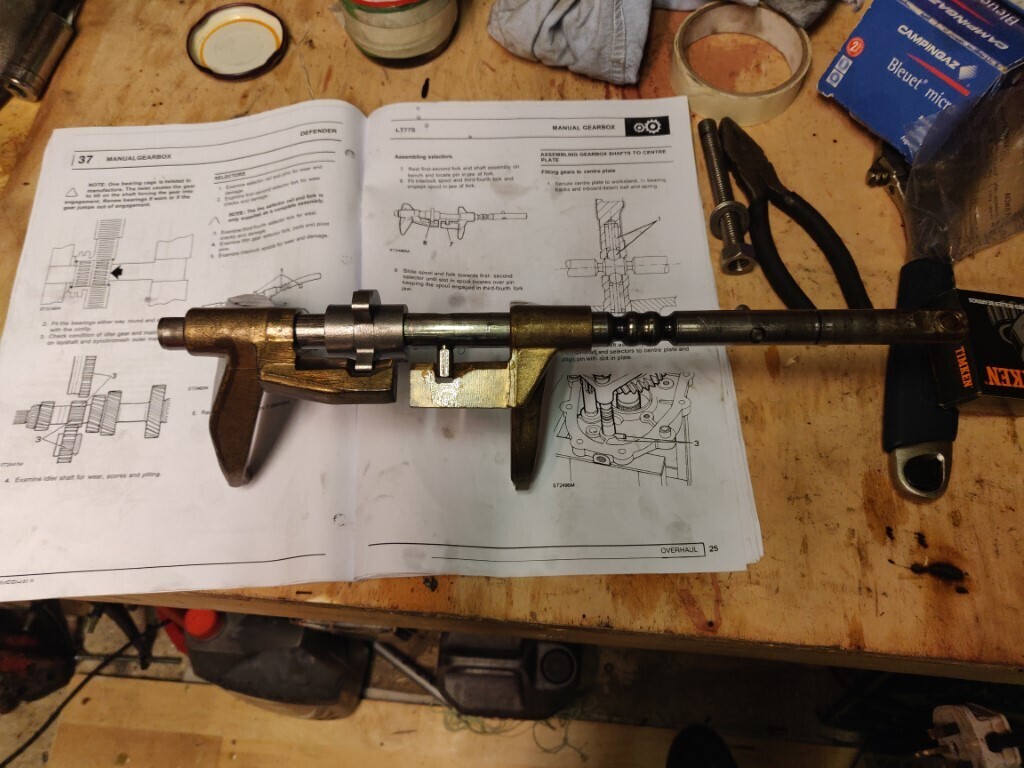
The TR7 workshop manual mentions the need for a spacer to be used to check the clearance required on the "1st speed bush":
here's the bush that came from the box to give you an idea - this is one detail that is different to the Land-rover boxes:
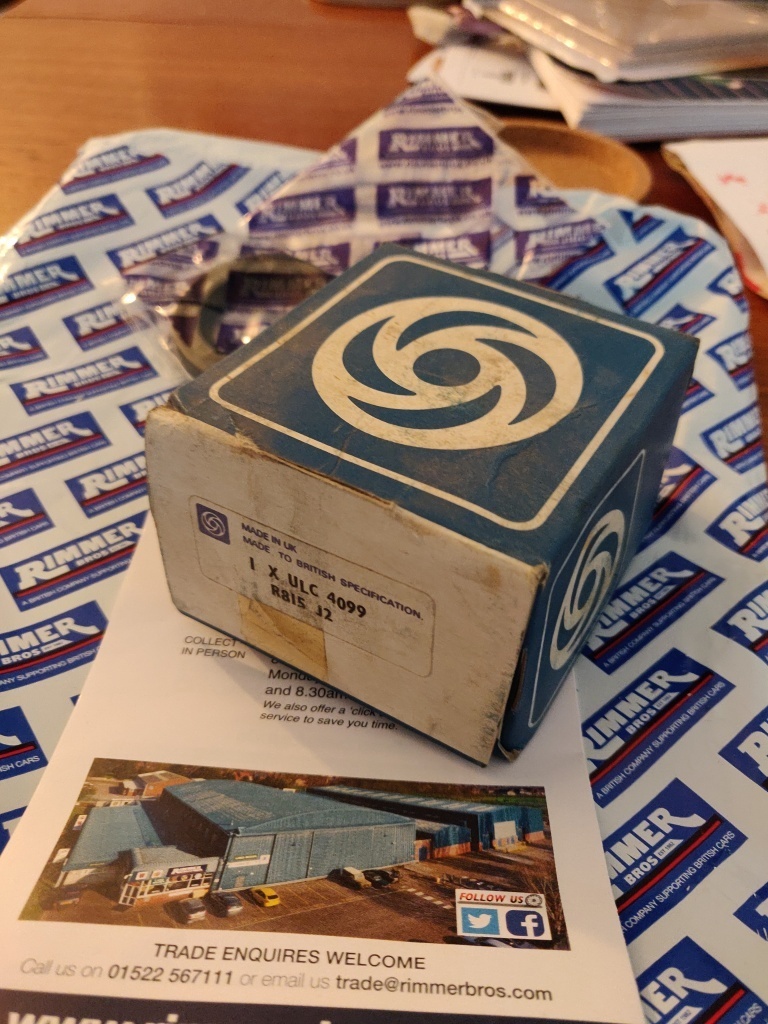
I got a local firm (Linear Precision, Addlestone) to manufacture one for me, and then I was able measure and order the correct bush from Rimmers.
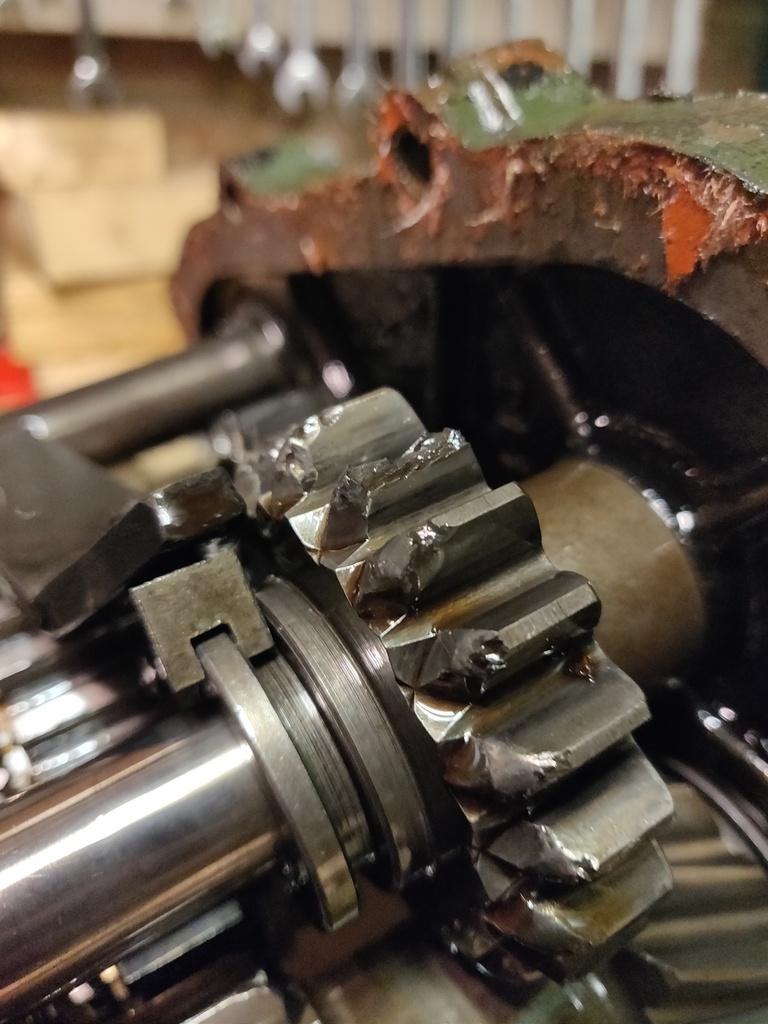
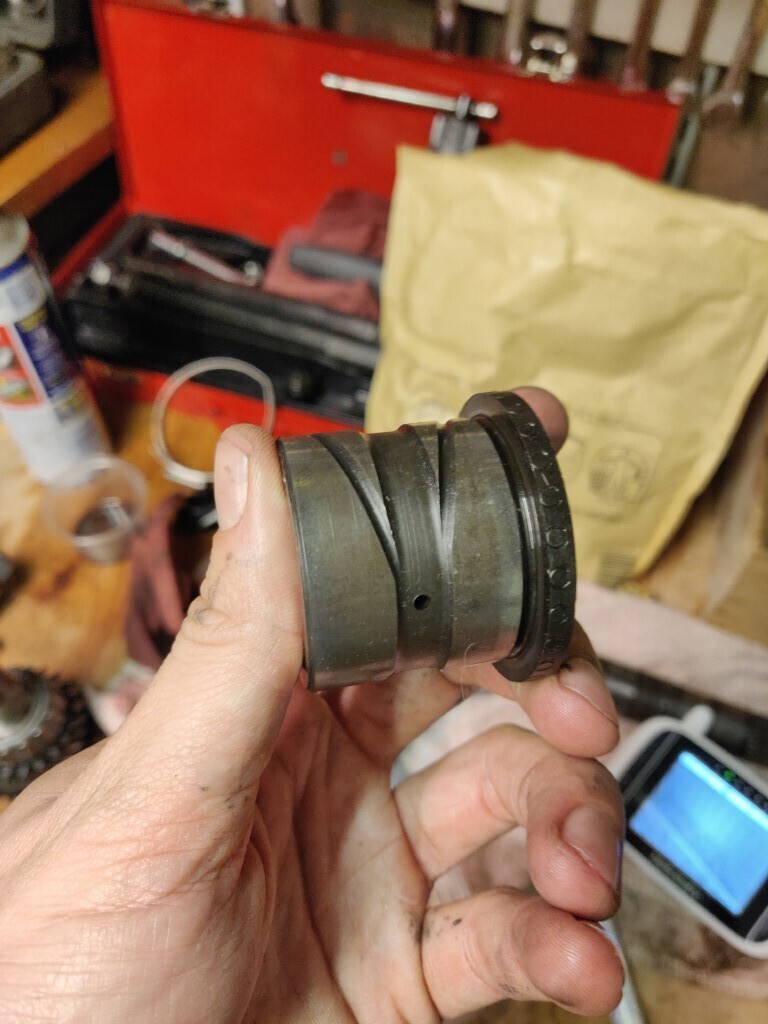
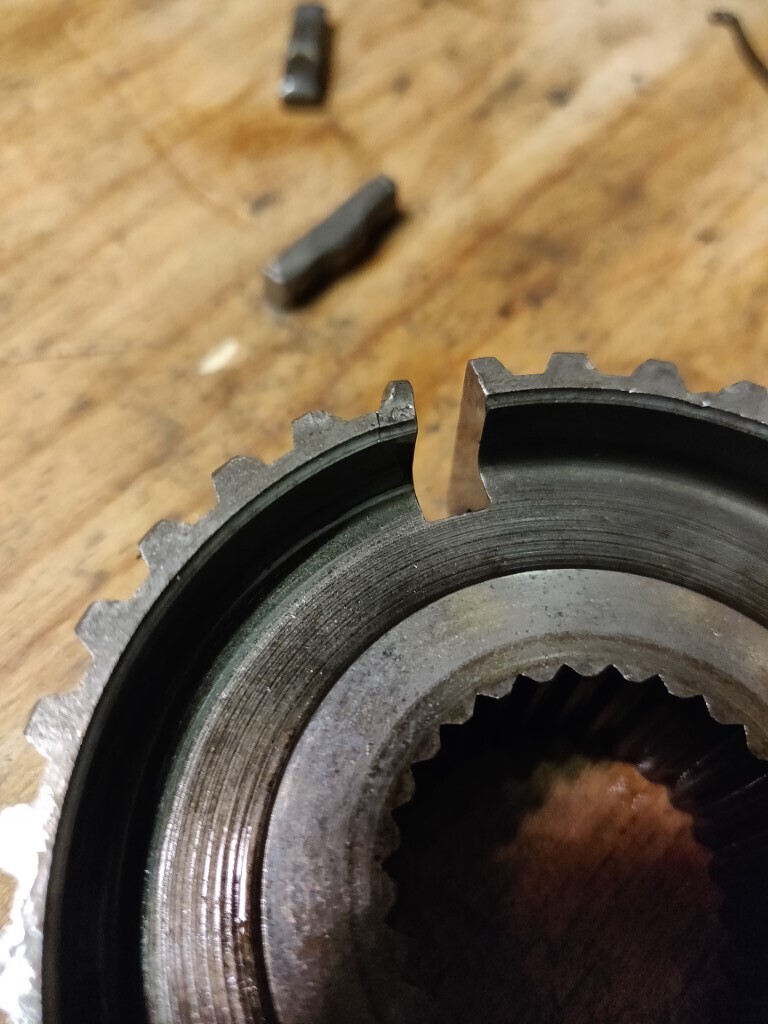
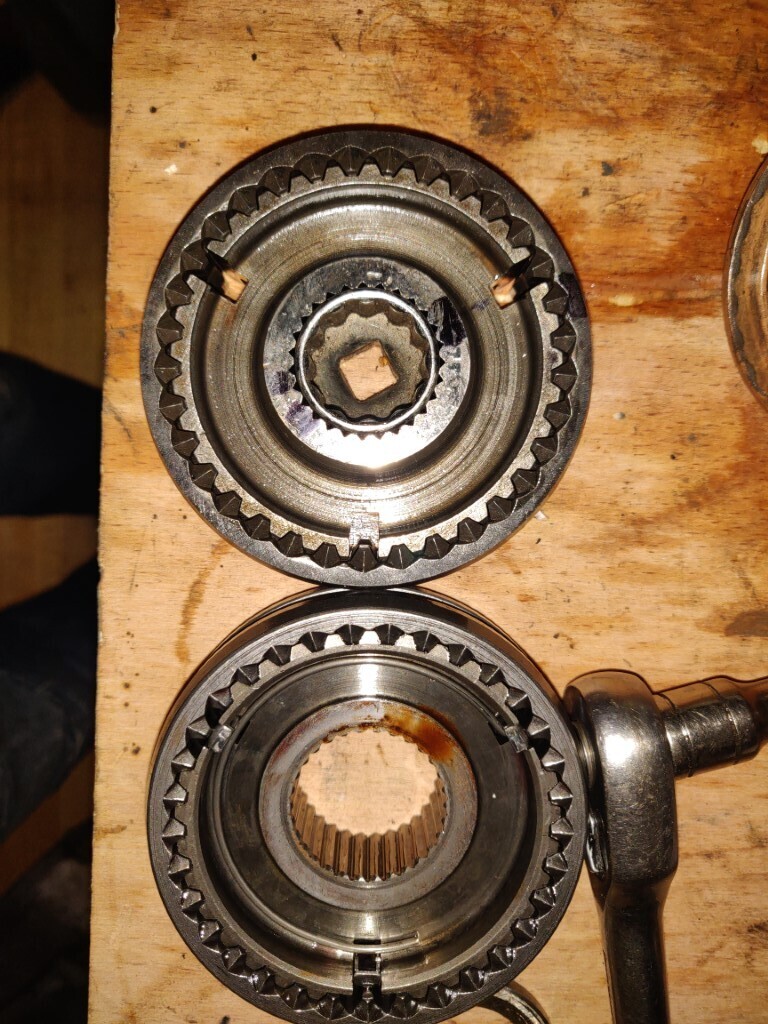
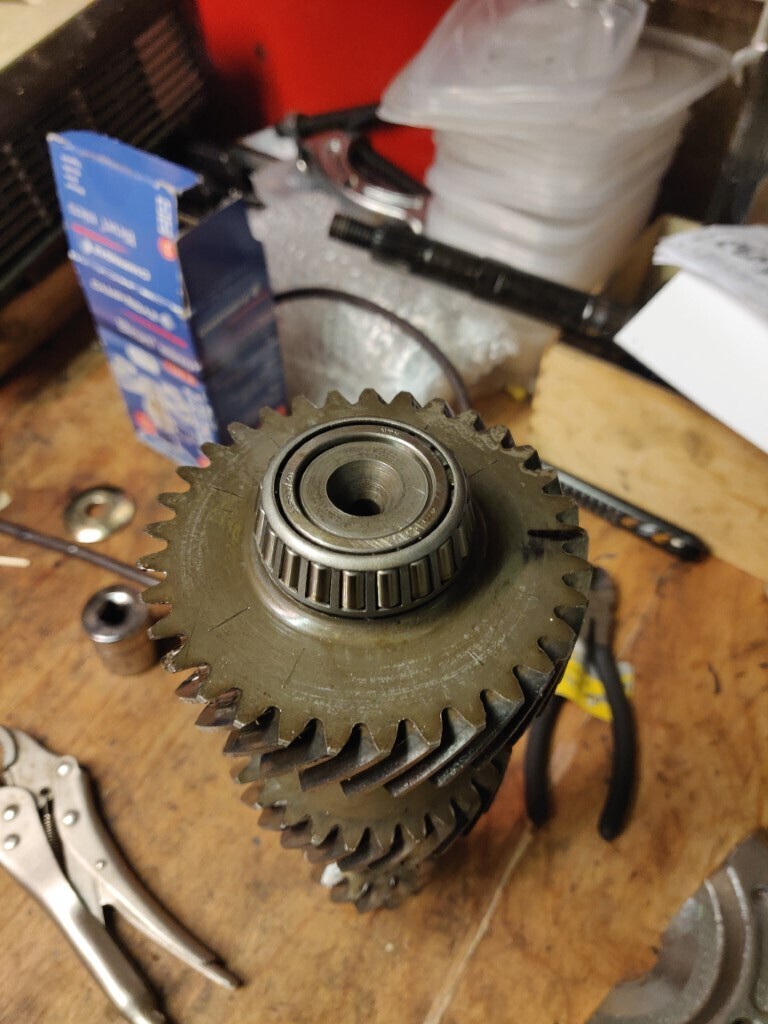
Whilst waiting for that to arrive I carried on checking stuff. The one thing that didn't look great (if you forget the layshaft) was the synchrohub on 5th. It looked like it had suffered a fairly large whack, even with a slight crack:
My first instinct was that needed to be changed. I grabbed the spare Landrover box out from under the bench and stripped it down just to absolutely be sure I couldnt use anything. Here you can see them together :

Unfortunately that was a total bust, as illustrated below with the socket showing the differences in internal diameter (SD1 is top):

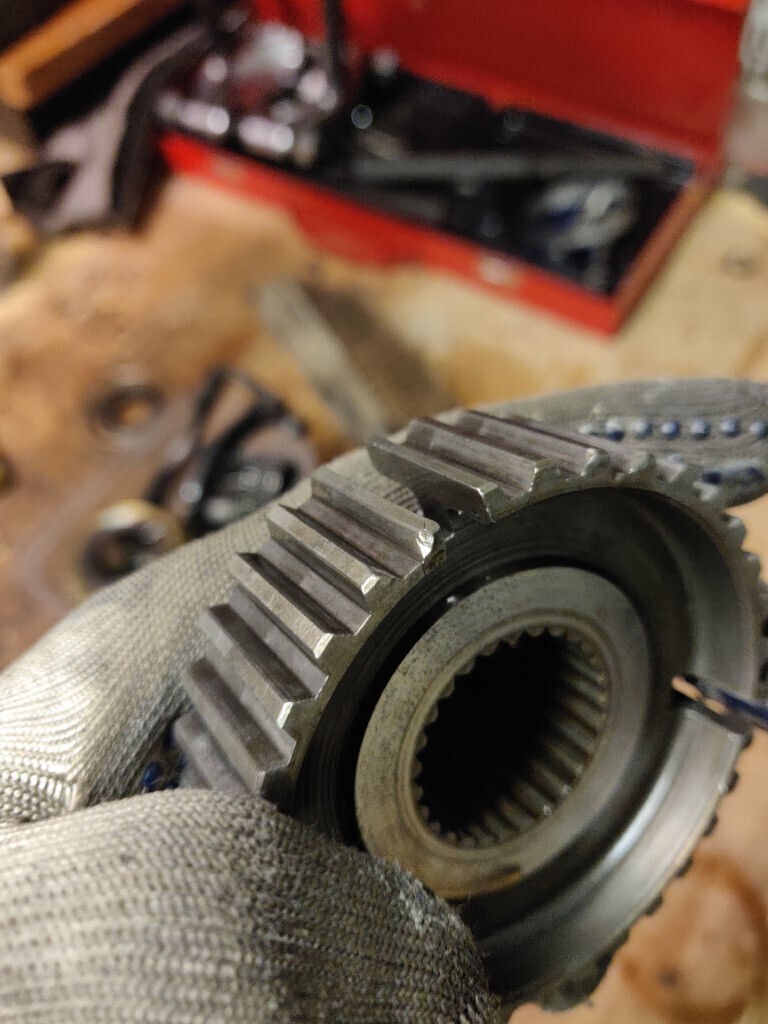
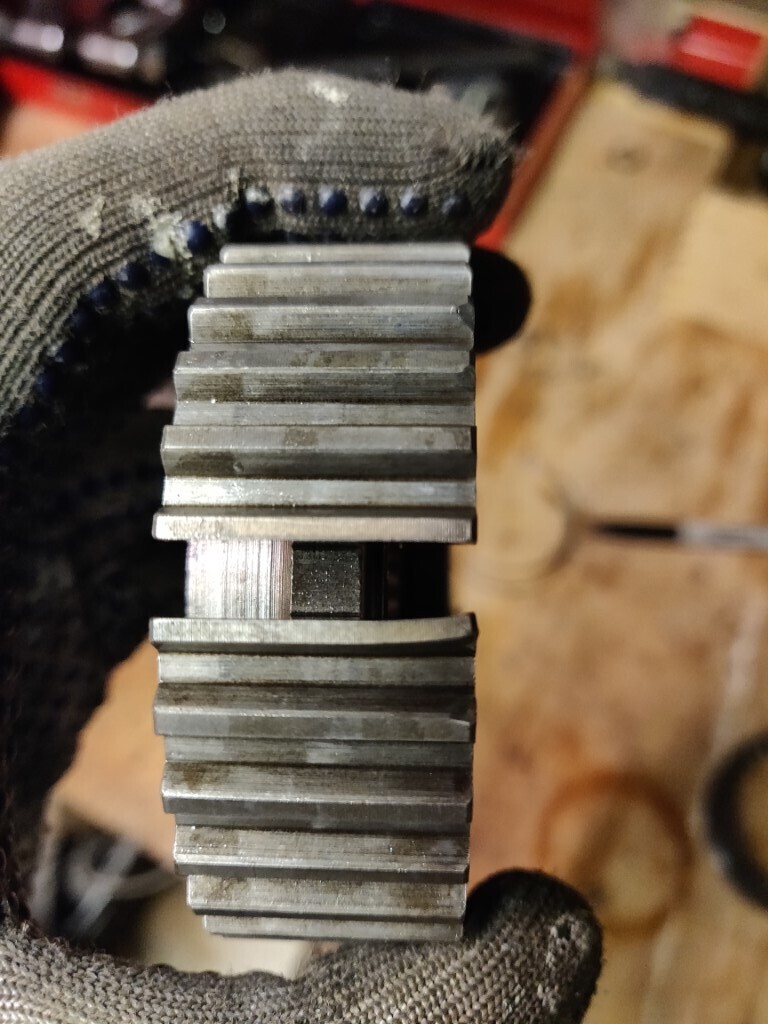
Next I checked the damaged hub against the 3rd/4th one as they looked remarkably similar - however they have different part numbers. Rimmers had 3rd/4th in stock for not much money, but no 5th so I ordered one on the off chance.
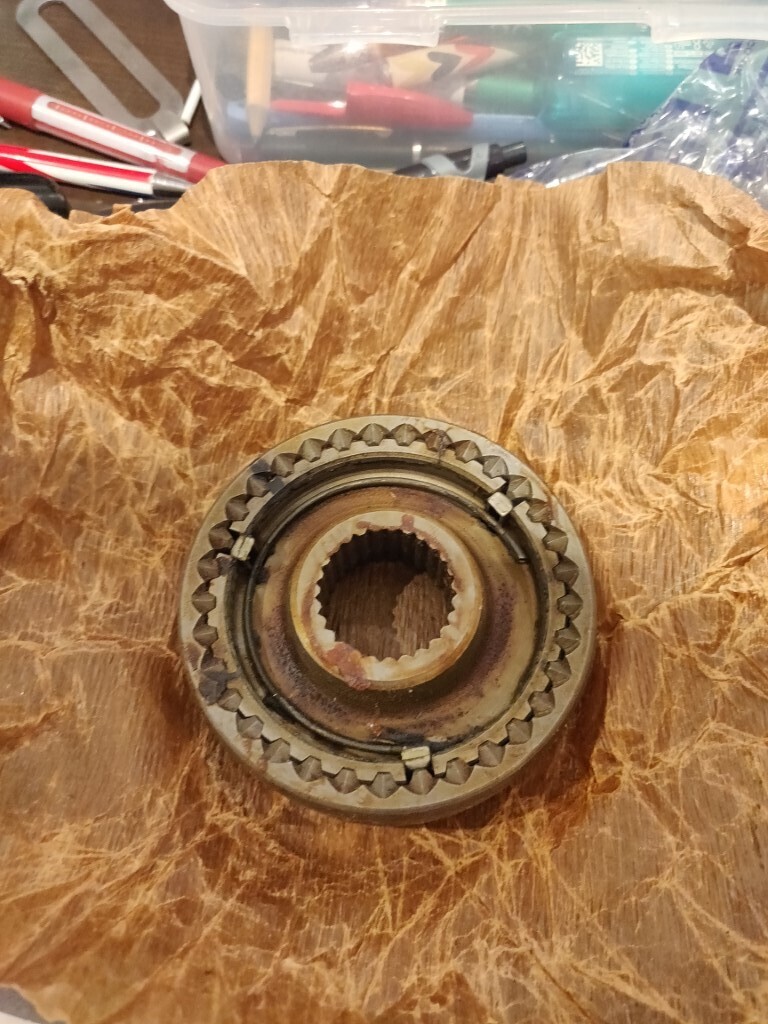
But even though this was the same in almost every way, there is a slight step cut into the teeth on these, and it appears different on 3rd/4th and 5th

. I chickened out and decided that I would refit the original 5th hub.
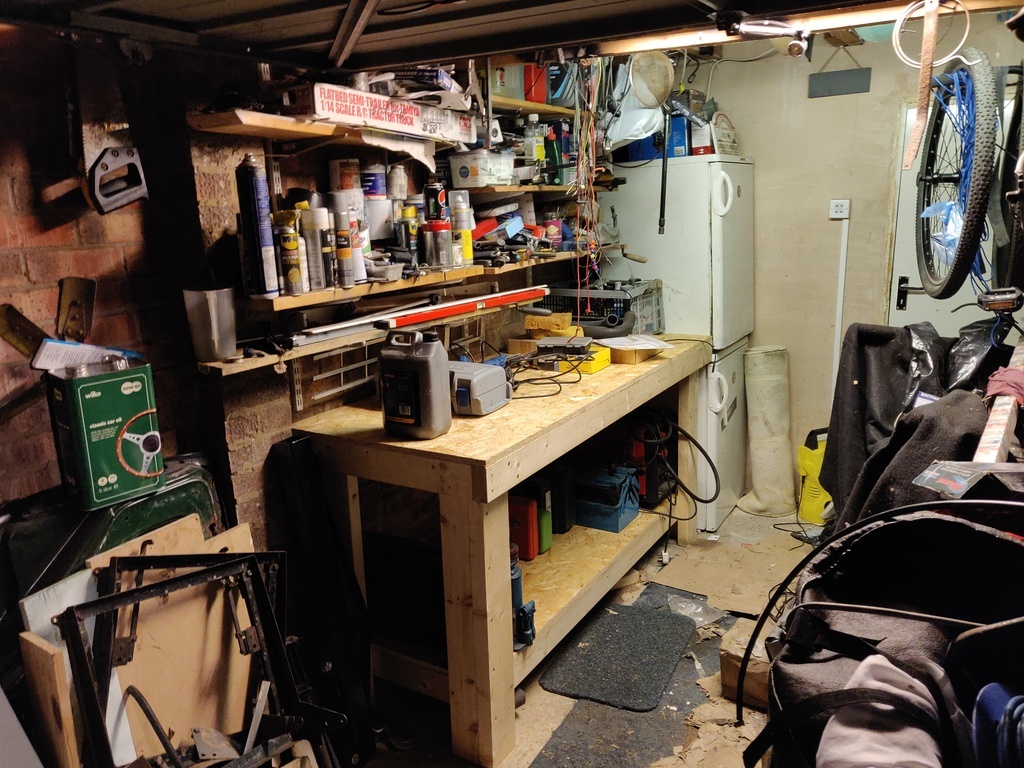
This had all taken place over a period of many months, with me grabbing time in the garage between other things. I had luckily been fairly organised and stored everything in old takeaway boxes I had labelled

:

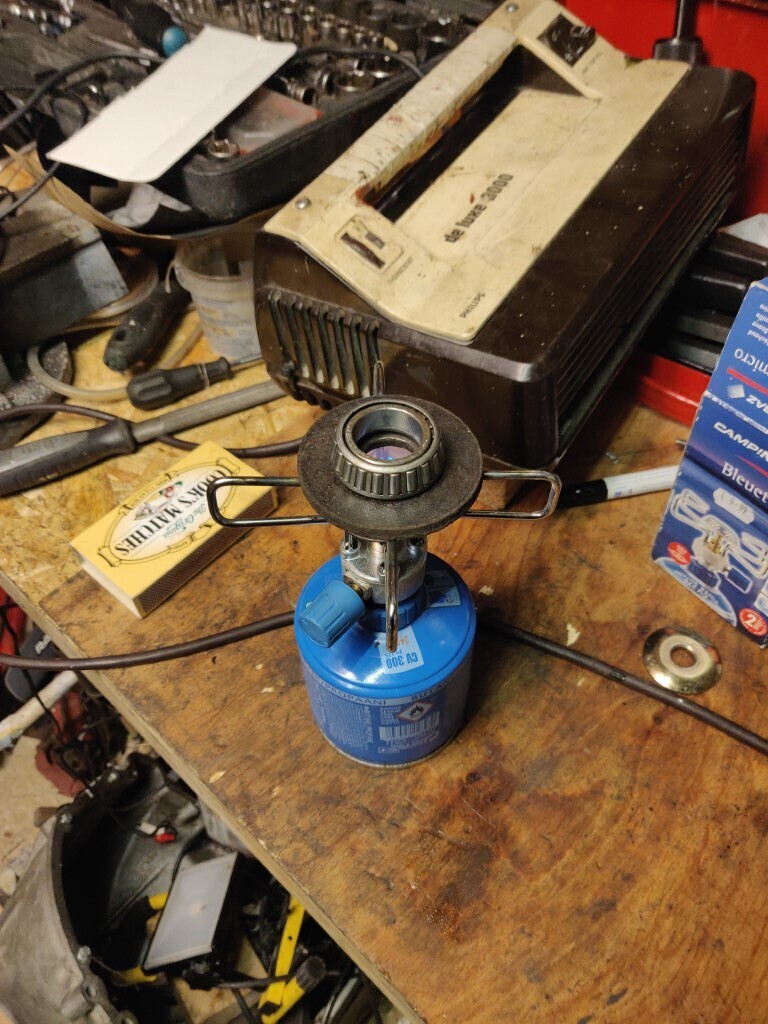
So i had nothing for it but to start fitting bearings. I had been putting this off as assembly is never just the reverse of disassembly on something like this and I had been dreading cocking it up! I got out the camping stove and a very large washer to use as a plate to heat the bearings on and they all fell on:
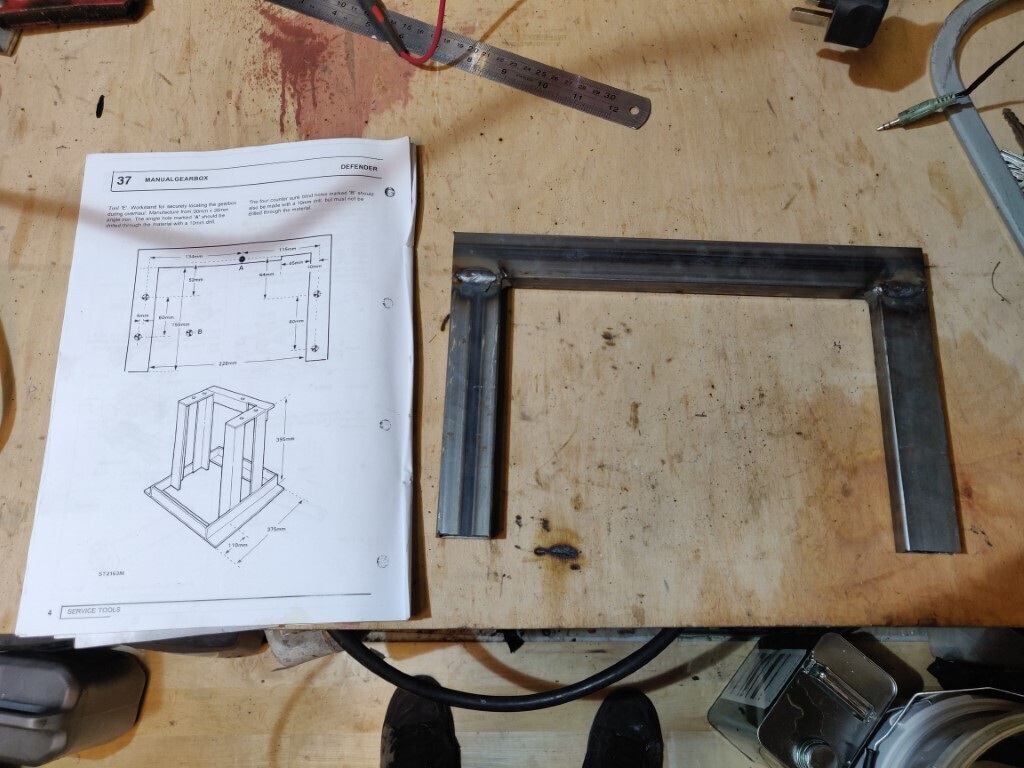
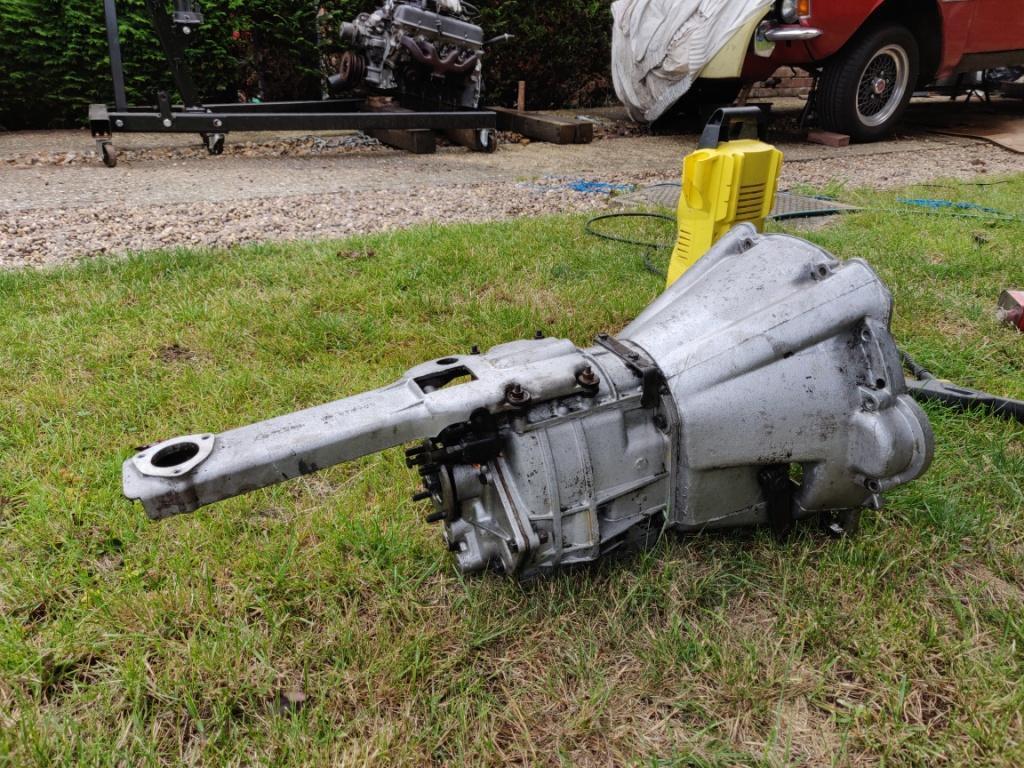
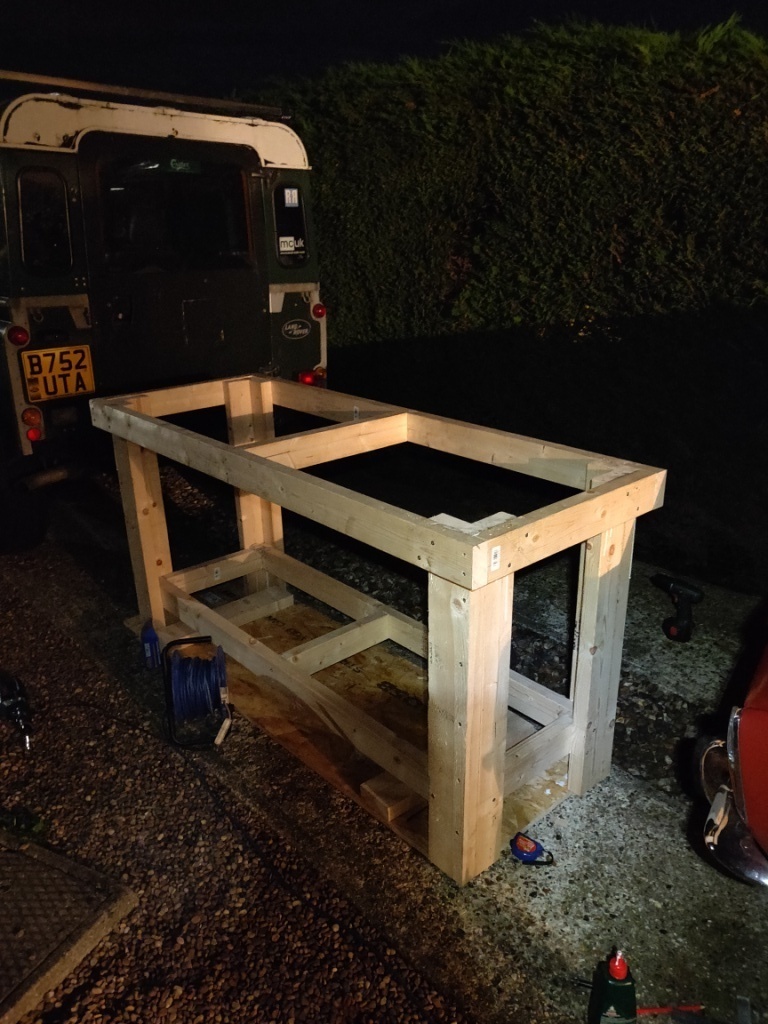
With this done I breathed a sigh of relief and turned my attention to the Land-rover workshop manual, which shows a stand you can fabricate to hold the box while you reassemble. I decided that it would probably help a lot if I made one, and in the end I realised I only needed the top bit as I could get away with holding that in the vice:

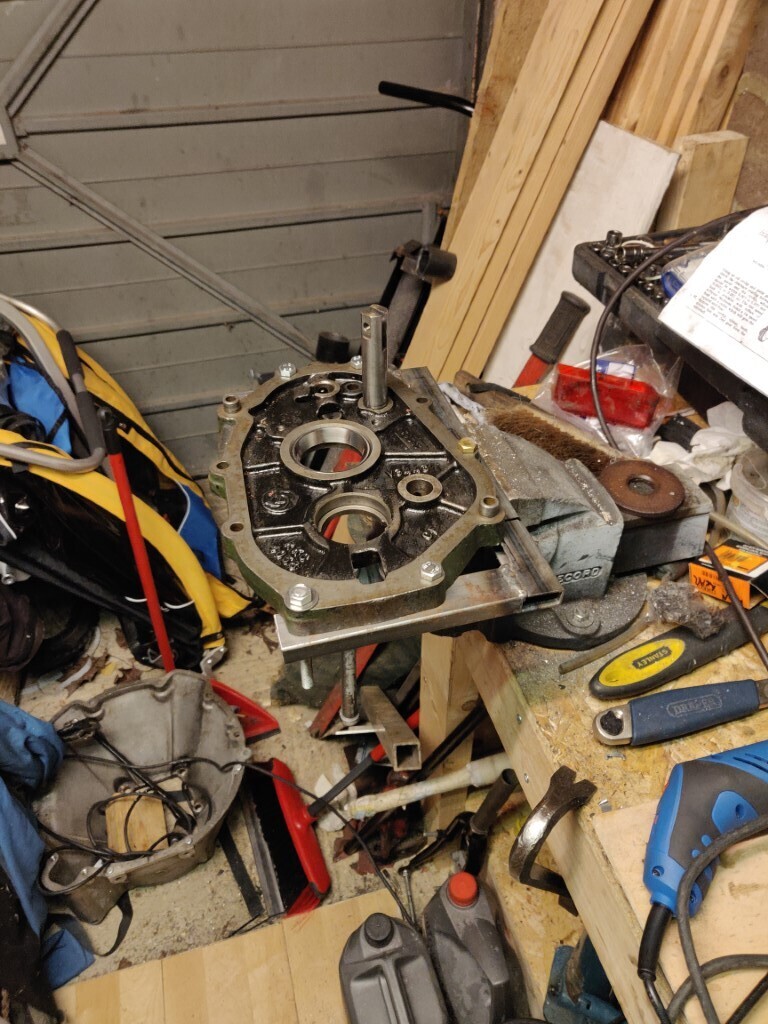
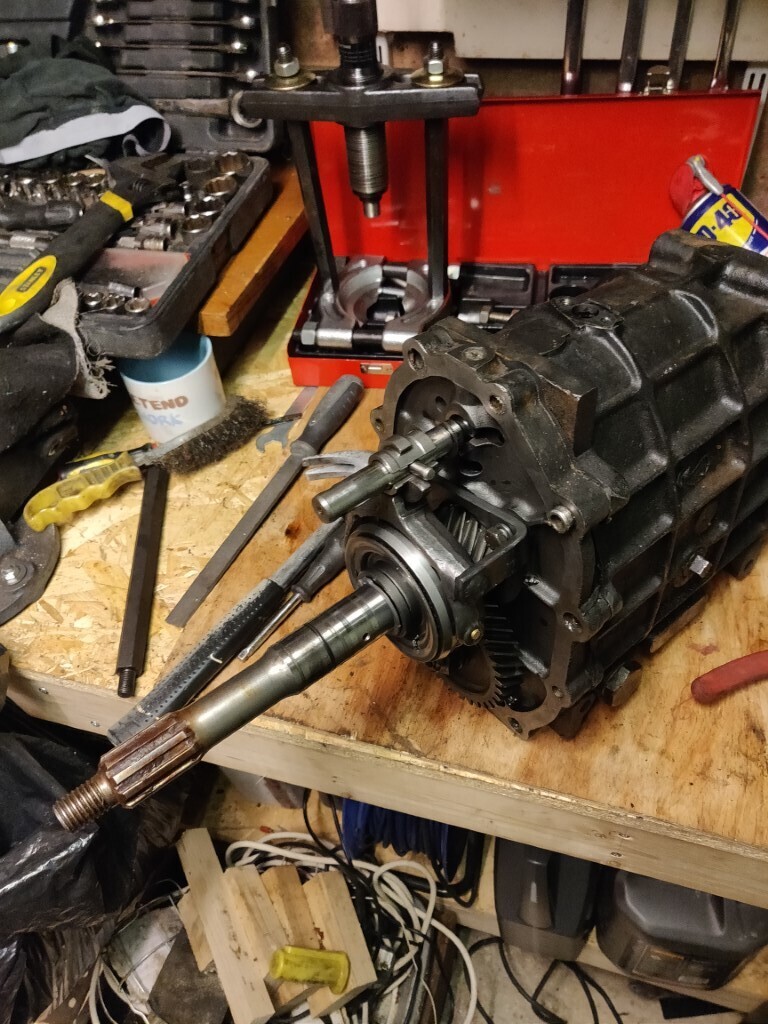
And then I could start building things back up again:
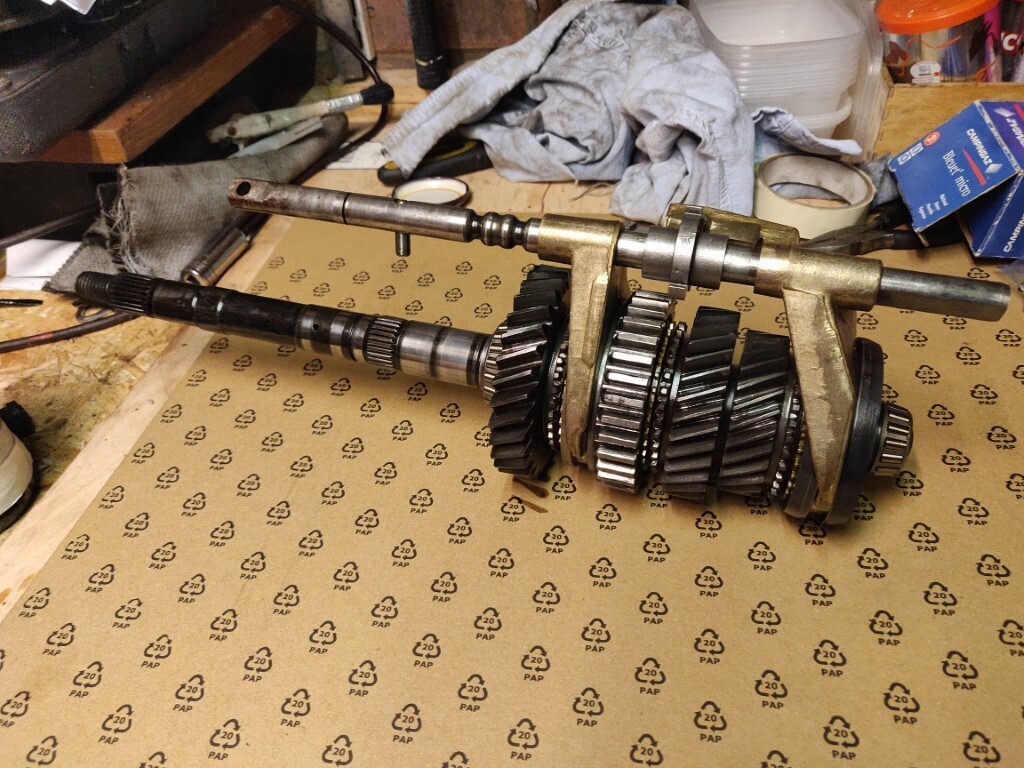
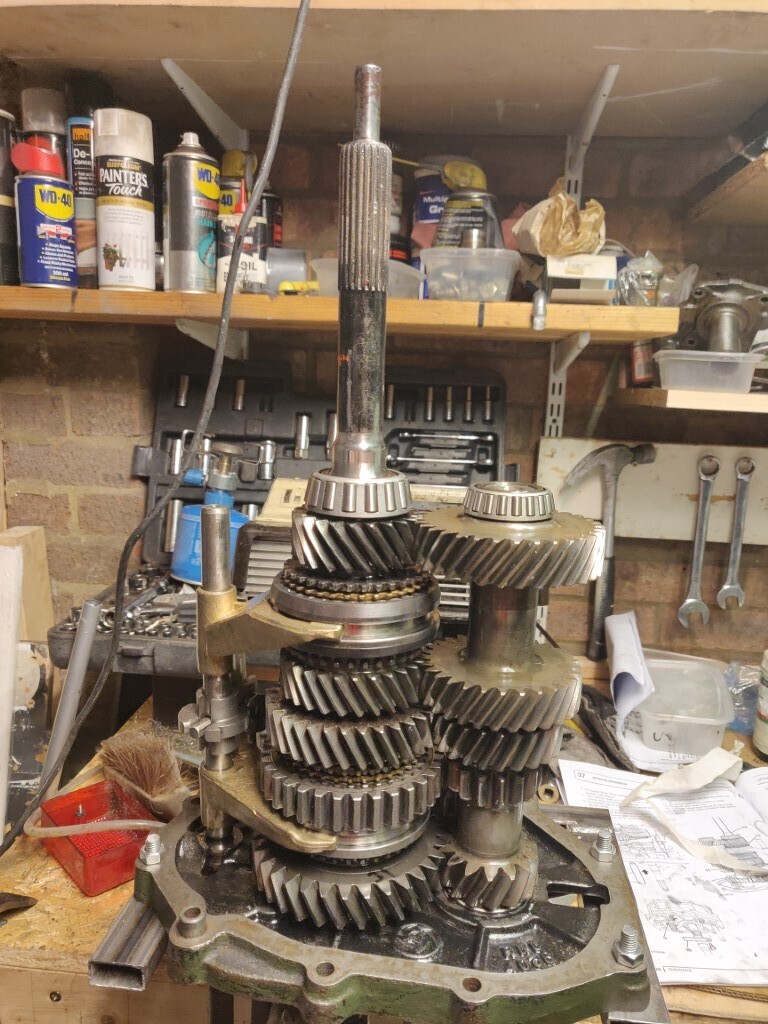
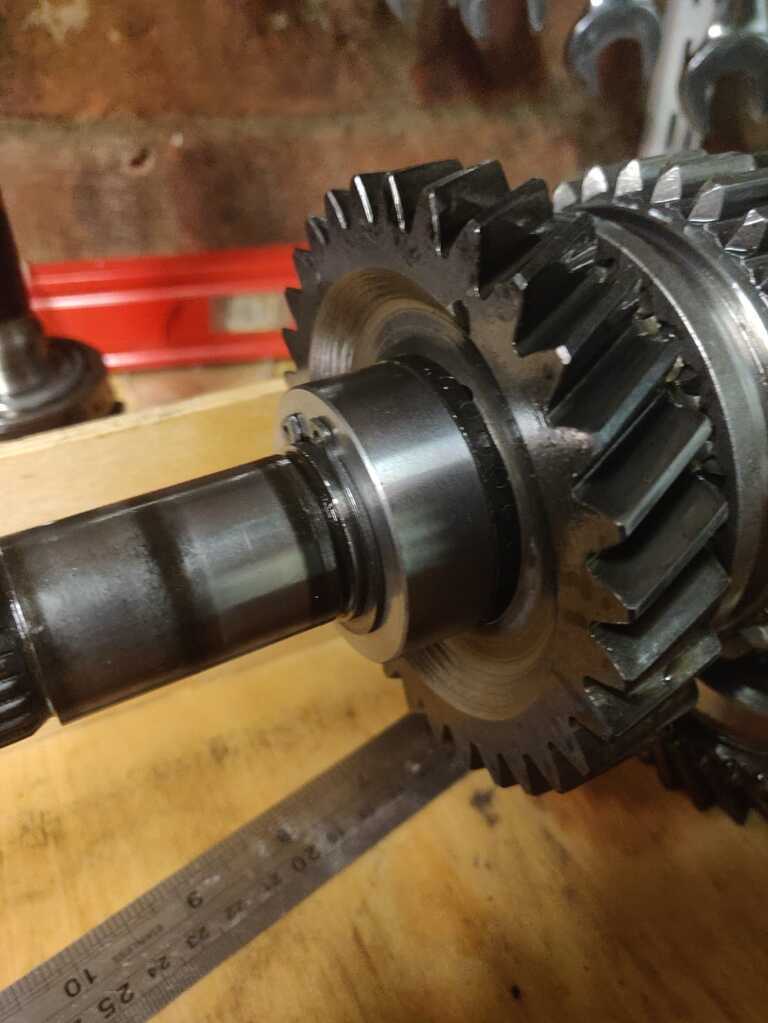
Then remove from the stand and fit the 5th gear gubbins:
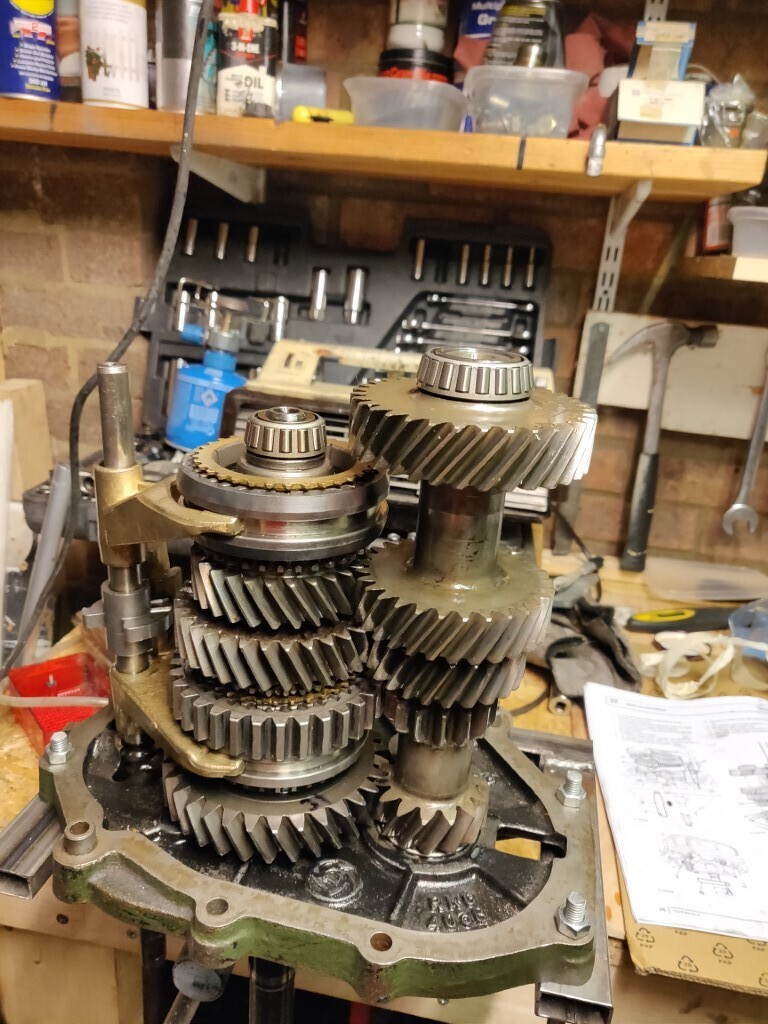
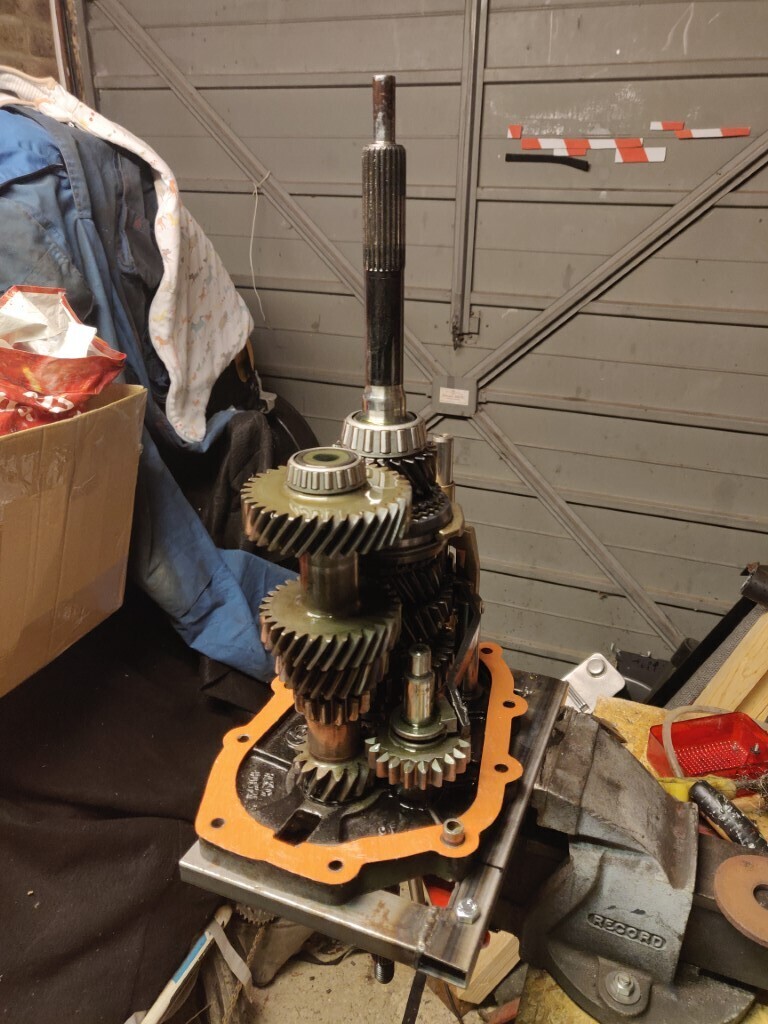
And then the new oil pump housing, gear, tail shaft bearing and seal:
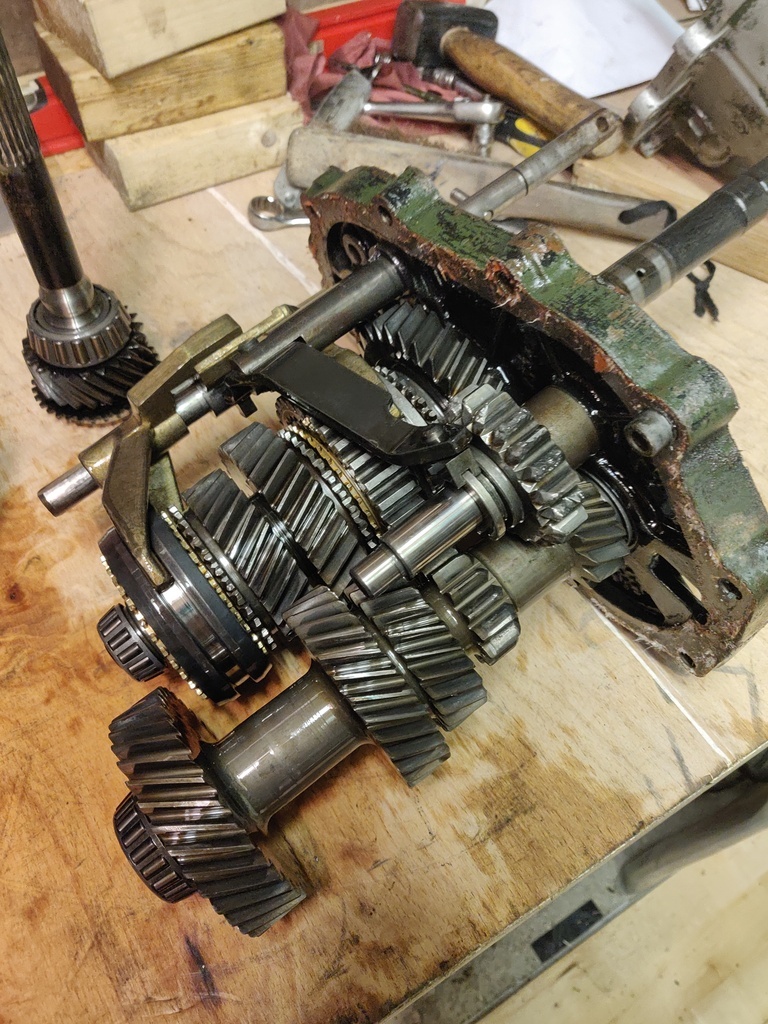
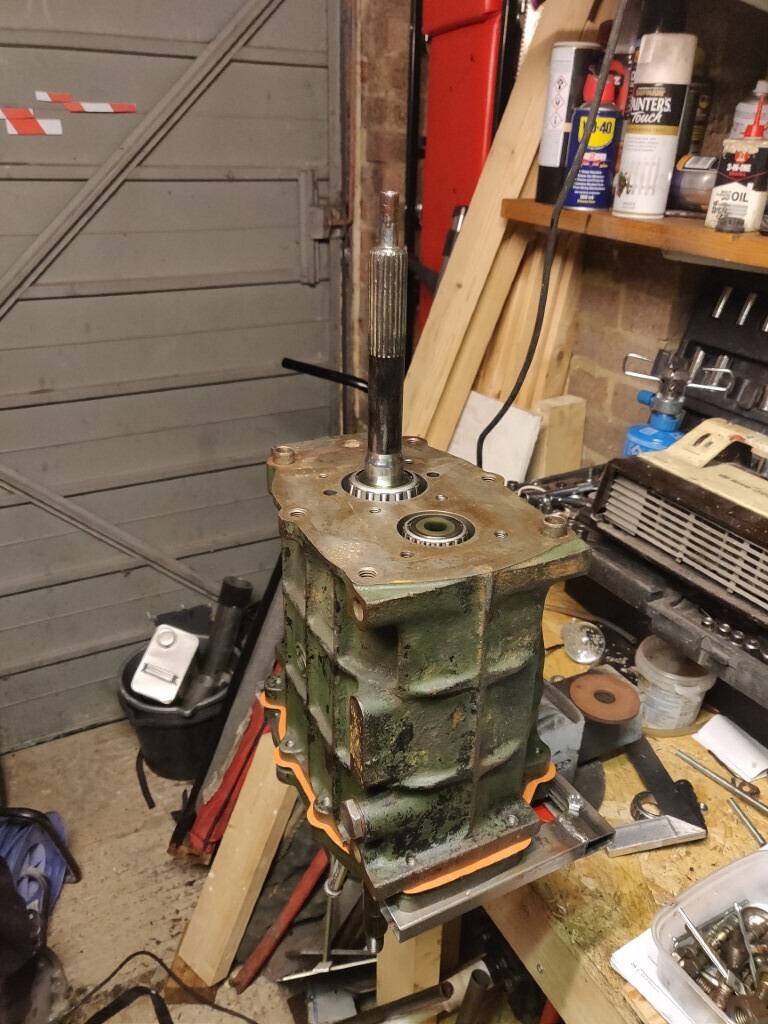
Before it all got back together up on the bench:
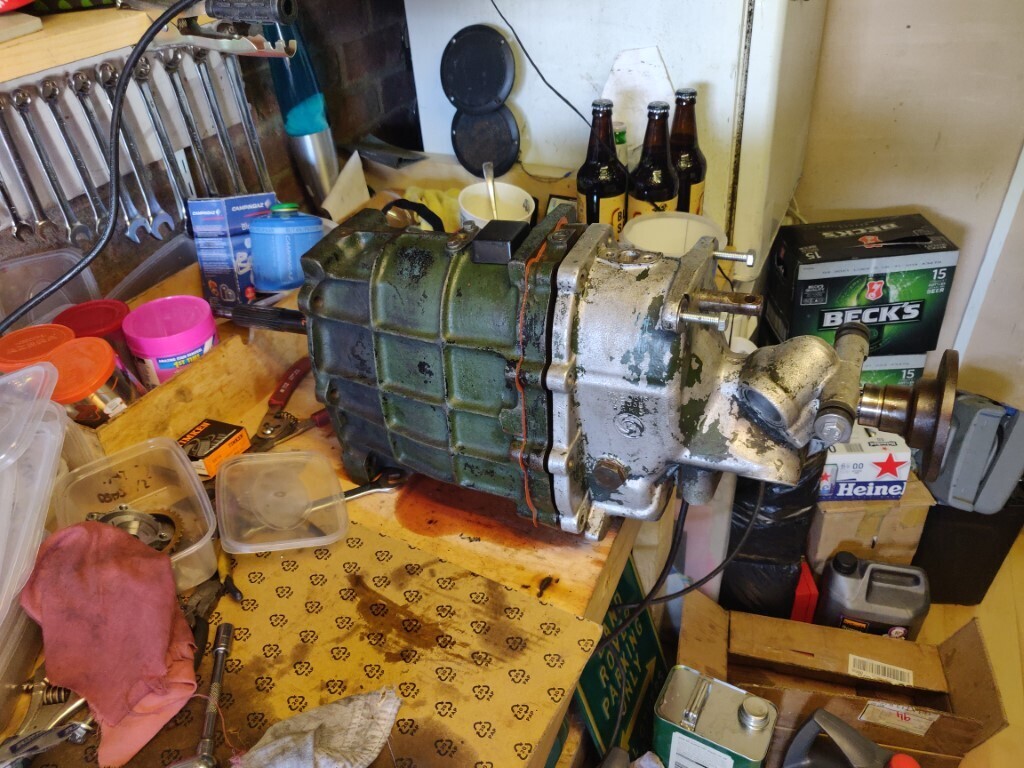
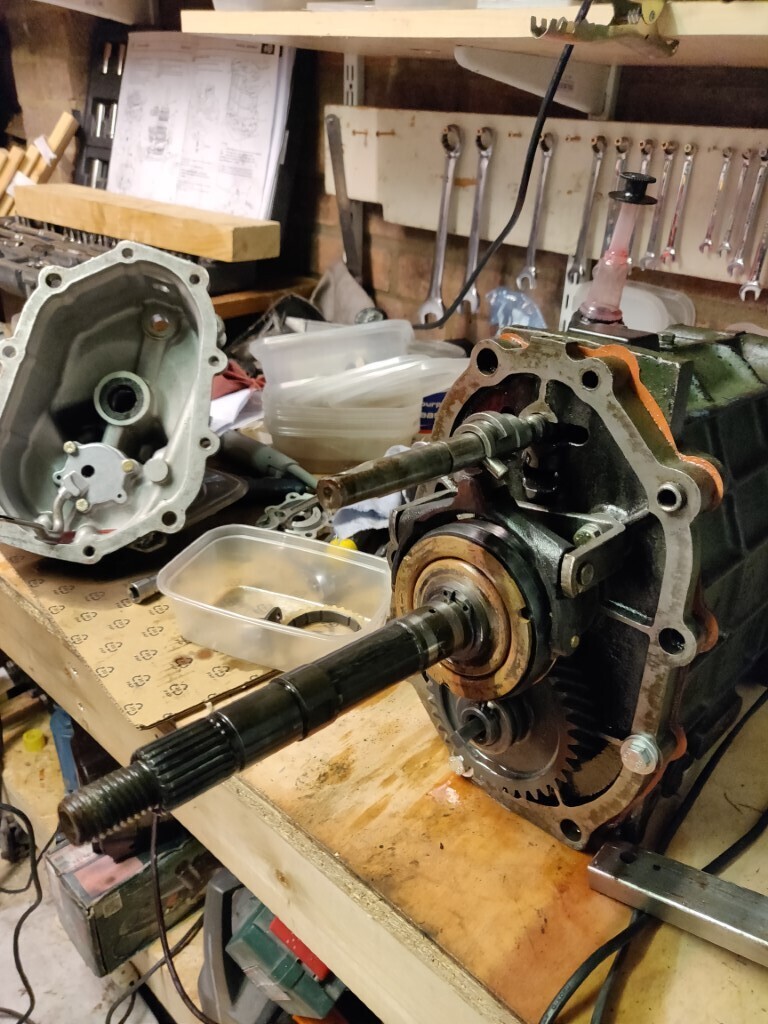
And phew! I almost had a complete gearbox again...


 . I chickened out and decided that I would refit the original 5th hub.
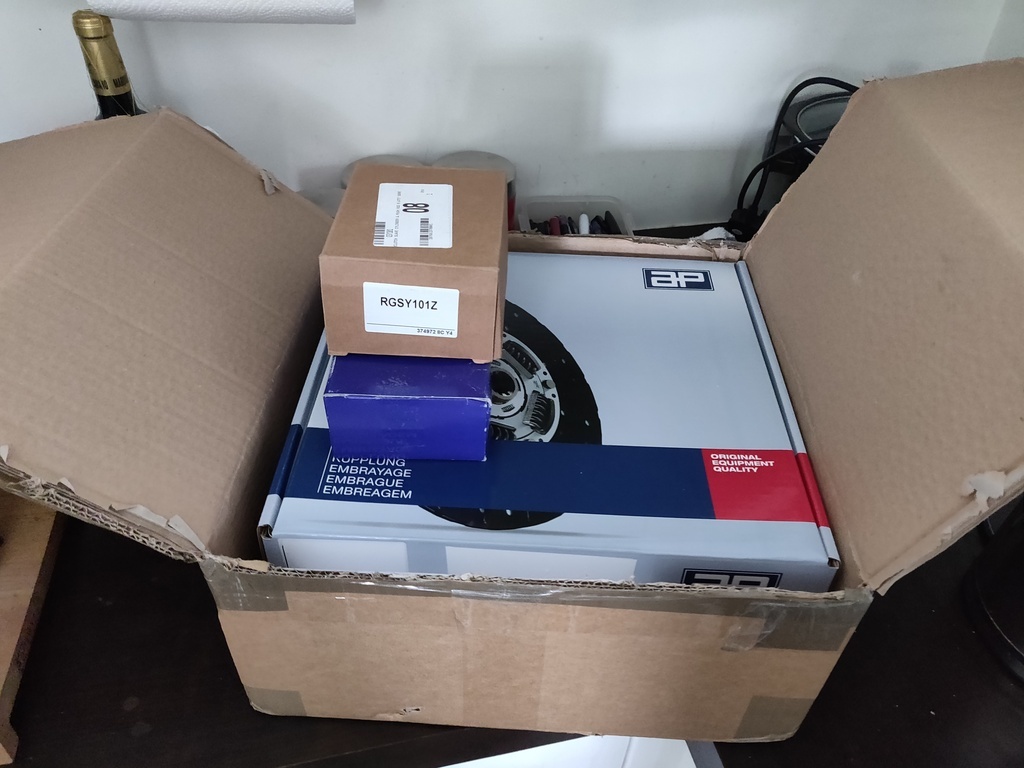
 :
: 


 :
: