|
|
|
Mar 31, 2019 17:17:10 GMT
|
I look forward to all your posts. Question: if cost/time were no object, would you use lead rather than filler to build up that work around the offside tail-lamp for greater durability, or is that not a concern? Thank you, John. You could have used lead but we are not talking about any great depth - it would be very award to shape lead back in such a tight profile but given time it is perfectly doable - However the modern 4th / 5th generation polyester fillers of today are far removed from the original polyester fillers and if used on correctly prepared surfaces are equally if not better than lead loading - the only thing I don't attempt to do with polyester fillers is utilise it to repair deep panel damage - other considerations when using lead have to be weight added to the vehicle & creating further panel distortion by the use of heat required to apply lead / body solder in the first place |
| |
Last Edit: Mar 31, 2019 17:21:51 GMT by Deleted
|
|
|
|
|
|
|
|
|
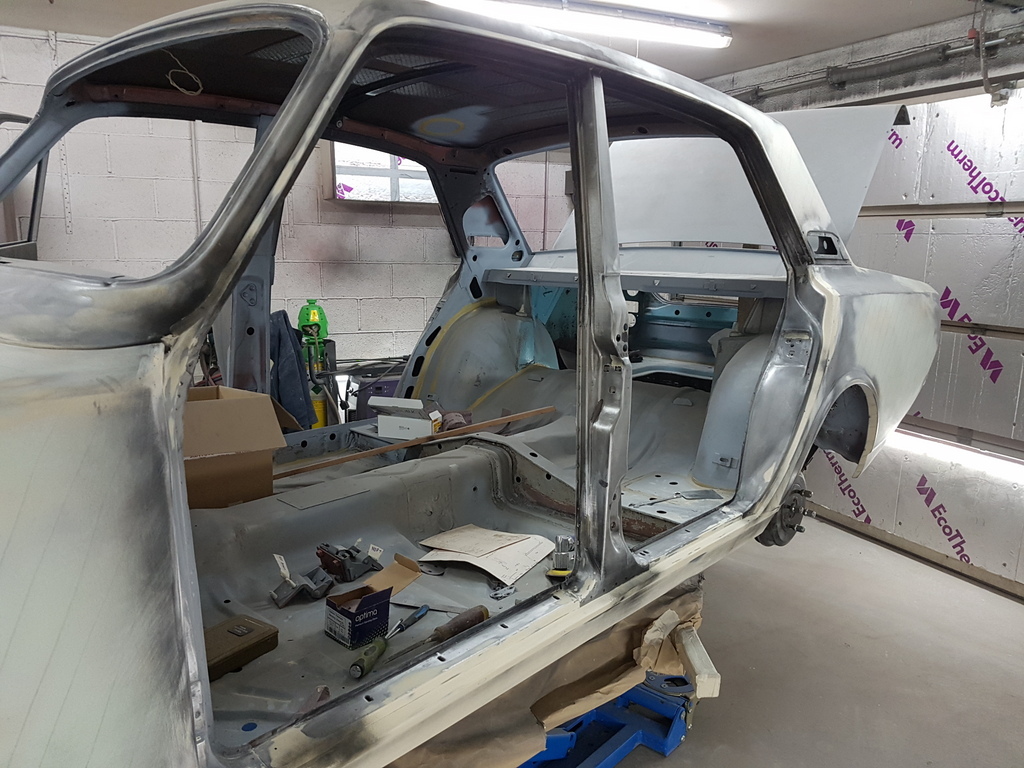 Door apertures now complete 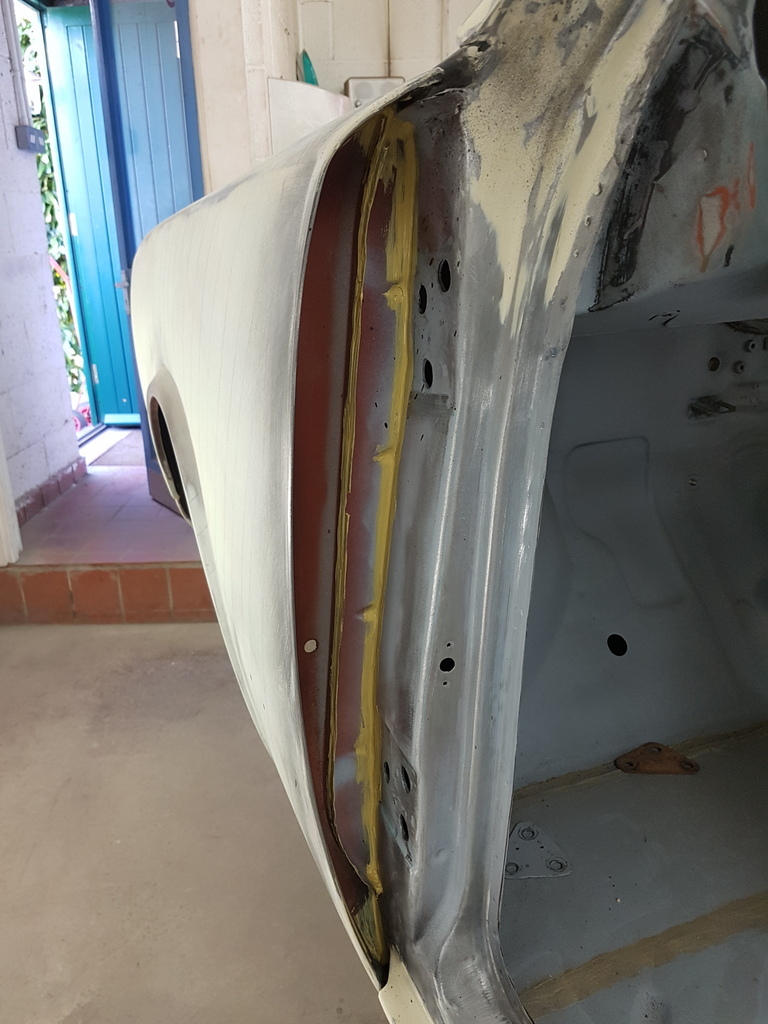 Applied seam sealer to the wing flange edges whilst the door was off and allowed access (this would not have been undertaken at the factory when the car was new but is a prudent measure on my terms - the other side will also likewise be sealed hence not allowing water to run under any of the flange seams and form rust 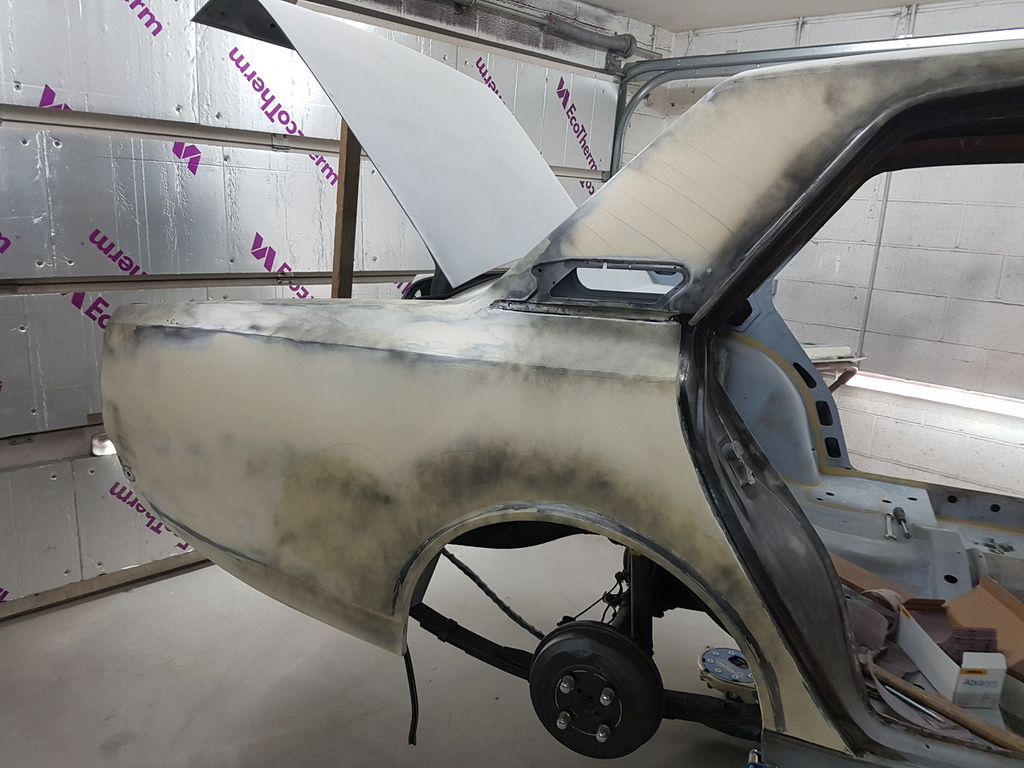 Further works to the offside rear wing 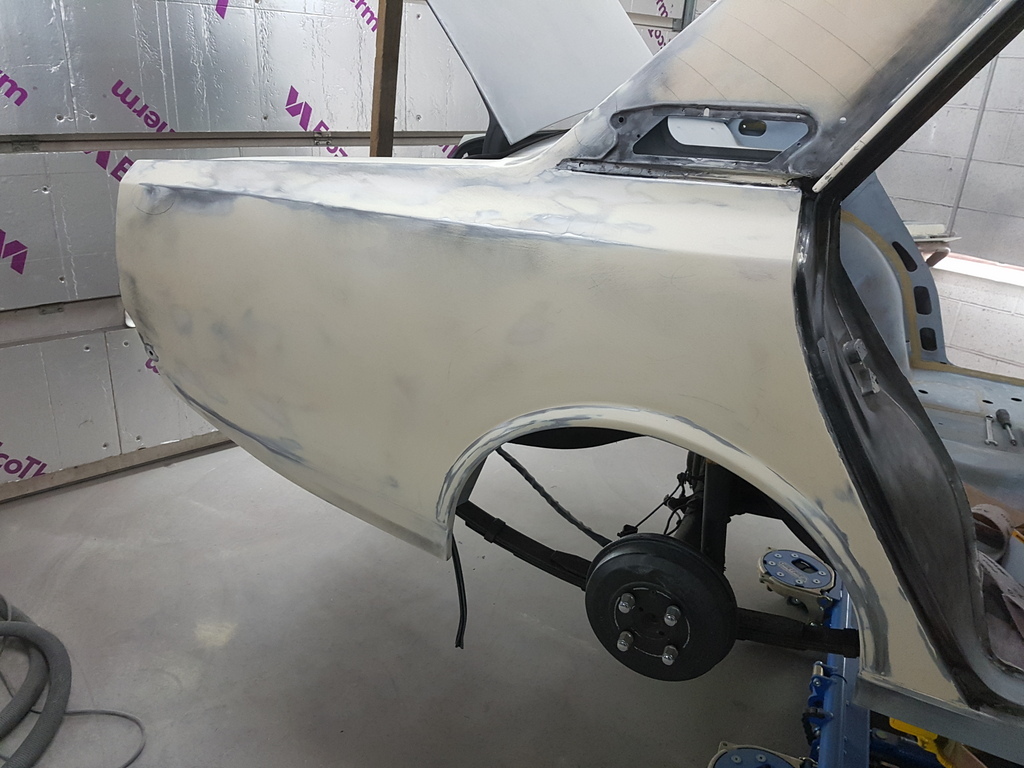 Along with the lamp aperture 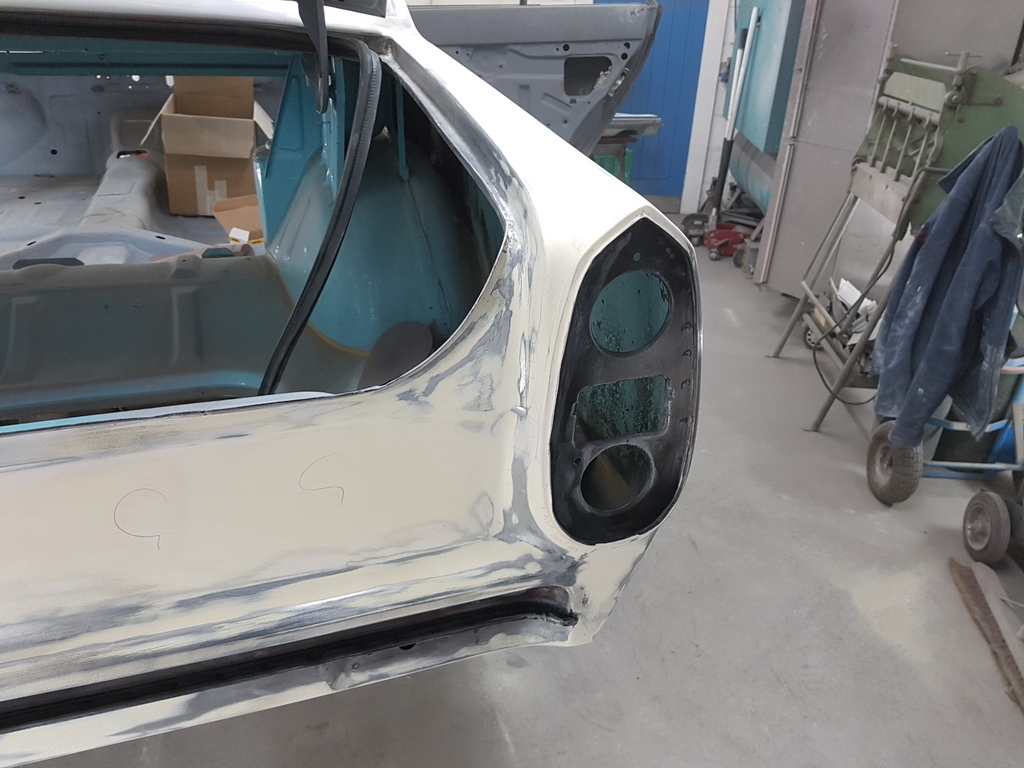 I keep telling myself that it is very close to being complete on the profiles 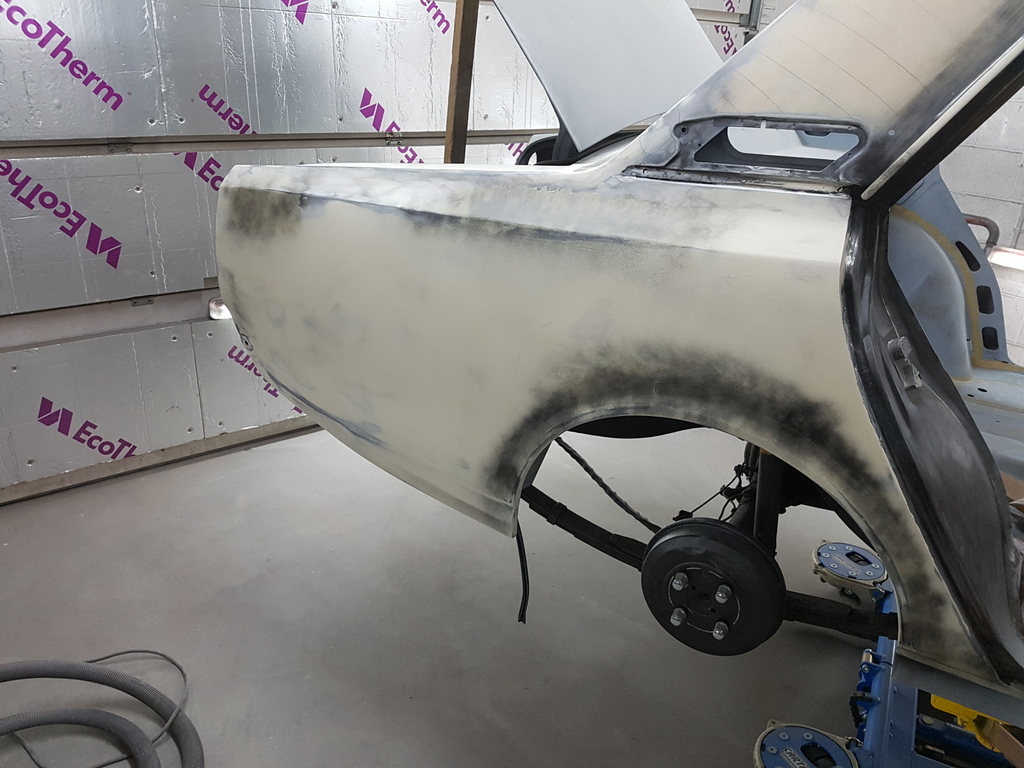 Then just finding a little more detail is required - But it is very close none the less 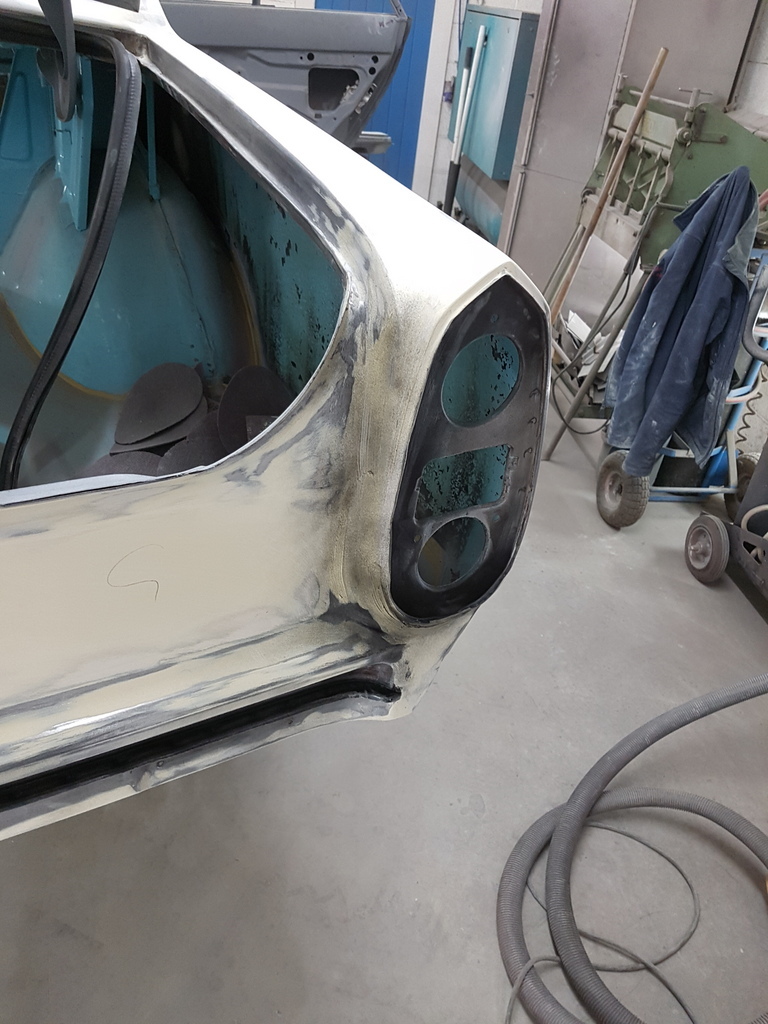 And with the nearside door shells complete along with the apertures the doors can be refitted for a final panel alignment / gapping check 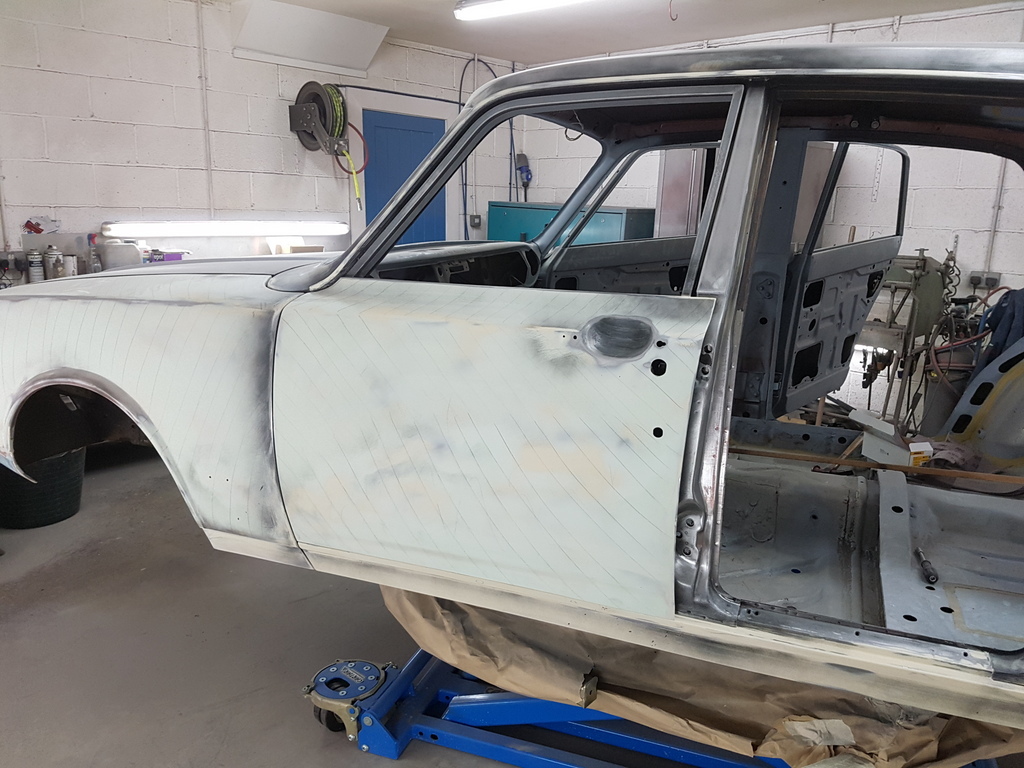 More tomorrow |
| |
Last Edit: Apr 1, 2019 18:54:57 GMT by Deleted
|
|
|
|
|
|
|
|
I am really looking forward to seeing this go into paint!
|
| |
|
|
|
|
|
|
|
I am really looking forward to seeing this go into paint! I can assure you that you are not the only one  |
| |
|
|
|
|
|
|
|
|
|
|
The only thing I like better than a new project in the shop is watching them go home at the end. So yeah, I get the stage you are at!
|
| |
|
|
|
|
|
|
|
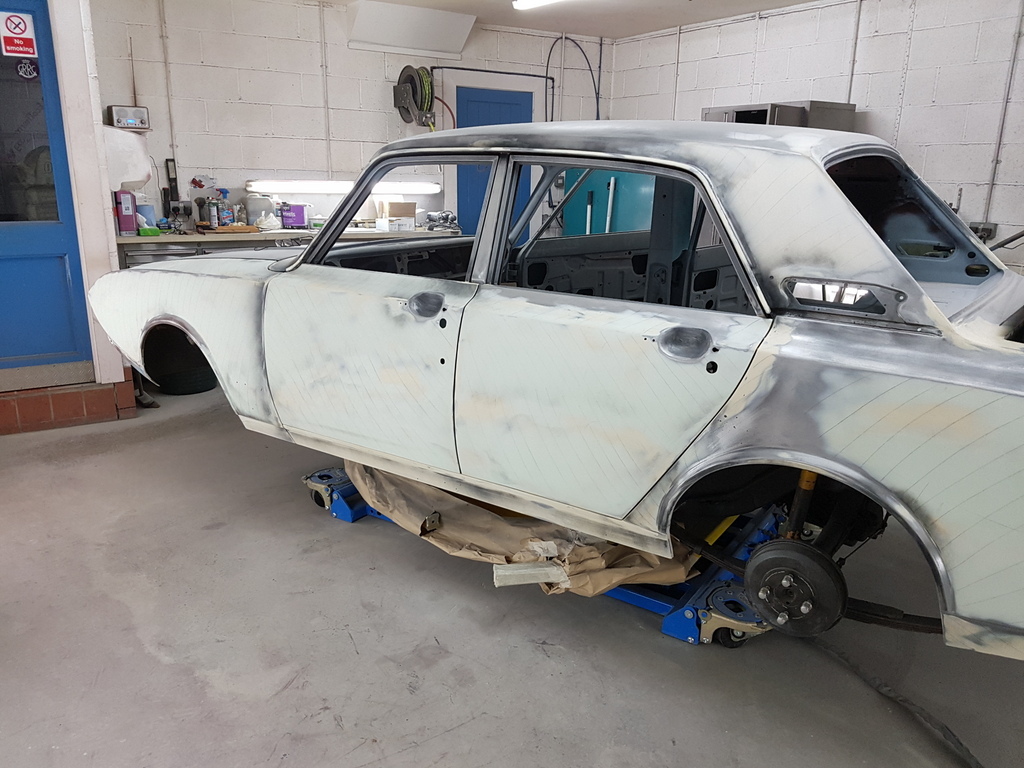 Nearside rear door back on 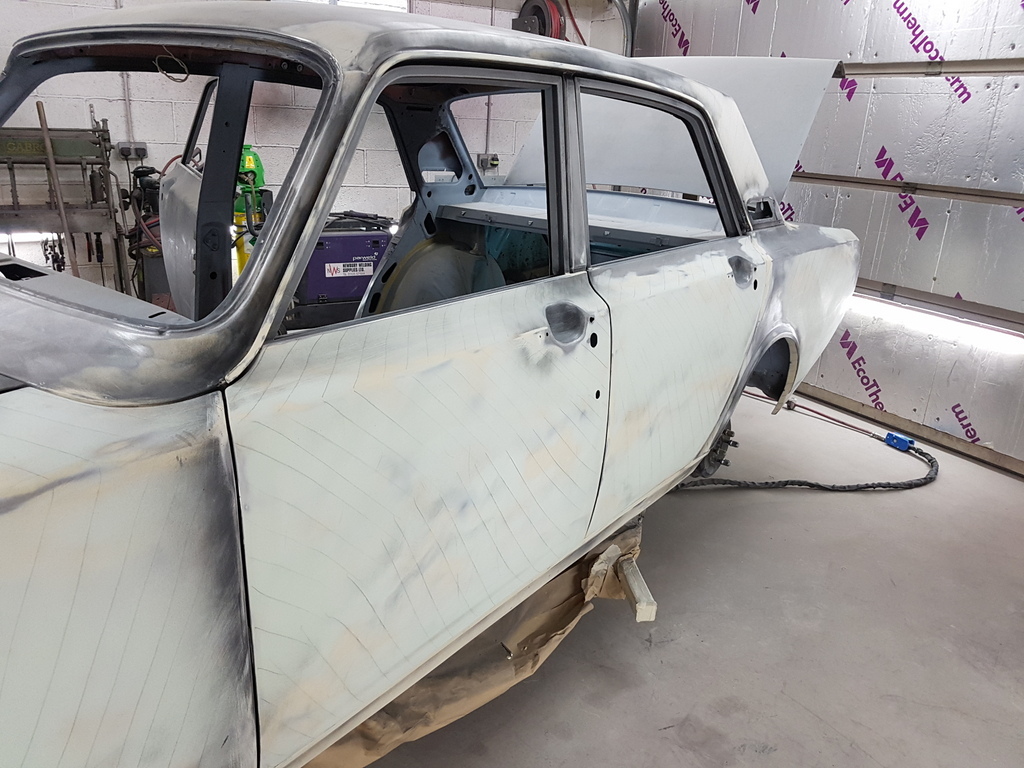 So that's all the profiles on the nearside completed & checked 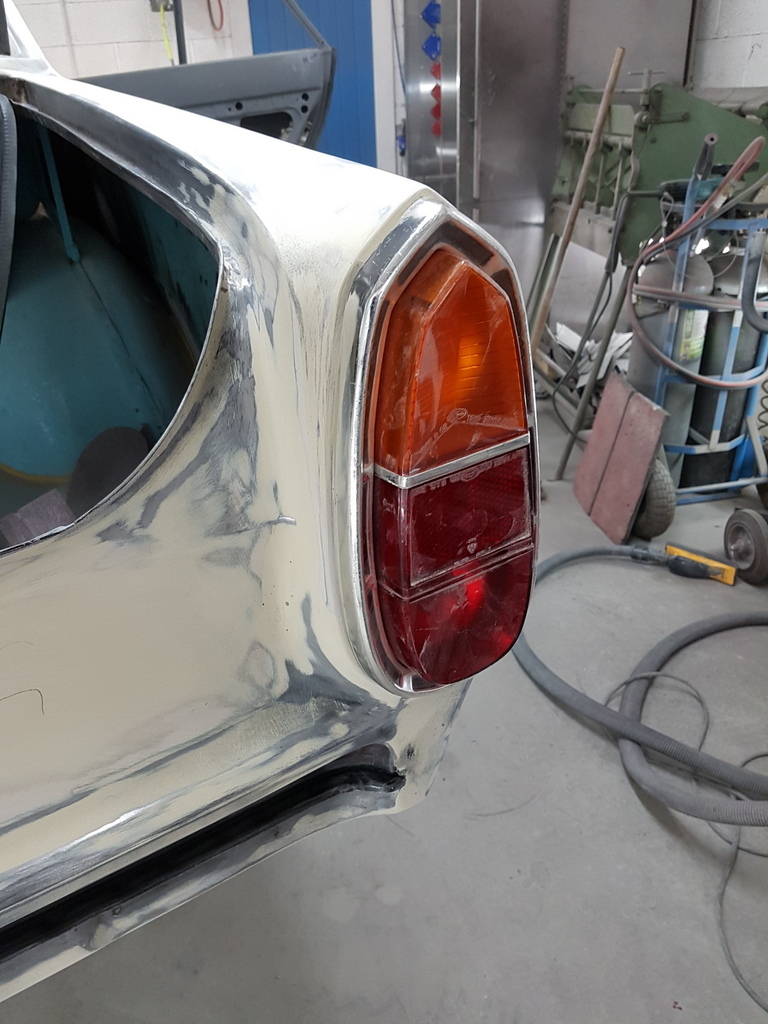 Back to the offside rear wing profiles 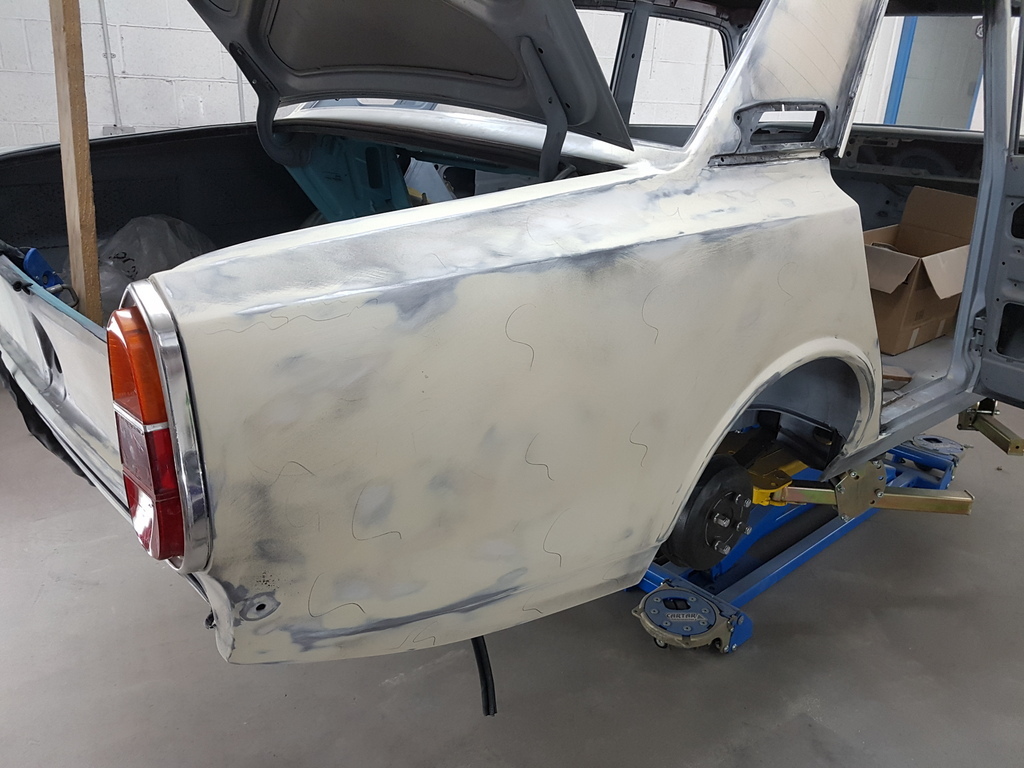 Which now just requires a skim of glaze over them 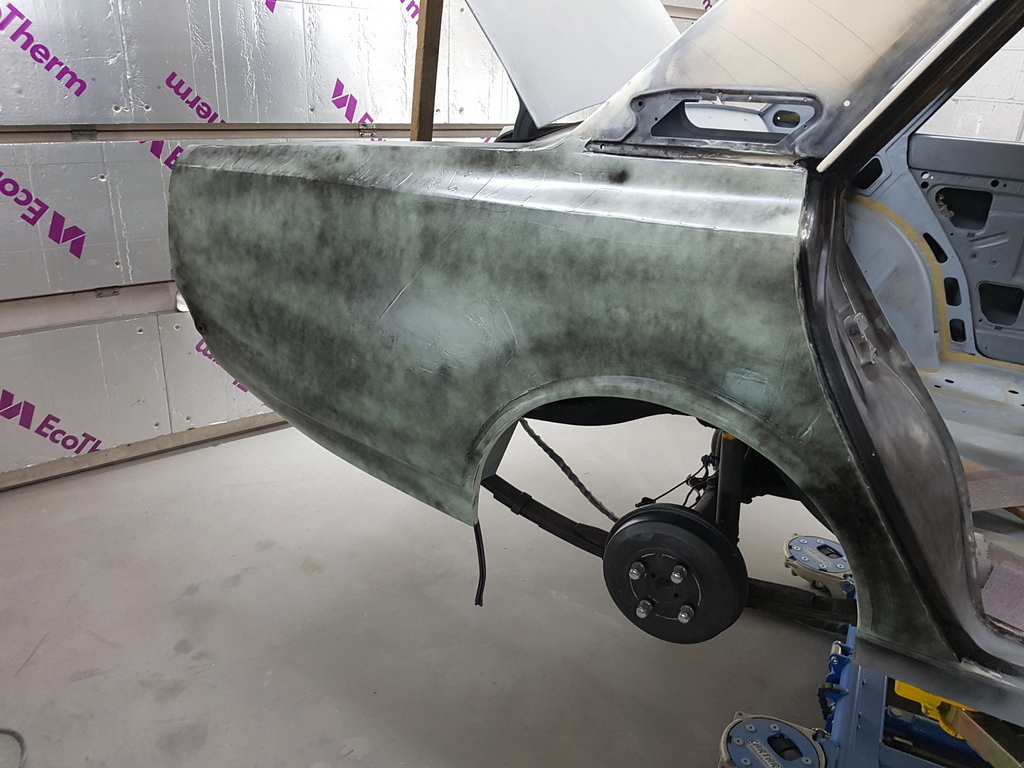 Like thus 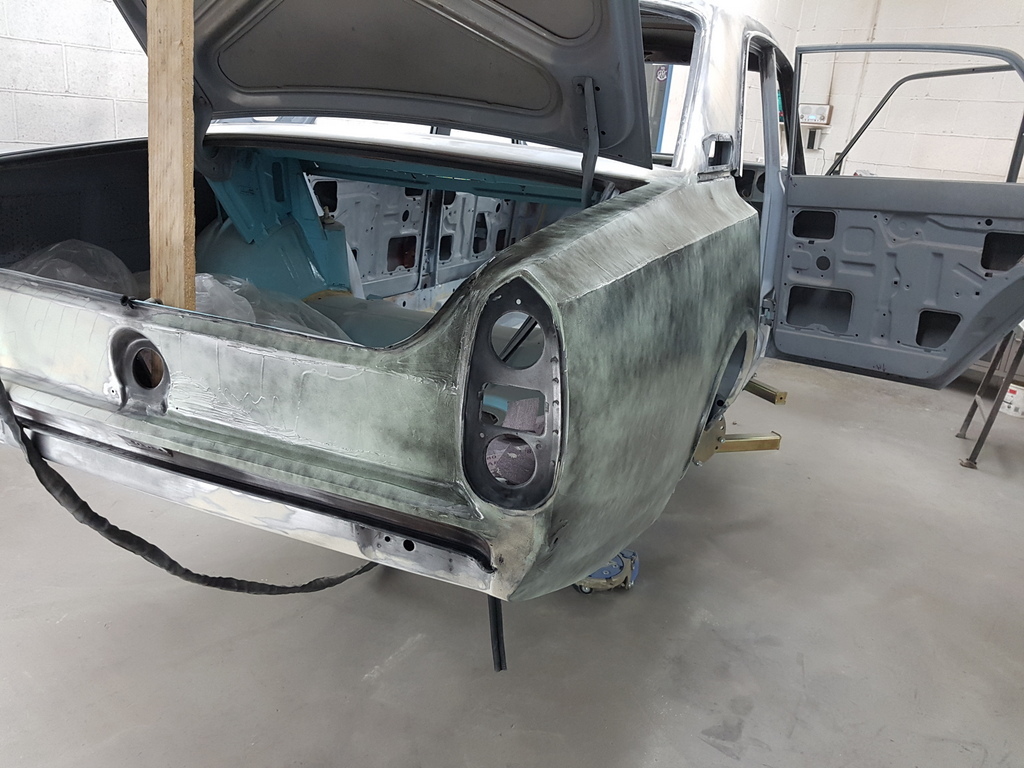 Blocked back once cured 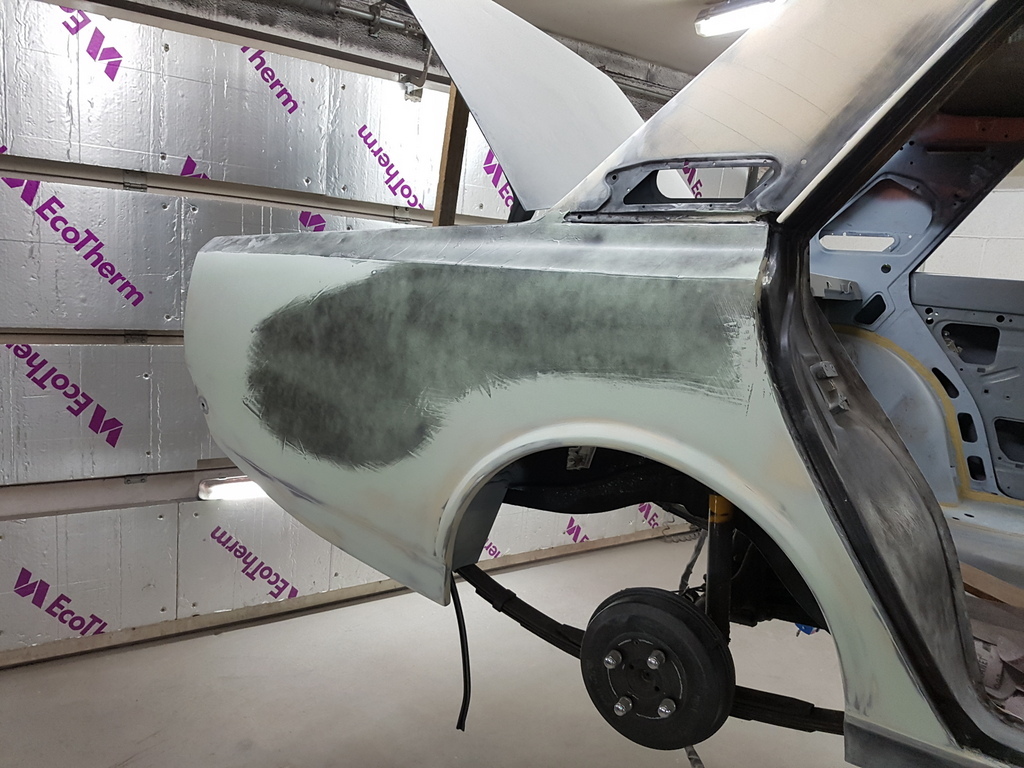 Will complete this in the morning 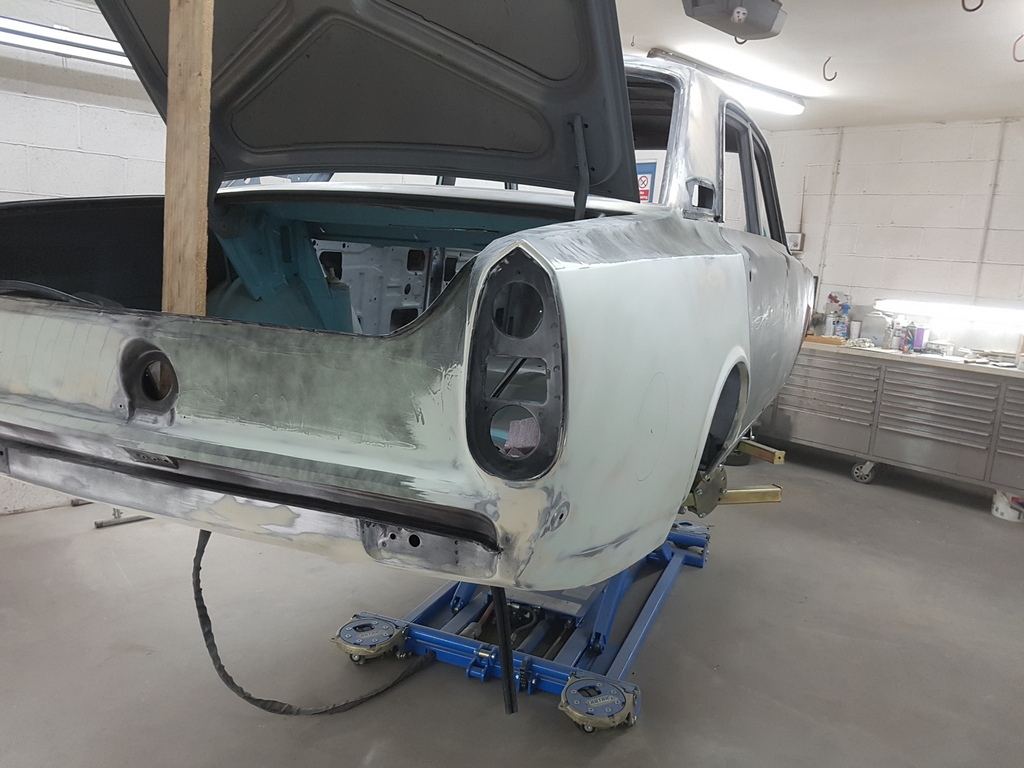 However it must be time to start another yet unprofiled panel 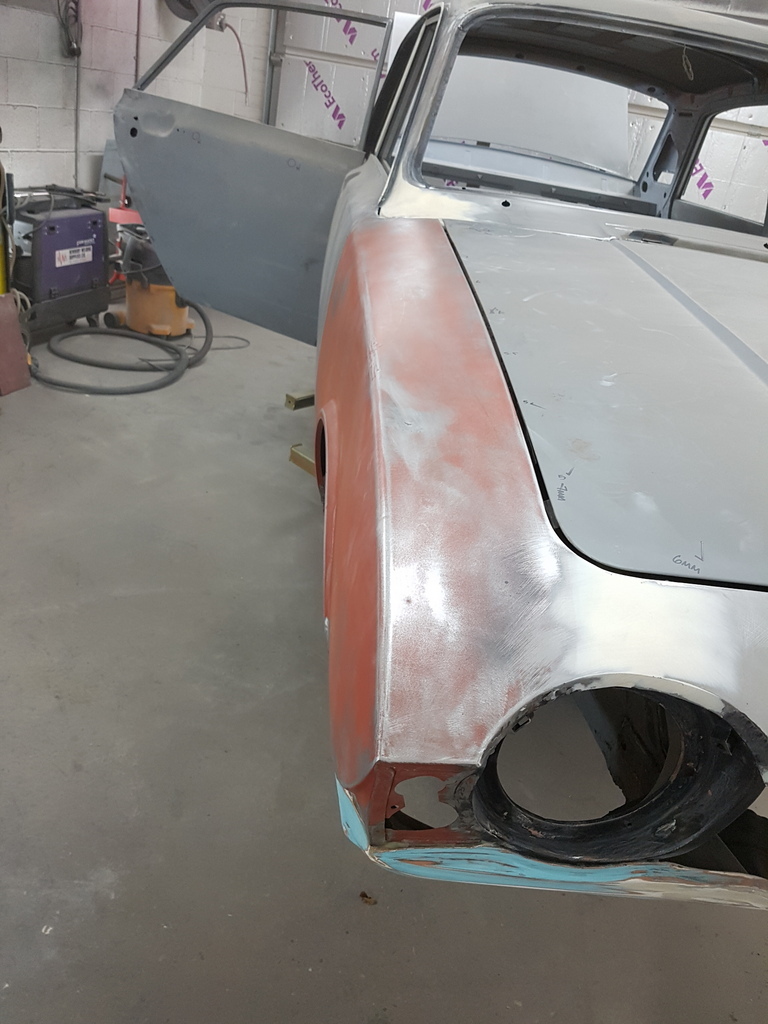 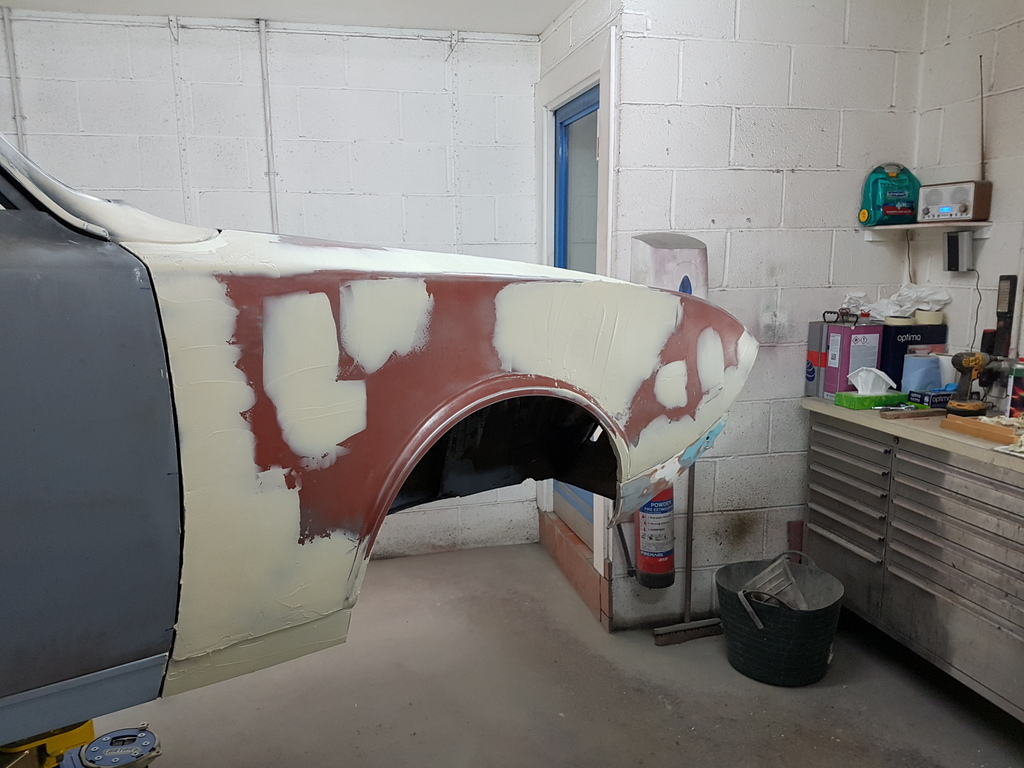 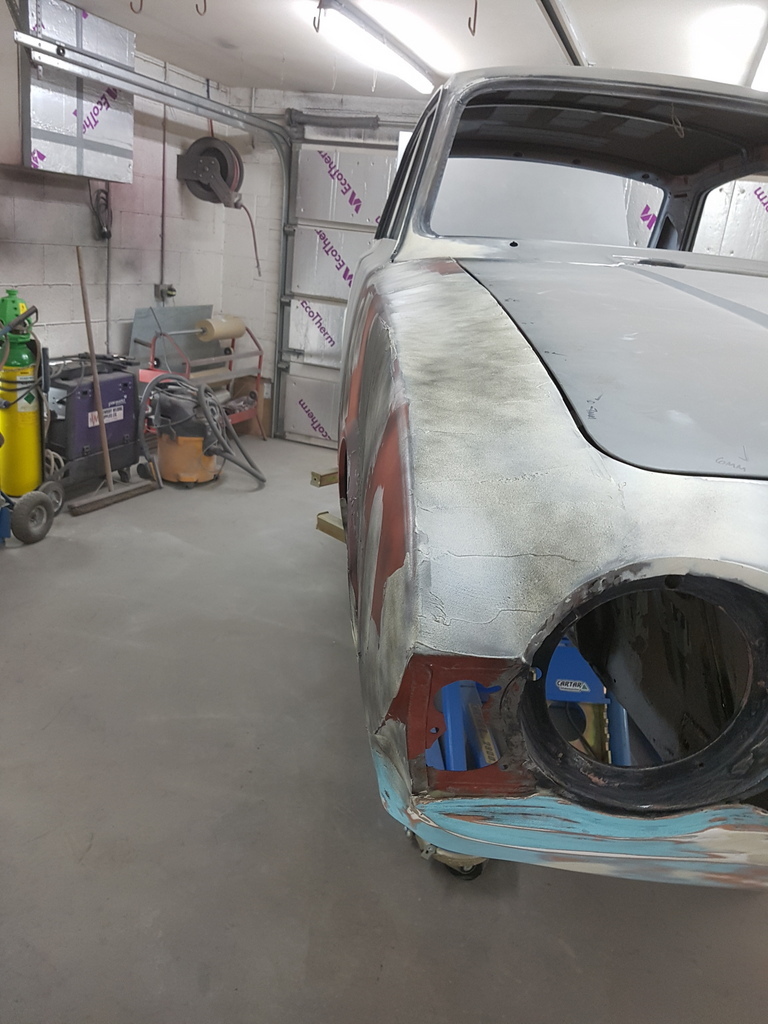 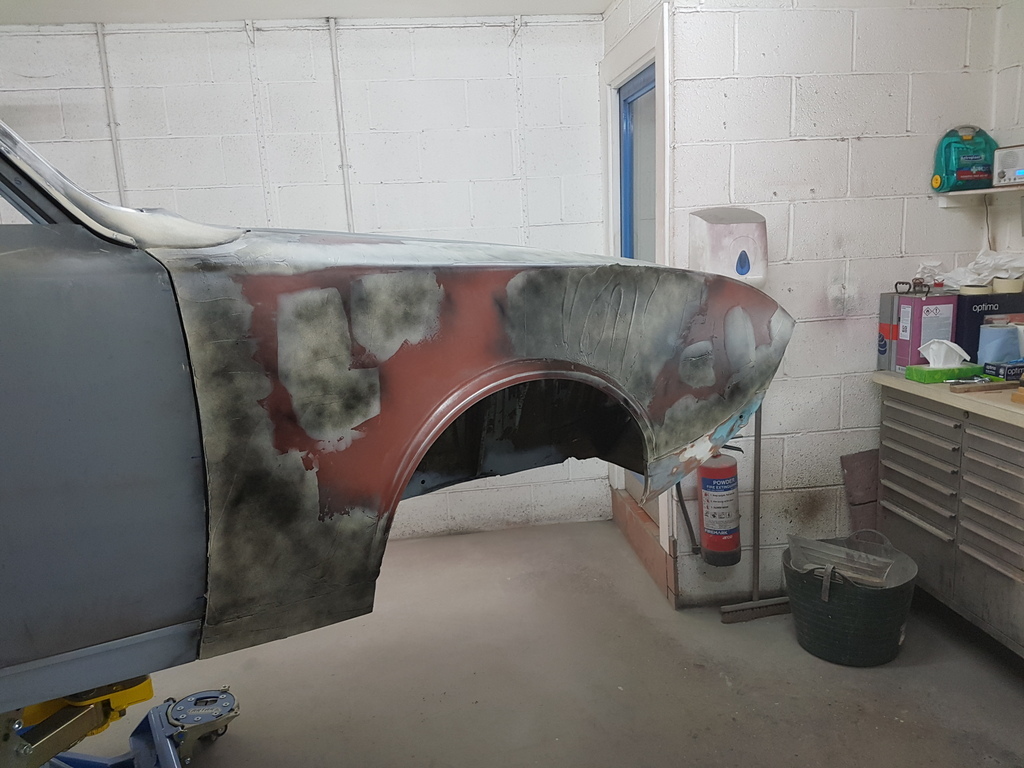 More tomorrow |
| |
|
|
keyring
Part of things
 
Posts: 913
Club RR Member Number: 47
|
|
|
|
|
You must sometimes feel like it’s never ending and every time you move to the next panel it all needs done again?
|
| |
|
|
|
|
|
|
|
You must sometimes feel like it’s never ending and every time you move to the next panel it all needs done again? Its a monotonous process and you just have to keep yourself both motivated & focused - its absolutely pointless painting over the top of bent / dented / warped panels when you have gone to these extents with getting the cars structure corrected |
| |
Last Edit: Apr 2, 2019 20:13:19 GMT by Deleted
|
|
keyring
Part of things
 
Posts: 913
Club RR Member Number: 47
|
|
|
|
You must sometimes feel like it’s never ending and every time you move to the next panel it all needs done again? Its a monotonous process and you just have to keep yourself both motivated & focused - its absolutely pointless painting over the top of bent / dented / warped panels when you have gone to these extents with getting the cars structure corrected I can imagine! And I have no doubt that when you see the finished article and the reaction from the owner.... But yeah, as i think I’m right in saying, any small blemishes only get highlighted and made to look worse once paint is on top! |
| |
|
|
moglite
Part of things
 
Posts: 815  Club RR Member Number: 144
|
|
|
|
|
Who'd have thought watching somebody sanding filler would be so riveting ?
Can't help feeling you are putting in too many hours for the eventual matt white paint job though.
I'll get my coat......
|
| |
1967 Morris Oxford Traveller
1979 Toyota LandCruiser BJ40
1993 Daimler Double Six
2007 Volvo XC70 2.4D
|
|
|
|
|
|
|
I think you need to have a certain amount of patience in your personality to do really good prep work for paint, something both Chris & I have in spades which is fortunate for both of us  |
| |
|
|
jamesd1972
Club Retro Rides Member
Posts: 2,922  Club RR Member Number: 40
|
|
|
|
|
This is why I should only be trusted to paint Land Rovers, with a brush, outside.
As I said when I called in the car is better than new and a credit to your skills Chris.
James
|
| |
|
|
|
|
|
|
|
|
more profiling than the FBI during ted bundy case
|
| |
|
|
|
|
|
|
|
Now when you look at the Corsair at this stage 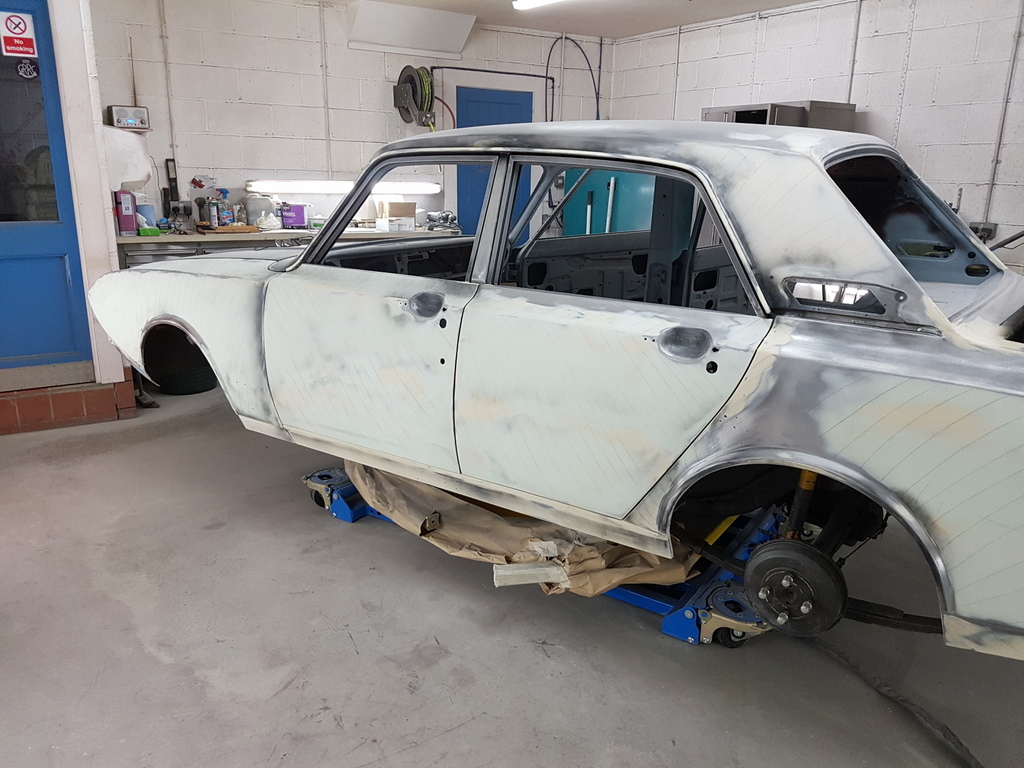 You could form an opinion that the car is full of filler - but you need remember that this is just a thin skimming in order to correct the profile contours of a 50 year old car that is largely still wearing the majority of it's outer (and inner) body panels add to this the fact that the car underwent a basic restoration in the early 90's and much of the work that I have undertaken has been correcting the work undertaken during the first restoration 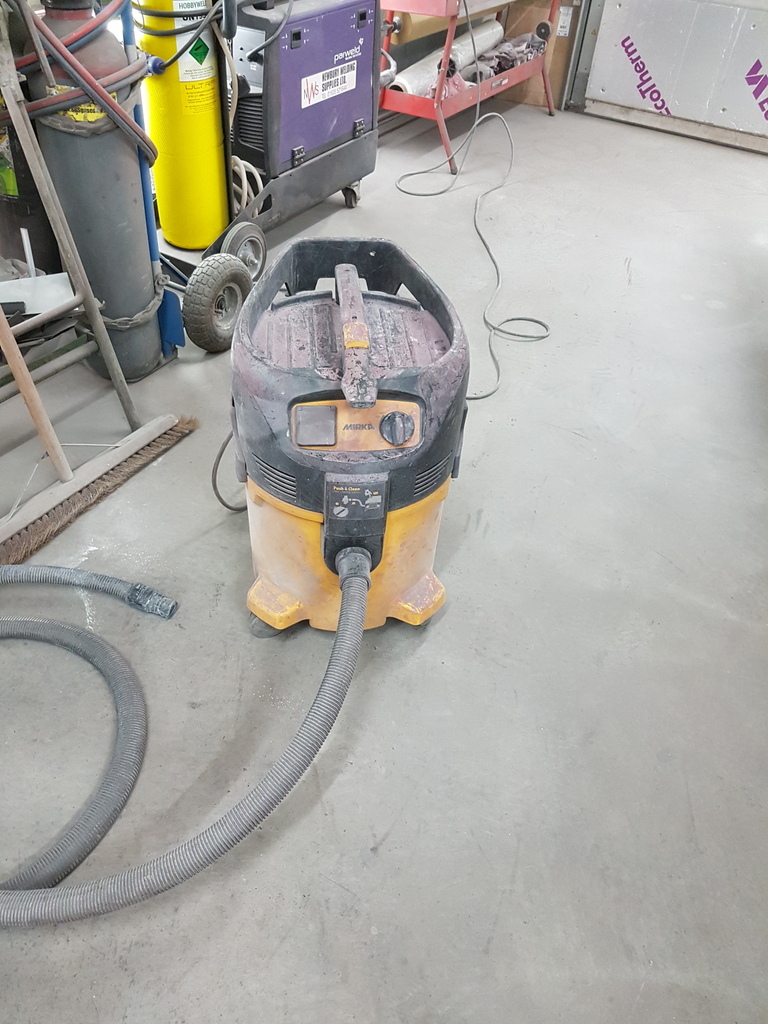 95% of my profiling work involves this which provides for virtually dust free sanding - and much of what gets applied in the form of polyester filler to the vehicles panels gets profiled back off to leave the thin skimming that corrects the profiles in preparation for the final paint 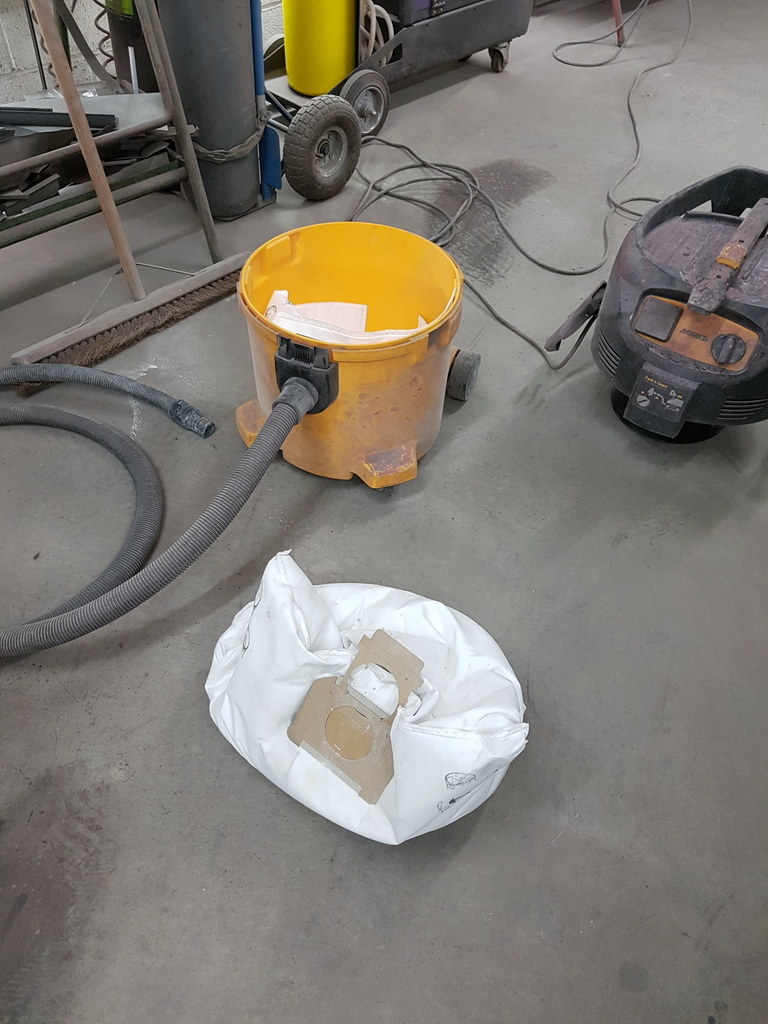 And to prove the case I renewed the hoover bag yesterday (for the second time during the profiling process of the cars bodyshell) it weighed 8 kilos - a clear indicator has to how much comes back off the panels during the profiling process 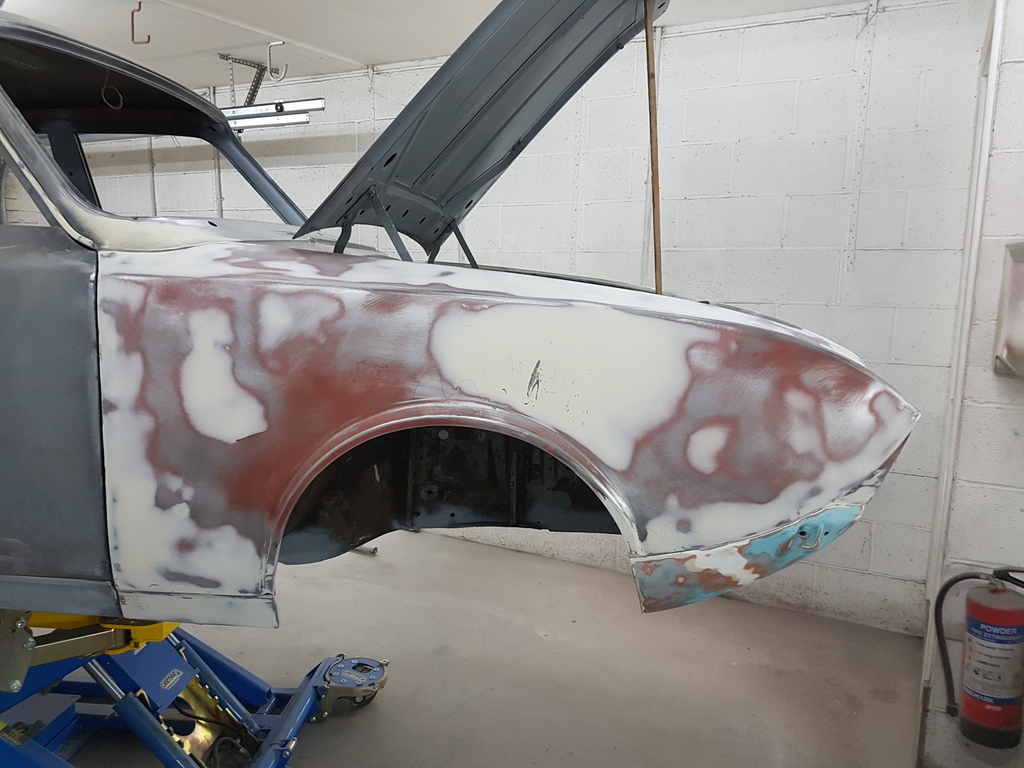 Offside front wing after the initial skim 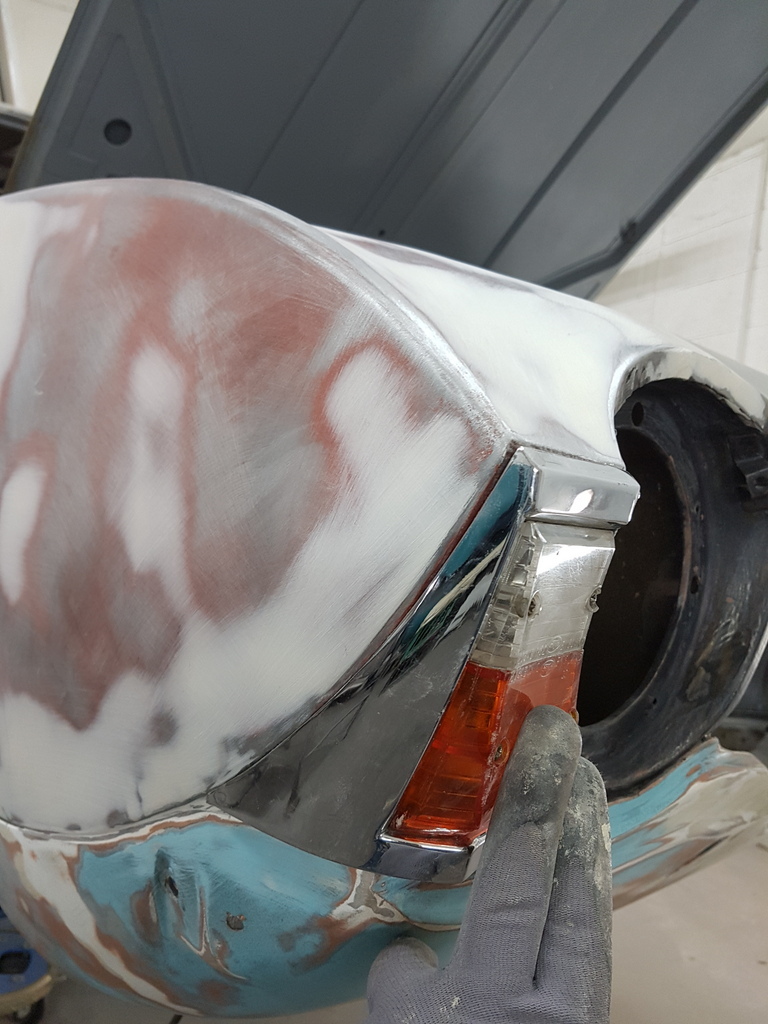 Profile fitting checks on the indicator / side lamp 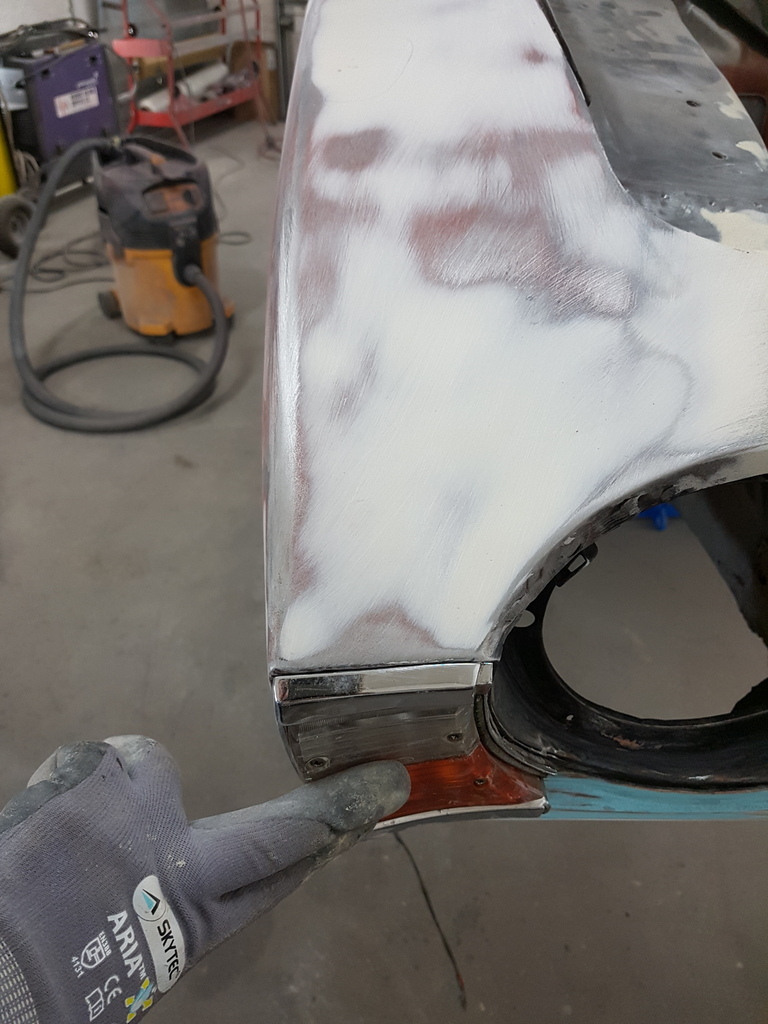 Second skim on 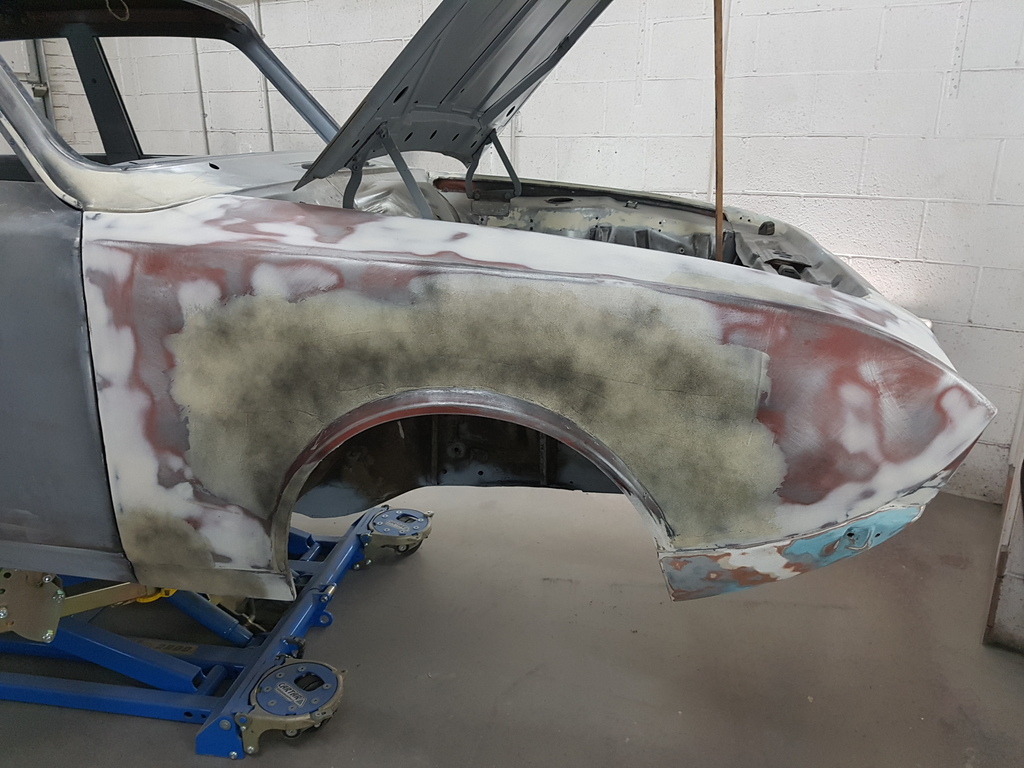 And its going to take several more before it's anything like corrected - more later |
| |
Last Edit: Apr 4, 2019 10:29:23 GMT by Deleted
|
|
63v8
Part of things
 
Posts: 232
|
|
|
|
|
Lots of hard work so far but when painted and put back together it will be I would think the best looking Corsair ever built.
Like everyone else I can't wait to see it shine.
|
| |
|
|
|
|
|
|
|
|
I was going to say, I bet 80-90% of the filler goes up the hoover
|
| |
|
|
|
|
|
|
|
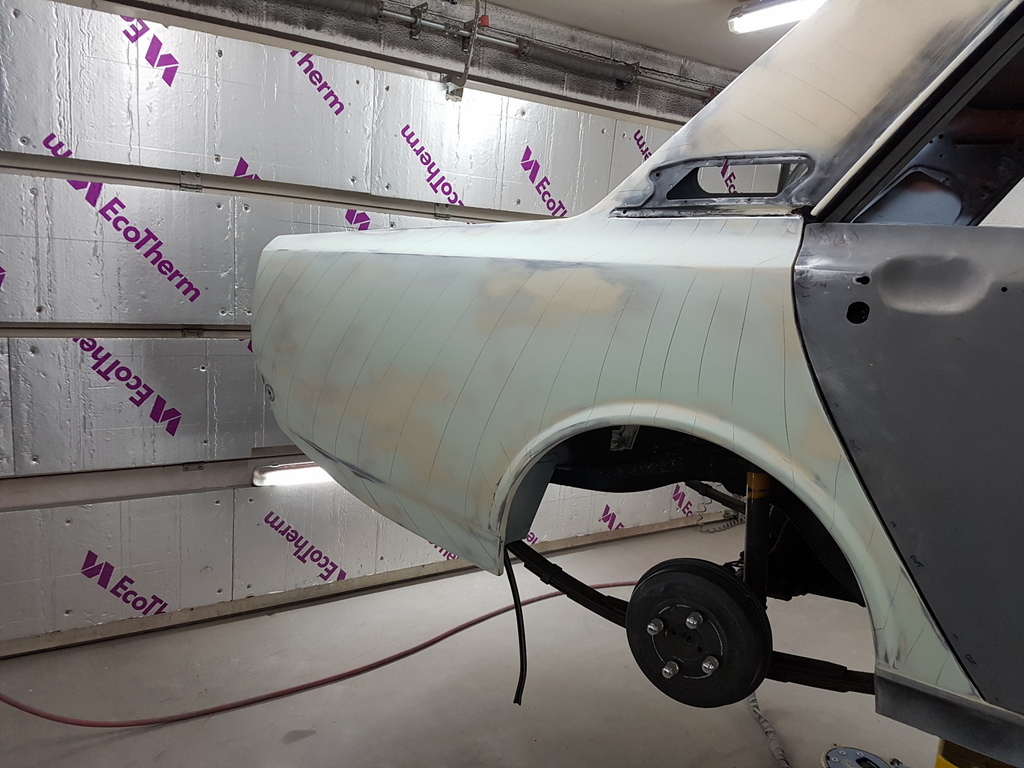 Offside rear wing profiles completed 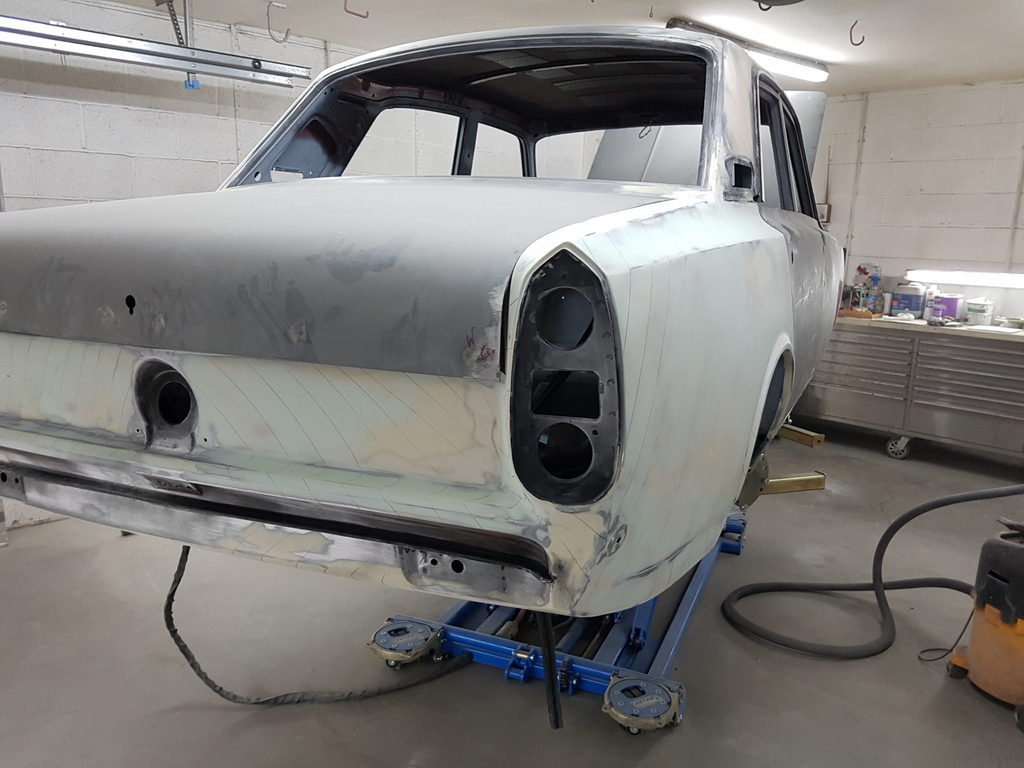 Boot lid was next on the list - this is one that was in better condition than the original one and was acquired by Pete 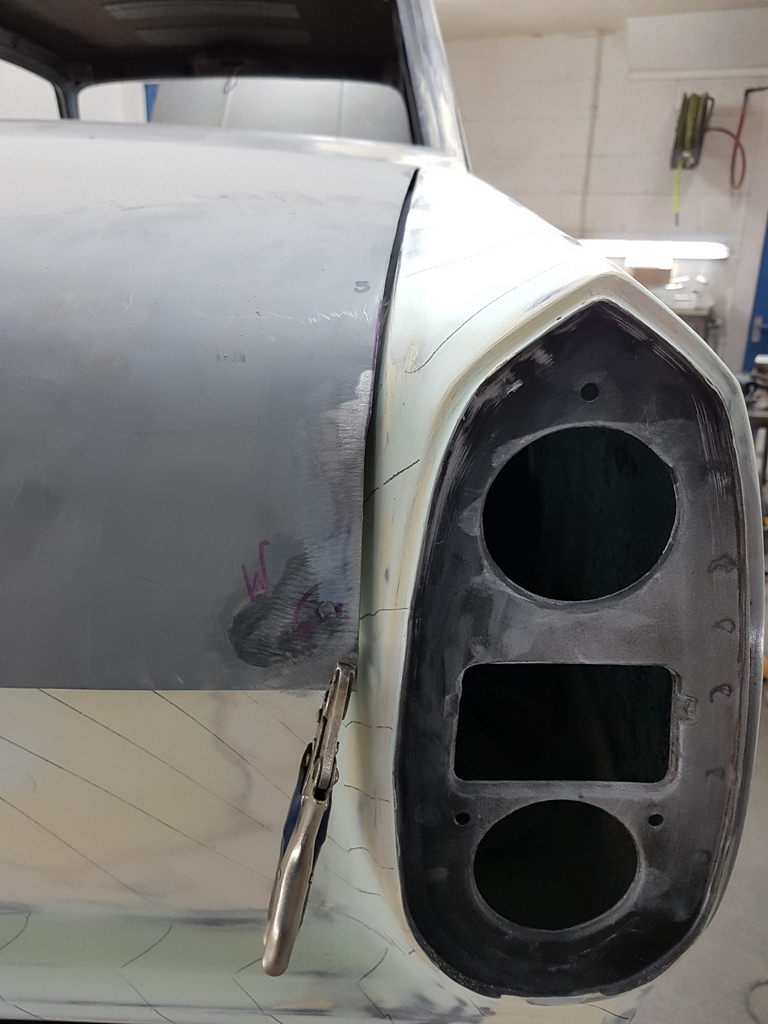 Far from a perfect fit though and I have had to reduce the closing width either side adjacent with the lamp apertures - which then required the skin rewelding has this had parted from the inner frame - then dressed back to suit 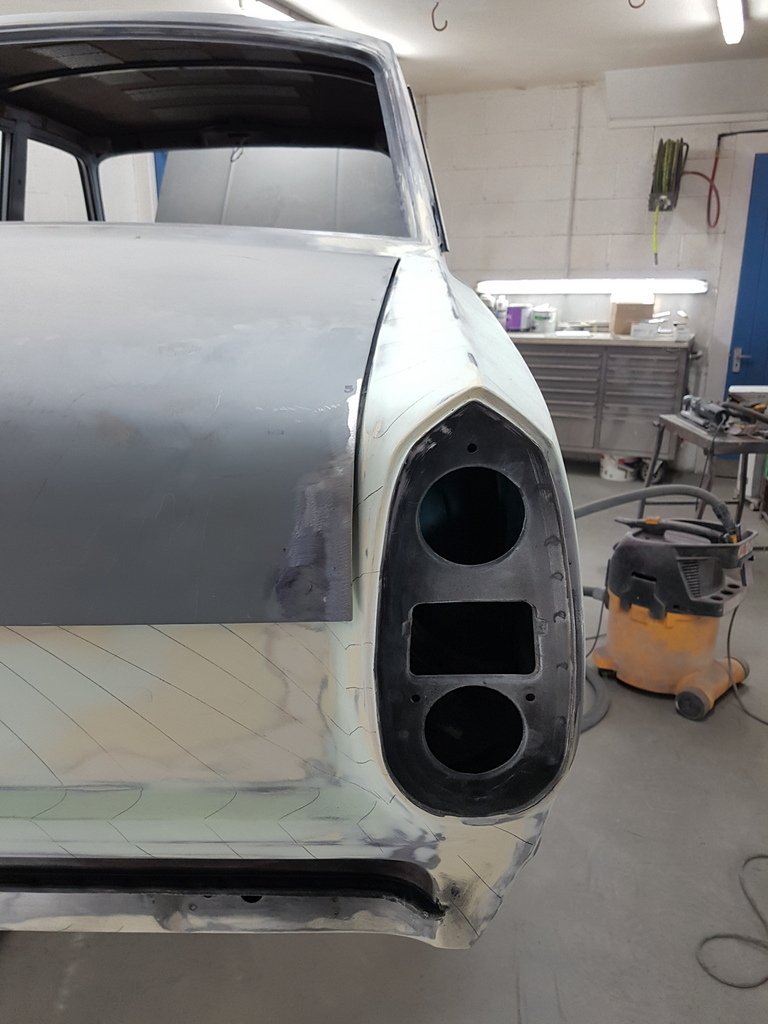 And the nearside 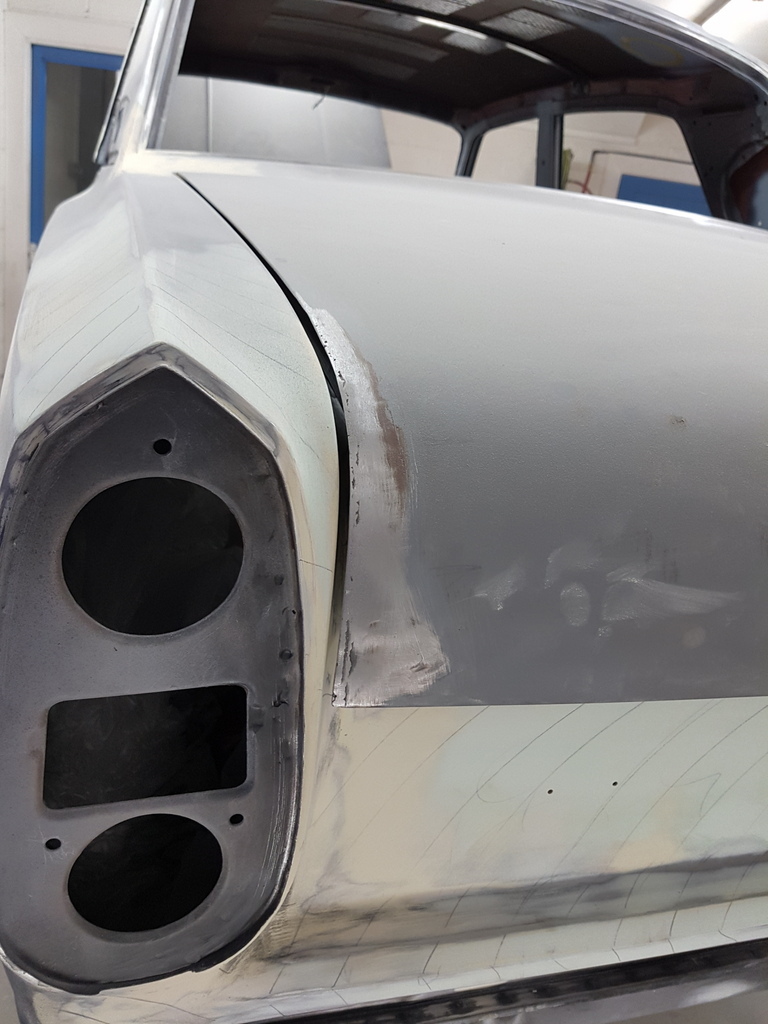 Then a check with the rear lamp fitted to the aperture 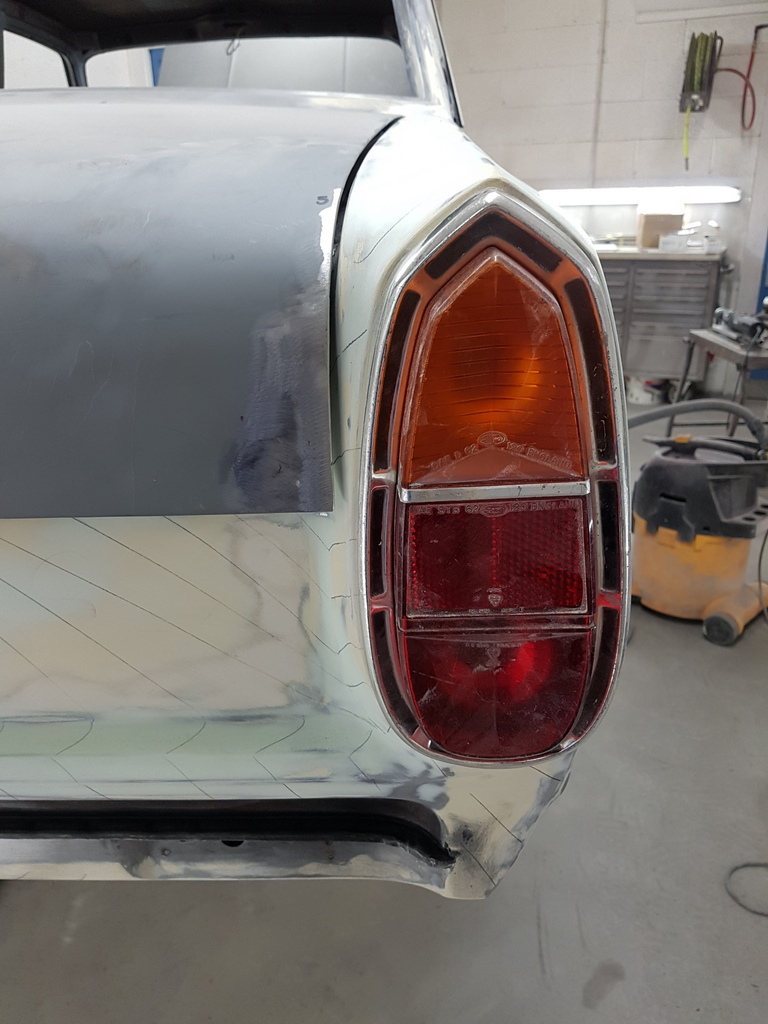 Final fit of the lid is odd though has the rear vertical stands off the aperture and leaves a gap - but this is factory intentional 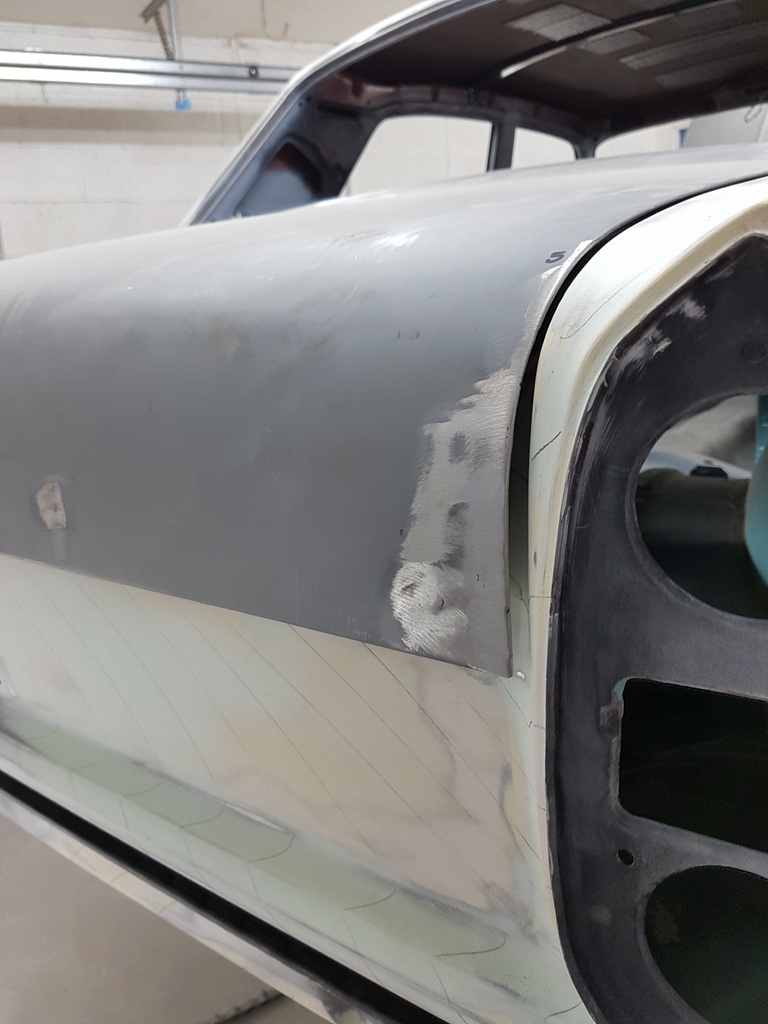 Has is the top of the rear doors that don't align with the swage profile return on the rear wings 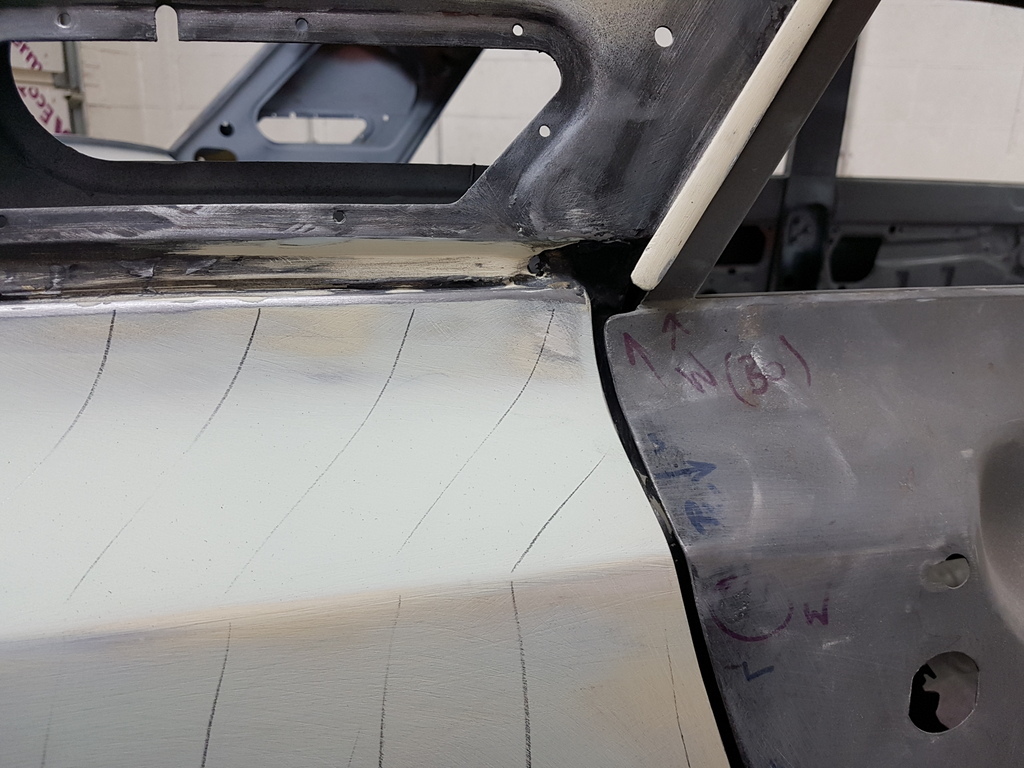 Knocked the surface of the boot skin back with 80's on the DA sander 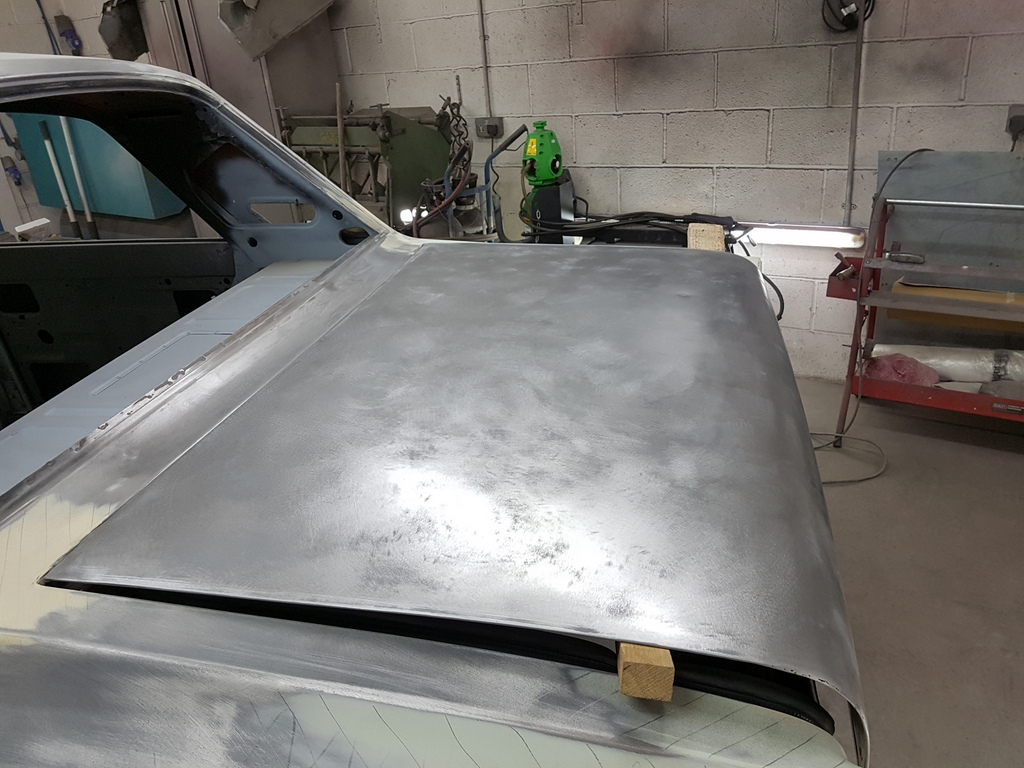 And guess what 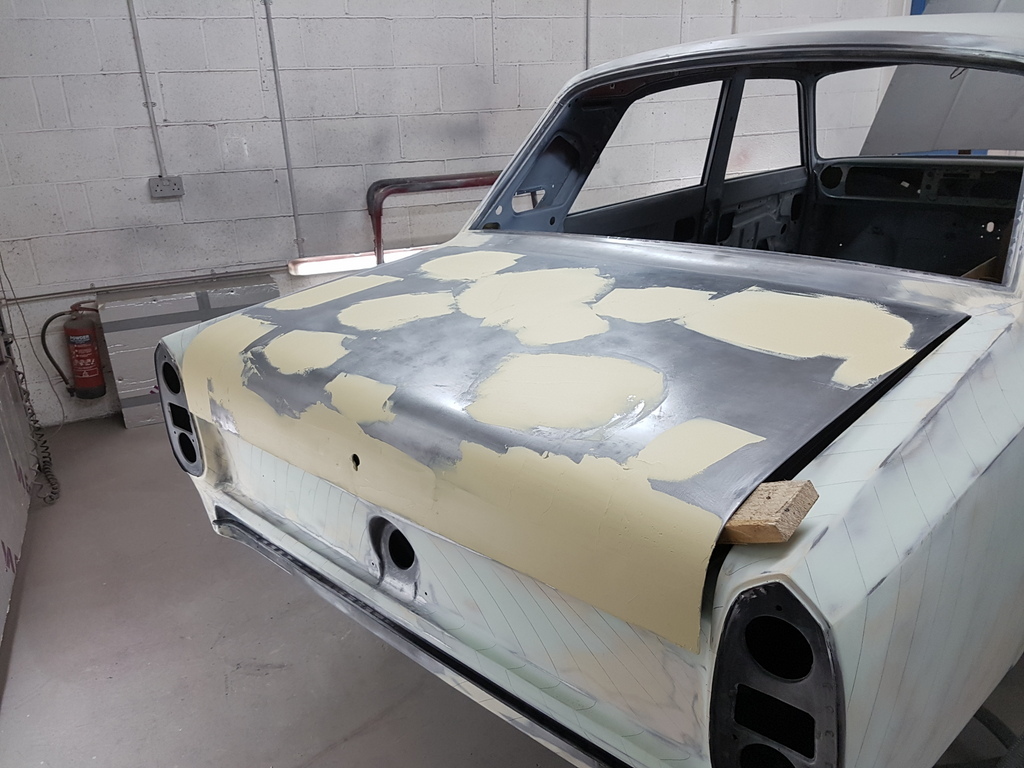 Its all over the place 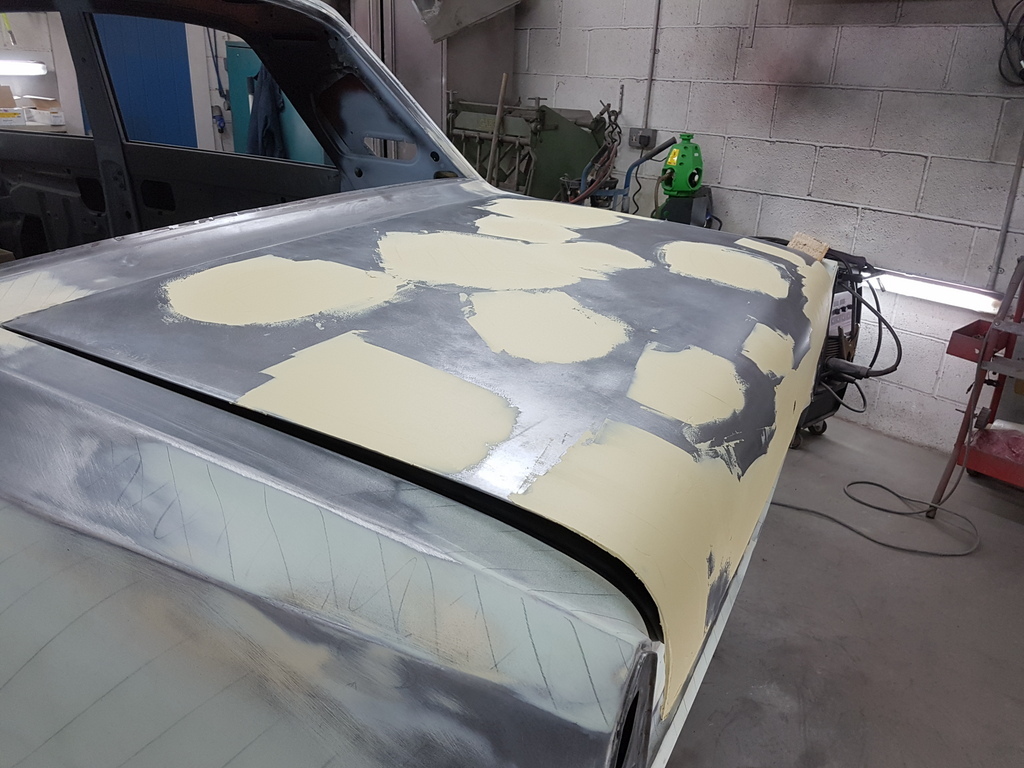 Tapped true where I could access it but there is cross brace on the inner frame that is quite restrictive 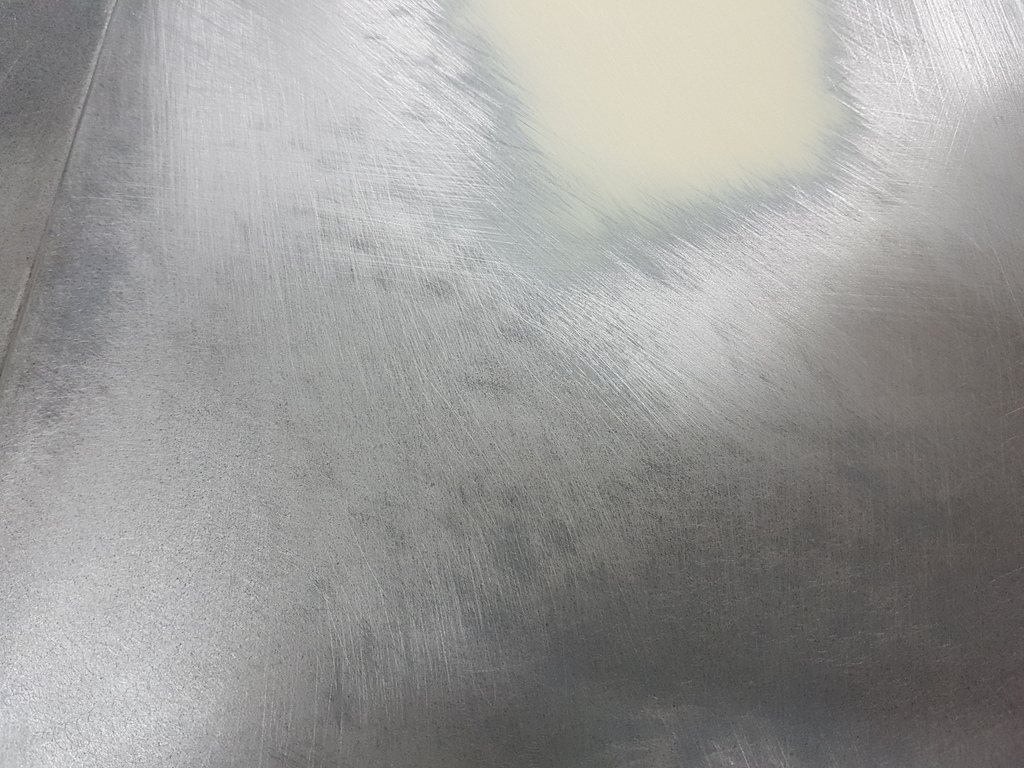 Plus its seen work before today - all the mottled areas are where someone has been at it with a fairly aggressive sanding disc 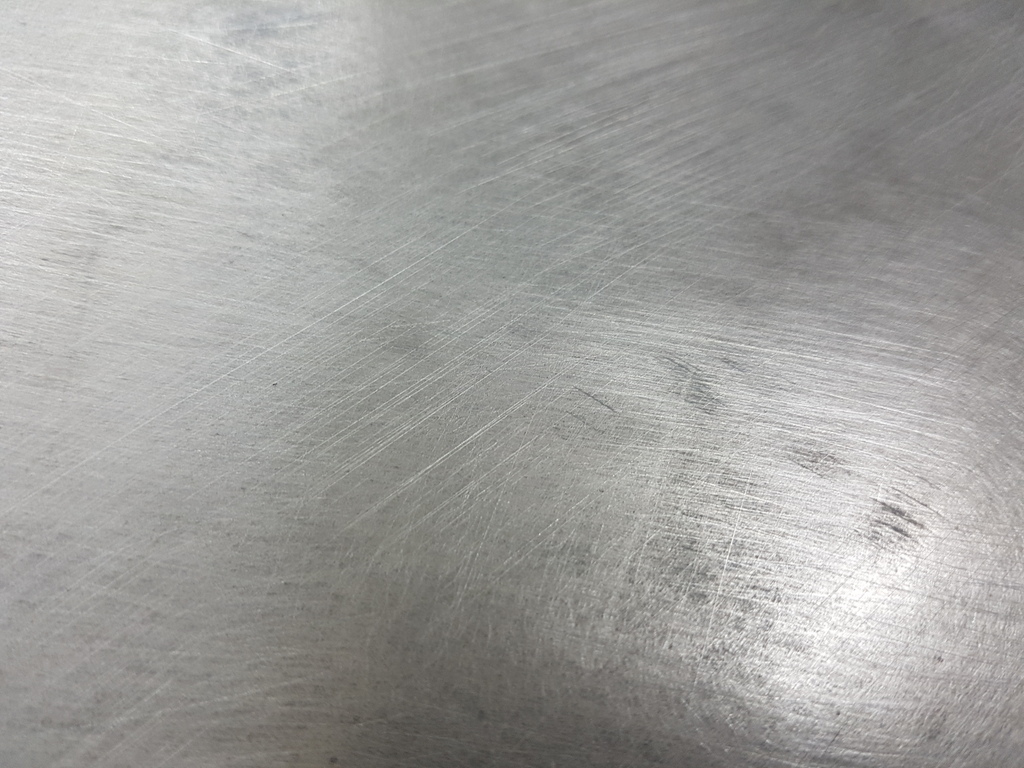 Nothing that cant be put right though 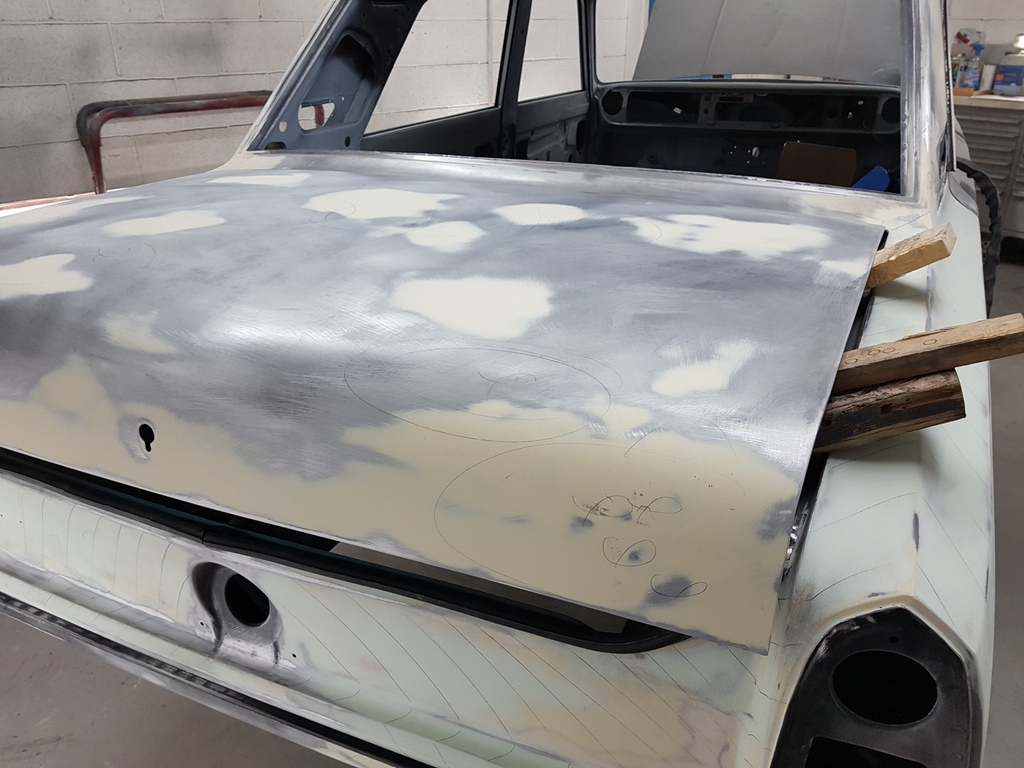 Several stages - several hours & much progress later 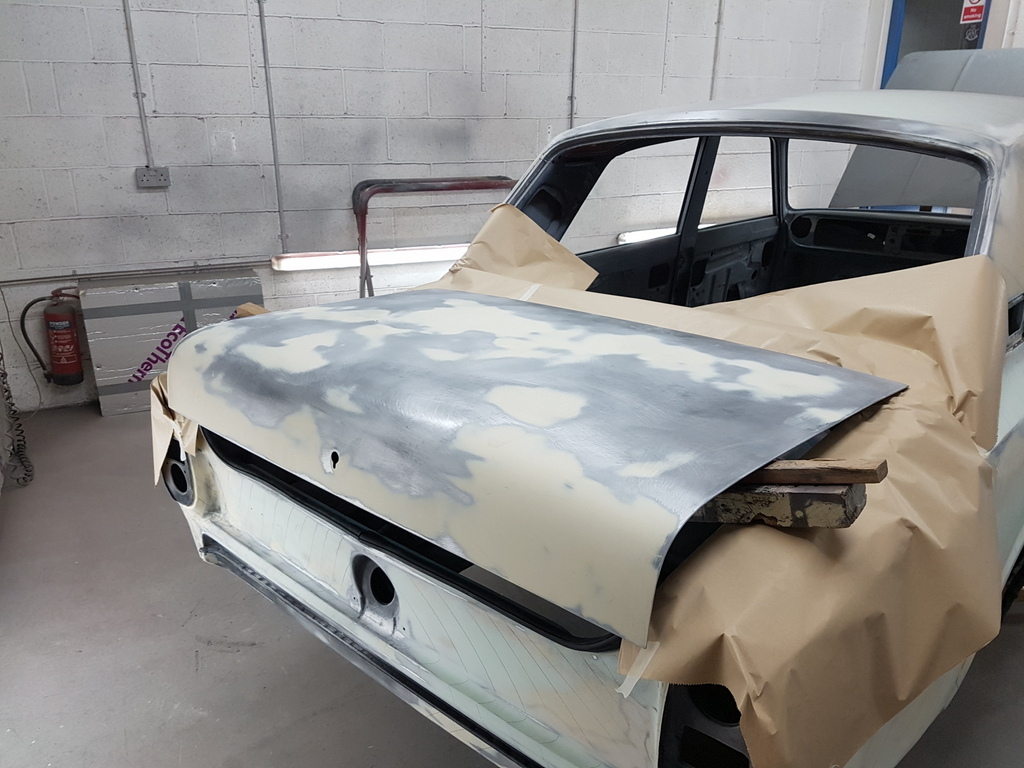 Now into glaze has of this evening 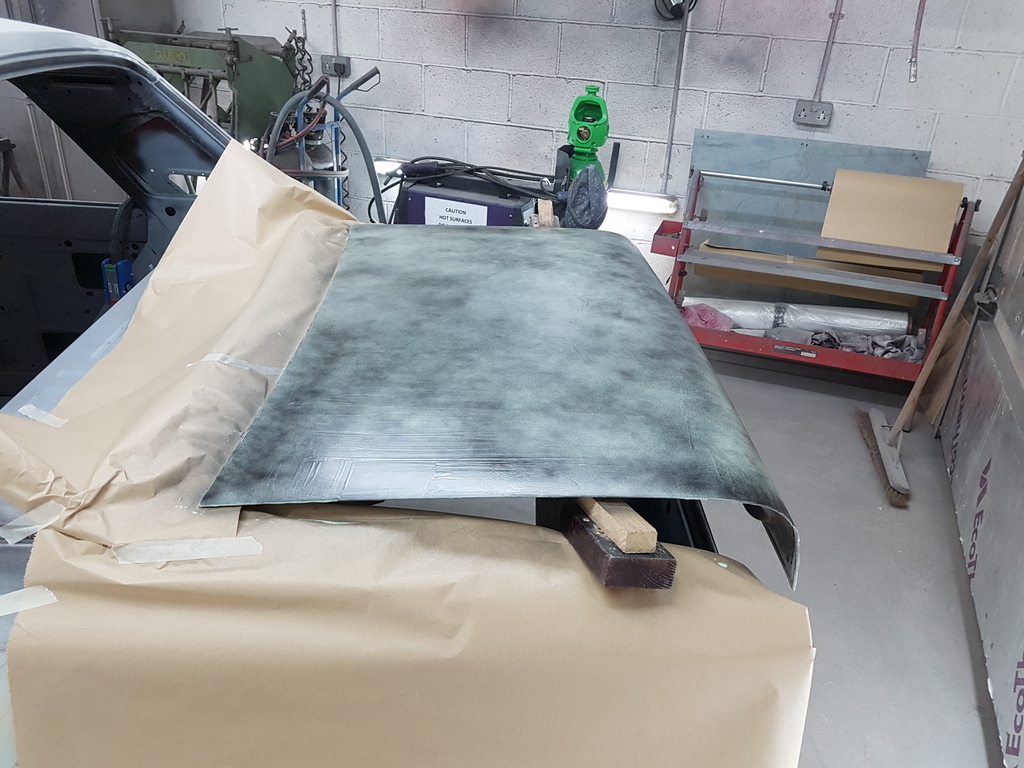 Which I shall block back tomorrow 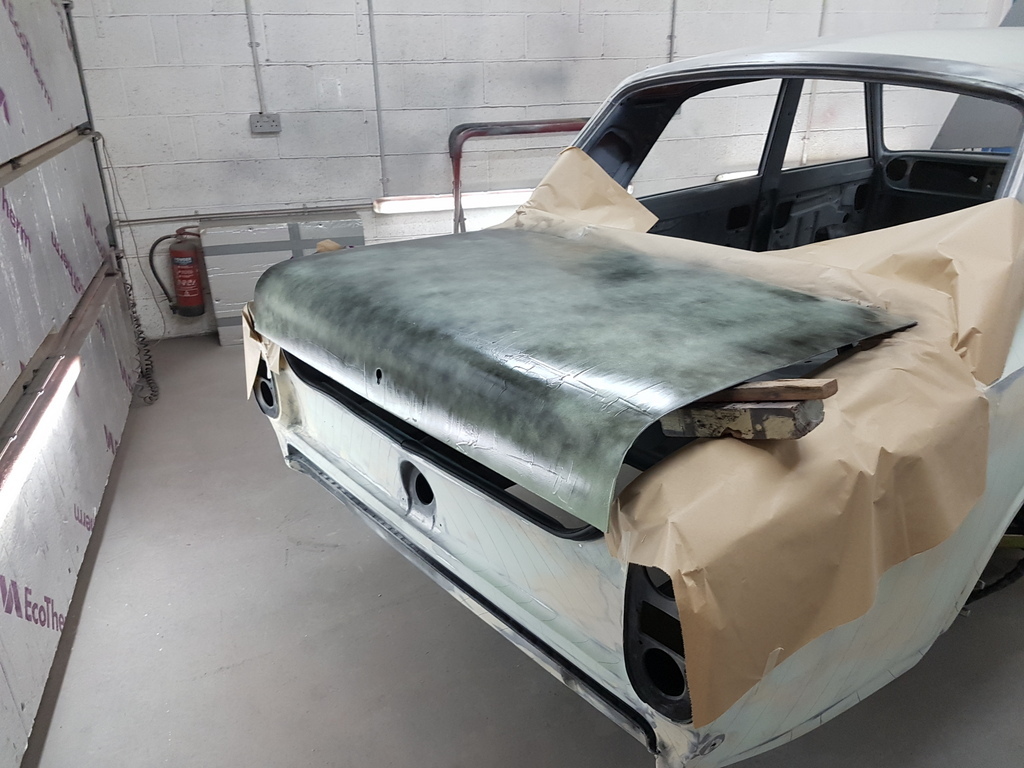 Meanwhile during curing times on the boot lid 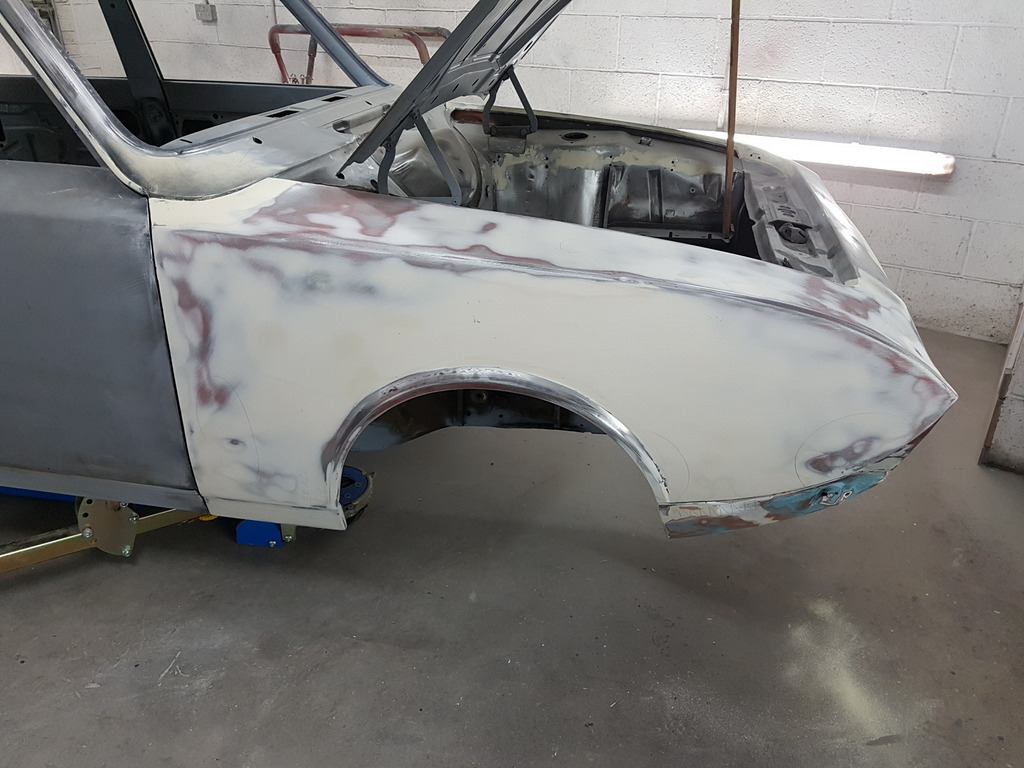 Progress was advanced on the offside front wing - but still some way to go with this yet |
| |
Last Edit: Apr 4, 2019 18:45:09 GMT by Deleted
|
|
|
|
|
|
|
|
Great job Chris. The small details are often forgotten and take a lot of time. By the way, I do not think there is one person who believes you are putting too much filler on this car.
Keep up the good work and keep posting as it is very interesting
Peter
|
| |
|
|
|
|
|
|
|
|
Absolutely stunning work Chris. I do not have the mindset to do this sort of bodywork. Your attention to detail is fantastic!
|
| |
|
|


