Fungus
Part of things

Posts: 960
|
|
|
|
Just a little update; I've decided to keep an Italvolanti steering wheel from my collection, so it'll be going on the Polo. 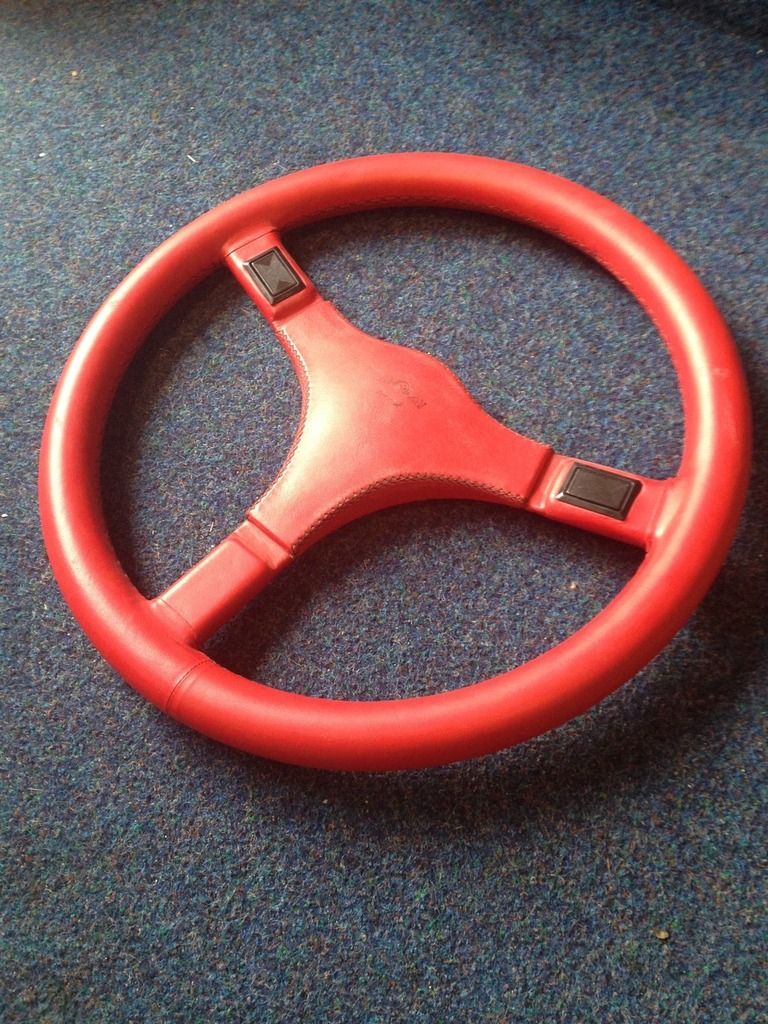 It's dated 16/03/1987 and was showing some very faint signs of age. The leather was dry and the colour had faded slightly. I had a quick look on eBay for some conditioner/restorer and found this; 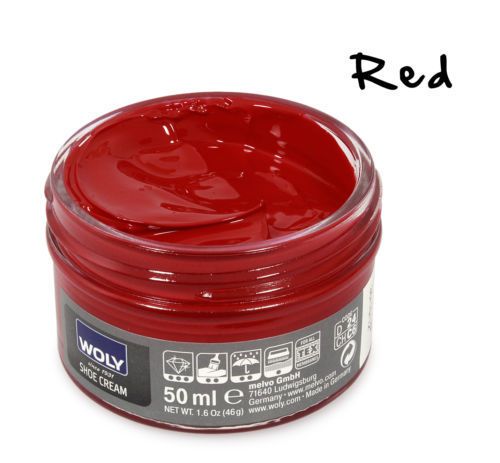 At £4.99 delivered I thought it was worth a shot. Turns out it's pretty good! Here are some before-and-afters; 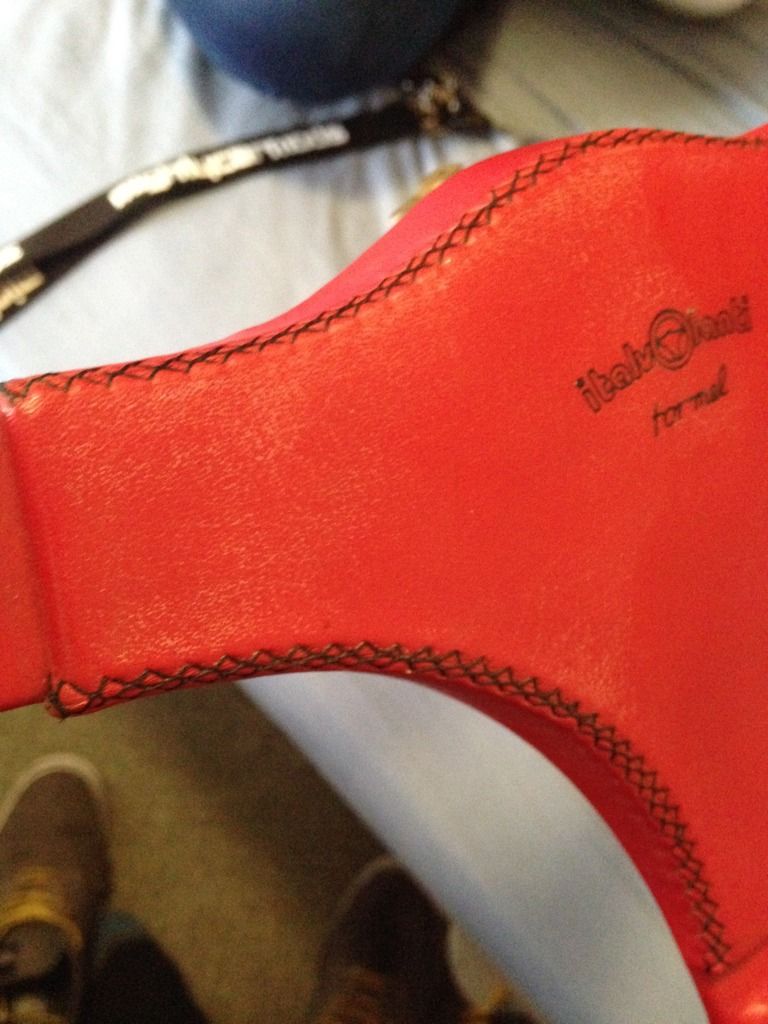 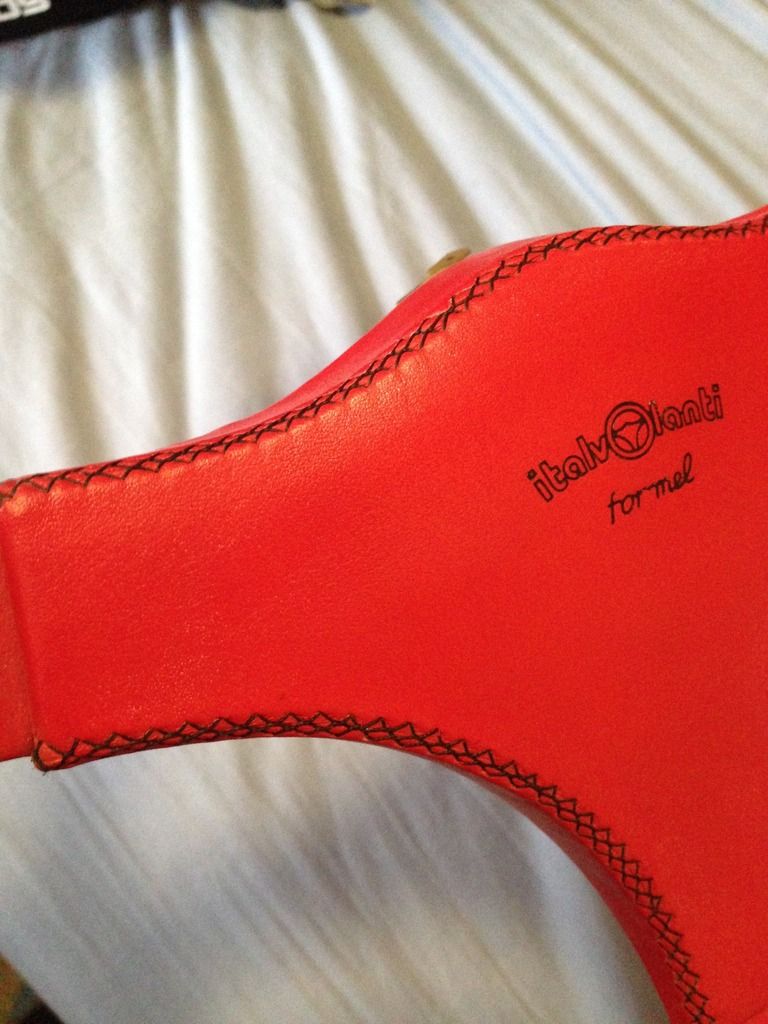 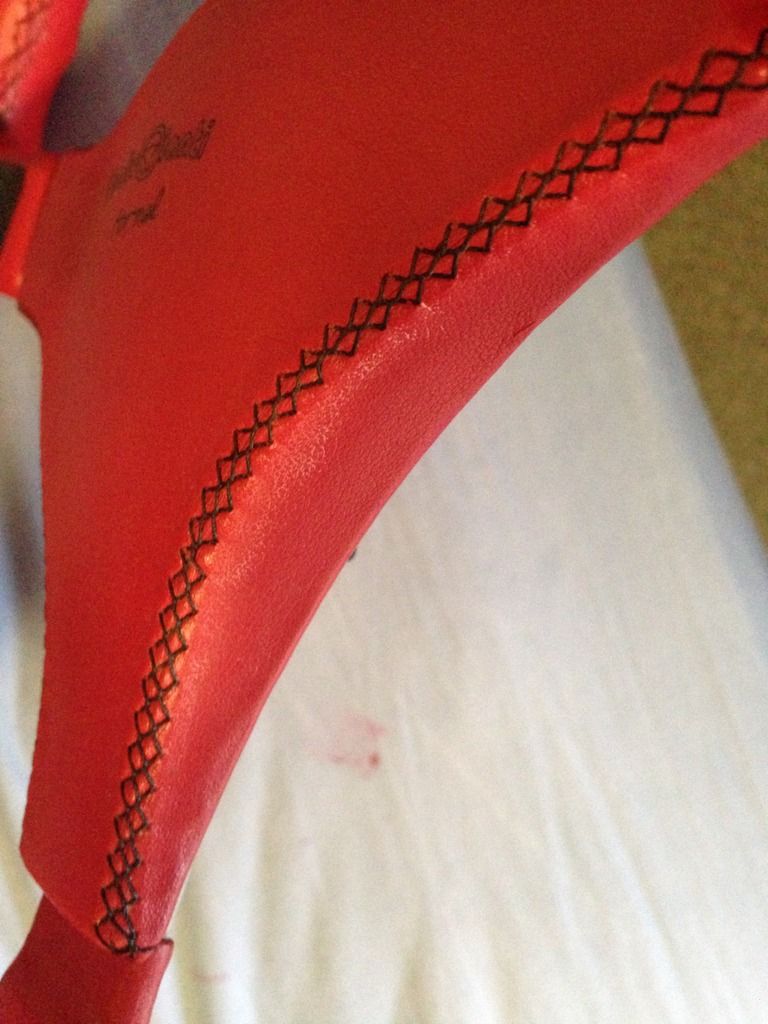 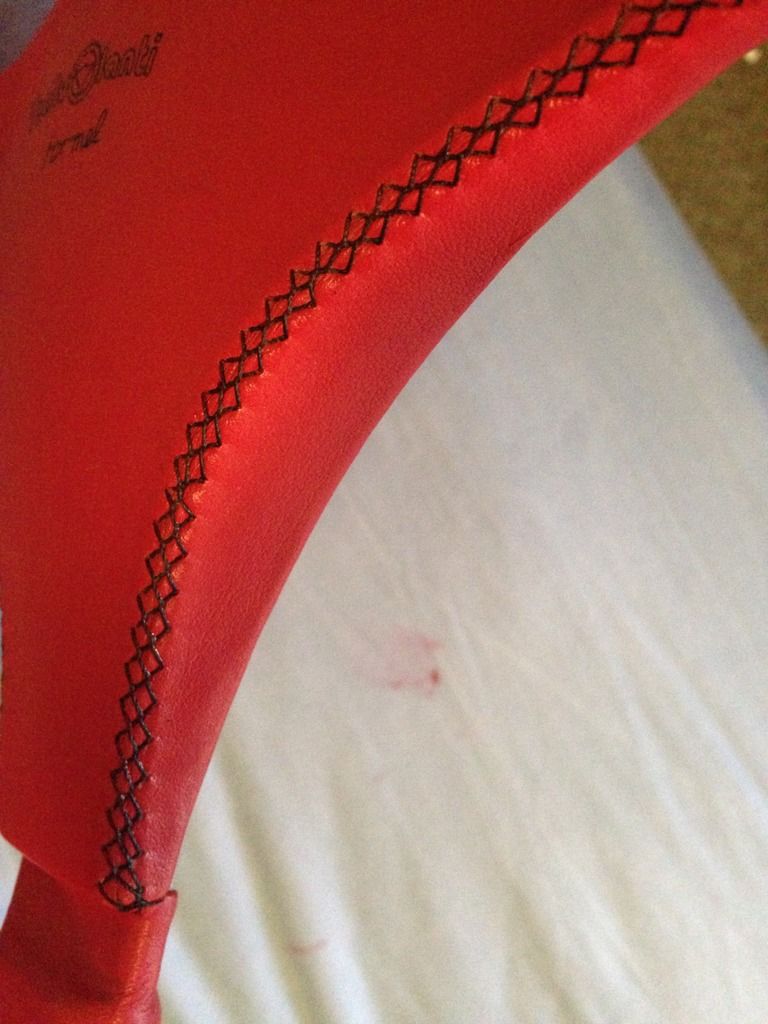 I'm really pleased with how it came out. I'm still not completely sure it'll suit the car but it's worth a go. 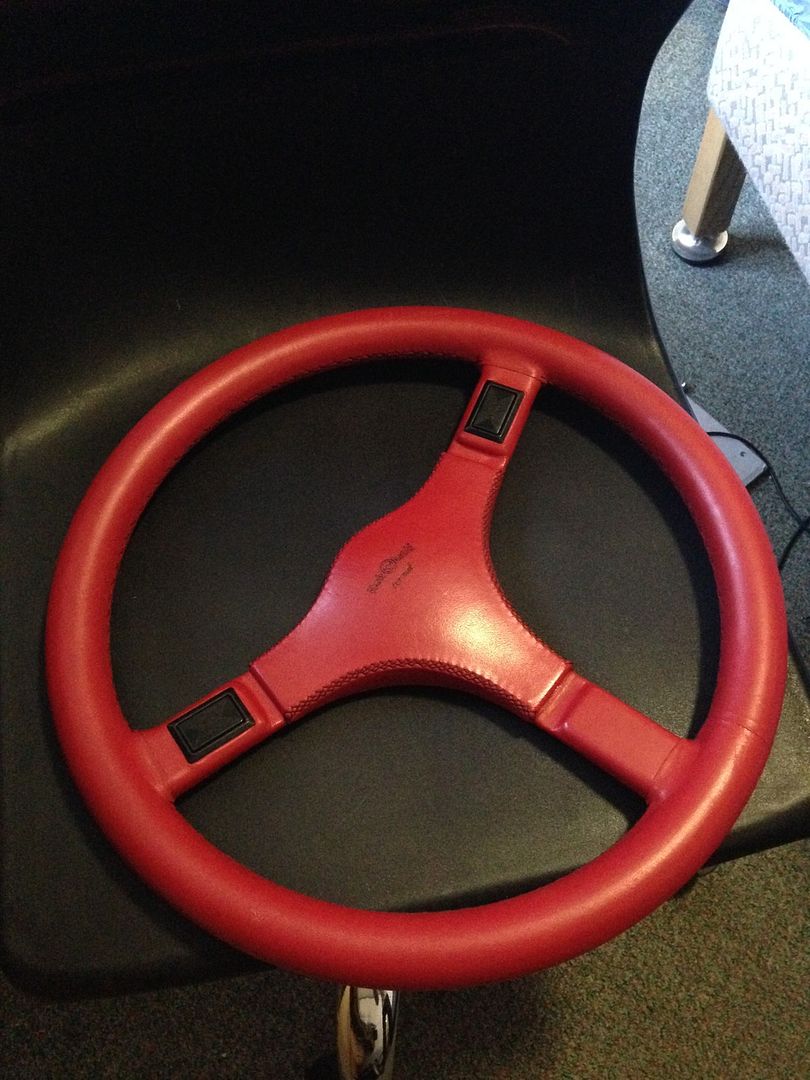 I'm home in a few weeks so I'll be able to post some big updates of the being being done on the car. For now, I'm making an inlet manifold so at least there's something interesting to write about in the meantime. More on the shortly. Fungus |
| |
Last Edit: May 7, 2015 12:44:59 GMT by Fungus
|
|
|
|
Fungus
Part of things
Posts: 960
|
|
|
|
This is shaping up very nicely and I love the gauges, I have a 924 rev counter that I always planned on fitting in my van, so I'll be following your progress closely, especially the wiring! The wiring should be really simply, the 924 gauge only uses a +12v, ground and a coil signal  Might be worth checking the odometer is working on the speedo before fitting. On a lot of 924's the plastic cog slips or shatters. Great work with the laser cutting, beats my dodgy jigsawing any day. I've twiddled the cable socket with a screwdriver and it all seems to be fine, result! And thanks, it's really handy having the laser cutter. the dials look great , I did this a few years ago to a 86 polo saloon, And i used the whole 924 curved binnacle. It actually fitted in realy well in the polo dash gap. all that was needed was two fillet pieces at the ends. I never considered using the whole lot, that must've looked really cool. Did you have all three gauges in? will you need a strut brace to put some rigidity back into the suspension ? Does look much better though ... I'll be making a strut brace that bolts into some brackets welded onto the towers, I can't stand cheap alloy braces that bolt on but as you say, it probably needs something to bring back the rigidity. |
| |
|
|
Fungus
Part of things
Posts: 960
|
|
|
|
|
Where are you located?
|
| |
|
|
Fungus
Part of things
Posts: 960
|
|
|
|
That ^ is first class, nice work. Looking forward to seeing it in the car. Gauges look cool mate. Won't you need to add some 'idiot' lights for the mot ? Thanks guys, I'm really pleased with them. As for idiot lights, I haven't decided where to put them yet. In between the two gauges is the obvious option but I need to fit it in the car and see how it'll look. I only really need high-beam and indicators, maybe handbrake. |
| |
|
|
Fungus
Part of things
Posts: 960
|
|
|
|
Update time. I managed to source a 924 Speedometer that matches the Tach, I think it's a 1985 as the font is different to others I've seen. I wanted to convert the gauges to flat-faces rather than the standard, so I laser cut some 3mm clear acrylic (96mm diameter if you're curious for some obscure reason). After that it was just a case of careful prising up the bezel, removing the old face and putting in the new one. After that the bezels were replaced and it was all done. 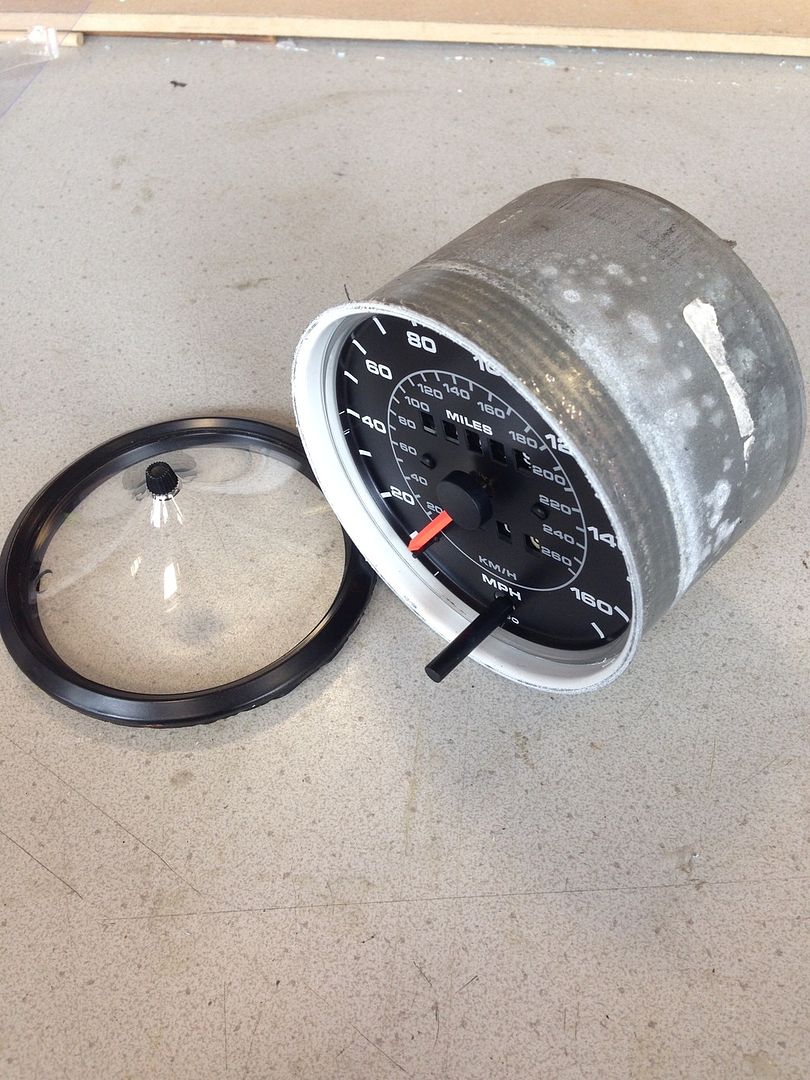 Bezels were scotchbrite'd, etch primed and painted matte black. I had completely overlooked the trip-meter reset pin/peg on the speedometer, so I had to drill a hole for it. It was a nice clean job using the Uni's high speed PCB drills. 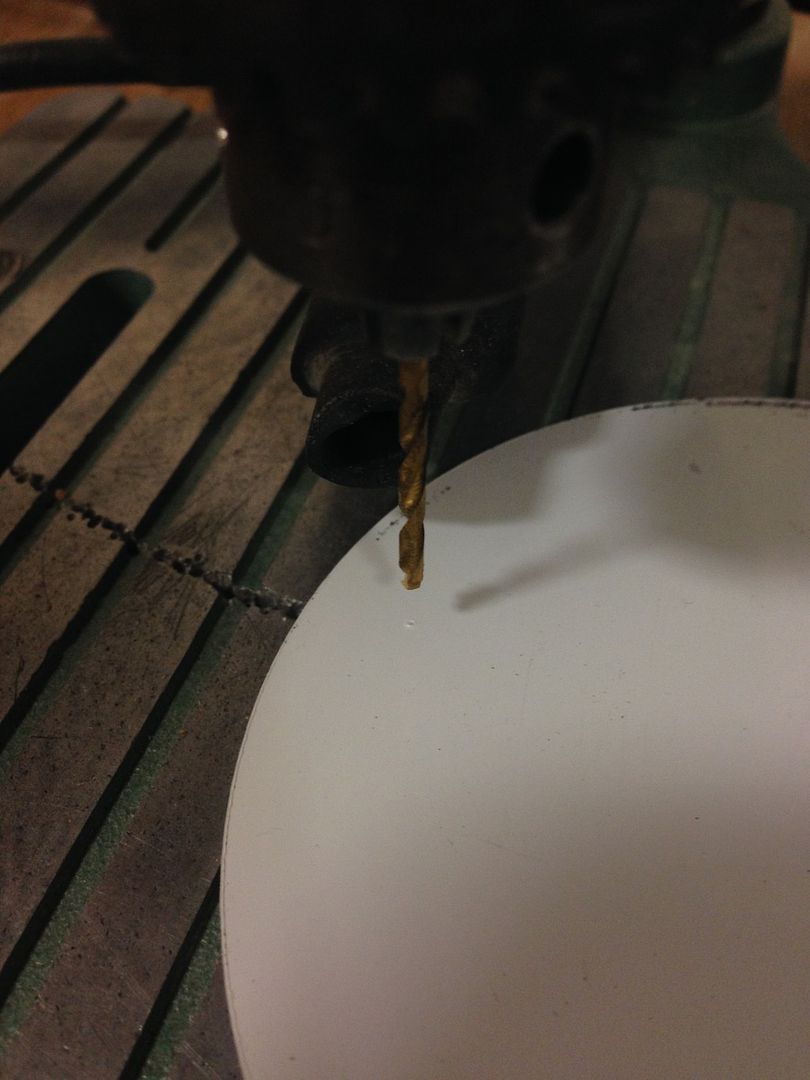 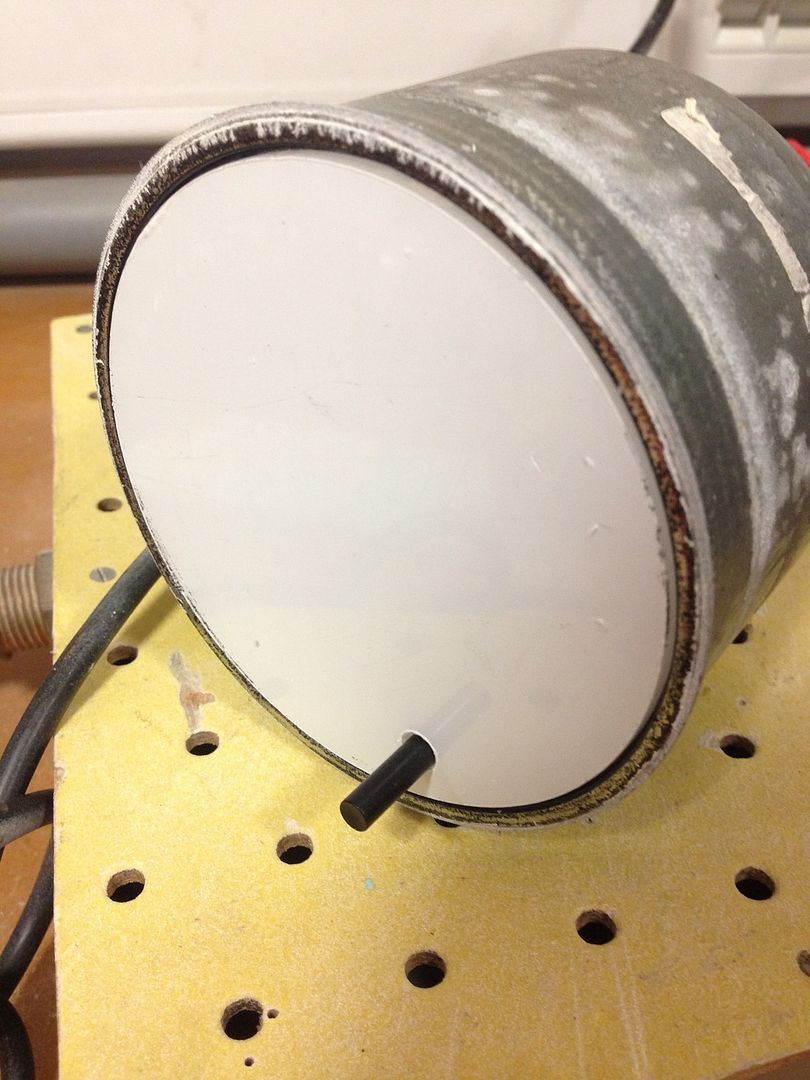 Ready for the bezel: 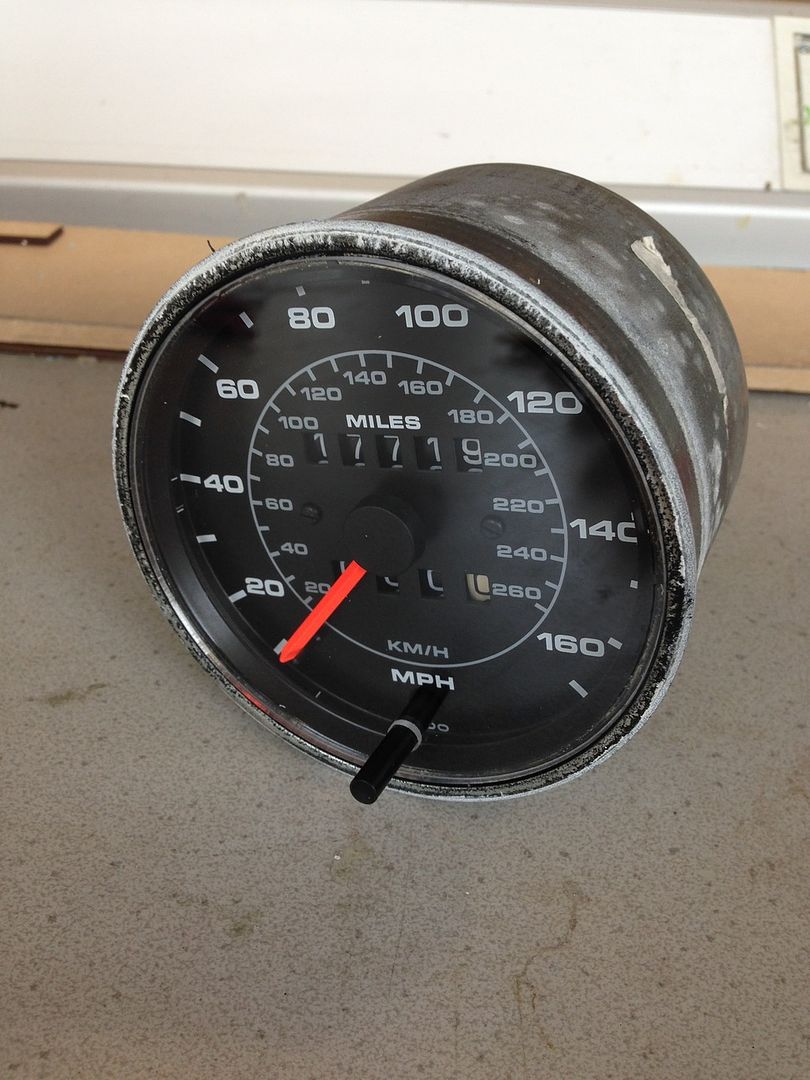 I don't have any pics of the bezel-installing but it was just a case of making sure the paint had hardened and slowly bending over the edge with a piece of steel rod. The whole process was the same for the Tach minus the hole-drilling. My previous post shows the card template I was using to mount the Tach in the car. This was actually drawn on Solidworks and printed (and cut out) so I already had the part drawn up. So, while I was laser cutting the gauge faces, I also cut the mounting panel out of some 3mm Textured ABS. 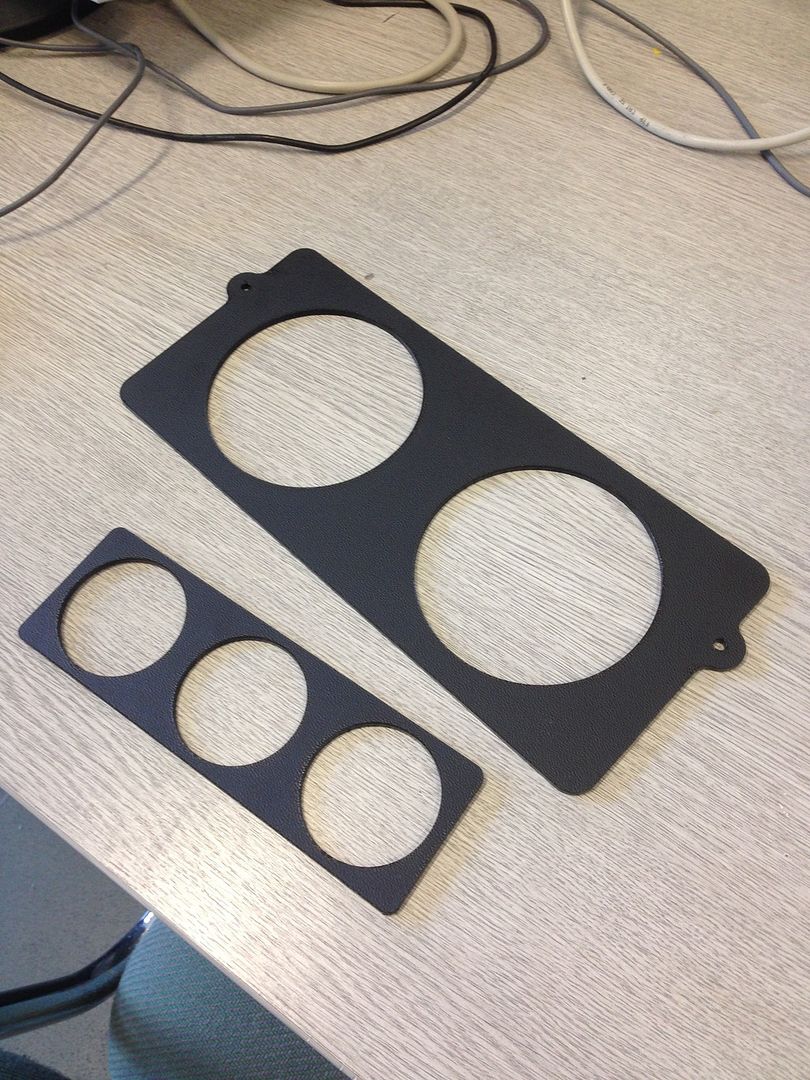 As you can see I also cut out a Head unit blank with three 52mm gauge holes, more on that later. So here's the Tach mounted 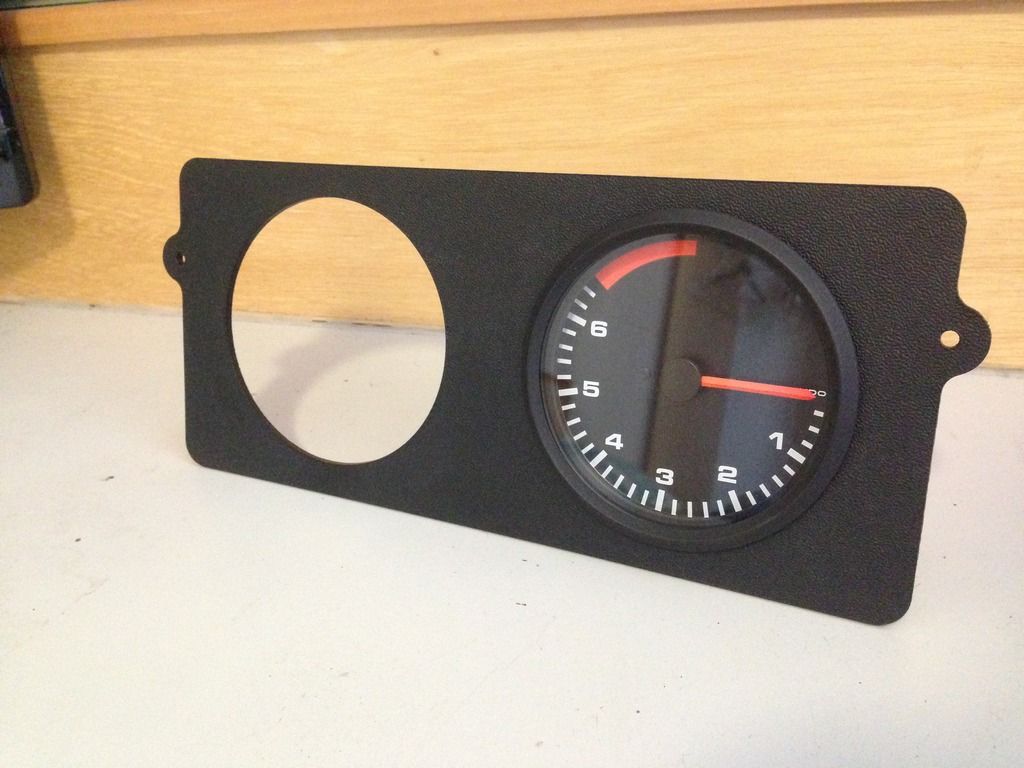 And with the Speedometer in too (awful pic, lighting in my room is terrible) 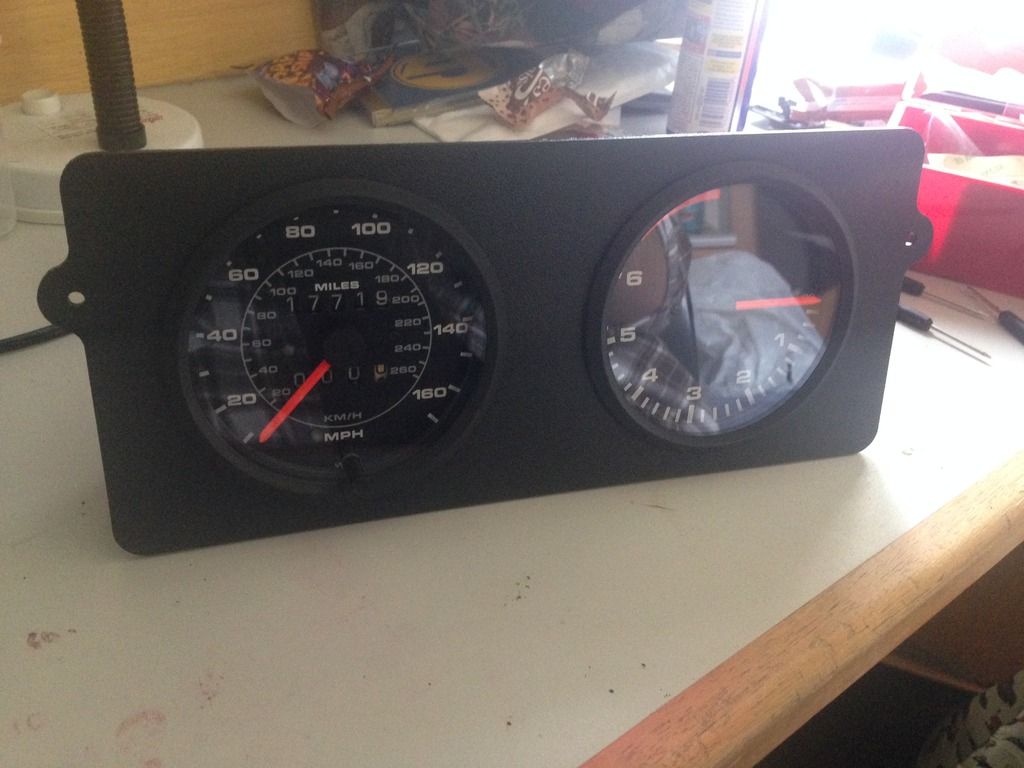 Overall I'm pretty pleased with this mod, it doesn't look too out of place (80's, VDO) but, in my opinion, is miles better than the standard cluster. That's it for now! Thanks, Fungus |
| |
Last Edit: May 5, 2015 21:32:44 GMT by Fungus
|
|
Fungus
Part of things
Posts: 960
|
|
|
|
|
Last summer I bought a Mk2 polo for £200, sold the wheels, exhaust, stainless manifold and camshaft for a total of £500.
I put it all back to standard using bits i had laying around and sold the car for £700. Pretty good going but nothing compared to some of the stories here!
|
| |
|
|
Fungus
Part of things
Posts: 960
|
|
|
|
|
Bump
|
| |
|
|
Fungus
Part of things
Posts: 960
|
|
|
|
Do you have one for a 1978 Austin allegro? I'm certain I have a Mountney Kit |
| |
|
|
Fungus
Part of things
Posts: 960
|
|
|
|
|
No luck with the ones requested unfortunately (Merc G, Volvo 940, Land Rover, Corsa). Sorry chaps.
|
| |
|
|
Fungus
Part of things
Posts: 960
|
|
|
|
|
Yeah that would be a bit of a shame. However, the only all-White 4 spoke for sale is priced cheap as the middle is faded, so it would be an ideal candidate!
|
| |
|
|
|
|
Fungus
Part of things
Posts: 960
|
|
Apr 30, 2015 22:42:09 GMT
|
Hi...... Long shot but looking for an all grey or grey/black Italvolanti steering wheel. 3 or 4 spoke. Any chance ? Or any idea if you can still get a leather/vinyl colour dye like vinylcote used to do ? Although it'll be a crying shame to dye one of your original wheels !!!!! Unfortunately I only have the ones listed in the ad. A White one could be Dyed grey, I'm sure it would come out nicely if done right! Red Indianapolis now Sold. |
| |
|
|
Fungus
Part of things
Posts: 960
|
|
Apr 30, 2015 22:35:53 GMT
|
|
There were a few 1.6's as far as I know so it might not be the right one.
Could you send a kink of the gasket? I'll be able to tell from a pic.
Thanks again,
Fungus
|
| |
|
|
Fungus
Part of things
Posts: 960
|
|
Apr 29, 2015 21:53:15 GMT
|
Any chance of a picture? Could be the right one! Thanks |
| |
|
|
Fungus
Part of things
Posts: 960
|
|
|
|
Is this a single carb manifold? It's actually for the SPI Throttle body but yea it looks just like a single carb manifold. |
| |
|
|
Fungus
Part of things
Posts: 960
|
|
Apr 28, 2015 23:36:09 GMT
|
|
Hi,
I'm after an inlet manifold from a mk3 golf 1.6 8v (engine code ABU)
Thanks
|
| |
|
|
Fungus
Part of things
Posts: 960
|
|
|
|
Pagan Princess is one of my favourites.   |
| |
|
|
Fungus
Part of things
Posts: 960
|
|
|
|
Did that used to be red?  Always been that colour I believe, the red one also has different headlights. Different car. |
| |
|
|
Fungus
Part of things
Posts: 960
|
|
|
|
Interested in how folks gap there rings particularly grinding methods. I've always thought it should be done with a set of miniature files, is that not correct? End gap was how I determined if my bores were worn. Gap on the old rings was 1.1mm and the new ones were 0.3mm (as far as I remember). This to me me shows that the rings were worn and not the bores. |
| |
|
|
Fungus
Part of things
Posts: 960
|
|
Apr 26, 2015 21:11:47 GMT
|
|
Bump
|
| |
|
|
Fungus
Part of things
Posts: 960
|
|
Apr 26, 2015 21:11:18 GMT
|
any luck with the viva hoses mate ? PM'd |
| |
|
|