|
|
|
Oct 22, 2023 23:12:24 GMT
|
Never, EVER, cut coil springs! I admit it's not my bag, but even key names back in the day chopped spring. Dave Vizard suggested it on Triumph saloons back in the day, and mentioned how you got a stiffer spring as well Agreed, but Vizard was/is an engine genius, not a suspension expert. Cutting springs is dangerous, alters the spring rate in strange ways and is an MOT failure if spotted (usually when the car is jacked up to check bearings etc as the spring drops out of the cup :-) ) Back in the day they didn't have the options available that we do today. Anyone chopping springs now is a cheapskate idiot who shouldn't be allowed to play with cars (IMO). When they cut them do they flatten and grind the the end flat so it sits in the cup properly? No, they don't. If they cut springs to save money what else have they skimped on? |
| |
|
|
|
|
|
|
|
Oct 22, 2023 17:58:13 GMT
|
|
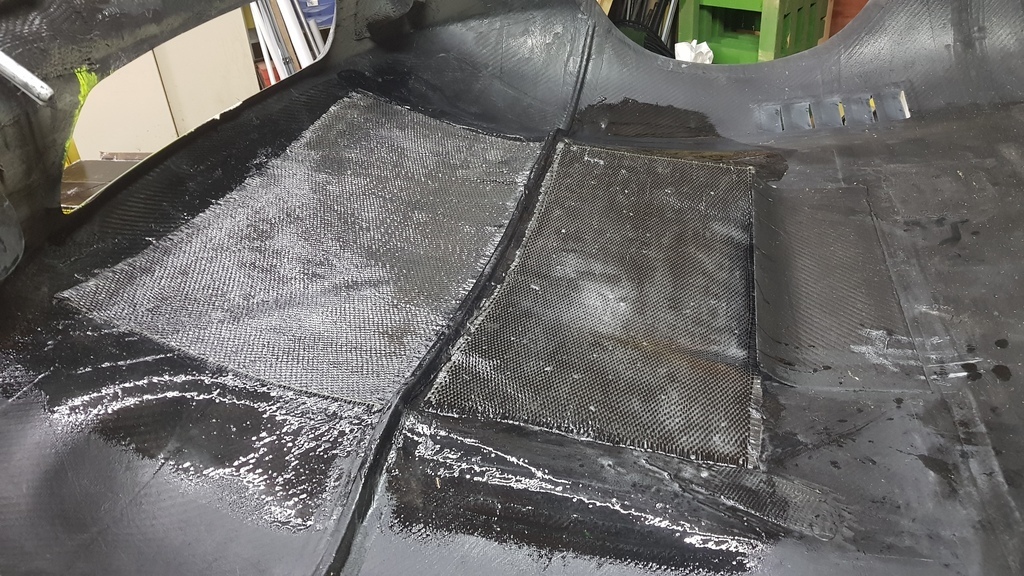
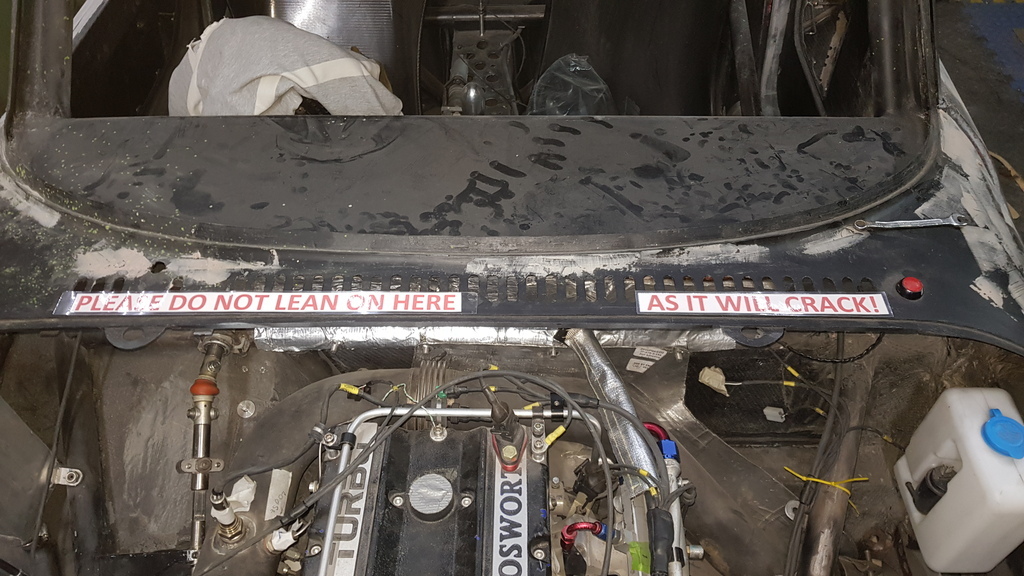
Checked out the reinforced clam this morning and the extra layer has done the trick. Clam now weighs 8.3kg but I can live with that.
|
| |
Last Edit: Oct 22, 2023 18:06:58 GMT by nalesutol
|
|
|
|
|
Oct 21, 2023 21:15:50 GMT
|
We always map on shell V power then advise customers to use Tesco 99. Seems like the way to go until I max out the available power. |
| |
|
|
|
|
|
Oct 21, 2023 21:14:56 GMT
|
They do a flexible version of that big boy stuff in toolstation, It's stayed in the bumper of my daughters car. Oooooo, I will give that stuff a try, thanks. This one? 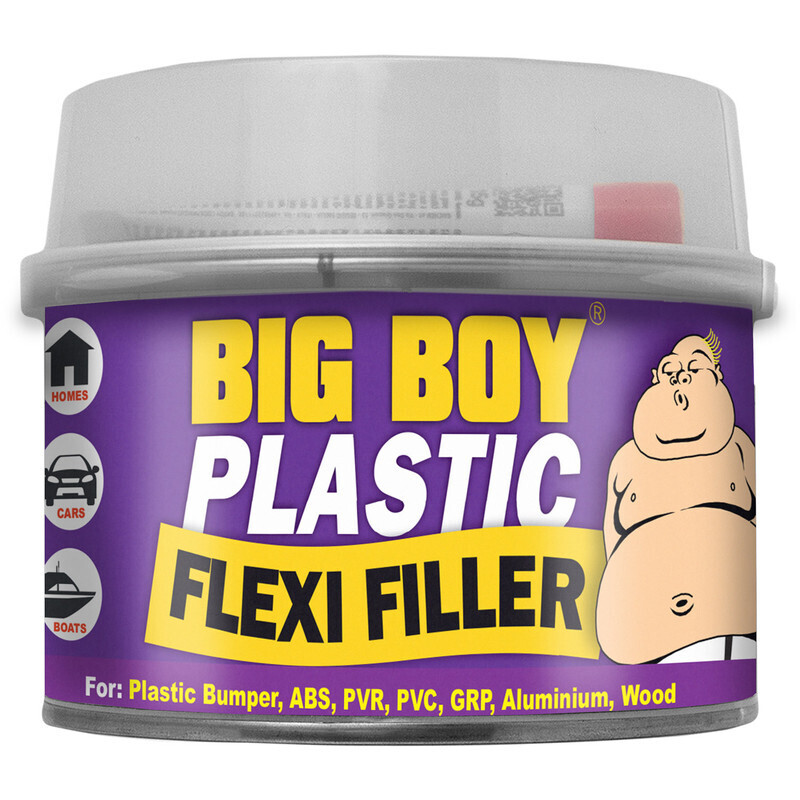 |
| |
Last Edit: Oct 21, 2023 21:21:23 GMT by nalesutol
|
|
|
|
|
Oct 21, 2023 19:52:06 GMT
|
Not heard of big boy filler - I'd go with a quality brand like Evolution rage. Adding sheets of carbon may not be as strong as a smaller strip of carbon in a 'V' shape to add a rib under the bonnet. I have tried them all but still prefer P38 and P40 but I thought that I would try this one. Filler is easy to apply and rubs down well. Ribs are stiffer but only locally. My problem is that the whole area in front of the scoop is flexing, apart from along the existing stiffening bar. We shall see as it doesn't need much. There are only two layers of original carbon so it is now 50% thicker :-) |
| |
Last Edit: Oct 21, 2023 19:52:52 GMT by nalesutol
|
|
|
|
|
Oct 21, 2023 17:58:58 GMT
|
|
|
| |
Last Edit: Oct 21, 2023 17:59:43 GMT by nalesutol
|
|
|
|
|
Oct 21, 2023 17:49:33 GMT
|
What filler are you using? Tried this:  |
| |
|
|
|
|
|
|
|
Seems to be a few mappers out there that say the best 99ron fuel is actually Tesco momentum. Quite a good vid on YouTube that tests various super unleaded fuels and not only does the momentum have the best knock protection qualities but also provided the highest increase in horsepower over any of the others. V power came second, but was mentioned the fuel can be hit and miss whereas Tesco fuel always seems to be fairly constant in its quality. It is also the only fuel where 99ron is the minimum, and can be on occasion slightly higher octane rating. Esso 99ron and then bp ultimate were described as only really suitable if nothing else is available. Texaco 99 wasn’t available at the time of the test but I’ve heard it is the same as, or very similar to esso 99 Just looked back at my post re the fuel and I meant to say Tesco! My son swears by it. |
| |
Last Edit: Oct 21, 2023 0:03:28 GMT by nalesutol
|
|
|
|
|
|
|
Exciting stuff! Would the carbon pushrods have worked a bit better if the alloy inserts had been knurled to give the carbon a better key onto them? Probably and I am surprised that I hadn't done that. However, I was never happy with them so the change is a good one for my peace of mind. |
| |
|
|
|
|
|
Oct 20, 2023 21:13:06 GMT
|
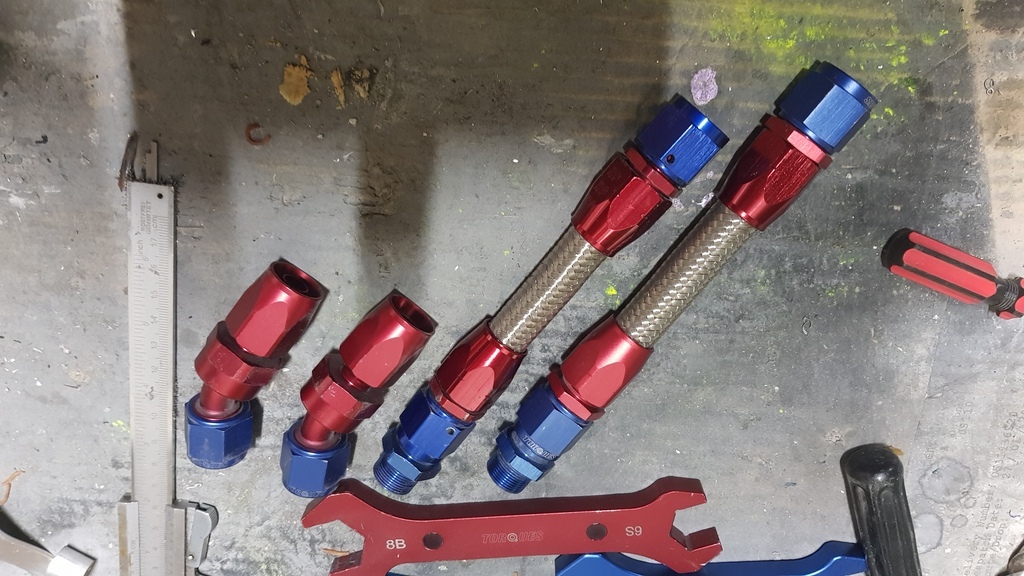
Day 6. Right, where do I start? At the beginning I guess :-) Arrived around noon to see Alex head deep into the PC. Brought 20 litres of 99 Octane with me. 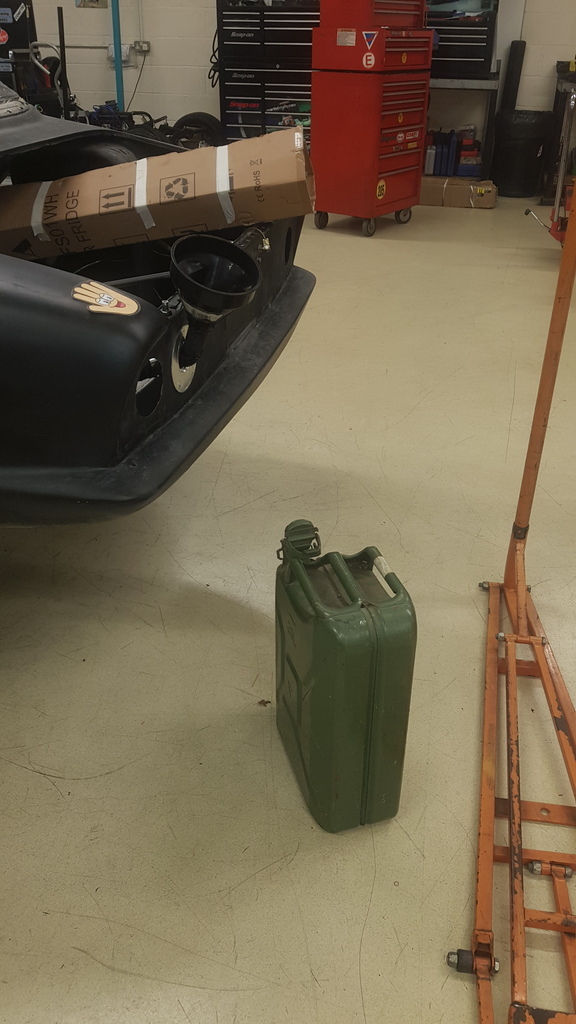 A few more things were working; fan, lift pump, twin 044s. After lunch we added fuel and started fixing the numerous leaks. The system has been in and out for around 10 years so there were bound to be some issues, but not the ones I expected. First off we discovered that I have plumbed the Holley lift pump in back to front! Then we found that the Bosch inline filter had fallen apart so a new one was ordered and this arrived within 15 minutes. 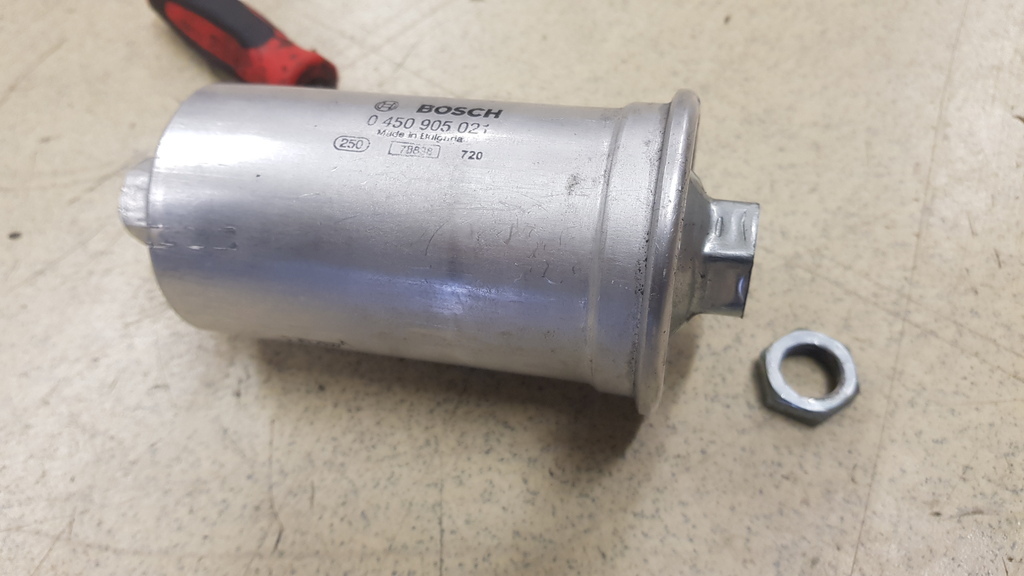 We were not getting fuel up to the injector rail, but a chase of the fuel lines showed that I had managed to cross the feed and return pipes over. Both are dash 8 with a restrictor in the return so that pressure at the injectors is maintained. I need to remake the flexible connectors over the weekend replacing the 45 degree fittings with straights. One of these was leaking, which is the only issue that wasn't my fault :-) 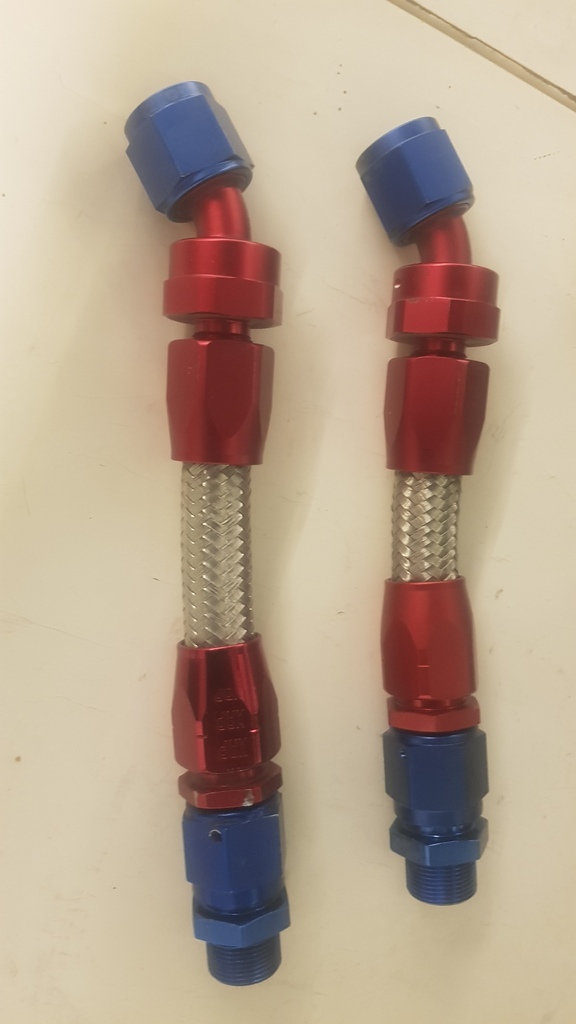 As we couldn't continue with the fuel side we thought that we would try to get oil pressure. Starter spun but didn't engage. Took it out and tested on the floor but still no joy. By this time it was 4.30 so there was time to take it to a local specialist to get it checked. No issues with the starter. He showed me how to test it on the floor and I think that we were doing it wrong. So the problem must be in the wiring somewhere, or tied up with the PDM unit which Alex is having difficulty in getting his head around. To that end we will be contacting a specialist on Monday. 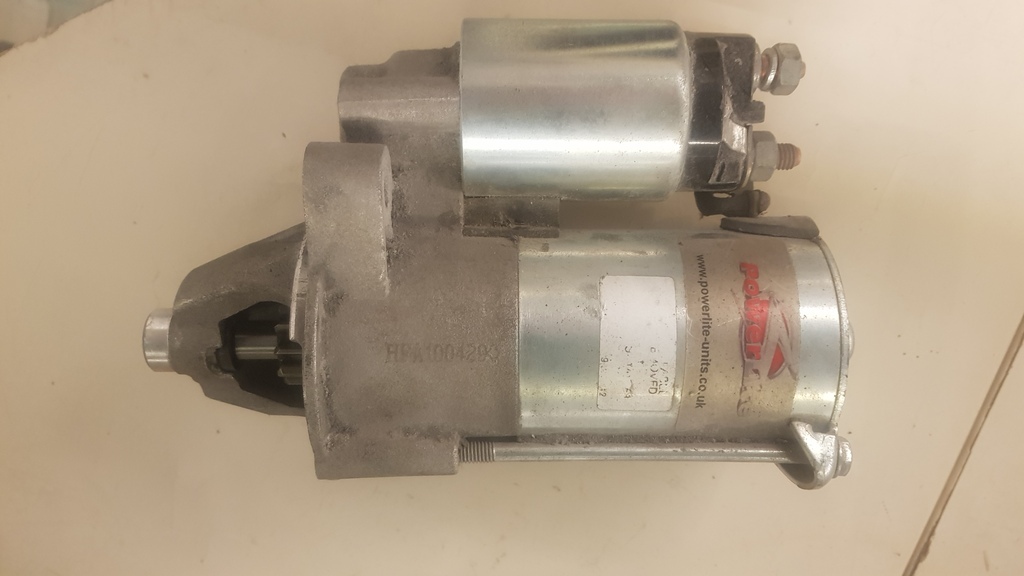 So, no engine noises today, hopefully some time next week, stay tuned. |
| |
Last Edit: Oct 20, 2023 21:15:50 GMT by nalesutol
|
|
|
|
|
Oct 19, 2023 17:07:56 GMT
|
Days 3 and 4. Didn't visit as having to do other things. Day 5. Changed the damaged push rod, replacing carbon with aluminium. 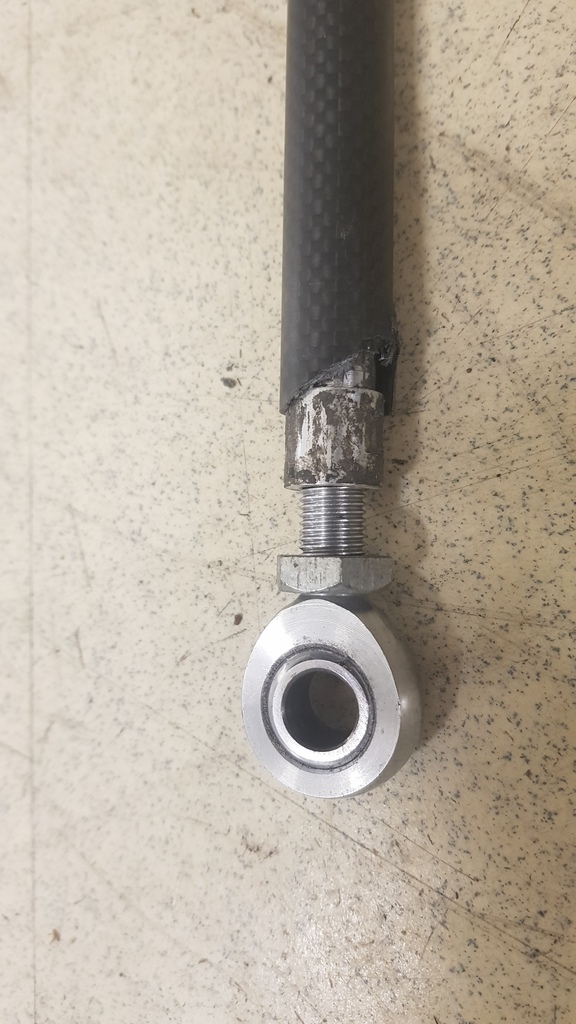 Alex started on sorting the electronics out. This turned out to be a bit of a mission but by the end of the day a basic map had been loaded, so we may hear some noise tomorrow! To that end I will be getting 20l of Texaco's finest 99 Octane motion lotion :-) 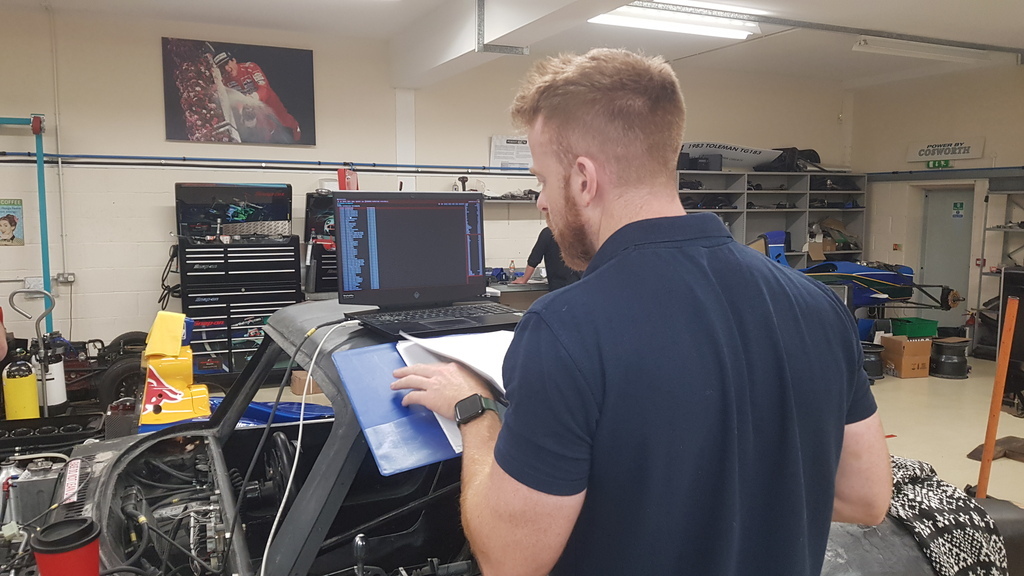 |
| |
|
|
|
|
|
Oct 16, 2023 17:31:26 GMT
|
Day 2 at GPE. 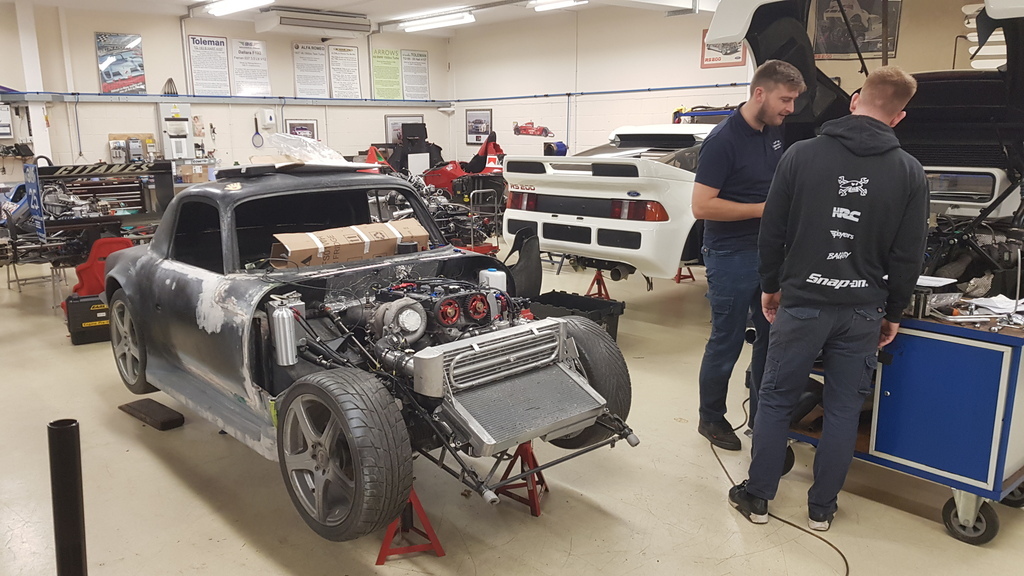 Added inlet to rad to take return from oil cooler. 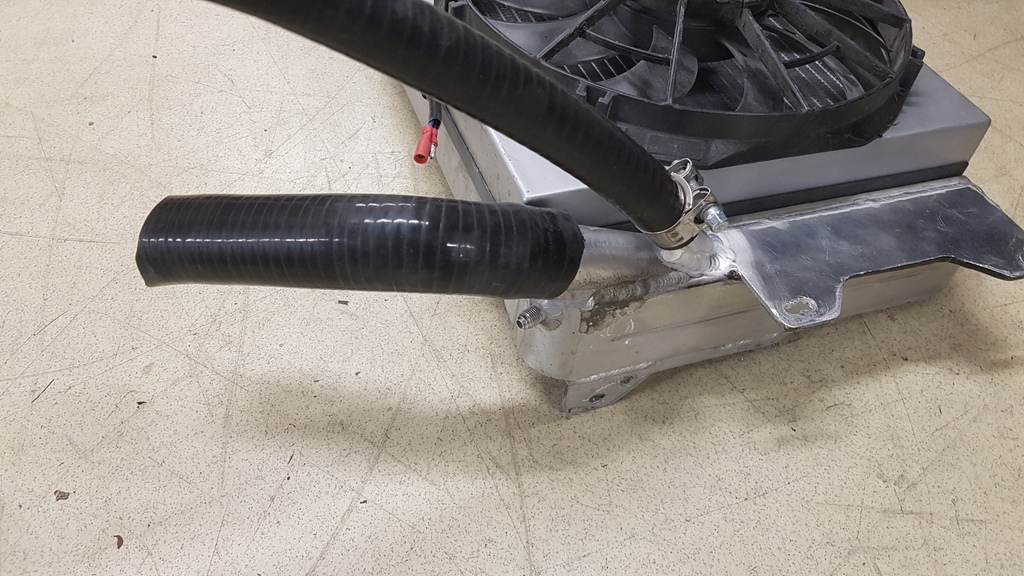 Spoke to my Chassis/Suspension Guru and he is still up for sorting out car when it is ready. May have to change the springs as the technology has moved on since I bought the existing ones. |
| |
|
|
|
|
|
Oct 15, 2023 21:07:02 GMT
|
As said, they are pigtailed. They may not be pigtailed from the top, so there may be scope to lower them via chopping a coil or two out. 60mm, however, is quite a drop, and on a stock damper, there won't be much travel left. Never, EVER, cut coil springs! |
| |
|
|
|
|
|
Oct 15, 2023 18:12:43 GMT
|
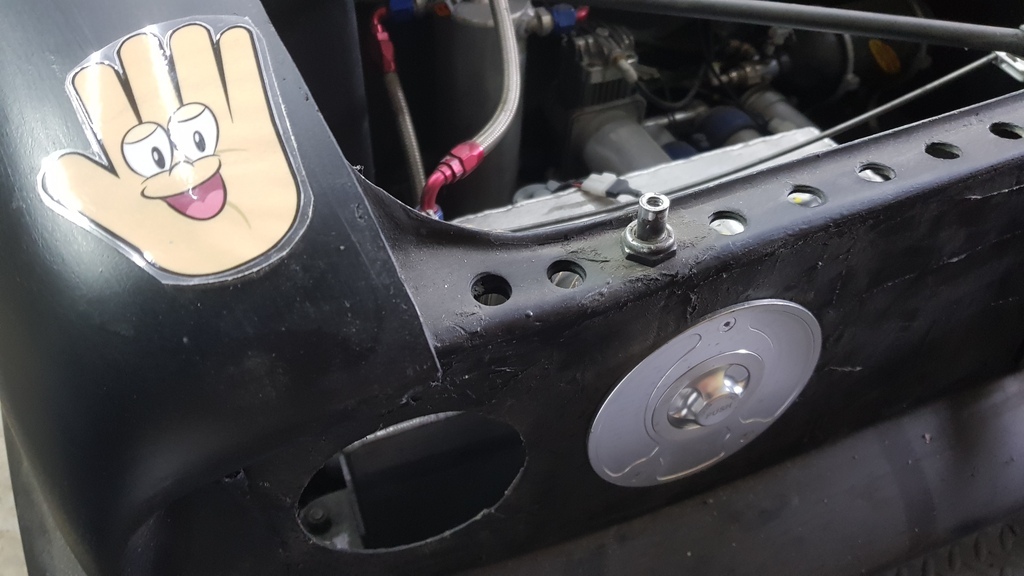
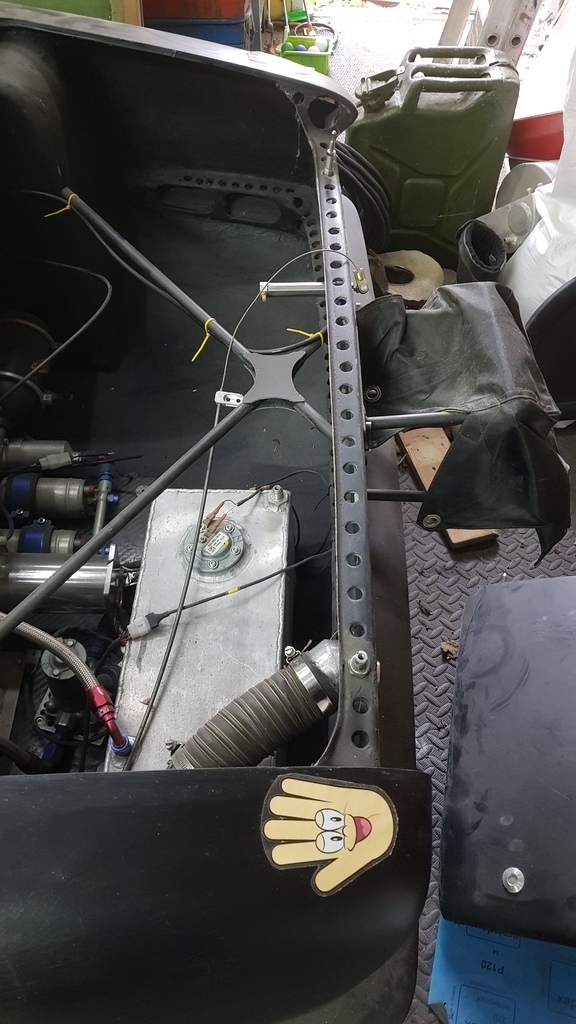
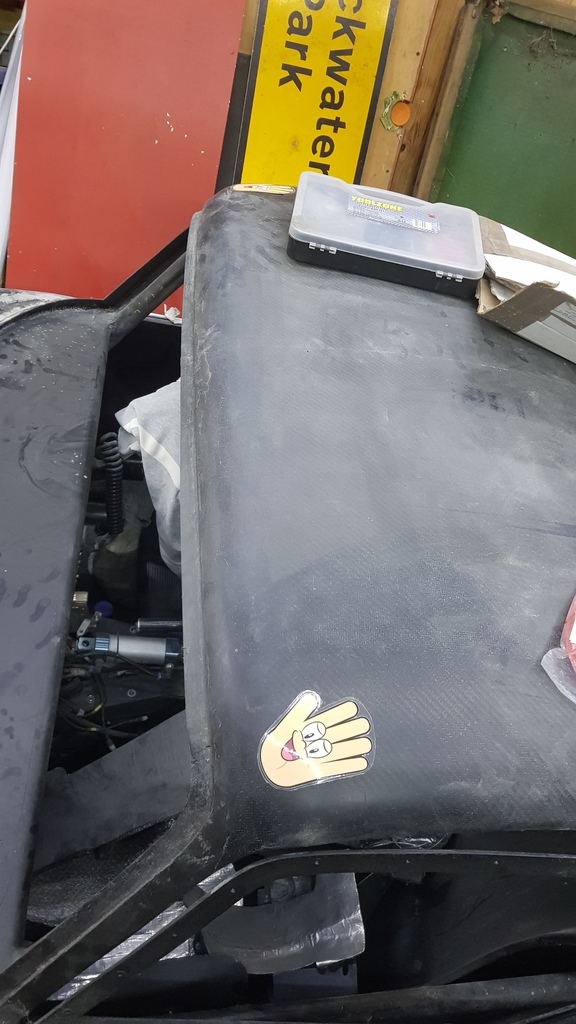
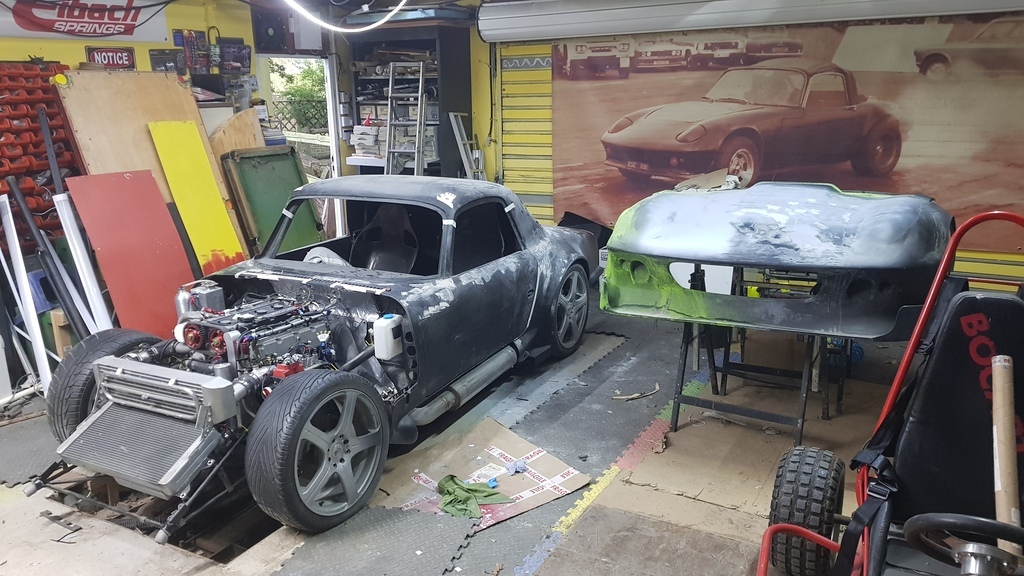
Making one small (but important) mistake when making the CF front clam has resulted in me suffering a whole lot of hurt. The thin layer of filler on the top surface keeps cracking due to the flexibility of the CF. To address this, I am going to have to add a layer of wet lay CF to the underside of the clam. Hopefully this will be enough to reduce the floppiness of the area in front of the scoop to the point where the filler stays in place. This, of course, will add weight but sometimes I have to man up :-) Colour due to overhead infra red heater. 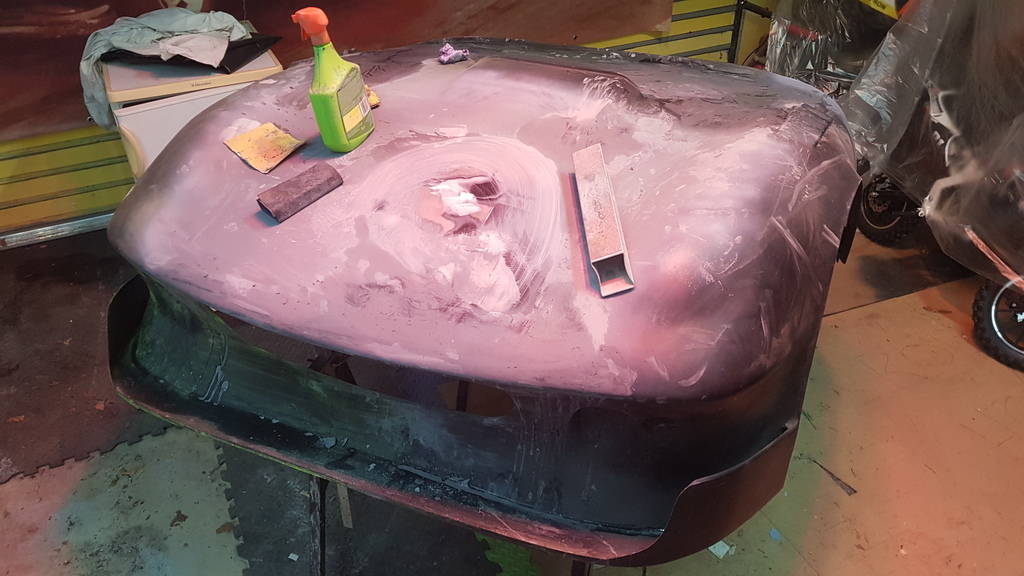 |
| |
|
|
|
|
|
Oct 14, 2023 12:59:30 GMT
|
It's in good company in that shop for sure ! Good to find out you were right about the carbon pushrods in this way not moving under its own power... Once the wiring is done does it need much before start & dyno time ? James He is a little overwhelmed :-) Once wiring and many other little things that Alex is already finding are done, they will attempt to start the engine. It has been sitting unfired up since it was built around 15 years ago so there may be some issues, in particular the hydraulic lifters which will have drained of oil many years ago. It will be what it will be and we will deal with it. |
| |
|
|
|
|
|
|
|
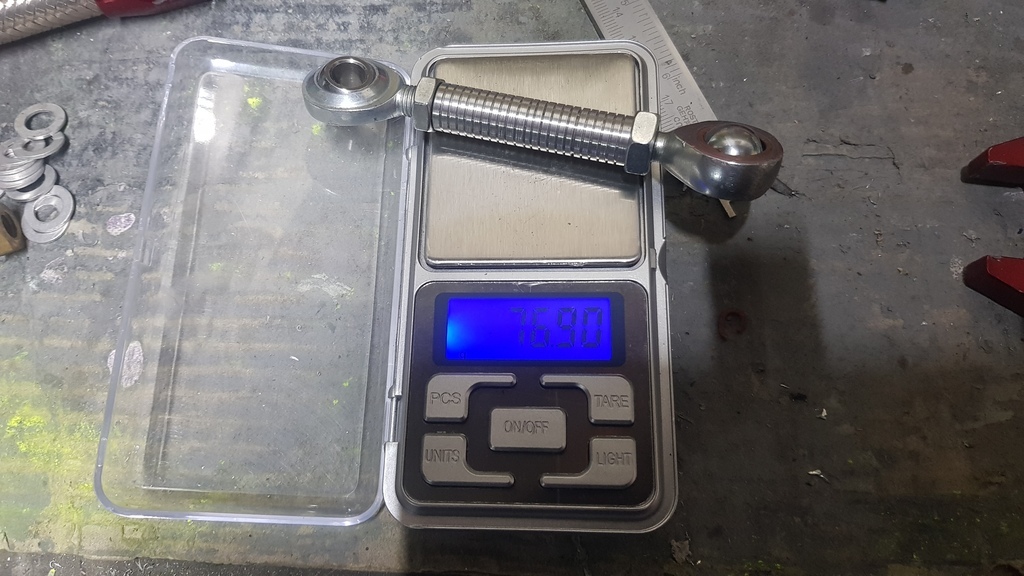
We had trouble getting the car off the trailer. It wouldn't move. Eventually discovered that one of the rear suspension pushrods had come apart during transport and the wheel was jammed up against the arch. took us around 30 minutes to sort. Good start. The problem was caused by my obsession with weight saving. I initially made the pushrods out of steel. However they were quite heavy so I replaced them with carbon fibre tubes with aluminium inserts to hold the rod ends. They were very light but I wasn't happy with the adhesion of the aluminium to the carbon. Although mainly under compression I wasn't convinced about them so made a pair of solid aluminum ones. I fitted the offside one a few months ago as the wheel was off and planned to do the nearside later. I didn't expect the car to bounce so much on the trailer that it would pull the insert out. Lessen learned. I will change the pushrod in the next few days. Original steel pushrod 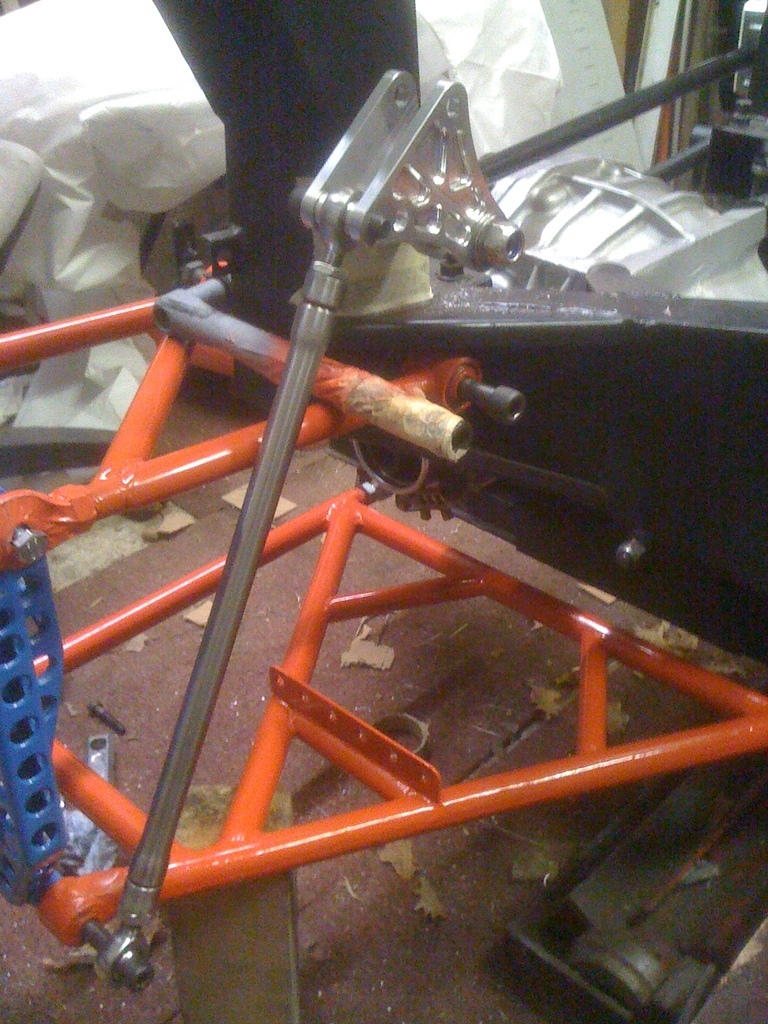 Carbon version 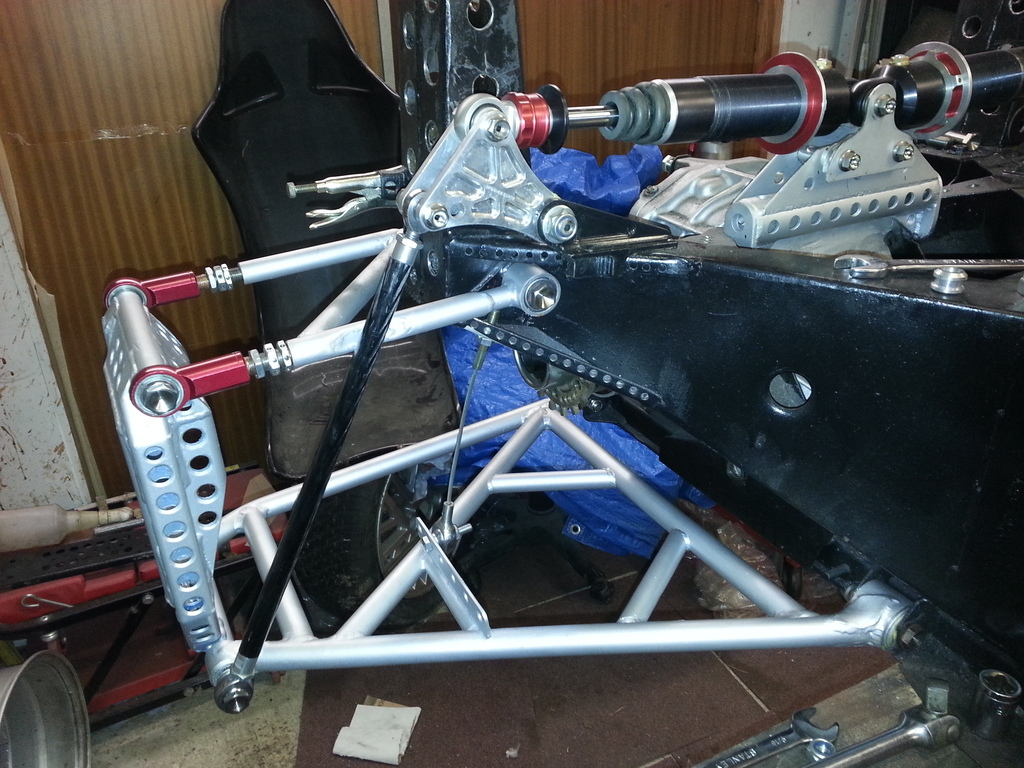 |
| |
Last Edit: Oct 14, 2023 9:57:55 GMT by nalesutol
|
|
|
|
|
Oct 13, 2023 20:52:37 GMT
|
The day has finally arrived, car is off to Geoff Page Engineering to get fired up! Elan unloaded 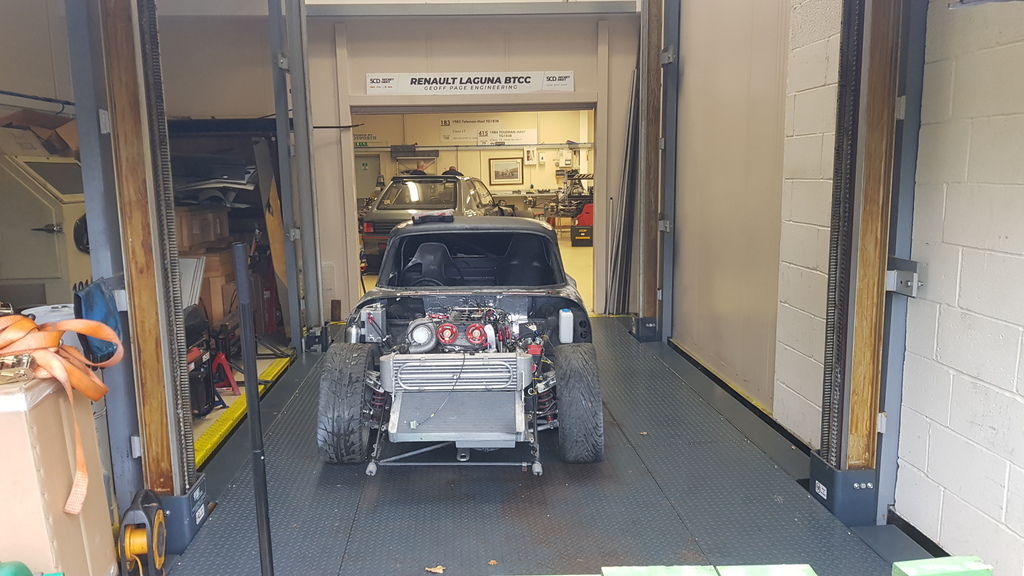 Space where it will be living for a few weeks. 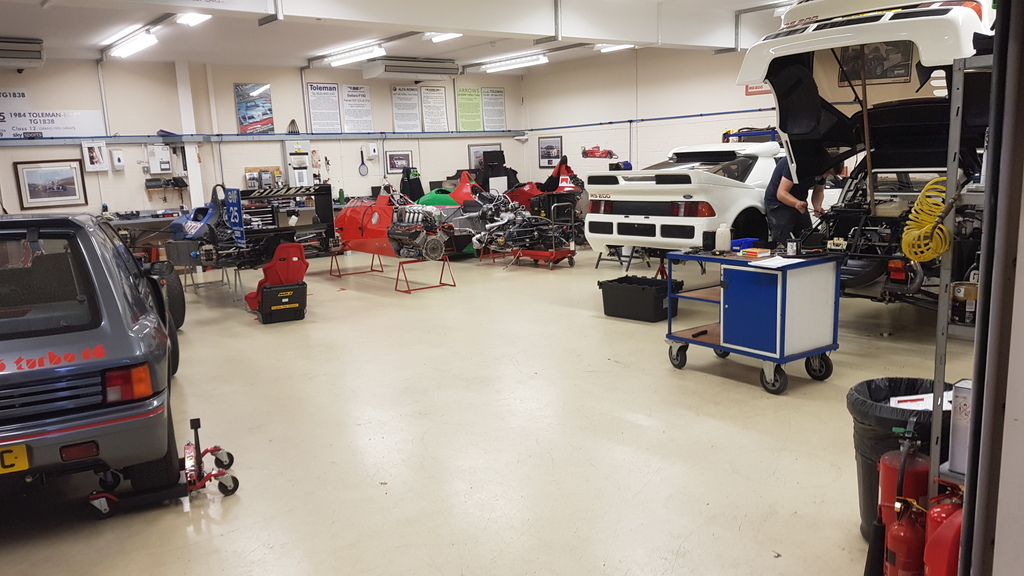 |
| |
Last Edit: Oct 13, 2023 20:53:59 GMT by nalesutol
|
|
|
|
|
Oct 12, 2023 17:33:18 GMT
|
|
|
| |
Last Edit: Oct 12, 2023 17:35:40 GMT by nalesutol
|
|
|
|
|
Oct 11, 2023 22:25:12 GMT
|
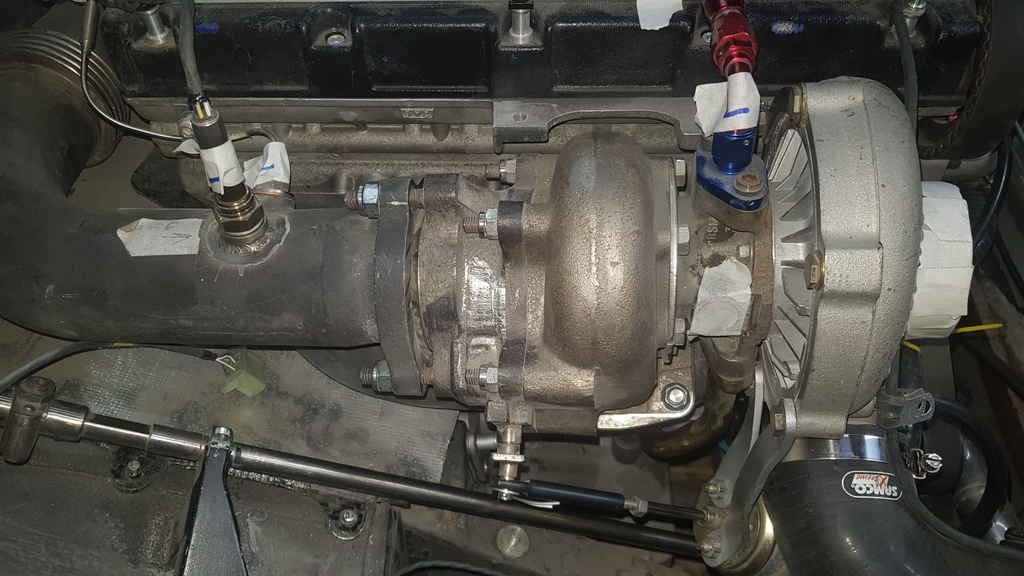
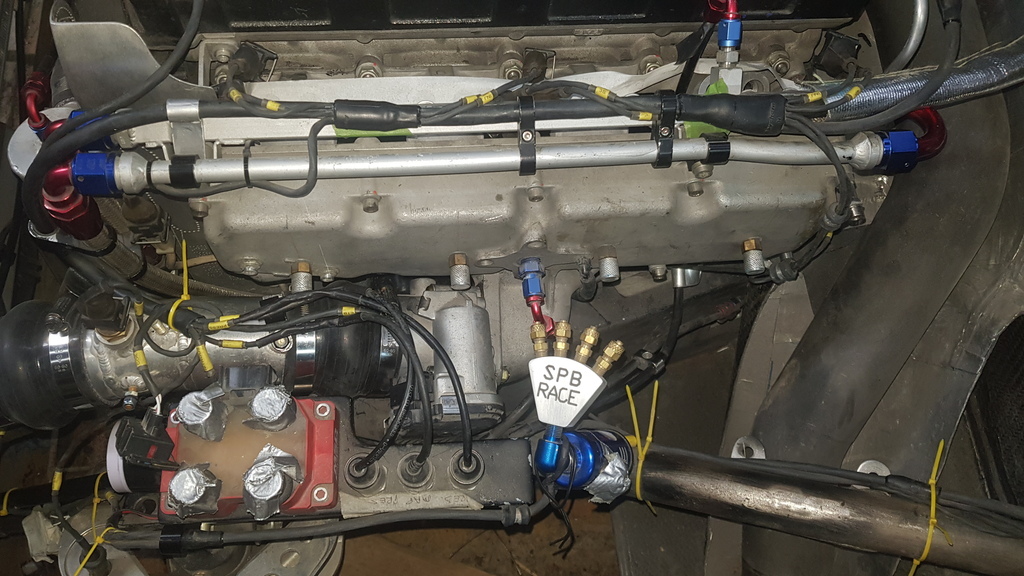
Blimey, what a day! Found out yesterday that there is finally space at Geoff Page Engineering (where my son works) for my car to go in to get the wiring commissioned and the engine fired up! Rather short notice as there are quite a few jobs I need to do in order to keep the cost down. Major jobs are to fit inlet and exhaust manifolds and turbo, which I started on yesterday and sort out many unions that have been fitted but not tightened. A comedy of errors ensued. In keeping with this thread, I share the bad things as well as the good. Cleaned up the head inlet ports, greased up the gasket and installed the inlet plenum. As I was tightening up the last nut I noticed a piece of masking tape hanging down trapped between the plenum and head. Hmmmm. Removed tape from injector ports to discover masking tape blocking the ports! 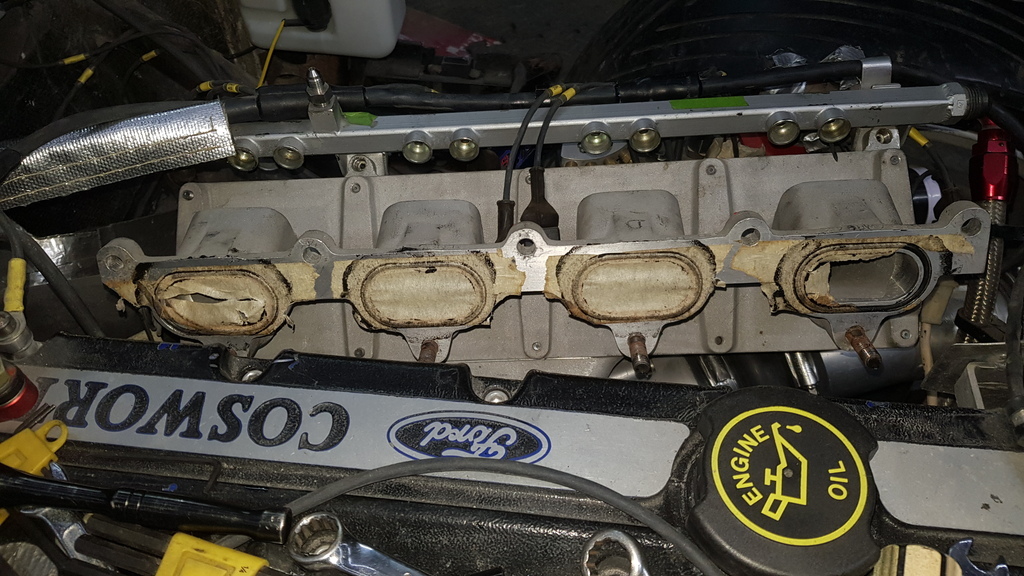 Off with the chamber. Yup, end was covered with tape! From where I was standing when fitting it I couldn't see this face, although I should have checked and cleaned it - Idiot. Removed tape to discover that the chamber is fitted with rubber O rings so no gasket is required! Finally, fitted chamber properly. Next task - exhaust manifold. This, actually, wasn't too bad. Awkward, but pretty straightforward, apart from having to modify an old 13mm spanner to get to a couple of nuts and avoid other parts. Right, on to the turbo. Boy, this was a shitfest. The front two nuts were easy, but the rear two were almost impossible. In hindsight I would have fitted the turbo to the manifold first. This would have made for hard work to fit it but easier than what I had to do. First task was to grind some of a flange away so the right rear nut would actually fit on to the stud. 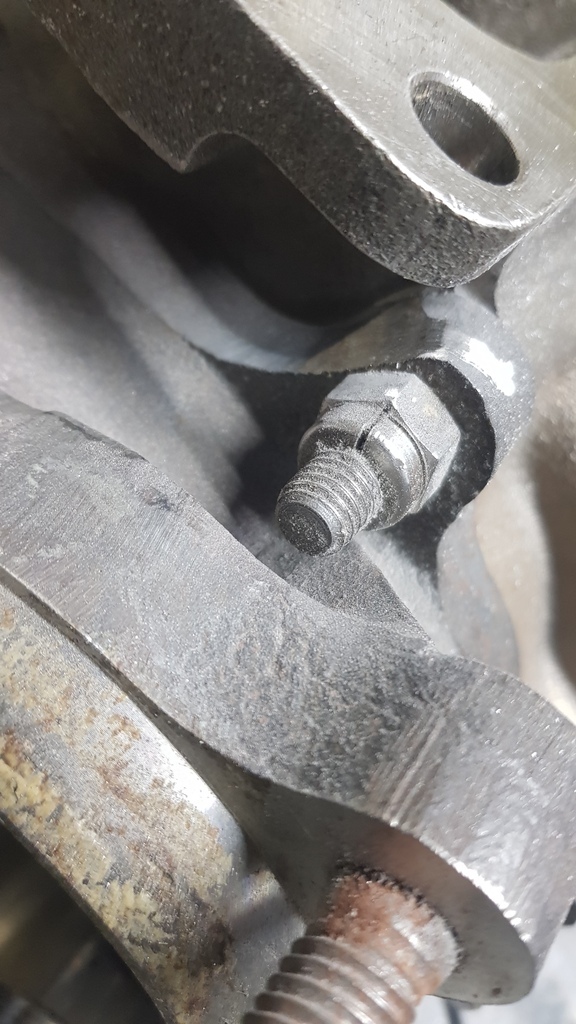 None of my tools could get anywhere near the rear right nut. I could get it started by hand but it felt very stiff. So off with the turbo and ran a die down all four studs which solved this issue. Back on with the turbo and this nut. Right, how to tighten it? Ended up butchering an old spanner to within an inch of its life. 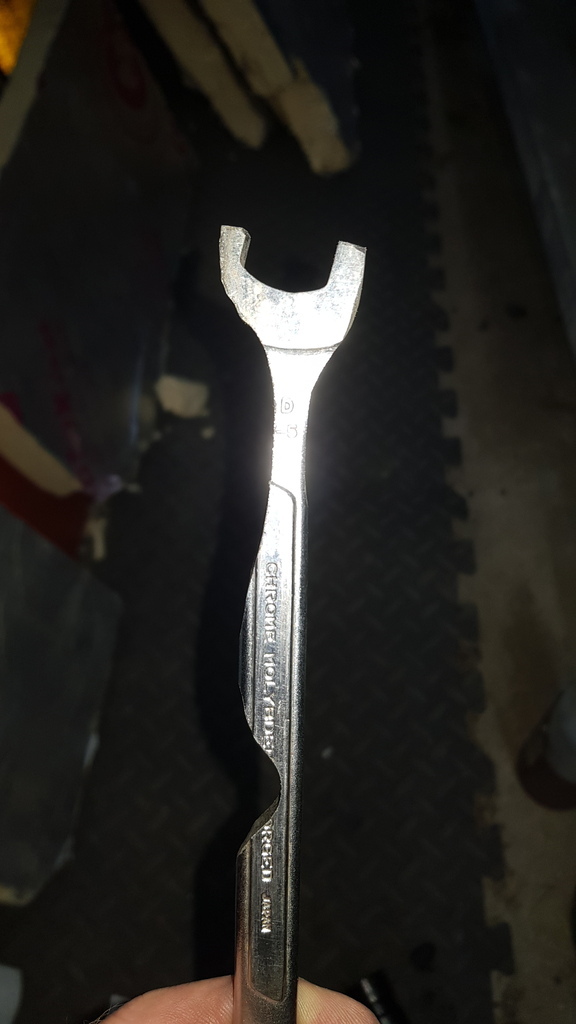 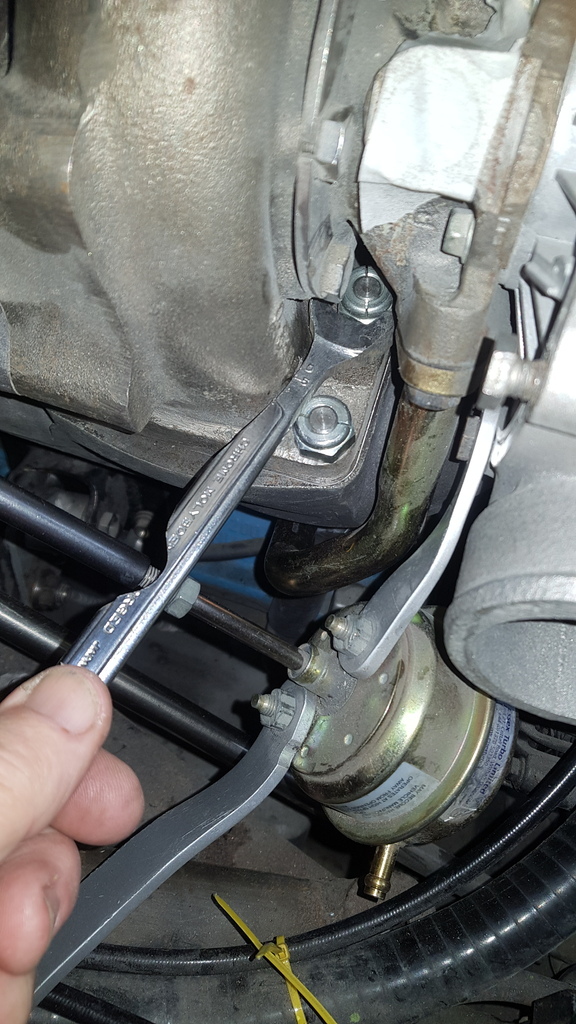 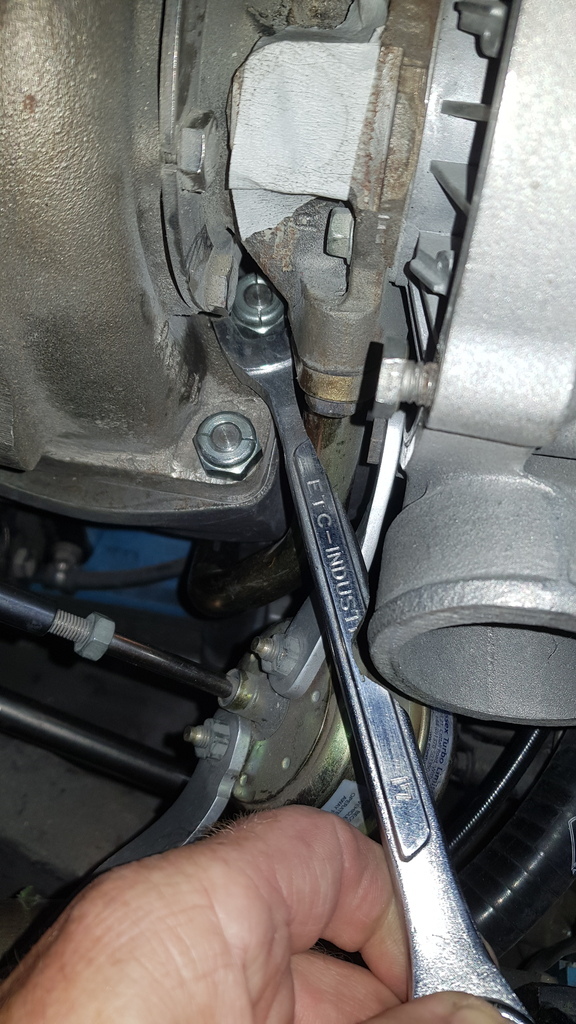 The rear left was a little easier but still had to shorten the handle and trim the head on another old spanner in order to get on the 17mm nut. I then noticed what looked like paper sticking out between the throttle body and plenum. Did I block this off as well? Couldn't remember so had to take it off to check, which entailed removing intercooler. It was just sealant but no gasket. Fortunately I found one so installed it and refitted the intercooler, only to discover that I had managed to fit the throttle body 90 degrees out! It would have worked but the wiring was a tad tight so had to redo it :-( By then it was midnight and I was making silly mistakes so called it a day. Next day I discovered that I should have used Aerospace locknuts (K-nuts) on the turbo! These use a 12mm rather than a 17mm spanner so give you a little more space to play with. My son gave me four so I set about fitting them. Still not a walk in the park and I had to modify a 12mm spanner but got there in the end. A small bonus is that these nuts saved me 36gms :-) 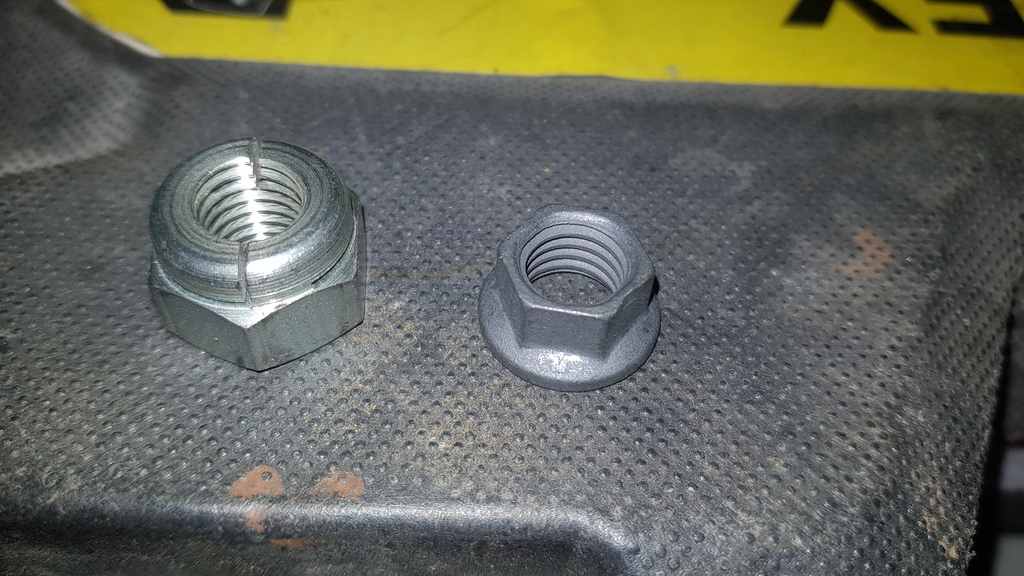 Next task is to start tightening nuts and bolts that have been loose fitted. A relatively simple job as nuts and bolts that have been tightened have been marked with a dob of orange Dykem Cross Check Tamper Proof Torque Seal. This will almost be a pleasant job after the fun I have had these last two days :-) |
| |
|
|
|
|
|
|
|
Started to do the final assembly of the inlet and exhaust manifolds including the turbo. Up until now they had been dry fitted so I could position all of the ancillaries. First job was to remove the gaffer tape that was preventing detritus from falling into the ports. This left a little bit of tape behind that had to be cleaned off. Next job was to clean up the exhaust manifold studs as they had a coating of surface rust. This would compromise the torque settings due to the additional friction. Not a good idea to use a lubricant (copper slip etc) on these studs as it will simply bake and cause big problems when trying to remove the manifold in the future. 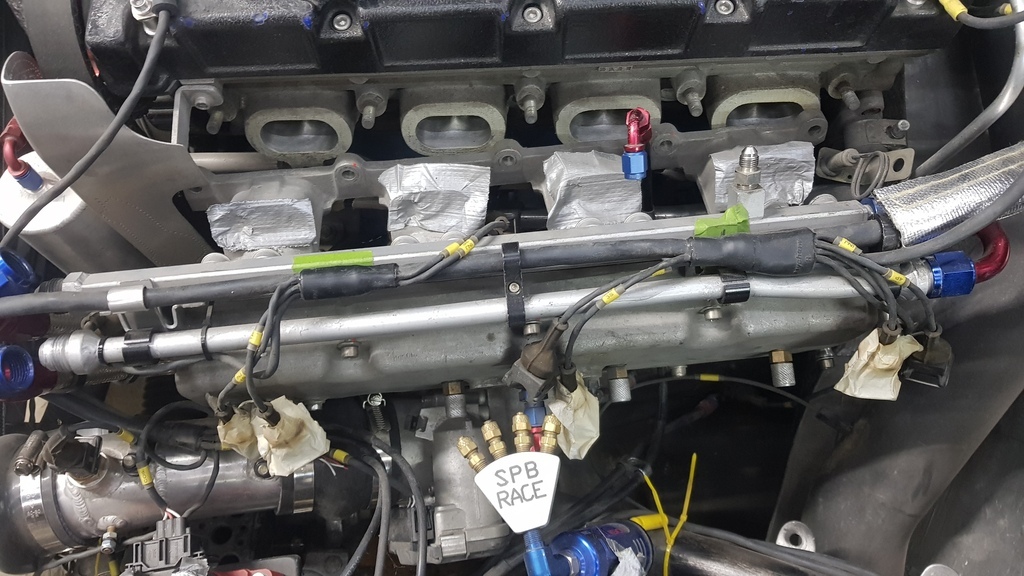 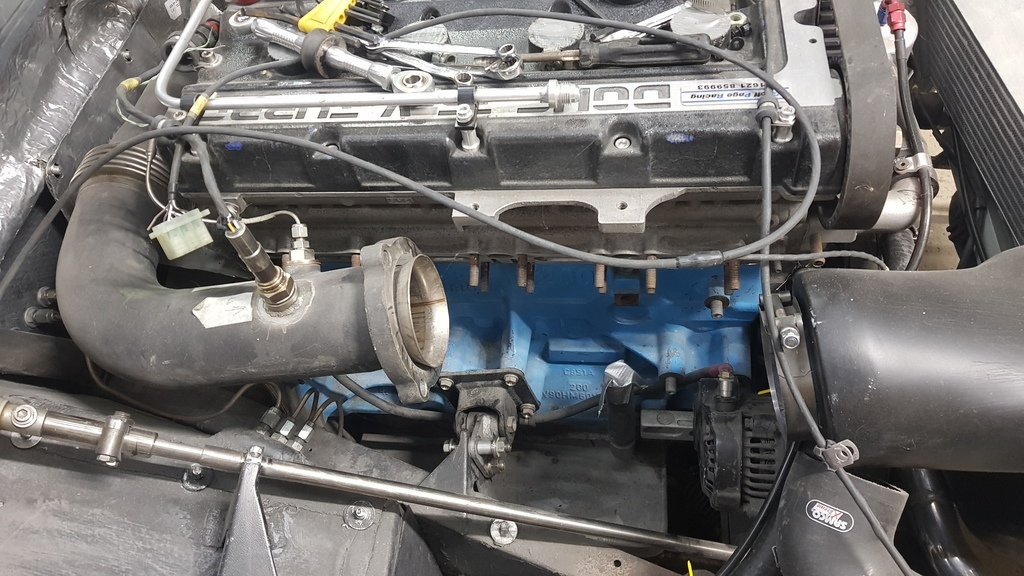 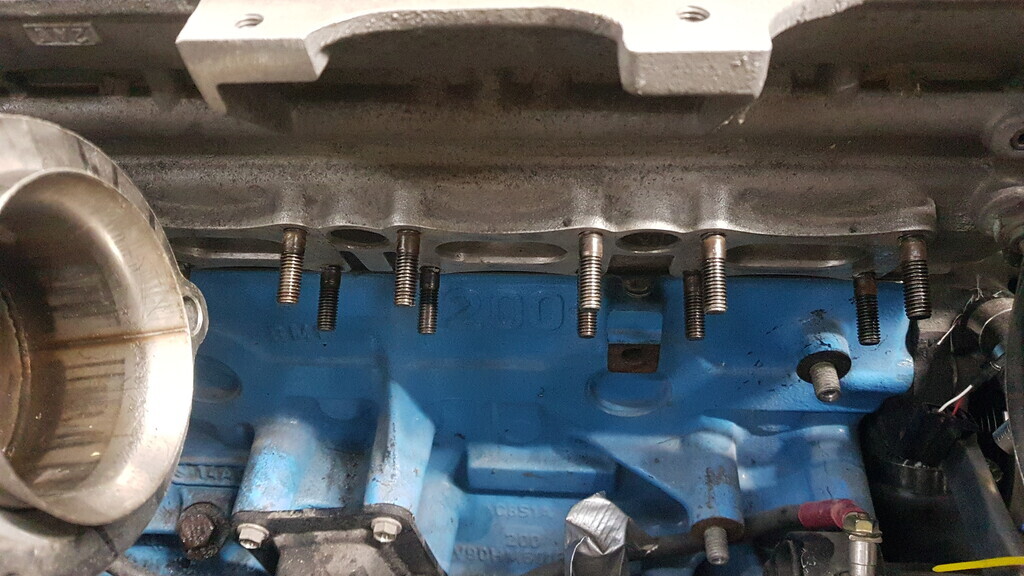 Tomorrow will be manifold fitting day. |
| |
Last Edit: Oct 9, 2023 21:17:41 GMT by nalesutol
|
|


