Once again I’m a bit behind with posting about progress.
I’m terrible for writing half a story and then nothing happens on that subject for 6 months. When I finally finish ‘the thing’ you’ve all forgotten what was going on. So for once I thought I’d actually finish something and then you could all get the full story in one post. Well that’s not likely to happen because it’d be a very long post and I still haven’t completely finished the job. But lets make a start anyway…
I bet you are all desperate to know what I did with the battery trays aren’t you?
No? Oh. Shame. I hope you take disappointment well because that’s what we are talking about.
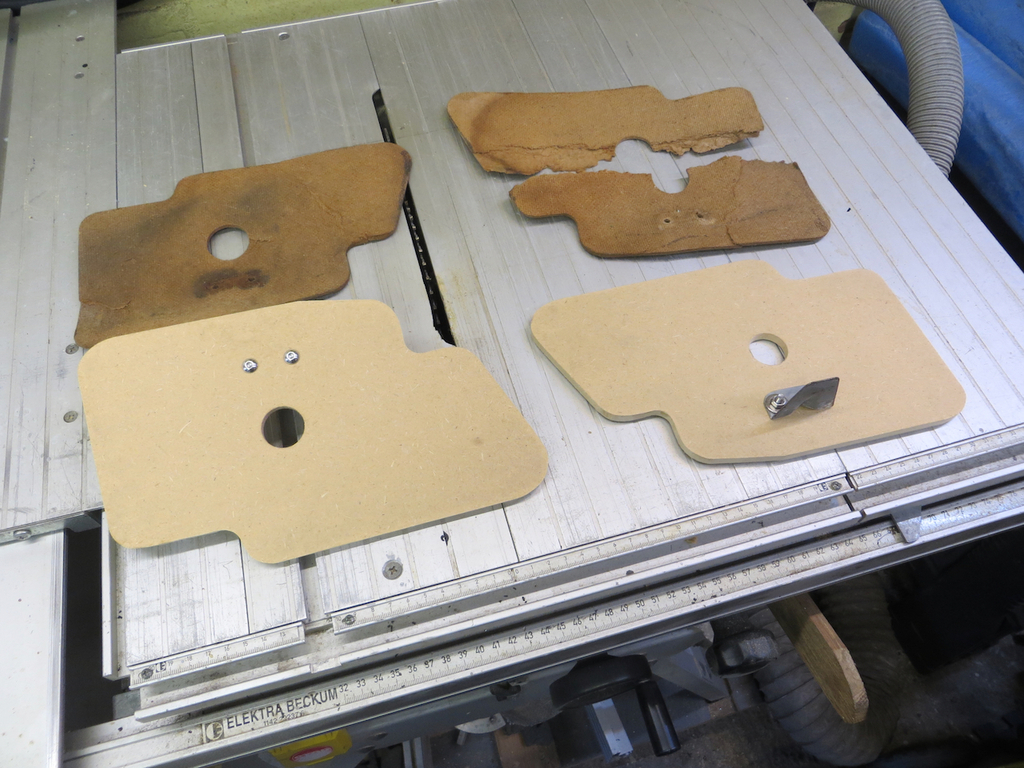
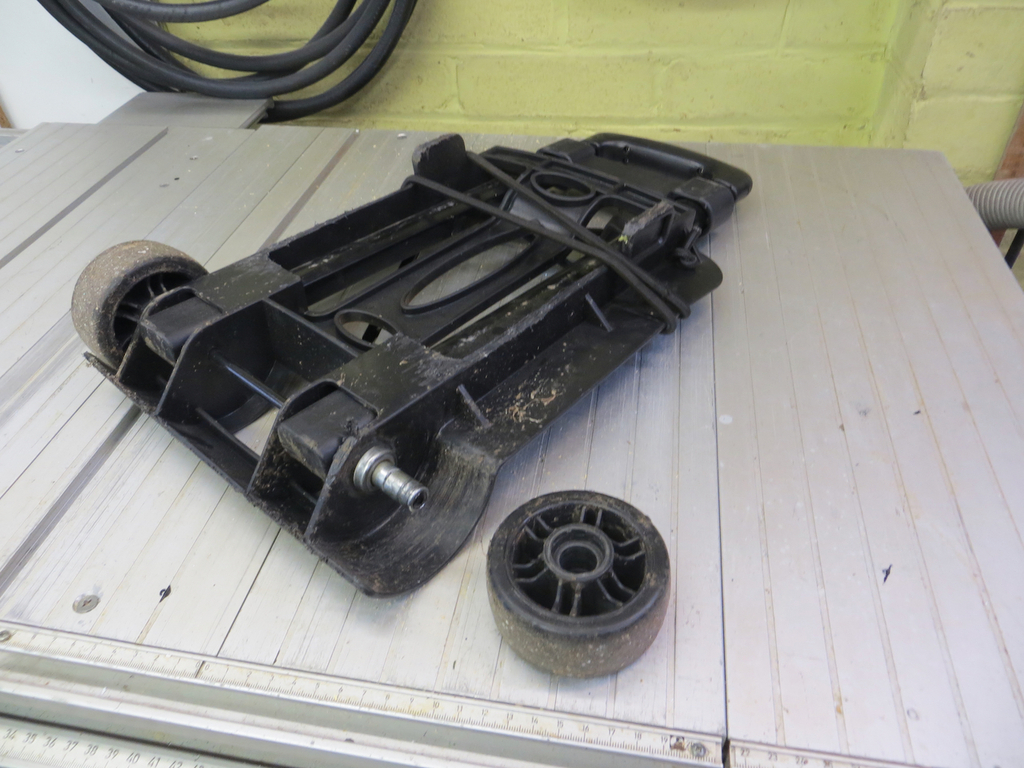
Here are two battery trays that don’t work too well.
The problem is that the clamp doesn’t hold the battery down it just rolls it onto its back. A piece of wood behind the battery would fix it but I decided that we’d go the whole hog and convert it to a diagonal clamp thing so it can accommodate different sizes of battery.
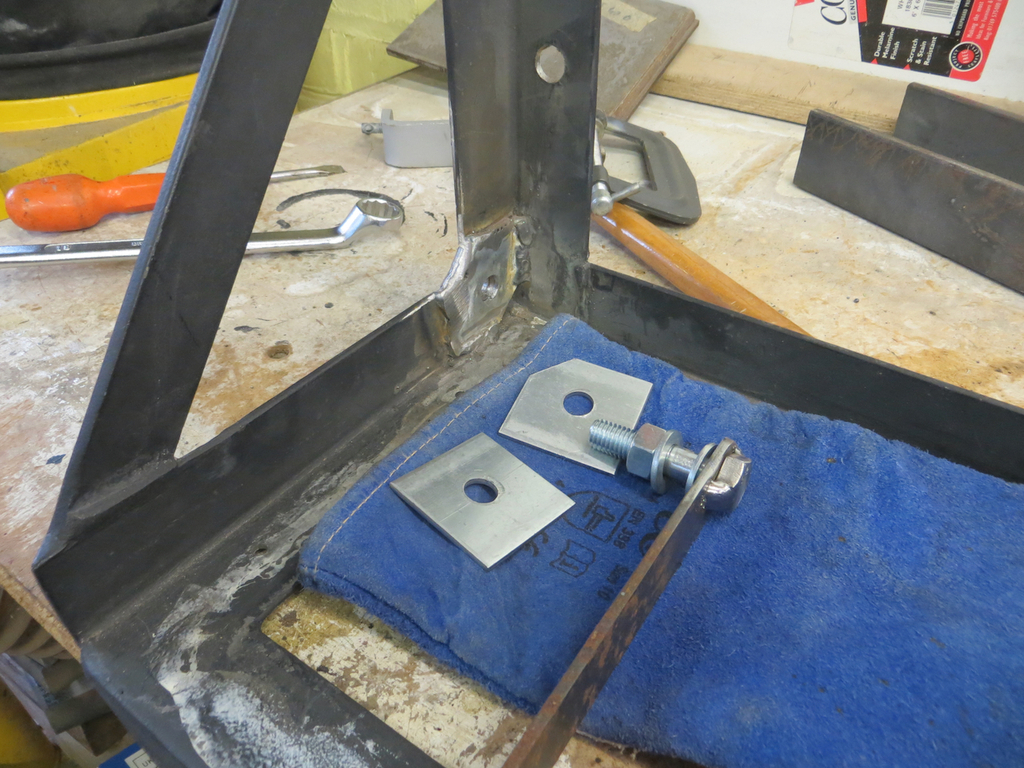
I had a rummage in my drawers of stuff to see what I could use. I found flat bar, threaded rod, some big square M12 washers, some M12 shanked bolts and some M12 nuts. I reckon I can do something with that.
First of all I used some of the flat bar to strengthen the bottom in place of the thin aluminium sheet.
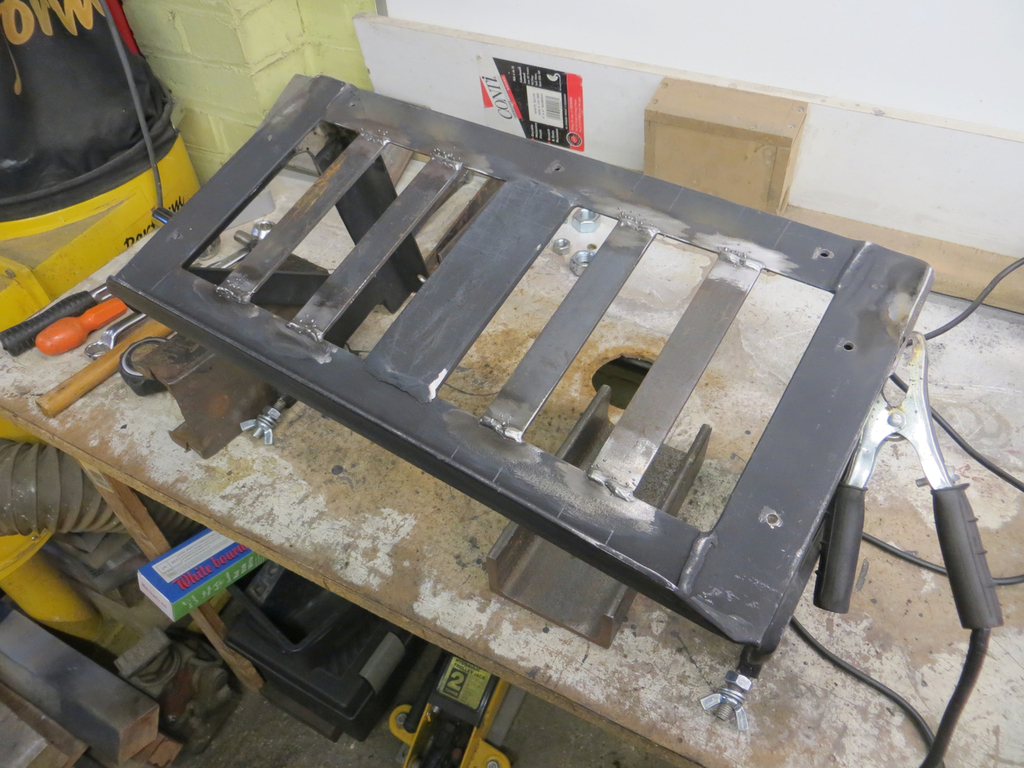
The battery isn’t falling through that any time soon.
The big square washers were used to beef up the corners of the frame that would form the hinges. More to add thickness than strength.
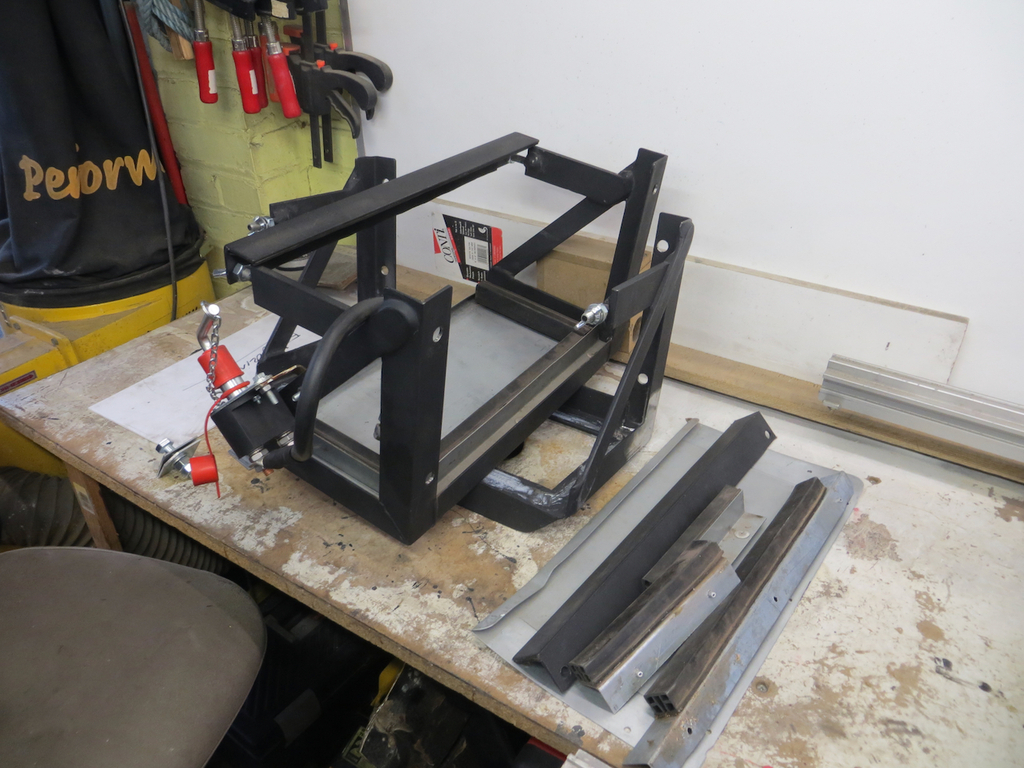
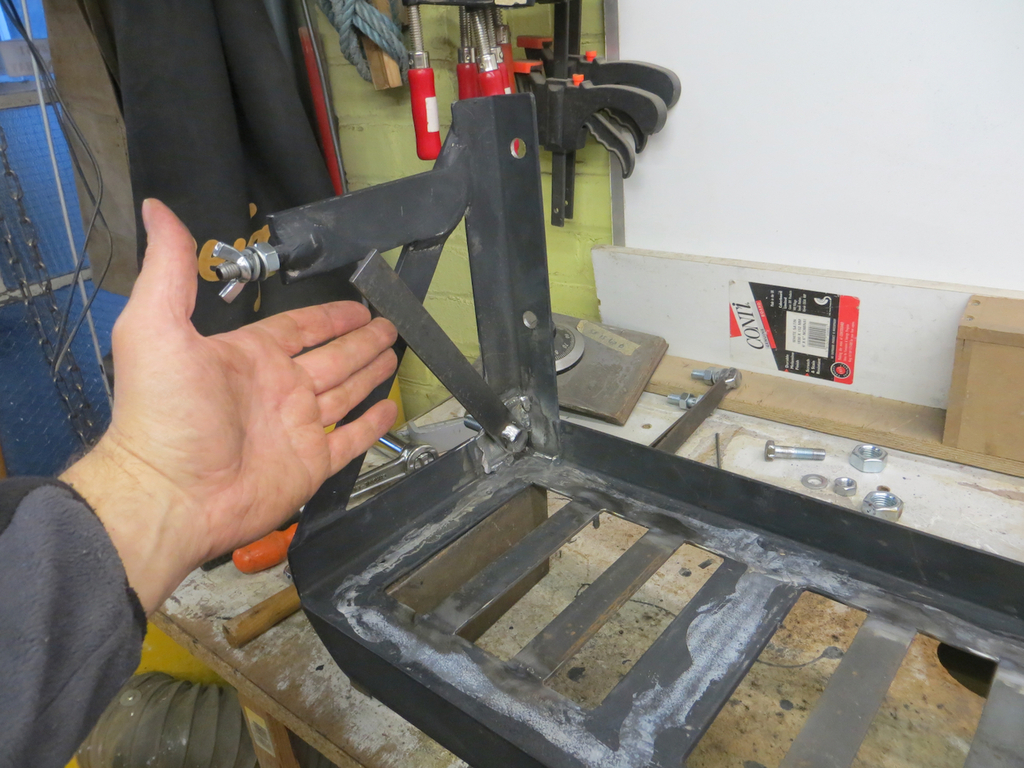
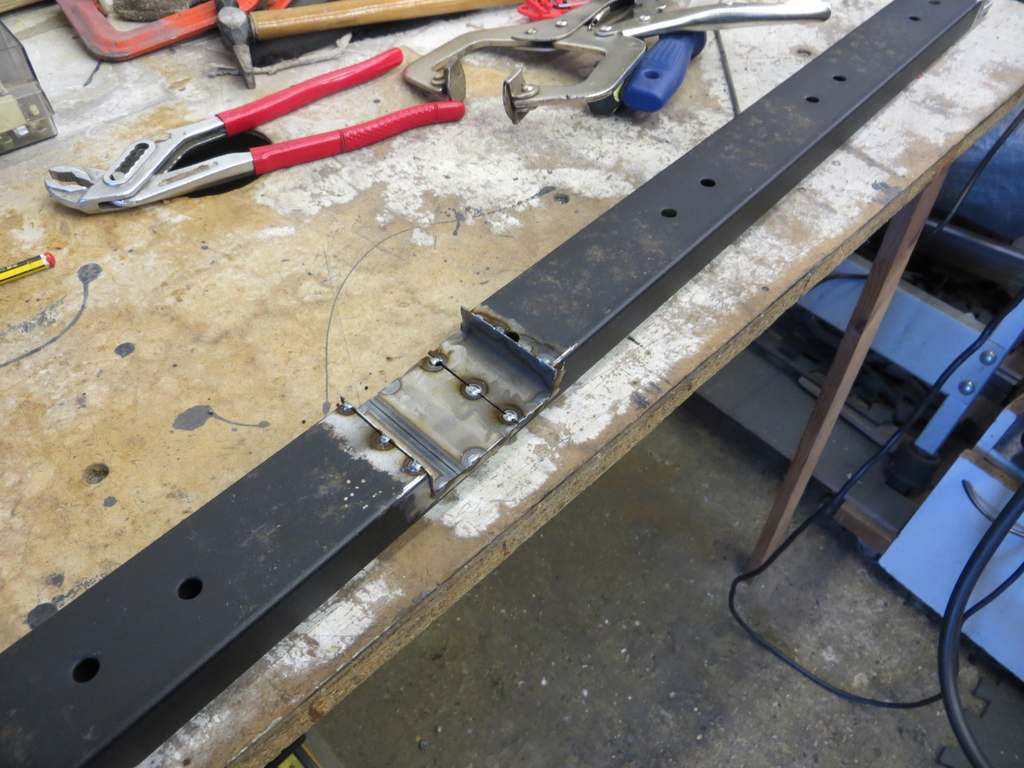
The bolts were welded to some more flat bar to form the other part of the hinge… Why don’t I just show you a photo so you can see the plan?
See what I mean?
Now, I’ll be honest, I had some horrible porosity when welding the corners in.
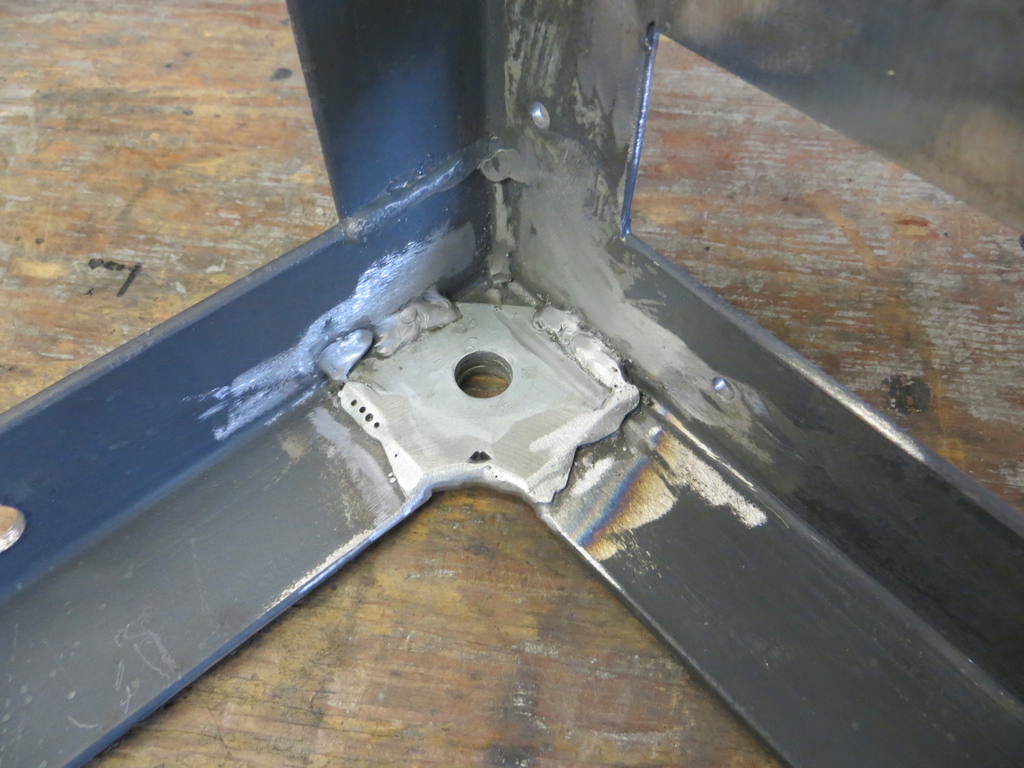
To be fair they aren’t coming out. Not even if you tried really hard.
When this thing was originally made they used a smear of body filler over the welds to tart everything up. I tried to clean it up as best I could but I still wound up with contaminated welds.
The reason for adding the plates is primarily to increase the bearing surface for the bolt that acts as the hinge and to thicken it up so it’s about the same as the shank of the bolt. But… There is a diagonal weld between the bits of angle and the hinge hole was right through it and pulled along the line of the weld. It was never going to pull the weld apart but now it has a thick plate welded on each side it definitely isn’t pulling through.
This does mean that I now have three layers of steel and if water gets in between it’ll rust and blow. So to try and keep some of the water out I stole their idea and got the Isopon P38 out.
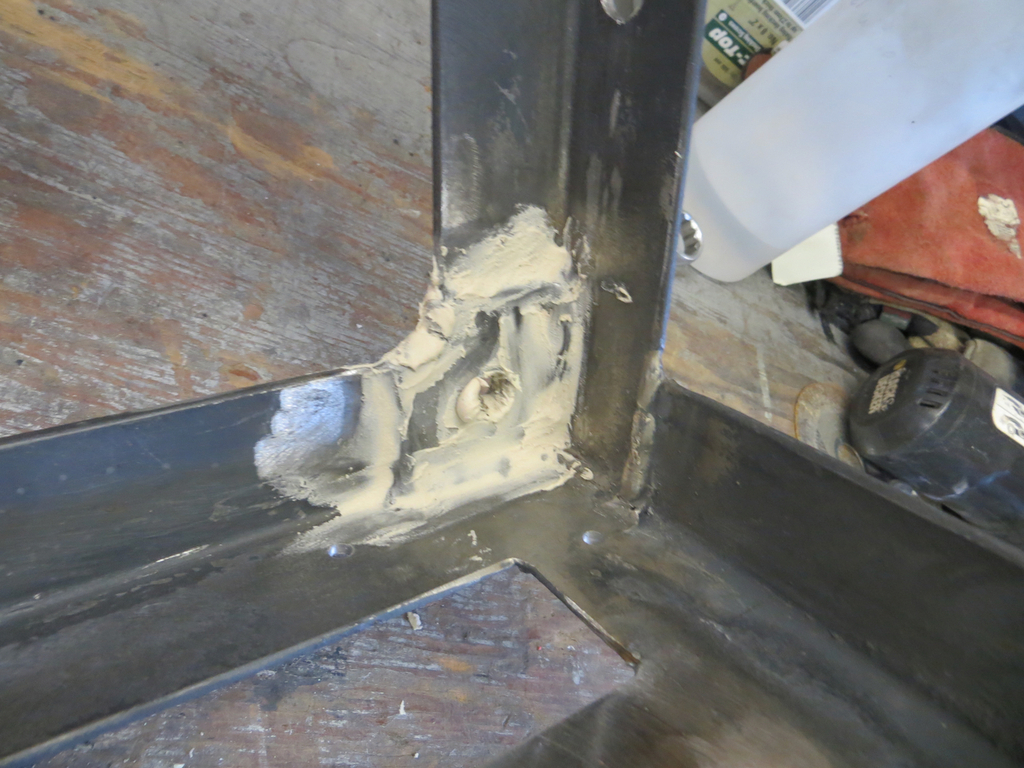
Looked ok when I’d sanded it flat.
Next I cut the existing threaded rod off the side bars and welded some new stuff to my flat bar.
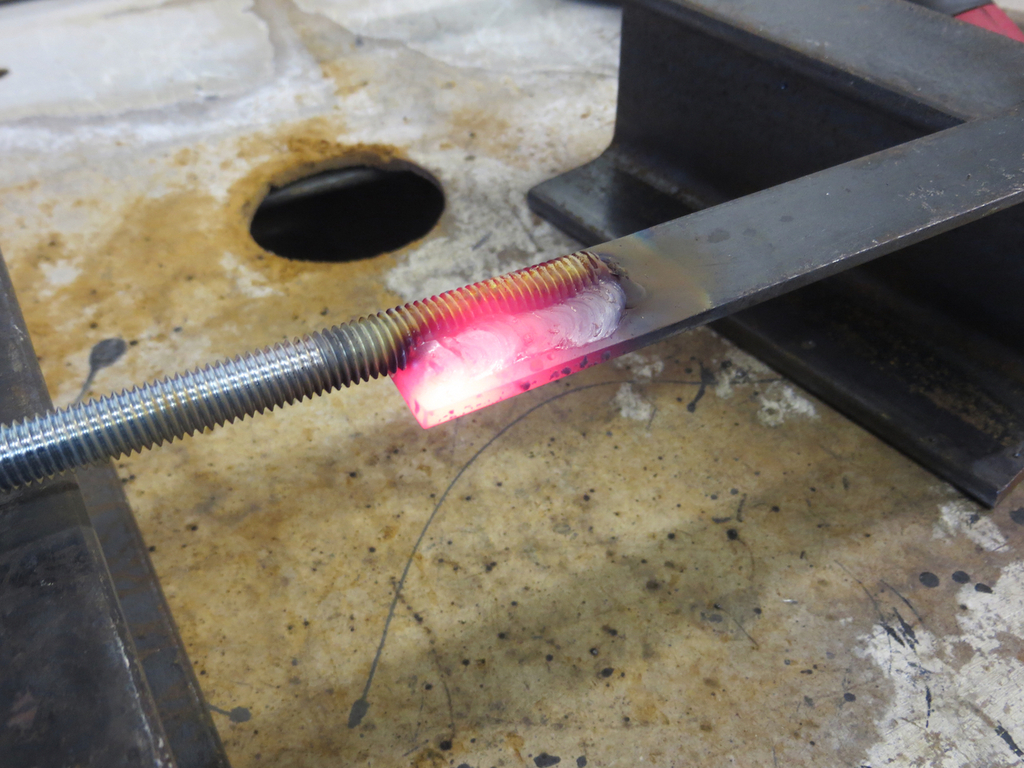
Welding makes things proper hot dunt it? I could toast marsh mallows on that if only I had some.
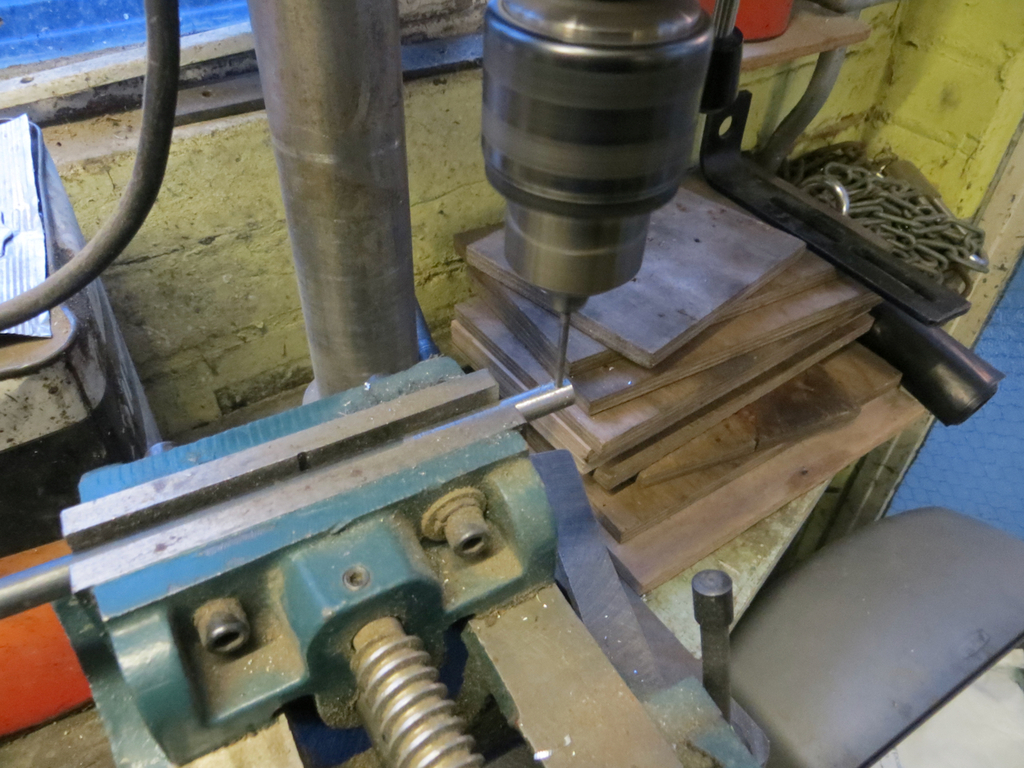
After that I need to do something with the angle that goes across the front of the battery. It needs new holes drilled in it and I wanted to shape the corner where the tie down wing nut bears on it. Just so it works through a range of angles depending on how tall the battery is.
First I built up the inside with weld…
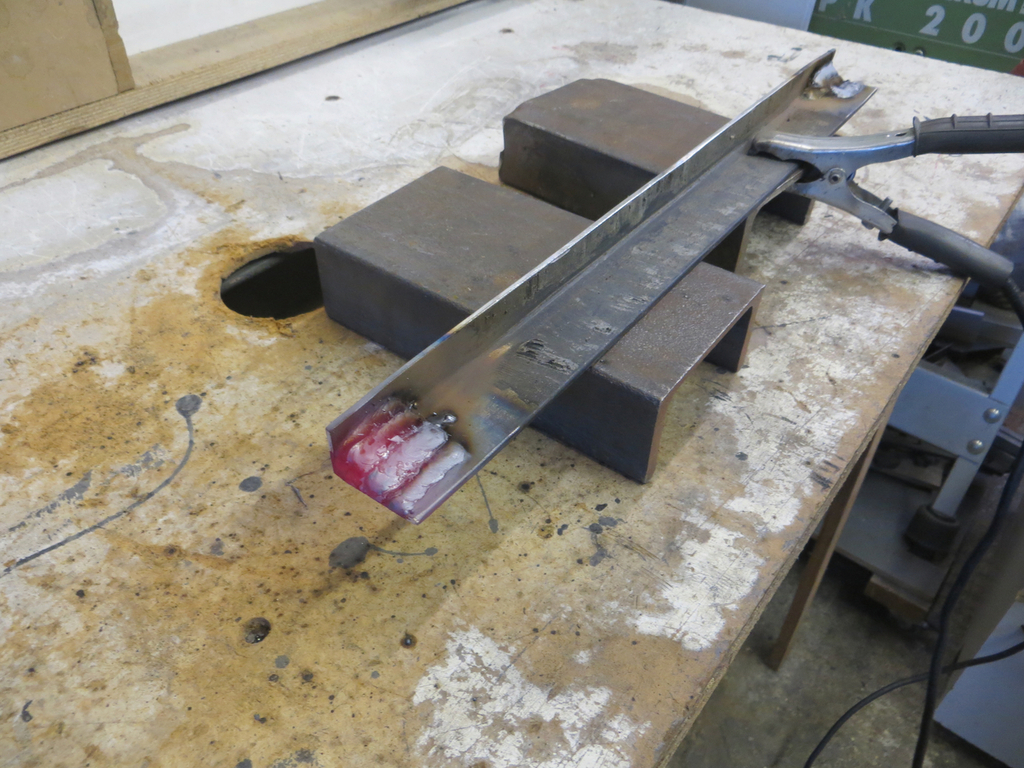
…and then profiled the other side into a nice curve. Lastly I drilled new holes for the tie downs.
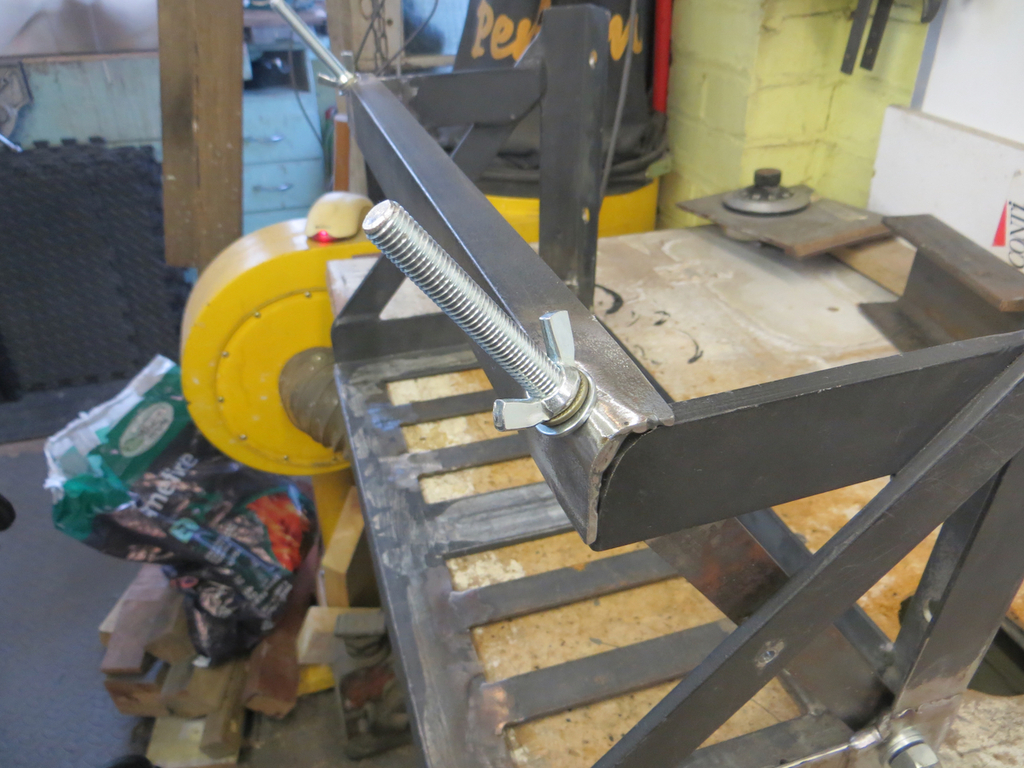
I left the original arms that had the threaded rod on the end in place. This is because I’m terribly clever and very lazy. Because I left them they can be used to carry clamp bar if there isn’t a battery fitted as shown above. But also I couldn’t be arsed to chop them off.
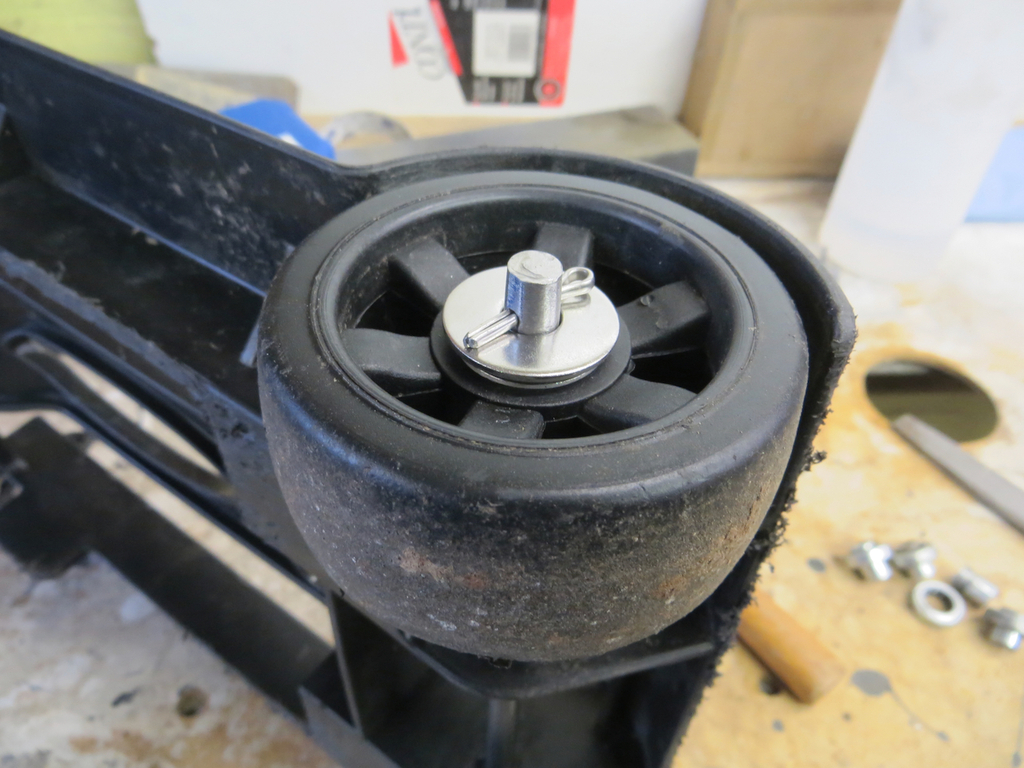
The M12 bolt that forms the pivot has a nut on the outside to hold it in place. My original idea was to put two nuts on and lock one against the other but, to be honest, it looked a bit crappy. So I ran one nut against the shank of the bolt and then drilled for a split pin just in case the nut decided to come undone.
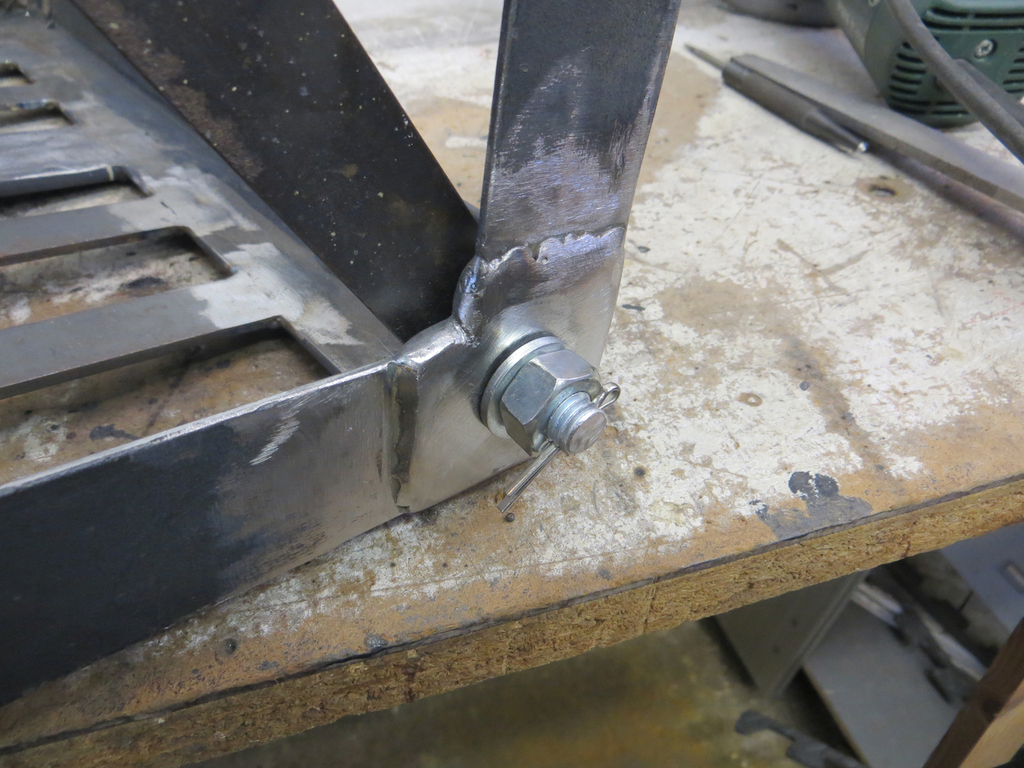
A castle nut would be better but I don’t have one and the pin will stop it coming apart.
End of part one… I’ve started writing part two but as I haven’t finished the job I can’t finish the writing. It’s one of the problems that we authors have to deal with. Well, me anyway because I never finish anything.
James
I’m terrible for writing half a story and then nothing happens on that subject for 6 months. When I finally finish ‘the thing’ you’ve all forgotten what was going on. So for once I thought I’d actually finish something and then you could all get the full story in one post. Well that’s not likely to happen because it’d be a very long post and I still haven’t completely finished the job. But lets make a start anyway…
I bet you are all desperate to know what I did with the battery trays aren’t you?
No? Oh. Shame. I hope you take disappointment well because that’s what we are talking about.
Here are two battery trays that don’t work too well.
The problem is that the clamp doesn’t hold the battery down it just rolls it onto its back. A piece of wood behind the battery would fix it but I decided that we’d go the whole hog and convert it to a diagonal clamp thing so it can accommodate different sizes of battery.
I had a rummage in my drawers of stuff to see what I could use. I found flat bar, threaded rod, some big square M12 washers, some M12 shanked bolts and some M12 nuts. I reckon I can do something with that.
First of all I used some of the flat bar to strengthen the bottom in place of the thin aluminium sheet.
The battery isn’t falling through that any time soon.
The big square washers were used to beef up the corners of the frame that would form the hinges. More to add thickness than strength.
The bolts were welded to some more flat bar to form the other part of the hinge… Why don’t I just show you a photo so you can see the plan?
See what I mean?
Now, I’ll be honest, I had some horrible porosity when welding the corners in.
To be fair they aren’t coming out. Not even if you tried really hard.
When this thing was originally made they used a smear of body filler over the welds to tart everything up. I tried to clean it up as best I could but I still wound up with contaminated welds.
The reason for adding the plates is primarily to increase the bearing surface for the bolt that acts as the hinge and to thicken it up so it’s about the same as the shank of the bolt. But… There is a diagonal weld between the bits of angle and the hinge hole was right through it and pulled along the line of the weld. It was never going to pull the weld apart but now it has a thick plate welded on each side it definitely isn’t pulling through.
This does mean that I now have three layers of steel and if water gets in between it’ll rust and blow. So to try and keep some of the water out I stole their idea and got the Isopon P38 out.
Looked ok when I’d sanded it flat.
Next I cut the existing threaded rod off the side bars and welded some new stuff to my flat bar.
Welding makes things proper hot dunt it? I could toast marsh mallows on that if only I had some.
After that I need to do something with the angle that goes across the front of the battery. It needs new holes drilled in it and I wanted to shape the corner where the tie down wing nut bears on it. Just so it works through a range of angles depending on how tall the battery is.
First I built up the inside with weld…
…and then profiled the other side into a nice curve. Lastly I drilled new holes for the tie downs.
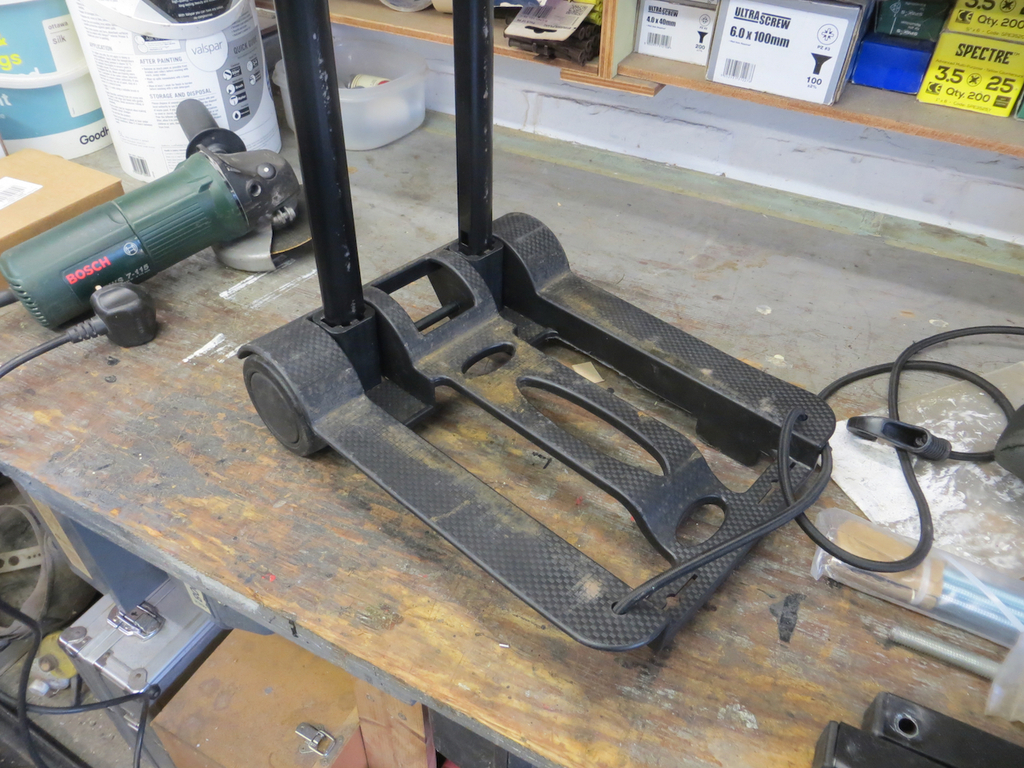
I left the original arms that had the threaded rod on the end in place. This is because I’m terribly clever and very lazy. Because I left them they can be used to carry clamp bar if there isn’t a battery fitted as shown above. But also I couldn’t be arsed to chop them off.
The M12 bolt that forms the pivot has a nut on the outside to hold it in place. My original idea was to put two nuts on and lock one against the other but, to be honest, it looked a bit crappy. So I ran one nut against the shank of the bolt and then drilled for a split pin just in case the nut decided to come undone.
A castle nut would be better but I don’t have one and the pin will stop it coming apart.
End of part one… I’ve started writing part two but as I haven’t finished the job I can’t finish the writing. It’s one of the problems that we authors have to deal with. Well, me anyway because I never finish anything.
James


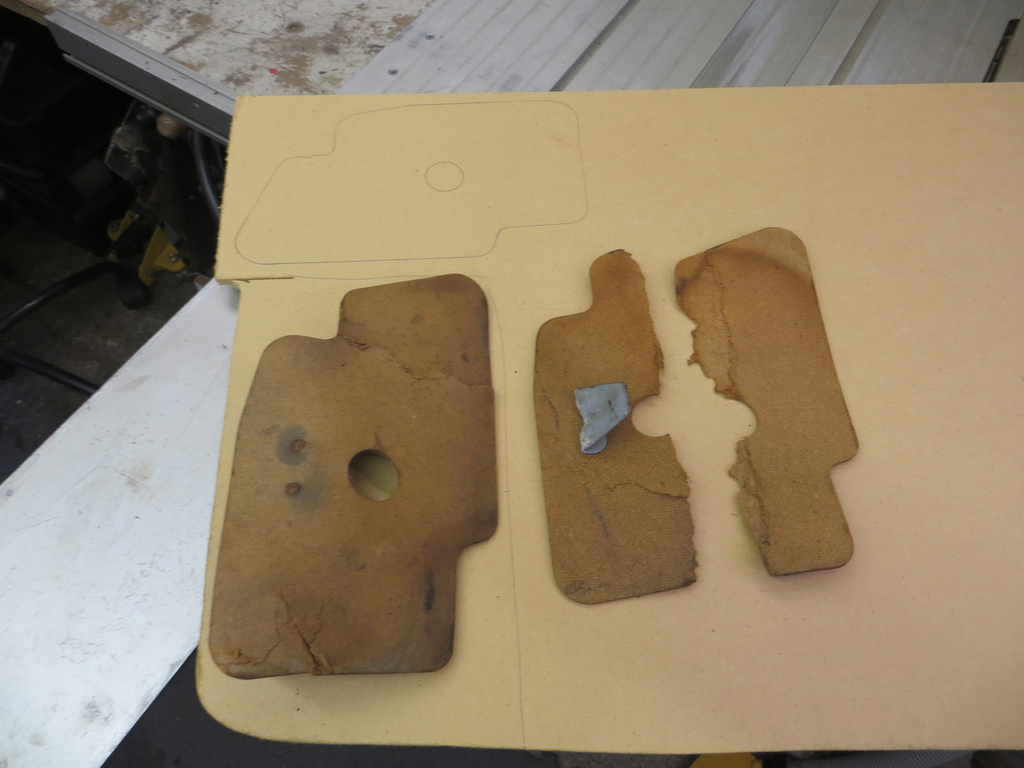
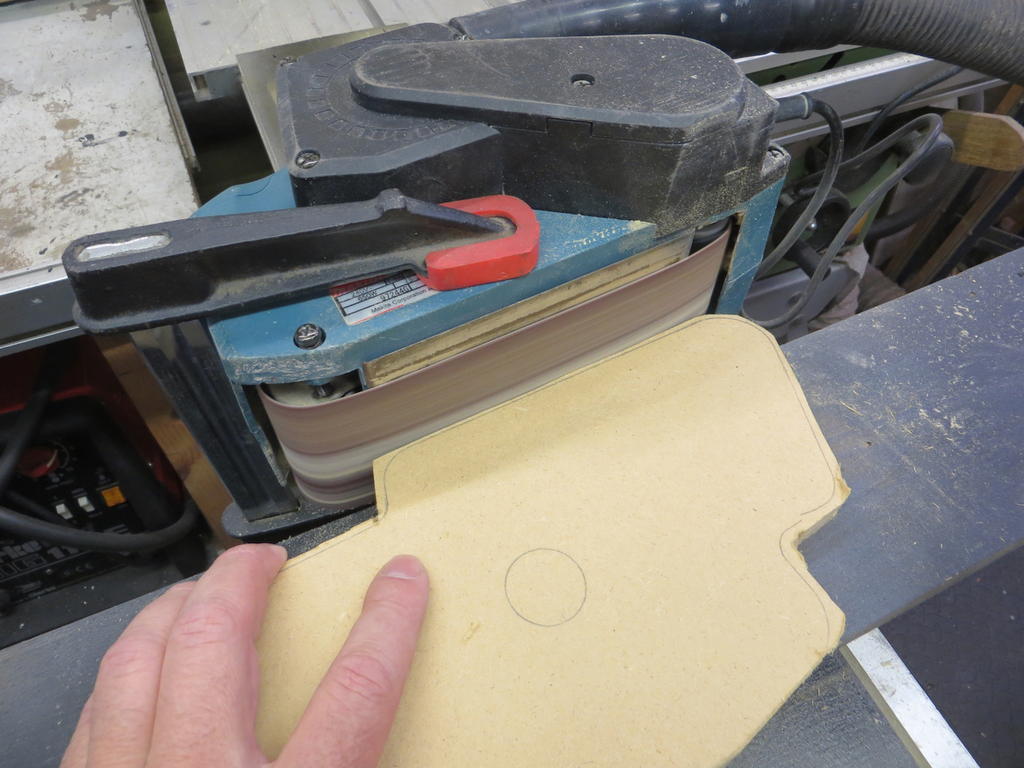
 are you going to paint them (mdf tends to swell if it gets damp)