luckygti
Posted a lot
   I need to try harder!
Posts: 4,912
|
|
Sept 25, 2012 22:18:33 GMT
|
Been fettling the 205's exhaust today, mainly so that I could get it out of the way of the pit (I need to get under the van to take off the fuel tank) so I took the opportunity to give the garage a good sweep out and tidy up the boxes of curse word! Pug out of the way, I turned the key and it fired up straightaway! Sounds like a bag of nails mind, not sure if it's the exhaust blowing or something more sinister.... Still it moved under it's own steam! Looking good ;D 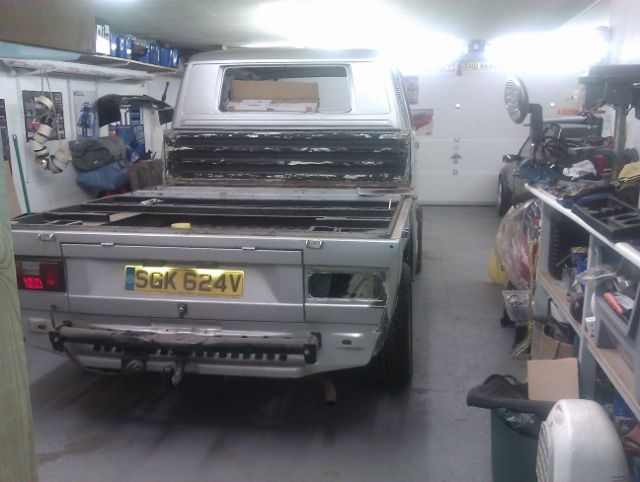 Forgot how low it was at the back! Been so long since it's been on it's wheels, and been able to get round the back too!! More tomorrow. Pete |
| |
|
|
|
|
luckygti
Posted a lot
   I need to try harder!
Posts: 4,912
|
|
Sept 27, 2012 10:51:46 GMT
|
So, now the van is over the pit, I took the opportunity to have a look underneath, and ultimately remove the fuel tank. Why? Well, there's a lot of welding needed in that area and the bodyshop man asked nicely  It's not too complicated to remove, just 2 bolts in fact that hold the straps in place. A PITA on a driveway (been there done that  ) but easy with a pit  After draining off about 20 litres of petrol, some of it into my face and eyes  (cue, mad dash to the sink and lots of flushing!!!!) and decanting it into the 205, it was empty enough to take out. Now for those that don't know the T3, it has a frankly ludicrous breather arrangement, with 2 breather tanks in the wheel arches and no less than 4 pipes to each one! I have no idea why, but hey, VW would no a lot more about the methodology than me, so I guess it's there for a reason. Anyway, after much faffing about getting those off (made much more difficult by the Eberspacher petrol heater that is fitted alongside and above the fuel tank it was out! 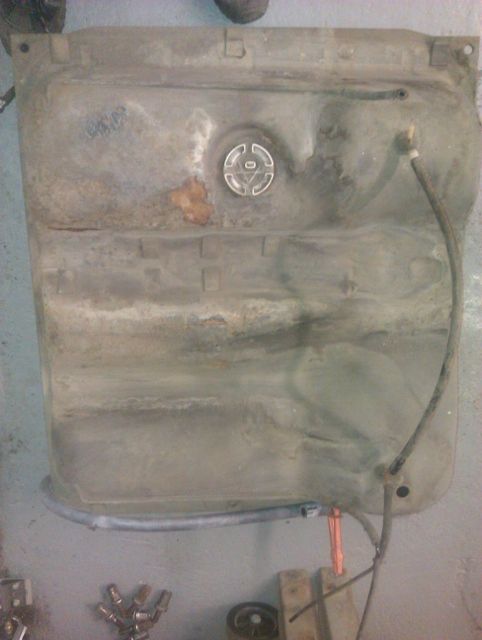 Looks a bit crispy in places and swilling what's left in the tank around makes a few ominous noises. Think I'll be getting a new tank just to be on the safe side!! Off back into the garage for a bit more today! Mainly in the rust area!! Pete |
| |
|
|
luckygti
Posted a lot
   I need to try harder!
Posts: 4,912
|
|
Oct 15, 2012 16:47:50 GMT
|
Well, a very nice guy came today to take it away...... 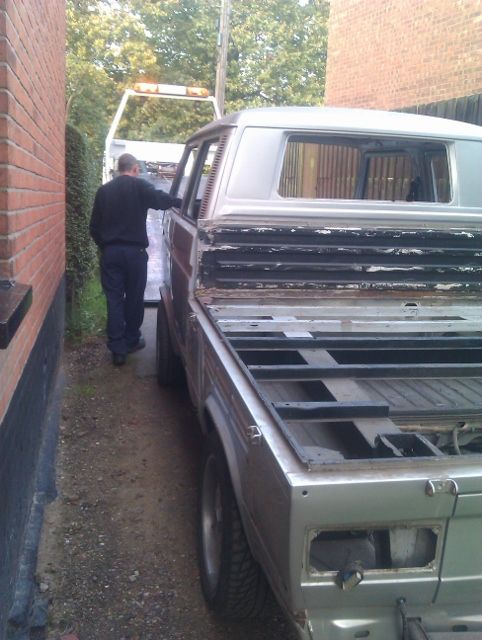 To the bodyshop. 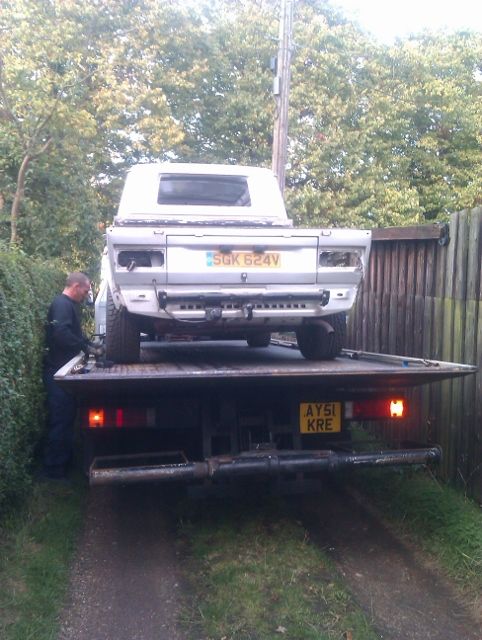 It's a bit tight round the back of my house  F@#k knows how I'm going to get it back in the garage! I guess I'll be trying to fit the new fuel tank outside the front of the house!! (Or a plastic bottle substitute, should get me round the back before conking out!) 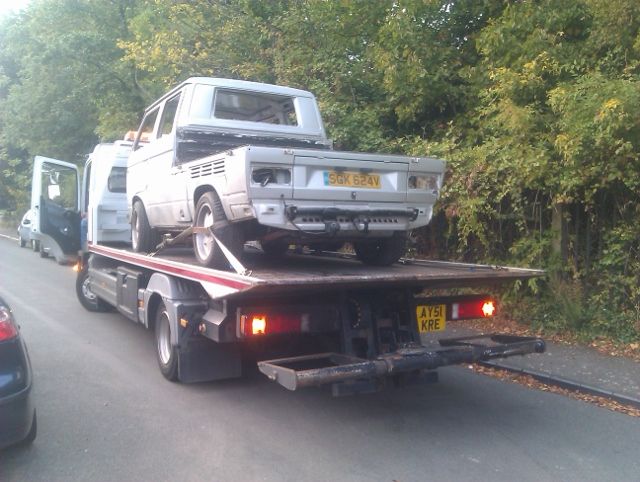 Don't worry, he did tie it down properly before he left  He brought the body man as well, so I could tell him what I had done! He looked a bit  (He was probably thinking, oh no, another wannabe with an angle grinder went too far!) He's probably right  So, They have it for 50 hours of labour and I've said to them to see how far they get. TBH, as long as the RHS gets done I'll be happy. We'll have to see. |
| |
|
|
luckygti
Posted a lot
   I need to try harder!
Posts: 4,912
|
|
Oct 30, 2012 21:41:19 GMT
|
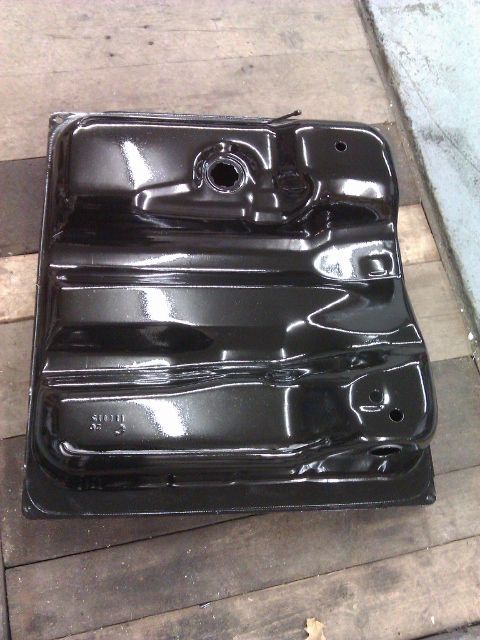
Sooooo, the 50 hours has been and gone, and the RHS still isn't finished  They reckon another 12 hours should have it done, so the budget is climbing (Again!!) Still, it's a keeper, but I'm still stood here thinking that I could have bought a better base!! (BUT, we do have history together!!) So, no pictures yet of the van, the guy has done a nice job though, I'm going to have to try very hard to replicate his work on the other side  A shiny new fuel tank arrived. Bit bent, but hey ho. A quick tap with the hammer, and it looks a bit better. It'll get some more paint too, It needs to last another 30 years..... 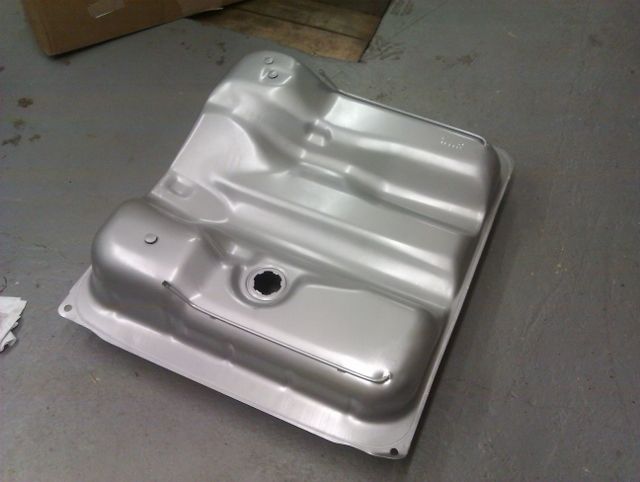 Meanwhile, surfing the Brickyard a couple of weeks ago threw up an advert for an Ej20 Subaru engine, fitted with all of the necessary bits and running Megasquirt. Removed from a T3 to be used in the guys van but never used, he was selling it for what was a pretty good price. So a quick chat with the bank manager (SWMBO) who suggested that I price up the parts I'd need for my current Scooby lump and megasquirt, EDIS etc and exhaust for the WBX 2.1, both of which would be about the same........ So, I went and picked this up. 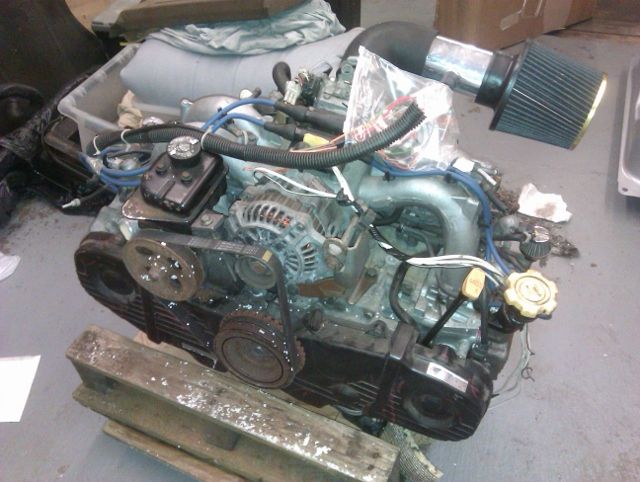 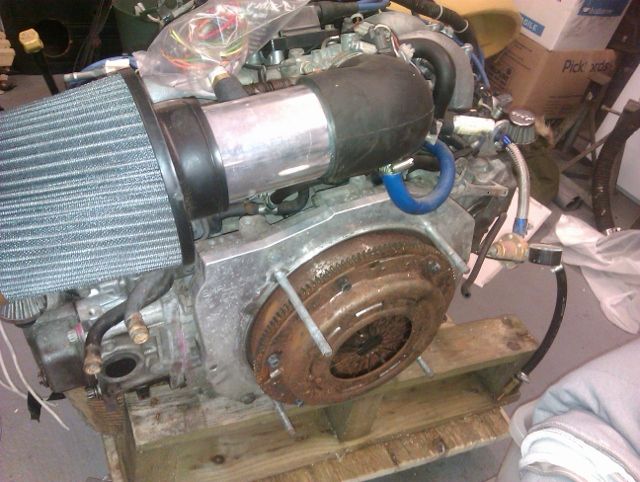 I now have a box of bits, lots of wires (fortunately they are labelled!!) and a certain amount of trepidation about making it work  Nothing new there then ;D |
| |
Last Edit: Oct 30, 2012 21:43:23 GMT by luckygti
|
|
|
|
|
Oct 30, 2012 22:18:34 GMT
|
|
Looks like you're doing a nice job on this!
Great choice on getting rid of the WBX, you won't regret it!
|
| |
|
|
luckygti
Posted a lot
   I need to try harder!
Posts: 4,912
|
|
Oct 30, 2012 22:31:16 GMT
|
Looks like you're doing a nice job on this! Great choice on getting rid of the WBX, you won't regret it! Well, it's cost me a few quid already so I might as well go the whole hog  Engine wise, having already spent over £2K 10 years ago (when I first had this van) on the current engine, and 12,000 kms later, it still isn't reliable it was always going to get something different. If the 2.5 lump that I had before doesn't sell, I might even put that in instead of the 2 liter ;D Big fan of your van by the way  |
| |
|
|
|
|
|
Oct 30, 2012 23:02:02 GMT
|
|
Having built and mapped a megasquirt for myself and curse word around with loads of them, if you're keeping the engine stock I would definitely sell the megasquirt stuff and just get a stock ecu setup. Megasquirts are great, but they have their place - they are a hell of a lot better than the rubbish that came on the 2.1 DJ engines, but they don't run the "creature comforts" like cold start/warmup and closed loop idle properly without loads and loads of work - There's usually little or no benefit to running the megasquirt on a stock N/A engine.
Those subaru engines look really at home in the back of a van - they are nice and compact and there's not hundreds of water pipes bodged all over the place like on the WBX, they seem to do the job nicely.
I considered one but couldn't justify going to the effort of custom bellhousing and engine mounts without putting a subaru turbo engine in, and then the gearbox would immediately explode anyway.
For now the golf stuff is absolutely great, but I think my next step will be the upside down passat box and a matching 1.8t/ tdi that seems to be the next big thing!
|
| |
|
|
luckygti
Posted a lot
   I need to try harder!
Posts: 4,912
|
|
Oct 30, 2012 23:08:21 GMT
|
Well, that's good to know about the MS setup. (should have asked before  ) I do have the complete engine with ECU and everything on the other lump in the garage..... But, I'm going to try with this one first though as it was running before. Food for thought though. |
| |
|
|
luckygti
Posted a lot
   I need to try harder!
Posts: 4,912
|
|
|
|
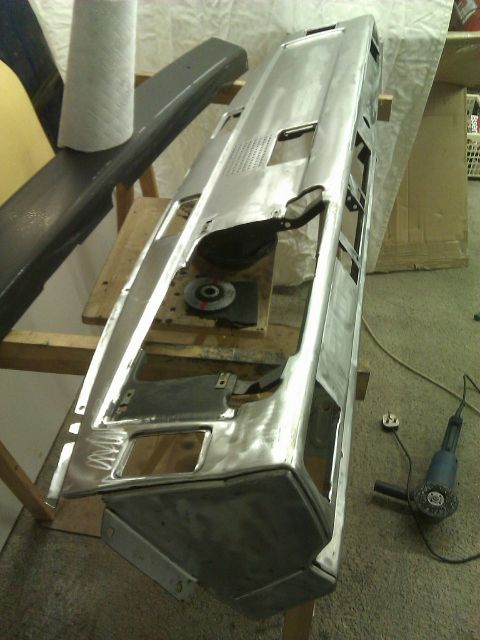
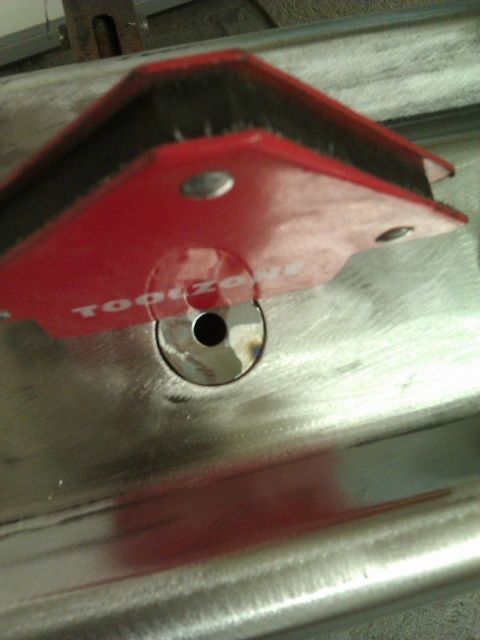
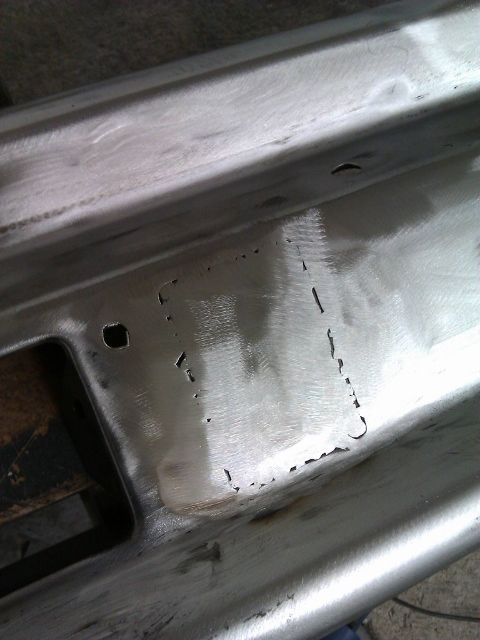
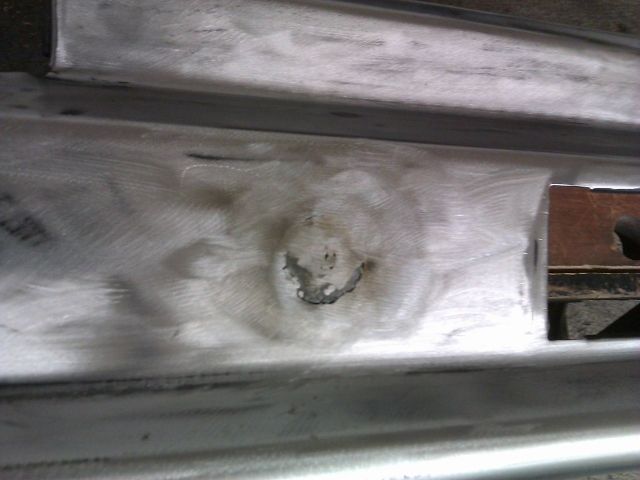
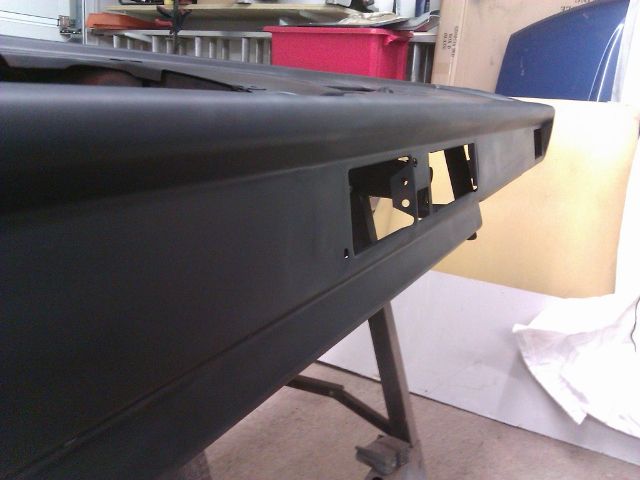
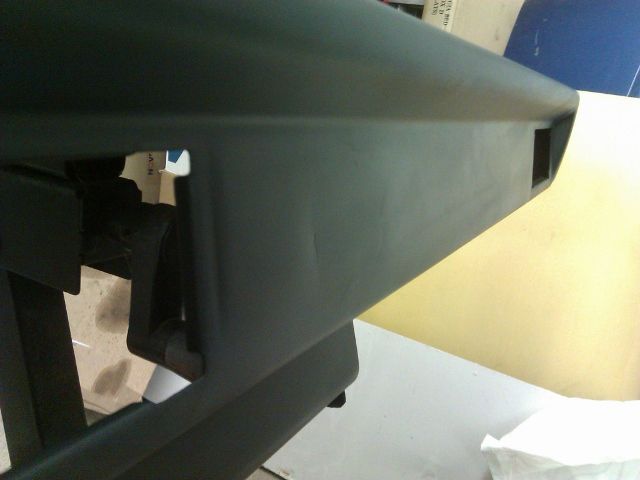
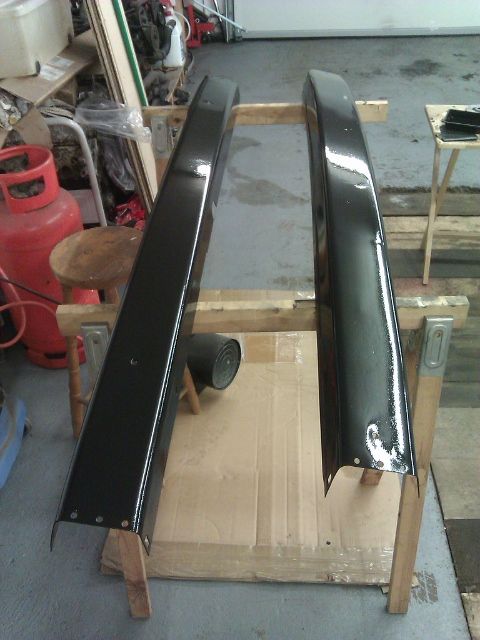
Well, the garage has done the right side, and I have to say it's looking good. The guy doing the work is an artist (He needed to be with my angle grinding antics  ) SO, I've asked them to price up the rest....... We'll see, but it will break the bank! (And no-one seems to want to buy the 205  ) Anyway, as well as doing a ton of DIY, I've spent a bit of time in the garage. The bumpers were looking a bit iffy in places, 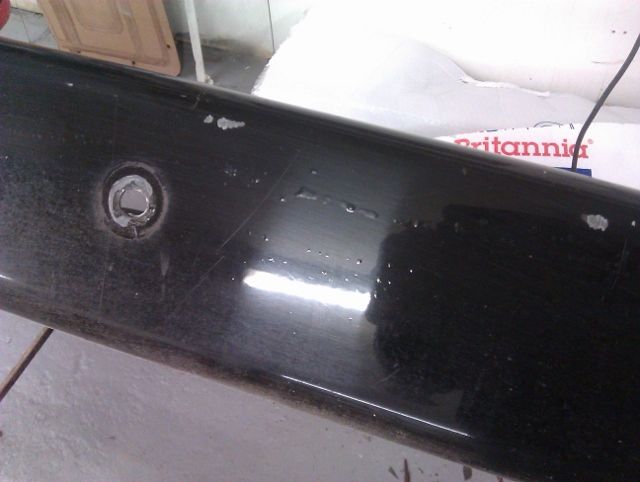 and it looks like they're plasticoated, 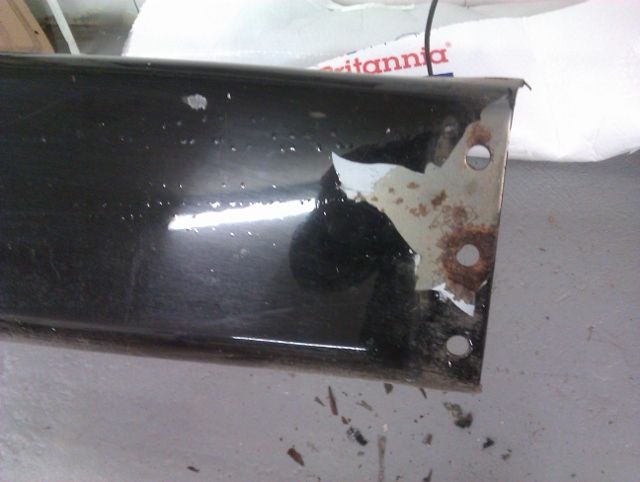 And that looks like they're galvanised too ;D After a bit with the heat gun and scraper the back bumper is stripped. 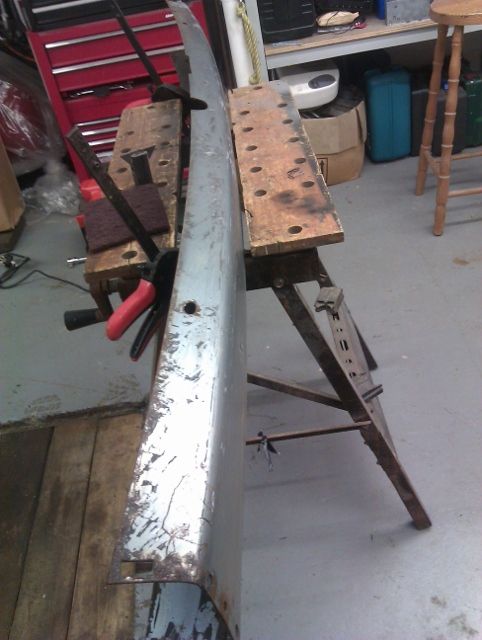 I've done them both now, and hit them with the paint stripper in the grinder. back bumper looks spot on, but the front is a bit 'dented' and rusty!! (Haven't stripped the inside yet either!) Should be alright though. Typically, I'd just polished the Golf and it's now covered in a thin layer of dust  Luckily, I sprayed these before though  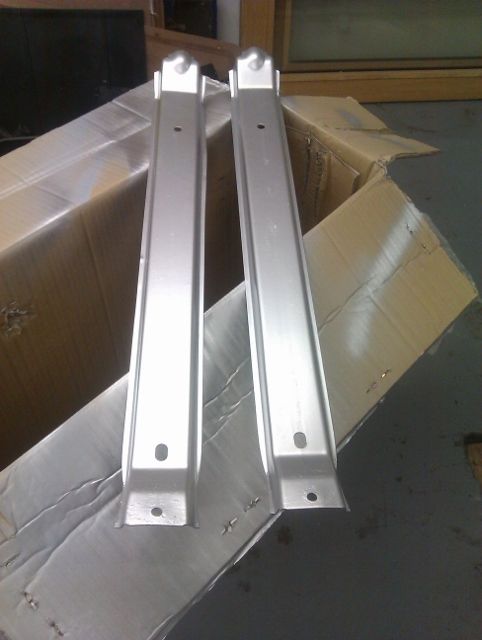 They're the straps that hold on the new fuel tank. |
| |
|
|
luckygti
Posted a lot
   I need to try harder!
Posts: 4,912
|
|
|
|
I ordered some Rustoleum to paint the bumpers as I wanted to give it a try and see how it came out (I'll be using it to do the van in when we get to that stage!) I gave the bumper a good sand and threw on a coat of zinc primer. Rollers came from the pound shop (Not a good idea as it turned out, the paint thinner disintegrated the glue holding the roller on which made it pretty messy...... It was a bit of a gash job truth be told and I've spent some time on the internet actually paying attention to the videos instead of drifting off like I do  Took a while to dry and was very orange peely, so tonight I spent 20 minutes wet sanding it with 800 grade wet and dry. Not looking too bad at the moment, so tomorrow I'll get some better quality rollers and put another coat on. Happy so far though. 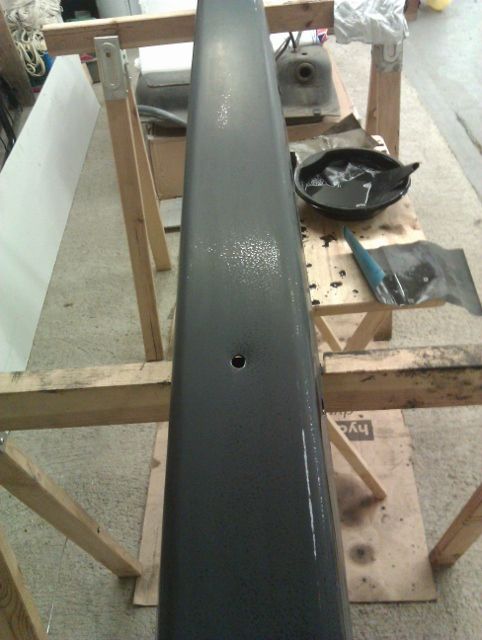 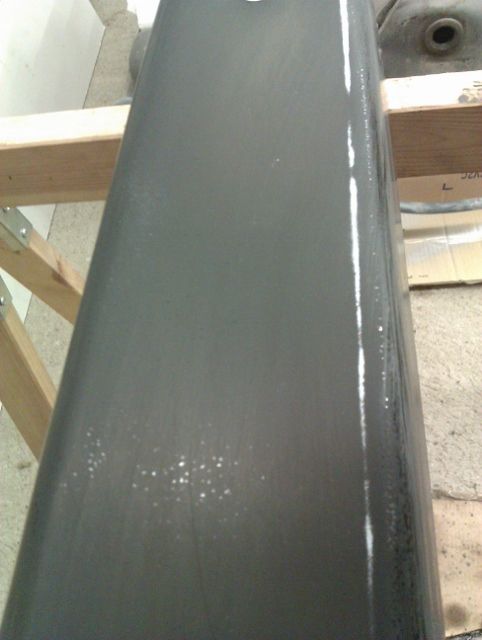 |
| |
|
|
|
|
luckygti
Posted a lot
   I need to try harder!
Posts: 4,912
|
|
Dec 13, 2012 21:28:16 GMT
|
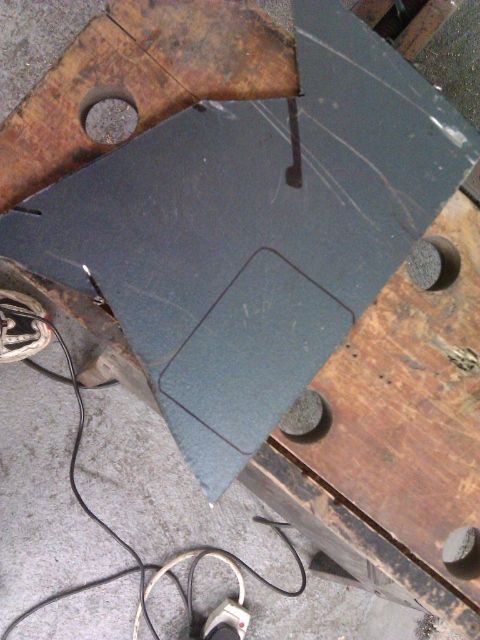
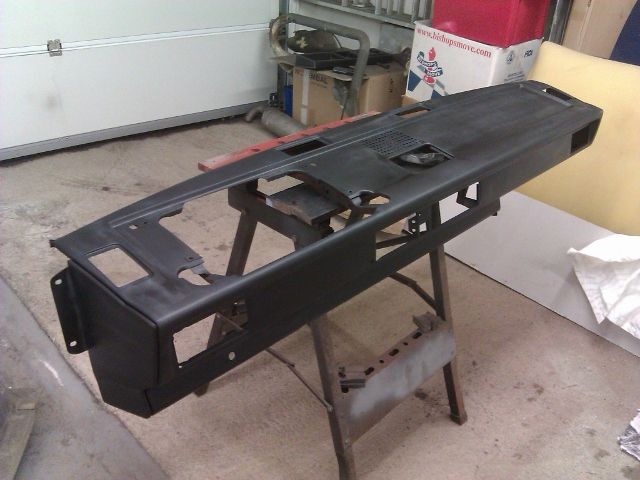
Well, I'm expecting the van back tomorrow from the welders. It's cost a few quid, but it's now solid on the bottom 2 feet or so, so it should last a few years!! So, I had a bit of a tidy and then got stuck into a few jobs. First up, I got a new dashboard as mine is full of holes and dents. 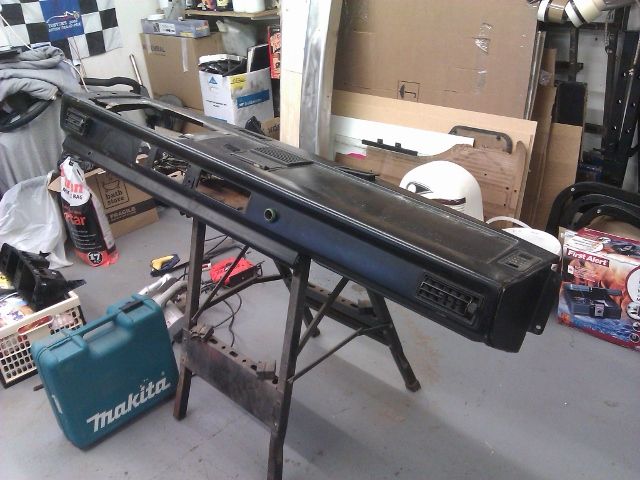 It had this little grille fitted over the centre speaker bit which I actually quite like 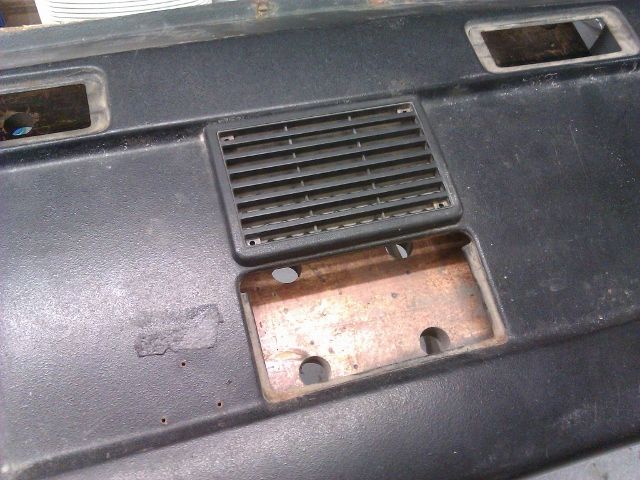 Might keep it and mount a central speaker under there. Anyway, I've attacked it with the stripper and it's looking smooth now. It'll get a coat of satin black I'm thinking and maybe a filler piece on the inset bit on top. I'm also looking for different windscreen vents as the fitted ones are a bit pants. Thinking Mini or something similar. Then I got on with the new door panels as mine were shagged. Picked up some 6mm hardboard and had it cut roughly to size, then, using the old one as a template, i Marked up, drilled and cut out 2 new ones. 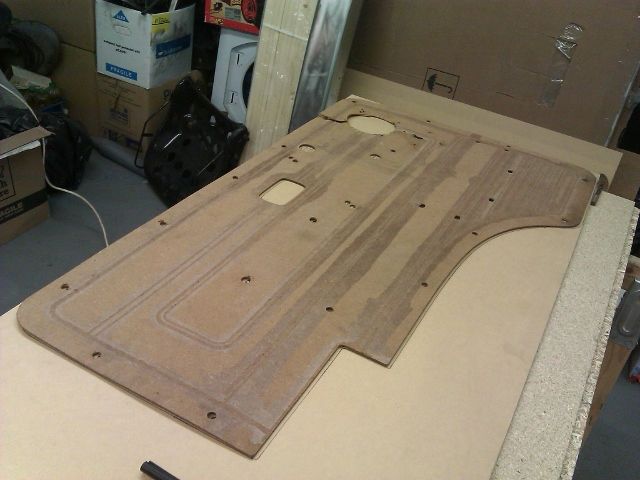 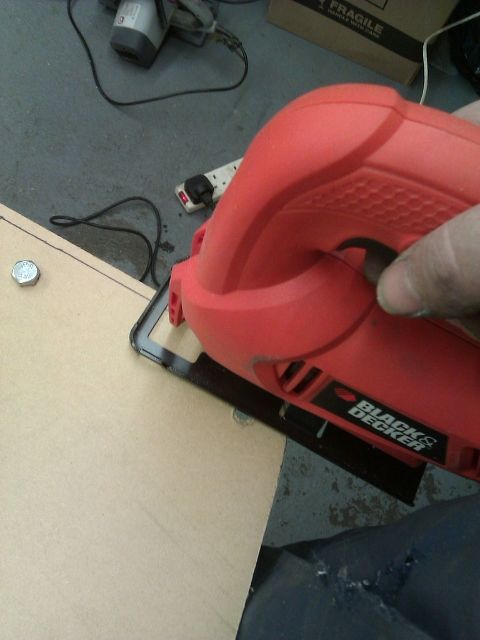 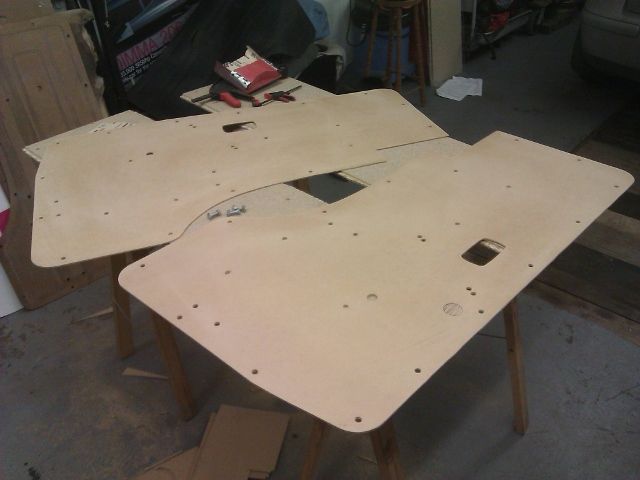 Pretty pleased with the way they came out actually. I fitted the old vinyl over one to see how it fits, They're slightly to big, but I'd rather they were that way round TBH. I'll try them on the van and see what they're like when it's back. Finally, I decided to fit a clock in the new instrument pod in my usual ham fisted way  I now have some repair work to do with some filler and imagination!! Sure it'll look good when it's done though  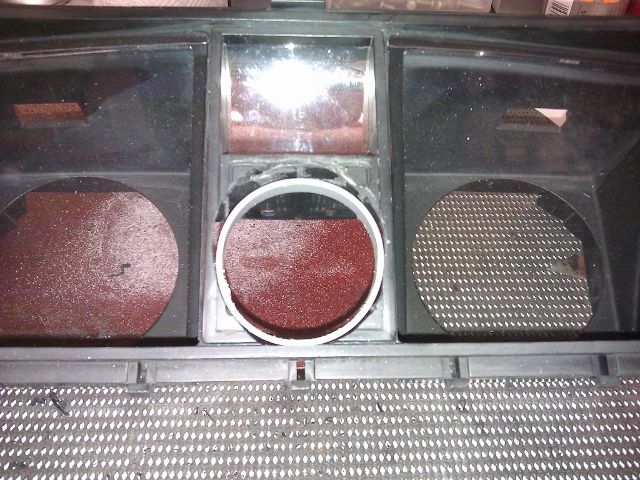 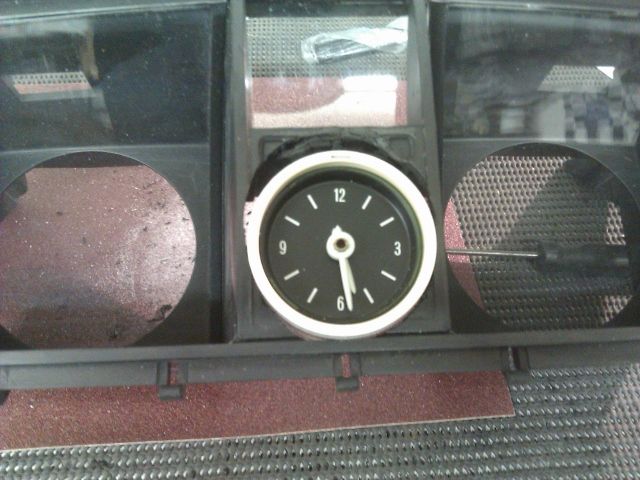 Hopefully, there'll be some pics of the van tomorrow. Pete |
| |
|
|
luckygti
Posted a lot
   I need to try harder!
Posts: 4,912
|
|
Dec 14, 2012 20:03:56 GMT
|
|
|
| |
Last Edit: Dec 14, 2012 20:12:29 GMT by luckygti
|
|
|
|
|
Dec 18, 2012 23:37:06 GMT
|
|
missed the last few updates on your van but it's looking great so far!
any pics of the van itself yet?
|
| |
|
|
luckygti
Posted a lot
   I need to try harder!
Posts: 4,912
|
|
Dec 19, 2012 17:18:23 GMT
|
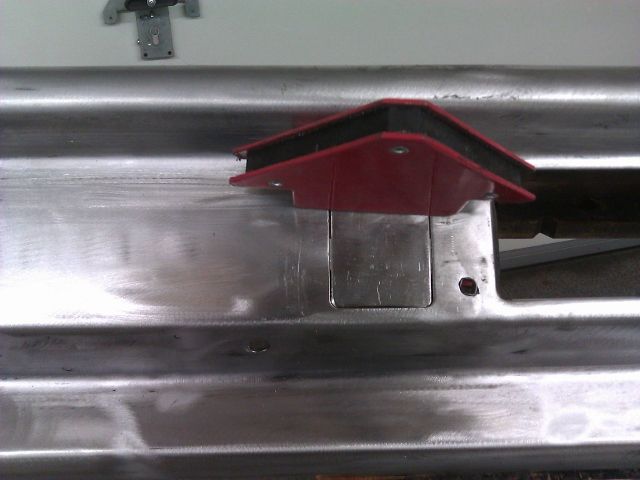
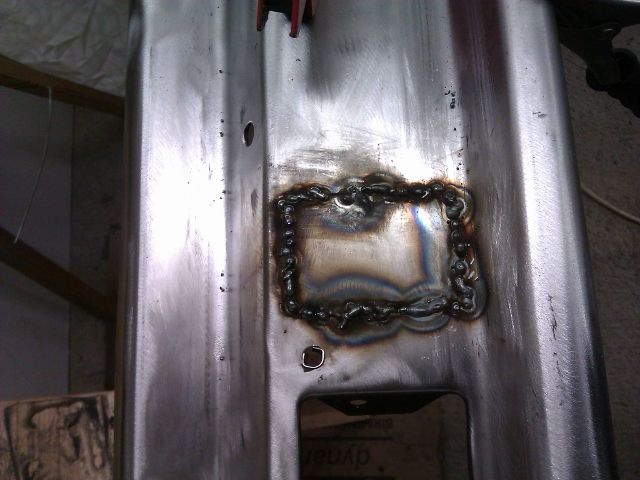
missed the last few updates on your van but it's looking great so far! any pics of the van itself yet? Indeed there are  So, on Monday, as it was fairly dry, we decided to risk it and have the van delivered home. The driver bought a mate as we knew we'd have to try and get it up the slope into the garage! Good job too as the engine wouldn't start (no fuel tank, remember) but luckily the battery had enough juice to spin over and "drive" the bus up on each turn! Typically we had unloaded too close so had to do it in two goes  They deserved a cup of tea and a biscuit after that.   None of us getting it in the garage obviously!! As soon as they left I had a good look around and so far it looks very good, although I still have plenty to do....... Pics  New front right wheelarch with fuel cap blanked over! I do have a plan for that...... 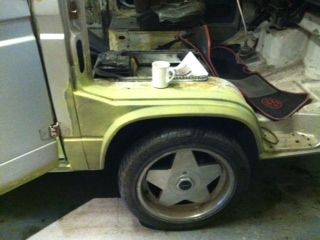 New rear passenger floor, and there's a new chassis rail under that. 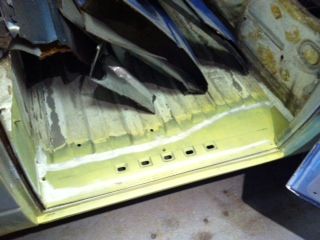 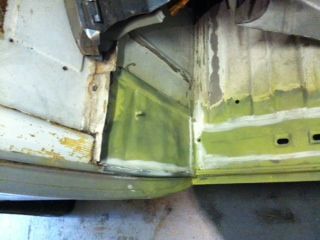 New locker floor and locker door catches  and a new rear right wheelarch  New front panel (there was a newish one on there. The only problem was that it had been welded straight on top of the rusty old one  ) 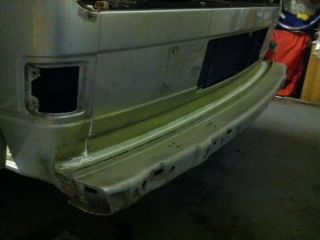 And onto the other side! New rear wheel arch, closing panel and bottom bumper panel  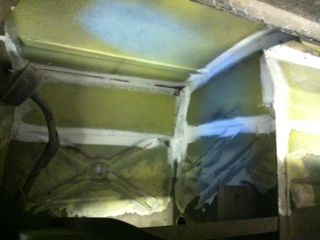 And a new front right wheelarch  There's also repairs to the locker floor, bottoms of the B and C pillars on both sides, both jacking points front and rear, new sills under the locker doors, repairs to the front battery boxes and floors....... Still to do welding wise is windscreen repairs and rear screen repairs, a couple of rust patches in the engine bay and a couple of other small holes around the rest of the body! And that's what I'll be cracking on with when I get back home! There's a lot to do, but this has been a major mojo boost and now I just need to get stuck in  Merry Xmas. Pete |
| |
|
|
luckygti
Posted a lot
   I need to try harder!
Posts: 4,912
|
|
Dec 19, 2012 17:26:50 GMT
|
One more, under the left hand locker door. 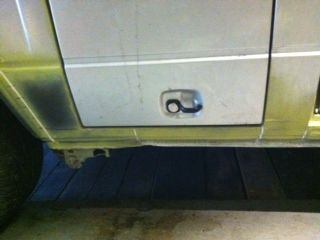 And just in case you've forgotten what it was like a couple of months ago........  |
| |
|
|
|
|
|
Dec 19, 2012 19:05:53 GMT
|
|
Looks like they've done a really nice job there!
|
| |
|
|
|
|
|
Dec 19, 2012 19:54:36 GMT
|
|
Looking great! Making me very envious, my poor Doka is just sitting in the corner of my workshop looking sorry for itself. Commer PB needs to be finished first then the rust battle can commence!
|
| |
'73 Commer Campervan under full restoration, '83 VW T25 Doka under partial restoration to become rolling project, '04 Saab 9-3 Vector Sport modified and certainly not finished...
|
|
ChasR
RR Helper
motivation
Posts: 10,309
Club RR Member Number: 170
|
1980 VW T3 Double KabChasR
@chasr
Club Retro Rides Member 170
|
Dec 19, 2012 22:05:18 GMT
|
This is the first time I have read this thread. I have to say it certainly looks like the pair of you have 'history' together  . It is also great to see that the project is heading in the right direction. |
| |
|
|
luckygti
Posted a lot
   I need to try harder!
Posts: 4,912
|
|
Dec 19, 2012 22:12:45 GMT
|
Thanks guys, glad to know there's. bit of interest in my old bus  Paul, whereabouts are ya? I'm in Suffolk myself, just outside Ipswich. Chas, yep, plenty of history, hopefully all the bad stuff is behind us!!!! Cobblers, how's your van these days? |
| |
|
|
|
|
|
Dec 19, 2012 22:30:47 GMT
|
I'm from a village called cratfield, not far from Framingham. This my my rusty heap! 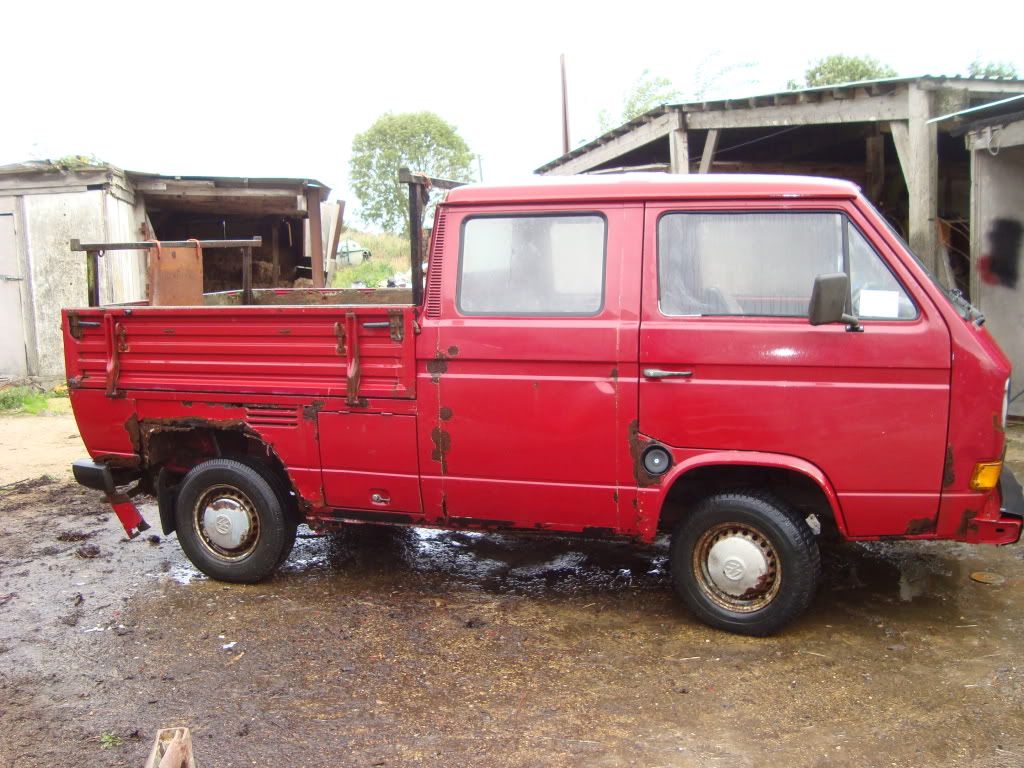 |
| |
'73 Commer Campervan under full restoration, '83 VW T25 Doka under partial restoration to become rolling project, '04 Saab 9-3 Vector Sport modified and certainly not finished...
|
|
|
|


 ) but easy with a pit
  After draining off about 20 litres of petrol, some of it into my face and eyes
  (cue, mad dash to the sink and lots of flushing!!!!) and decanting it into the 205, it was empty enough to take out.


 )
)


