|
|
|
|
|
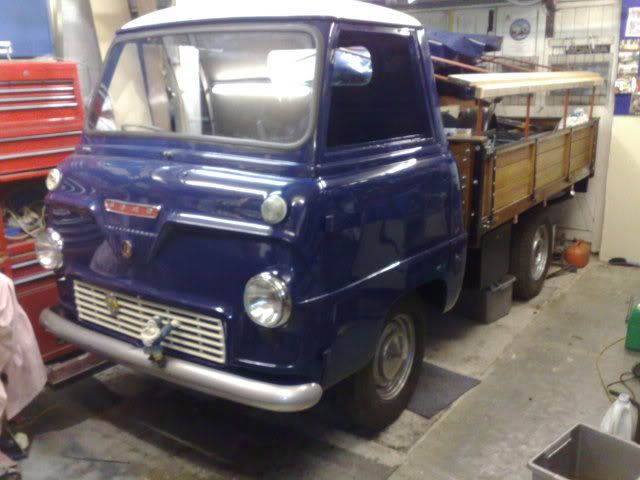
....... Please . Woke at 03.15 as result of eating take out Pizza and chicken wings  Parched, and thirsty. So Nicola, good woman that she is went down to make me a cuppa tea. Then could not fall asleep. I guess most of you know about the Teardrop Trailer I have been building. Yesterday the rain poured down enough for me to be driven into the garage for 6 hours and to force me to do other small jobs around the build. Those who remember, will recall that I bought a pair of Ausin 1100 or London Taxi Cab rear lights for the build at Battlesbridge before the Bus went over to BodieandDoyle Edd for the Zetec conversion. These were for the trailer. One of the jobs I started with was to make up the light board for the trailer, then my mate said "Why not cover it in Ally too? " Don't you just love mates like that ? I know nothing about Electrtics !!Right, I need some kind , generous soul to wire up the bits I have to a plug for me, to use as a light board for the trailer. I do have a complete lightboard (used once only) as donor to this part of the build.The lights I have only have 3 wires coming out the rear of both the brakes and indicators..... that is 2 wires from the brake lights and one from the indicators, this leads me to think that they were originally earthed to the car body. Now with a wooden bodied trailer and light board, it gets more complex, and I need a number plate light in there as well. At this point I need a wiring or electrical Wizard to help me out please. Any volunteers ?? Lights look like this: Note distinct lack of many wires.  This is what we have: This is what we have:
Wooden tailboard, that will be skinned in ally plate to go with the trailer, and screwed into the wooden frame from below.
Lights as held by my mate Steven, which will be mounted or recessed into board. Recesses being cut. Steven helping again. 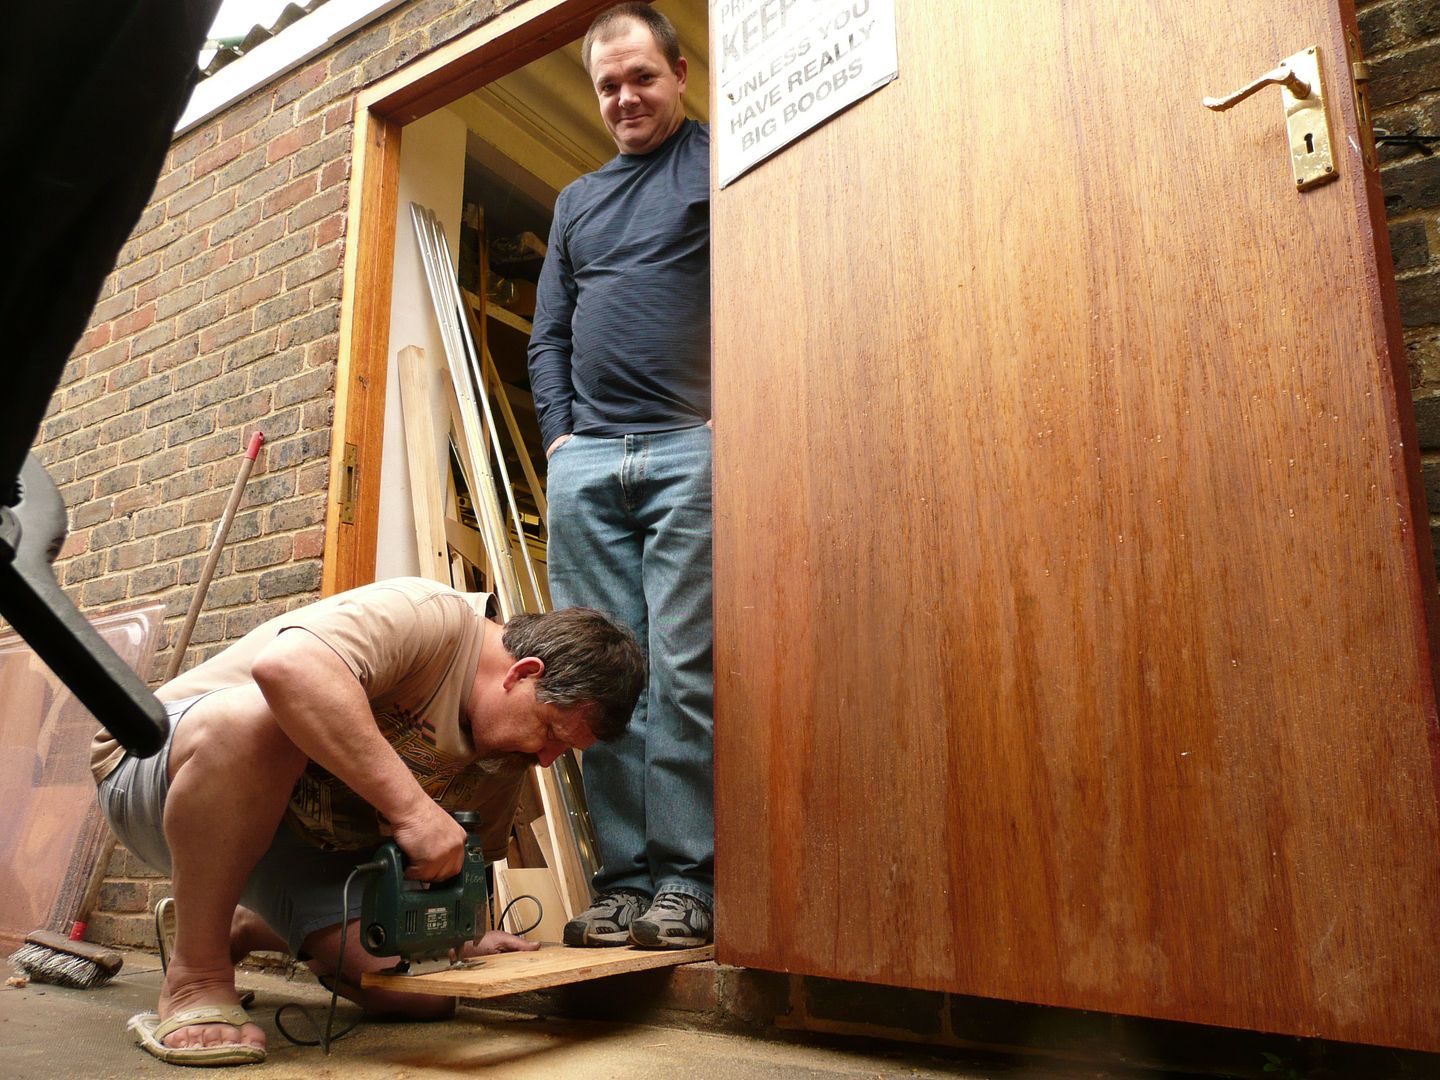 Completed board backing. 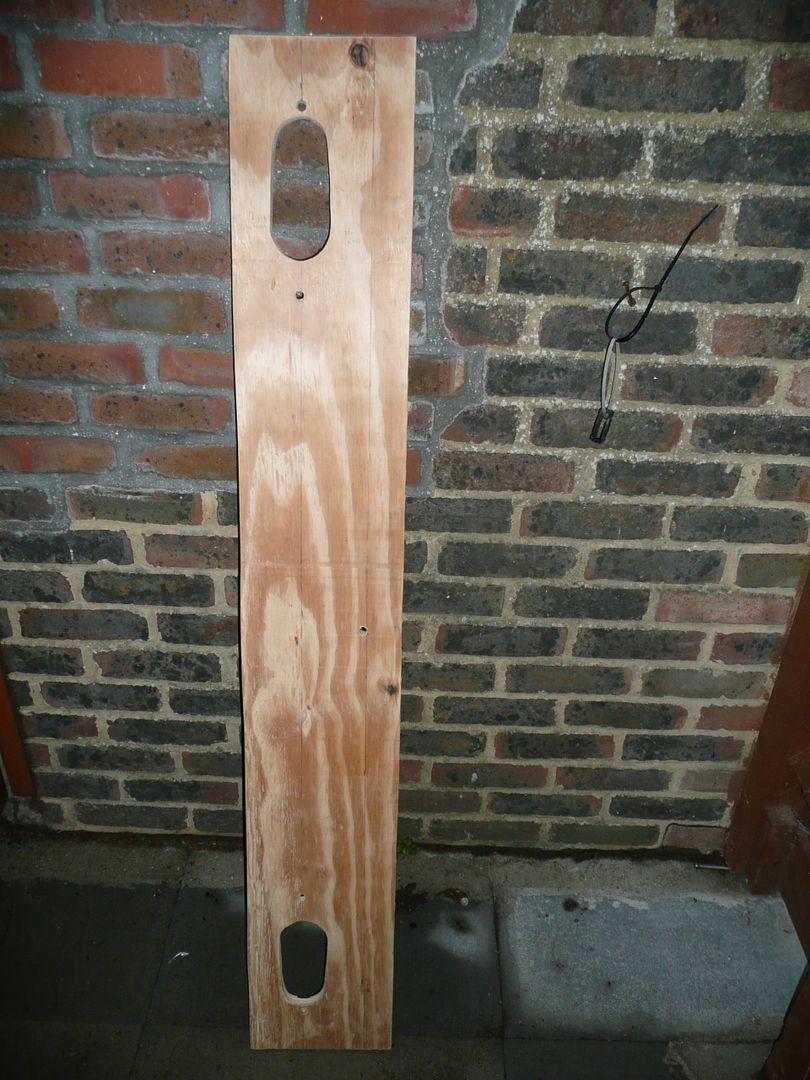 Payment to be in copious amounts of tea, and Digestive biccies, or whatever else is in the house at the time, that can be eaten. PS : I do have a complete lightboard (used once only) as donor to this part of the build. |
| |
|
|
|
|
|
|
|
|
|
|
Should be a pretty easy job Grizz, depending on wether the van has jot a trailer hitch and hook up already? If so, you will need to get your electrical tester accross the outputs from the hook up and get a mate to do various things like lights on/off, indicators left and right and reverse lights. Once you know what does what, just hook them up.
From the looks of things though those lights need an external earth, so unfortunately if your hook up doesn't have an earth from the car, you will need to run one to it (from the battery neg to the light housings). Do you have a tester? If not you can use a 12V bulb and a bit of wire (it's all just 12v currents anyway)
Have a play. You can't go far wrong. Being lights it won't matter which way around you wire them, as long as they have a pos and neg in a circuit, they'll work.
|
| |
|
|
stealthstylz
Club Retro Rides Member
Posts: 14,922
Club RR Member Number: 174
|
|
|
|
|
Halfords sell a live test bulb for about £4.
Matt
|
| |
|
|
|
|
|
|
|
Looks quite easy Sir Grizz, but everything is easy when you know how! The single green is indicator on each side. Normally the red is brake light, and green is sidelights for each fitting. You will need an earth running to each fitting. I would do away with bullet connectors, and use insulated spades, using a male on each of those 3 wires, and a female on the earth wires. You will also need to run a pair of wires to the number plate, one from earth termimal, one from side lights wire. To start off you need to identify which is which on each bulb. Simplest way is a battery, and two bits of wire, one from battery negative to earth bolt, and trace which wire is brake, and which is side. By using male crimps on your ends, even if you get it wrong, it's easy to swop over. Forward planning see! Then you need to find which wire does what in the trailr wiring, this diagram should help. www.oceantrail.co.uk/shop/images/wiring.JPGThe way I do it is write down each funtion, ie earth, left ind, right ind, side, brake, and what the corresponding colours are. Get another column, and write down which wire they are going to on light fittings. Take all wiring to one light fitting, then separate the ones going to other side, and loom them up with tape. Again I have found the easiest way is to trap the wires in a vice, or workmate, stretch the wires out straight, and tape up. Andy |
| |
1960 Ford Thames 402e resto
1965 Ford Thames 400e van 5.7 ltr
1965 Ford 100e 2.1 Pinto power
It all takes time and money, why do I never have them both at the same time?
|
|
|
|
|
|
|
|
Morning Andy, you don't want to pop down here and have afew cups of tea , and biccies ?
Looks easy enough, I just need to get my inspiration levels to 150% and then dive into it..... unless some Samaritan takes pity and comes over to do it for me..... wishfull thinking I know. ;D
|
| |
Last Edit: May 30, 2010 7:25:47 GMT by grizz
|
|
|
|
|
May 30, 2010 14:39:20 GMT
|
|
It's not difficult, it's just logic. You need to determine what each wire does, on the lights and on the donor board, then match them up!
If you want, i mean if nobody else locally volunteers, throw the lot in a big jiffy bag and I'll work it all out and send it back with connectors and a schematic so it would be plug'n'play ;D
|
| |
|
|
|
|
|
May 30, 2010 16:09:12 GMT
|
I'd just add an earth wire to one of the bolts that holds the light fitting on, the bolts running into the car body would have been what earthed them originally, the others will all be switched lives from their respective sources so stick the earth on a battery negative post and check what lights up when you touch the others to the positive side of the battery. heres a diagram of what pin connects to what in the trailer wiring plug.  |
| |
Volvo back as my main squeeze, more boost and some interior goodies on the way.
|
|
|
|
|
May 30, 2010 16:32:38 GMT
|
The wiring to the plug should be standard 12N 7-pin so no need to run through the car electrics. Wire it up as standard and the trailer will be right for any correctlly wired car socket. If (extremely unlikely) it then doesn't work right on your car it means that your car's wiring is incorrect - in which case, change the car wiring, not the trailer! The correct wiring includes an earth connection on pin 3 so it's no problem getting that from the car to the lights - don't just run the earth to the lights, earth the whole trailer chassis as well! The pins on the plug are laid out like below, as if you're looking from the end of the plug where the wires go in. Note that the connections with an X in them are male pins (in the plug) and the ones without are female sockets: 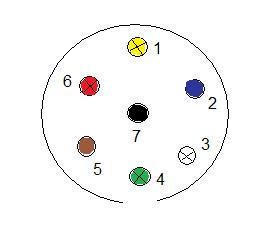 The connections by number are: 1 LH Indicator 2 Rear fog or Aux (eg: trailer battery charging) 3 Earth 4 RH Indicator 5 RH side light 6 Stop lights 7 LH side light If you use a correctly pre-wired plug then the wires will be coloured the same as the pins in the piccy. Also, the separate LH and RH side light connections are provided to enable "parking light" functionality on the trailer (one side light left on for parking). You can safely wire these together but, if you do and use it with a car with a parking light facility, then it will turn on all the side lights on the car if you turn parking lights on cos they'll feed back through the trailer wiring. *** edit: the Toaster beat me to it while I was drawing pretty pictures ;D *** |
| |
|
|
ruffgeezer
Posted a lot
 Attracts french tat.
Posts: 1,252
|
|
May 30, 2010 16:45:42 GMT
|
|
Grizz, why not just buy a cheapie light board and dismantle it, labelling the wires as you go, then rebuild them onto the podlamps?
|
| |
|
|
|
|
|
May 30, 2010 17:44:56 GMT
|
Grizz, why not just buy a cheapie light board and dismantle it, labelling the wires as you go, then rebuild them onto the podlamps? Hi mate, I do have a cheap light board, but trust me, I can swing a sledge hammer, I can weild a jigsaw.... but wiring, beyond a 3 pin plug, not my line.... I will give it a go some time, but getting earth etc.... ;D |
| |
|
|
|
|
|
May 30, 2010 18:27:48 GMT
|
 OK Grizz, let's see if we can do a long distance wiring job. This is the diagram, with bits removed you don't need From the multiway connector, you need to take a wire from the 5th pin, the white wire marked, to each of your light fittings. That's the mounting bolts on each of your tail lights, and to the case of your number plate light. Then the side lights.. Without knowing which colour is brake, and which is side, this may be difficult, hence my idea to use male spades on each one. The ones marked red on the diagram are the brake light wires, so come from connector strip to each of your lights with a new wire, add female connectors, and plug in. Then do the same for side lights to number plate, and left hand side lights, picking up from black on connector strip. Finally a wire from brown on connector strip to right tail light. By following the diagram, and my words, you should be able to sort it. then when it's done, go and have a beer! Any problems, shout. That's what we are here for |
| |
Last Edit: May 30, 2010 18:47:58 GMT by sidspop
1960 Ford Thames 402e resto
1965 Ford Thames 400e van 5.7 ltr
1965 Ford 100e 2.1 Pinto power
It all takes time and money, why do I never have them both at the same time?
|
|
|
|
|
|
|
|
Thanks to all those who input here.
Scott, "Jabbo" has offered to come do the change over for me some time.
He wanted to do it this Friday but I could not be arsed to faff about, so it will get done in the next few weeks.
|
| |
|
|
|
|
|
|
|
|
If my BL wiring memory is right, the red is the tail light and the green/grey is the brake light.
But knowing Lucas it really could be either...
|
| |
|
|


 Parched, and thirsty. So Nicola, good woman that she is went down to make me a cuppa tea.