|
|
|
|
|
Another vote for attaching them to the axle, my brothers Caterham uses the same principle, this allows the guard to move with the wheel as it turns and raises/falls with the suspension.   It uses a a pair of arms mounted on the arch, they are popriveted in place and sit at top/front and bottom/rear of the arch, the two arms then bolt to the back of the hub of the front wheel. ;D |
| |
|
|
|
|
|
|
|
Hi Steve, just came in for some coffee and biccies.... meal of a man. I see your and all the other voters' point, however, I have been at it again the last 90 minutes, single handed mocking up takes time. I am still bothered with mounting the whole mudguard to single arm, that is actually in line with the front edge of the mudguard, pivoting all the weight to the front, and also the fact that a carrying bracket would be mounted to only the inner lip of the mudguard. Does that make sense ? I have had mudguards shatter, crack and self destruct at their mounting points over the years, and even on my bike trailer, I have removed them completely.  If you look at the grey strips, and imagine all the energy being fed in from the front, and also only about 1/3 of the strip being used, mounted from the front straight down to the pivot point, then a lot of energy will be fed to the front. As my material stash is a bit depleted, making a sexy support is kinda out of focus right now.... I suspect you guys will have the last laugh. Going down to ponder again now. |
| |
Last Edit: May 8, 2010 10:16:52 GMT by grizz
|
|
|
|
|
|
|
|
as they are fiberglass i would run a a couple of strips under the full width of the guard and down to the hub/suspension arm, make them bolt on at the hub end and just 'glass them to the bottom of the guard if you don't want the fixings visible through the guard, simple to make that way, just flat bar bent to fit inside the mudguard and around the wheel.
|
| |
Volvo back as my main squeeze, more boost and some interior goodies on the way.
|
|
dubzi
Part of things

Posts: 711
|
|
|
|
|
Rather than make up a clamp, use the hole. Long bolt or threaded rod through a tube (to sleeve it which will add rigidity and make it look neater) will bring the mounting point to just clear of the body. Then atttach your mudgard bracket to that (use a cap nut to keep it neat). If you then glassed the underside of the mudguard to the brackets you'd keep the aesthetics and it would also mean you only have to undo your cap nut at the bottom and the whole lot lifts off.
You could even weld your long bolt/rod at the bottom to that axle bracket to make undoing the cap nut easier.
You'd also have to use some fairly thick steel (3mm+) for the upright part of the bracket to stop it "springing" about in motion. If the upright portion of the mounting bracket was Y shaped, you'd be able to glass it fore and aft and could even run a shaped "spine" along the centre if you wanted.
|
| |
Happiness ain't at the end of the road. Happiness is the road.
|
|
|
|
|
|
|
I have comitted now, and have sandwiched the steel strip into the fender/mudguard with silicone, and will add thickness to the inside of the walls with 20mm strips and then use woodscrews and large washers from the outside. 8 screws, and also Sikaflex to hold it all in place should work. If I do have a mishap with the fenders, then the most I will need to do is fill the screw holes and start again, as the wood reinforceing and thicknessing will already be in place, also won't have holes through into the cabin space. After dithering for about 24 hrs, and spending about 2 hrs (yes I am slow) this morning trying to figure ways to make up a successfull bracket to run from the axle, I decided to go this route. Space is currently 50mm above the tyre tread.... I trust it will be enough once the caravan is loaded up, not to scrape the inner arch, if it is.... OOOOoooppps !! 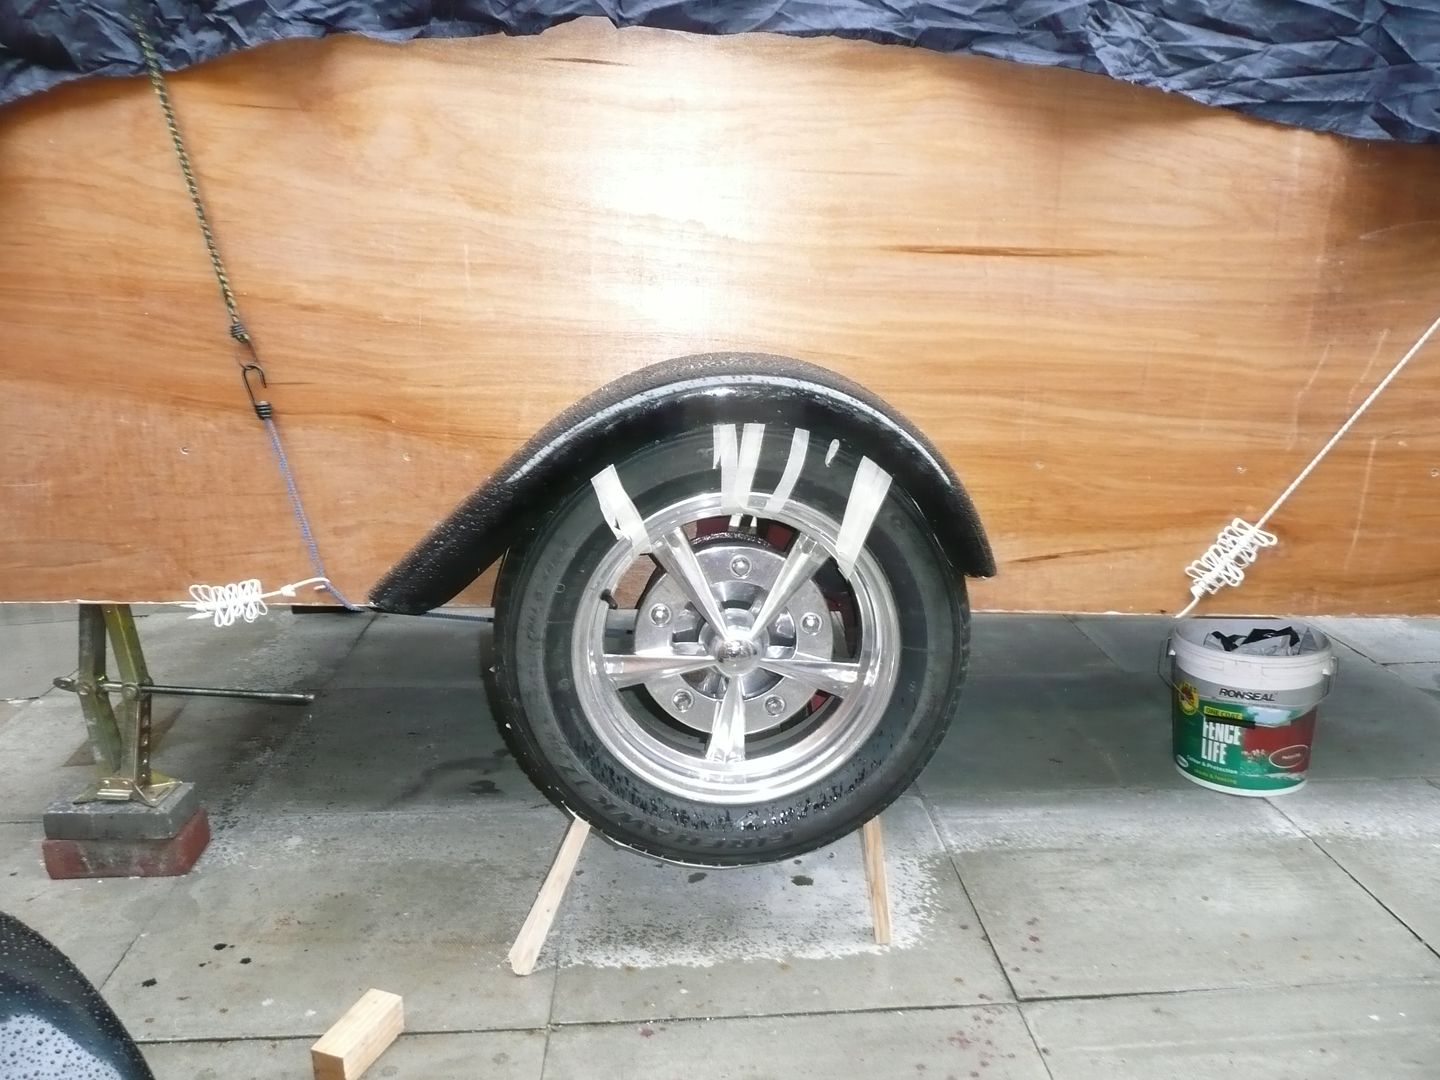 And the sandwich. This will be held to the side with 8 screws, should be enough to spread the energy. 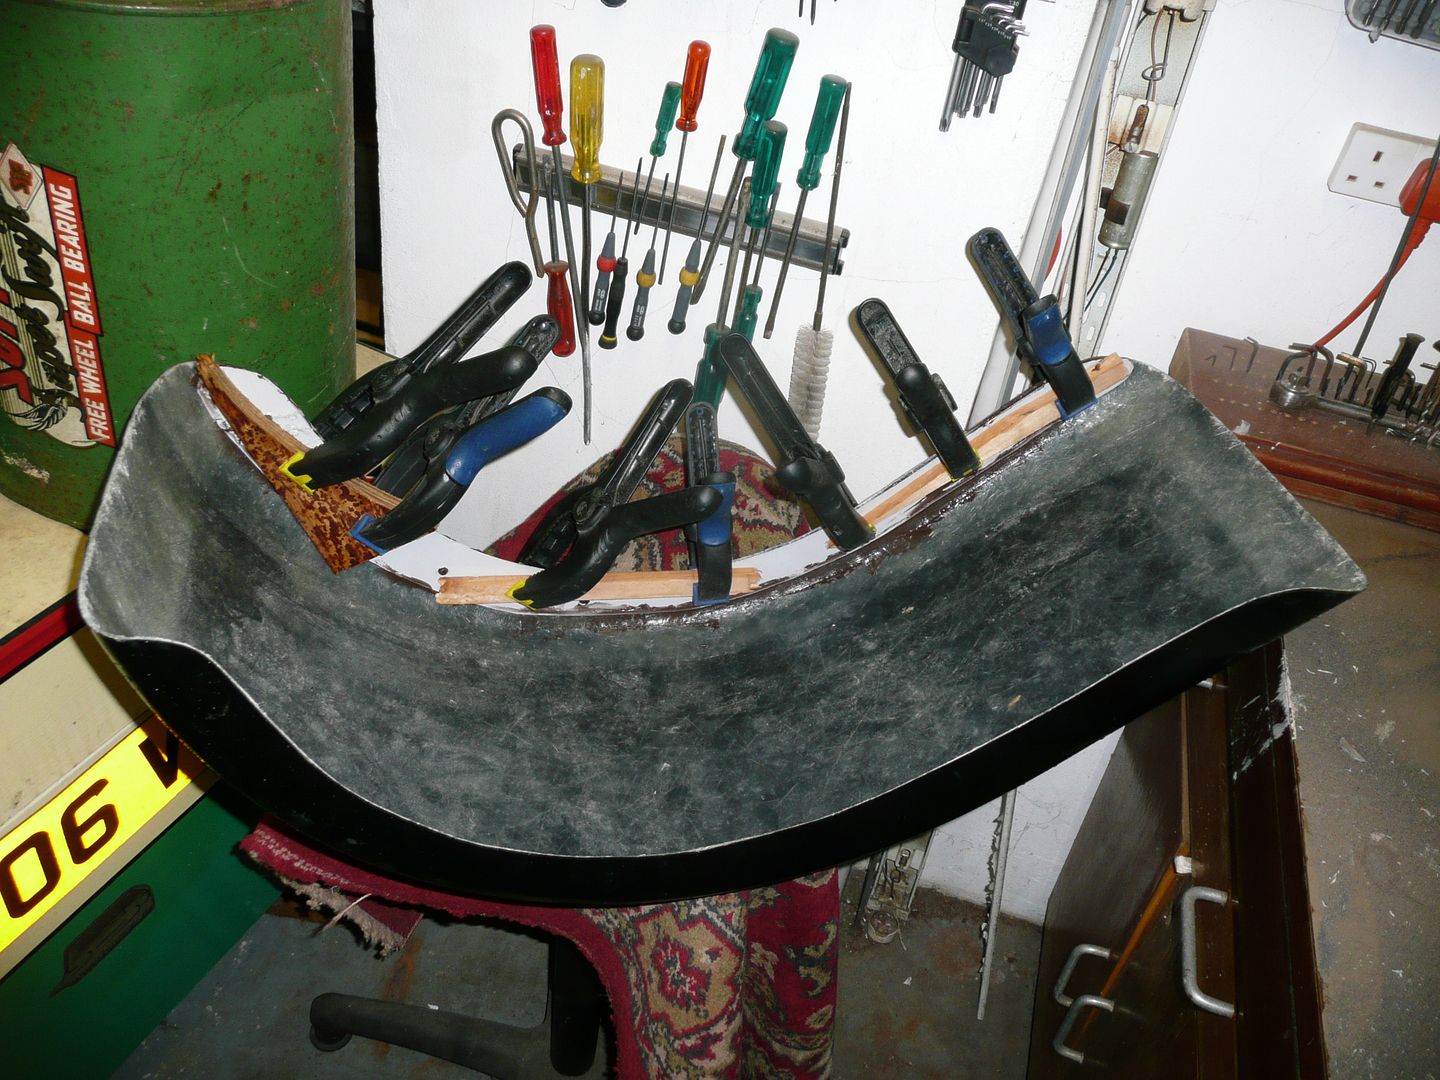 |
| |
|
|


 [*]
[*] [*]
[*]


