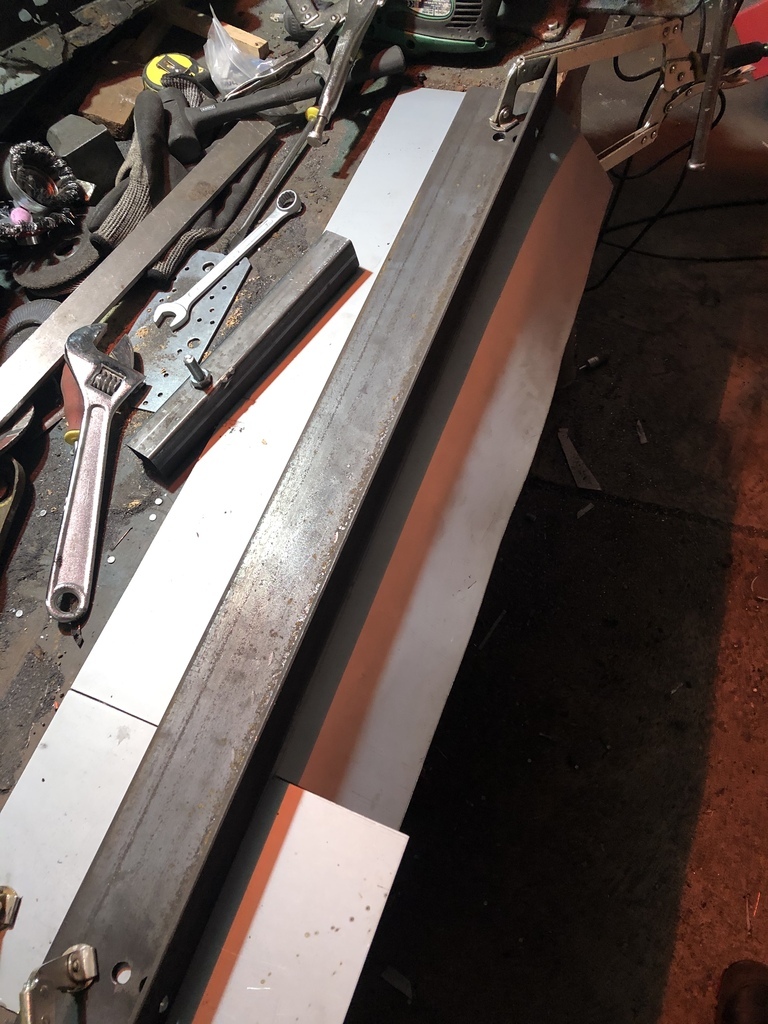
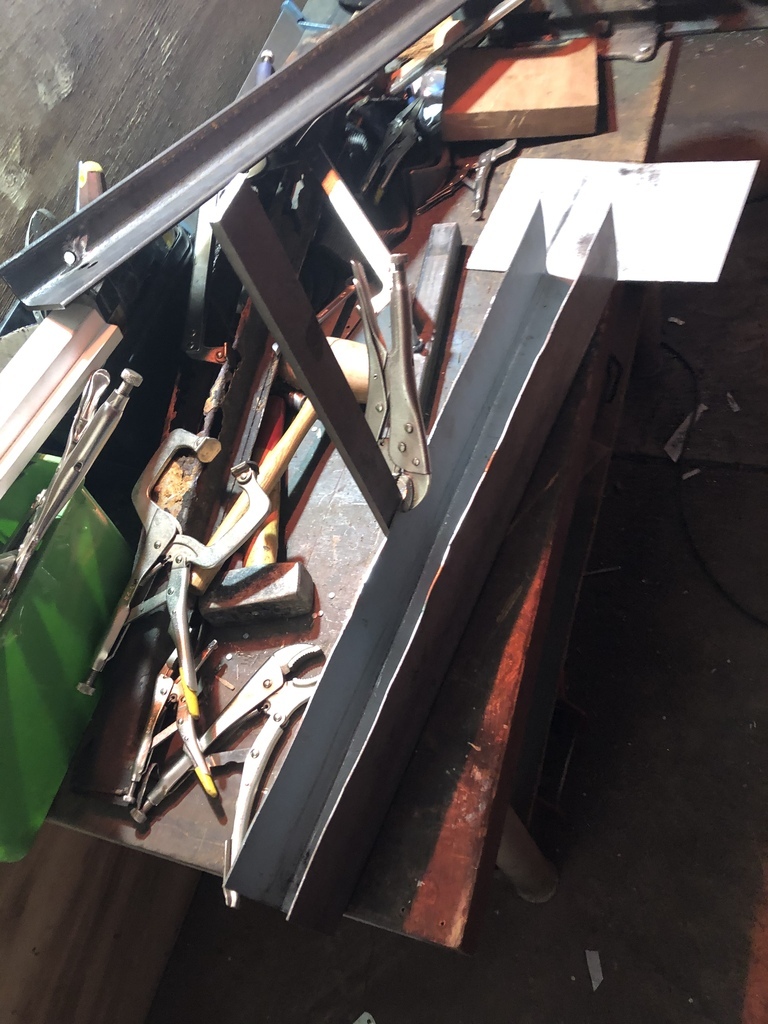
|
|
|
Jun 18, 2020 18:33:38 GMT
|
Am looking for a good fabricator in UK i have a few cars i would like to get restored Any recommendations please get in touch am in the North West Area What kind of stuff needs fabricating, and how good are the old bits to use as templates? I'm in South Cheshire and might be able to help with some of the panels. |
| |
Last Edit: Jun 18, 2020 18:34:01 GMT by droopsnoot
|
|
|
|
daimbmwe3
Part of things
  Still welding
Posts: 24 
|
|
Jun 19, 2020 14:14:16 GMT
|
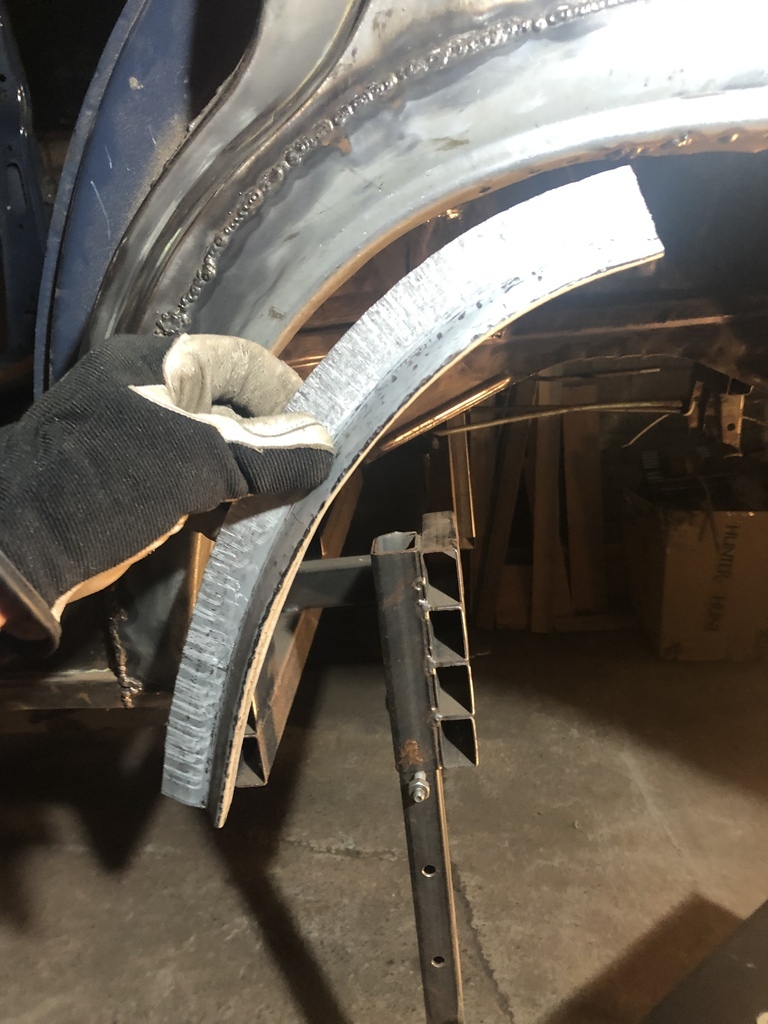
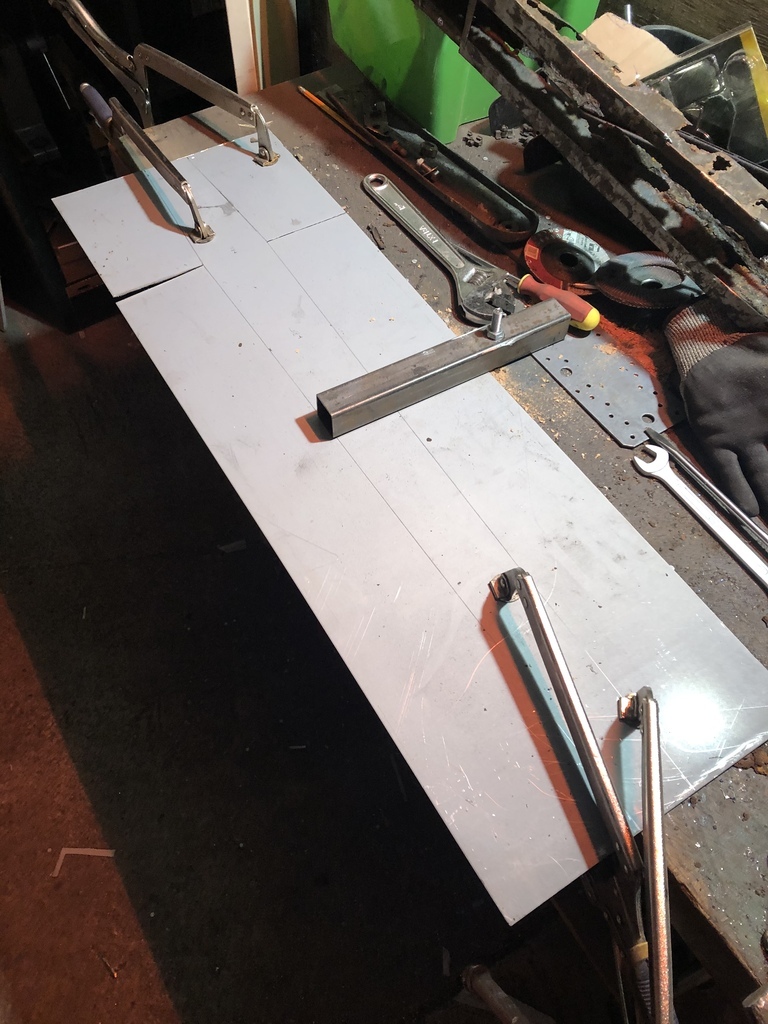
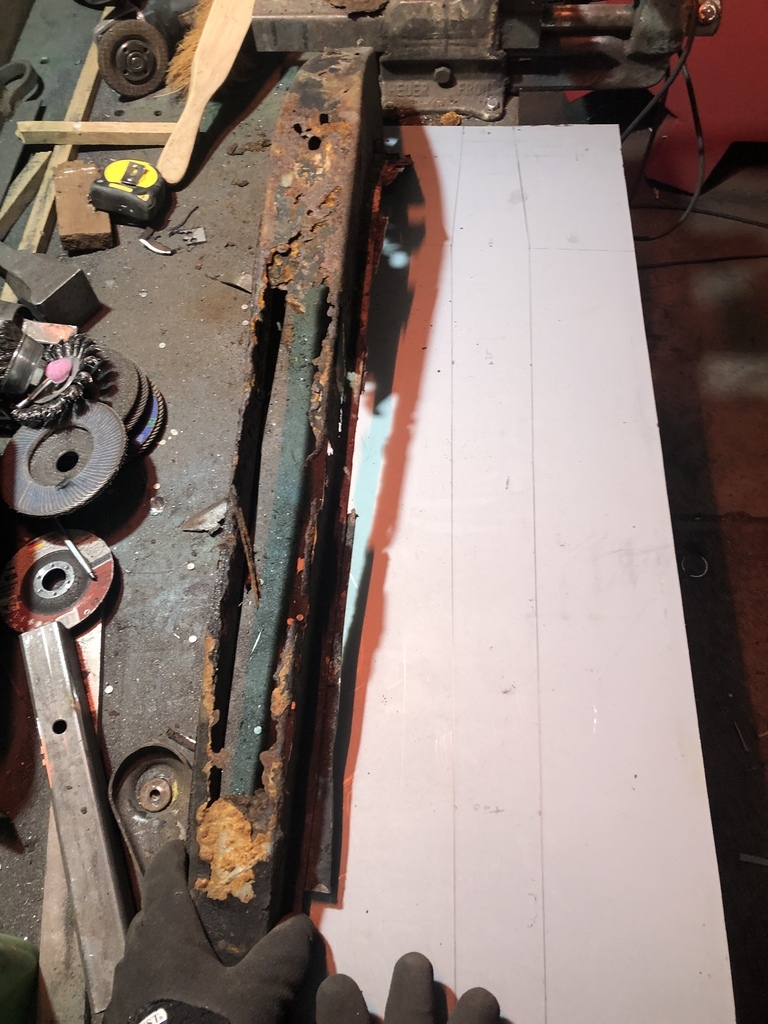
This panel is quite a bit more complicated. That’s why I’ll be copying it three stages and then weld it together. And I’m keeping the good part of the original panel. 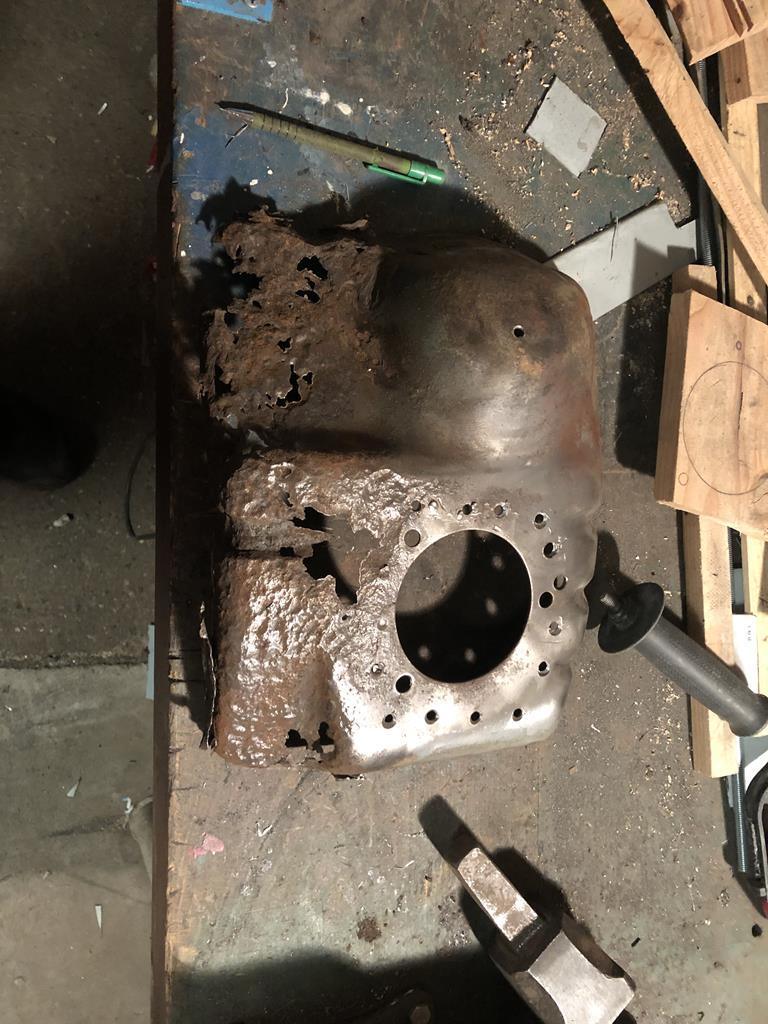 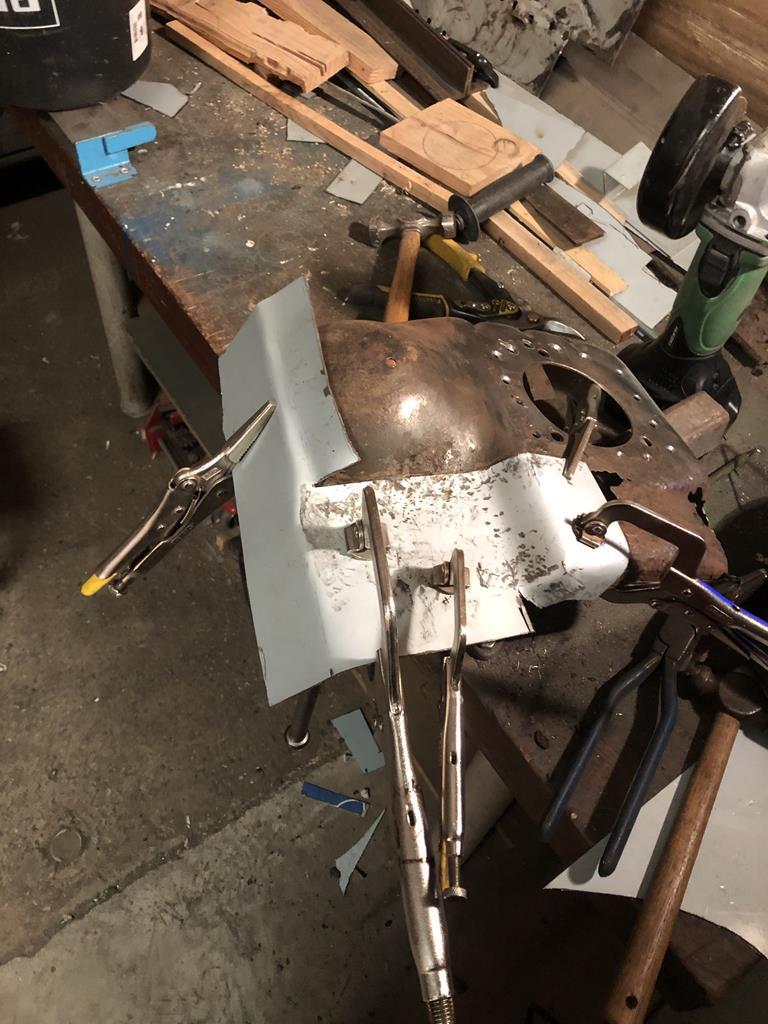 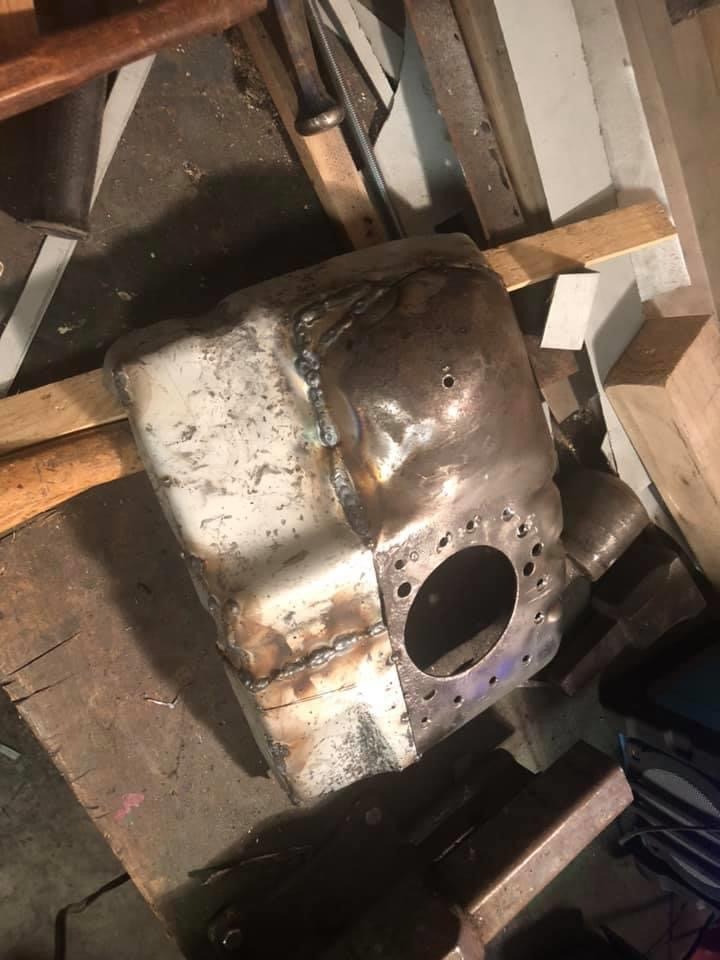 Next time I’ll be adding the straight part with all the holes in the right spot and then the fitting will begin  |
| |
|
|
daimbmwe3
Part of things
  Still welding
Posts: 24 
|
|
Sept 18, 2020 17:22:01 GMT
|
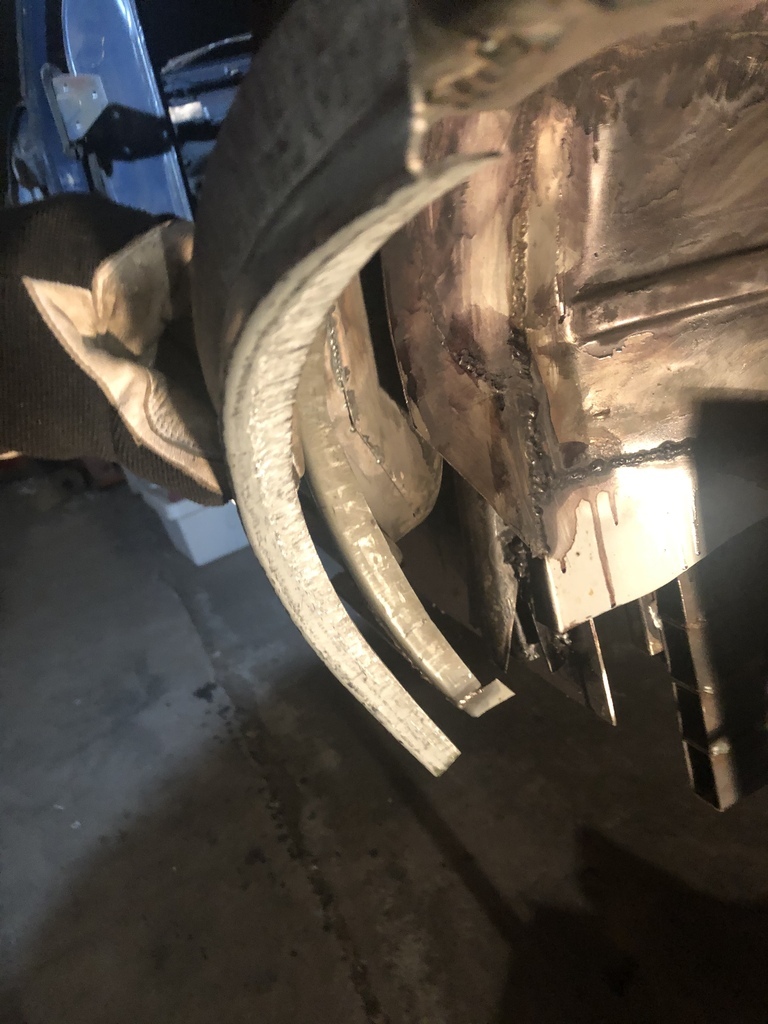
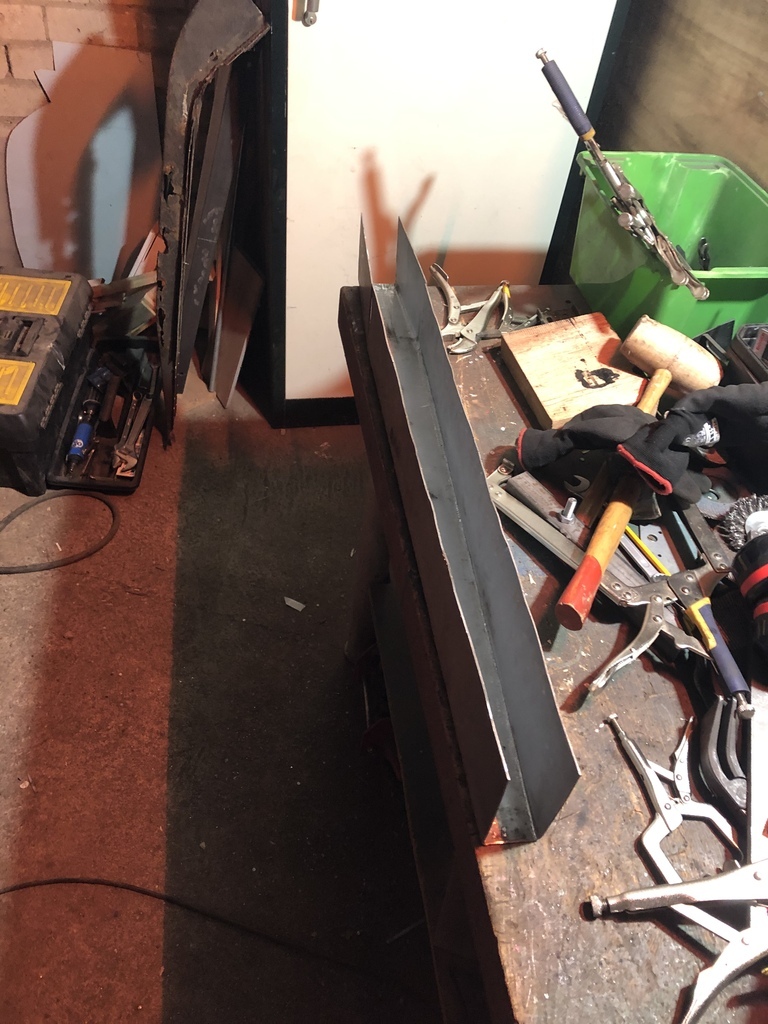
Finally got round finishing this panel. It’s nice and shiny now  I got myself a Cebora Bravo 155 welder. Love that machine! 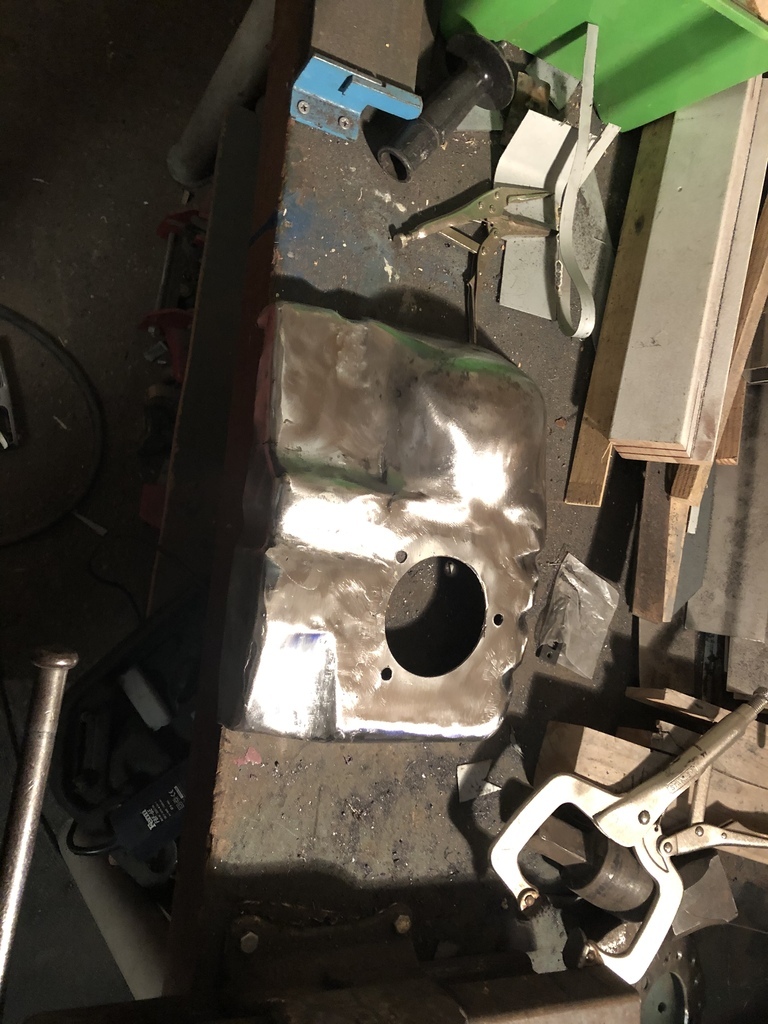 |
| |
|
|
daimbmwe3
Part of things
  Still welding
Posts: 24 
|
|
Oct 19, 2020 17:04:13 GMT
|
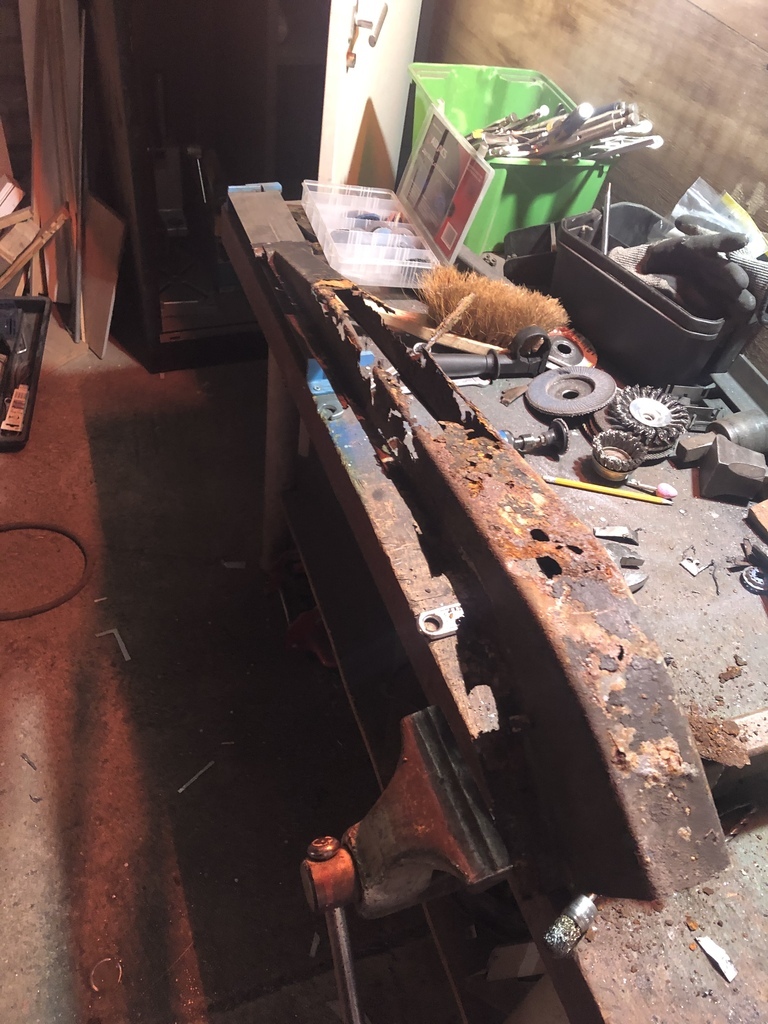
That moment you realize you almost replaced the whole wheelhouse ... 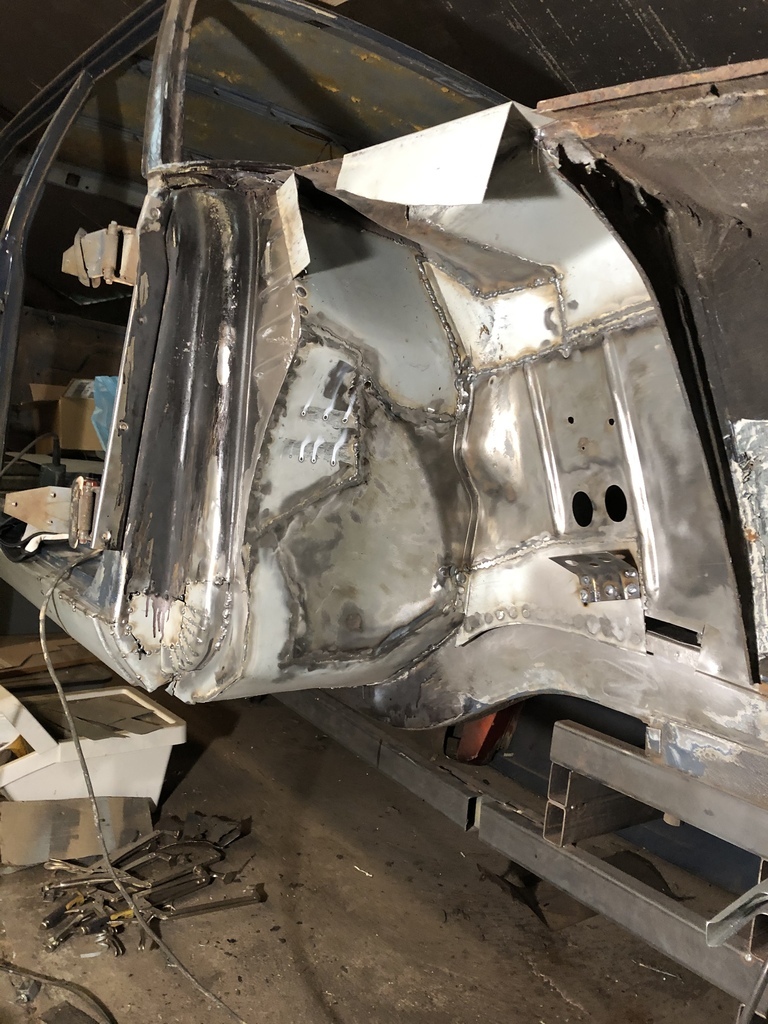 |
| |
|
|
daimbmwe3
Part of things
  Still welding
Posts: 24 
|
|
Oct 23, 2020 20:13:41 GMT
|
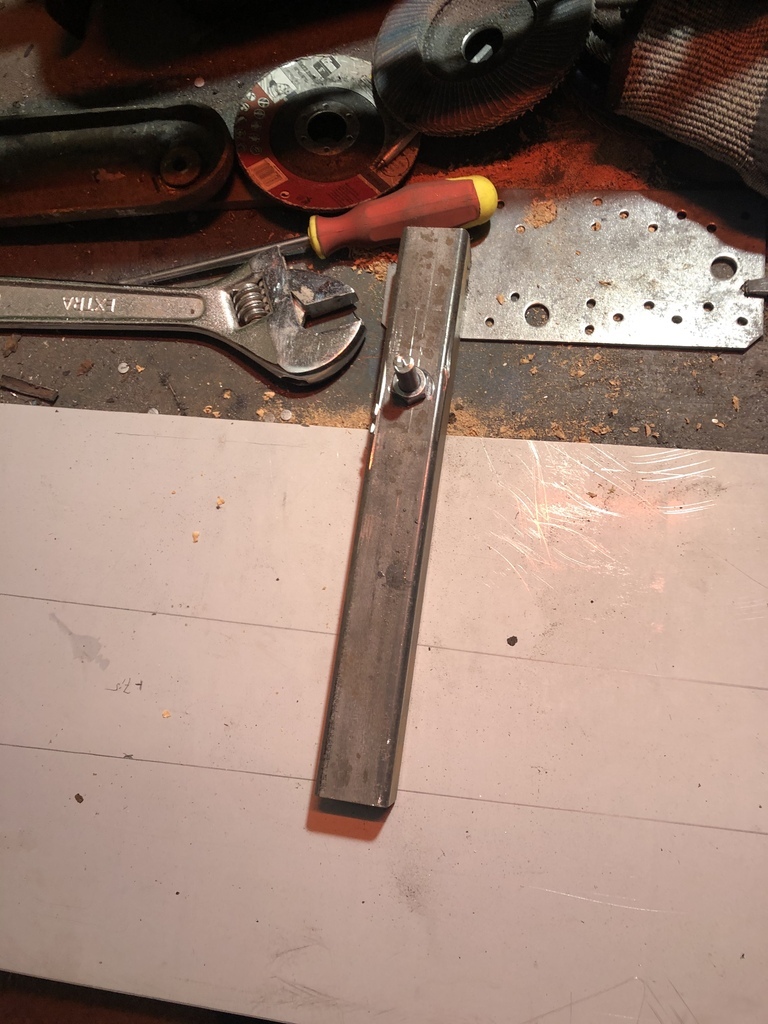
A stretcher makes life a lot easier 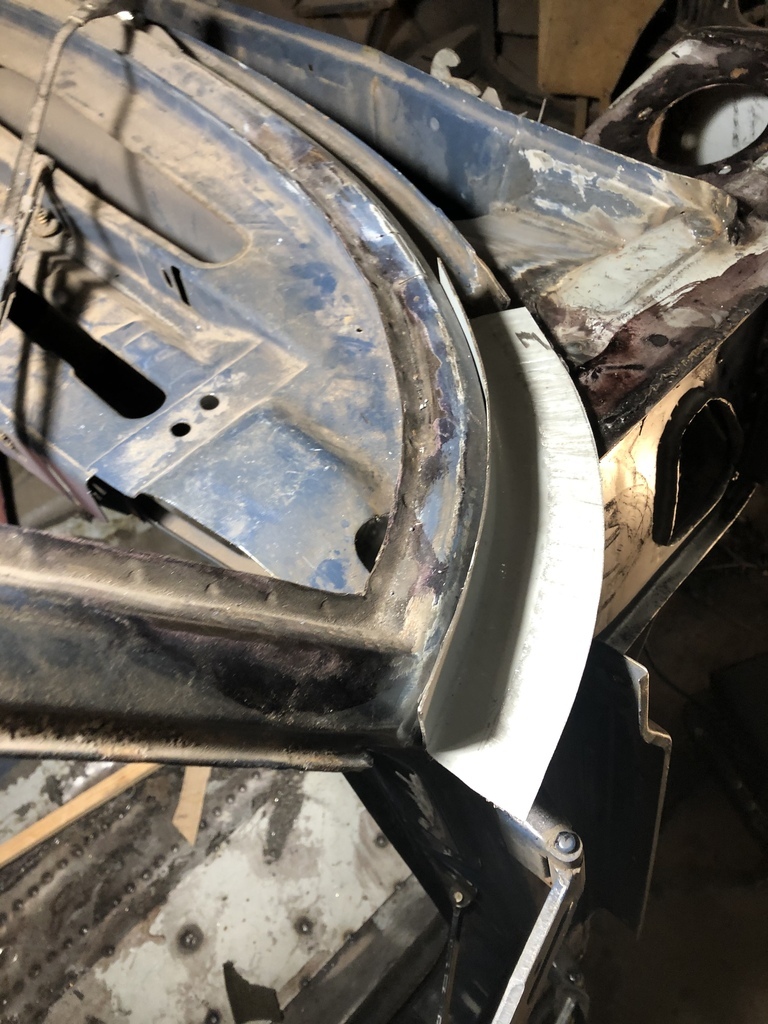 |
| |
|
|
|
|
|
Oct 23, 2020 22:00:35 GMT
|
|
Nice work.
|
| |
|
|
|
|
|
Oct 29, 2020 18:50:23 GMT
|
A stretcher makes life a lot easier I find I'm able to stretch using a hammer, but I've never mastered shrinking. But I dropped on a low-cost shrinker / stretcher pair which, as you say, are very useful. In fact I think one of the first parts I made for my project was that section you show there. |
| |
|
|
|
|
|
|
|
|
|
That's nice, I have a similar need for a part for my current project. The only problem I have is that where you have that lowest bend onto the lip, I have another straight section followed by a 90-degree bend to the lip. I was wondering whether I'd get away with the fact that I can't stretch it, though it looks like you've got away with that on the centre of the three sections of your profile there. Mine is more like this in profile, and if I can, I'd really like to make it in one piece. 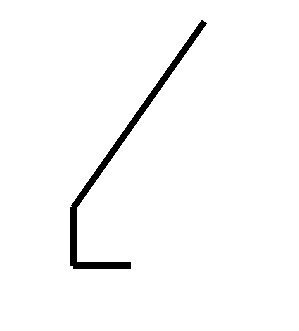 |
| |
|
|
daimbmwe3
Part of things
  Still welding
Posts: 24 
|
|
|
|
|
Droopsnoot.
I’m not native in English, so I hope my answer is helpful. I’m not sure I got your question right.
To make the arch work, I started with making the folds. It left me with the problem that I had to stretch the metal of the top strip (upper side in your picture) quite far to make it actually arch. I solved this as follows. I used 1,5 mm instead of the normal 1 mm to give me more tolerance. Regarding the stretching I stretched the top part evenly and then I stretched a 1 cm rim an other time.
As you may see, the part I was stretching is also at a bit of an angle relative to the bottom that welds to the outer panel. It gave me no serious issue as long as I checked and undid any torque that happend.
I really had to take care that the piece would not torque. That distorted the shape of the arc.
Then I started the bit that is on the bottom of your drawing. In small steps I shrunk the metal. It gave me the ‘inward’ arc lower down. This proces was rather slow, but in the end it did fit.
|
| |
|
|
|
|
daimbmwe3
Part of things
  Still welding
Posts: 24 
|
|
|
|
|
The only thing I can imagine that might happen is that the lowest bit (that welds to the outer panel) wants to bend upwards a bit as you make the arch. You may need to shrink it first a bit to make it 90 degrees again. But my 3d thinking was a tad rusty when I cooked this up, so it maybe will simply work.
|
| |
|
|
|
|
|
Dec 10, 2020 10:12:49 GMT
|
|
I had a go at this yesterday. As you said, I made the folds first, then started stretching the upper section to force the arch shape. It sort-of worked, but there seems to be a limit on how much of a curve I can get, and I might need to try a different stretcher. I am getting quite a bit of distortion, and as you also said, I needed to shrink the lower section to keep that straight - this is no problem, as I'd need to do that anyway because it's not really straight, it curves inwards towards the bottom of the arch profile - where it hits the sill is further in to the centre of the car than the top of the arch.
I will have another go today. I wonder whether I can help things along by hammering the top edge of the centre vertical section to try to get some stretch there. I also wonder whether it might work better if I do only the bottom fold, then stretch the top part, then when it's close to the arch shape that I need, make the second fold and adjust it to keep the curve.
For speed, it might be easier for me to just make it in sections and weld it in place, though I can make larger sections than I did last time I tried this - that time I was making about 100mm at a time. It worked well, but if I could do one piece (or maybe three pieces) for the whole arch, that would be better.
|
| |
|
|
daimbmwe3
Part of things
  Still welding
Posts: 24 
|
|
Dec 11, 2020 17:45:50 GMT
|
|
Droopsnoot. I guess there’s a natural limit to the amount you can stretch. On my first try I had to make the strip that I stretch smaller. Perhaps that helps. With regard to the distortion, I managed to control it by shrinking the other end,
|
| |
|
|
daimbmwe3
Part of things
  Still welding
Posts: 24 
|
|
Dec 11, 2020 17:46:10 GMT
|
|
Good luck with your effort!
|
| |
|
|
|
|
|
|
|
|
I have gone back to this now, and made it in more than one section. I've also found that I'm very lucky - in about 80% of the length of the arch, I don't actually need the top part of the three planes, only the right-angle section, and of course that's much easier to work with. For the small sections front and back, I'll just make the "top" bit separately. I'd probably have had to do most of that anyway, as it's a different profile there as the outer panel comes inwards to join the rest of the car.
|
| |
|
|
|
|
|
Jan 22, 2021 21:51:52 GMT
|
Hi. I've also been a silent observer here. What a superb thread! I made my own bender semi-rigid, because I already had 50mm angle iron protecting my workbench. Hope I'll get some garage time to practise!
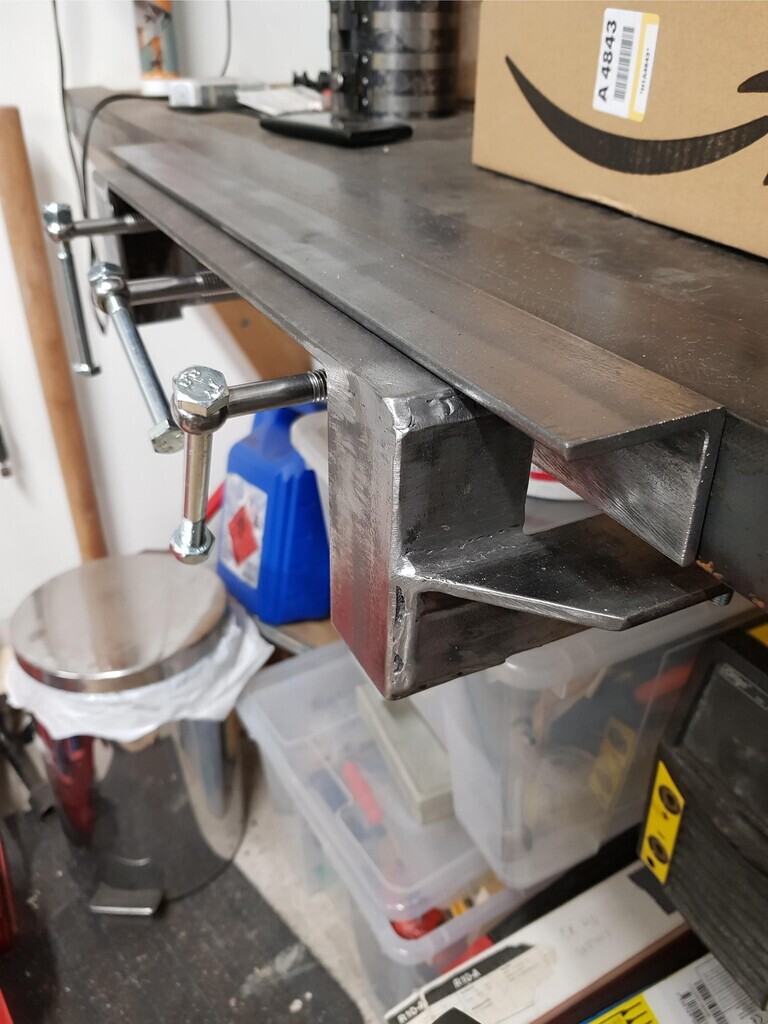 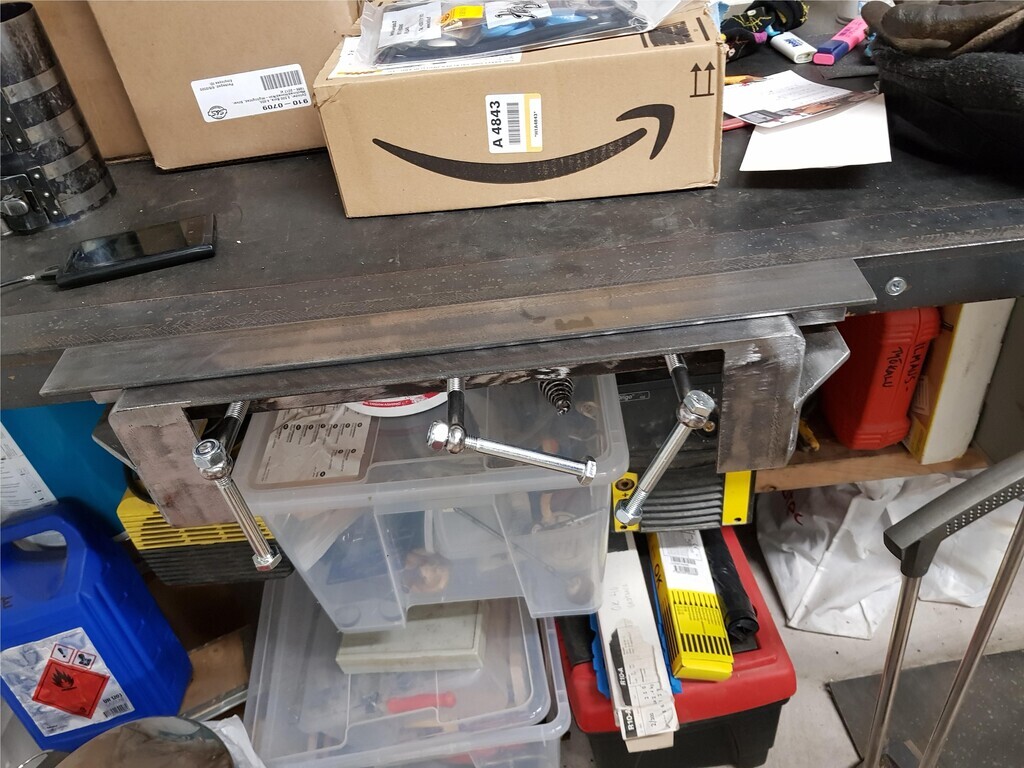 |
| |
Eat, drink and rejoice 'cause tomorrow we might be radioactive.
|
|
daimbmwe3
Part of things
  Still welding
Posts: 24 
|
|
|
|
|
|
| |
|
|
daimbmwe3
Part of things
  Still welding
Posts: 24 
|
|
|
|
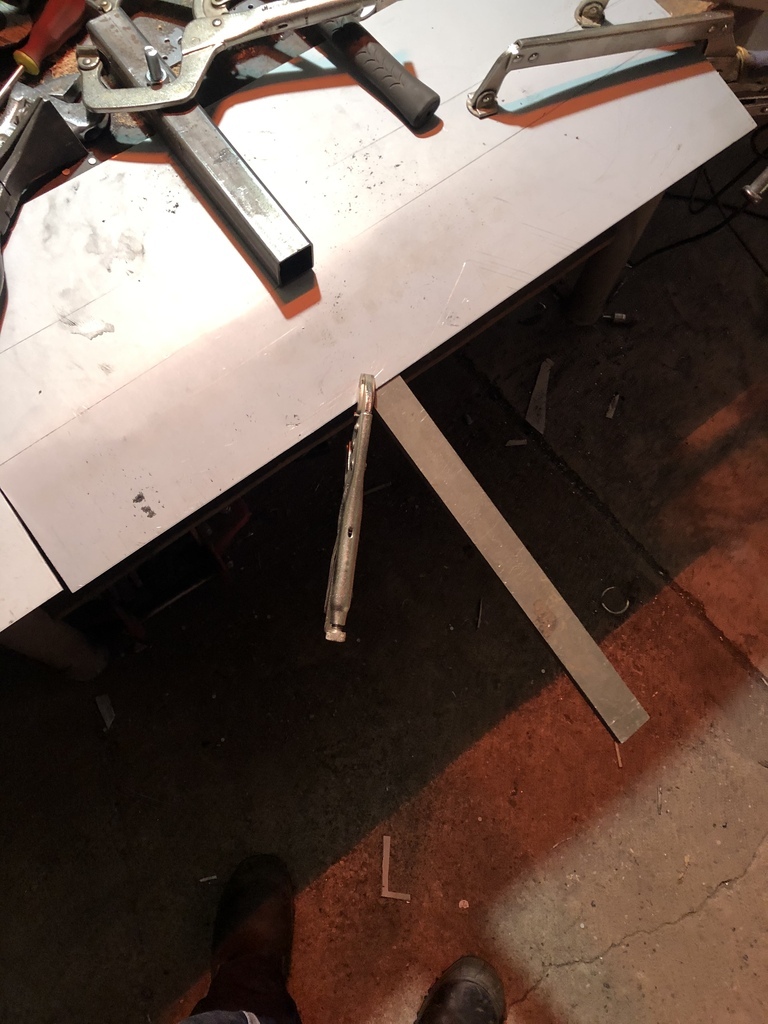
Next I cut in the bent sides where the panel needs to make a corner/rounding and used the old panel to find the right angles. 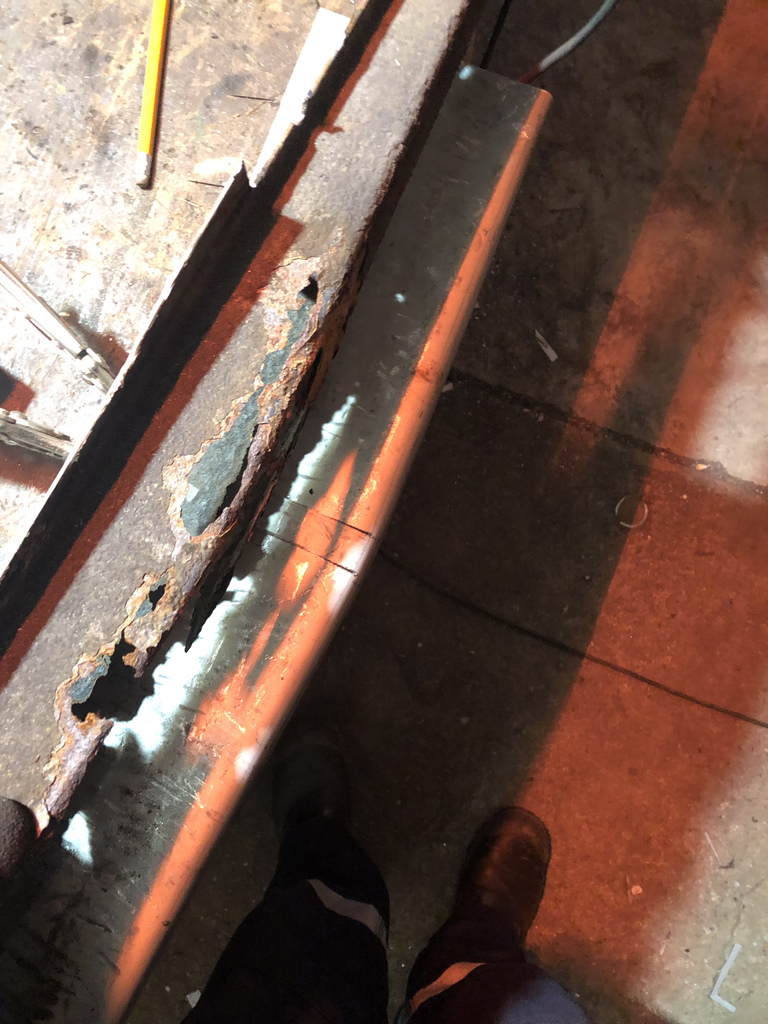 After tacking the corners to keep the shape, I started cutting and welding. 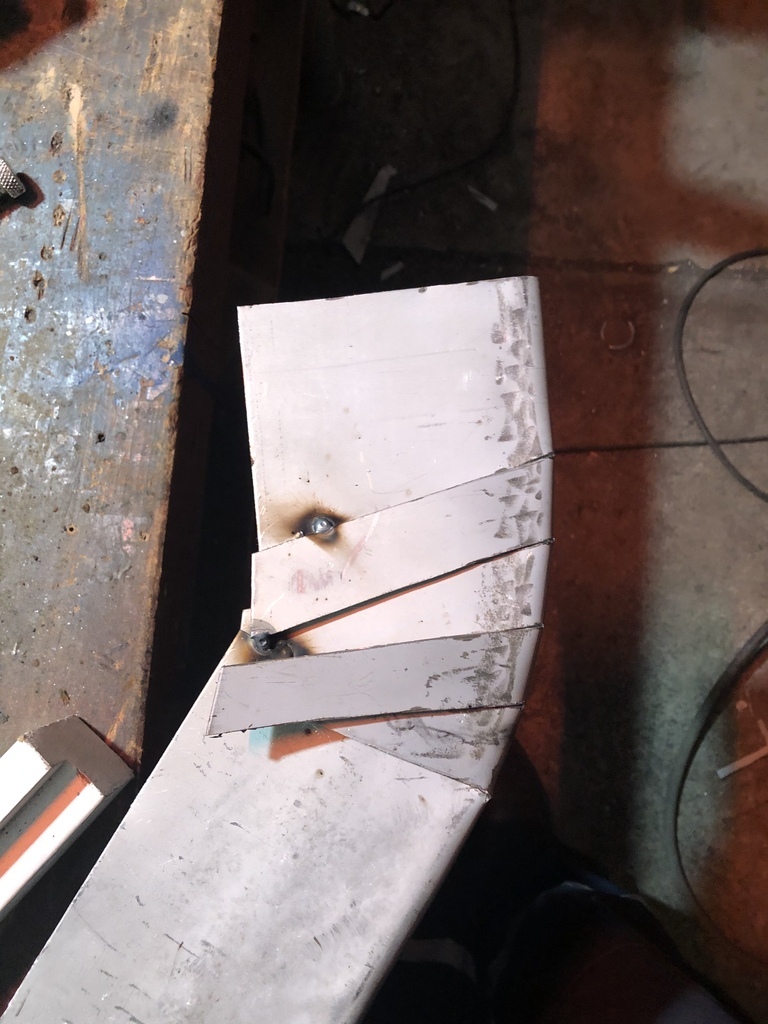 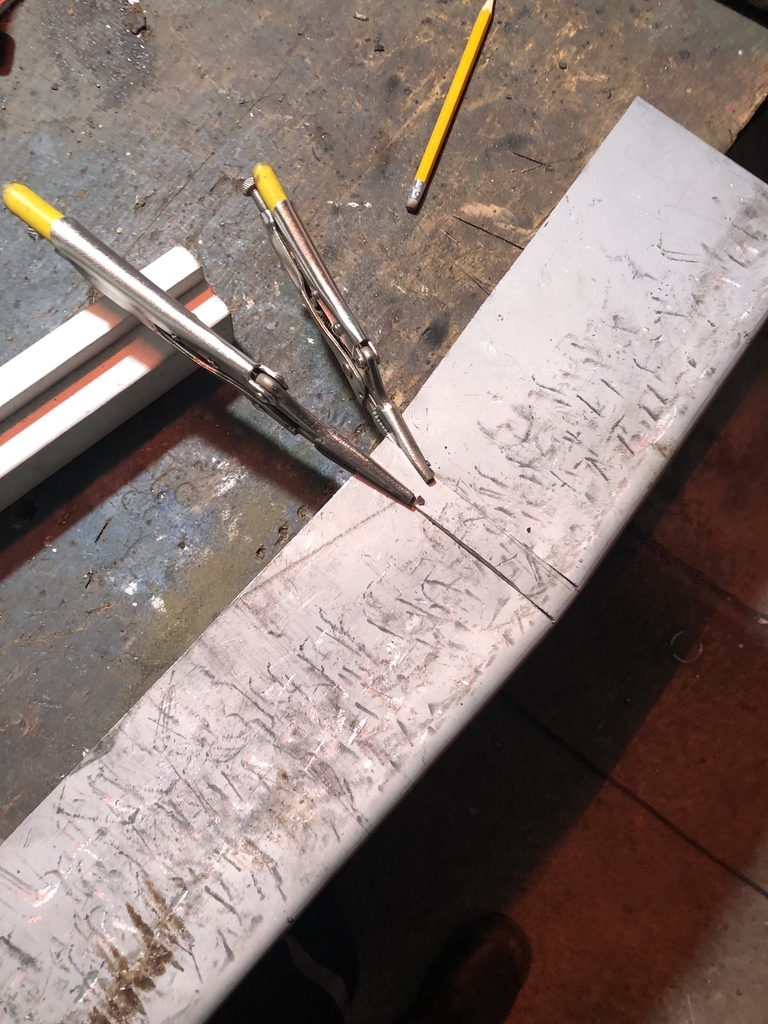 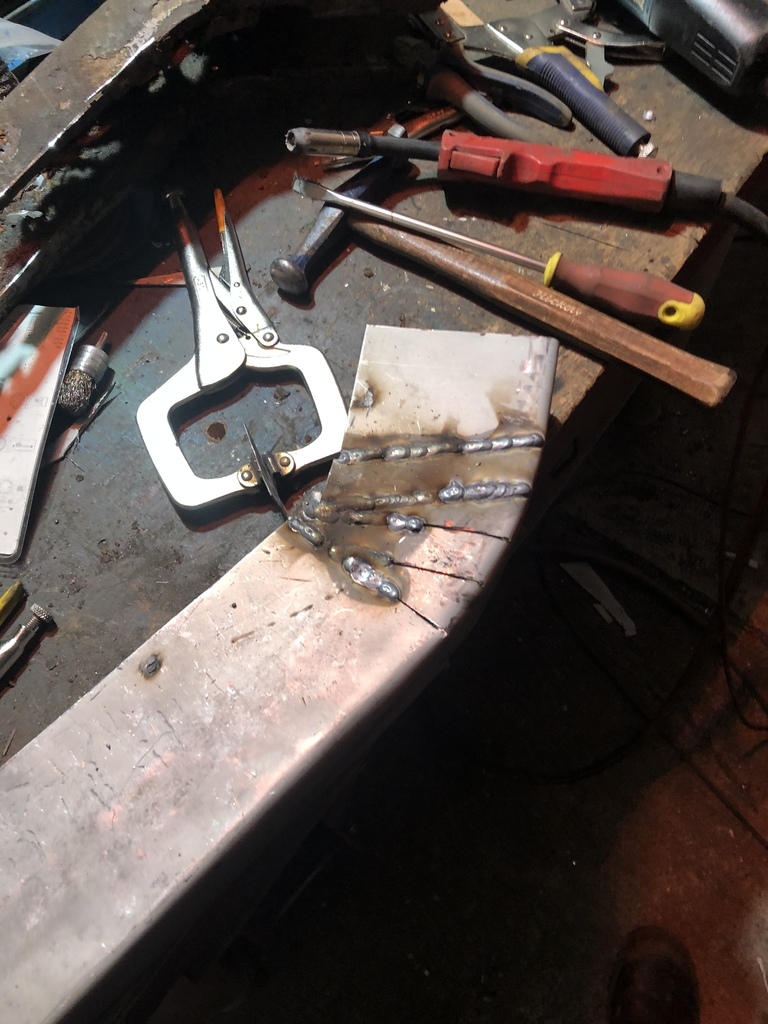 Next I copied the height of the panels and measured where the 2 cm strips/flaps needed to come. Next I started bending again. I took this with small steps, just like the larger bends. This time, however, I didn’t need a solid strip but using some grip pliers was enough. 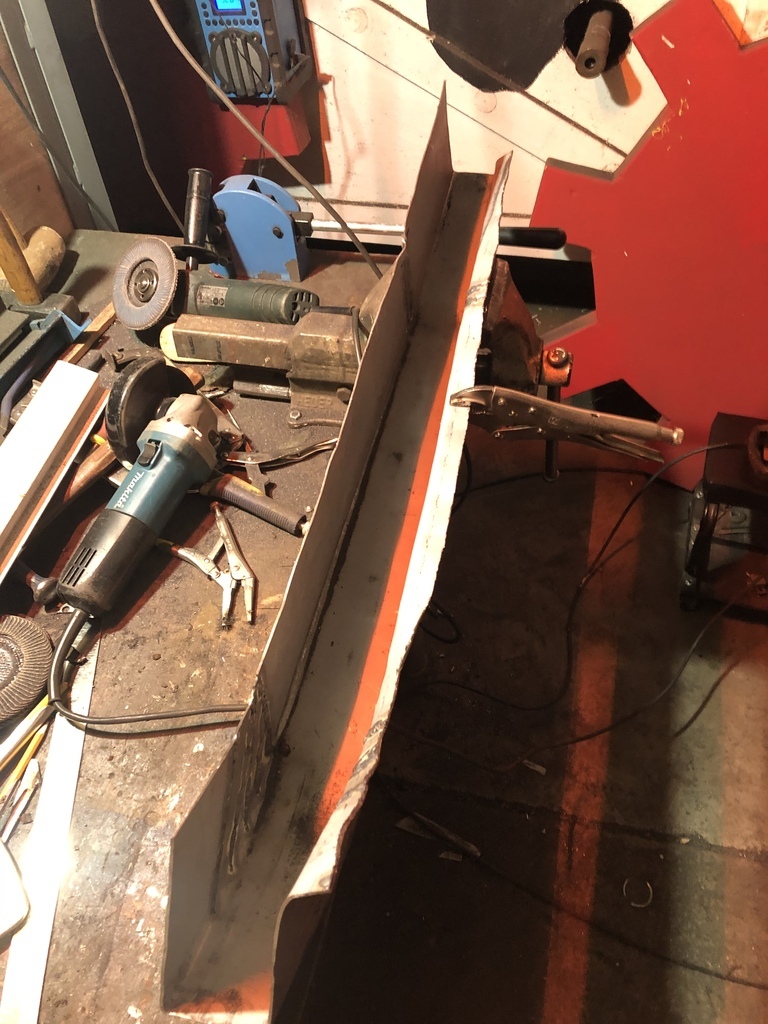 I’m happy with the result so far. Tomorrow I’ll continue to make the ‘tail’ section. 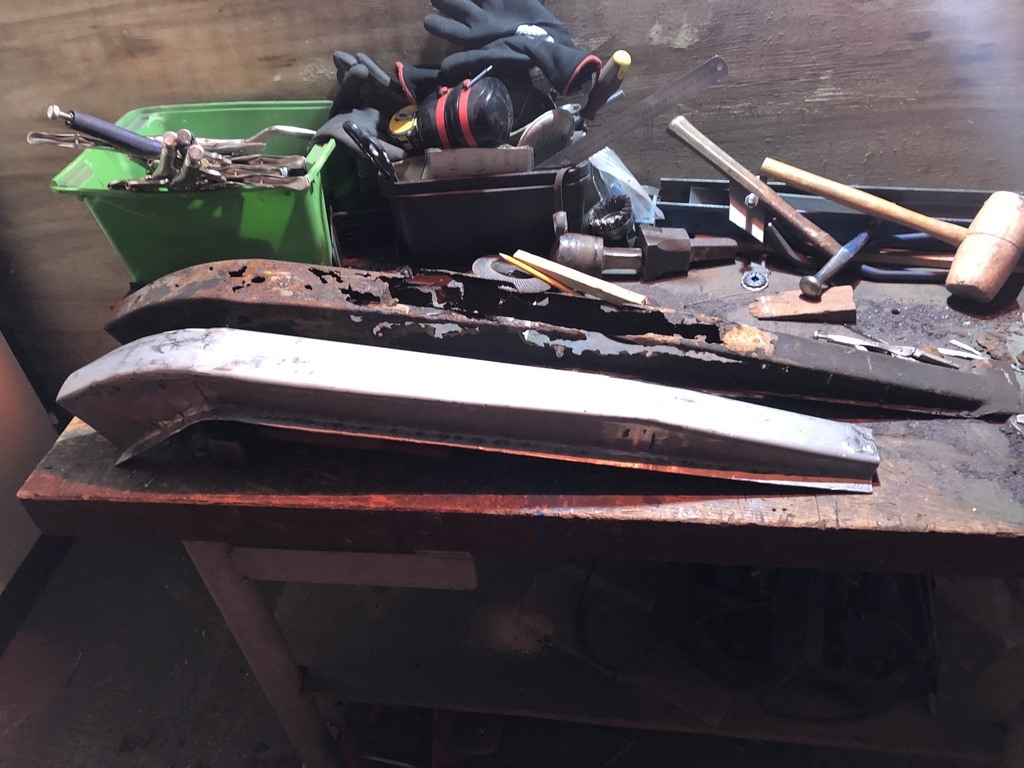 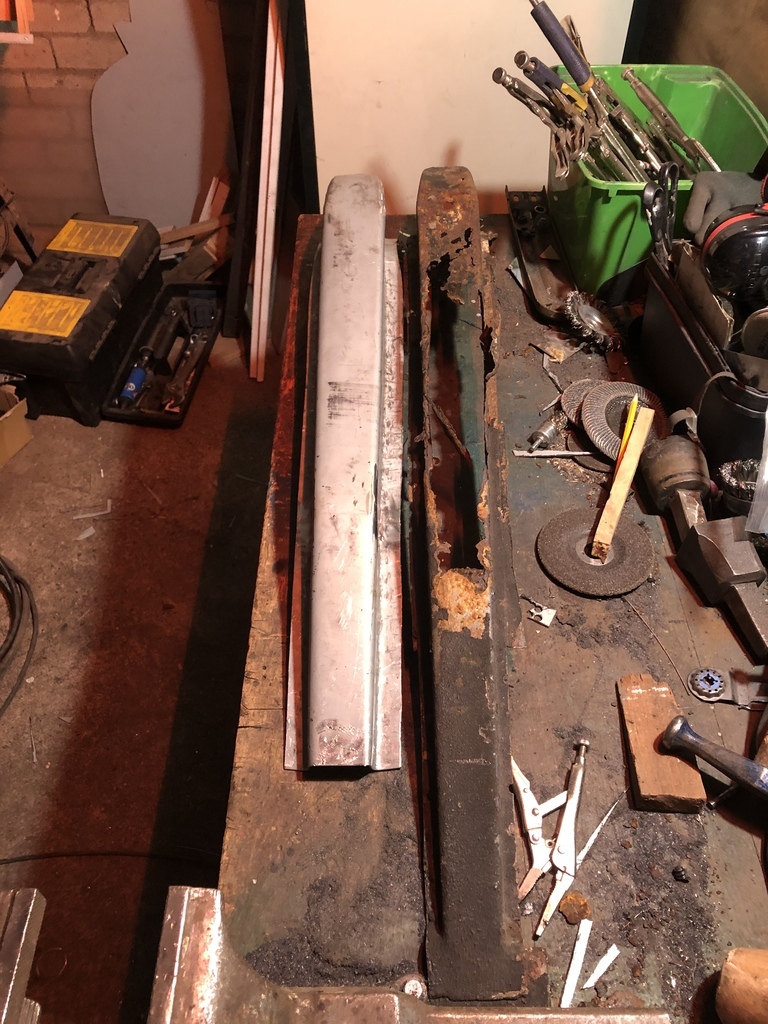 Some things I learned. I did no make the bends with a hammer of any sort as that would distort the metal. I clamped the panel to the workbench for every step so I cold use both hands for the bending. |
| |
|
|
|
|
|
|
|
|
Looking good. Sometimes I make larger pieces in more than one section just because it's less to re-make if I go off on the last part.
|
| |
|
|


