|
|
|
|
|
|
so right, if we were sensible we'd all be driving a focus
or the equivalent euro-bore-box.
can you make a quick release using a domestic door catch ?
maybe with an extended spindle only accessible from inside ?
t25 uses a wheel bolt and then a quick-release lever.
wheel sits inside a tray very much like a dustbin lid.
|
| |
|
|
|
|
|
|
|
|
|
so right, if we were sensible we'd all be driving a focus or the equivalent euro-bore-box. can you make a quick release using a domestic door catch ? maybe with an extended spindle only accessible from inside ? t25 uses a wheel bolt and then a quick-release lever. wheel sits inside a tray very much like a dustbin lid. Will probably go looking for something easy and sensible to use. Being underneath the trailer, I want there to be little chance of water traps etc. Had thought of reworking these two plastic trays to fit the metal frame, but your idea sounds neater and also easier. Those trays mentioned. 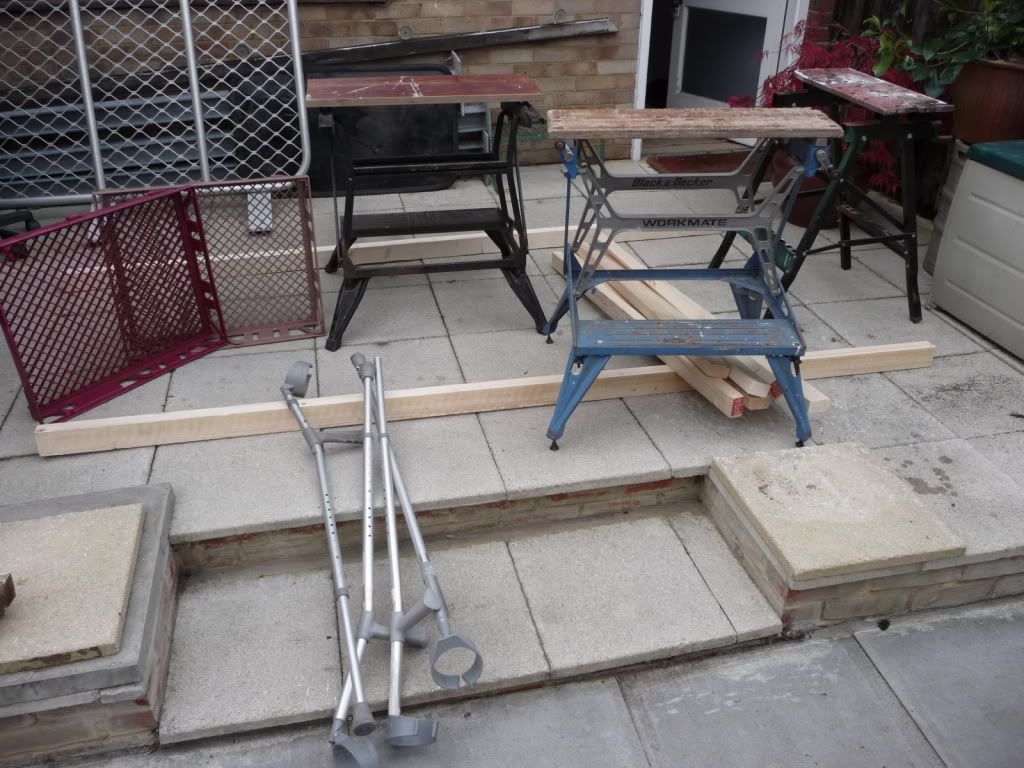 |
| |
Last Edit: Nov 9, 2009 23:52:29 GMT by grizz
|
|
lilbob
Part of things
 
Posts: 419
|
|
Nov 12, 2009 20:47:38 GMT
|
|
i was going to say have you looked at the galaxy/sharan/alhambra people carrier spare wheel winch system or a sealed spare wheel carrier accessed from a removeable panel in the kitchen part of the trailer
|
| |
|
|
lilbob
Part of things
 
Posts: 419
|
|
Nov 12, 2009 20:48:56 GMT
|
|
or as yours is an alko chassis use a alko underslung chassis mounted wheel carrier from a caravan
|
| |
|
|
|
|
|
Nov 13, 2009 18:27:03 GMT
|
or as yours is an alko chassis use a alko underslung chassis mounted wheel carrier from a caravan Two great ideas Bob, thanks, and I know there is a Galaxy in my local scrappy, under 2 other wrecks, still, there may be others. Even though I have pretty much completed this one, they may still be better, lighter and less bulky. So will check it out when I have a chance, and the rain abates, as it is dirty yard at the best of times. |
| |
|
|
|
|
|
Nov 13, 2009 18:39:29 GMT
|
Got home tonight, to be greeted by this at my front door..... The mudguards I ordered off Ebay 2 weeks ago. Finish is far from perfect, and I am sure I will have to make it up as I go along, and maybe even learn how to work with fibreglass and resin, so as to make places for the mounting brackets to be mounted. 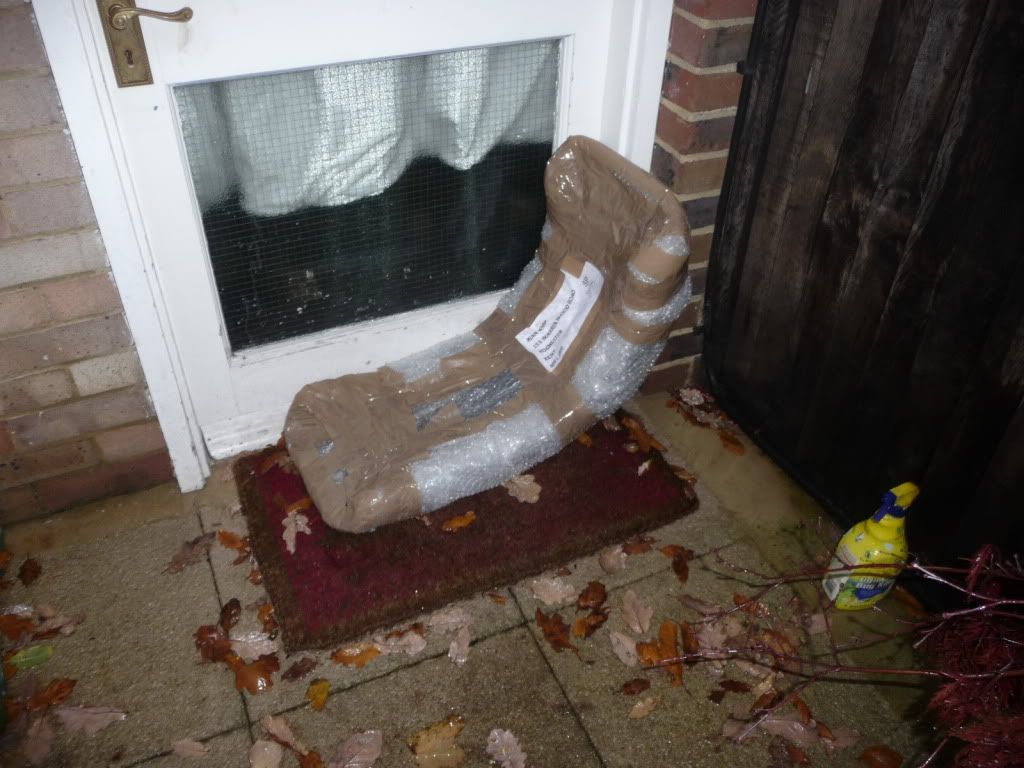 11 inches wide, the adaptors should add an inch to the offset of the wheels once fitted, here just mocked up on a 15 inch wheel and tyre with a bit of wood on the inside. 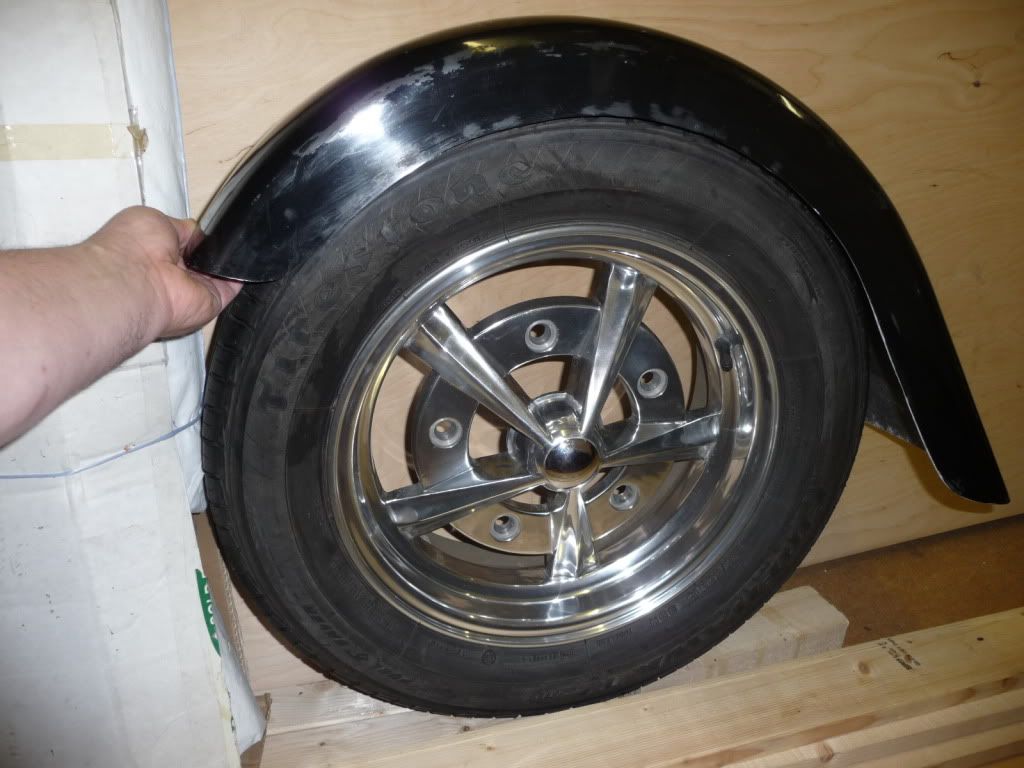 Mocked up on the existing 13 inch wheel , against the chassis, mudguard approximately in place where the trailer body will end. Hope it all works out in the end, to look just right. I do like the rearward curve of the mudguards though. 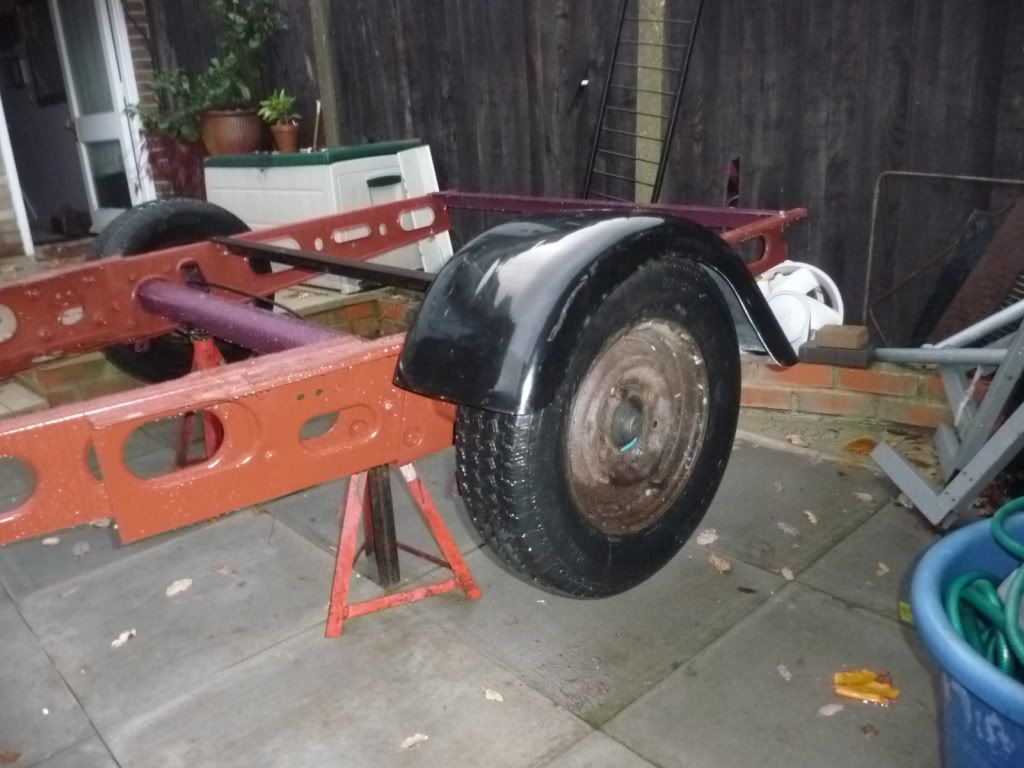 |
| |
Last Edit: Dec 9, 2010 19:28:37 GMT by grizz
|
|
|
|
|
Nov 13, 2009 19:55:32 GMT
|
|
your address can be read in the 1st pic.
|
| |
|
|
|
|
|
Nov 13, 2009 19:56:56 GMT
|
|
unless he does what i have to do and get my post sent elsewhere lol
They look the nuts with those wheels! (not the rusty wheels of course ;D )
|
| |
|
|
93fxdl
Posted a lot
   Enter your message here...
Posts: 2,019
|
|
Nov 13, 2009 21:12:32 GMT
|
|
couple of stupid ideas (well i have to be good for something!) for spare wheel hiding depending on whether there is room how about sliding it in the back like a moggy (i think) with a flap dropping down to cover or if you are wandering the scrappys how about the winch mechanisim some transits use so it winds up into the chasis
ttfn glenn
|
| |
|
|
|
|
|
Nov 13, 2009 21:30:06 GMT
|
your address can be read in the 1st pic. ;D ;D ;D So you know where the tea and biccies are.  As mentioned below, one of my old neighbours , the one in the pic where I was dismantling the chassis, with the walking stick receives my post and parcels. |
| |
|
|
|
|
|
|
|
Nov 13, 2009 23:15:18 GMT
|
|
Fiberglassing is not that hard, its smelly and messy, but basically just make sure you get all the air bubbles out and your good to go on simple jobs, i used to work at a boat Yard in Bradwell (first job at 16) and they pretty much let me loose on laying up complete canoes in moulds with only a day or so's worth of training, complex shapes, items that need strength built in and gel coating takes some time to master but even they are not that difficult given the right materials.
|
| |
Volvo back as my main squeeze, more boost and some interior goodies on the way.
|
|
|
|
|
Nov 13, 2009 23:29:26 GMT
|
Fiberglassing is not that hard, its smelly and messy, but basically just make sure you get all the air bubbles out and your good to go on simple jobs, I used to work at a boat Yard in Bradwell (first job at 16) and they pretty much let me loose on laying up complete canoes in moulds with only a day or so's worth of training, complex shapes, items that need strength built in and gel coating takes some time to master but even they are not that difficult given the right materials. Hallo Popup, fancy you popping up here , just in time  I guess I will be making "L-Brackets" with the one side screwed into the side of the caravan, and then the other end has to go into the mudgueards, so I would think glassing a strip of 2"x1" wood in the recess of the inner side, should give enough room to screw the brackets into, and 3 should be enough to take all the movement and vibration. How does one clean up, and make smooth the edges which are currently cut and ground back, also there seems to be resin on the black gelcoat...... How do I get it off. Oh, and lastly, do I leave "negative or neutral feedback " on Ebay for the seller as the product is pretty average and scruffy in my book ?? |
| |
|
|
|
|
|
Nov 14, 2009 11:32:03 GMT
|
If you cant pick the resin off you'll have to sand it back, small blobs are probably best got off with something like a dremel to minimise the damage to the surface, basically you sand it back and polish as you would with paint, bearing in mind it might be a fairly thin layer, you can buy Gel paste to fill in dings and dents, you just add a colouring agent to get it to the right colour, it wont cure if its exposed to air so you need to put something airtight over it, PVA glue or clingfilm should work and it tends to shrink as it dries so put more in than you need, you'll have to sand it down anyway. Normal sandpaper will work fine on fiberglass, try to make sure any edges are tapered so theres more surface area for the matting to grip and work from the back if possible so you don't damage the surface, its a good idea to coat the gelcoat surface in wax so any resin you drop wont stick to it. A decent yaught chandlers should have all the bits you need, possibly even all together in a kit although it works out dearer to buy that way. you can use elastic type car body filler if you don't want to muck about with gel coat but it does sink in a bit sometimes and show through paint. If you have trouble making an invisible repair, it may end up almost as easy to get your mudguards to the right shape and use them to make moulds and just lay up some fresh ones in the right size, and once you've made up something simple you'll be having all sorts of ideas.  |
| |
Volvo back as my main squeeze, more boost and some interior goodies on the way.
|
|
|
|
|
Nov 14, 2009 17:35:08 GMT
|
Kinda short update tonight, been busy, but not a lot of progress, and want to spend the evening with Nicola, perfect thing to do on such a windy, wet miserable day. I actually decided not to even paint the spare wheel carrier when I was done, rather to rake and sweep the backyard, a losing battle this time of year, and witht he wind not helping either. Rum and Pepsi Max in a bit...... I continued with the welding up of the bits to make an underslung spare wheel carrier, which I must say, I am quite pleased with. 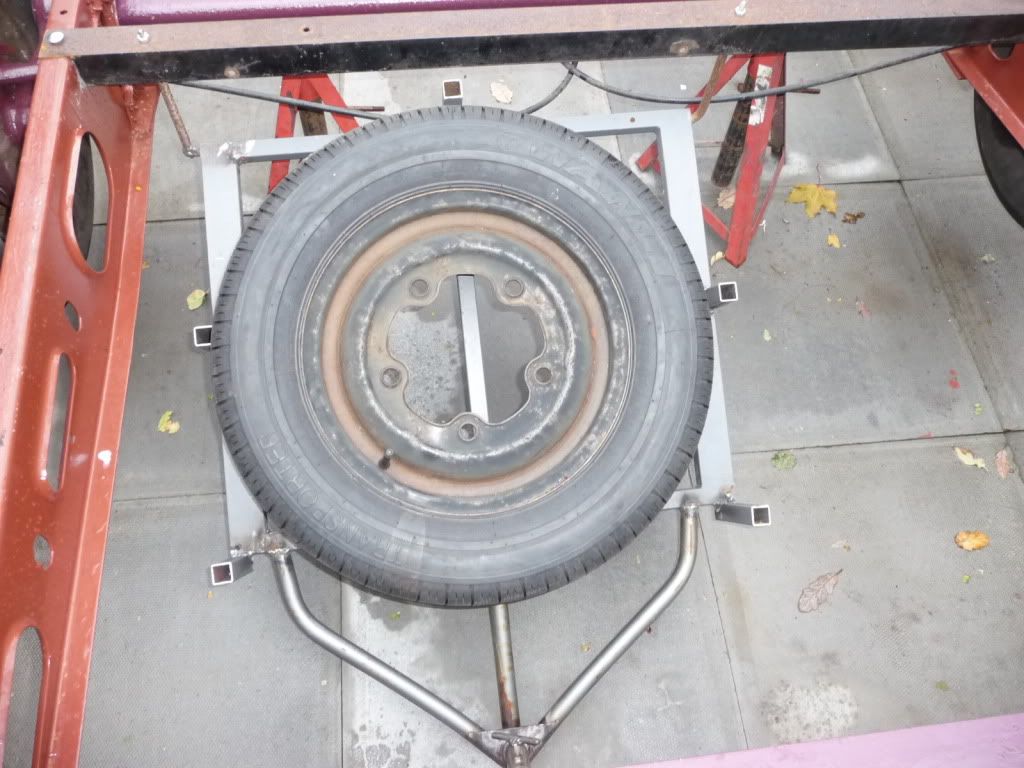 Different angle , just to get perspective. 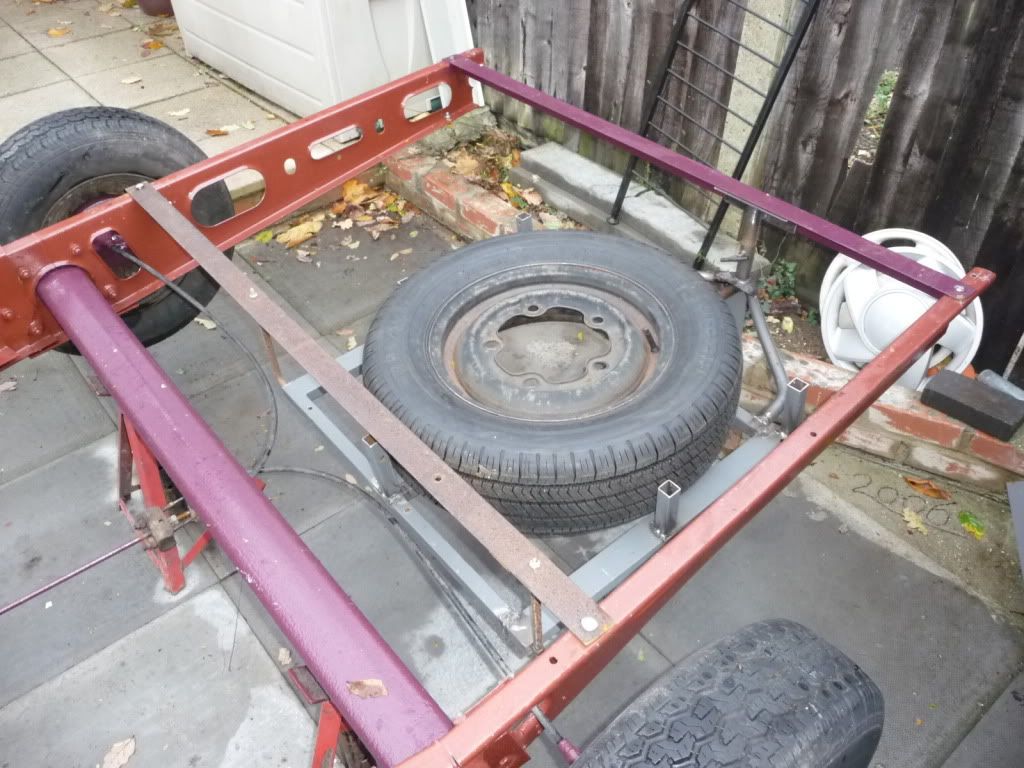 Just the frame, mocked up. 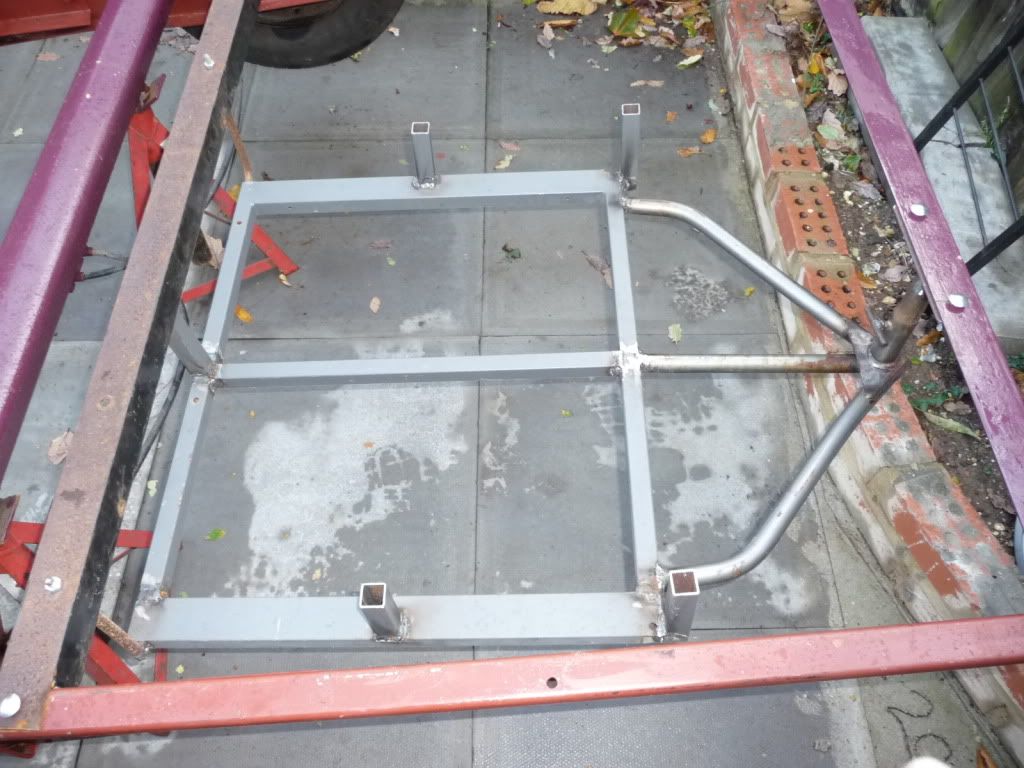 And lastly, with the floor frame in place, perfect, 15mm space between the wheel and frame. 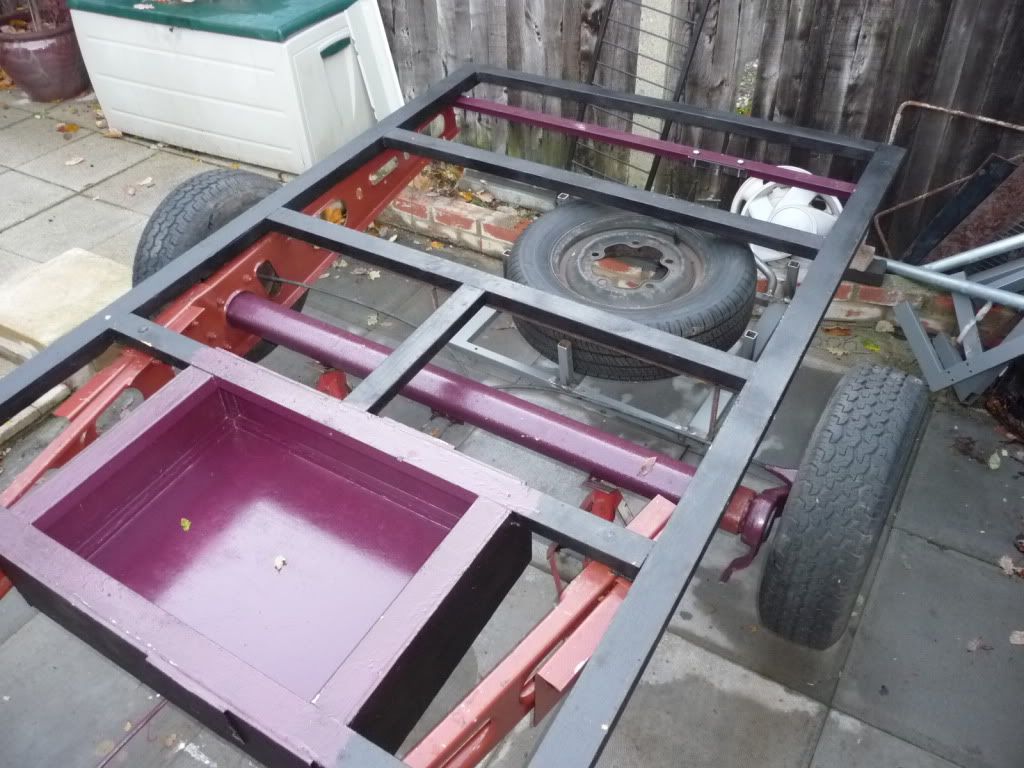 After trial fitting the spare wheel carrier I made up, I put the chassis on, now the other night when the youngsters were here, we took it off the axle stands, onto the ground and wheels for about an hour, then back up again. Just now when I wanted to fit it all together, nothing fitted.... all skew. I think the cutting and bolting has changed the energies exerted, but everything is out of kilter, so I suspect traction may be the only answer when I come to mounting the floor. Anyway, this will get sorted too. |
| |
Last Edit: Dec 9, 2010 19:29:44 GMT by grizz
|
|
|
|
|
Nov 14, 2009 17:42:54 GMT
|
|
Looking good mate.
Is that really purple? ;D
|
| |
|
|
|
|
|
Nov 14, 2009 17:46:34 GMT
|
Looking good mate. Is that really purple? ;D Hi Dave, You say Purple, the tin says Aubergine .... ;D Yep, Hammerite at £1.50 a tin at Halfords, colour does not bother me, its all out of sight in the end. I have a Brown, and a primer grey that will get used later too. I like the new Ebay.de purchase  |
| |
|
|
|
|
|
Nov 14, 2009 18:17:01 GMT
|
|
just in case you decide to change your spare carrier for a premade one, the older citroens (bx, xantia) use a wire framed carrier and a nice threaded clip which is all simple to remove from under the car (bolt for thread goes in thru the boot space), the wire carrier appears to be made of spring steel which will allow you to "spring" it free rather than having to undo a lowering bolt and traps the wheel against the floor so stopping it rattling around
|
| |
|
|
|
|
|
Nov 15, 2009 14:45:38 GMT
|
Found the flaw.... !!  I knew there was a repair to the chassis when I got it and started to cut and shorten it. However, with the sheer force I used to re-triangulate it all, and of course the inherant weakness where the previouse repar had been made, It let go and the intact rearward arm thus pulled the weakened one untill it tore right next to an original construction weld. Now repair or discard did go through my head, as I can get a 13 footer complete as caravan for £50 at the moment, but hey !!!! There is no fun in replacing, so I will cut the opposite end next to its weld to allow for some stress relief and then use a ratchet system to pull it all into allignment again, After which I will add in some flat bar under the chassis and bolt the lot together both sides. This should work like a gusset, and strengthen the whole lot. Below is a piccie I edited form yesterdays post, to show the tear in the chassis, right at the bottom of the pic. Hope you can see it, as I did not know how to make a circle in the edit programme on the pic as a whole. Next weekend I will do this. Today I spent a lot of time clearing 5 years woth out of my loft and boarding the 2nd half of it up, and adding some old carpet to it as well. So a productive day none the less, in preparation for selling up next year and buying a new house for Nicola and her kids and myself. 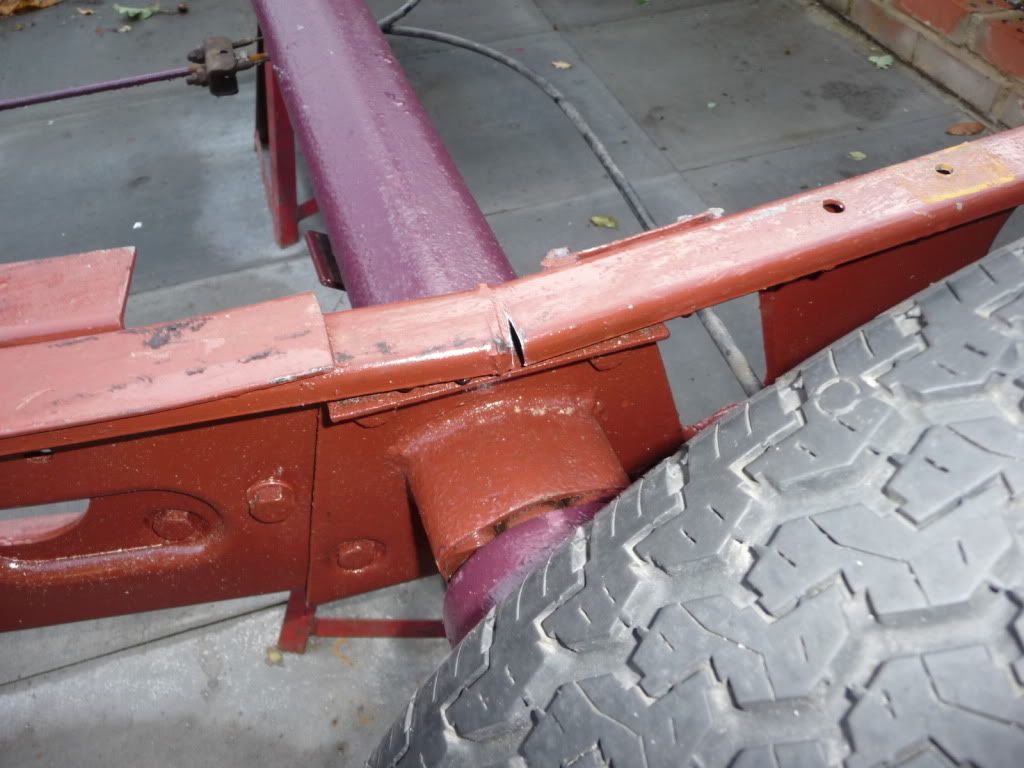 |
| |
Last Edit: Dec 9, 2010 19:30:34 GMT by grizz
|
|
lilbob
Part of things
 
Posts: 419
|
|
Nov 16, 2009 19:40:06 GMT
|
|
really stupid questiom is it just me or is every one else seeing a bandwidth ecceded thing from photobucket where most of the pictures were?
|
| |
|
|
|
|
|
Nov 16, 2009 19:42:33 GMT
|
|
I'm seeing it too
|
| |
2001 Micra 998 - Daily
1986 Mini Mayfair 998 - Former Daily - Garaged
 |
|
|
|


