|
|
|
|
|
Small update tonight, I think it has to be around 4'C out there, winter has suddenly landed, still not started my heating though, testing the cavity wall insulation I had fitted about 6 weeks ago, and it seems to work. Tonight I just wanted to get the car jacks sorted out and the mounting points fitted to the chassis. Actually a simple job, but took a bit of time to do. I had bought 2 scissor jacks and a wheelbrace for 50pence each at the Battlesbridge Autojumble, so the jacks will work at the rear to make up feet for the trailer to stand on when parked up. I used some of the nuts and bolts that I removed when dismantling the trailer frame when I prepped the chassis. Welded a couple of washers to the bolt heads and ground them round like gutter bolts, then re-used 2 nylock nuts on each to both hold and space the heads under the chassis once I had drilled the holes to fit them. Lastly, slipped the jack mounts that my faithfull angle grinder had modified over the gutter bolt heads, and extended, HEY PRESTO : Stabilisers. Clearly, with the chassis off the gound on axle stands, the height is too high, they should work just fine once wheels are mounted and on the ground. 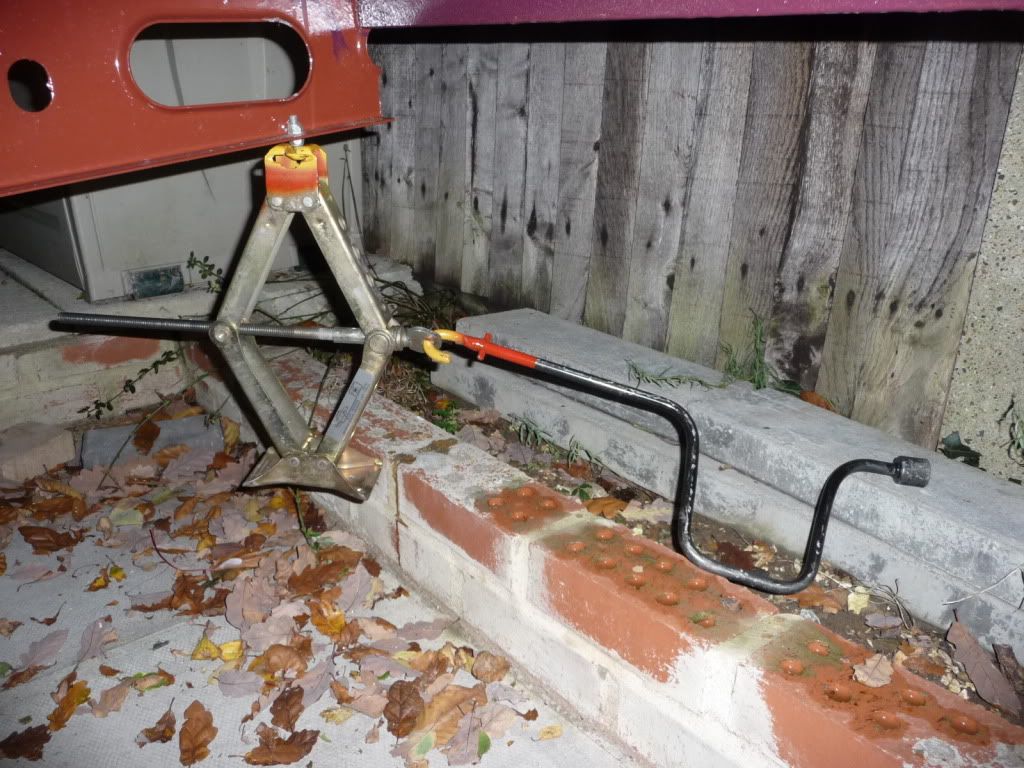 |
| |
Last Edit: Dec 9, 2010 18:36:09 GMT by grizz
|
|
|
|
skinnylew
Club Retro Rides Member
Posts: 5,717
Club RR Member Number: 11
|
|
|
|
|
good progress this is gonna be a beaut!!
|
| |
|
|
|
|
|
|
|
Had a chat with the engineer who is making the wheel adaptors today, as I may have to space the wheels out a bit to fill the mudguards/fenders I want to put on the trailer. They are 11 inches wide and 40 inches over the top. He suggested mocking the lot up, which means I had to go ahead and buy them. Then we can see how thick he potentially needs to make the adaptors so as to fill the arches. Pretty chuffed with the shape of them, kinda classic/retro looking I think. 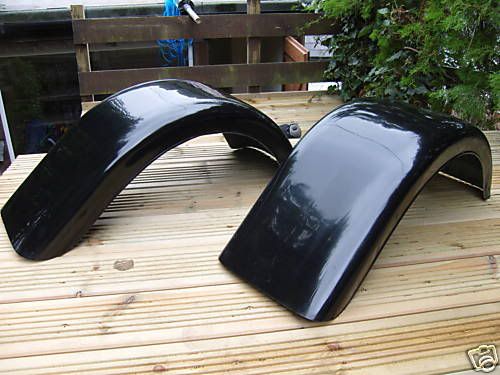 |
| |
Last Edit: Dec 9, 2010 19:21:07 GMT by grizz
|
|
|
|
|
|
|
I think if you curl up like a little dog you'll be okay! ;D Seriously, people really do sleep in these things... Check out the Hall of Fame on this forum to see some other teardrops! www.mikenchell.com/forumsMike... P.S. Grizz... My welder fell in love with your chassis. Did you see what he came up with to put under my next build... ? Morning Mike, I see he has done some serious engineering there. My chassis is soooo over engineered. It was an 18 foot caravan, then cut down to be a treailer, then I cut it down to 14 foot total, to use in my build. I think, as often mentioned, these things are over engineered, and mine certainly is. My next build, which I am already planning, will be on 4x8 foot, and will be light enough for a girl to manage with a 1400cc Opel Corsa. The forum is indeed a treasure trove of designs and ideas. Grizz Yep, I think we finally got him to see the light. His next design is a lot more traditional with rectangular tubing. Now I got to get him thinking triangles! ;D  Mike... |
| |
Last Edit: Nov 4, 2009 0:37:44 GMT by mikeschn
|
|
|
|
|
|
|
Last night saw one of the most "Heroic" actions of combined effort to grace these pages of the Interweb. I had been looking out for a small generatior to run the 3 way fridge, or even a 12V battery charger in the trailer for the last few weeks, scouring E-Bay for bargains, and bootfairs etc. Last night someone on Volks Zone International was giving away a Brand New, unused small generator in Manchester which is 250 miles or 400km from where I live in Kent. Problem was the only way to have it was to pick it up immediately, as space was needed for a Recarro interior being delivered today. I posted a thread on the general board HEROES DO IT LIKE THIS, and in less than an hour it was wrapped up, and collected by Jon (Dugong), will be collected by Bruce (MysteryMachine) and taken to Bristol, then collected by PFChris and brought to Sevenoaks in Kent where I will collect it, about 30 miles from where I live. RESULT !!!! Total distance traveled by generator based on peoples kindness and all thinking the same way = 350 miles or 7 hours. These were not the only guys who had jumped up to offer help, with Marc (Hairnet) offering his pickup services, Mark (Reanimation) all in on it as well and relaying messages etc back and forth accros Greater Manchester. Said generator. Just need to make a bracket and box to hang it below the galley floor for transport now, next to the water tank. That should help get the weight distribution even more correct. 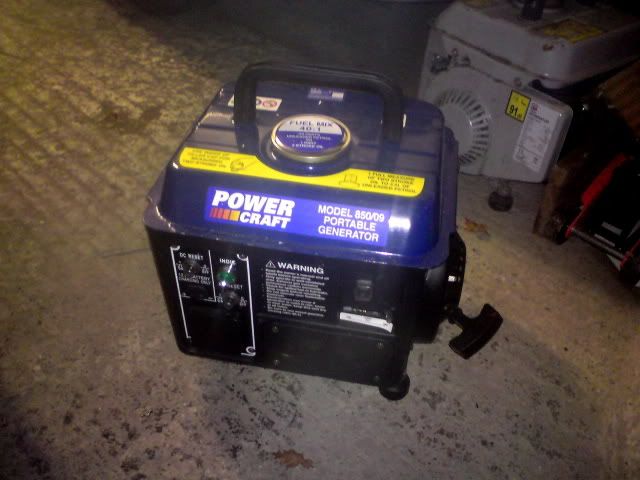 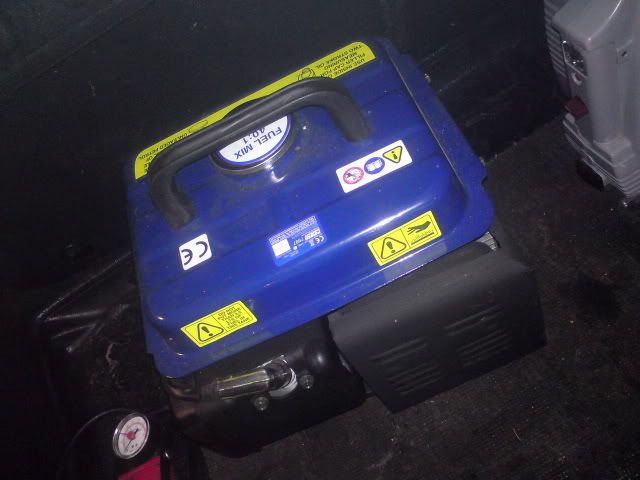 Looks like the build is still on track then, thanks to a real team effort. |
| |
Last Edit: Dec 9, 2010 19:23:01 GMT by grizz
|
|
|
|
|
|
|
|
weld a bolt onto the jack scissor and find a cheap cordless drill with socket - motorised stabilisers ;D
|
| |
2001 HONDA CT110 (NOT RCV)
|
|
|
|
|
|
|
I love making something out of nothing. Today's score came from the one Psychiatric hospital I deal with thats busy with a refurbishment. Ranging between 1m and 2.4m , a load of Oak banisters/rails that were being dumped. The square part is 45mm x 95mm and then it has a rounded cap with diameter around 70mm which is attached with screws. Perfect for some of my load bearing battens that will be carrying the front and rear mount of the ally, as well as the galley hinges. Cost me £5 into the hospitals patient activity fund. 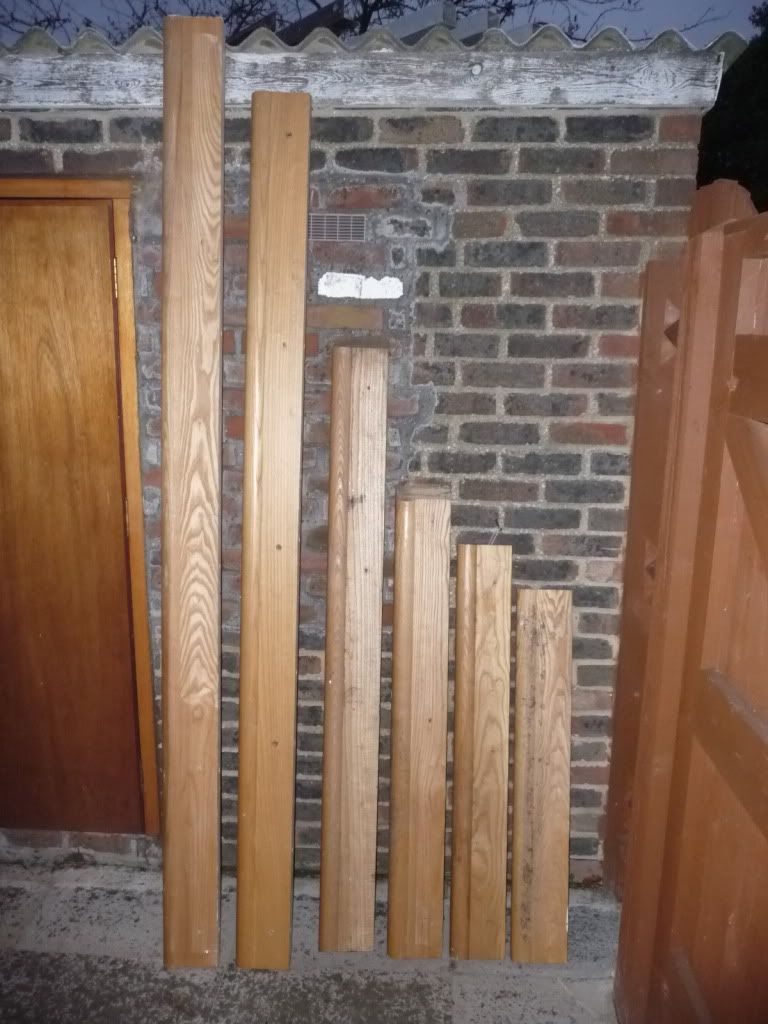 |
| |
Last Edit: Dec 9, 2010 19:23:58 GMT by grizz
|
|
|
|
|
|
|
Just opened the post. Submersible pump and switched tap off E-Bay arrived today as well it seems. £20.00 all in, delivered. Guess there is better priced ones out there, but was in a bit of a hurry, and currently not much choice. Progress in the right direction. 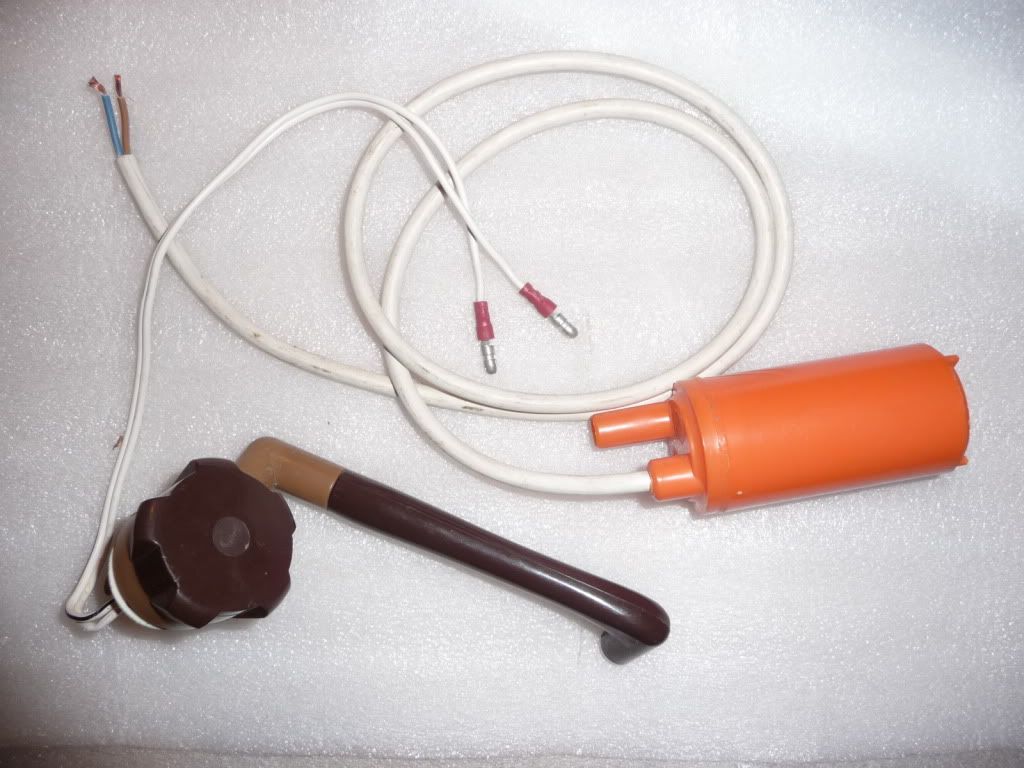 |
| |
Last Edit: Nov 6, 2009 18:26:33 GMT by grizz
|
|
|
|
|
|
|
|
don't ya just love it when all the bits start ariving for summut ya doin' ;D
|
| |
|
|
|
|
|
|
|
|
Is that tap new or used? If used, check the switch actually works using a test meter on the wire ends. They have a teeny microswitch inside the tap body, and the contacts like to get all oxidised and stop working after a while. Its no big deal if so, the knob pops off (be very carefull to note its exact location before removing so you don't loose the alignment of it opening the internal valve and operating the microswitch). New microswitches are available, or you can clean up the contacts on the old one with wd40/contact cleaner and fine sand paper.
Excellent progress though, I'm very impressed with this project.
|
| |
1986 Panda 4x4.
1990 Metro Sport.
1999 Ford Escort estate.
|
|
|
|
|
|
|
|
|
|
|
|
i notice your still cracking on buying bits even when the weather is bad and all i want to do is sleep lol well done wont be long if you carry on at the rate your going!
|
| |
|
|
|
|
|
|
|
Very little progress this weekend for various reasons. Did manage to nick my index finger tip today with the angle grinder..... stupid. Have started making a cradle for the spare wheel to go under the rear of the chassis. I have some old office table frames and legs, that are perfect for the job. May also put the water reservoir back on Ebay, as it is a bit lower than I want it to be. 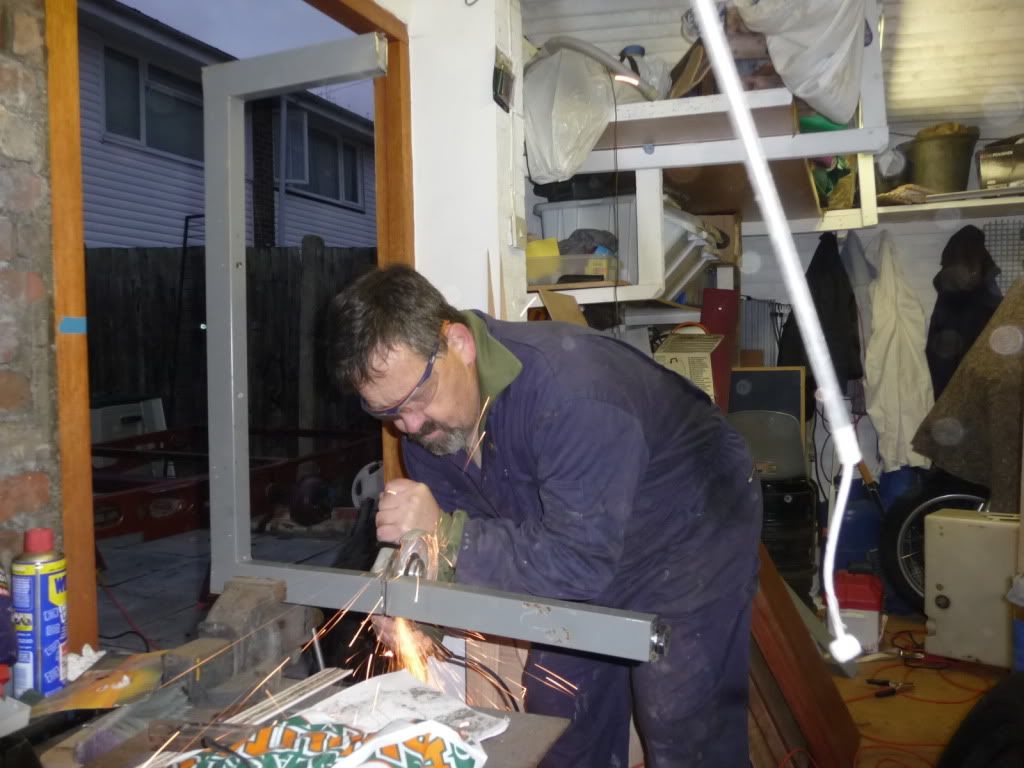 |
| |
Last Edit: Dec 9, 2010 19:25:43 GMT by grizz
|
|
lilbob
Part of things
 
Posts: 419
|
|
|
|
|
with your submergable pump would you be better off using a fresh water jerry can style container? just a thought
other than that i'm loving this epic little build was thinking of doing something similar for the kids to play in out in the garden
|
| |
|
|
|
|
|
|
|
with your submergable pump would you be better off using a fresh water jerry can style container? just a thought other than that i'm loving this epic little build was thinking of doing something similar for the kids to play in out in the garden Morning Bob, After spending a couple of hours mocking up, and photographing, etc.... decided the trailer shape is going to be fairly "Pure" so do not want 3 or 4 inches of white plastic tank hanging out the bottom of the floor. The tank is just too wide to fit between the floor frame, and I do not want to cut and rebuild it, so I have lost a bit more than 2 inches there. It was at this point I decided to run with a Jerry Can and submersible pump, I have used the jerry can in the past, and it works fine, so problem solved. The spare wheel is already going to stick out a bit if you look for it, which I am not happy about, but I do want a spare, and also for it to be out the way underfloor. |
| |
|
|
|
|
|
|
|
I notice your still cracking on buying bits even when the weather is bad and all I want to do is sleep lol well done wont be long if you carry on at the rate your going! Thanks Kris, I keep buying bits because half this trailer build, in fact more than that , is being made up as I go along. I find things that are better than planned, and like the watertank, stuff I need to abort. Thanks for your faith in me ;D ;D ;D |
| |
|
|
|
|
|
|
|
|
Grizz as you're using the same rims as you have on the bus, do you need to carry a second spare, I'm guessing you already have one in the bus.
You'd have to be very unlucky to kneed both spares.
Cheers Dave
|
| |
|
|
|
|
|
|
|
Grizz as you're using the same rims as you have on the bus, do you need to carry a second spare, I'm guessing you already have one in the bus. You'd have to be very unlucky to kneed both spares. Cheers Dave Hi Dave, the problem will come in when Nicola and I go away with the company car.... then the trailer has to have a spare. I have decided to use a regular steel wheel for both, and to sell on the extra two wheels, they are worth £220 to me, so if I get that money back, its less dead capital as well. Will post tonights progresss, little as it is in a bit, been welding a bit. |
| |
|
|
|
|
|
|
|
|
have you considered using a car's spare carrier ?
IIRC some French motors hung them under the boot
and i know the T25 spare wheel carrier is a good design,
can't be much demand for them from a VW breaker so
should go for peanuts, you'd only need a couple of brackets
to fix it underneath the pod.
|
| |
|
|
|
|
|
|
|
have you considered using a car's spare carrier ? IIRC some French motors hung them under the boot and I know the T25 spare wheel carrier is a good design, can't be much demand for them from a VW breaker so should go for peanuts, you'd only need a couple of brackets to fix it underneath the pod. You are right Guz, I did consider that, and it is sensible, but then , where would the fun be in that ? ;D Carried on where I left off last night, ended up aborting that whole design, and decided to build a simple swing down carrier, like some of the French cars and lig commercial vehicles have. Used bits of old chair, table legs and pipe to make up a lightweight frame that will hang below the chassis , and then pivot on a 10mm steel rod, that will run through the frame. Attached to the rear angle iron chassis rail through some ingenious , quick release system I still have to figure out. This is how far I got tonight, had a quite a few distractions, hence finishing at 11pm. 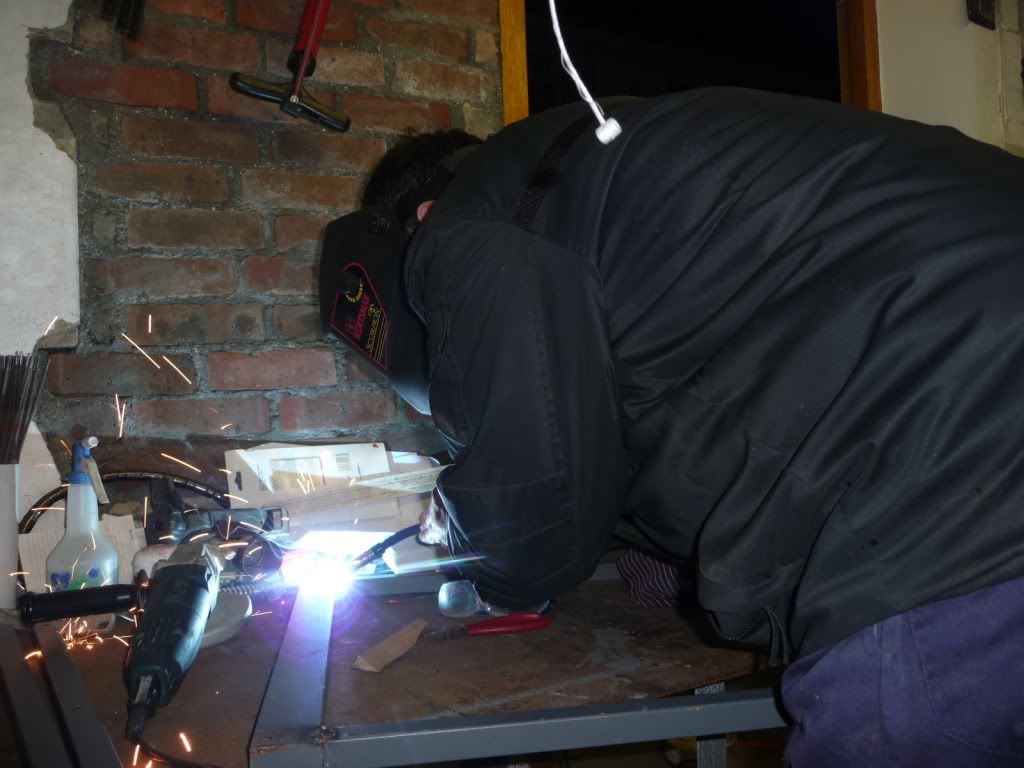 Half way there, still need to fit and weld up pivot axle, and also side stops to stop spare wheel falling out, off the cradle. Hope that makes sense. 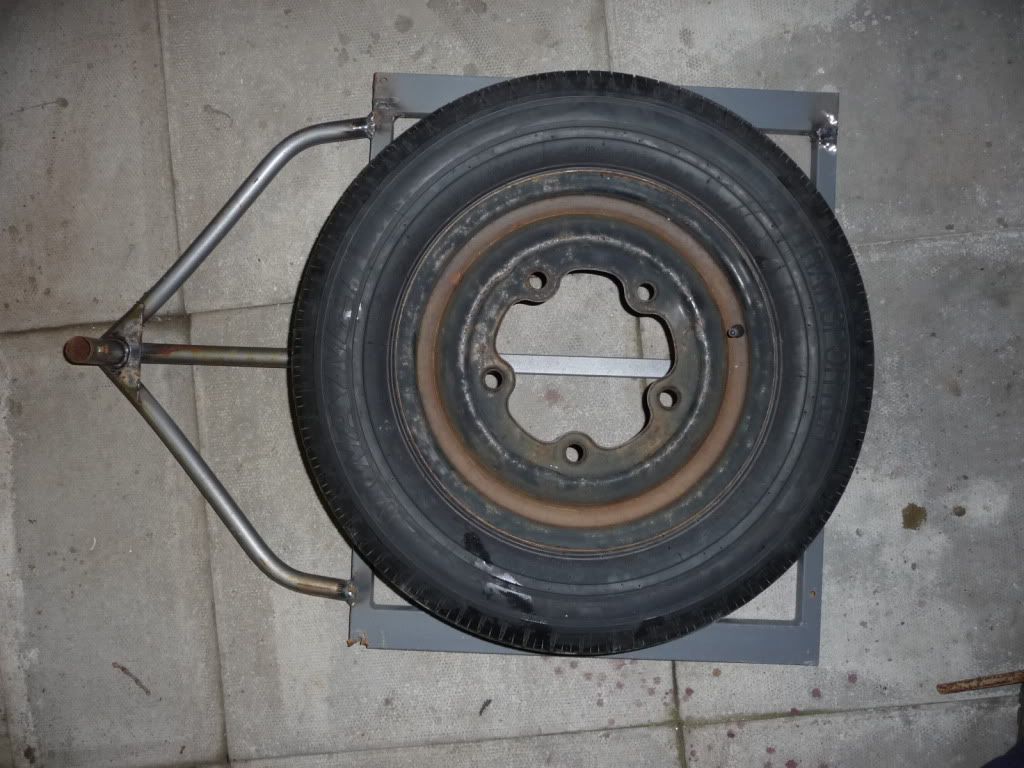 |
| |
Last Edit: Dec 9, 2010 19:26:49 GMT by grizz
|
|
|
|


 Ax GTi Turbo


