|
|
|
|
|
Nice to see the care you're putting into this - really good work, especially for a novice outside on the driveway!  Keep it up. Just to echo what a couple of others have said, a bigger bottle will be cheaper long term (if you're going to do a lot of welding) - even the monthly rental variants aren't too pricey, and if you've got a local BOC/welder's merchant it's very handy indeed  |
| |
|
|
|
|
|
|
|
|
|
|
Those repairs look great to me! I don't know if they serve your area but I'm with Adams Gas who are very reasonable.
Keep it up!
James
|
| |
|
|
|
|
|
|
|
|
This is coming on so well and those repairs look very well thought out and extremely well executed so you should be damn proud of what you've done there...
I cannot wait to see this hitting the road again and I'm sure you can't either?!
|
| |
***GARAGE CURRENTLY EMPTY***
|
|
stevek
Yorkshire and The Humber
Posts: 728
|
|
Jun 11, 2014 20:07:04 GMT
|
Thanks for the kind words guys, it really helps to keep me plodding on. I have looked at rental bottles in the past but as a VERY light user I'm not sure I'd get my moneys worth out of it. Maybe I'll check again. Only the tiniest of after work updates for today... 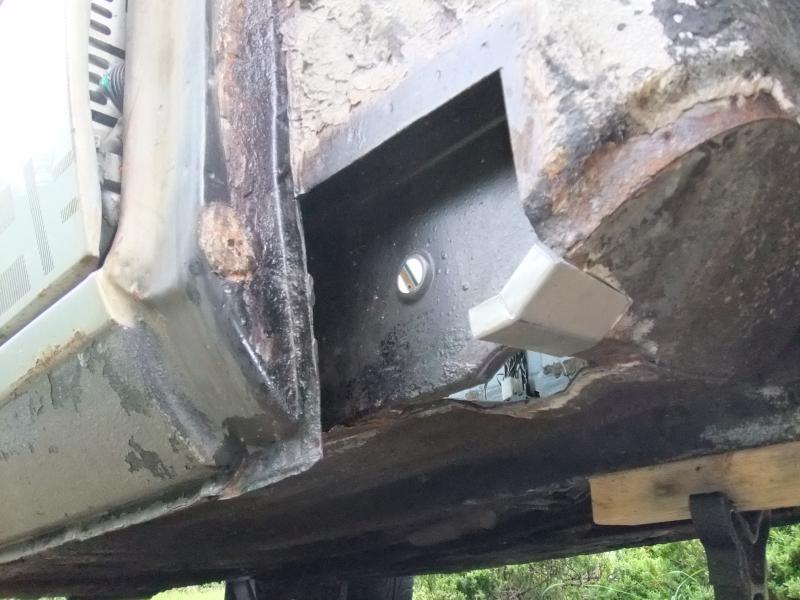 ...just made the first little section for the other side. Although this side is pretty much a mirror image of what I have just done, I still spent ages looking at it, confused, unable to start. -Steve- |
| |
Last Edit: Dec 10, 2017 15:38:05 GMT by stevek
|
|
stevek
Yorkshire and The Humber
Posts: 728
|
|
Jun 12, 2014 19:59:52 GMT
|
I managed another mini after work session tonight. I though the accelerator pedal was a bit in the way and likely to get damaged... 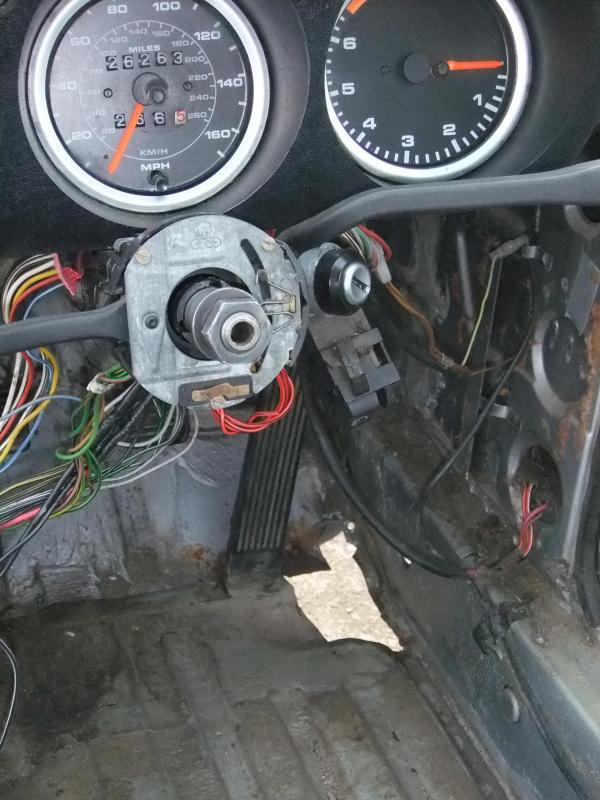 It will only take a jiffy to whip that off, right? Yeah right! What a faff, it took about an hour and a half using a mixture of grinding and drilling to get the captive studs out. Then I cleaned up the area a bit and welded yesterdays little patch in. I couldn't tidy the welds up afterwards as it was getting a bit late for noisy grinding. 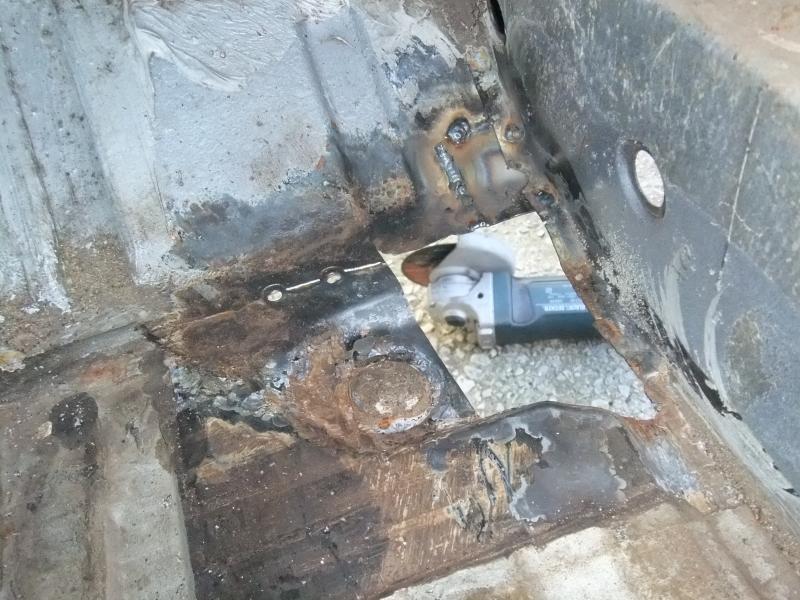 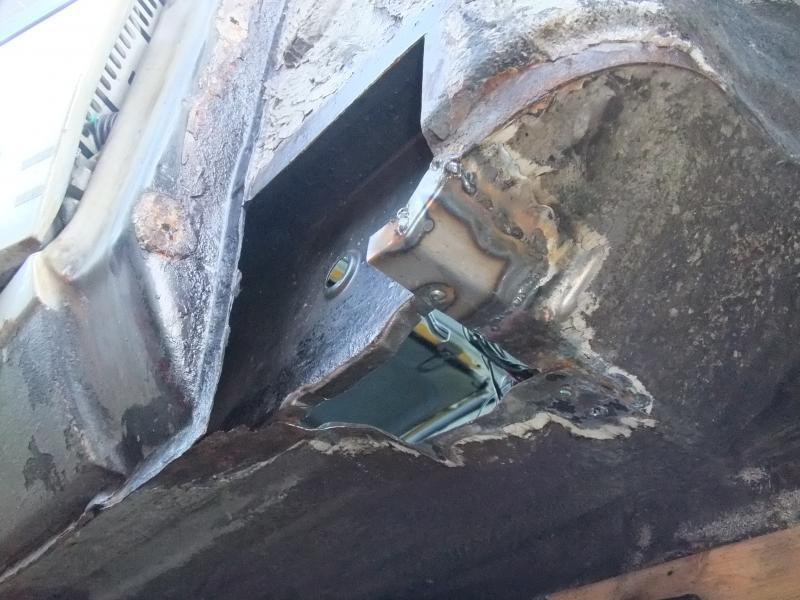 [/a]I made one massive blow through (The bit blob at the top) on the first strike but other than that it came out OK. -Steve- |
| |
Last Edit: Dec 10, 2017 15:40:03 GMT by stevek
|
|
stevek
Yorkshire and The Humber
Posts: 728
|
|
Jun 23, 2014 22:04:20 GMT
|
In the last update I had started to put fresh metal back in, but I was getting ahead of myself. There was still more rust to cut out. I got that cut out one night after work last week. On Saturday I looked at the complicated shaped hole and started trying to make a cardboard template to fit the gap. The template looked OK but when I transferred it to metal I made the silliest of errors, I started copying the wrong side of the template and making a mirror image. doh! Then once I had sorted that out the second fold was in the wrong place which was a pain to straighten and refold. And even after all that and spending hours on it I still wasn't happy with the fit. To be honest I was seriously hacked off and close to loosing my temper by mid after noon. Luckily Dunc popped round and distracted me from the car for a bit. I think he could tell I was a bit frustrated so he bought some ice creams from the van, this made everything much better. So I went back in for round 2 and quickly decided to cut the patch in half and do it in two parts. This is the first bit welded in (on the right)... 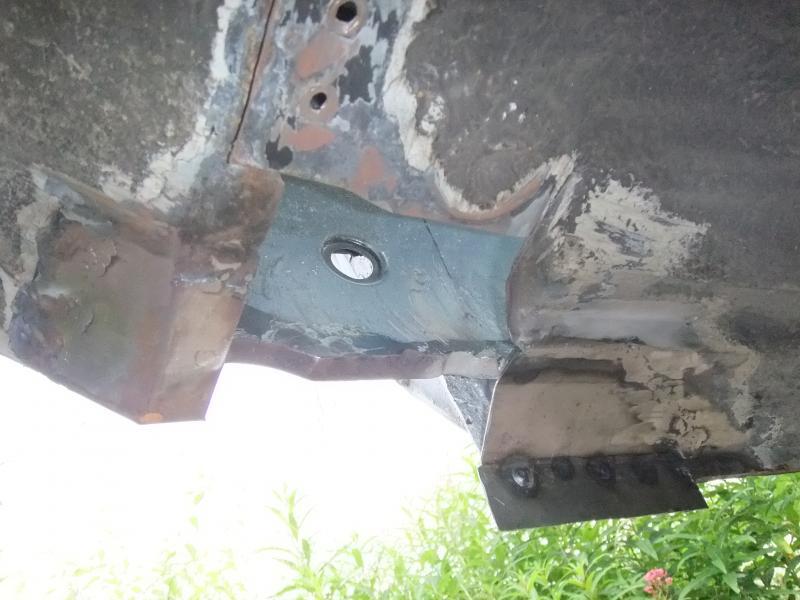 ...as you can see it still didn't go in place without a fight! I blew the biggest hole ever (on the right side of the pic) and couldn't fill it in whatever I tried. It was just impossible to bridge the gap while welding upside down, every time it was ground back the hole reappeared. I got there in the end but it looks rubbish, I was close to not posting the picture of it but I suppose if its a build thread I should stick it all in. From the outside... 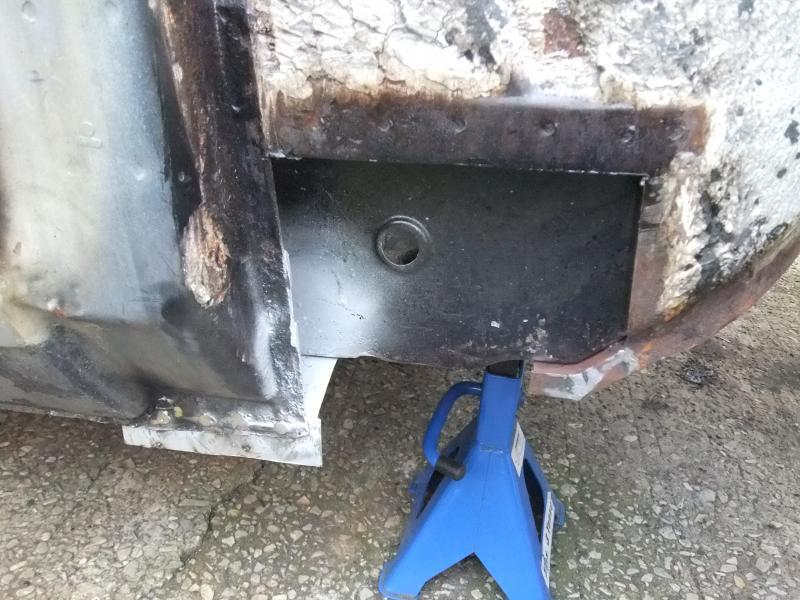 ...at least a little bit got done in the end but I was not very pleased with Saturdays progress. |
| |
Last Edit: Dec 10, 2017 15:41:27 GMT by stevek
|
|
stevek
Yorkshire and The Humber
Posts: 728
|
|
Jun 23, 2014 22:33:47 GMT
|
On Sunday progress was more forthcoming and less of a battle. I started with the left over piece from the day before... 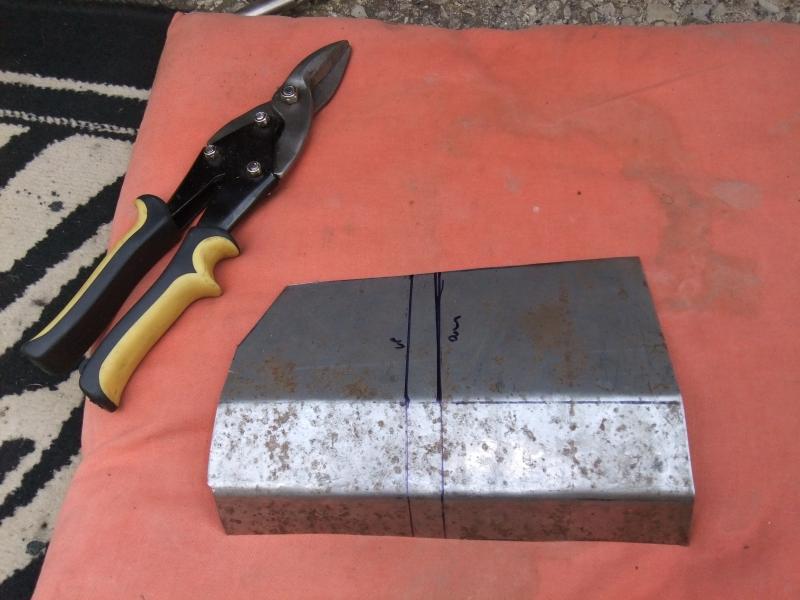 Cut and bent downwards... 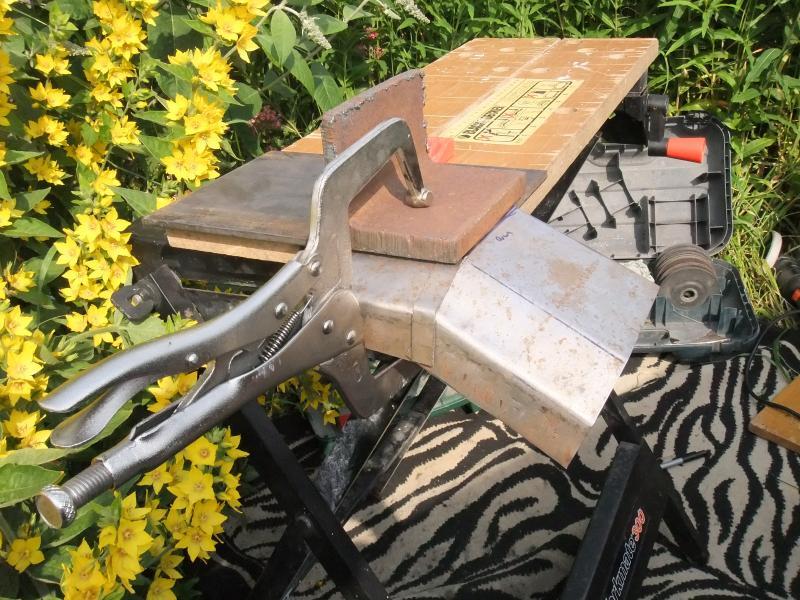 and upwards... 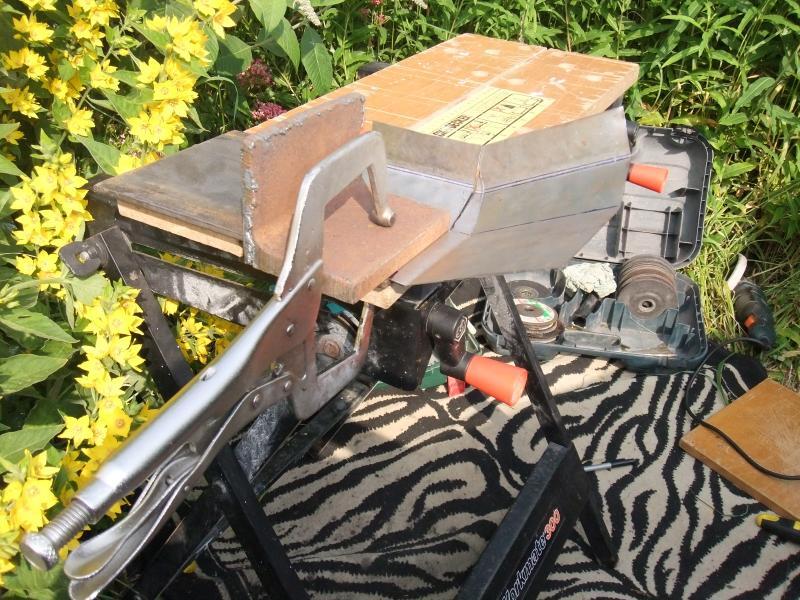 and brought the fold line for the straightened out bit into line... 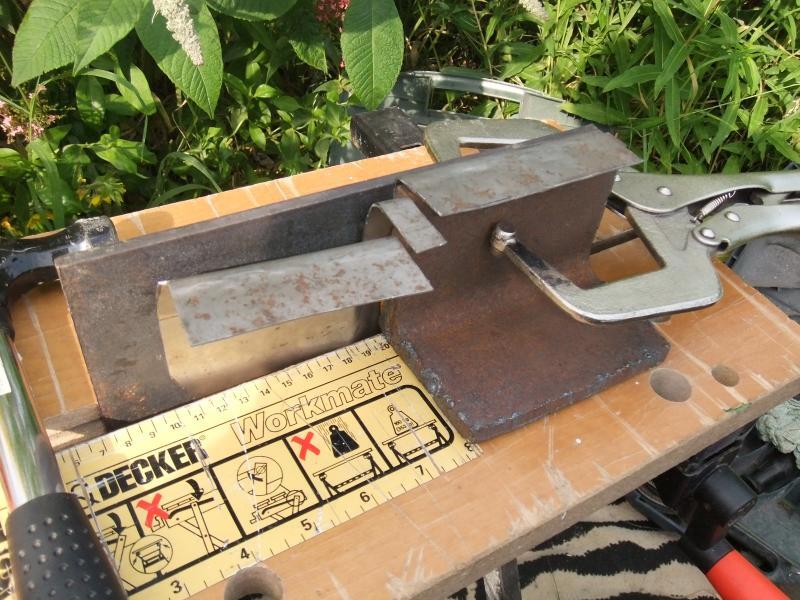 to get this shape, primed in weld-thru primer... 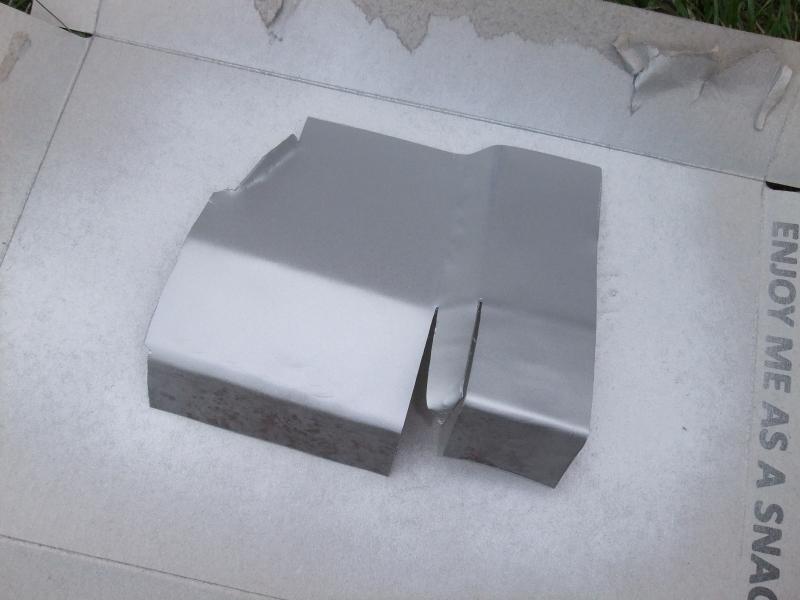 which goes here, also prepped with weld-thru primer and drilled for plug welding... 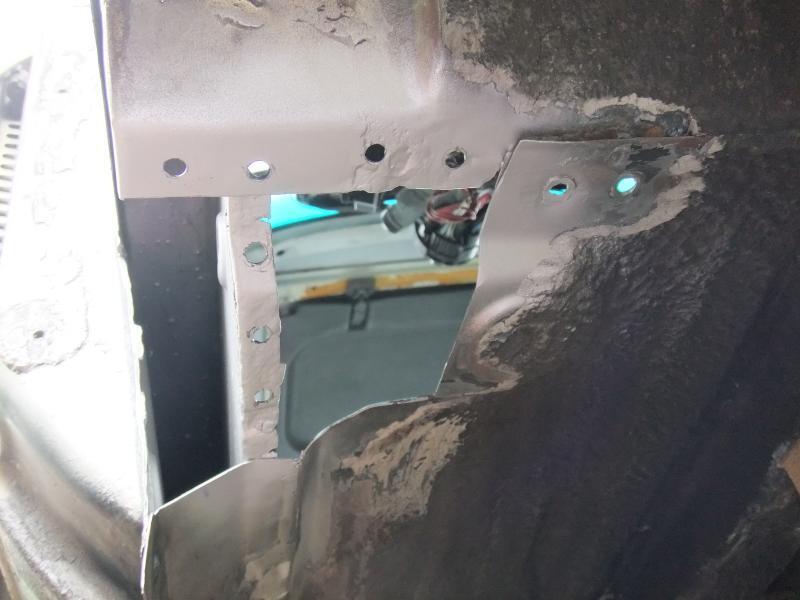 Like this... 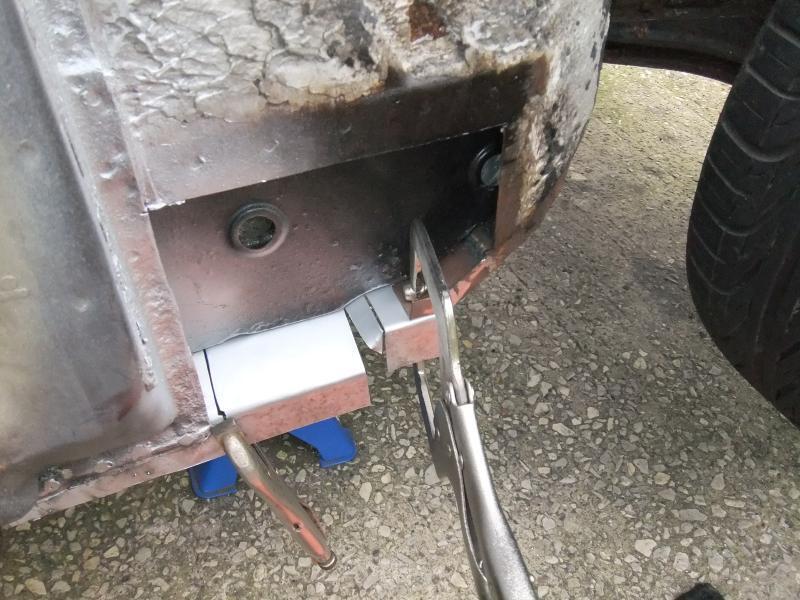 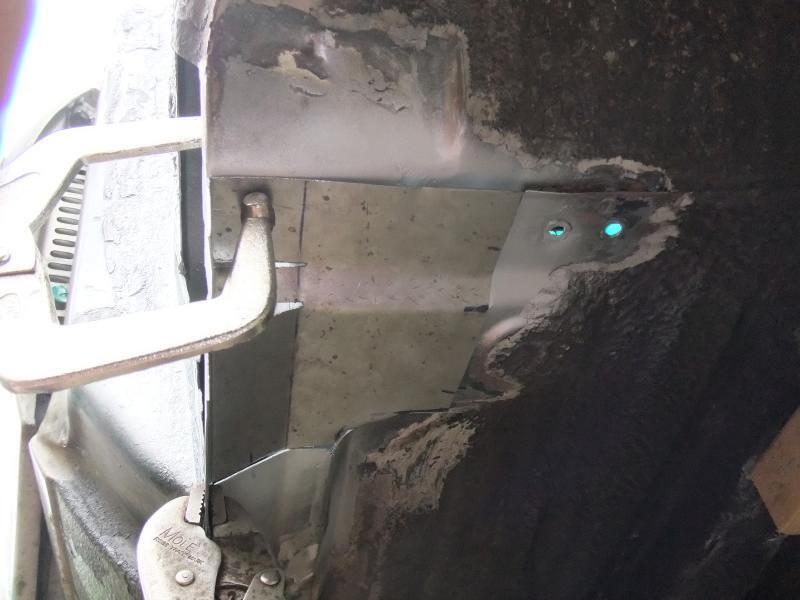 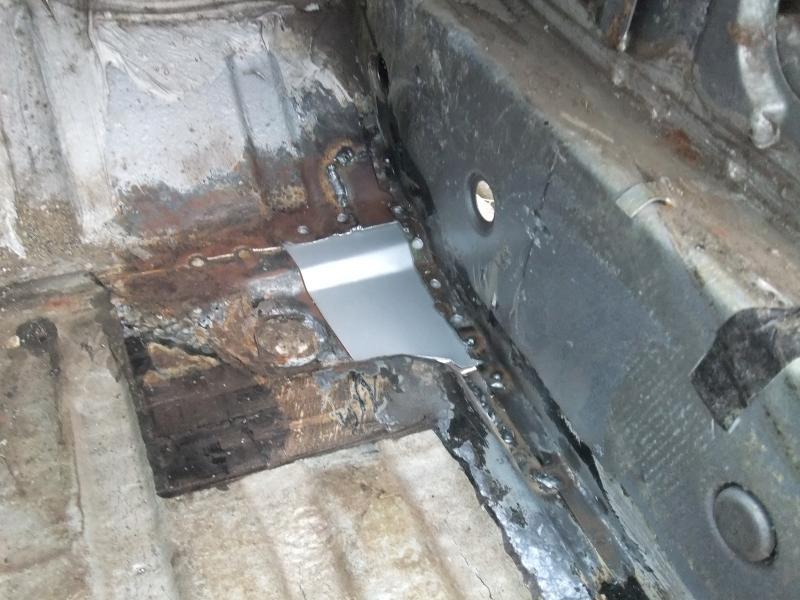 I though that would do the job so welded it in place like so... 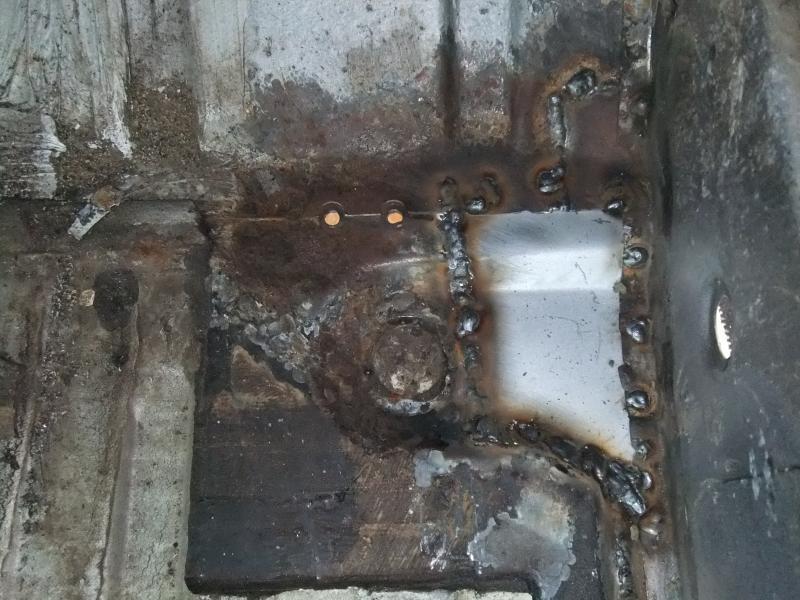 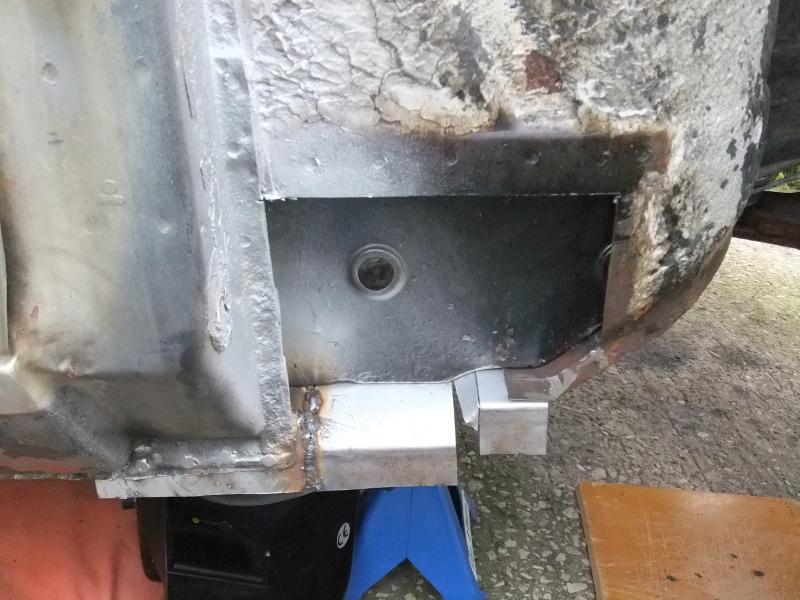 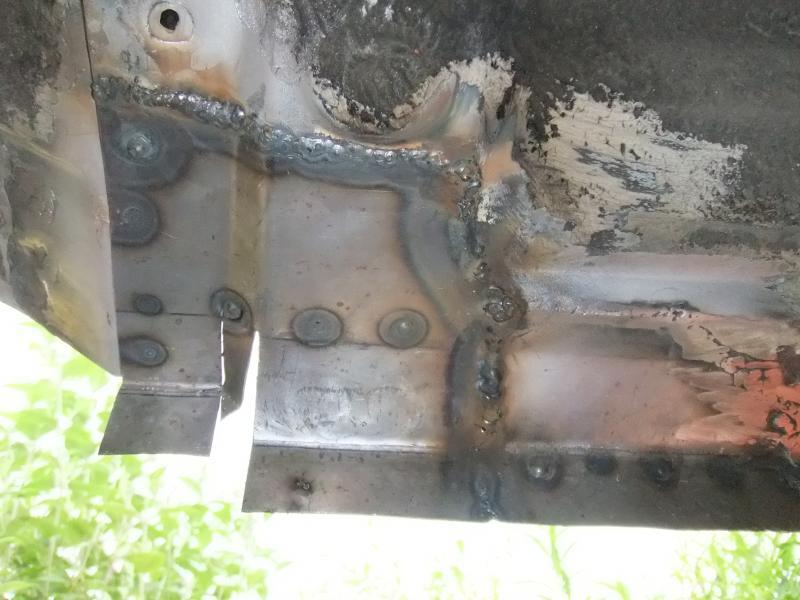 I had to build the weld up a bit around the curved bit where the fitment was a bit further out but even that seemed OK as I knew this bit was always going to be a hard bit for me. I was much happier with the Sundays progress, I had achieved more, to a better standard, in half the time. |
| |
Last Edit: Dec 10, 2017 15:44:44 GMT by stevek
|
|
stevek
Yorkshire and The Humber
Posts: 728
|
|
Jun 23, 2014 22:45:14 GMT
|
Tonight after work I took another look at it and compared it to the other side done previously, it was quite a bit different. I guess that's not especially a problem as its not really a visible section but it would have annoyed me so I have adjusted it a bit. It wont be exactly the same but its a bit closer. I cut the previously welded line (on the left) so I could bend the lower section up a bit. And cut the right side section and folded it down to create a 45 degree section and filled it with a little extra piece... 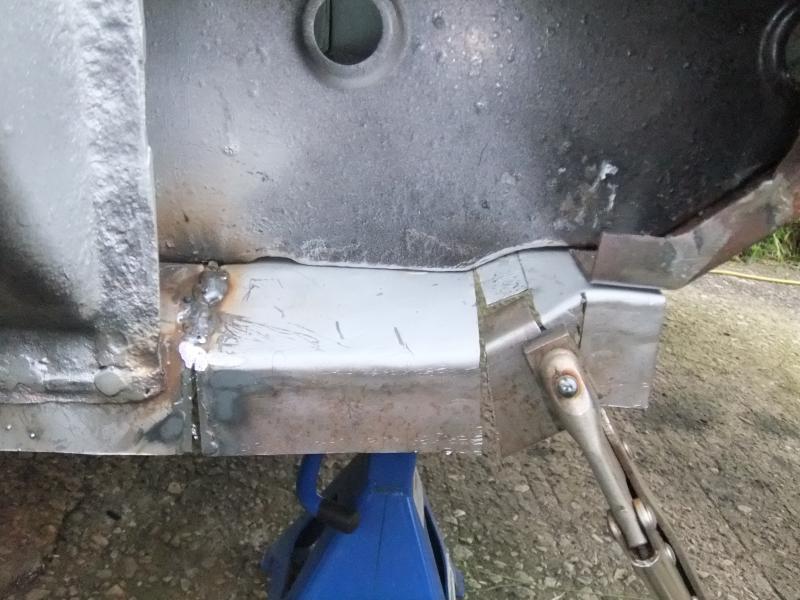 And welded that up too... 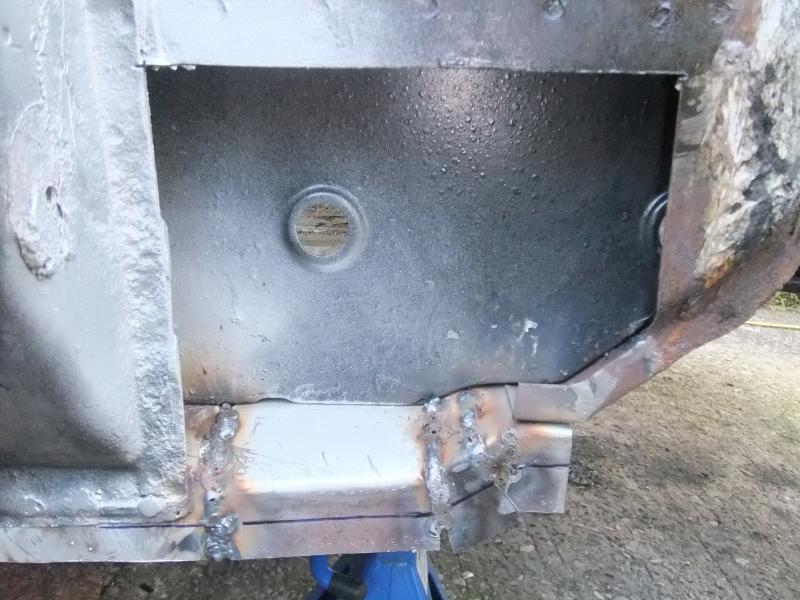 It was only a little after work tinker session but I'm much happier with it now. |
| |
Last Edit: Dec 10, 2017 15:46:32 GMT by stevek
|
|
Mark
Club Retro Rides Member
Posts: 2,097
|
|
|
|
|
Looks like you're making good progress - keep going!
|
| |
|
|
stevek
Yorkshire and The Humber
Posts: 728
|
|
Jun 24, 2014 19:26:00 GMT
|
Mini Update - I have tidied back the majority of the welds (the black stuff is some Kurust not cleaned off yet)... 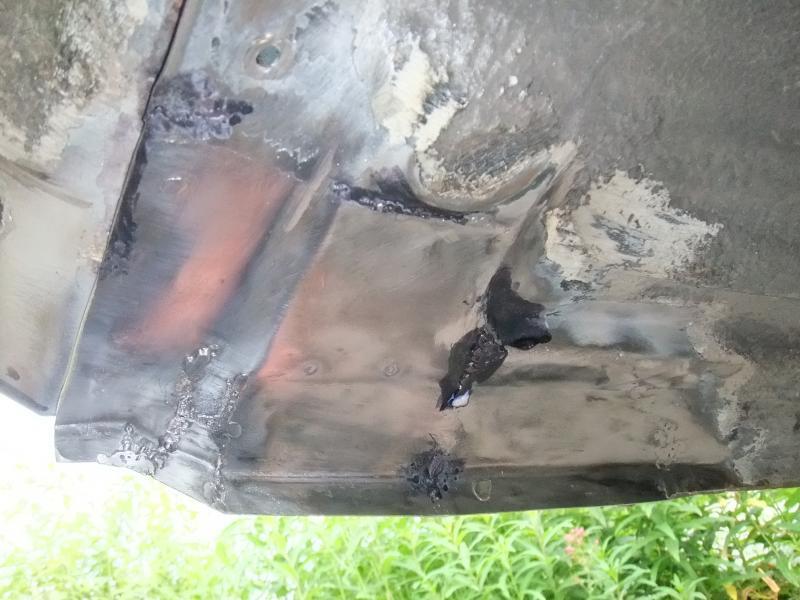 Trimmed the excess off the seam and cleaned it all back... 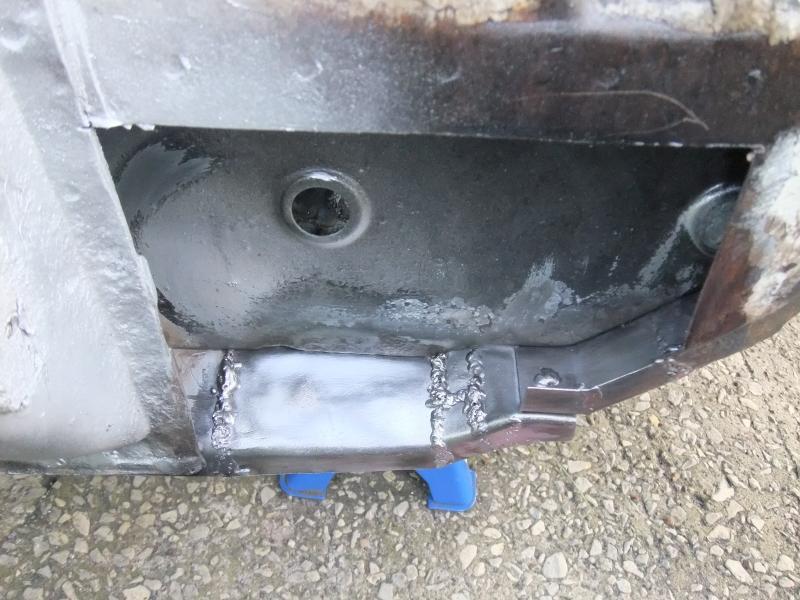 and Weld-thru Primed... 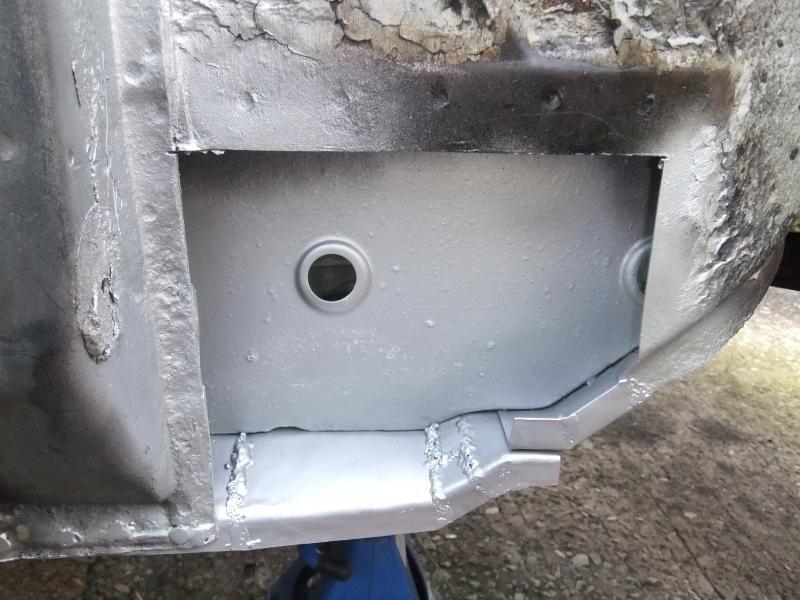 -Steve- |
| |
Last Edit: Dec 10, 2017 15:48:09 GMT by stevek
|
|
|
|
|
|
|
Jun 24, 2014 19:43:01 GMT
|
Great work again....keep it going  |
| |
|
|
zeus
Part of things
  Penguins steal your sanity
Posts: 603
|
|
Jun 24, 2014 20:12:40 GMT
|
|
Great work there, nice bargain too despite the setbacks.
|
| |
|
|
stevek
Yorkshire and The Humber
Posts: 728
|
|
Jun 25, 2014 19:18:56 GMT
|
Another Mini Update, I'm on a roll! Thanks for the encouragement guys. Tonight's progress was spraying some satin black inside the box section (but not on the lip to be welded). And making up the closing piece (also weld-thru Primed on the inside)... 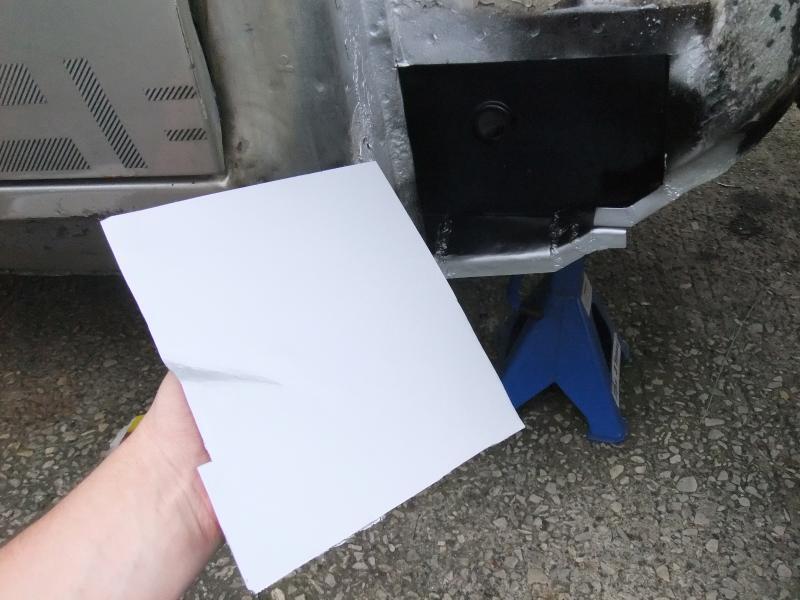 Which fits here... 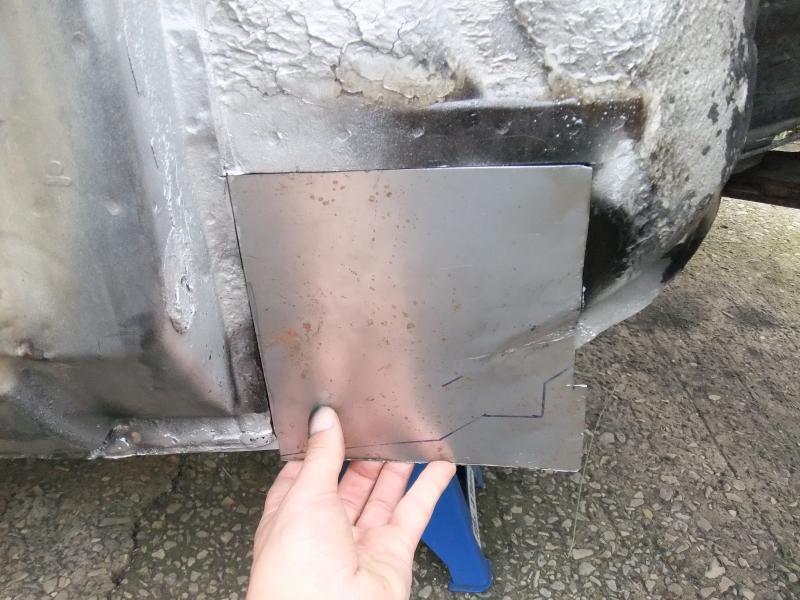 -Steve- |
| |
Last Edit: Dec 10, 2017 15:49:32 GMT by stevek
|
|
Fungus
Part of things
 
Posts: 960
|
|
Jun 26, 2014 10:58:53 GMT
|
|
Really impressive metalwork.
My gas bottle (Argo-light) was about £80 all up up, that's a full bottle and refills are about £50 I think.
You mentioned earlier that you had some blow-through problems; you need a nice flat bit of copper. Polish it up as hold/clamp it under the piece you're welding. It'll take out some heat but also give a flat surface for the weld to build up onto, but the weld won't penetrate or stick to it provided it's nice and clean.
|
| |
|
|
Ian
Part of things
 
Posts: 977
|
|
Jun 26, 2014 11:36:03 GMT
|
|
great work, seems like you are getting on pretty well so far.
|
| |
|
|
stevek
Yorkshire and The Humber
Posts: 728
|
|
Jun 26, 2014 20:44:49 GMT
|
Fungus - Thanks for the tip, I will try to get hold of a piece of copper and try it out. Who is your bottle supplier so I can check them out too. Ian - Cheers.
|
| |
|
|
stevek
Yorkshire and The Humber
Posts: 728
|
|
Jun 26, 2014 20:45:48 GMT
|
Another mini update (I know! what's going on) - So I started welding the piece in, starting at the top left... 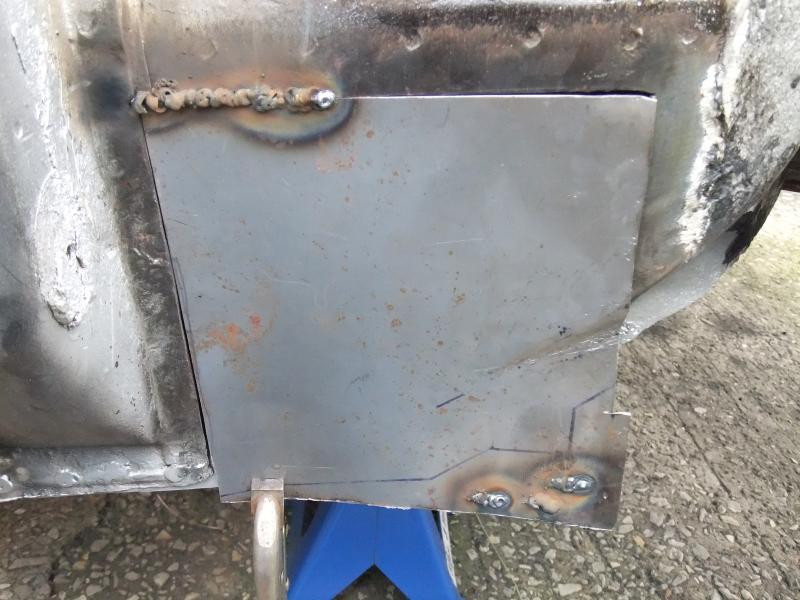 ...I was struggling with the breeze again and also wasn't sure I was getting enough penetration to begin with. I increased the power from level 1 High to level 2 Low and increased the wire speed just a touch. Unfortunately I quickly ran in to a little problem... 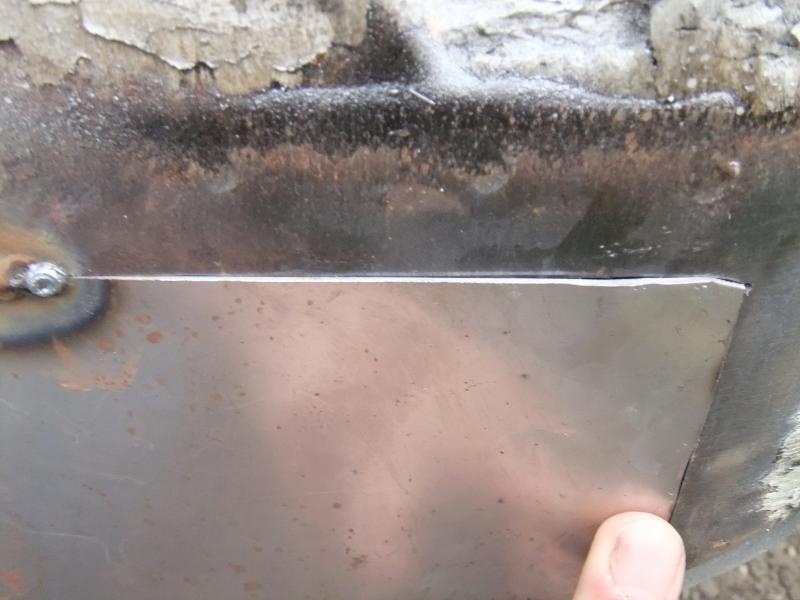 ... although mole gripped the metal had moved or distorted a bit and wasn't sitting flush but was overlapping. I very carefully ran the thin cutting disc across it... 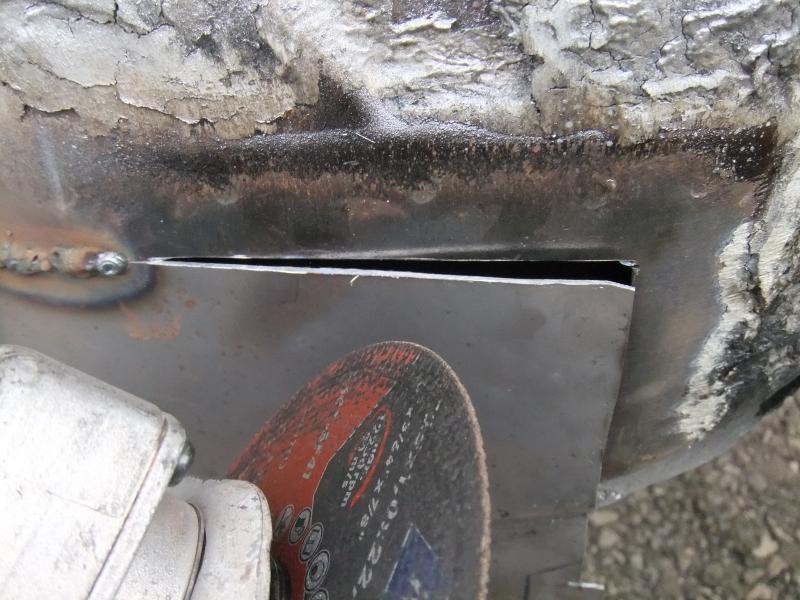 And managed to recover that minor issue (held in place by old HDD magnet)... 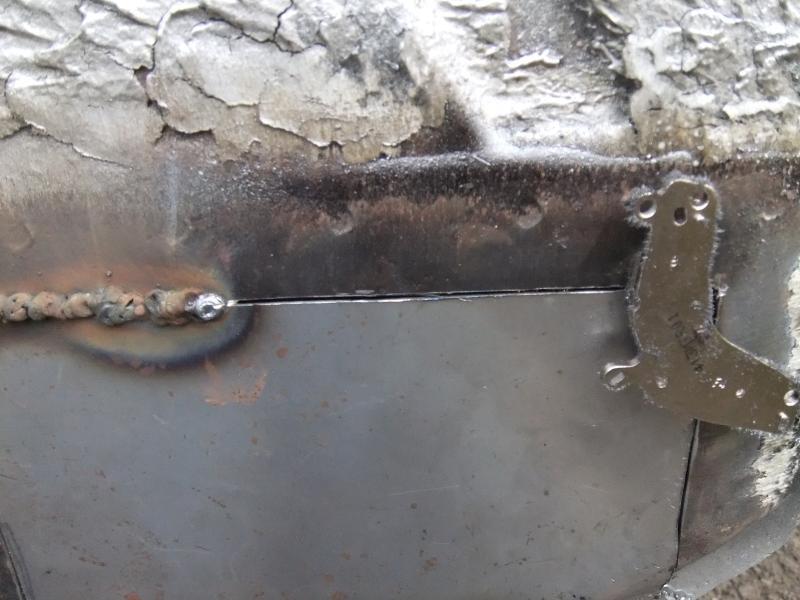 And finished welding it up... 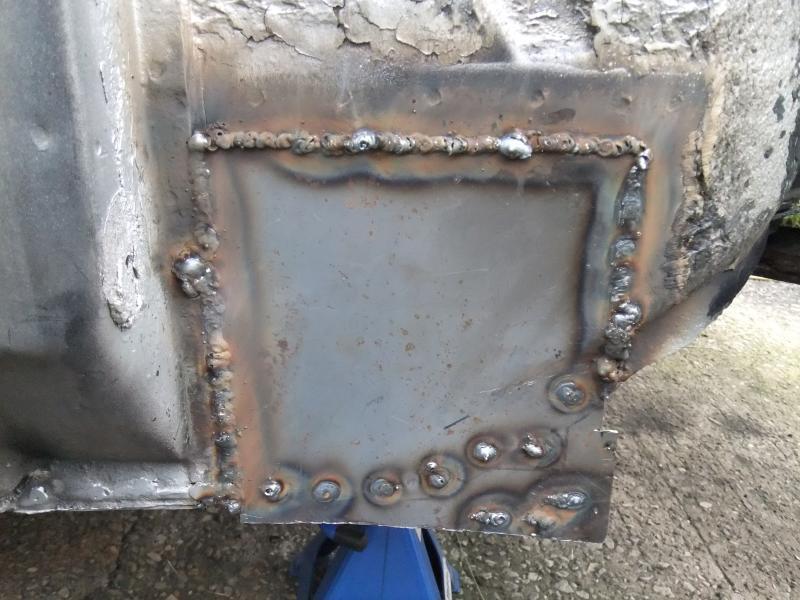 ...blew through again in a couple more places where the surrounding metal was a bit thinner so excuse the big blobs. lightly brushed over and trimmed the excess from the seam... 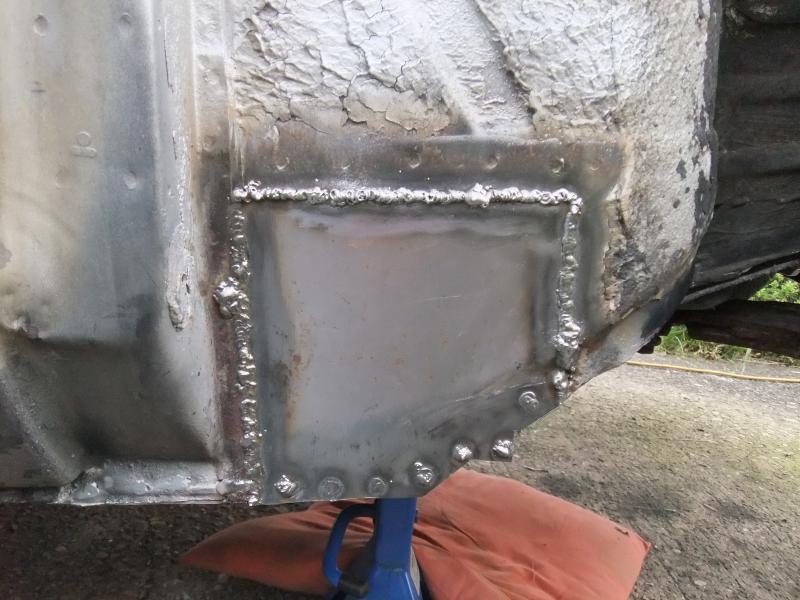 And ground it back (well flap disc actually, I recently discovered them and am finding them much nicer to use than grinding discs)... 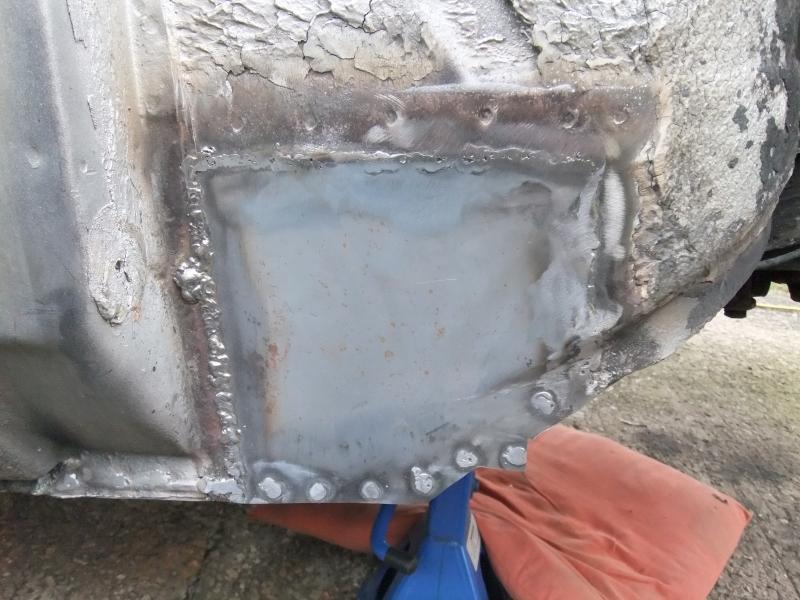 I didn't quite get it all done tonight but it was getting a bit late for noisy work. -Steve- |
| |
Last Edit: Dec 10, 2017 15:51:51 GMT by stevek
|
|
|
|
|
Jun 26, 2014 21:23:47 GMT
|
|
To minimise distortion in the future, tack the panel all the way round working on opposite corners before you commence running the bead.
Good effort though!
|
| |
Living the dream. Restore's classic car's for a living!
Project Racer: '99 Arosa
Project Touge Outlaw: '87 Porsche 924S
Project Street sleeper: '95 BMW E34 540i/A Touring
Project Mafia: '04 BMW E53 3.0d
|
|
stevek
Yorkshire and The Humber
Posts: 728
|
|
Jun 26, 2014 22:58:04 GMT
|
|
Ramires - Thanks for the advise, i'll definitly tack it out better in future. It was a mistake to think mole grips would hold it sufficiently. I didn't want to tack the bottom lip as I wanted to be able to separate the lip slightly so as to drill just the top layer for the plug welds. That said I could have tacked it out better and still been able to do that if I had thought about it. It's all a learning curve.
|
| |
|
|
stevek
Yorkshire and The Humber
Posts: 728
|
|
|
|
Of course it chucked it down all day Friday so when I came to have a look at it on Saturday it was looking quite unsightly... 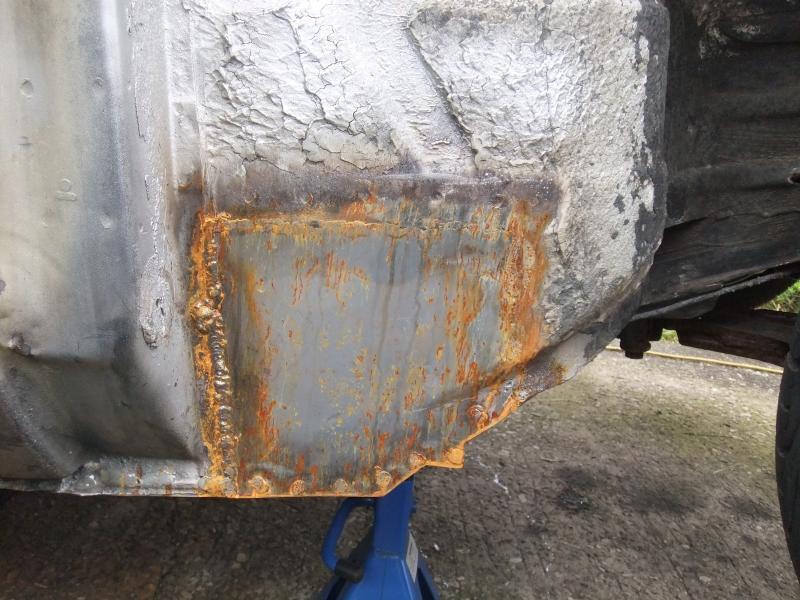 It looked like it might stay dry for a bit so I gave it a whiz over but also decided to Kurust it as well just in case... 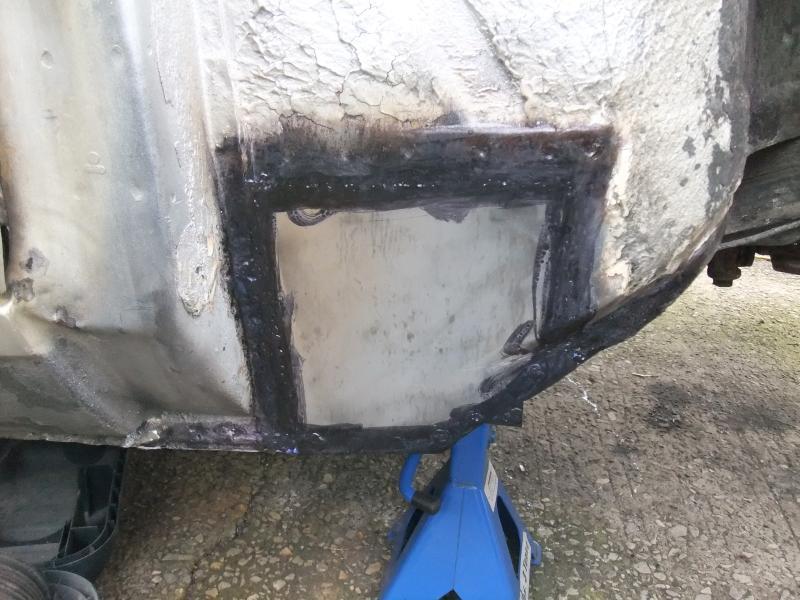 I cleaned that back off but it left quite a lot of staining, I don't suppose that matters though... 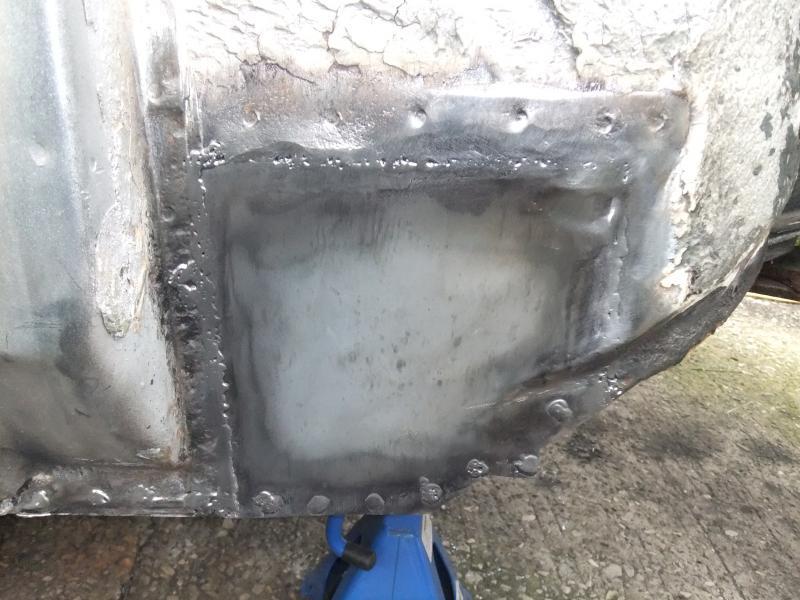 And chucked some primer over it... 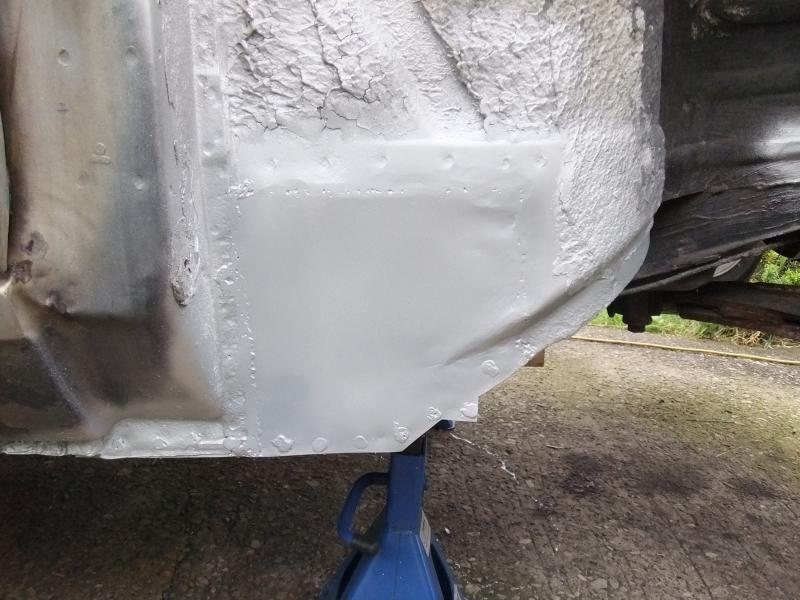 Illness and work have hampered progress this week (and delayed this update). At the weekend my brother is visiting to see 'Le Grand Depart' so I doubt the weekend will be very productive on the car either. -Steve- |
| |
Last Edit: Dec 10, 2017 15:53:39 GMT by stevek
|
|
|
|


