RetroMat
Posted a lot
   Column Shifting!
Posts: 3,444
|
|
Mar 11, 2012 19:12:48 GMT
|
cheers! have another one! Suspension weekend! selection of new upper and lower balljoints:  old ball joints removed, rusty lump: 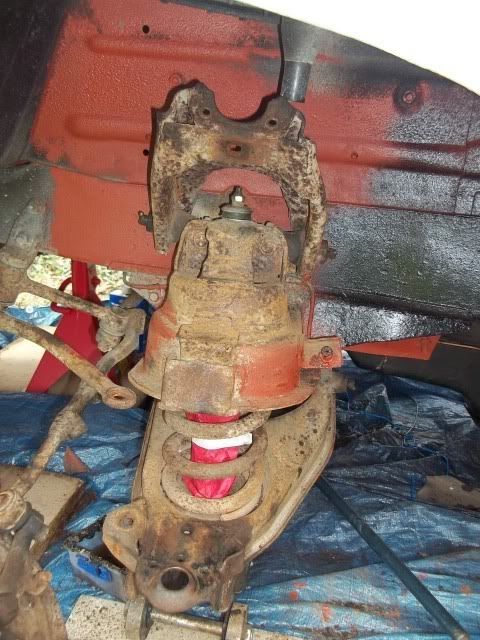 after an hour with a wire wheel on and angle grinder, it then got some zinc primer 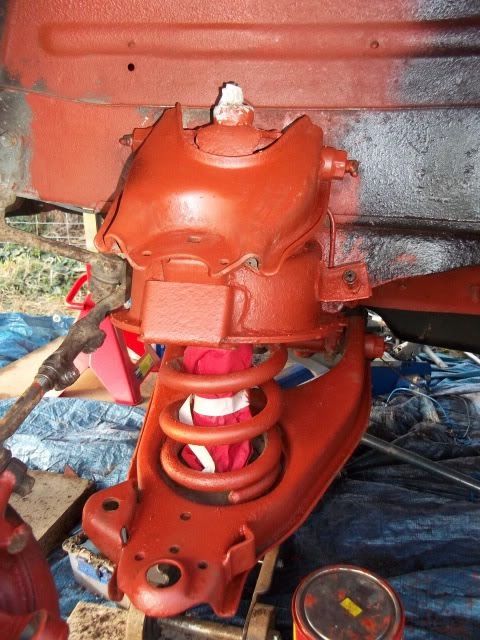 after a coat of chassis black, looks much better! 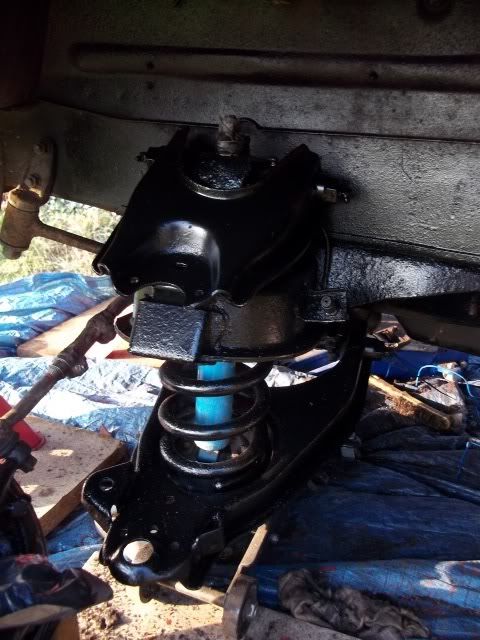 cleaned up the brake back plates and made some new copper brake pipes 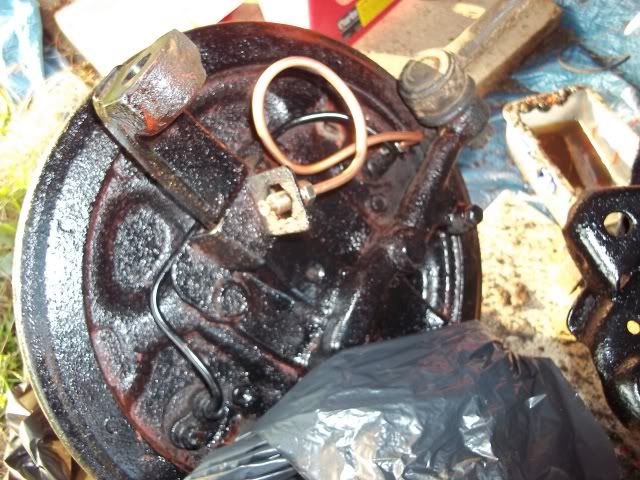 all repeated on the other side! |
| |
|
|
|
|
|
|
|
Mar 14, 2012 22:39:07 GMT
|
really good to see you stuck with it matt. and its coming together now.. only down side is.. it makes me wise i keeped mine now!!  |
| |
|
|
RetroMat
Posted a lot
   Column Shifting!
Posts: 3,444
|
|
Mar 18, 2012 19:35:03 GMT
|
Over the weekend I when to a caravan/camper supplies shop and tried to price up some stuff look fresh water tank, pump and motors its all a bit expensive! But has given me an idea of whats available. Todays task carb rebuild/clean out  rebuild kit was for a 1974 toyota corona but it was 90% the same bits, the diagram was a bit daunting! Dinning room tables make for excellent clean work benches ;D grubby carb 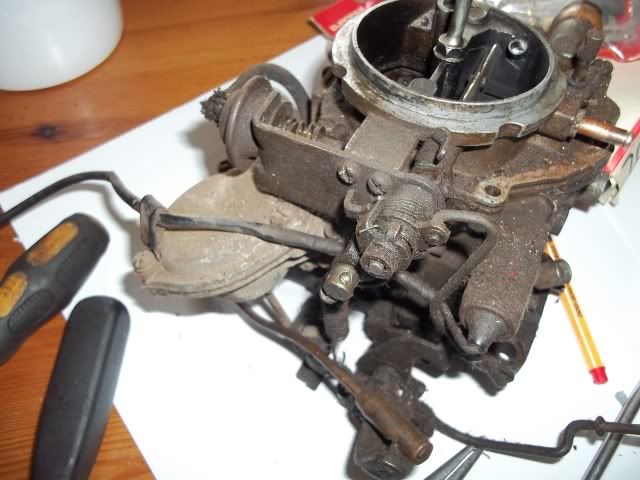 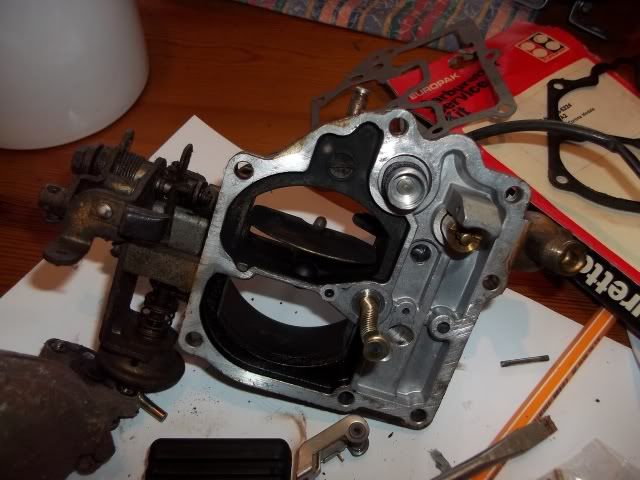 there were a few bits that weren't in the kit and were knackered on my carb like rubber dust boots, luckily I saved the carb of my old k10 micra which provided a few usfull bits 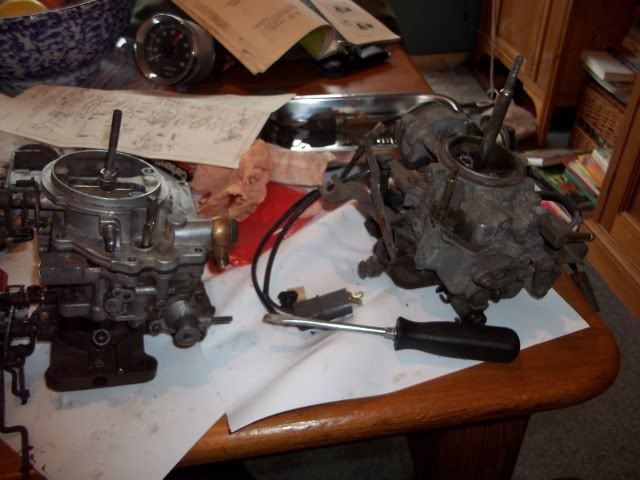 cleaned up and back on the van! Seems to run so much better now 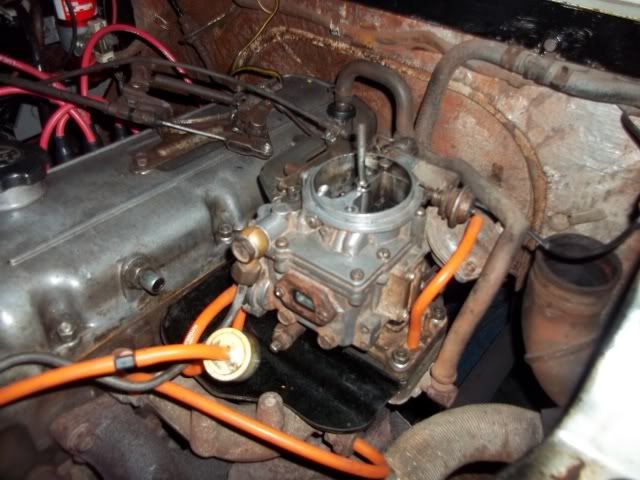 Also started sourcing suspension bushes, nothing much is available so I've been looking towards the various polybush company's. Front anti roll bar'D' bushes work out very similar to Toyota Celica 85-89 rear anti roll bar bushes: 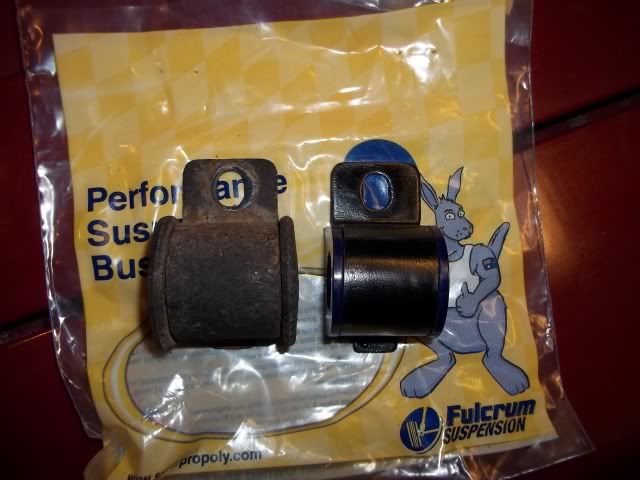 old and new! only a small modification to the clamps was needed (angle grinder  ) |
| |
|
|
rice
Part of things
 
Posts: 54
|
|
Mar 20, 2012 16:17:37 GMT
|
|
Wow. I want one of these!!
|
| |
Maximum signature image height = 80px
|
|
RetroMat
Posted a lot
   Column Shifting!
Posts: 3,444
|
|
Mar 31, 2012 17:25:15 GMT
|
|
|
| |
Last Edit: Mar 31, 2012 17:26:05 GMT by RetroMat
|
|
RetroMat
Posted a lot
   Column Shifting!
Posts: 3,444
|
|
|
|
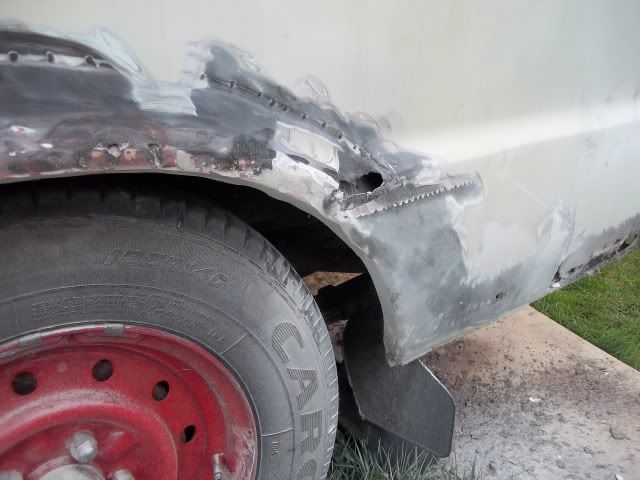
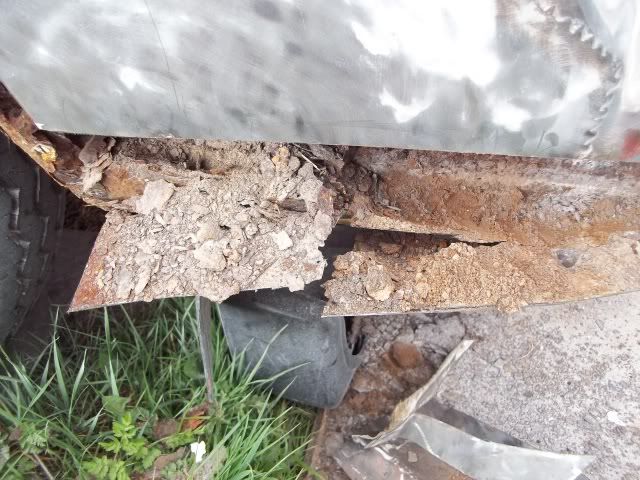
Todays job, first remove the petrol tank got 20litres out of it which I have stored in my Saabs tank because of the fuel CHAOS all the local petrol stations had ran out  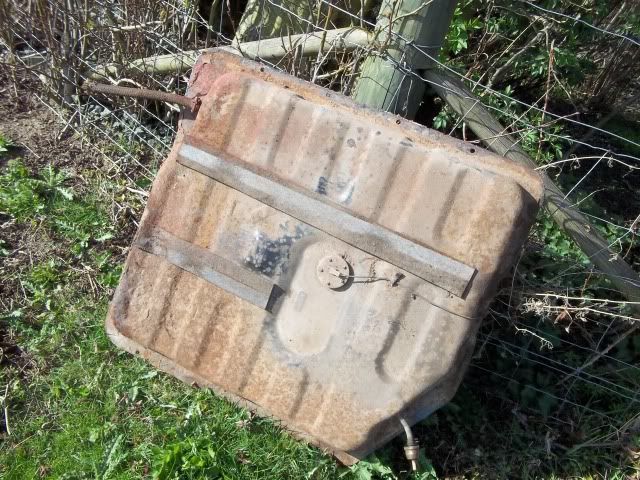 then more cutting out dodgy patches 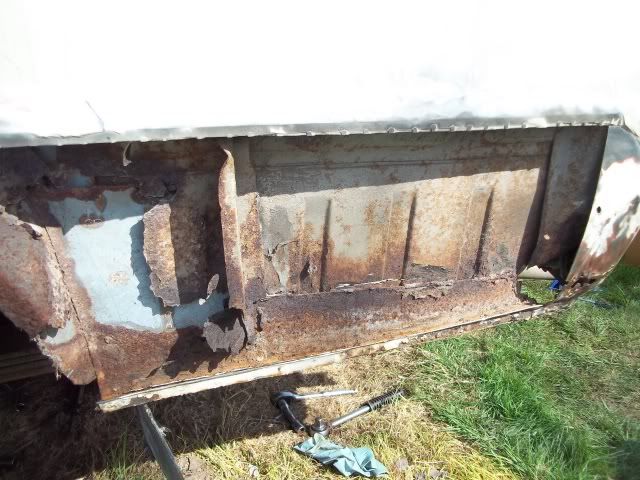 and a bit more, at this point a neighbor wanders round to see what I was up to, 'oh bloody hell' was the phrase he used ;D 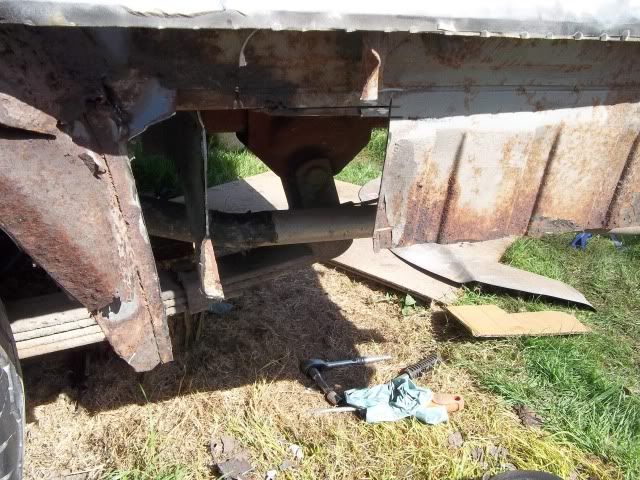 Out rigger was badly patched so I chopped off the rot/patch and made a card template. This got transferred to a bit of 2mm thick steel 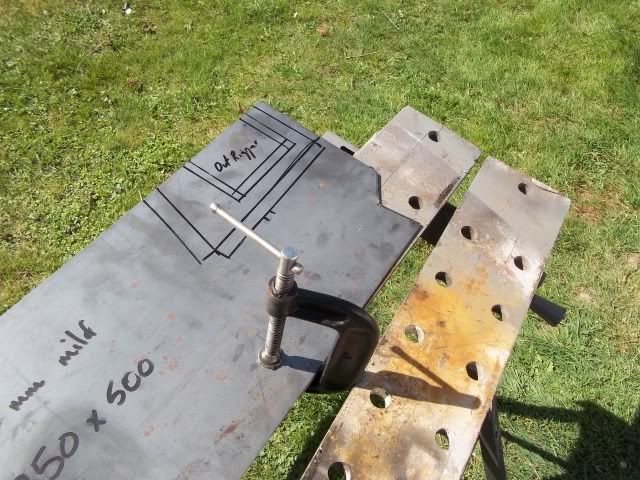 after a bit of folding, I also tried to recreate the indent bit using TonyBmws excellent guides!  welded on, needs a bit more grinding but it gives me a base to start making the inner Sill 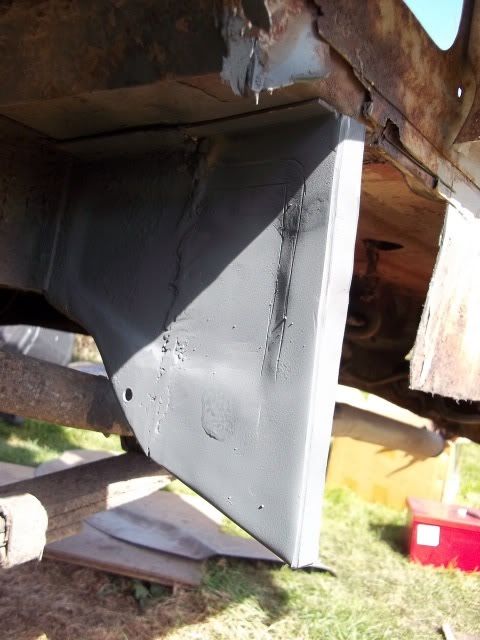 trial fitting the arch panel to help figure out the inner panel 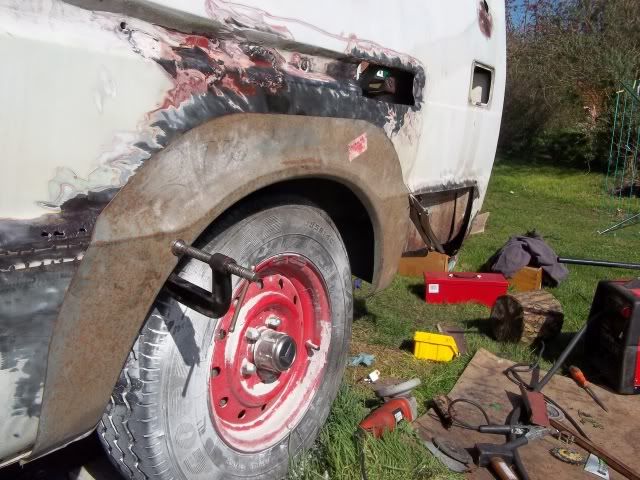 and suitable bit of wood gave me the bottom of the sill/quarter panel  start making up a panel, ribs again using TonyBmw method, still more practice required but I'm getting better! 1.2mm steel is alot easier to work than the 2mm used on the outrigger! 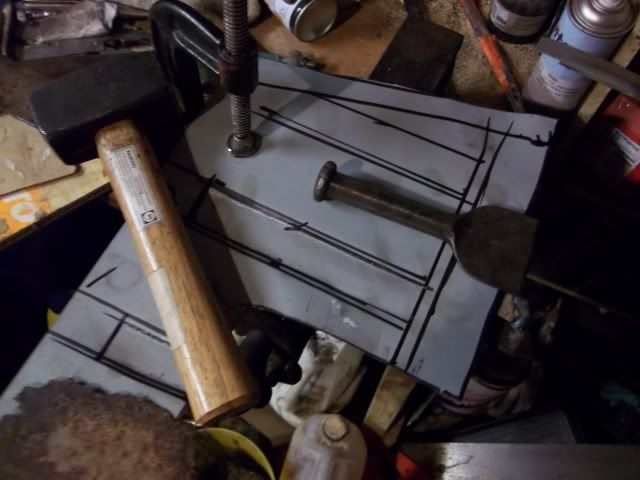 woo! that don't look to bad, will do for this old battle bus in any case 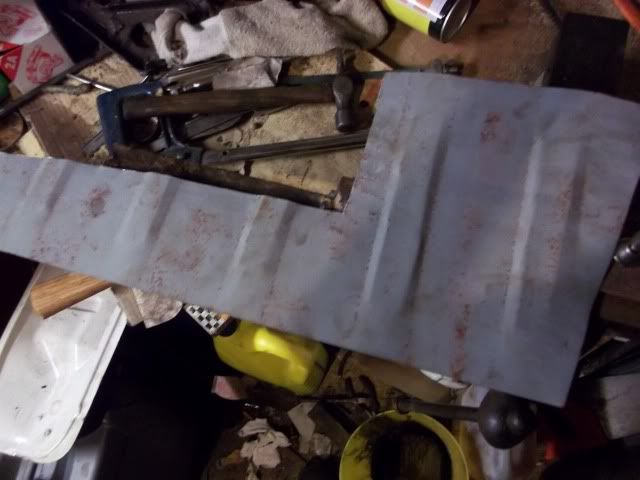 glued it on  next bit will be to make up the strengthener bit -arrowed, it should go to the bottom of the panel but most of it was missing. 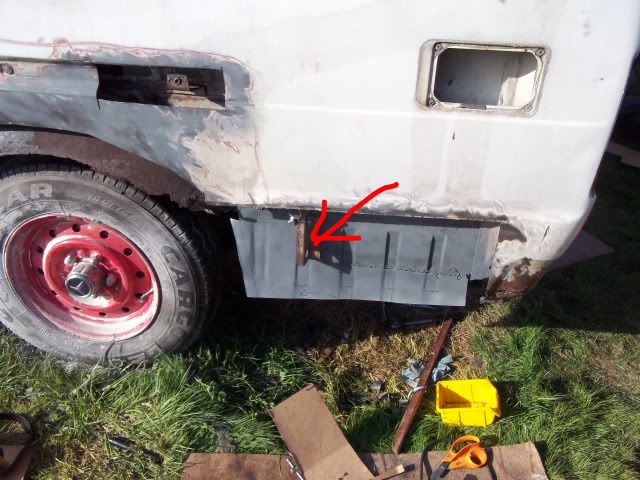 then i will move on to the rear corner |
| |
Last Edit: Apr 1, 2012 17:25:57 GMT by RetroMat
|
|
RetroMat
Posted a lot
   Column Shifting!
Posts: 3,444
|
|
Apr 25, 2012 19:23:51 GMT
|
next bit 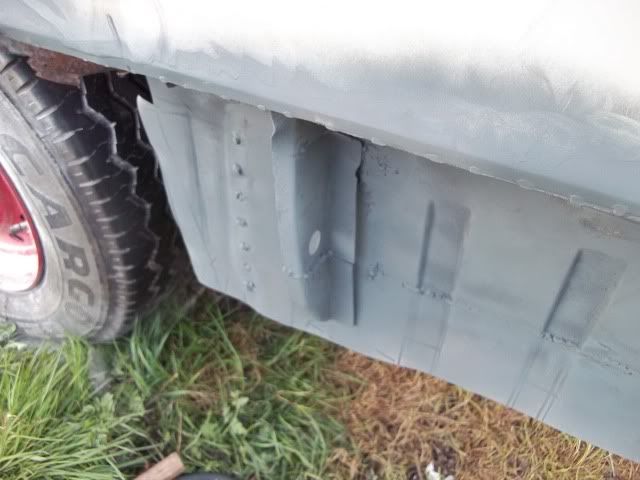 made up a sill bit 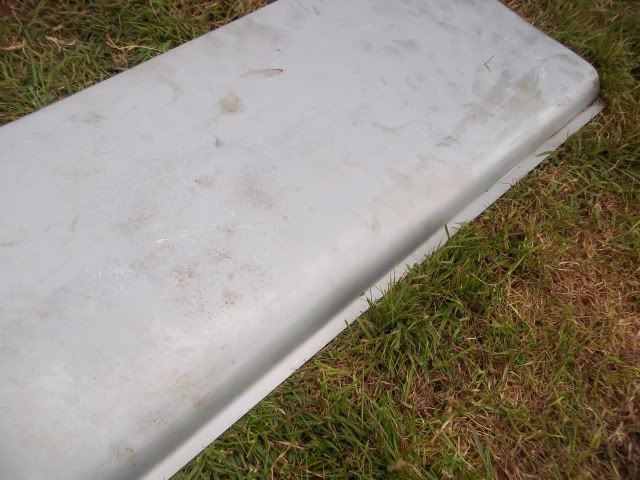 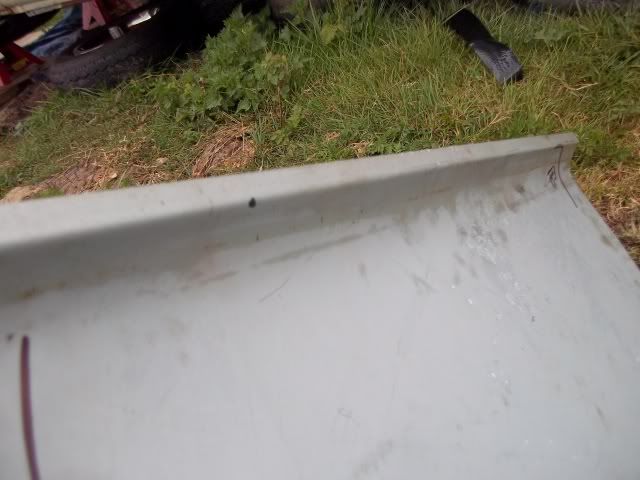 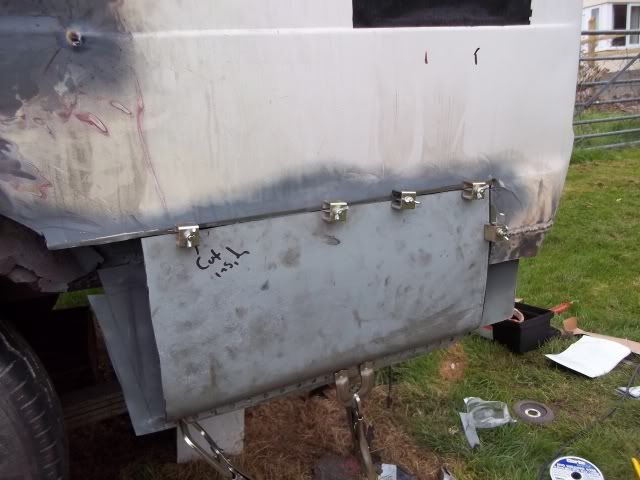 something like that  corner bit next  remade a bit I did (much) earlier in the thread, bit of the sildey door rail 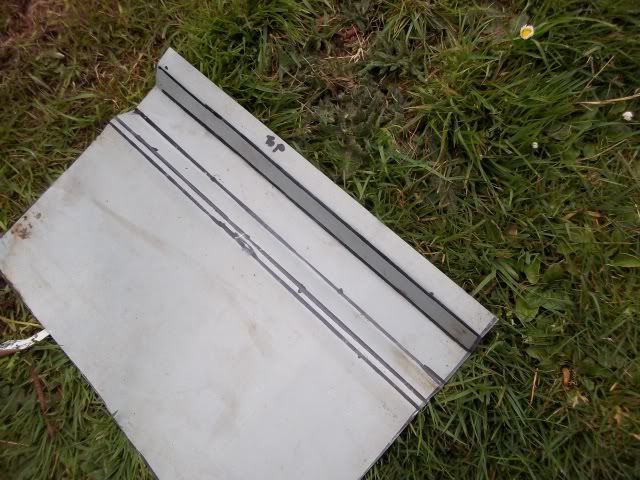 corner time! 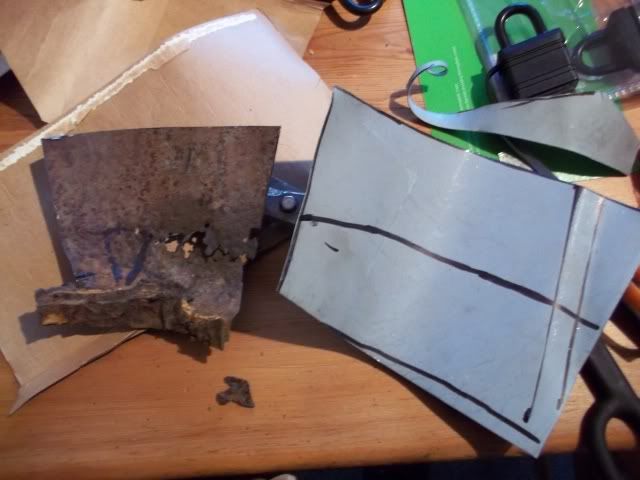 thats quite alot of curves there! still worked out reasonably well!  |
| |
|
|
RetroMat
Posted a lot
   Column Shifting!
Posts: 3,444
|
|
|
|
now where did i get too! Loads of work been going on with the old girl! All set for and mot for the end of the month (fingers crossed/weather permitting!) still working around this rear arch area! Front of the arch area was looking rather ropey 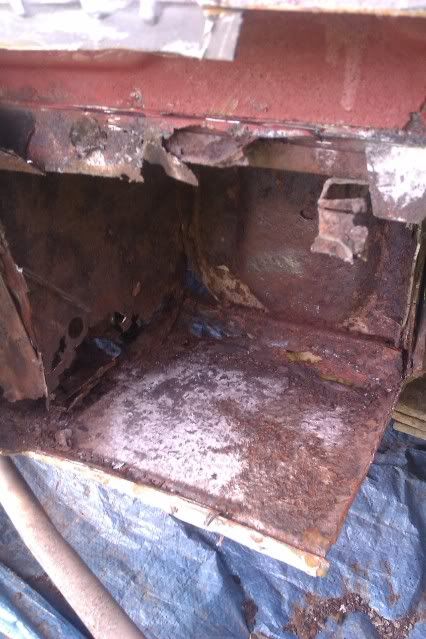 so i cut it all out and welded in nice new metal 1.5mm steel as per original! 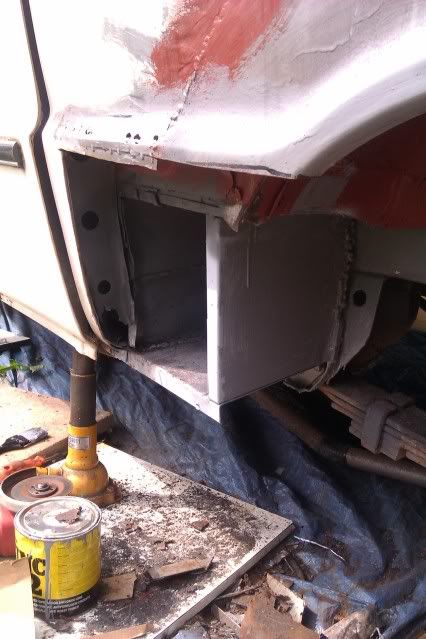 also welded in the bottom of the support piece on the left hand side, then welded up the box section, will added drain holes! welded on the rest of the arch  guard dog! 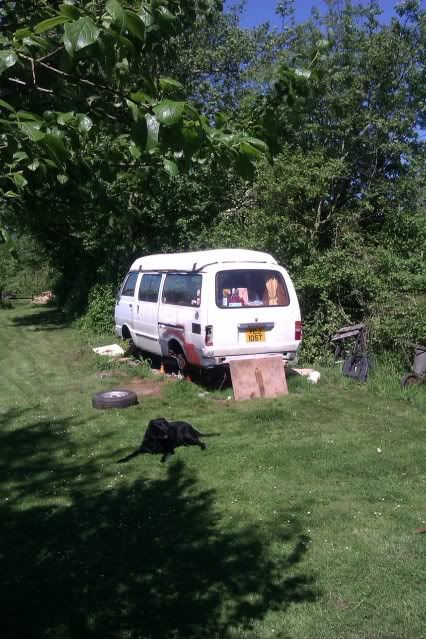 had to build a welding tent to do the inner arch, the sun was out for once  welds mostly ground and a bit of fibre glass/filler 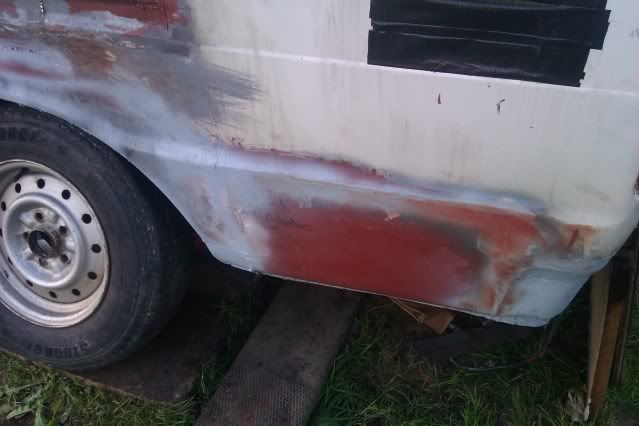 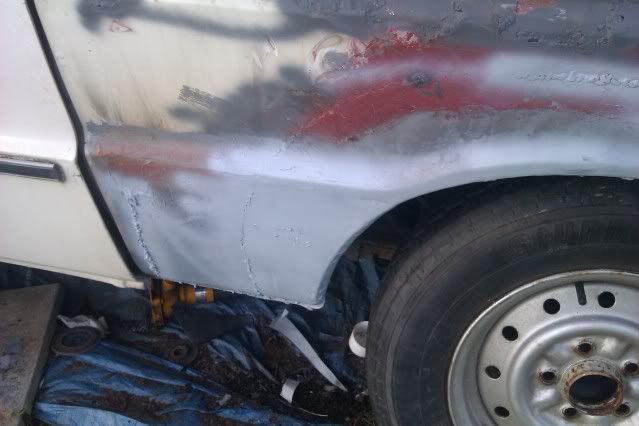 not very clear but front inner arch 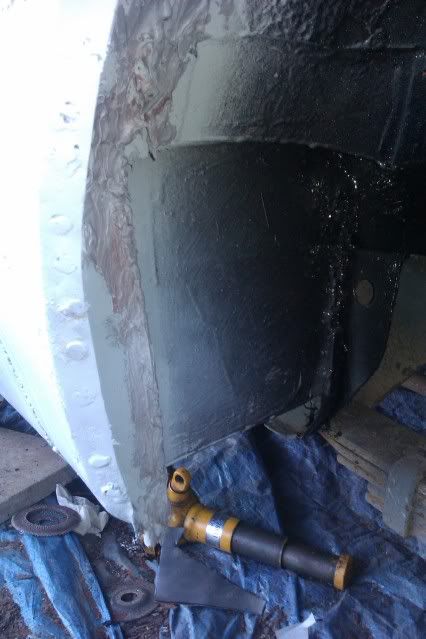 rear inner  all the inner arch is done now, bit more to do on the slidy door rail bit. Also have currently got the pop top roof off to repair the area around some of the hinges - more welding! In other news, my brake master cylinder has been at Past Parts for several months now they seem unable to source on of the rubber seals. So I bit the bullet and  brand new master cylinder £same price as my old mazda 323  . Most I think i;ve ever spent on one part! Still now means with 6 new wheel cylinders and all the flexible brake hoses replaced (braided!) and most of the metal brake pipes remade, I have a completely rebuild brake system. got a new ignition barrel too! 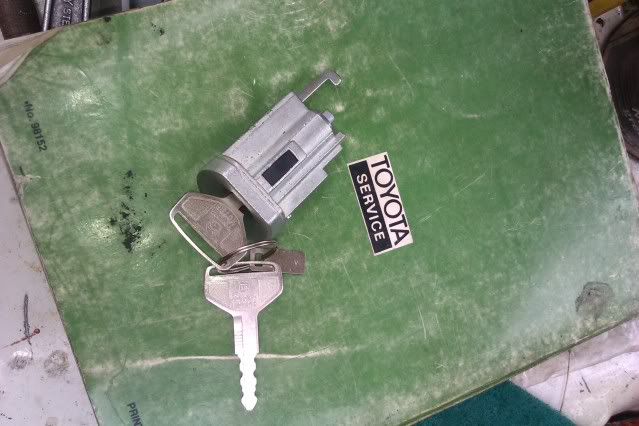 ebay! loads more has happen but I keep forgetting to take photos! |
| |
|
|
RetroMat
Posted a lot
   Column Shifting!
Posts: 3,444
|
|
Jul 13, 2012 16:09:21 GMT
|
been lazy with my updates which I will sort out later  But as of this morning Hiace has an MOT and Tax! 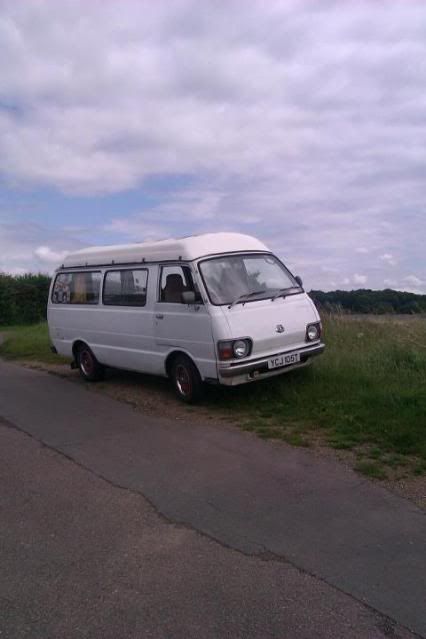 |
| |
|
|
MK2VR6
Posted a lot
   Mk2 Golf GTi 90 Spec
Posts: 3,329
|
|
Jul 13, 2012 16:43:24 GMT
|
|
Congrats on the MOT! Just read the whole thread - great to see you keeping the old girl alive! I really wish I could weld....
|
| |
|
|
|
|
bstardchild
Club Retro Rides Member
Posts: 14,975
Club RR Member Number: 71
|
|
Jul 13, 2012 21:02:48 GMT
|
|
Wow has it really been that long - great work
|
| |
|
|
Davenger
Club Retro Rides Member
It's only metal
Posts: 7,272
Club RR Member Number: 140
|
|
Jul 13, 2012 21:22:16 GMT
|
|
Looking good buddy
|
| |
|
|
RetroMat
Posted a lot
   Column Shifting!
Posts: 3,444
|
|
|
|
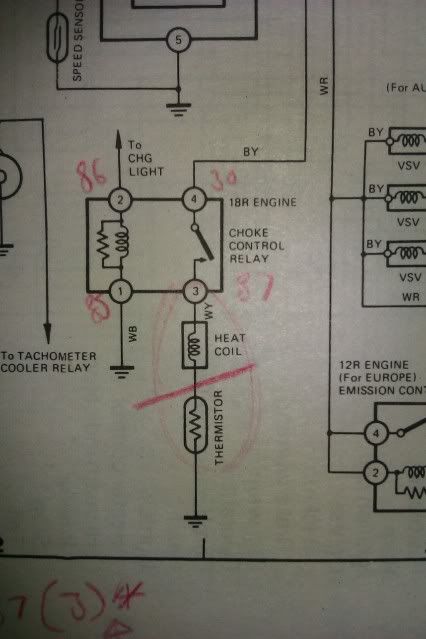
well with RRgathering just round the corner I seem to be spending all my free time trying to get the van ready! So thanks to this stuff:  some foam rollers and a few mates + beer we get: 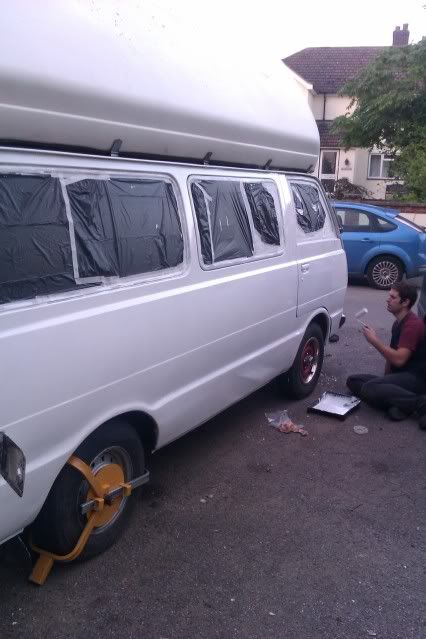 for the first time ever in my ownership the van is one shade of white! of course i've painted over odd bits of dodgy filler, rust etc BUT it doesnt look half bad from 20feet away ;D Finallly solved the running problems which were making the van stall at every possible moment. Replave the entire brake servo hose (nearly 4 meters!) which was causing a slight airleak/vaccum leak. Fuel pump diaphram had fell appart managed to source one for a Cressida but it didnt have a return outlet. Finally managed to source the correct one from Ohio! of all places:  genuine part not pattern, worked out at about £16 inc post  Also changed the carb to a rebuilt Hilux item with autochoke thanks to the tech section is now working perfectly! retrorides.proboards.com/index.cgi?action=display&board=techni&thread=133291&page=1#1620798And my alloys came back from the blasters 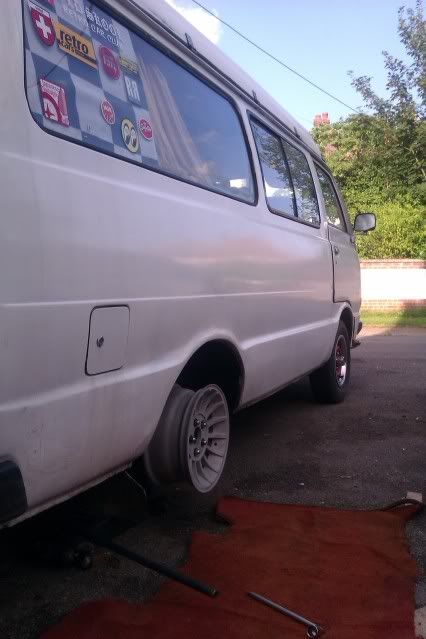 loads of work to get those ready for the gathering so I cant be bothered instead focusing on this sort of thing: 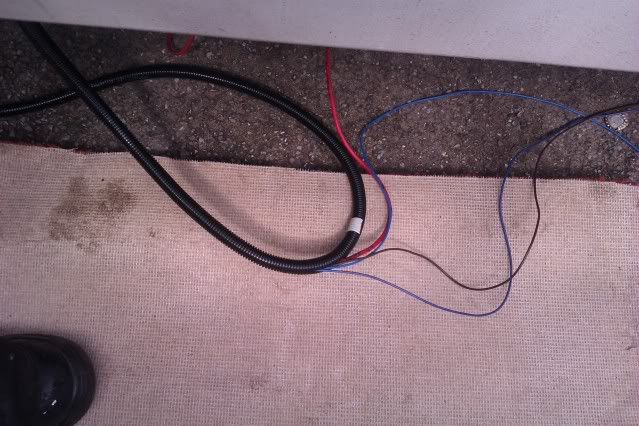 many meters of wiring, rear lights all rewired also I rewired quite alot of stuff under the dashboard - any one want some second hand scotch locks!?! some grubby boxs arrived 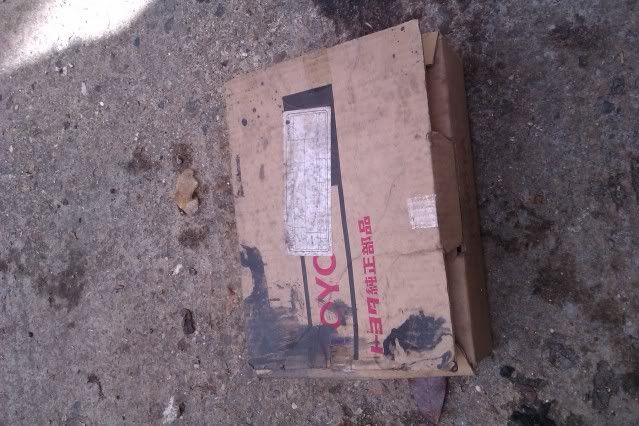 NOS wing mirrors! 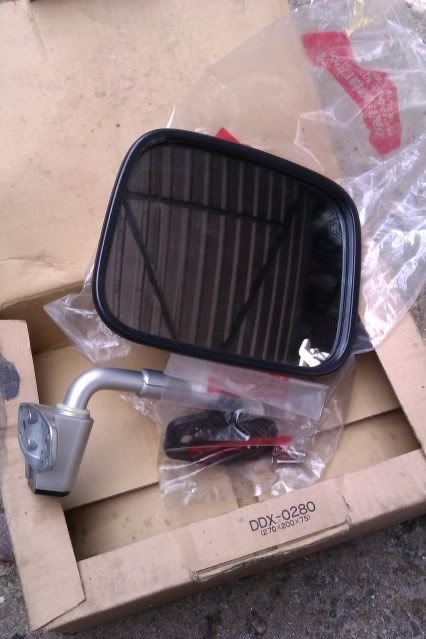 Finally a picture from 2 months ago 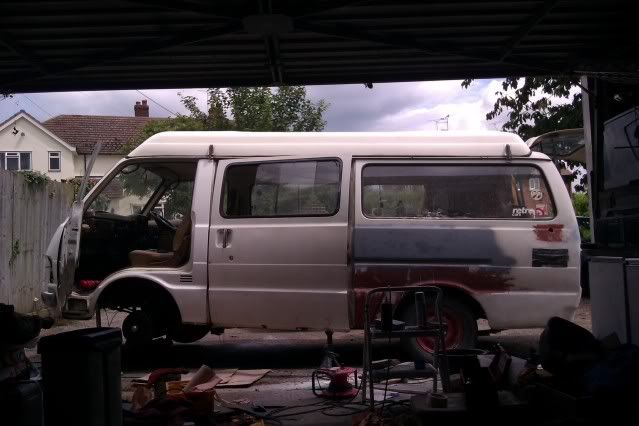 and Thomas the tank drove past  |
| |
Last Edit: Aug 9, 2012 20:17:47 GMT by RetroMat
|
|
|
|
|
|
|
|
Truly inspirational stuff and one of my favourite threads on RR! Congrats on getting all the work done, looks great for a coat of paint - is it as easy as it looks?
We share automotive tastes - I have a Toledo, 323 and had a Saab too - so perhaps I should get my paws on an old van now?!
|
| |
|
|
RetroMat
Posted a lot
   Column Shifting!
Posts: 3,444
|
|
|
|
cheers! Rustoluem is easy to use but does require lots of Patience, the best way going from guides on the internet is the thin it with white sprits until it goes like water. This works well but the paint is very thin as you can imagine By the time id took this photo the van had had about 6 coats.  it will have a couple more at the weekend, I have tried wet sanding it with 800 wet and dry and it responds really well. The current finish could almost be called 'gun' finish anyway so i'm happy with it. Excellent taste in cars to! How about a Nissan Urvan? ;D |
| |
Last Edit: Aug 9, 2012 21:07:56 GMT by RetroMat
|
|
|
|
|
Aug 10, 2012 14:16:04 GMT
|
Wow...!!! I've always fancied a Hi-Ace and this one looks spot-diddly-on...  |
| |
***GARAGE CURRENTLY EMPTY***
|
|
bstardchild
Club Retro Rides Member
Posts: 14,975
Club RR Member Number: 71
|
|
Aug 10, 2012 14:38:20 GMT
|
cheers! Rustoluem is easy to use but does require lots of Patience, the best way going from guides on the internet is the thin it with white sprits until it goes like water. This works well but the paint is very thin as you can imagine By the time id took this photo the van had had about 6 coats.  I'll have a good look at the RRG weekend I hope - might be just what I need to do the interior of the Rally car - not like it needs to be mint in the interior - just clean and tidy  |
| |
|
|
RetroMat
Posted a lot
   Column Shifting!
Posts: 3,444
|
|
Aug 23, 2012 17:33:57 GMT
|
|
|
| |
Last Edit: Aug 23, 2012 17:39:28 GMT by RetroMat
|
|
RetroMat
Posted a lot
   Column Shifting!
Posts: 3,444
|
|
Sept 2, 2012 16:23:42 GMT
|
 been trying on tyres for the turbovec-alikes. Found a 195 r14c van tyre at the local part worn place, looks pretty good to me - nice and balloony! I think I will try the original 185 r14's on the front. The vecs certainly fill the arches much better than the stock steels Although there is only 1" difference in width. |
| |
Last Edit: Sept 2, 2012 16:25:04 GMT by RetroMat
|
|
macca
Part of things
 
Posts: 290
|
|
|
|
|
Looks good on the vecs Mat, glad to see you are making steady progress. Also love the pic with the train going by, you live in a really cool place with that on your doorstep.
|
| |
|
|
|
|


 )
)