ChrisT
Club Retro Rides Member
Posts: 1,670
Club RR Member Number: 225
|
|
|
|
Doesn’t look like I’ll get down the workshop this weekend so just a little bit done during the week. Another piece of the footwell in place. 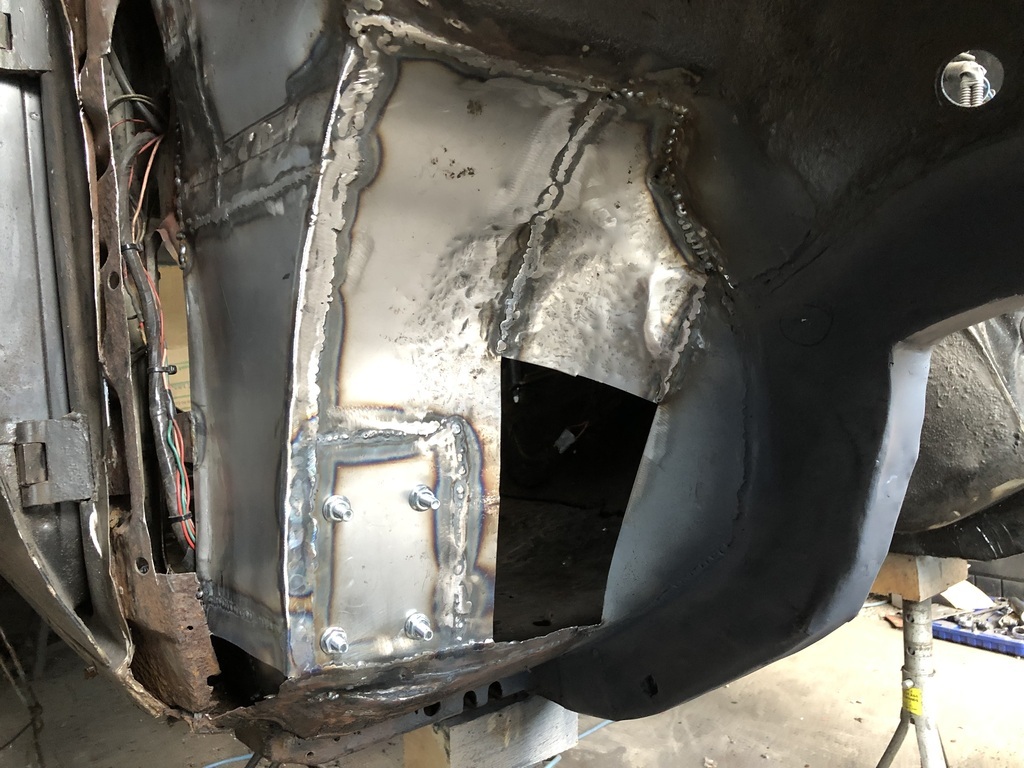 Doors need removing for access, now the cage is bolted back and there’s some strength in the footwell I could do that. Spent a long time going through boxes looking for the special tool…. 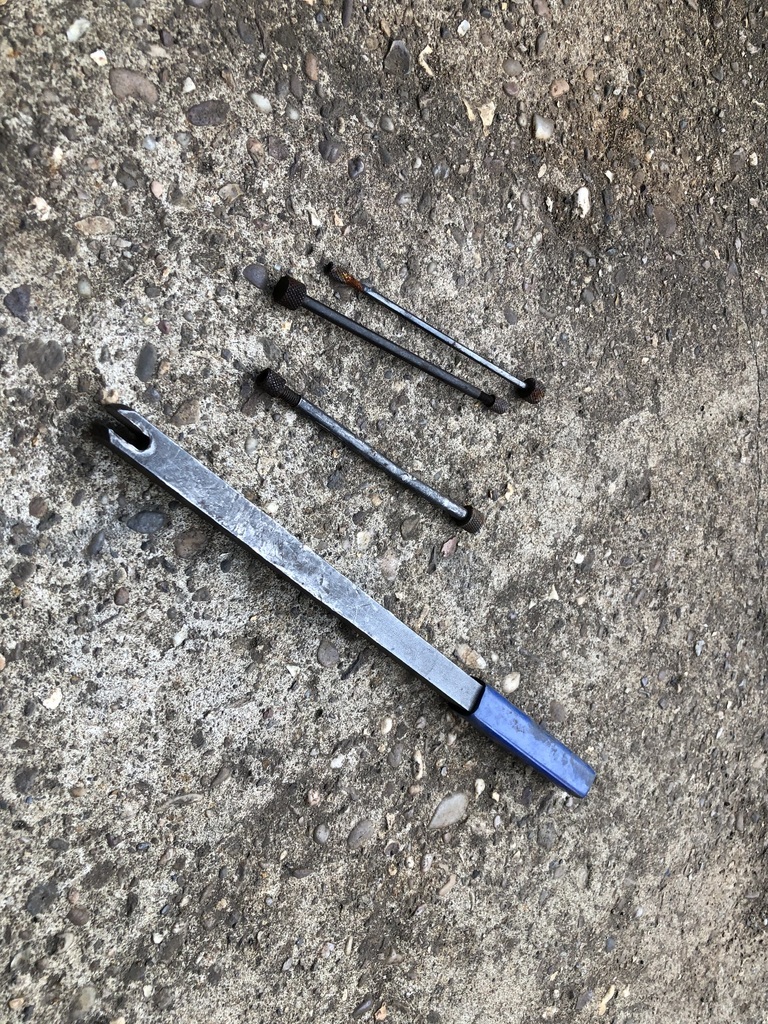 The pins are roll pins and can only be taken out in one direction, top one down and bottom one up…. 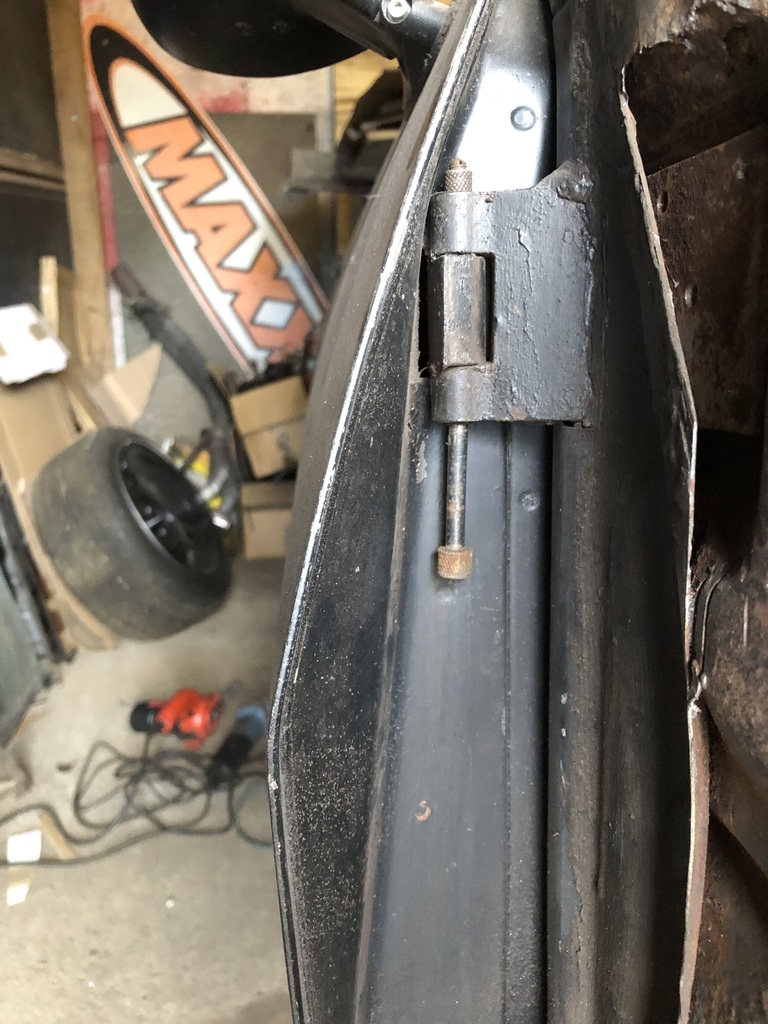 Came out very easily but they were replaced relatively recently. 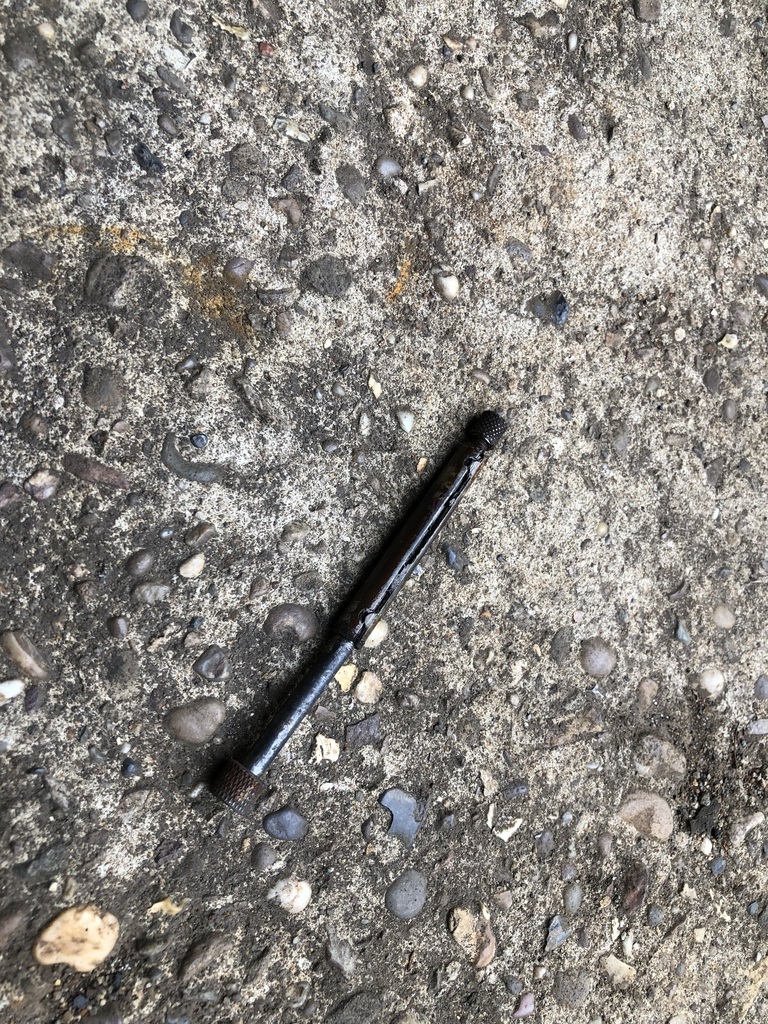 And door off. 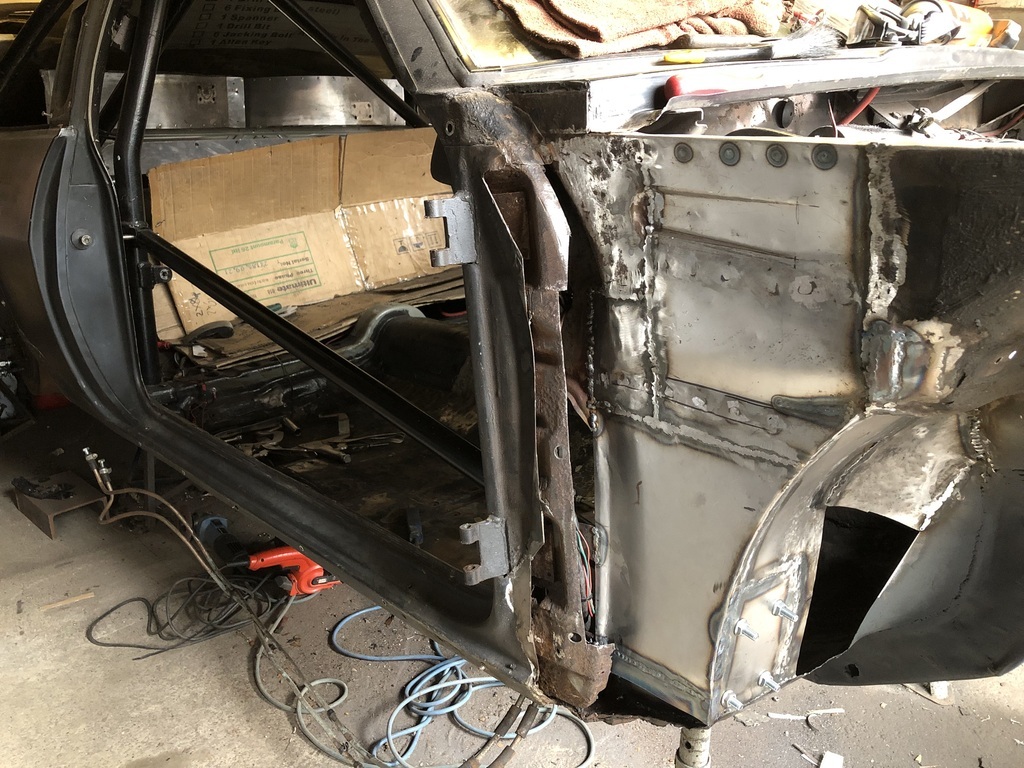 It does drop when opening, the hinges on the door side look to be the culprits, was thinking of drilling them out and fitting bronze bearings but can’t figure out how to drill them accurately, yet… Where the steering column goes through the bulkhead there is a bolt which sits on a pressing at an angle so made some 6mm thick steel blocks up to try and replicate it… 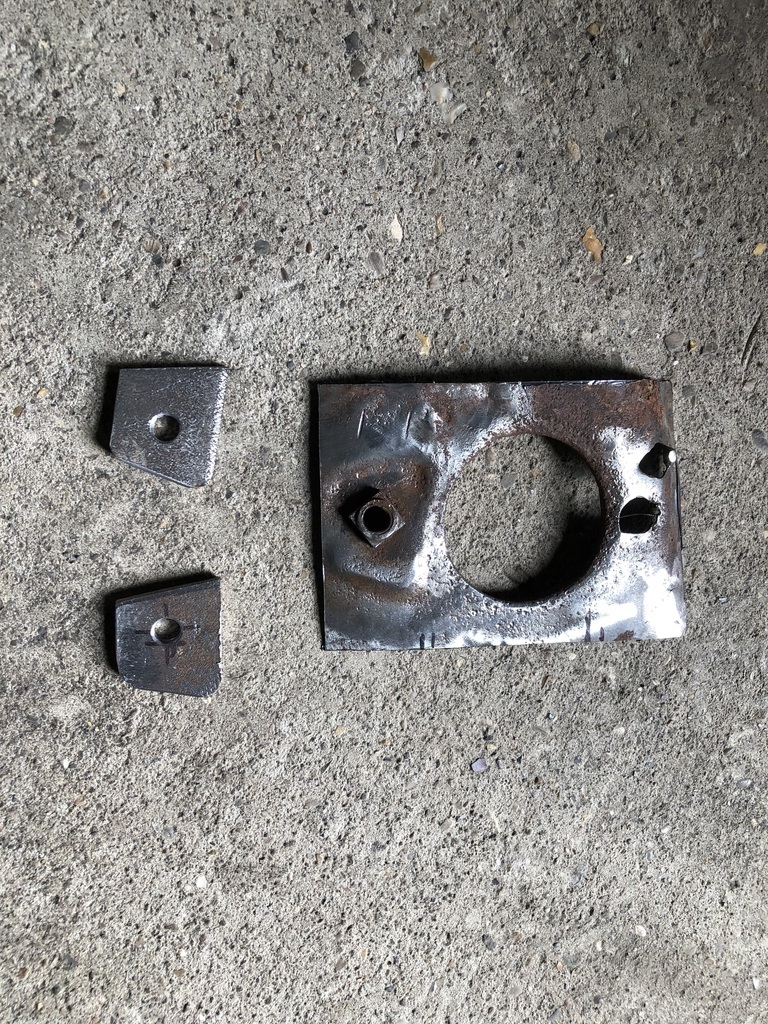 Spent a while trying to figure out where the hole should be but then remembered the inside welds weren’t dressed so could see exactly where the cut out part came from. Before.. 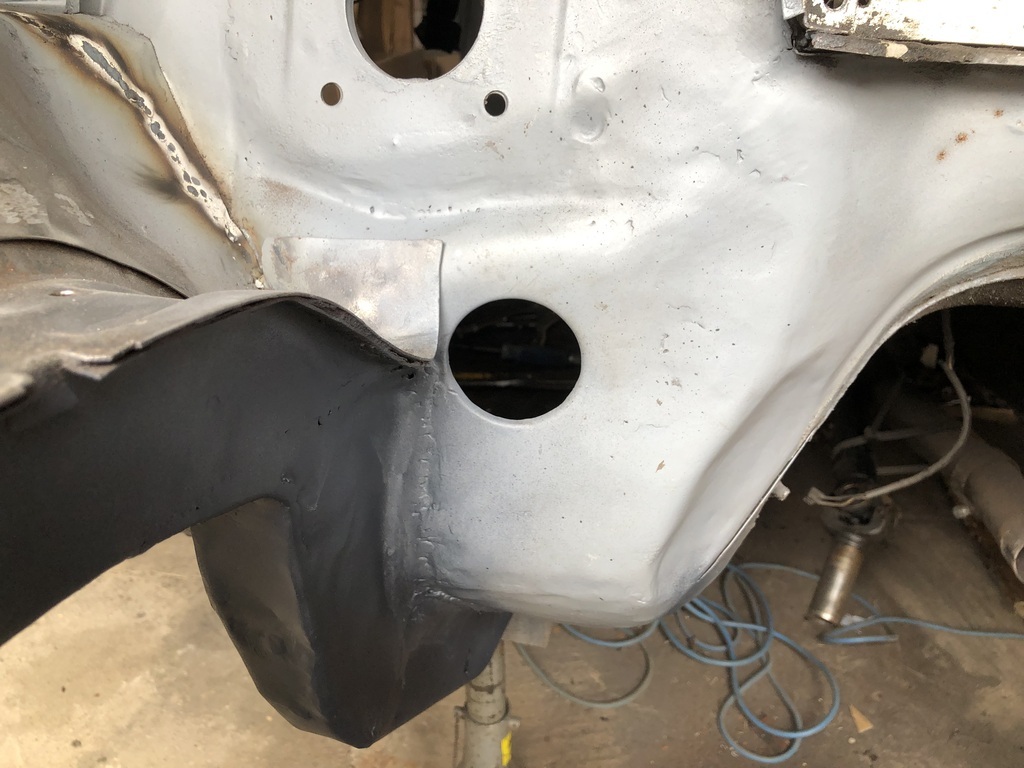 Bolted in place either side with longest m8 bolt I could find for leverage.. 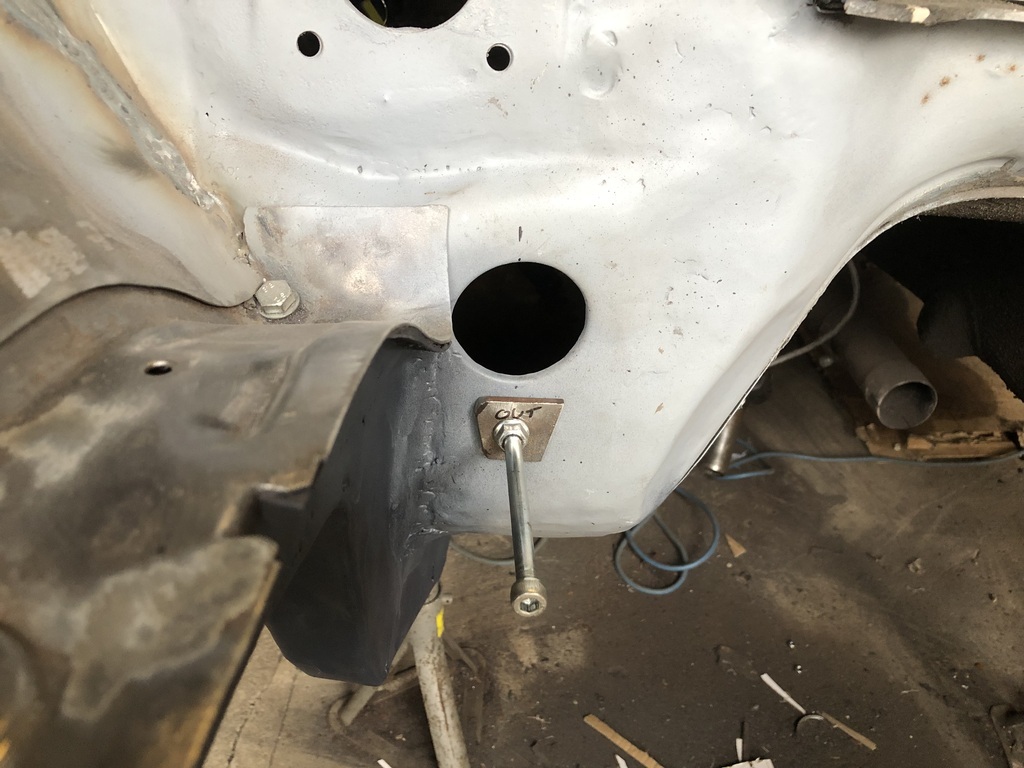 Pulled over so the bolt was parallel with the chassis rails and hammered around the blocks resulted in this… 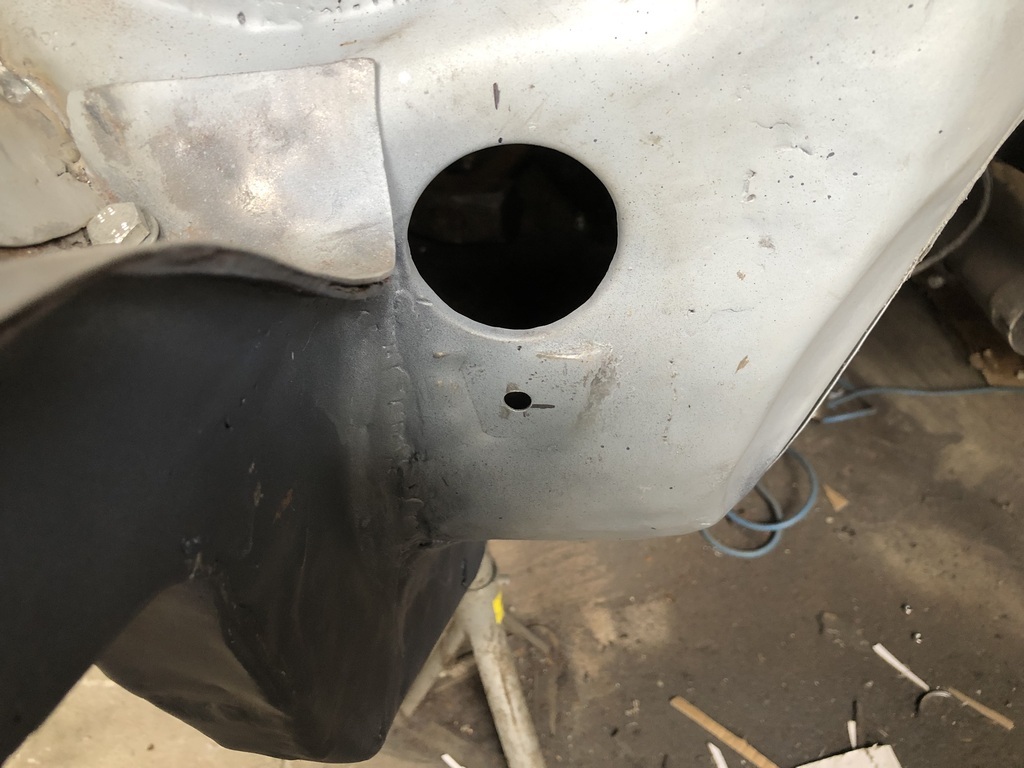 Doesn't look very obvious in the picture but it's very similar profile to the original - don't know why I spent so long trying to replicate the factory look as nothing else on the car is. Quite happy with the result as I need to do a larger version where the throttle pedal bolts in the footwell. Not sure how well welding an M8 nut to it will go, a Rivnut should be ok. |
| |
Last Edit: Aug 10, 2024 21:13:58 GMT by ChrisT
|
|
|
|
|
|
ChrisT
Club Retro Rides Member
Posts: 1,670
Club RR Member Number: 225
|
|
Aug 16, 2024 18:31:05 GMT
|
Had a enjoyable afternoon wandering round Mallory Park last Sunday, thinking I should be there in this… Probably not going to get anything done over the weekend again so a quick roundup of this week’s minimal progress. Driver’s footwell about done, can’t see all the curves and angles required to make it work…. 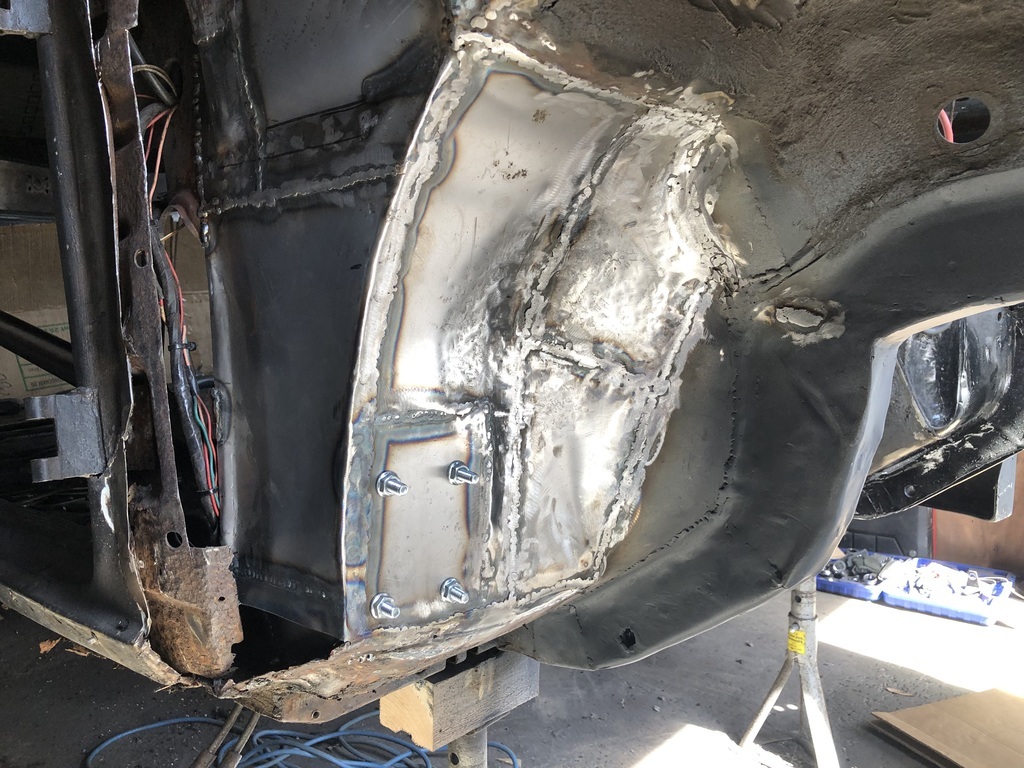 Moved along to the A pillar/sill area, looks like the garage just welded half a repair panel over the original… 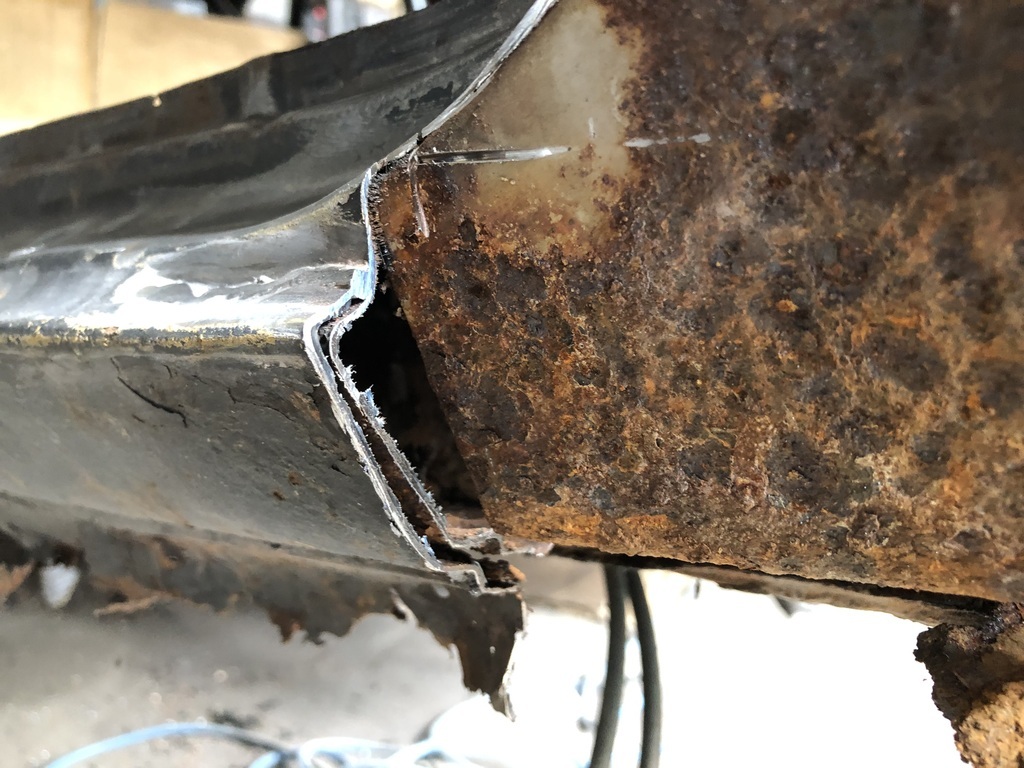 And talking of repair panels, I ordered this to move things along, yay! 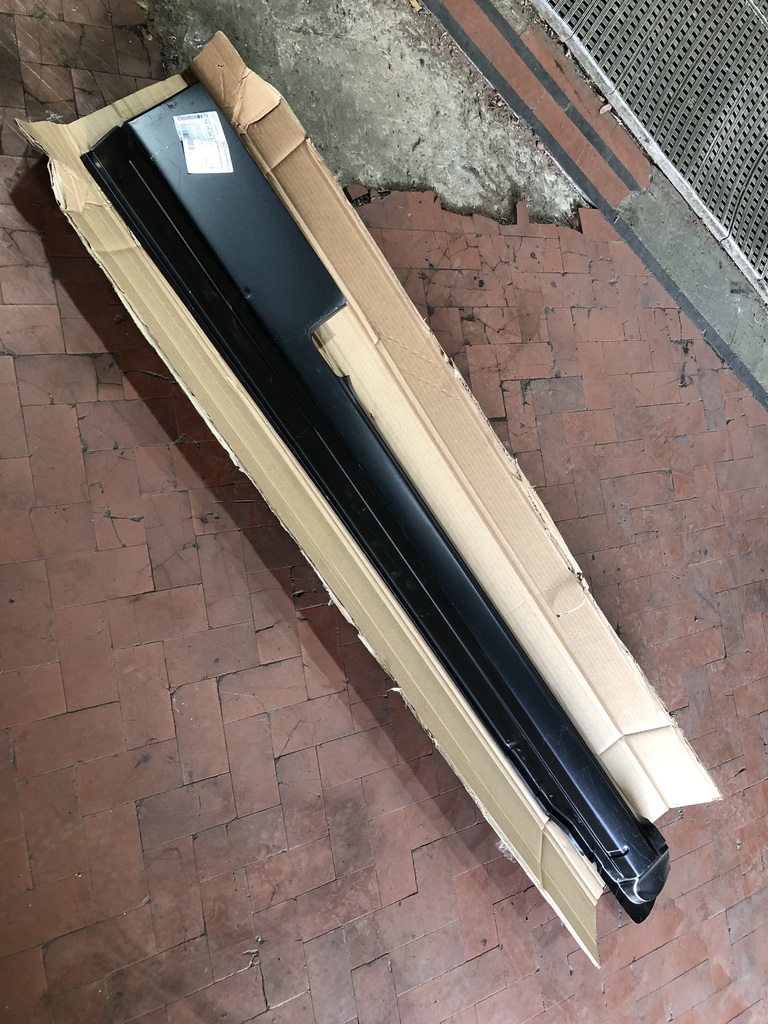 Hmm, doesn’t fit very well but can probably work with that.. 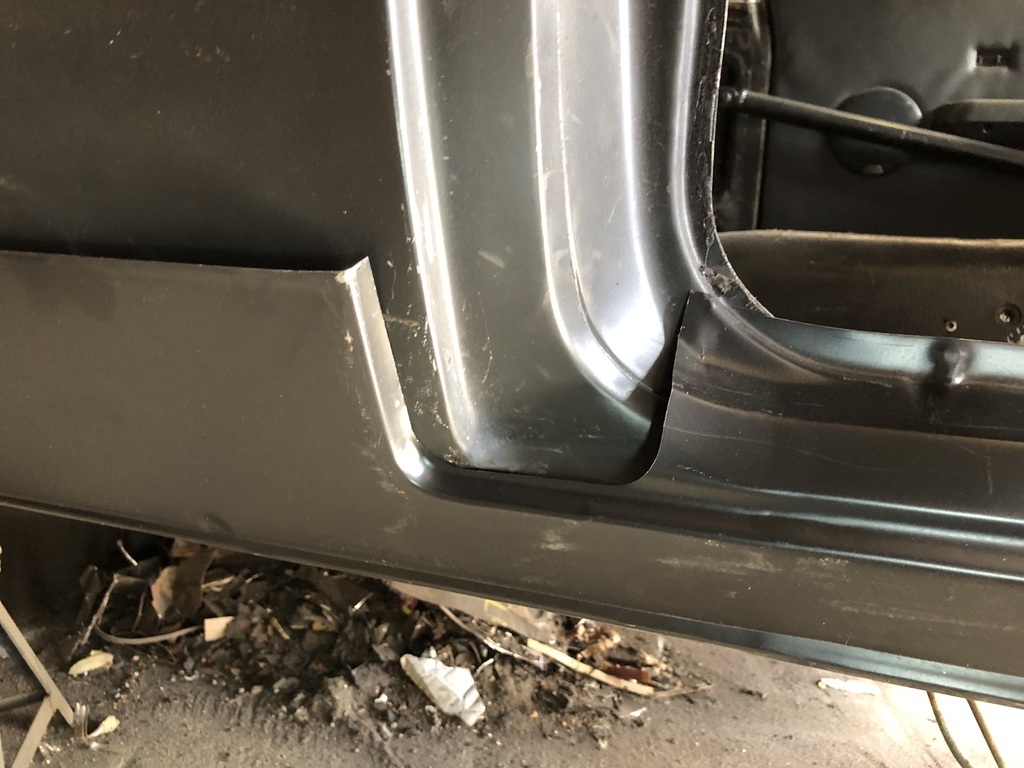 On closer inspection the profile where it meets the door is complete wrong and looks like it’s for an Ascona, the EBay listing was wrong. Seller was good about it, admitted his error and taking it back, unfortunately doesn’t have the right one in stock so ordered from another seller, after checking the part number with Klokkerholm…. |
| |
Last Edit: Aug 16, 2024 21:17:55 GMT by ChrisT
|
|
ChrisT
Club Retro Rides Member
Posts: 1,670
Club RR Member Number: 225
|
|
Sept 2, 2024 15:43:49 GMT
|
So, 2 weeks later and the other sill shows up…. 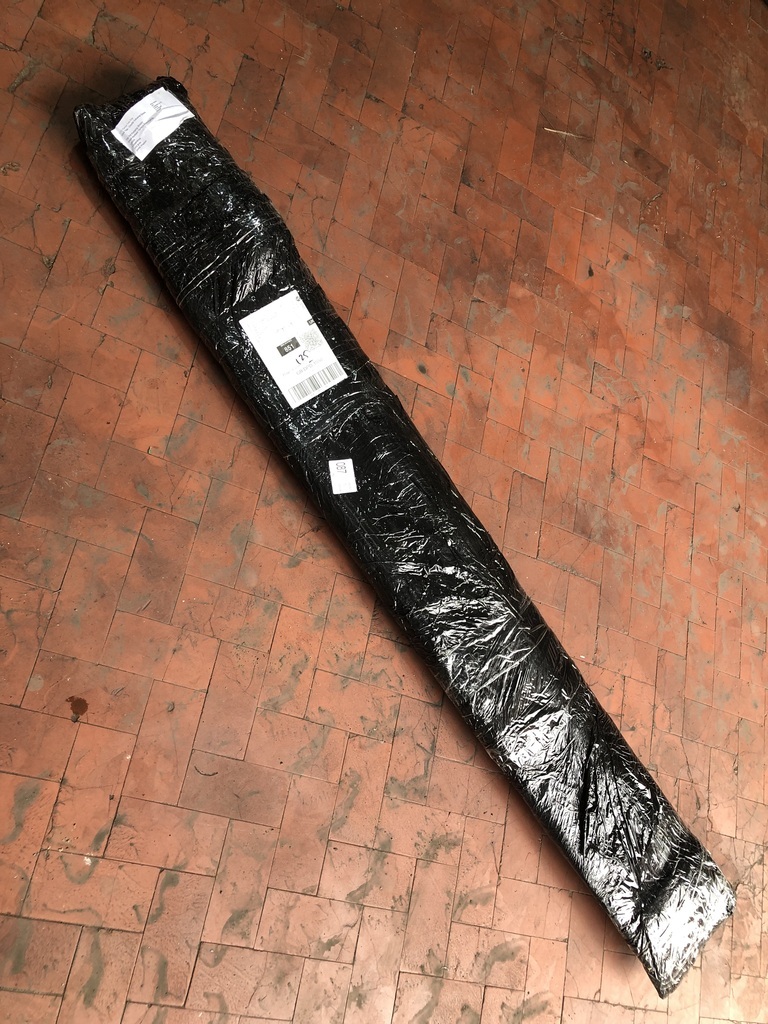 I can get on with something now…. 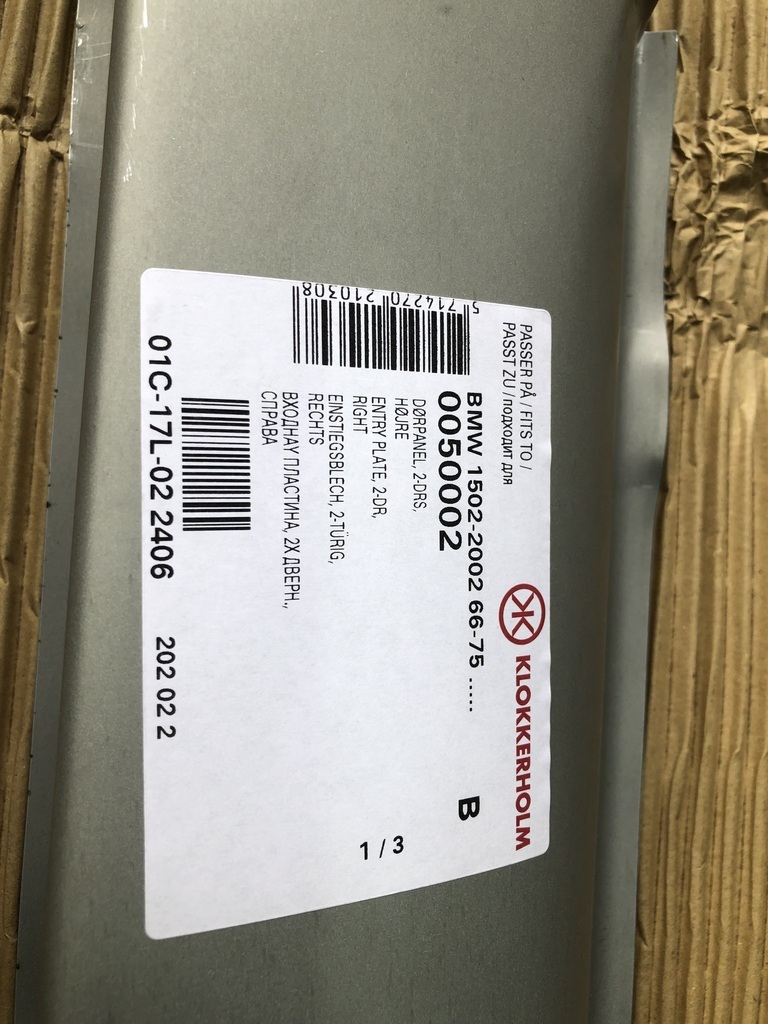 Maybe not then, have tried it on the car just in case it’s been wrongly labeled but alas no. |
| |
|
|
|
|
|
Sept 2, 2024 16:52:12 GMT
|
Maybe not then, have tried it on the car just in case it’s been wrongly labeled but alas no. Oh that is incredibly annoying. |
| |
|
|
|
|
|
Sept 3, 2024 17:31:17 GMT
|
|
Bummer
|
| |
|
|
ChrisT
Club Retro Rides Member
Posts: 1,670
Club RR Member Number: 225
|
|
Sept 3, 2024 18:28:15 GMT
|
Maybe not then, have tried it on the car just in case it’s been wrongly labeled but alas no. Oh that is incredibly annoying. I think I said something along those lines  Indeed  Contacted the seller yesterday, no response, left another message early this morning to nudge them, another one mid-morning to ask if they were getting through and, after seeing the negative feedback about wrong items and lack of contact, another at dinner time saying I wanted the wrong item collecting and a full refund issuing. Finally got a response late afternoon, the return process has been started. Rather than wait another couple of weeks for hopefully the right one to be redelivered I've ordered one from TJ Motorsport.... |
| |
|
|
ChrisT
Club Retro Rides Member
Posts: 1,670
Club RR Member Number: 225
|
|
Sept 5, 2024 16:37:07 GMT
|
TJ Motorsport have done really good, ordered it late Tuesday night and it arrived mid morning today, and it’s the correct one!!! 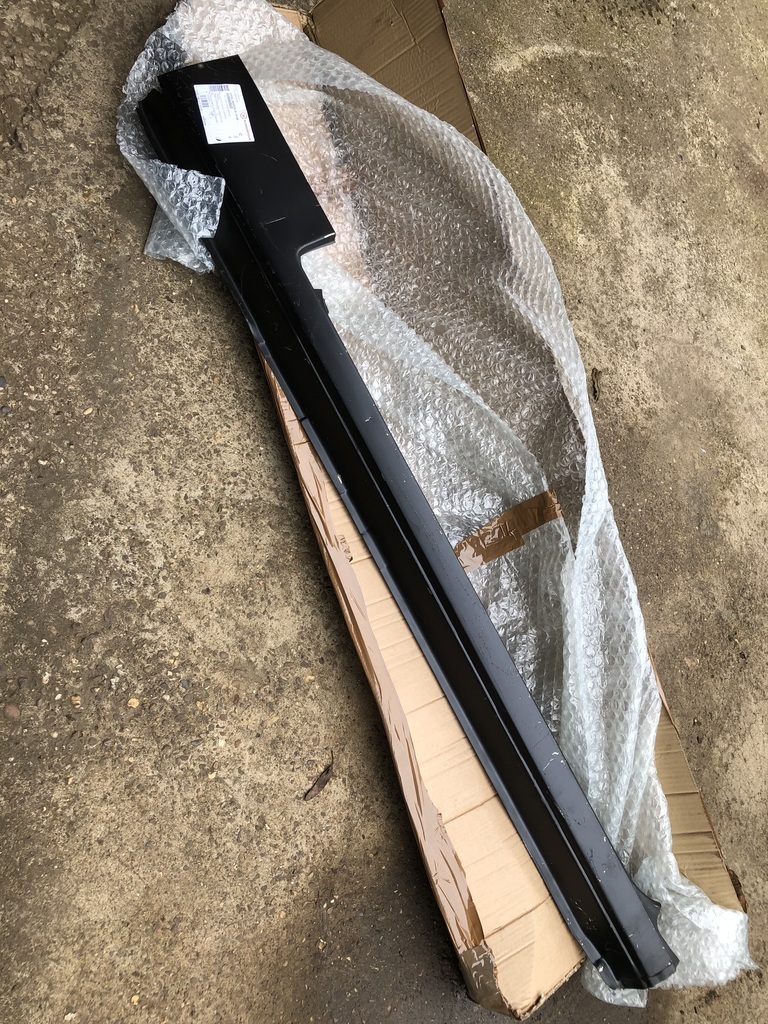 Should have used them from the start. Other one dropped off at the local sorting office, hopefully a refund will be forthcoming….. |
| |
|
|
ChrisT
Club Retro Rides Member
Posts: 1,670
Club RR Member Number: 225
|
|
Sept 5, 2024 21:44:37 GMT
|
Whilst waiting for body panels to arrive I have been making a little progress, not a great deal as we’ve been away the last few weekends- in Newark for Stonedead festival on the bank holiday weekend, in Nottingham for Kickfest last weekend and Leicester for HRH Sleaze this coming weekend…. Part of the floor area next to the trans tunnel used to have a bulge in it for the original exhaust routing, this is no longer needed and makes fitting seat subframes awkward so I ‘removed’ it a few years back with a large hammer. Difficult to see with the sound deadening remains but there are a lot of creases which would be better off removed… 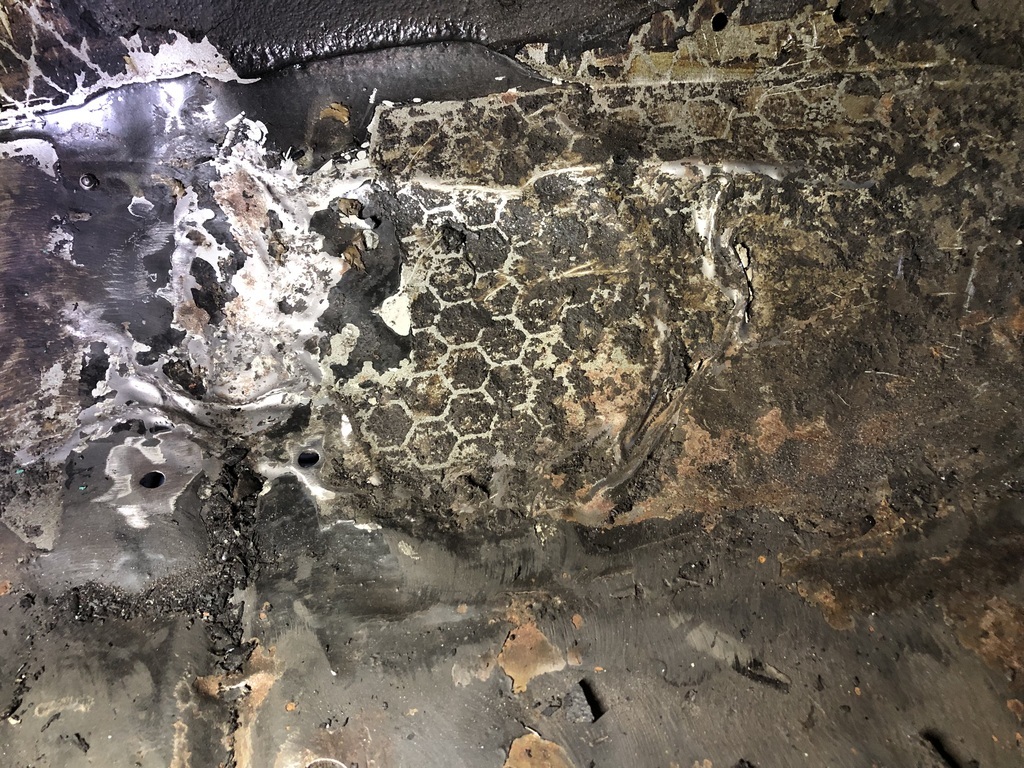 One section removed and patch welded in, second one cut out with patch waiting to go in…. 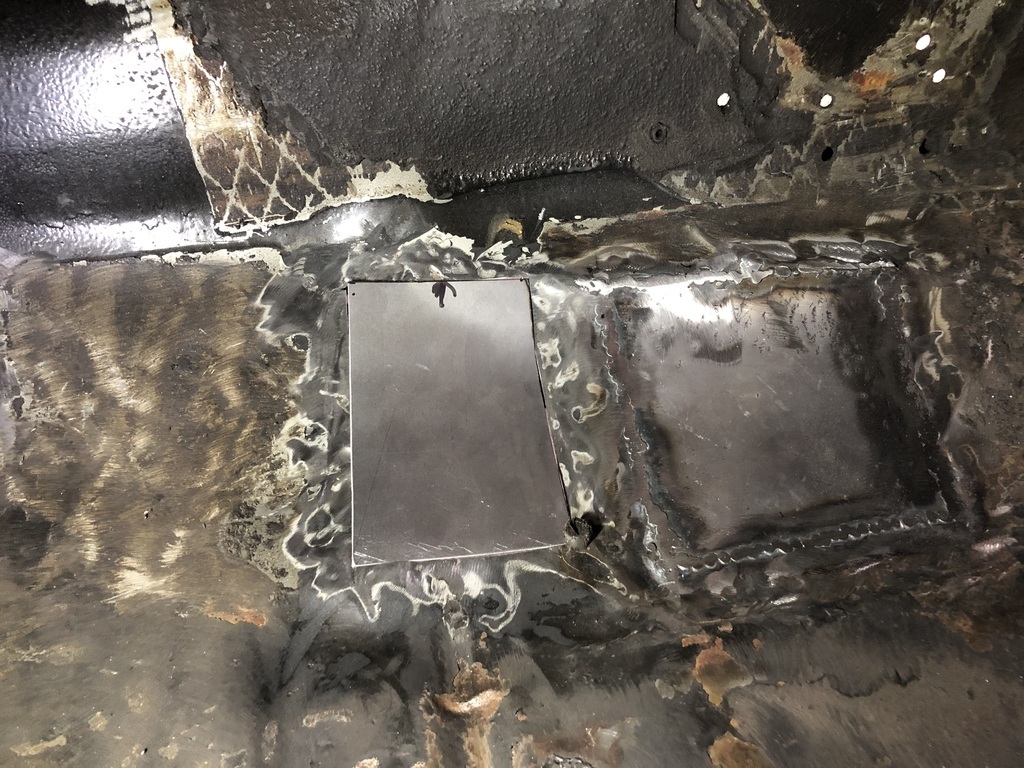 And done… 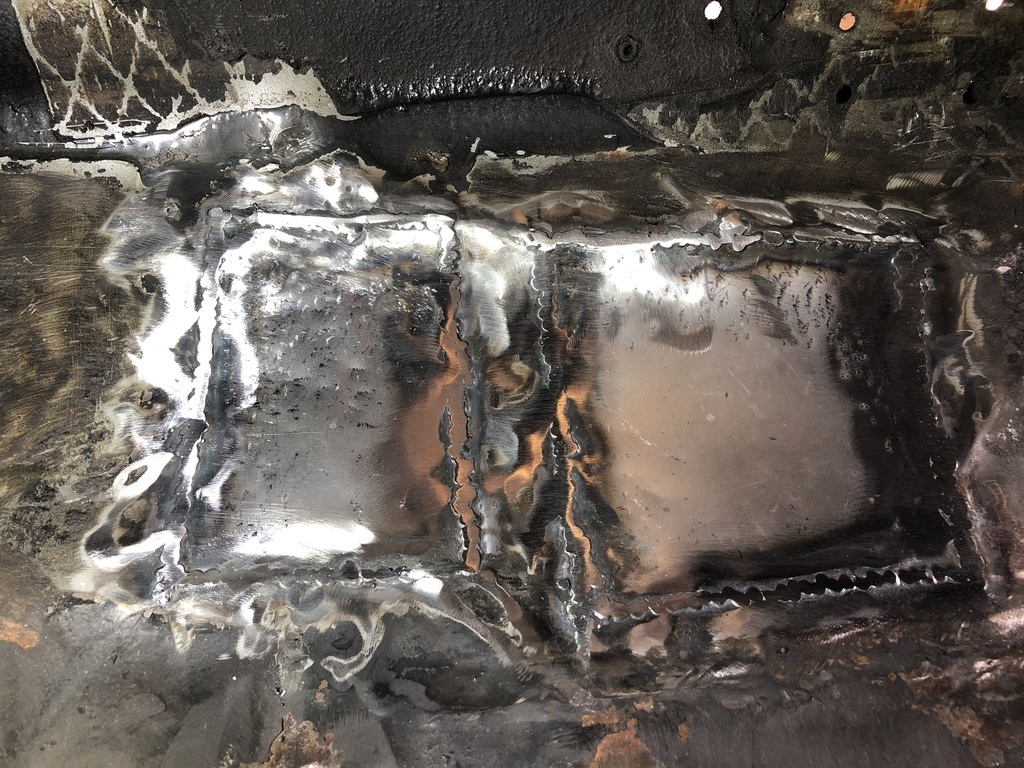 For some reason at some point I’d made a hole in the top of the trans tunnel, obviously with a drill and hammer, which just had a piece of steel riveted over, time to sort that. The hole cut out…. 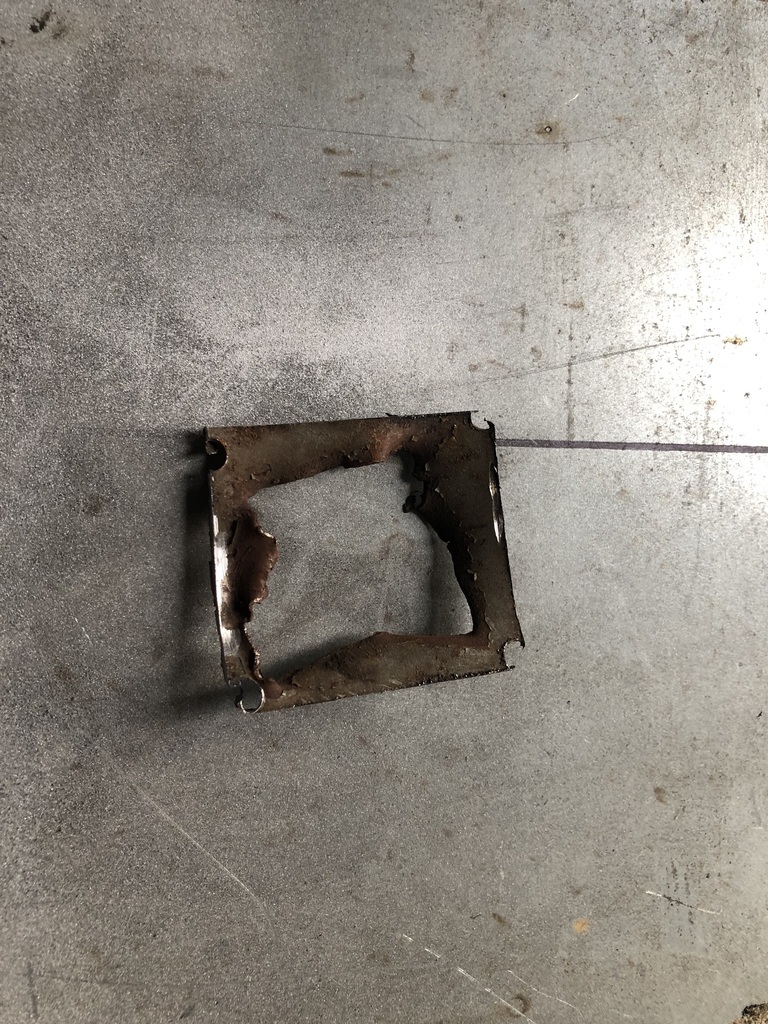 Done, there was also a cut or tear in the gear lever hole surround, again, not sure why but it was welded back in place… 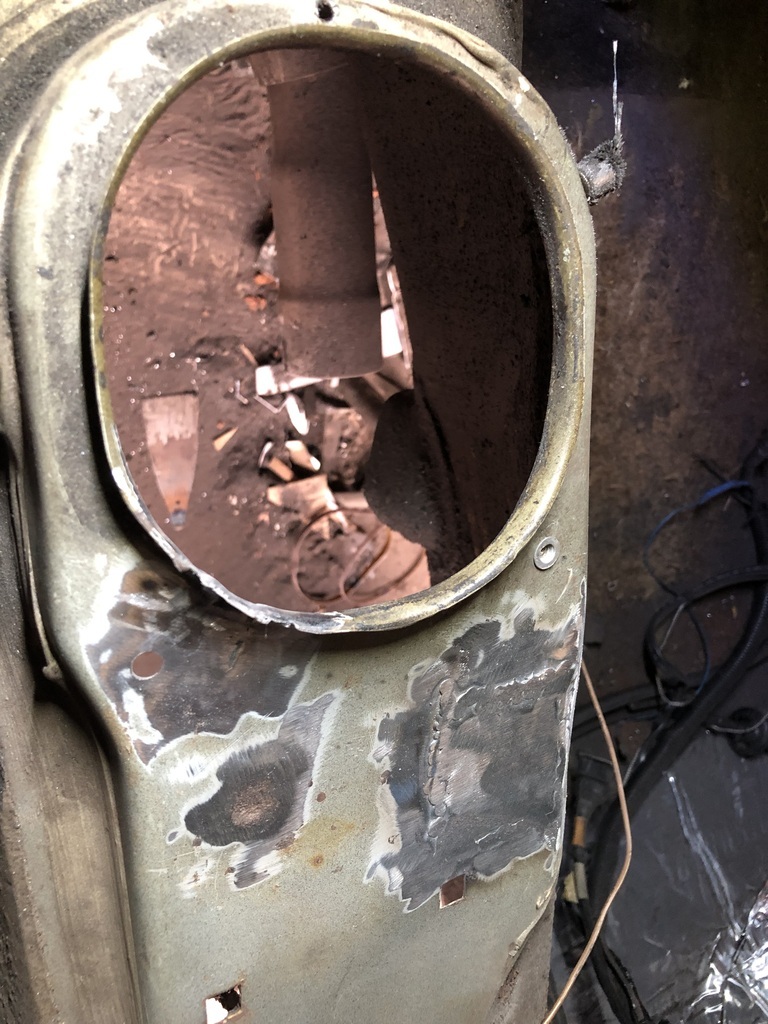 Loads of holes in the trans tunnel from routing brake lines, bias valve and line lock, not sure what’s going to be used so filled them all. Ready to be drilled out to 10mm. 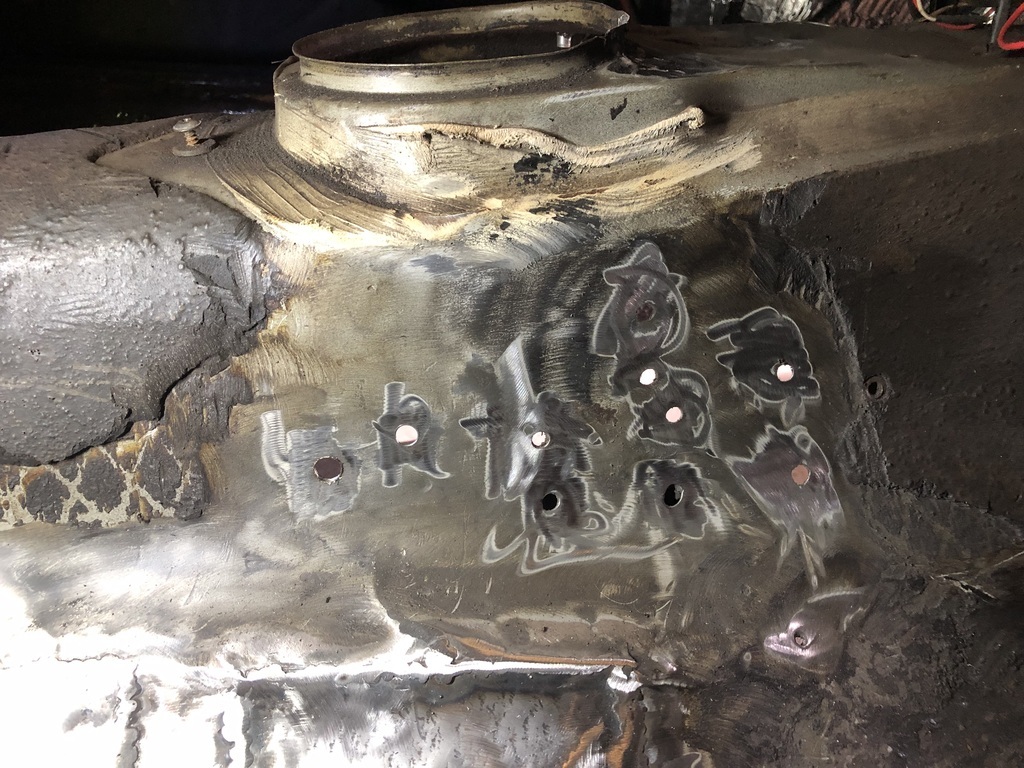 Used the trusty disc punch… 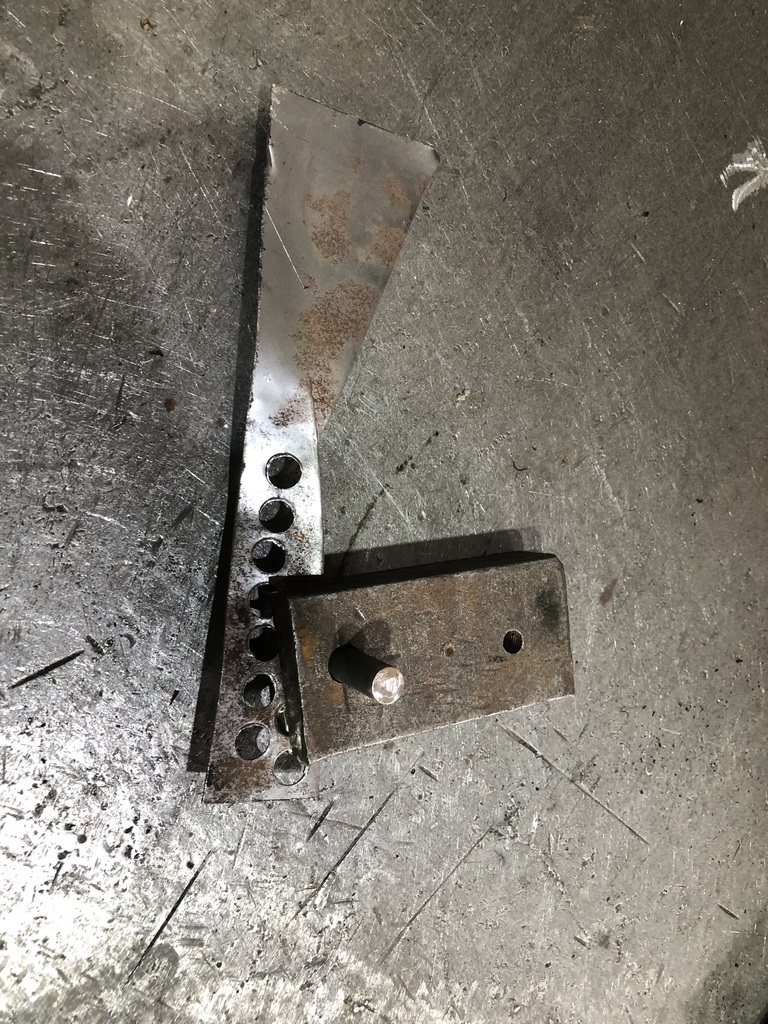 And all filled.. 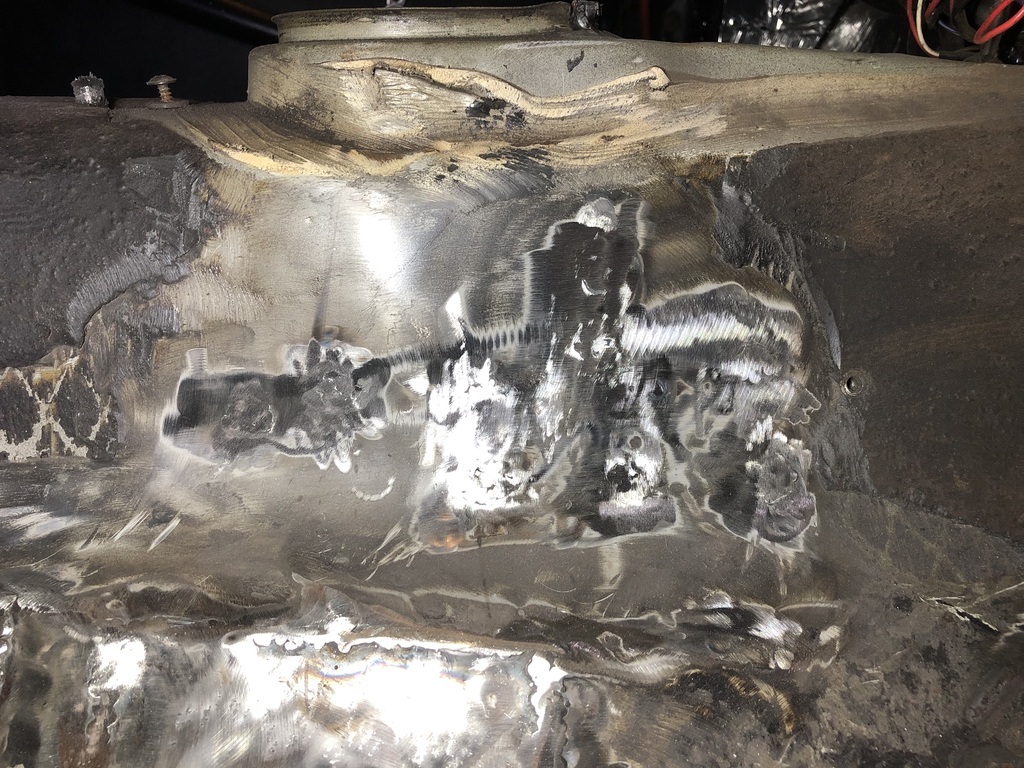 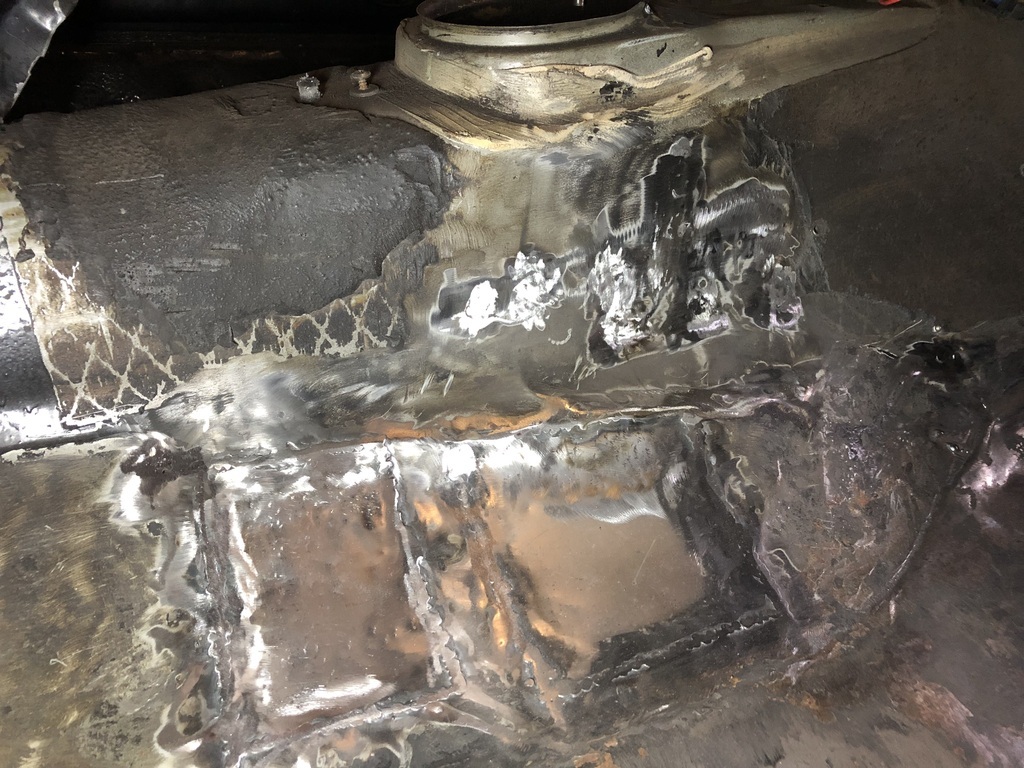 I will be fitting weld in seat rails instead of the seat subframes which I have previously used but are less than ideal. So have been making up the parts to do this, but no photos yet. |
| |
|
|
ChrisT
Club Retro Rides Member
Posts: 1,670
Club RR Member Number: 225
|
|
|
|
Still got the bottom of the A pillar to sort out but need the new sill in place to see where it sits in that area so cut a lot of the old one (two) off… 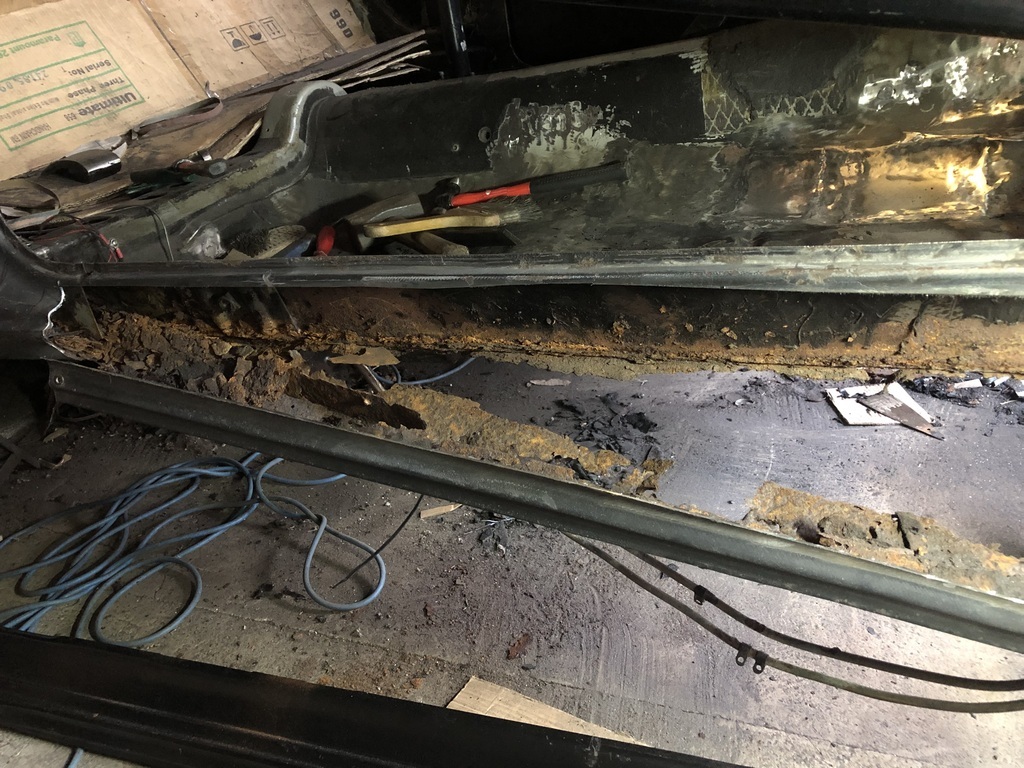 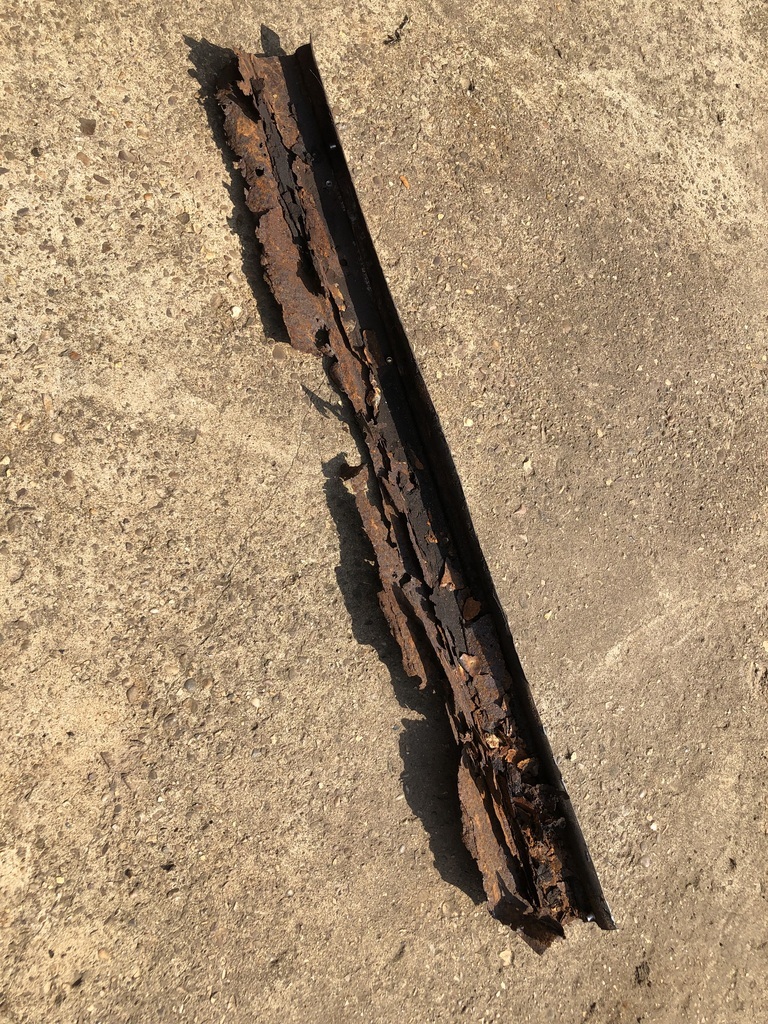 Oh joy, the bottom of the B pillar is not connected to anything either, don’t know why I’m surprised…. 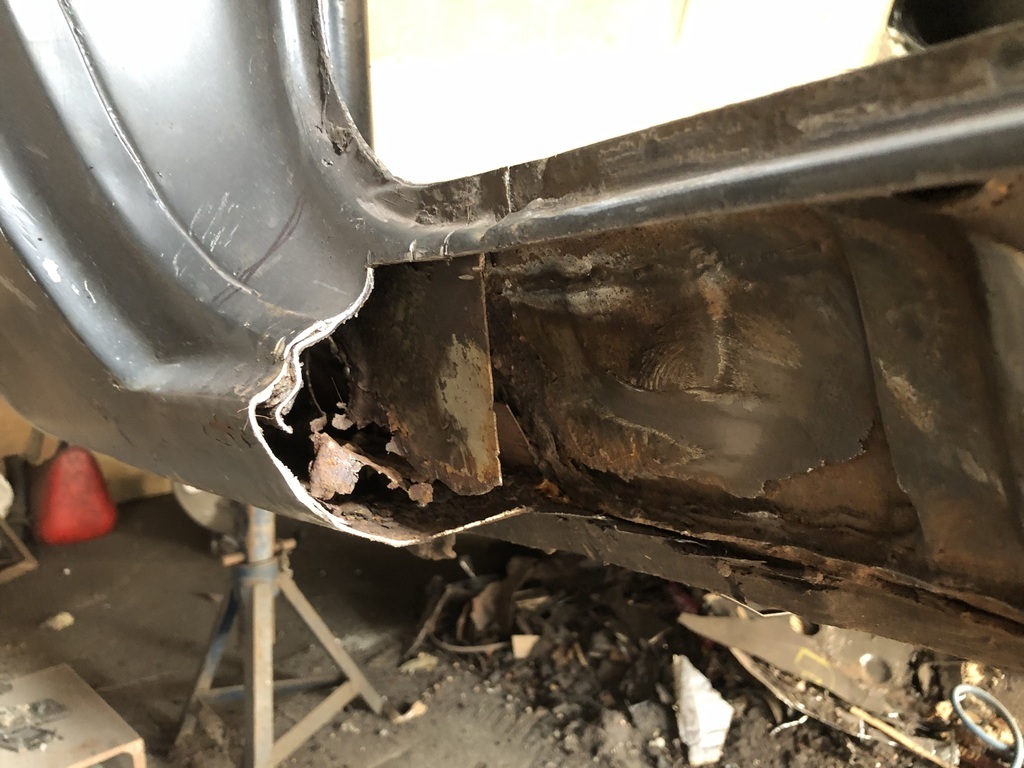 |
| |
|
|
|
|
ChrisT
Club Retro Rides Member
Posts: 1,670
Club RR Member Number: 225
|
|
Sept 15, 2024 15:39:58 GMT
|
Made a start on the A-pillar this week, firstly replaced this bit which I cut out a while back…. 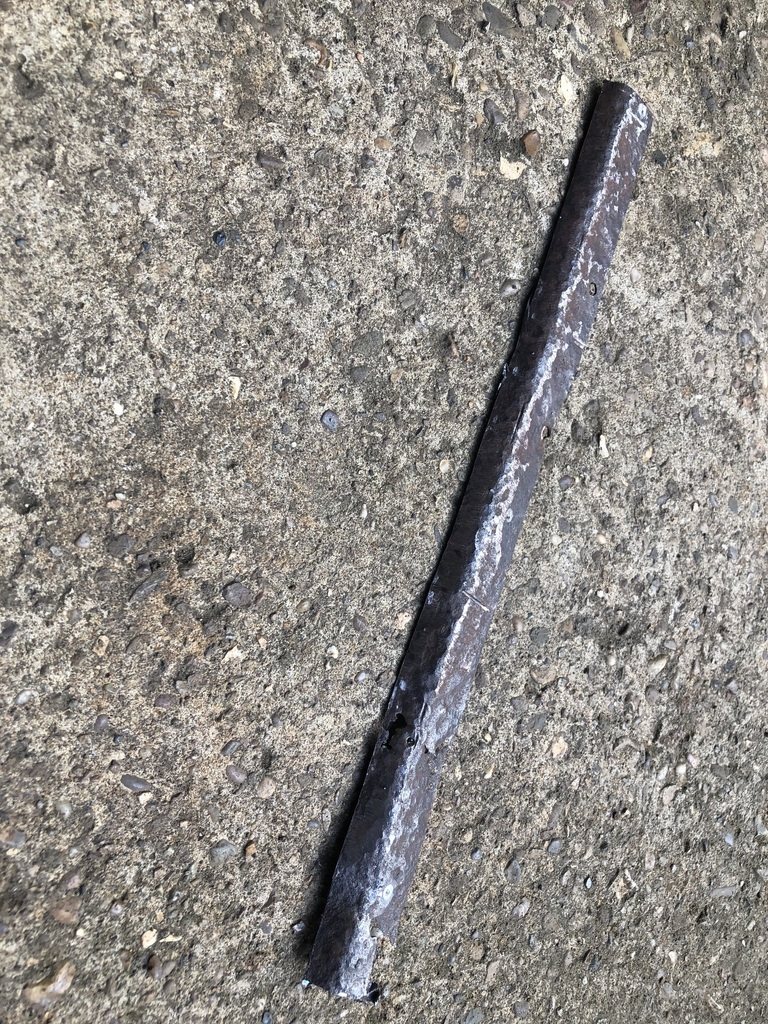 Which goes on the edge here… 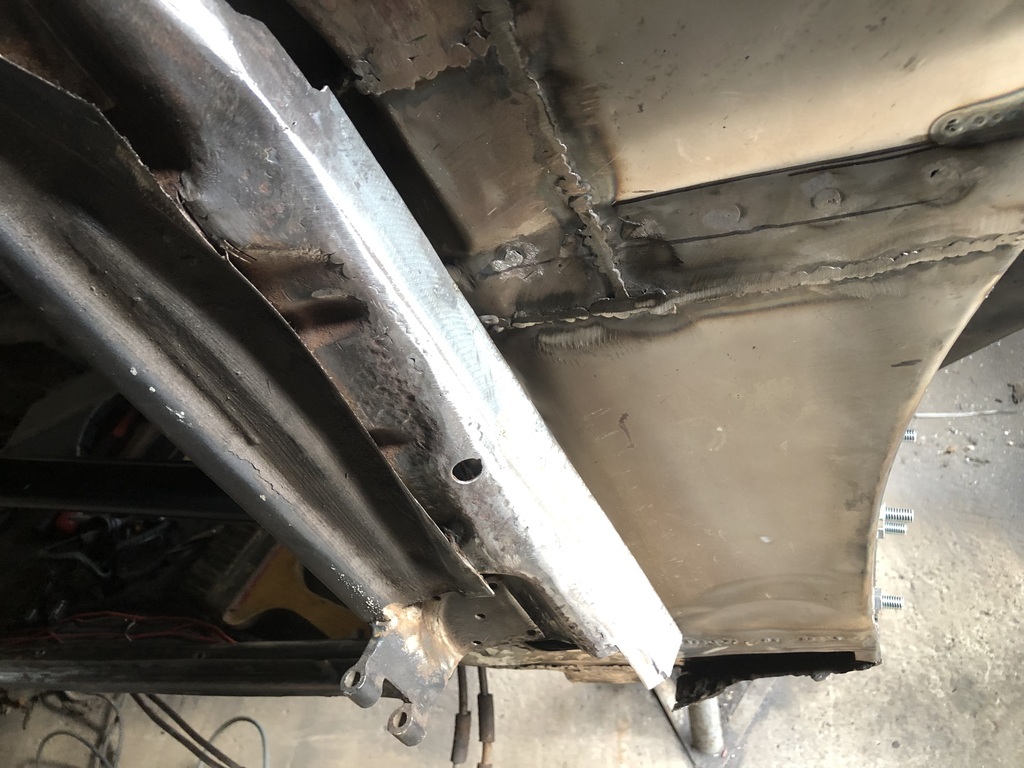 Then I’ve been trying to replicate the bit I cut off the bottom, which is tricky as it's thicker steel, made more so as the bit that attaches to the floorpan has rotted away, probably should have made it in several parts…. 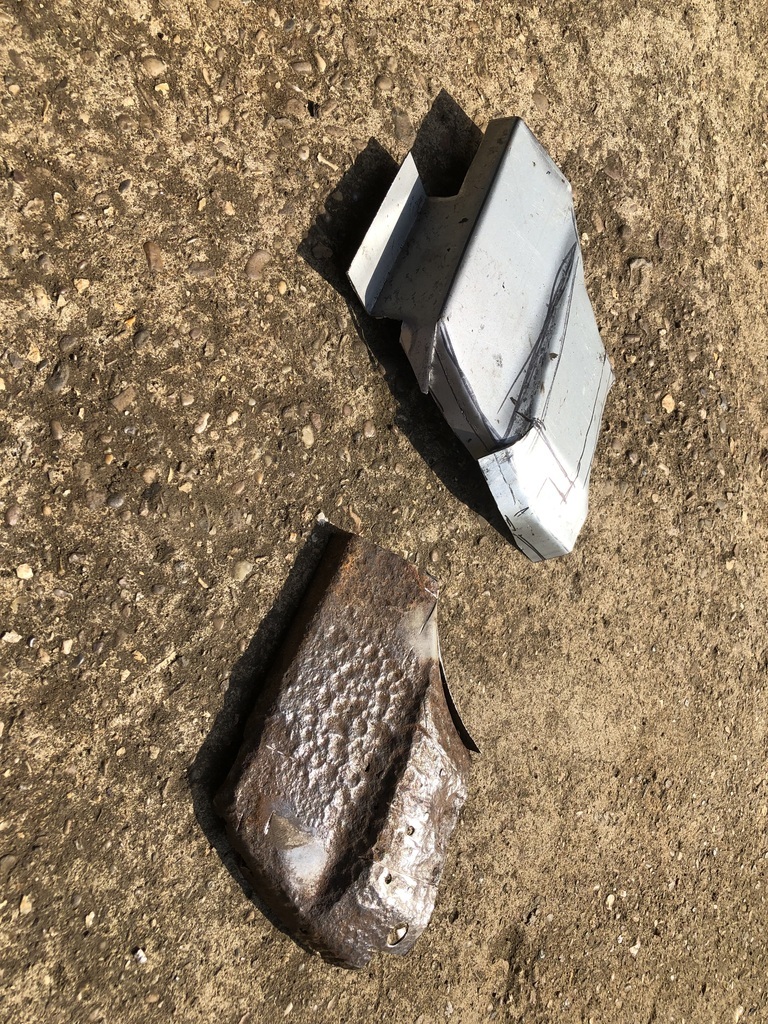 And after some hammering and cutting kind of fits… 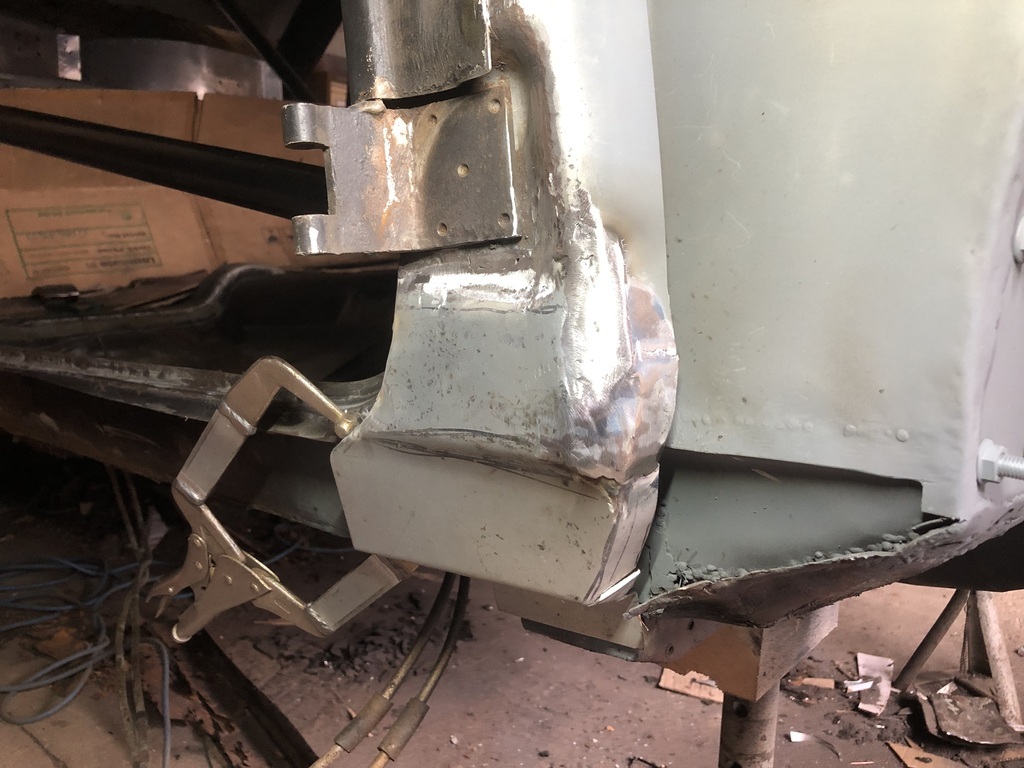 Will probably need some adjustment to get the sill to fit over it but it’s a start. Want to get a bit more strength back in this area before I completely remove the old sill. Although a long time before I need it I’ve been making up parts for weld in seat rails…. 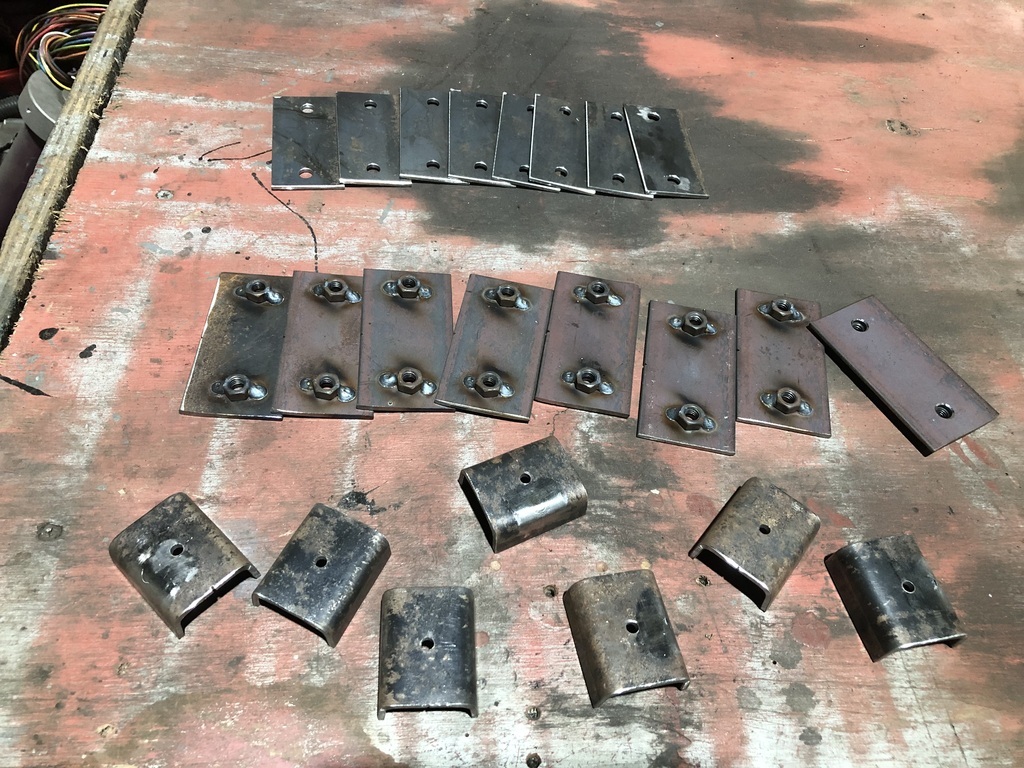 The folded ones required a jig on the fly press…. 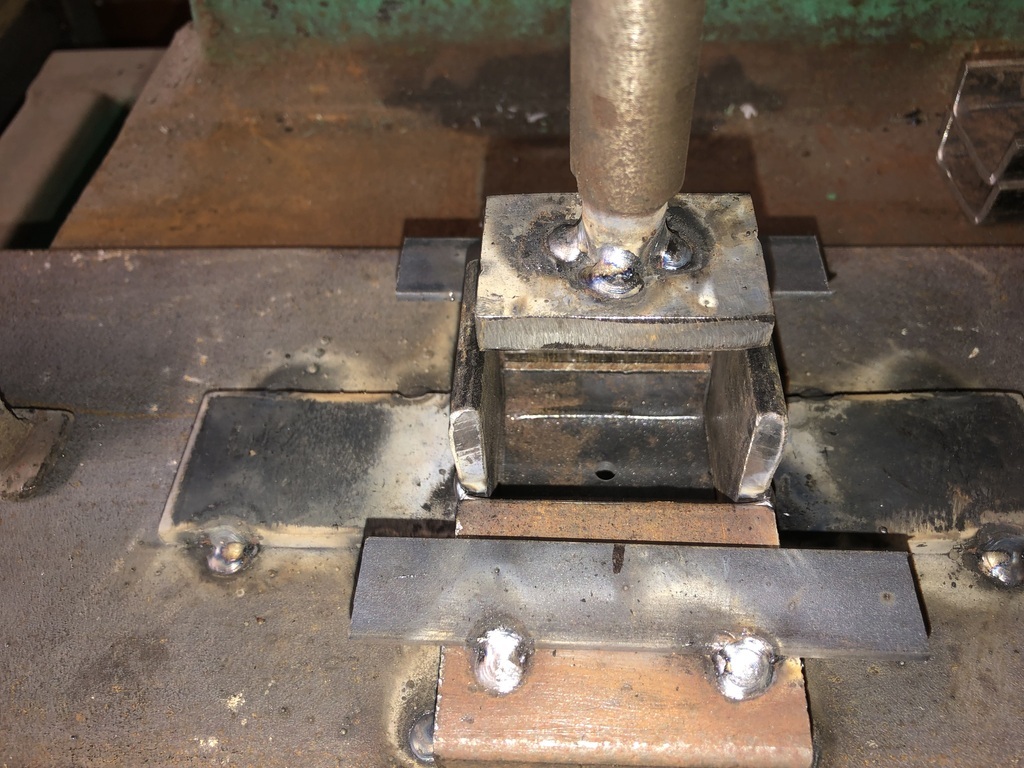 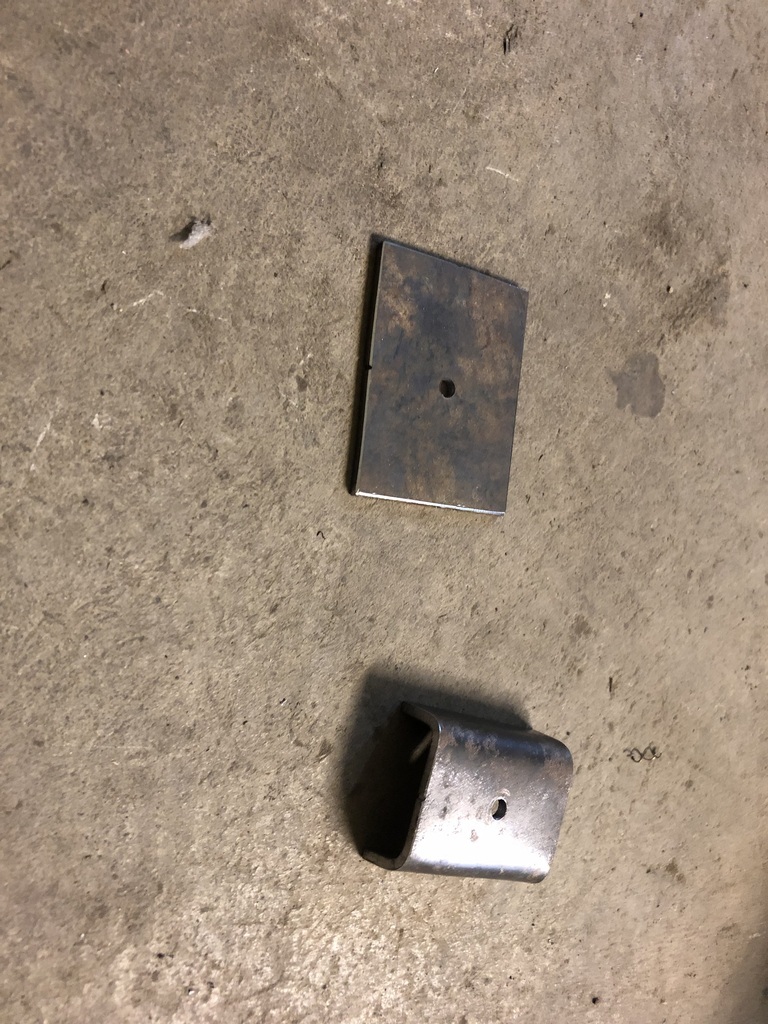 The sides haven’t bent exactly as expected so I need to figure out the easiest way to close them up a little…. In other news, the BM went back to the specialist the other day as the misfire keeps reoccurring, twice had to stop on the way to Leicester. They’ve found a faulty fuel pressure sensor which is being replaced, I suspect there will be more once that’s done…. And finally, picked this up for the wife, while she decides what more modern car she wants…. 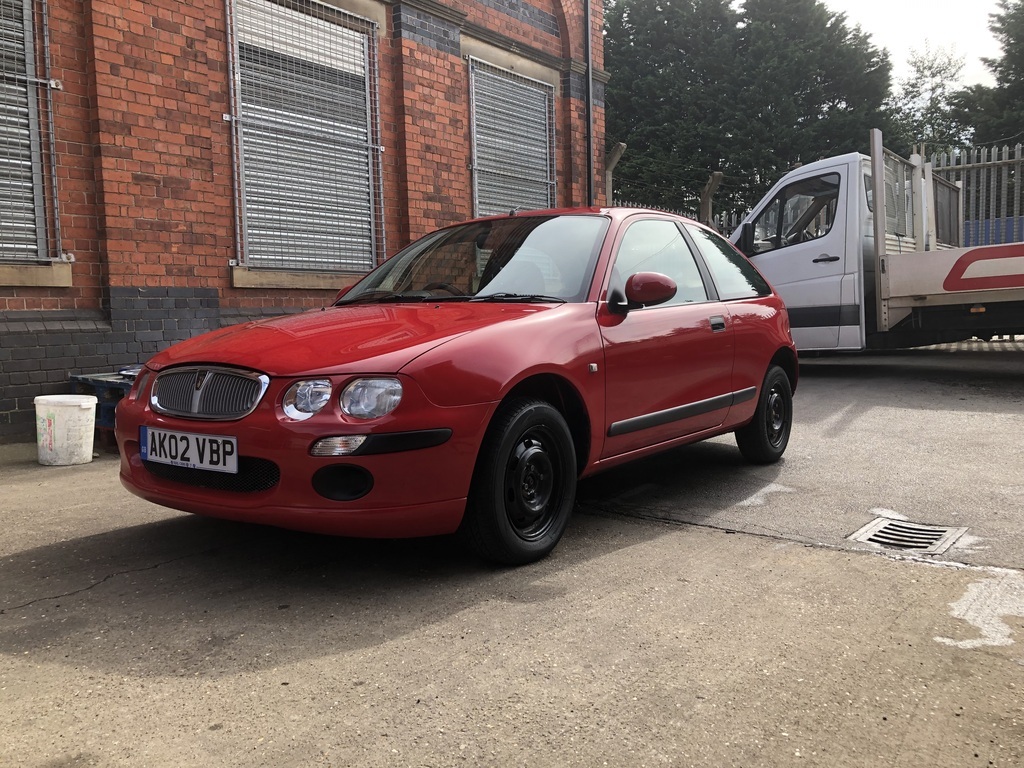 Only done about 60k miles. |
| |
Last Edit: Sept 15, 2024 19:06:11 GMT by ChrisT
|
|
ChrisT
Club Retro Rides Member
Posts: 1,670
Club RR Member Number: 225
|
|
Sept 21, 2024 11:30:31 GMT
|
A bit of work on the A-pillar outer skin, had to make it out of several parts as it’s quite a complex shape which needs to be right as one face is where the wing attaches and there’s an indent for the front edge of the door to go in when it’s open. As always, doesn’t look very tidy but is strong, there are some areas that need redoing. 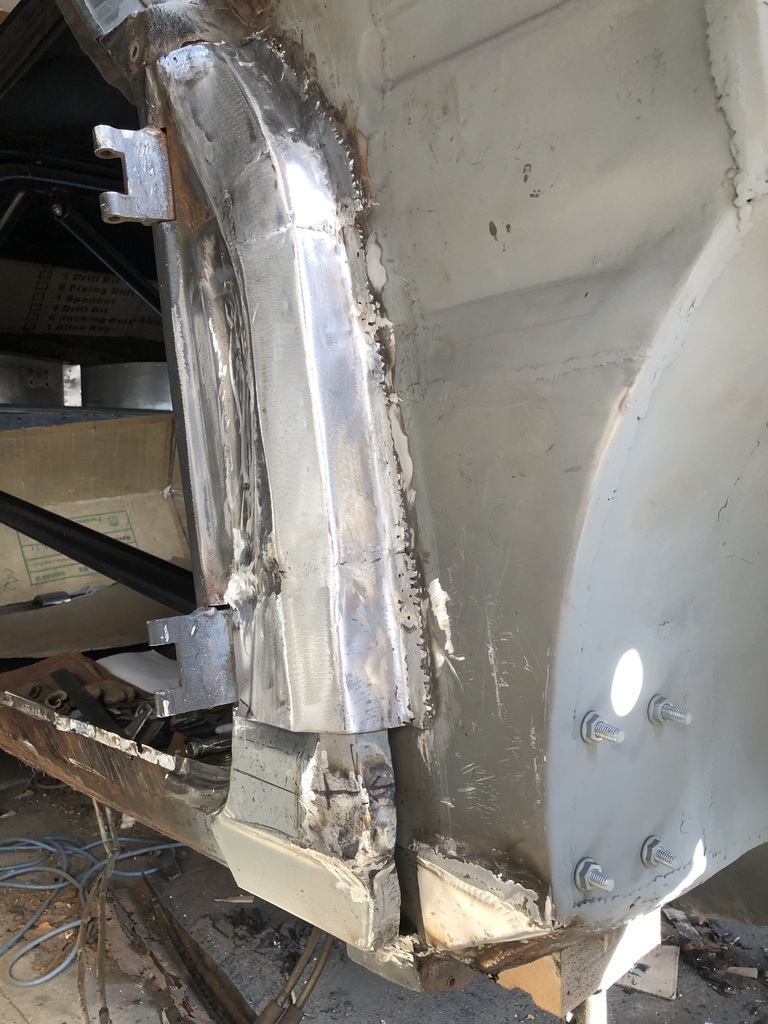 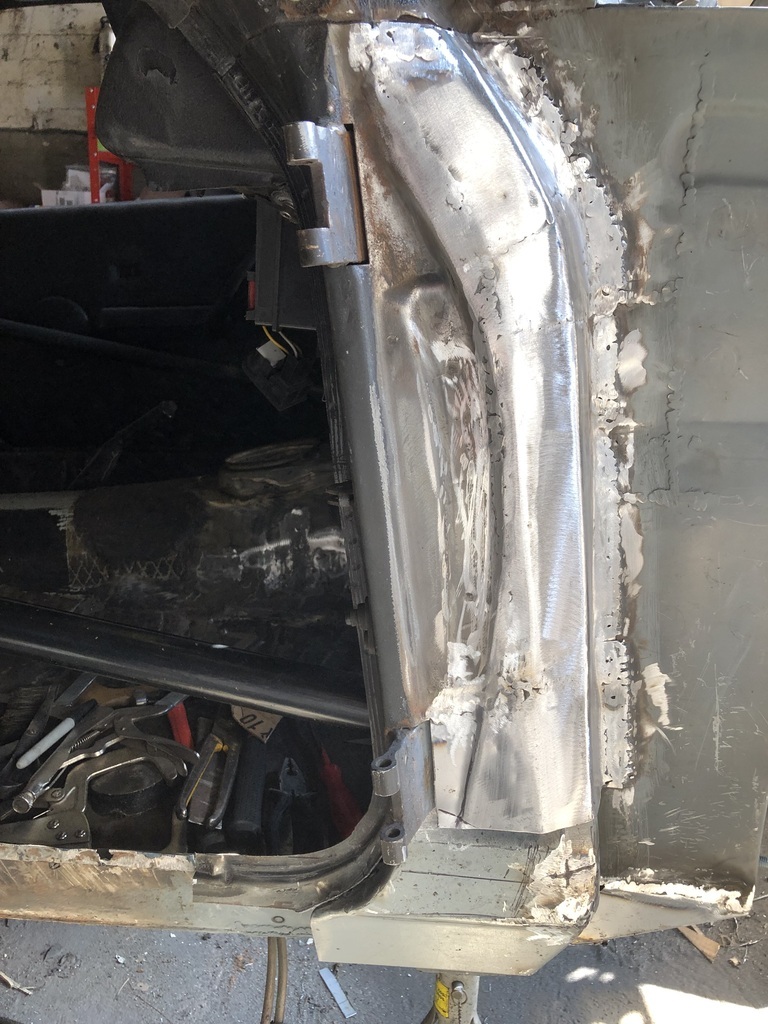 Just about out of sheet steel now, had the foresight to get some ordered but traffic down our way is so bad on a Friday, queuing for the council tip which is shut Wed/Thurs, that the APC delivery driver decided he wasn’t going to sit in it and claim they were “unable to gain access to your property “  |
| |
|
|
ChrisT
Club Retro Rides Member
Posts: 1,670
Club RR Member Number: 225
|
|
Sept 28, 2024 10:54:18 GMT
|
This weeks progress…. Prepared the sill, wire wheeled any loose factory primer, primed inside and then chassis black over that, drilled the edges for welding…. 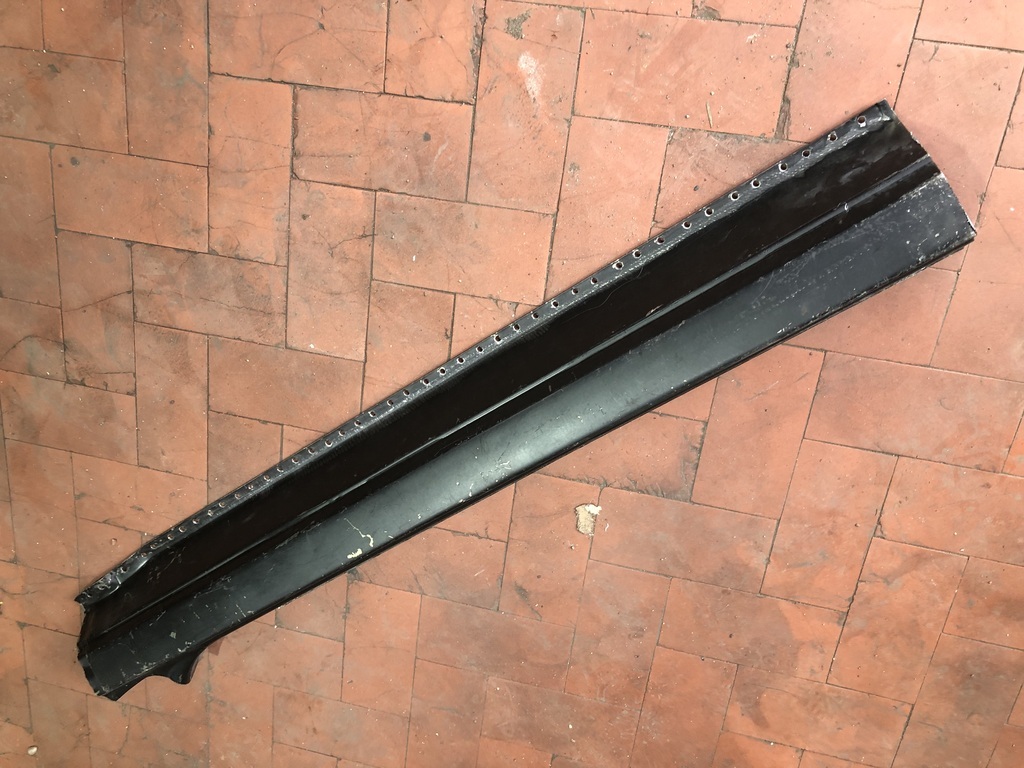 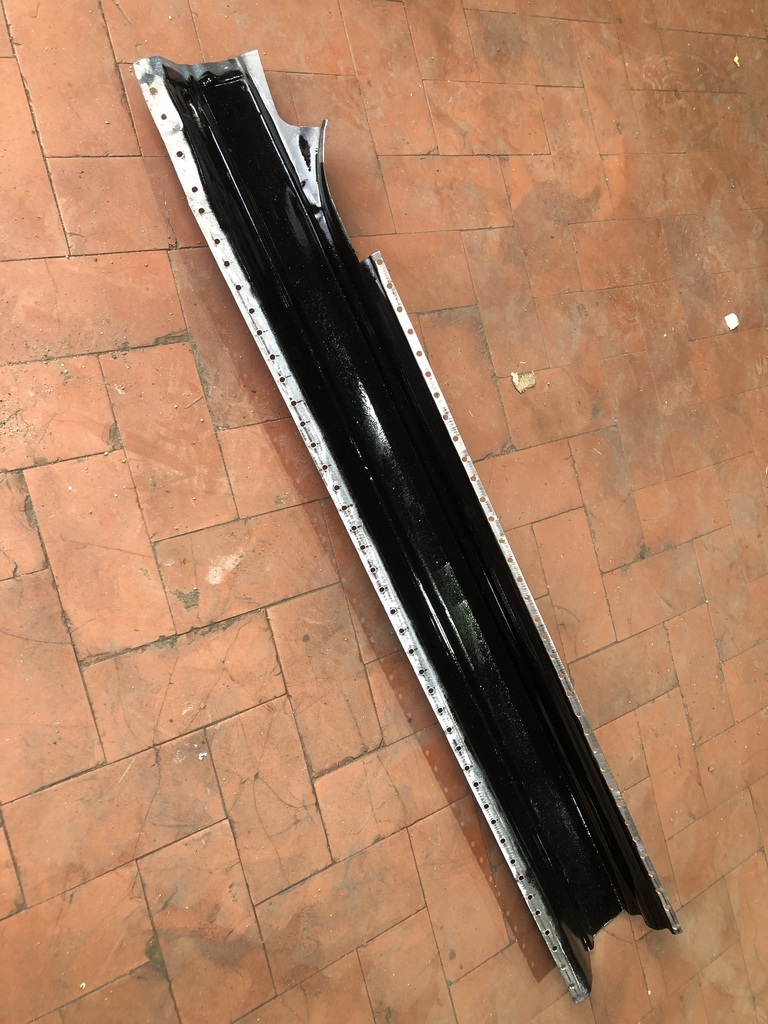 Cut it down too as I need to repair the B-pillar area but wanted to put some strength back before tackling it. Body behind the sill was given a good wire wheeling, rust stopper, primer and chassis black.. 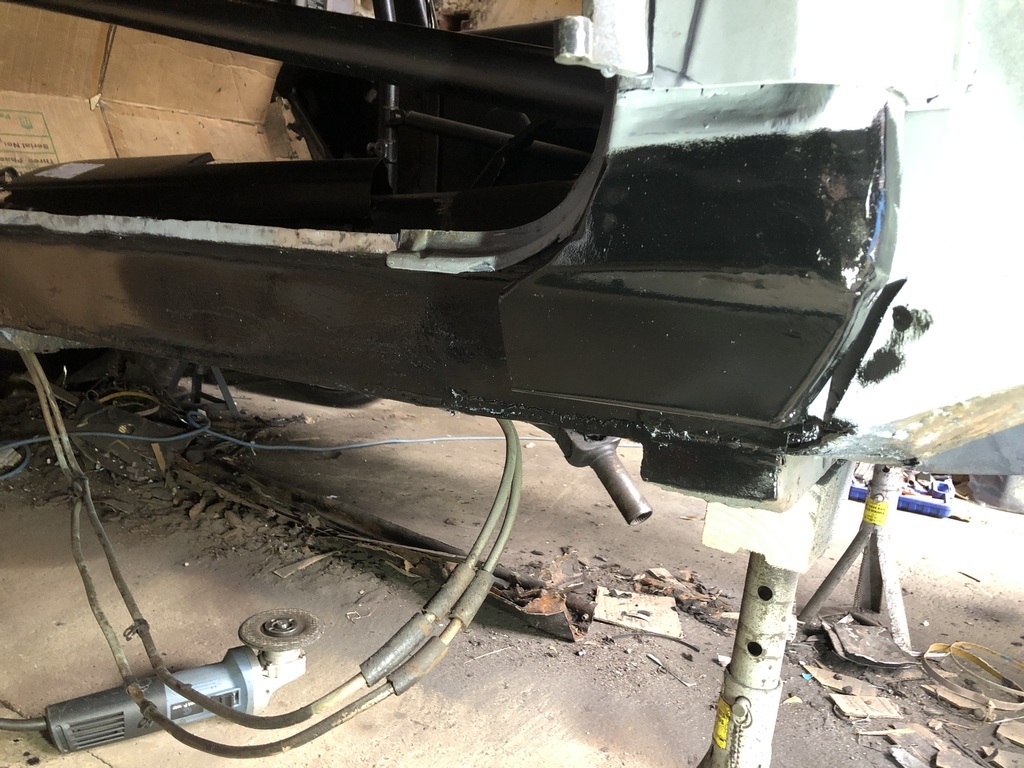 Little patch here… 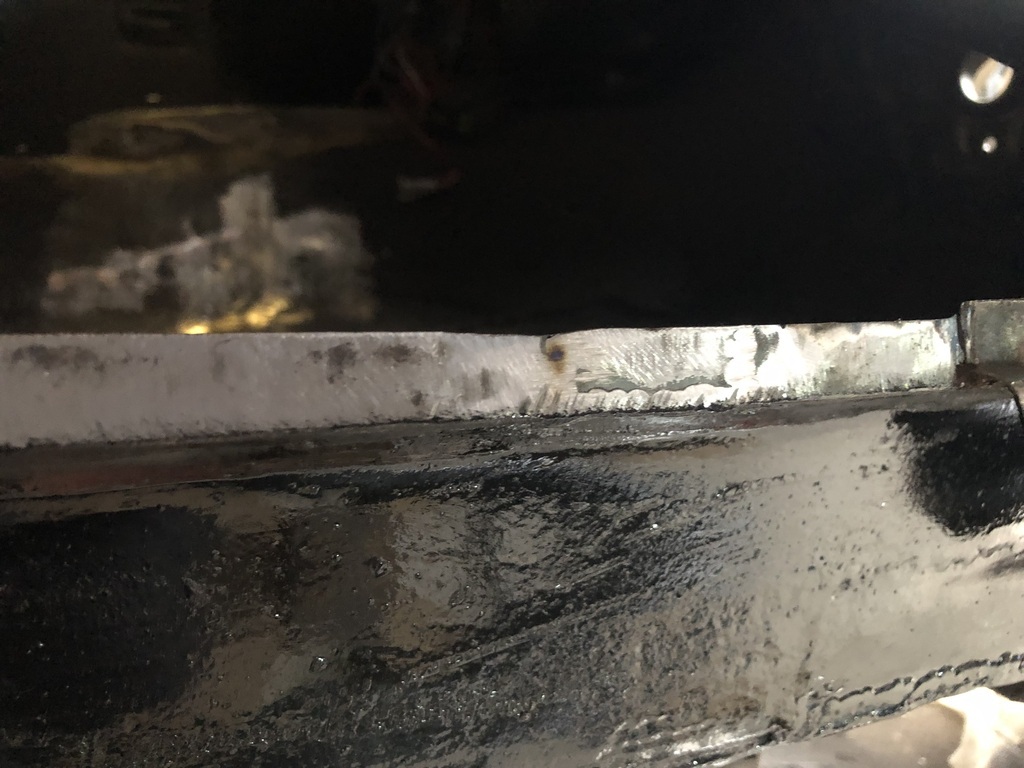 Sill in place. 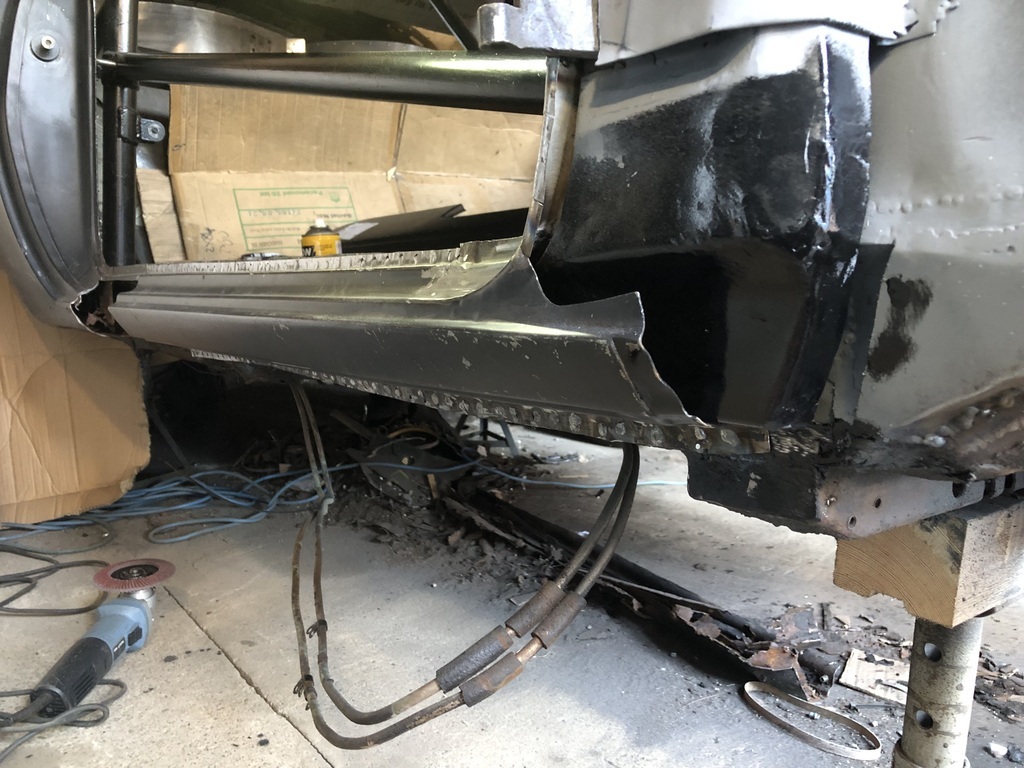 Needs this gap filling. 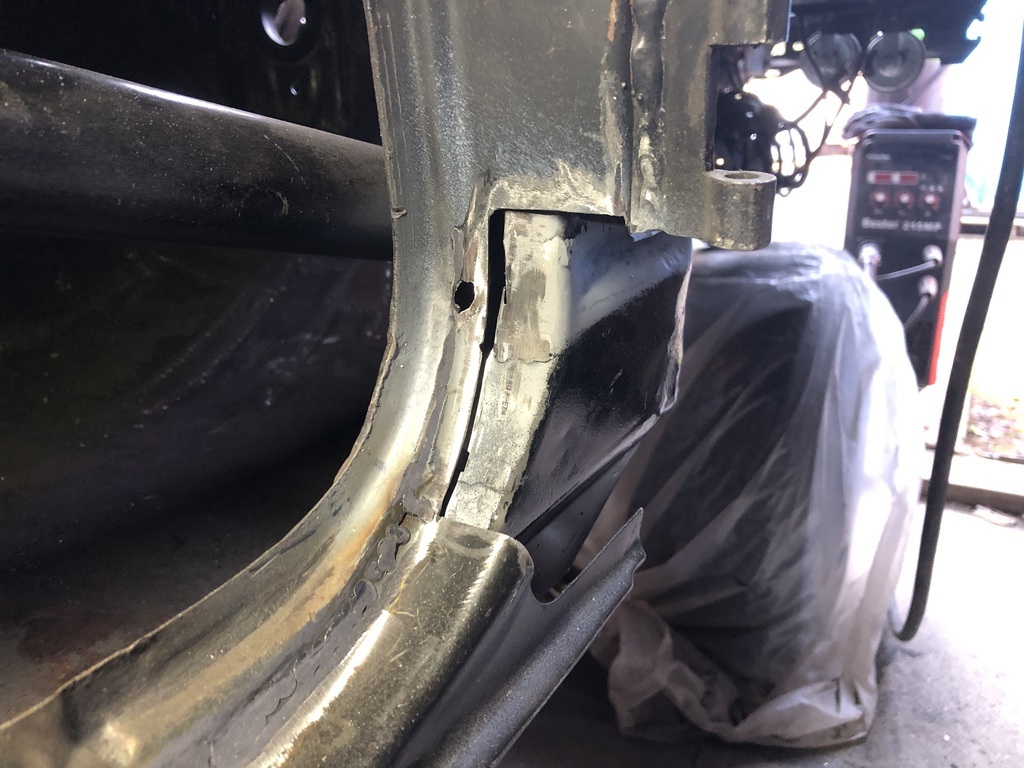 Like so. 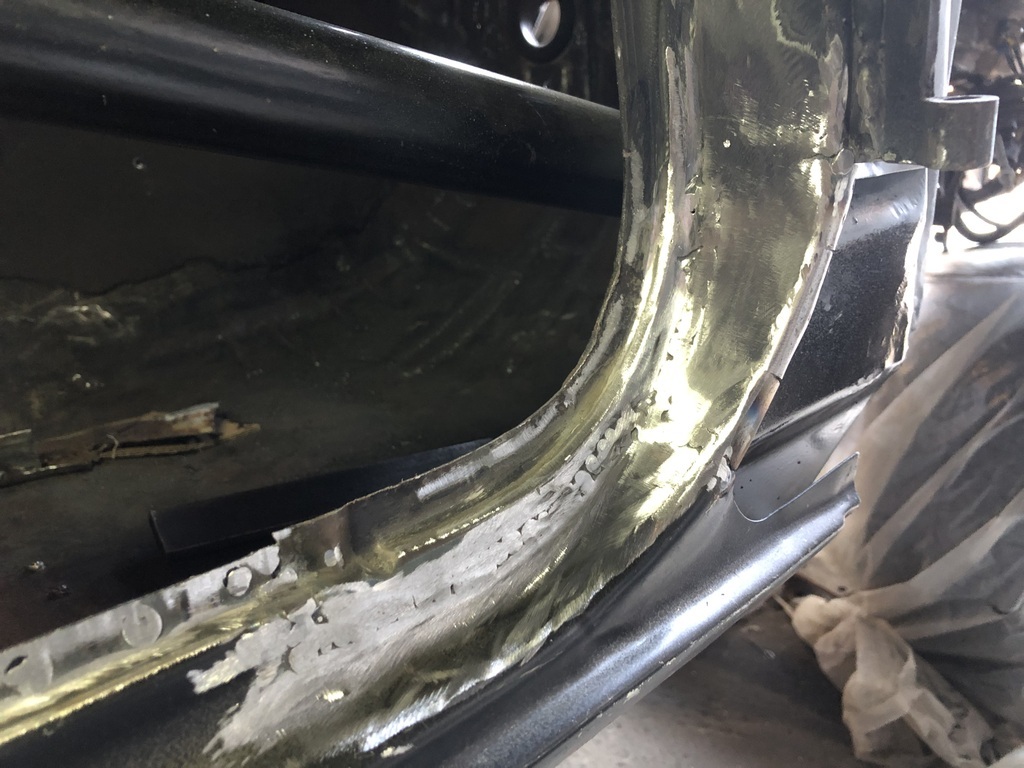 Kept the bits I cut off and tacked them together to give an idea of the shape in this area.. 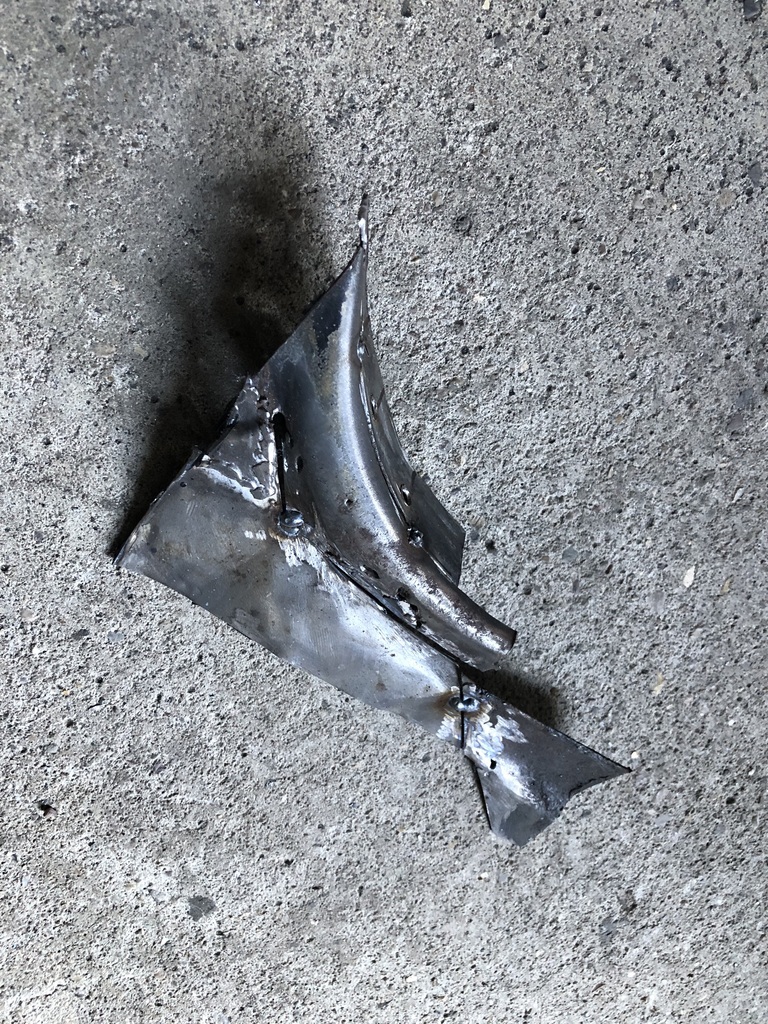 |
| |
|
|
ChrisT
Club Retro Rides Member
Posts: 1,670
Club RR Member Number: 225
|
|
Sept 29, 2024 13:20:08 GMT
|
Managed to get a few hours on it today, got the bottom of the A-pillar all closed in. New sheet of steel and new reel of wire. 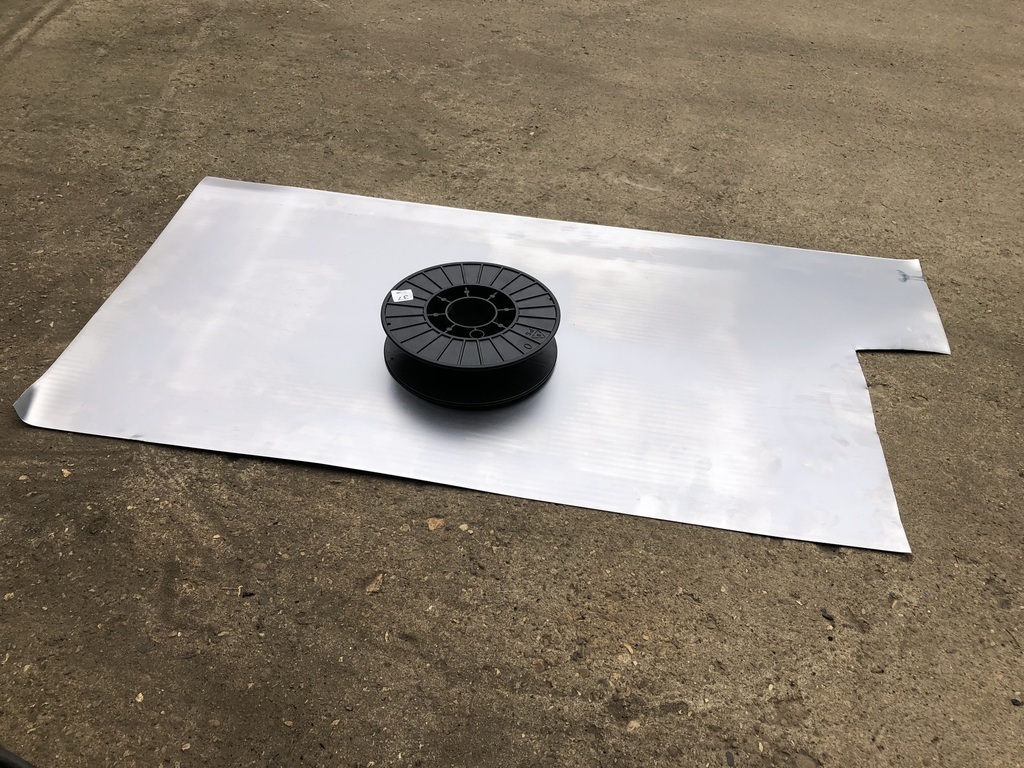 This bit first. 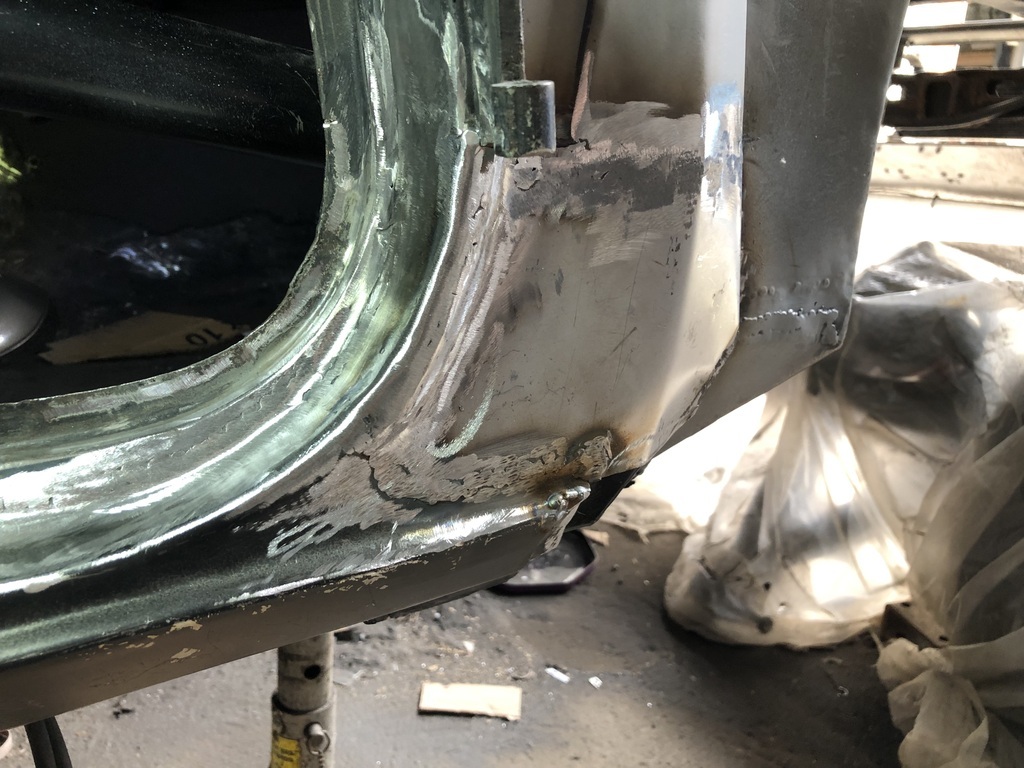 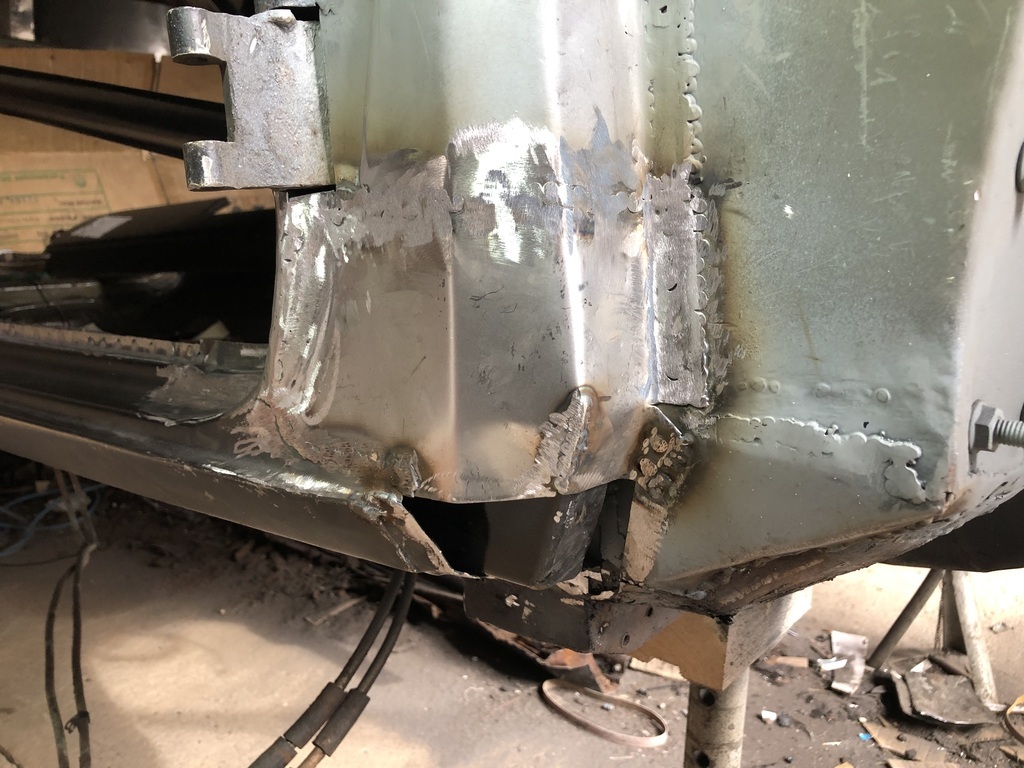 Then the final part, which goes underneath but no photos. 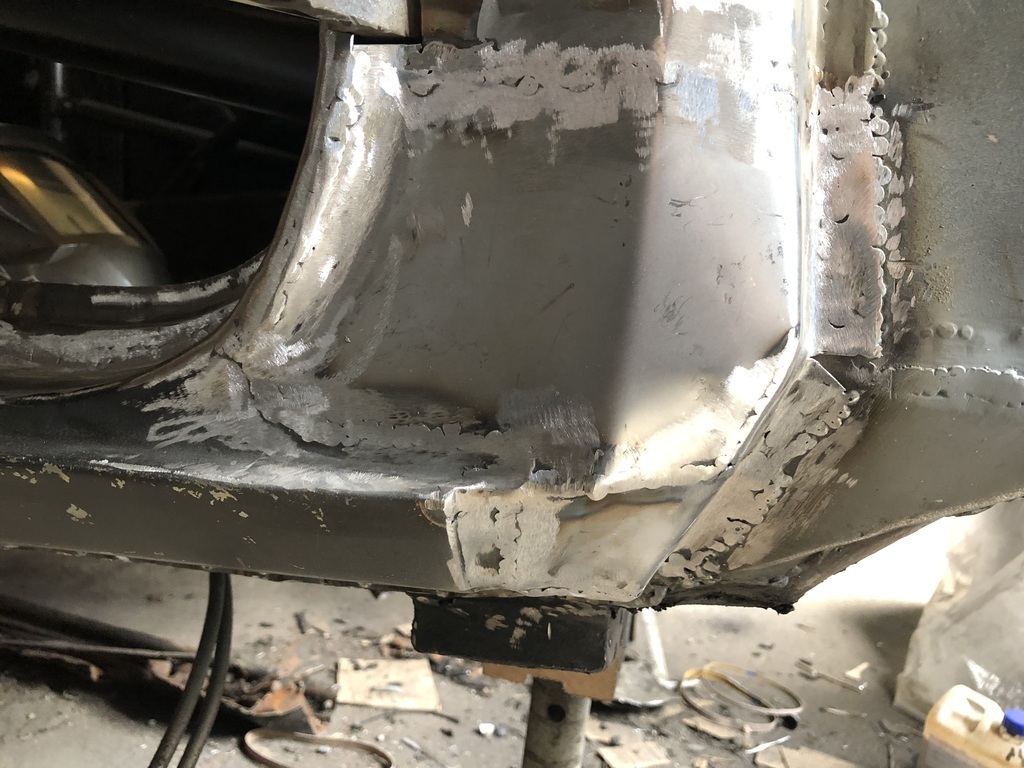 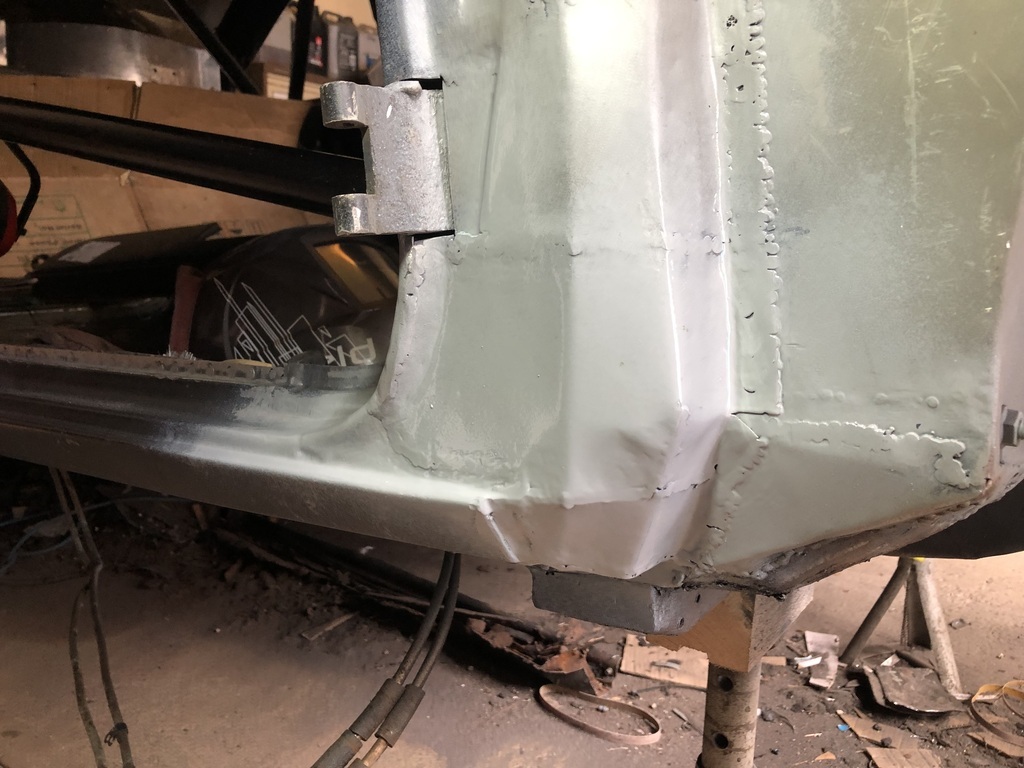 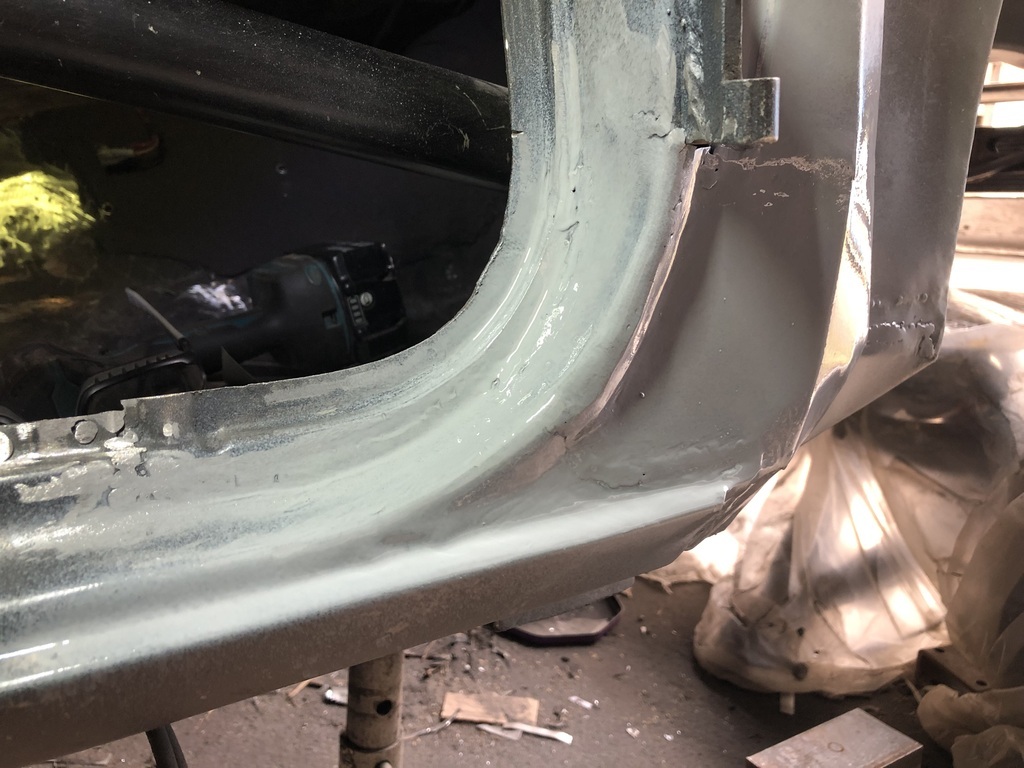 Still a few areas that need attention but the majority is done, on to the B-pillar…. |
| |
Last Edit: Sept 29, 2024 13:21:19 GMT by ChrisT
|
|
|
|
|
Sept 29, 2024 15:00:58 GMT
|
|
Tidy job
|
| |
|
|


