ChrisT
Club Retro Rides Member
Posts: 1,670
Club RR Member Number: 225
|
|
Sept 16, 2022 20:26:41 GMT
|
A bit of work on the bush housing, length of tube arrived... 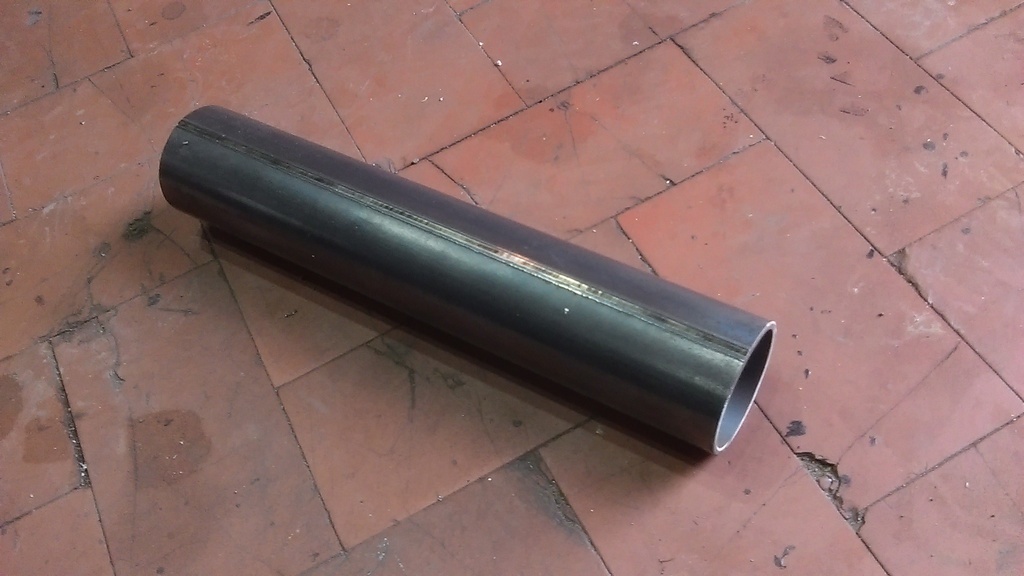 From the dimensions I was expecting to have to bore the centre out on the lathe but it only needed the internal weld join taking down flush. All parts ready for assembly... 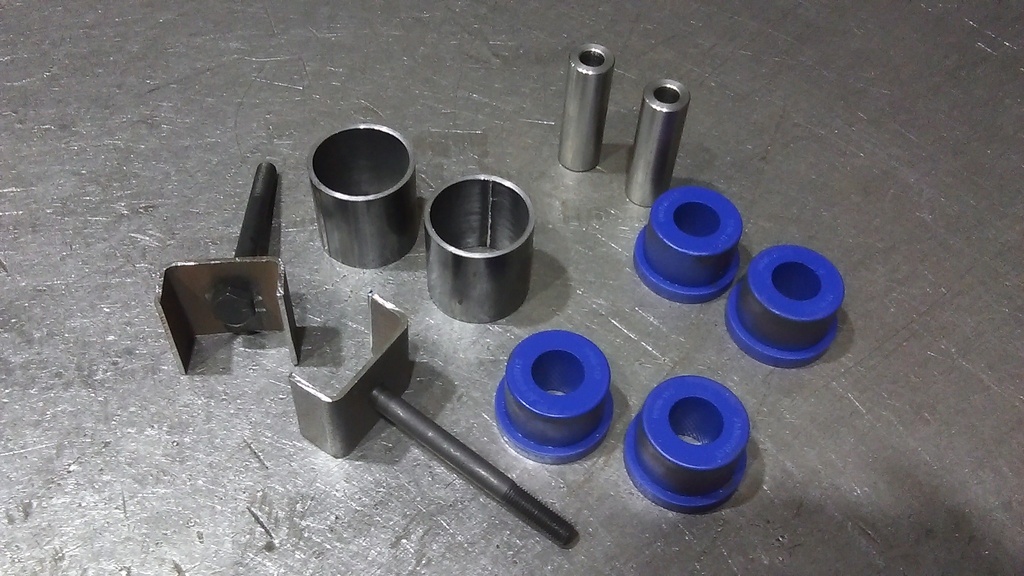 As I thought would happen, the tube needed a hole in it to clear the bolt head... 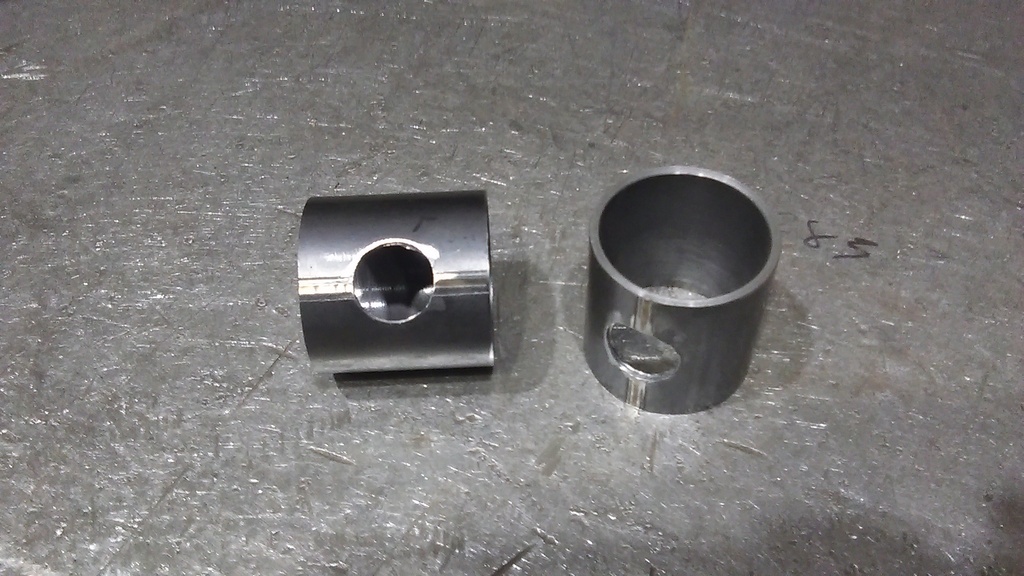 Together.. 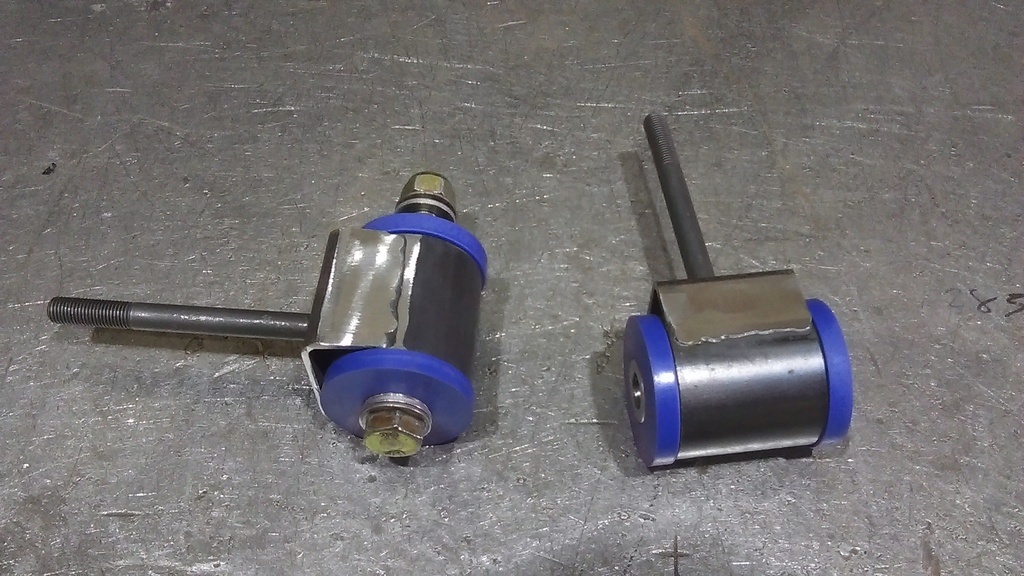 Painted.. 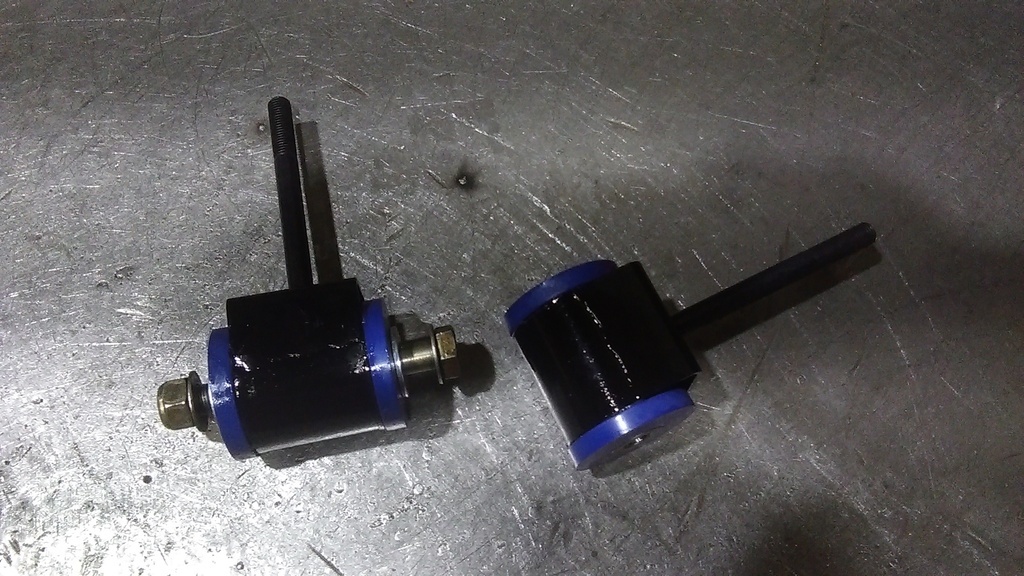 Seems to have turned out ok. Box section has turned up to make the inner chassis rail strengthening, in hindsight I should have ordered some slightly bigger but I can work round it. |
| |
|
|
|
|
ChrisT
Club Retro Rides Member
Posts: 1,670
Club RR Member Number: 225
|
|
Sept 19, 2022 14:20:23 GMT
|
Enjoyable afternoon at The Gathering yesterday, a little bit of incentive to get on with this as, if it's held at Mallory Park again, it's not too far to travel to. Apologies for posts with not a lot of content, they're mainly for me to keep momentum going. Bushes from previous post go here, top of the front subframe, needs a large diameter 2mm washer either side to get it sitting centrally and to stop the bush from moving off the crush tube, ordered some that were supposed to be 2mm but they're 2.5mm, not sure how to take that little off easily, maybe a belt sander.... 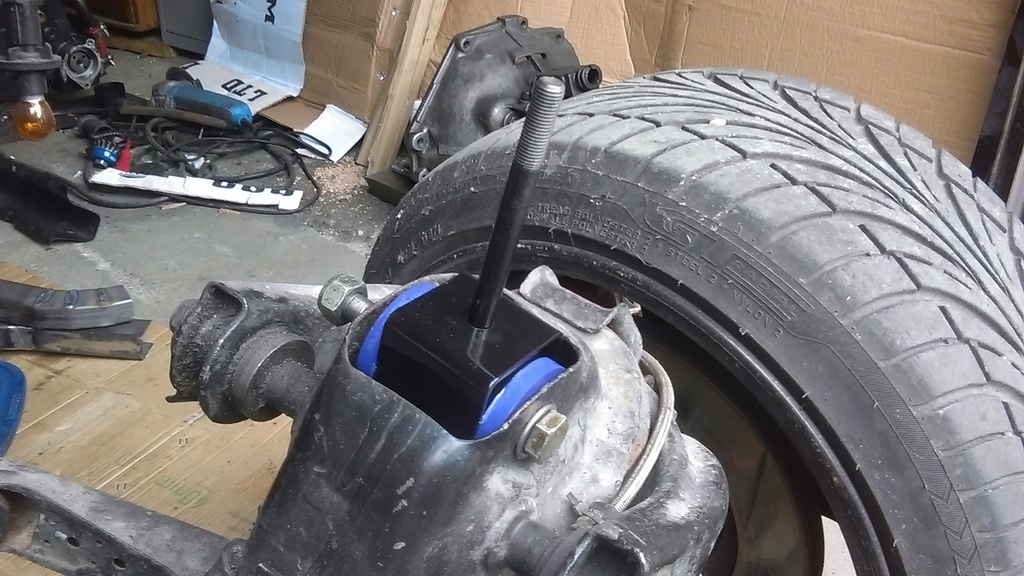 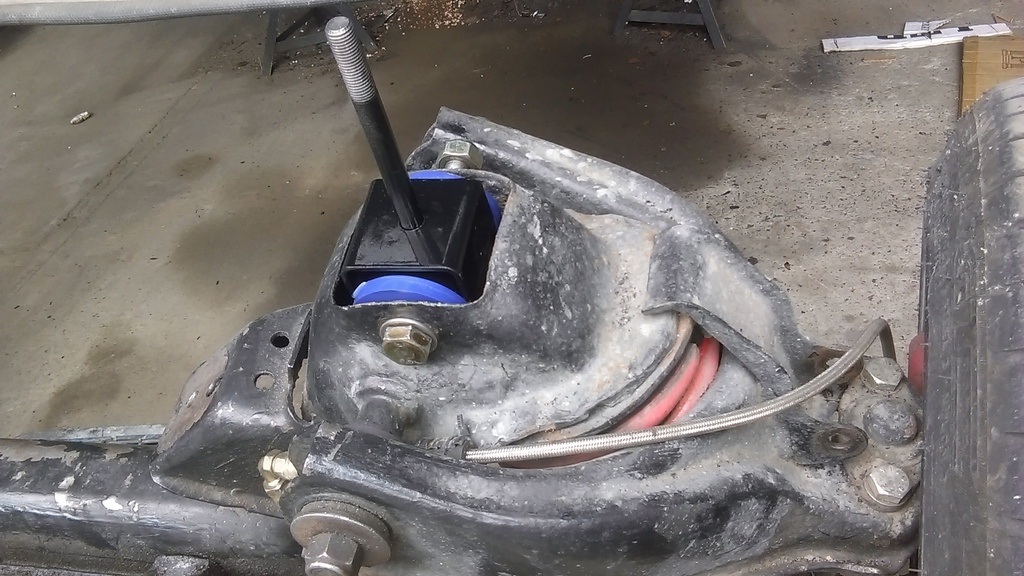 Driver's side Subframe 'outrigger' had lost a lot of paint from spilt brake fluid so cleaned it off, redid the bracing welds and put some primer on. 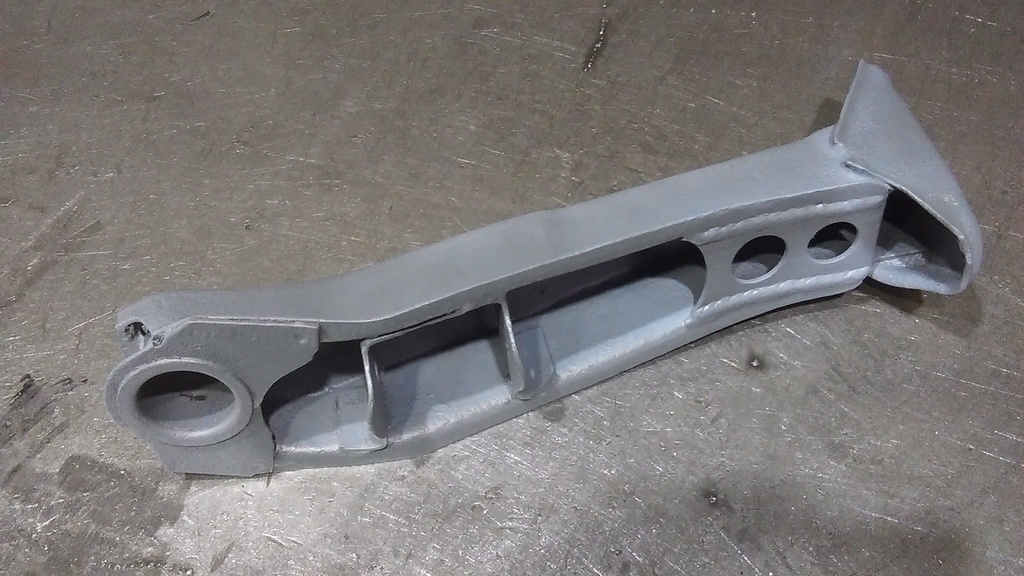 And then some chassis black on both of them (passenger side one's been sat in primer since I worked on it last year).... 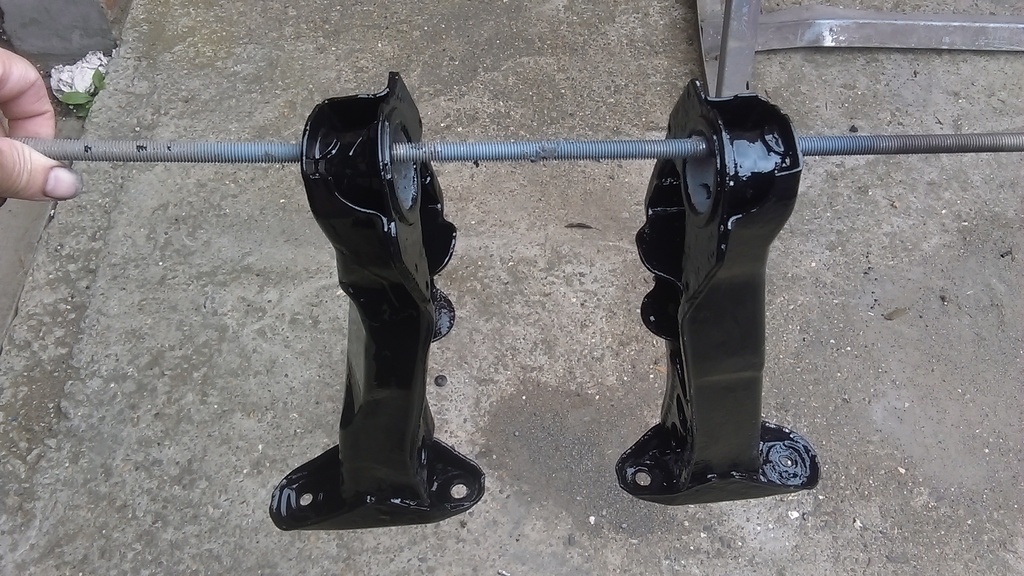 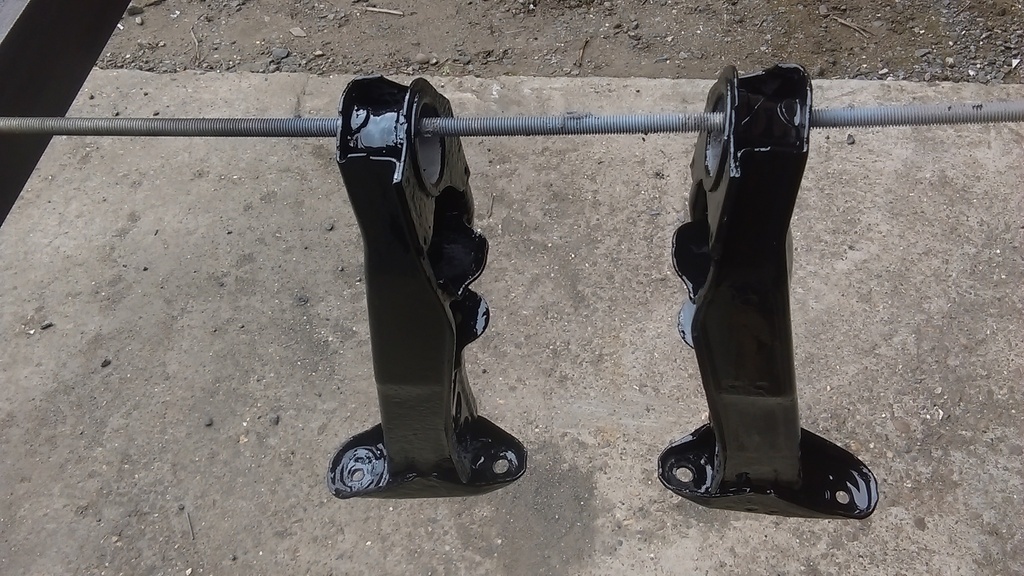 Still awaiting the bushes for them, should be here tomorrow. 50x25x2.5mm box section for the chassis rail inner structure... 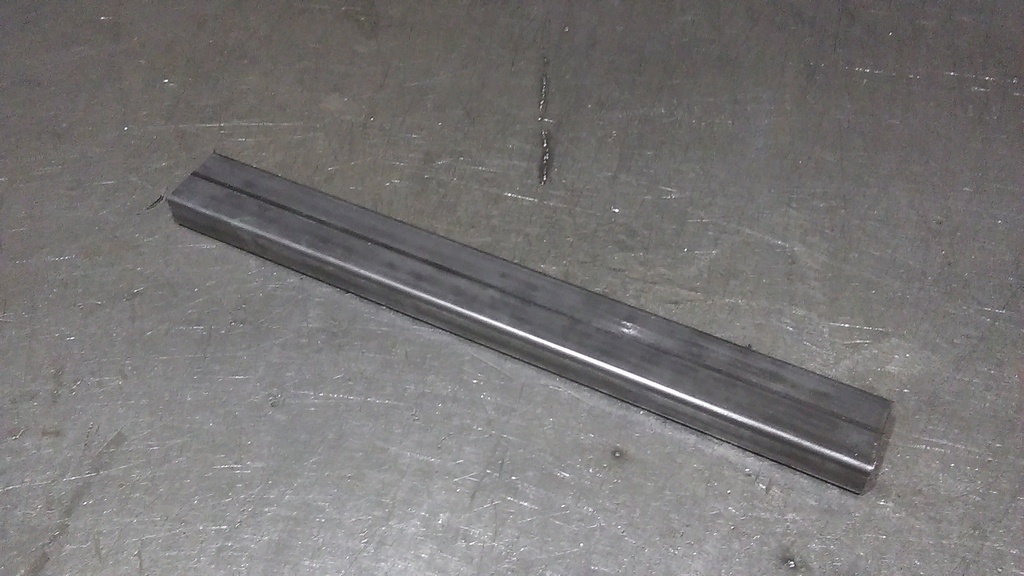 50x40 would have been more suitable so I've cut down opposing edges, giving me two bits of 20x50 angle, joined them together which results in some 50x40 U section. Cut a V out and bent to roughly follow original lines.. 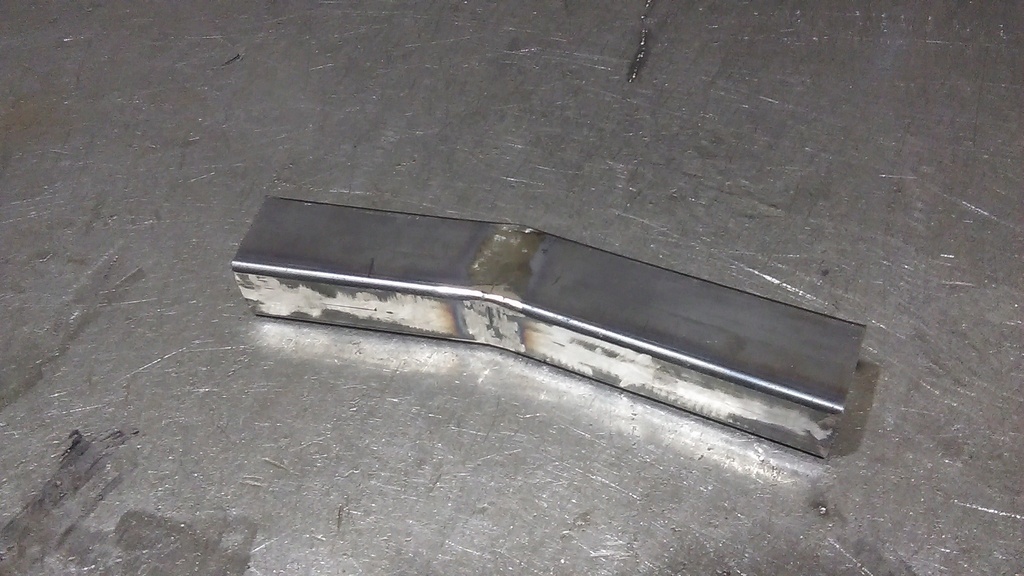 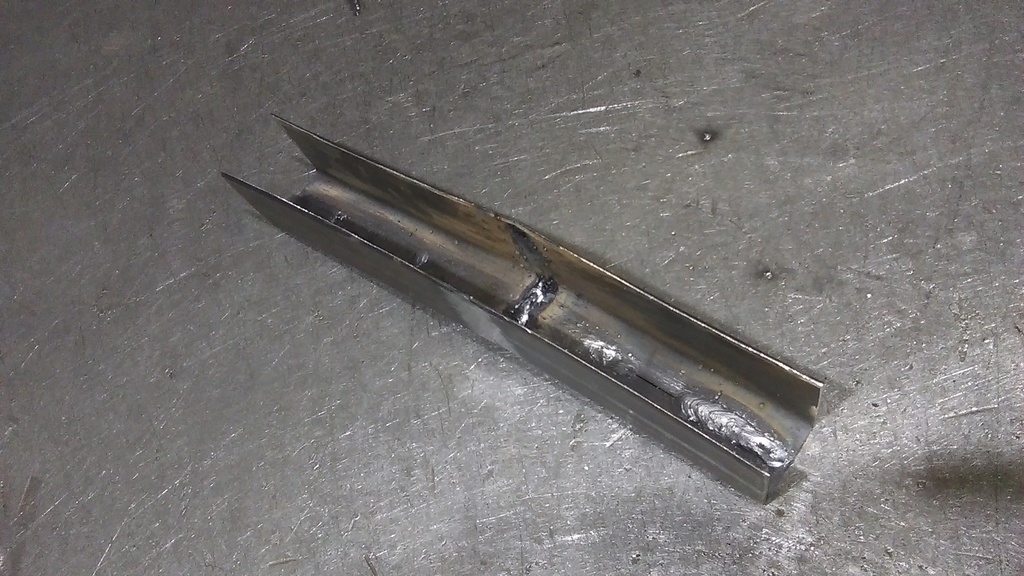 Second piece needed to taper ffrom 40 - 35mm as for some reasone the rail is different thicknesses.... 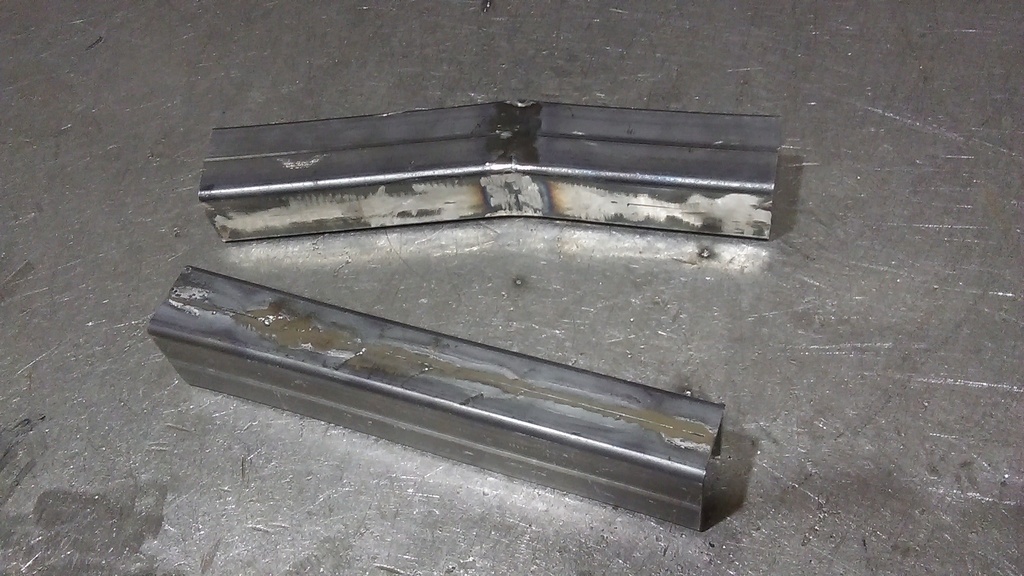 A few more V cuts (made a template from card to figure out the right size/spacing) and weld the hell out of it... 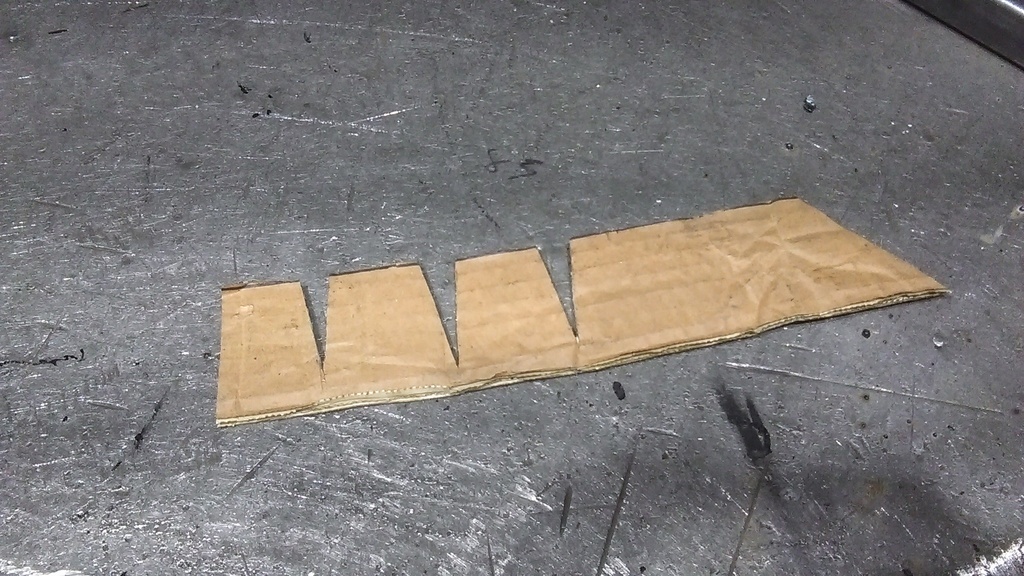 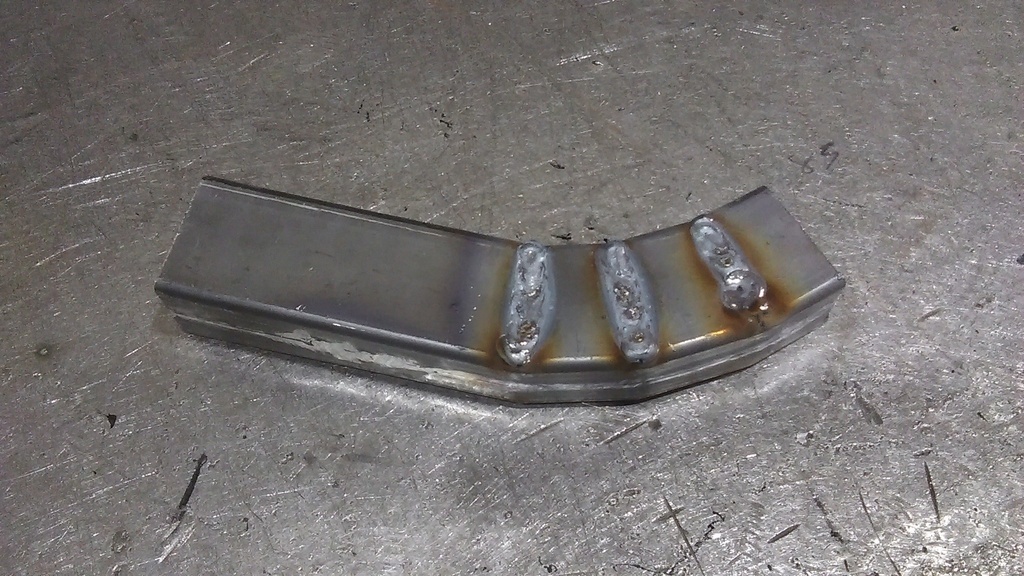 Where the subframe bushes come through it needs some crush tubes making up so found some 16mm round bar... 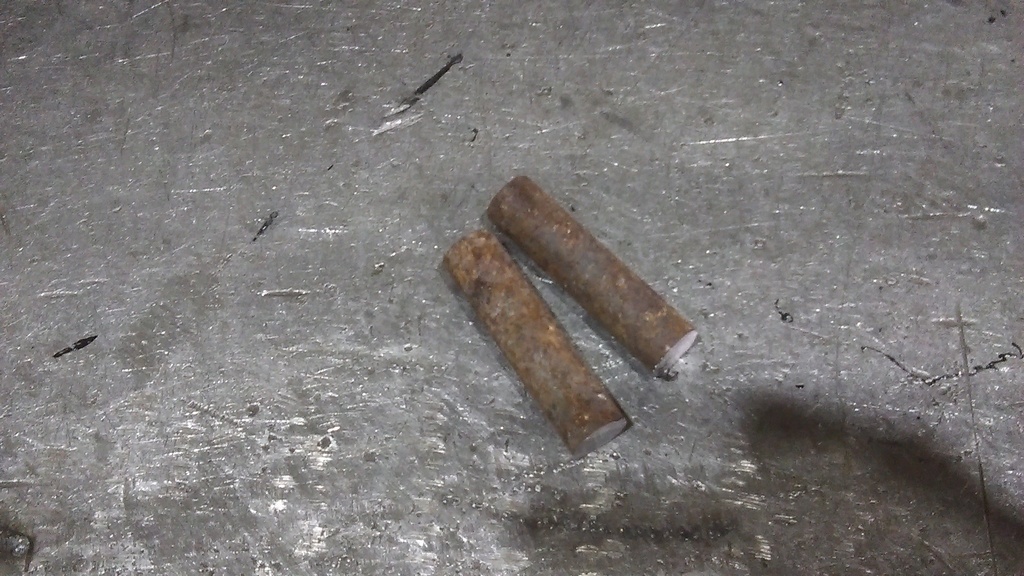 Cleaned up on the lathe and 10mm hole bored through... 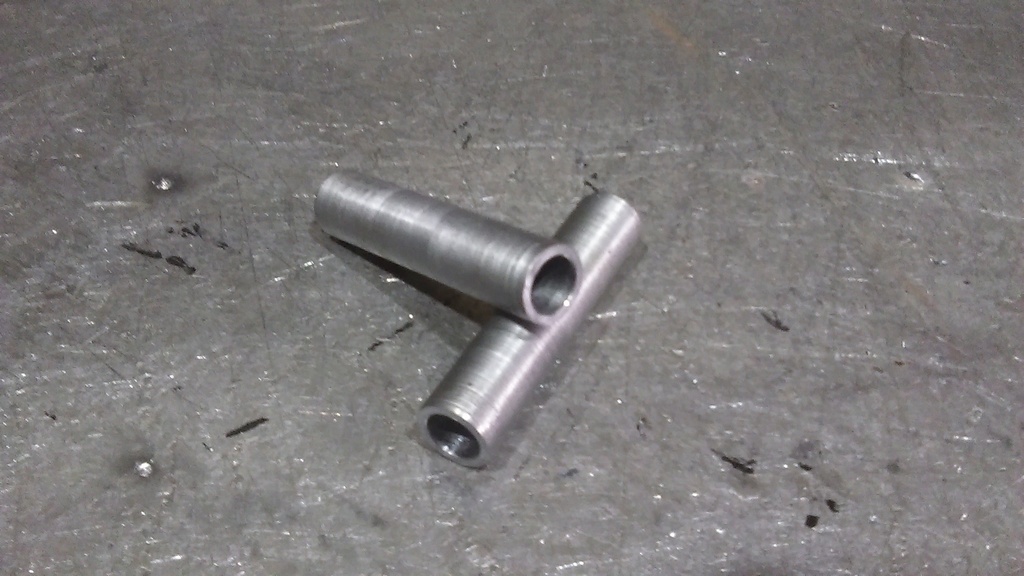 |
| |
Last Edit: Sept 23, 2022 19:21:19 GMT by ChrisT
|
|
ChrisT
Club Retro Rides Member
Posts: 1,670
Club RR Member Number: 225
|
|
Sept 23, 2022 19:19:27 GMT
|
A little more progress, end of the crush tubes turned down to 13mm..... 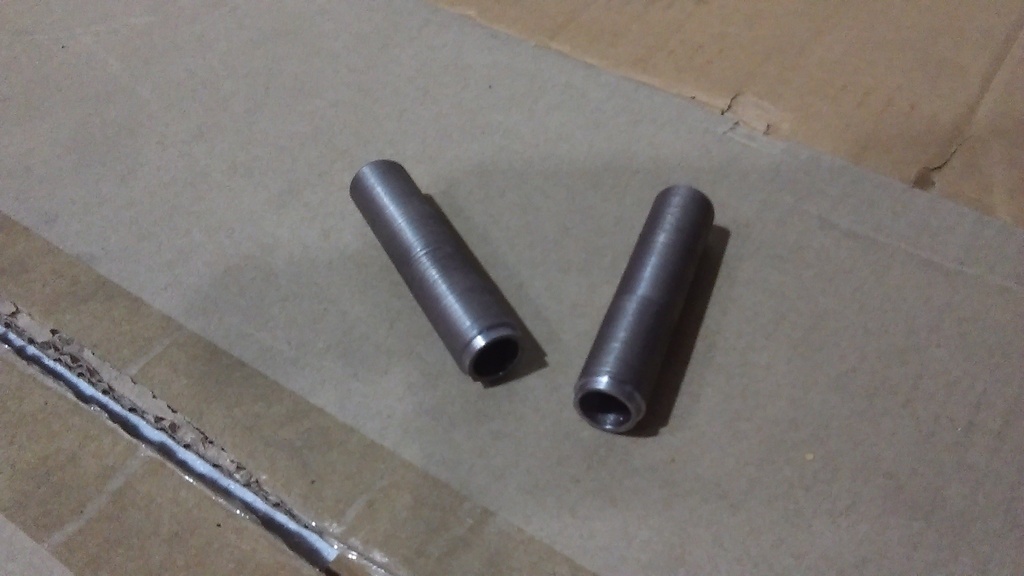 So they will locate into a corresponding hole in the chassis legs.... 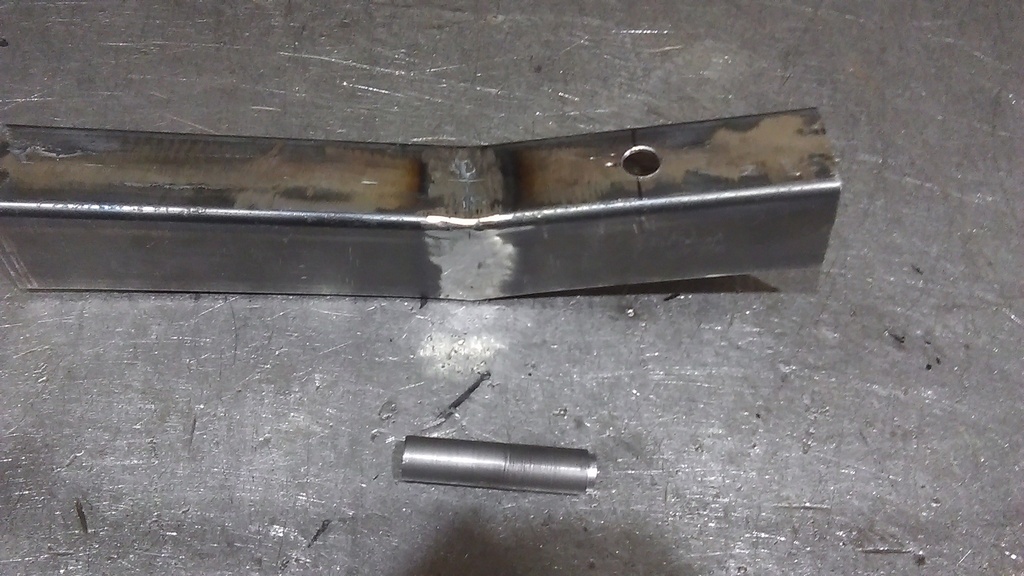 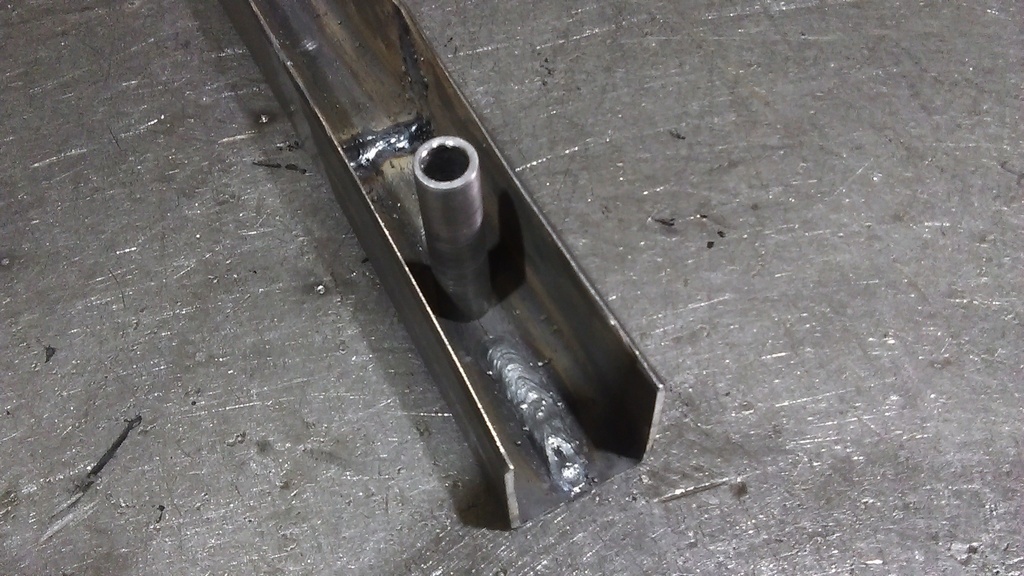 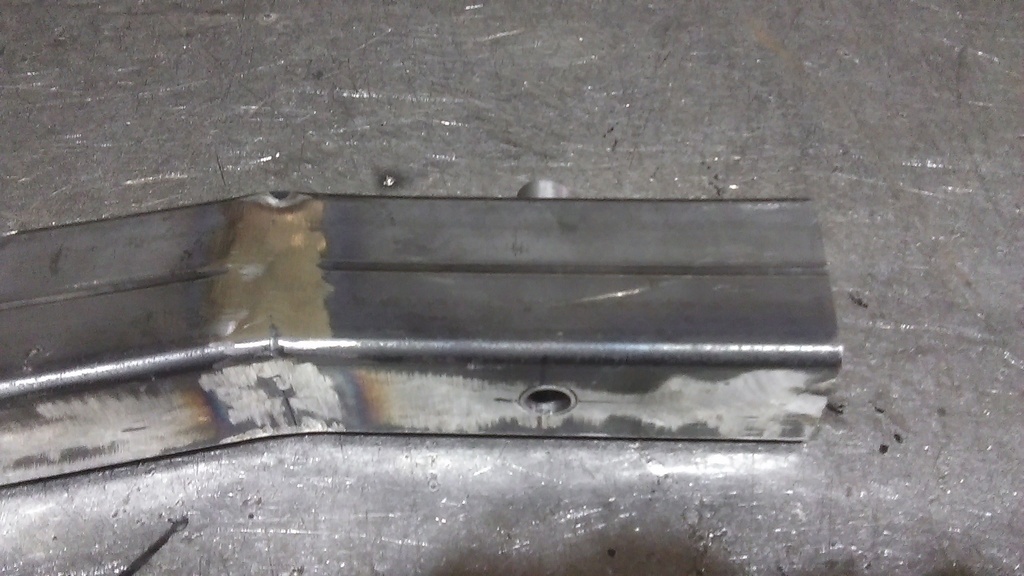 Cleaned up the welds on the lower section.... 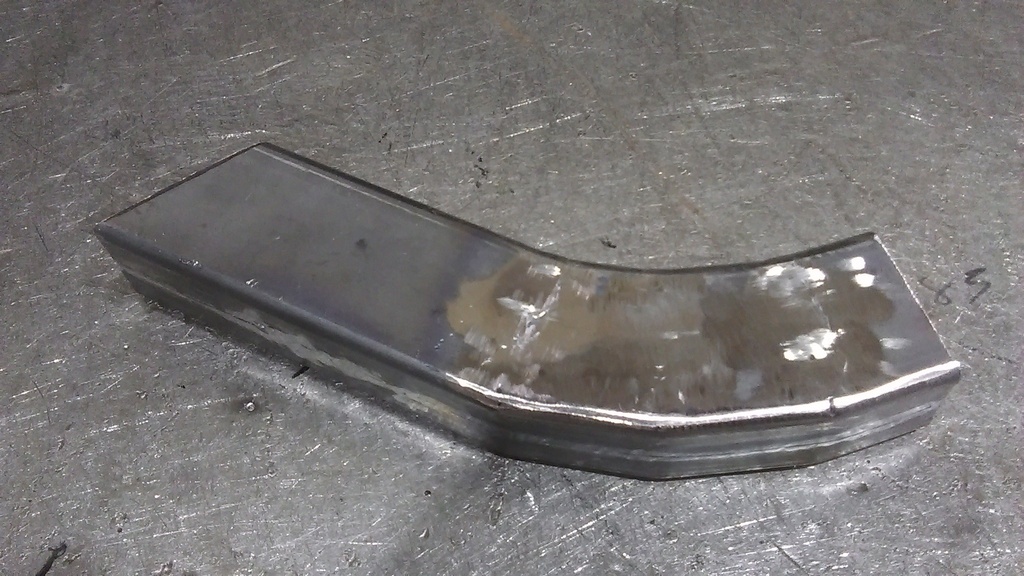 And welded it to the other bit... 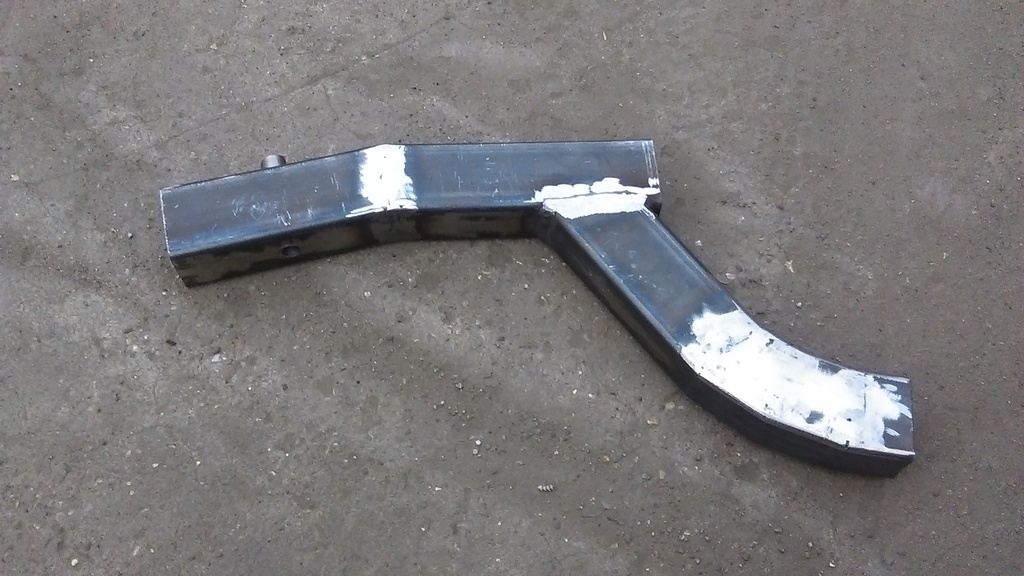 Compared to the original section, which is now separate from the car, fairly close.... 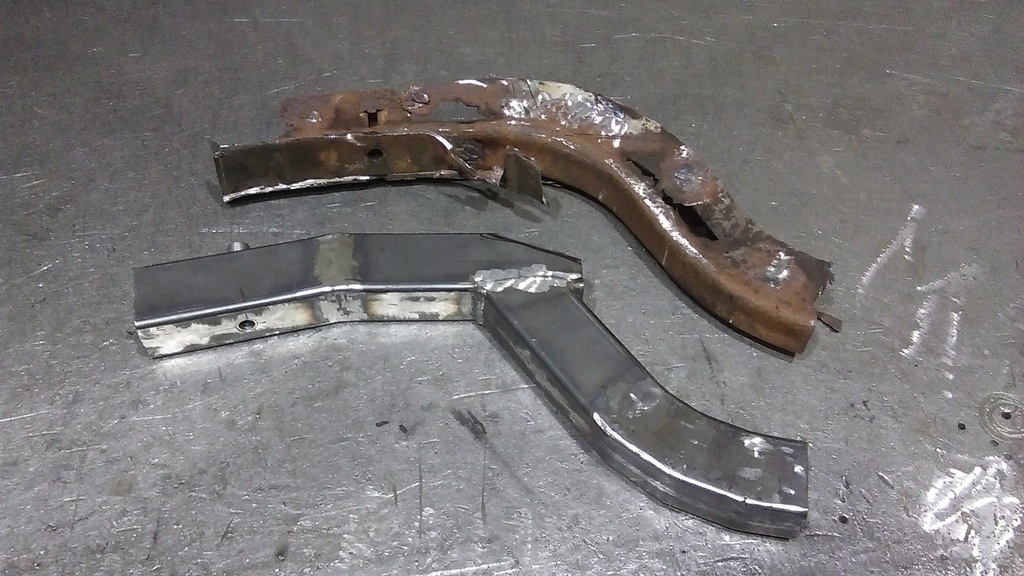 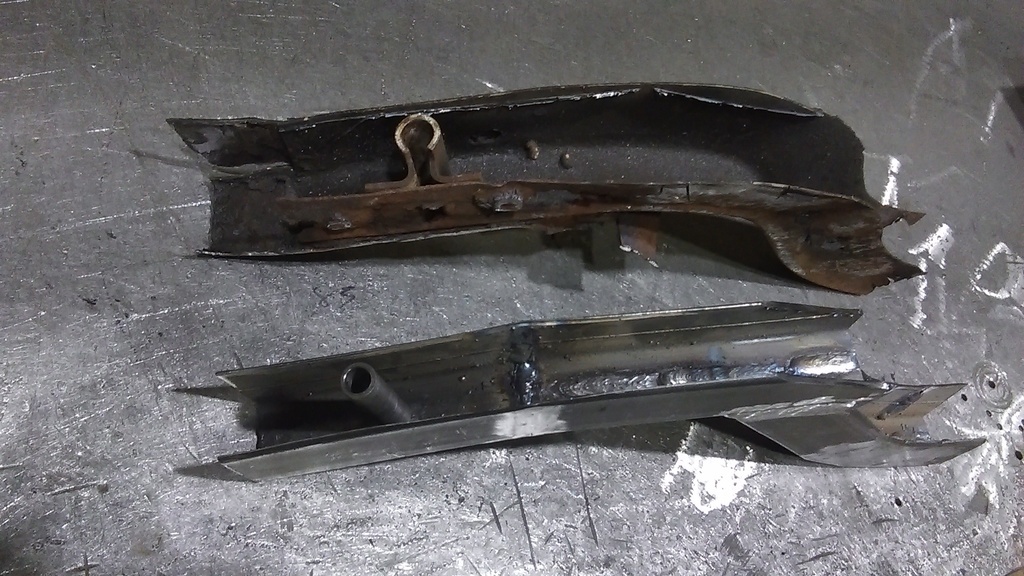 Held in place by the old subframe bush it almost fits.... 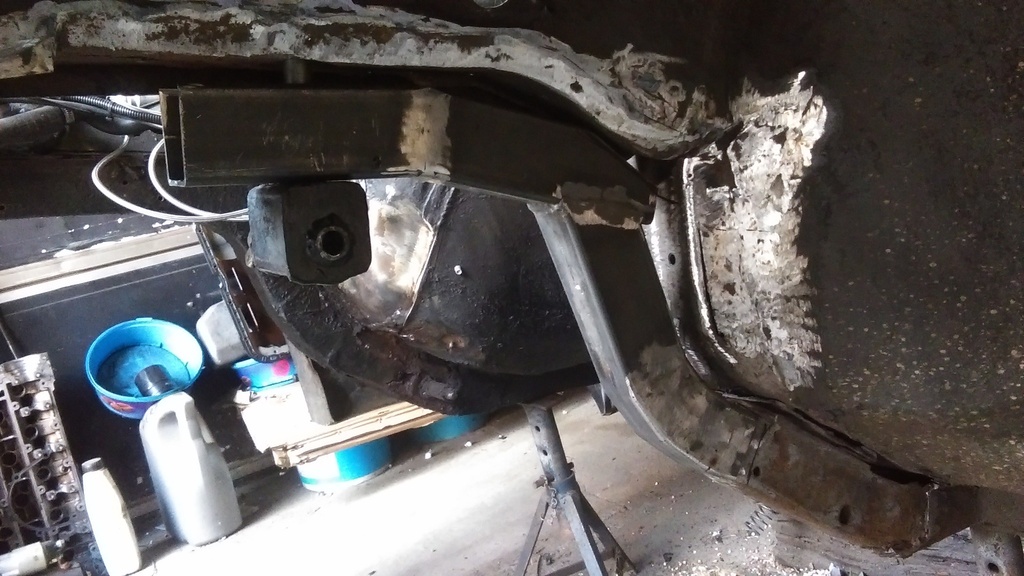 Repair panel doesn't quite fit over it, so a bit of reshaping work required.... 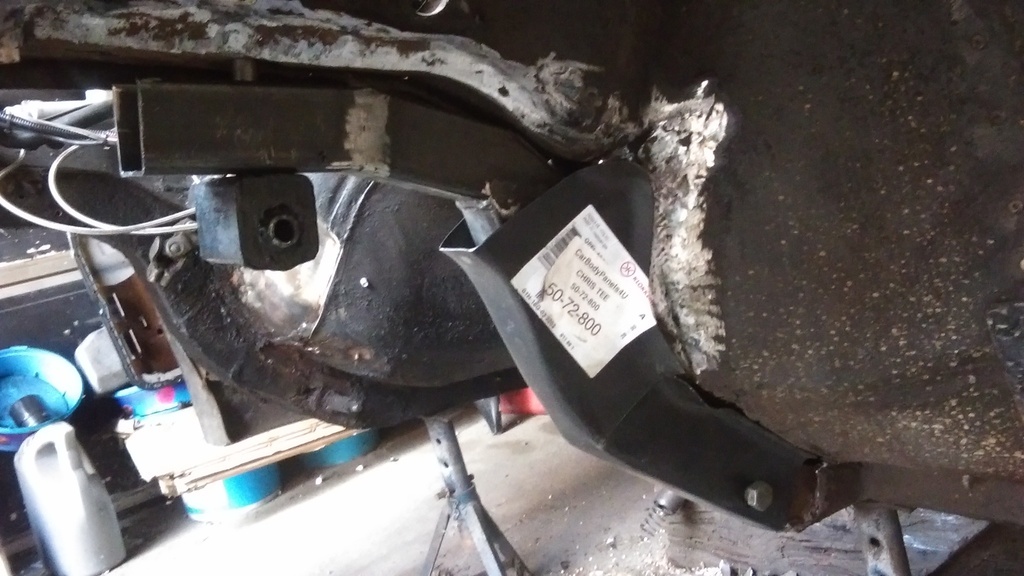 Poly bushes turned up, along with a few extras.... 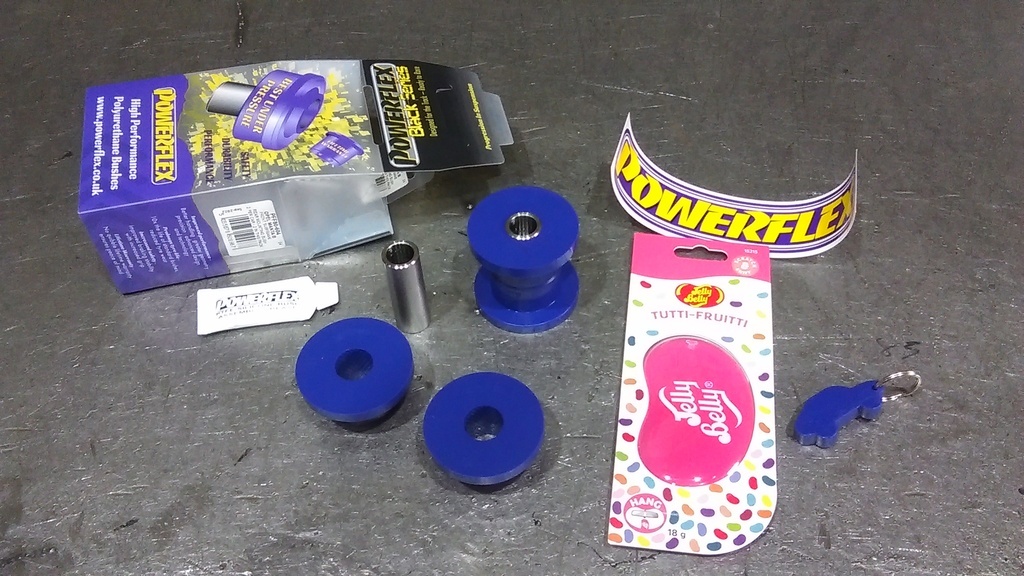 I'd rather they just made them a few quid cheaper, oh well, the Mrs has now got a new air freshener and keyring for her car. Subframe all back together with bushes fitted, need to at least degrease and clean the rest of it now... 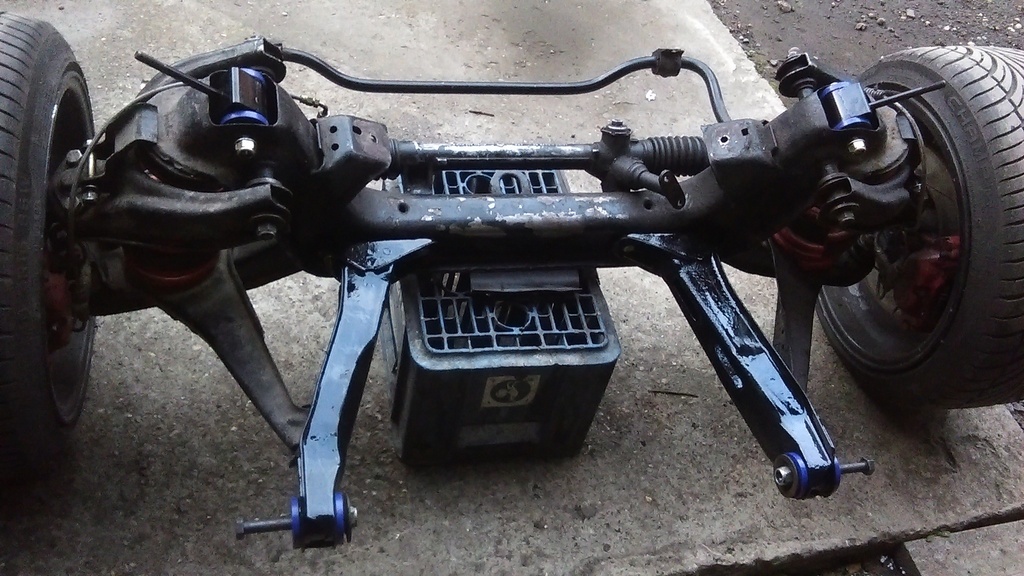 |
| |
|
|
|
|
|
Sept 23, 2022 22:11:26 GMT
|
|
Nice work Mr T
|
| |
|
|
|
|
|
Sept 23, 2022 23:37:29 GMT
|
|
I’m sure I remember seeing this manta when I was in sixth form at upper school in northampton, which would have been over 15 years ago.
I now have 4 mantas 2 As and 2 Bs.
|
| |
|
|
|
|
|
Sept 23, 2022 23:37:40 GMT
|
|
I’m sure I remember seeing this manta when I was in sixth form at upper school in northampton, which would have been over 15 years ago.
I now have 4 mantas 2 As and 2 Bs.
|
| |
|
|
ChrisT
Club Retro Rides Member
Posts: 1,670
Club RR Member Number: 225
|
|
Sept 24, 2022 7:49:15 GMT
|
Thank you. I’m sure I remember seeing this manta when I was in sixth form at upper school in northampton, which would have been over 15 years ago. I now have 4 mantas 2 As and 2 Bs. It's possible, been to the Billing Aquadome VBOA show a few times back then and organized an OMOC rolling road day at Northampton Motorsport in 2004. It would have been in one of it's earlier incarnations back then obviously, see Page 1 for pics Seems very few people have only one Manta, I had a couple for a while, you must be a glutton for punishment to have 4  |
| |
Last Edit: Sept 24, 2022 12:24:57 GMT by ChrisT
|
|
|
|
|
Sept 25, 2022 9:25:10 GMT
|
|
I must be lol.
|
| |
|
|
ChrisT
Club Retro Rides Member
Posts: 1,670
Club RR Member Number: 225
|
|
|
|
Weekly update, despite doing a little bit every day there's not a lot to show picture-wise. Decided it was about time to begin welding, starting with where I've been a little overzealous with the cutting disc and gone through the footwell. One went OK, the other started bad and got worse, think I've thinned the metal too much, putting in new sections might be the best approach here. Cleaned up the other side of the chassis rail with a wire wheel which has shown a few areas to attend to, there's also a lot of holes in the bulkhead from over the years, most of which can be welded up. There's some 'clearencing marks' on the trans tunnel Where the exhaust downpipe goes so tidied it up and made more space for it, likewise above the tunnel it's tight where the coolant pipe comes out the back of the head so did the same there. 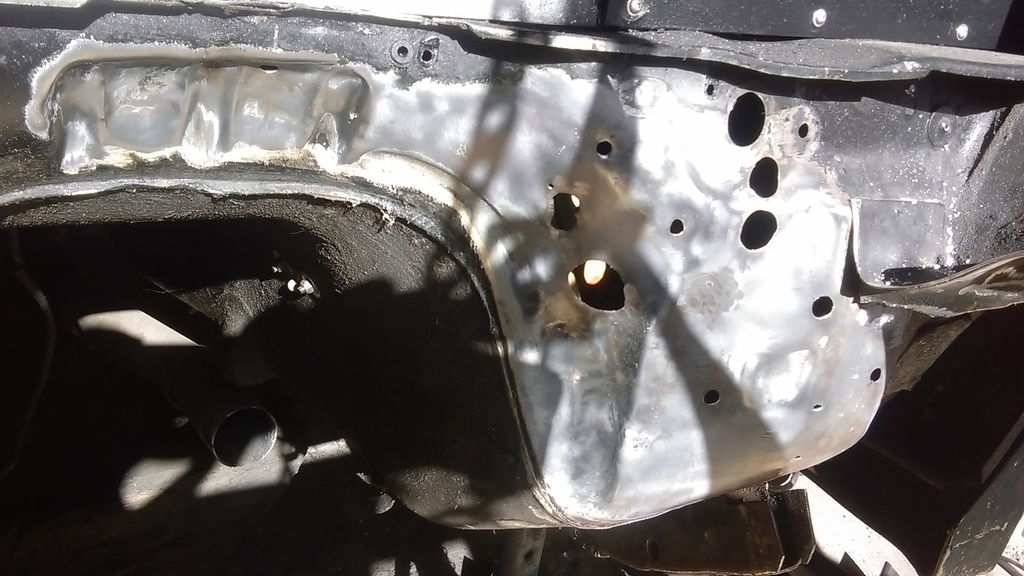 Obligatory shot of all the curse word that's been ground or cut off... 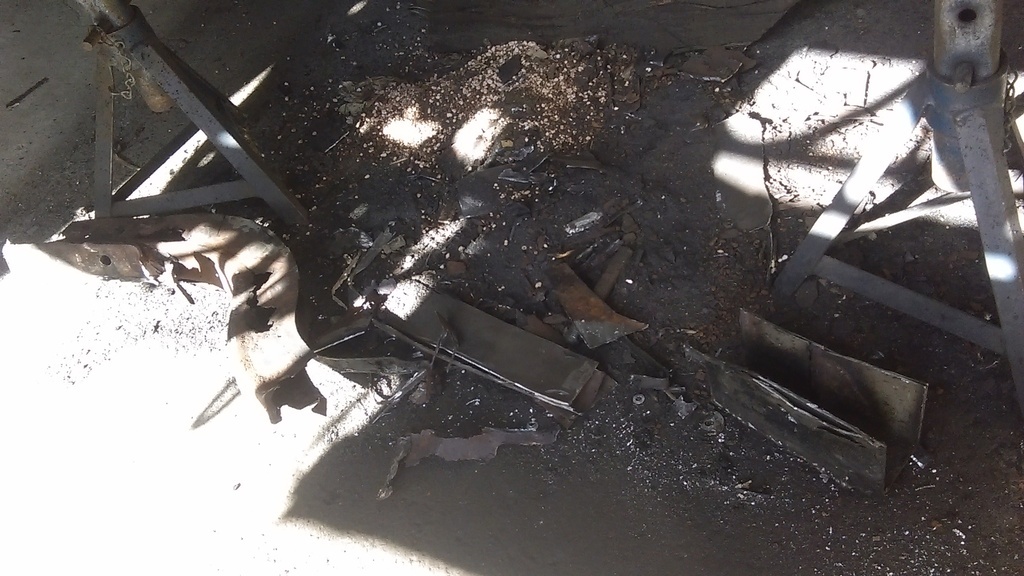 I welded the crush tube into the cassis rail inners, along with a washer on top to help keep everything square, and then made up a second one for the driver's side as I'm sure it'll be as bad.... 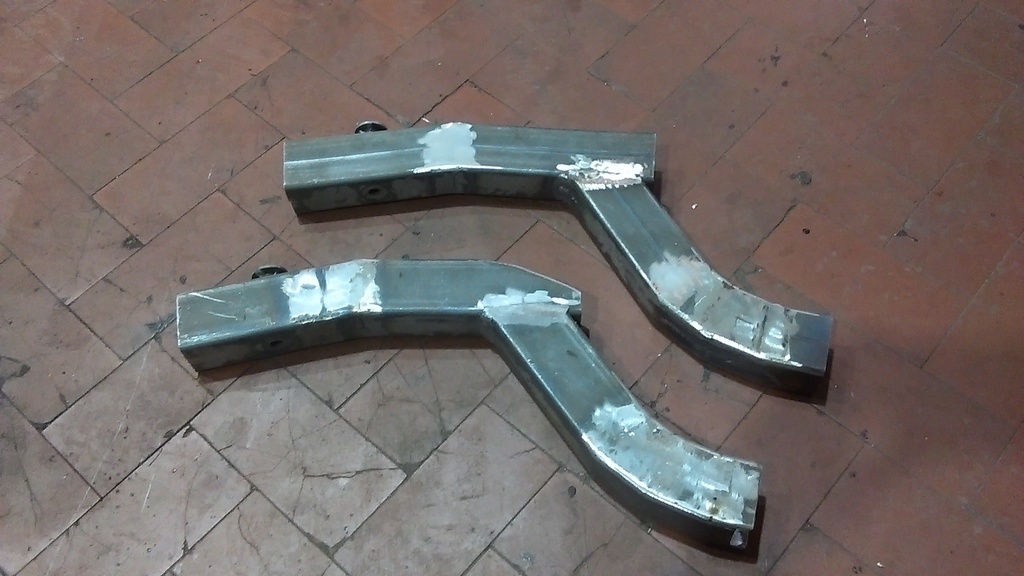 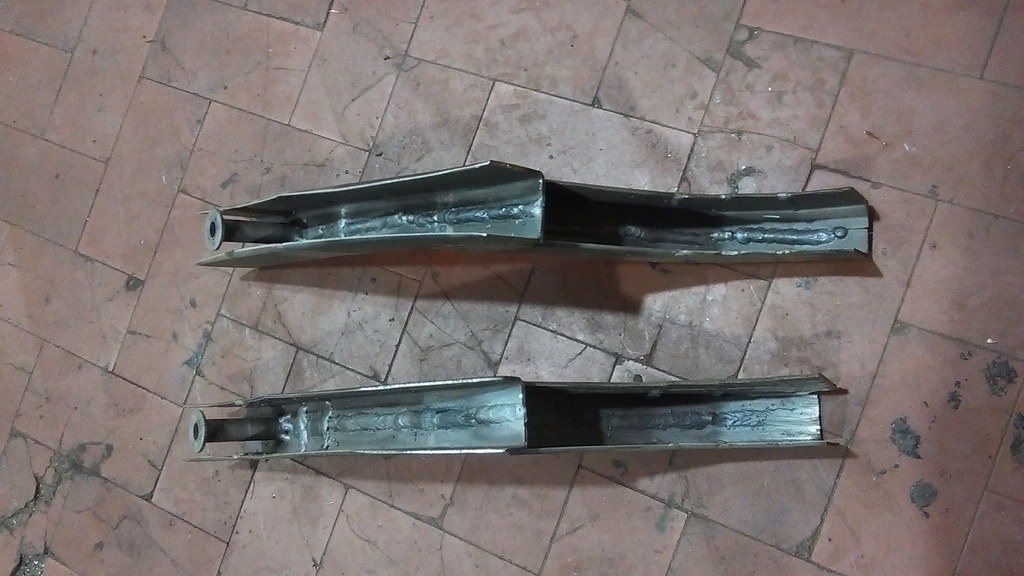 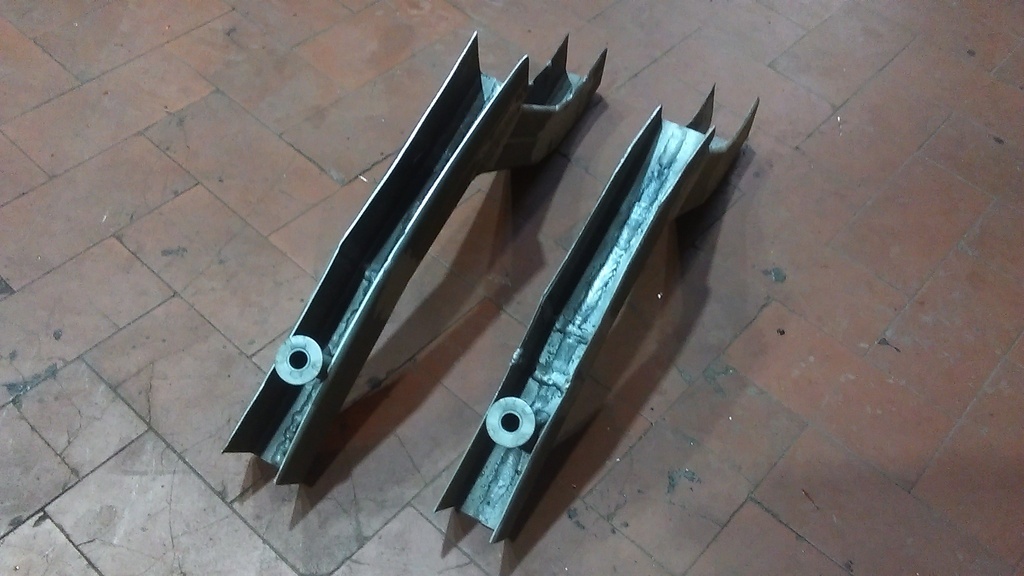 A bit rough and ready inside but nobody is going to see it. |
| |
Last Edit: Oct 1, 2022 13:55:25 GMT by ChrisT: Added pics
|
|
ChrisT
Club Retro Rides Member
Posts: 1,670
Club RR Member Number: 225
|
|
Apr 15, 2023 15:31:30 GMT
|
Didn’t realize it had been this long since I’d done any work on this. Trying to get back into it but as usual motivation is low, but sun shining today and nothing planned for this afternoon I got a few hours in. At some point I decided I extend the inner chassis rail as I figured making outer might be easier with it running the length of the repair, not sure why it didn’t originally, maybe crush zones or something… Small patch required…. 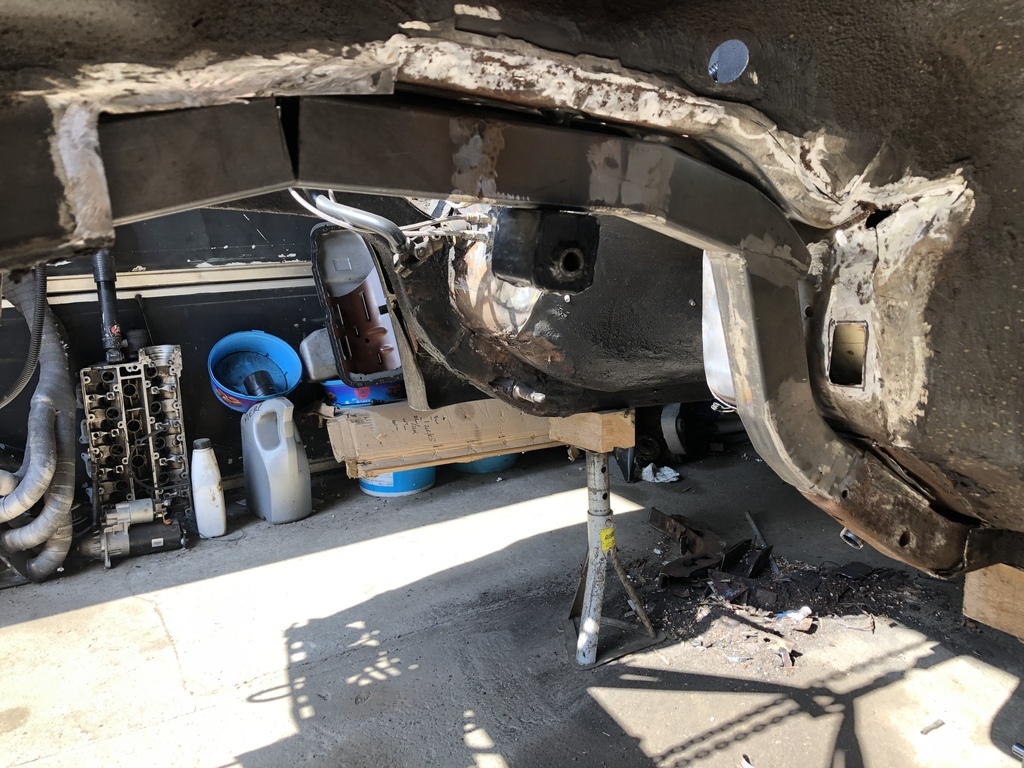 Turned into a bigger one as old bodywork is very thin and was burning through, so took patch out to better steel. Also filled a few holes which are no longer needed… 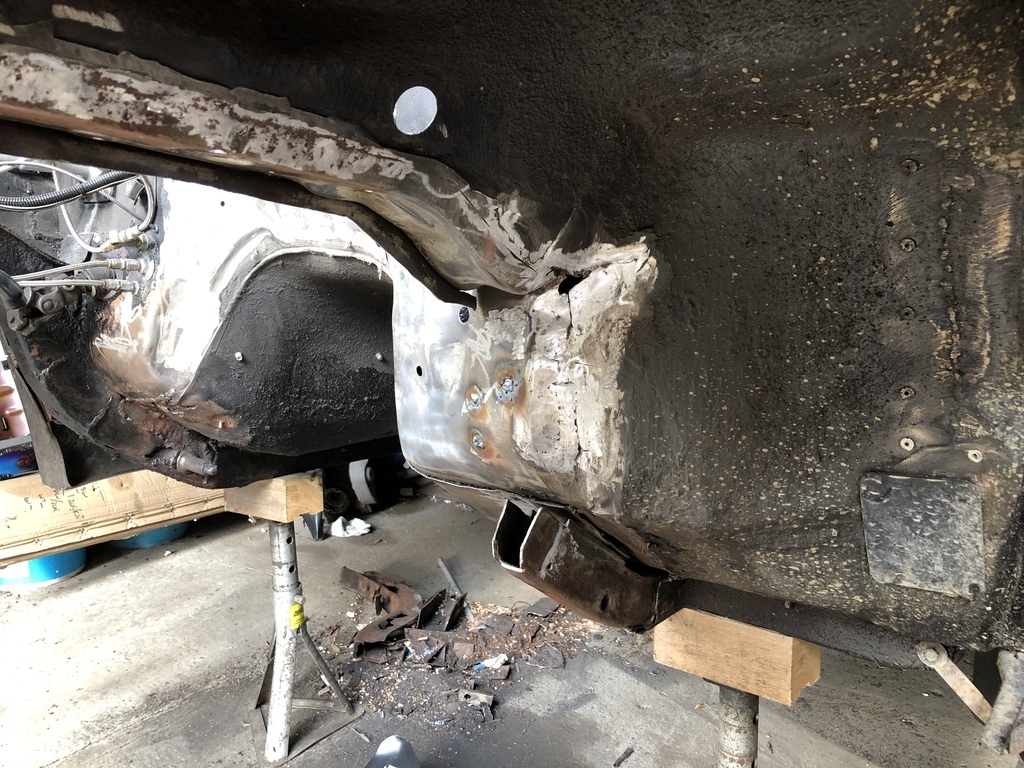 Odd little bit between chassis rail and body filled… 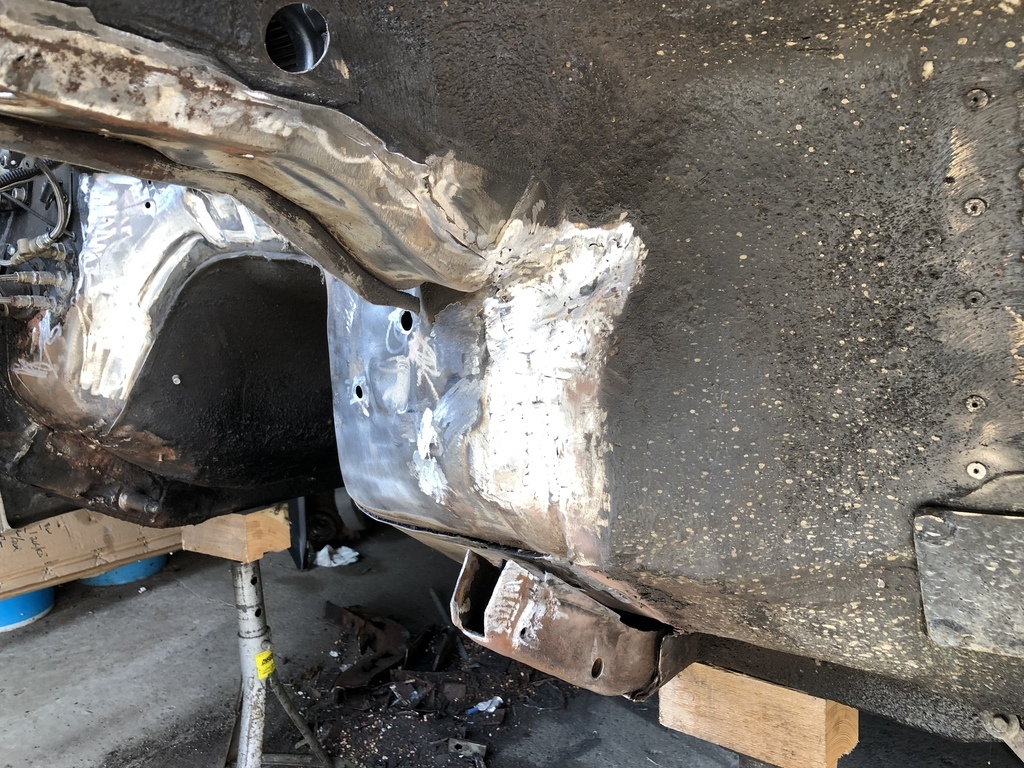 There's a few pinholes when viewed from the other side, I'll get them at a later date when I'm set up for welding/grinding inside. In other news the BMW failed MOT on a rear brake line so got that sorted… 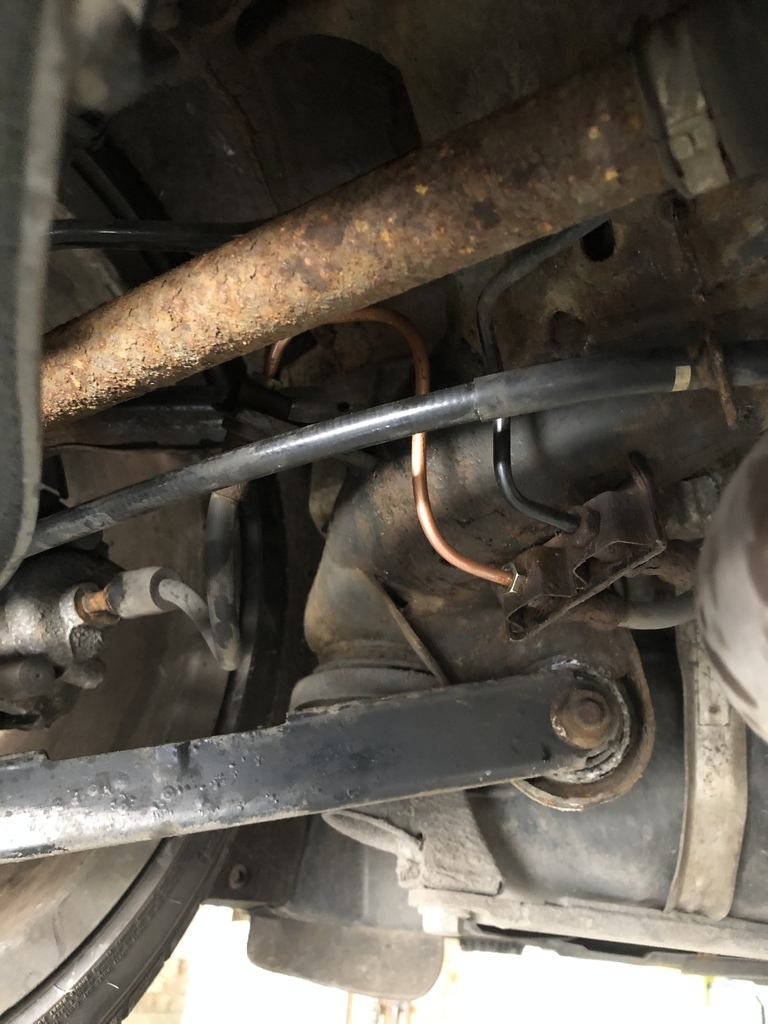 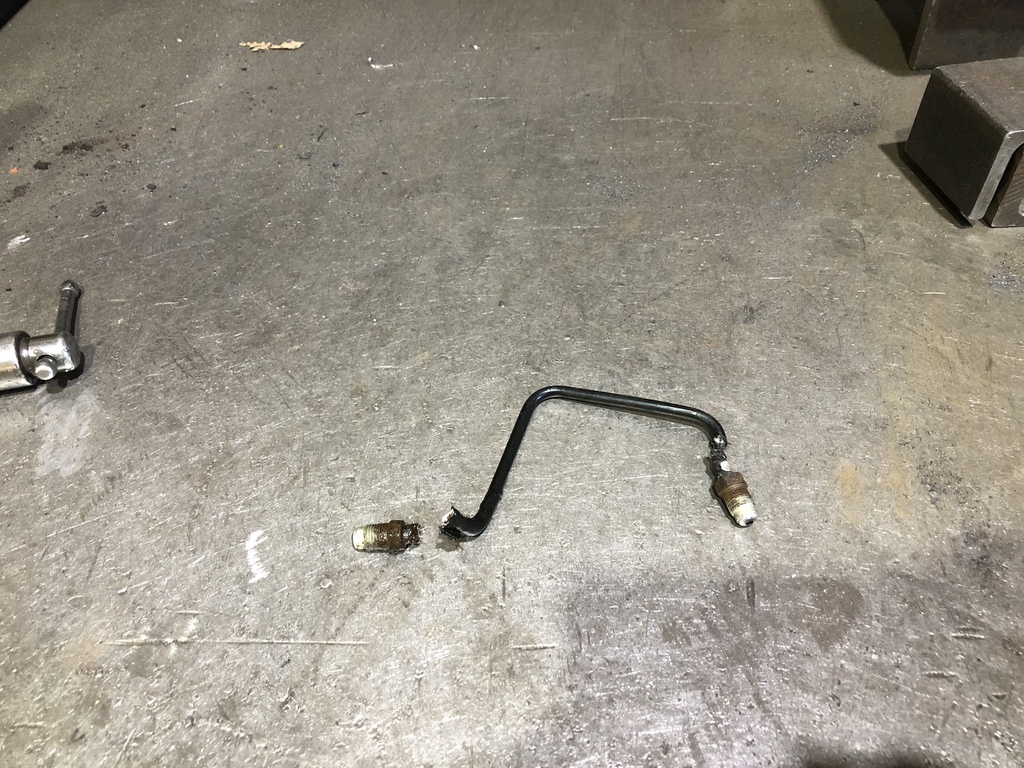 Also did the one going to the other side as it looked like it might need doing next year, no pics though. This coincided with a brake fluid change light coming on on the dash so put some new fluid in while I was at it. Been having trouble with EML coming on and various fault codes, then the other day it started flashing and the engine misfiring so decided it was time to get it fixed. Took it to a local specialist, not good news - the oil pressure fault was down to the oil filter collapsing and the misfire was down to two faulty injectors. Injectors are only available from BMW at over £400 each!!!! The work’s got to be done as it’s no good like it is  |
| |
Last Edit: Apr 15, 2023 15:49:40 GMT by ChrisT
|
|
|
|
stealthstylz
Club Retro Rides Member
Posts: 14,950
Club RR Member Number: 174
|
|
Apr 15, 2023 22:24:30 GMT
|
|
Is the Beemer petrol or diesel?
|
| |
|
|
ChrisT
Club Retro Rides Member
Posts: 1,670
Club RR Member Number: 225
|
|
|
|
|
|
| |
Last Edit: Apr 16, 2023 7:05:00 GMT by ChrisT
|
|
stealthstylz
Club Retro Rides Member
Posts: 14,950
Club RR Member Number: 174
|
|
Apr 16, 2023 10:43:10 GMT
|
|
Ah right, was just checking as the N47 diesels of that era had a habit of the fuel pump breaking up and filling the injectors with debris, didn't want you to just stick new injectors in and wreck them too.
|
| |
|
|
ChrisT
Club Retro Rides Member
Posts: 1,670
Club RR Member Number: 225
|
|
Apr 16, 2023 14:25:41 GMT
|
stealthstylz When buying I avoided the diesel motors as I'd heard horror stories about them and opted for the more reliable petrol engine 
|
| |
|
|
ChrisT
Club Retro Rides Member
Posts: 1,670
Club RR Member Number: 225
|
|
Apr 18, 2023 19:44:19 GMT
|
Managed to get a few more hours on, the progress is inspiring me to get on with it, doesn’t seem quite as daunting a task now. A few holes gained over the years…. 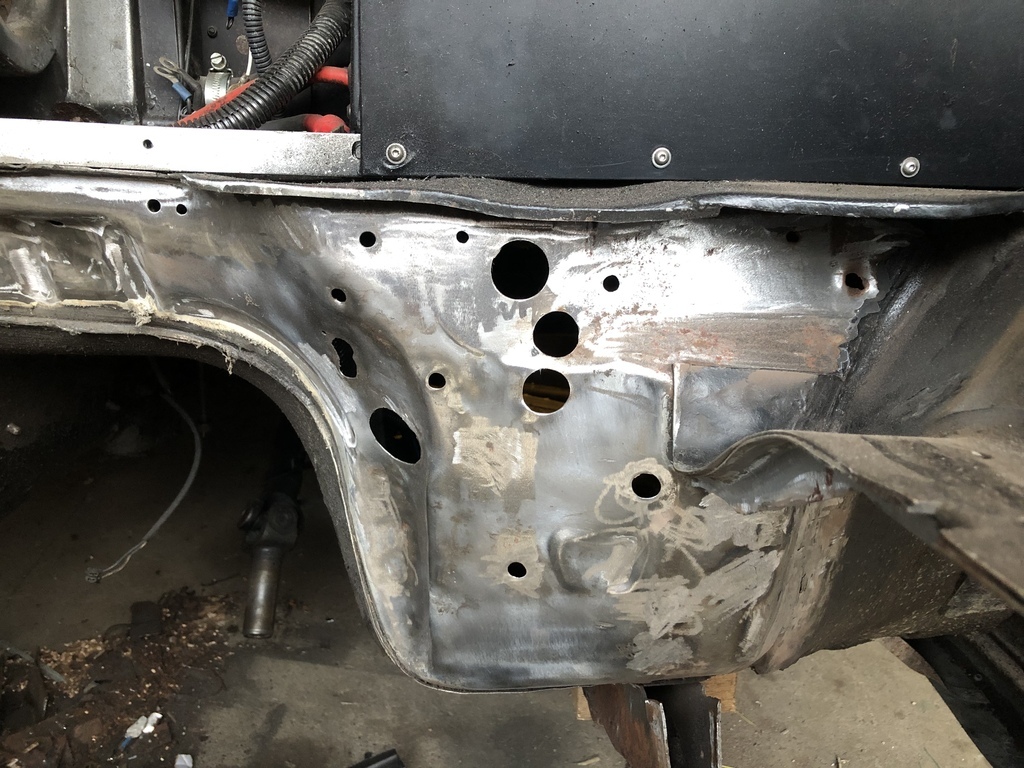 A few less holes… 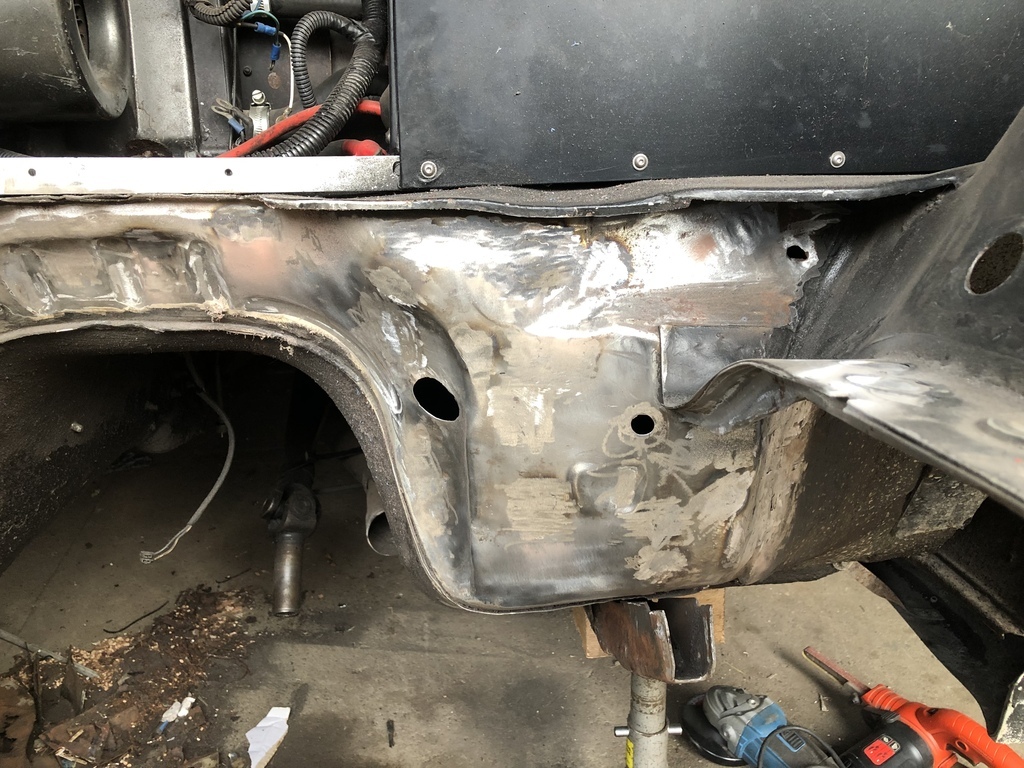 Haven’t dressed the welds completely back as I’ll be fixing a few pinholes from the other side which will obviously come through and need taking back. Inner chassis rail is a permanent part of the car now.. 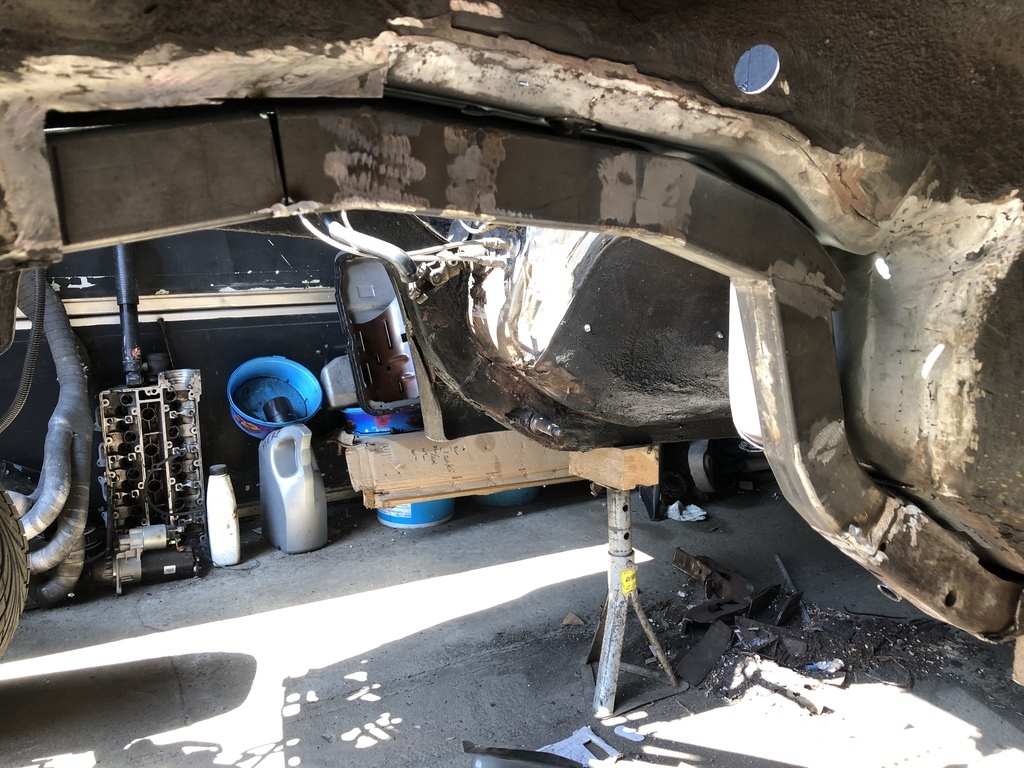 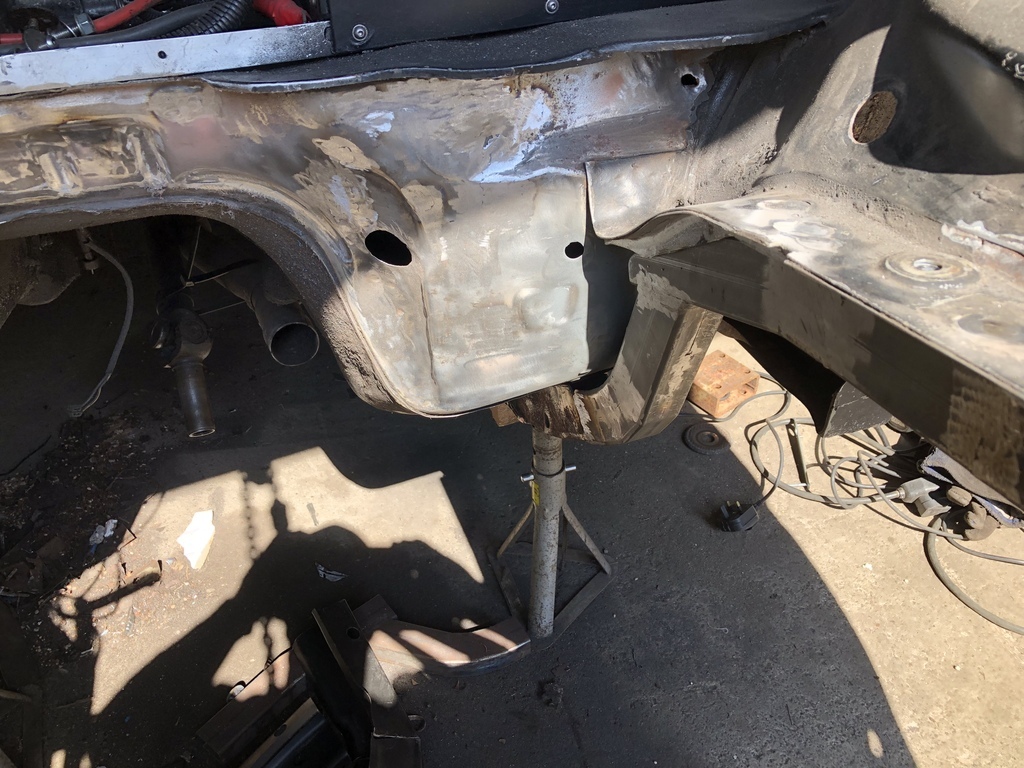 Now the fun starts trying to make the chassis repair panel fit and fabricating the rest of it. |
| |
|
|
|
|
|
|
|
Managed to get a few more hours on, the progress is inspiring me to get on with it, doesn’t seem quite as daunting a task now. A few holes gained over the years….  A few less holes…  Haven’t dressed the welds completely back as I’ll be fixing a few pinholes from the other side which will obviously come through and need taking back. Inner chassis rail is a permanent part of the car now..   Now the fun starts trying to make the chassis repair panel fit and fabricating the rest of it. Looking good. Expecting the updates to come thick and fast with your renewed inspiration |
| |
|
|
ChrisT
Club Retro Rides Member
Posts: 1,670
Club RR Member Number: 225
|
|
Apr 19, 2023 18:46:26 GMT
|
Looking good. Expecting the updates to come thick and fast with your renewed inspiration Thanks, don’t be expecting too many updates, they won’t be very exciting. Todays work certainly didn’t warrant any pictures, see what tomorrow brings…. |
| |
|
|
ChrisT
Club Retro Rides Member
Posts: 1,670
Club RR Member Number: 225
|
|
Apr 27, 2023 16:31:38 GMT
|
Some minor progress, not exactly sure of the sequence of events as I didn’t take any photos during, but it started with investigating a questionable repair (see pics in earlier post), which uncovered some MOT welding I vaguely remember paying to have done years ago. Basically they’d just wrapped a sheet of steel roughly to shape over the footwell area and welded round it, I cut a lot of it away to find very little rust under it. Did need to repair one side though, which is almost done, just needs some finishing off on a few edges. Bits of the MOT repair section and some original steel... 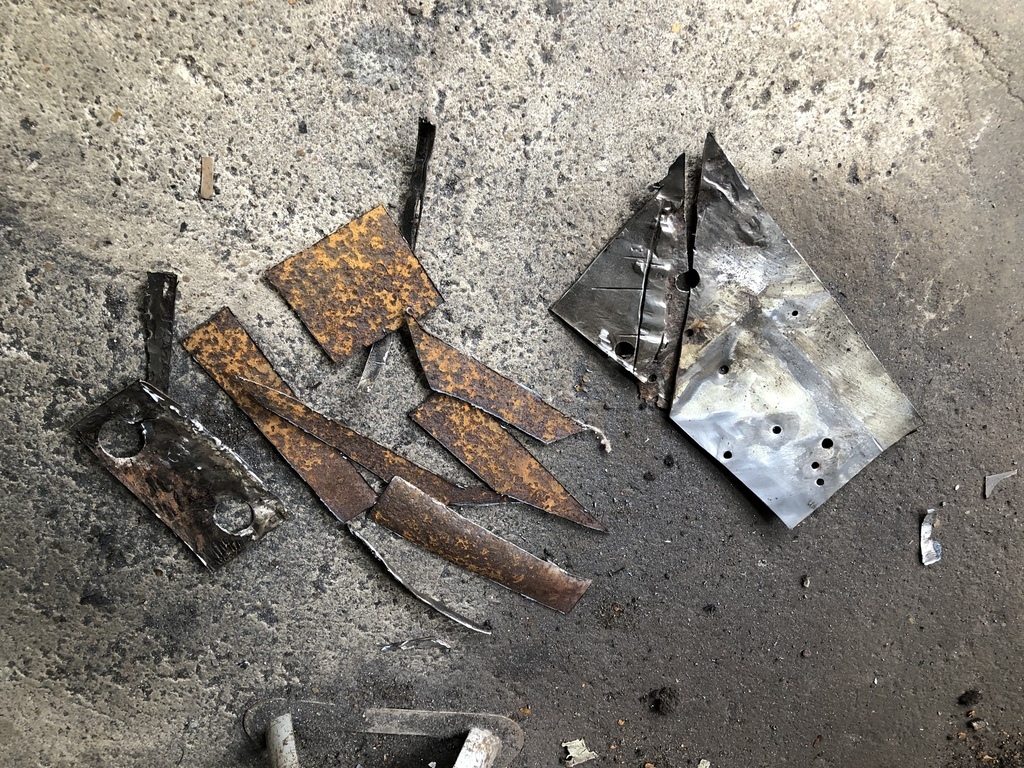 Looking more solid… 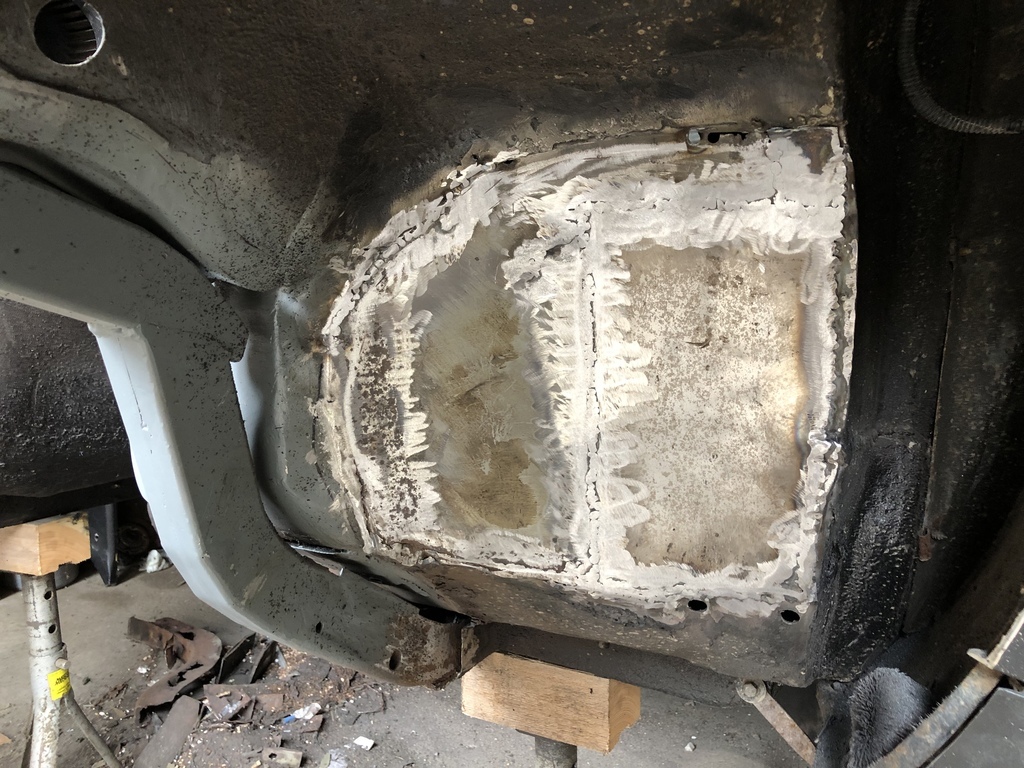 In other news, picked the BMW up Saturday, it’s hopefully fixed (should be for £1200 bill  ) but may still need a NOX sensor, been told to put some decent fuel in and go for a good drive, now it’s fueling correctly it might clean the sensor. Off to York Sunday so we’ll see how it goes…. |
| |
Last Edit: Apr 29, 2023 8:28:06 GMT by ChrisT
|
|
ChrisT
Club Retro Rides Member
Posts: 1,670
Club RR Member Number: 225
|
|
|
|
Chassis repair section fits quite nicely now, with a bit of work. 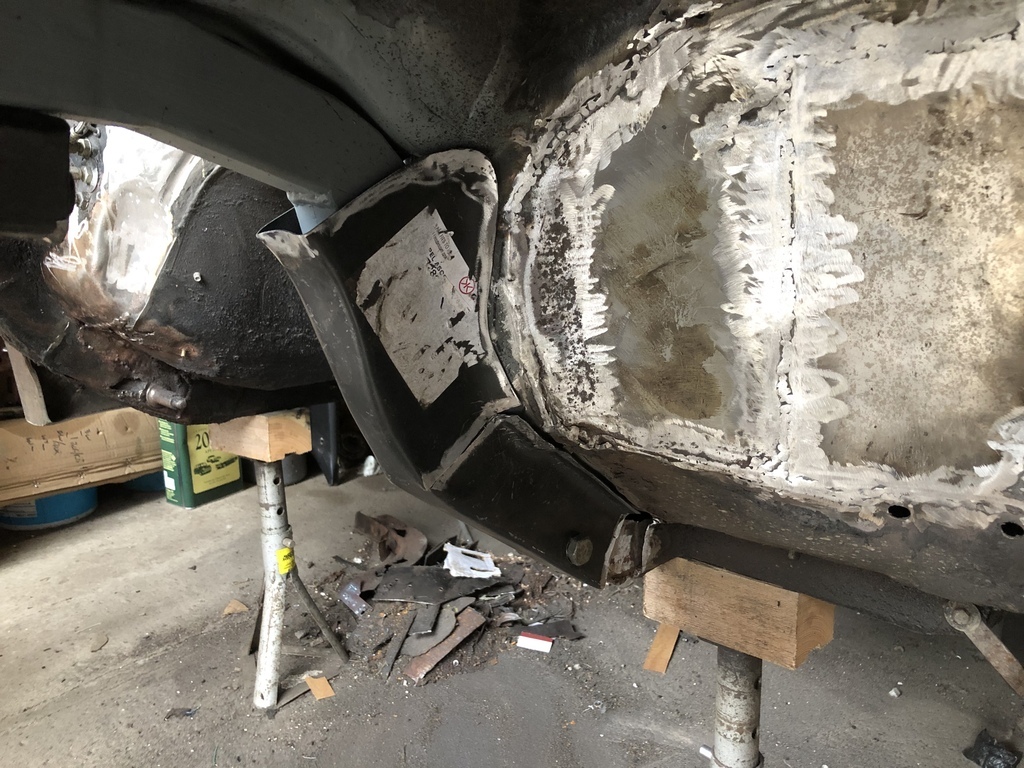 Starting CAD work for the remaining chassis rail.. 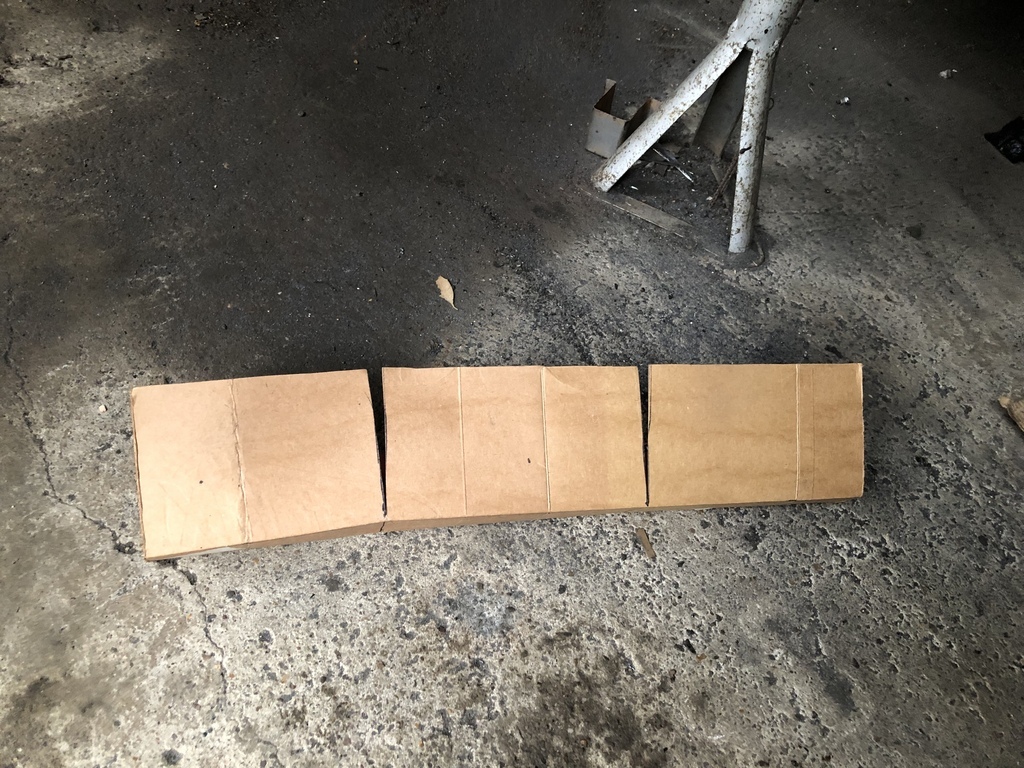 Oh yes, might just leave it like this, slap some under seal over it and call it fixed… 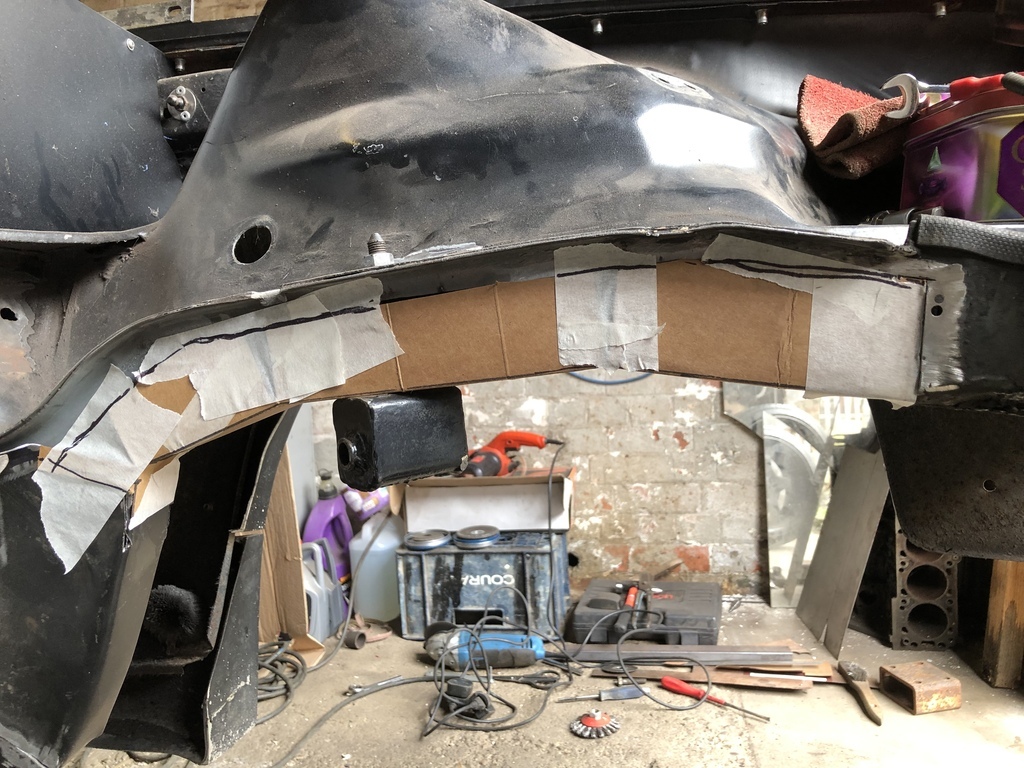 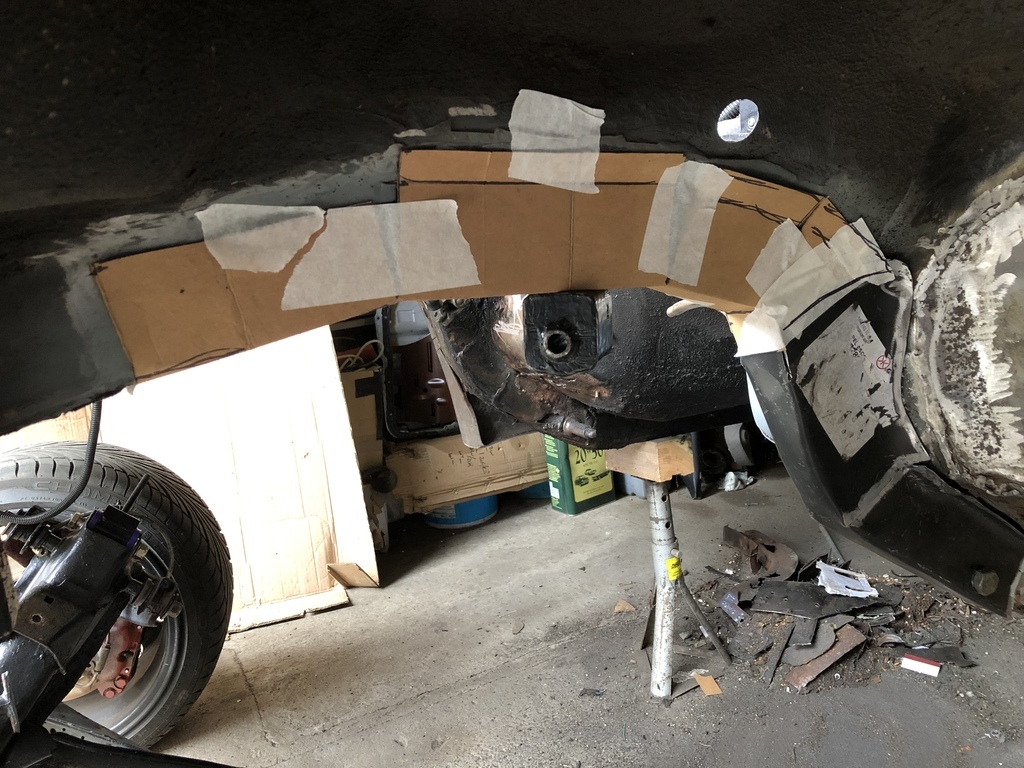 |
| |
Last Edit: Apr 28, 2023 12:27:31 GMT by ChrisT: Added pics
|
|
ChrisT
Club Retro Rides Member
Posts: 1,670
Club RR Member Number: 225
|
|
|
|
Today was a good day, ( No barkin' from the dog, no smog) a chance to get down the workshop for a few hours this morning, I have been getting little bits done through the week too. I’m using 0.6mm wire and results have been hit and miss (mainly miss) so swapped to 0.8mm today to see if it’s any better and also thought it needs it when plug welding the cover to the thicker chassis rail. A lot better results, still blowing through in a few places, mainly old thinner steel. Chassis section is taking shape... 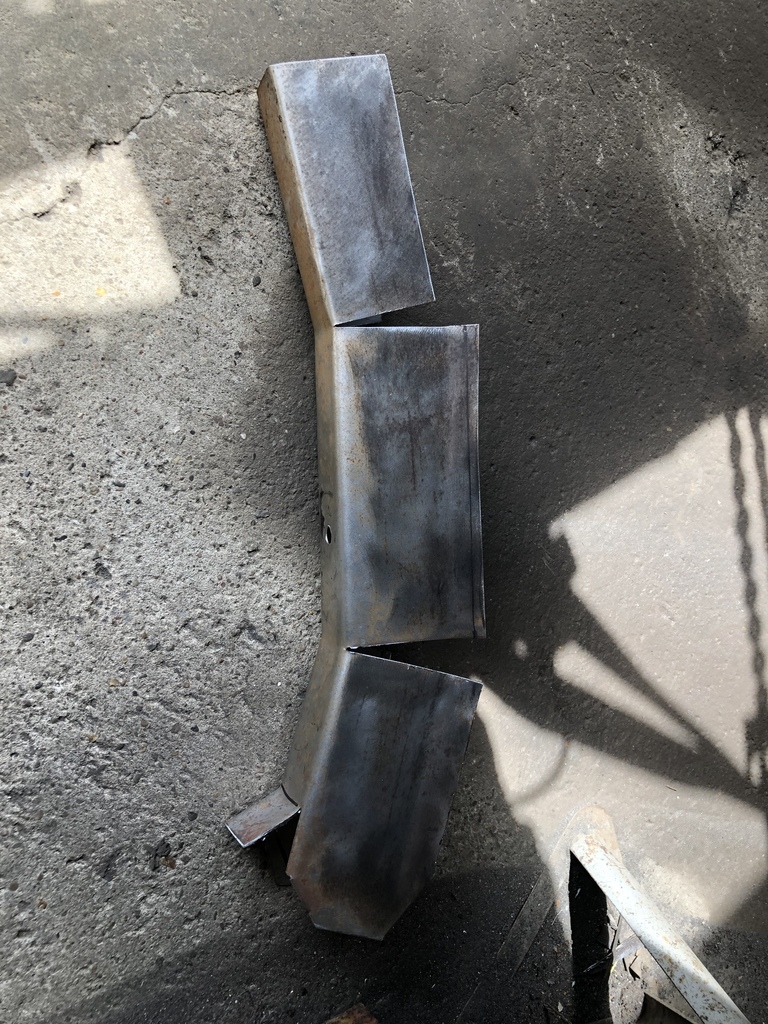 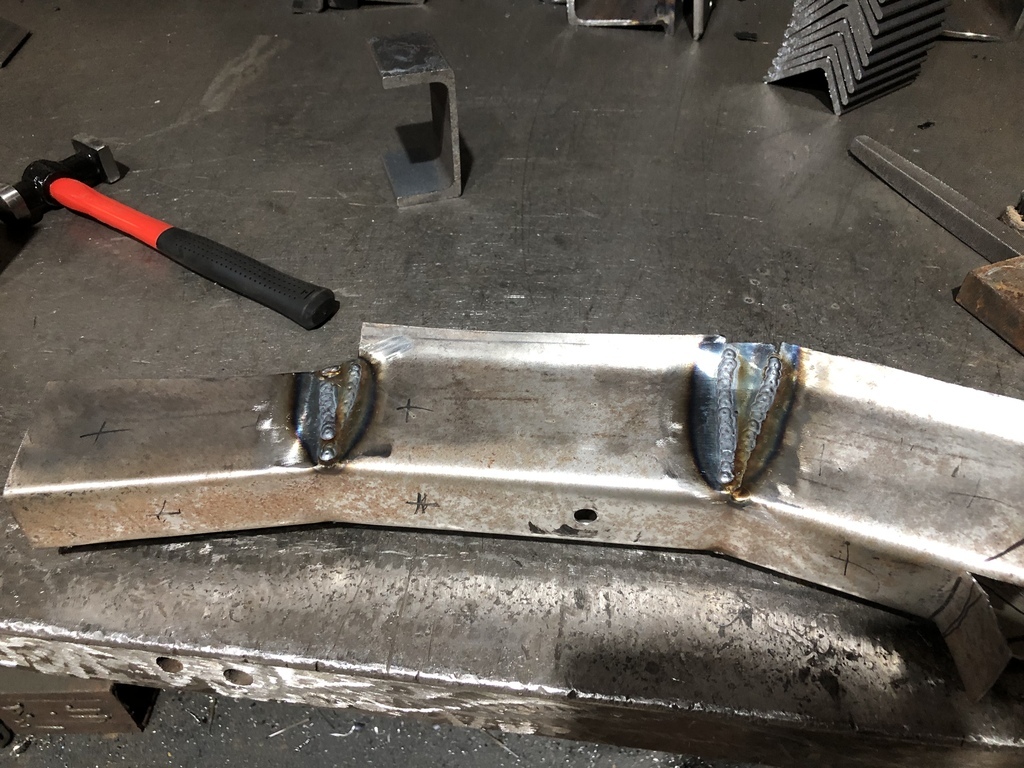 About done, with holes for plug welding. 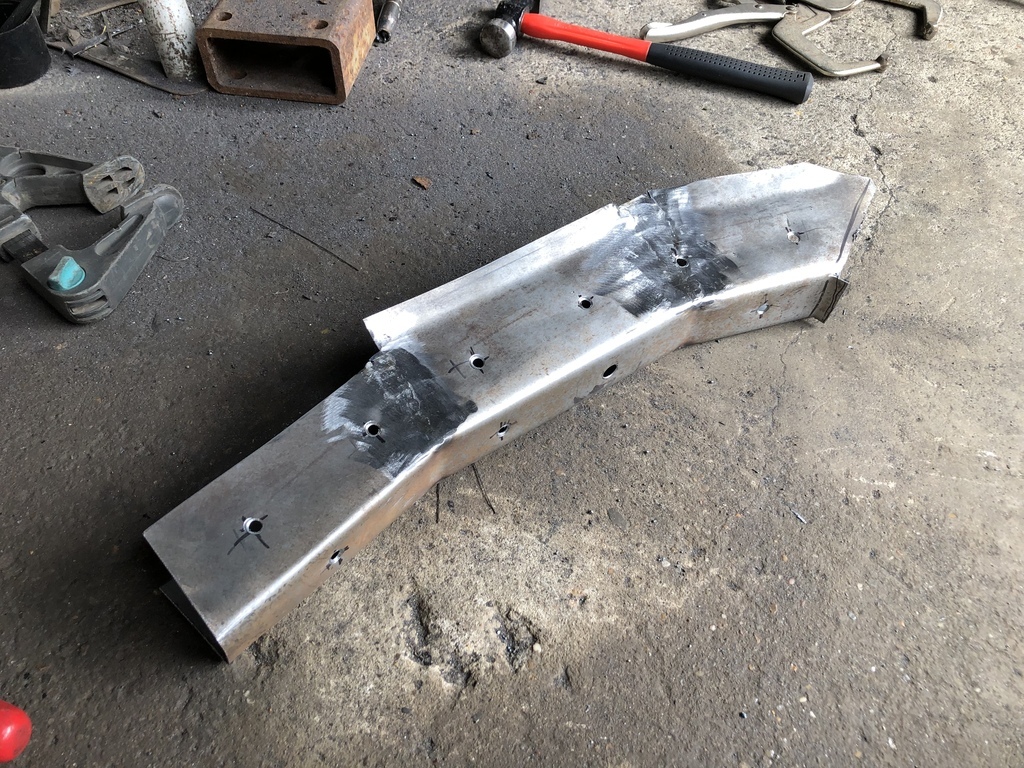 Filled the gap in the chassis rail 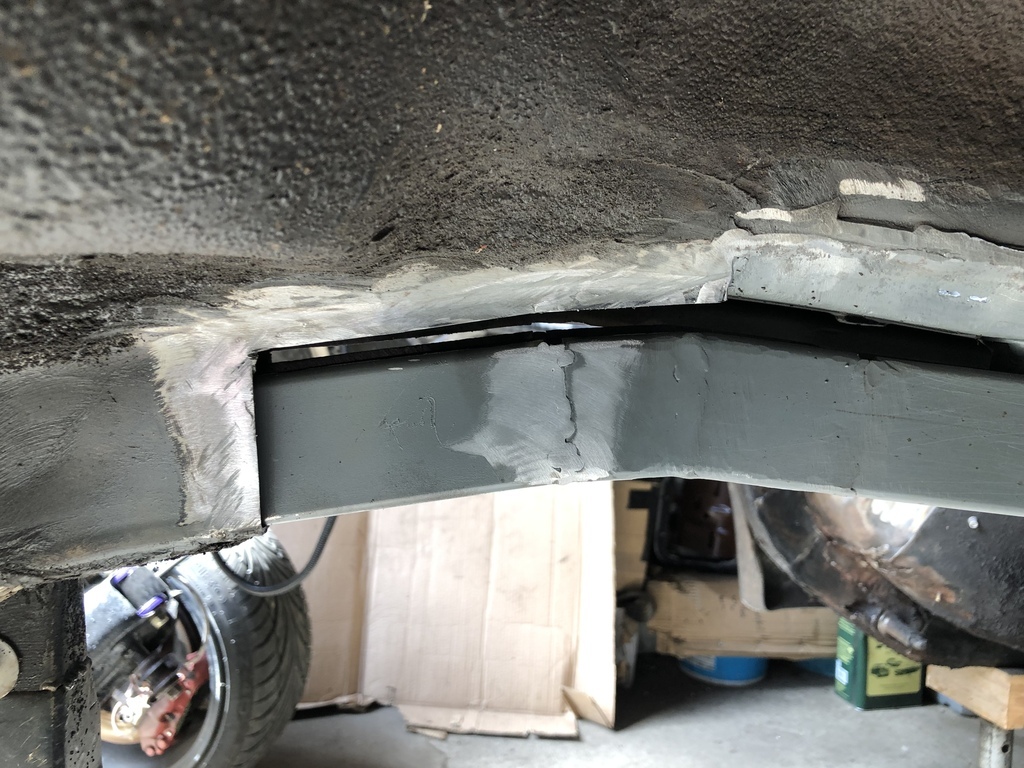 Treated the surface rust on the old chassis rail, sprayed weld through primer on everything and got the repair section fitted over it. 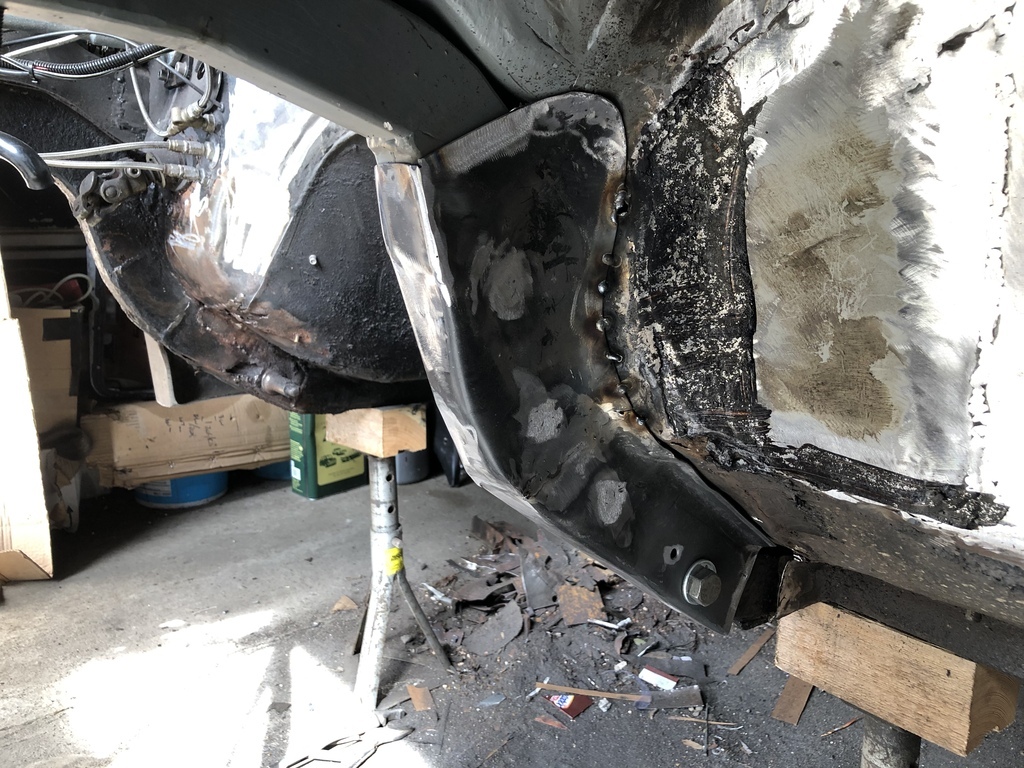 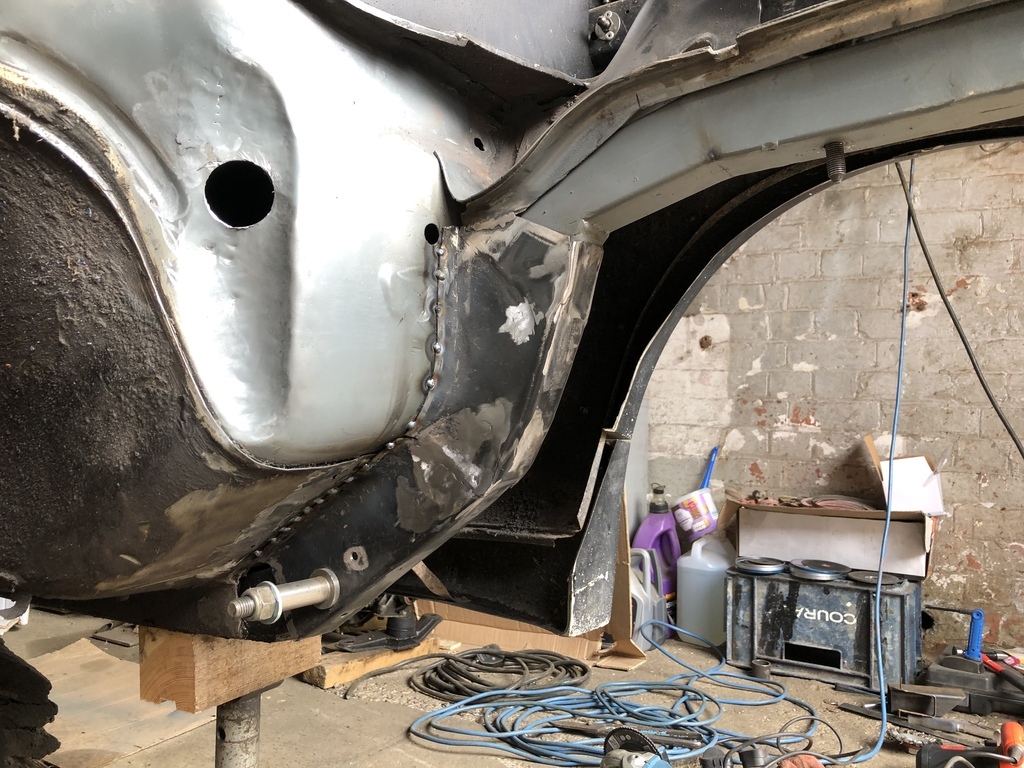 And the rest of the section almost in place... 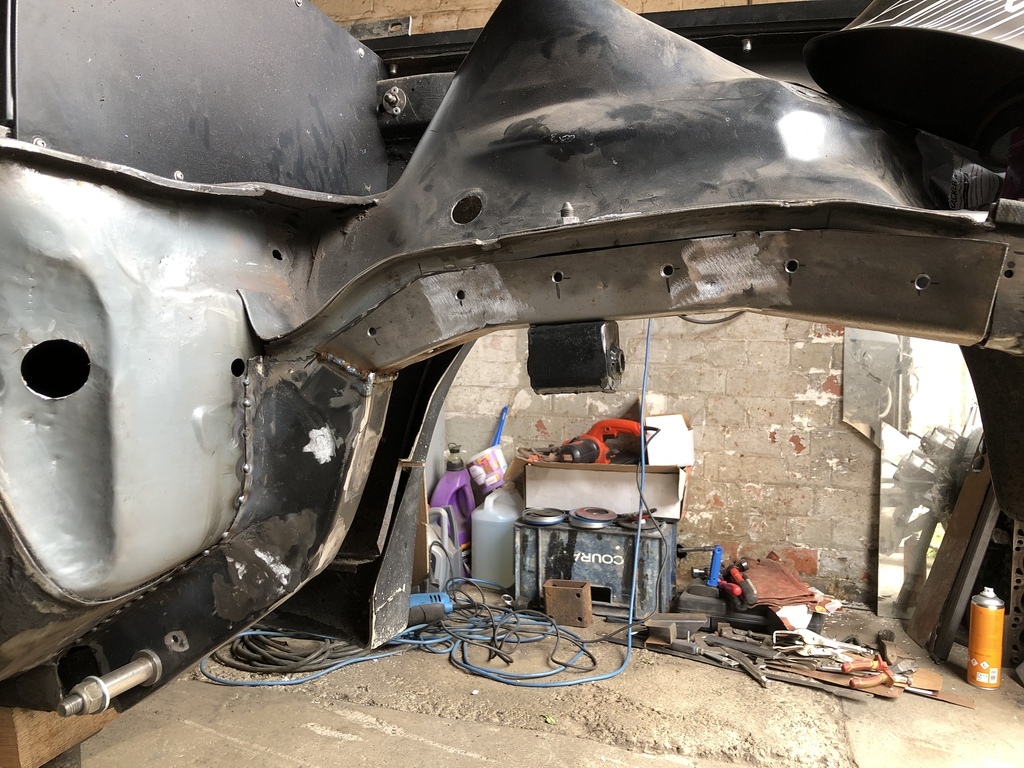 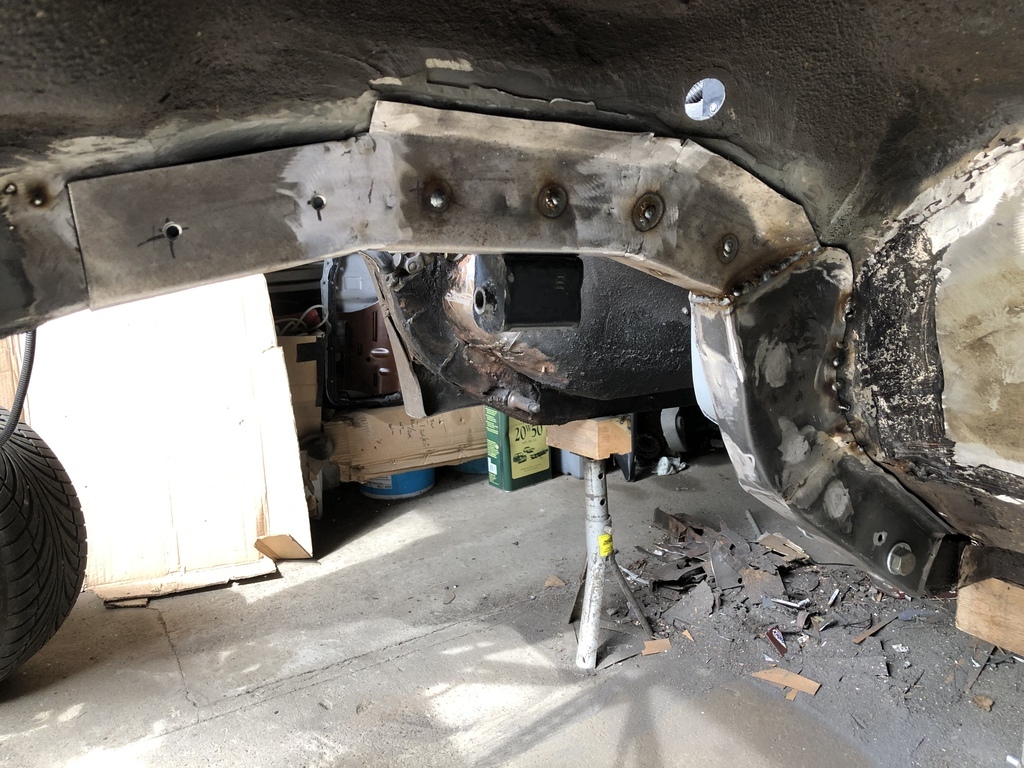 Needs a bit o fettling to meet at the front but it's almost there. Might need a bit of a Fitzee to get it all welded in. in other news, the BM seems to be ok, took it for a run up to York last weekend and no warning lighst showing, off to Liecseter next weekend, see how that goes,,,, |
| |
Last Edit: May 8, 2023 21:07:19 GMT by ChrisT: More pics
|
|
|
|


 ) but may still need a NOX sensor, been told to put some decent fuel in and go for a good drive, now it’s fueling correctly it might clean the sensor. Off to York Sunday so we’ll see how it goes….


