ChrisT
Club Retro Rides Member
Posts: 1,670
Club RR Member Number: 225
|
|
Oct 21, 2023 14:25:50 GMT
|
Got some sound deadener for the passenger footwell, ordered it in ‘stealth’ black but only remembered it should have been black after cutting up and fitting it, never mind, the carpet will cover it. Before.. 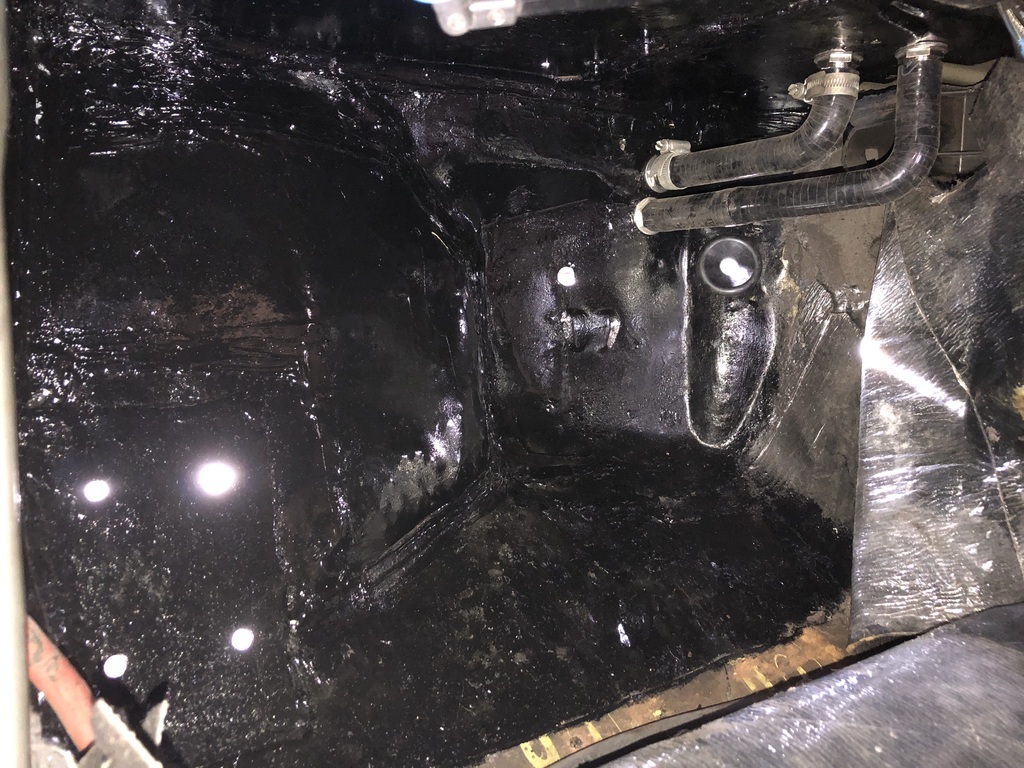 Stinger roadkill not stealth black. 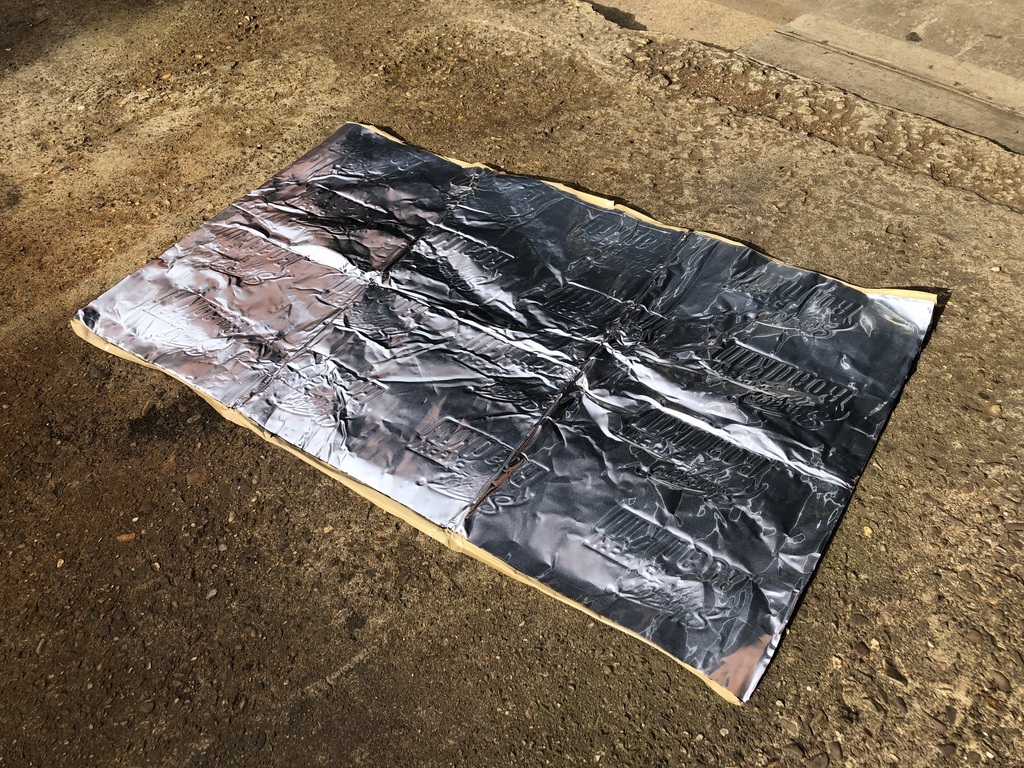 Templates made. 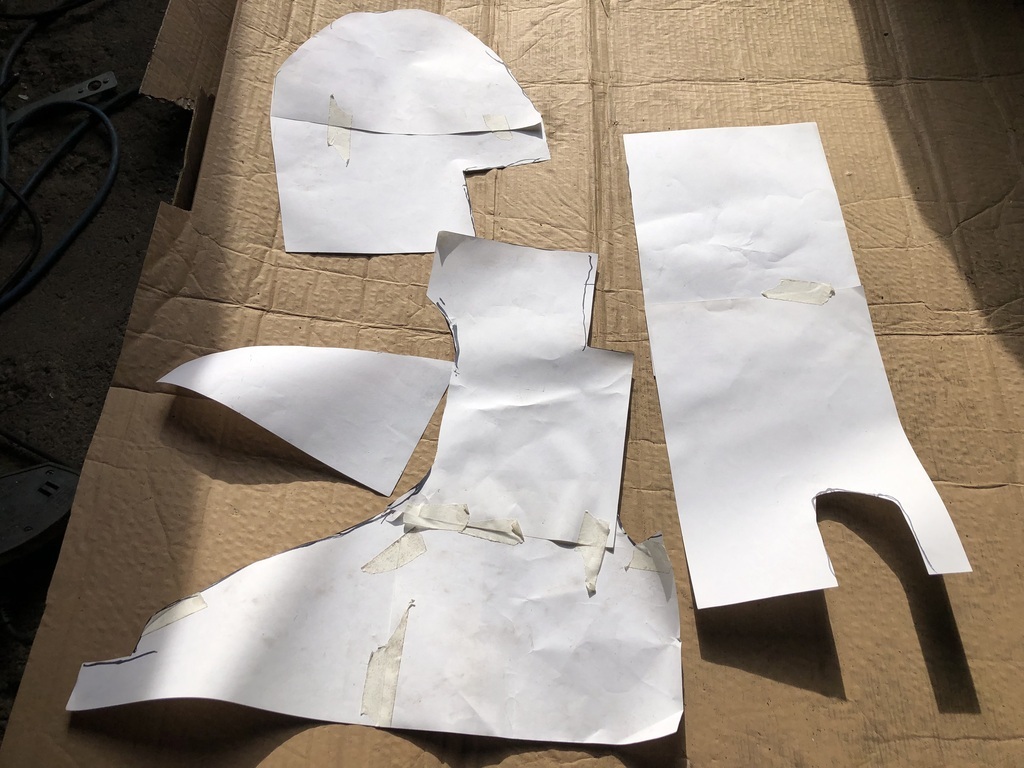 Cut out. 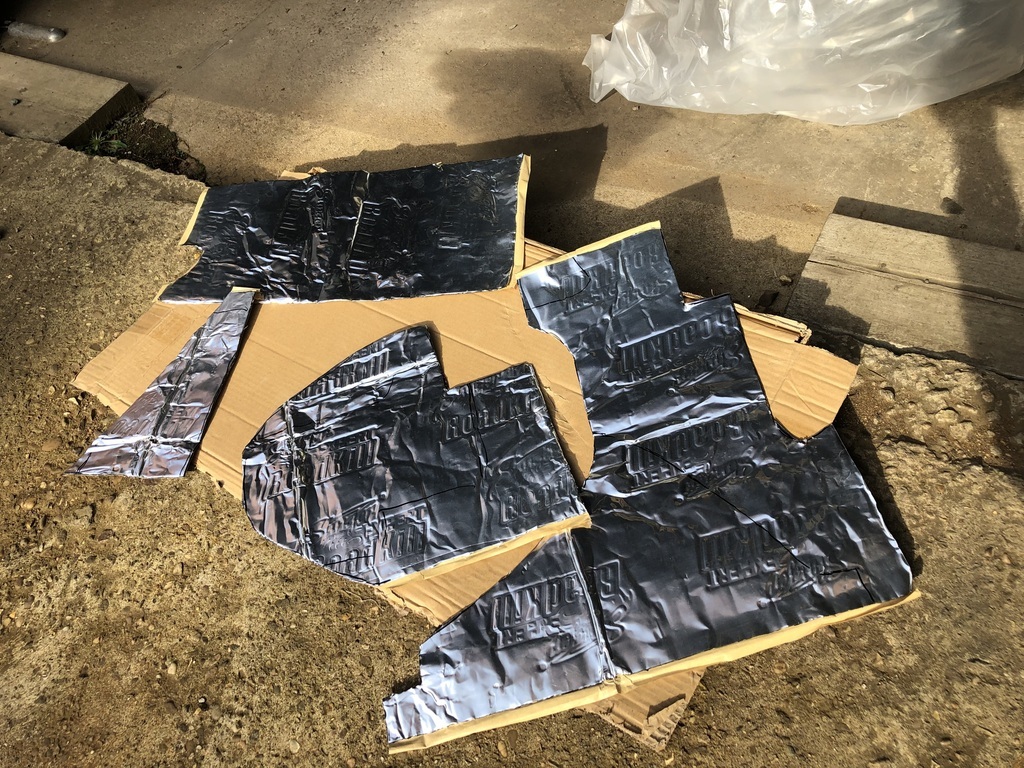 Fitted. 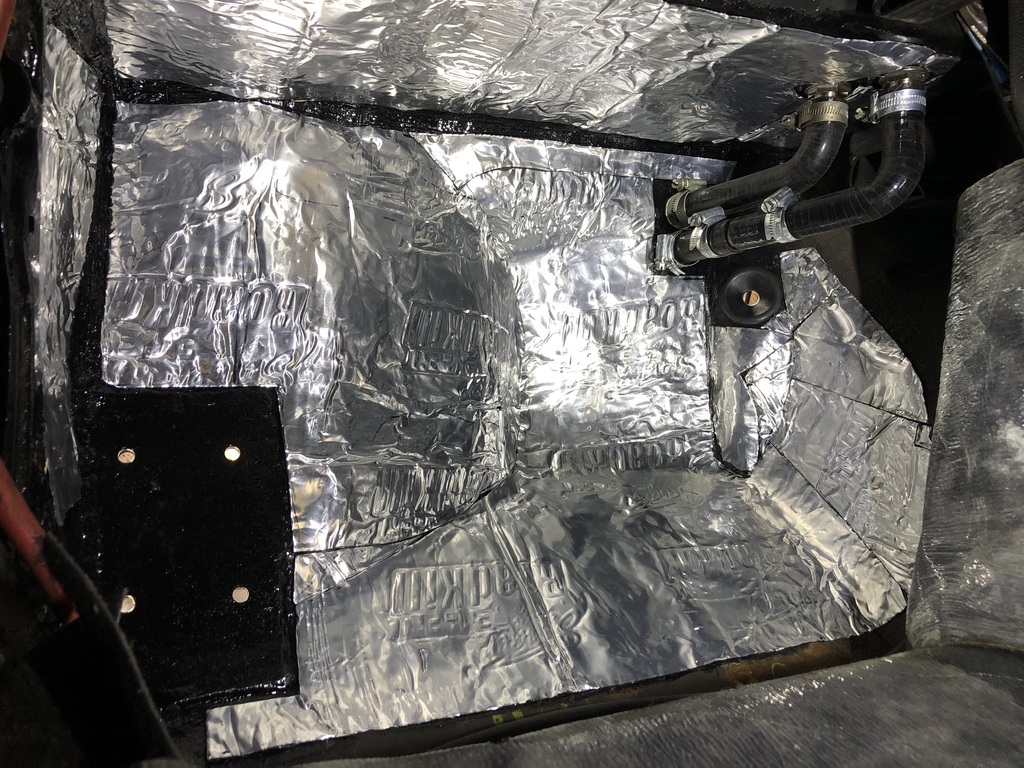 Ignore the misaligned/randomly spaced Jubilee clips, they will be sorted when the hose joiner turns up. |
| |
Last Edit: Oct 21, 2023 14:33:12 GMT by ChrisT
|
|
|
|
ChrisT
Club Retro Rides Member
Posts: 1,670
Club RR Member Number: 225
|
|
Oct 21, 2023 14:57:36 GMT
|
Originally in the footwell there was a piece of fibreboard under the carpet to make the area flatter, did away with it a long time ago but have decided it wasn’t a bad idea so going to replicate it in steel. Fly press tooling I made a while back for adding strengthening ribs to steel, ideal for this job.. 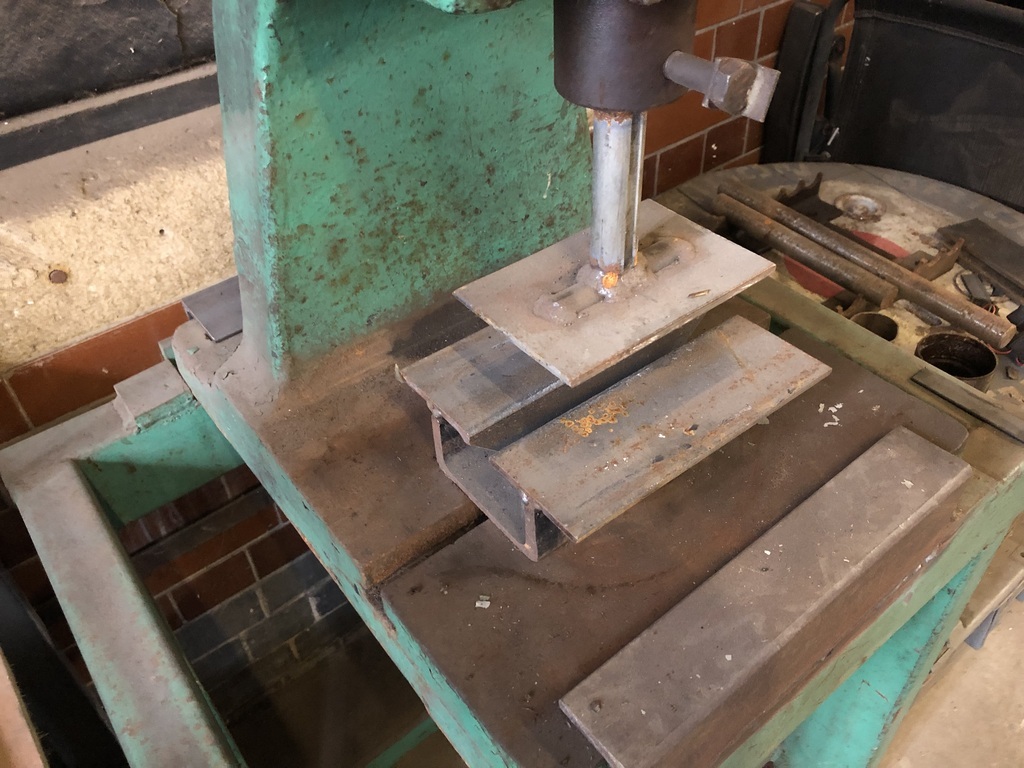 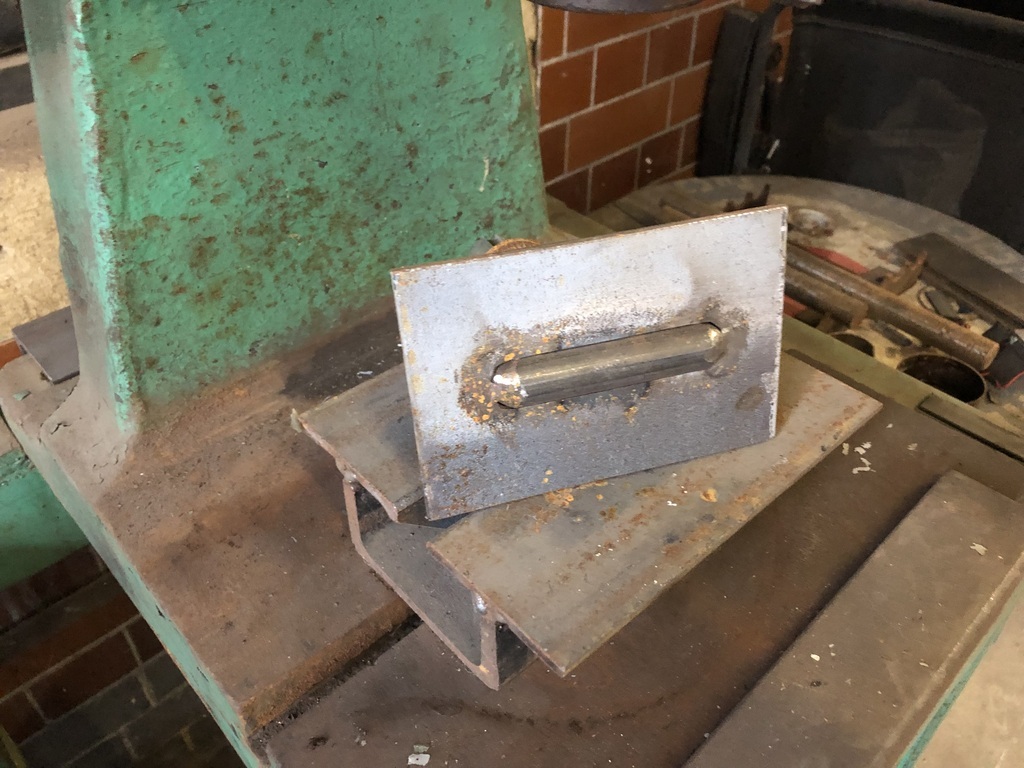 Made a pattern 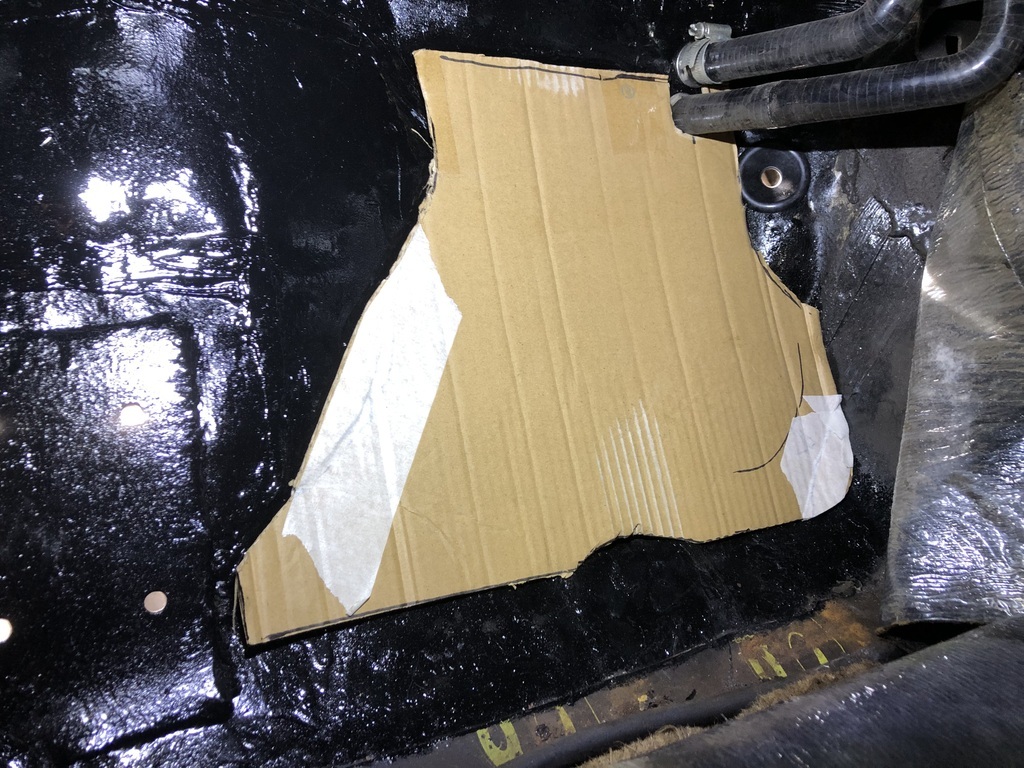 Transferred it to steel and added some ribs which deformed it a little too much. 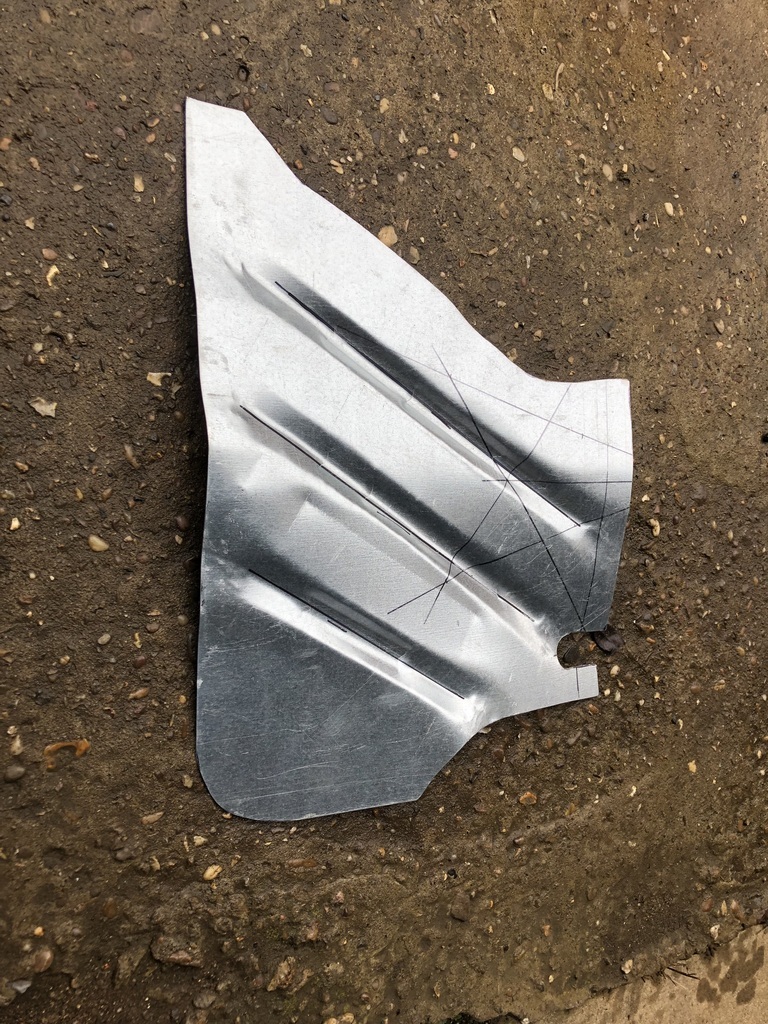 Beat it about a bit 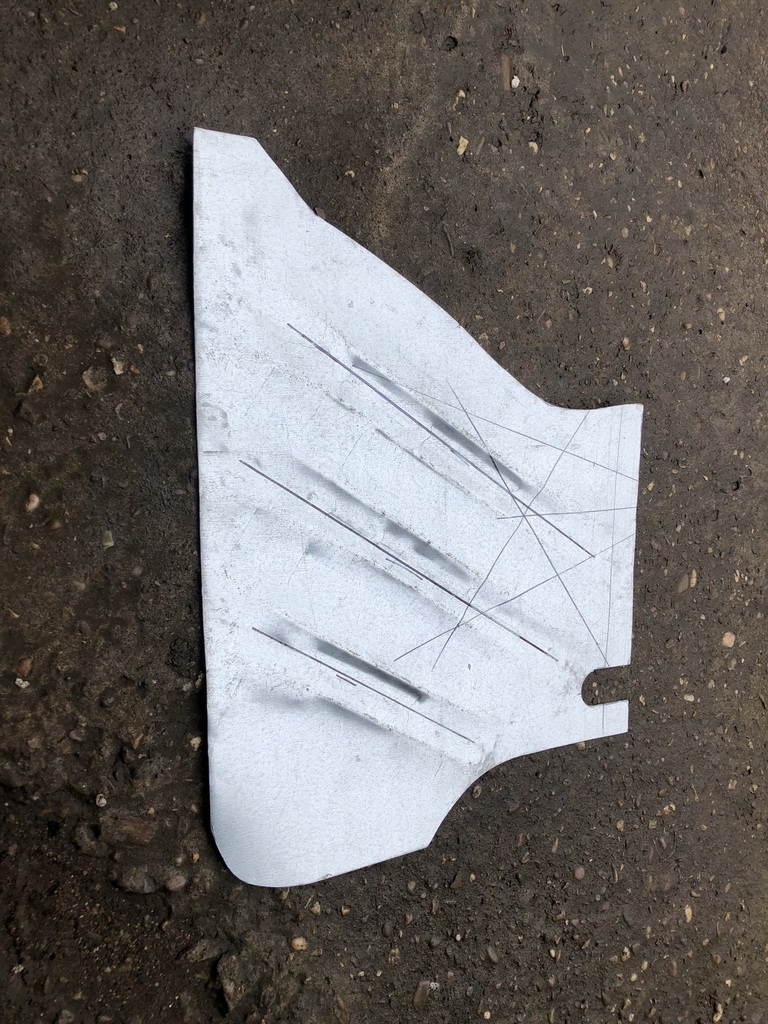 Fits like so. 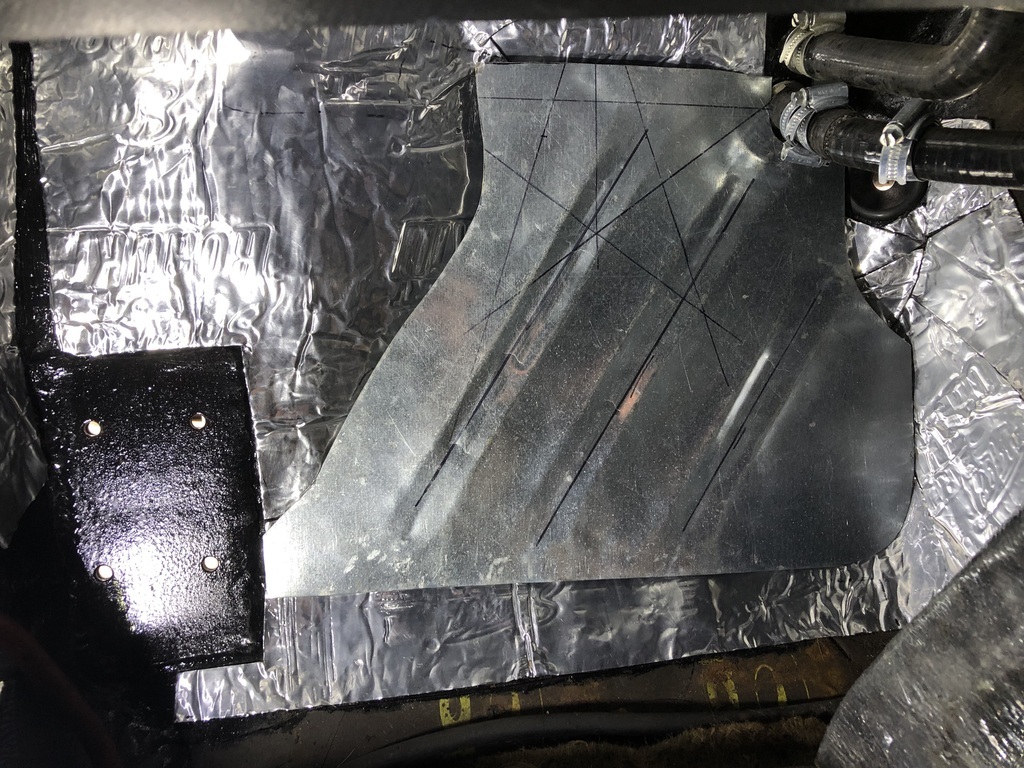 Left it at this point as I’m still figuring the routing of the bonnet release cable in this area and I’ve also realized I welded up the hole for the speedo cable, hoping I can run it elsewhere rather than have to re-drill the bulkhead. |
| |
Last Edit: Oct 21, 2023 15:03:58 GMT by ChrisT: re-order photos
|
|
ChrisT
Club Retro Rides Member
Posts: 1,670
Club RR Member Number: 225
|
|
Oct 21, 2023 15:15:47 GMT
|
After a tidy up so I could get round to the drivers side I bit the bullet and started cutting away knowing it was going to be like the other side, forgot to take a before picture but this is part of the garage MOT repair section cut out. 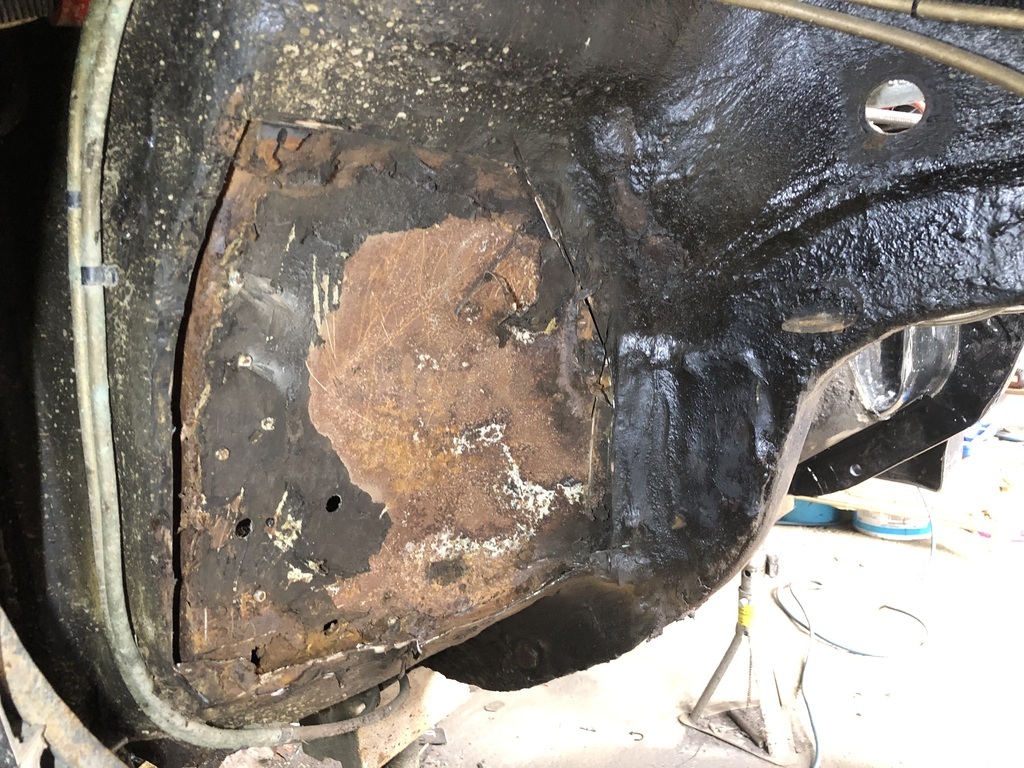 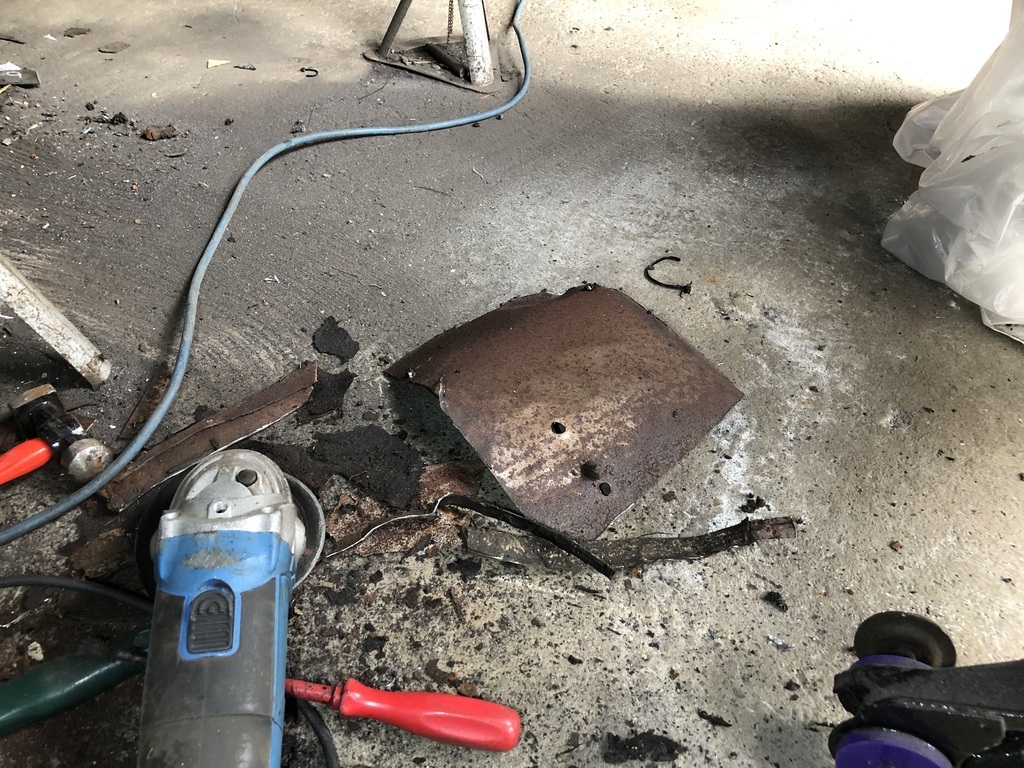 Obviously this side is going to be harder to work on with fuel lines, wiring loom, pedal box, brake lines and other stuff to work round. It may all end up getting removed…. |
| |
|
|
ChrisT
Club Retro Rides Member
Posts: 1,670
Club RR Member Number: 225
|
|
Oct 28, 2023 11:41:24 GMT
|
Weekly update, removed the front wing and made a start on removing anything that would be in the way, brake lines, master cylinder, steering column, pedals etc… A few years ago I decided to run the loom out of the engine bay and through the wheel arch to tidy it up, that’s probably going to need a plug/socket putting in it so I can move it out the way. Nice shiny hose joiner turned up at last. 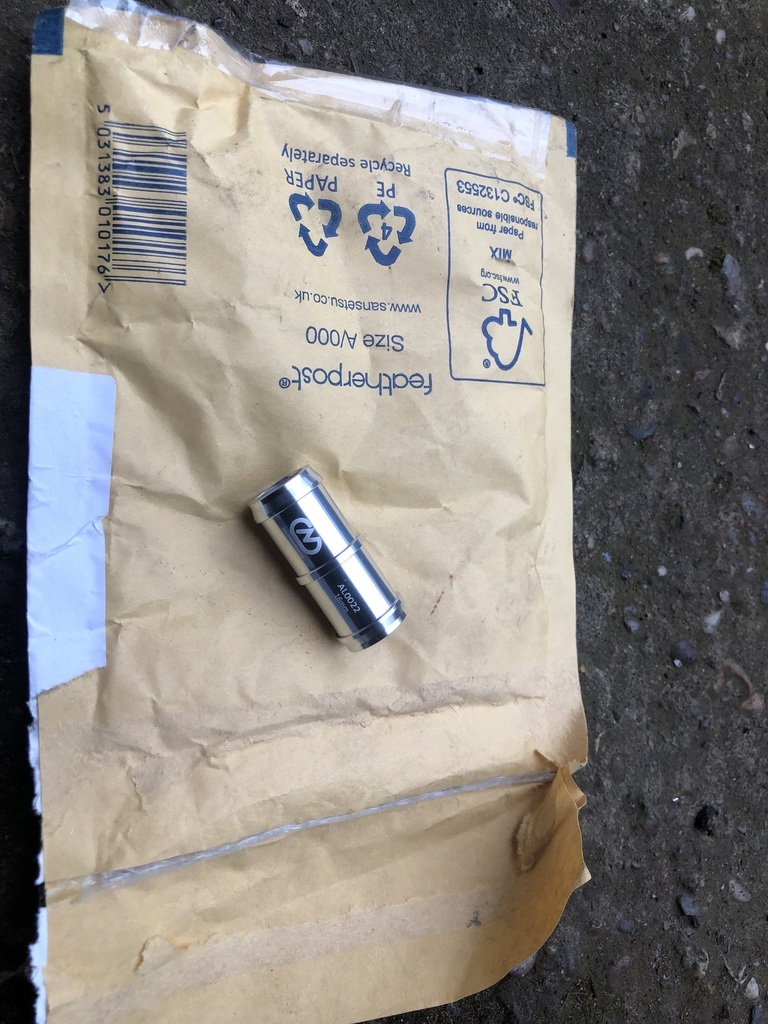 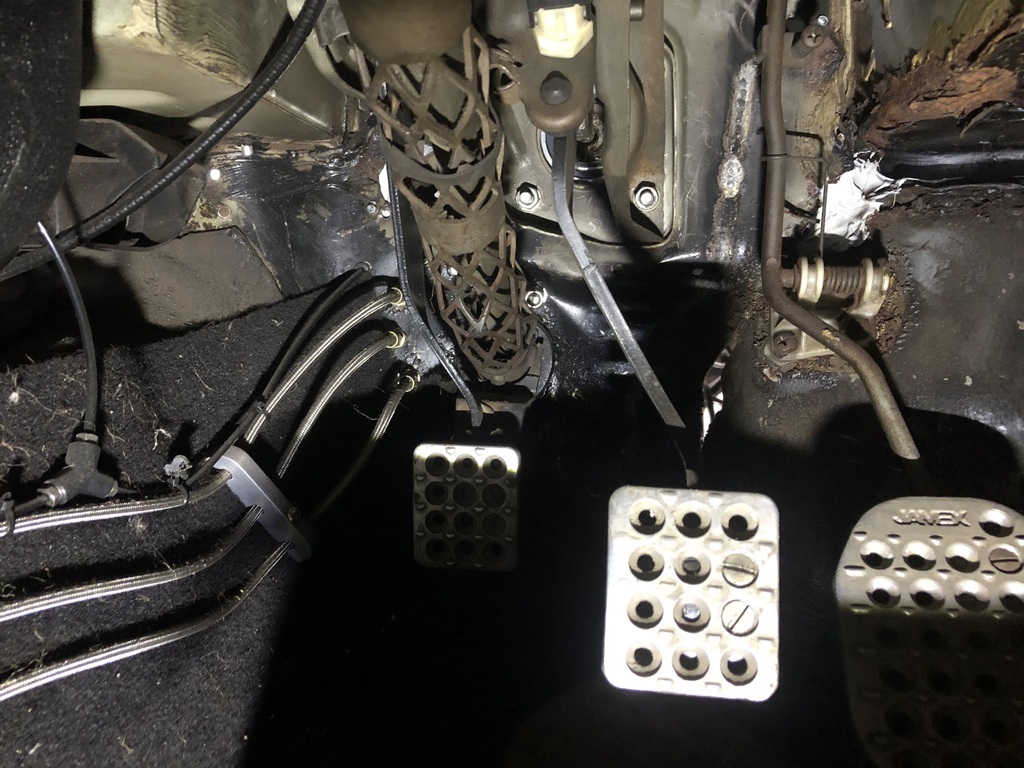 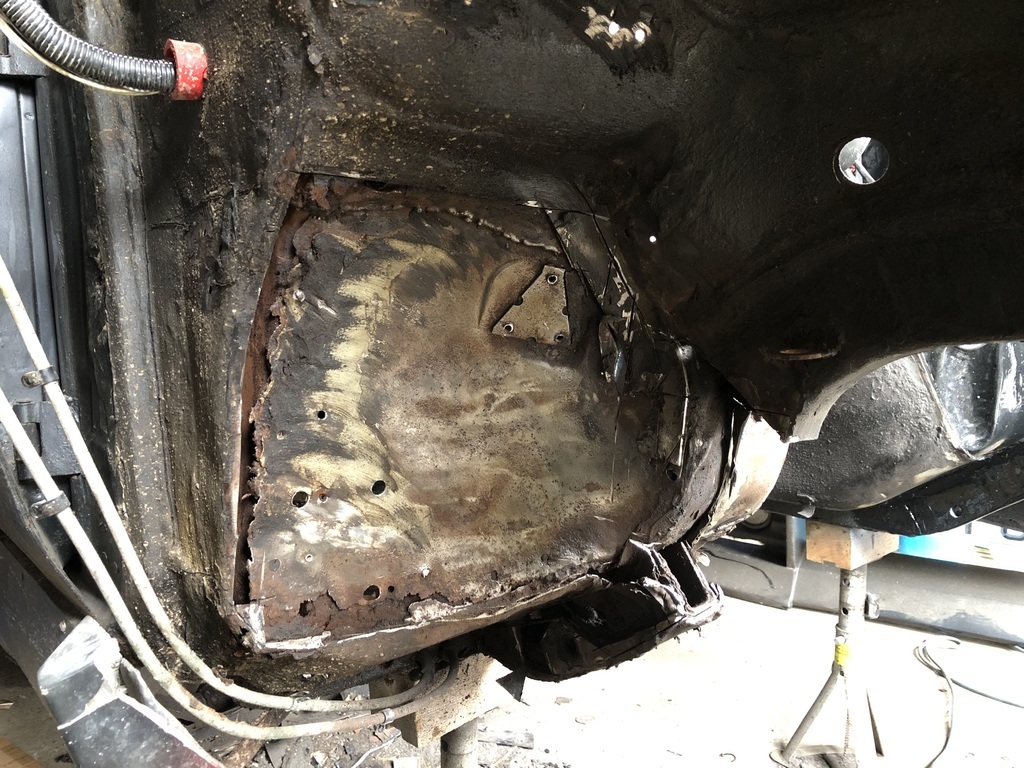 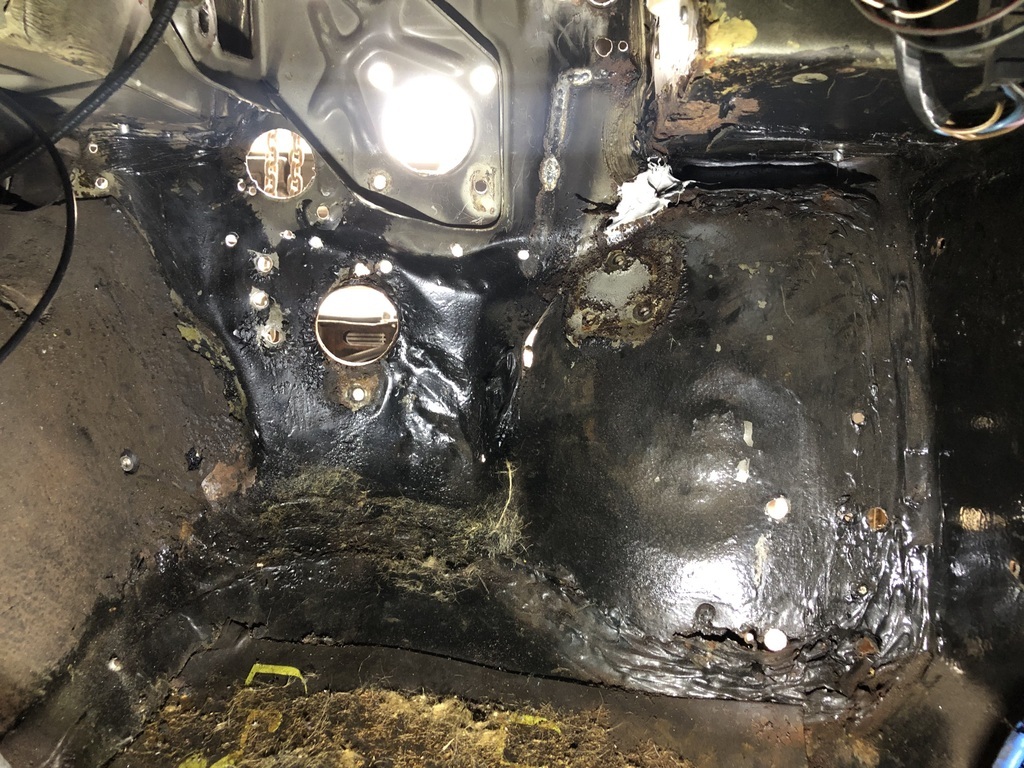 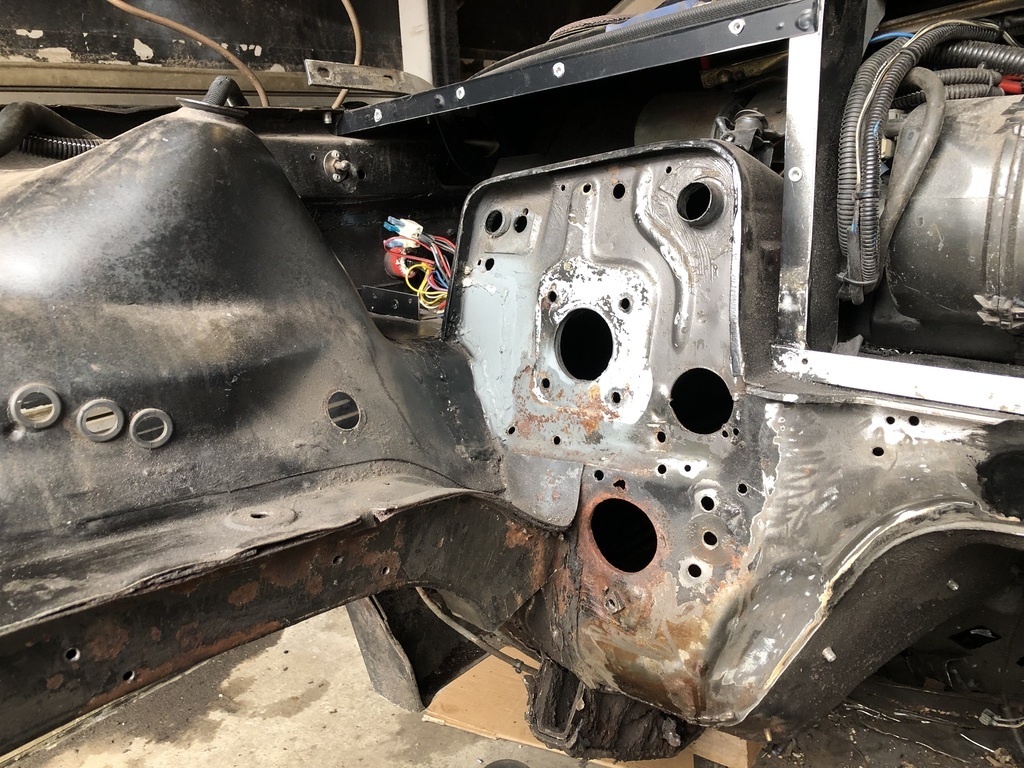 Now I can see what I’m up against and it’s quite daunting. Along with the various layers of MOT patches in the footwell/A pillar area the chassis rails are in worse condition down where the cross member bolts to them than the other side but the upper section looks better, will find out in due course…. |
| |
Last Edit: Oct 28, 2023 12:42:20 GMT by ChrisT
|
|
|
|
|
Oct 28, 2023 15:04:39 GMT
|
|
Are there any panels / section’s available for the Manta Chris, that will make it all less daunting?
|
| |
|
|
ChrisT
Club Retro Rides Member
Posts: 1,670
Club RR Member Number: 225
|
|
Oct 28, 2023 17:19:33 GMT
|
Are there any panels / section’s available for the Manta Chris, that will make it all less daunting? Not that I can find, TBH they’re not difficult panels to make up, it’s just seeing it like this and not knowing the best approach. Will probably start with the pedal box area, then trans tunnel and work across, leaving the chassis rail until last. I like to have a plan in my head before I start something, even if I don’t stick to it…. |
| |
|
|
ChrisT
Club Retro Rides Member
Posts: 1,670
Club RR Member Number: 225
|
|
|
|
Not a great deal achieved this week, boss has gone off to Australia for most of November and left me in charge so haven’t been able to focus/concentrate on the Manta over the week as usual. So, after spending the morning sorting out the sticking handbrake and bent mudguards on the Sprinter flatbed ready for tomorrow morning, I did get a couple of hours on the car. Before… 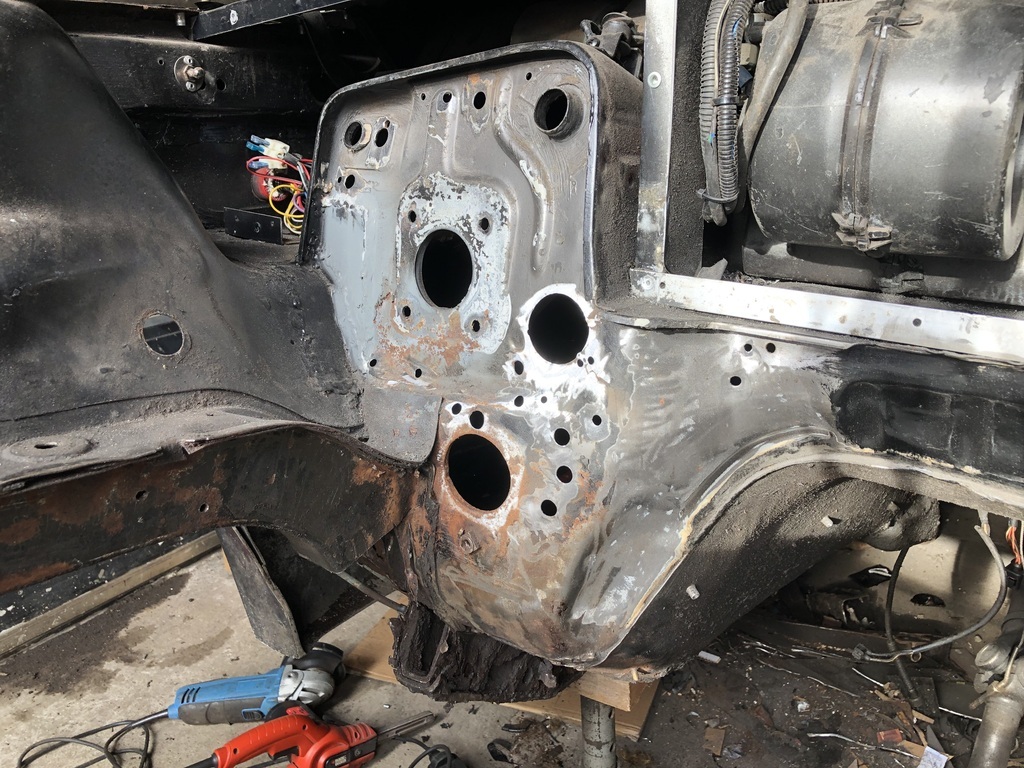 A few filled holes. 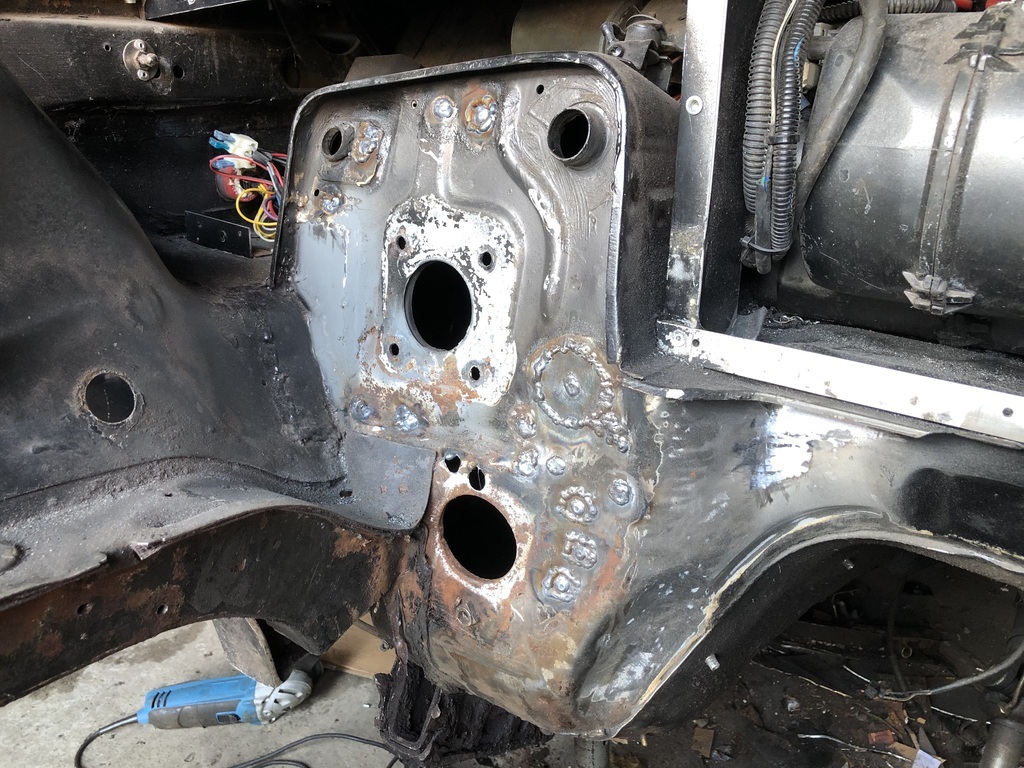 Ground some of the welds down.. 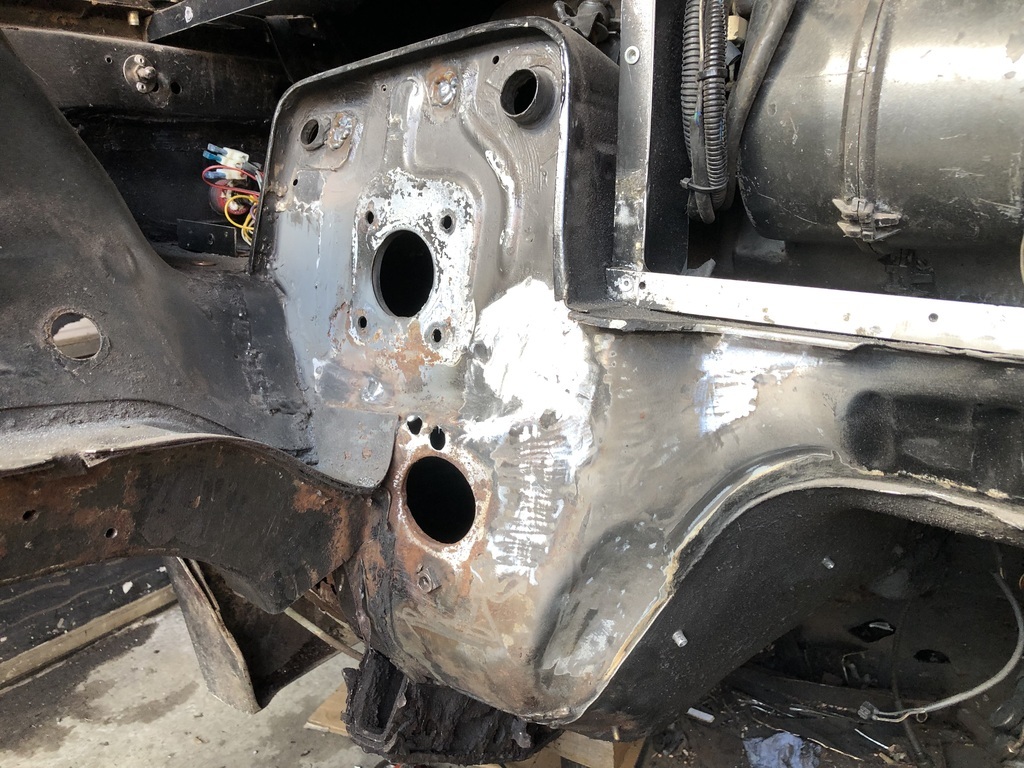 The steel around where the steering column comes through is very thin and welding up the holes near it wasn’t going to work, may have to re-fabricate the whole area…. |
| |
Last Edit: Nov 5, 2023 15:55:20 GMT by ChrisT
|
|
ChrisT
Club Retro Rides Member
Posts: 1,670
Club RR Member Number: 225
|
|
|
|
Thought I’d have a quick practice at putting a flange on a hole in steel as I had the appropriate ‘tooling’ to hand…. 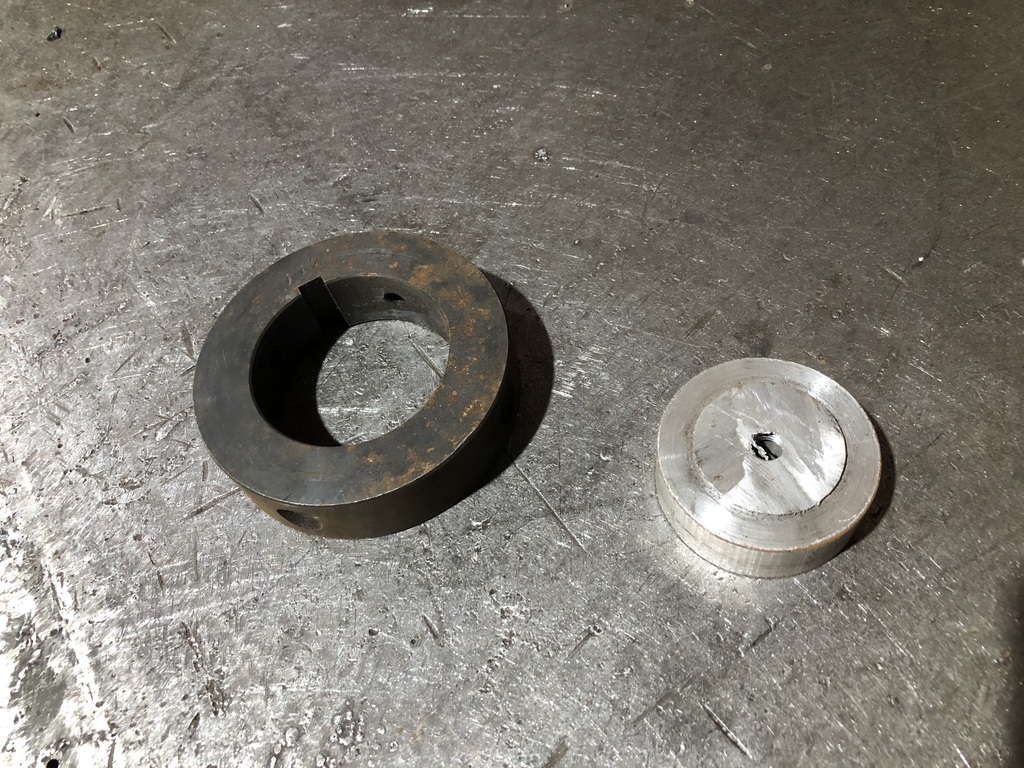 Cut a 50mm hole in some scrap, put it all in the fly press and this is the result… 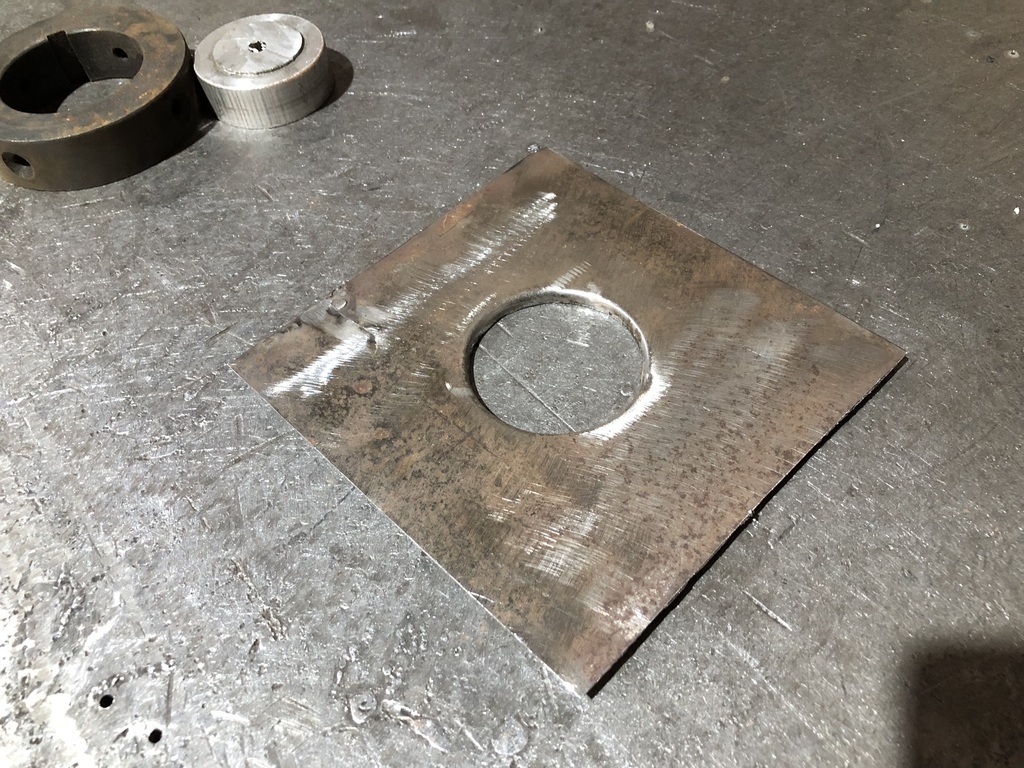 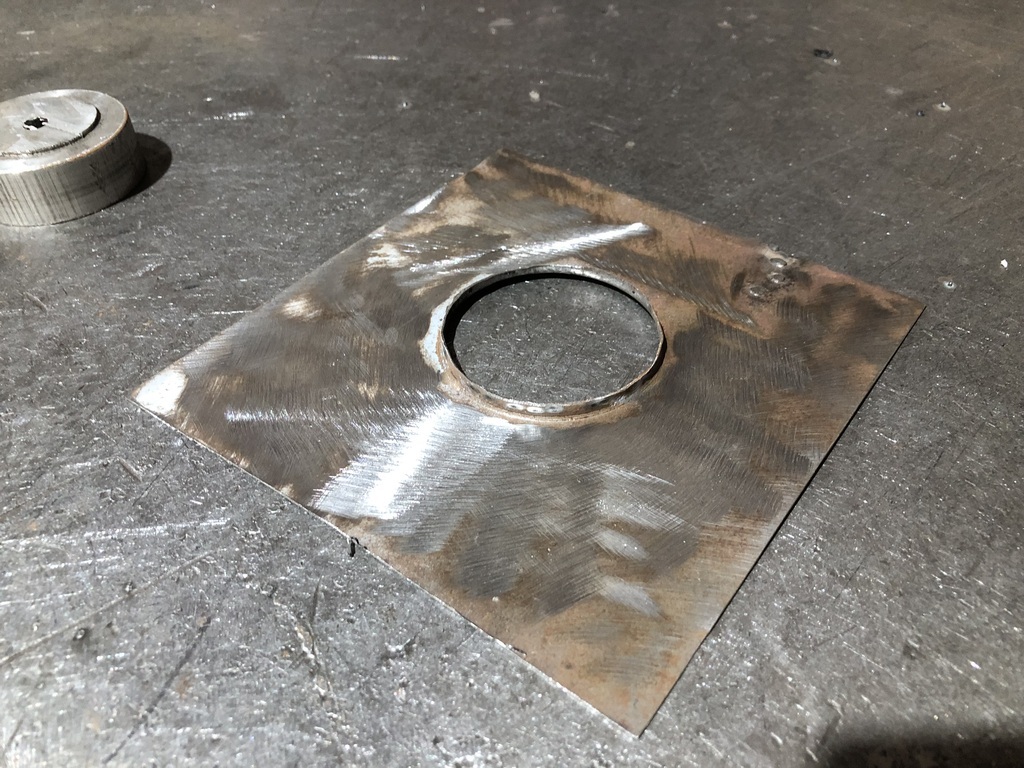 Looks good to me, steering column rubber fits… 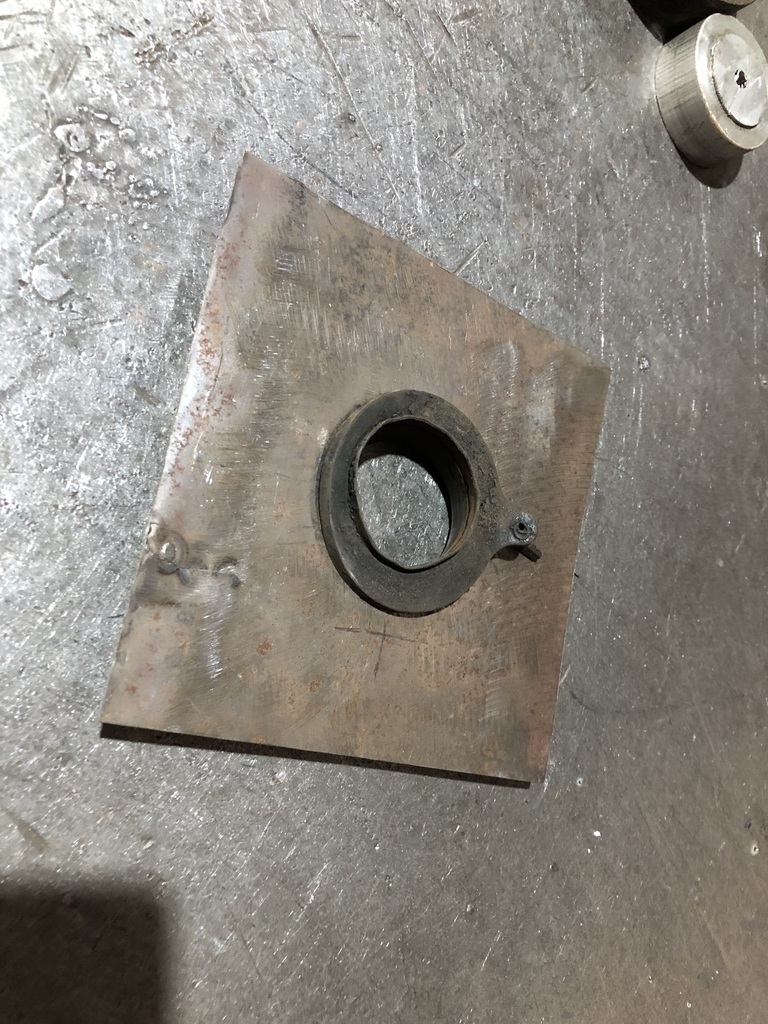 |
| |
|
|
ChrisT
Club Retro Rides Member
Posts: 1,670
Club RR Member Number: 225
|
|
|
|
Absolutely no progress made on this the last couple of weeks with weather, social life and stressing over work, but did get sent a few photos which brought a tear to my eye. My 200sx is still around and looking mighty fine, glad someone has sorted it and having fun but I really regret selling it. 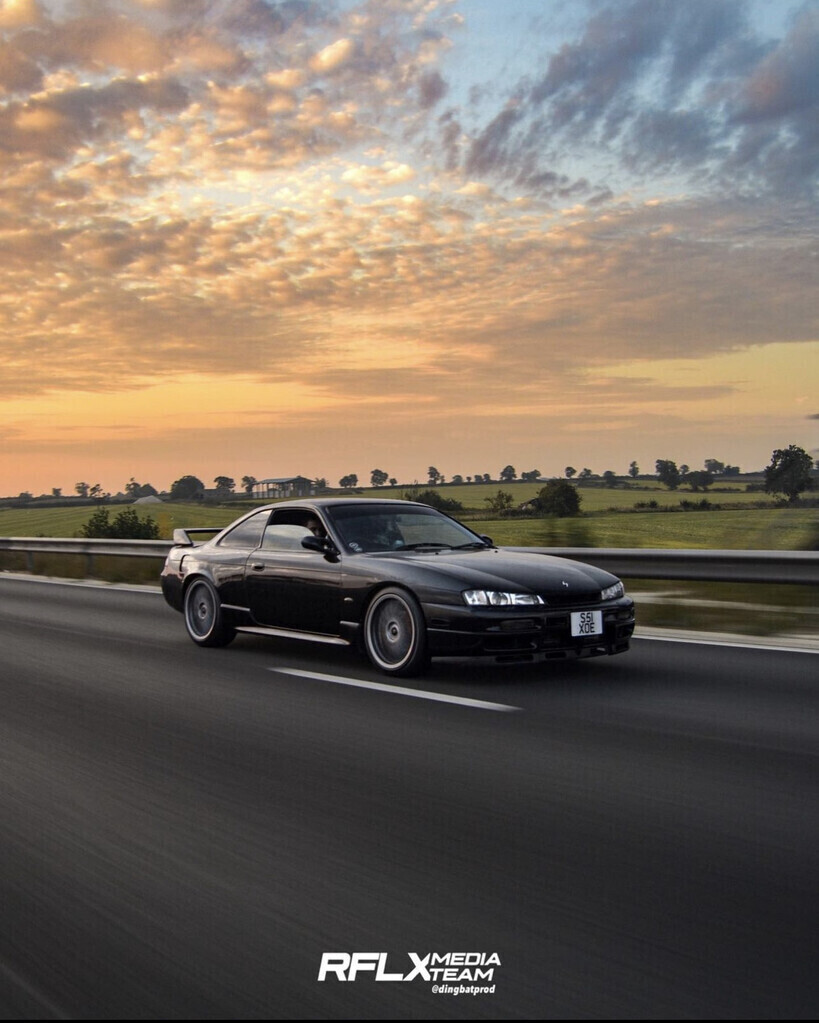  |
| |
|
|
ChrisT
Club Retro Rides Member
Posts: 1,670
Club RR Member Number: 225
|
|
Dec 31, 2023 12:49:38 GMT
|
Nothing to report on the Manta, still a bit daunted about how to progress on the driver’s side, hoping the new year will bring some enthusiasm…. BMW seems to be running ok, seen a few miles over the last month - up to Barnard Castle and back, then over to Leeds/Bradford one snowy Sunday morning and down to the other side of Taunton the other day. On the way back around Evesham this happened (wife took photo)… 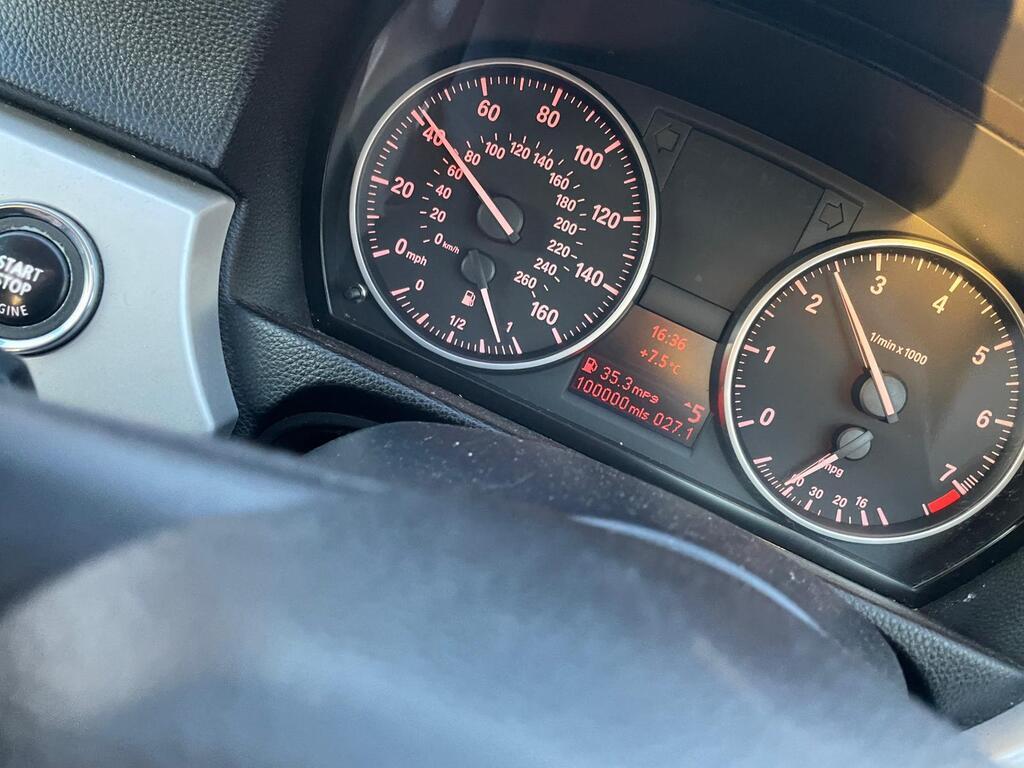 Treated it to a quick wash yesterday. 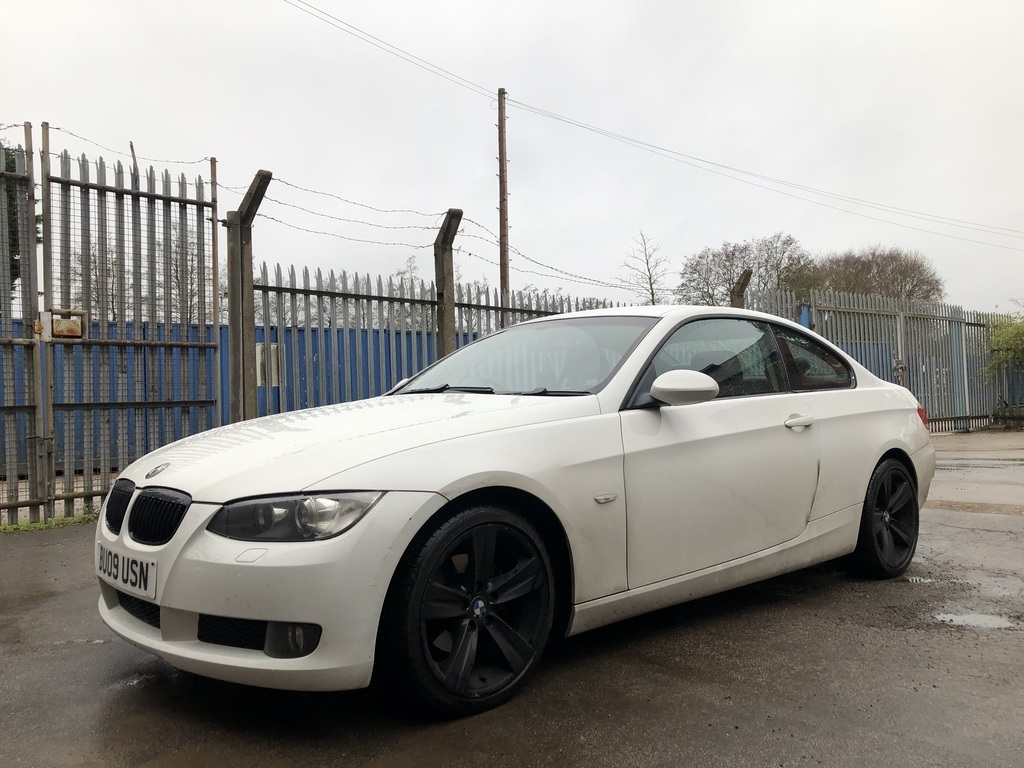 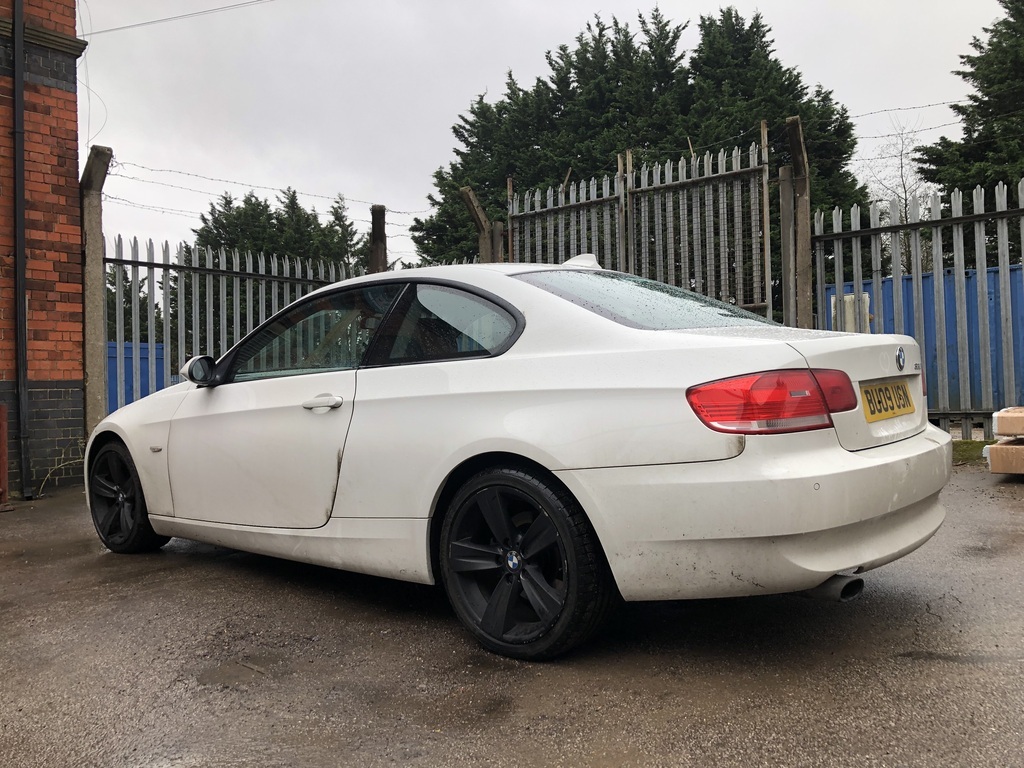 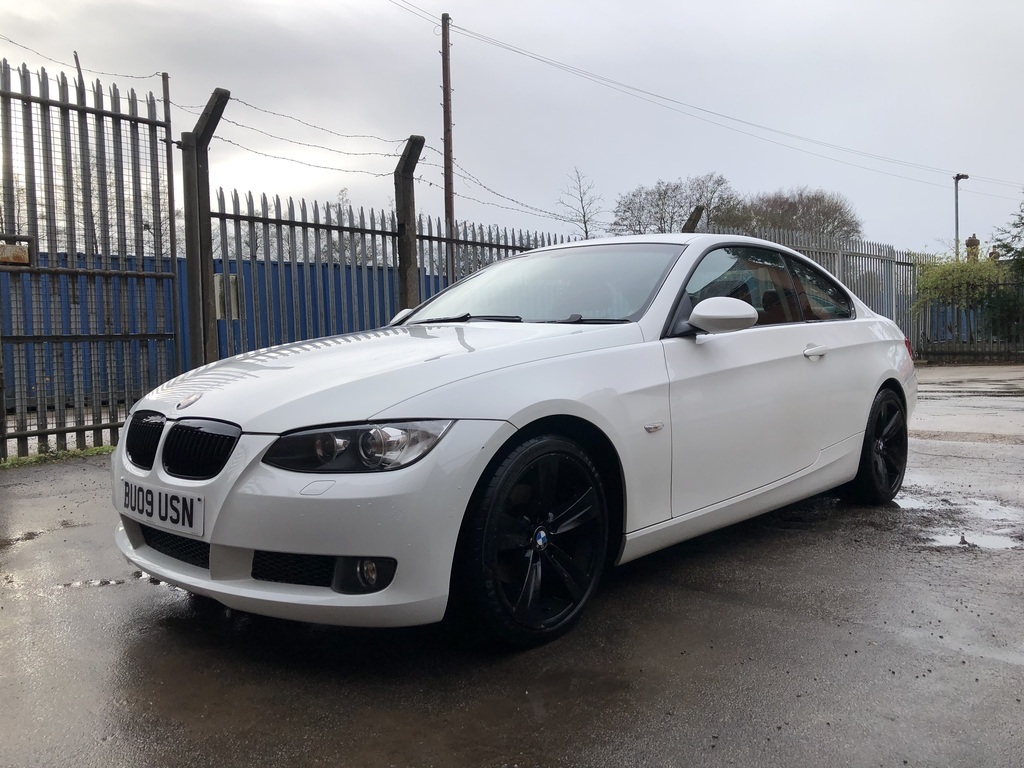 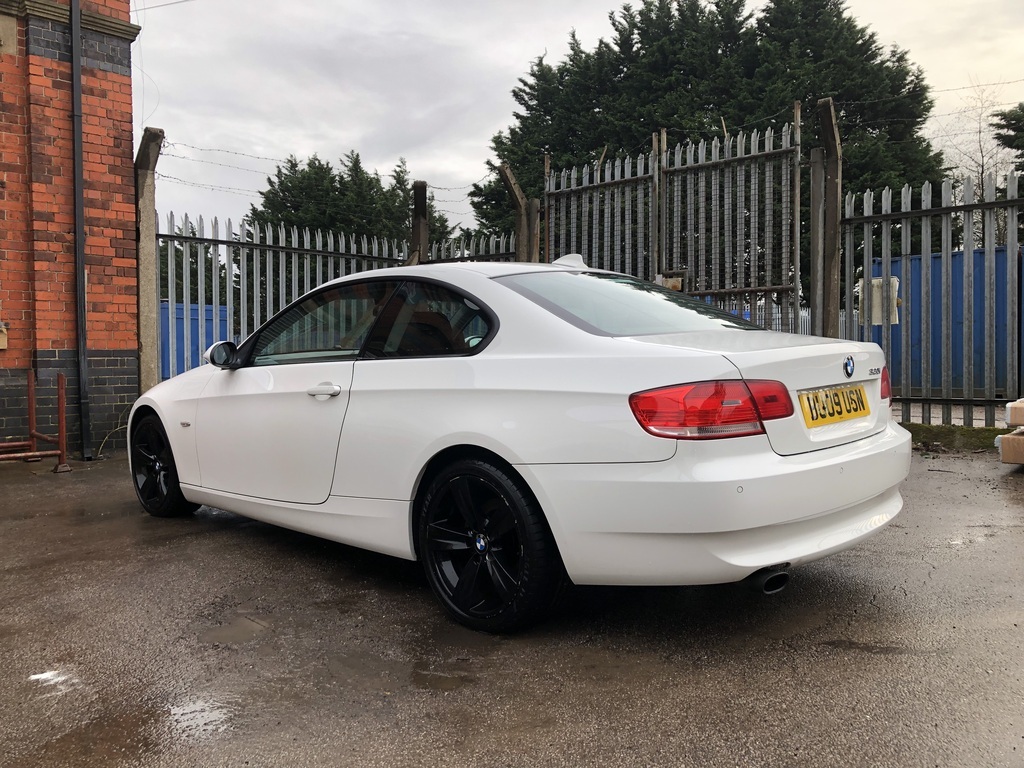 |
| |
|
|
|
|
ChrisT
Club Retro Rides Member
Posts: 1,670
Club RR Member Number: 225
|
|
Apr 27, 2024 18:31:01 GMT
|
Considering it’s 4 months since last update not a lot has been done, apart from the usual procrastination and questioning my choice of pastime, but the last month or so since the weather has improved I have been slowly tackling it. Cut away a lot of the old repairs to reveal what I’m up against and it’s not looking very good. The rot doesn’t seem to go as far up the chassis rails as the other side but it does go further down them, which I’ve remade. There’s also the A pillar structure which will need replacing, once the chassis rails are complete and putting some strength back into the area. Again it’s been a voyage of discovery remembering what repairs have been done at what point, the footwell/floors were MOT repairs which explains the quality and layers of steel, the inner wings were done by a professional but he had to make good to the previous repairs. 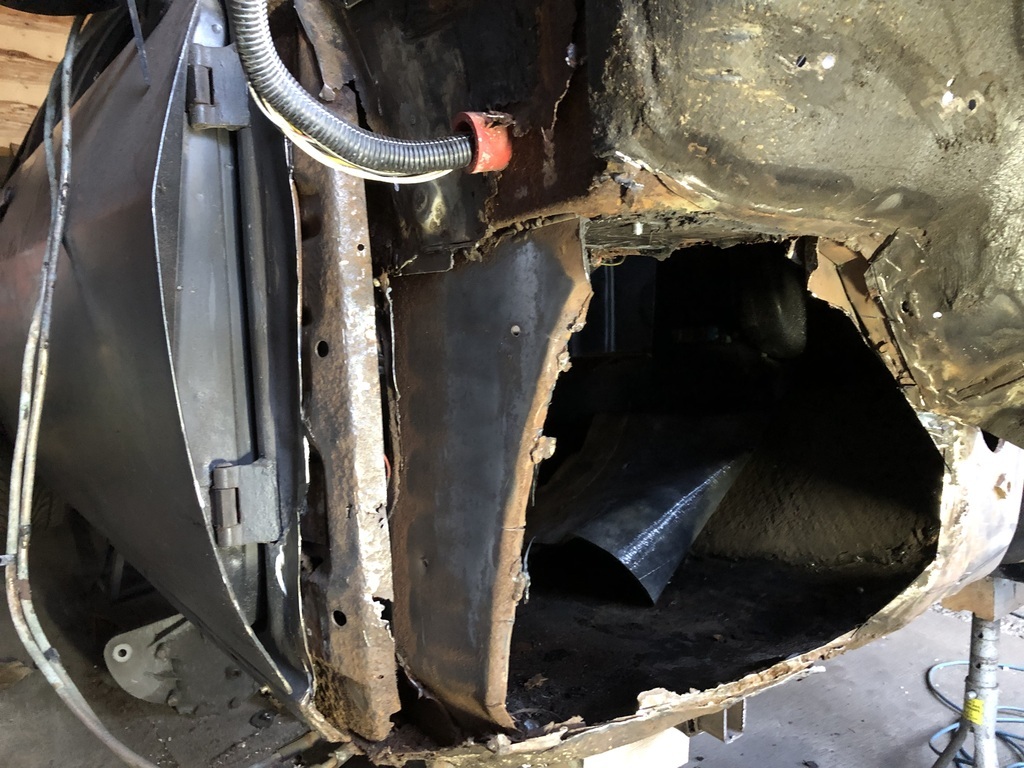 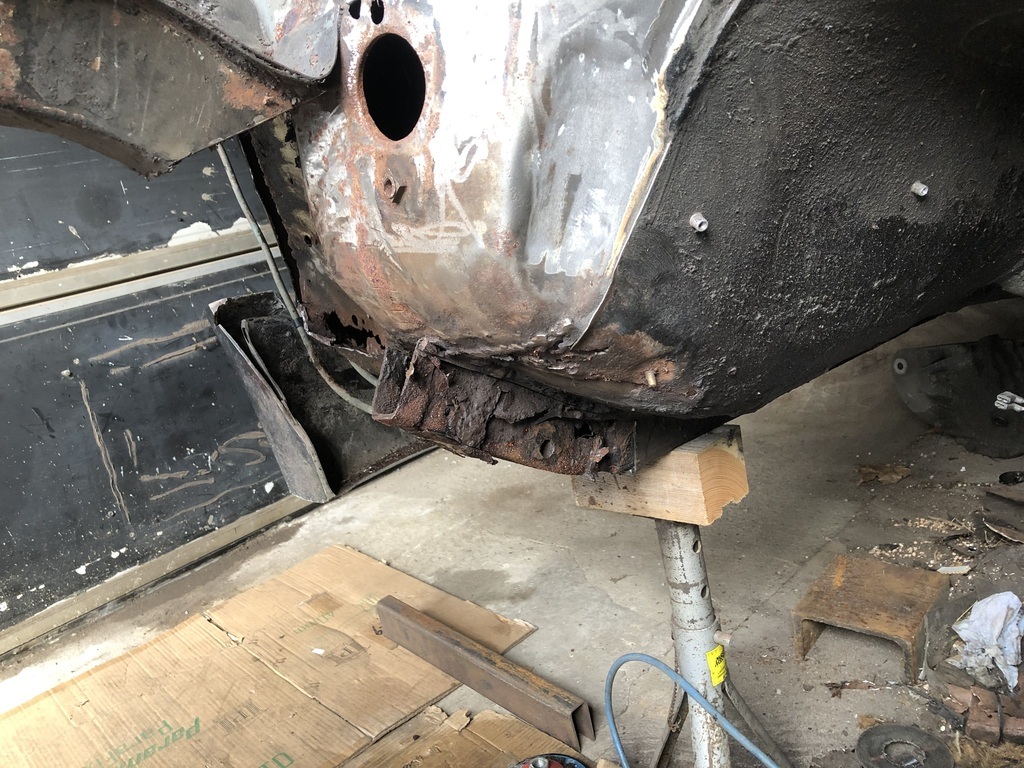 Lower chassis crossmember mounting point. 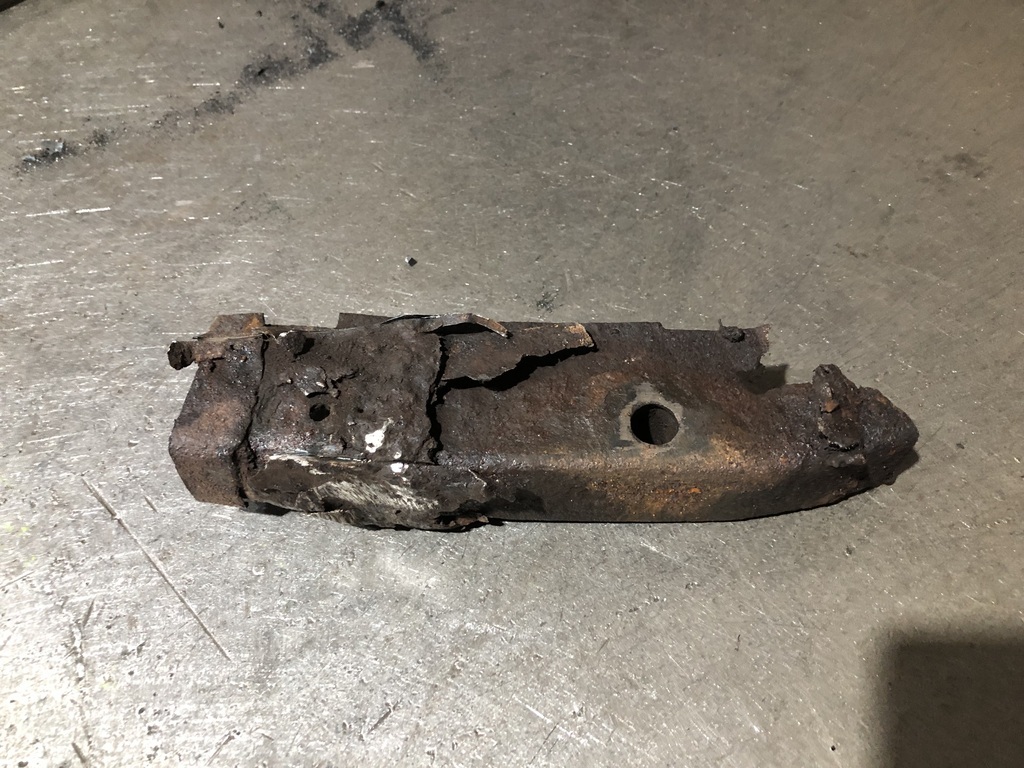 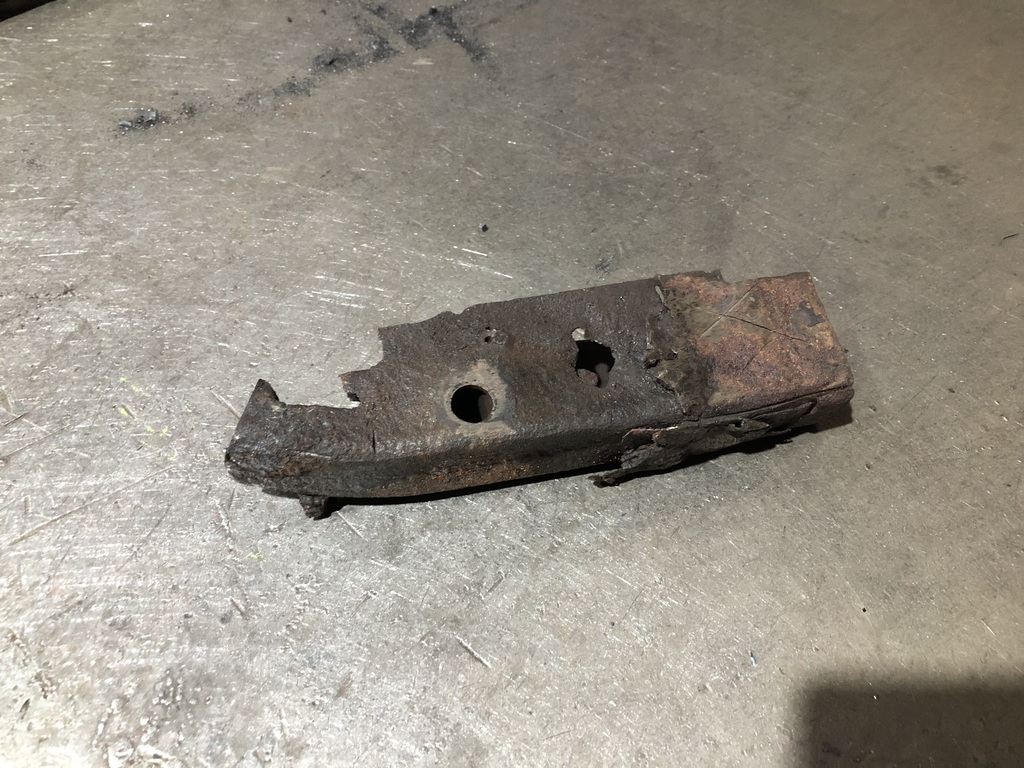 The start of making a new one, don't seem to have pics of the finished item.. 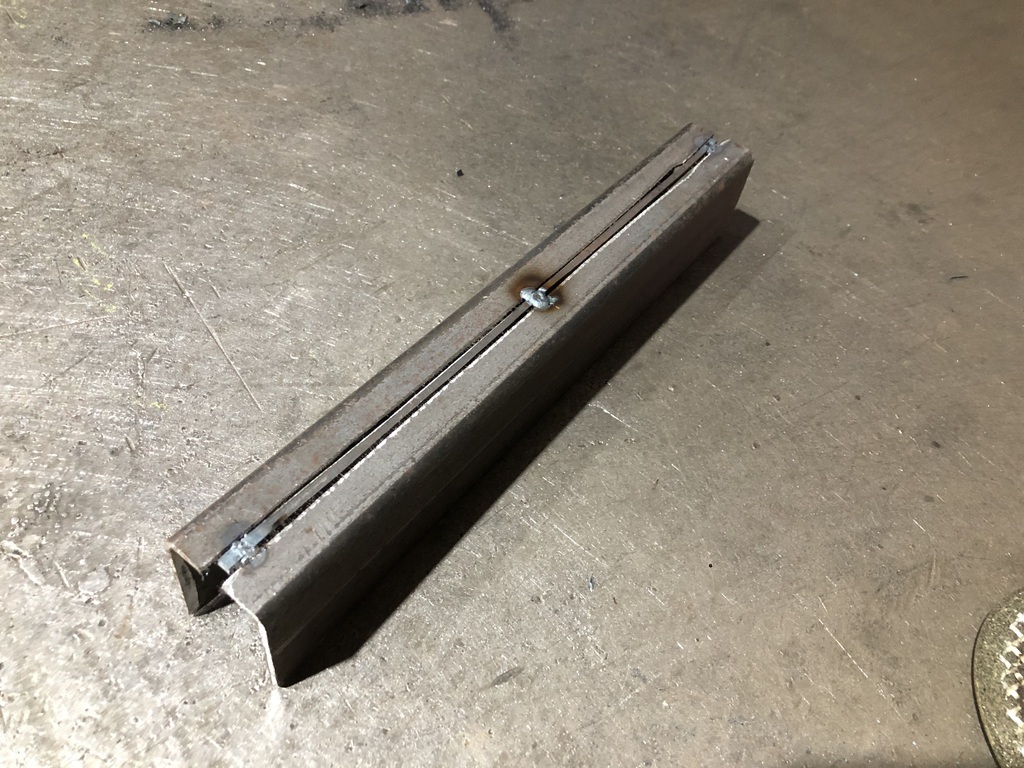 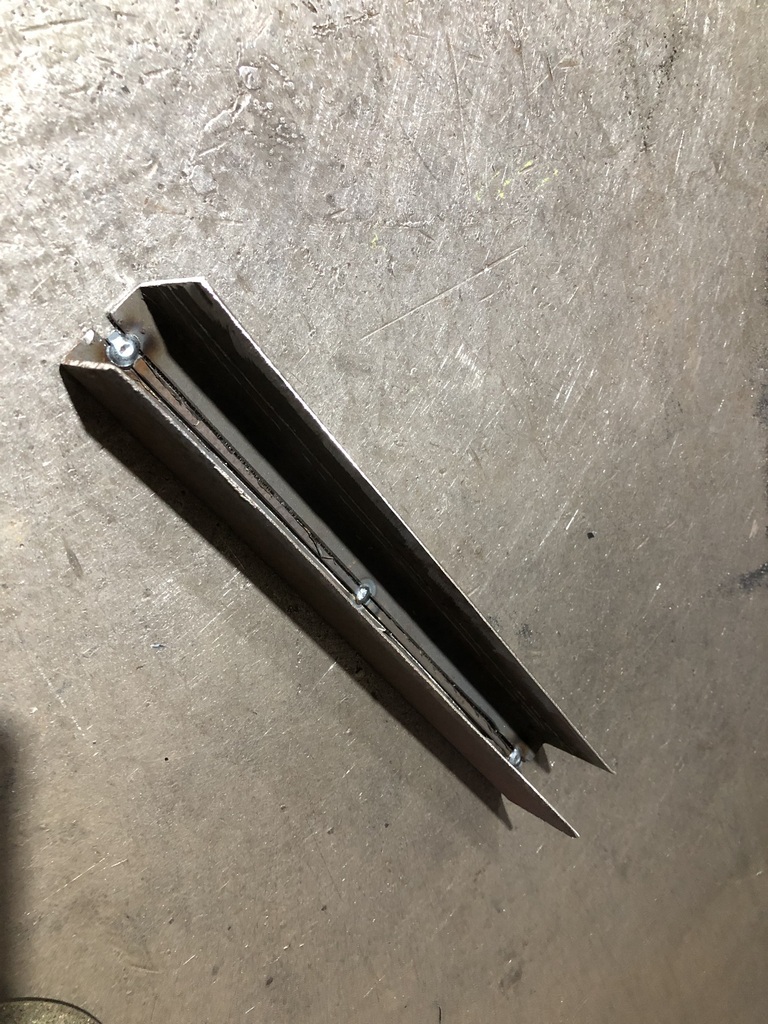 Part of the new floor put in for MOT, it is all solid, just needs this side tidying up. After cutting back the chassis rail to sound metal I've put some U section in to bride the join. 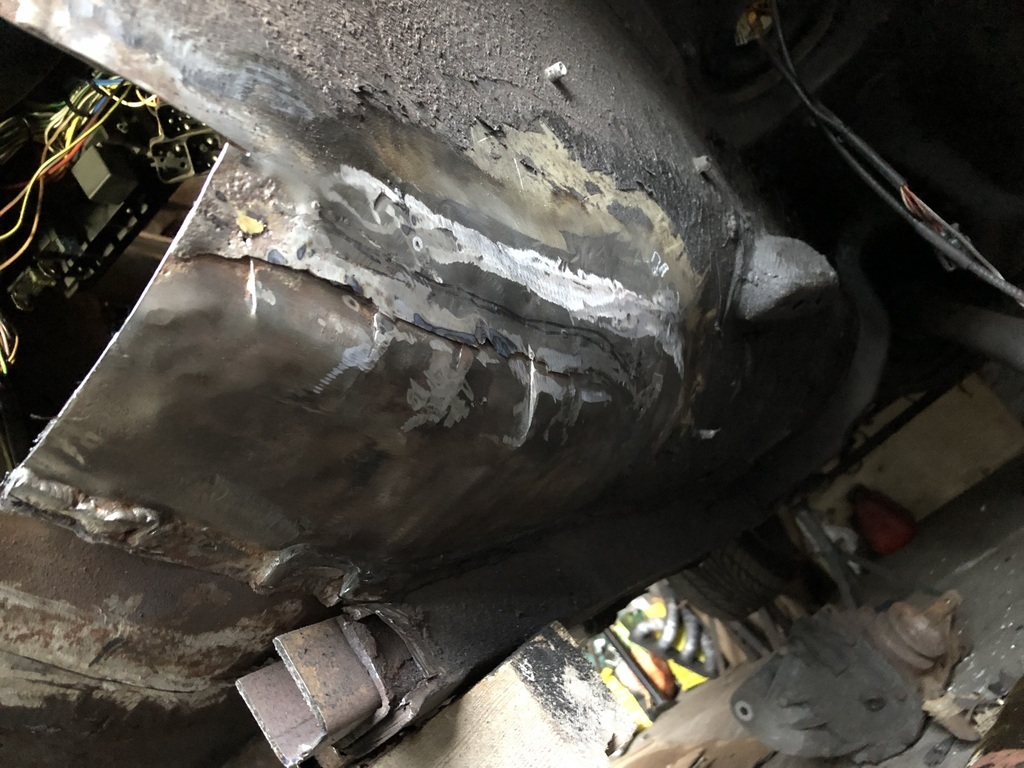 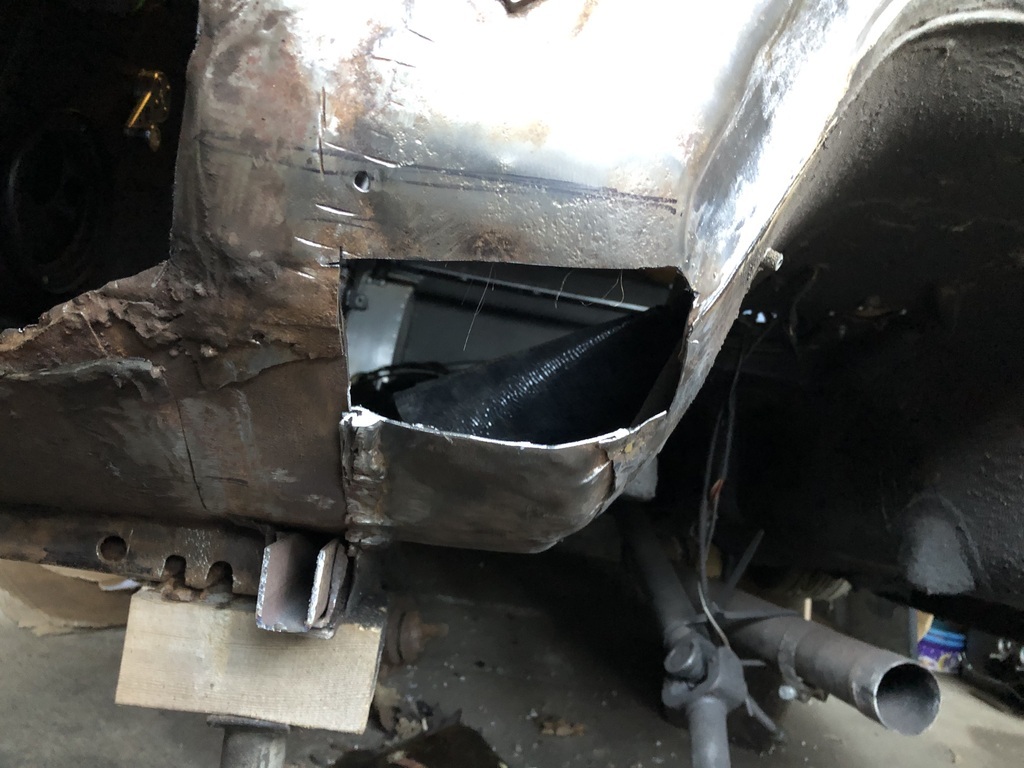 New steering hole for column. 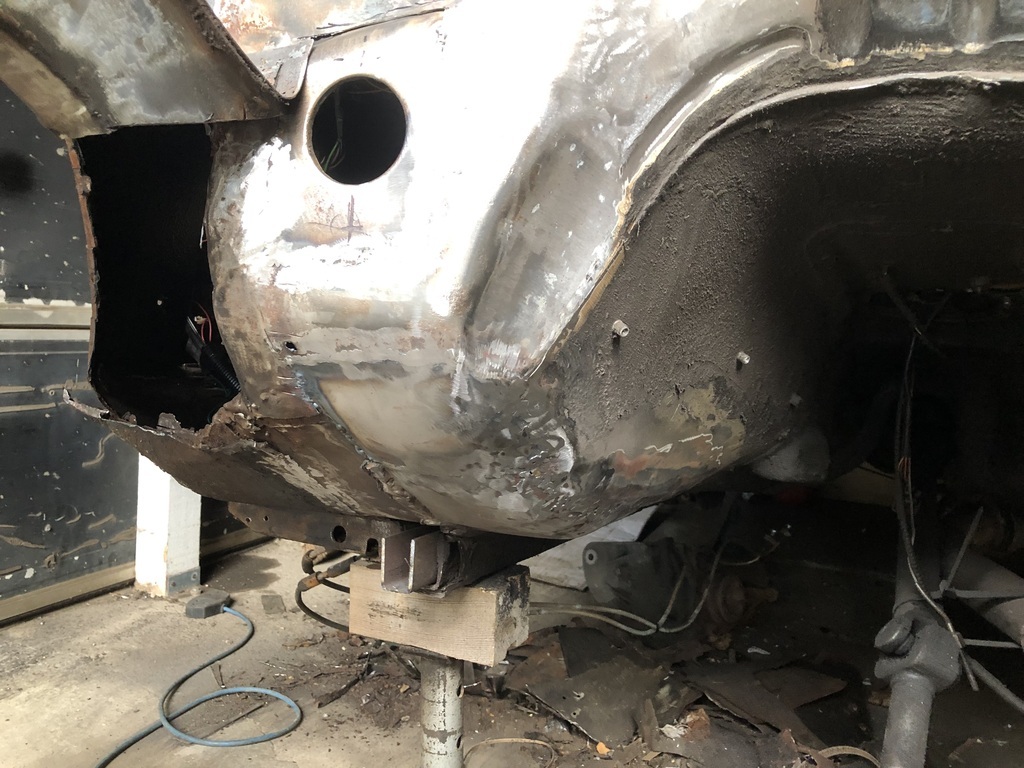 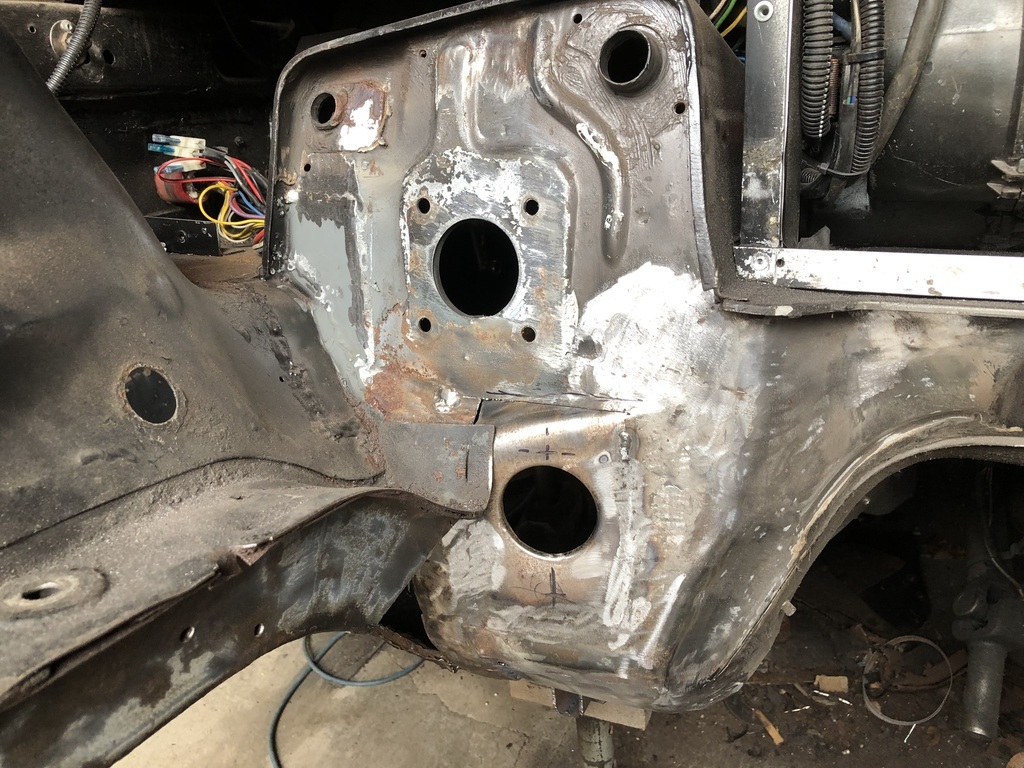 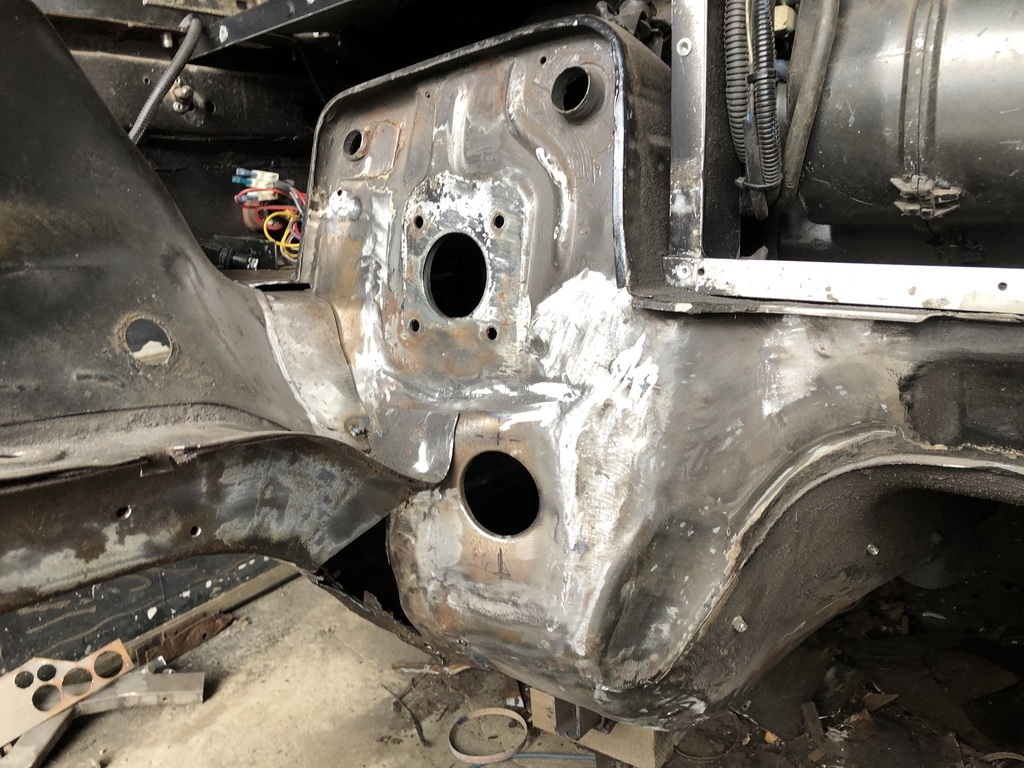 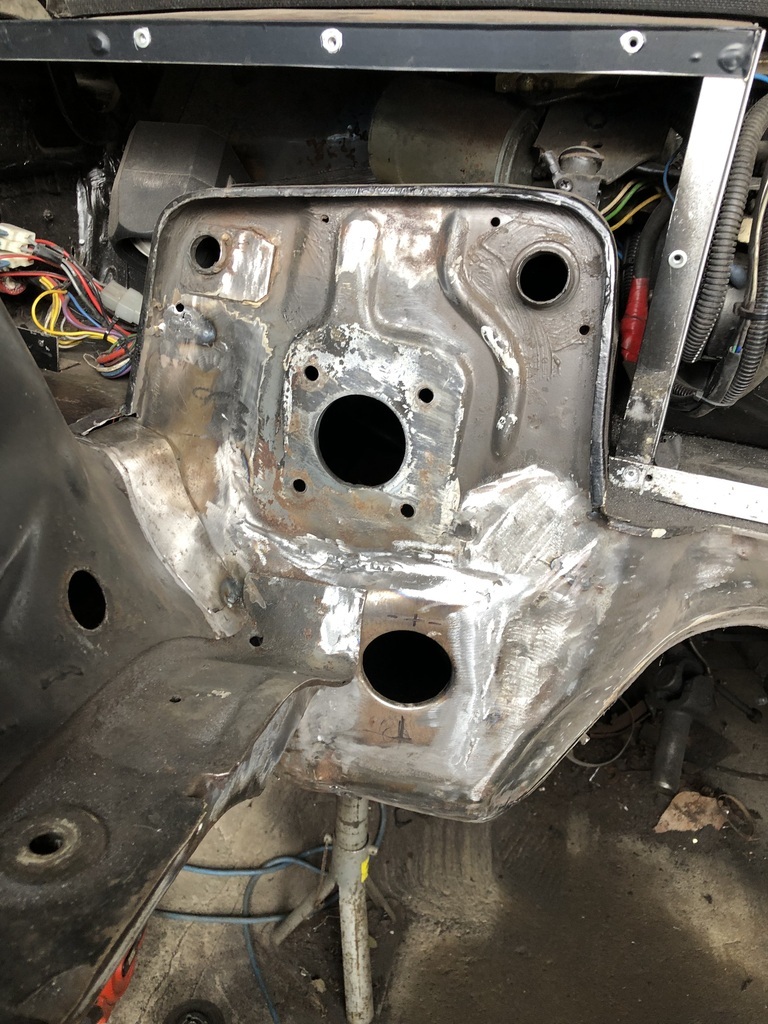 This area about done. 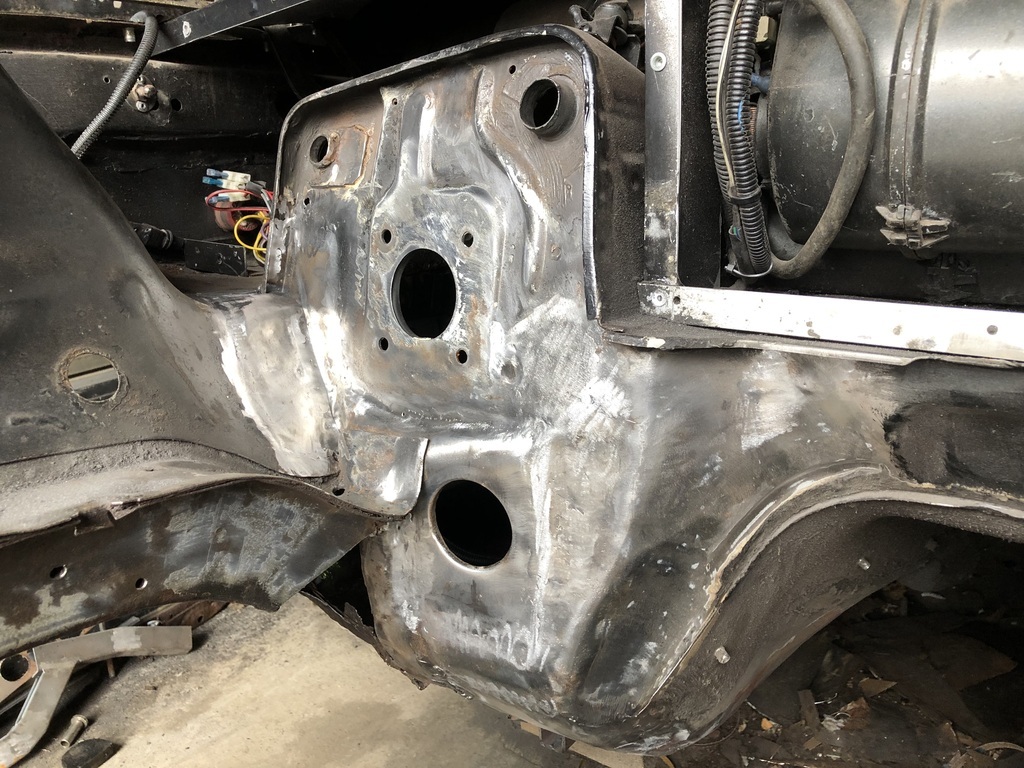 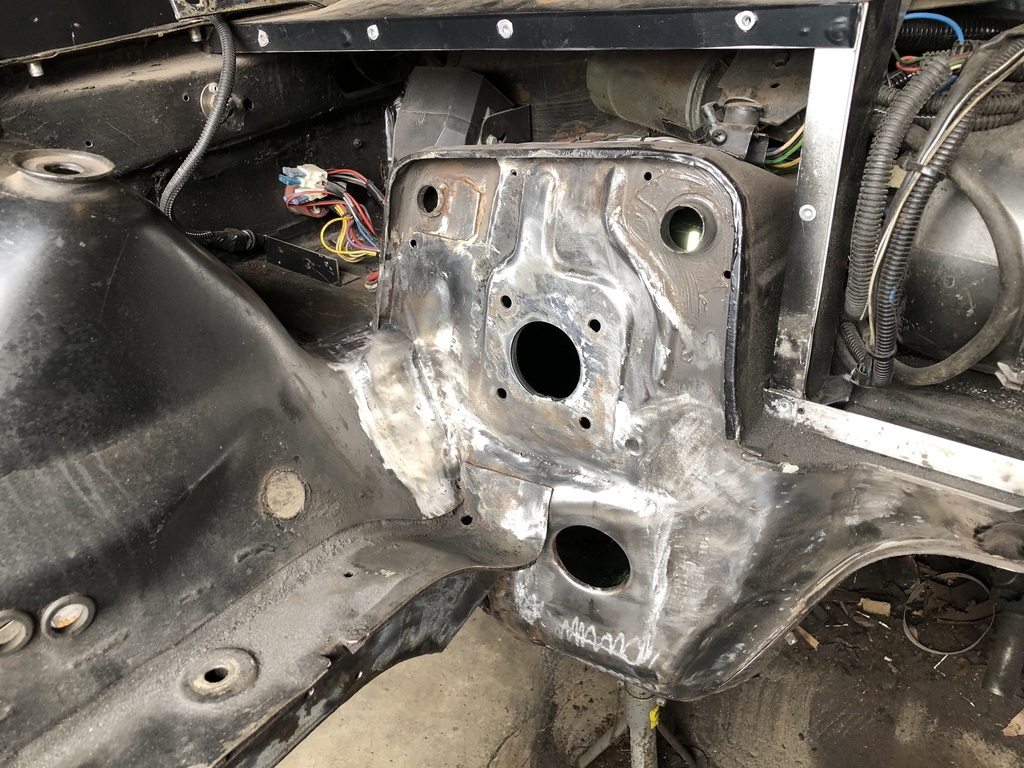 The collapsible steering column needs some work too, probably best to replace it if I can find one, along with a new bearing at the bottom as that fell to pieces when removing it. 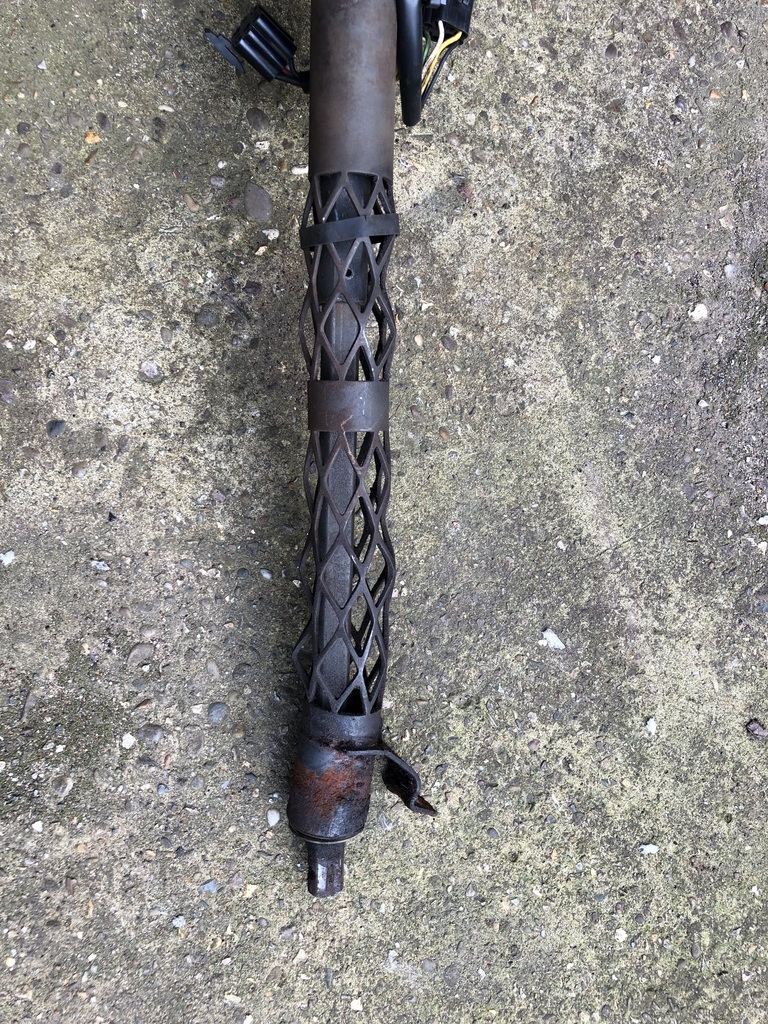 |
| |
Last Edit: Apr 28, 2024 0:32:56 GMT by ChrisT
|
|
ChrisT
Club Retro Rides Member
Posts: 1,670
Club RR Member Number: 225
|
|
Apr 27, 2024 18:35:00 GMT
|
And in other news I got some more pics from the latest 200SX owner, looks stunning …. 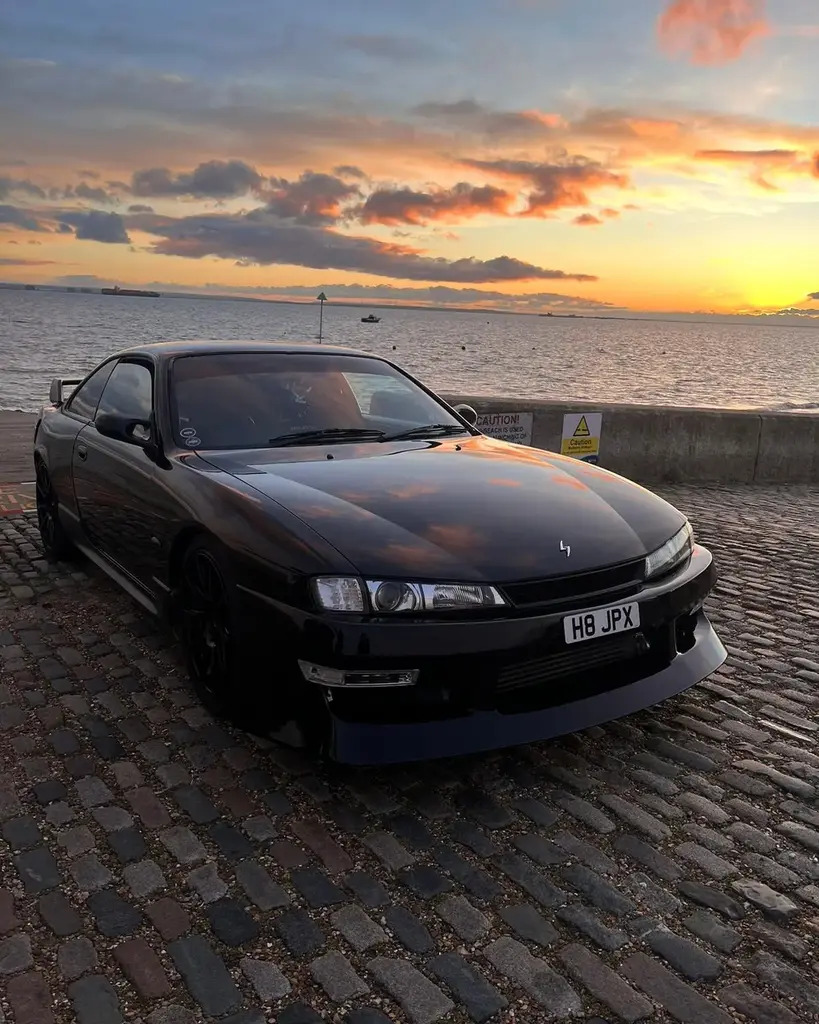 |
| |
Last Edit: Apr 27, 2024 20:46:52 GMT by ChrisT
|
|
ChrisT
Club Retro Rides Member
Posts: 1,670
Club RR Member Number: 225
|
|
|
|
Been slowly making progress, not taken many photos though. The replacement chassis leg lower section that should have been in last post... 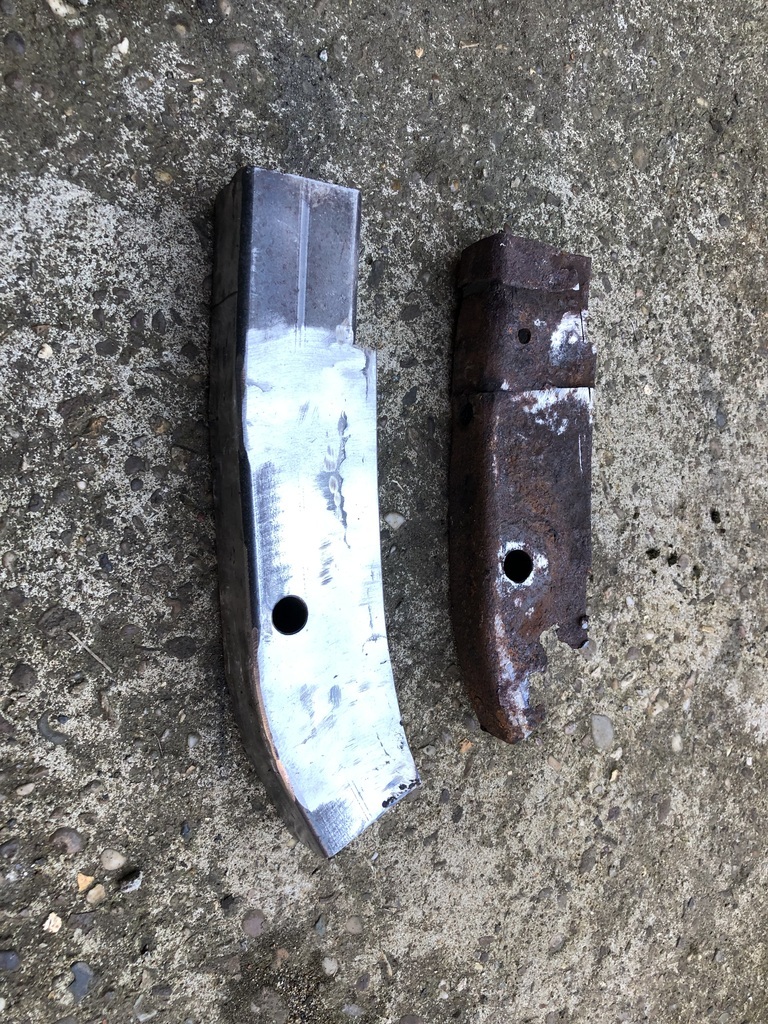 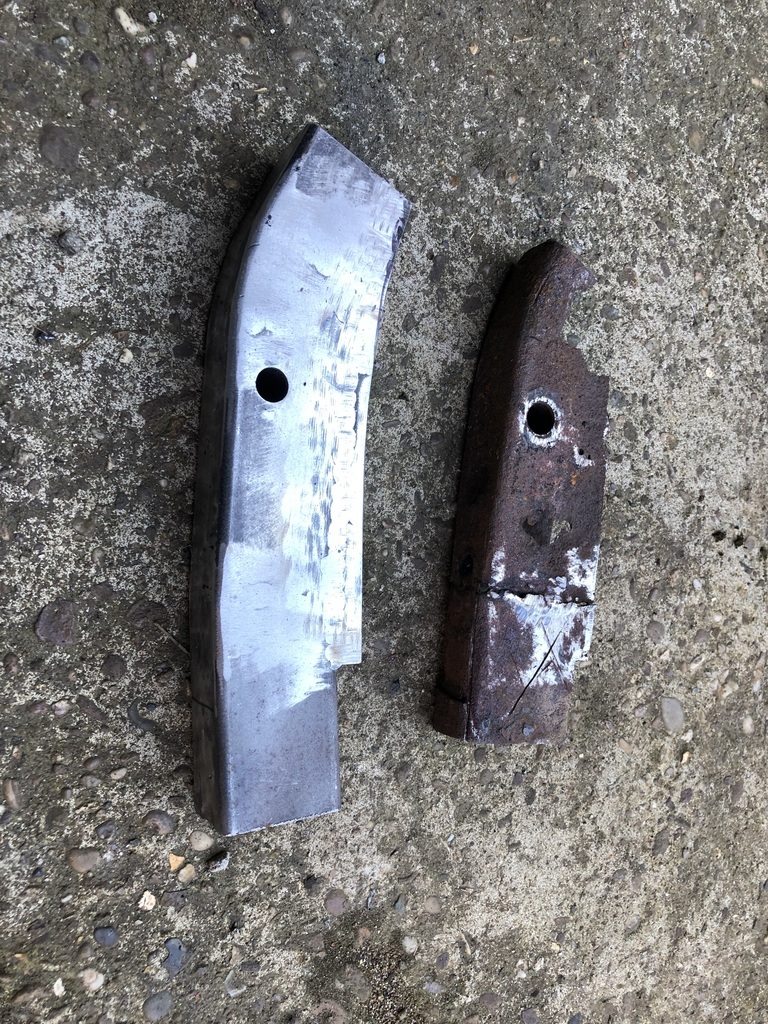 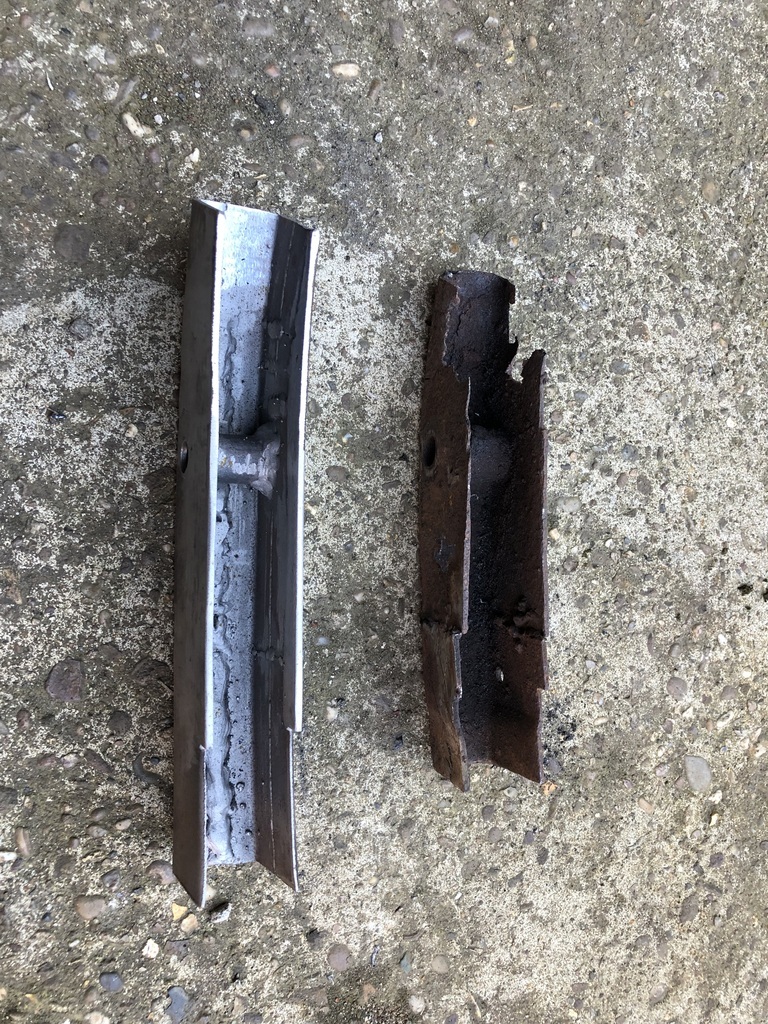 In position with location jig and other measurements.... 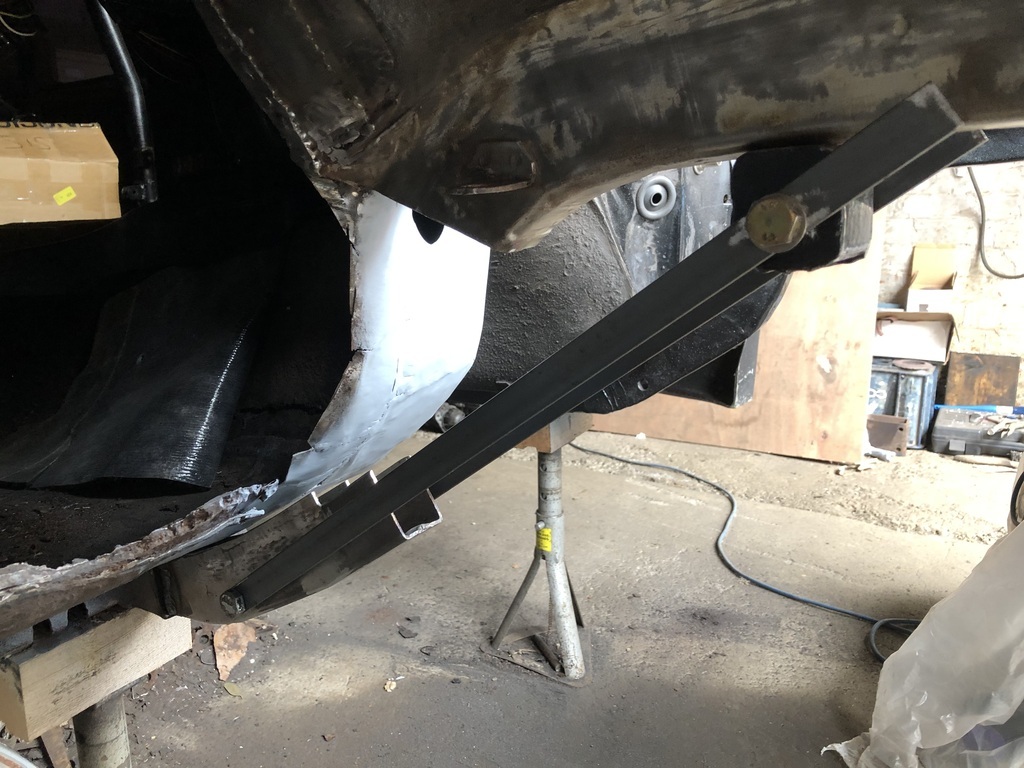 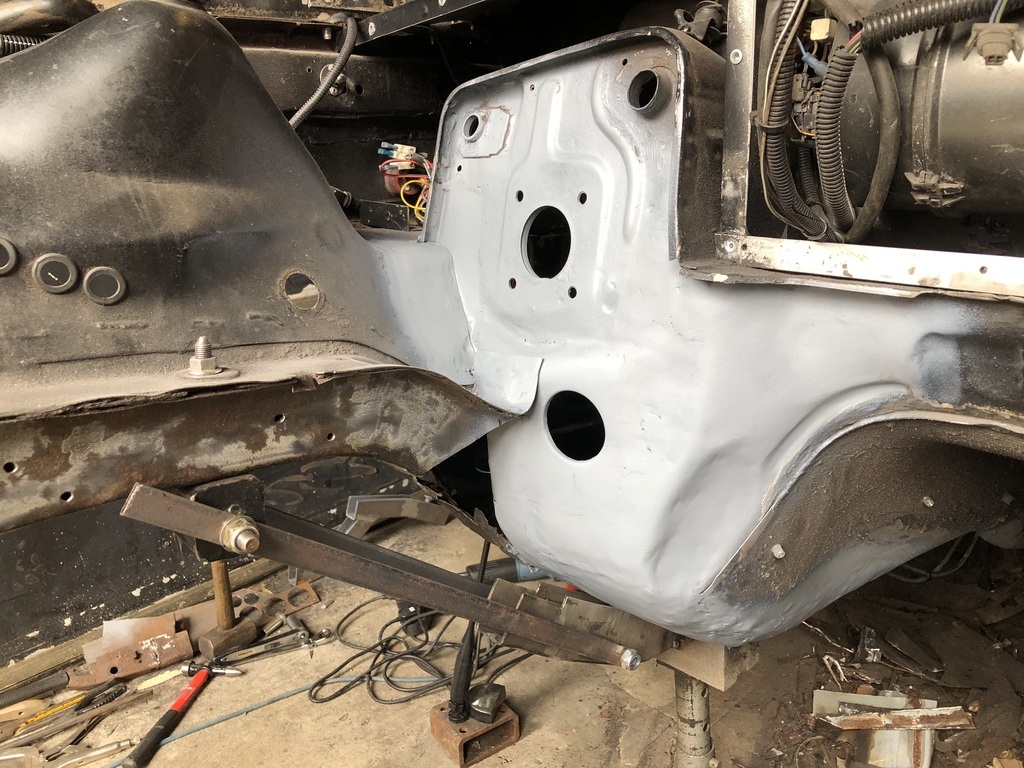 Ever increasing scrap pile under car.... 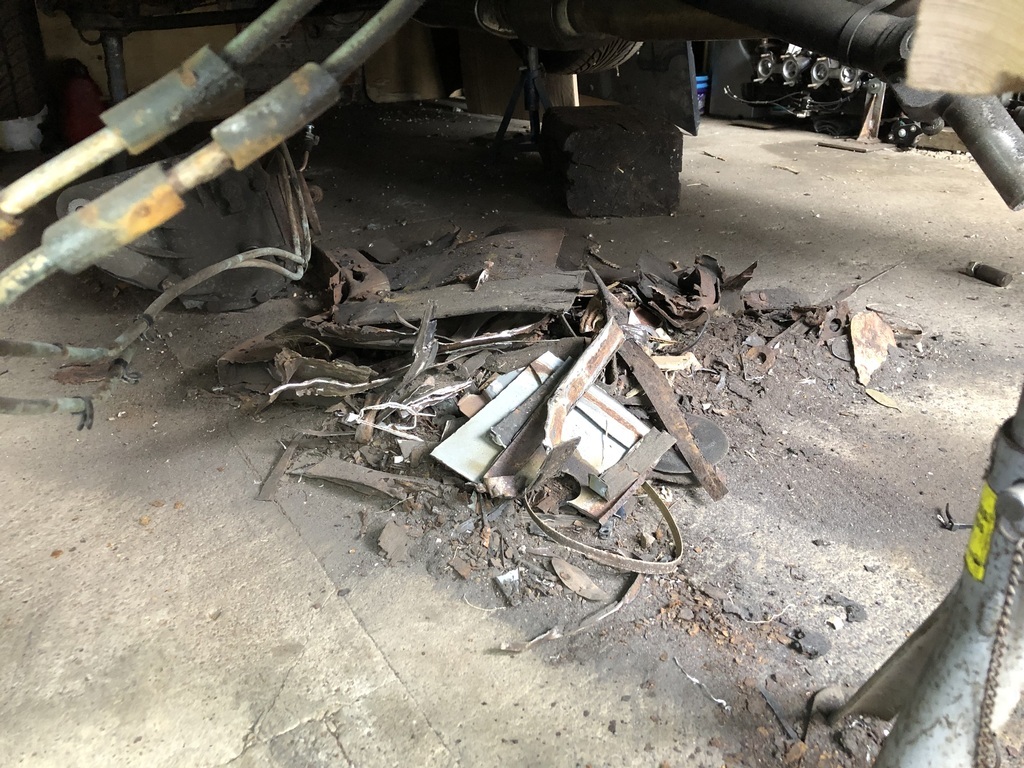 Chassis leg in place and part of footwell welded in to give somewhere for chassis cover panel to weld to.... 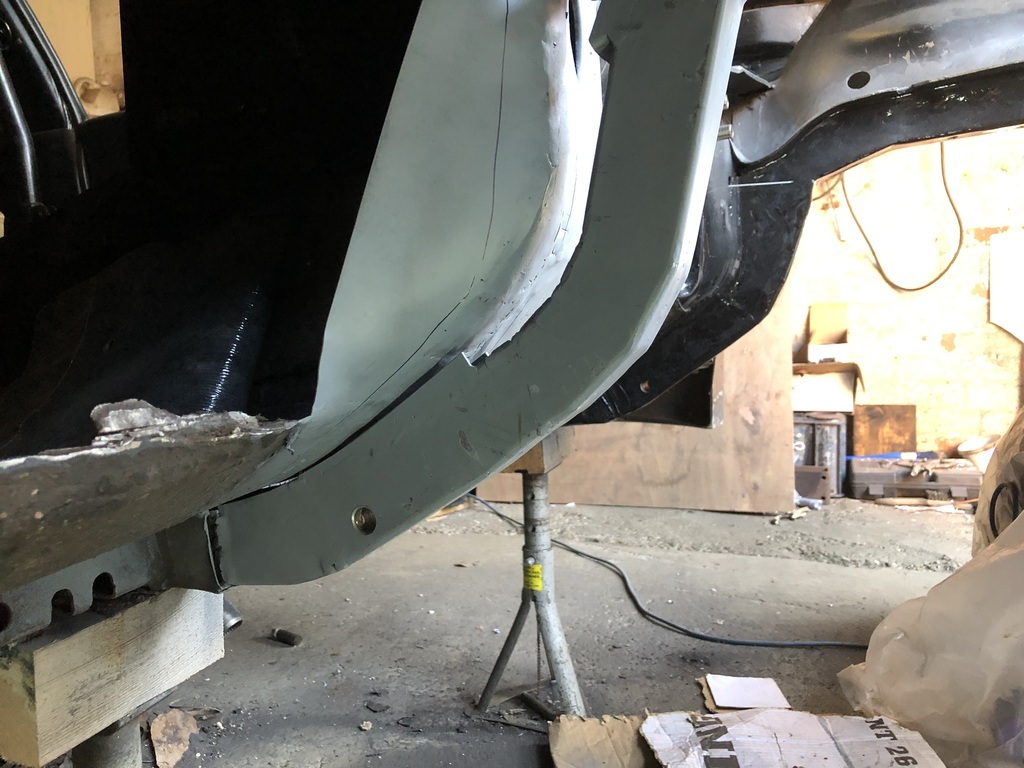 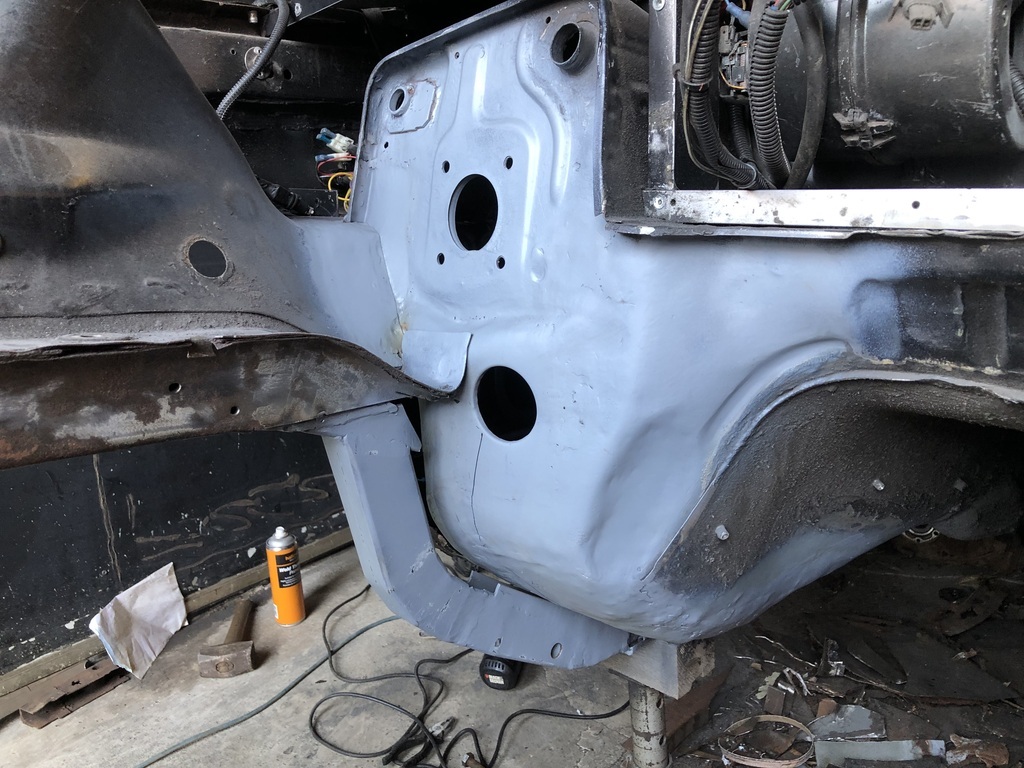 And covered.... 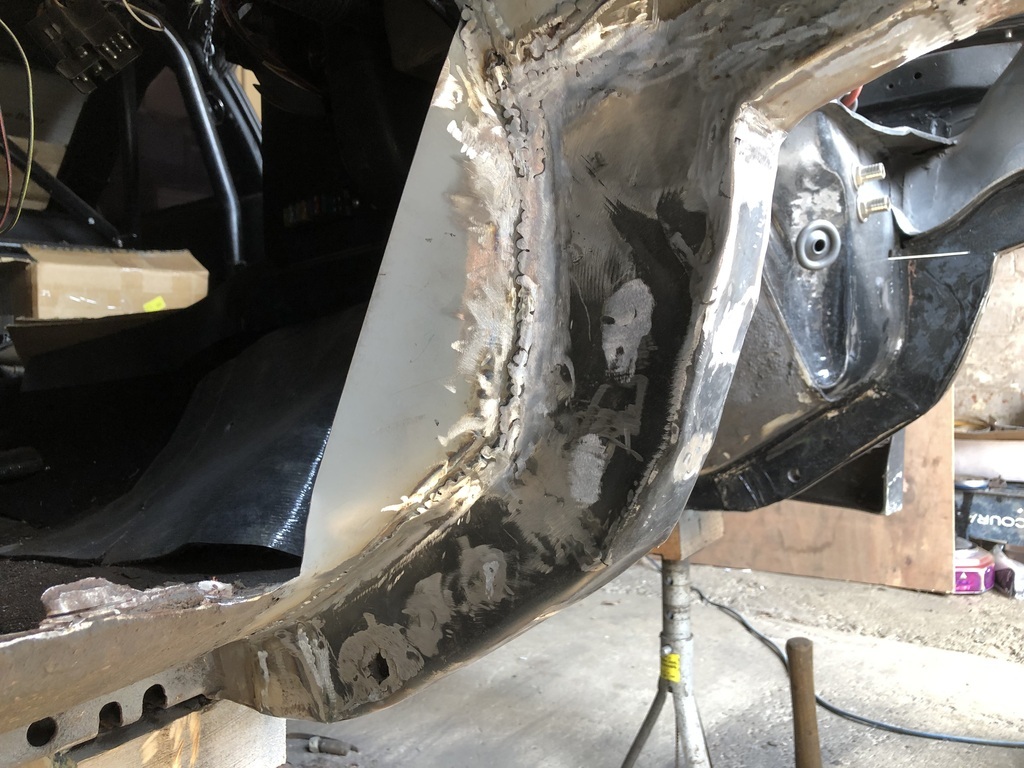 As usual it all looks ropey but is solid, can move onto the A pillar area now this has put some strength back. |
| |
Last Edit: May 19, 2024 8:11:20 GMT by ChrisT
|
|
|
|
ChrisT
Club Retro Rides Member
Posts: 1,670
Club RR Member Number: 225
|
|
Jun 29, 2024 11:49:05 GMT
|
The wife is away all weekend so thought I’d make the most of the time and get some work done on this. Have found pictures of the lower A pillar internal panel which doesn’t look hard to replicate, this is passenger side so slightly different design and reverse of what I need.. 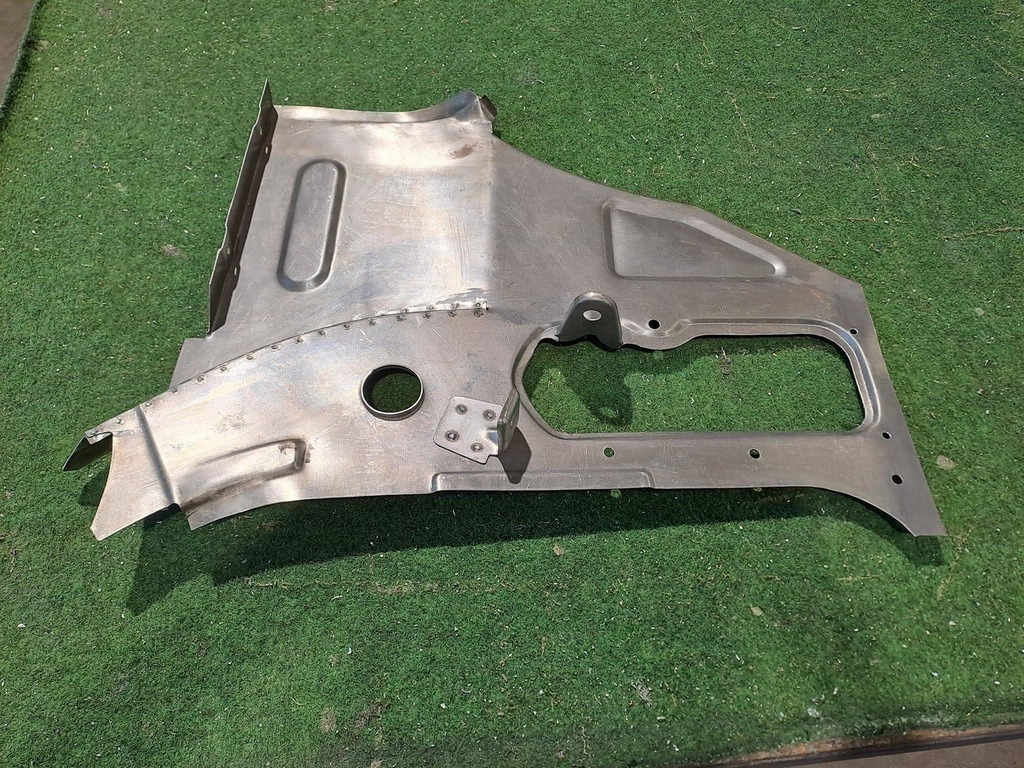 Ordered some sheet steel Monday as I’m completely out of it and local place didn’t have any in. No steel by Friday, FedEx appear to have lost it. Kind of scuppered my plans but thought press on with other bits, so got a few small patches I had enough steel for done. Then started prepping the A pillar area and noticed a bit of rust along the sill, took a screwdriver to it and this is what I found… 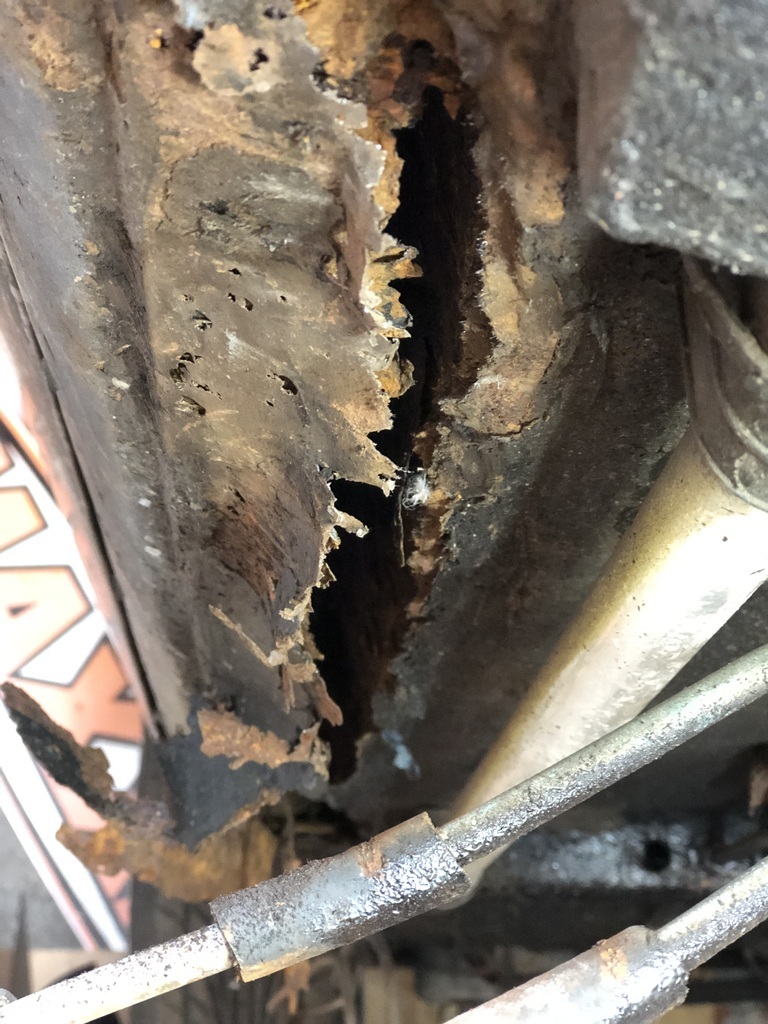 Oh joy, in the whole scheme of things a sill isn’t too bad to do (and panels are available) but starting to ask where this will end and I’m, once again, wondering what I’m doing with my life  In other news, went on holiday down south to Devon/Dorset last week and the BMW behaved faultlessly until about an hour and a half into the journey. Flashing EML just past Leicester which turned into a misfire. Pulled off motorway and reset fault with code reader, thankfully didn't return over the 850 miles. Then the next day I get a low oil pressure warning a couple of times, this was due to a collapsed oil filter last time. After another EML the next day I just started clearing faults before every journey without even reading them, but it was still no fun to drive waiting for warning lights to appear. Looks like another expensive trip to the specialist again, best get the Tetradactyl poo off it first….. 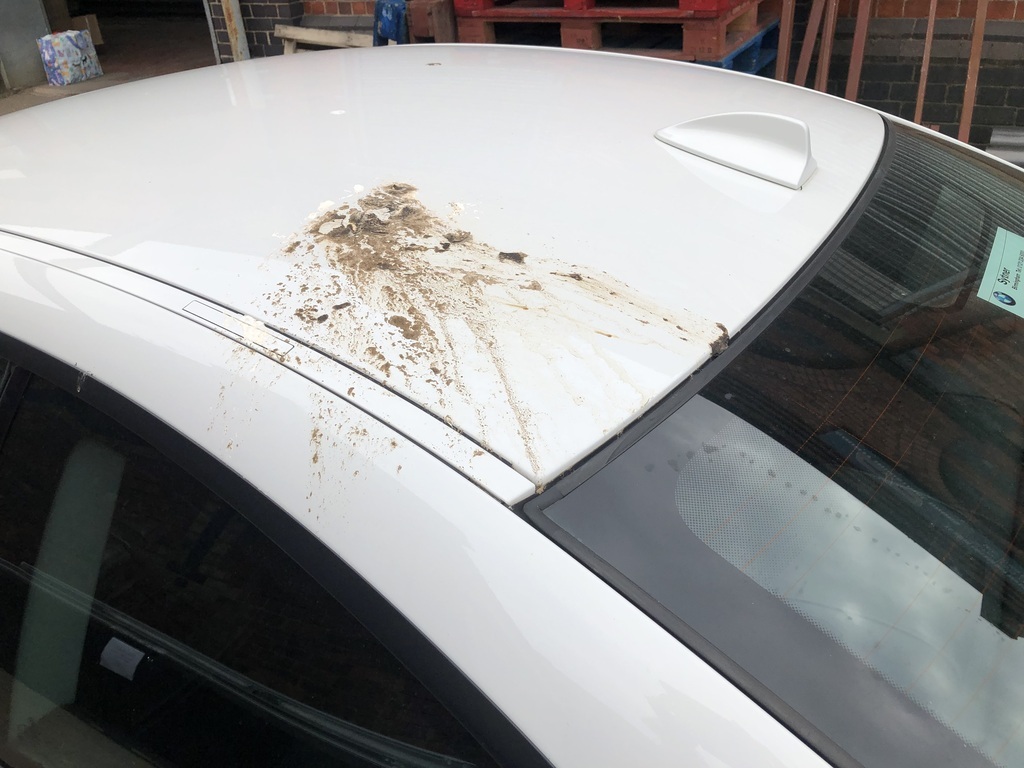 |
| |
Last Edit: Jun 29, 2024 17:23:59 GMT by ChrisT
|
|
ChrisT
Club Retro Rides Member
Posts: 1,670
Club RR Member Number: 225
|
|
|
|
Ploughing in with this, not letting the prospect of replacing a sill stop me just yet. Got a sheet of steel delivered, a1-metals were very helpful after the first one went missing, replacement arrived Tuesday. Get the pedal box/A pillar area sorted first. Hole… 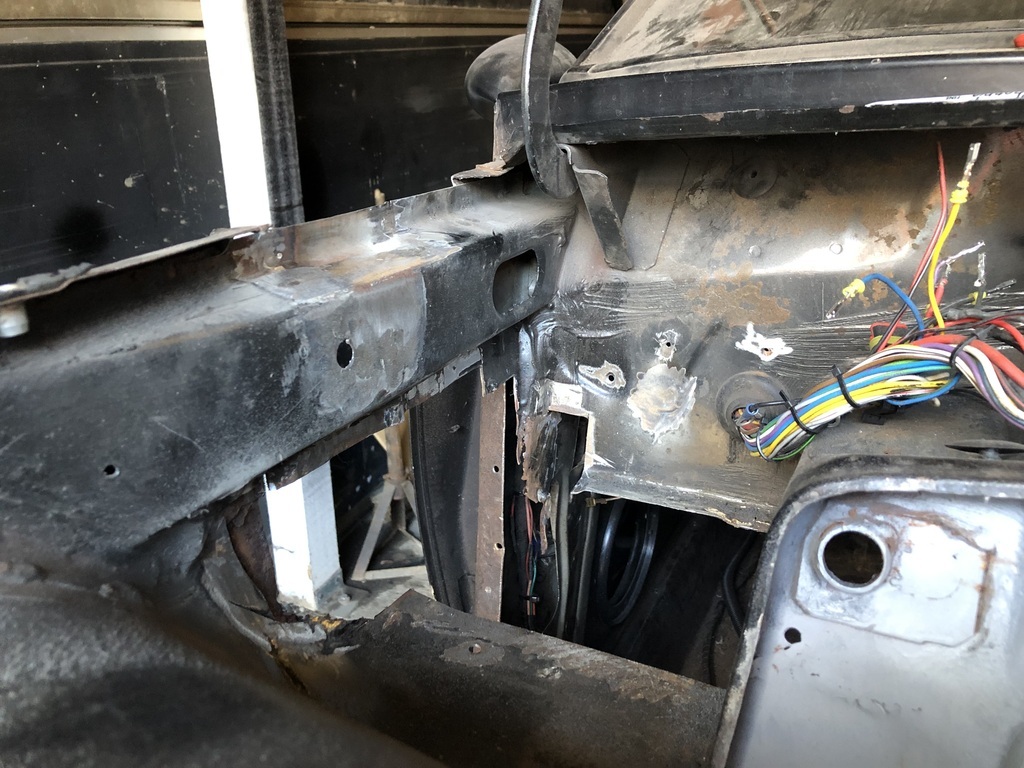 Start filling it… 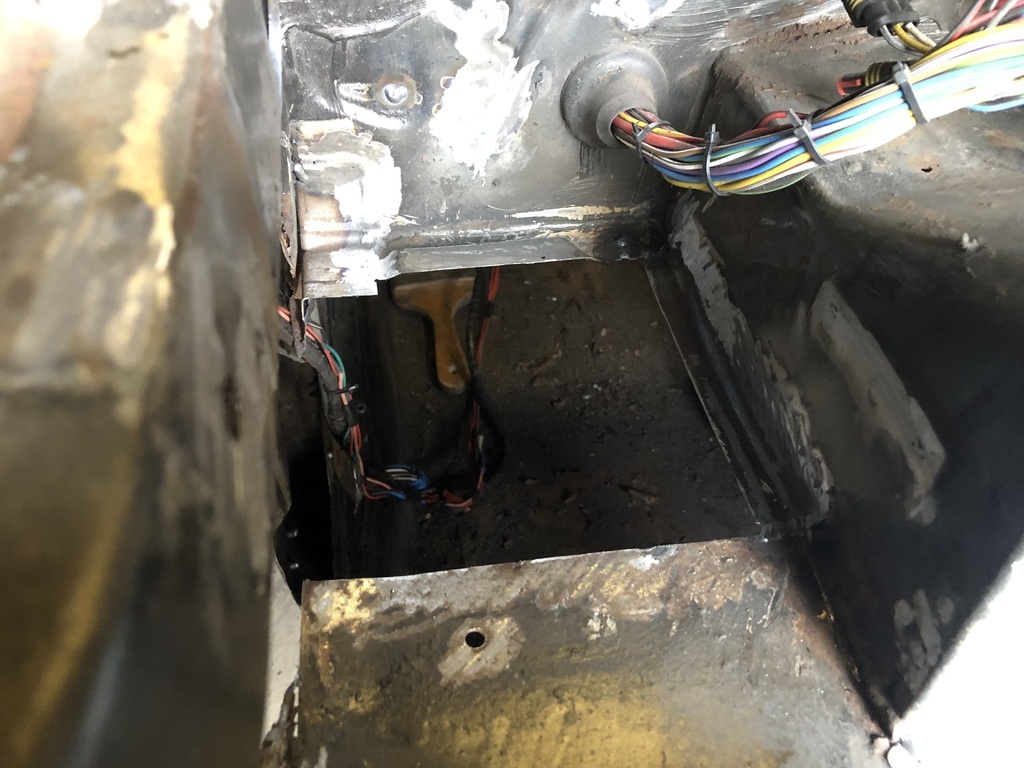 A few repair sections made up.. 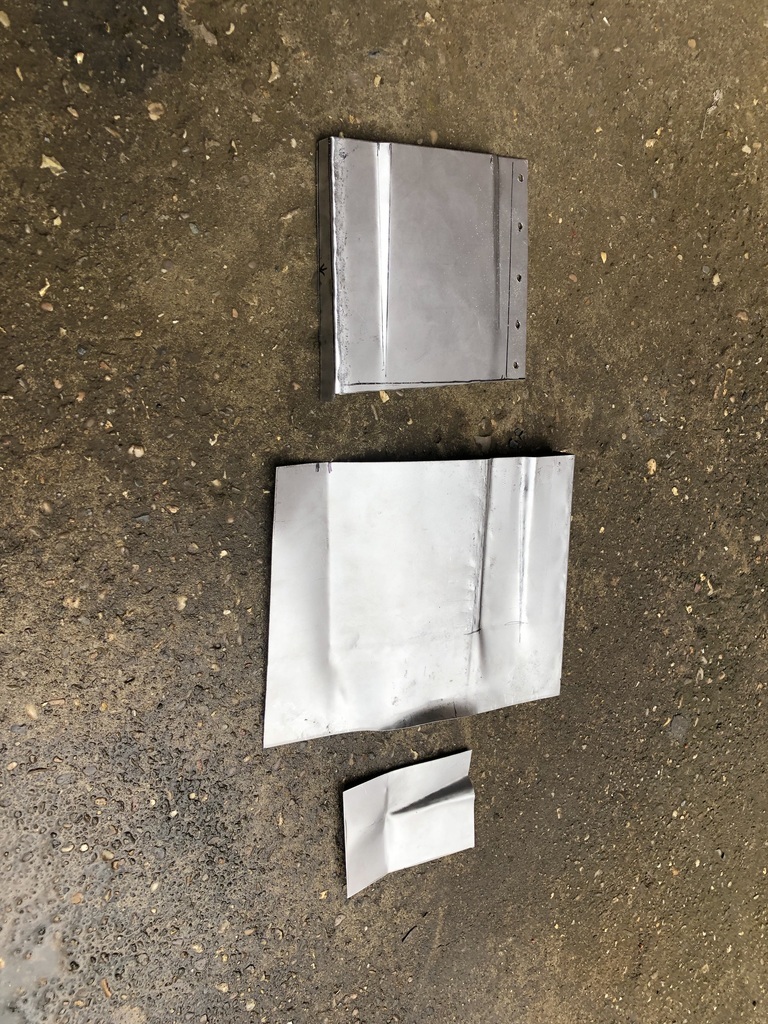 And fitted… 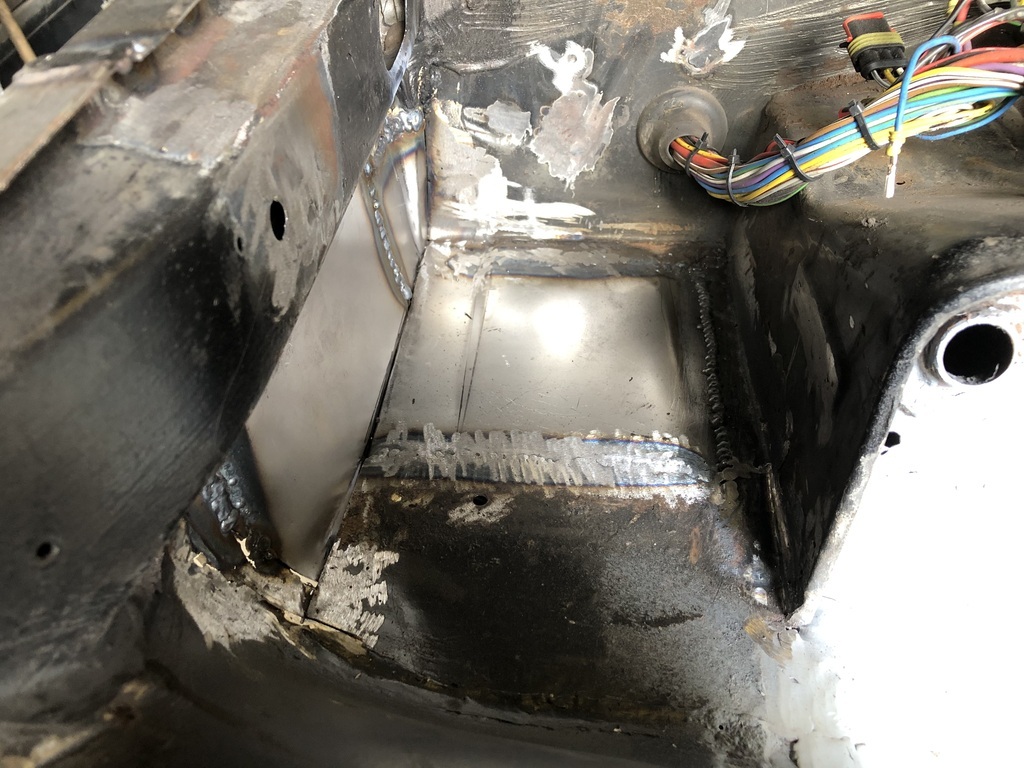 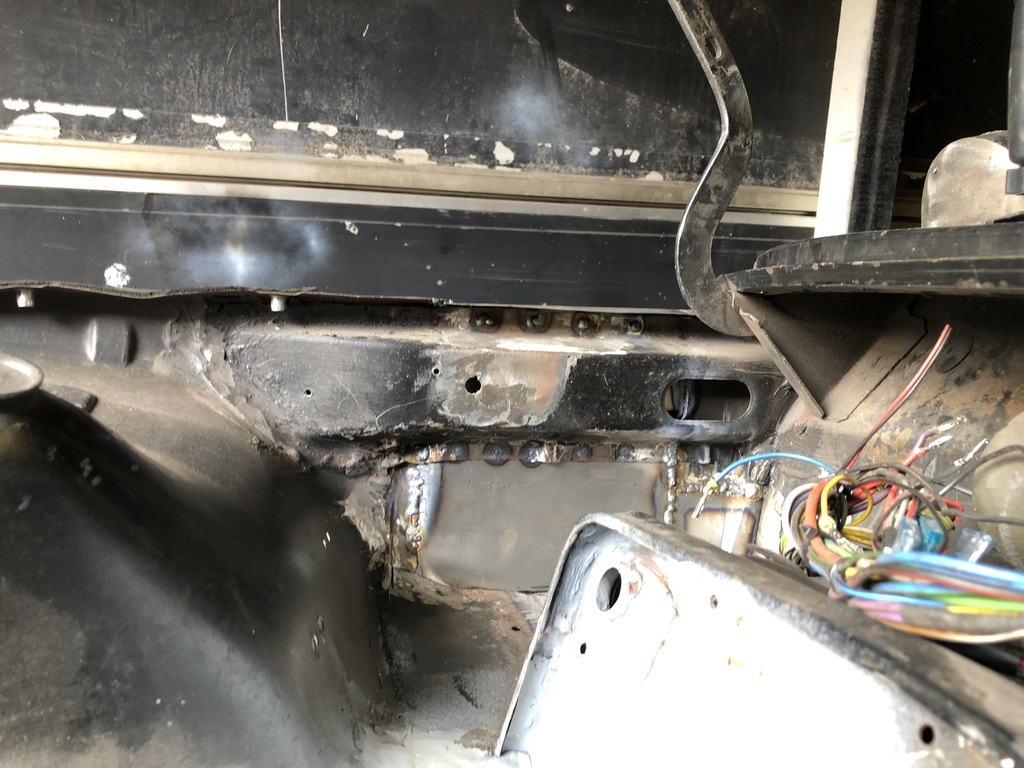 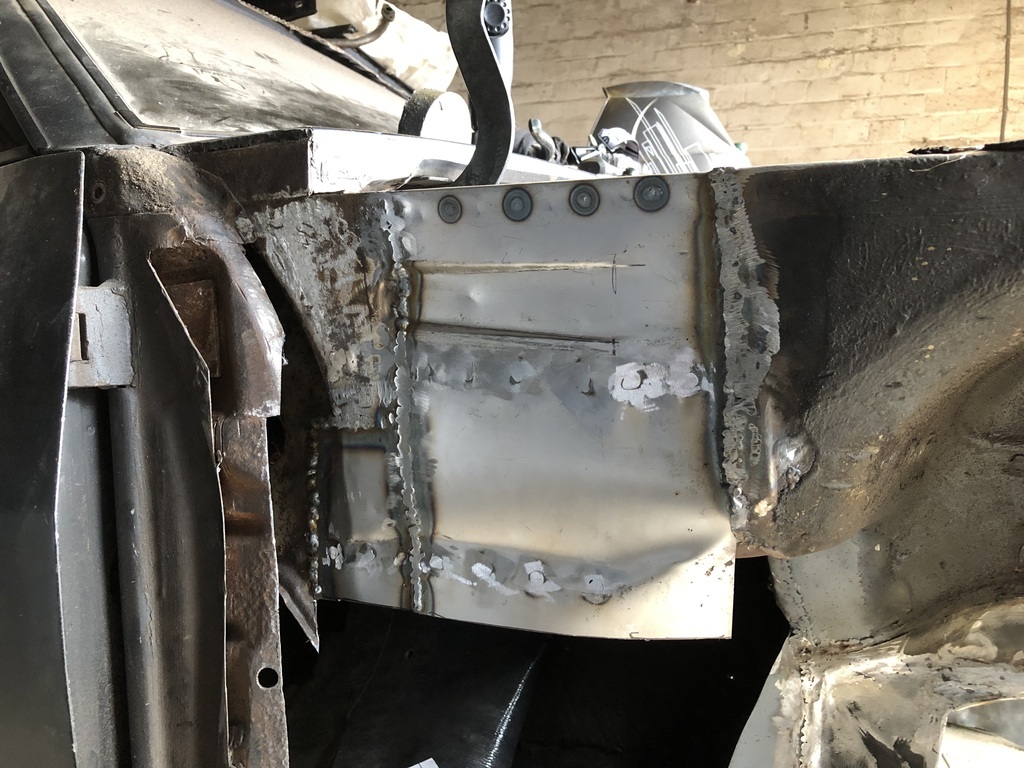 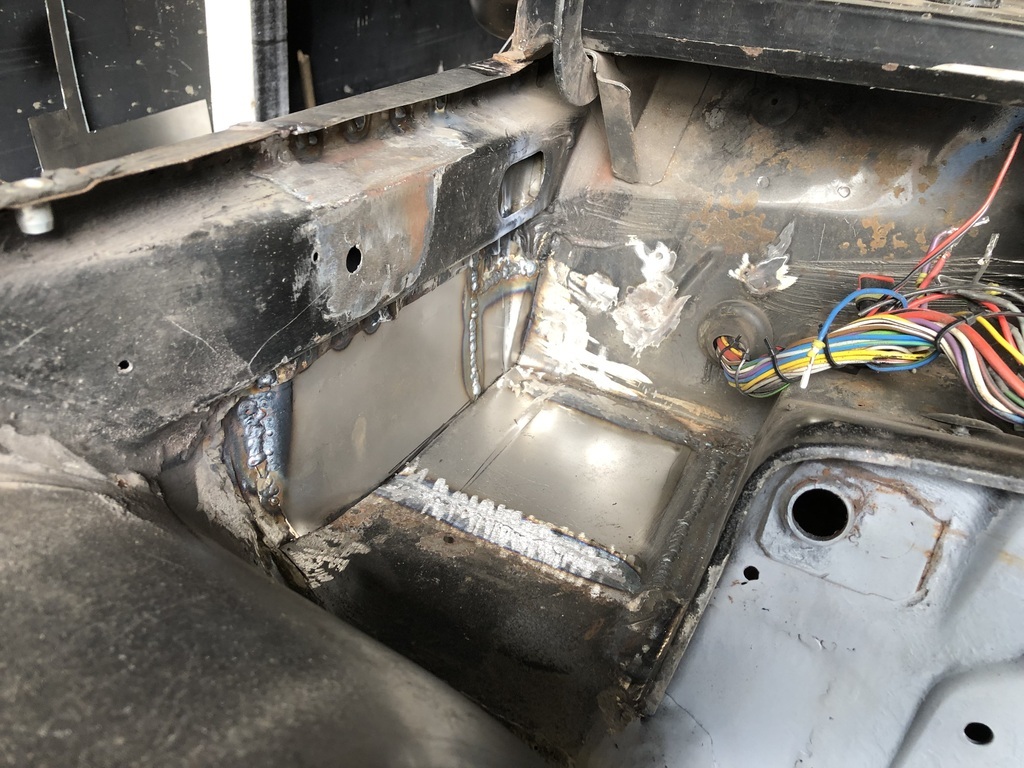 Would have done more but there was a local beer festival to go to instead. |
| |
Last Edit: Jul 6, 2024 18:59:07 GMT by ChrisT
|
|
|
|
ChrisT
Club Retro Rides Member
Posts: 1,670
Club RR Member Number: 225
|
|
|
|
Managed to get a few hours in today, not as productive but another step closer. In my rush to get it welded in I forgot to press in an indent like there should be but it’ll be fine without. 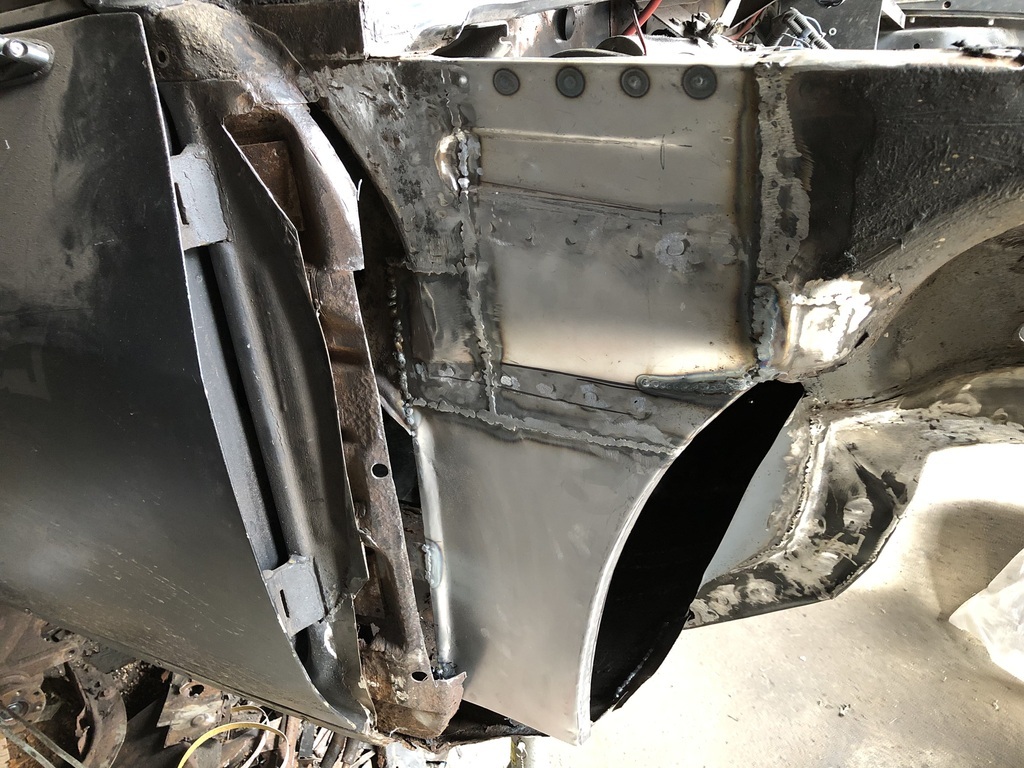 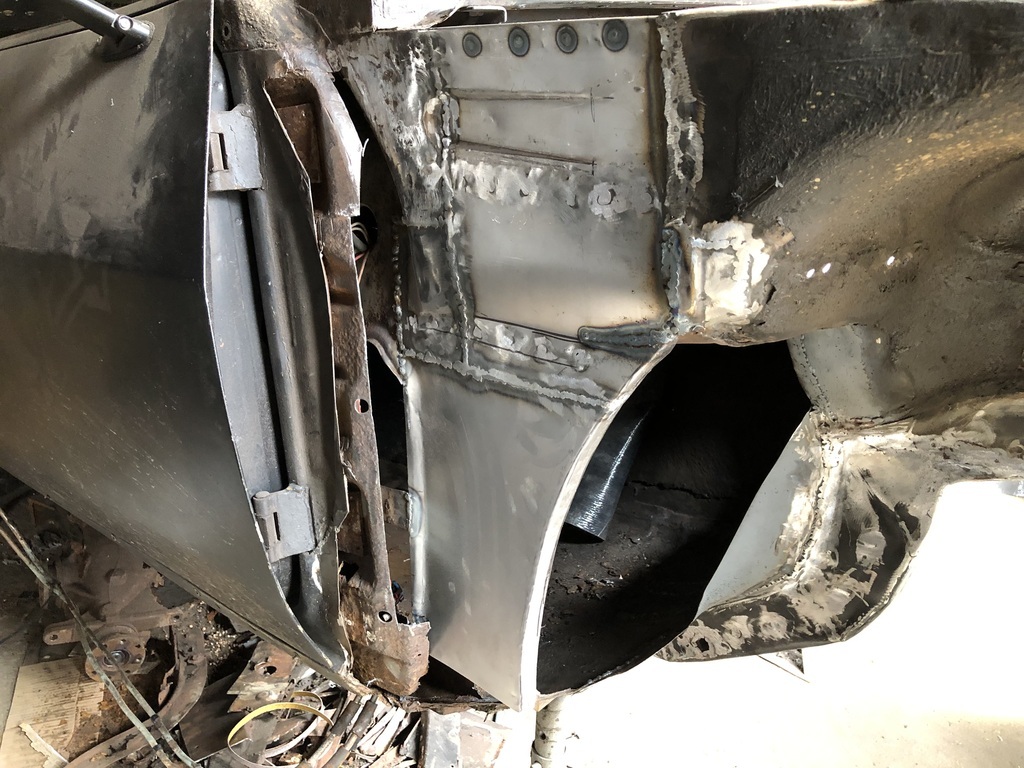 The next part needs to be concave which is going to be fun forming… |
| |
|
|
ChrisT
Club Retro Rides Member
Posts: 1,670
Club RR Member Number: 225
|
|
|
|
Progress once again has been slow and sporadic, and it would seem I’ve not taken a great deal of photos. Discovered a more rust/old repairs around the inner rear arches that need attention so stripped virtually stripped the interior for better access. Various bolt holes in the floorpan gained over the years were drilled out to 16mm… 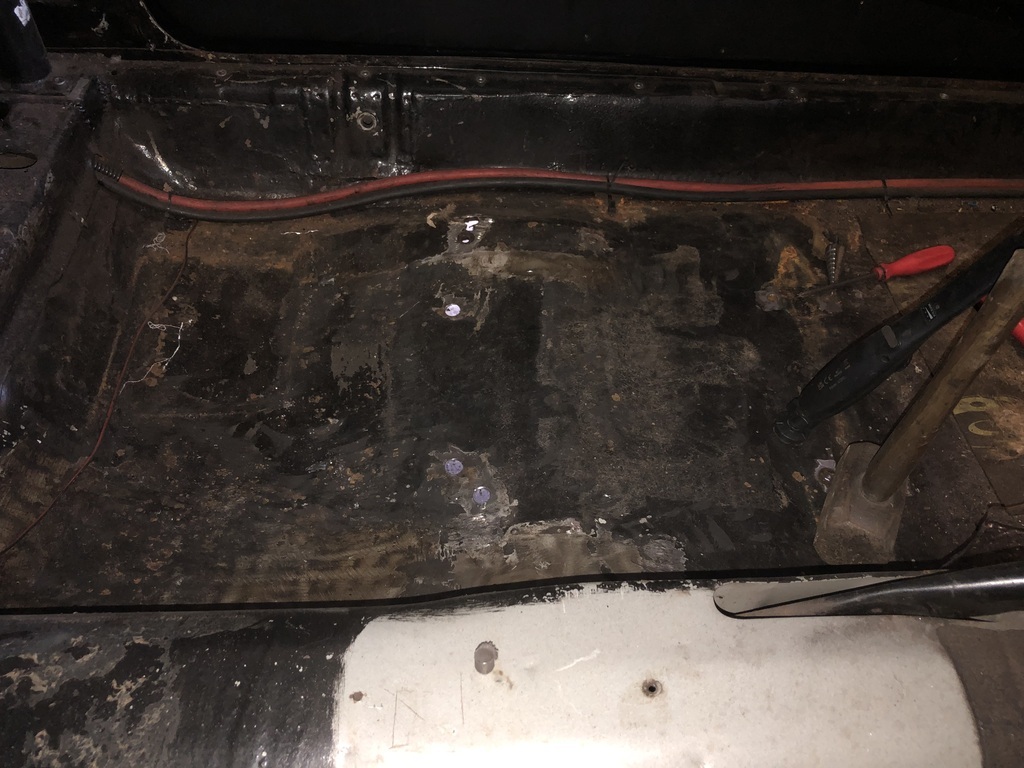 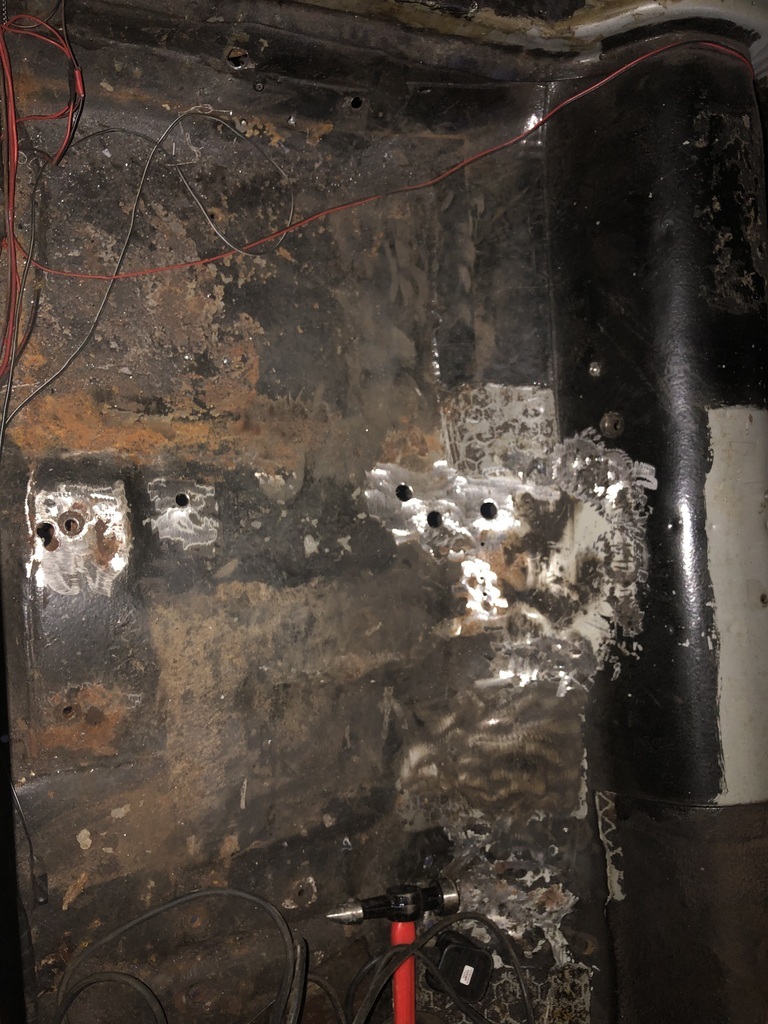 And used a holesaw without the pilot drill to make corresponding blanks to fill them…. 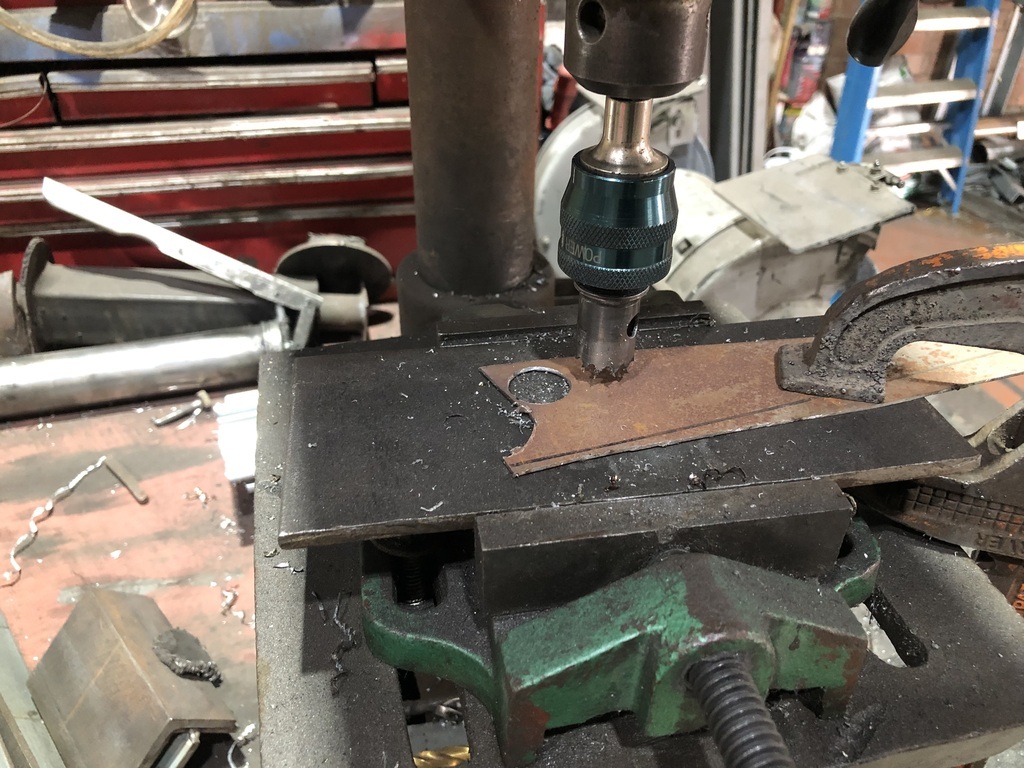 These came out with a bit of a burr round them which meant they sat in the holes ready for welding without any need for magnets, no photos though. For the smaller inner wing holes I thought I’d try another trick I’d seen online. Drilled a 10mm hole in a lump of metal, cut a slot in in and cut down a 10mm drill bit…. 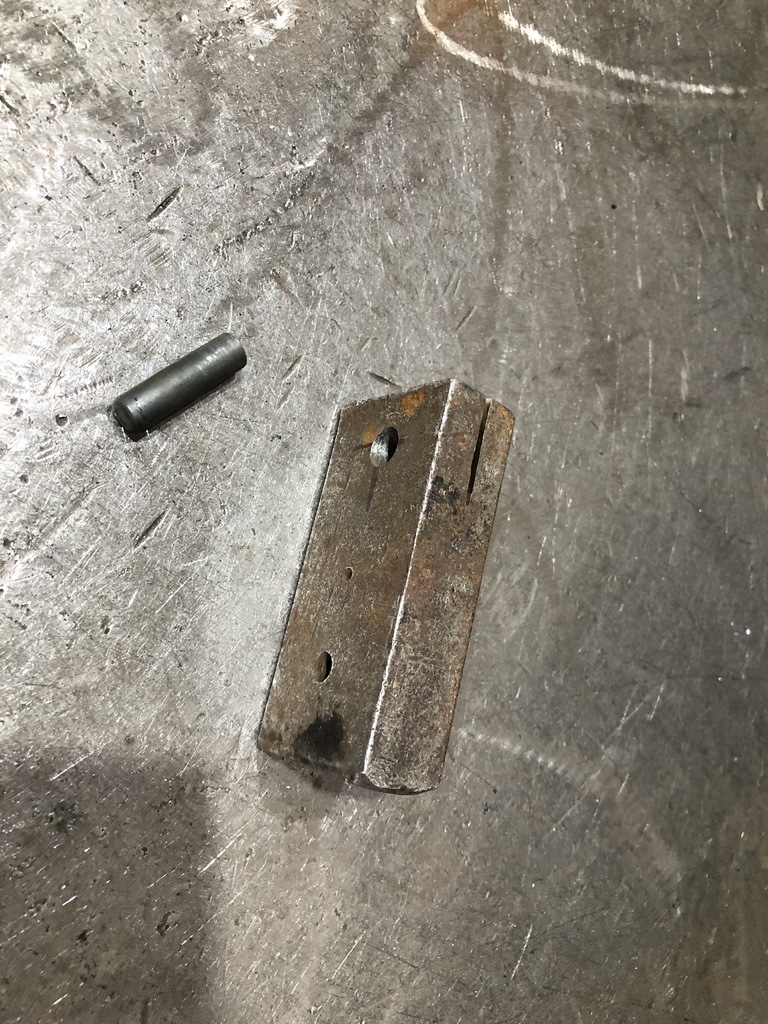 This meant I could put some steel sheet in the slot and punch out a 10mm disc…. 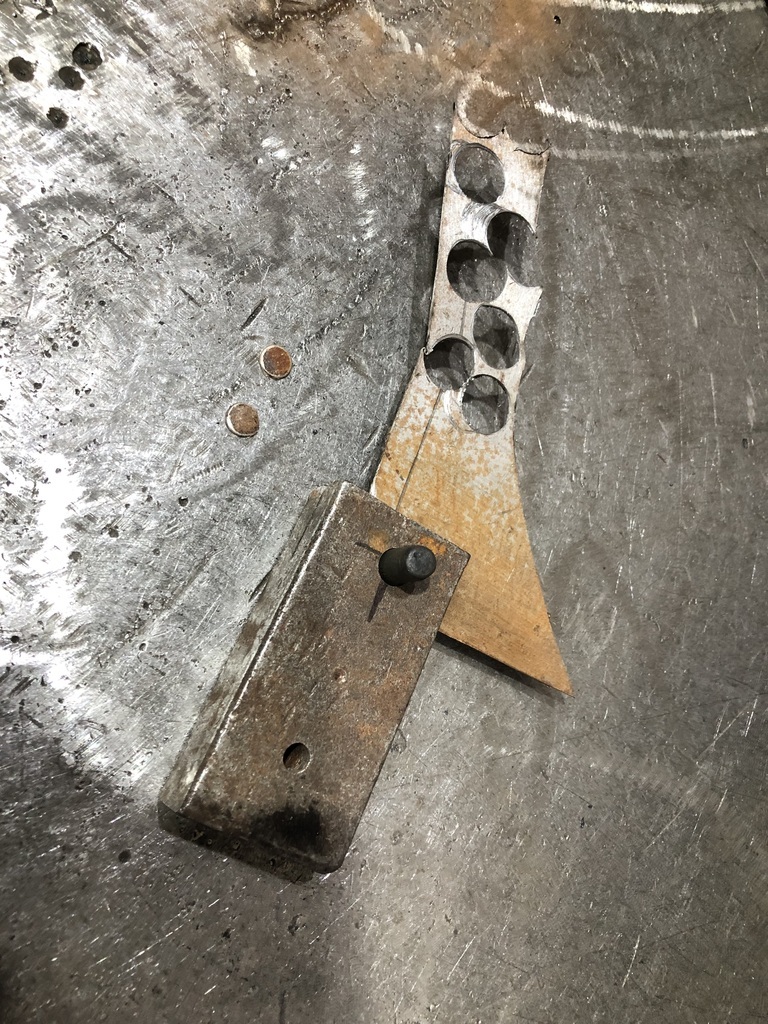 These were more of a game to get in position, requiring use of a magnet. 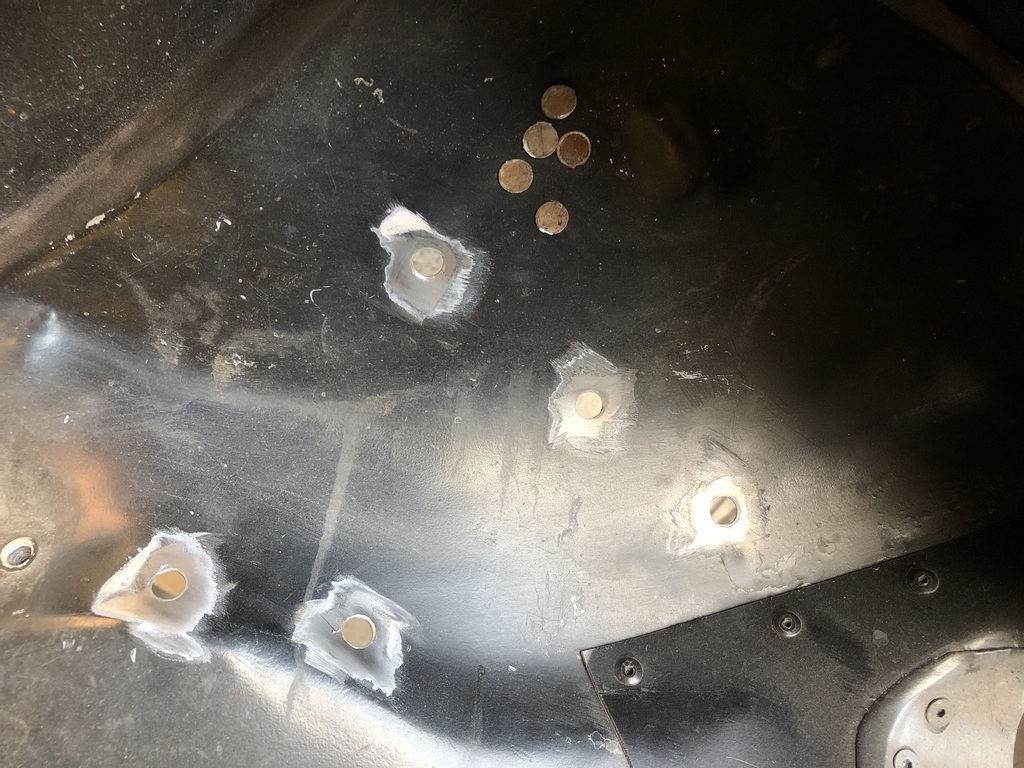 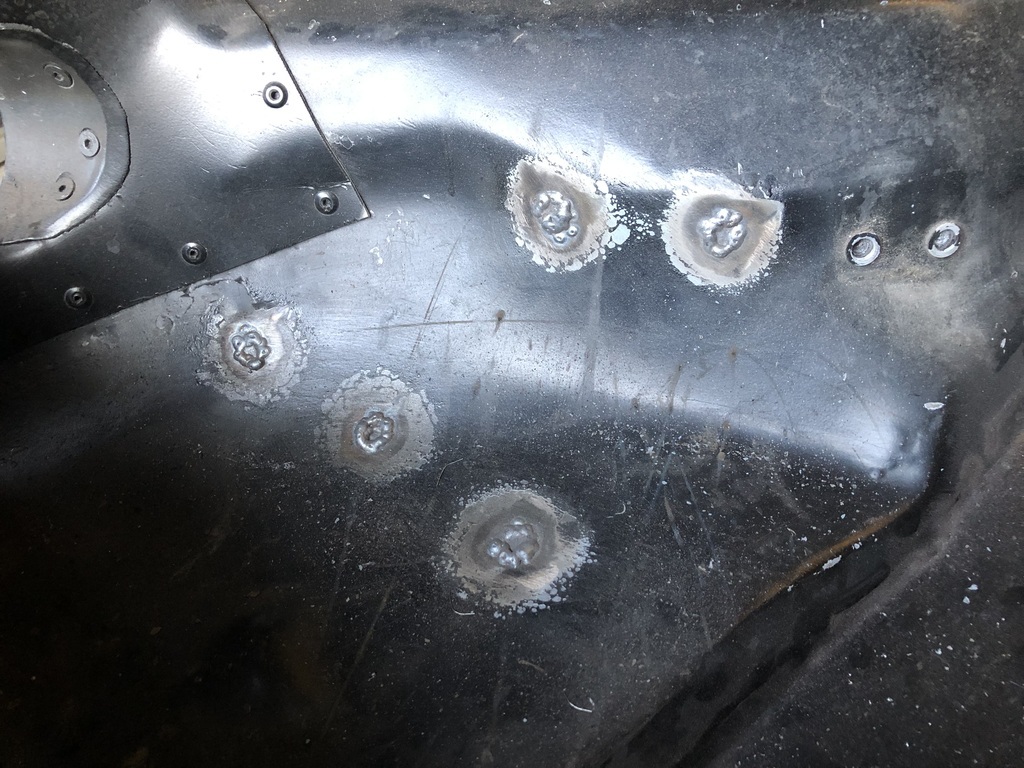 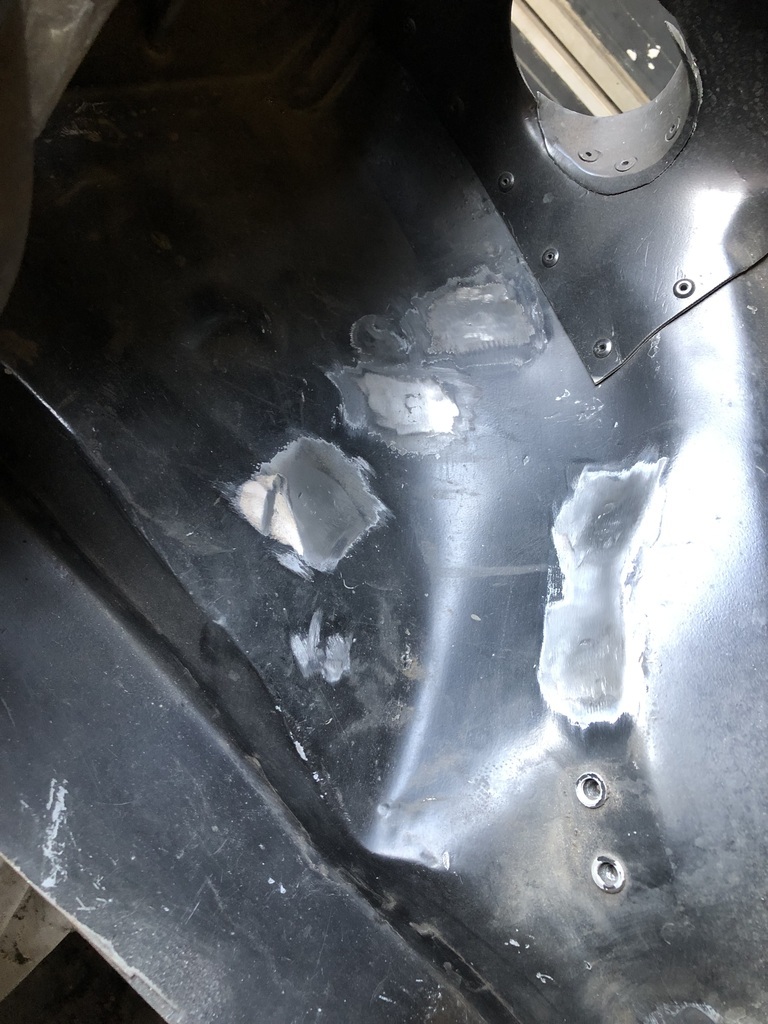 Moving on to the footwell, trying to make a one piece concave panel didn’t work so cut it in half which made it a lot easier to get in position. Had to lengthen the clamp so it would reach… 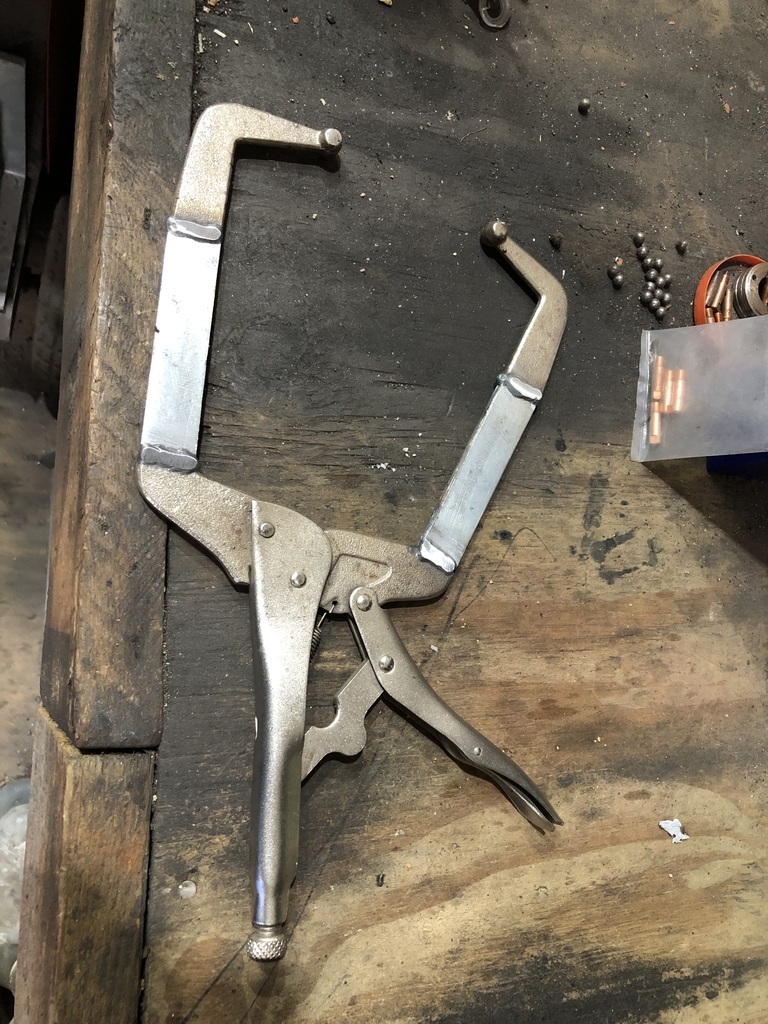 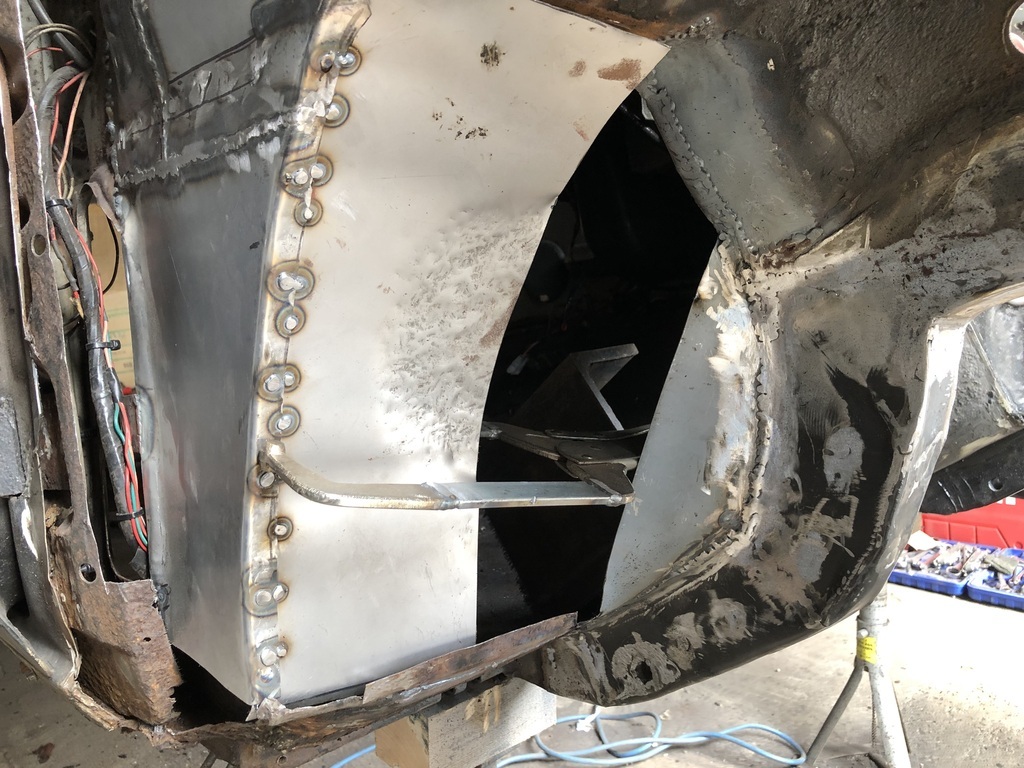 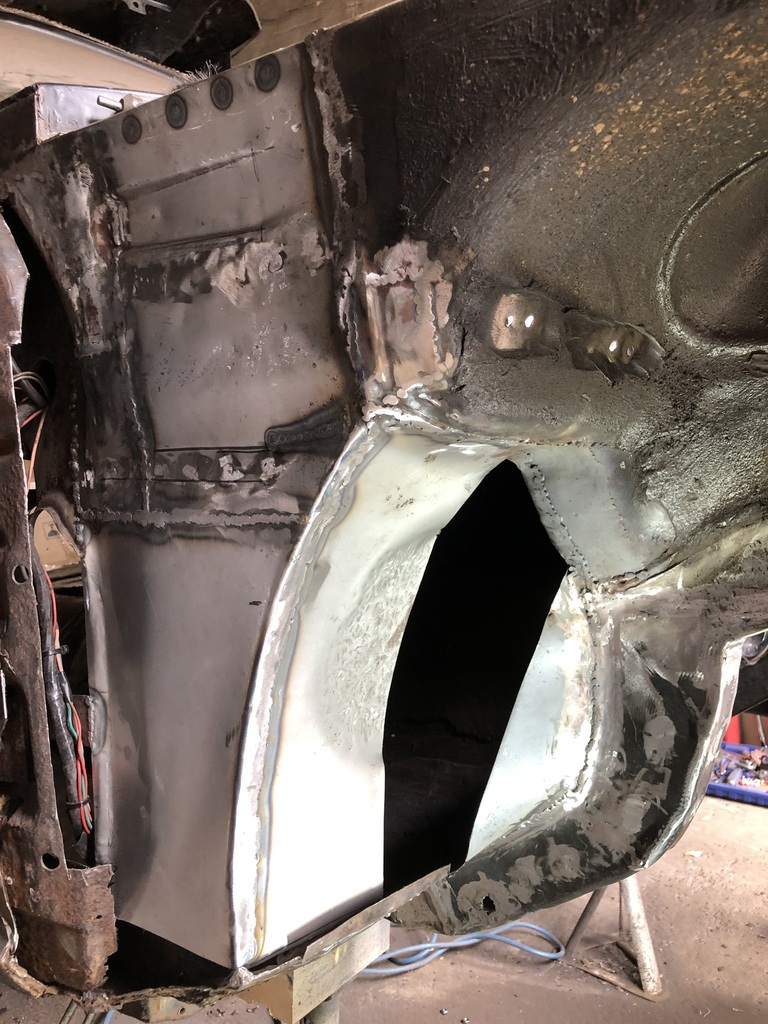 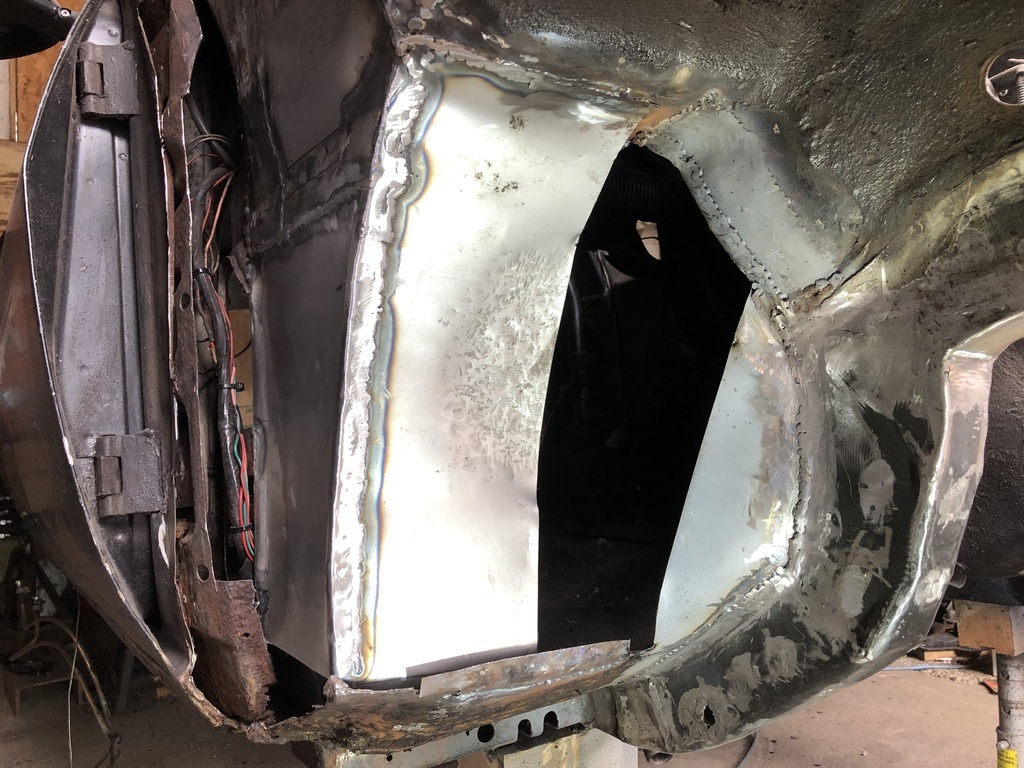 |
| |
Last Edit: Aug 1, 2024 20:11:35 GMT by ChrisT
|
|
ChrisT
Club Retro Rides Member
Posts: 1,670
Club RR Member Number: 225
|
|
|
|
A few more hours on it today, made an effort to take more photos but they didn’t turn out very good. Got the bottom of this bit welded up…. 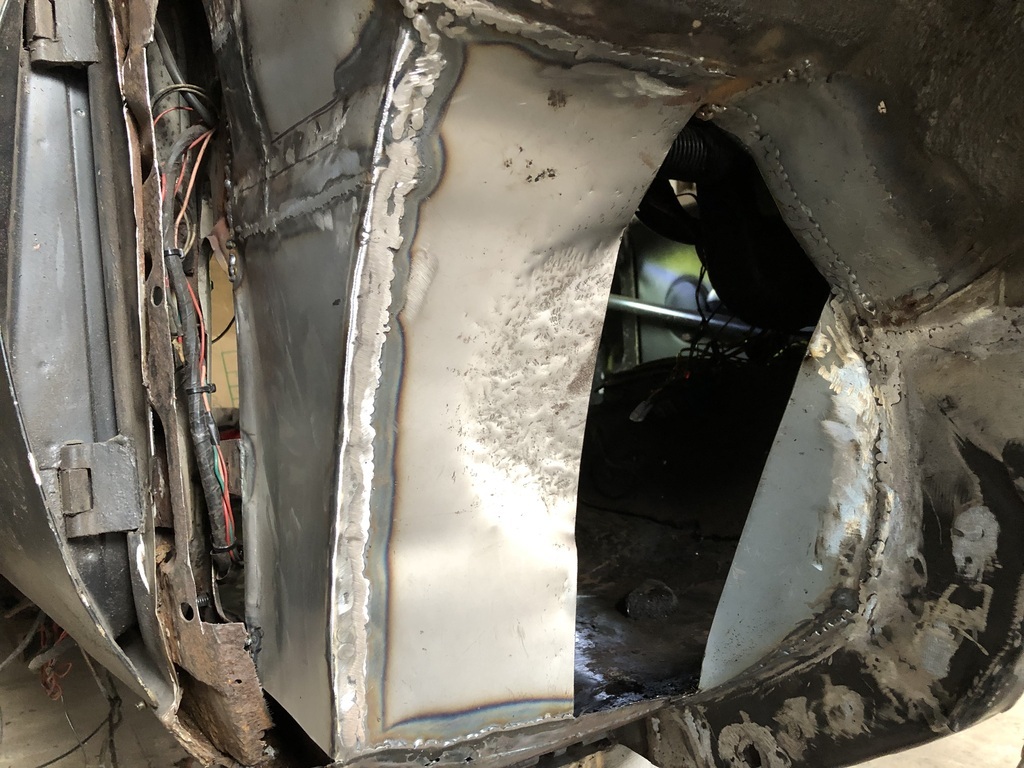 Took ages to make up this infill patch at the end of the inner sill… 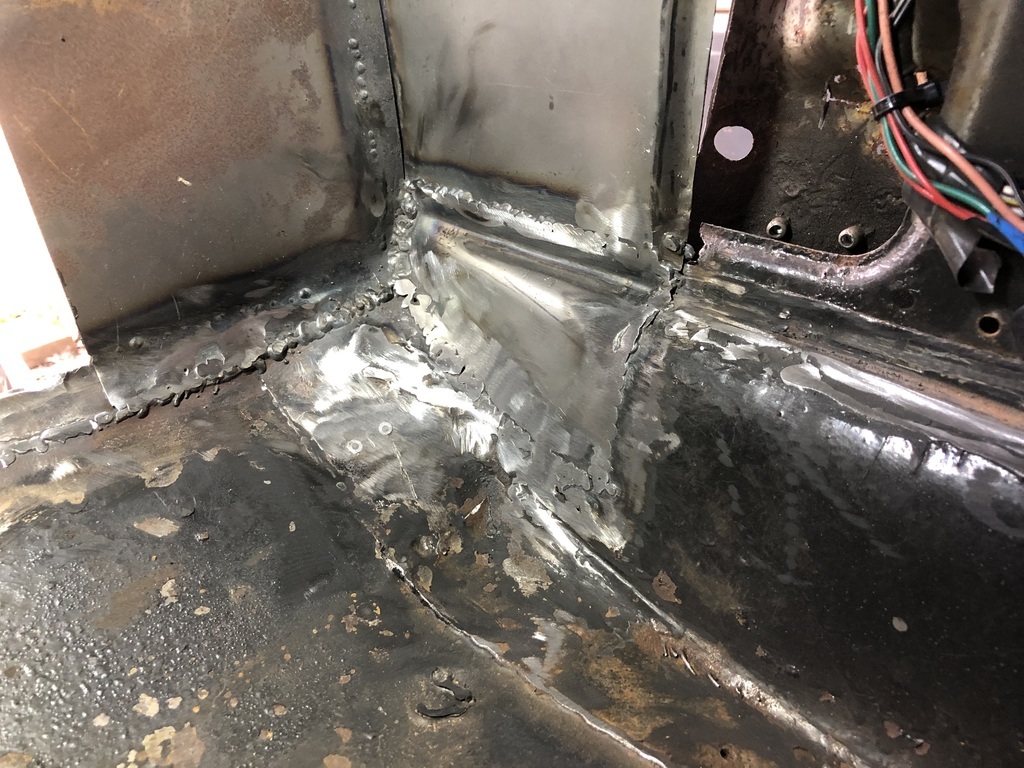 Then got the roll cage spreader plate made up and most of it welded in, only pic from the outside…. 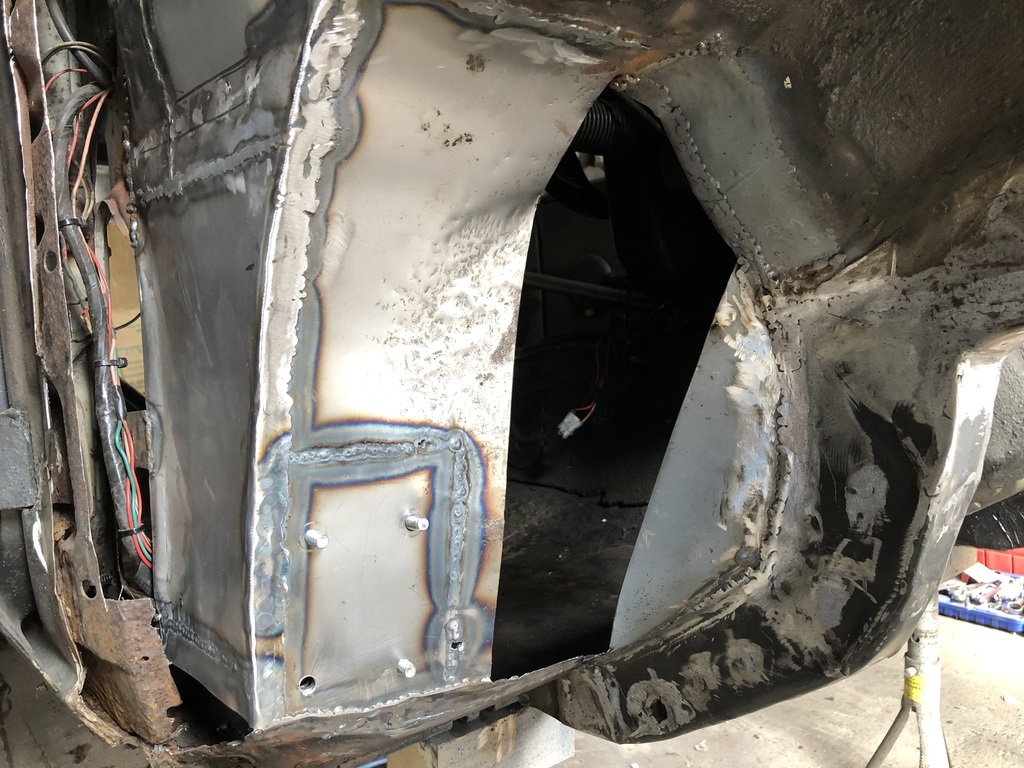 |
| |
Last Edit: Aug 4, 2024 6:43:30 GMT by ChrisT
|
|
|
|


