ChrisT
Club Retro Rides Member
Posts: 1,670
Club RR Member Number: 225
|
|
|
|
Managed to get a few hours on it today, although weather meant taking precautions with the welder…  Got the chassis cover welded all round, getting it to meet at the front was more of a game than expected but got there in the end. It looks a bit of a mess but it's all solidly welded.   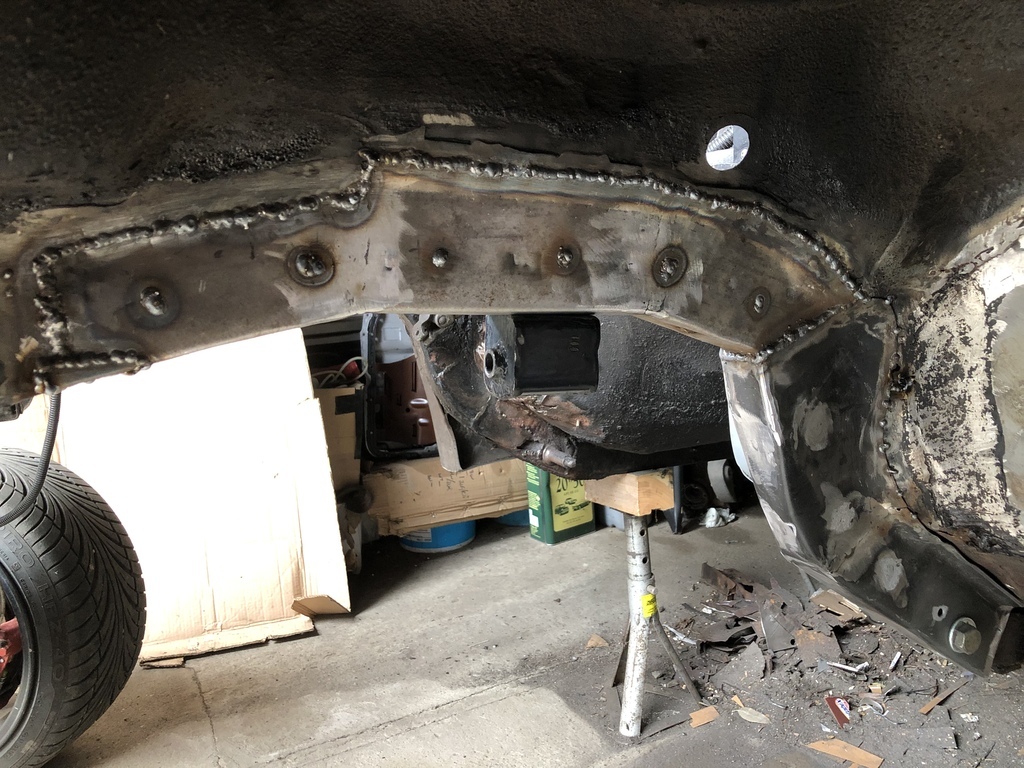 And about ground back, by now knees/back had decided it was about time to go home. 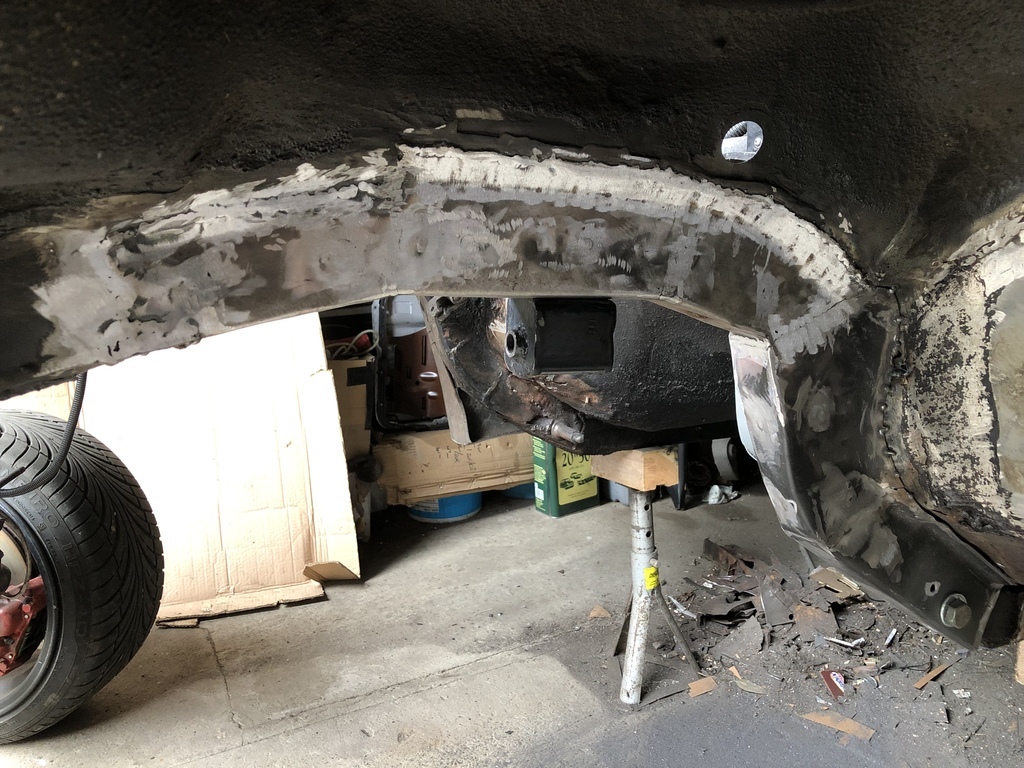  There's a couple of places I can see I missed with the welder and some bits that might benefit from going over again, have to keep telling myself it's only a chassis rail in a wheel arch, it's not going to be seen, just needs to be sound. |
| |
Last Edit: May 8, 2023 14:48:26 GMT by ChrisT: reordered pictures
|
|
|
|
|
|
|
|
|
|
Nicely done. It will end up a solid old bus
|
| |
|
|
ChrisT
Club Retro Rides Member
Posts: 1,670
Club RR Member Number: 225
|
|
|
|
Rain has stopped play a lot of this week so not much done. The lower chassis sections are now fully welded in and the gap between them and old chassis rail now filled. More pictures of welding that looks a bit ropey but looks ok in the flesh. The last section has not been dressed back fully yet, going to leave the full welds on the other part. 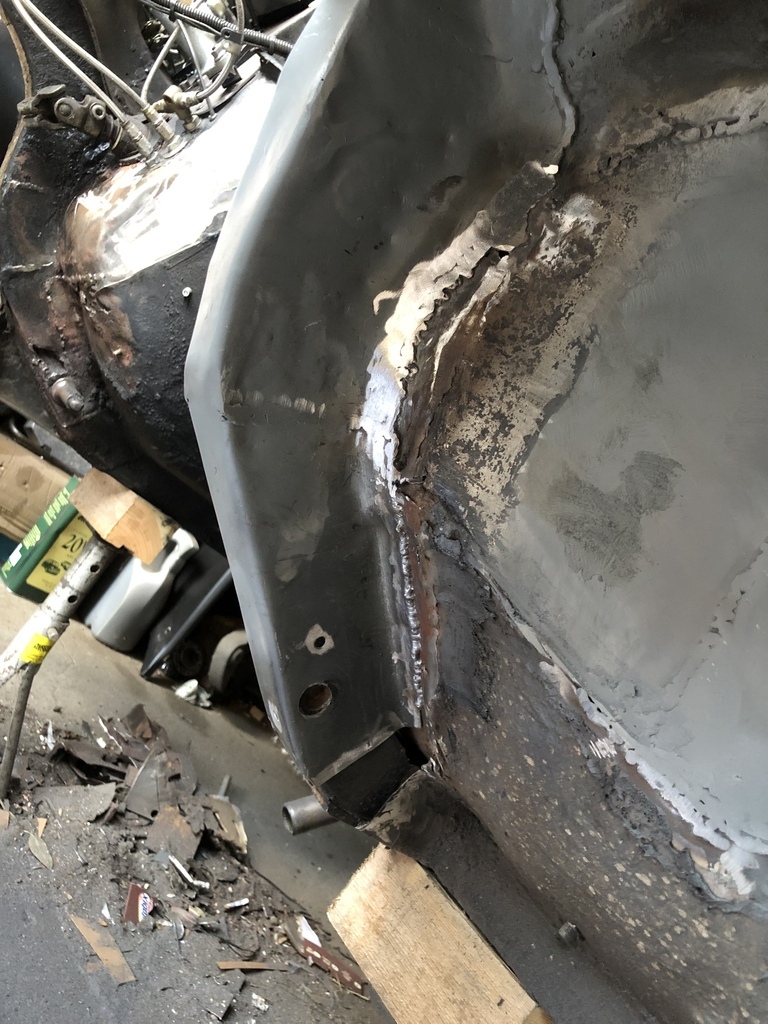 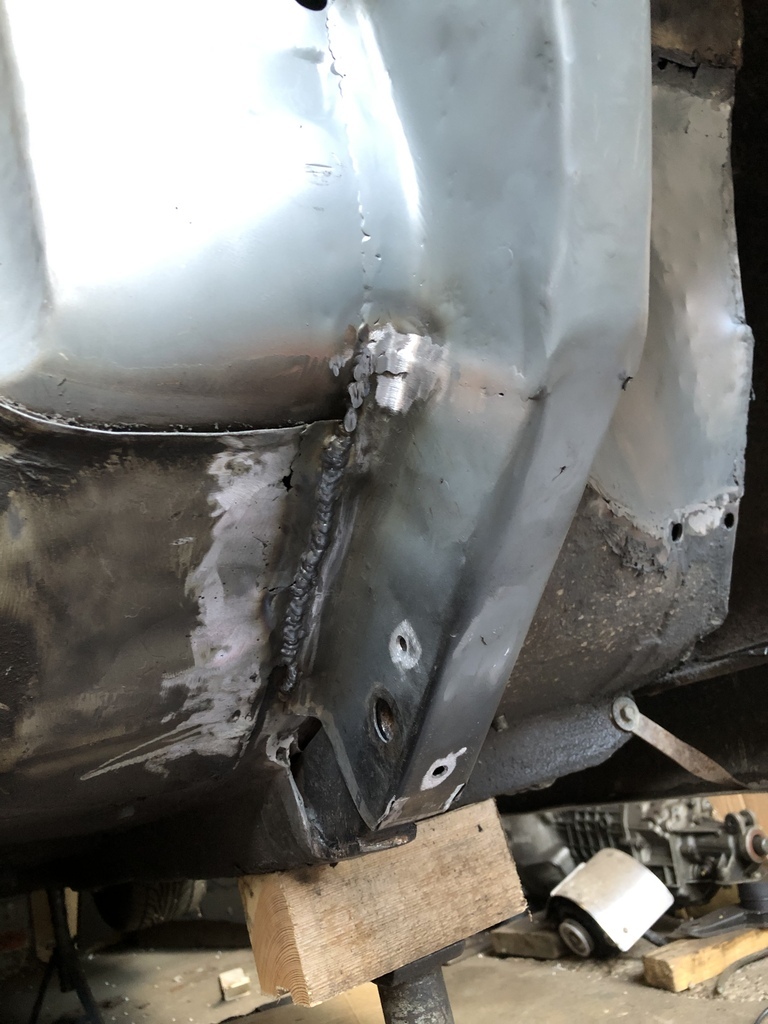  Won’t get anything done this weekend as it’s our wedding anniversary today so going off to that renowned city of romance Leicester for the night…. |
| |
|
|
ChrisT
Club Retro Rides Member
Posts: 1,670
Club RR Member Number: 225
|
|
|
|
So, excuses for not getting on with the Manta, it’s been too hot, it’s been too cold, I’ve been away, I’ve about run out of wire and the main one is I’m using the work welder which is almost out of gas so didn’t be wanting to take the curse word and use it all on my car. It’s run out now so new bottle next week, along with new reel of wire I’ve got I can start back on it. Took the BMW down south on holiday, over 900 miles to Cornwall and back, behaved itself but still threw up a few fault codes. Also got covered in seagull curse word which I spent this morning cleaning off, thought I’d give it a good clean and polish but it turns out I was about out of polish and the weather had other ideas. And remembered how much I don’t like detailing a car, it takes far too long and shows up all the faults, rear bumper seems to have rust spots on the top of it, can only assume while it was sat in the workshop changing the diff grinding dust got on it, a clay bar removed the bulk of it..  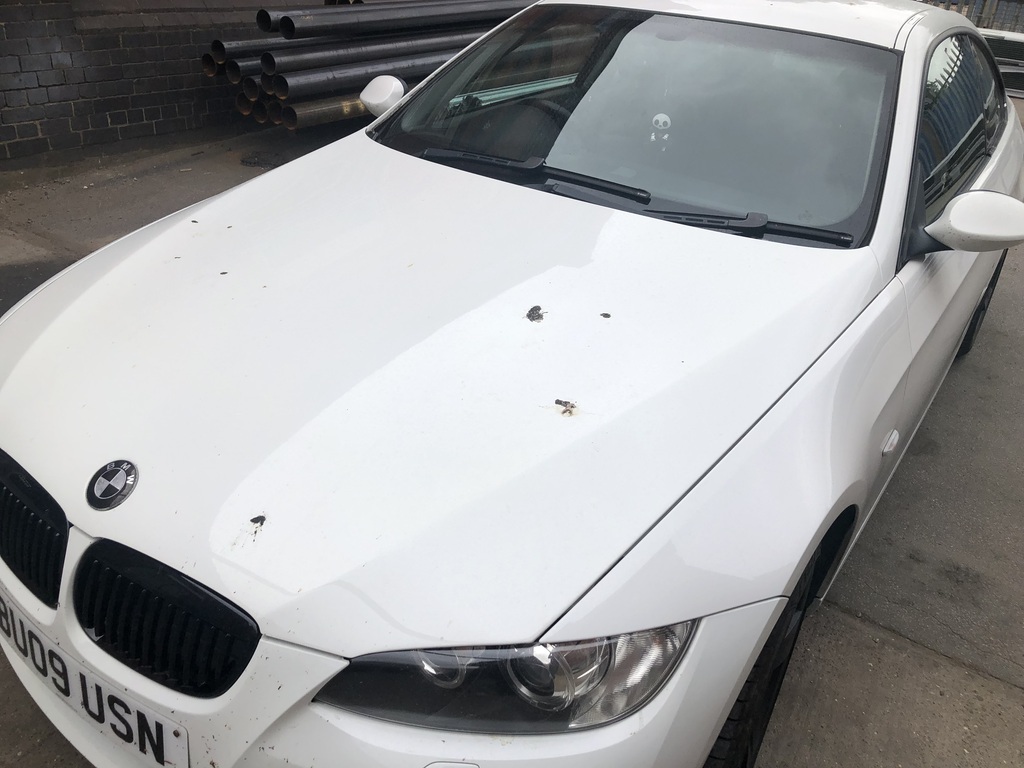   |
| |
Last Edit: Jul 2, 2023 1:39:13 GMT by ChrisT
|
|
ChrisT
Club Retro Rides Member
Posts: 1,670
Club RR Member Number: 225
|
|
Aug 13, 2023 16:19:13 GMT
|
This months excuses for not getting anything done are much the same as last time, weather, holiday (again, this time Retro Spotting and Rally Cars in Madeira), etc and to add to the list I’m losing my council garages - one I keep the BMW in and the other used to have the Manta in until I moved it down the workshop so it’s now used for storage. Boss has said I can keep some of it at the workshop if I can find space so instead of heading over to Mallory Park I spent today shifting it all. For now I’ve chucked it in with the Manta until I can sort through it. 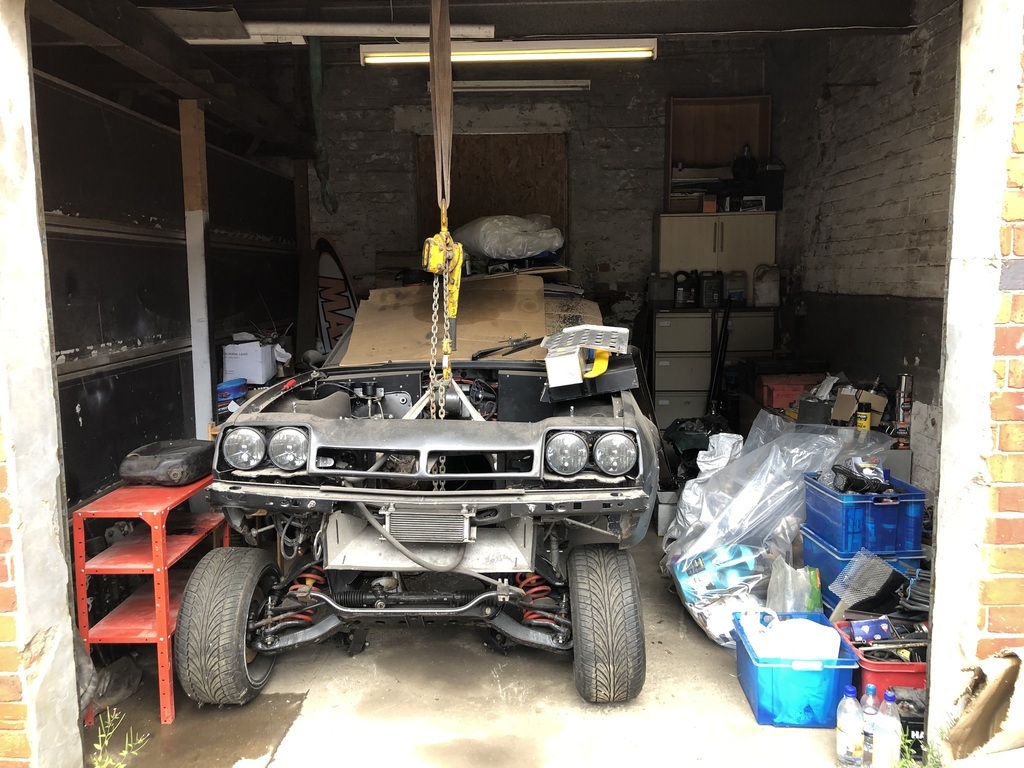 I’ve had to clean the BM again, well, jet wash the front, made the mistake of leaving it under a light at East Midlands Airport car park and obviously the pigeons just sit up there at night and curse word… 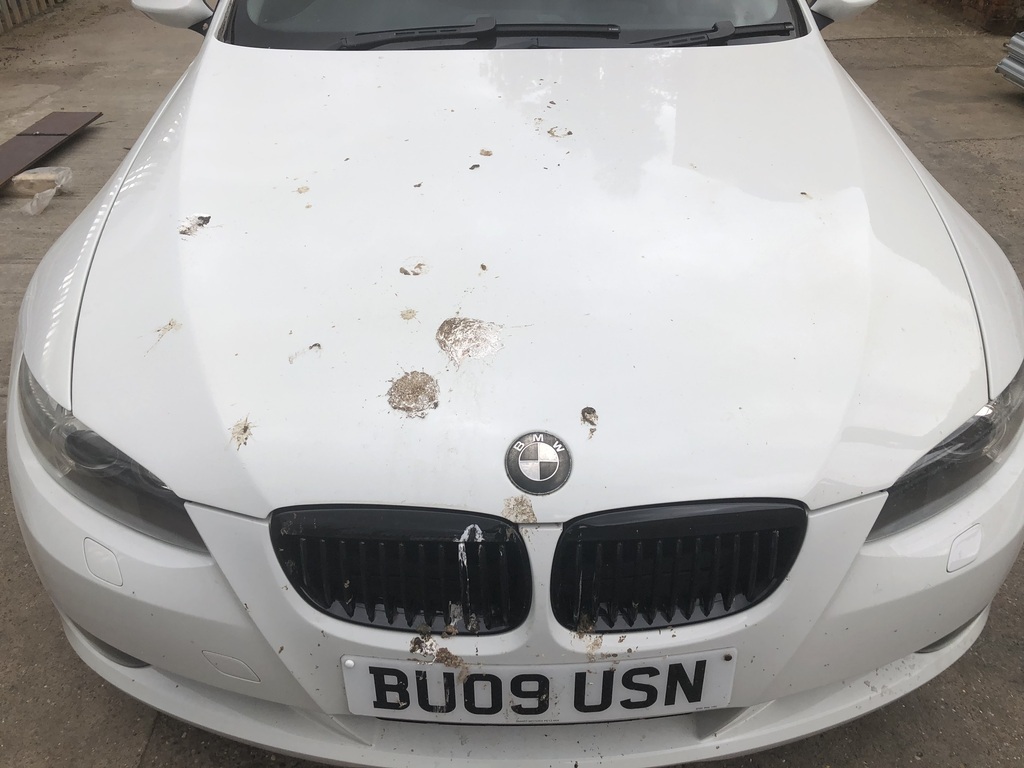 |
| |
Last Edit: Aug 14, 2023 5:11:29 GMT by ChrisT
|
|
ChrisT
Club Retro Rides Member
Posts: 1,670
Club RR Member Number: 225
|
|
Sept 2, 2023 12:30:48 GMT
|
A chance to get down the workshop today, (excuse for not getting anything done over the bank holiday weekend - rocking out at www.stonedeadfestival.co.uk/ ) still sorting through the stuff I’ve had to bring from my ex-garages, chucked a little bit out, most of it has been hidden around the premises and in my garage there. I have acquired a new garage from the council but it’s smaller than the old one and the BM only just fits in, not much storage room until I sort some shelving. Looking a lot neater now….  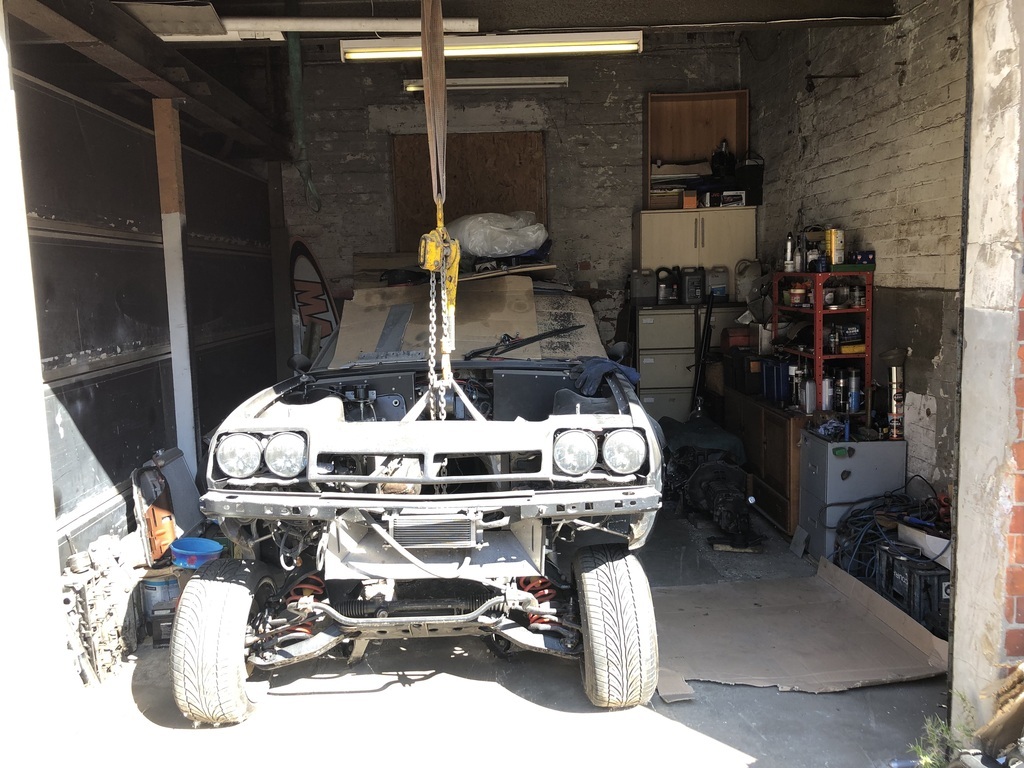 Inspired by this progress I actually got the welder out and snotted on a trio of patches, certainly didn’t warrant a picture. Thought I was doing well with the new wire but viewed from inside there’s pinholes all over. |
| |
Last Edit: Sept 2, 2023 12:38:04 GMT by ChrisT
|
|
|
|
|
Sept 2, 2023 12:44:31 GMT
|
|
A welding patch is always worth a picture 😁
|
| |
|
|
ChrisT
Club Retro Rides Member
Posts: 1,670
Club RR Member Number: 225
|
|
Sept 2, 2023 14:25:40 GMT
|
A welding patch is always worth a picture 😁 Sometimes these things are better left to your imagination…. Maybe once I’ve given it a run over with the grinding disc. |
| |
|
|
ChrisT
Club Retro Rides Member
Posts: 1,670
Club RR Member Number: 225
|
|
Sept 9, 2023 13:58:15 GMT
|
Brief update, did intend spending a good day on it today but it got a little warm to be welding/grinding. First some pics from something I did a while back, I wanted to weld round the rear bush bolt hole so to clean it up equally I roughly turned a bit of steel down in the lathe and drilled a hole through it for a hole saw pilot bit. 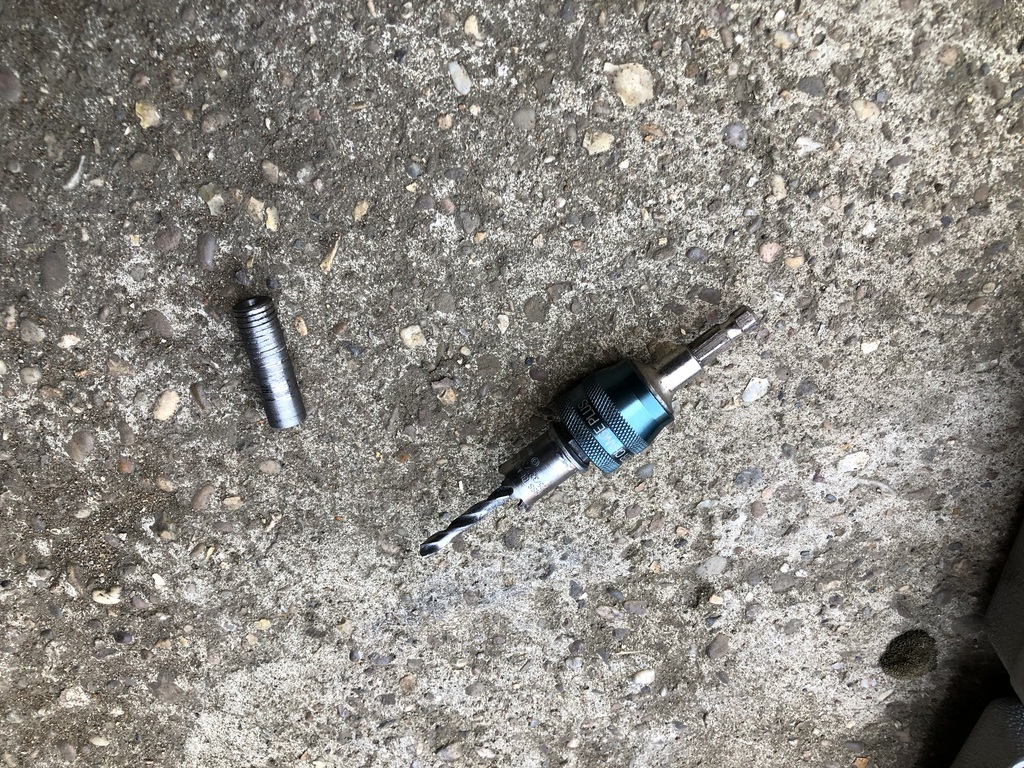 Together they look like this which centers the holesaw round the 14mm bolt hole. 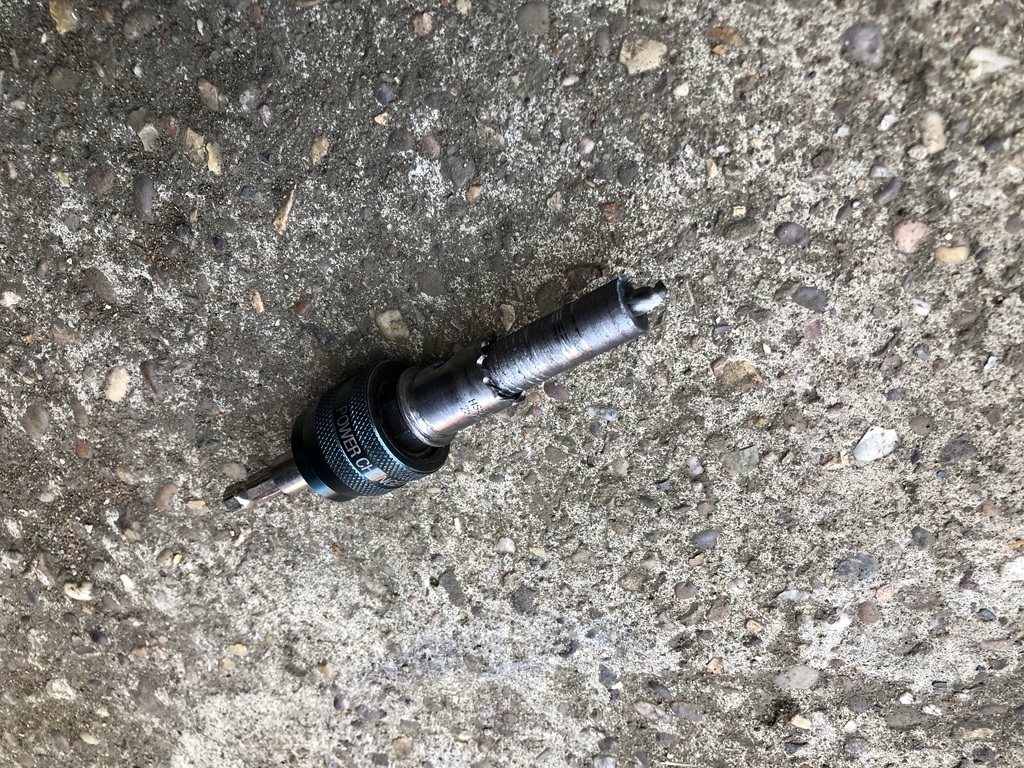 Which does this.  And welded up.  I’ve spent a while chasing holes round a couple of the patches I did last week so decided to cut all the old steel out and start again, made a template with a view to getting a nicely fitting repair but it didn’t quite work so had to beat it into submission, as usual. It's the LHS of the patch which is new but I've had to rework the RHS also. Only the one after pic… 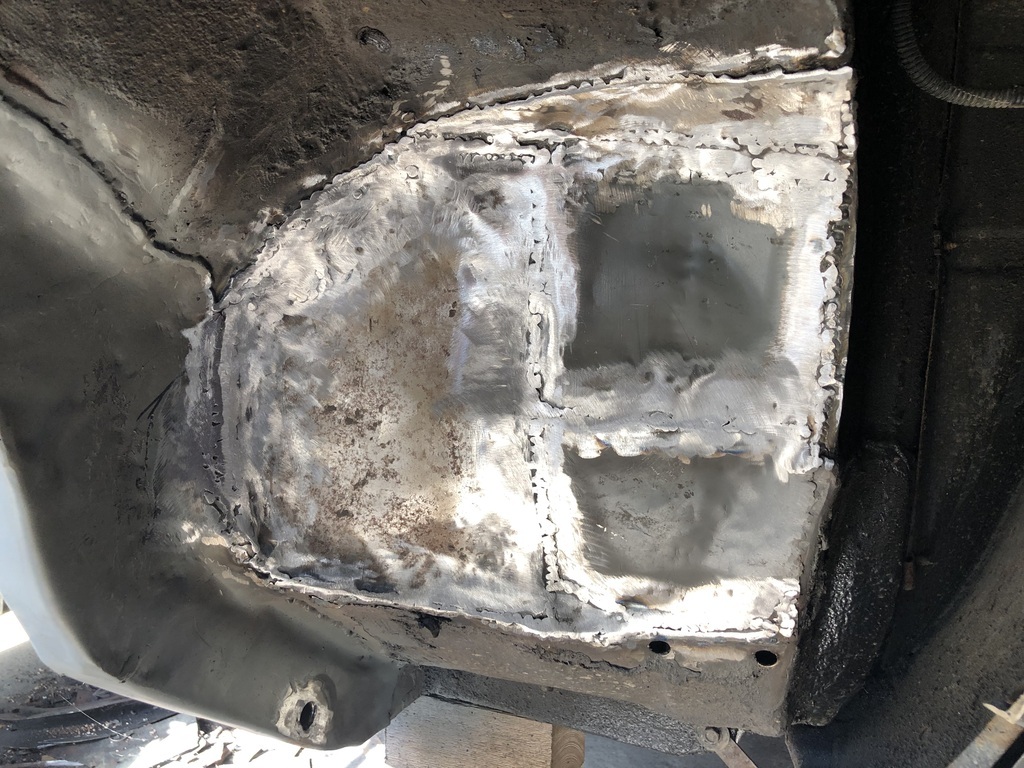 |
| |
Last Edit: Sept 9, 2023 14:00:50 GMT by ChrisT
|
|
ChrisT
Club Retro Rides Member
Posts: 1,670
Club RR Member Number: 225
|
|
Sept 23, 2023 17:44:10 GMT
|
Spent a few hours down the workshop today, was all set to finish off the wheel well area but got a little sidetracked with the bulkhead area. There were countless holes for various reasons, unused ones were either blanked with a rivet or a bolt/washer, so decided to weld them all up as I’ll be rerouting some of the heater hoses, so this gives me a blank canvas in that area. Holes...  Less holes... 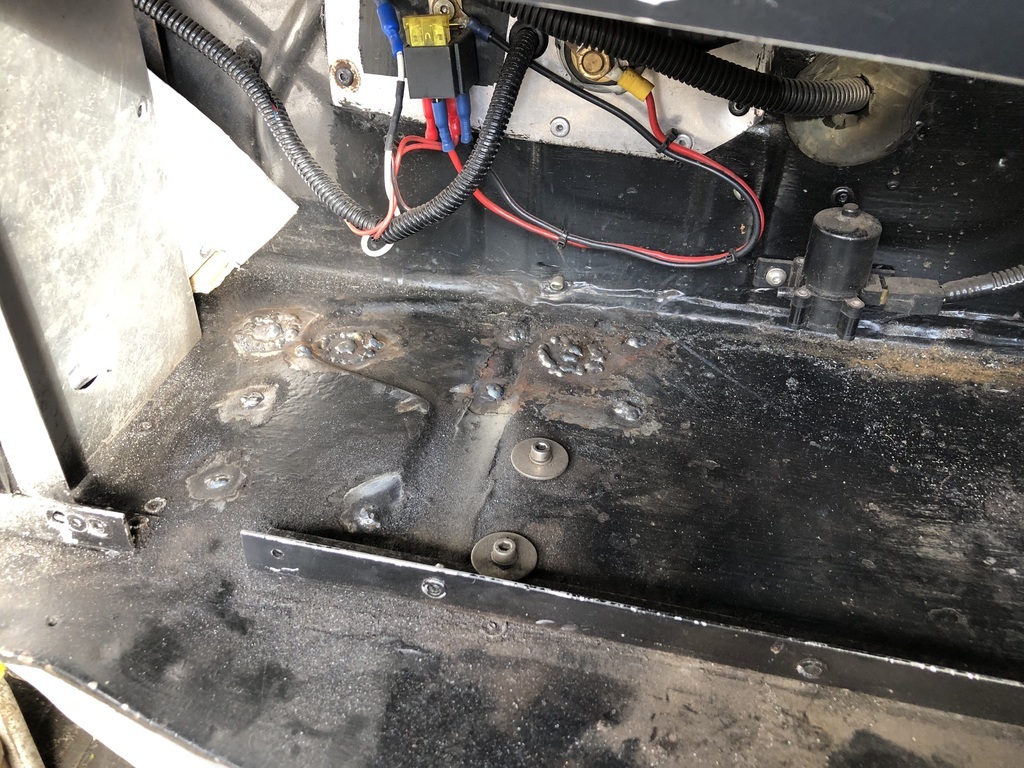 Ground down, also slightly shortened/rerouted the relay wiring as the excess wire was annoying me. 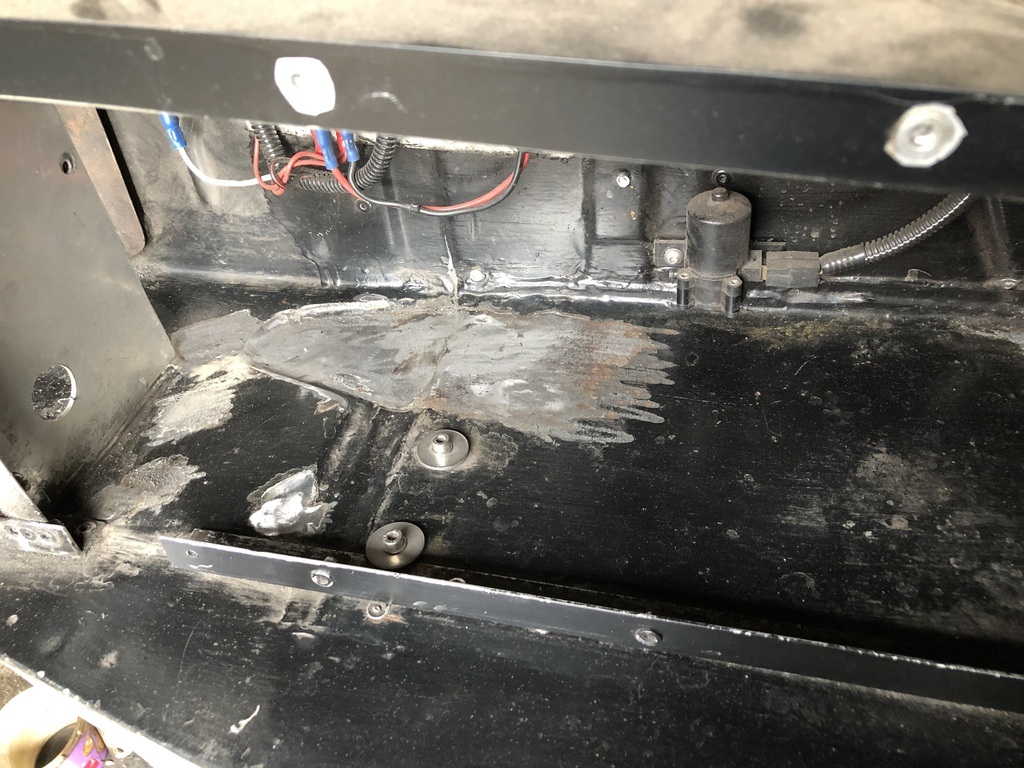 More holes..  Filled.. 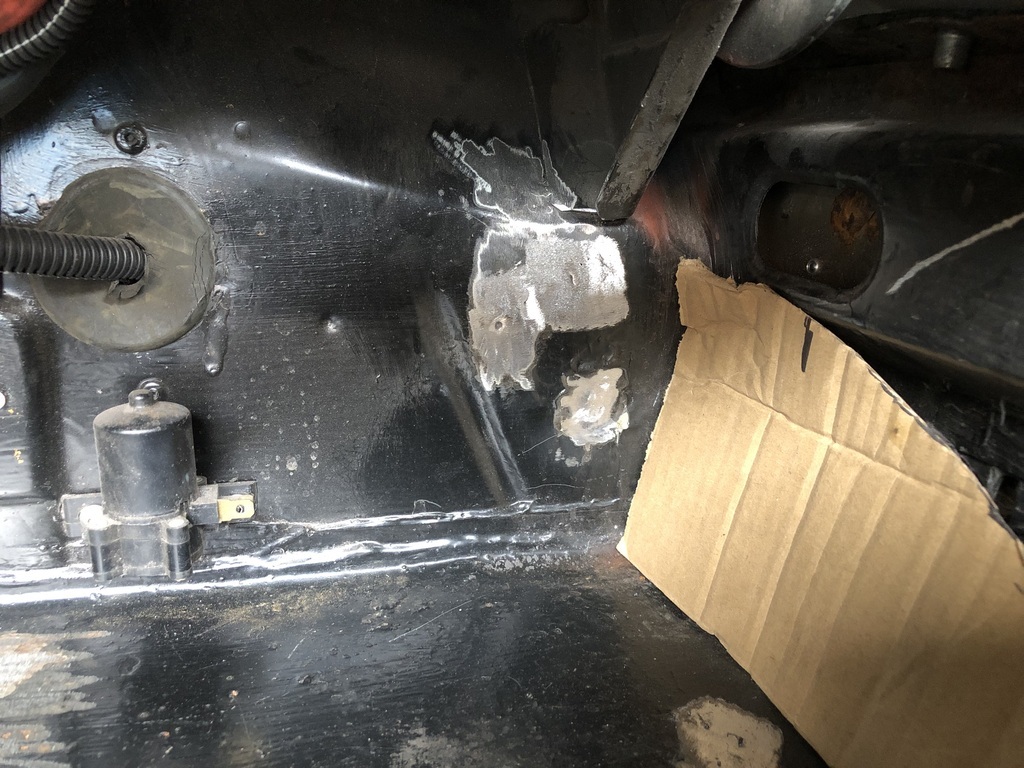 Some I didn’t take a before picture, where the bonnet release cable used to come through.... 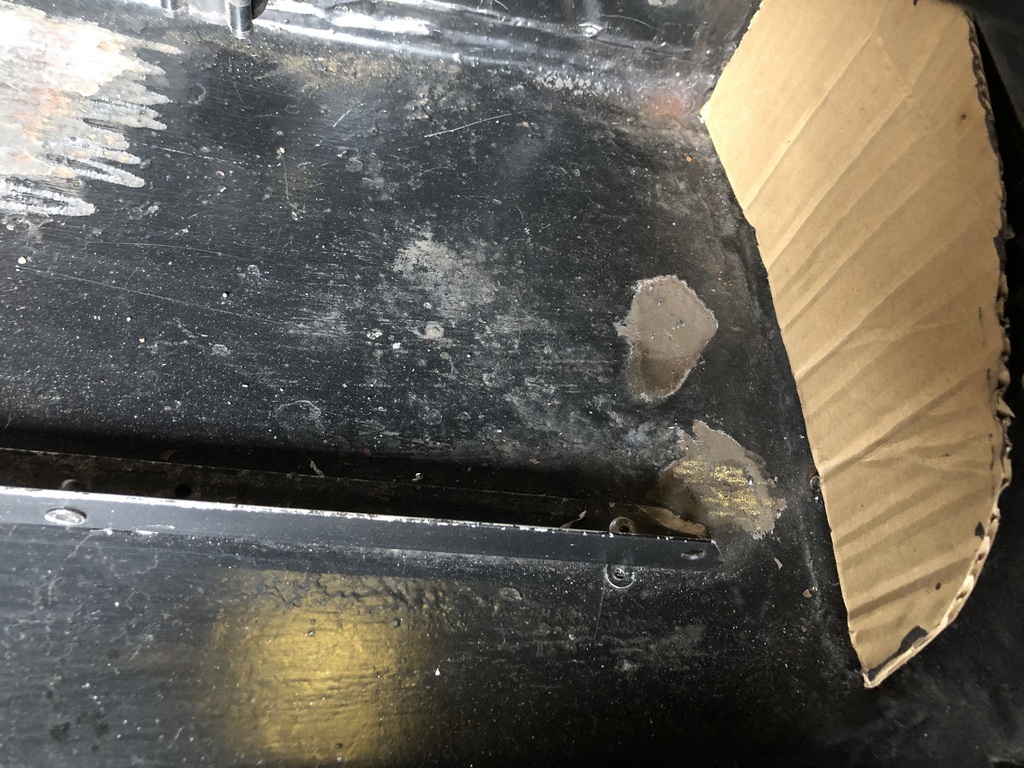 Hole left for an M8 rivnut to attach the bonnet strut to.. 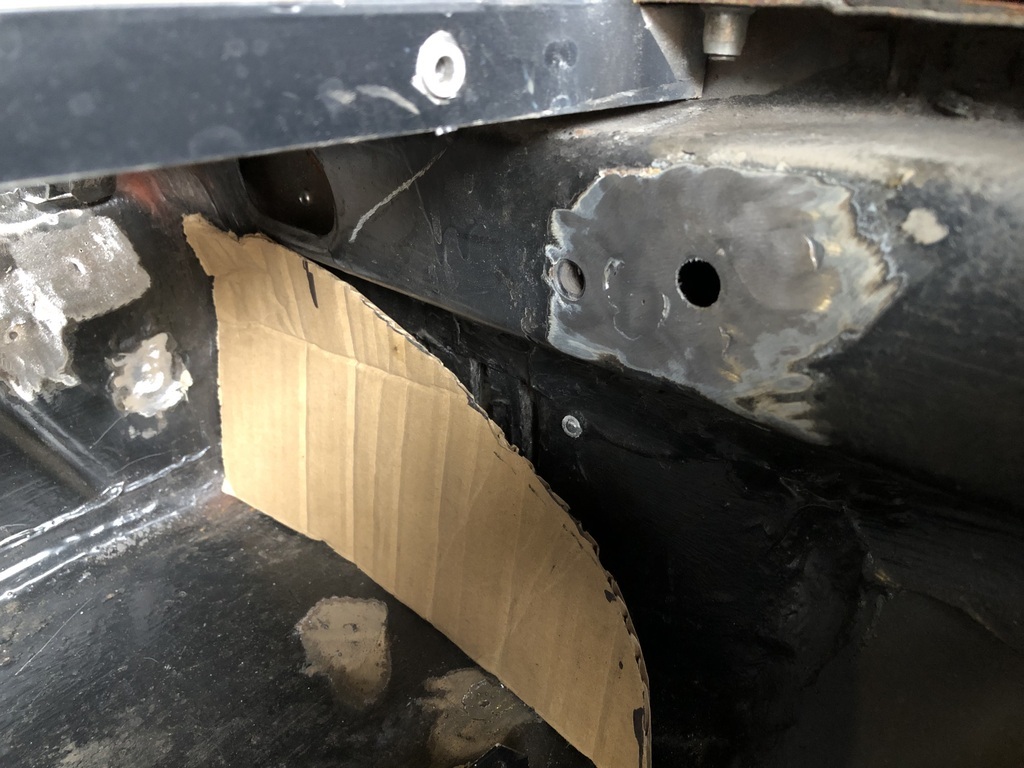 One last one in the inner wing.. 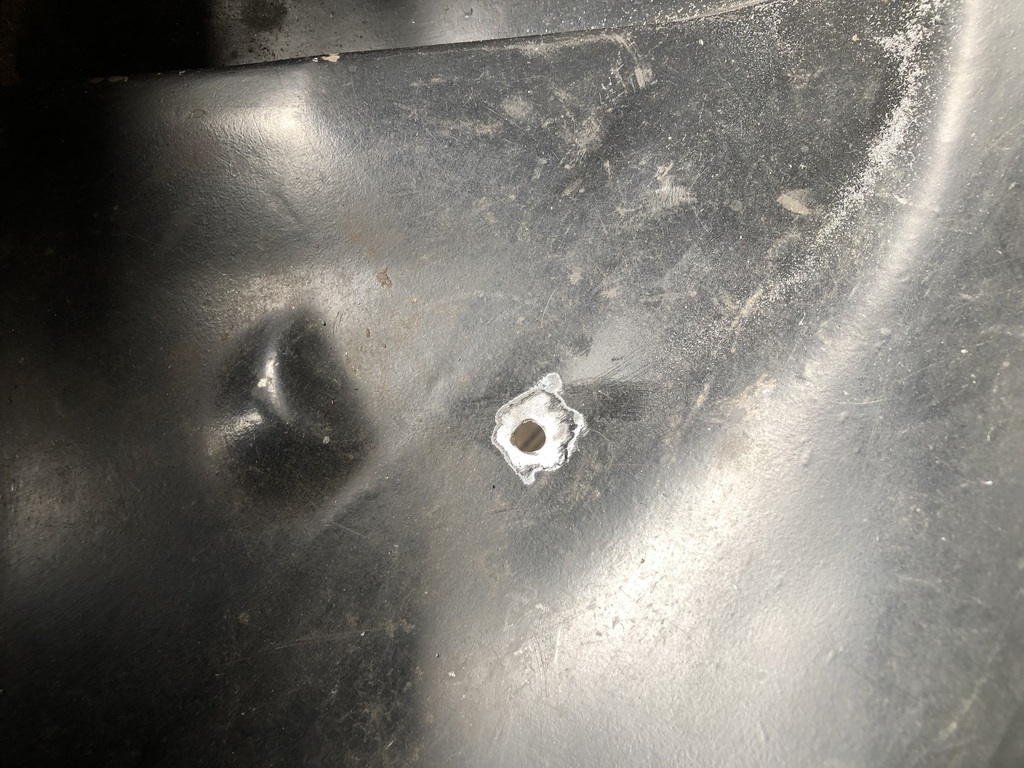 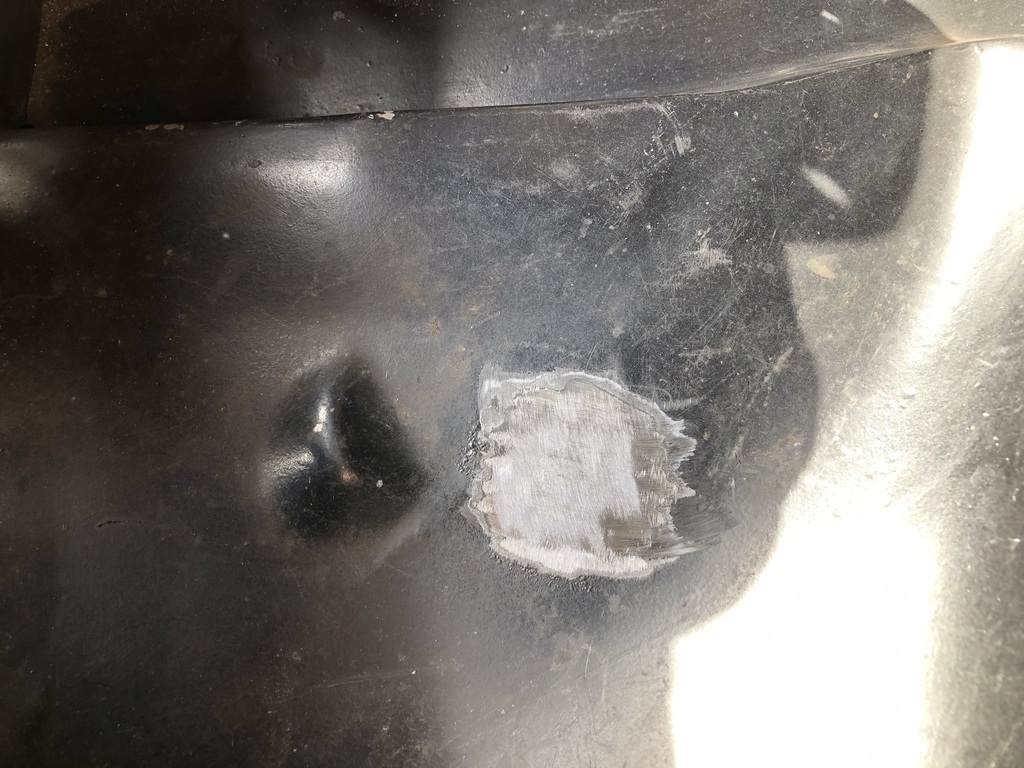 I have been having trouble with the power file belts, the last batch of Titan ones from Screwfix were awful, breaking at the join. Got some Zirconia ones from Amazon which were the correct length for the Black and Decker but they only last about 5 mins before loosing all grit, at least they stay in one piece. Maybe I'm pressing too hard. Should add that they are 13x451 belts, don't know why it says 765 on them. 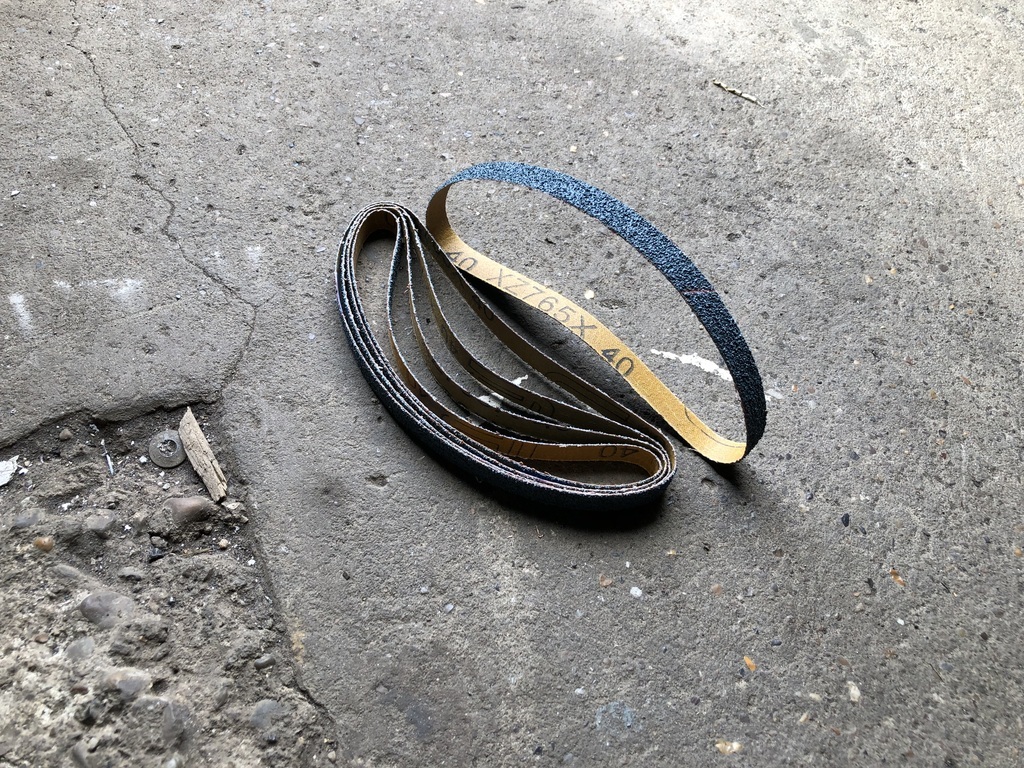  The old heater hoses that ran through the footwell, flexible copper pipe which have worked fine but will be swapping for silicone, solid joiners and proper through bulkhead fittings.  |
| |
Last Edit: Sept 24, 2023 7:24:16 GMT by ChrisT
|
|
|
|
|
|
|
Sept 23, 2023 19:14:38 GMT
|
|
Those belts look like the ones I use. I’ve bought belts that last longer, but they’re not very good at removing metal. These eat through it though.
|
| |
|
|
ChrisT
Club Retro Rides Member
Posts: 1,670
Club RR Member Number: 225
|
|
Sept 23, 2023 22:16:44 GMT
|
They are efficient at taking the welds down, wondering if a slightly finer grade might not shed the grit quite so quickly. Forgot to add this one I did earlier in the week, along with filling a few pinholes.  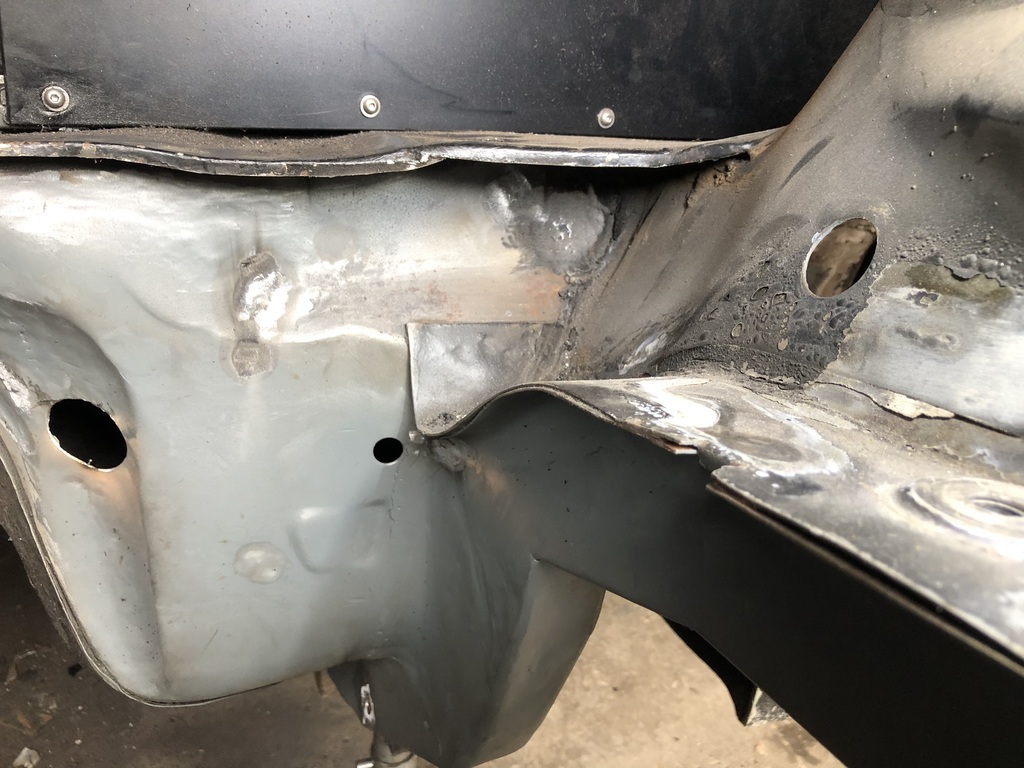 |
| |
Last Edit: Sept 23, 2023 22:43:46 GMT by ChrisT
|
|
qilin
Part of things
 
Posts: 19
|
|
Sept 24, 2023 13:17:58 GMT
|
With regard to the belts. I stopped using 40 grit on a belt that size and the 10mm which is worse. The grit is to coarse and the result is what you found. I use 60 grit and it lasts longer. If possible take the "roundness" away with the grinder. The prefer the flat surface. The belts I have found the best are the red ceramic. You can use a light touch with them so I use them as the last operation. They are more expensive and often think there's another £ gone.. The belts I have found are the most expensive way to grind welds. A 40 grit flap disc on a grinder removes a lot more metal for the money. The best I have found are 36grit 3m ceramic www.3m.co.uk/3M/en_GB/p/d/b40064877/I think these are the ones I have, they are orange in colour and I use the small size. You do need an air or electric grinder that takes a 6mm shaft. They have the fastest cut and do not need a heavy hand. |
| |
|
|
ChrisT
Club Retro Rides Member
Posts: 1,670
Club RR Member Number: 225
|
|
Sept 24, 2023 14:58:02 GMT
|
qilin Thanks for the info. I've already ordered some more at 60 grit to see how they fare. Obviously on a lot of this project I'm not too worried about panel warpage to do tend to hit the welds with a standard grinding disc and then go down to a flap disc, I forgot the grade but think 80. The Power file is mainly for awkward areas, finishing off or sometimes when I can't be doing with the noise and weight of the grinder.
|
| |
|
|
ChrisT
Club Retro Rides Member
Posts: 1,670
Club RR Member Number: 225
|
|
Sept 30, 2023 15:31:35 GMT
|
Another few hours down the garage today, got a fair bit done (by my standards) but didn’t take many pictures. During the week I got a couple more holes filled that I missed last week.  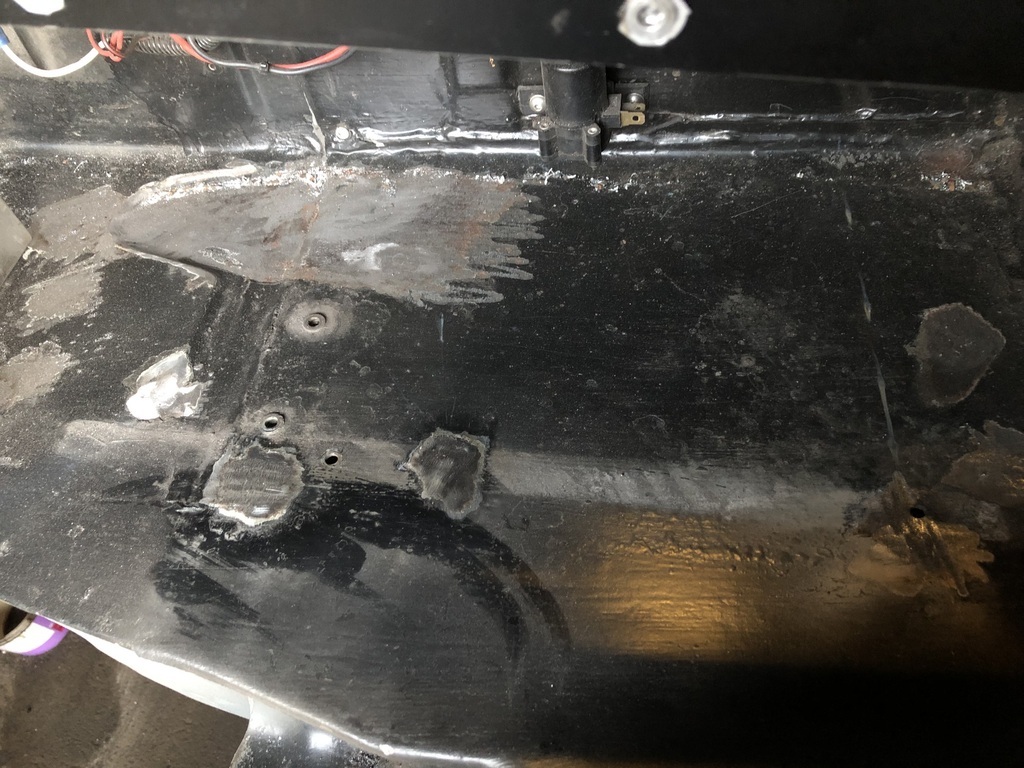 Stripped off all the old paint, Hammerite I believe, as there were signs of rust underneath. It was only surface rust so wire wheeled it and put on some Dinitrol rust converter, followed by primer and some satin black. Not a finish coat, just something to seal the primer. 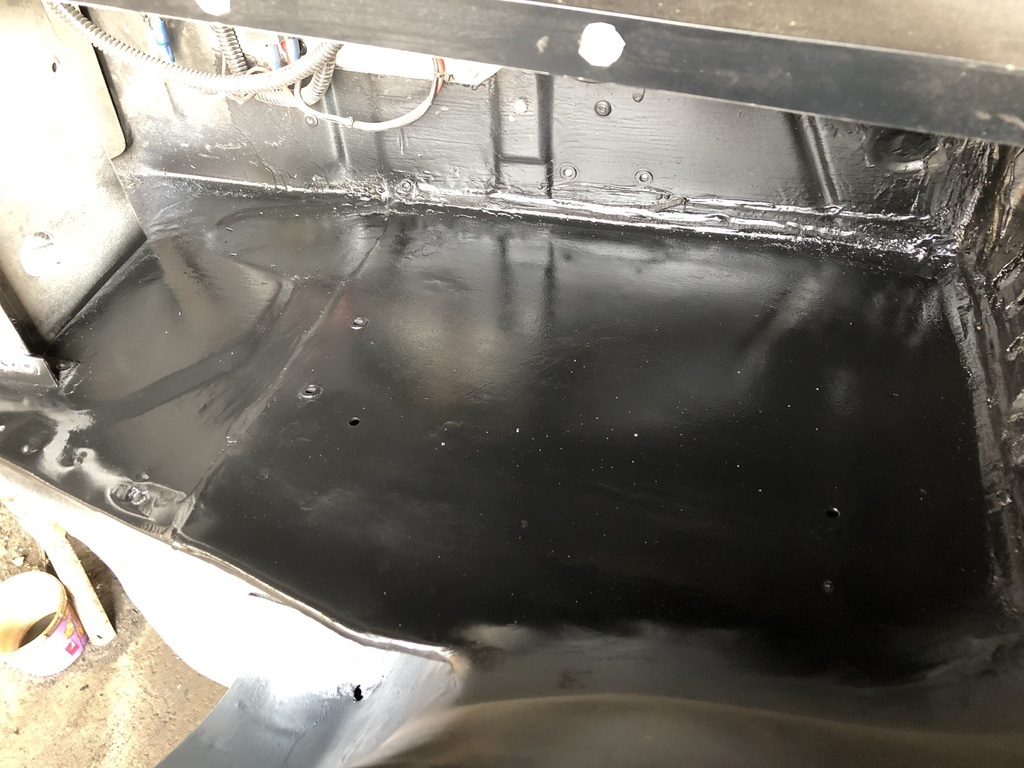 I have door bars from the roll cage to the footwells, the feet should have had a spreader plate welded in under them, so got some 3mm plate and, with some fettling, got it in place, turned the welder up and buzzed it in. Then cut the foot off the door bar, positioned it on the spreader plate, drilled and bolted it and tacked the end of the bar to it. Took it out and fully welded it. 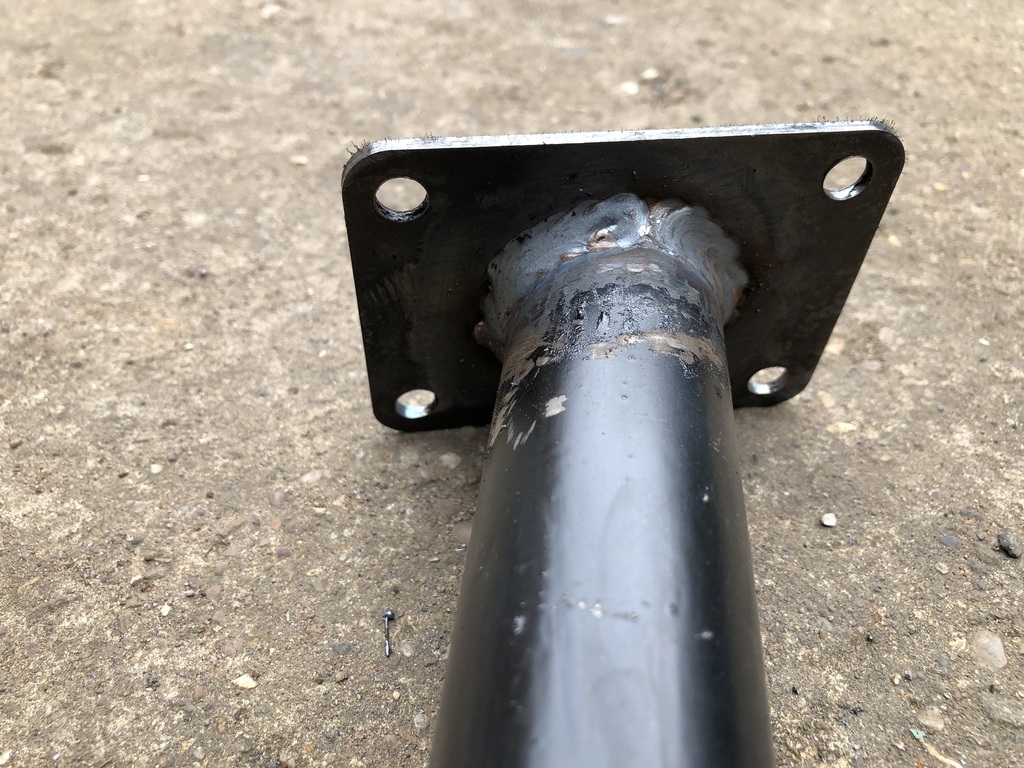 With that done I think the welding is done on this side, got some seam sealer on order as the local tool shop didn't have any in, will make it look a bit better under there. Despite what it looks like it is solid. 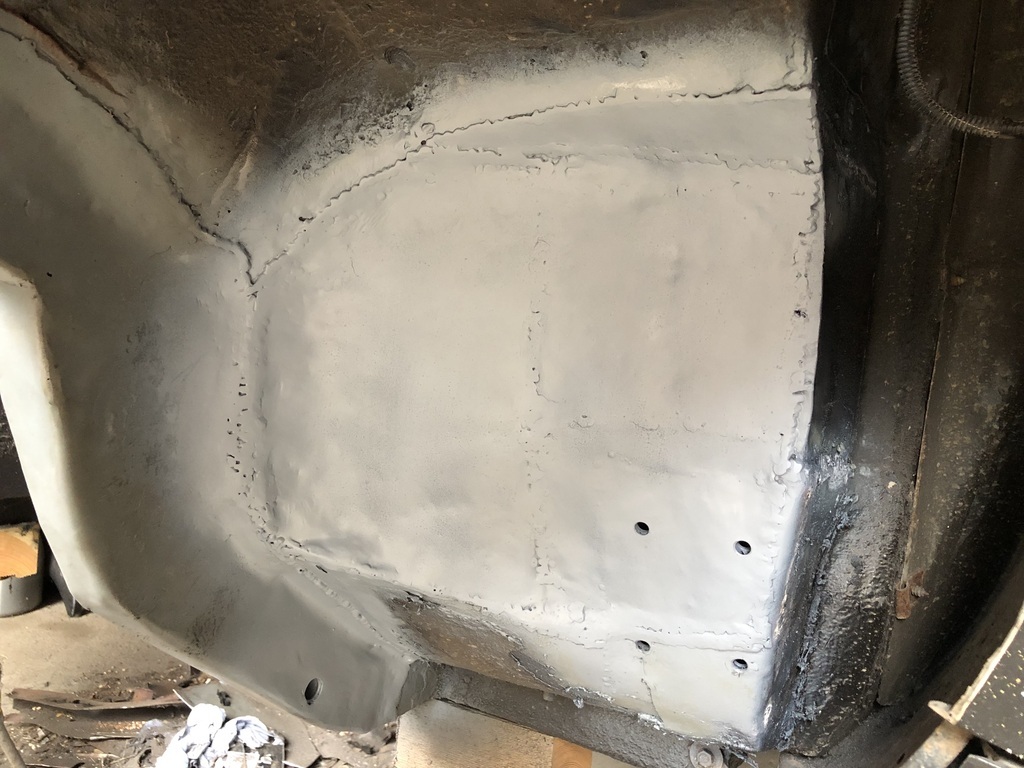 Also, got some 60 grit sanding belts and they so seem to last a bit longer than the 40 grit, not quite as quick removing material but I thing the longevity makes up for this. |
| |
Last Edit: Oct 1, 2023 6:57:53 GMT by ChrisT
|
|
ChrisT
Club Retro Rides Member
Posts: 1,670
Club RR Member Number: 225
|
|
|
|
Another Saturday and another few hours on the car. Seam sealer arrived this week so proceeded to make a mess everywhere with it…. 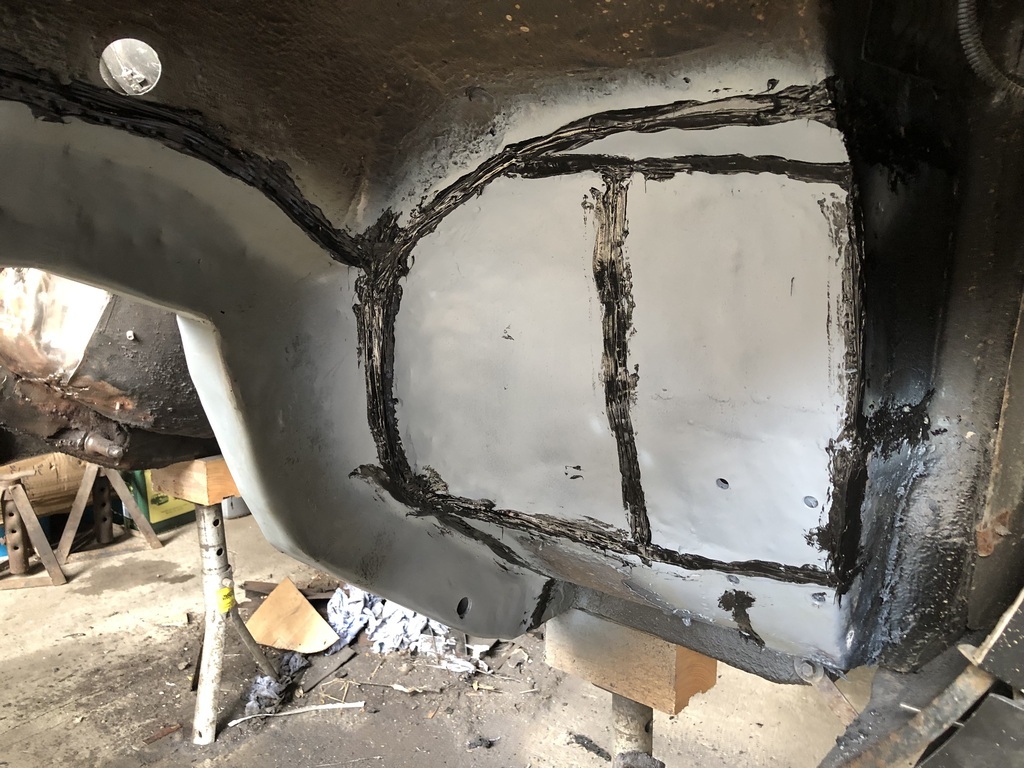 The spreader plate I welded in last week… 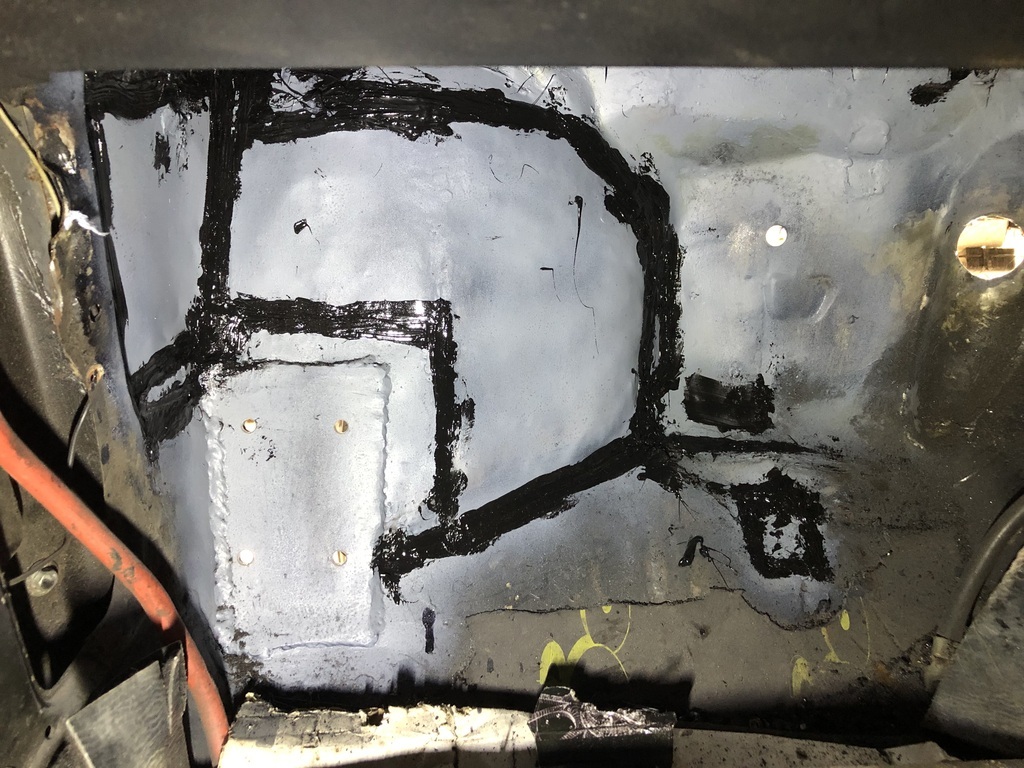 Once dry a quick coat of chassis black over everything, hides it nicely. All the underside will get undersealed once the rest of the work is done. 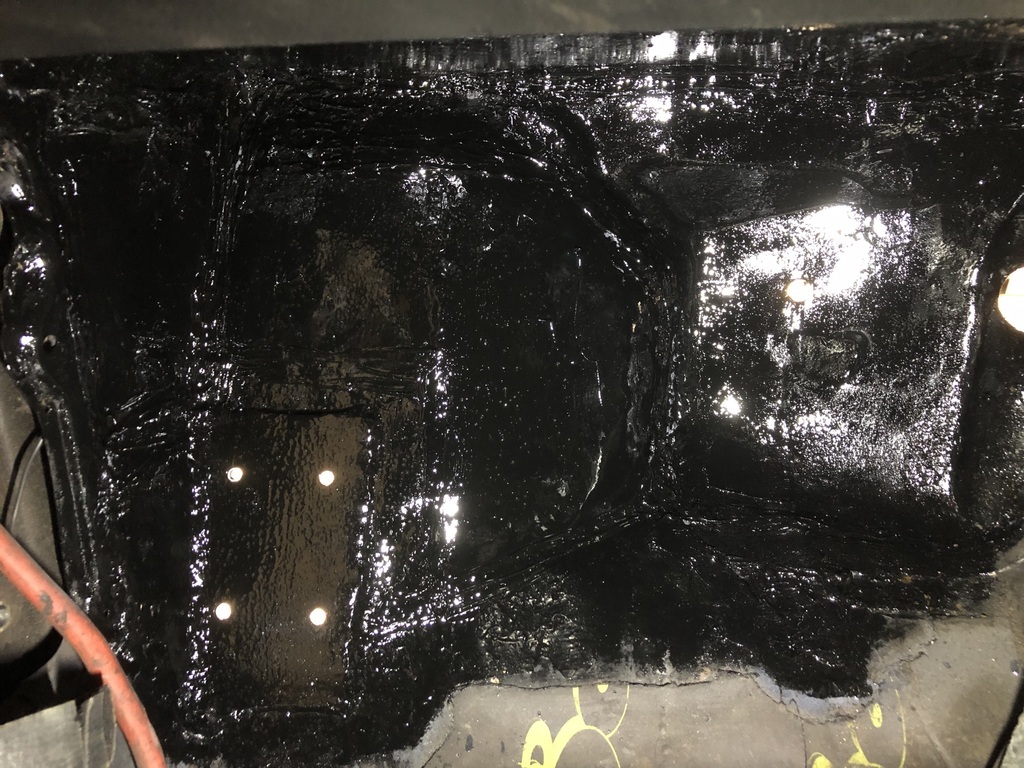 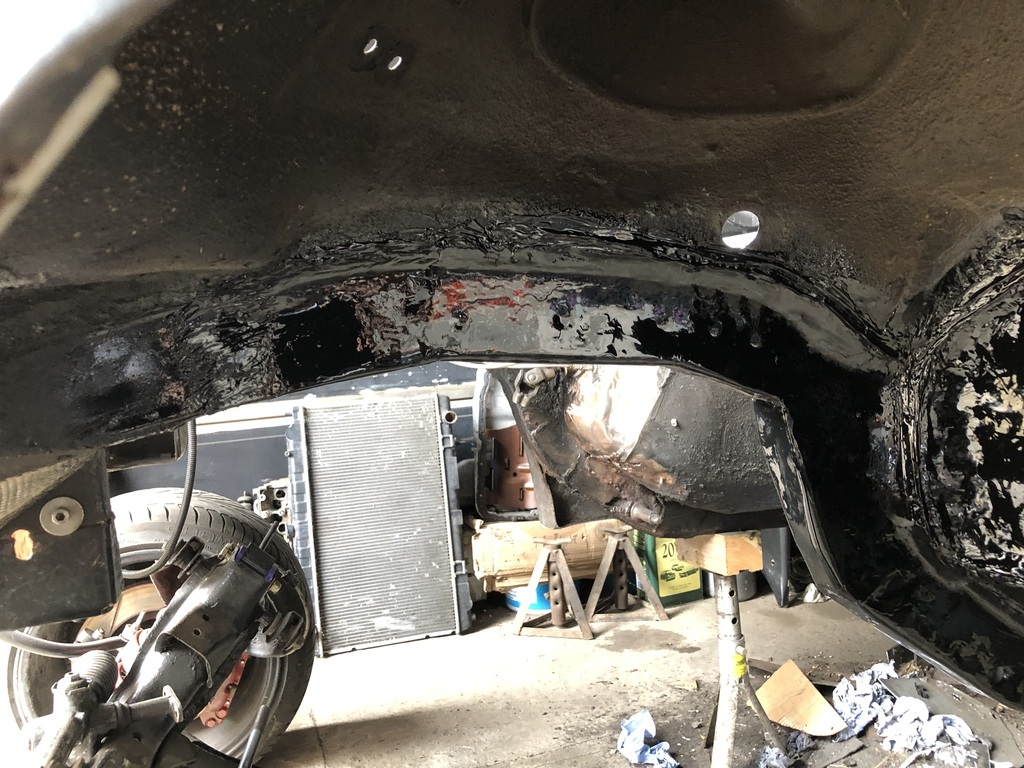 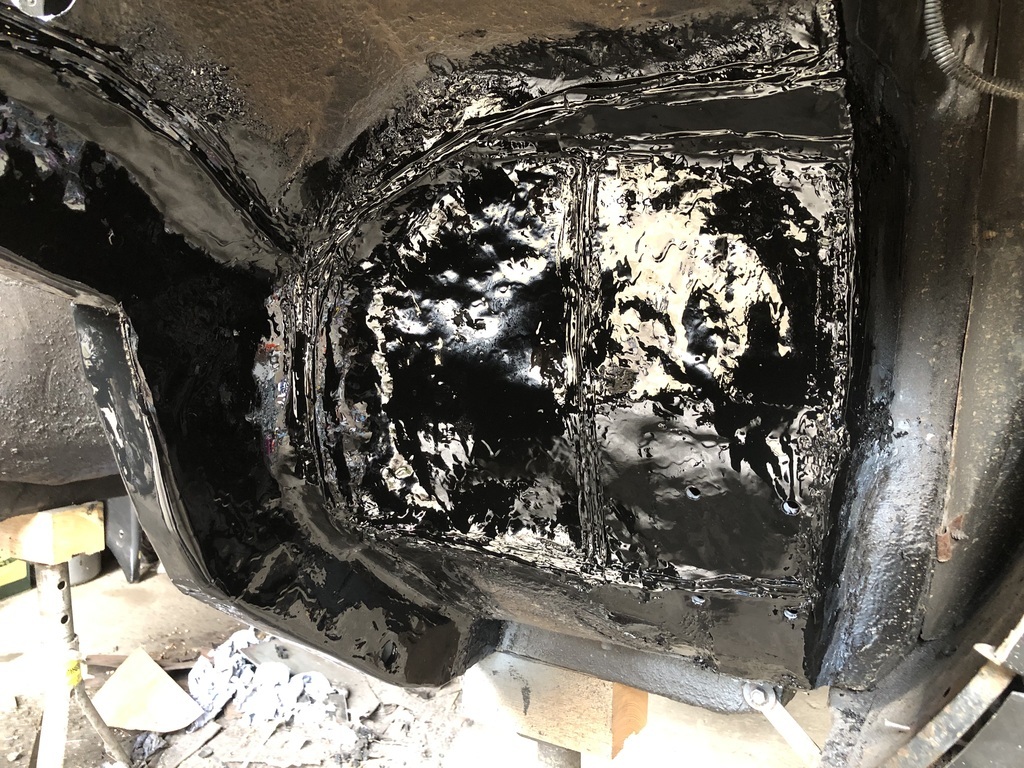 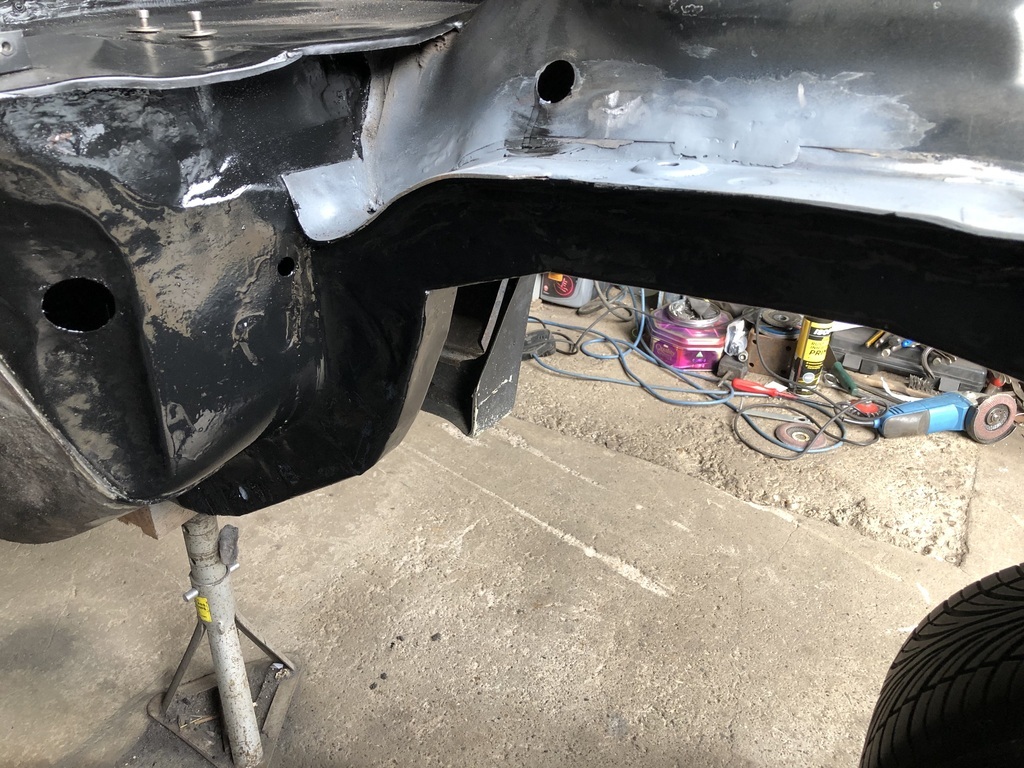 |
| |
Last Edit: Oct 8, 2023 16:54:44 GMT by ChrisT
|
|
ChrisT
Club Retro Rides Member
Posts: 1,670
Club RR Member Number: 225
|
|
|
|
Also had a few goodies arrive this week, nothing overly exciting, silicone hose to replace the heater hoses, through bulkhead fittings, new washer bottle, bolts for roll cage feet and a bulkhead wiring grommet.., 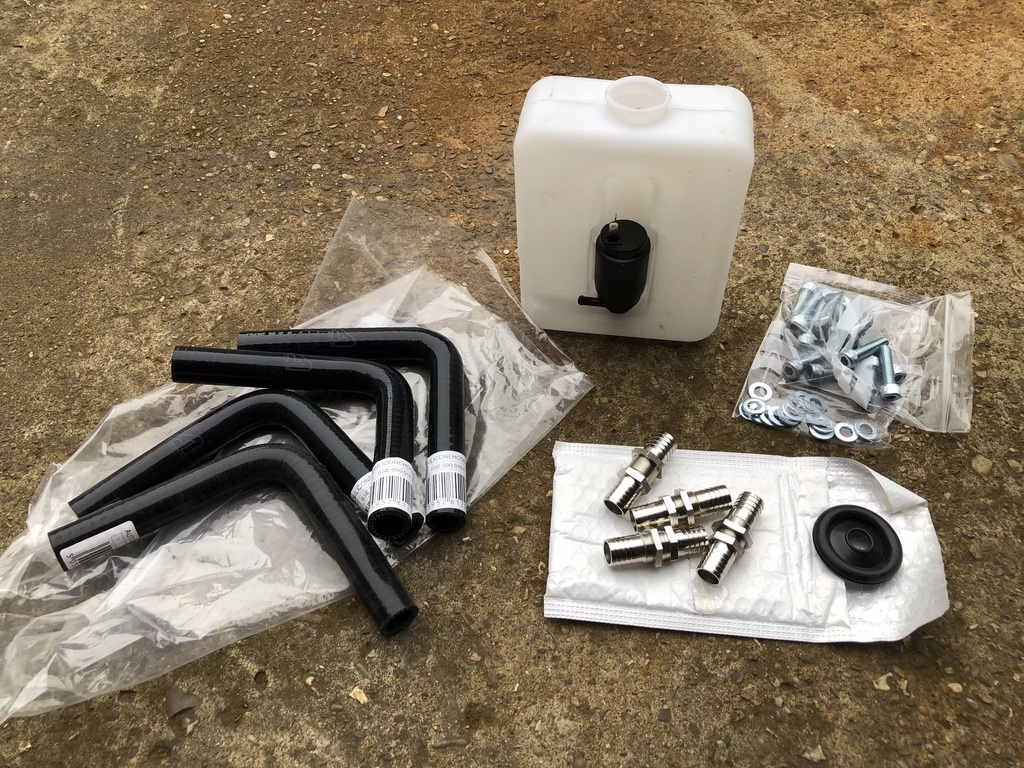 Made an awful bracket to support the washer bottle but the angle was in the way of the mounting holes. 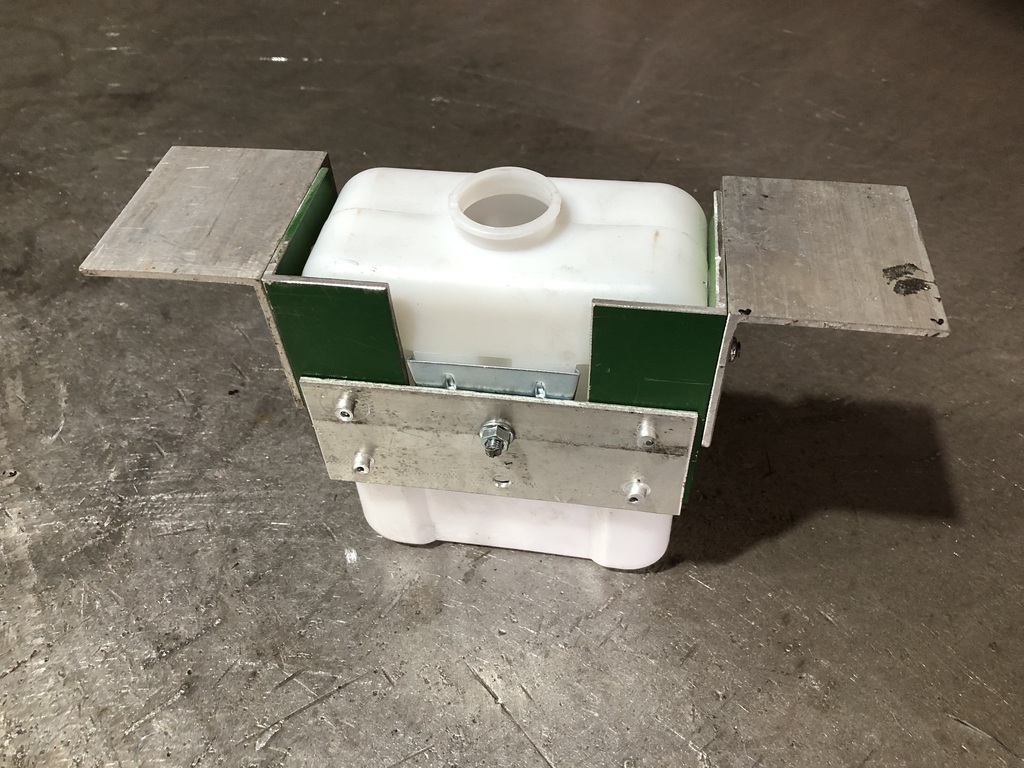 Made a more slimline version, still needs work extending it so it supports from underneath too. 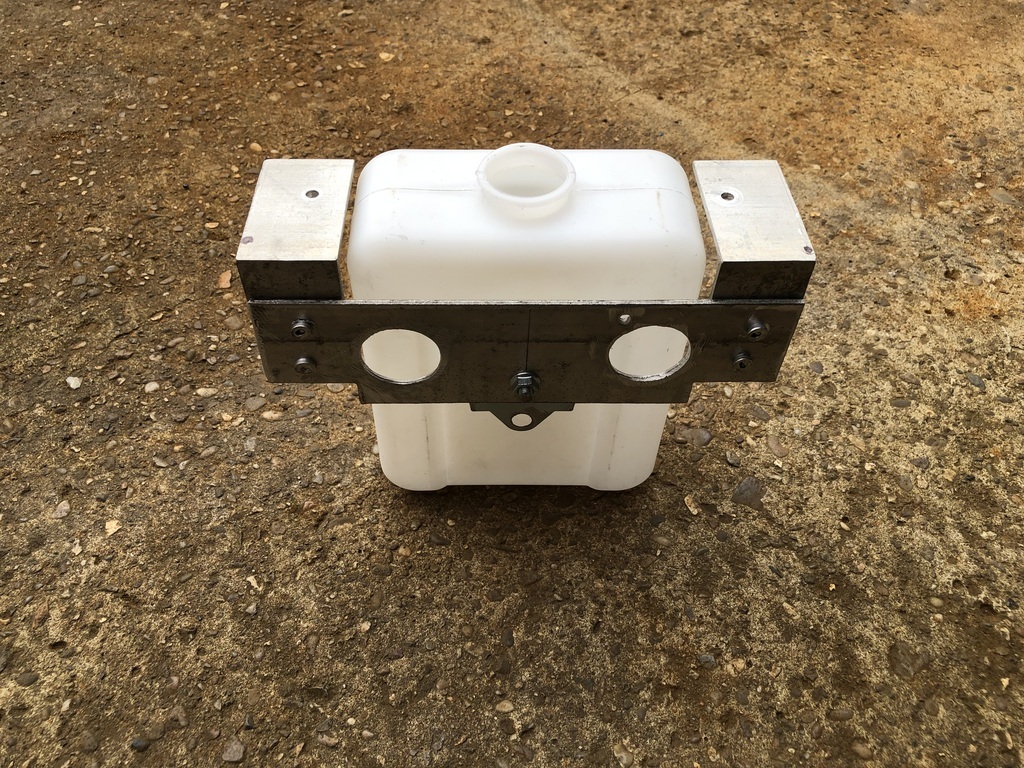 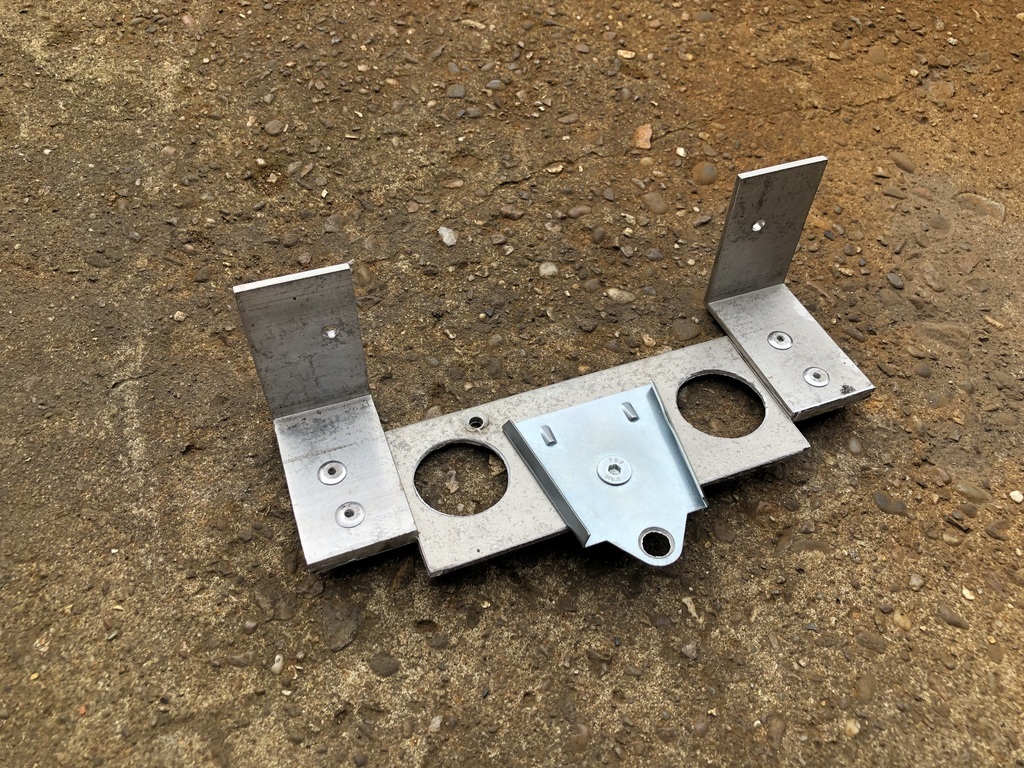 The old bottle and bracket. 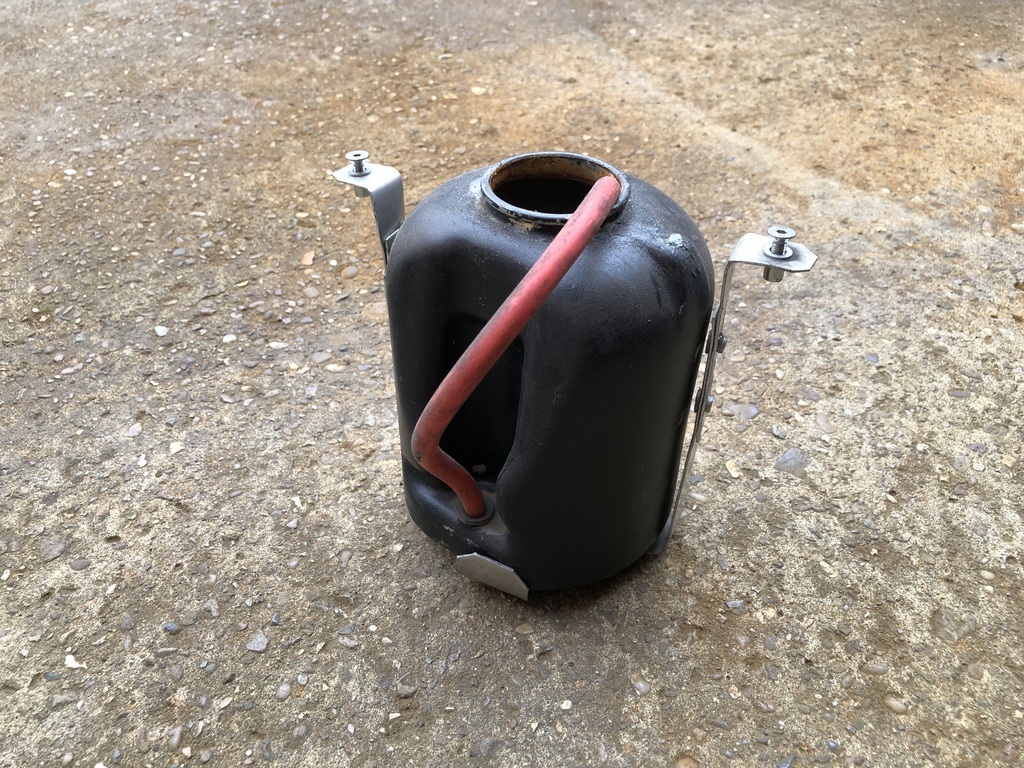 Playing with silicone hose elbows to figure out the best route for them, although I may just go back to how they were originally rather than one each side of the engine like I’m toying with. 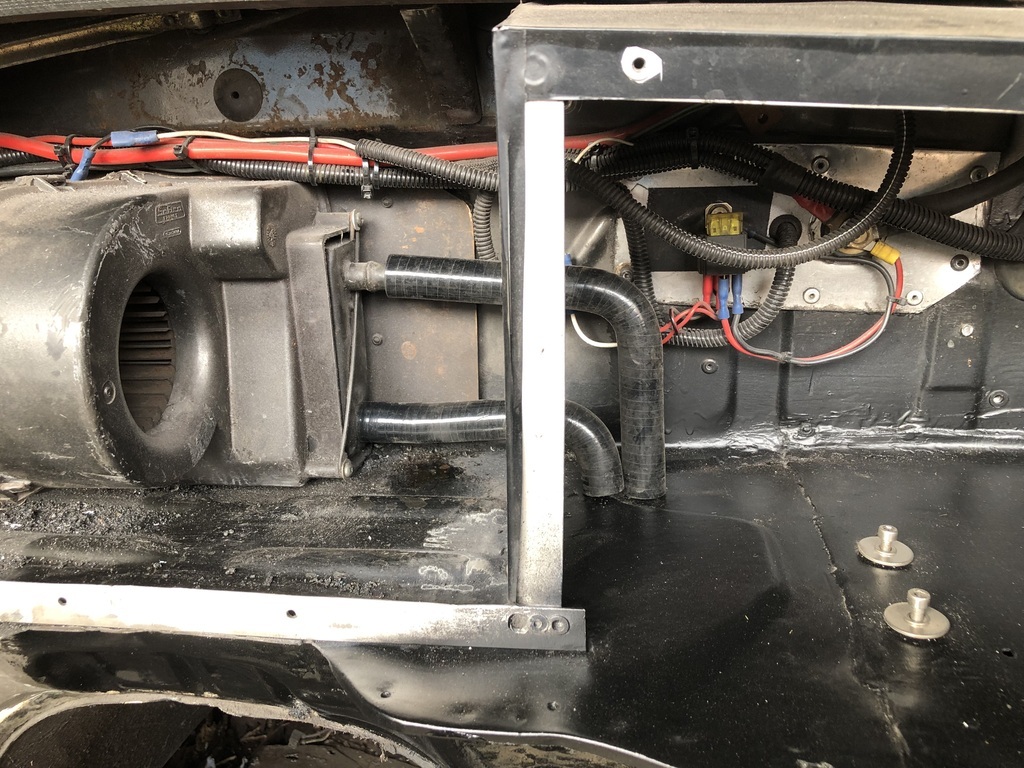 |
| |
Last Edit: Oct 7, 2023 17:44:48 GMT by ChrisT
|
|
ChrisT
Club Retro Rides Member
Posts: 1,670
Club RR Member Number: 225
|
|
|
|
|
|
| |
Last Edit: Oct 8, 2023 7:32:44 GMT by ChrisT
|
|
|
|
|
|
|
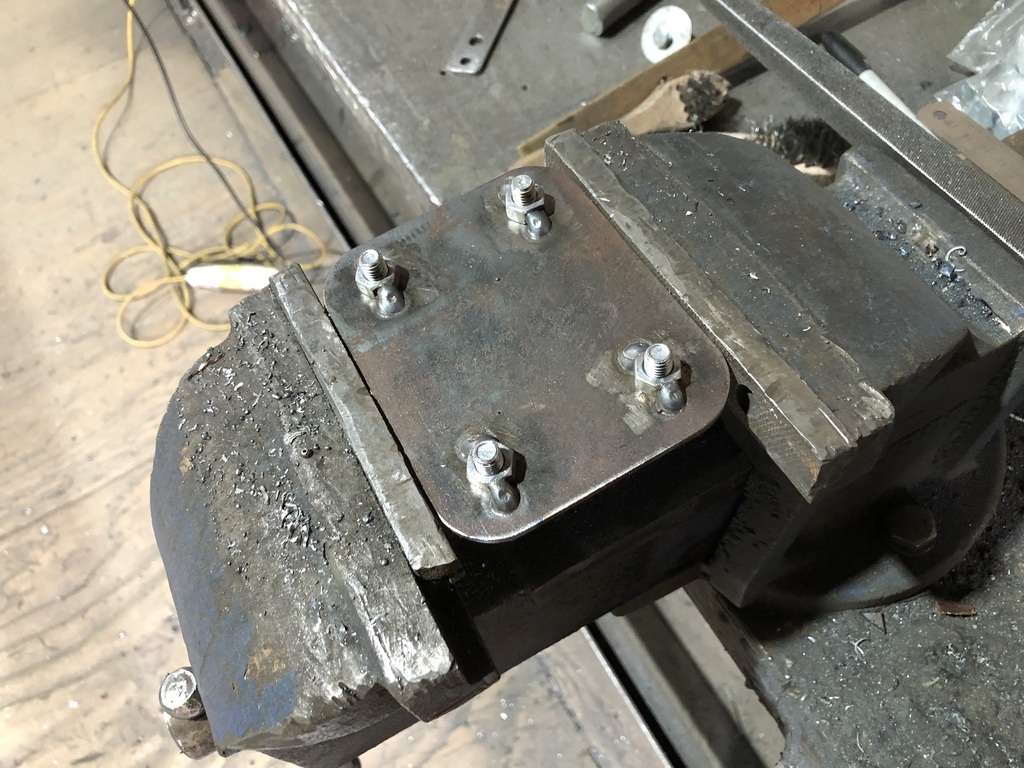
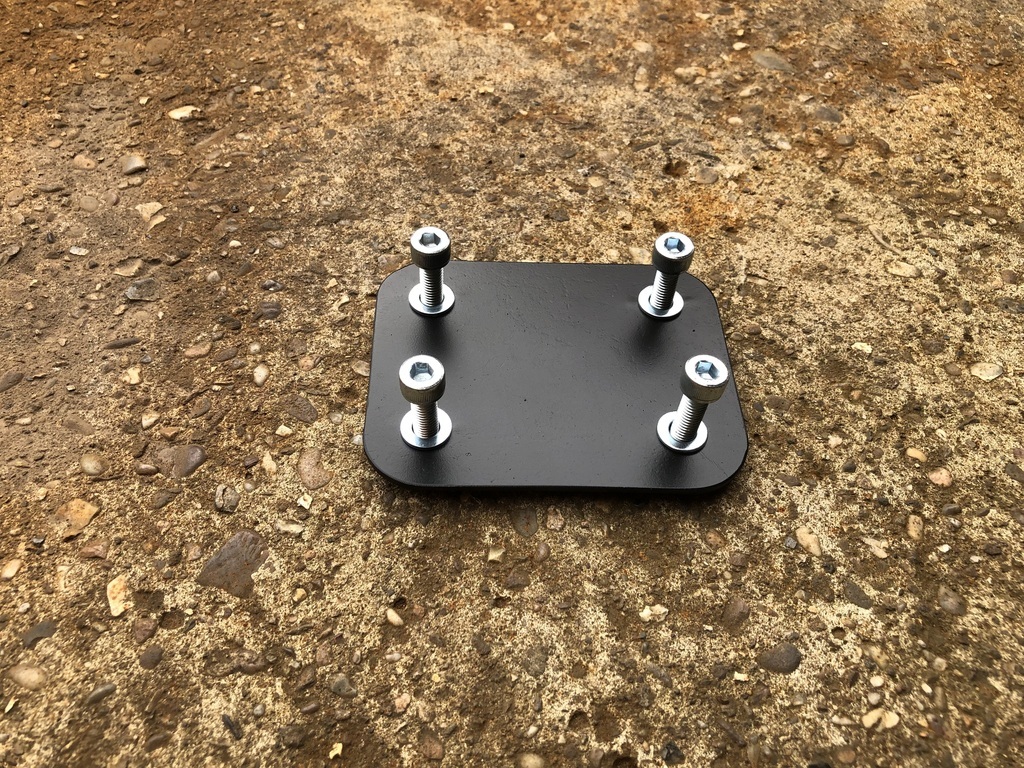
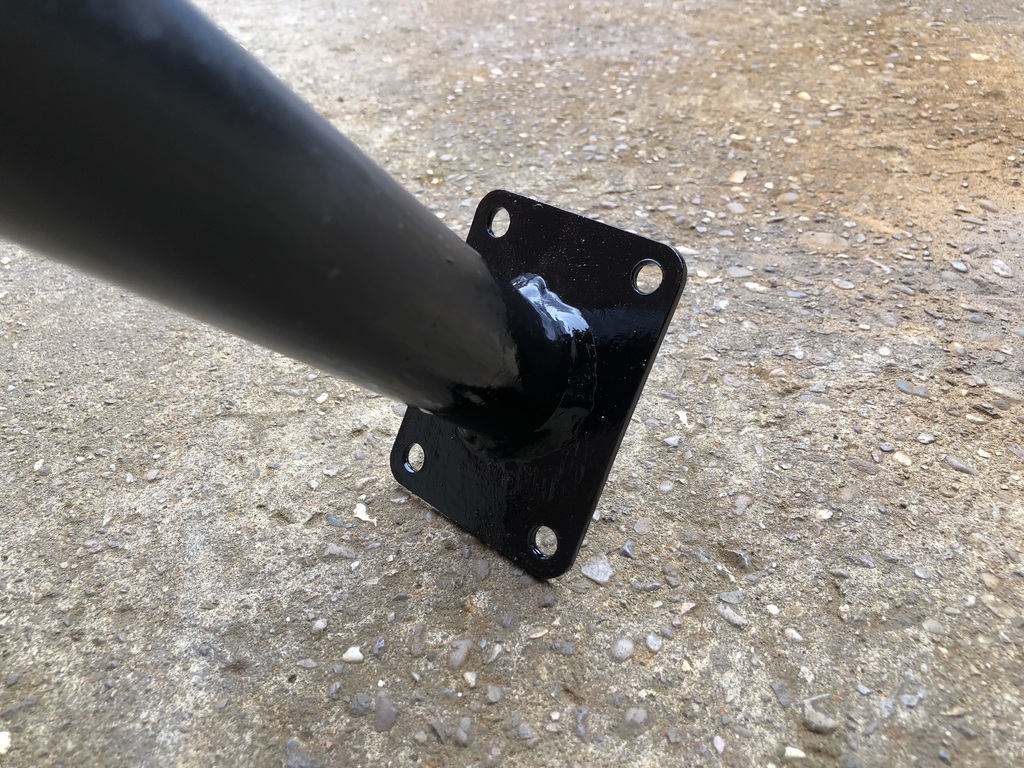
Made up a slightly larger bottom plate for the door bar, that fits on the outside of the footwell. Needs captive nuts on it so used countersunk bolts to centre them over the holes before welding. 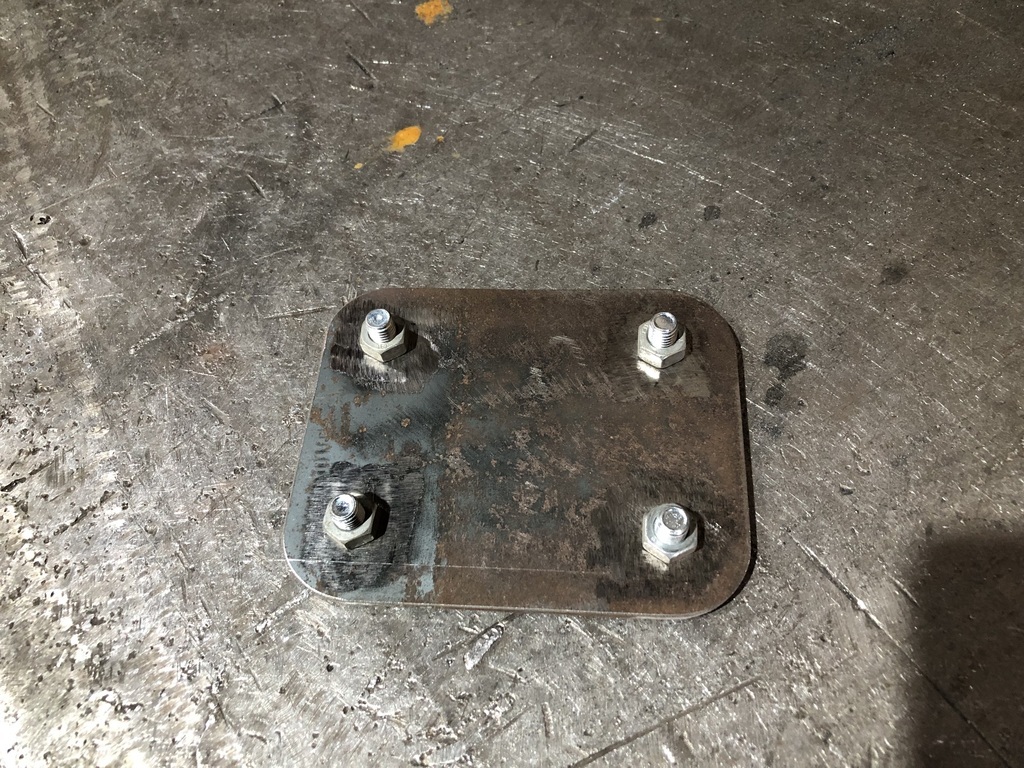 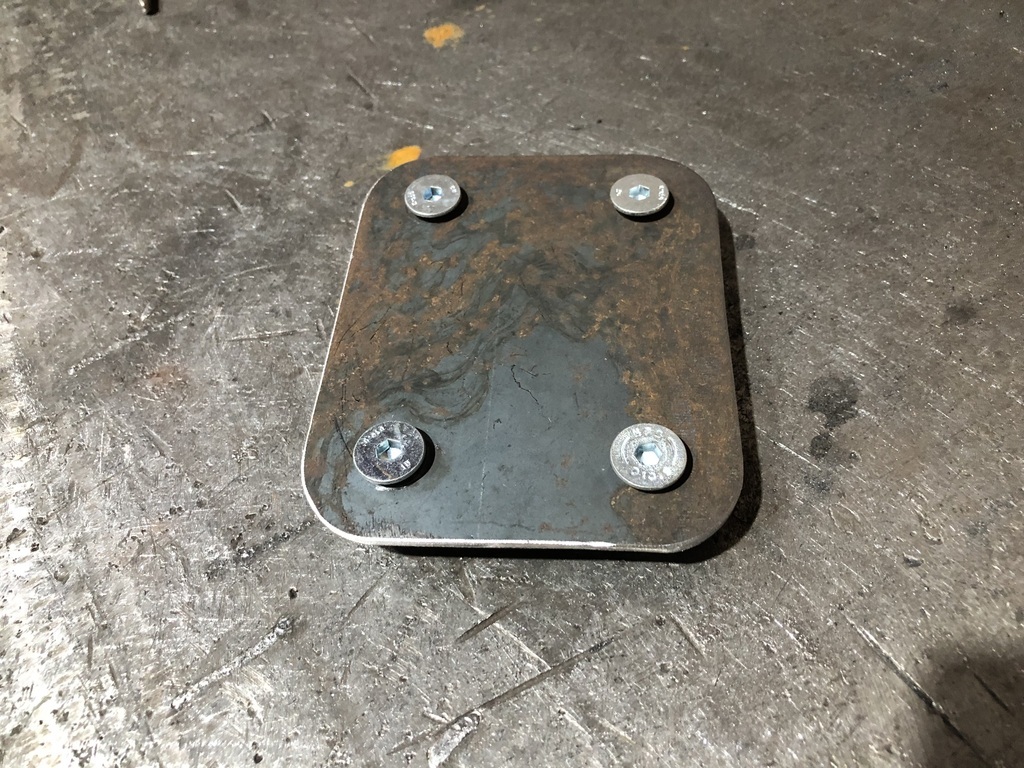 That is a such a good tip! |
| |
|
|
ChrisT
Club Retro Rides Member
Posts: 1,670
Club RR Member Number: 225
|
|
|
|
Not a great deal achieved this week, procrastinating drilling the holes for the heater hose, eventually decided they’re going back about where they were rather than complicate matters fitting one the other side of the engine bay. This week’s top tip, which I think everyone knows, is when cutting hose use a clamp to give you a straight edge to cut against, typically the one I decide to photograph the blade was a bit dull so wasn't the cleanest cut.... 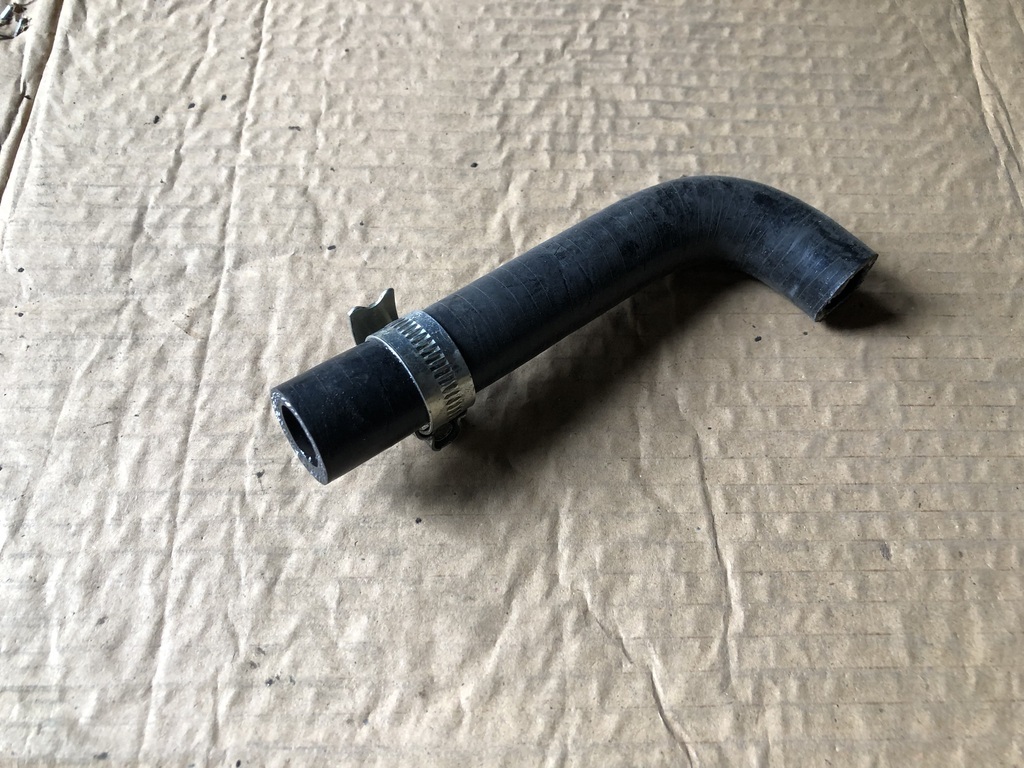 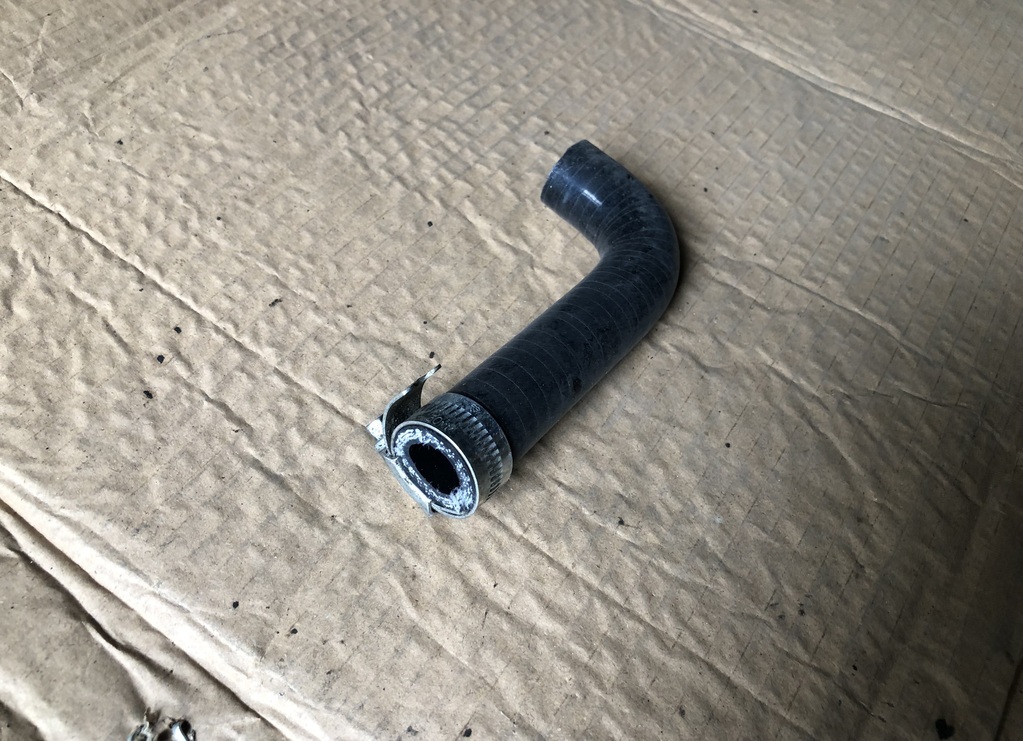 Bought some stainless washers for the bulkhead fittings, just needed a quick pass on the lathe to make them fit.. 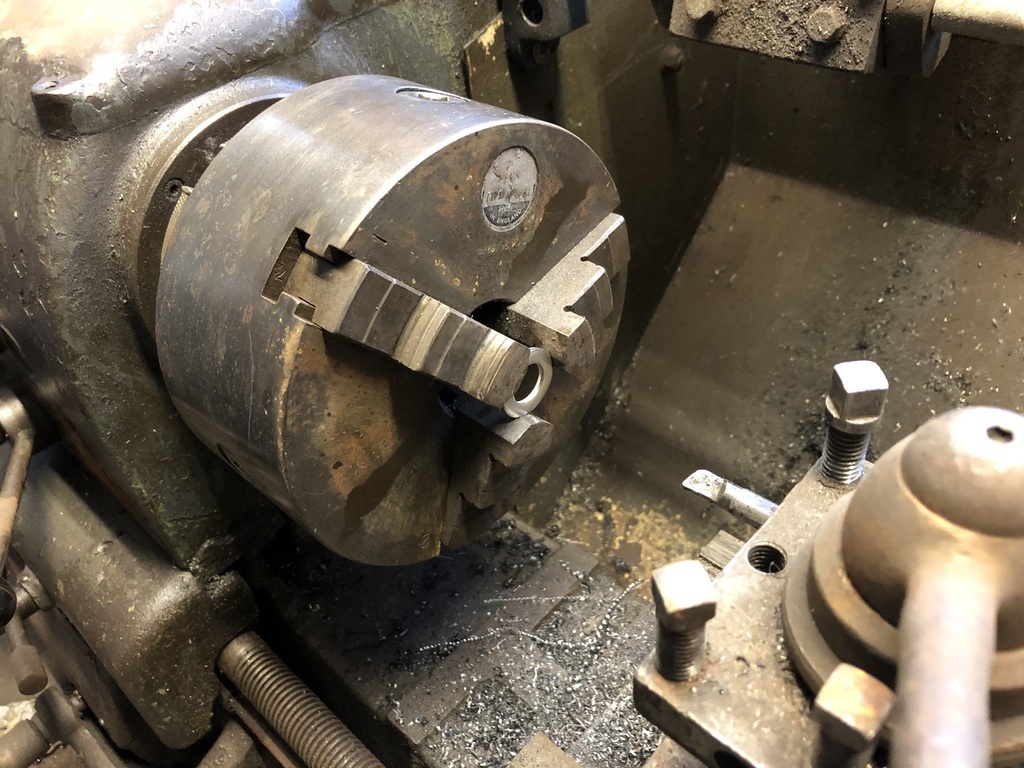 Bulkhead fittings in place.. 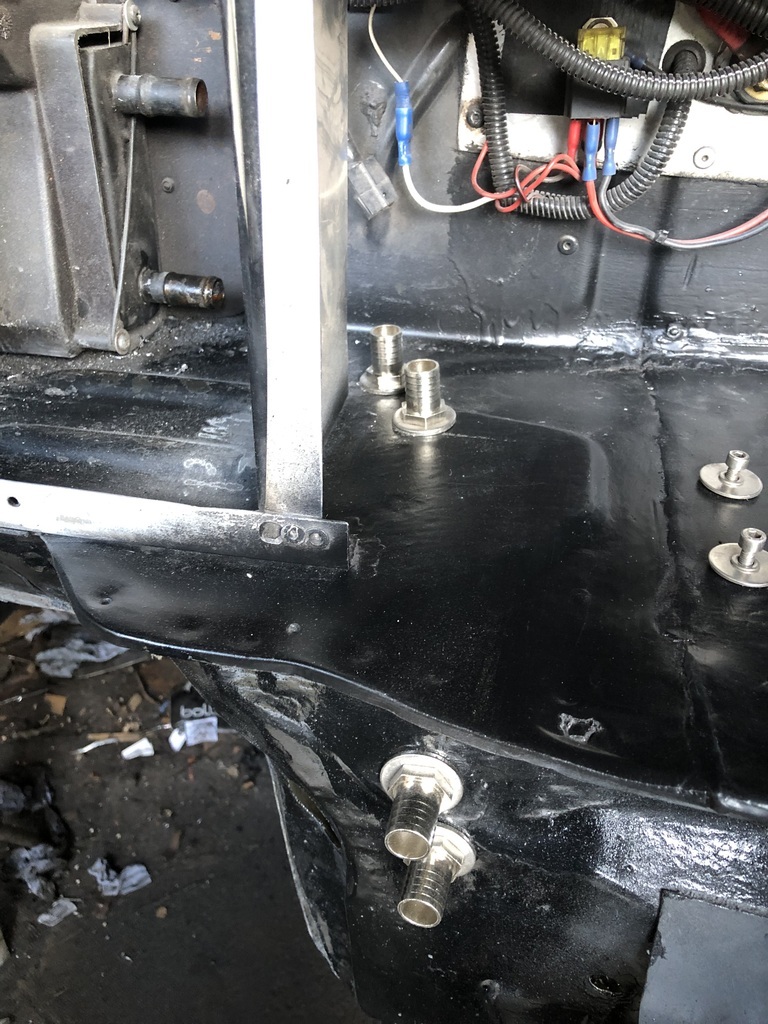 Hoses… 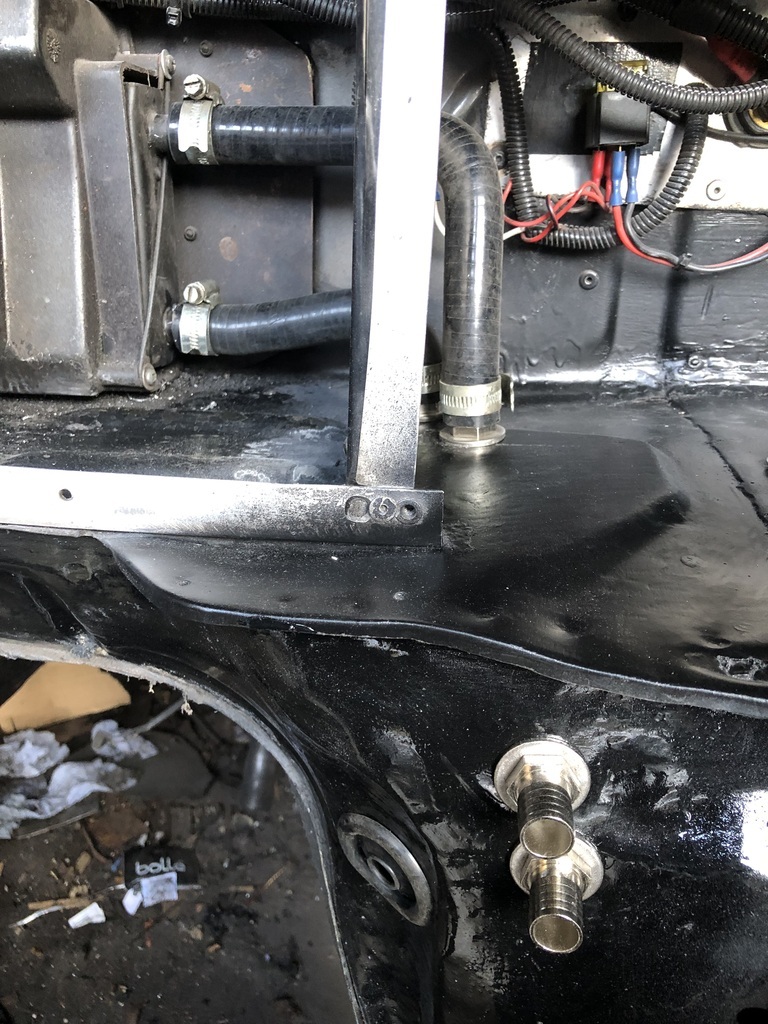 No pictures from inside though. |
| |
Last Edit: Oct 14, 2023 9:18:46 GMT by ChrisT: re-order photos
|
|
|
|


