lund
Part of things
 
Posts: 155
|
|
Jun 24, 2009 13:22:23 GMT
|
Fitted the oil pump today & also sprayed the engine block. Should I give the block a coat of clear lacquer, will it be more hard wearing? I sprayed topcoat gloss black enamel directly onto the engine block. Fitted oil pump:  Paint preparation: 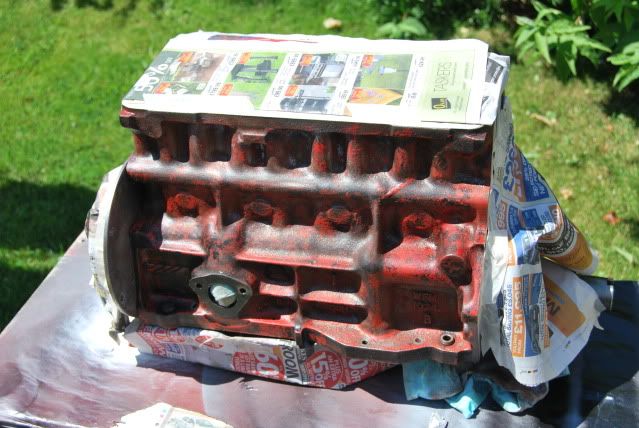 In paint:   I'll be spraying the gearbox in etch primer soon, then spraying it silver to match the flywheel housing. |
| |
|
|
|
|
|
|
|
Jun 24, 2009 20:13:50 GMT
|
|
I remember the early stages of this build from TMF, was one of my favorite cars on there. Really makes me miss my mini!
|
| |
wanted, 25th hour. Required daily, cash waiting
|
|
lund
Part of things
 
Posts: 155
|
|
Jun 24, 2009 21:27:41 GMT
|
I remember the early stages of this build from TMF, was one of my favorite cars on there. Really makes me miss my mini! GW; GuessWorks? Hi John, thanks, I tend not to use TMF anymore really. I cleaned up the dizzy and began spraying a few more parts Also took a picture of the said gearbox:  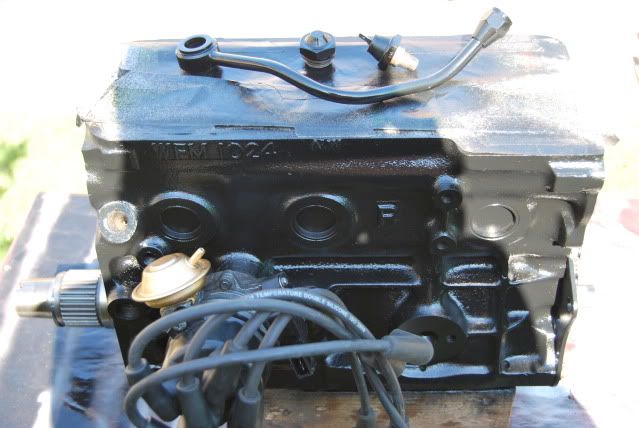  |
| |
|
|
lund
Part of things
 
Posts: 155
|
|
Jun 25, 2009 23:25:43 GMT
|
Oh and before I forget. Notice anything different? 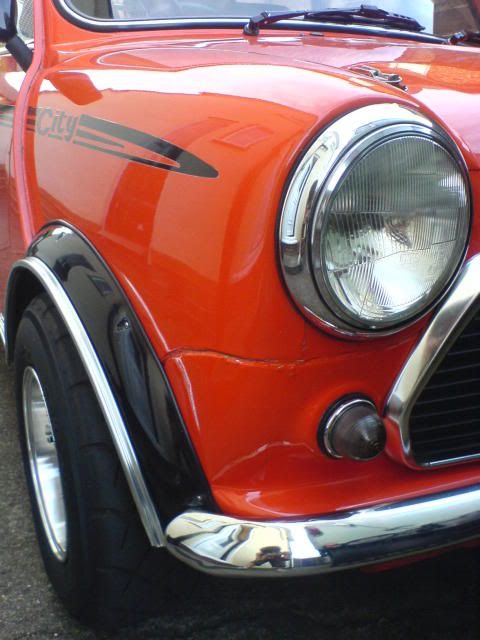 |
| |
|
|
|
|
|
|
|
GW; GuessWorks? Hi John, thanks, I tend not to use TMF anymore really. Not Guess works I'm afraid, wish i had his box builing skill though! |
| |
wanted, 25th hour. Required daily, cash waiting
|
|
lund
Part of things
 
Posts: 155
|
|
|
|
Not Guess works I'm afraid, wish I had his box builing skill though! Oh I see, I'll second that! Due to being off uni for the summer I have alot of time on my hands & I mean alot! So I'm continuing to rebuild the engine amongst other bits & bobs. I decided to wack my other set of Minilites on whilst I removed the others for a good scrub and polish. I still prefer the black centres and slick tyres, but somehow the silver looks alot cleaner! :shh: 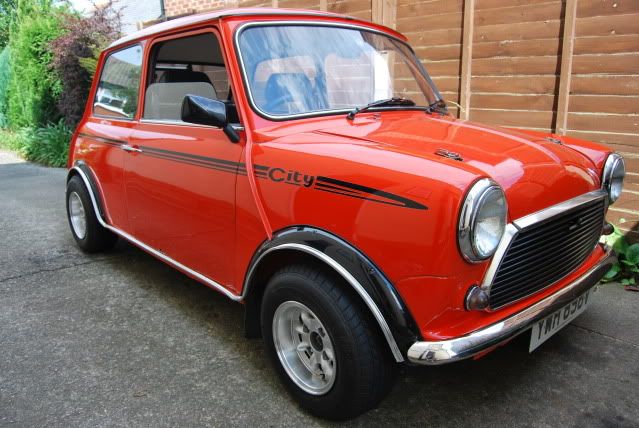 I was so damn surprised to be able to buy 'Rover Vermillion' spray paint in Halfords! 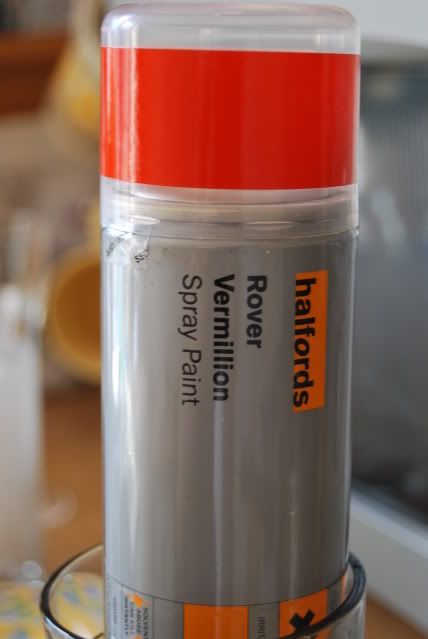 So today consisted of keying and spraying my dust caps ready for a vermillion top coat! Subtle mods go a long way me thinks!  Keyed:  Top coat & clear lacquer coat drying in the sun: 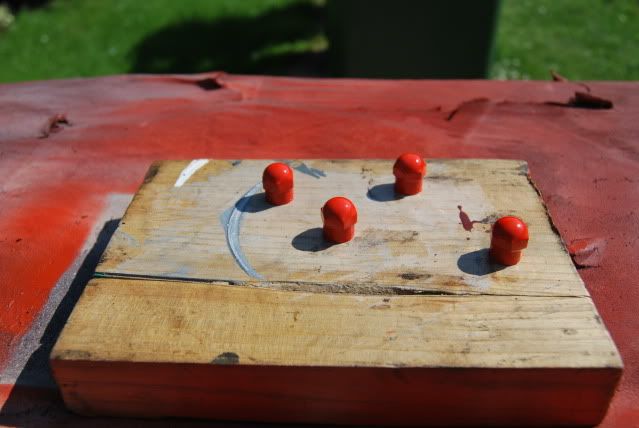 Cleaning up the Ultralites: 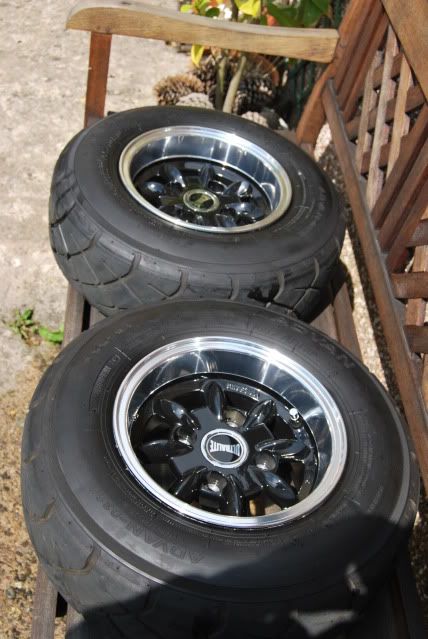 ] Since this is retro rides..  Locking nuts after, wheel bolts before; 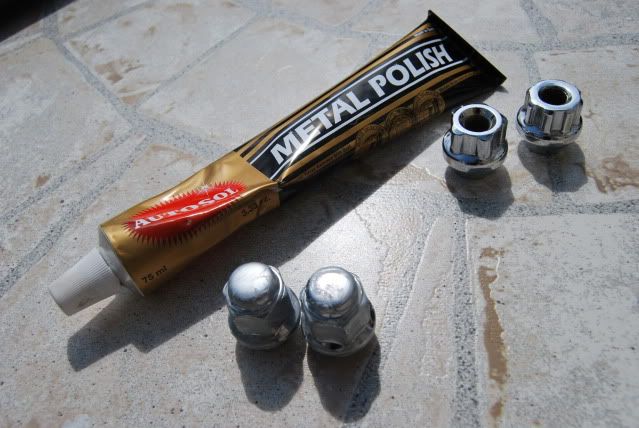 What do you think? |
| |
|
|
lund
Part of things
 
Posts: 155
|
|
|
|
Cheeeeeeeeaaaaaaaa, as you can see I have raised her since she was rubbing  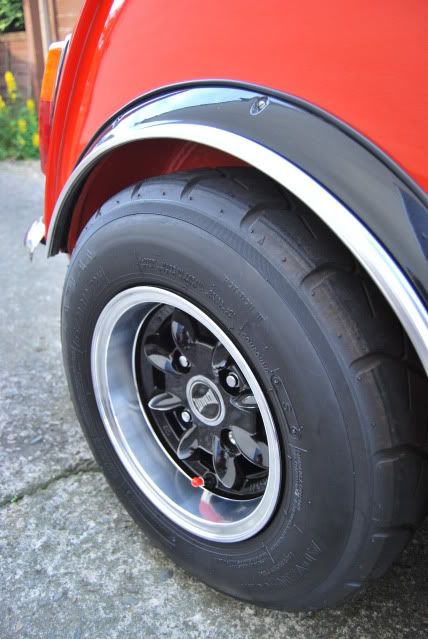 |
| |
|
|
|
|
|
|
|
|
definatley looks better with the black centres, coming along nicely now...
|
| |
wanted, 25th hour. Required daily, cash waiting
|
|
lund
Part of things
 
Posts: 155
|
|
|
|
Small update guys. I removed the gold paint as best I could from the gearbox ready for an etch primer. I have since primered the gearbox ready for a few coats of silver to match the flywheel housing etc. I will then finish with a 2 coats of lacquer. All being well I will mate the gearbox with the engine within the next month or so. Next is to finish the cylinder head and put it on the block. I'm getting ever nearer to completion. I just want it in and done now. Will be oredering 7.5" S Disk brakes asap. 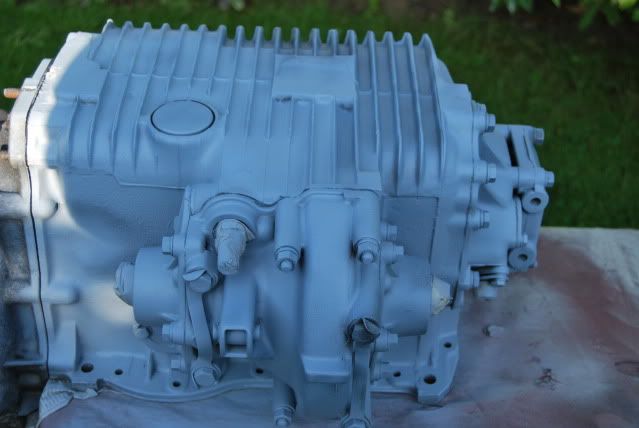 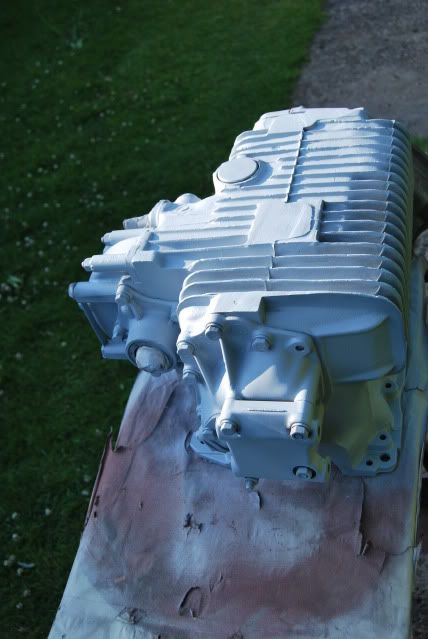 Whilst I had the camera in my hand I couldn't resist a cheeky shot! 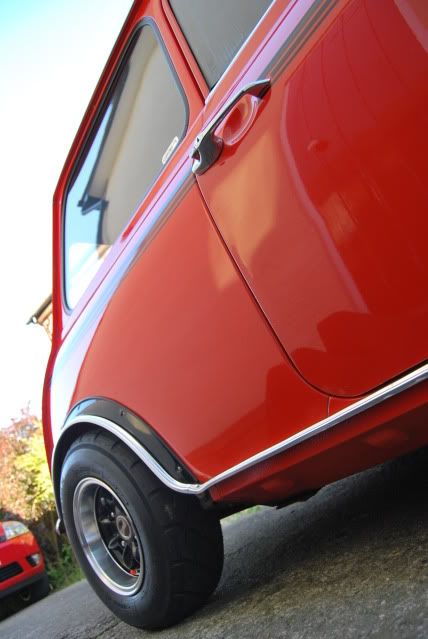 |
| |
|
|
richk
Part of things
 
Posts: 43
|
|
Jul 10, 2009 12:31:57 GMT
|
|
Thats a really smart and tidy looking mini you've built. Should be a nice engine spec for road use too, should be pretty quick and not too lumpy in traffic. Are you going for an ultra light flywheel and backplate? That would make a big difference to the way it goes too. I'd also add a minispares cross pin diff if you weren't already planning on it aswell, having had a diff pin break I'd highly recommend it.
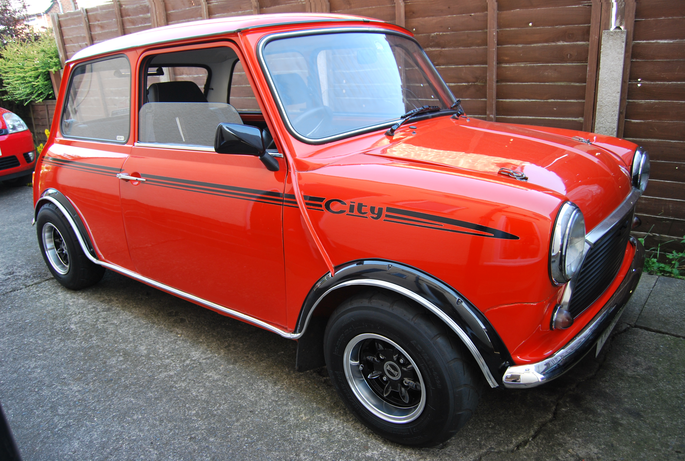
Love colour, wheels, arch combo and can't remember the last time I saw one with the early city stripes - looks good, keep it up.
|
| |
1340cc 1989 mini
1098cc 1977 mini clubman in antique gold
1991 Eunos Roadster
1997 VW Polo 16v
|
|
|
|
lund
Part of things
 
Posts: 155
|
|
Jul 10, 2009 23:19:36 GMT
|
Thats a really smart and tidy looking mini you've built. Should be a nice engine spec for road use too, should be pretty quick and not too lumpy in traffic. Are you going for an ultra light flywheel and backplate? That would make a big difference to the way it goes too. I'd also add a minispares cross pin diff if you weren't already planning on it aswell, having had a diff pin break I'd highly recommend it. Love colour, wheels, arch combo and can't remember the last time I saw one with the early city stripes - looks good, keep it up. Hi Rich, thank you. I have fitted a standard diff pin to a 3:44 diff already I'm afraid. The one removed was worse than expected! It should be a nice motor for road use, acceleration and pickup should be rather adequate. I havent thought about a lightened fly? I assume this would help revs? The gains don't seem worth it to me.. |
| |
|
|
lund
Part of things
 
Posts: 155
|
|
Jul 16, 2009 13:01:59 GMT
|
Hey guys n' gals,  I'm currently underway with one of the more laborious tasks of the engine build, and thats cleaning all the nuts & bolts ready for paint. I have also started to clean and rebuild the carb. I am refurbishing the carb usig brake cleaner and a wire drill bit. I'll let you know how I get on. 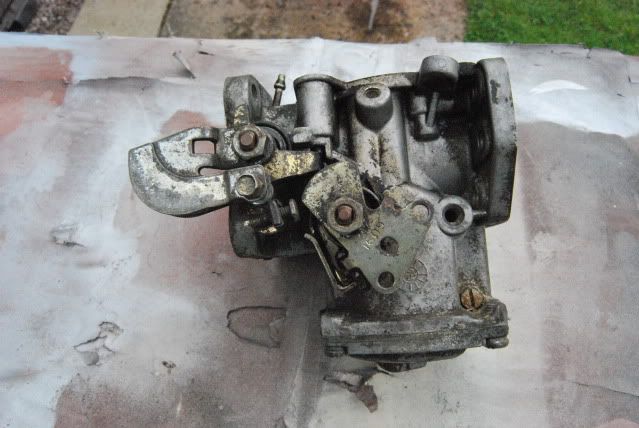 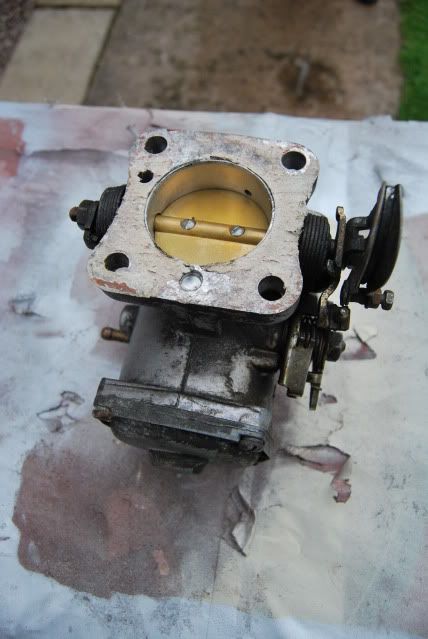 Etch primer: 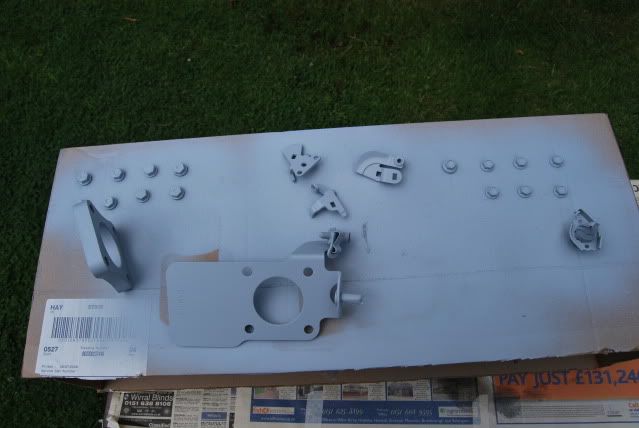 In Top Coat Silver: 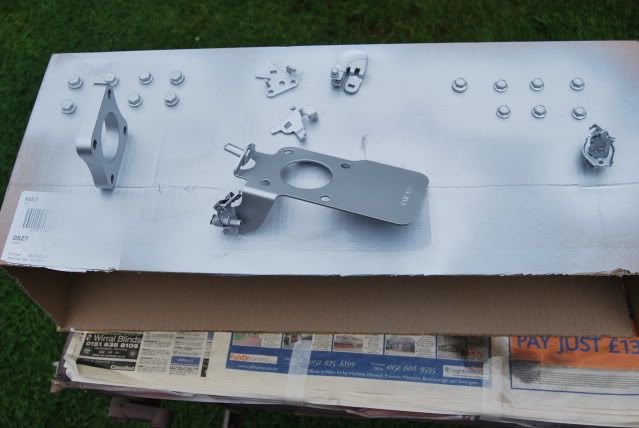 Some may think, why bother? It's all worth it in the end and will look really tidy and hopefully work well when complete!  Thanks, Tom |
| |
|
|
richk
Part of things
 
Posts: 43
|
|
Jul 17, 2009 12:31:39 GMT
|
|
It'll be worth it when its done, not sure how long the paint finish will last on certain items such as the carb heatshield with heat from the engine. I've painted engine bay items before for them to start flaking and looking tattier than they would have than if they were just cleaned and polished up, but then again sadly my mini's aren't as immaculate or as well cared for as yours anymore. I guess it'll depend on how often you use and clean it.
A lightened flywheel would help it rev quicker, with a standard MG Metro cam I wouldn't say you'll need one actually but mine has a Kent 286 so theres not so much power below 3000rpm so it does make a difference.
|
| |
1340cc 1989 mini
1098cc 1977 mini clubman in antique gold
1991 Eunos Roadster
1997 VW Polo 16v
|
|
lund
Part of things
 
Posts: 155
|
|
Jul 26, 2009 11:37:22 GMT
|
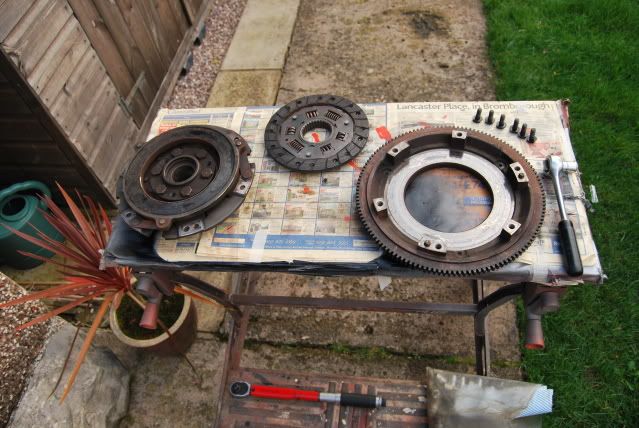
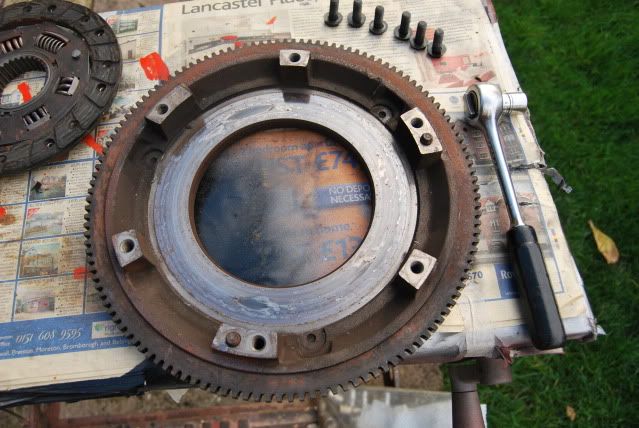
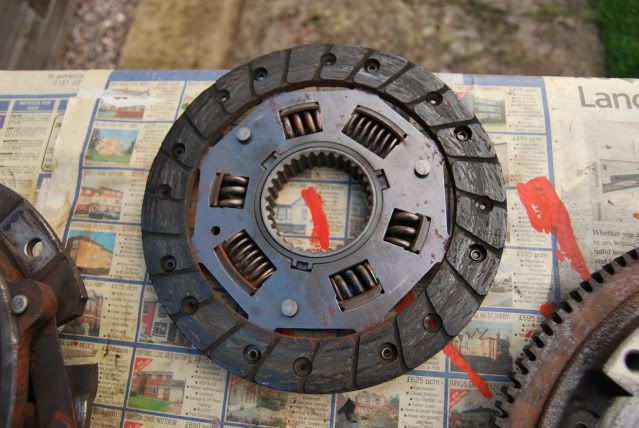
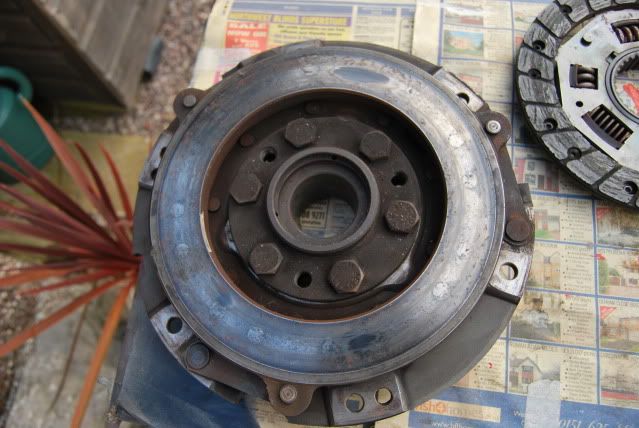
It'll be worth it when its done, not sure how long the paint finish will last on certain items such as the carb heatshield with heat from the engine. I've painted engine bay items before for them to start flaking and looking tattier than they would have than if they were just cleaned and polished up, but then again sadly my mini's aren't as immaculate or as well cared for as yours anymore. I guess it'll depend on how often you use and clean it. A lightened flywheel would help it rev quicker, with a standard MG Metro cam I wouldn't say you'll need one actually but mine has a Kent 286 so theres not so much power below 3000rpm so it does make a difference. Thanks and yeah, I know what you mean about the flaking paint. The paint I have used is Enamel which should cope with the heat fine. The lacquer wont be too affected by the heat neither. In the worst case it will go cloudy with excessive heat. The MG cam is surprisingly in great condition, not much wear on the lobes so its back in! I think I'll opt to get the clutch and flywheel balanced and cleaned up. Think the clutch has 10,000 miles on it. I have no idea what to do regarding cleaning it? |
| |
|
|
lund
Part of things
 
Posts: 155
|
|
Jul 28, 2009 13:53:37 GMT
|
I have began to rebuild the carb now, after cleaning it best I could. Its not perfect but will certainly/hopefully do the job. It's all pieced together. I just haven't quite worked out how to reset the springs into place, but from looking at some of the before photo's I have an idea of how they should sit! Bare Carb: 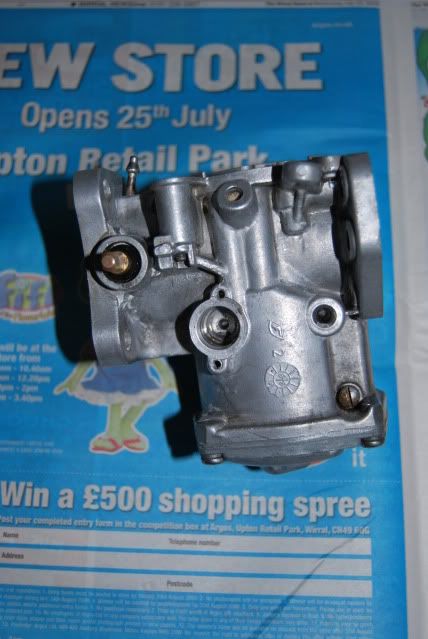 Part Assembled: 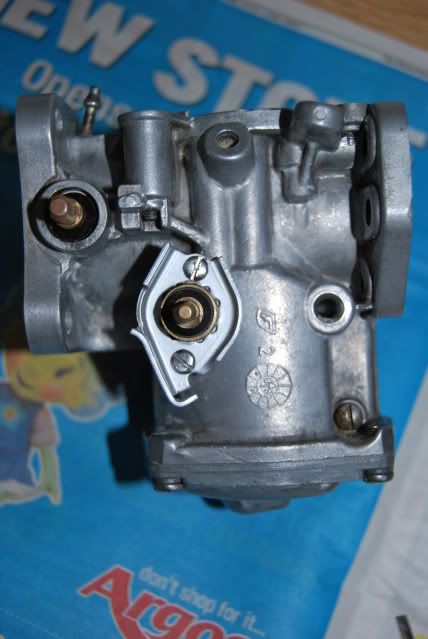 Assembled: 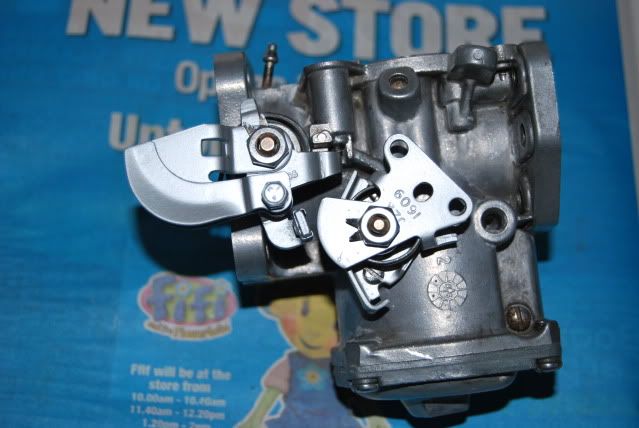 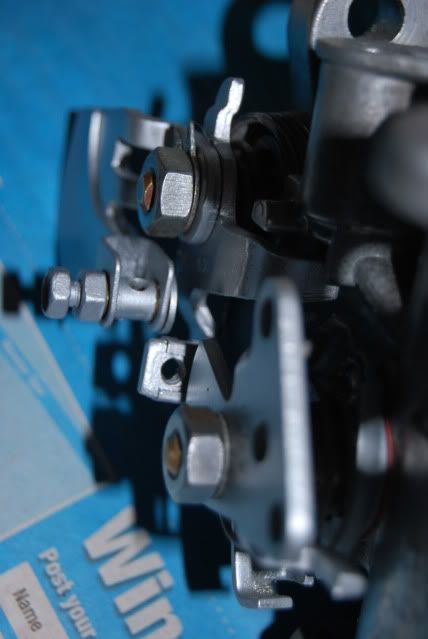 Thanks for looking. |
| |
Last Edit: Jul 28, 2009 13:56:29 GMT by lund
|
|
|
|
|
|
|
|
Loving this mate, really smart!
|
| |
.::The Future's Bright, The Future's Yellow::.
|
|
lund
Part of things
 
Posts: 155
|
|
Aug 31, 2009 19:33:24 GMT
|
Loving this mate, really smart! Cheers mate, its all going good so far! Rebuilt Hif44: 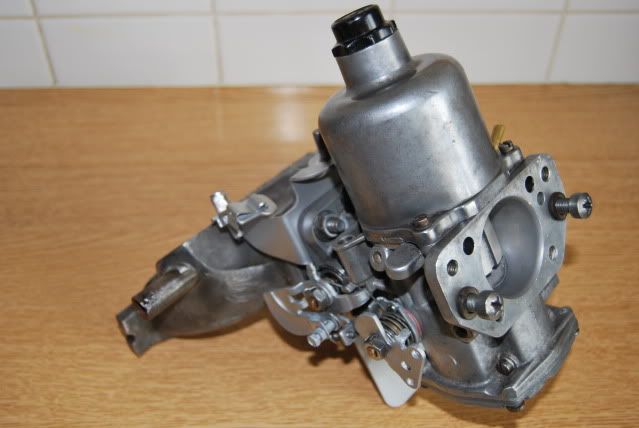 |
| |
|
|
lund
Part of things
 
Posts: 155
|
|
|
|
Cleaned up the cylinder head and gave it a blast through with the compressor air gun. Could do with grinding the valves in and then washing it with petrol; 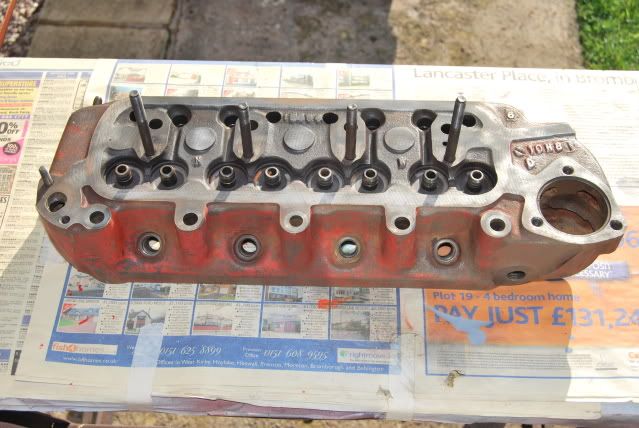 I primed and lightly coated the cylinder head today whilst the weather was decent, all is looking well. Cannot wait to piece it all together and fit it to the block. 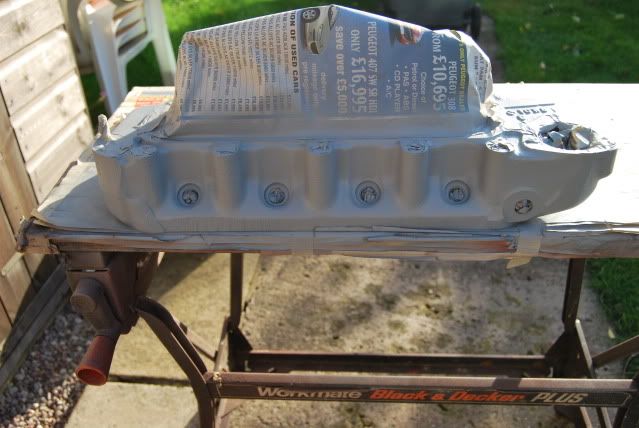  I have torqued up all the nuts and bolts as present. Next I'll focus my attention on the clutch and flywheel and then its basically done and ready to go in. I'm hoping to have the engine in around christmas. Engine having had a few knocks and bumps whilst being in the garage: 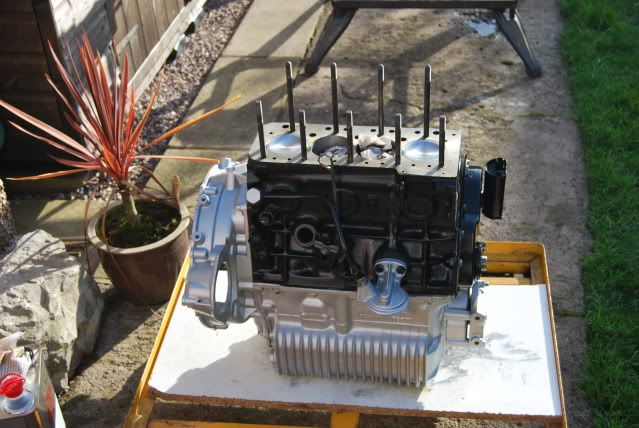 Removed the masking from the cylinder head, looks well. Abit thin in places, dad has said that I shouldn't have primed it as it will react with the top coat and flake off... 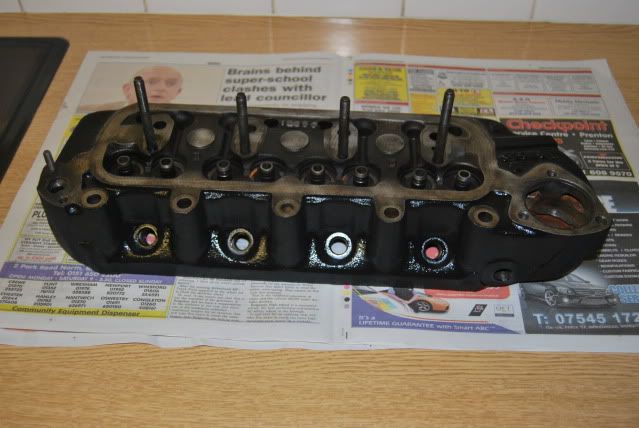 Cheers, Tom |
| |
|
|
lund
Part of things
 
Posts: 155
|
|
|
|
|
|
| |
|
|
lund
Part of things
 
Posts: 155
|
|
Nov 17, 2009 15:56:43 GMT
|
17/11/09 I began assembling the flywheel end cover today, I greased the arm and plunger & renewed the split pins. I am extremely pleased with the finish on the end cover, looks a tad dusty in the sunlight in the photo;  Yet another Minispares order revealed a new AP clutch (HB8017), genuine flywheel oil seal, dust shield & locating bracket for the verto slave.  I can't quite get my head round how the slave locating bracket fits, but I'm sure it will become obvious as I fit the end cover. I gave the cylinder head one last clean up and assembled the top hats, springs, valves & collets, along with the rocker assembley. 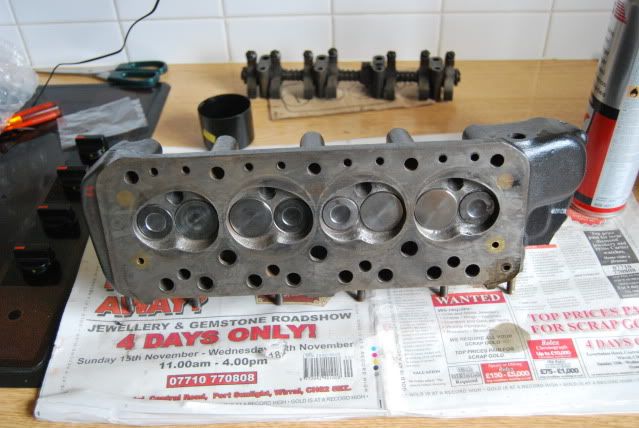 The push rods were also cleaned and freshly oiled. I placed the head gasket between the block and head, having given the cylinder bores a wipe with oil ready for priming the engine. The cylinder head is now fitted, but not torqued up. I'll find the torque sequence and torque it up properly in the week.  |
| |
|
|
|
|




 ]
]


