Well today held the promice of fun stuff, but ended up with lots of cleaning!
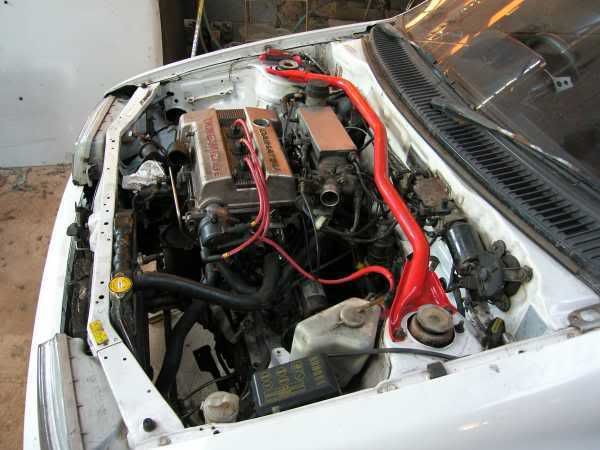
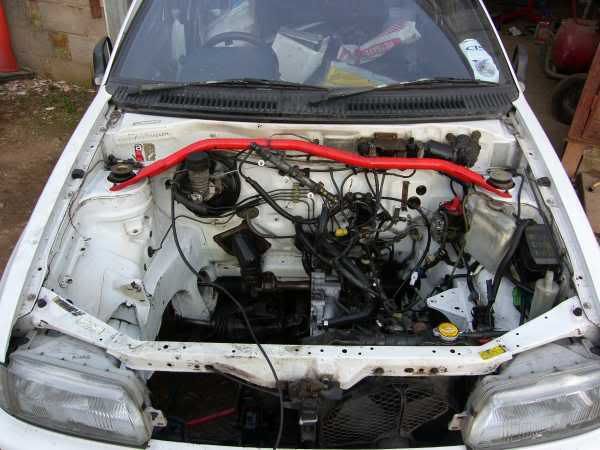
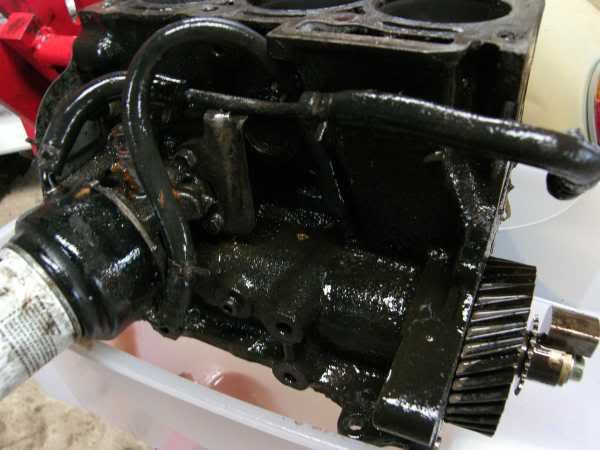
The engine bay on the charade was filthy a hundred oil leaks over the years, blown
CV boots, and general road much had covered every surface.
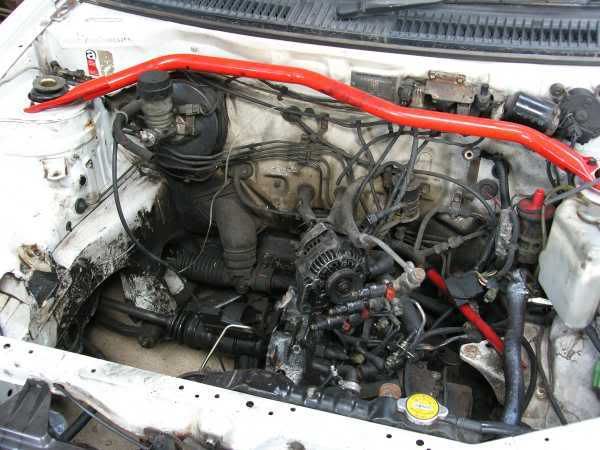
The grime was about 5-10mm thick down around the steering column.

Being on a farm I decided to be a good boy and get a bio-degradable degreaser,
it's a swarfega product that is flourecent pink!
It took my girlfriend Michelle and I over 3 hours to plough through the sh*t

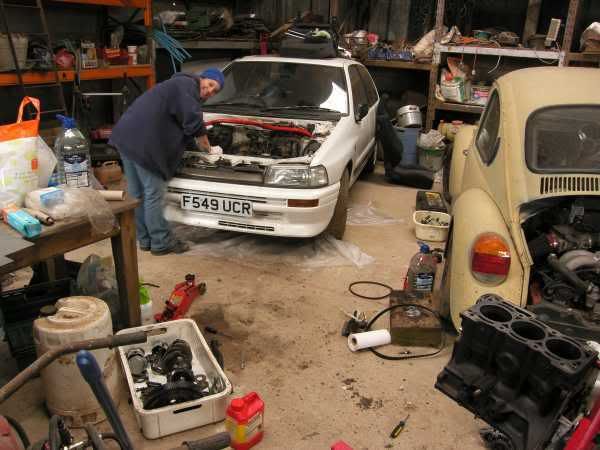
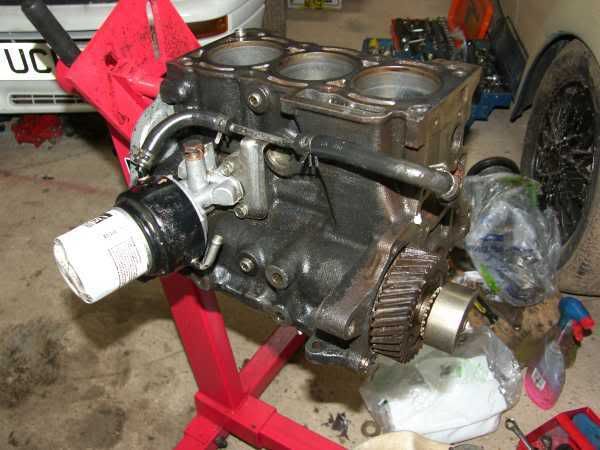
But the end result was worth it, the engine bay was super clean, and a nice
place to work again!
Right, finally, the fun stuff can start! I do have a confession to make, this
is the first engine I have ever built, funny that with all the other things I
have done, this is the first engine!
I started by doing the job I feared most, the glaze bust, I have never done
this before so I took the bull by the horns, the result was very good, the bores
came out with the required 45 degree hatching so it all seems to be ok. The
truth will come out with the starting

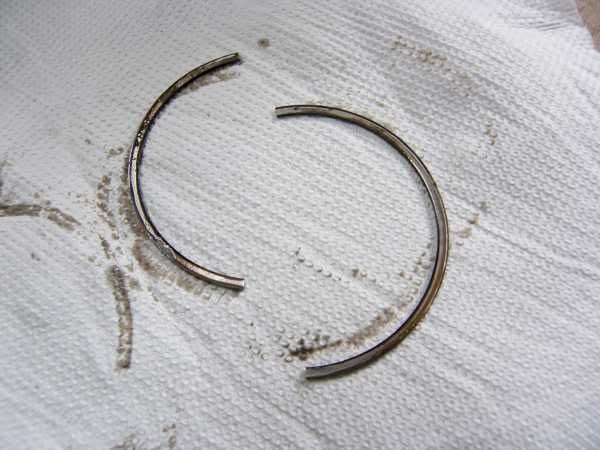
After a good clean the rings were placed into the bores and gapped, I did
this by pushing the rings down the bore with an inverted piston, this was
so that they would stay level. Then I used a feeler gauge to 'feel' the gaps.

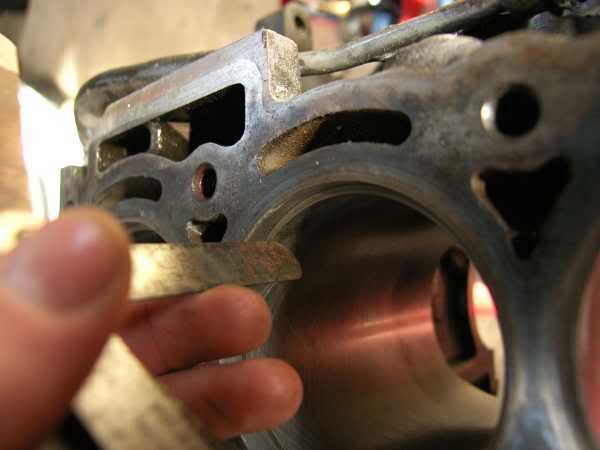
They were all within the tolerances prescribed, so thats all good.
The block was then flipped and given another wipe down to ensure it was
dust and grit free.
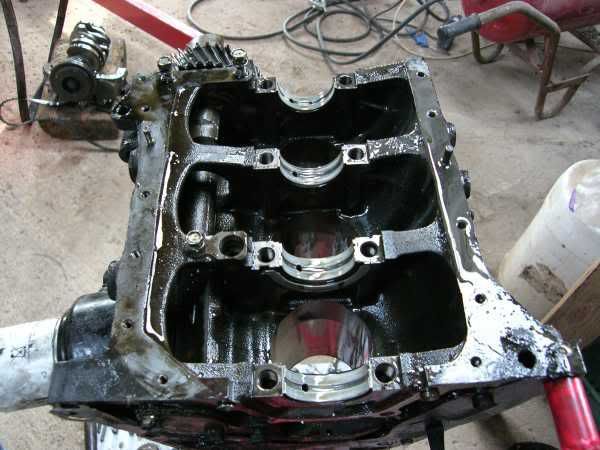
The first of the main bearings was slipped into the block, both faces were
perfectly clean and grease free.
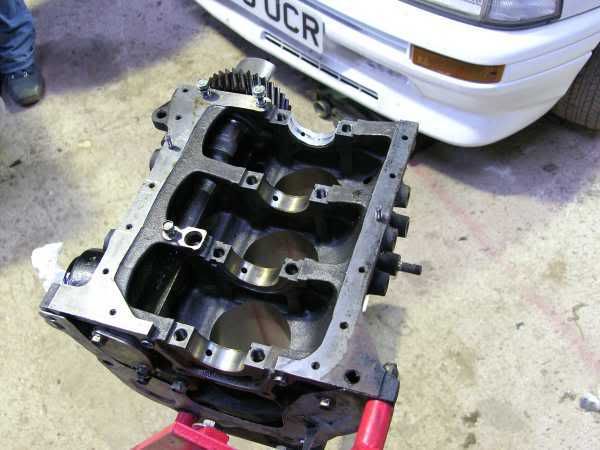
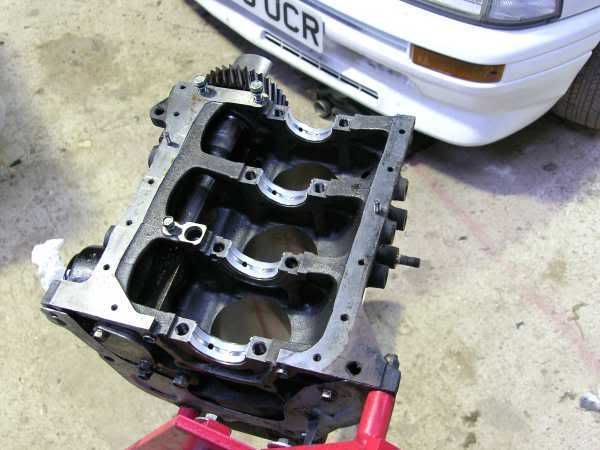
The front face was then lubricated with an assembly lube, this stuff is
thiiiiiiick and really stringy!

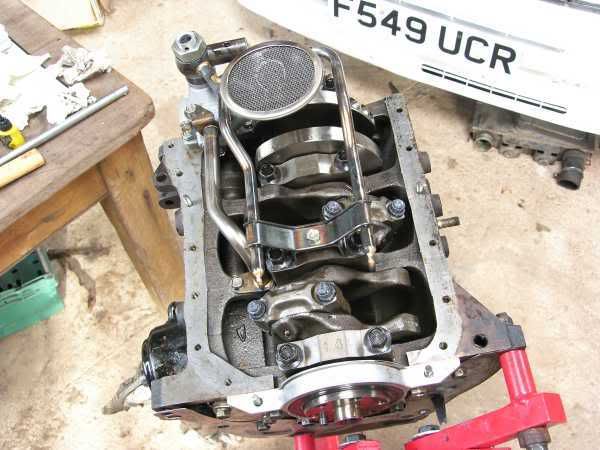
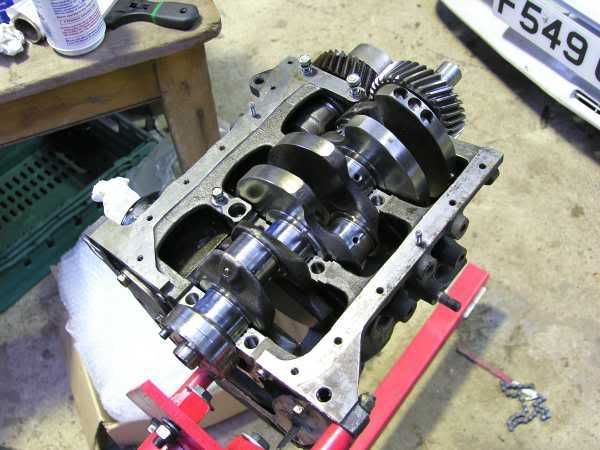
The crank was then slipped into position, I love the feeling of a crank spinning
In a really thick oil, it has that damped quality feel

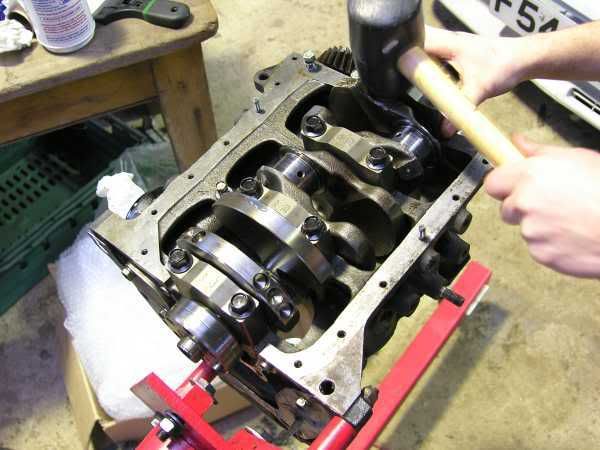
The mains caps were cleaned and the corresponding bearing inserted, it was lubed
up and placed over the journal, I used my rubber malled to tap it home.

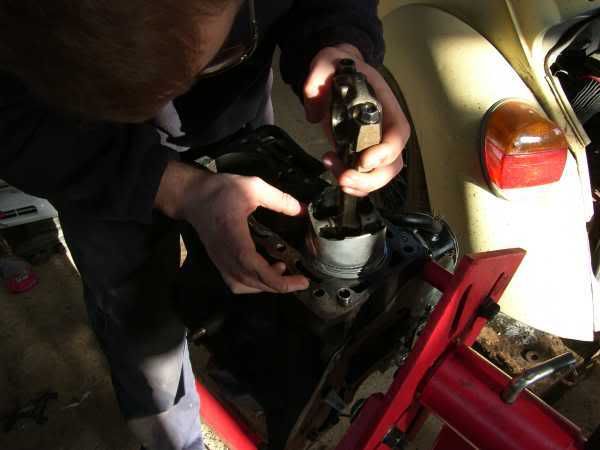
I prepped the pisons by removing the rings and cleaning the ring lands, I also
put in my new ARP rod bolts, there were a bit of a bugga to fit but with a bit
of persuasion they were in!
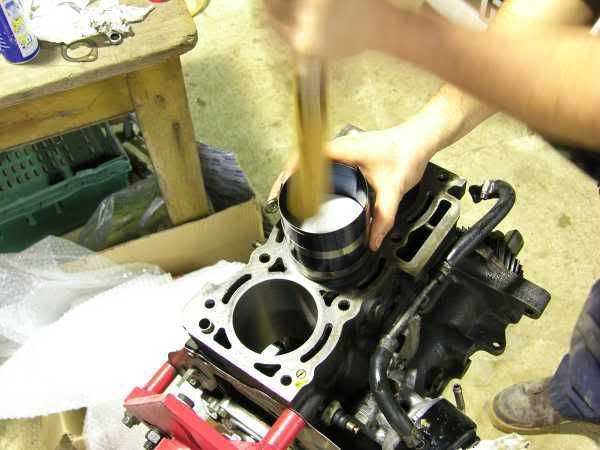
I lubed up the gudgeon pin and the oriented the rings to the prescribed angle,
the whole assembly was then into the piston ring compressor. The bearing shell
was added then lubed up, and i took the whole shebang to the block. The skirt
of the piston was left exposed at the bottom the the ring compressor, this
allowed me to insert the piston in a straight and true manner.
Once the skirt is in the bore I used the handle of my mallet to tap the piston
down into the bore.
The bearing cap was added to each as they were assembled into the block, with
plenty of assembly lube.
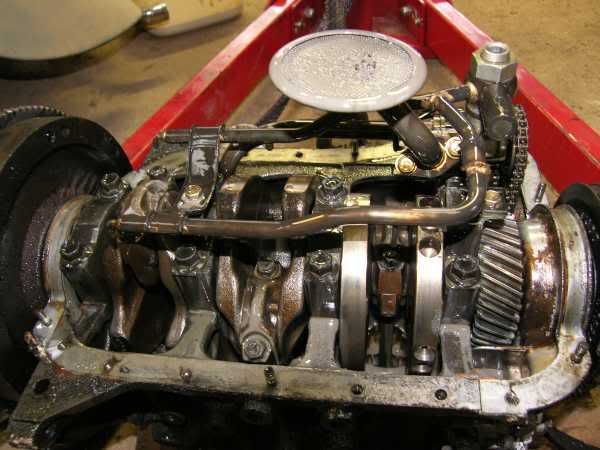
And the crank, rods, and pistons were in!

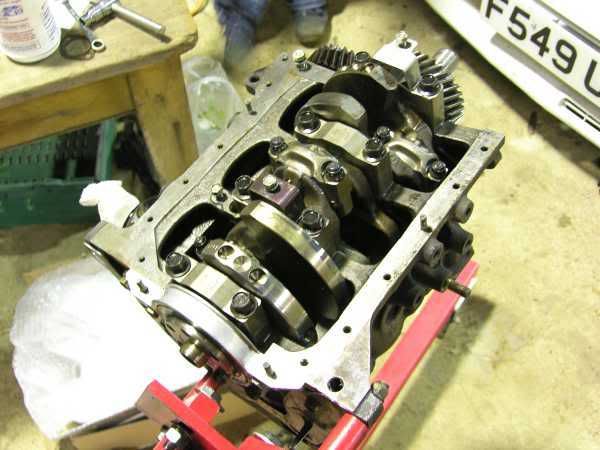
More of the same tomorrow, the engine should be back together by then!
Cheers
J


 [*]
[*] [*]
[*]












 You're doing a great job cleaning that engine and internals, can't wait to see it done.


