v8chevette
Posted a lot
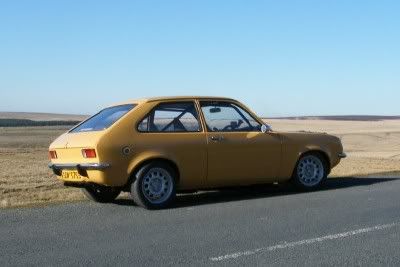
 PROUD TO BE BEIGE!!
Posts: 1,109
|
|
Jan 25, 2008 22:09:00 GMT
|
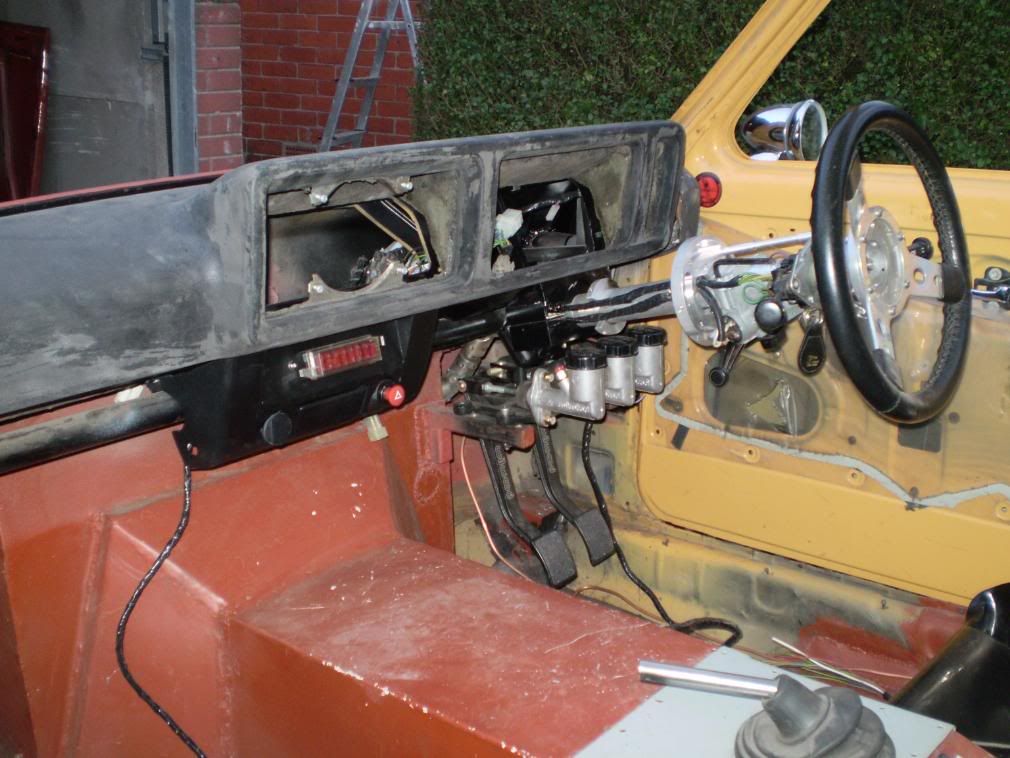
awesomenessss!!!!11!!112 that gun rocks! I wish I could do stuff like that. So is this part of a custom dash? or the clocks surround? It helps when your in a fully equipped machine shop all day ;D It's the standard clock surround  The dash will be staying stock apart from the cutouts for the roll cage but all of the switches will be put into a custom center consul when i get my noggin around how to do it as a can't reach the dash from where i'm sat |
| |
|
|
|
|
|
|
|
|
|
awesomenessss!!!!11!!112 that gun rocks! I wish I could do stuff like that. So is this part of a custom dash? or the clocks surround? The dash will be staying stock apart from the cutouts for the roll cage but all of the switches will be put into a custom center consul when I get my noggin around how to do it as a can't reach the dash from where i'm sat Overhead switch console in the centre mounted off the cage  Oh and as for Turret height, mine are top surface where the top rubber goes at 290mm above the chassis rail at its highest point HTH Dom |
| |
|
|
v8chevette
Posted a lot
PROUD TO BE BEIGE!!
Posts: 1,109
|
|
|
|
Overhead switch console in the center mounted off the cage Oh and as for Turret height, mine are top surface where the top rubber goes at 290mm above the chassis rail at its highest point HTH Dom Thought about a over head console but wasn't sure where to route the cables, did consider running then through the cage |
| |
|
|
|
|
|
|
|
Picture of the Turret/chassis rail so you can get an idea where they fit 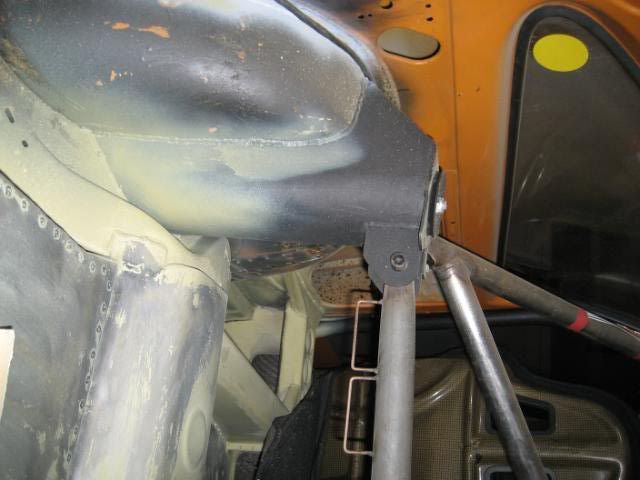 HTH Dom |
| |
|
|
v8chevette
Posted a lot
PROUD TO BE BEIGE!!
Posts: 1,109
|
|
Jan 26, 2008 17:21:48 GMT
|
Cheers Dom Big help that ;D |
| |
|
|
|
|
|
Jan 28, 2008 17:03:07 GMT
|
PM sent fella, These are the spax adjustable dampers that I was talking about 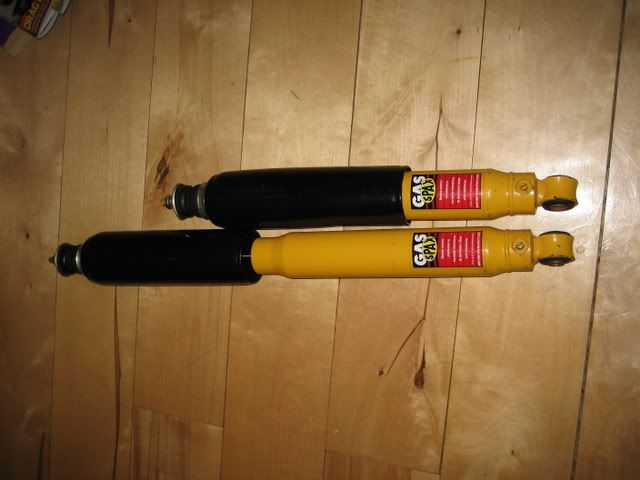 Cheers Dom |
| |
|
|
v8chevette
Posted a lot
PROUD TO BE BEIGE!!
Posts: 1,109
|
|
Jan 28, 2008 20:00:15 GMT
|
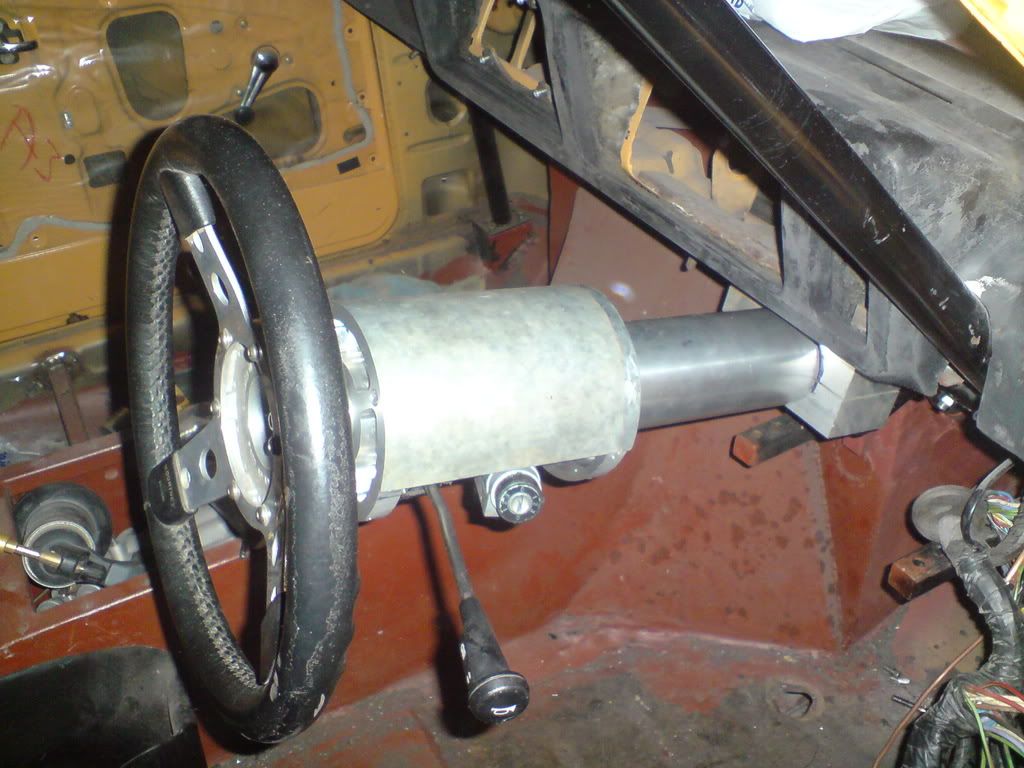
Made some more progress on the column shroud today Machined out the ally disk that goes at the dash end of the column, The cut outs in the middle are to allow the cables to pass through. 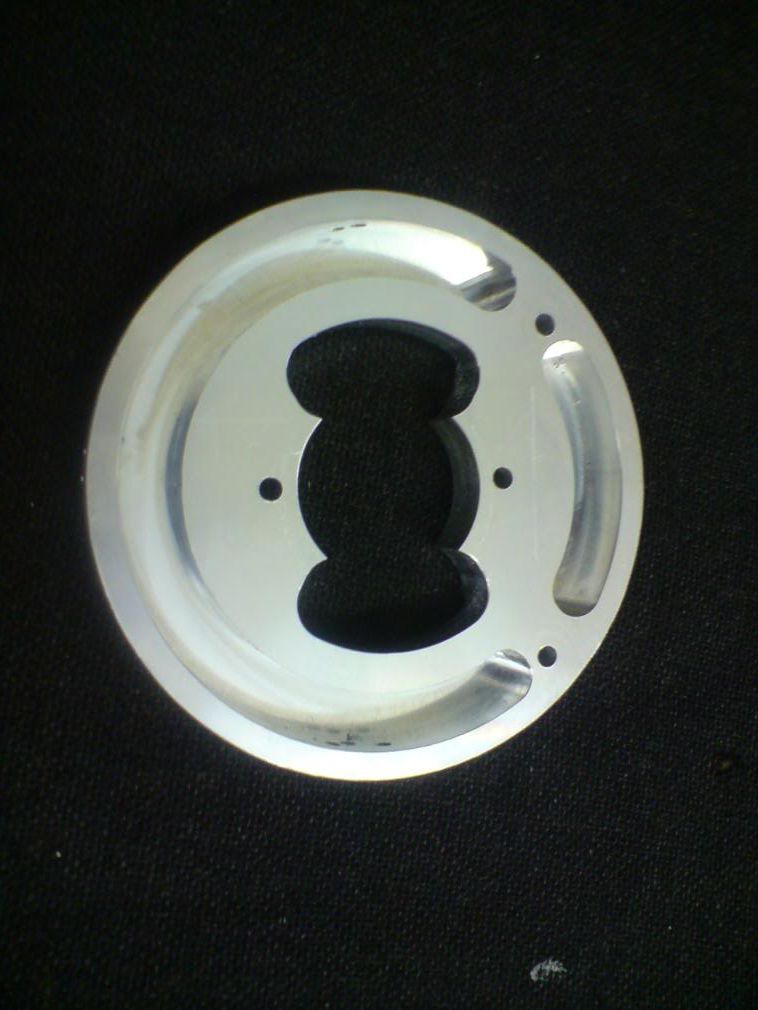 Also machined the standoffs down to save some weight. It's surprising how heavy aluminum can be. 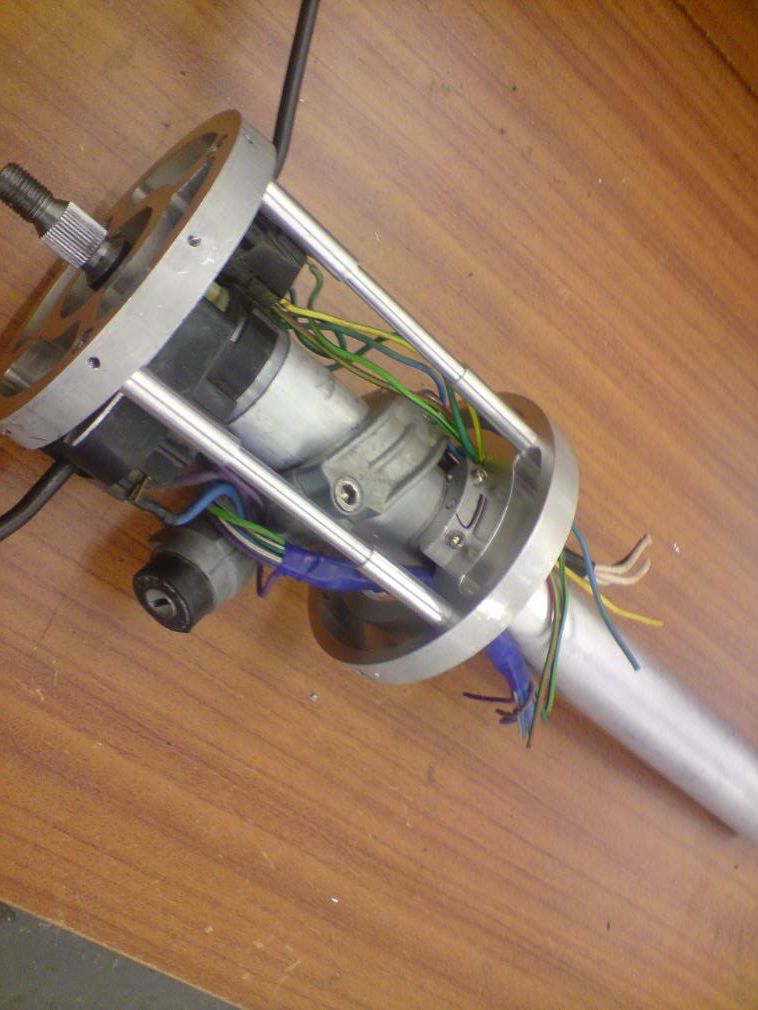 Cable pass through like this. The undercut you can see is for the outer tube to locate in. 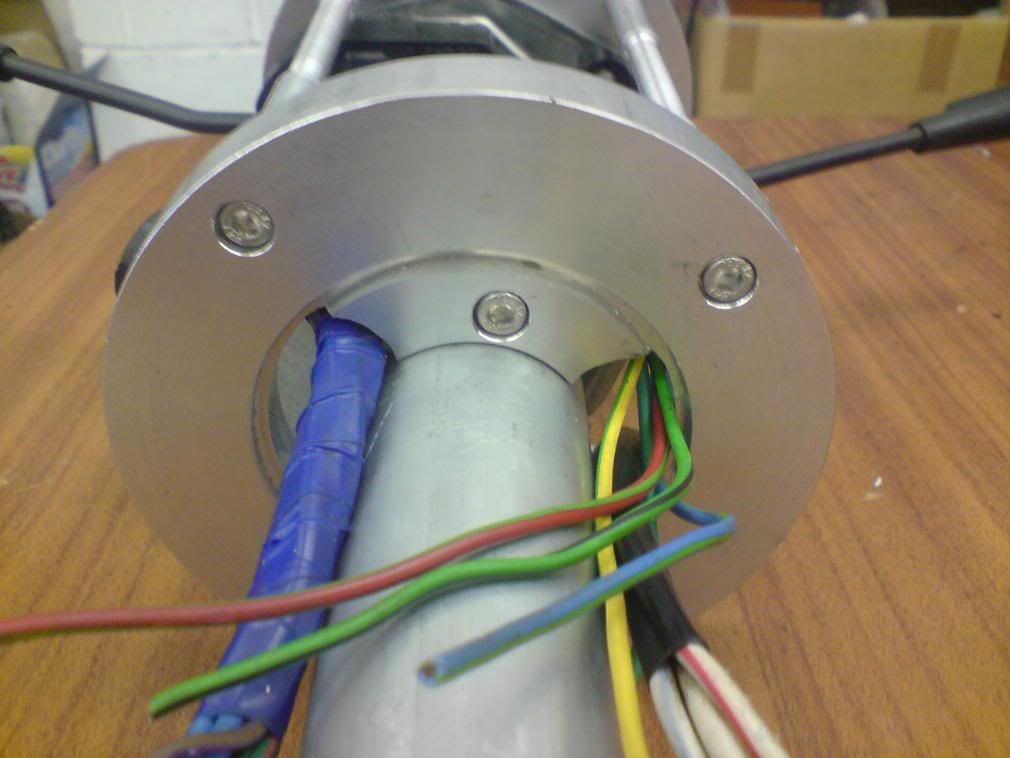 Like this 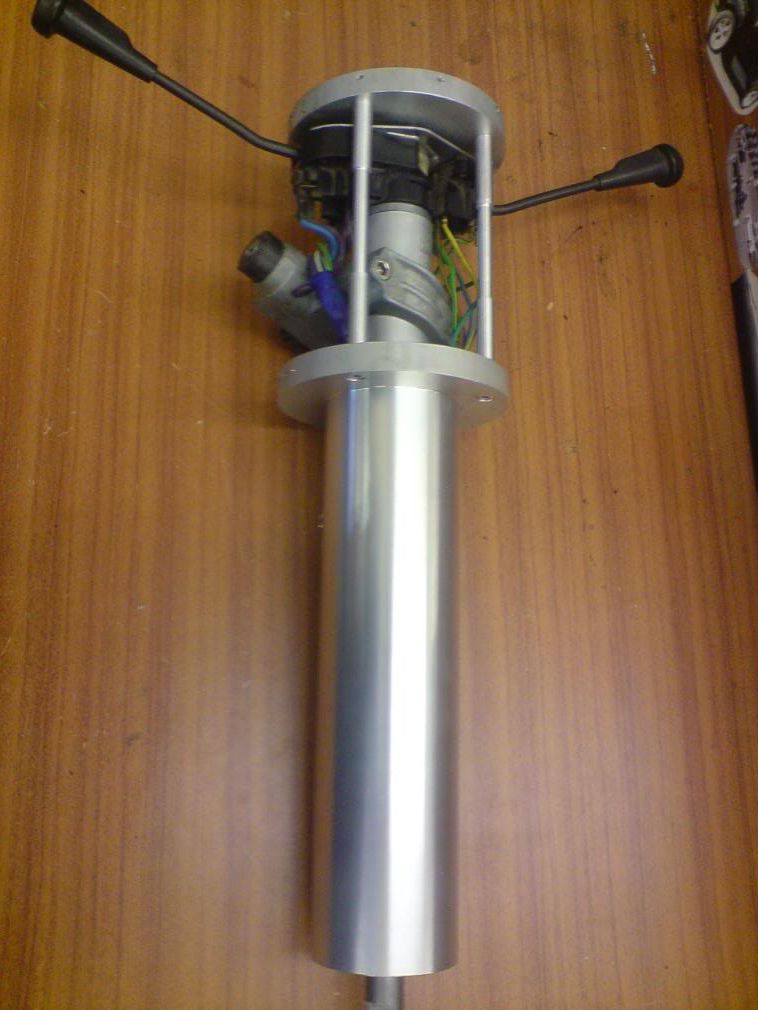 And with the lid on. 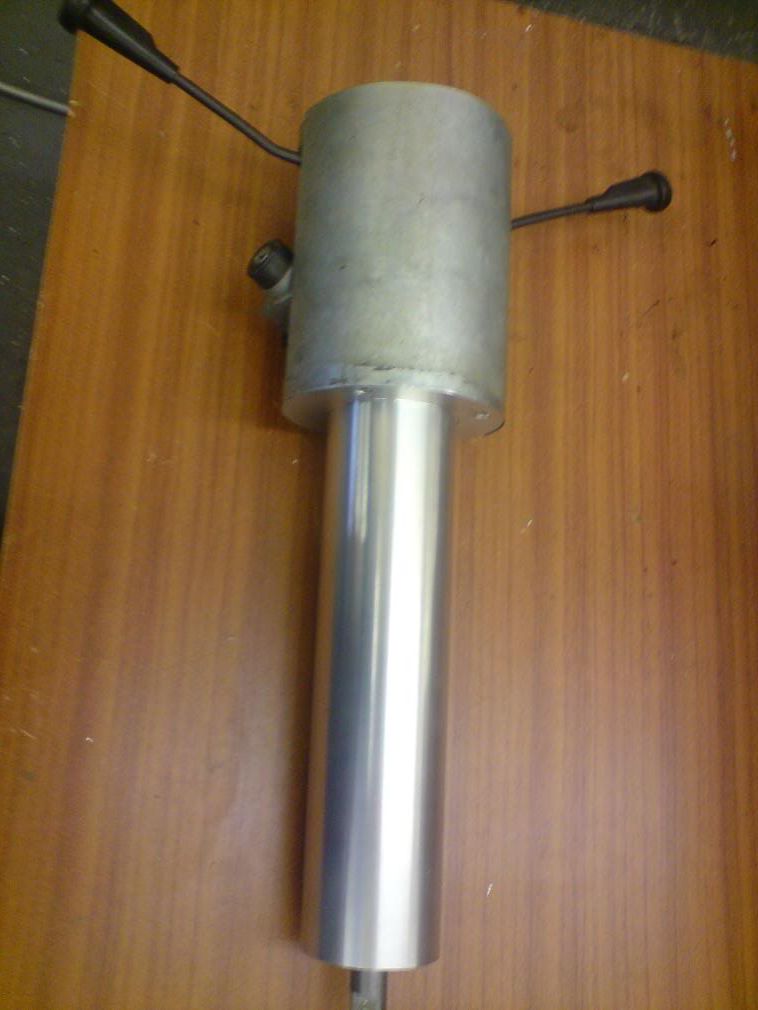 Turned up an ally disk to locate the outer tube. 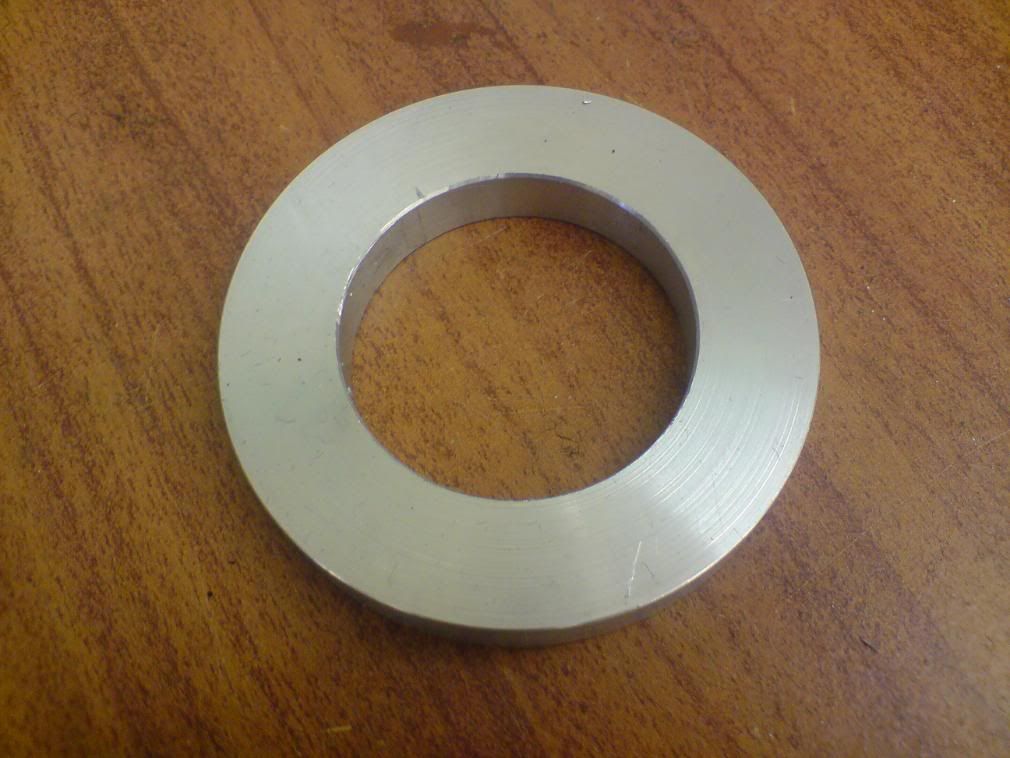 Which i cut in to and will be mounted here with the other piece underneath leaving a gap either side for the cables. 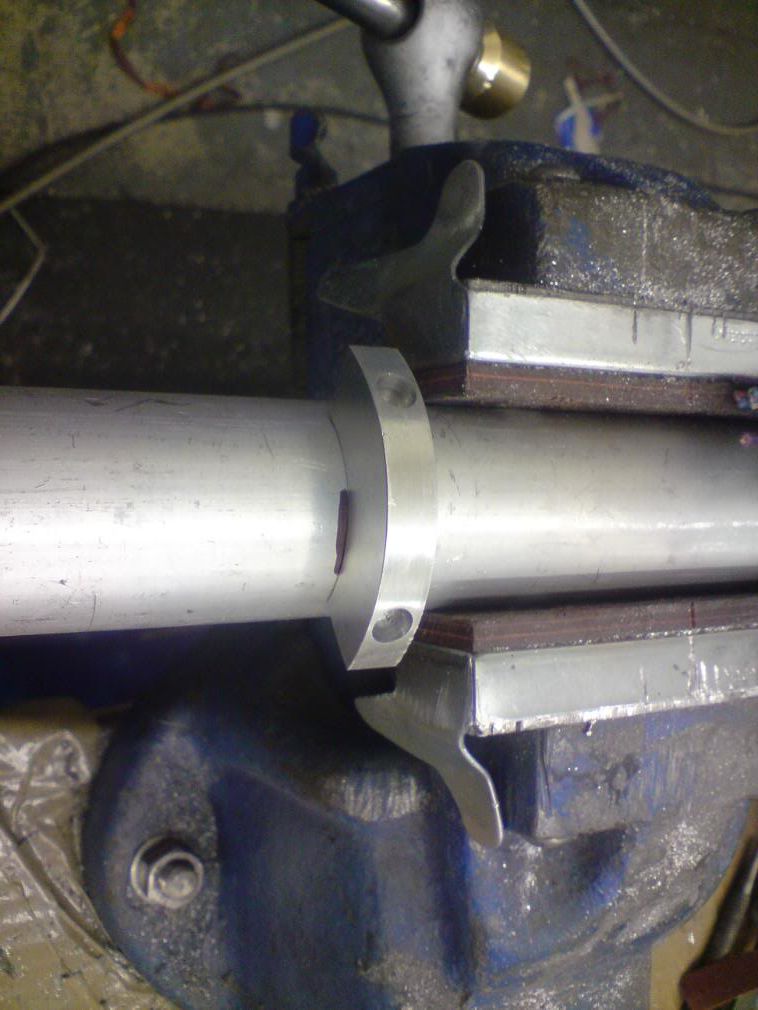 Need to get it in the car now so the outer tube can be trimmed to fit under the dash and get the mounting position right for this ;D  More updates soon |
| |
|
|
v8chevette
Posted a lot
PROUD TO BE BEIGE!!
Posts: 1,109
|
|
Jan 29, 2008 20:40:21 GMT
|
Finished the repairs to the inner sill this evening Hoping to put the new sill on tomorrow night 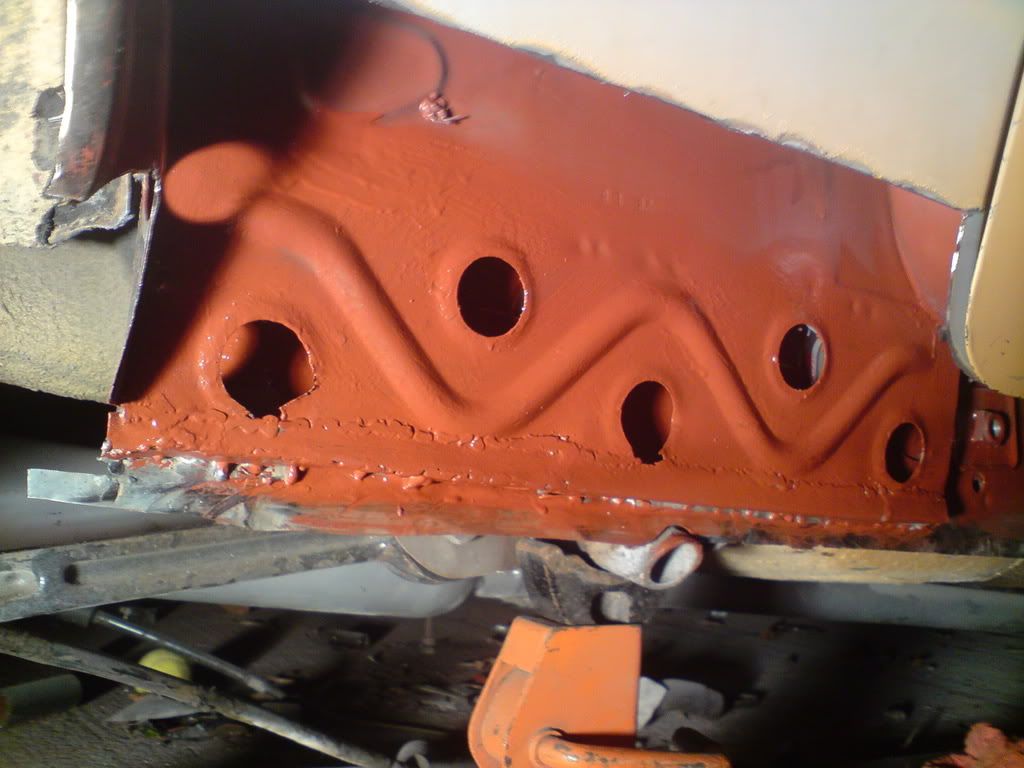 |
| |
|
|
v8chevette
Posted a lot
PROUD TO BE BEIGE!!
Posts: 1,109
|
|
Jan 30, 2008 20:52:18 GMT
|
|
|
| |
Last Edit: Jan 30, 2008 20:59:41 GMT by v8chevette
|
|
|
|
|
|
|
|
Looks great in situ - will u teach weekend courses please!
|
| |
Club Retro Rides Member
|
|
v8chevette
Posted a lot
PROUD TO BE BEIGE!!
Posts: 1,109
|
|
Jan 31, 2008 17:25:33 GMT
|
Looks great in situ - will u teach weekend courses please! I'll ask my boss for the keys to work |
| |
|
|
v8chevette
Posted a lot
PROUD TO BE BEIGE!!
Posts: 1,109
|
|
Feb 15, 2008 14:30:15 GMT
|
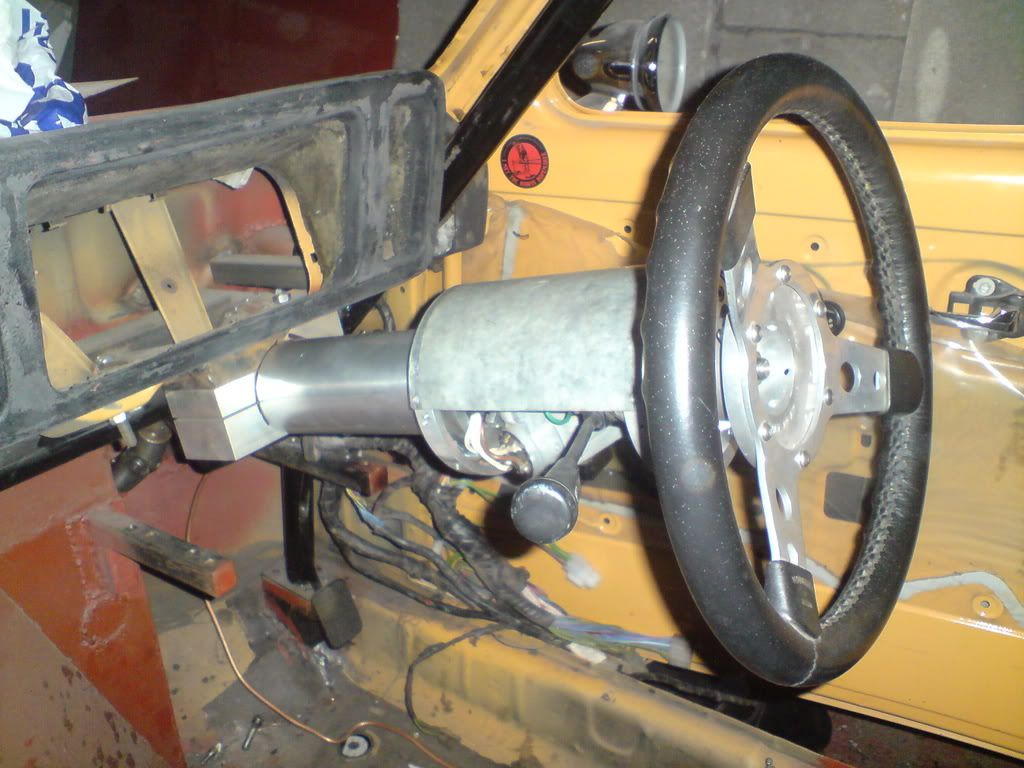
Not had much time on the Chevette the for the last couple of weeks (life getting in the way). Managed to do some more on the column shroud and started to lengthen the wiring loom in places. Cheers Coggers for the spare loom Finished the brackets on the dash and gave them a coat of paint and painted the lower half of the shroud. 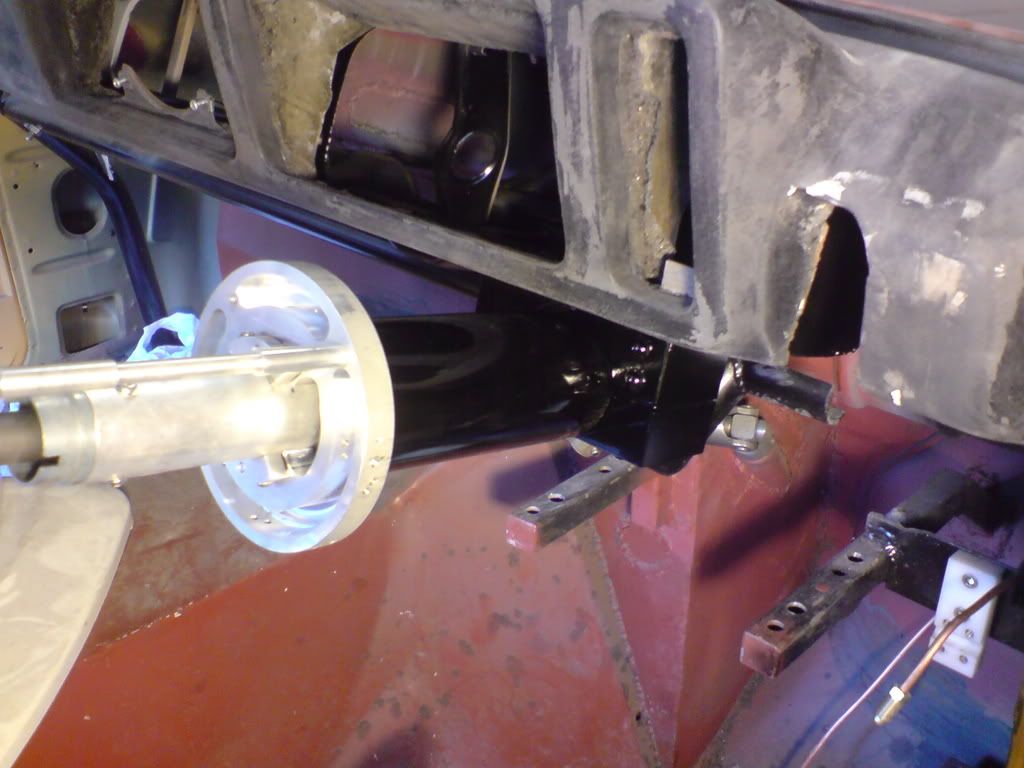 Next job is to weld up the upper part. More updates soon |
| |
|
|
|
|
|
Feb 15, 2008 16:08:51 GMT
|
|
very tidy job, everytime i look at this thread i realise how lazy i am!
|
| |
Club Retro Rides Member
|
|
street
Posted a lot
6.2 ft/lbs of talk
Posts: 4,662
|
|
Feb 15, 2008 16:27:56 GMT
|
That column is a thing of beauty! Love it. Nice work with the rest of it too  |
| |
|
|
v8chevette
Posted a lot
PROUD TO BE BEIGE!!
Posts: 1,109
|
|
Feb 15, 2008 19:30:40 GMT
|
very tidy job, everytime I look at this thread I realise how lazy I am! That column is a thing of beauty! Love it. Nice work with the rest of it too Cheers guys Got a telling off at work yesterday for doing stuff in works time  Oops |
| |
|
|
|
|
|
Feb 15, 2008 19:37:55 GMT
|
Heh-heh, been there had that conversation  |
| |
|
|
v8chevette
Posted a lot
PROUD TO BE BEIGE!!
Posts: 1,109
|
|
Feb 15, 2008 21:07:23 GMT
|
Heh-heh, been there had that conversation Not the first time and won't be the last Have been taking the pee a little the last couple of weeks, been doing my own stuff and modding a blower snout for a mates 32 coupe  |
| |
Last Edit: Feb 15, 2008 21:11:31 GMT by v8chevette
|
|
v8chevette
Posted a lot
PROUD TO BE BEIGE!!
Posts: 1,109
|
|
Feb 18, 2008 19:45:07 GMT
|
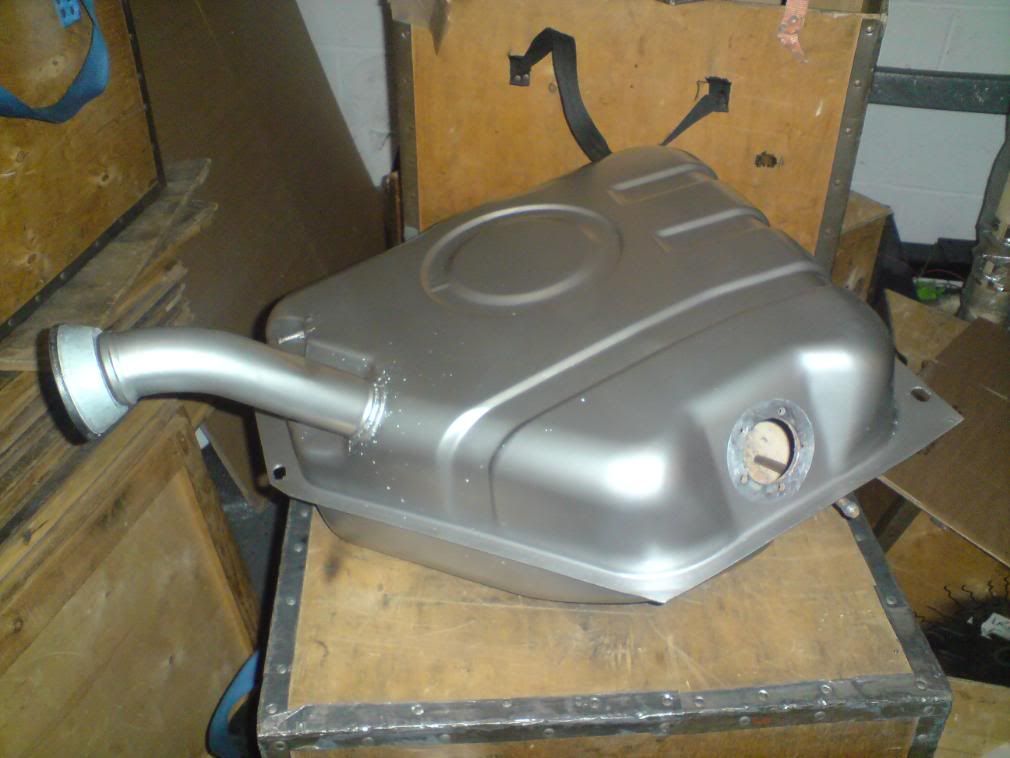
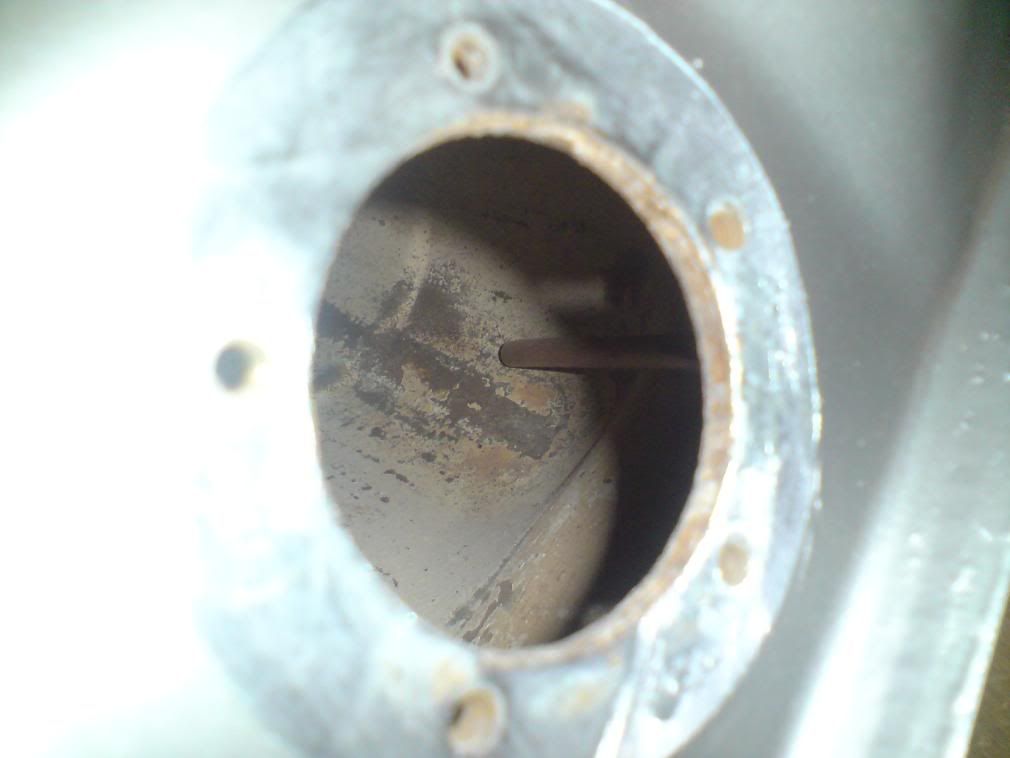
PETROL TANK MODSeeing as i got a ticking off at work last week i decided i'd better do something that didn't involve turning or milling So i attacked the petrol tank with a blow torch  I'm using 10mm fuel line to feed the V8 and the original pickup pipe on the Chevette tank was about the same size as a straw on a carton of ribena (other soft drinks are available). So out with the blow torch and solder The tank has not had fuel in for three years and has been stored in a warm environment so free of petrol fumes New pipe on the right old on the left (obviously) 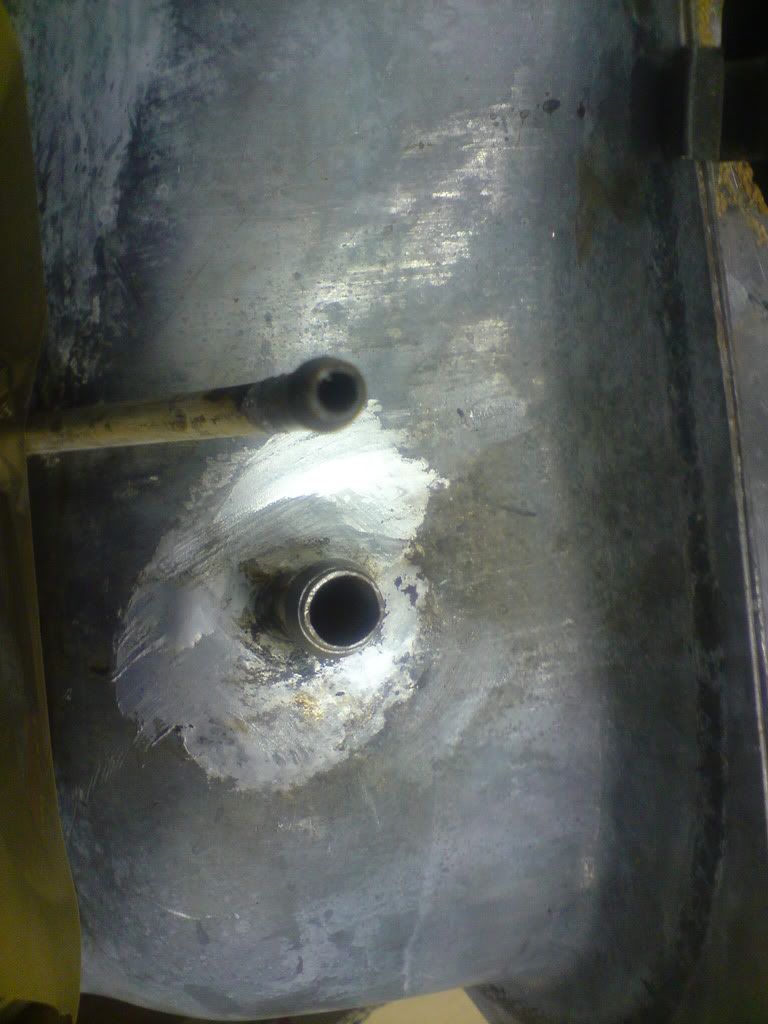
|
| |
|
|
v8chevette
Posted a lot
PROUD TO BE BEIGE!!
Posts: 1,109
|
|
Feb 22, 2008 18:26:38 GMT
|
|
|
| |
Last Edit: Feb 22, 2008 18:31:32 GMT by v8chevette
|
|
v8chevette
Posted a lot
PROUD TO BE BEIGE!!
Posts: 1,109
|
|
Feb 23, 2008 20:48:39 GMT
|
Managed an hour in the garage so had a play with the wiring loom. I've had to lengthen it in places as the fuse box used to sit in the space now occupied by the roll cage and steering Found some neat connector blocks so everything can be unplugged easily Needs tidying 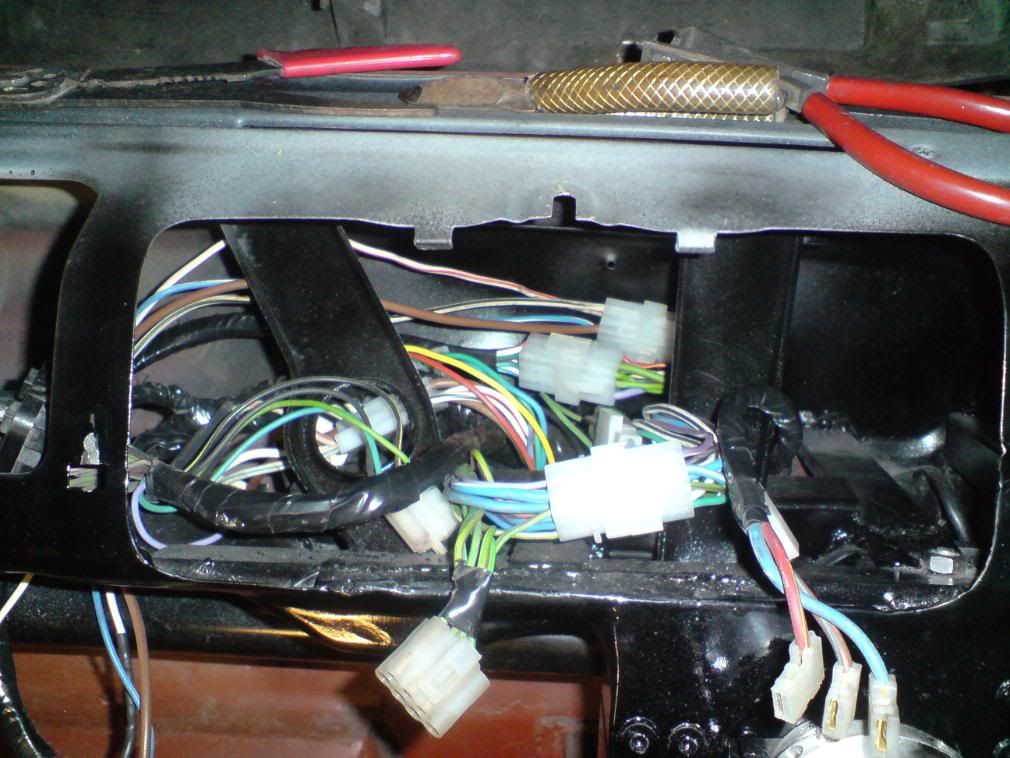 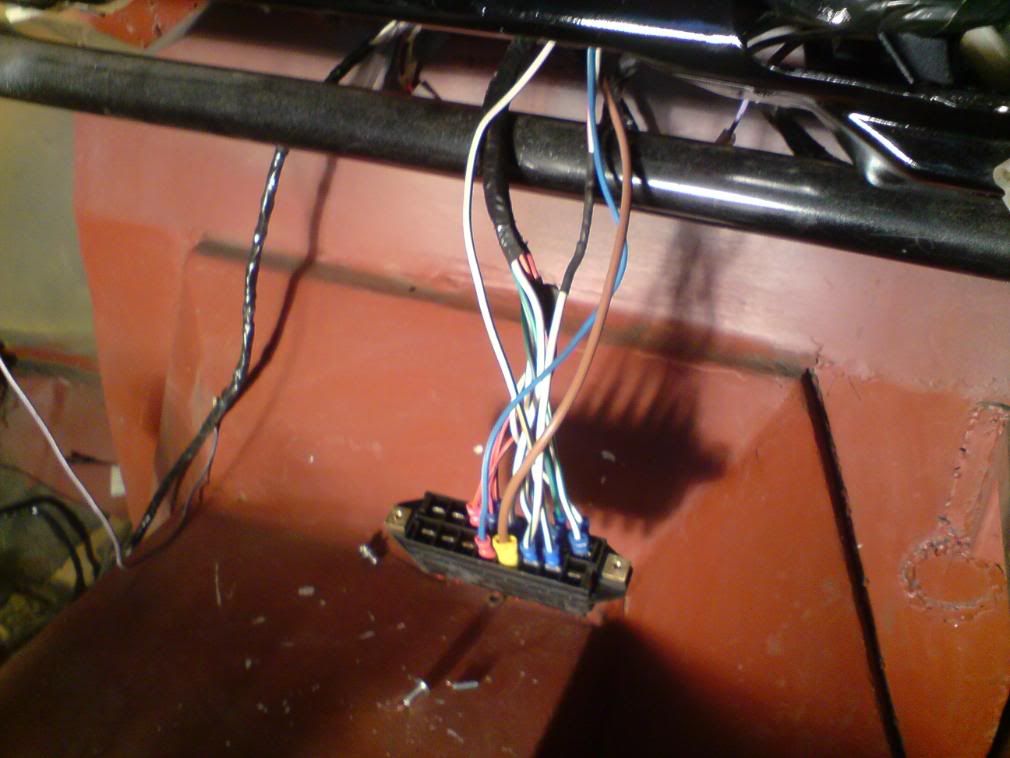 |
| |
|
|