jimi
Club Retro Rides Member
Posts: 2,200 
|
|
Mar 31, 2022 23:23:30 GMT
|
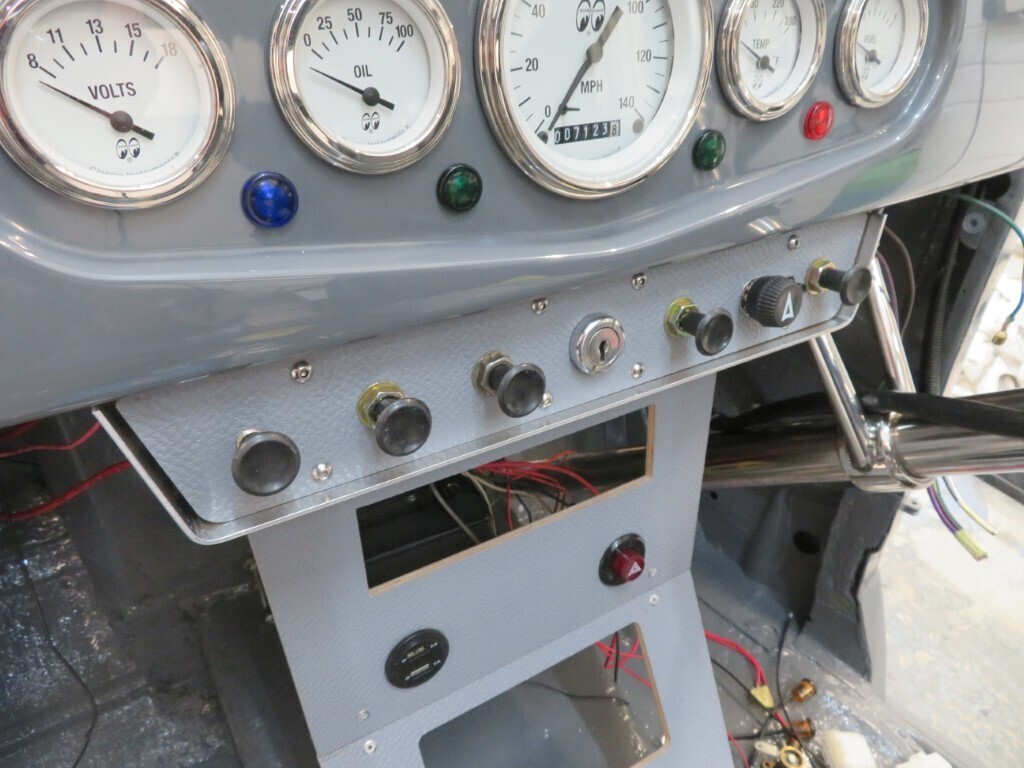
Looks very good  the aluminium edging will really finish off the switch panel, are you thinking something similar with the centre console? I find it interesting to see how other people route wiring, everyone seems to visualise these things differently. This is not a criticism just an observation, I would have brought all the wiring along the bottom side rather than split across the top, needs more wire I know, but years of wiring panels offshore have left me not really taking cost/quantity into consideration.  |
| |
Black is not a colour ! .... Its the absence of colour
|
|
|
|
|
|
|
|
|
|
Jimi,
It was already wired up but with poor connectors so mostly I've just tidied it up (it was more of a rats nest before). I don't particularly like the top wiring (I replaced the thick manky wires with modern thin high capacity wires) as you point out - it's not as tidy - but its perfectly safe/adequate and unseen so will do.
Doing it from scratch I would probably do it as you describe.
|
| |
|
|
|
|
|
|
|
I popped in to one of our customers today Antares and they very kindly donated a lot of electrical parts to me. They will supply plenty more as I need them as well, so huge thanks to them. Random bag of connectors - I will strip off the plastic insulation (I hate this type) and will crimp them without the cover and then use heat shrink. 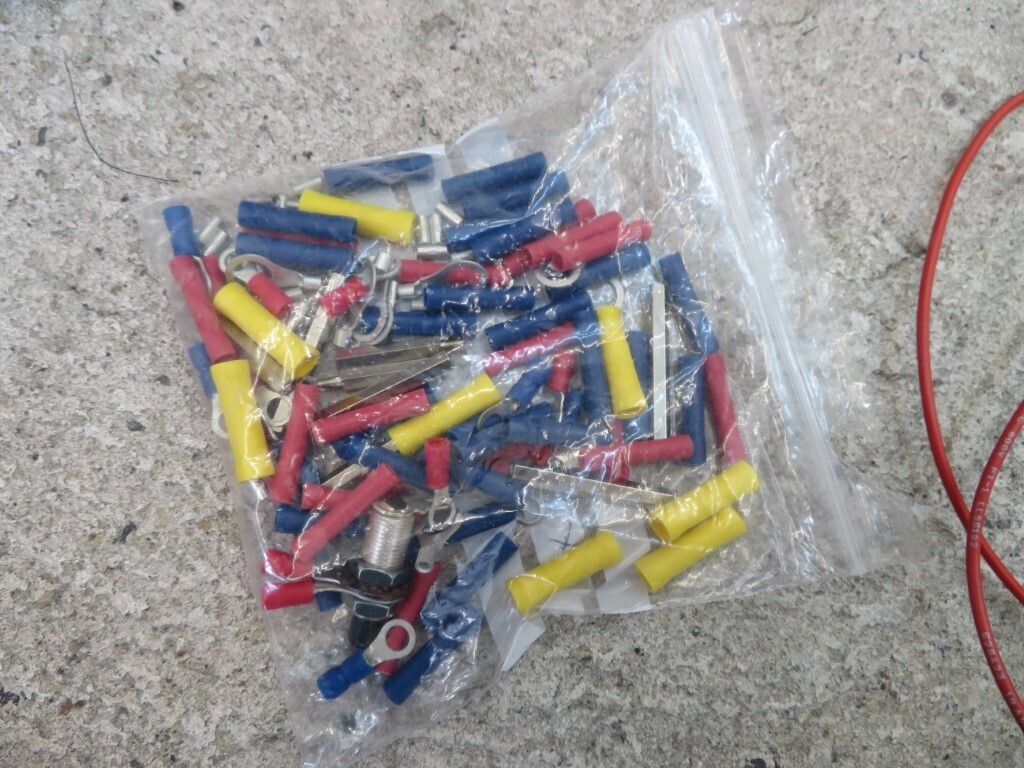 Approx 5 metres of super flexible low loss battery cable including sheathing and bulkhead gland. 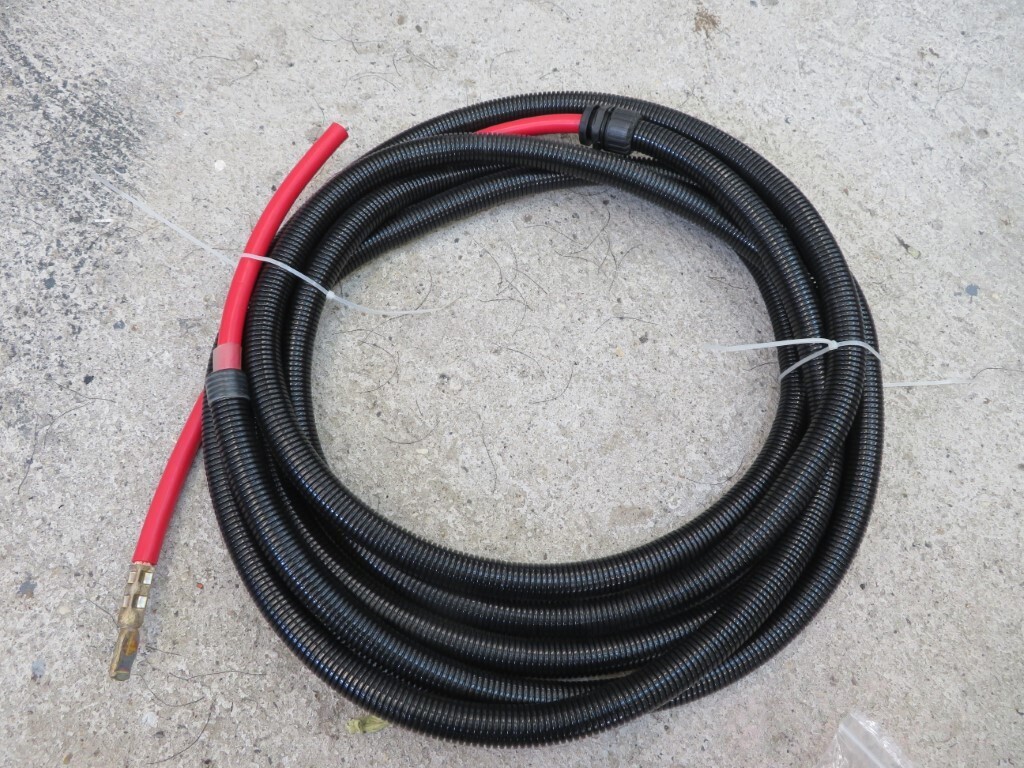 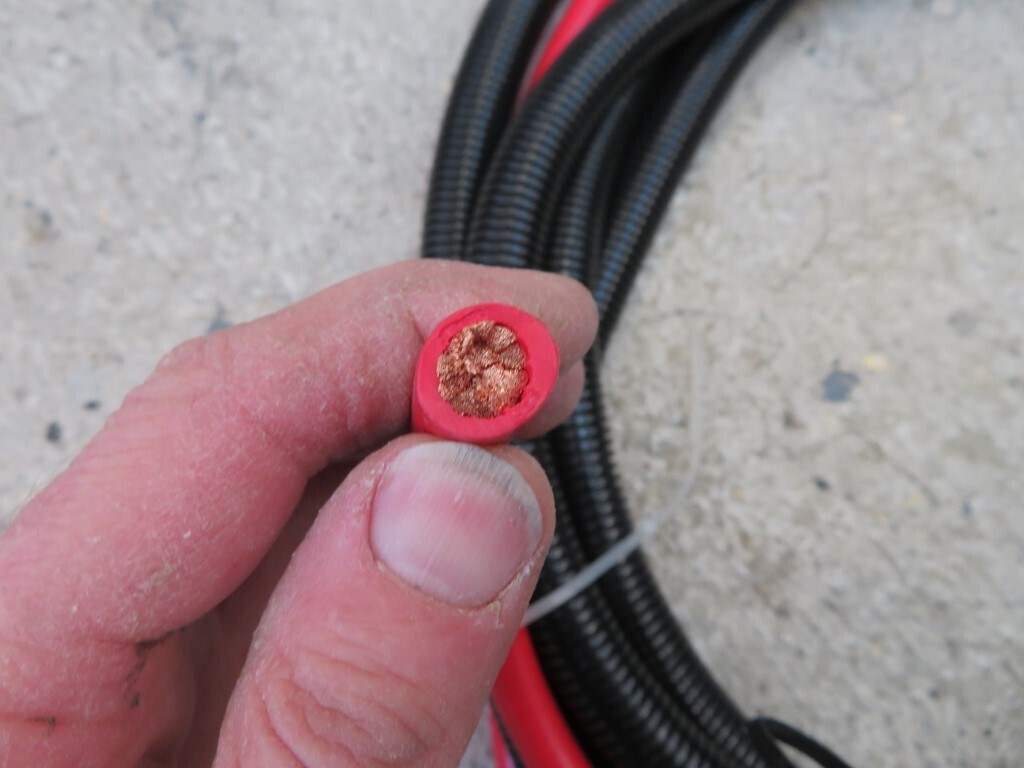 A complete wiring loom - I'll strip this for the conduit & weatherpack connectors mostly, but the wires will be useful as well.
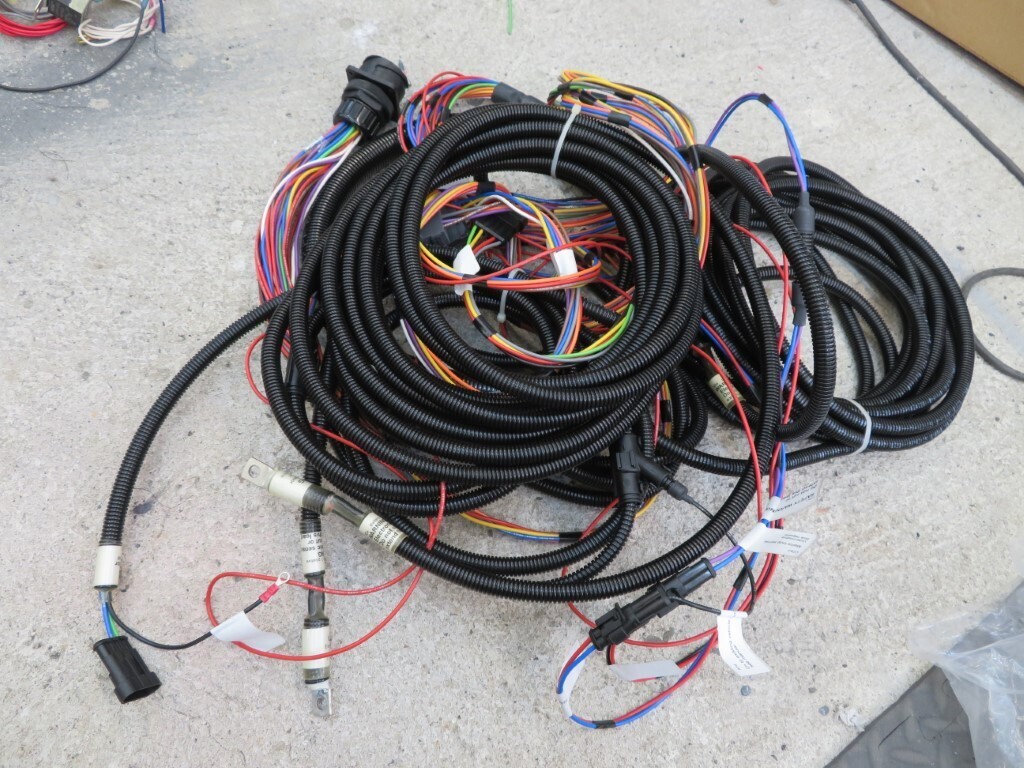 I mostly wanted the 2 'Y' connectors - but as the loom was offered for free it seemed rude not to accept  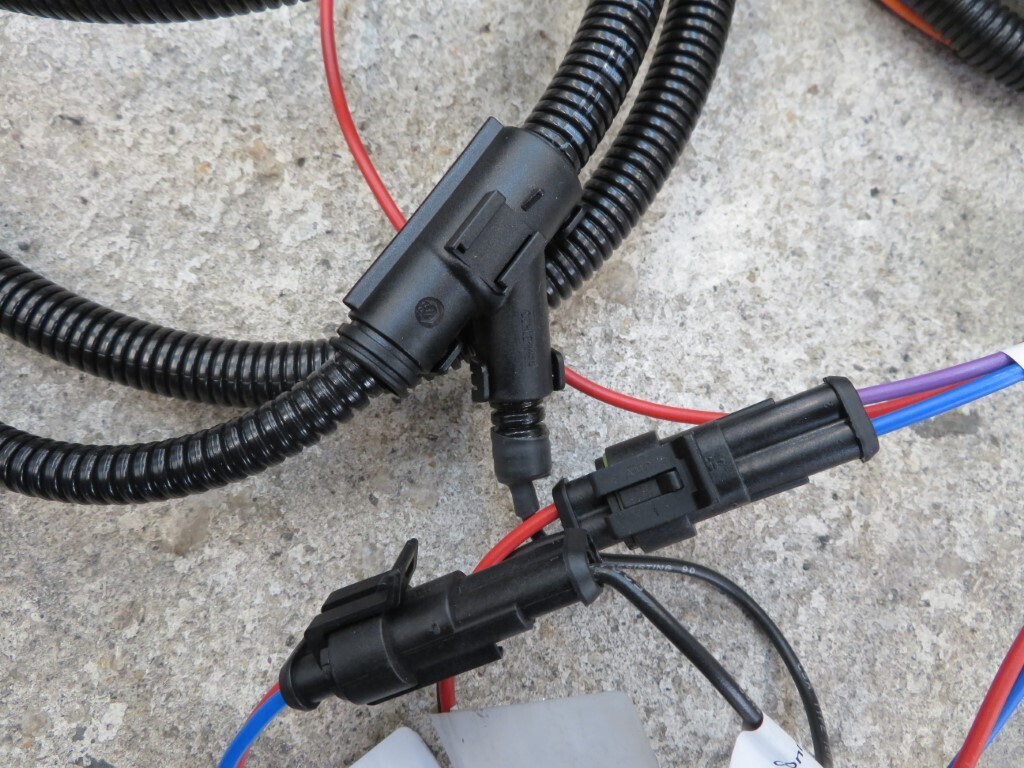 |
| |
|
|
jimi
Club Retro Rides Member
Posts: 2,200 
|
|
|
|
Jimi, It was already wired up but with poor connectors so mostly I've just tidied it up (it was more of a rats nest before). I don't particularly like the top wiring (I replaced the thick manky wires with modern thin high capacity wires) as you point out - it's not as tidy - but its perfectly safe/adequate and unseen so will do. Doing it from scratch I would probably do it as you describe. I didn't realise you were tidying up existing wiring, always ends up a bit of a compromise in that you have to draw a line somewhere or you end up ripping it out and starting again, which is not always the best use of your time  Regarding your last post, a bargain donation, some nice gear in that lot, good to see properly crimped battery leads  |
| |
Black is not a colour ! .... Its the absence of colour
|
|
|
|
|
|
|
Today was one of those days where time went by but not much progress seemed to happen. I made more dash and console panels for testing, tried them in grey as it's surplus stock and would match the new interior - not sold in the colour though - i'll see what Phil thinks. 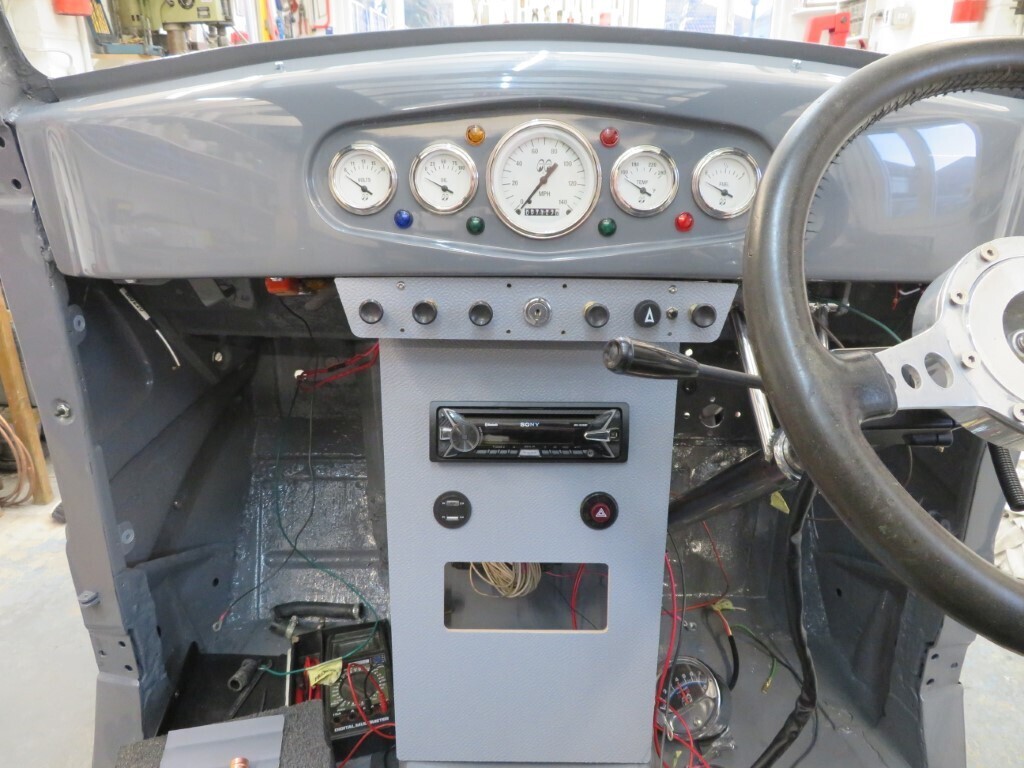 The radio needs to go higher to clear the heater and its shown a couple of other areas that need more thought/clearance. The heater has temporarily gone back in (I need to paint the fixings) which has highlighted the radio position. 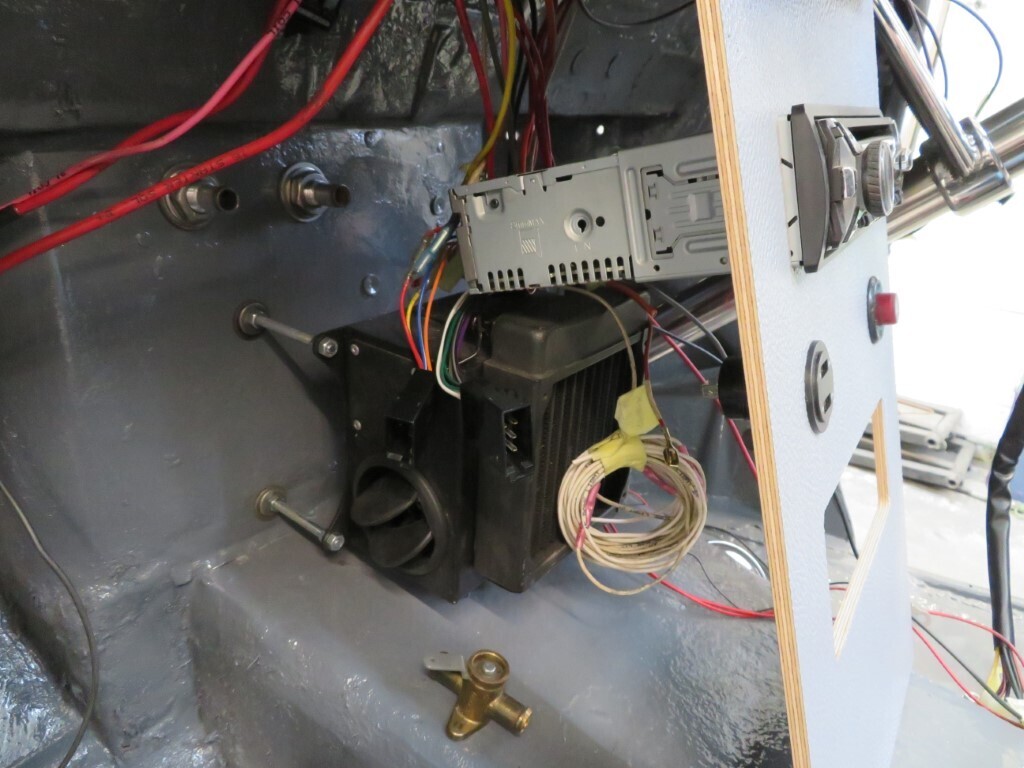 Battery cable has started to be fitted, 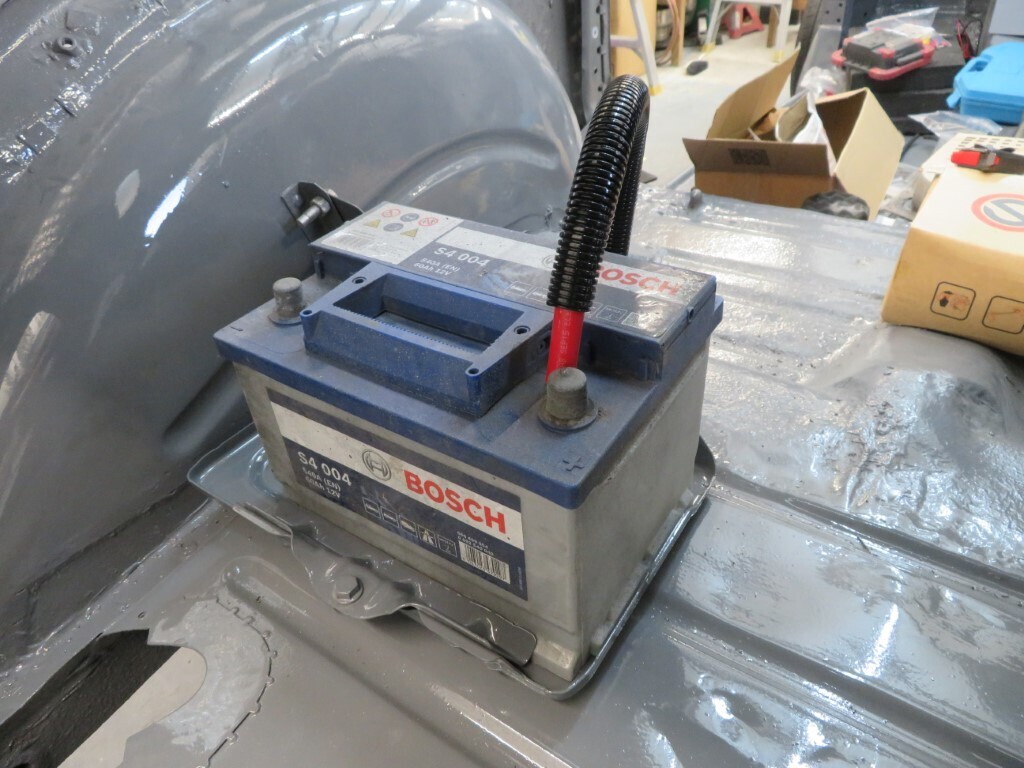 body gland connector, the other hole is for the negative lead. 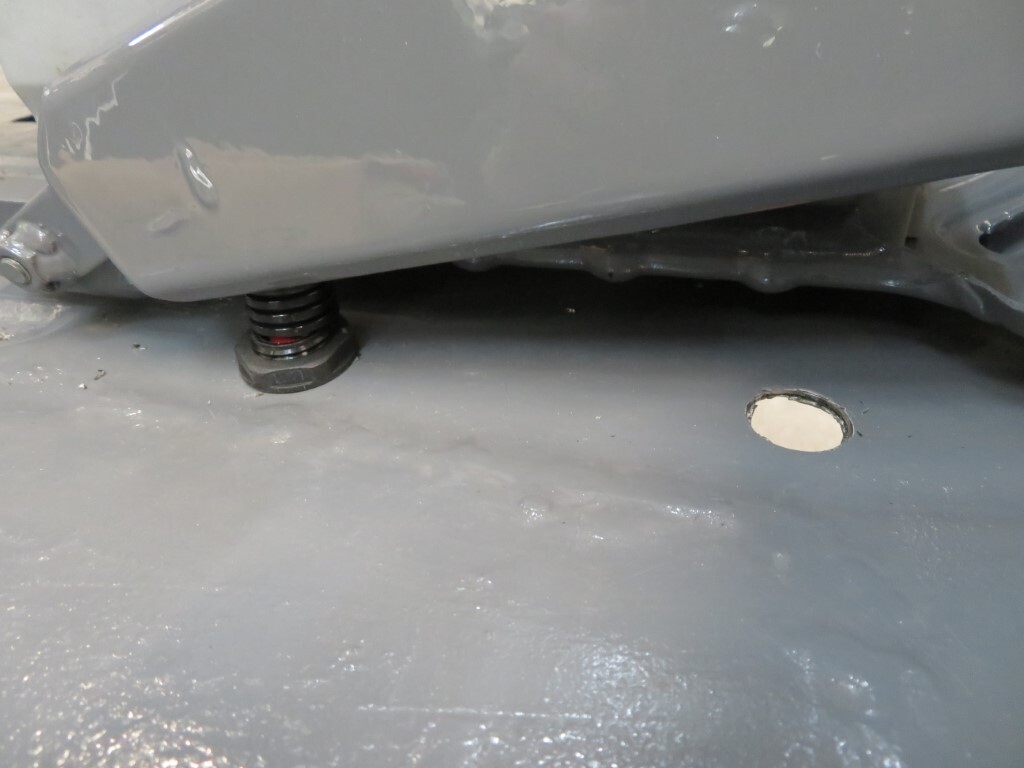 how it exits under the car, the first 'P' clip is also fitted, I need to order a set for the rest of the cable. 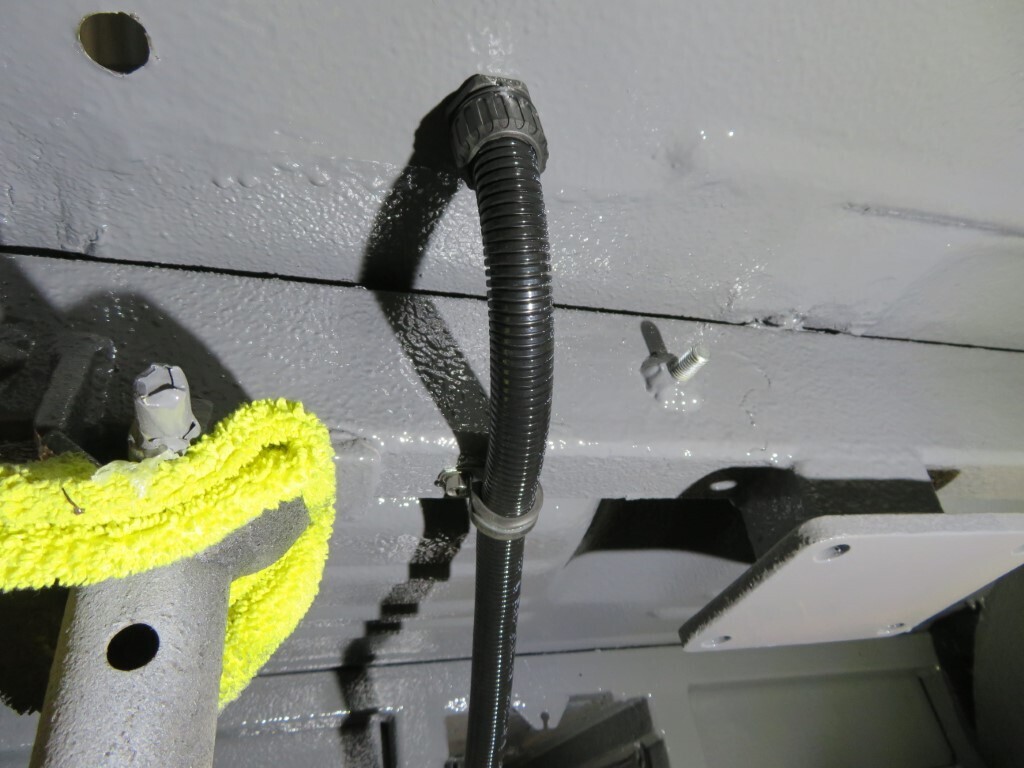 Plenty of cable! going to have a lot left over  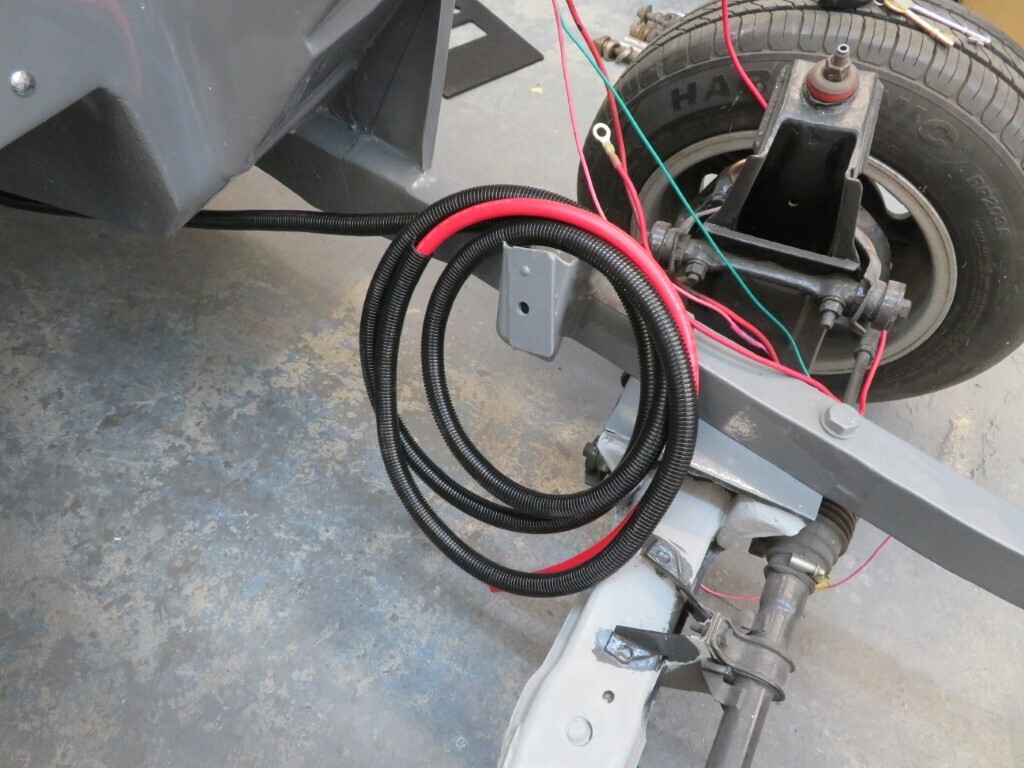 Door jamb switches partly wired and fitted; 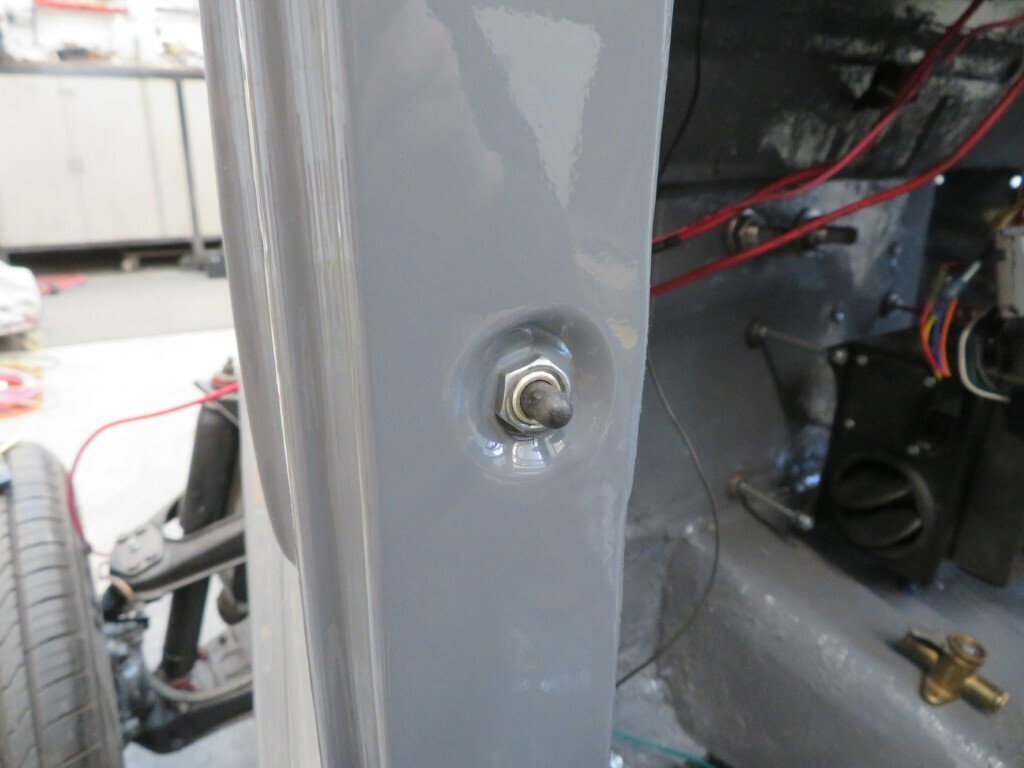 777 hours. |
| |
|
|
|
|
|
|
|
|
You really do work like a machine.
Amazing progress.
|
| |
|
|
|
|
|
|
|
|
Not sure about the ‘stepped’ look of switch panel, console and dash … 🤔
Excellent work though. 😎
|
| |
Last Edit: Apr 3, 2022 10:20:45 GMT by westbay
|
|
glenanderson
Club Retro Rides Member
Posts: 4,340
Club RR Member Number: 64
|
|
|
|
Not sure about the ‘stepped’ look of switch panel, console and dash … 🤔 Excellent worh though. 😎 I think it would benefit from some styling tweaks. Angles and curves to echo the original panel. It is just too square for my taste. The neatness and symmetry though, that’s good. 👍👍👍 |
| |
My worst worry about dying is my wife selling my stuff for what I told her it cost...
|
|
glenanderson
Club Retro Rides Member
Posts: 4,340
Club RR Member Number: 64
|
|
|
|
|
Just a thought.
Is Phil the kind of bloke that has loads of keys on a ring? Having the ignition switch in the middle like that means whatever else is on the key ring will be dangling down and obscuring/rubbing/rattling on the panel below it and the radio…
|
| |
My worst worry about dying is my wife selling my stuff for what I told her it cost...
|
|
|
|
|
|
|
|
We quite like the stepped look.
You have to remember this is just a quick panel knocked up to see how it will all fit (or not fit).
It may look like a finished panel becuase I cut it on the CNC machine at work - but it only takes about 2 minutes to make a panel.
Curves would be nice but cause other issues for fitting the side panels etc and then the console turns into a 2 week job. I have a limited time left to get it finished now so we have to try to keep things simple.
Yes he does have a fair few keys, but the stepped panel will keep them away from the stereo, but I'll encourage him to slim down the amount of keys on the ring as he will only need 3 for the car.
|
| |
|
|
mk2cossie
Club Retro Rides Member
Posts: 3,058  Club RR Member Number: 77
|
|
|
|
Would the switch panel be a better visual fit with the lower edge mimicking the instrument cluster bezel? 🤔 Looking like more good progress otherwise tho  |
| |
|
|
|
|
|
|
|
Phil came over today and we discussed the dash. He likes the grey as it almost matches the door trim colour and should tie in nicely with the dark grey carpet. We also wondered about mimicing the dash shape but both of us think it would look wrong - we both like the shape as it is. It does look better in real life than on camera. It will also look better with the aluminium edging around it. I might paint it to match the dash as well, I can cut several different ones at work and do different colours to see which we like best. The fuel tank is now back in the car, we had to get the fuel sender wire fitted before it went in - but it will most likely have to come out again.....explained in a minute. 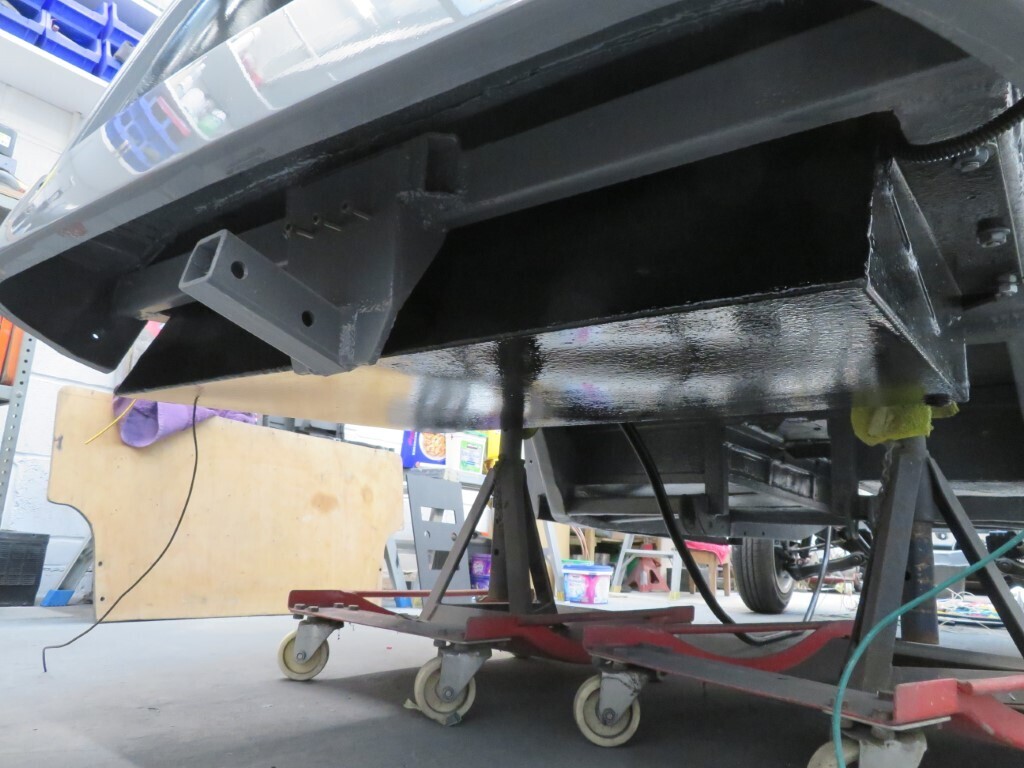 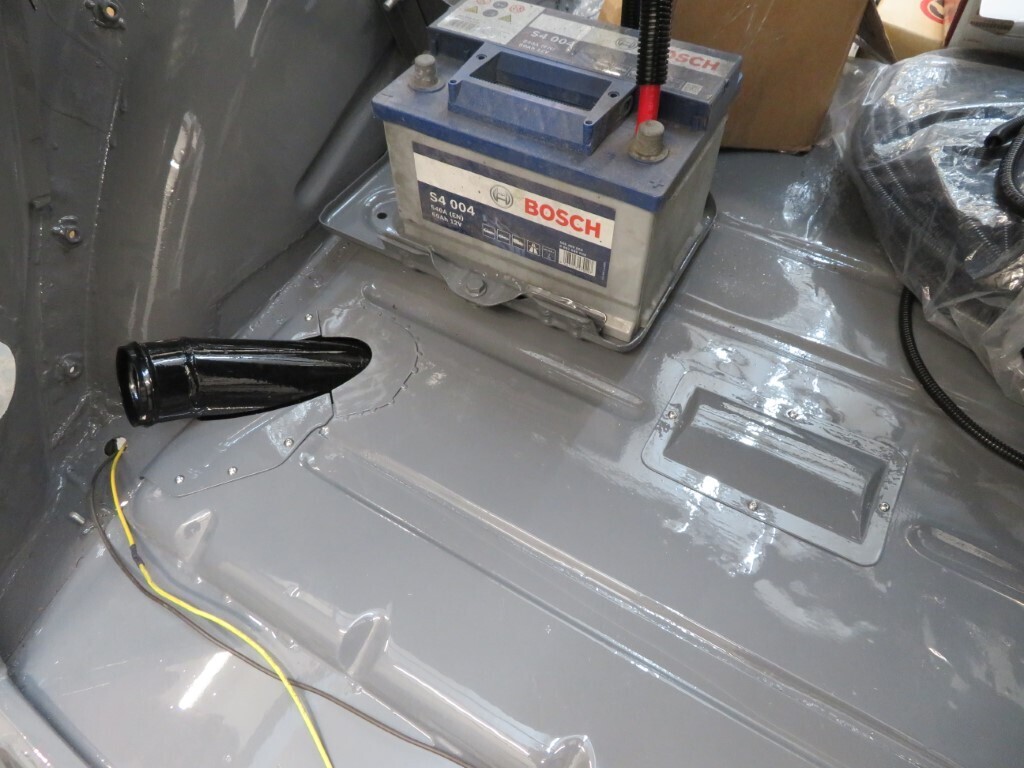 After that Phil was tasked with wet sanding the door jambs and sills. His heart was in his mouth sanding his nice shiny paint  but once I explained it he got on with it well. While he was doing this I was sorting the rear loom for the car and getting all of the trunking ready. We had some fun getting all of the wires fed through the trunking - especially when we realised we had forgotten the fuel tank sender wire - it all had to come out again to get re taped and fed back in. The trunking is now installed to run up through the drivers A pillar and over the windows (with a branch to the middle of the roof for a dome light) and then down into the boot area to pass out of waterproof glands to the rear lights/foglamp/reverse lamp & fuel sender. The tank will have to come out again as I need to fit the waterproof trunking gland and all the cables need to feed through this first.....  No photos of wiring yet as its not really very photogenic. Last job was spending Phils money on the Jag axle spares we need for reassembly - I used David Manners as they carried everything we need including all of the shims for the bearings and for setting the toe on the fulcrum arms. 782 hours. |
| |
|
|
|
|
|
|
|
More progress tonight, Phil came over again and is working his way over his nice shiny paint making it all dull again  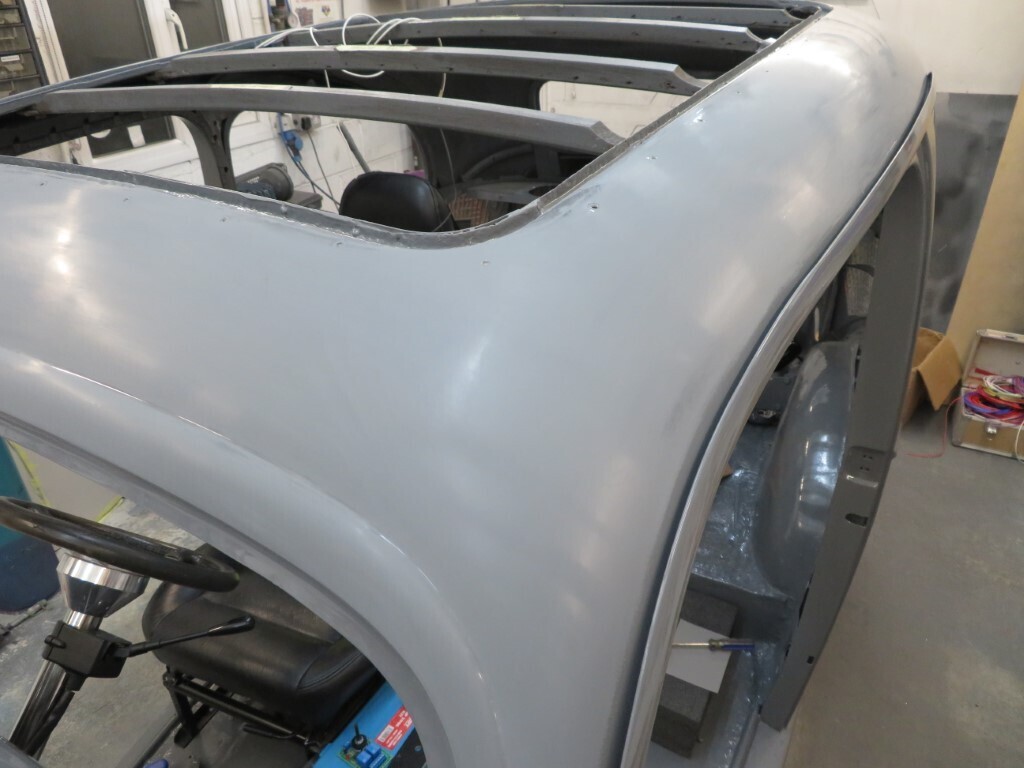 He has done most of the roof and around the front screen now. I have been working on the wiring, the rear loom is almost done in terms of getting the wires to where they should go and sealing them all into the conduit. 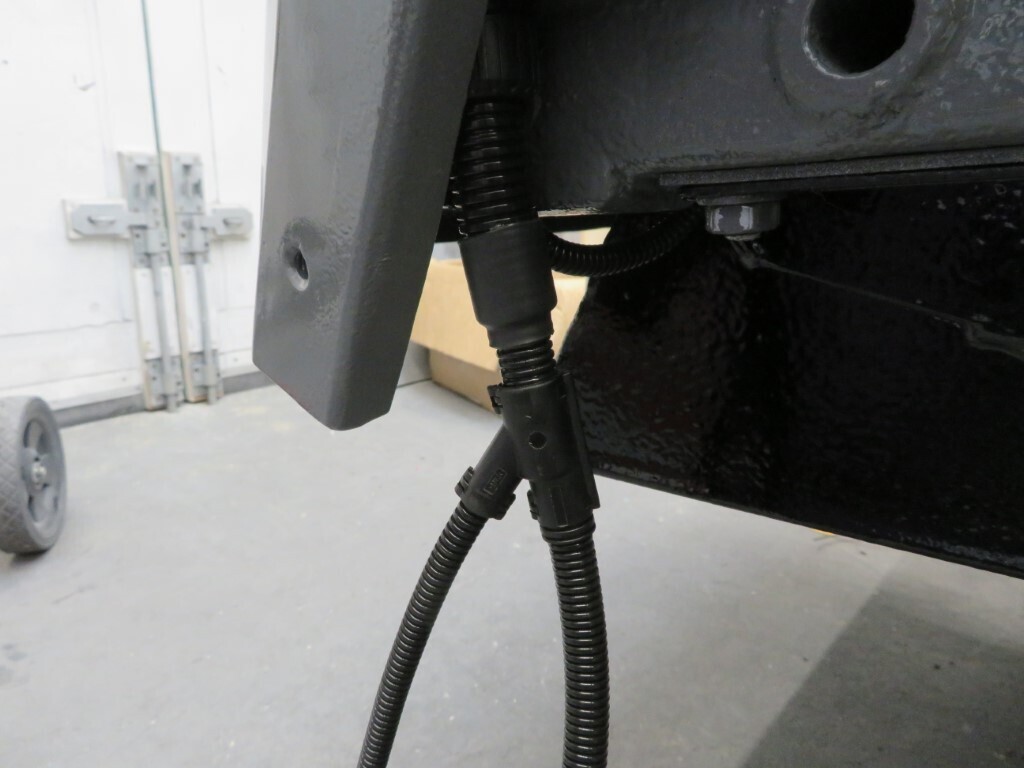 Rear reverse & foglamps now loosely refitted so I can get the conduit sections cut to length for them. 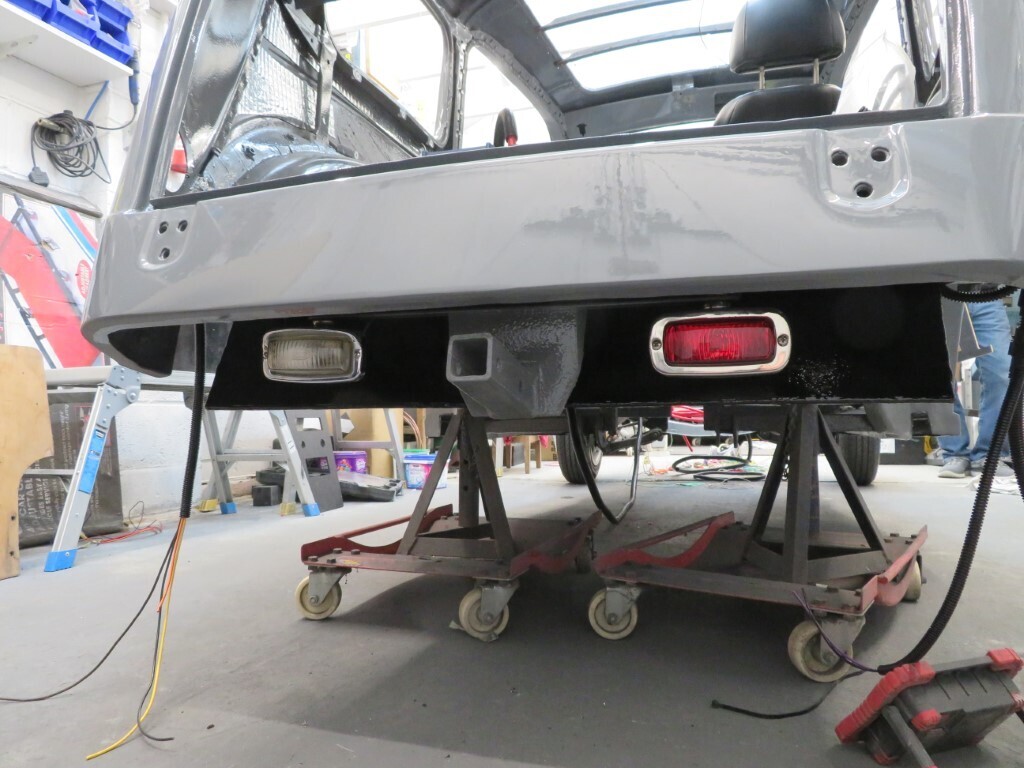 I did cut a new console panel with the radio higher and with a narrower base, but forgot to take photos. Radio now fits nicely without interfering with the heater. 785 hours. |
| |
|
|
lebowski
Part of things
  Hillman Avenger, Clan Clover
Posts: 488
|
|
|
|
|
I vote for polished aluminium for the edging. It will match with the guages and help to break up the grey.
|
| |
|
|
|
|
|
|
|
this update is from last night, but I was too tired to upload it. Work is mental at the moment and one of my key staff is in Australia for 4 weeks so I've been back on the factory floor for the last 2 weeks as well as trying to do my regular job. Got at least 2 more weeks of it so I'm a bit worn out at the moment. Not much to show for the time spent, I made a little ally panel with fixings for the relays, this will be bonded to the bulkhead in a suitable place for easy access. 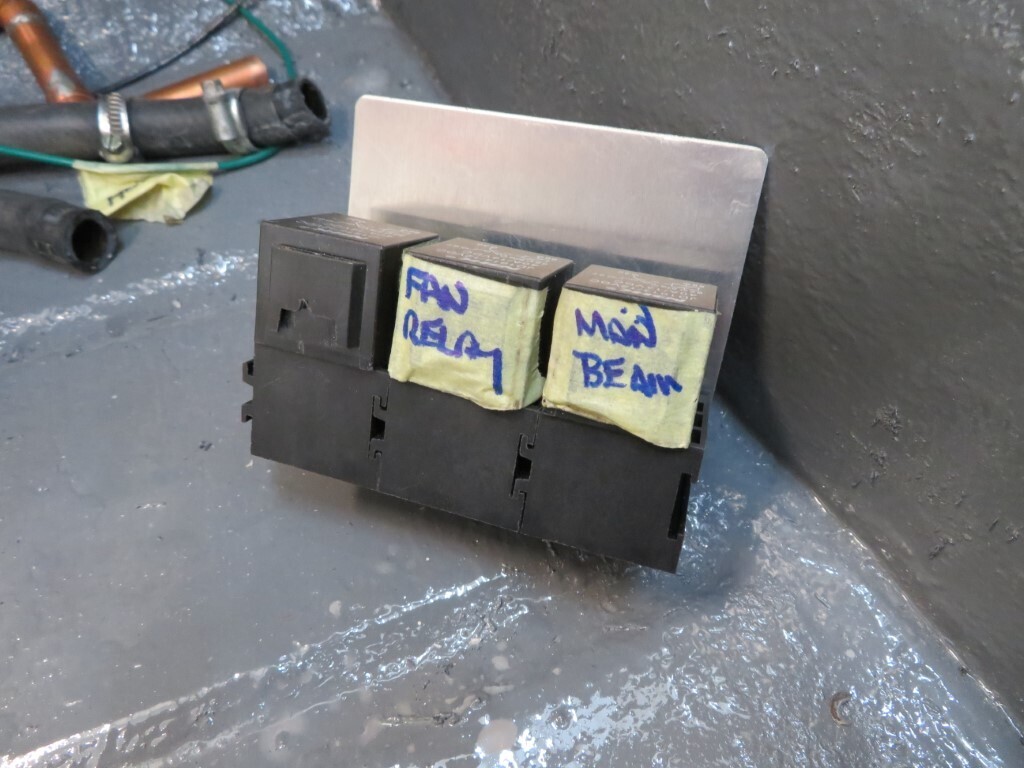 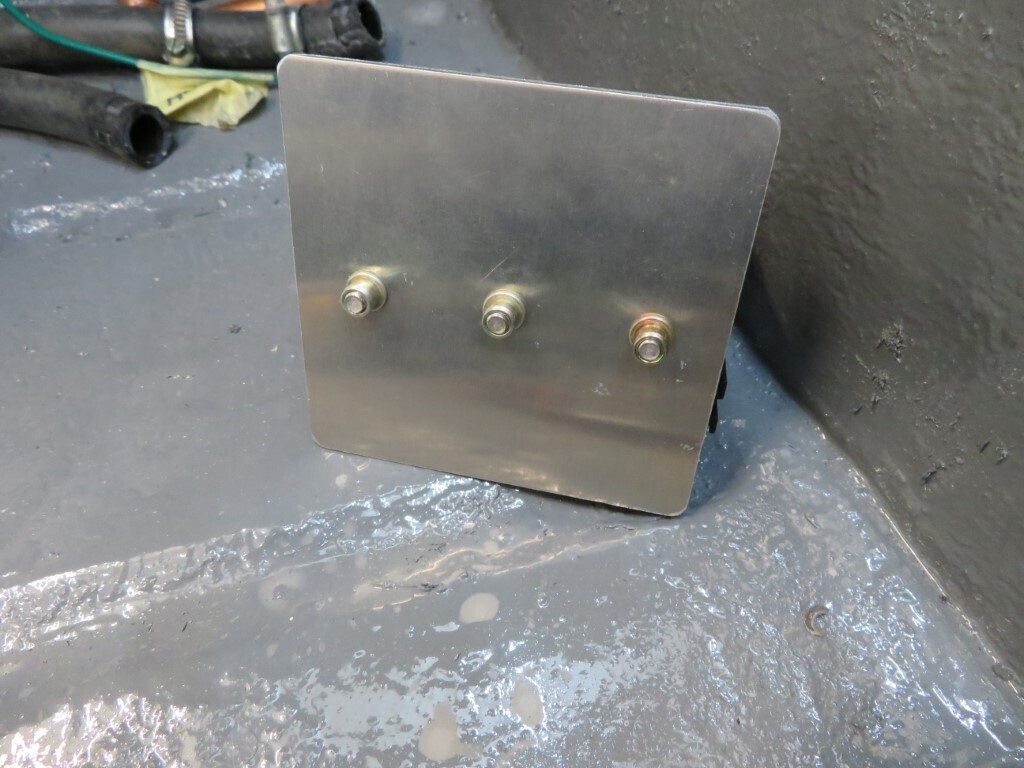 The jag axle spares turned up quickly from David Manners, 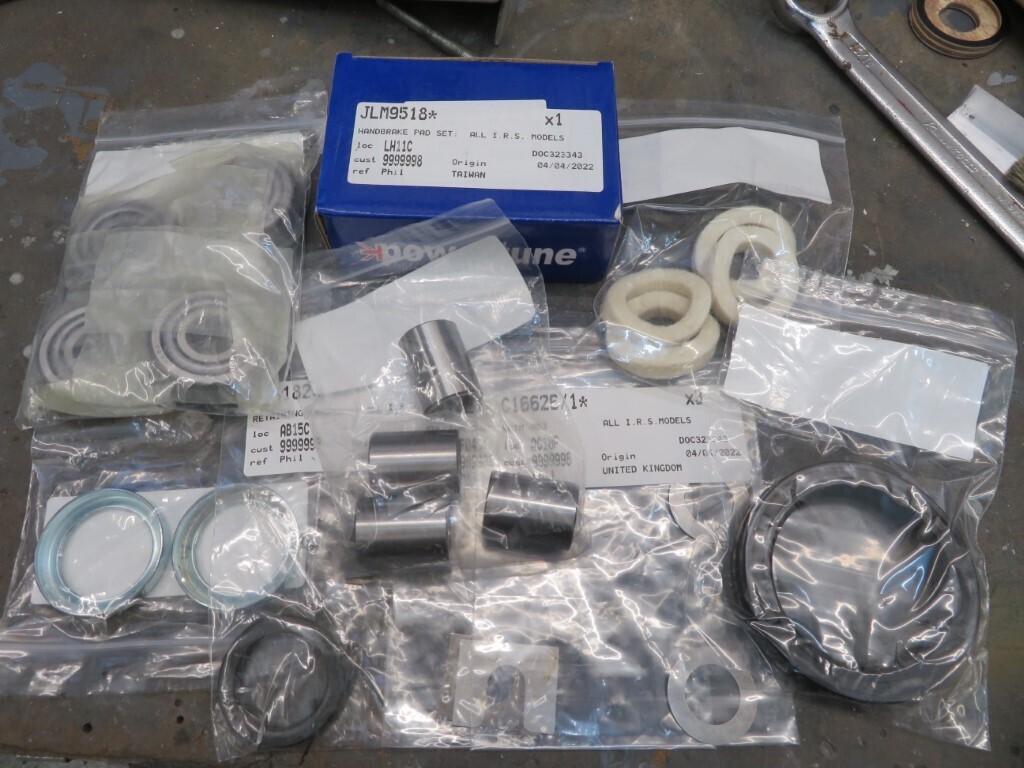 Including the smallest handbrake pads ever  they are only about 40mm wide! 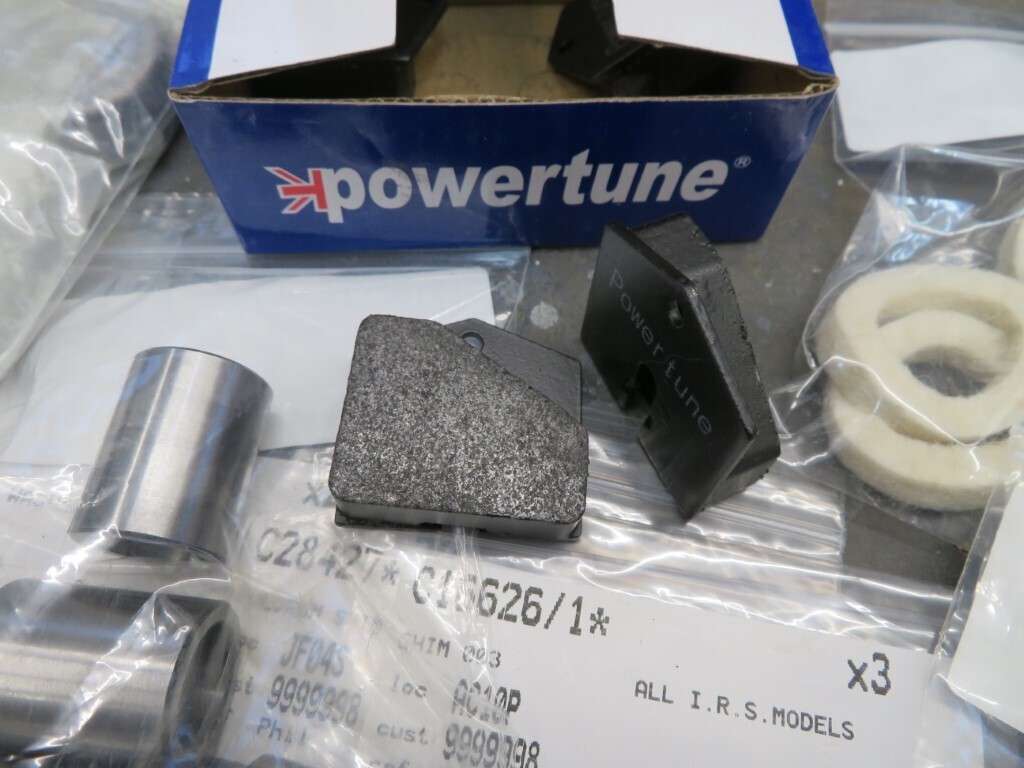 Another visit to Antares got me more freebies  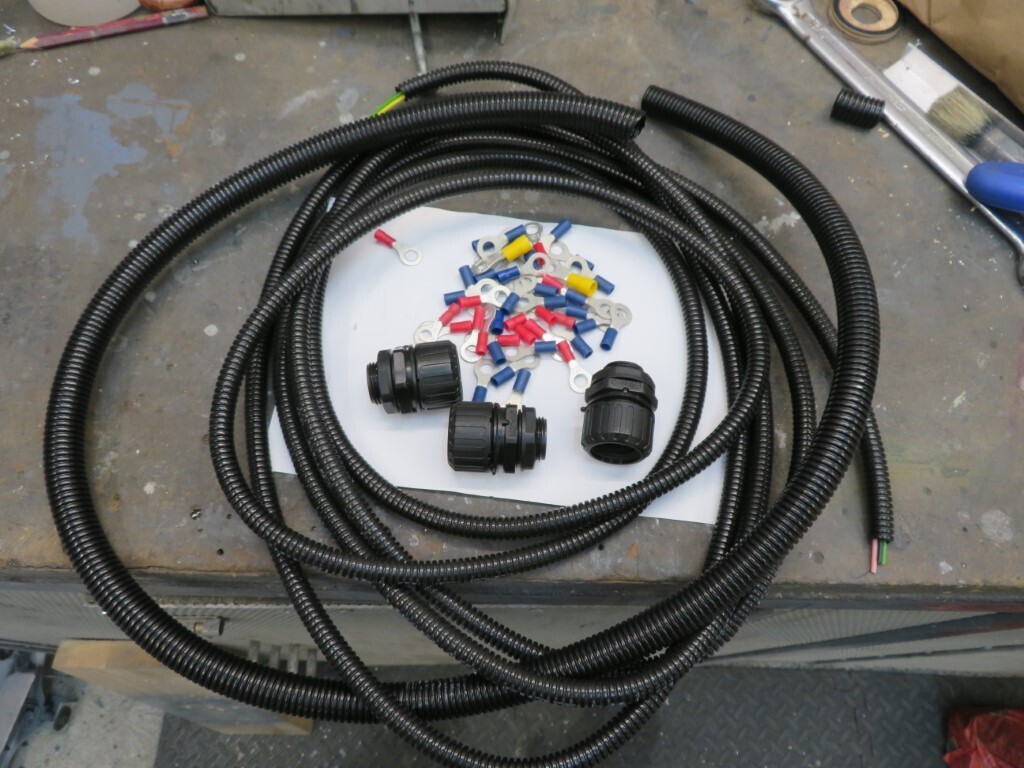 and the cupholders turned up so I machined up a quick bit of scrap to see how they would fit (they are a bit bigger than I expected). They may end up staggered as the bottom of the panel is a bit too wide for my liking at present, still a work in progress. 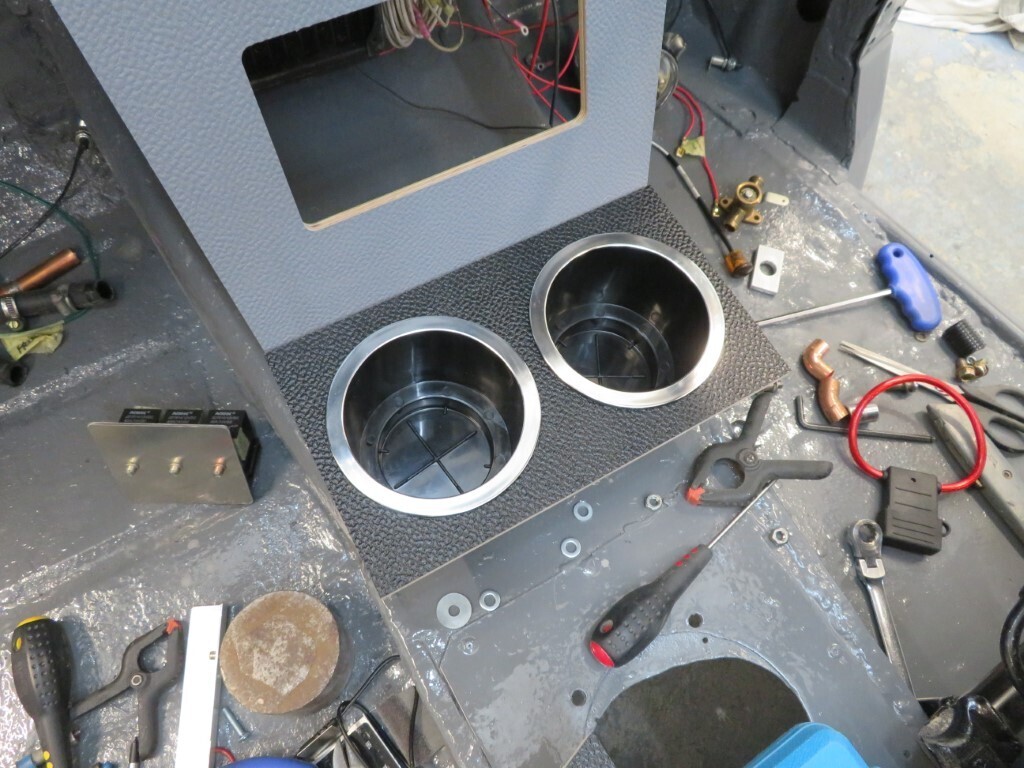 The other work from last night was I made all the bracketry for the switch panel & its surround so it is now properly fitted. I reduced the width of it by 8mm as a slight tweak as well. 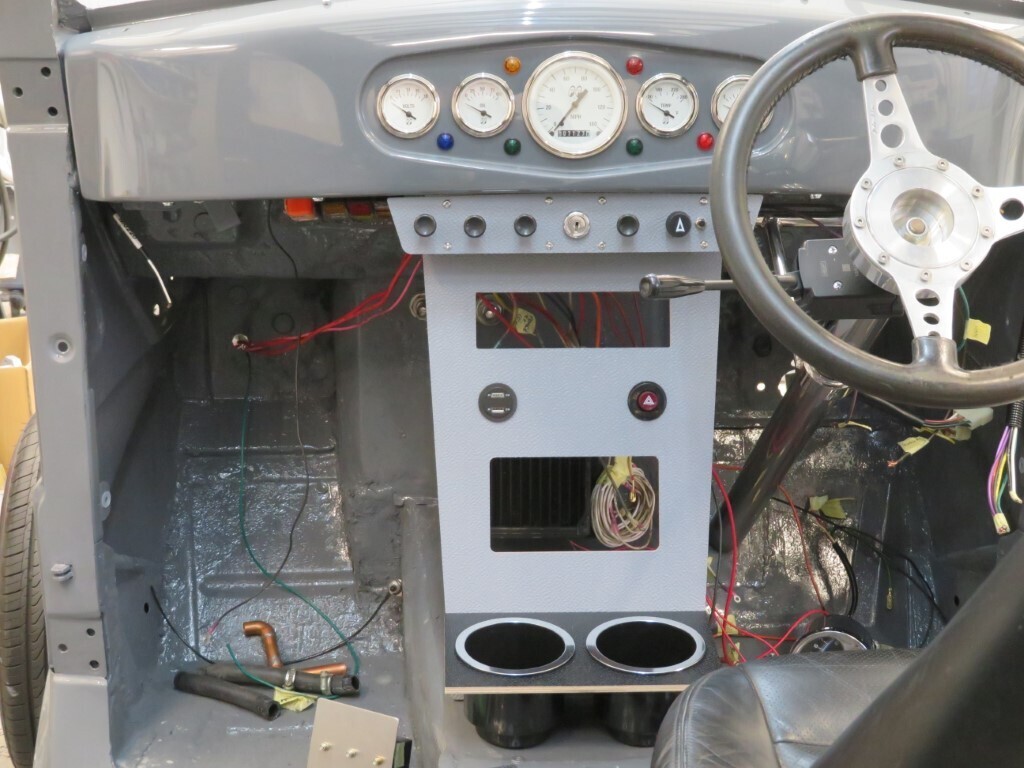 787 hours |
| |
|
|
|
|
|
|
|
|
Phil came over again tonight and continued rubbing the paintwork down, I continued on the wiring. No photos to show as wiring is a time consuming business and not very photo worthy, and the same goes for sanded down paint.
789.5 hours.
|
| |
|
|
75swb
Beta Tester
Posts: 1,052
Club RR Member Number: 181
|
|
|
|
|
Tricky stage of the build, but tantalisingly close!
|
| |
|
|
|
|
|
|
|
More wiring tonight, dashboard loom is now terminated with a 15 pin connector; 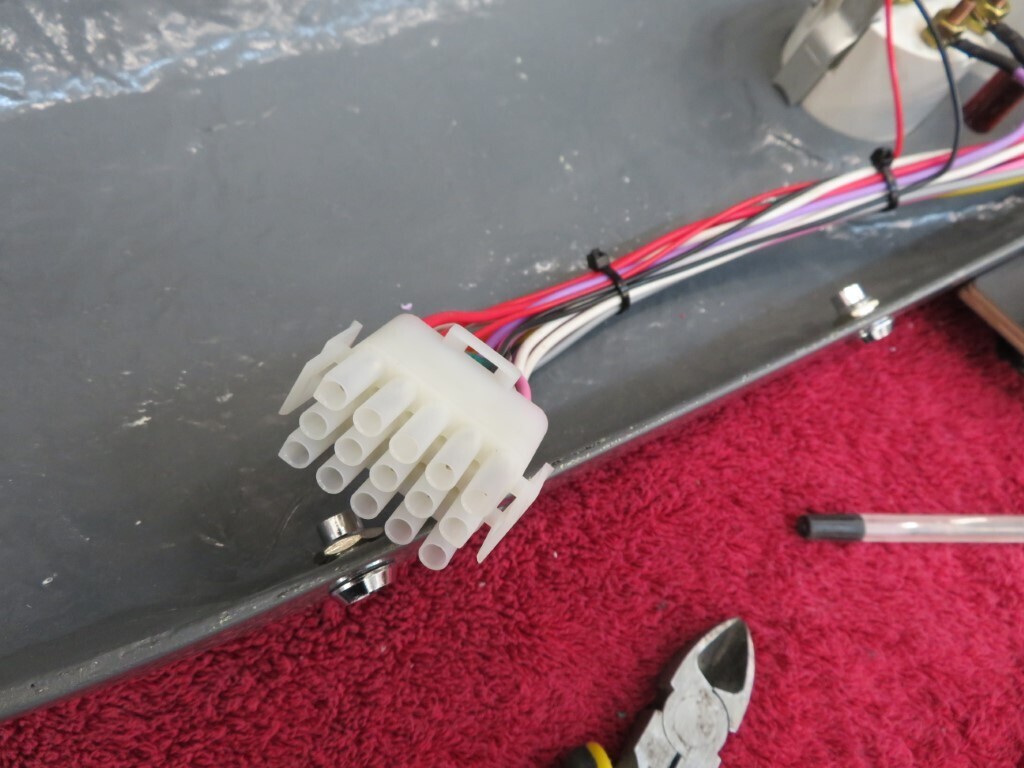 And the column switch wiring has been sheathed and terminated with a 12 pin connector - this took a while as there was no wiring diagram so some time with the multimeter was needed to sort out which wires did what. 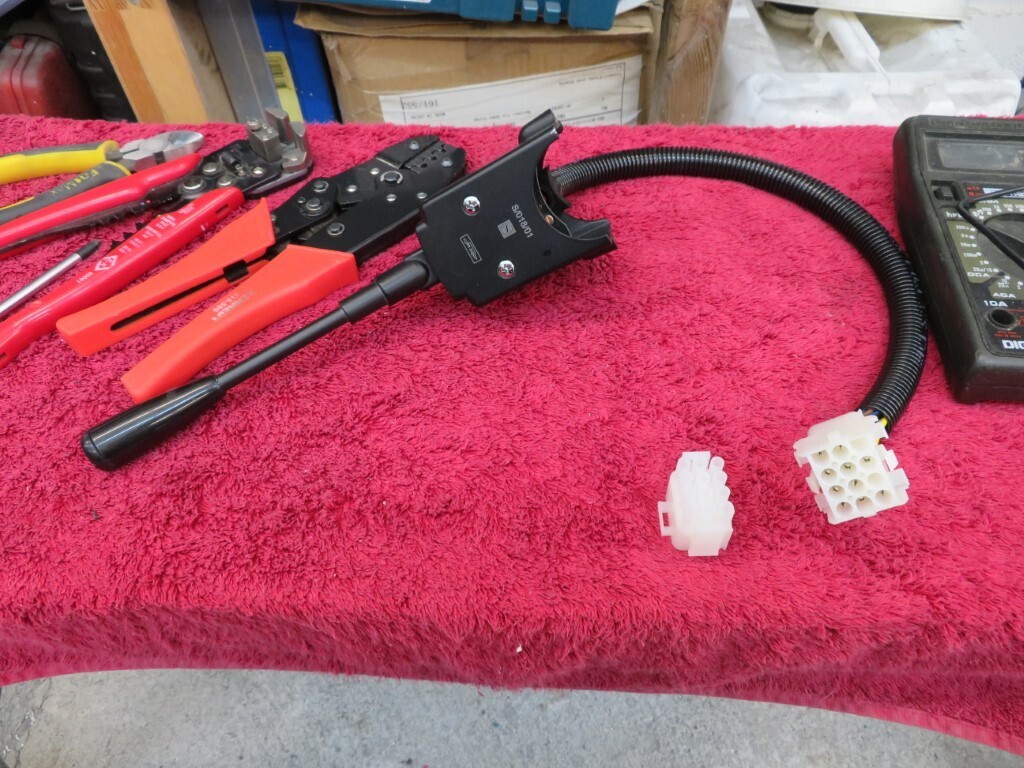 I folded up the aluminium surround - just loosely clamped in place here, the sharp eyed among you will see its a bit wide - I had moulded it to the earlier wider panel by mistake - a Mk II version will be made tomorrow. I think I'm going to paint the switch panel to match the dash. And a bit more playing around with some scrap ally folded & riveted to the wood panel to try some angles on the front - the cubby hole will be far more practical at that angle though everything will need to be moved around again to get things equal. I need to add the satnav mount in between the hazard & the USB socket. Getting nearer to the end design. 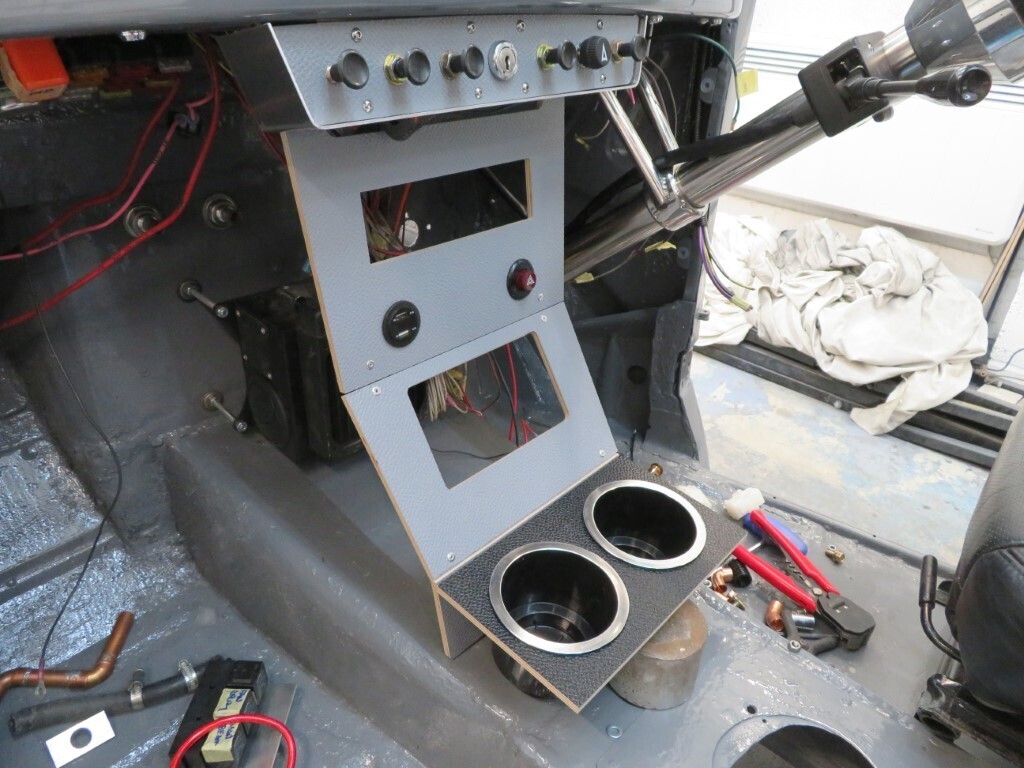 792 hours.
|
| |
|
|
|
|
|
|
|
|
Gives it a nice, much more finished look with that surround.
I would make the sides protrude on the console to match, and route a channel to put a strip of ally down the middle, sanded flush.
Whichever way it'll look good!
|
| |
|
|
|
|
|
|
|
|
Thanks Phil, we like the surround too.
Console (front panel) might end up being made of ally anyway once we work out what we want. It can be bent in a nice curve maybe.
|
| |
|
|
 the aluminium edging will really finish off the switch panel, are you thinking something similar with the centre console?
 the aluminium edging will really finish off the switch panel, are you thinking something similar with the centre console?


 but once I explained it he got on with it well.


 they are only about 40mm wide!


