Evening! Been really busy with the gold one this week! so big post to catch up then Ill keep on top of it and hopefully have some input and good help/disscusion as I'm only learning and first time doing big body work!!
paint removal
Yesterdays work was well erm very bloody dusty!! Wont be doing that in a hurry again!
7 Hours later the bulk of paint is removed and we have come across some findings, which basically boils down to this car not being as good as I thought it was!

A lot of panels have had some filler in like passenger door, passenger rear wing drivers rear wing, drivers front wing but the worst of the panels being the rear wings so I have to think now which would be the best way to go around sorting the car out and also the cheapest!
The passenger rear wing has had some damage to the lights area and has lots of filler in front of the rear wheel


So really I didn’t want to dig out all the filler just to put it back in again…….. Same goes for the over side but worse.
Looks like the wings been proper caved in at some point and filler just pilled back in deeply!

So trying to thing now how I want to take this car, which direction…..
1. Dig out the filler and pull the panels out a little if possible
2. Cut rear wings off and replace with a cut offs from another car needing less/no filler (dings etc not creators lol) and no rust
3. Fit Group 2 arches on meaning weld inner and out arches together and itll need filler anyway to fit the arches.
It looks like it be hard to keep this car original (by that I mean original panels) but also I fancied keeping this with small arches not rally ones but they would be easier!!!! AGRRR dunno what to do lol.
Heres the rest of the car

Rear window areas solid


Drivers door (best panel)


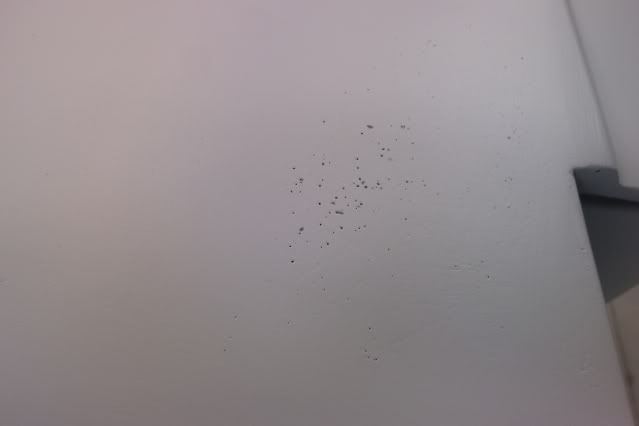
Roof, had some rust patches starting so good to get the paint all off, you can see where the rust was still, will that be ok when coming to paint or will filler be needed?


So there you go!! Also didnt tounch the sills as I'm going to cut them off anyway and use some cover sills but fitted as proper sills so pointless removing the paint! The sills would probably last a few years as is but I wat it all solid etc etc also th passenger side is a cover sill currently so will be interesting to see whats behind it (although the inner and middle sills are rock solid).

Should just whack the lacquer on it

;D
investigated the right wing some more
spent ten mins on the rear wing and over an hour cleaning up all the dust again :evil: :evil: cant be bothered with all that again so Ive just been looking on the net and apparently using a heat gun and wood scraper (has rounded ends) removes filler quickly and without dust! so will give that a good try maybe tomorrow at some point.
Fair play its had some big damage by the looks of things with filler half an inch think nearly in the worst places and more so in the little but deeper 'bowls' and also you will notice back when it had its obviously typical poor bodyshop repair work they made a small attempt of pulling the damage at the top (all ive found so far) as they have just filled the holes left by the puller with filler not weld :roll:
full length from lights to start of arch

higher up included in this photo

spot the four holes (one emptied out with ease)

bottom light has a big knock in it

looking from the other side

looking down from the top of the wing, Ill see if I can bring out the dents more than originally bothered by someone else!! If I'm not happy I think a new section will be needed

bottom, looking ok, never finished removing the paint/rust properly so will do that, then I'm tempted to try that back to metal gel thats available now instead of removing this side??


And after looking over the now lighter rear right wing, its got a lot of damage as far as I'm concerned on all the detail lines and both rear lights............


little bits not that important

big bad bits etc etc

and the left side, I think is savable
top has some damage best way to show is this,
rounded all the way to the edge

Closer to the back, flatter

Then by the top light is the worst


There is a shallow dent and crease in front the the rear wheel but its not bad so happy enough with this side.
So I do feel that the best way to fix the right side is a new piece so I have the details back in all of the lines and both lights, only filler will be to cover weld area.
Like this.....all the way to the back and down to the bottom line leaving the lowest part of the rear lower corner


Here's what I settled down to this evening!

Started at 7.30 and due to the earlier nights and next door having two little kids I wanted to keep the noise down, especially since its the first night :wink: :lol:
So no grinding etc etc :cry: :lol:
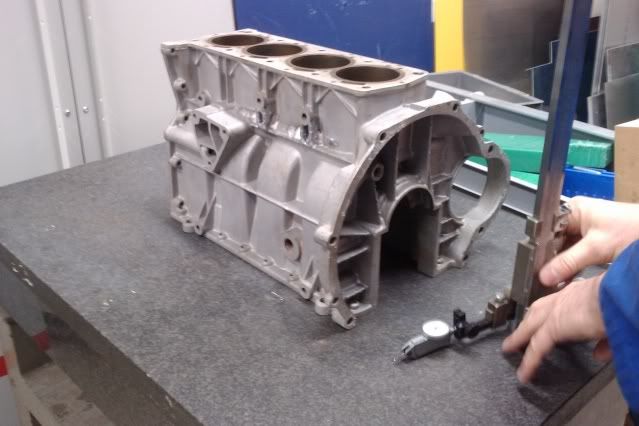
First before I started I marked/measured the door gaps on the back edge, not sure if it was worth doing but did it anyway on both sides! These doors have always shut lovely and solid so I want to keep it that way hopefully!

bit big the gap at the top but hey ho!!

Then I had a look over the sill see what was what, this sides had a cover sill once already so I was interested to see what it was actually covering!!


it was only tacked on underneath in areas on the lip

So I grabbed my grinder, no wait a min...... pipe wrench and had a pull see how easy it was going to 'pop' off!

not bad so carried on rolling it around the wrench

But the further I got along the harder it became even with cutting the pulled off bits out of the way so I can up with another plan! I decided that if I went along one of the sills faces like a tin opener It should be easier as I wasn't working against the angles and working with the flat only, like so

this worked better!

and off! took about ten mins in the end!

Happy with what was underneath! looks like the person who changed the sill in the first place took all the curse word out at least and used a cover sill as a proper sill like I want to. The inner sill which I suspected is in good health too so not all bad! will try to clean up the surface tomorrow.
Having a look inside it looks like the new sill that was put on went too the door lip so all good metal...


Which I confirmed by pulling the door seal off,

Fronts took more of a beating inside!

Hi all, tonight when I got in from work I cracked on with the grinder YEY!!! haha
Cleaned up the cuts

then changed on to one of the strip/clean disks and went at the middle sill, nice and solid still


Couldnt get all the way up in side lol

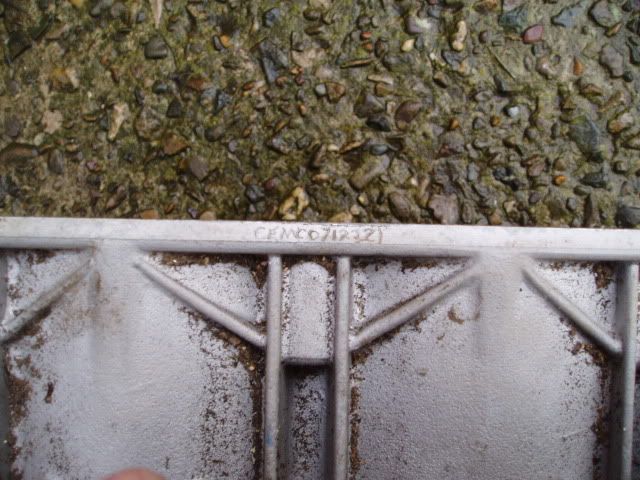
on the back of the sill I noticed a sticker

heres the left over of the original outer sill, need to slice out the bad, make new then connect back to the floor edge ect ect.

Then the next series of photos if you look closely I had ago with the joggler to see about welding on this edge, but really I don't know where will be the best to weld to, can someone advise please?

not much of a lip where I joggled it so would need to weld on the new panels edge not spot welding etc

in the door corners I really want to come up over the edge onto the flat so I can clean up the corners but is it normal or ok to weld on two different planes on one panel?

And would you weld on the bend up to the step or cut into the middle of the flat area before that and butt join the two together?

After doing that I pulled the wheel arch left overs off the inner arch

And that was it really tonight, when packing bits away and cleaning up all the old sharp metal I decdied to have ago at my welder to set it up, not doing to bad either, and I'm more confident and comfortable with it too Happy days

Then I couldnt resist having a play so I slipped one of the fiesta arches roughly in place


So have a few questions hopefully someone will be able to help
1. Where would you weld the sills top edge too? I need to cut the new sill to suit first so have to decide.
2. Do new sills etc need to be seem welded to be mot passable? or is spot welding along the joins ok?
3. I think the middle sill and floor edge is fine to leave as is, do you? Where rust has started to eat in and left it all bumpy what do I do with those bits? what do you do before covering it all back up with a new outer sill, paint? rust proof?
I think Ive got more just slipped my mind at the moment so will come back with more no doubt!!
One thing Ill say is Ive noticed no sagging, or door gap movement since starting the work, should I have expected some movement by now? I cant see any happening?
ALSO I MUST SAY, I'm learning here, never done anything this big before (purple ones bodywork was done by someone else) so please speak out if you notice I'm doing something fundametally wrong or missed something or theres a better way to do something I'm just guessing as I go!! Id like to think this post will help me, you, and others. Itll give a good reference to others and my questions maybe the same as someone elses in the future, who knows!!
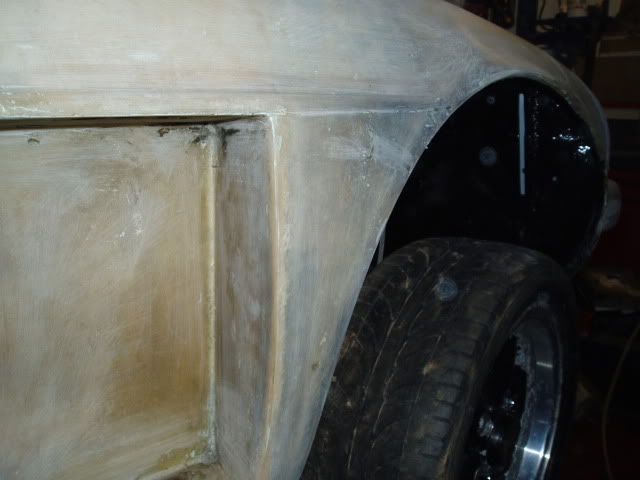
I had hoped to keep the front arches as they where with just a few patches to get them solid again but on further investigation that wasn't going to happen
here it is, in the past its actually had a whole new wing on this side which I noticed when I got the car.

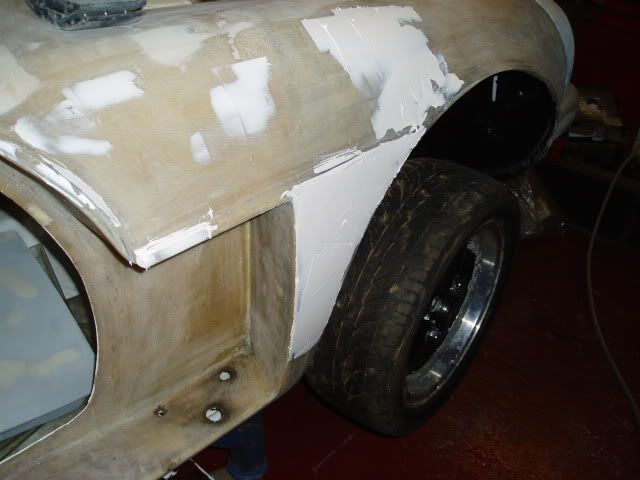
I cut the flat part hoping to keep the imp arch shape but the condition of the inner arch is going to stop that really here it is


cut all the front sill section out so I could work on everything properly it was shot and in the way


Also made an executive decision and chopped the left over sill piece, so I'm going to be working on the flat area now.


After going at the front with a small screw driver I was left with all this open air! hows it all meant to look?

Took a bit more out so I could put the new sill in place

With a gap left at the front

the sill was too long

So re did the end

Now I need to decide how I put the sill on, I need to half one of the flats so I can put one over the other and weld, just cant decide which way yet??


Out of interest I bent the extra lip on the new sill out of the way (got to late to wizz it off) and placed the new sill under the old lip

the next photos show the new and old lips touching each other properly and one with the lip to floor edge touching, both showing the angles/size of the sill is too big so need to think of some way to sort it out???


Less photos this time around!
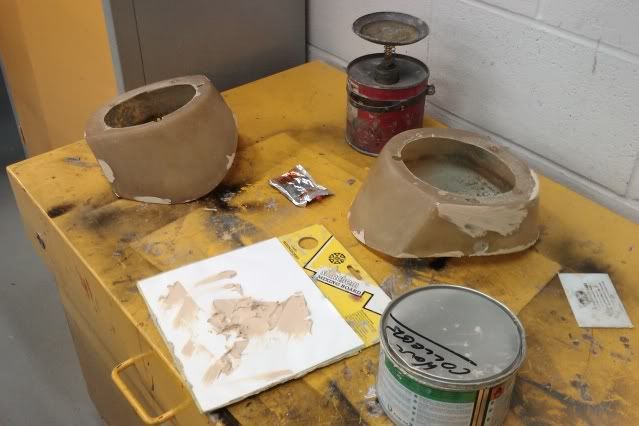
Today I thought Id have ago with the rust remover gel, and honestly I didn't set my hopes high and I still feel disappointed with the results especially since I followed the instructions it spent over two hours on there!
Also I didn't like how I had to then wet the whole area over to rinse it off


After drying (i used a heat gun to make sure the water had all gone!) I stuck to the original liquid stuff which instead of thinking it can remove it all it basically kills it and blocks it from coming back, starts off blue and goes black when its worked.

Think I'm going to need to do something with the rear of the inner sill/floor edge etc
as the rust has had a good go at it too leaving a hole starting.

Also I had been planning on getting some welding done tomorrow but the sill is just to big

Think I'm going to have to take the top fold off and bend the panel over again 10mm further down the face, Ill have to wait till Monday as I will use the folder in work :wink: Just bad as Its another fold that could go wrong but I don't see any other way of doing it, unless I weld on a strip of metal 20mm wide the full length of the inner sill/floor edge and have the sills then attach to the extra 10mm that's over hanging, making the floor look lower than it is??
Also marked up the new piece that will sort the original sill piece out ready to cut on Monday and fold. Then I had a go with welding again and doing some spot welds and joints made by the joggler.


But those figures changed when I wasn't happy with an earlier test it now reads MAX2 Wire 6!!! just seems the only way to get my welder to do anything decent!
SORRY AGAIN FOR THE BIG CATCH UP!!!


 ) and interior!
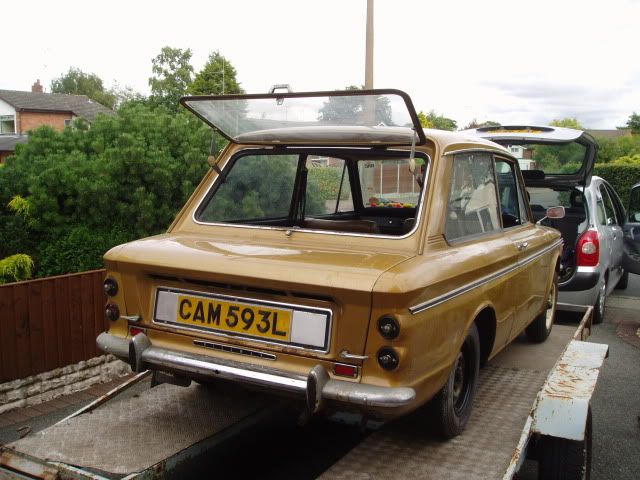


 ;D
;D 


 though.....


