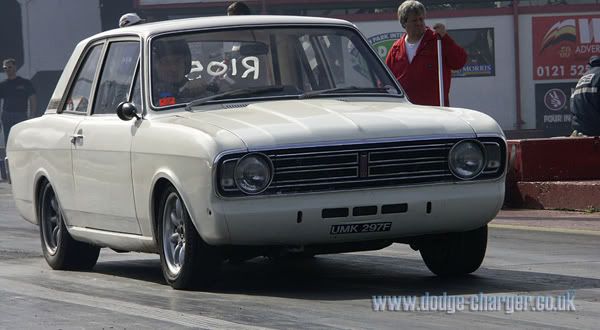
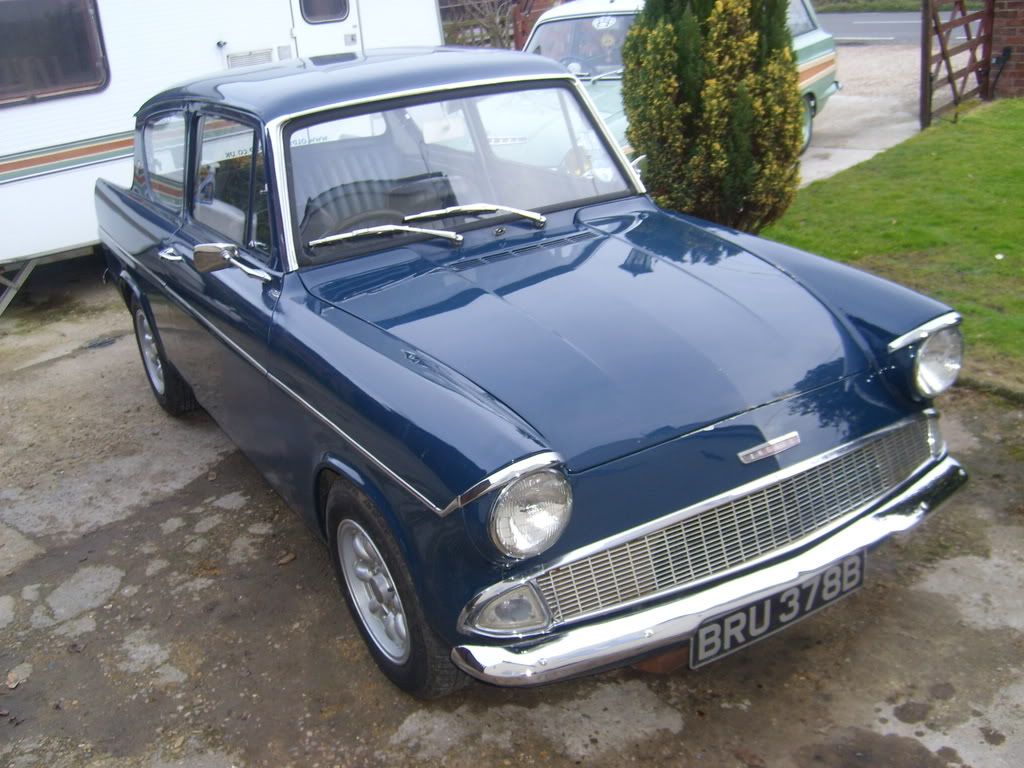
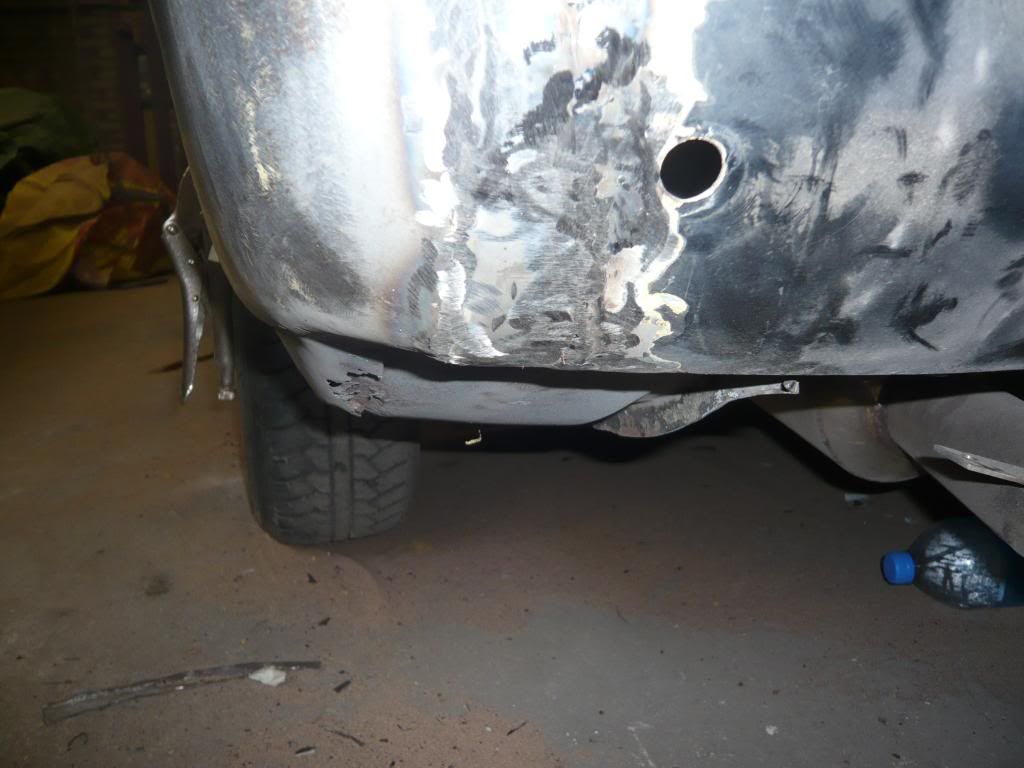
Hi everyone, I have been looking at this forum for ages now and have finally got around to showing one of my current projects. This is my Cortina 1600E that I purchased around a 18 months ago. I had the cash in my hand to either pay off my credit card bills or go and buy this car as a run around. heart ruled my head and I drove over 100 miles to fetch it. When I left my house in Birmingham the weather was beautiful. When I left Bradford the weather was still beautiful. The Second I hit the motorway The rain started and it was seriously terrential, the wipers were useless and the car was fishtailing all over the road so I got off the motorway 2 junctions early to try and make my way safely home. First round about I got to the car swapped ends and met a crash barrier  The car was still running but the front wing was rapped around the wheel , the headlight smashed, front valance battered and the headlight cowells also a nice new shape. The Rear lights were smashed and the whole rear quarter was also caved in. After pulling the front wing off I managed to drive the last 30 miles home and haven't touched the car since.
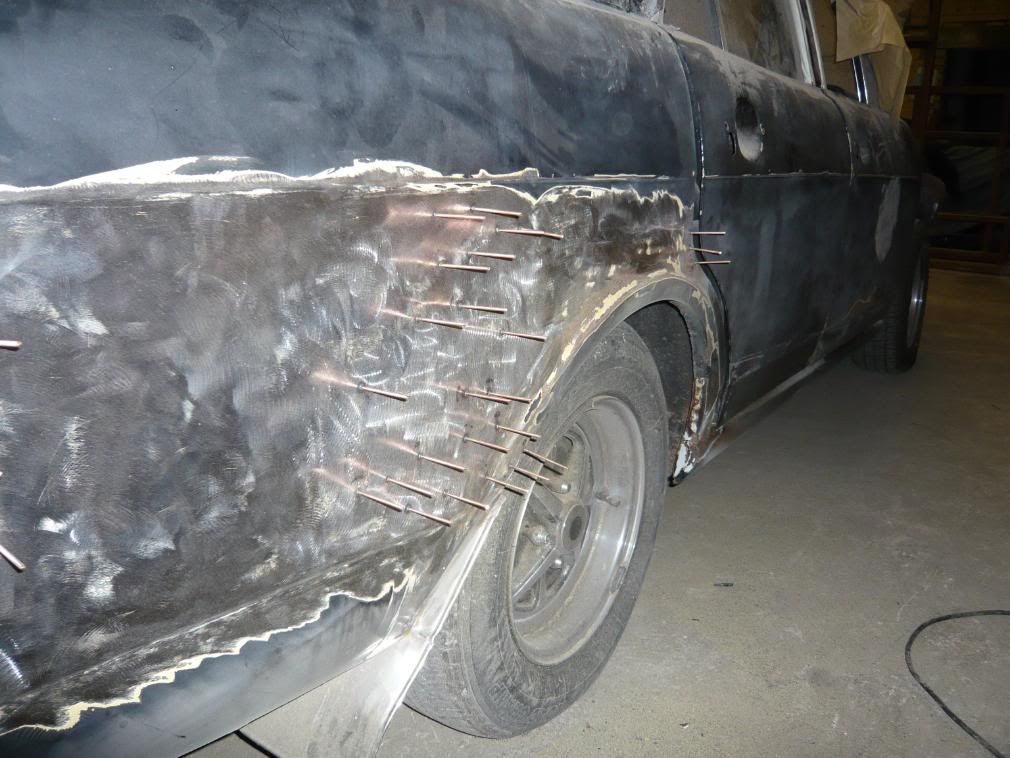
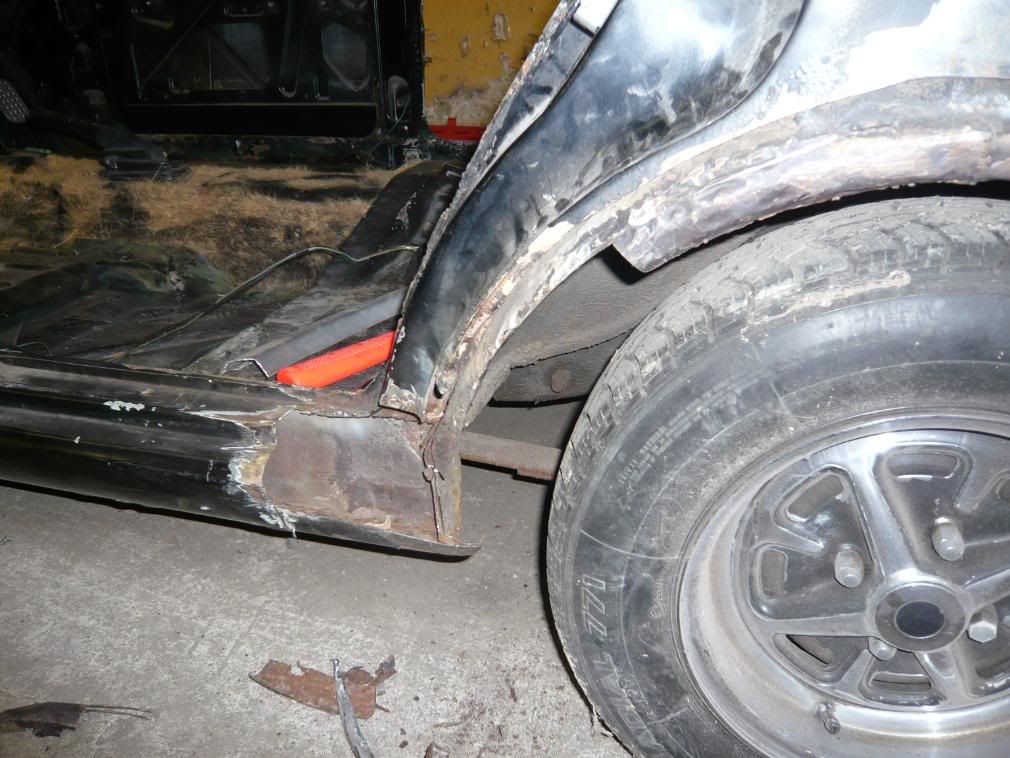
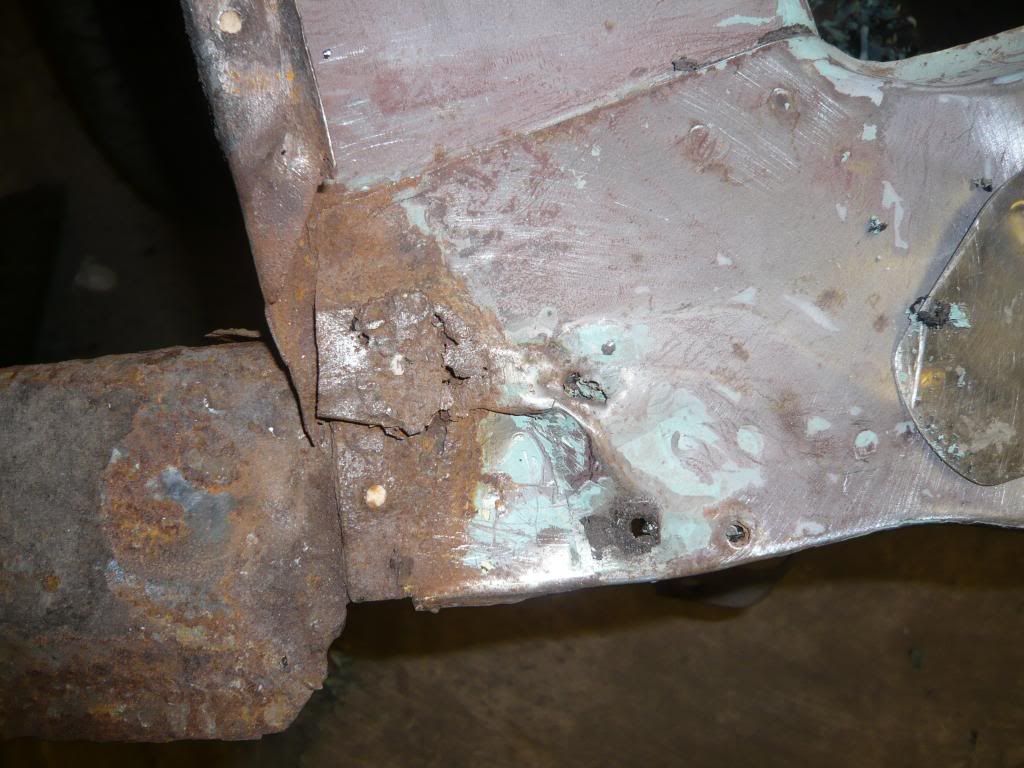
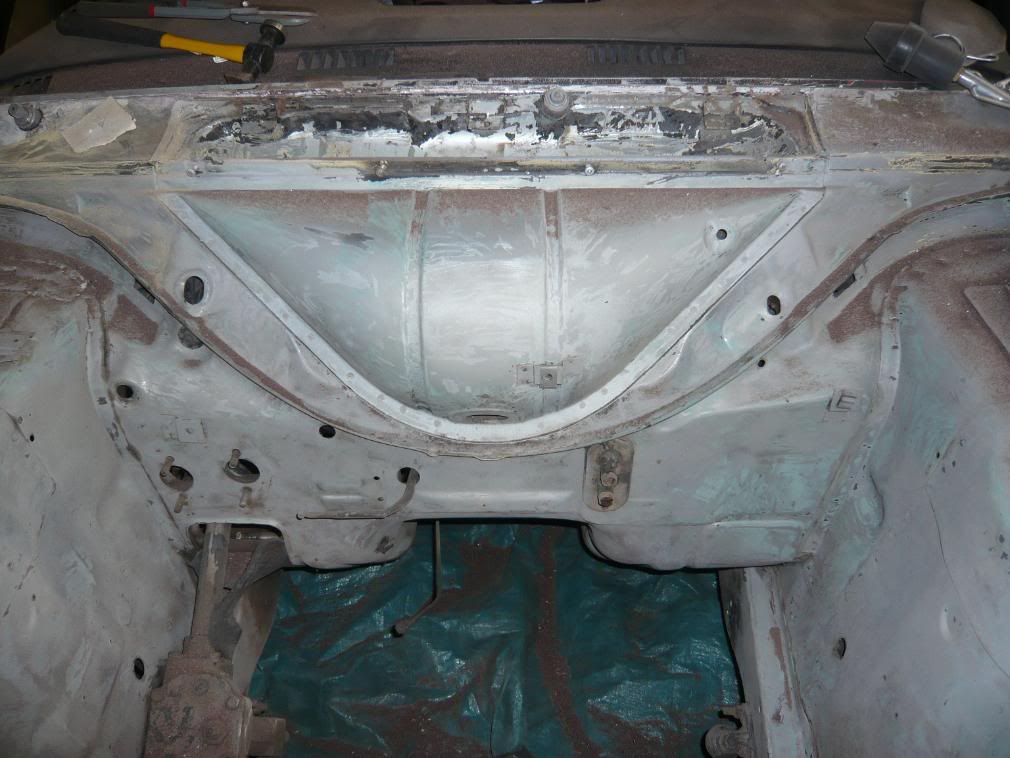
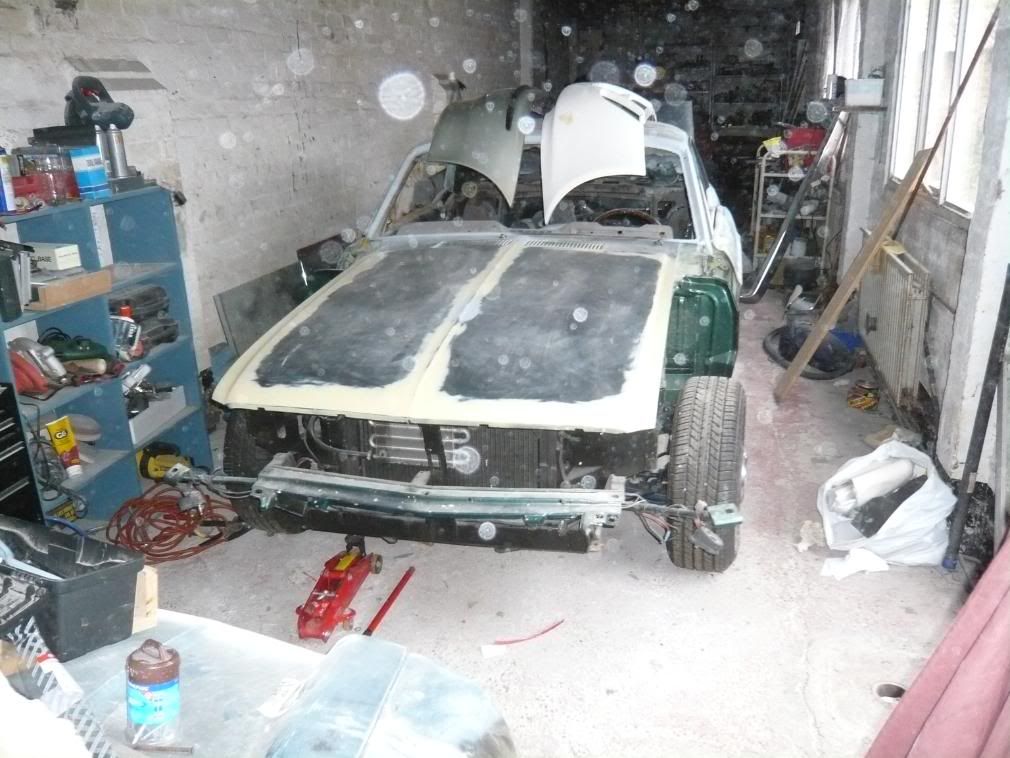
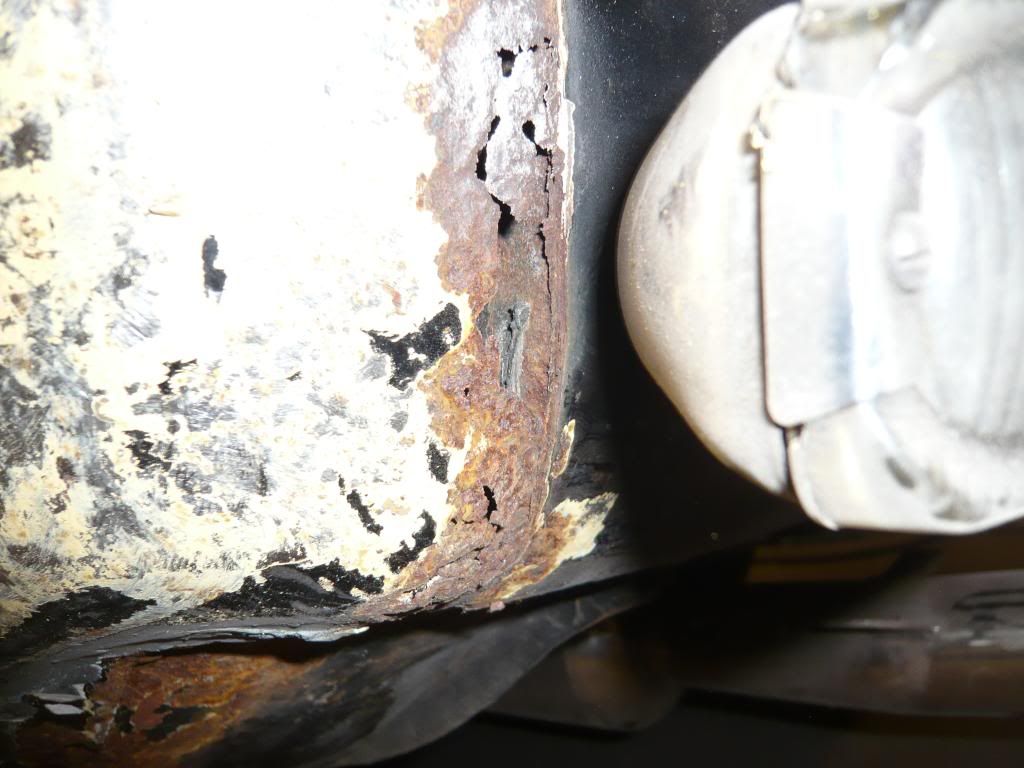
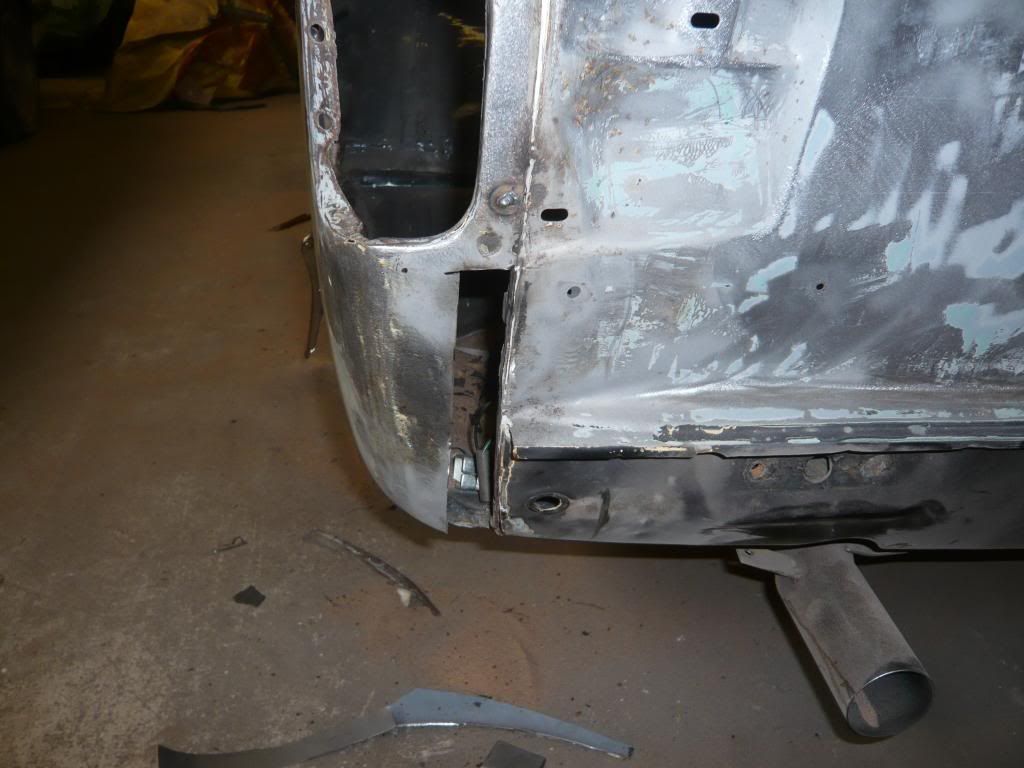
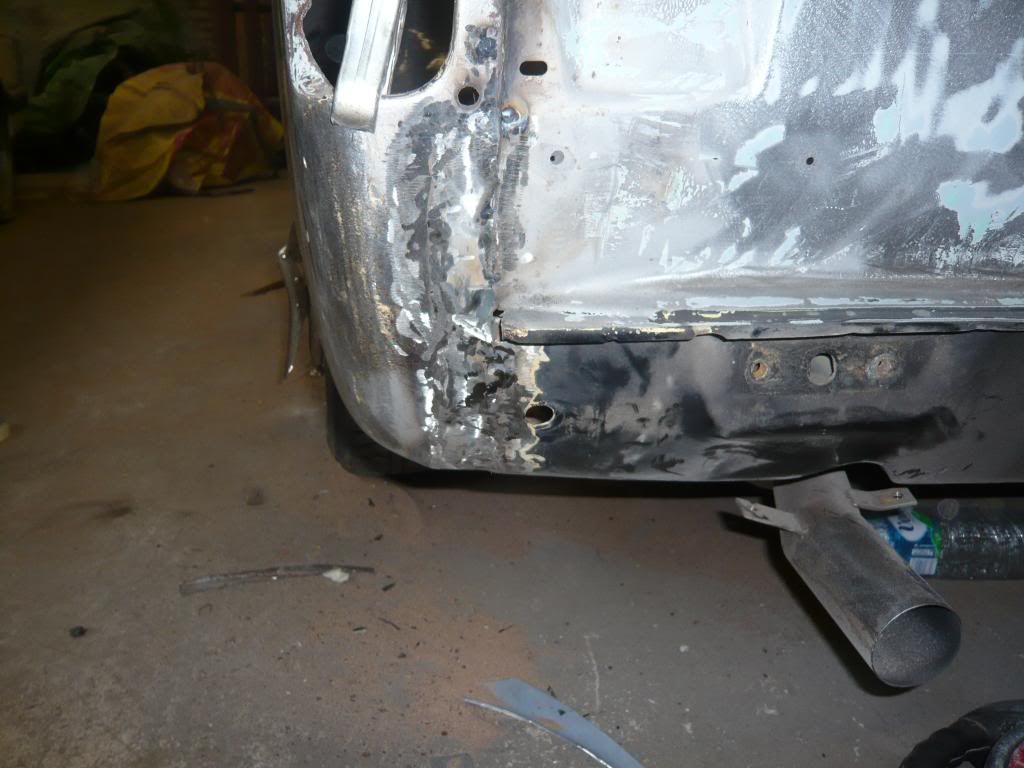
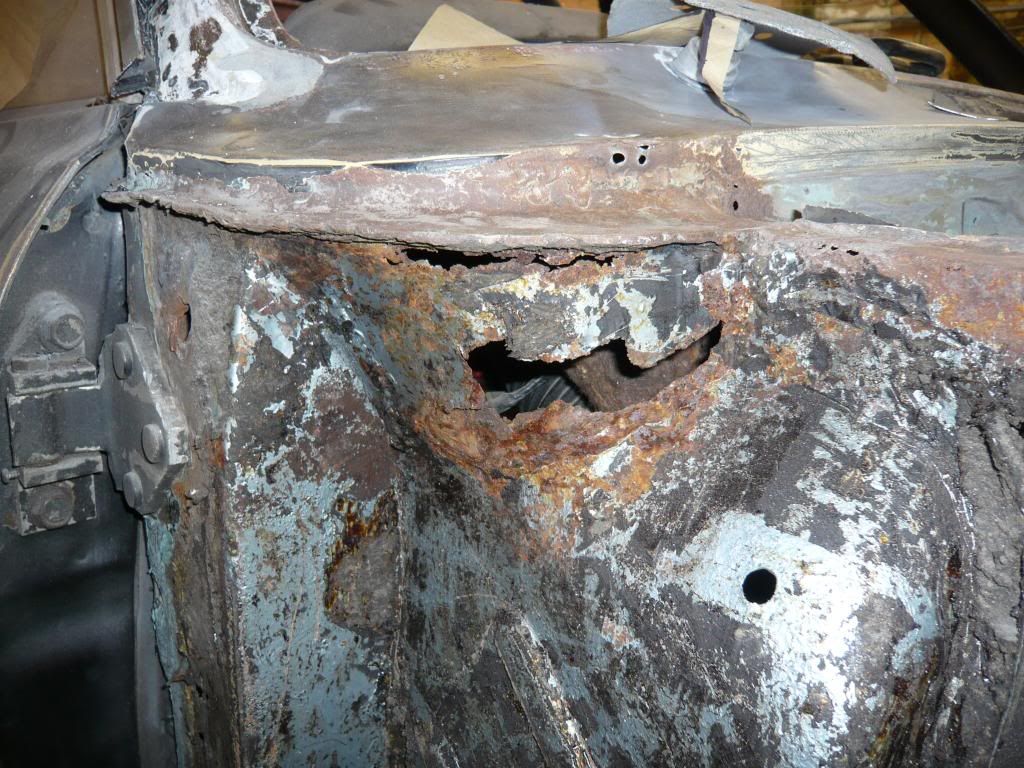
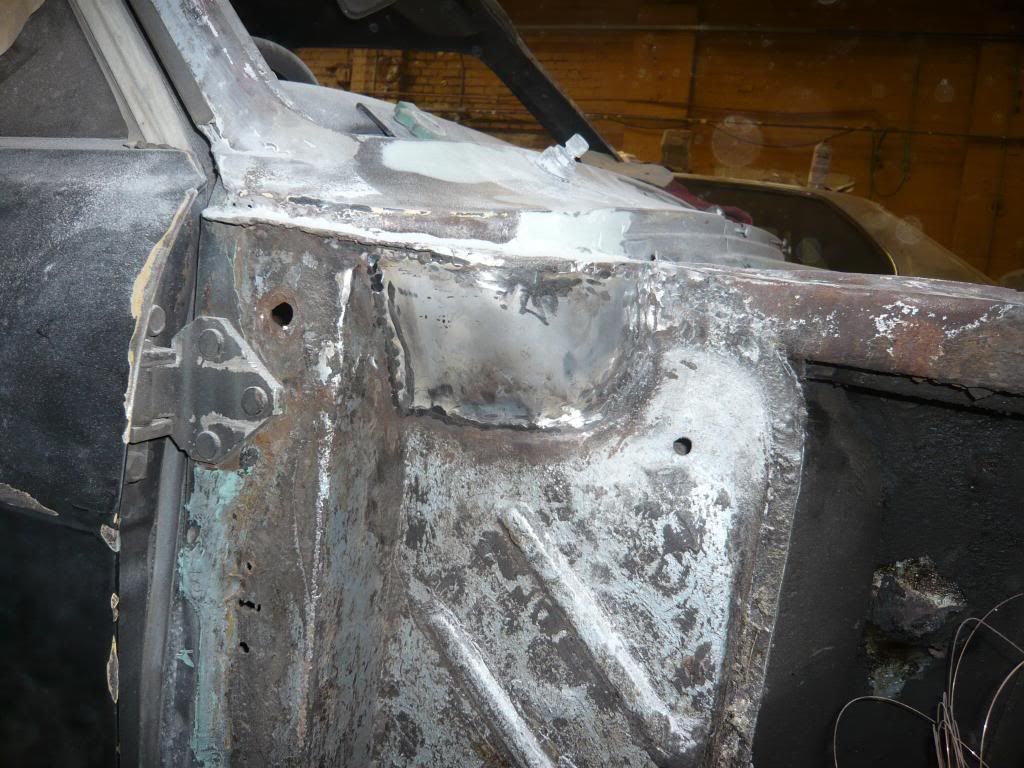
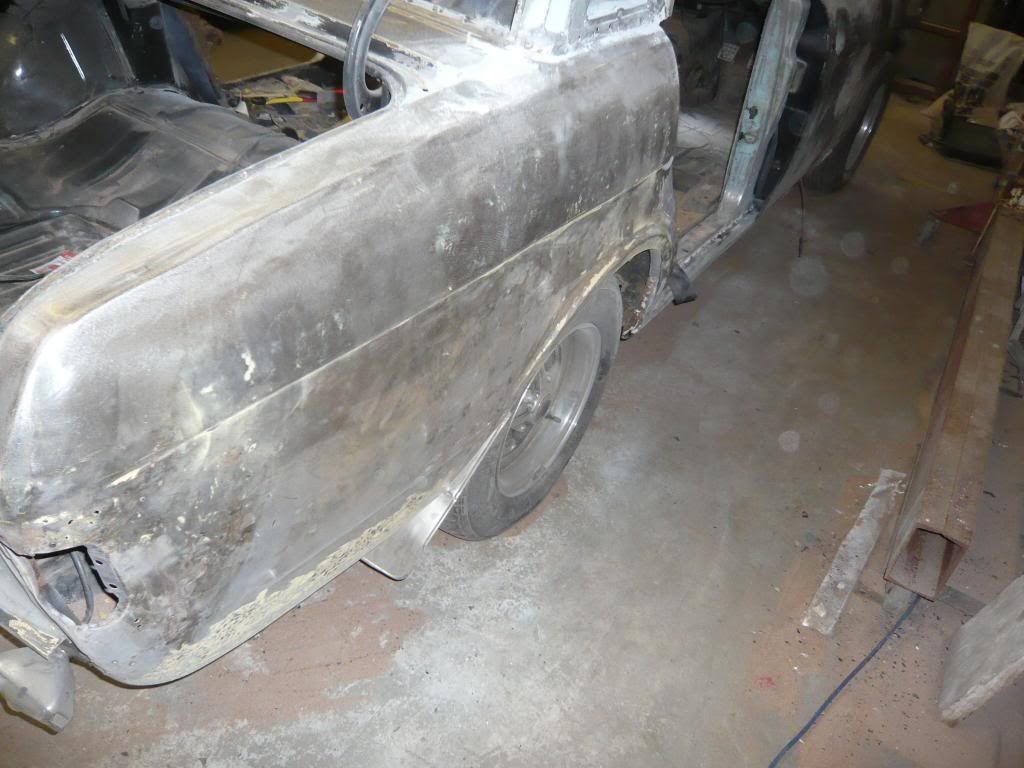
18 months later the car is still sitting in the garage and my credit card bill still hasn't been payed so its time to fix the car and try and make some money back. It was in need of a respray when I got it so theres not much extra work I wouldn't of had to do anyway. just lost the heart at the time. The vinyl roof has come off as there was a lot of rust bubbles underneath and will go back on when I'm finished. the car was originally silver but was resprayed black. unfortunately it has been sprayed black all over, inside the boot, in the engine bay, behind the dash so it is going to be easier I think to leave it black. I'm sticking with the rostyle wheels and am going to leave off the front bumper for a cleaner look. Plus the rust, it really is rotting on every panel, not too good with my new welder yet but I think I need to learn what does everyone think?


 The car was still running but the front wing was rapped around the wheel , the headlight smashed, front valance battered and the headlight cowells also a nice new shape. The Rear lights were smashed and the whole rear quarter was also caved in. After pulling the front wing off I managed to drive the last 30 miles home and haven't touched the car since.
 18 months later the car is still sitting in the garage and my credit card bill still hasn't been payed so its time to fix the car and try and make some money back. It was in need of a respray when I got it so theres not much extra work I wouldn't of had to do anyway. just lost the heart at the time. The vinyl roof has come off as there was a lot of rust bubbles underneath and will go back on when I'm finished. the car was originally silver but was resprayed black. unfortunately it has been sprayed black all over, inside the boot, in the engine bay, behind the dash so it is going to be easier I think to leave it black. I'm sticking with the rostyle wheels and am going to leave off the front bumper for a cleaner look. Plus the rust, it really is rotting on every panel, not too good with my new welder yet but I think I need to learn
 what does everyone think?


