craig1010cc
Club Retro Rides Member
Posts: 2,998
Club RR Member Number: 35
|
|
May 16, 2009 19:56:08 GMT
|
Had a productive couple of days at the lock up. Owen came over yesterday to lend a hand, cheers chap  So the brace bar/ front end support is now welded up and bolted on and we started to make the lower rad mounts. 1/2 way through and the genny packed up :x This kind of hampered us, so we decided it was time to get the engine fired up again as it hadn't been run with the extra silencer and the airflow meter connected. Well i don't think i'll struggle with noise regs  Took a bit of tweaking to get the airflow meter calibrated (and it's still not 100%), but it was a big boost to hear him running again  So today i decided to make a start on sorting out the wiring and dials. So the old dash was removed and i could then play about with the positioning of the Tigra dials This i think is where they will end up as it in front of the driver, the speedo cable will want to go through the brake master cylinder  I then set about replacing the stock 4 fuse set up with 2 lots of 8 blade fuse boxes. To make this easier, i also bolted in the nova GTE seats on the bodge brackets they came with. too far forward so some new ones will def be needed 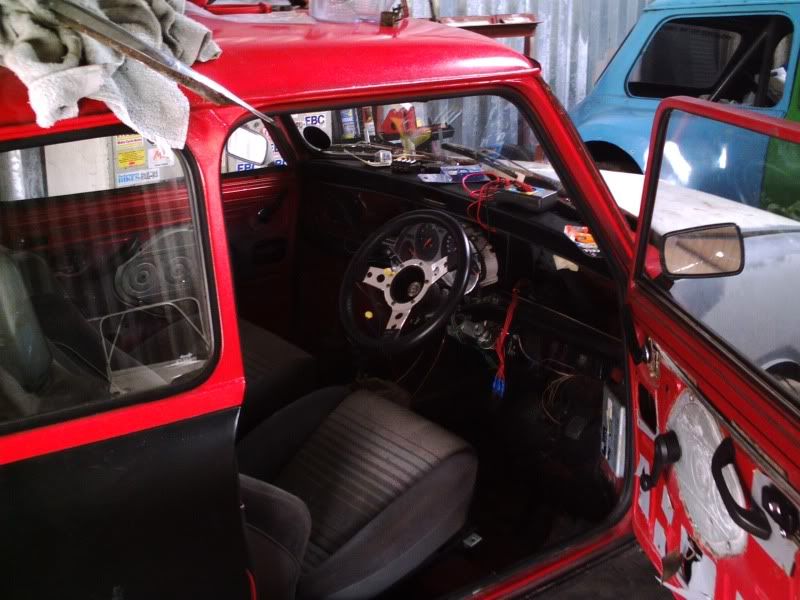 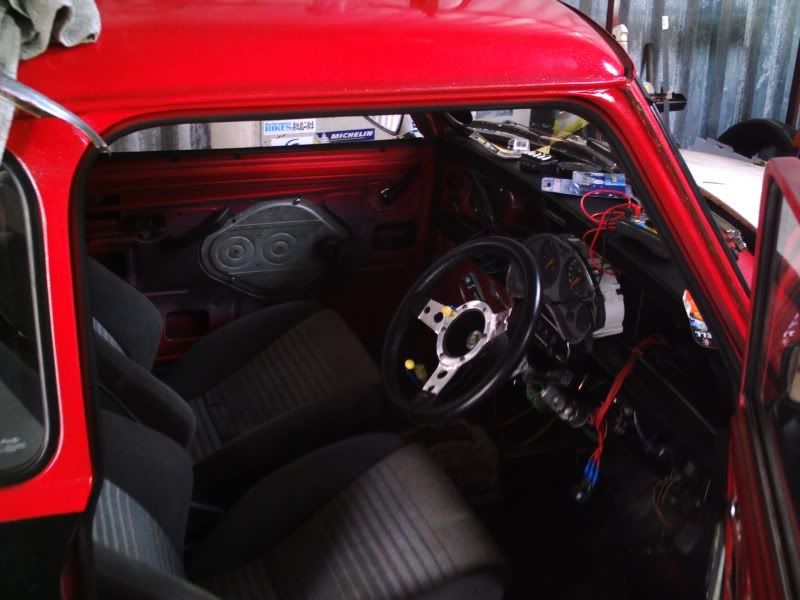 Then i decided to have a play with the bonnet pins. I think this is where they will end up being 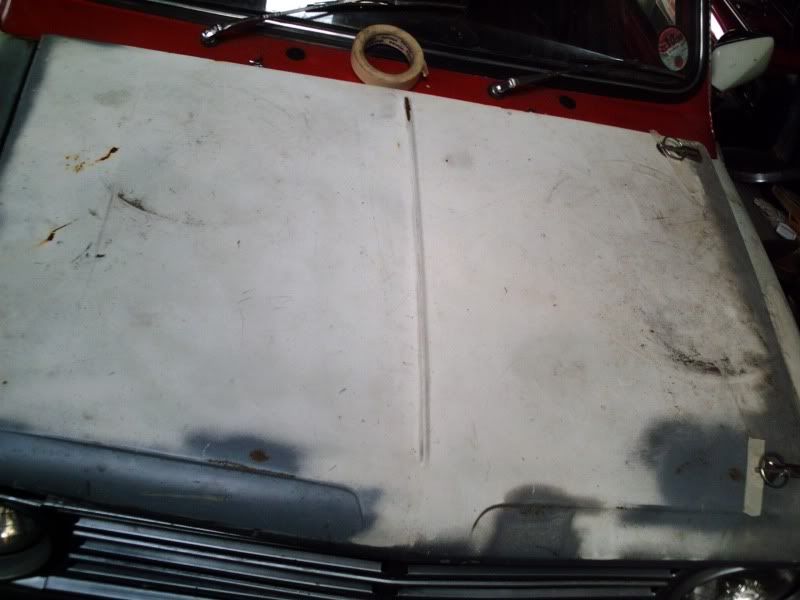 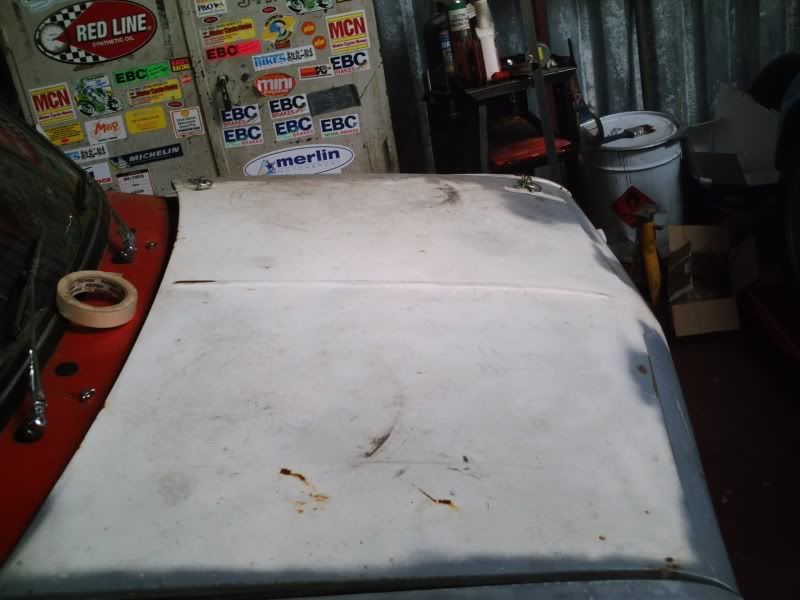 |
| |
|
|
|
|
|
|
|
|
|
|
Absolutely fantastic.
Now, it may be the whisky talking, but get that Mk1 Golf GTi grille on there.
|
| |
|
|
craig1010cc
Club Retro Rides Member
Posts: 2,998
Club RR Member Number: 35
|
|
May 17, 2009 10:32:27 GMT
|
|
We have considered it (it's from a mk2, i think a mk1 would need to be narrowed less). I think though it will be a later project, once it is on the road.
We tried in it the widend front end of my mates semi spaceframed mini(the green and blue one in the background having a VVC lump fitted), and in that it needed to be stretched!
|
| |
|
|
craig1010cc
Club Retro Rides Member
Posts: 2,998
Club RR Member Number: 35
|
|
May 18, 2009 19:12:11 GMT
|
Well, another couple of productive hours spent today The bonnet pins are now fitted, need a bit of adjustment (front is a bit far forward at the mo and i might wind the back down an inch) 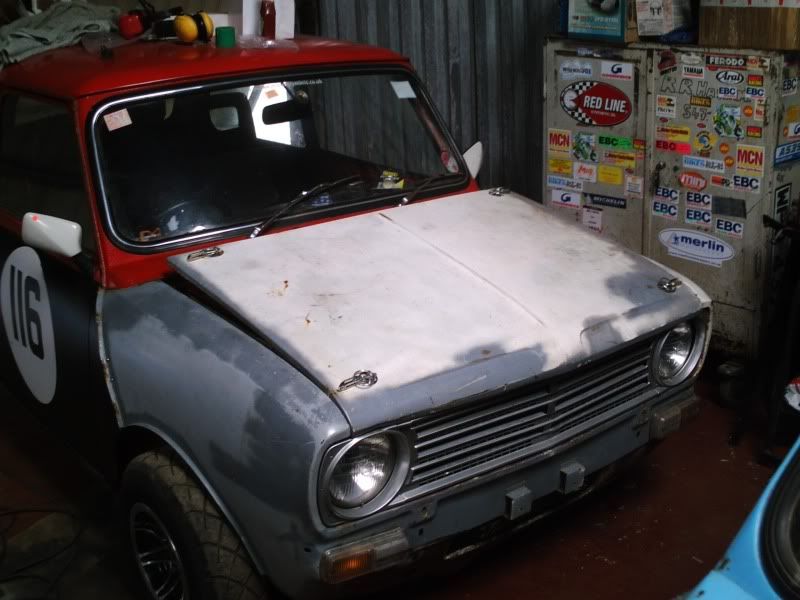 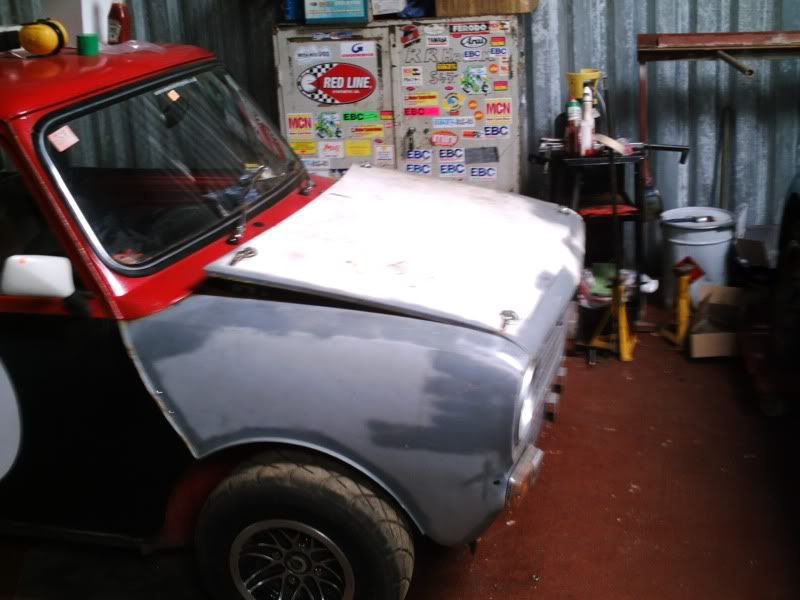 Then it was on to the rear number and numberplate lights. As the boot i got from Keith has been partly smoothed, i soured some LED numberplate light bolts which will do the job. Nearly drilled into the tank, but realised in time :shock: 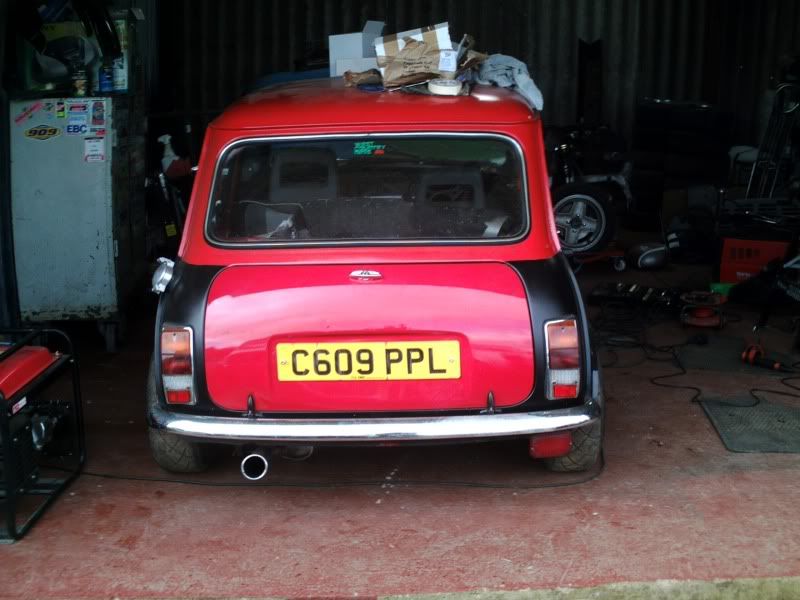 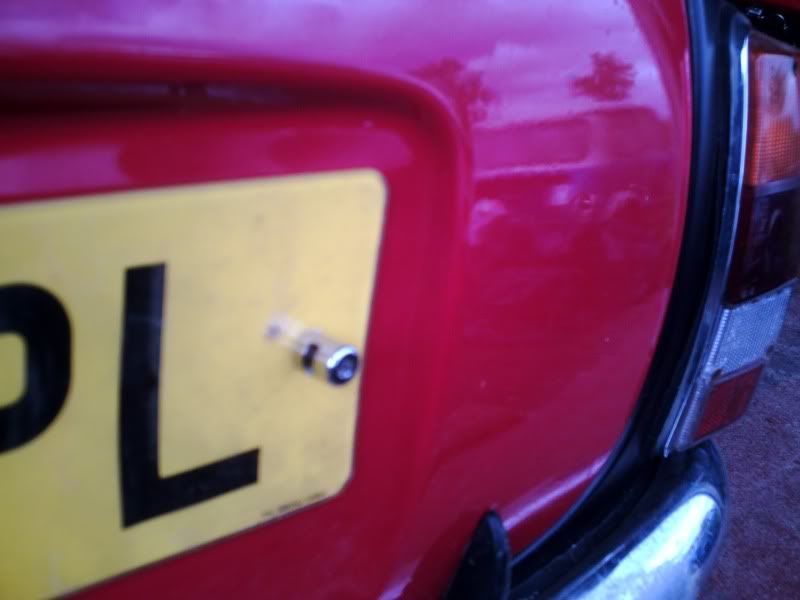 then got bored, so repainted the spare clubby grill in gloss black 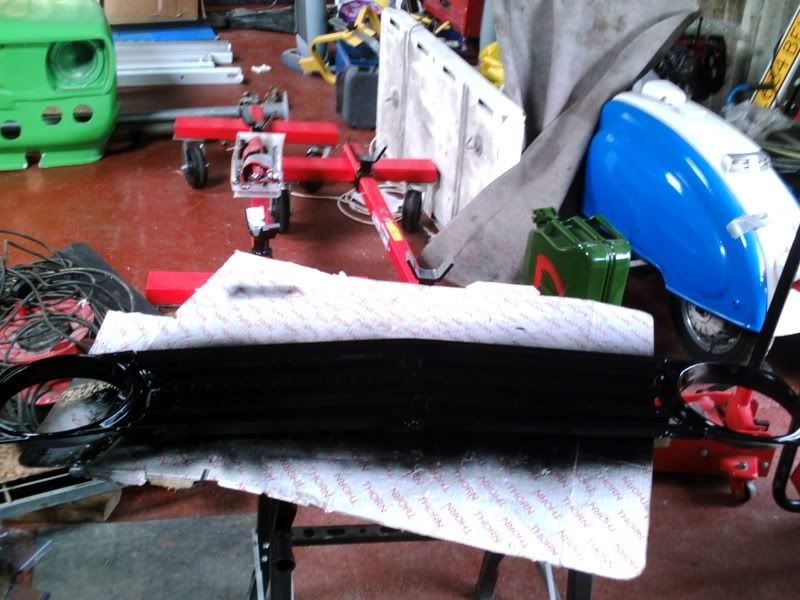 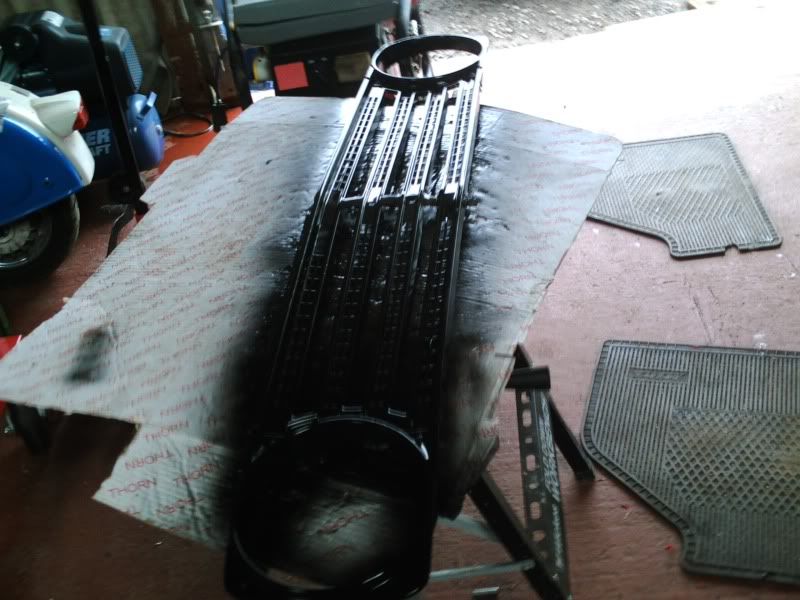 So a few more jobs ticked off the list  |
| |
|
|
|
|
|
May 19, 2009 19:46:37 GMT
|
|
Great work, this thread is a pleasure to read as a whole. Have to confess that I always favour a round-nose over a clubman but needs must and the world NEEDS more crazy-engined Minis!
Can't help but notice the enormous supply of Minis knocking about your lock-up - what's the deal? I'm suddenly hankering after a ruined old Mini to play with...
|
| |
1969 Land Rover Series IIa
1980 MG Midget (bro's)
1981 Land Rover Series III
1981 Mini 'Cooper'
1982 Mini HL
1983 Mini Sprite
1987 Mini Advantage
1994 Mini Sprite auto (oil leak left as standard)
2002 Alfa Romeo 147
|
|
craig1010cc
Club Retro Rides Member
Posts: 2,998
Club RR Member Number: 35
|
|
May 20, 2009 12:29:29 GMT
|
we have got a few up there, 2 in work that are mine (plus my cooper which is back on the road after its rebuild), garry has 2 in work, a 1293 clubby track toy + a Marcos project so plenty to keep us busy  Plus there is a Mini specalist next door as well which is handy ;D I know what you mean about the clubby nose, i never used to be a fan. But i restored one a few years back which is now in Ireland and i fancied another. We could have got the 8v lump in the stock nose, but it would have been a lot more work and it scratches my clubby itch so to speak  |
| |
|
|
craig1010cc
Club Retro Rides Member
Posts: 2,998
Club RR Member Number: 35
|
|
May 23, 2009 18:24:19 GMT
|
Bit of a mixed day today. Decided to do a bit on the cosmetics side. So, the boot was stripped and given a coat of satin black 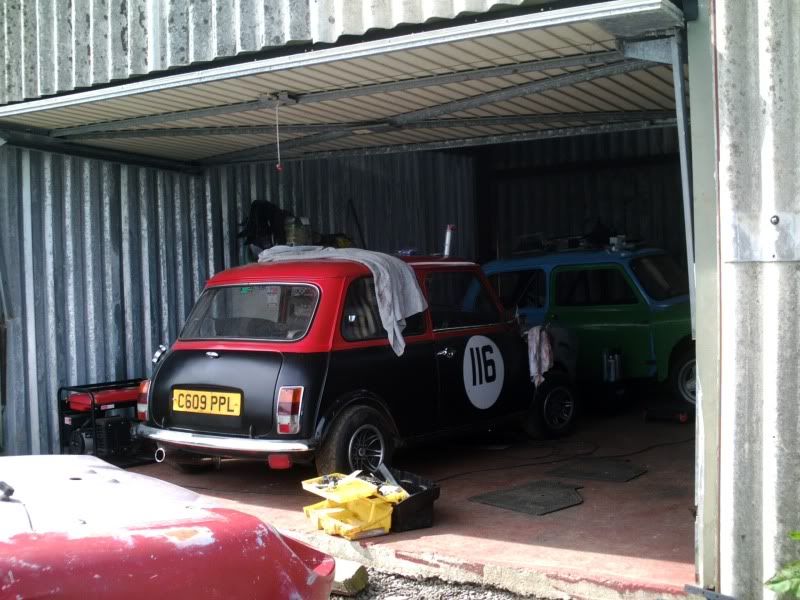 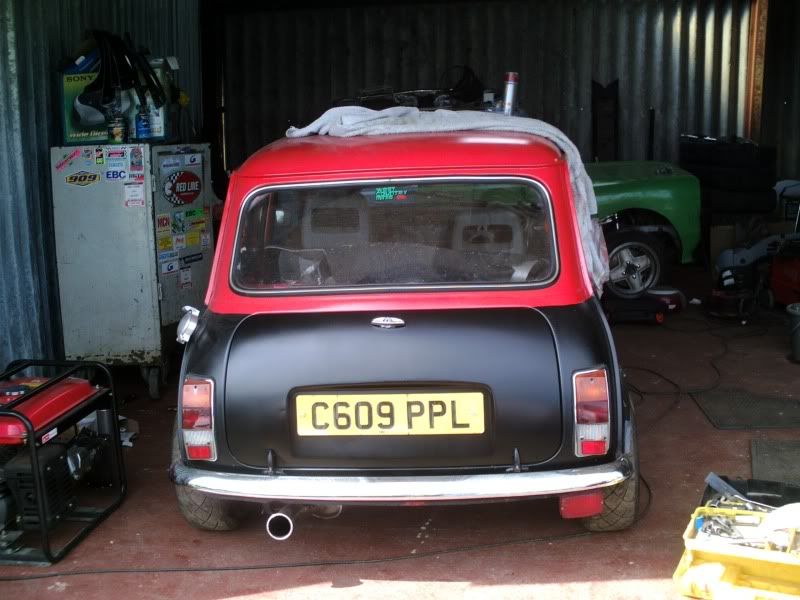 But i broke one of the wires for the numberplate lights inside it so i'll have to order another set :doh Then on with the front end. Spent a while trimming the remaining bits of the original mini it came off of and it now sits much better  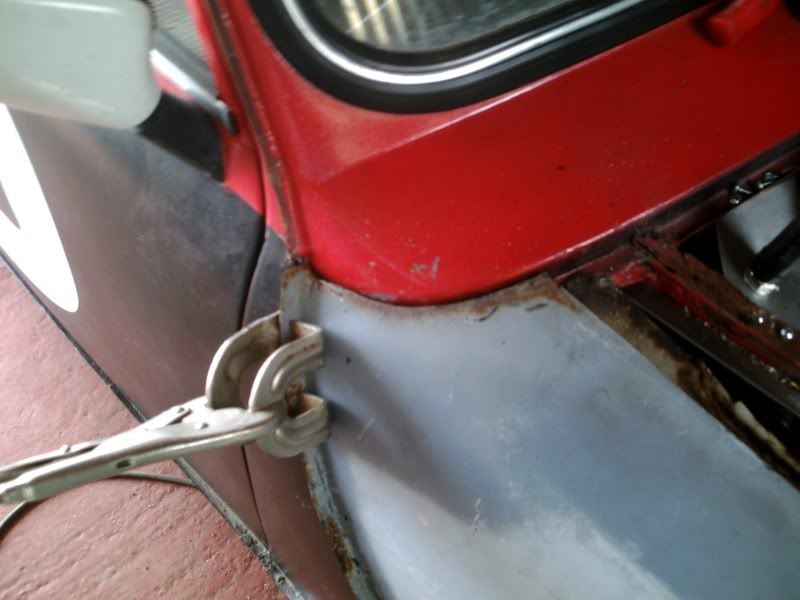 Then needed to trim the front arches to clear the tyres. Came up with a cunning plan as well which worked out really well 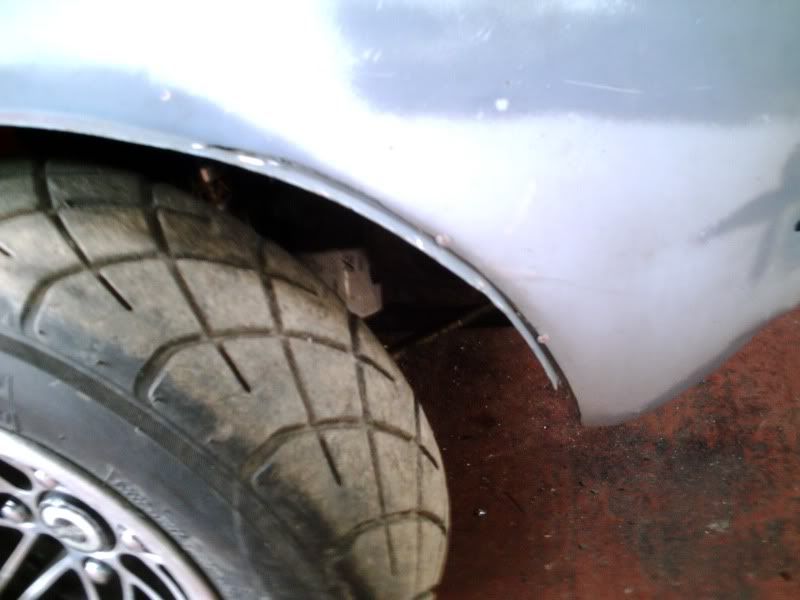 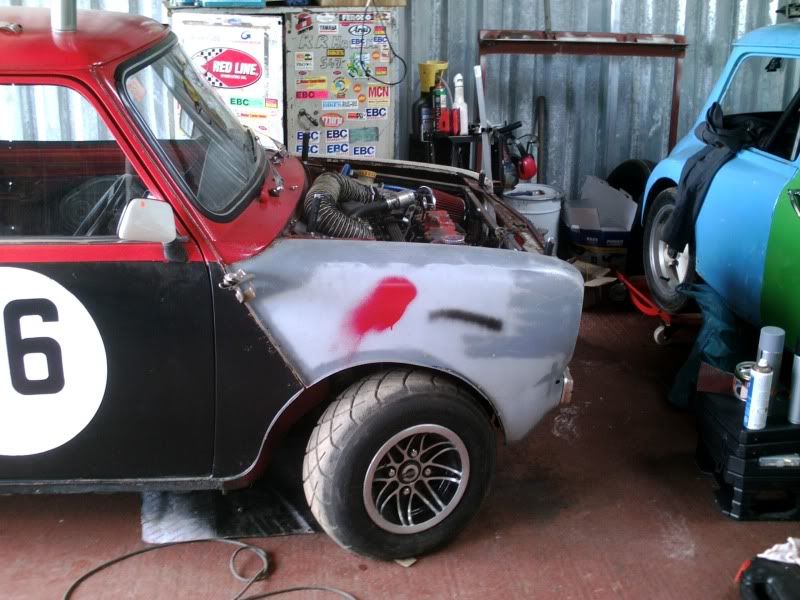 Then time to attack the bonnet. 1st thing was to remove the inner skin as it was rusty and flapping about. With that gone it was then time to sort out a few dents and scratches. This turned into a mamoth filling and sanding session and this was where i left tonight. 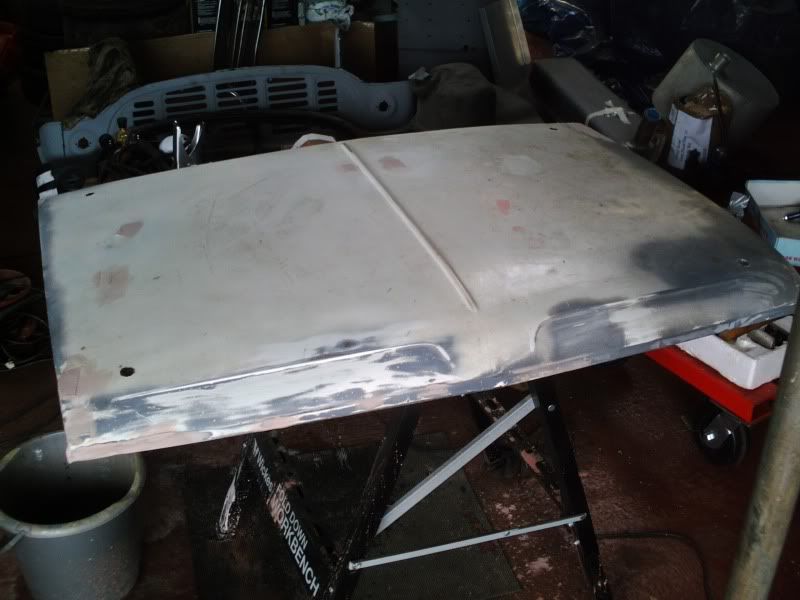 Hopefully no more to go on, just needs the final rubdown before the paint goes on  |
| |
|
|
ChasR
RR Helper
motivation
Posts: 10,307
Club RR Member Number: 170
|
|
May 23, 2009 21:46:59 GMT
|
|
That looks great on the Cosmics!
|
| |
|
|
craig1010cc
Club Retro Rides Member
Posts: 2,998
Club RR Member Number: 35
|
|
May 27, 2009 21:26:43 GMT
|
Big progress this evening thanks to Gaz, Owen and James (Tinxy). The repaired caliper is on, the 1st attempt at bleeding the brakes (not very sucessfull sadly  Keith is going to crack this on Monday with some new cooper S rear cylinders to replace the 8.4's). The front end has been bolt checked, the low pressure pump is now bolted in place, and the overflow from the swirl pot was re-routed to the tank breather. So it was time for the 1st drive :-D backing out of the lock-up, hmmm, what that smell................petrol! :shock: was leaking from the tank overflow. with the aid of a better hose clip and some gaffer round the outlet, it was fixed well enough for the test run. So fired back up, still running lumpy, after much head scratching Owen remebers when it did something similar when he had it "bet the plugs have fouled from when running without the airflow meter". Sure enough the plugs where black. New set in and purring nicely (well, once the leads where back on the right plugs :lol:) The 1st drive was pretty sort, party due to the lack of brakes, but also it was grounding out all over the place  But a couple of squirts on the loud pedal and boy does it go  And to celebrate when we put him away after wards, he dumped 1/2 ltr of coolant on the floor (new thermostat gasket needed) only one pic at the mo, but gaz got a couple of vids which should be up soon   |
| |
|
|
craig1010cc
Club Retro Rides Member
Posts: 2,998
Club RR Member Number: 35
|
|
|
|
And here is the vid thanks to Gaz a small step backwards today, owen popped over to change the stat body so we could get the stat to seal (stripped thread) and i hadn't realised we would need and extra gasket and sadly hermatite wouldn't seal it so that will have to come off again  But the coil is now mounted up on the brace bars so still progress made  And when we bolted the front back on, i thought it was time that the grill went back on  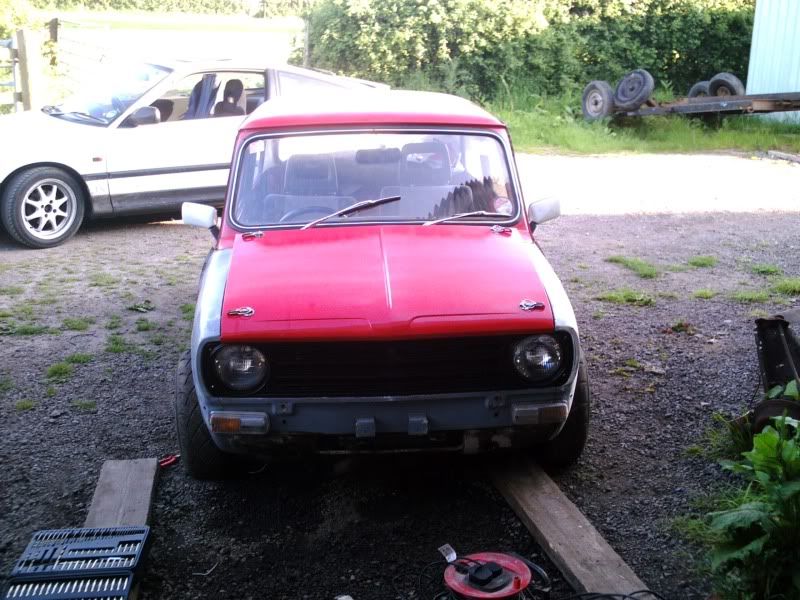 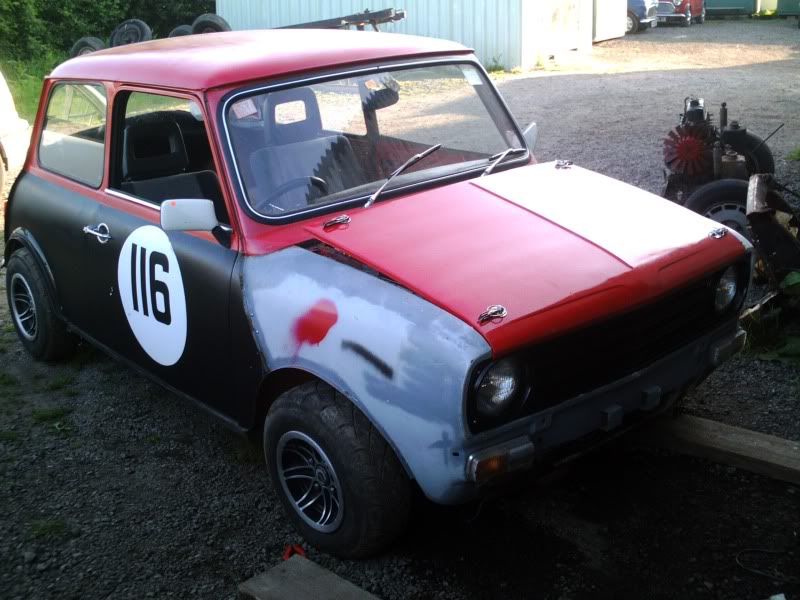 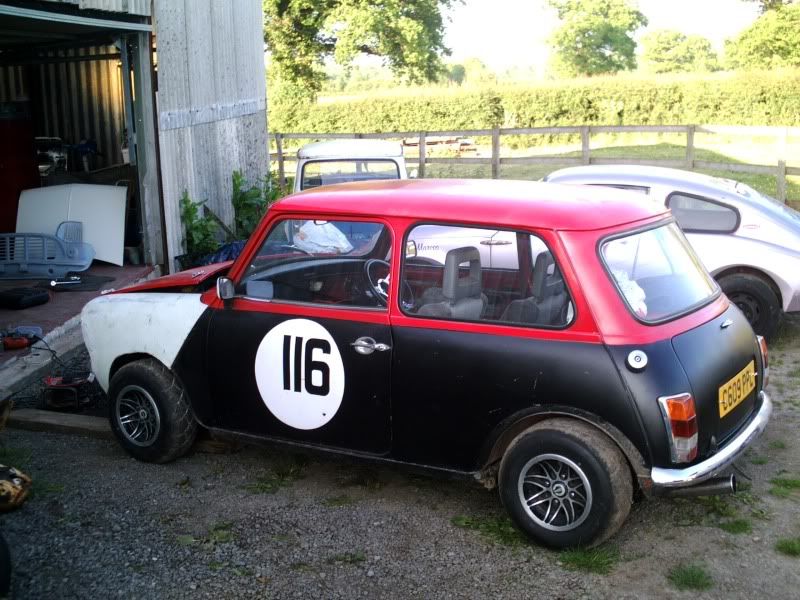 |
| |
|
|
|
|
|
|
|
|
|
Ya bonnet's open!  |
| |
|
|
craig1010cc
Club Retro Rides Member
Posts: 2,998
Club RR Member Number: 35
|
|
May 29, 2009 22:11:58 GMT
|
Ya bonnet's open!   will prob drop the back of the bonnet down an inch before it hits the road mind |
| |
|
|
craig1010cc
Club Retro Rides Member
Posts: 2,998
Club RR Member Number: 35
|
|
|
|
a productive few days up at the lock-up  Keith has sorted the brakes so i now have a pedal (and not a bad one at that) and i have made some progress on the cosmetics too On Tuesday i cracked on with prepping the front end for paint , stone chipped the lower valance and got the red (with flake) on the tops of the wings 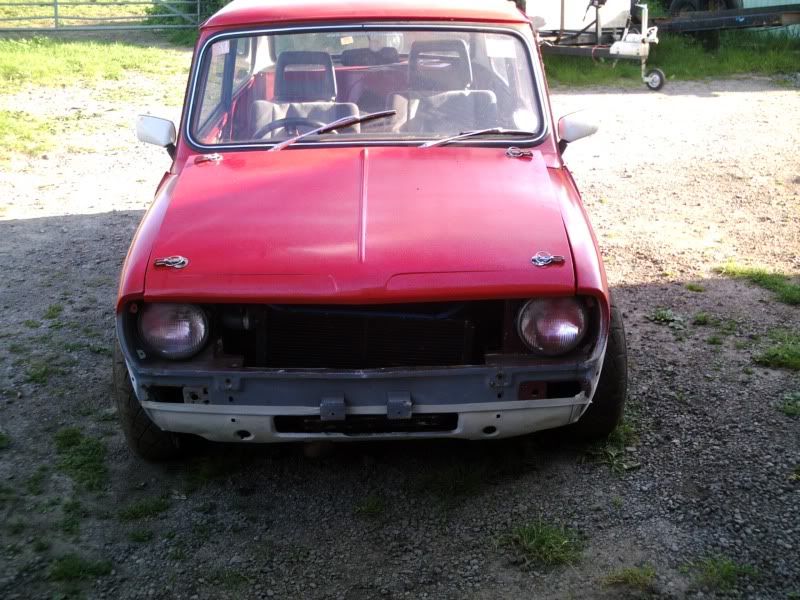 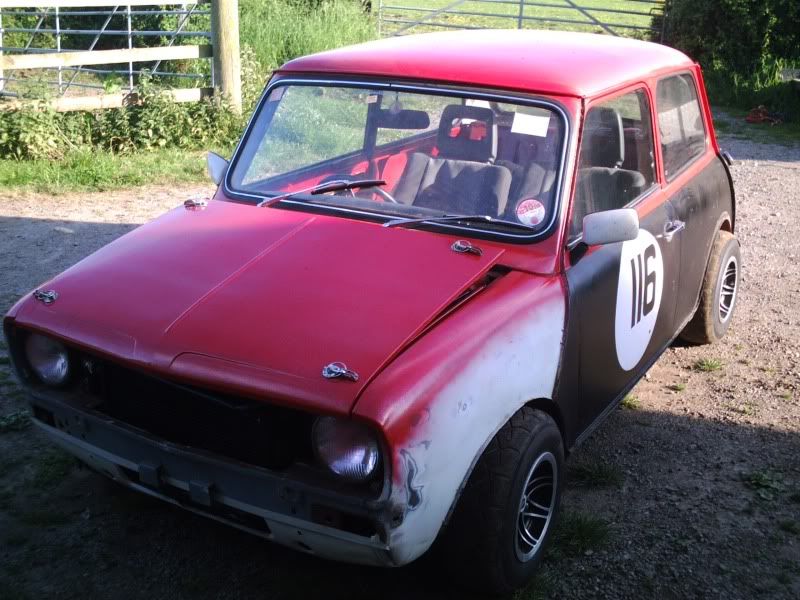 A few bugs decided that they wanted to be apart of the paint job, but due to how hot is was and the speed at which the paint dried it was pretty hard when the landed and i was able to just brush them off ;D Then today it was time for the black 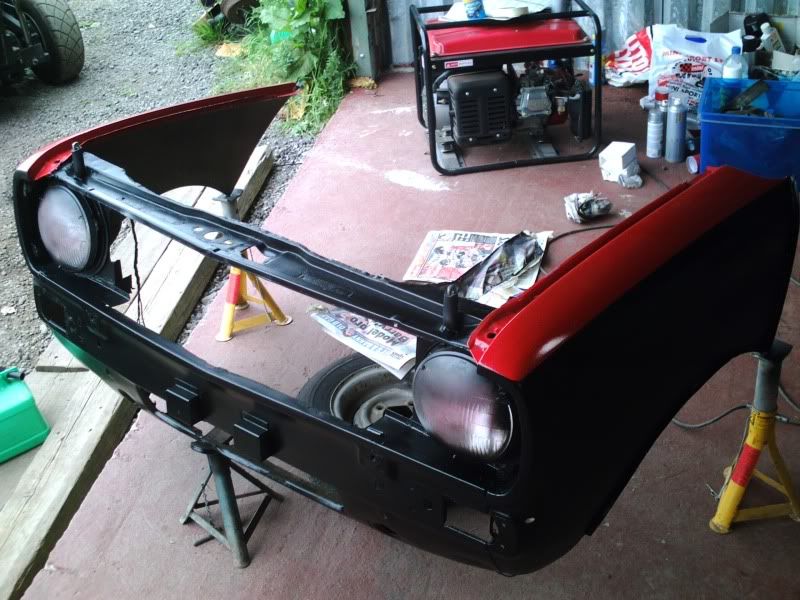 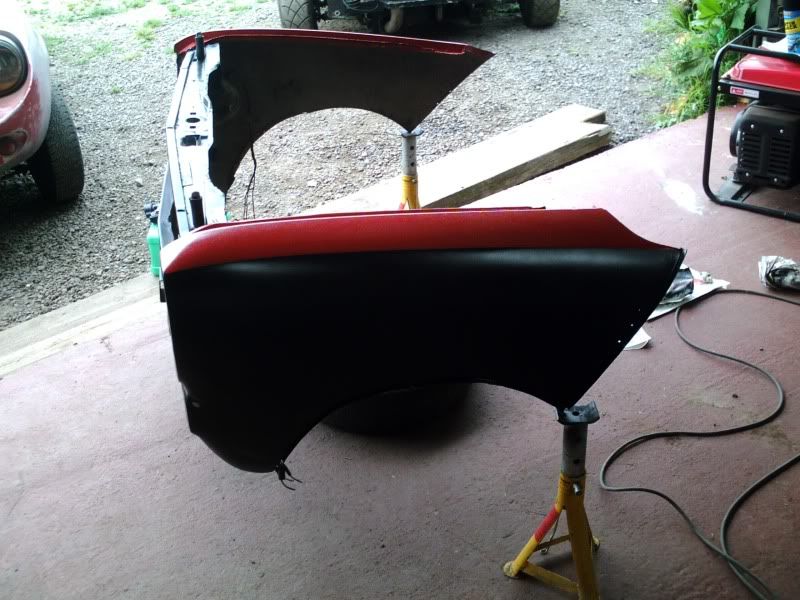 went on well and i am pretty chuffed with it. then on with it and the grill and side light/indicators 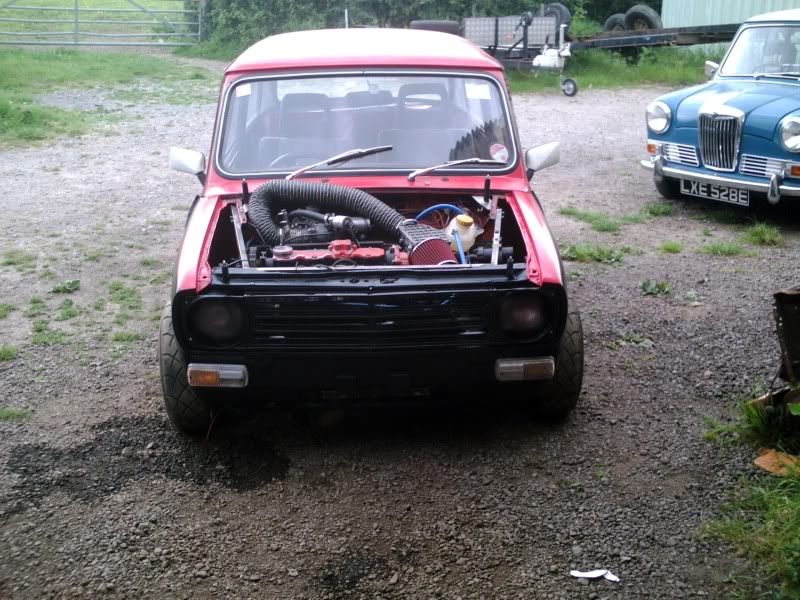 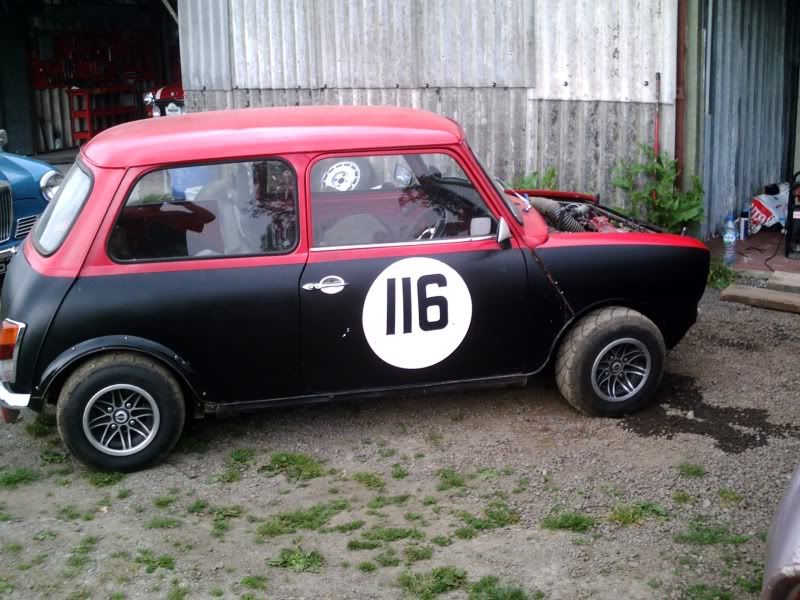 and on with the bonnet 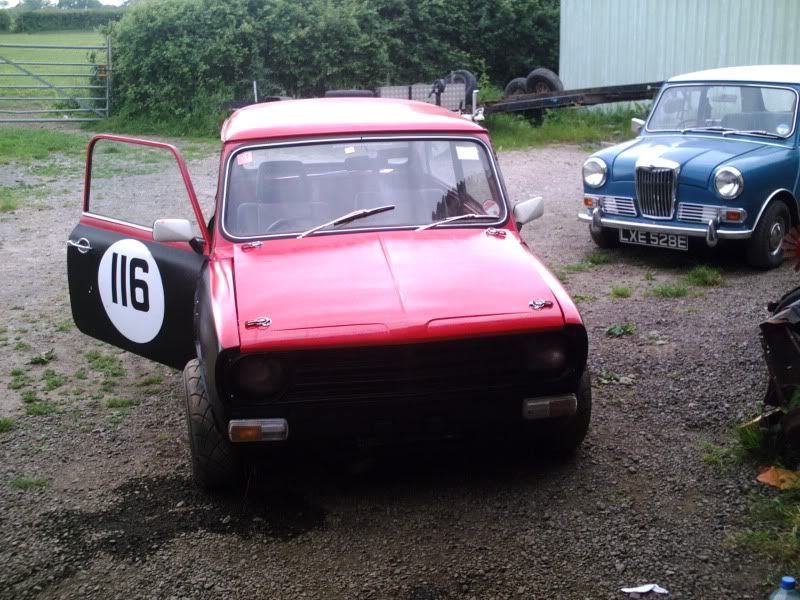 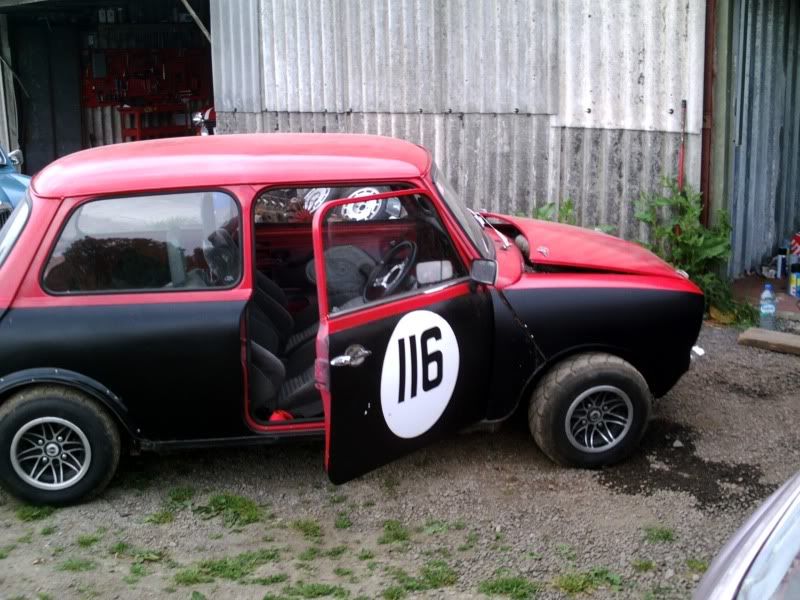 Then it was time to sort the water leak. Armed with a new seal, Owen set too it and it was soon leak proof again  With it all warmed up, it was time for the road test  Didn't go as planned  the cam timing was out by 3 teeth so it died on any more than about 1/4 throttle. back to the lock up, cam re-timed and ready for test drive mk2. This time it went very well :-D The only torque steer was pulling off in 1st when the wheel span up, but as soon as it had traction, it pulled dead straight  And it does go rather well ;D So now it is back in side and crack on with all the remaining job before it can hit the road properly. Gaz should have the vids loaded soon as well  |
| |
|
|
craig1010cc
Club Retro Rides Member
Posts: 2,998
Club RR Member Number: 35
|
|
|
|
|
And the vid
|
| |
|
|
craig1010cc
Club Retro Rides Member
Posts: 2,998
Club RR Member Number: 35
|
|
Jun 13, 2009 18:35:42 GMT
|
Well, a bit of progress over the last few days Managed to get my head round most of the Vaux dials wiring loom, no where near as easy to follow as a mini diagram. so I now have a set of tigra dials with working rev counter, fuel gauge (albeit backwards so need to reverse the plugs at the sender), temp gauge (but that did seem to warm up quick, will have to investigate further when on the road and a bit more clearance around the sender), main beam tell tail and no charge tell-tail (alternator). Just can't find the oil pressure wire from the engine loom and get the indicators or dash ilumination to work. but I have ways around those so that isn't a big prob. Also made up the mounts for the dash pod and drilled the hole for the speedo cable and drilled and screwed on the bonnet pins So a few more jobs ticked off the list  hope to have the wiring finished soon and crack on with the jobs needed to get it finished for the road and track ;D |
| |
|
|
|
|
|
Jun 13, 2009 19:01:34 GMT
|
|
Tsk tsk, driving on the road with no mot........ what would the neighbours say ;D
|
| |
|
|
craig1010cc
Club Retro Rides Member
Posts: 2,998
Club RR Member Number: 35
|
|
|
|
all on private property of course, just a very busy bit of private property  But in all seriousness it does still have an MOT from when I took it off the road, but there isn't that long to run on it and before I start using it I like the reassurance that it has been checked over by some one else and they are happy that the work I have done is to a safe standard. |
| |
|
|
lae
Posted a lot
  
Posts: 1,045
|
|
Jun 14, 2009 13:18:34 GMT
|
|
Just read the whole thread, very cool work sir. Got me hankering after a Mini now (another car I can't afford. Gah)
|
| |
Currently:
Mk1 Focus blandmobile
Formerly:
1969 MG Midget
1972 Avenger GT
1981 Datsun Cherry
1989 Corolla
1979 Mercedes W123 200D
1995 Ford Falcon
1996 Ford Telstar (bet you had to google that one)
|
|
craig1010cc
Club Retro Rides Member
Posts: 2,998
Club RR Member Number: 35
|
|
Jun 14, 2009 18:48:20 GMT
|
Just read the whole thread, very cool work sir. Got me hankering after a Mini now (another car I can't afford. Gah) That must have taken a bit, but thanks  They are quite addictive little things minis  |
| |
|
|
craig1010cc
Club Retro Rides Member
Posts: 2,998
Club RR Member Number: 35
|
|
Jun 15, 2009 21:32:39 GMT
|
A most productive evening tonight  Owen was up so we cracked on under the bonnet 1st up was the rad mounts. Some curved tube was cut to size, and then out with the MIG  That sorted the bottom mounts out a treat. Then a flat plate was cut, bent and drilled to make a removable top mount 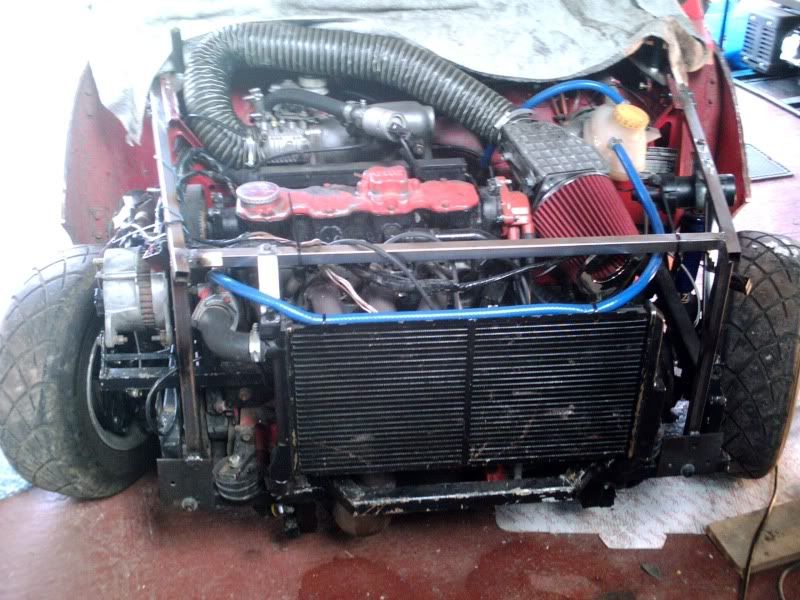 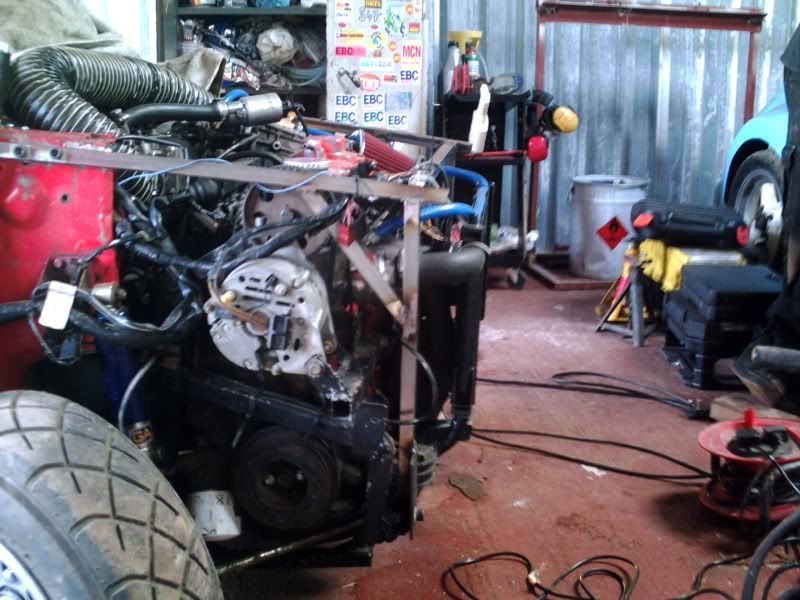 All looked good, but would the front go back on........... 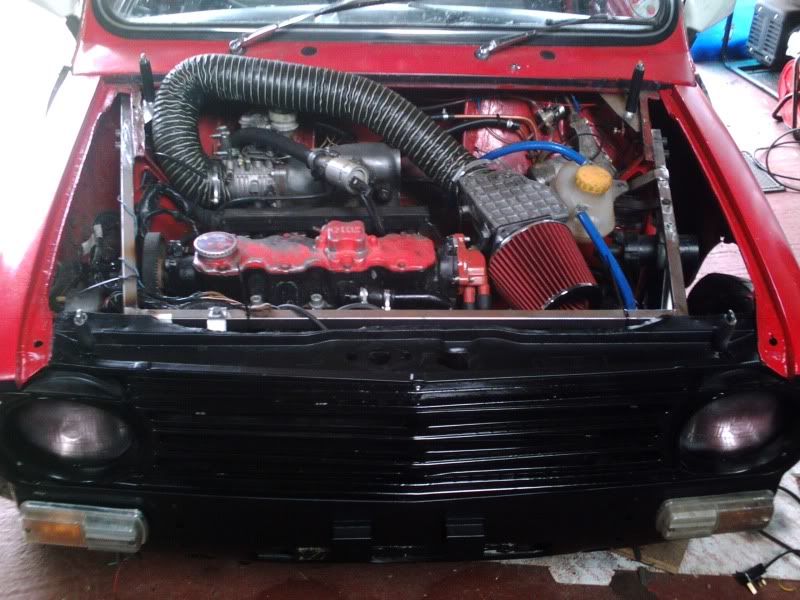 YES  So on with more fab'ing. This time the header tank mounts. Again more flat plate was bent, drilled and welded and we soon had this 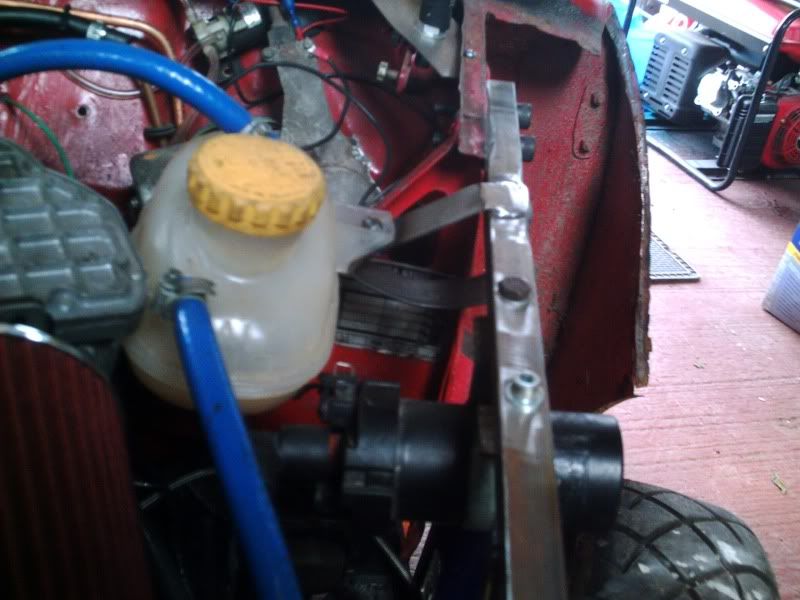 jobs a good'n. So we put him back together, a job well done  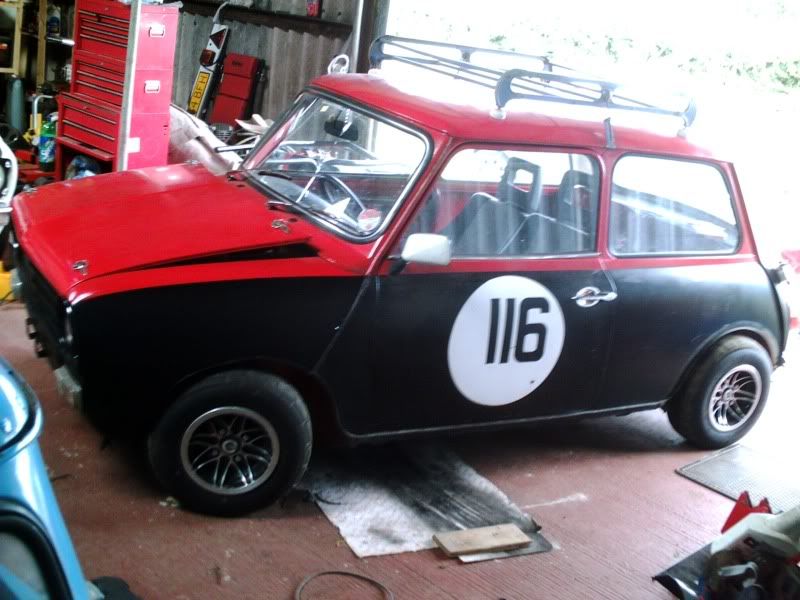 |
| |
|
|
|
|

 Took a bit of tweaking to get the airflow meter calibrated (and it's still not 100%), but it was a big boost to hear him running again


 Took a bit of tweaking to get the airflow meter calibrated (and it's still not 100%), but it was a big boost to hear him running again


 Keith is going to crack this on Monday with some new cooper S rear cylinders to replace the 8.4's). The front end has been bolt checked, the low pressure pump is now bolted in place, and the overflow from the swirl pot was re-routed to the tank breather.


 And it does go rather well ;D


