craig1010cc
Club Retro Rides Member
Posts: 2,998
Club RR Member Number: 35
|
|
Feb 18, 2007 16:57:57 GMT
|
Yukon Grey - finally, instead saying 'non-metallic grey' when I'm describing car colours I can say that instead. ie. Austin A40, Yukon Grey, bike engine, red vinyl interior with colour matched roll cage, cream wide steels and slightly too-narrow for the rims crossplies. Now, that feels good.  Welcome to the board. Shiney primer is how I normaly describe it ;D that A40 plan does sound very nice, but bike engine and crossplies, that sounds er intersteing  Yesterdays progress Got the scuttle closing panel on thedrivers side welded up and the bulkhead and arches panted in red 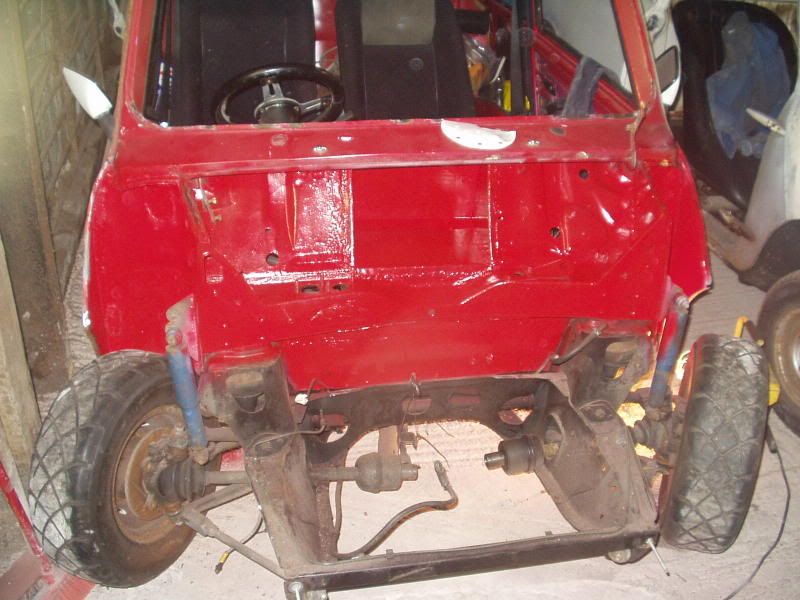 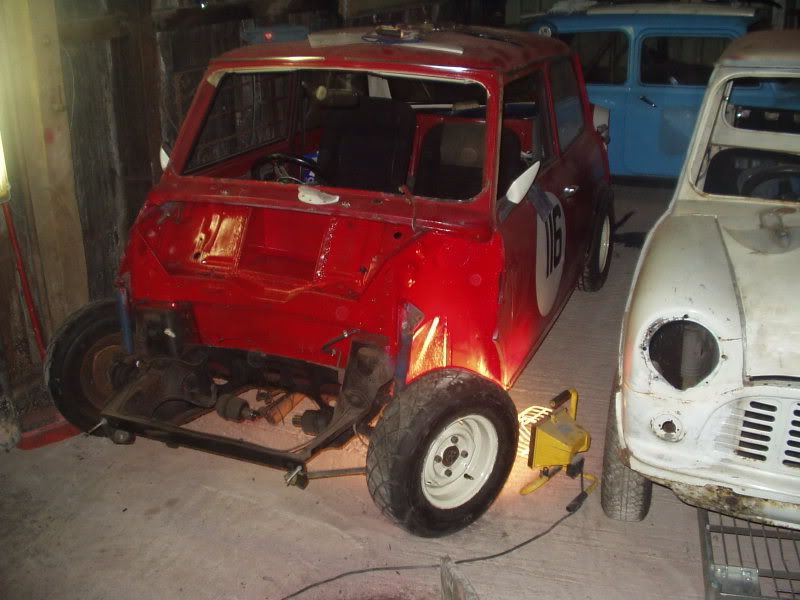 Got on with welding up the surplas holes on the new front (till I ran out of gas and the tip jammed :x ) 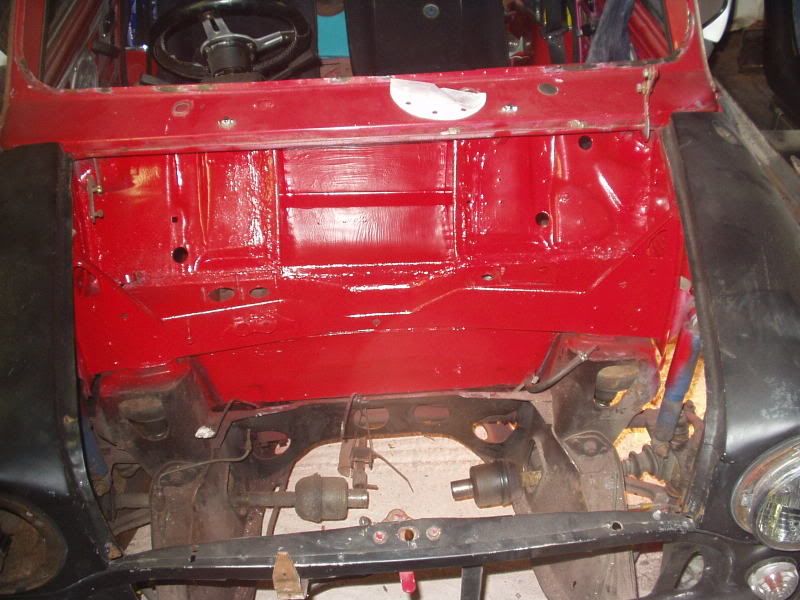 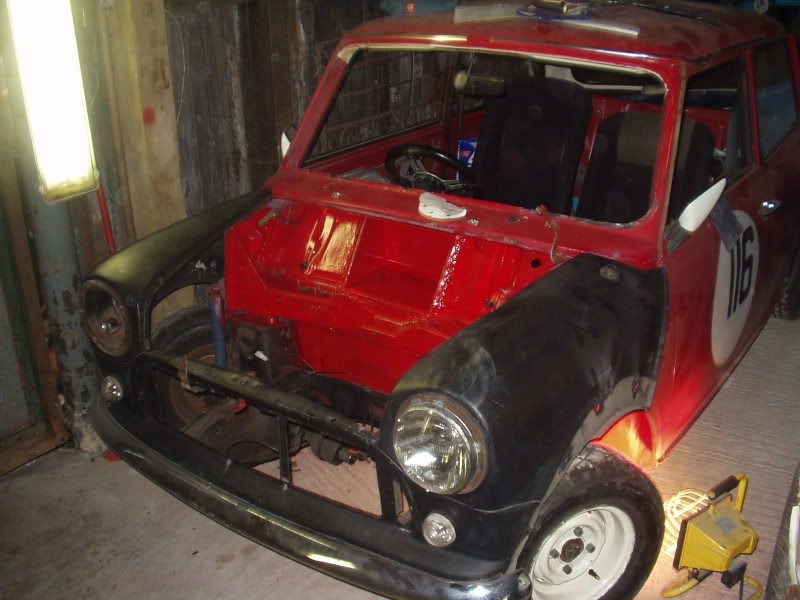 And then stripped the old front of all its useful bits 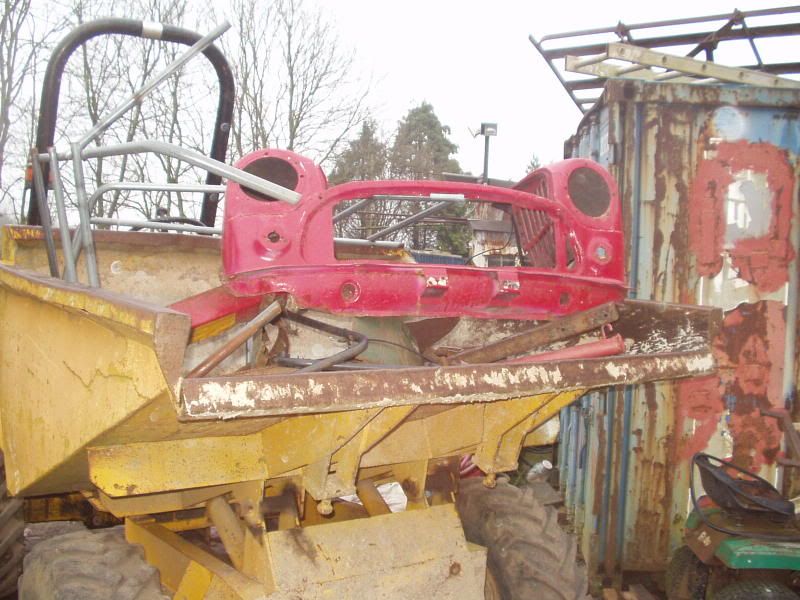 Now it's on with giving th esubframe a lick of black smooth rite, fit the solid subby mounts and on with the re-assembly  |
| |
|
|
|
|
craig1010cc
Club Retro Rides Member
Posts: 2,998
Club RR Member Number: 35
|
|
Feb 24, 2007 18:57:37 GMT
|
A bit more progress made today Git the welding gear working again so that I could finish filling the surplus holes in the flip front 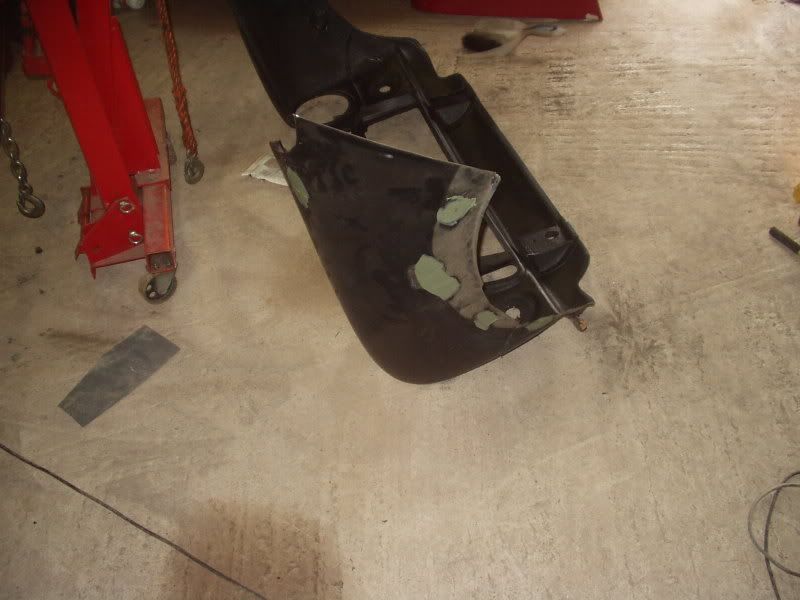 then it was on with painting 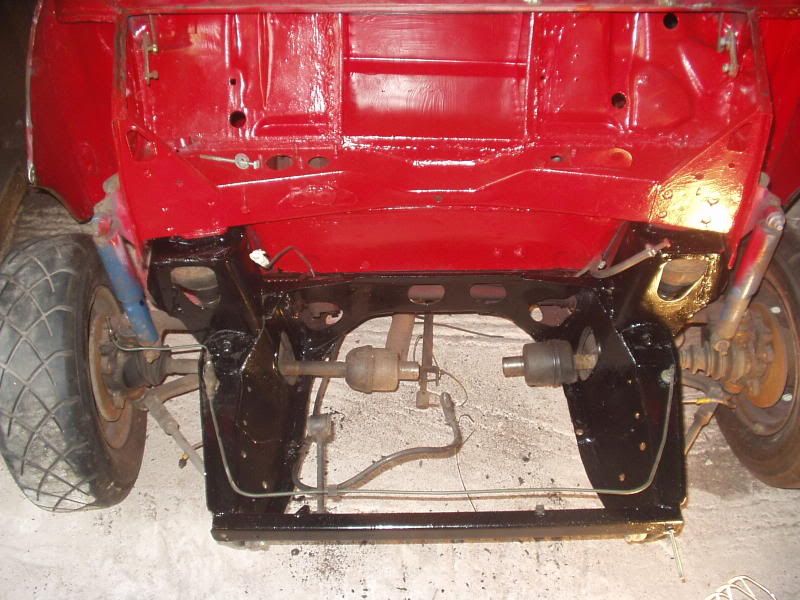 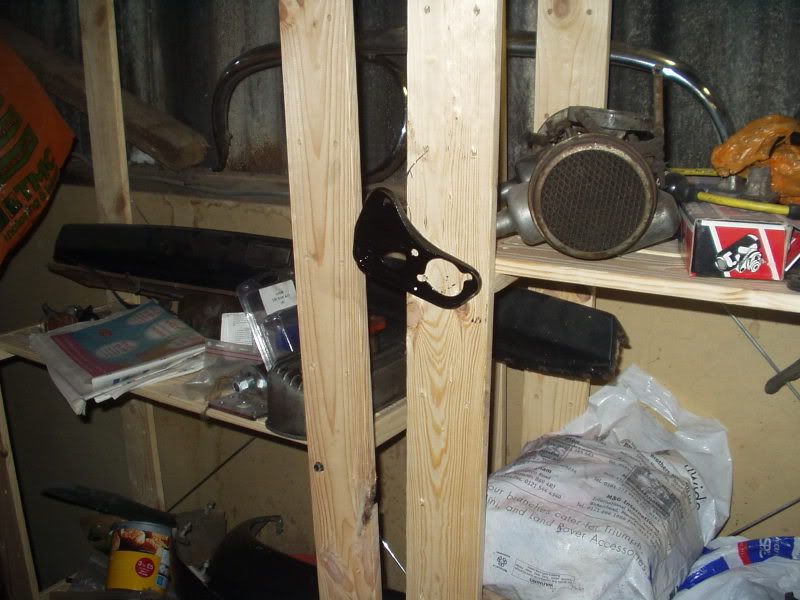 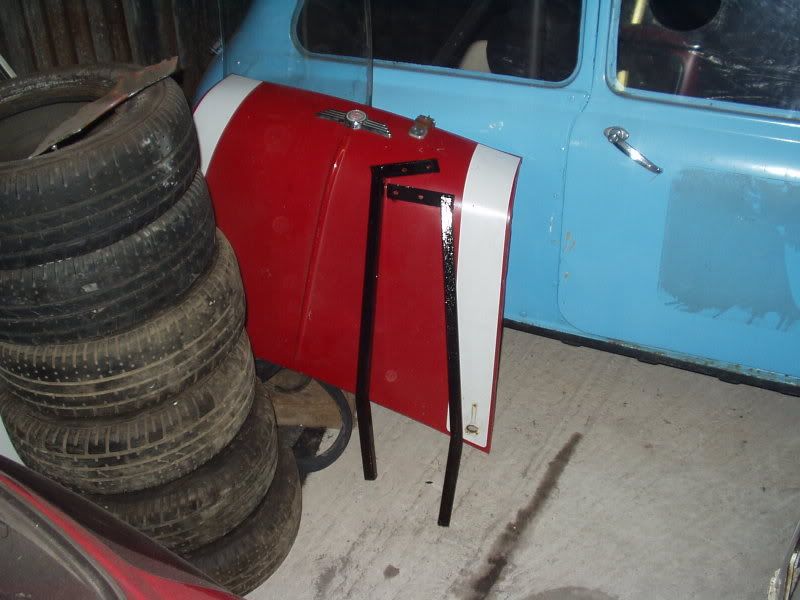 Then I double checked that the Grp2 cover where the front had been trimmed for 13's 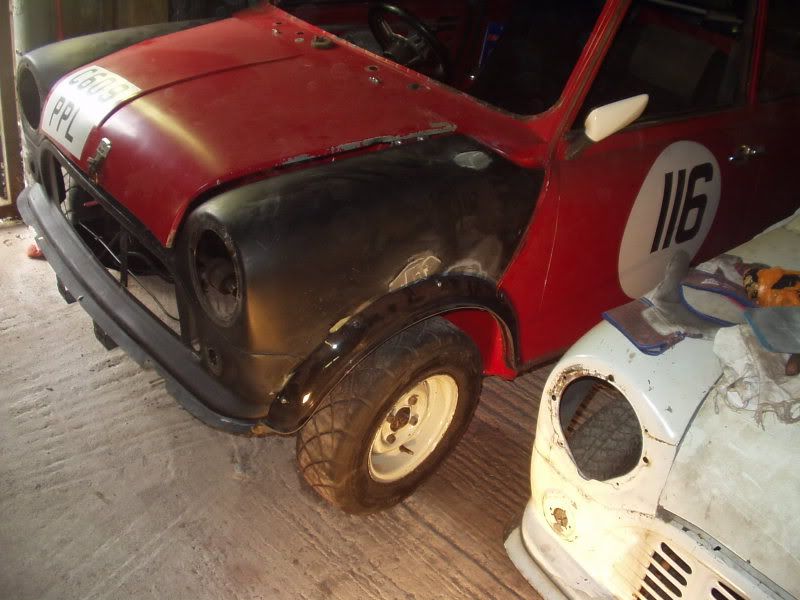 they do :-D |
| |
|
|
craig1010cc
Club Retro Rides Member
Posts: 2,998
Club RR Member Number: 35
|
|
|
|
some more progress has been made A template for the dial section of teh dash was constructed in finest blue peter fashion :lol: 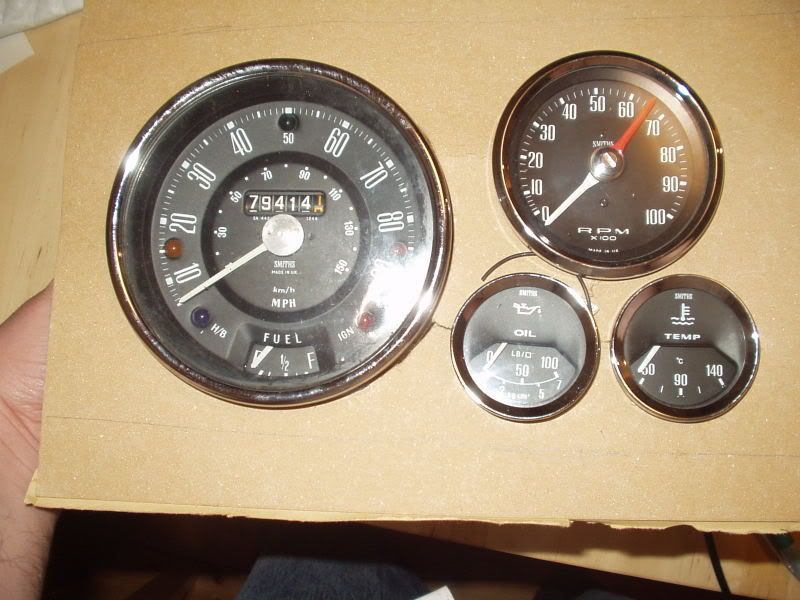 and in place in pootle 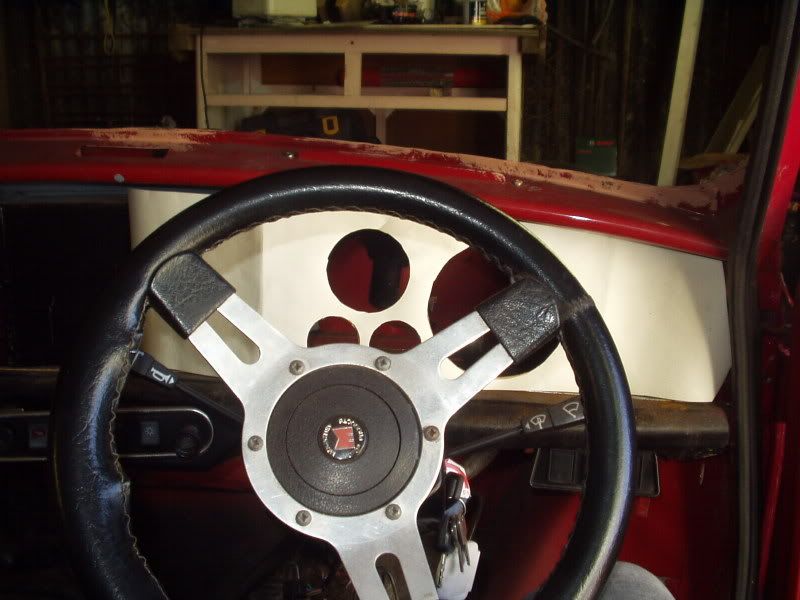 The pic was taken at a slightly higher angle than my eyeline, for me the 3 important dails are fully visable from the seat ;D Then on with some surface rust treatment 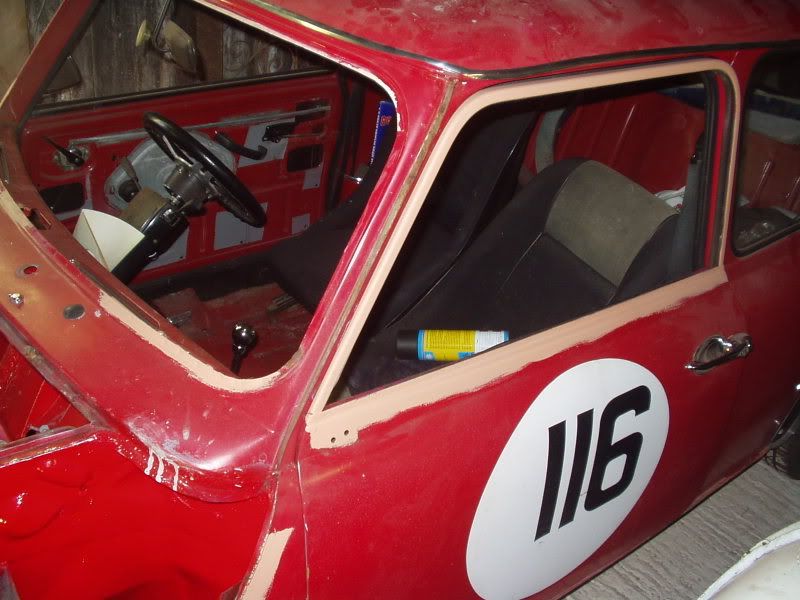 (the Ecoat on the heratige door I fitted 6 years ago had lifted around the frame and started to rust :x now all fixed though  Fitted the brake and clutch master cylinders and most of the pipes are refitted 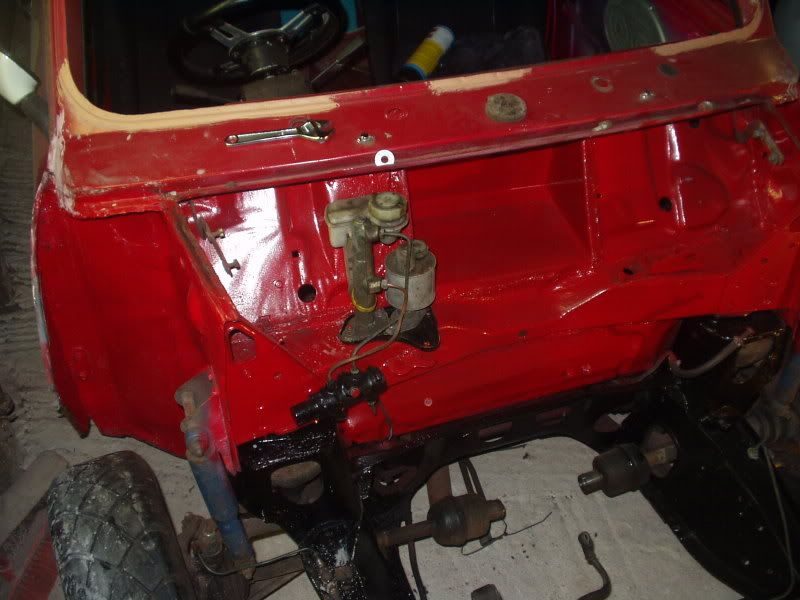 Some progress on the front, I've finished the filling of the unwanted holes and it's all in black 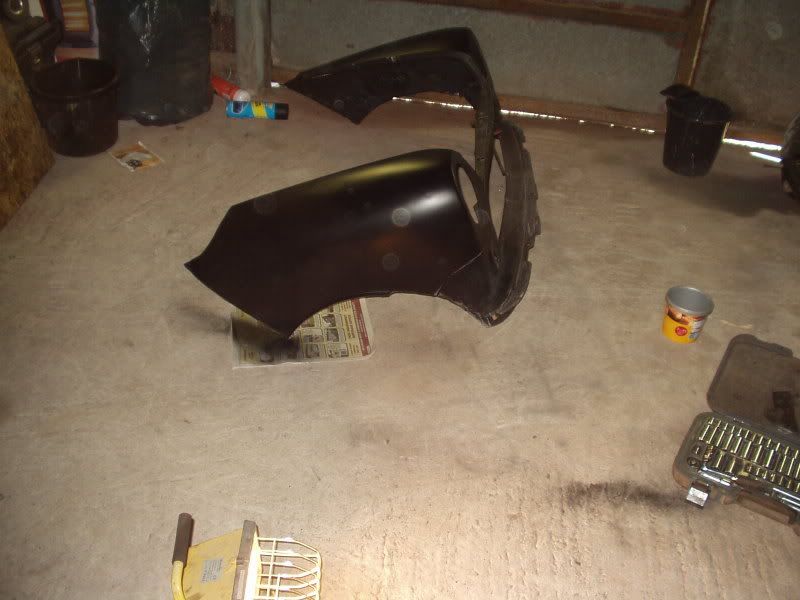 But it apears that satin black needs a primer as even after 3 coats it still hasn't covered the filler properly  The bonnet got some paint as well  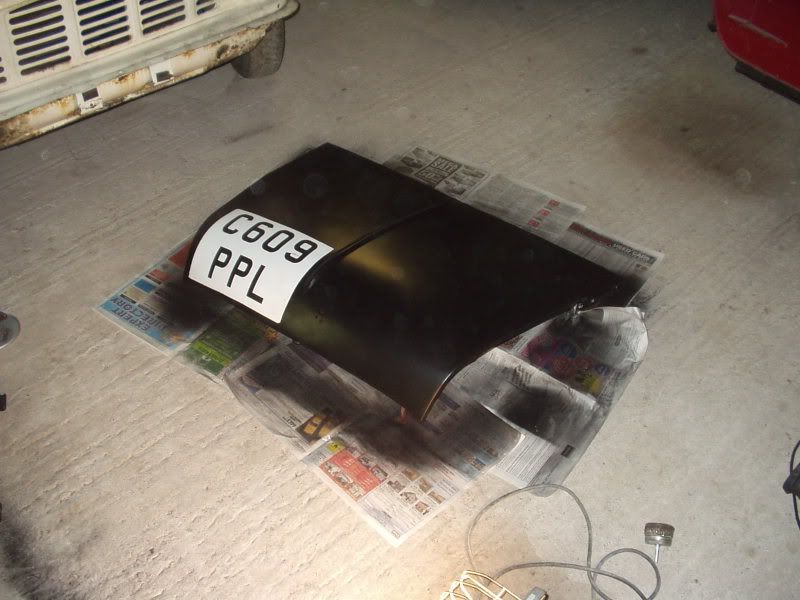 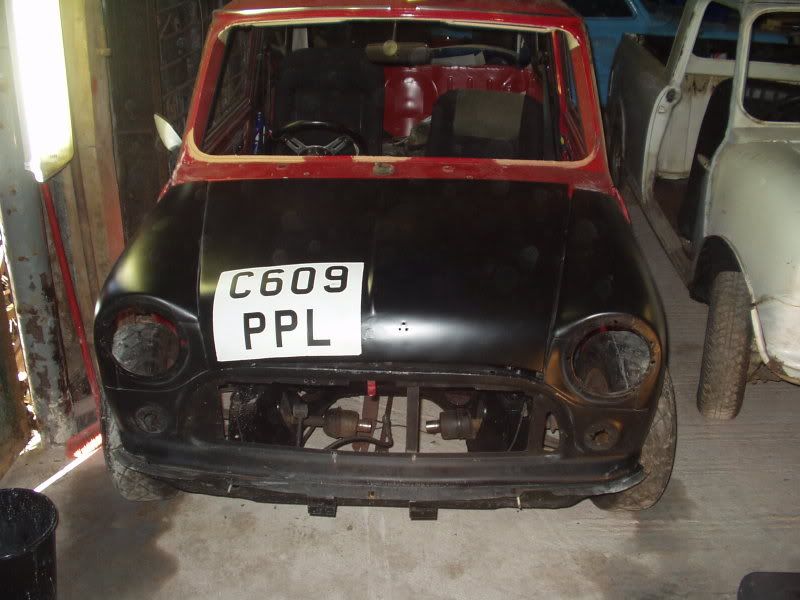 It's starting too spread ;D 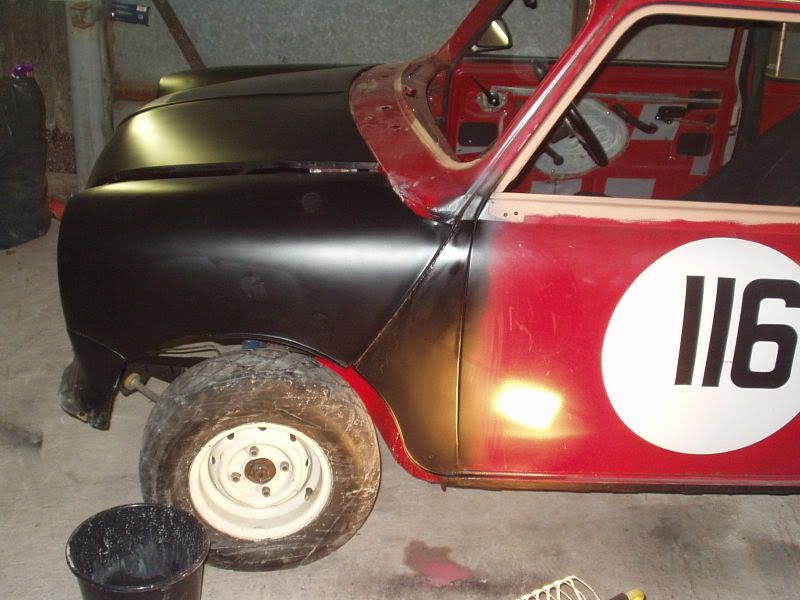 |
| |
|
|
craig1010cc
Club Retro Rides Member
Posts: 2,998
Club RR Member Number: 35
|
|
|
|
new fun bits to bolt on next week  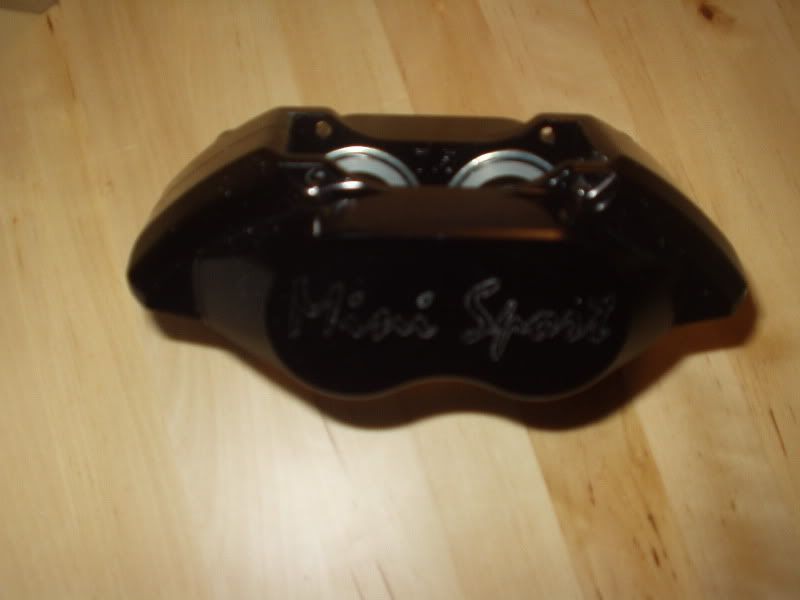 mmmm 4pots  only 1.125kgs each as well holey :lol 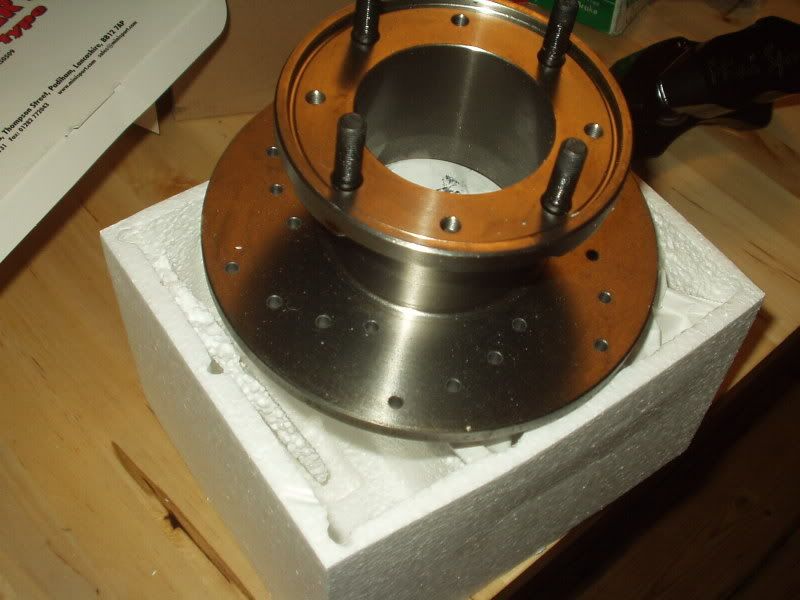 He should stop quite well now :lol |
| |
|
|
craig1010cc
Club Retro Rides Member
Posts: 2,998
Club RR Member Number: 35
|
|
|
|
Yesterdays progress 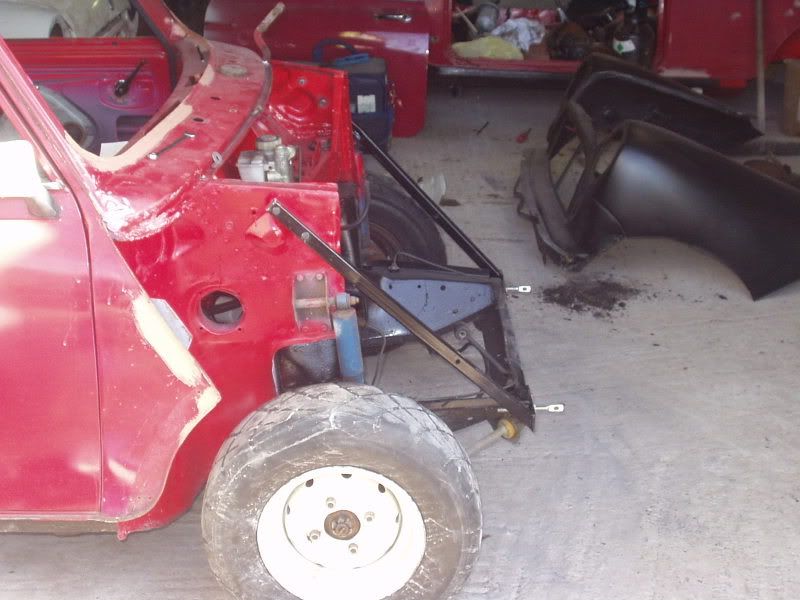 on with the solid subframe mounts and the bracebars 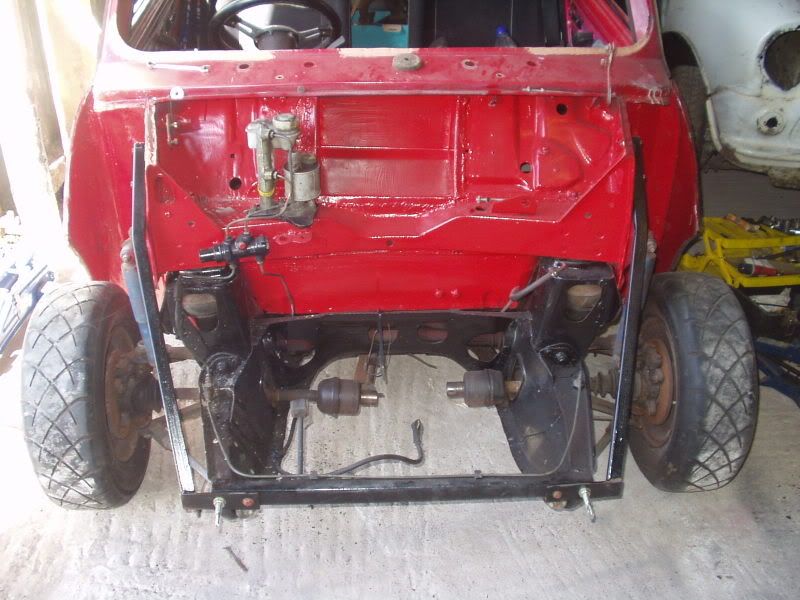 with the subframe back properly attached, time to finish off the brake pipes 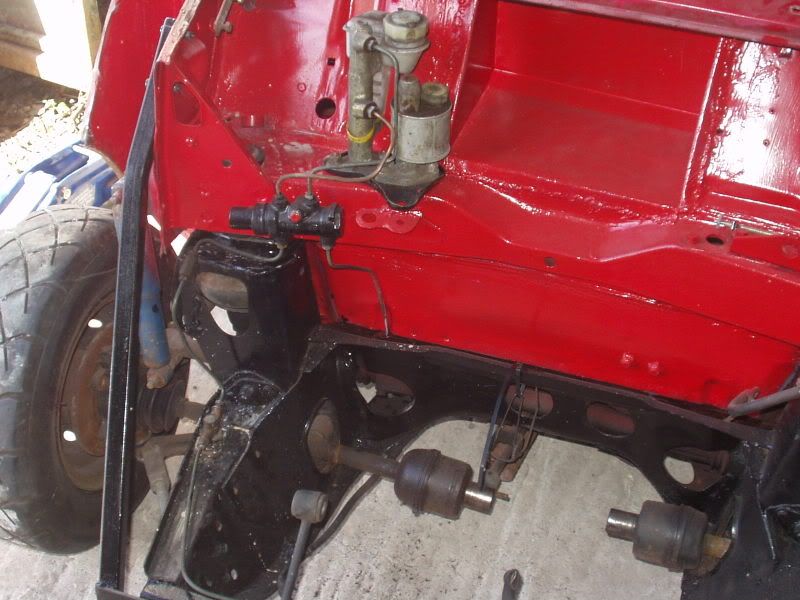 Then a bit of time spent securly mounting the front end 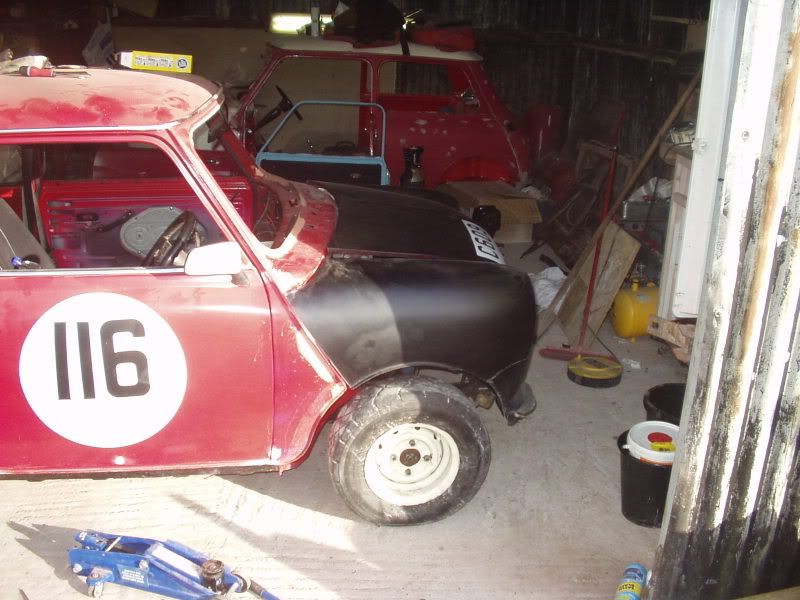 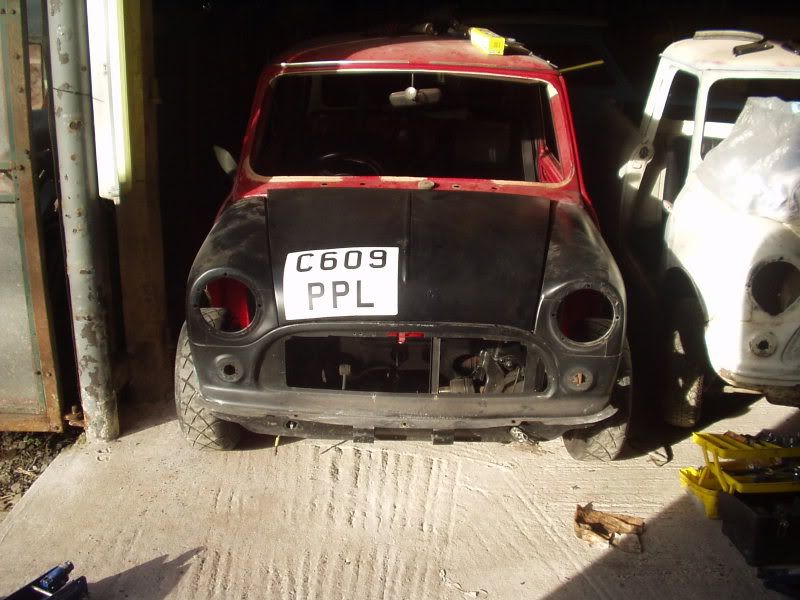 Needs some more work on the drivers, but the bonnet latched in fine Then on to the rear end stripdown 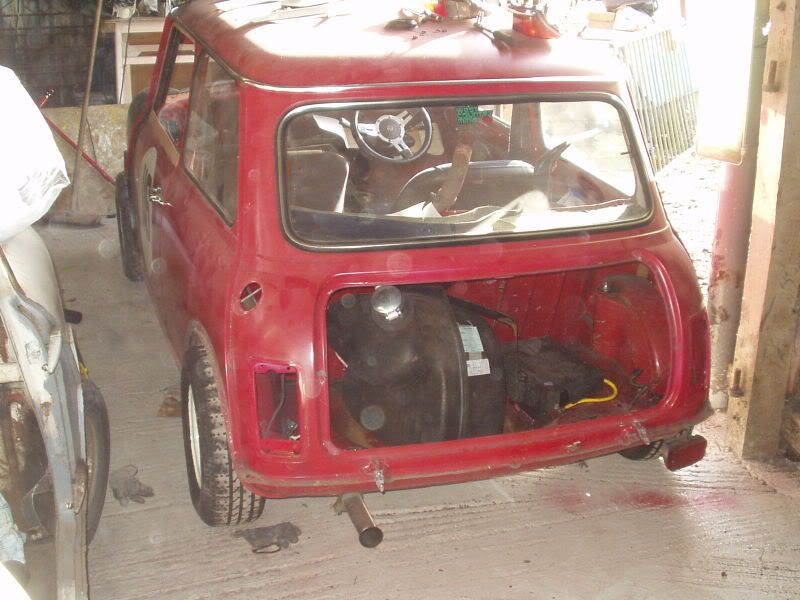 Pootles got a bare bum :lol: 2 of the bolts on the rear bumper sheared  but other than that there was no dramas 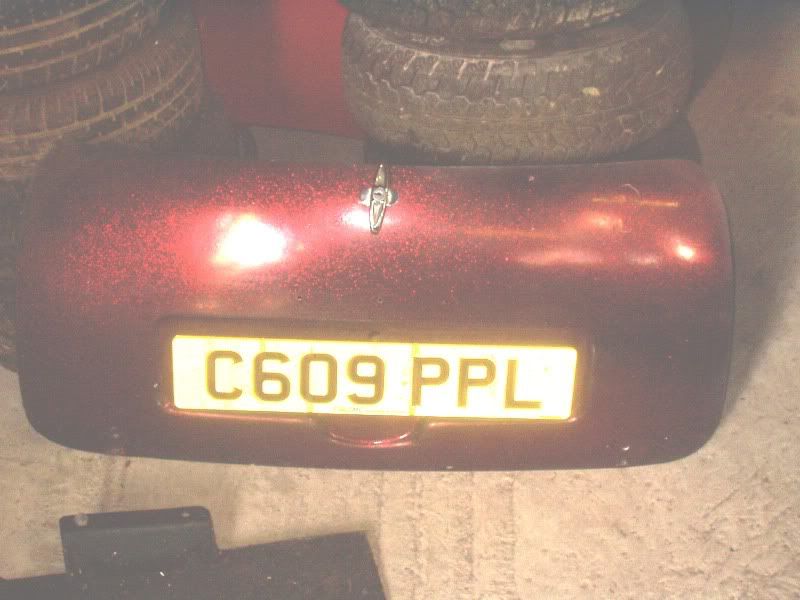 Mk1 bootlid awaiting some paint Next week, on with the black and the brakes  then the wiring :roll: |
| |
|
|
craig1010cc
Club Retro Rides Member
Posts: 2,998
Club RR Member Number: 35
|
|
Mar 14, 2007 20:06:18 GMT
|
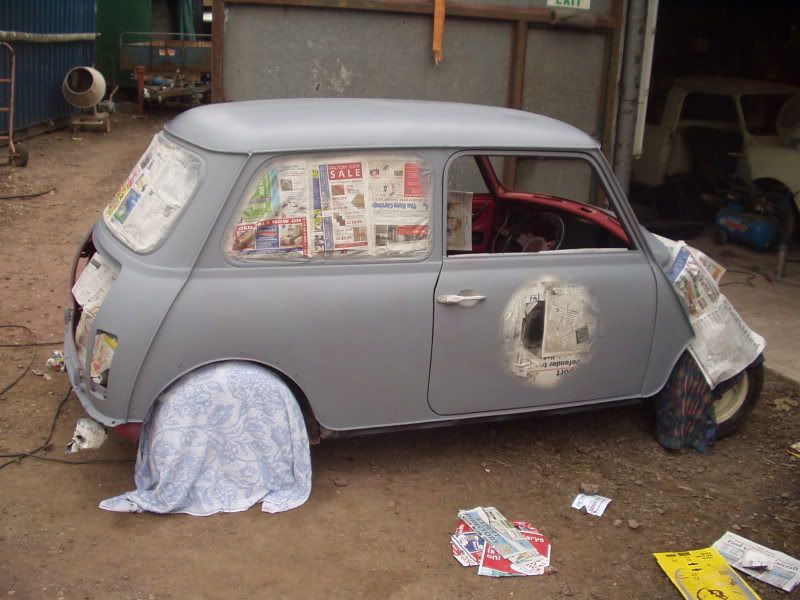
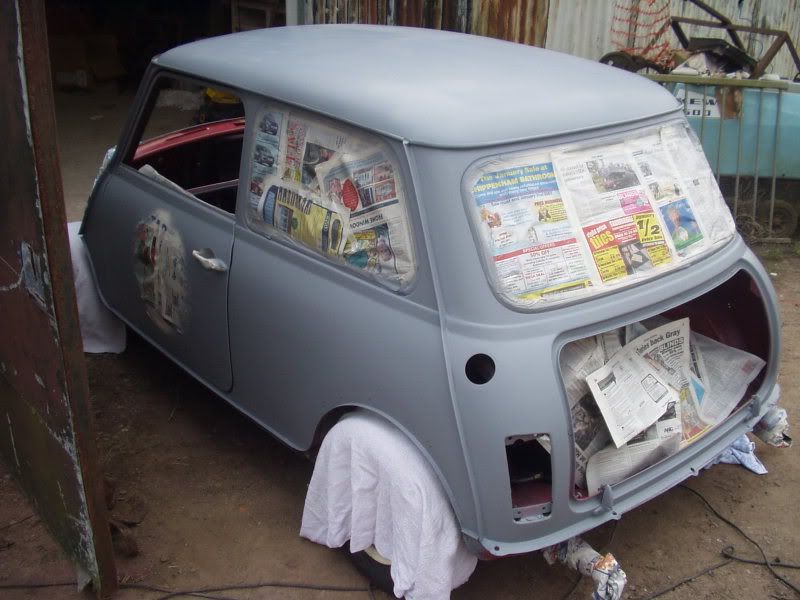
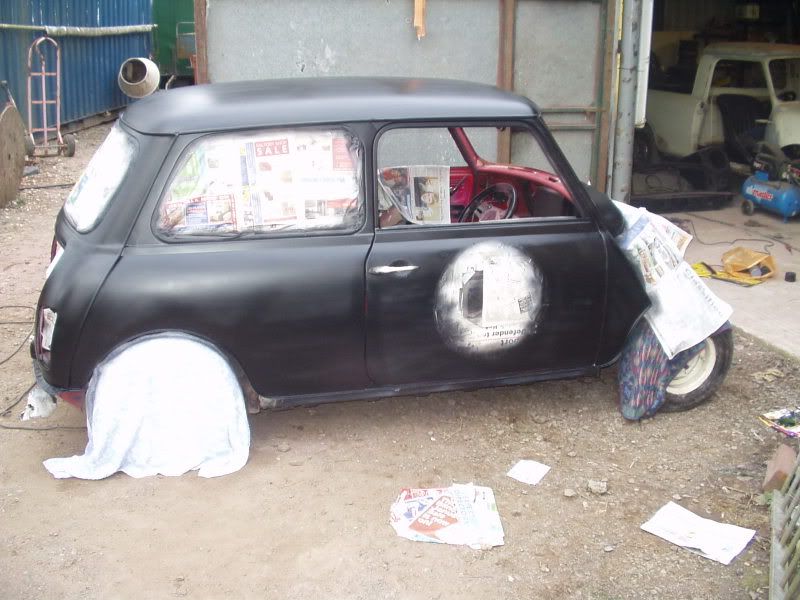
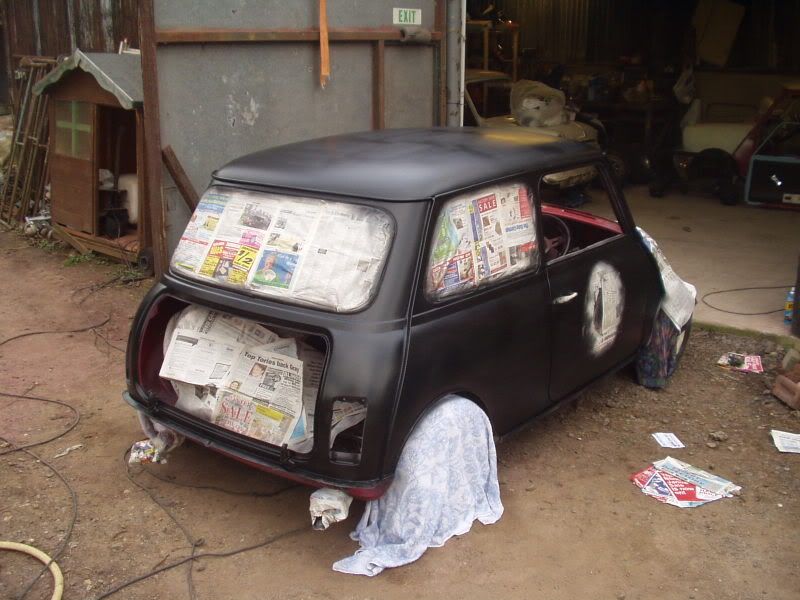
made some progress over the last few days Mondays big task was to do the brakes passenger side went Ok (Took about an hour to get the caliper to bolt up) 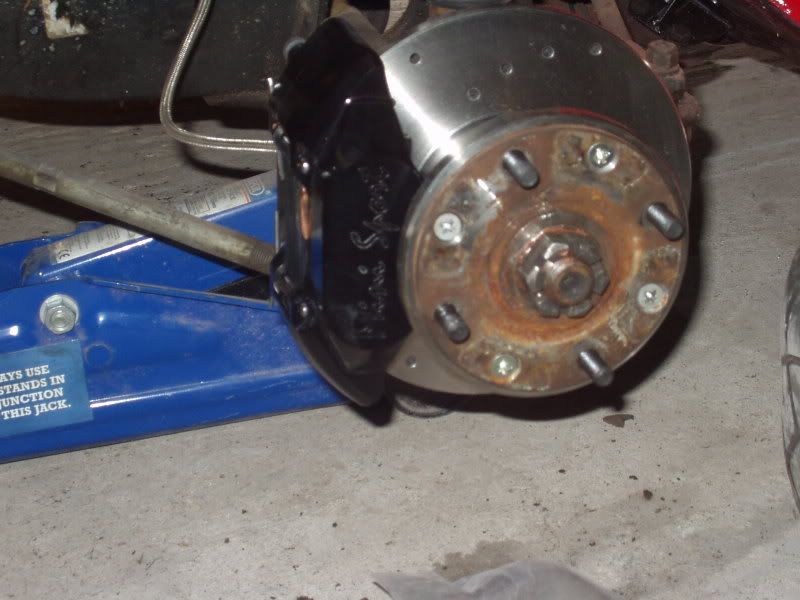 but when I went to do the drivers side I could not get the hub nut undone. Even with a 8ft scaffold bar all I did was turned the wheel. Nothing I tried could lock the wheel up (no engine or brakes to stop it turning), so after a few more hours of frustration, I gave up and painted the bootlid 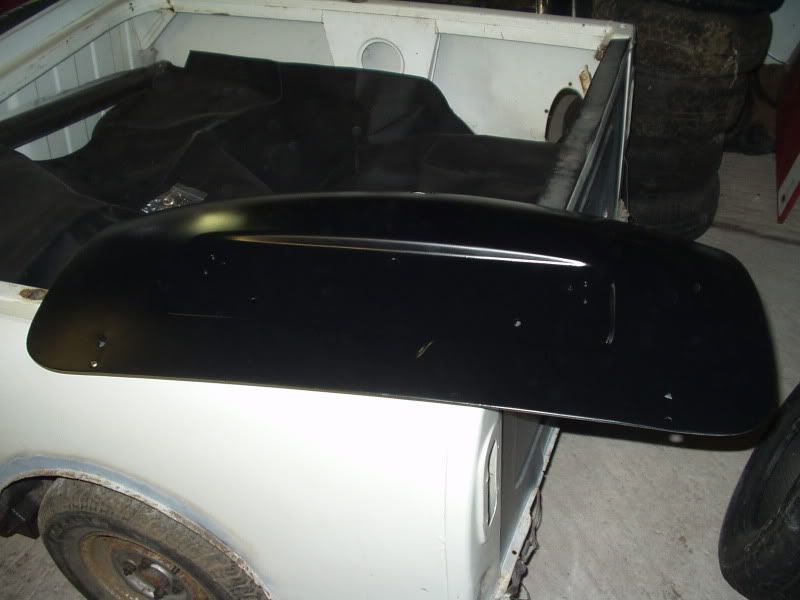 To solve this, yesterday I brought this :-D 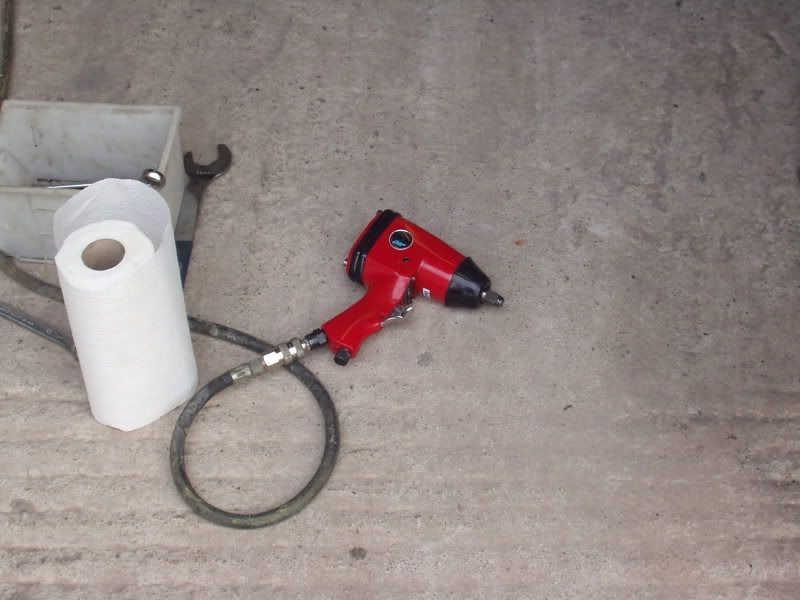 Nut off in seconds (once I had found the right adaptor for the airline - cheers Al  and rebult the compressor!). the drivers side then only took about 1/2 an hour to put together 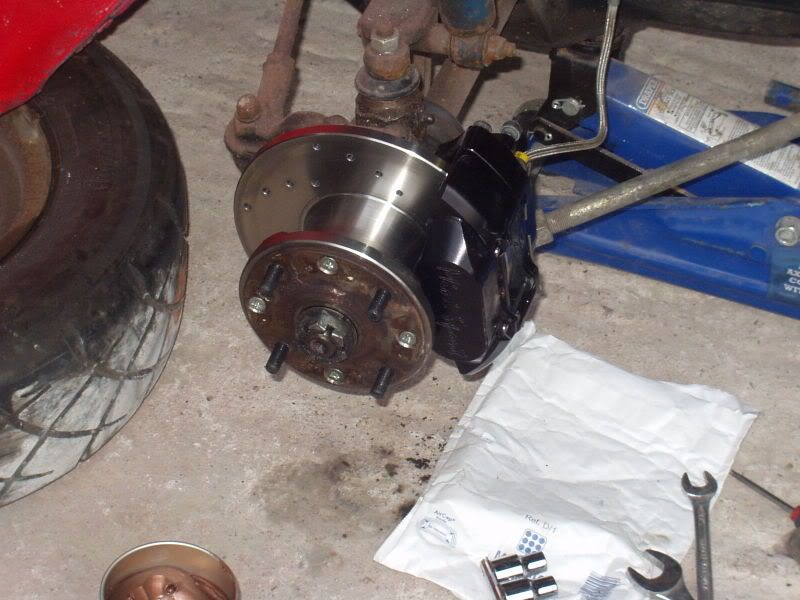 So on with the body work. An hour or so later in the sunshine and the shell was prep'd 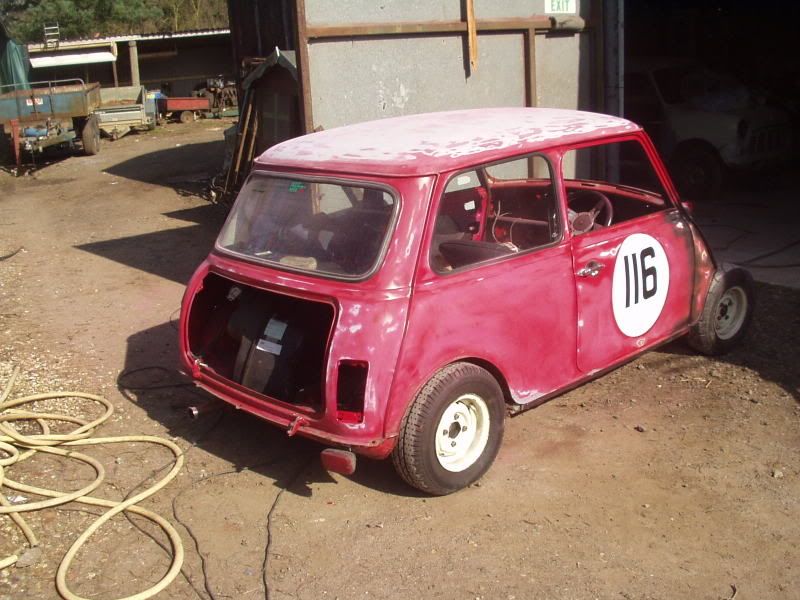 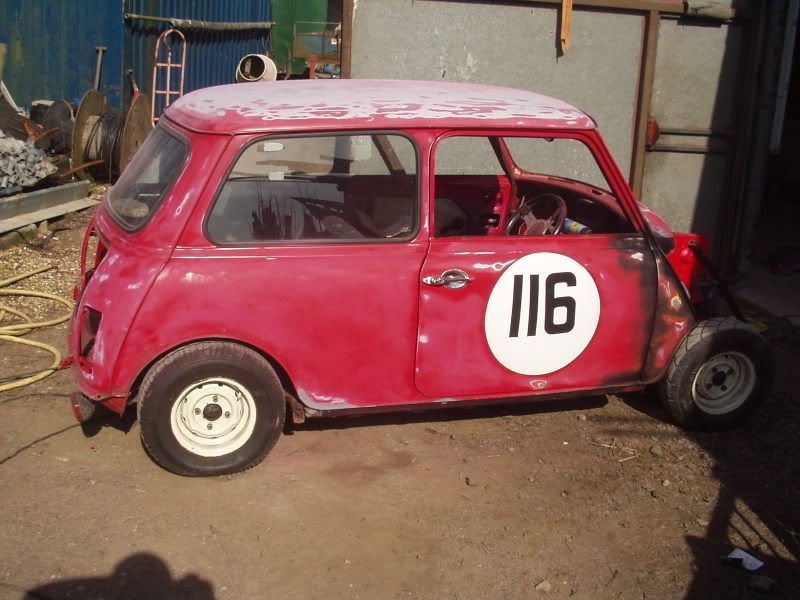 having had some issues with the satin black covering I tested a few bits on the roof no primer (3 coats of black) 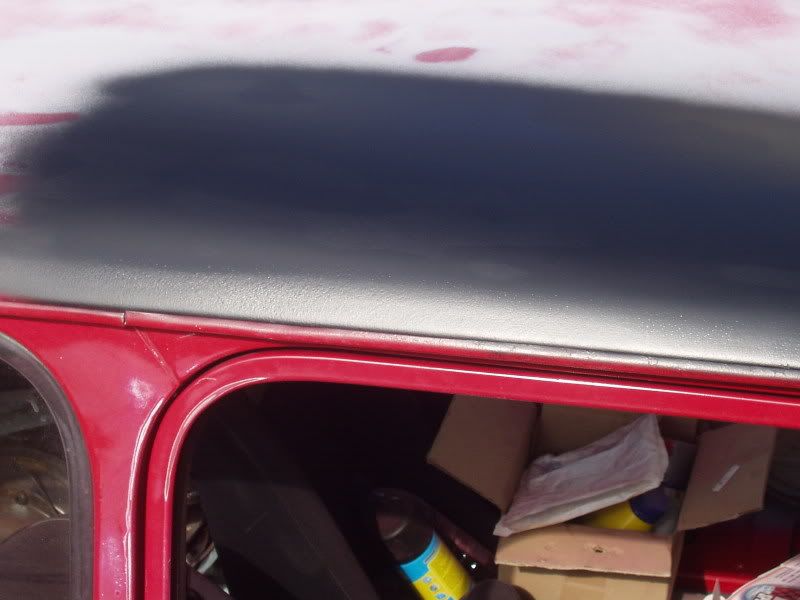 Primered 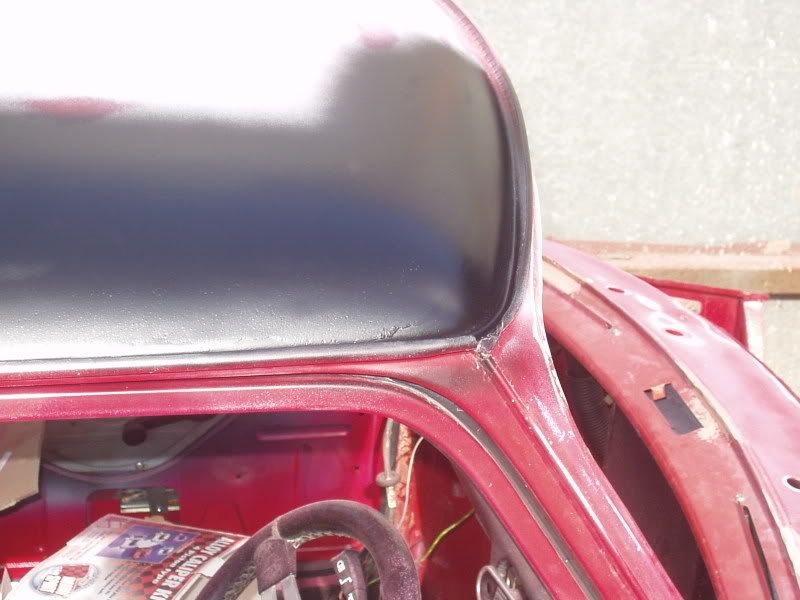 With out the primer, the different shades below still showed through, so off to halfords to buy some grey primer  |
| |
|
|
craig1010cc
Club Retro Rides Member
Posts: 2,998
Club RR Member Number: 35
|
|
Mar 14, 2007 20:06:59 GMT
|
|
|
| |
|
|
craig1010cc
Club Retro Rides Member
Posts: 2,998
Club RR Member Number: 35
|
|
Mar 15, 2007 20:29:33 GMT
|
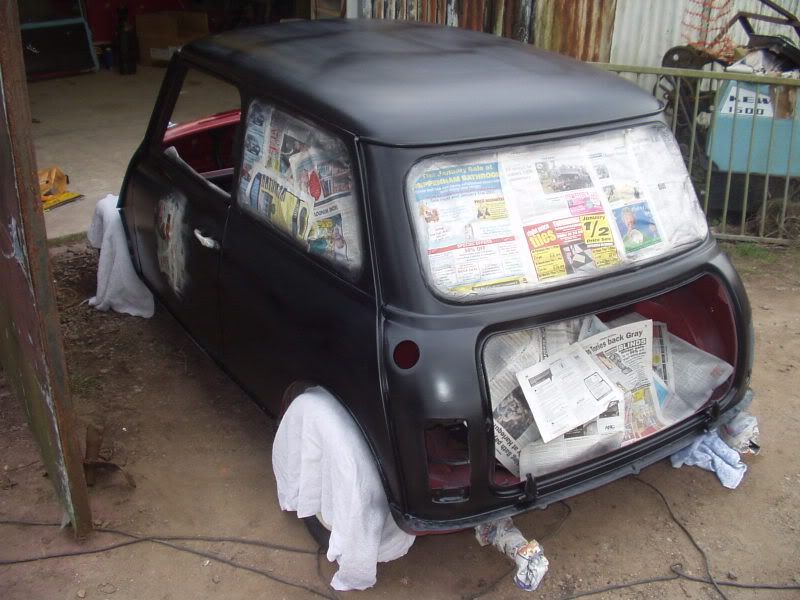
Todays progress. 1st off was to deal with some paint that had reacted (bizzarly just on both doors?) and then a few more coats of black. Then off to the pub for lunch (and very nice it was too). Then off with the tape 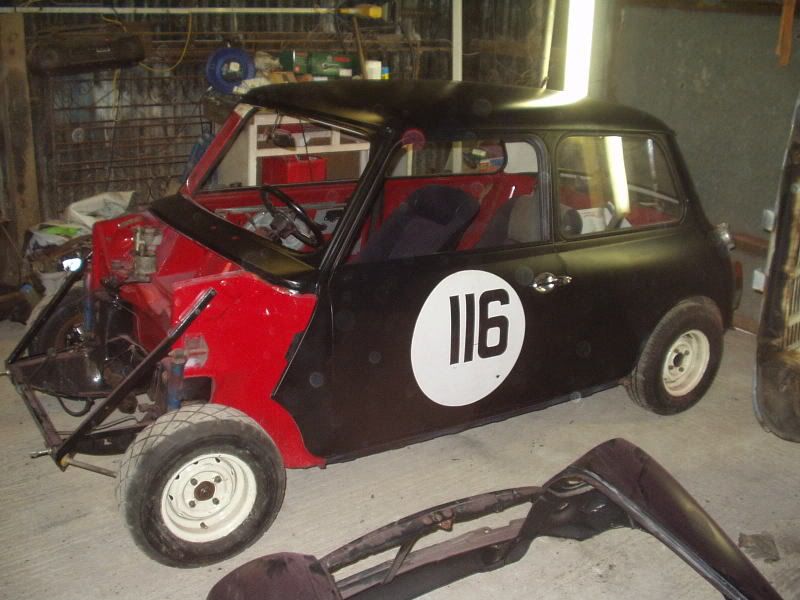 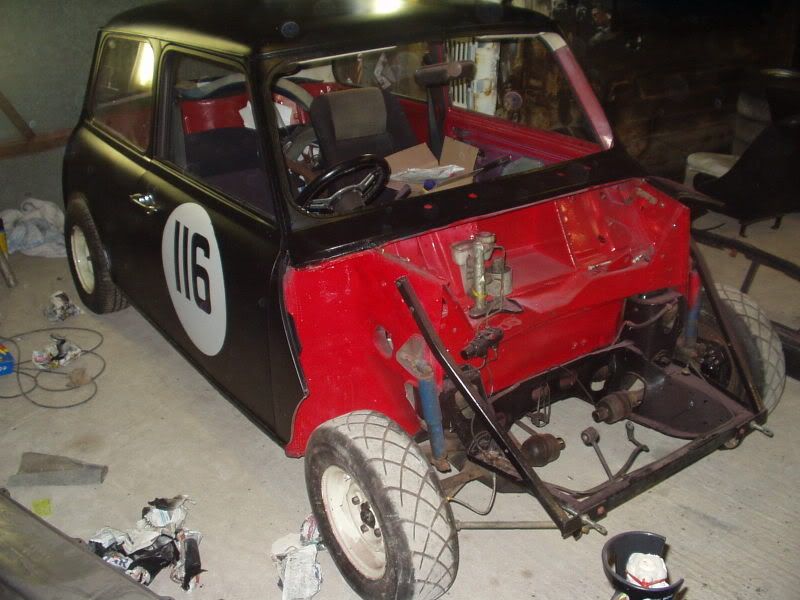 Then it was time to start bolting bits back on lights 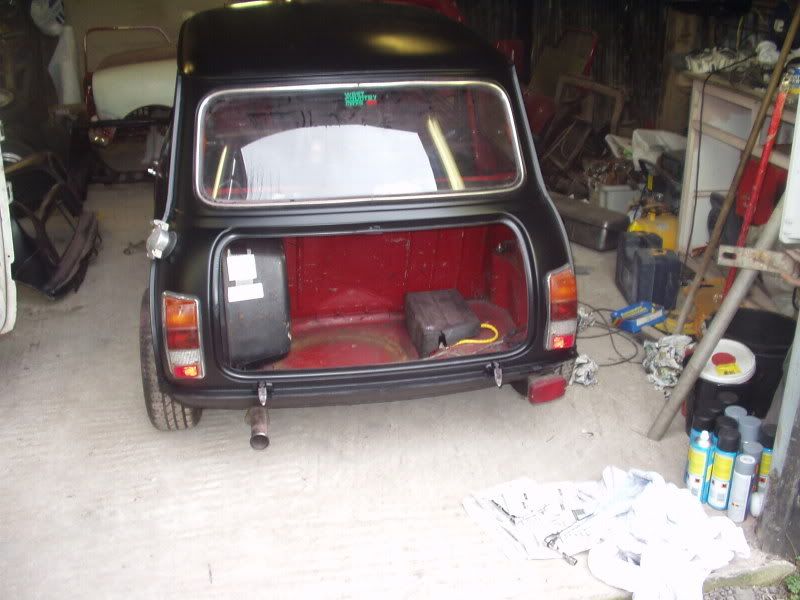 bootlid 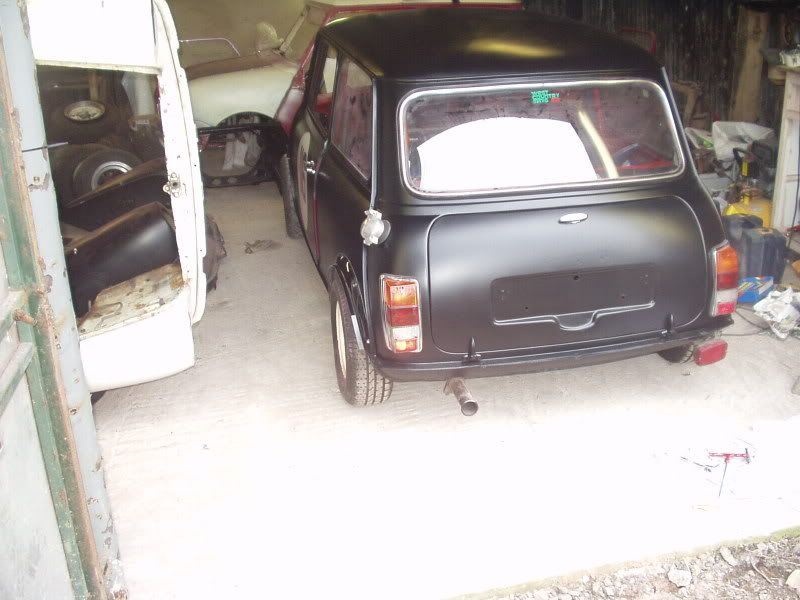 then bumpers, the front end and the arches 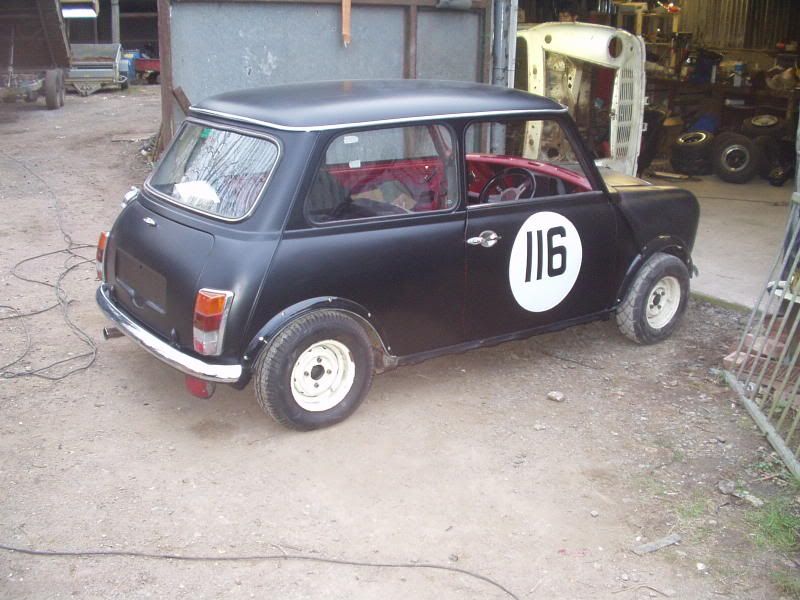 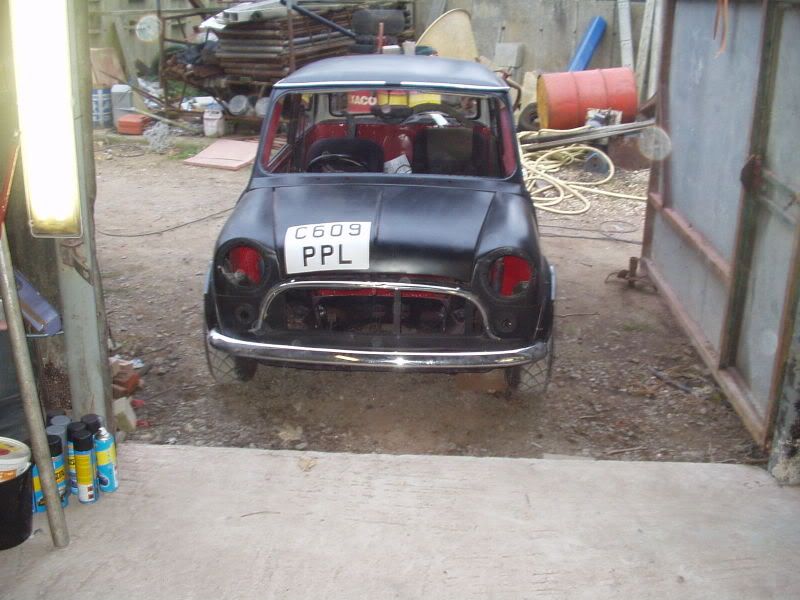 And after all this painting, time to bin the dead cans :lol: 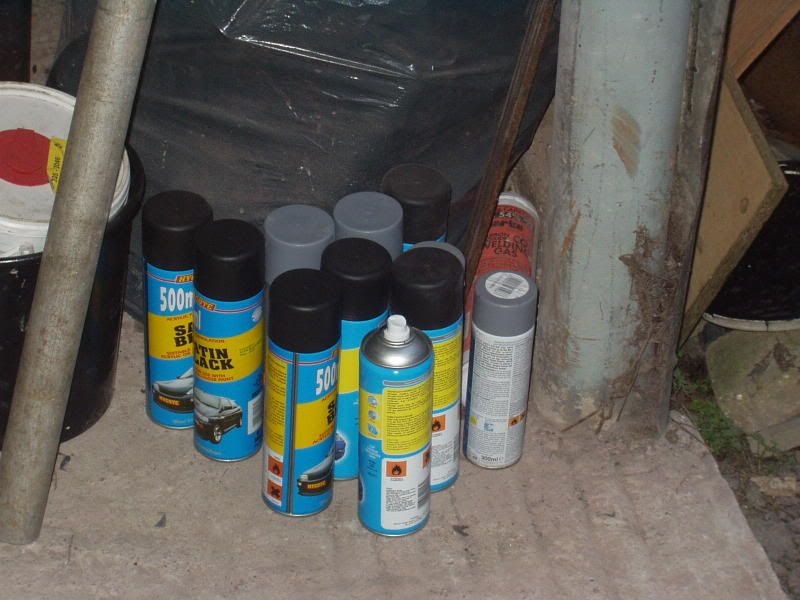 |
| |
|
|
J.P
Posted a lot
   I like to eat ice cream and I really enjoy a nice pair of slacks.
Posts: 1,175
|
|
Mar 15, 2007 21:02:23 GMT
|
|
That'll scare anyone off the track!
Looks great...Whats the finish like?
4 Pots look class!
|
| |
|
|
|
|
|
Mar 18, 2007 22:51:19 GMT
|
|
Any updates on the track day car?
|
| |
|
|
|
|
craig1010cc
Club Retro Rides Member
Posts: 2,998
Club RR Member Number: 35
|
|
Mar 19, 2007 19:48:02 GMT
|
|
Not been upto the lock-up since Friday, should be getting on with it again on Saturday. Since the pic's where taken I have fitted the top dash rail and refitted the screen as well as striping the head and flywheel off of the new engine ready for the race head, 1.5:1 roller rockers and the billet flywheel to be fitted once I have changed the clutch oill seal. Oh, and the 45 is going off to be rebuilt and set up somewhere close
The finish from the rattle cans isn't bad. It needed to be primed (which did surprise me as I thought it would act as a primer) and the roof is a little stripey still, but I'm pleased with it.
The 4pots are cool, I can't wait to compair them with the S brakes it had before
|
| |
|
|
|
|
craig1010cc
Club Retro Rides Member
Posts: 2,998
Club RR Member Number: 35
|
|
|
|
Did a little bit more work on the little fella today 1st of was fitting a new steering wheel 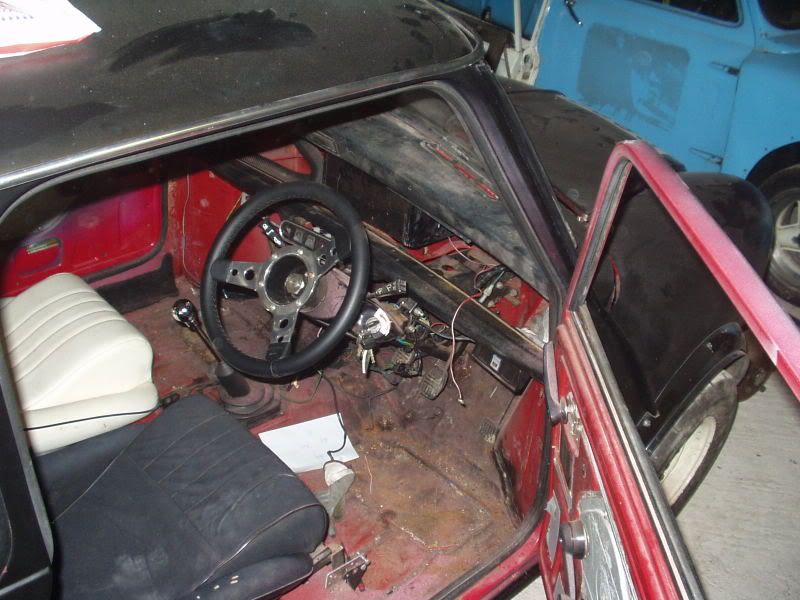 then on with rebuilding the wiring   Got about as far as I can with that at the min, need to buy some wiring goodies also, the screen has gone in 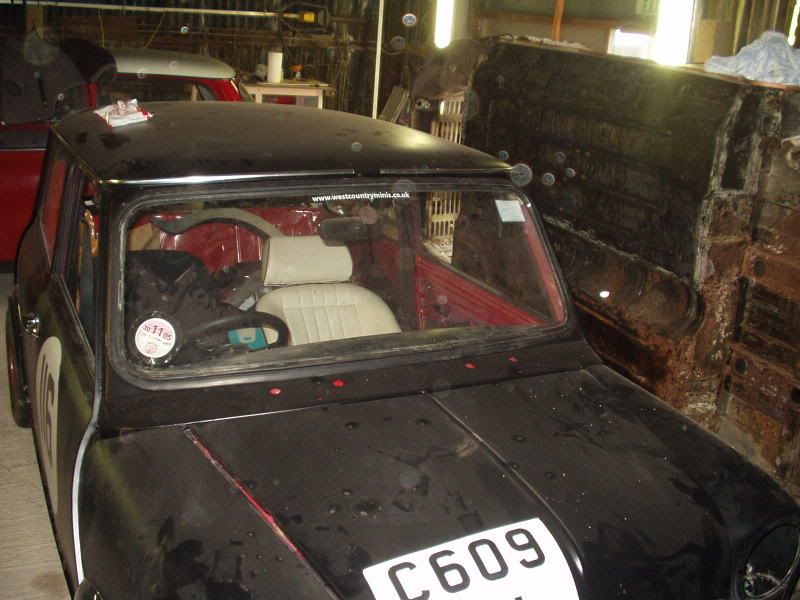 and I've been playing with wheels 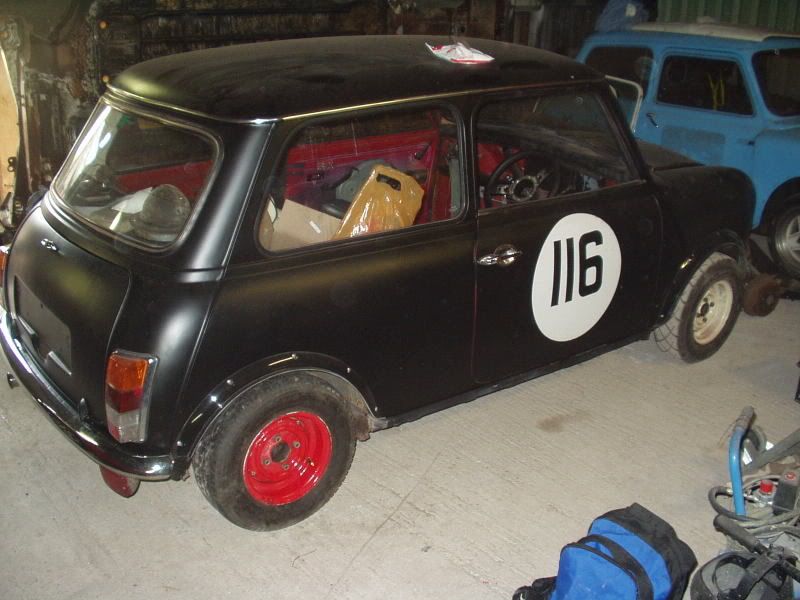 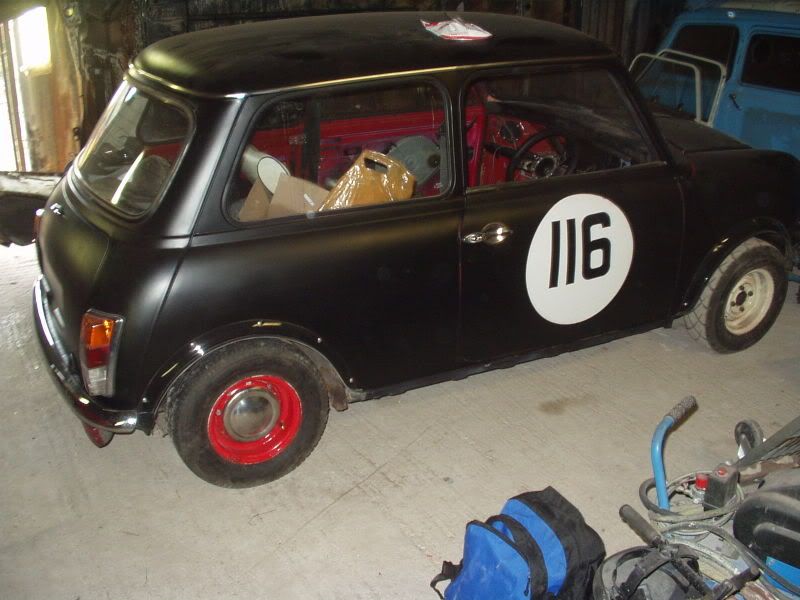 |
| |
|
|
craig1010cc
Club Retro Rides Member
Posts: 2,998
Club RR Member Number: 35
|
|
|
|
Done a bit more over the last 2 days 1st up was giving pootle some ears  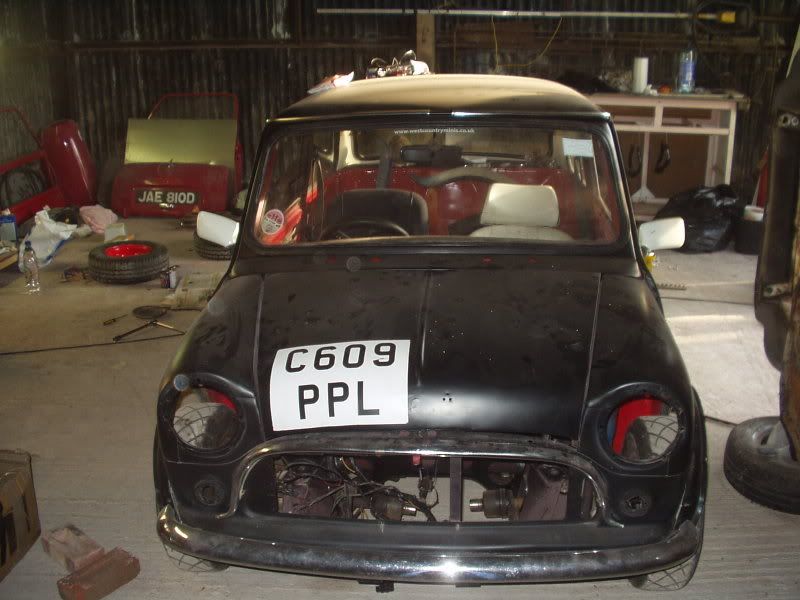 then on with some rust prevention on the rear arches 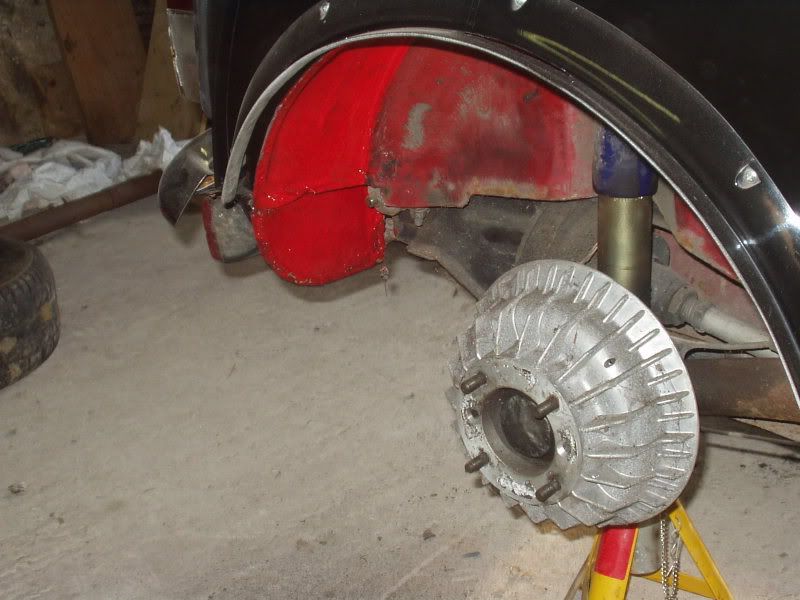 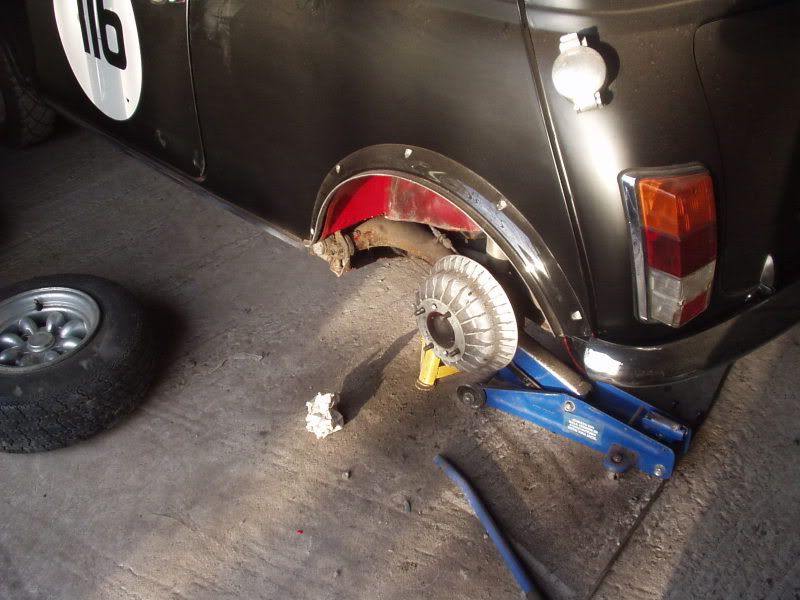 Then some more wheels went red 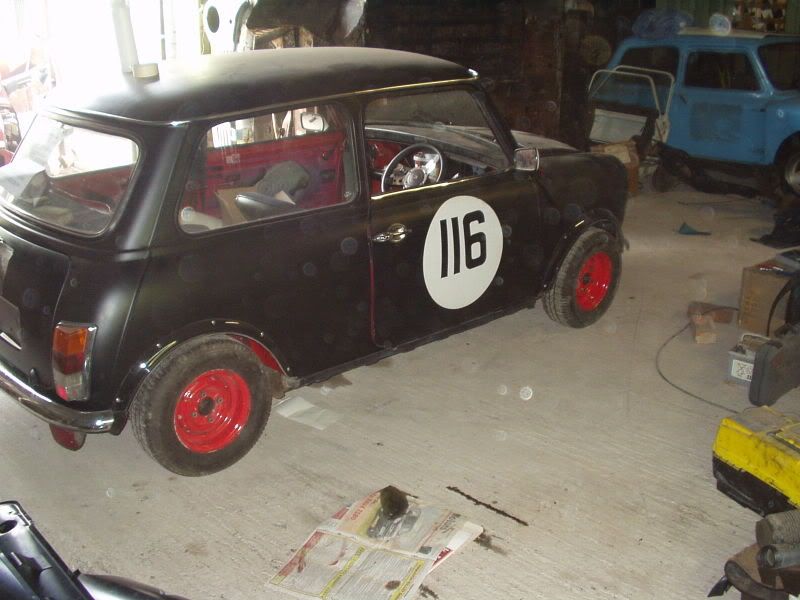 Pootle then got his eyes back 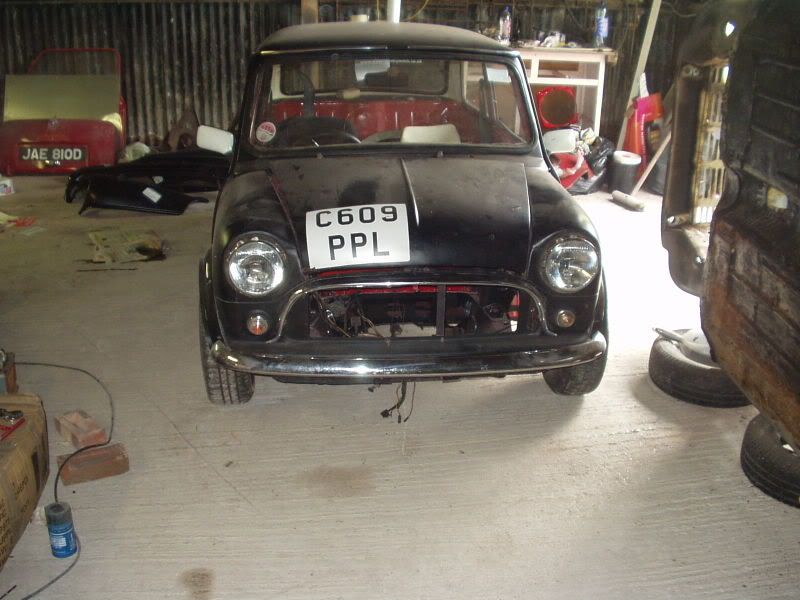 and some rear detailing 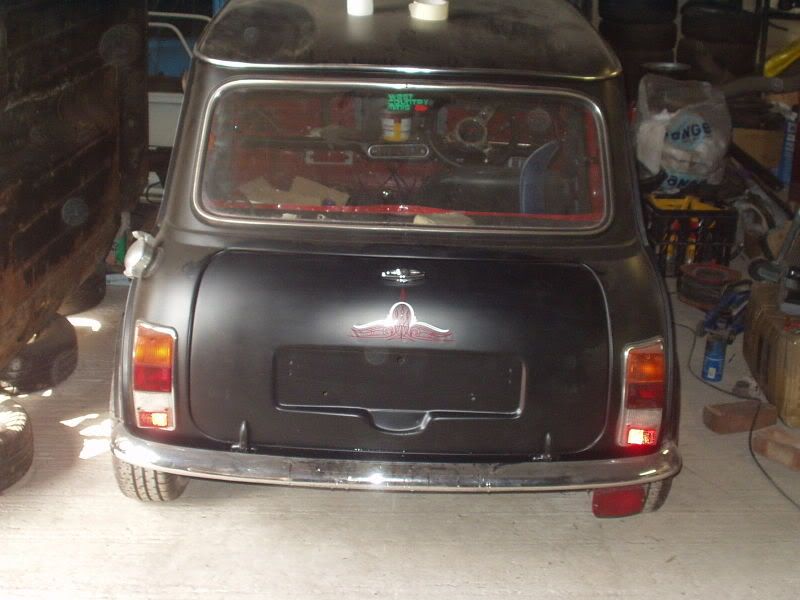 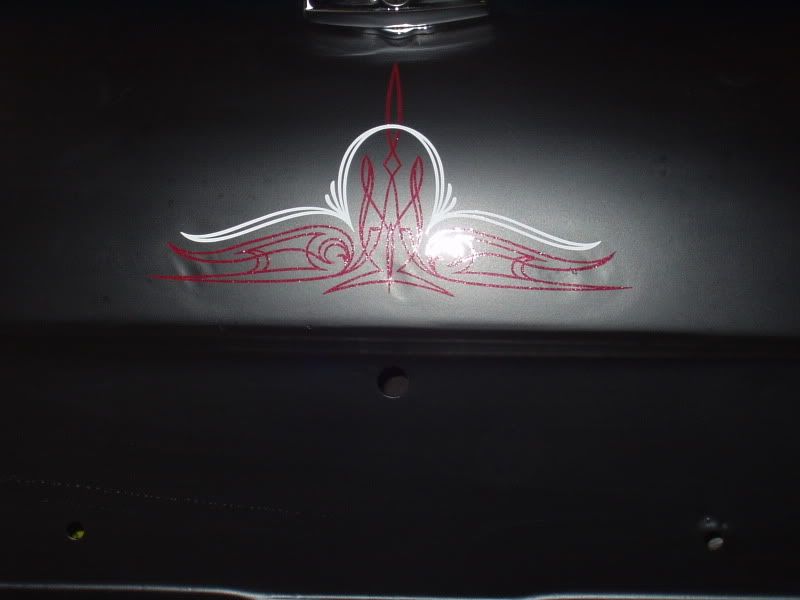 the wiring is progressing and the next bit is to crack on with the engine. |
| |
|
|
|
|
|
|
|
Then some more wheels went red  This looks excellent!! |
| |
|
|
craig1010cc
Club Retro Rides Member
Posts: 2,998
Club RR Member Number: 35
|
|
|
|
he's getting there. I'm chuffed with the look, but I can't wait to get him running. I sent the 45 off to be rebuilt only to find that it has cracked in teh float chamber  But it is welderble and i've found some one to do it for me but th edeadline of teh 21st April has had to slip to the next track day at coombe  |
| |
|
|
craig1010cc
Club Retro Rides Member
Posts: 2,998
Club RR Member Number: 35
|
|
Apr 28, 2007 16:18:08 GMT
|
Finally got around to taking some pics today. Progress has been a bit up and down recently, the engine arrived in the new lock up, but when I fitted a new clutch oil seal, I broke a bearing race putting it back together  , when I sent the 45 off to Spams to be rebuilt, he found a big crack in it  but things are now looking up again. The clutch housing is back from Spams and has a new bearing shell fitted, the 45 is welded and back from being rebuilt  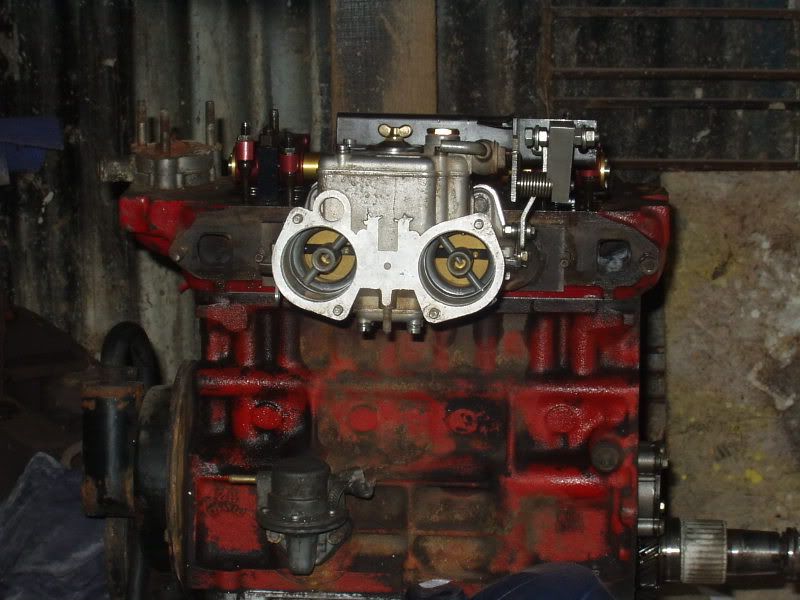 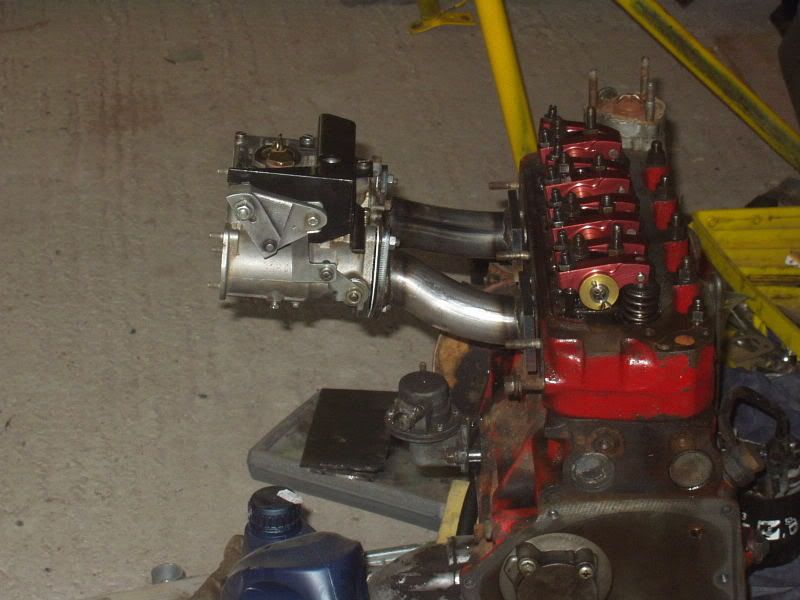 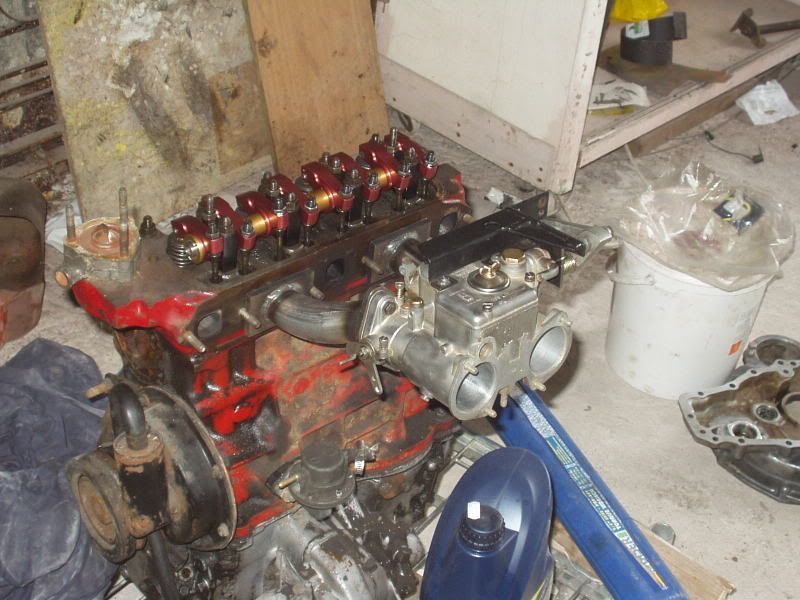 i need the correct bolts for the manifold, but we are getting there at last. The big valve head is on  as are the 1.5:1 roller rockers and the engine has had a lick of paint 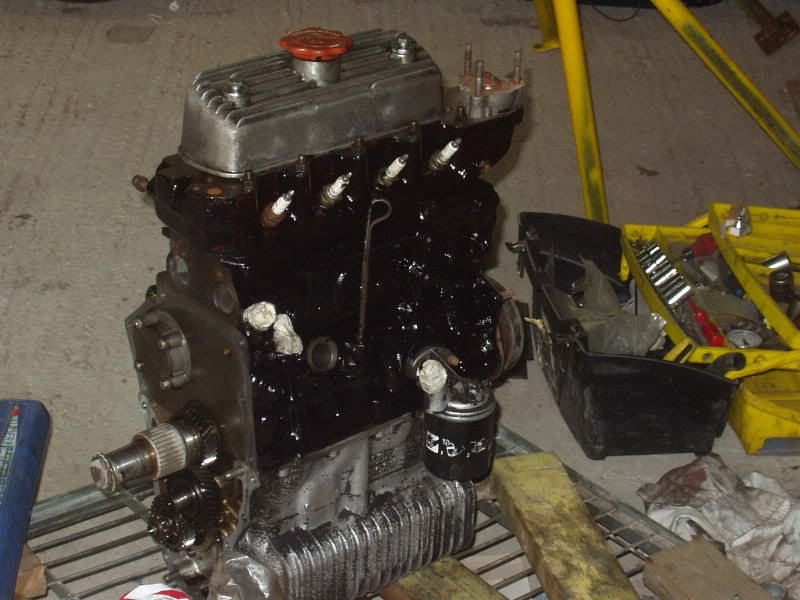 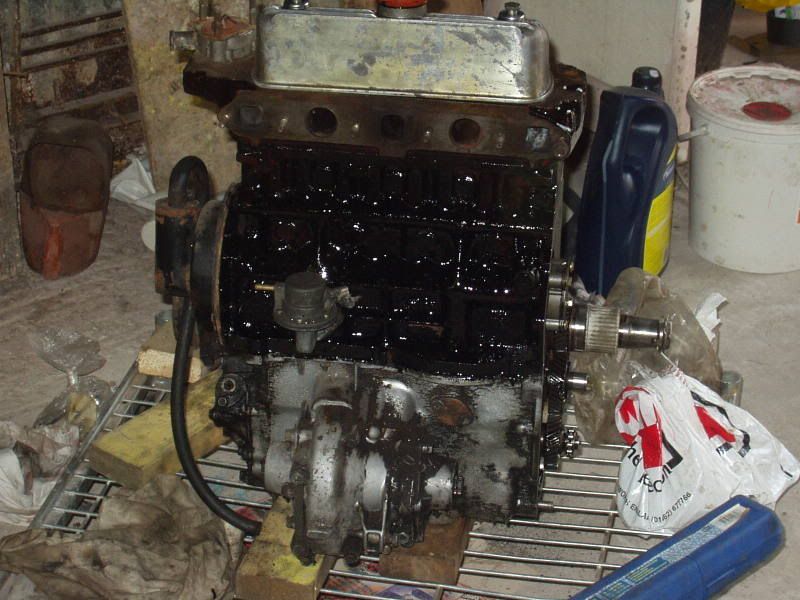 the head needs a 2nd coat, but other than that it's nearly ready. I also fitted the oil cooler conections and the oil pressure gauge T piece. The rad housing has had a lick of paint 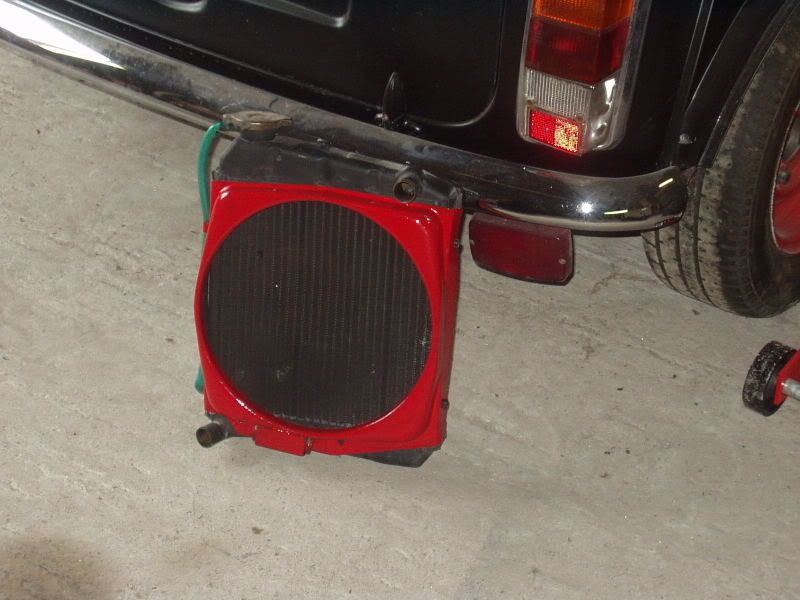 and awaiting paint is my 'new' cage 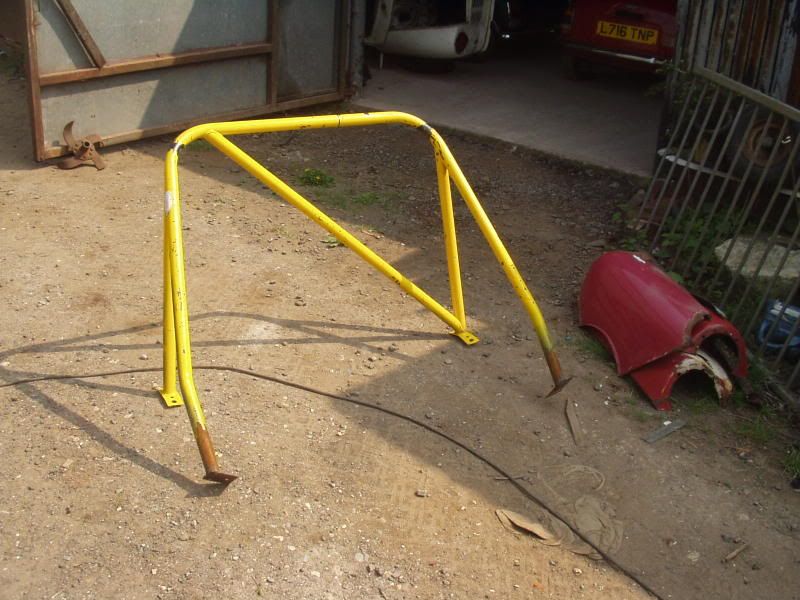 can't decide whether to paint it red or black? A new revised target date is the 9th June as I have a track pass booked for coombe  |
| |
|
|
|
|
|
Apr 28, 2007 22:09:03 GMT
|
That cooper S is amazing1 never seen one in that colour before. And i love the red interior too.  |
| |
[/color][/b]  [/CENTER] |
|
|
|
|
|
|
|
matt black mini with pinstriping, red wheels and a stonking engine = absolutely class.
was it pretty easy to do the flip front? can u still open the bonnet in the normal way. Ive got a flip front with seerate bonnet waiting to go on mine and i could do with a few pointers if possible
|
| |
|
|
craig1010cc
Club Retro Rides Member
Posts: 2,998
Club RR Member Number: 35
|
|
|
|
It is the 2nd yukon grey sportspack I've onwed (the 1st wasn't a S though) and the red leather really makes it for me. It is a very rare colour that was only an option for about the 1st 18 months of the MPI's. I have been trying to fin out how many where made in it, but nobody seems to have a record  I brought the steel front pre built 2nd hand on ebay. and yes, I have retained the stock bonnet and hinges (although they are modified to lift the rear of the bonnet). it is a pretty straight forward conversion, all I've got left to do is fit a few dzuz clips and redo the wiring for the front and that bit is complete. Just take your time cutting the old front off (and cover the windscreen ;D) and make sure all of the wiring is routed away from moving items (I fitted a 1 piece front to my 1st mini years ago and the alternator chewed through the headlight wires  ) |
| |
|
|
|
|


 (the Ecoat on the heratige door I fitted 6 years ago had lifted around the frame and started to rust :x now all fixed though


 only 1.125kgs each as well


 Mk1 bootlid awaiting some paint





 But it is welderble and i've found some one to do it for me but th edeadline of teh 21st April has had to slip to the next track day at coombe


 [/CENTER]

 )
)