Cheers chaps.
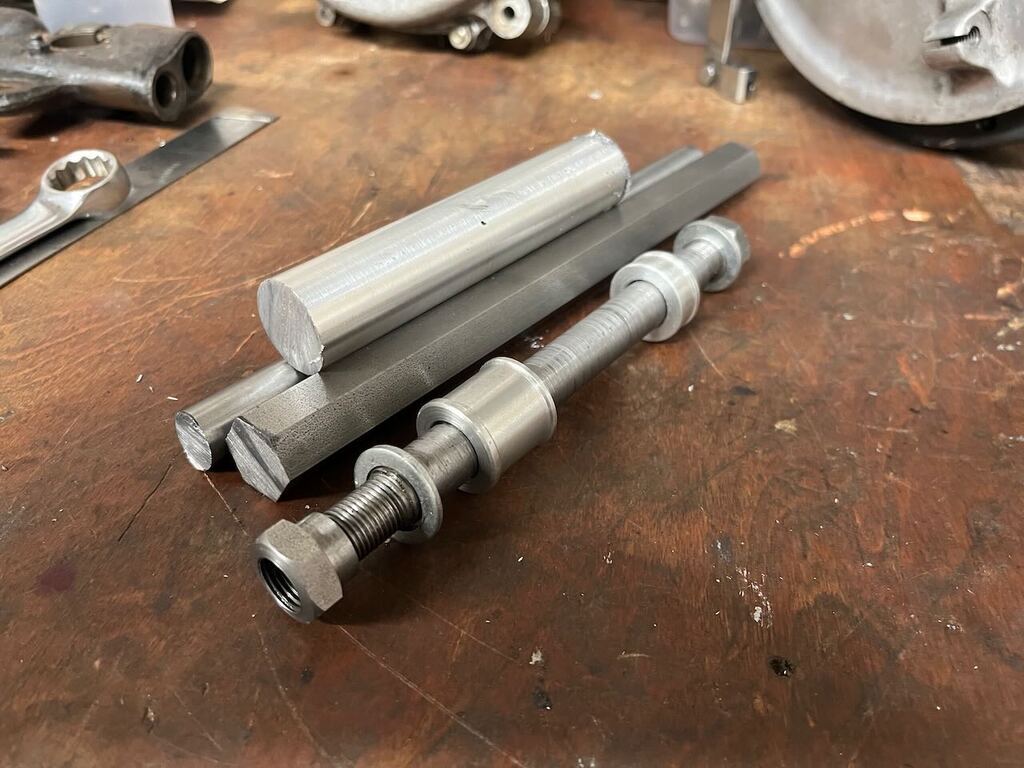
hopeso, before I started on this bike I had no lathe experience either. I just bought a cheap lathe, watched some YouTube videos and had a go. In all good projects there's a day when you think 'I've bitten off more than I can chew'.

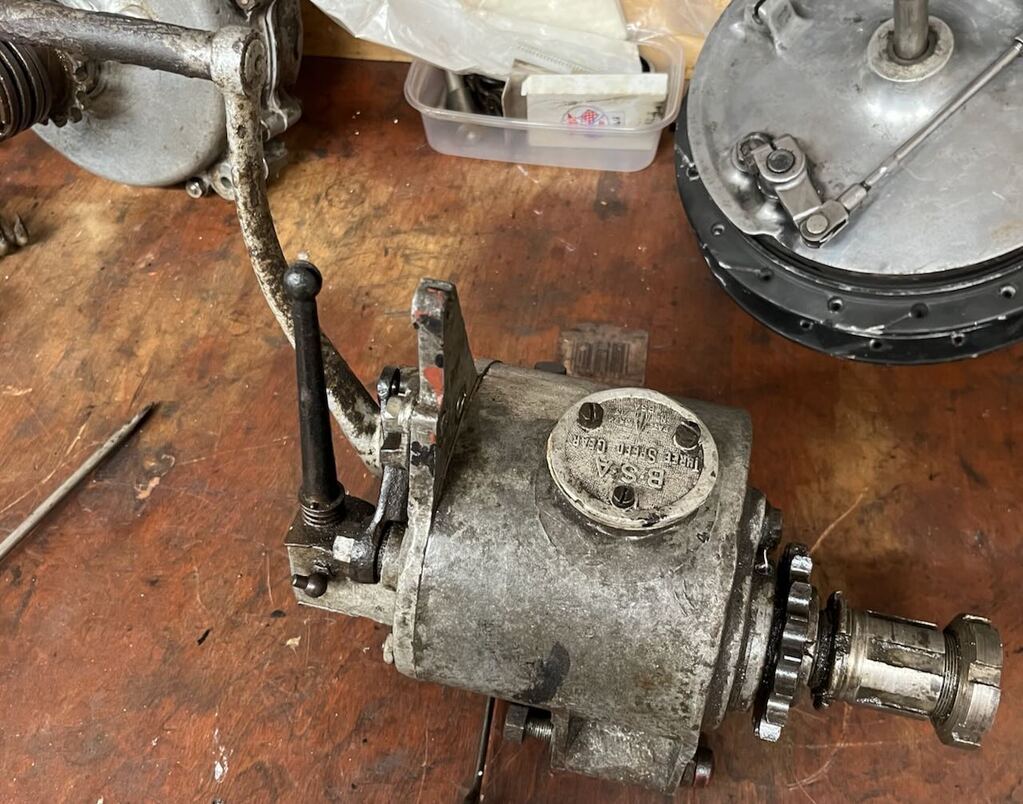
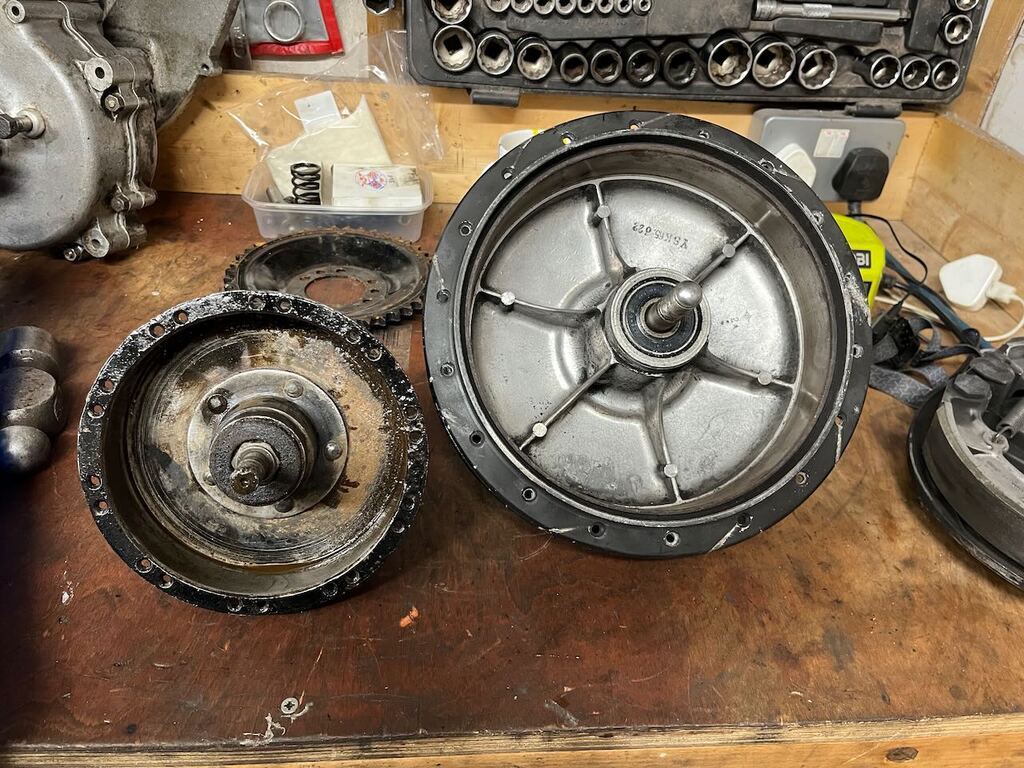
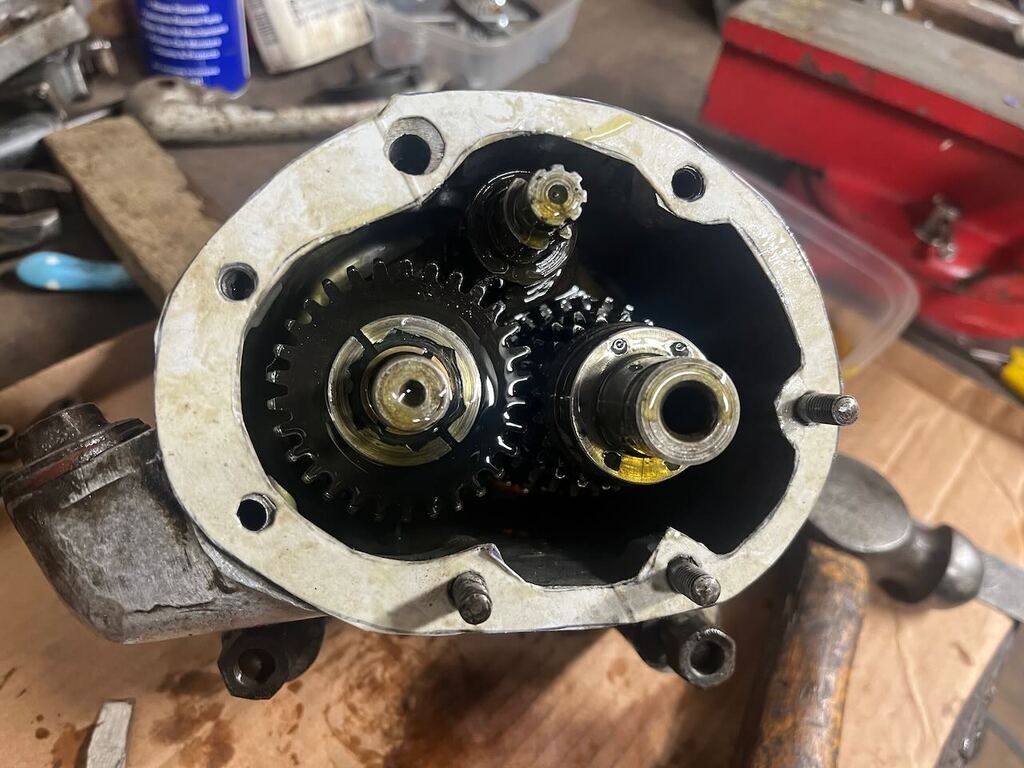
So, I left it on a bit of a cliff hanger at the end of the last update... Time to try starting the bike! Well from the first kick I could feel something was wrong and it was quickly apparent that the clutch was slipping. On a 'pre unit' bike like this, with separate gearbox and engine, the kick is usually attached to the gearbox and relies upon the clutch and then primary chain to transmit it's force to the engine. So most of my effort was just going int slipping the clutch hand the engine wasn't turning over fast enough.
So I stripped the clutch and checked it all appeared to be together right, cleaning it again and had another go. No better. I went through a few rounds of this before deciding to 'rough up' the steel plates a little to give them half a chance of gripping the old friction material. And with that...
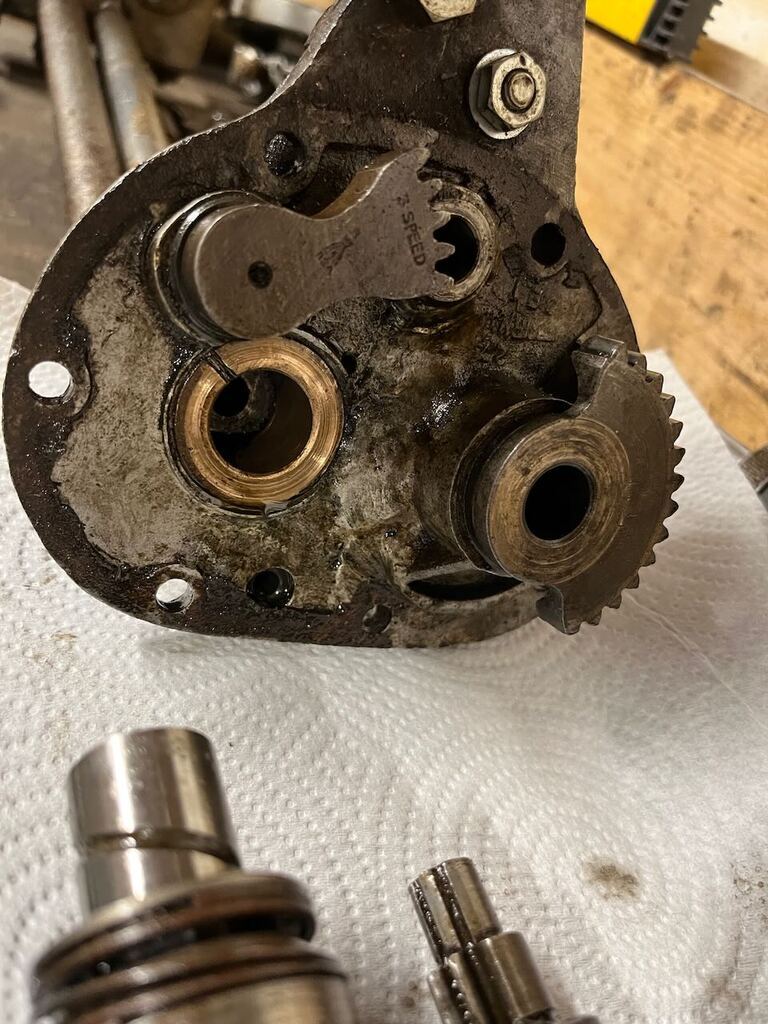
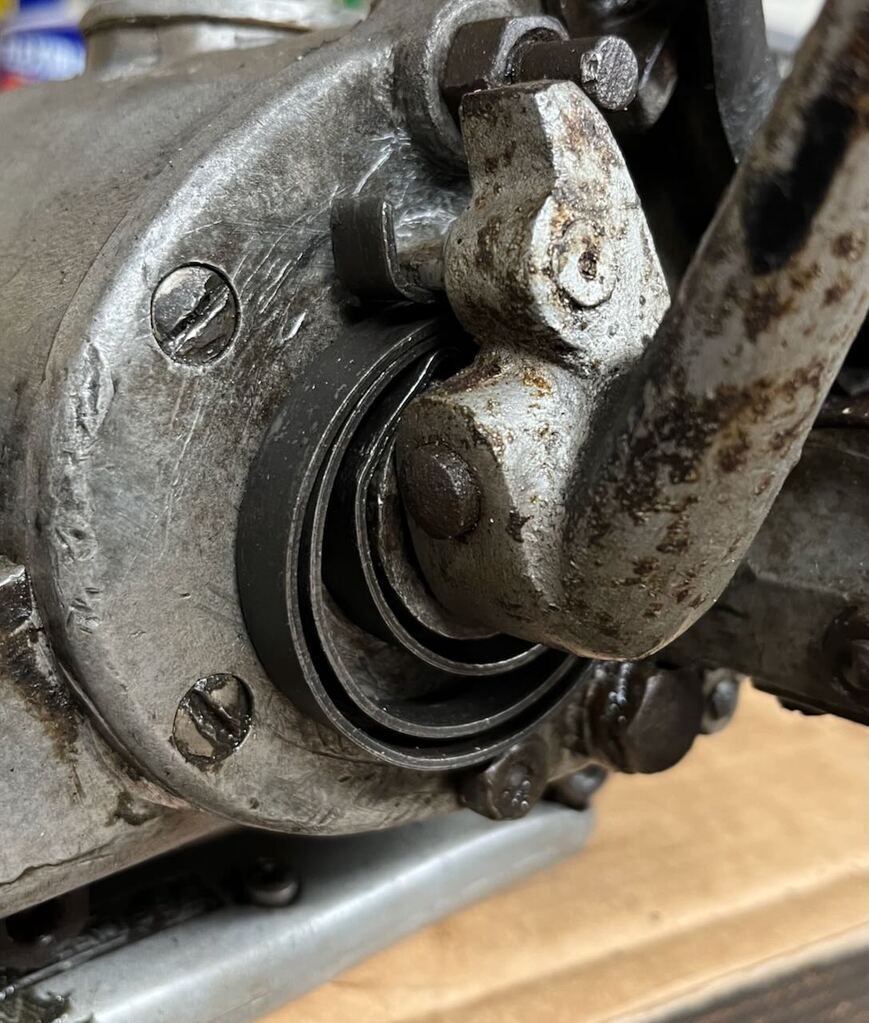
Excellent, and very straight forward. A quick run up the access road behind the house showed some immediate issues though. A few small easily fixed ones, the rear brake rod needed adjusting to put the pedal where I wanted it, bits like that, but 2 big issues. 1. I couldn't get 3rd gear and 2. the oil pump didn't appear to be working. The gear selection turned out to be an easy fix, in all my messing about with the clutch I'd managed to set it up so that the clutch arm now fouled the gear selector and locked me out of 3rd when the clutch was pulled. The oil pump worried me more!
As mentioned previously, this is a low pressure/drip fed total loss system. So there is a small oil pump on the side of the engine that drips a metered amount of oil into the engine, much like the pump you'd have on a modern 2 stroke bike. That oil is fed into the crank case where it's whipped up by the crank flywheels and some splashes on the bearings and cylinder walls.
I had pre-primed the bike with oil, as the user manual suggests, so it would have probably ridden a couple of miles like that with no harm done. As an aside, a bike 10 years older would have had a hand pump for the oil and you'd need to give it a pump every miles or twit inject fresh oil into the crank case! Apparently the public weren't too sure about these new fangled mechanical oil pumps and didn't trust them, so late 20s bikes tended to hand a manual over ride so you could hand pump extra oil and also had a sight glass on top of the fuel tank so you could easily watch the regular drip of oil the mechanical pump was feeding to the engine. As time went on the sight glass moved to the side of the engine where the pump is, as mine is, but it was retained till the total loss system was phased out in favour of the dry sump system that replaced it. On those bikes you can open the oil tank and look for the regular returning of oil from the sump to reassure that oil is being fed to the engine.
Anyway, looking gin the sight glass I had no oil pumping. The pump came apart easily enough, and it was clear that small bits of corrosion from inside the fuel tank had gone through the pump and jammed in some of the tight internal tolerances. With a goos clean out and a bit of light sanding to remove some burrs it looked like it would work again.
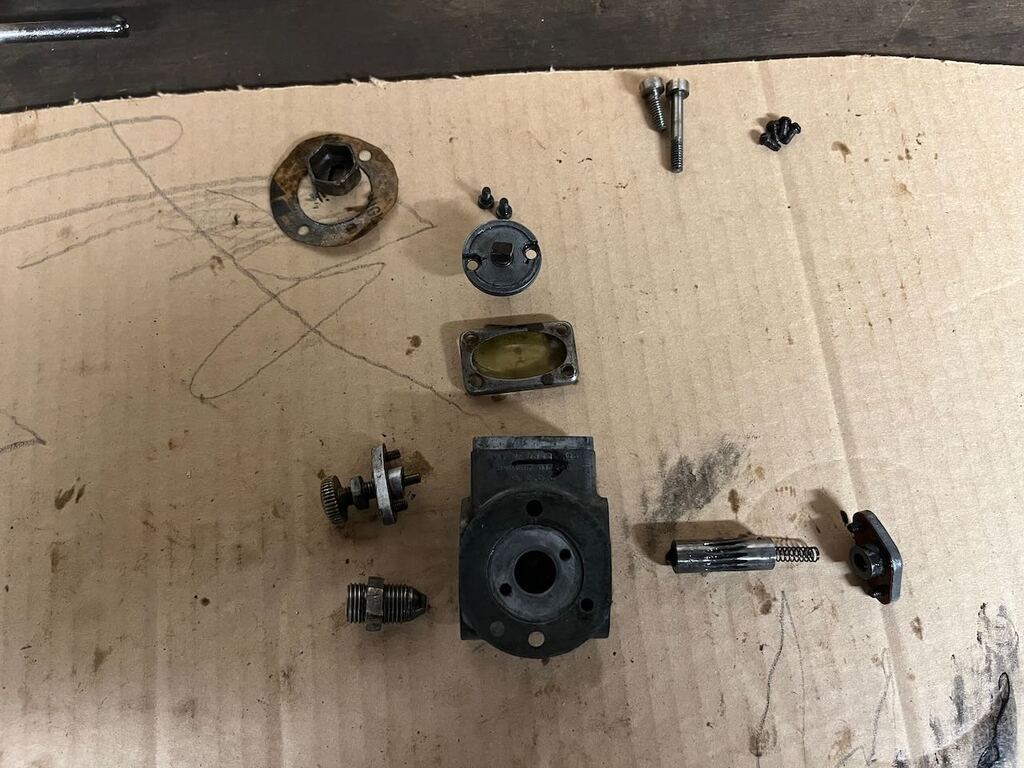
And it did, I ow had a regular 'drip' I the sight glass, excellent. How much oil does it need... well enough that it doesn't seize but not soo much as the exhaust smokes, and more than usual when running in. That's as technical as the manual gets. Helpful I know! I figured I'd start with too much and back it down slowly over a few rides til I was happy. The apparent sweet spot it so see no smoke under normal running but if you let it idle for a minute or thew then give it a blip of throttle there should be just a bit of blue haze.
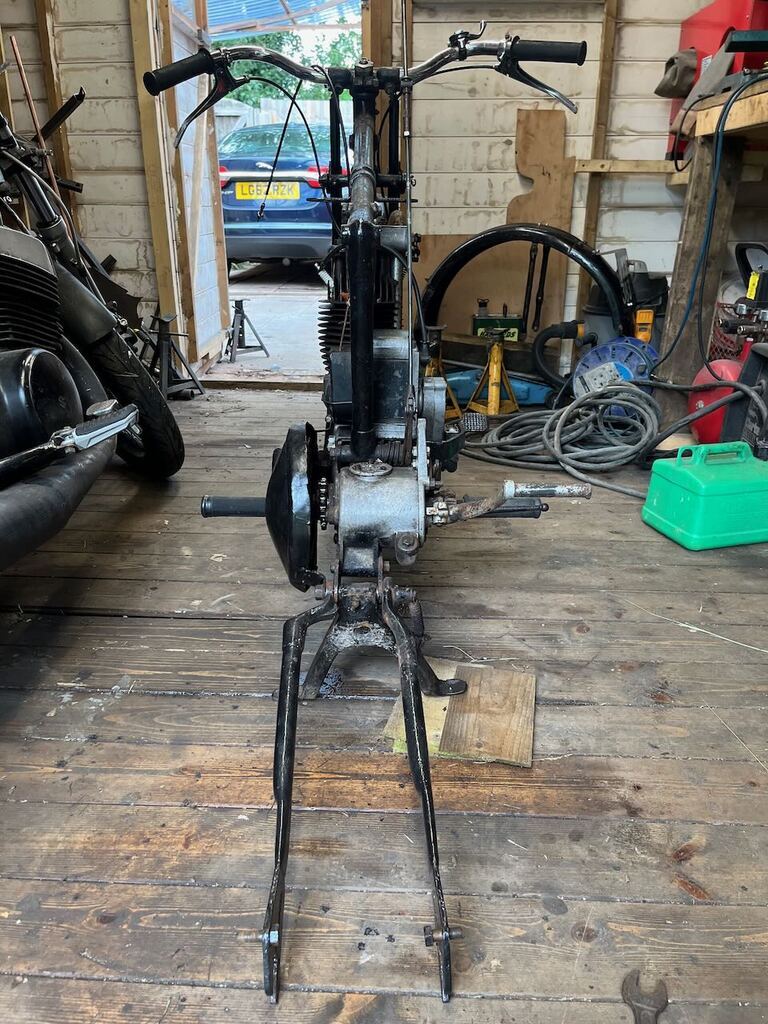
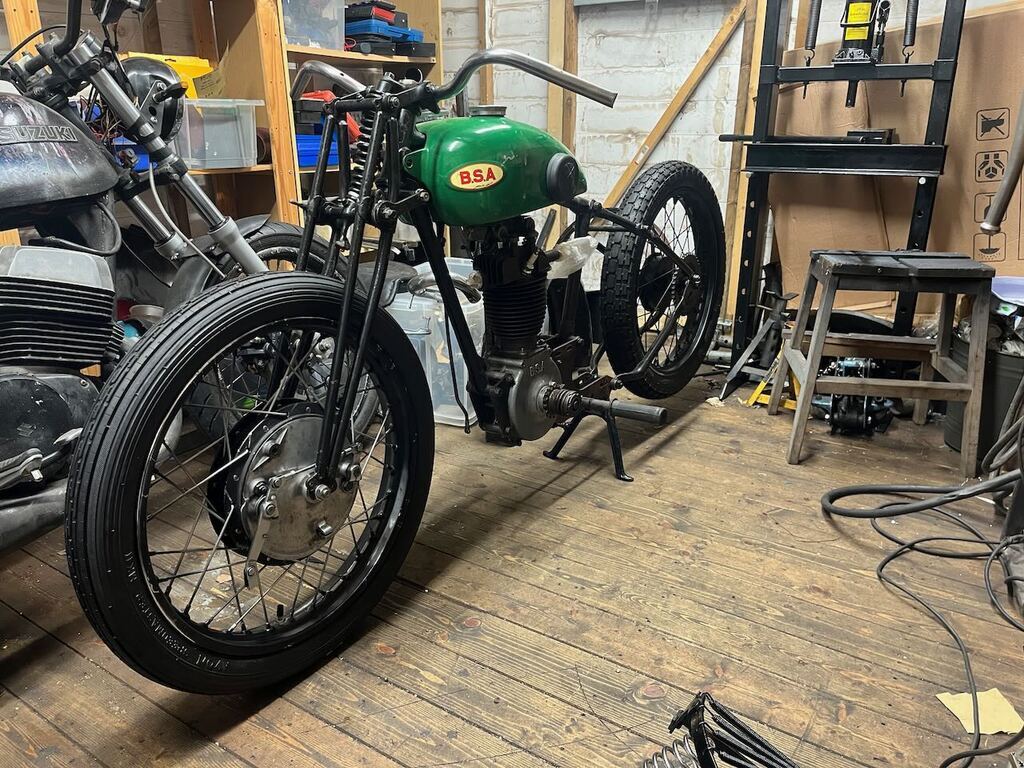
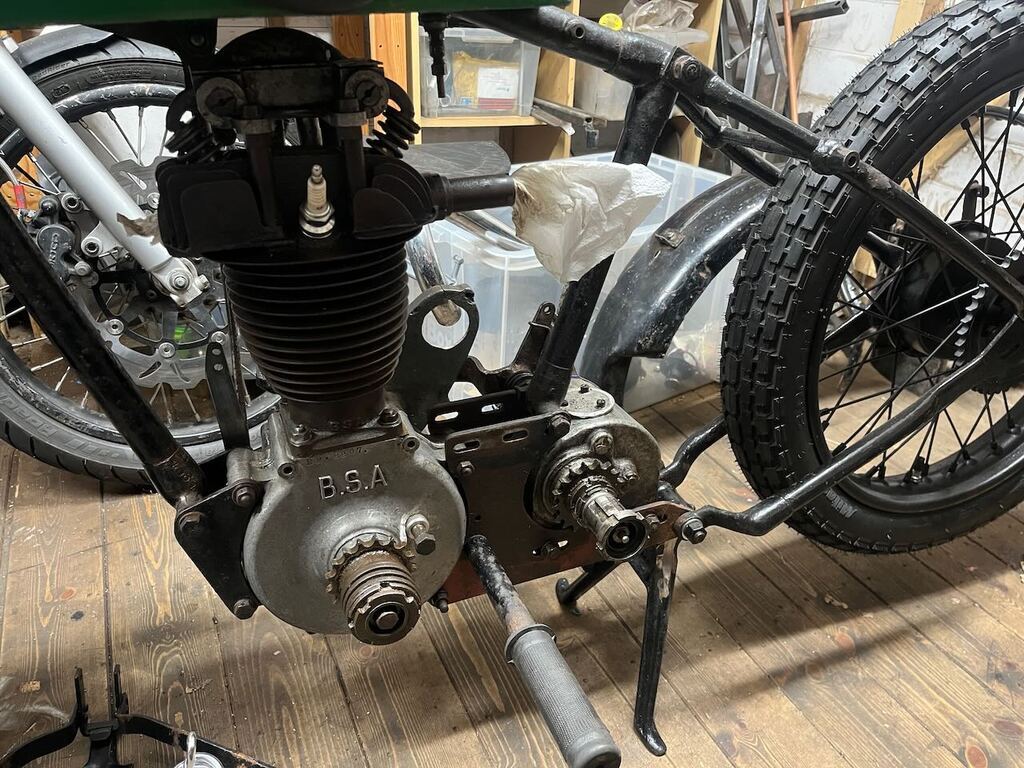
So feeling like the bike was essentially ready to be ridden I had one last challenge to deal with, electrics. The charging system on this bike only puts out 18w at 6v. So that can support a 12w headlamp and a 3w rear lamp and a couple of 2w instument bulbs. A 12w headlamp would be worse that most car's sidelights and just pointless, so I'd considered just removing the lights and running in a daytime trim but I did want a brake light. I would be going out on 21st century roads and people expect you to have a brake light. The bike didn't leave the factory with a brake light, but it's simple enough to add one, and made all the more simple by the fact that my 60s front brake lever came with a switch built into it.
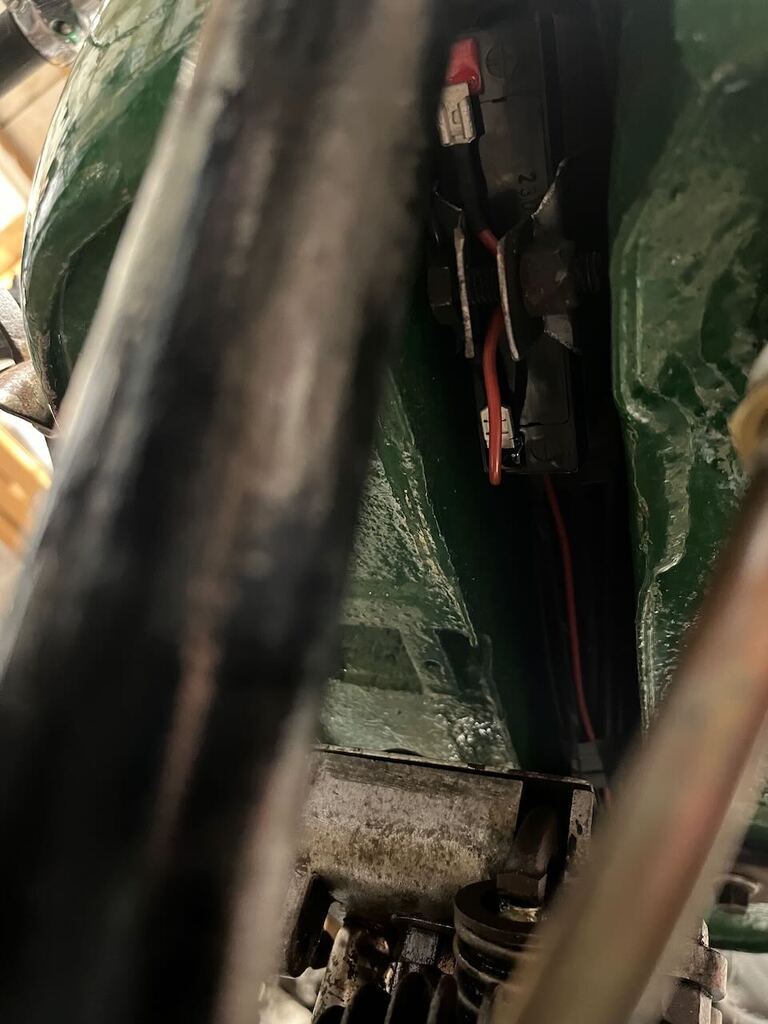
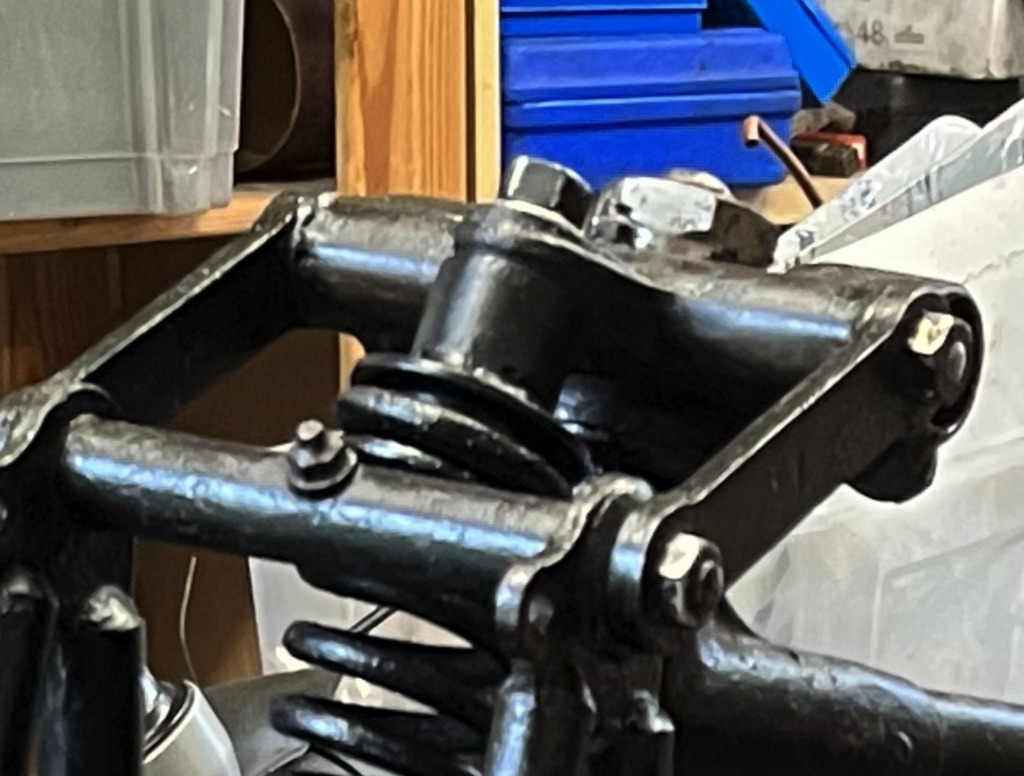
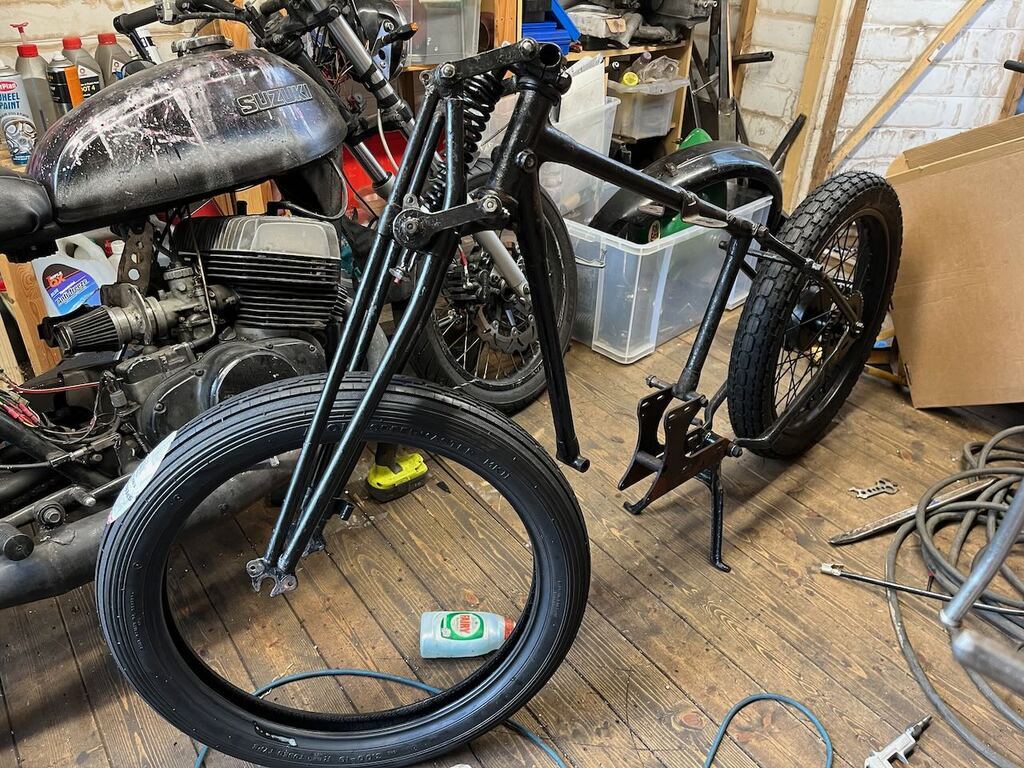
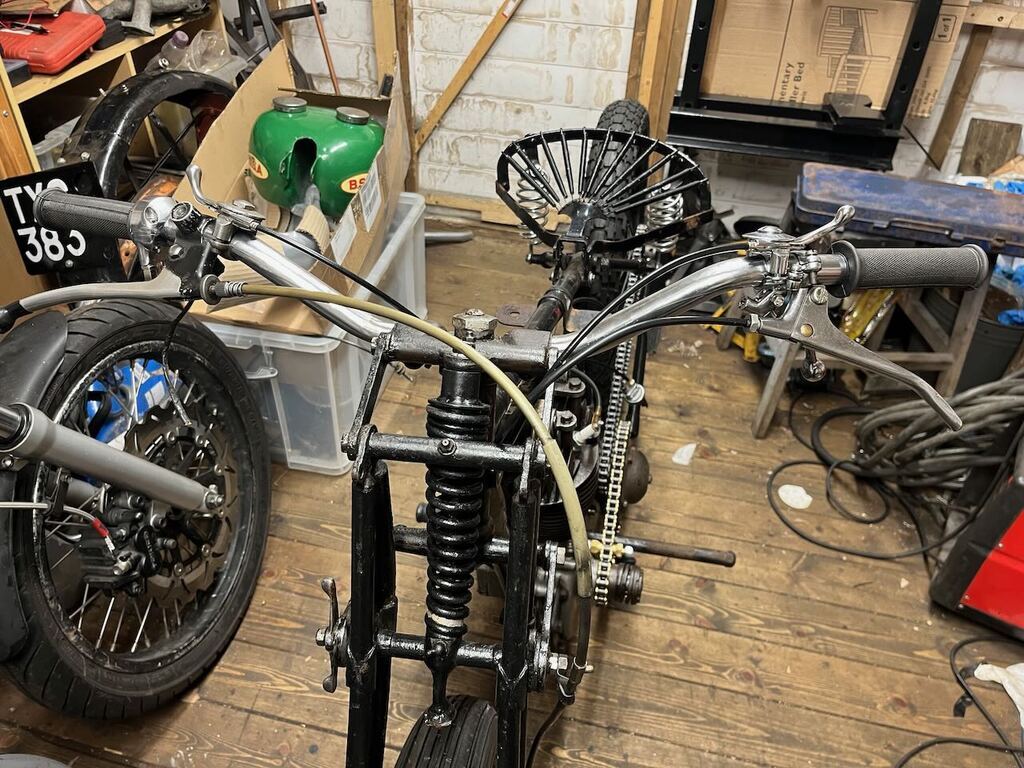
I considered running just a small battery to power a brake light, but then I figured as I did have the charging system on the magneto and from running the bike I confirmed it put out some voltage, so making use of that made sense really. The break through came when I went to buy an LED bulb for the brake light, I did the calculations and realised that LEDs draw so little power that I could fit full modern brightness headlight, tail and brake lights into the original (well reproduction...) light units that came wit the bike and still be drawing less than 18w. I also found a tiny little 6v house alarm battery that I could tuck up underneath the fuel tank. A cheap cycle speedo completes the electrics needed. Picture from halfway through the install, all the wires are fully tucked out of sight now.

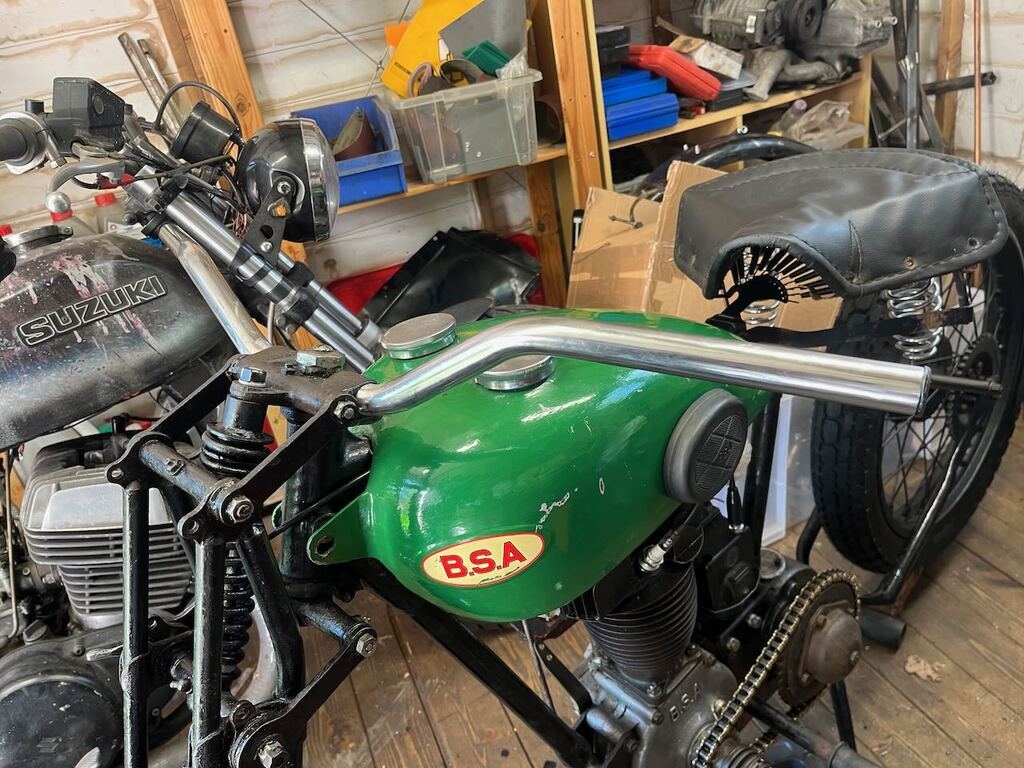
I've got to say that the headlight impressed me, it's better than my 70s Suzuki for sure, I shall have put an LED bulb in there too I think! And even better, I can confirm with the ammeter than the draw with all the lights on is less than the charging system can put out, so that's good news.
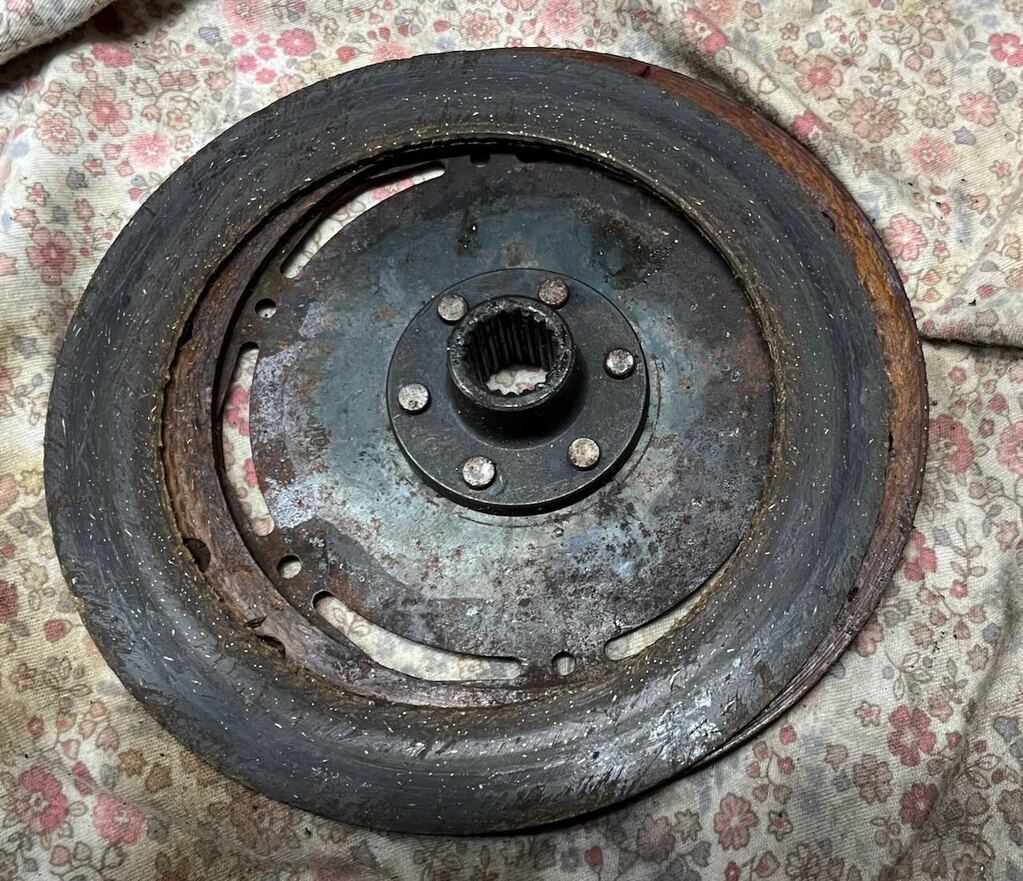
Test ride time, for real, out on the open road... Only once again the clutch is slipping, and slipping worse than ever now. Stripping it down, I'm pretty sure the issue is the tight old friction material is just shot and seems to leave a greasy residue even though I gave it a thorough cleaning with clutch cleaner. New clutch material is tricky to come by, I found a couple of corners of the internet which said I could order some ,but it was from small stranger websites I'd not heard of before on the other side of the world.
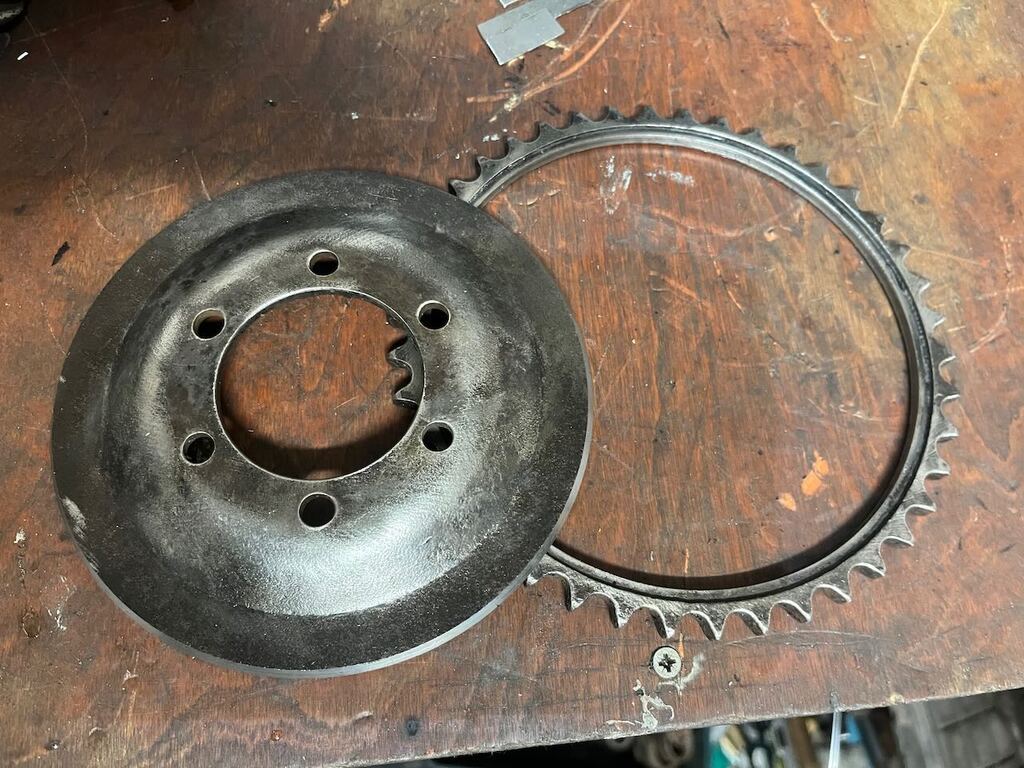
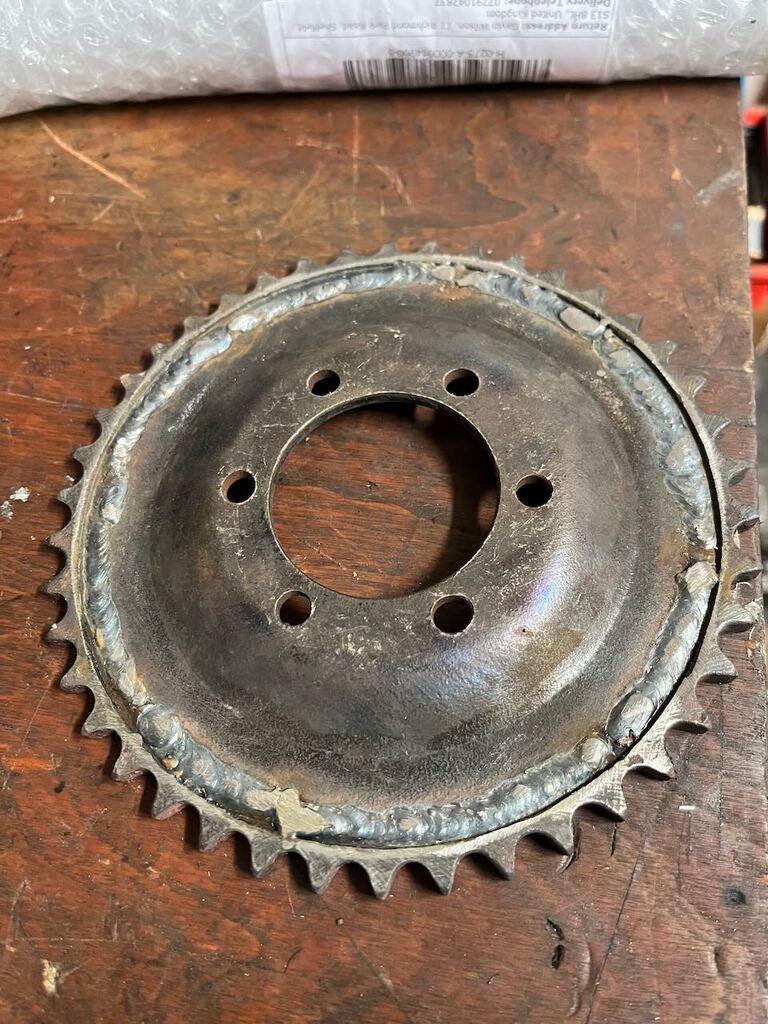
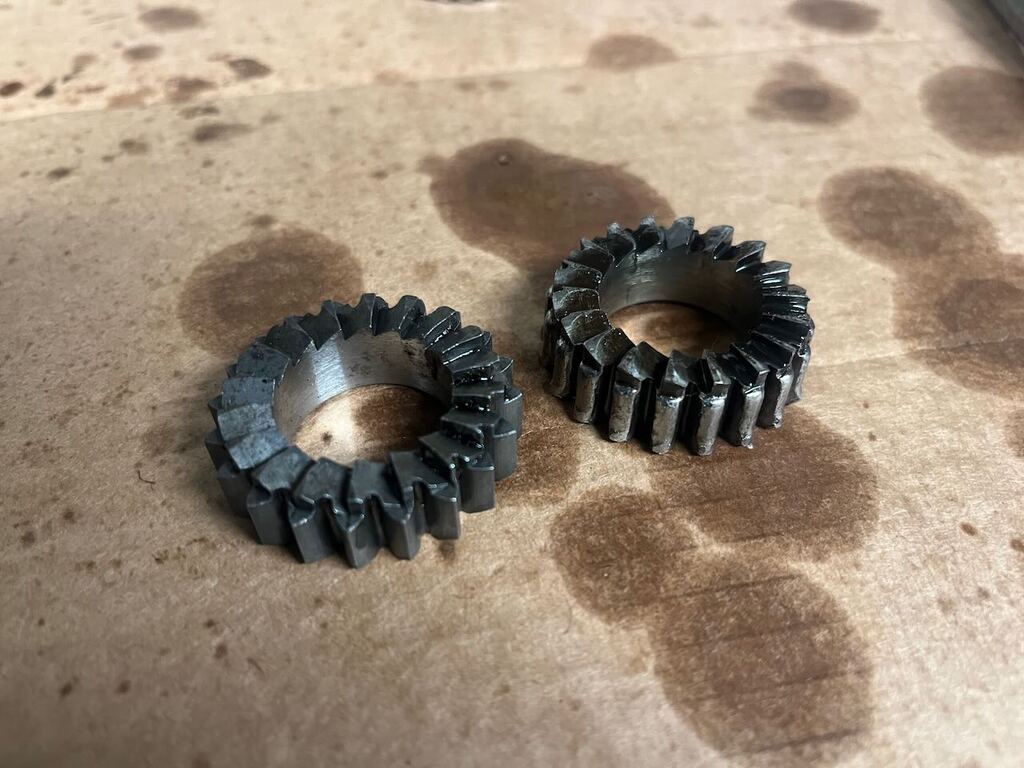
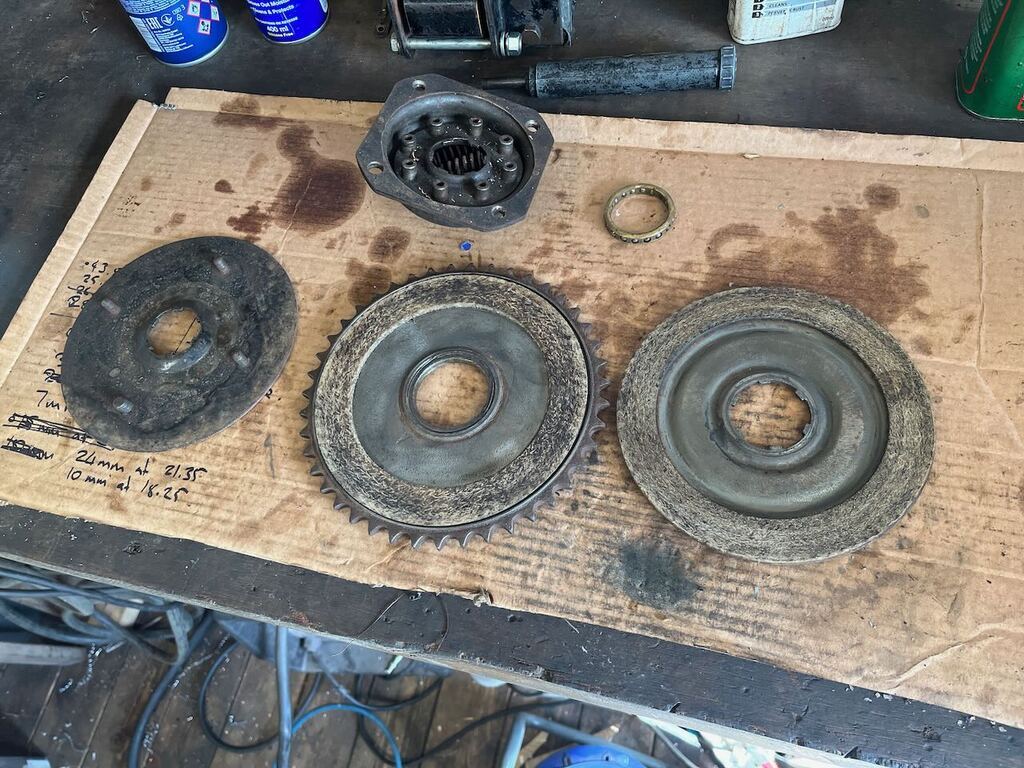
Ultimately I just needed two rings of clutch friction material, so I started looking for other application that might need a similar thing. I got close when I found various tractor PTOs use similar friction rings, but I didn't find any quite the right dimension. Then in a stroke of pure luck, I came across the fact that the classic Fiat 500 uses a clutch disc of the same size, and even better I've got one with my spare engine. Comparing the two they were a perfect match. All I had to do was drill the rivets out to take there friction rings off the centre hub and there would be my clutch friction.
The spare clutch I had in the shed was probably just as worn and oil soaked as my BSA bits were though (also as asbestosy I'm sure

), but thankfully Fiat bits are cheap and easy to come by, so I had a new Fiat clutch some next day for £28. Frustratingly this was just 1-2mm larger diameter than my old 1960s Fiat clutch, and whilst in the Fiat this didn't matter, in the BSA this was a problem.
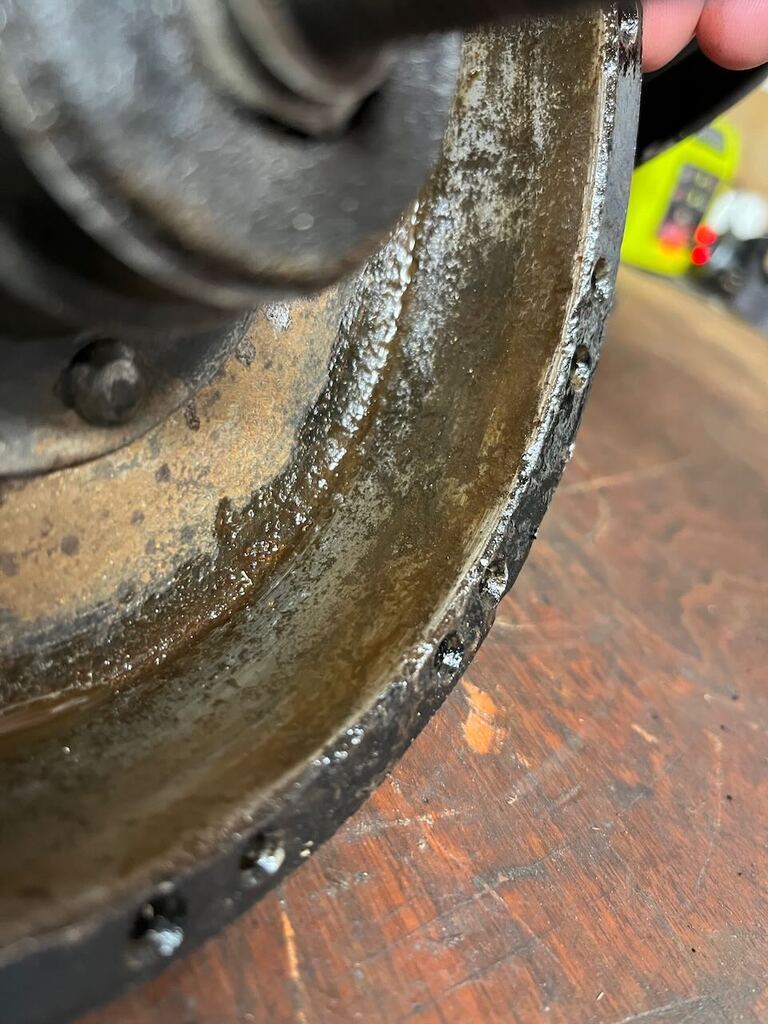
Happily I own a lathe and so, with confidence that the brand new clutch was not asbestos, I quickly popped it on the lathe and turned it down to size. Wit the rivets drilled out I could drop the new friction material into the BSA and cross my fingers.
First kick didn't inspire me with confidence, but I'm pleased to say its just got better and better as it's bed in and I'm now happy to draw a line under this and say the clutch issue is sorted.
Now I could finally go for a ride! All geared up and ready to see what this bike is all about, I made it a whole mile up the road before I noticed the oil pump wasn't pumping, had a panic and limped back home. It turned out to just be an oil bubble in the oil line and nothing to worry about, it had sorted itself by the time I got home.
But that mile was enough of a ride to show me several more issues to fix. Several easy adjustments to make, such as tightening up the advance and choke elvers, as otherwise every time I hit a bump the choke went on a bit and the ignition retarded a bit!
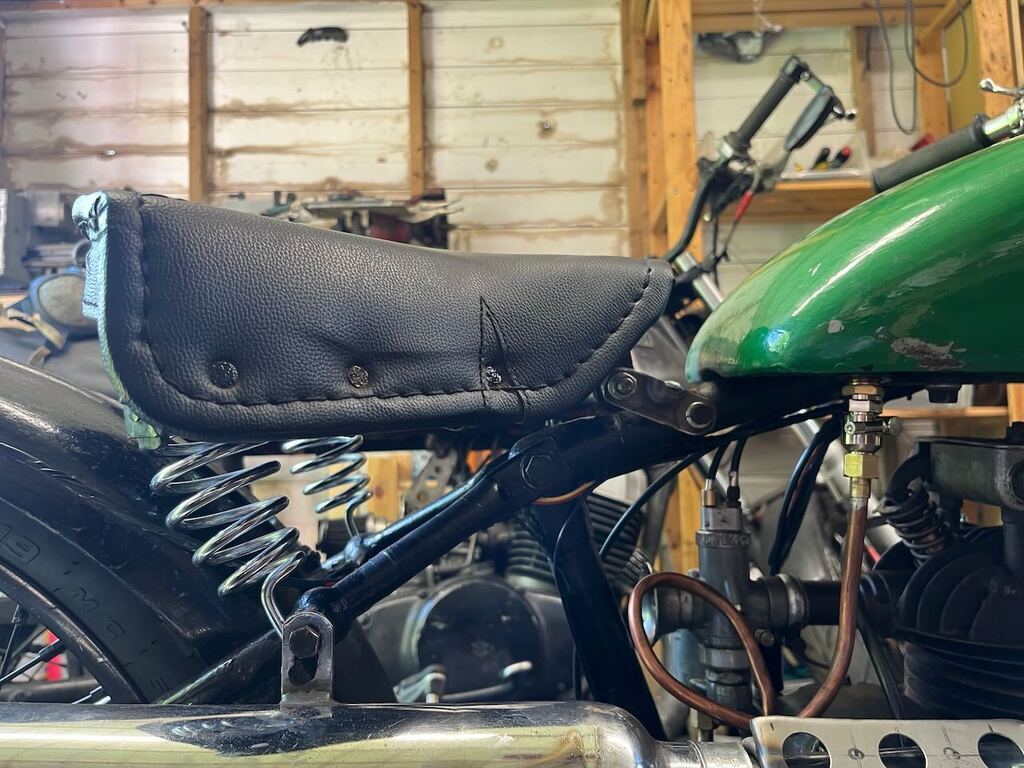
I also made a new mounting bracket for the front of the seat, that raised the front edge and moved it back a couple of inches. I've seen a wide range of seat mounts when looking for into on these bikes, and given that mine is a bit of a mix and match special, I'm not surprised that the seta and bracket combo it came with wasn't right. Anyway, with the new briquet the riding position was hugely improved.
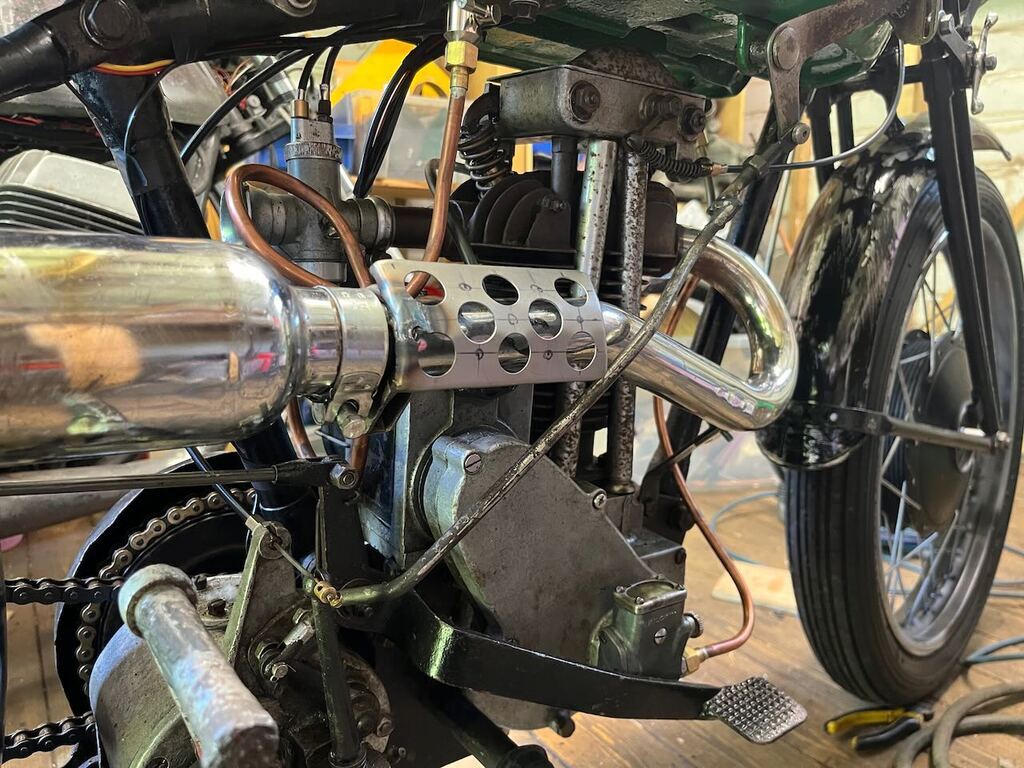
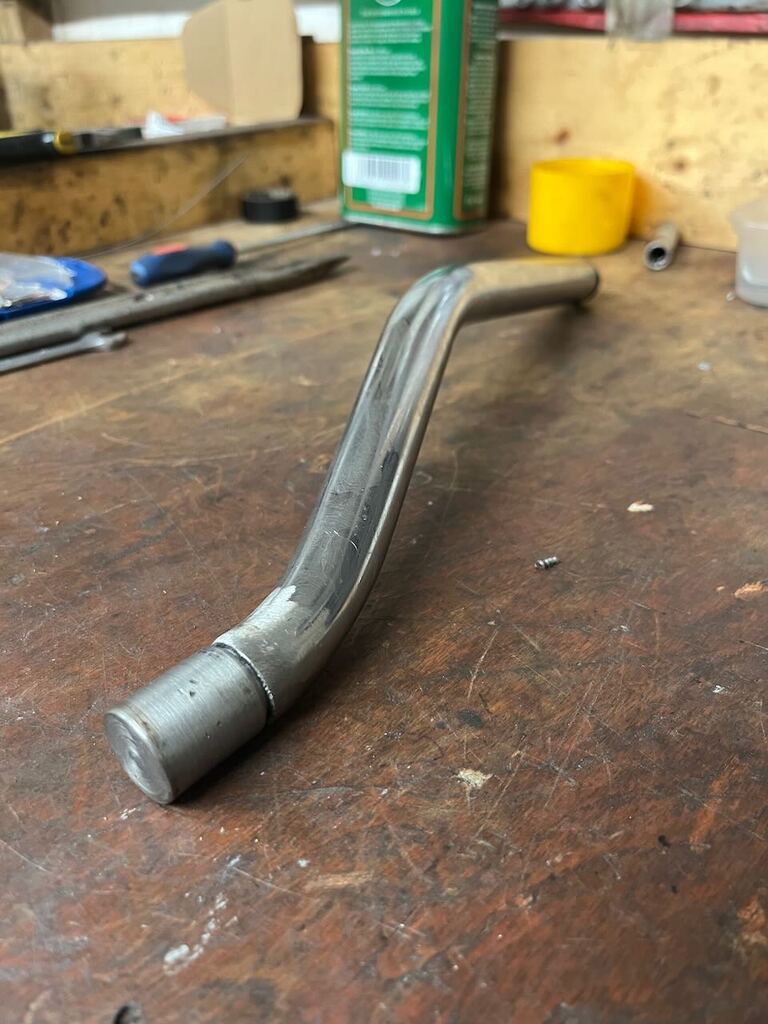
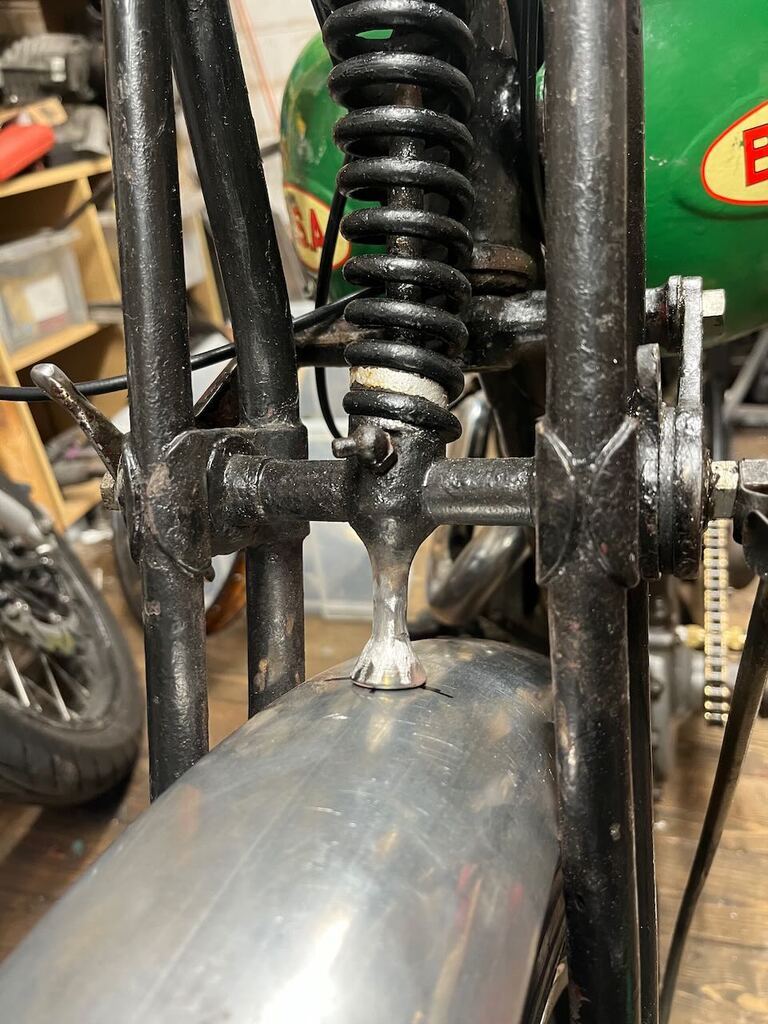
I also made a quick heat shield for the exhaust, as it was already trying to burn a hole in my leathers.
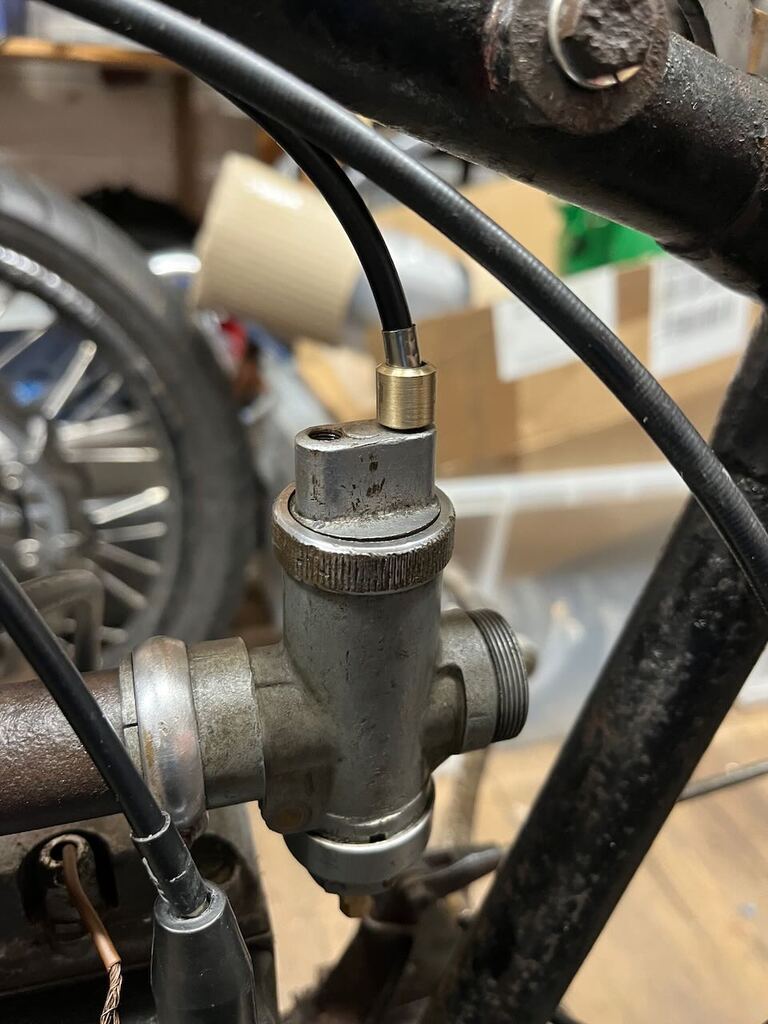
Ok, try again for a ride! This time I made it about 3 miles, before it started spitting and running worse and worse, kicking out clouds of smoke. I turned for home and tried in vain to make it back, but ultimately was forced to push it home the last couple of miles. After a bit of head scratching I realised that the nipple had come off the choke cable (this is why I didn't trust home made brake cables! haha) and the choke had come back on full, and secondly that the oil pump was adjusted wrong and had filled the bottom of the crank case with far too much oil, which was now being forced past the rings and fouling the plug.
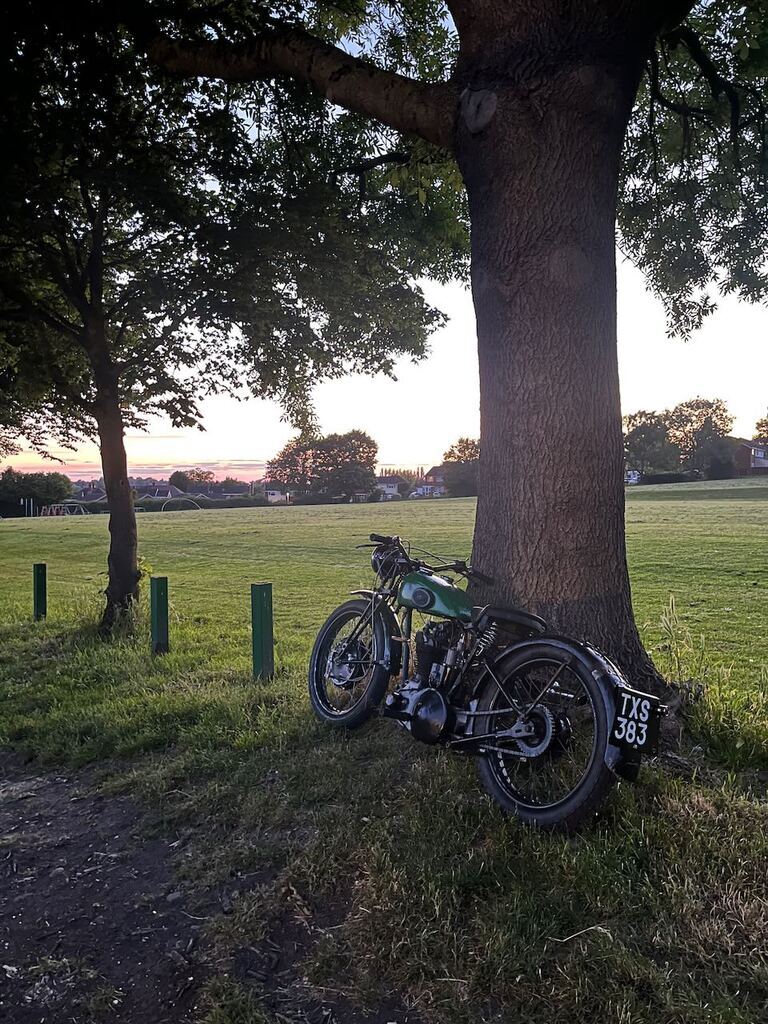
With that sorted I was finally able to take it on a few short local rides which didn't involve break down or pushing home.
I'm still working through the teething issues though, and am confident that bike's not running 'right' yet. I knew it would be slow, but currently I'm topped out at around 40mph most of the time (had it up to 51mph on a downhill with my head on the tank!!!) and at that point I can feel the engine missing and surging with the odd backfire.
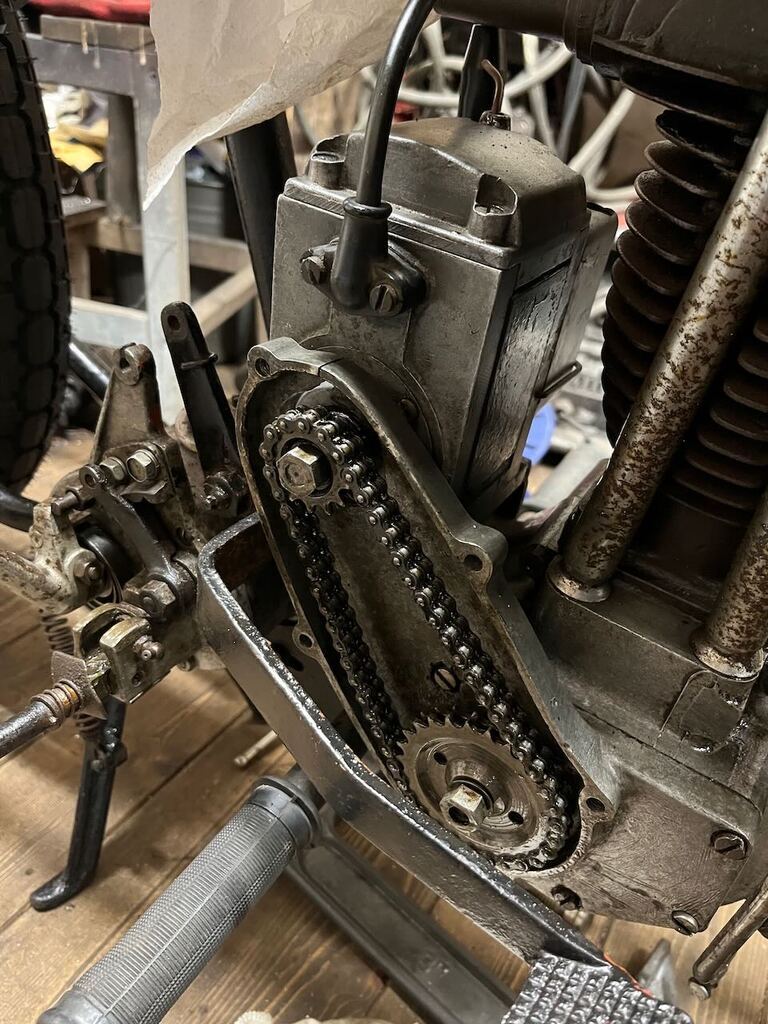
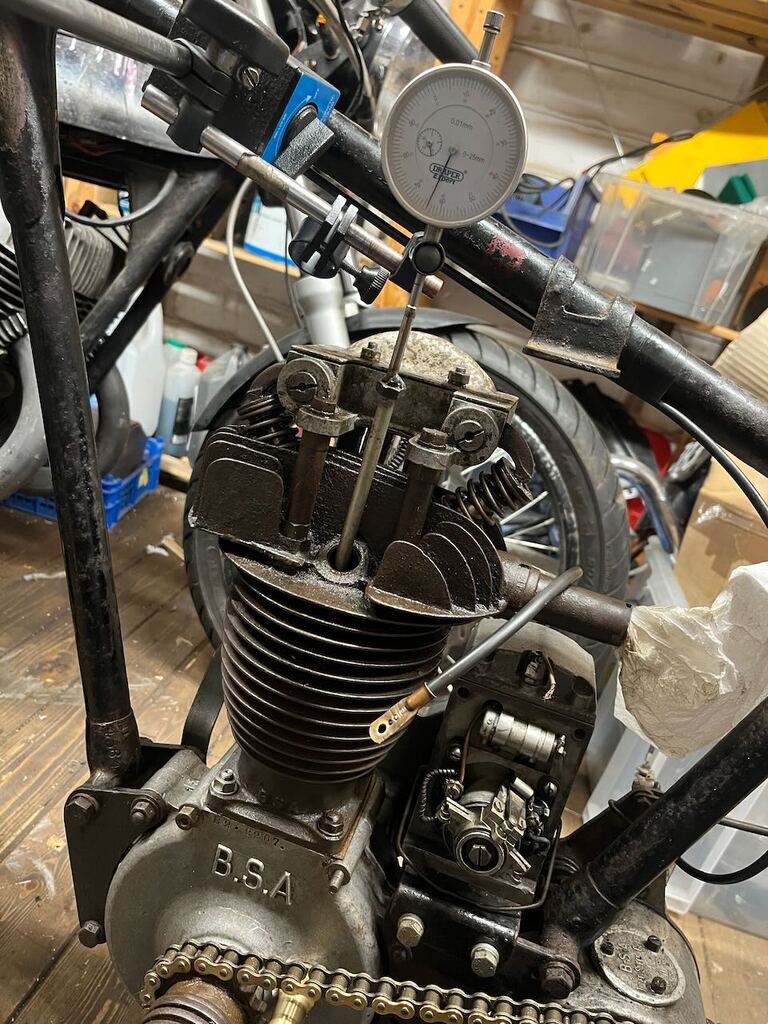
I've tried playing with jetting, and having manual control of things like ignition advance and choke does make trouble shooting some tuning issues easier but I'm getting nowhere really. The best results I had were from reducing the plug gap... which leads me to think it might be a magneto issue.
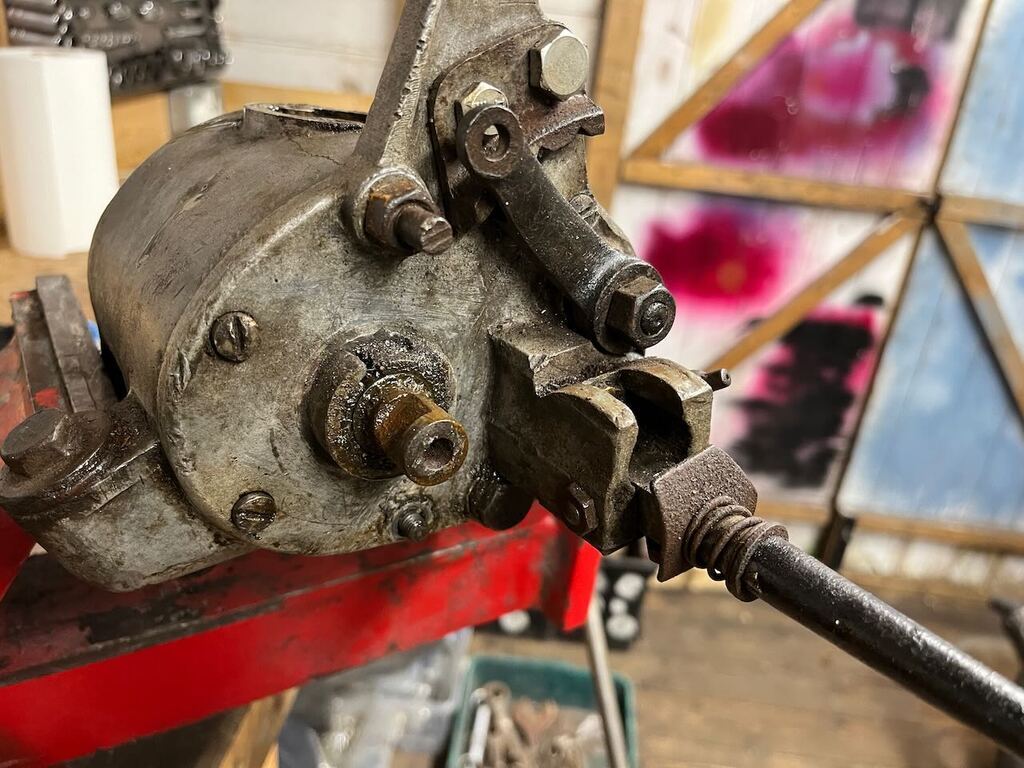
Many magneto issues show up as poor starting, something I'm not suffering with, but it still seems like my mostly likely culprit. So when I've next got some time to tinker I the shed I think I'm going to have to get the magneto apart and see what I can see!
Magnetos are a crazy world of black magic and secrets, or so half the internet would lead me to believe! What was it I was saying about biting off more than I can chew... haha


 ), but thankfully Fiat bits are cheap and easy to come by, so I had a new Fiat clutch some next day for £28. Frustratingly this was just 1-2mm larger diameter than my old 1960s Fiat clutch, and whilst in the Fiat this didn't matter, in the BSA this was a problem.