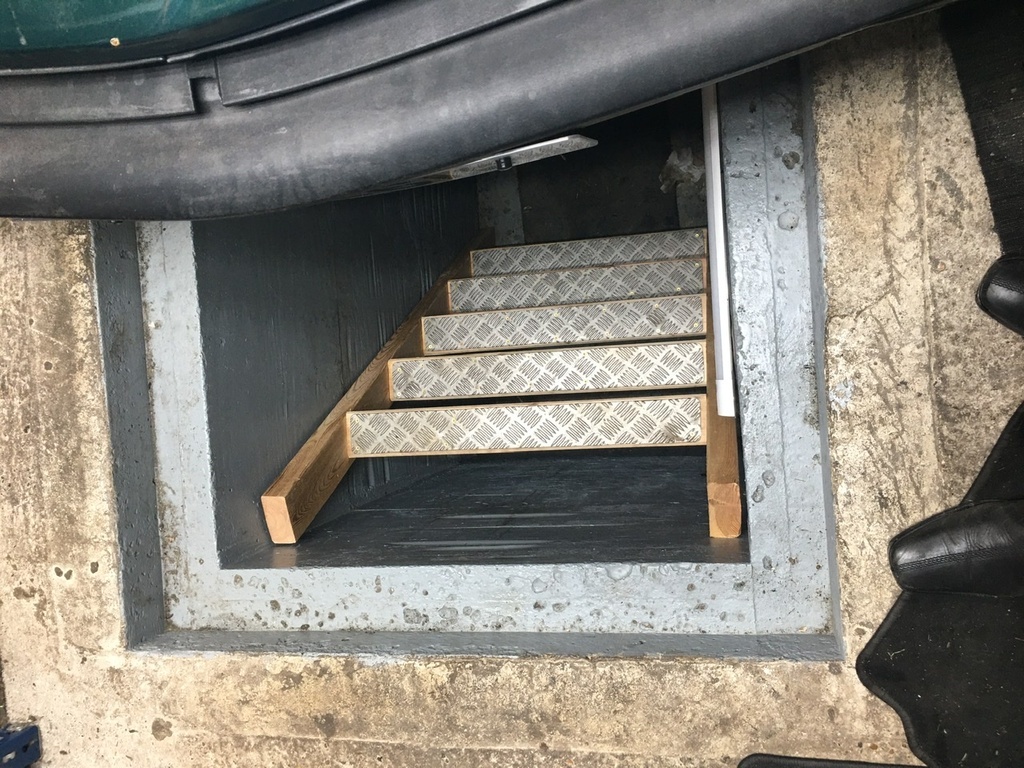
Quick back story
My mate Will has a pit in his garage as a trade for helping him out occasionally with his cars I get to occasionally use it
Entry to the pit is sit on edge and drop yourself onto the shonkiest step stool ever about 3 feet below the top of the pit
It's always been like that - it's not my pit I just borrow it occasionally
I really like working in there - it's got lights and power sockets and everything but it's been made for 6 feet tall people to be able to wander round without worrying about banging their heads.
My Daily 125i is quite a small car so doesn't cover the whole of the pit - in fact there is a big area of pit exposed
So when I walked round the front of the car apparently I disappeared (Will's words not mine)
Took weeks if not months to recover and bloody hurt (stop laughing at the back)
Anyway I've relocated my cold water tank in the loft and as a result I had some 4 x 2 surplus to requirements
So I thought I'd build a set of stairs for the pit
(apologies for the orientation of some of the photos they weren't taken with sharing in mind)
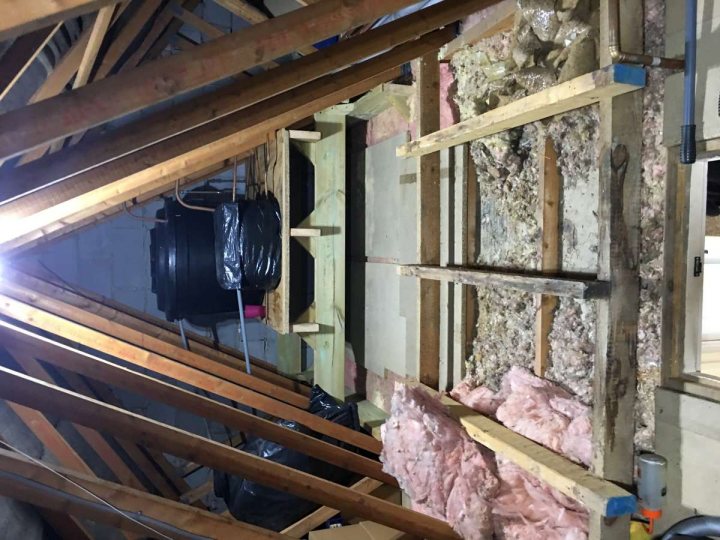
I realised I would have some raw material that would other wise be chucked away so I thought I'd see if I could throw something together and Will was happy to be the recipient of a better way up and down from his pit - obviously last time I was in the pit in preparation I took detailed drawings and measurements (opinions on this may differ)
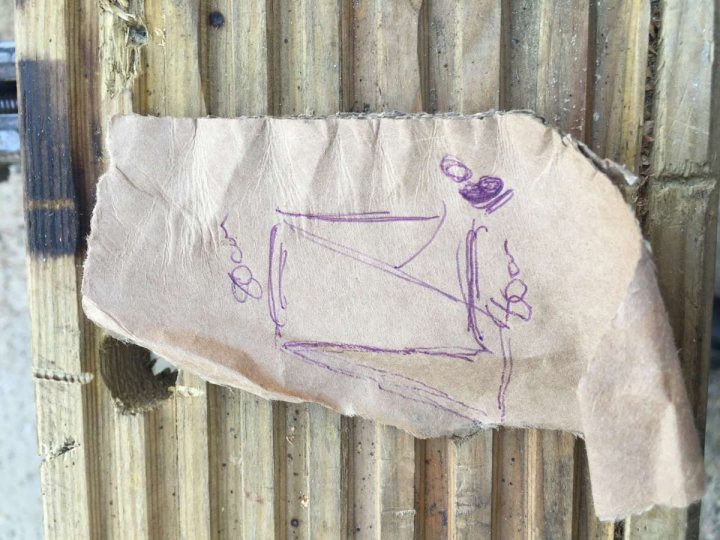
Basically this
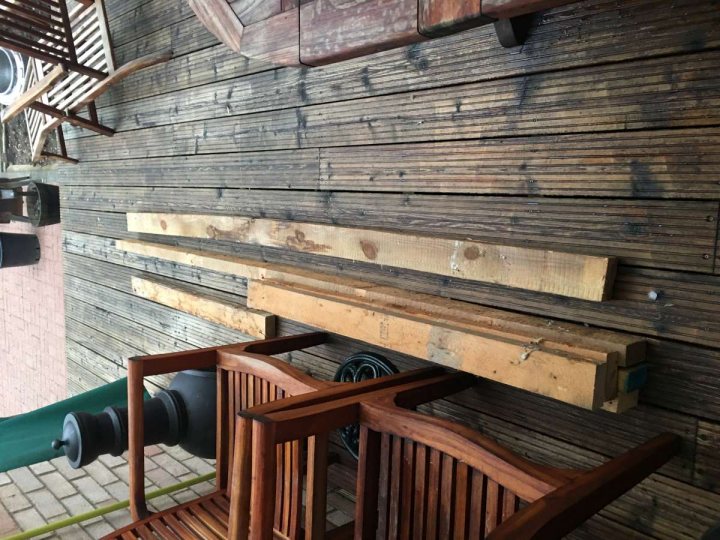
Step 1: Cut to length and plane the sides so they were a little less rustic (lay out for comedic effect and ask Will on messenger if that nailed together would do the job )
)
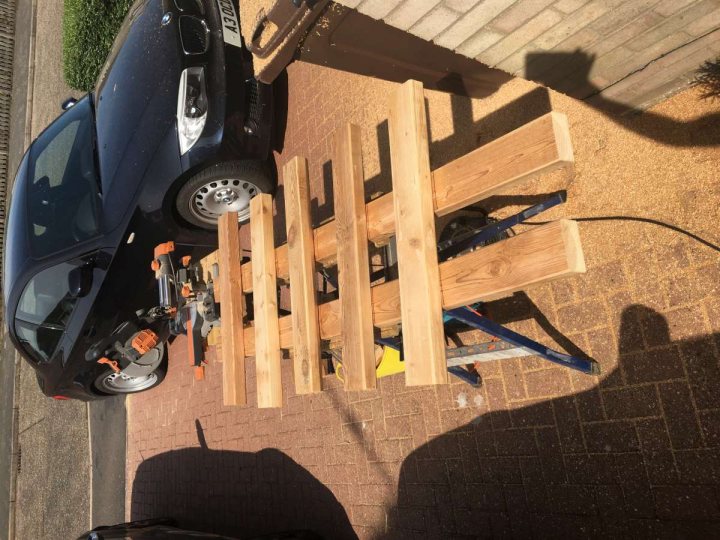
Apparently not what he was expecting
Step 2: Join it together loosely to be able to set the tread angles
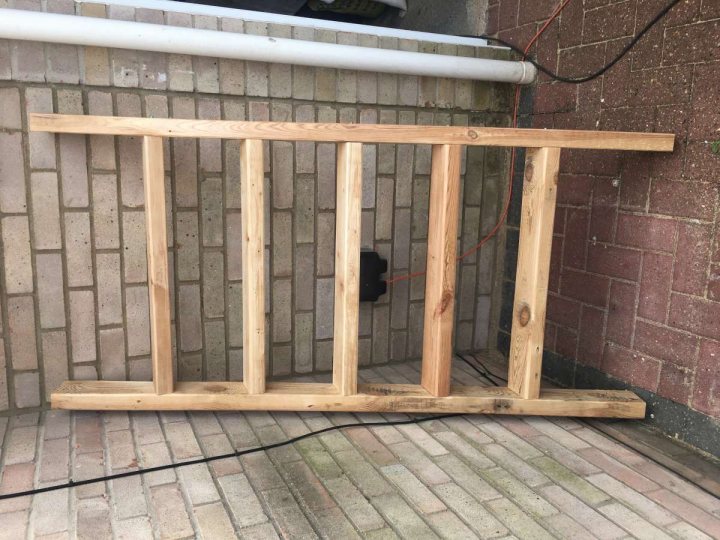
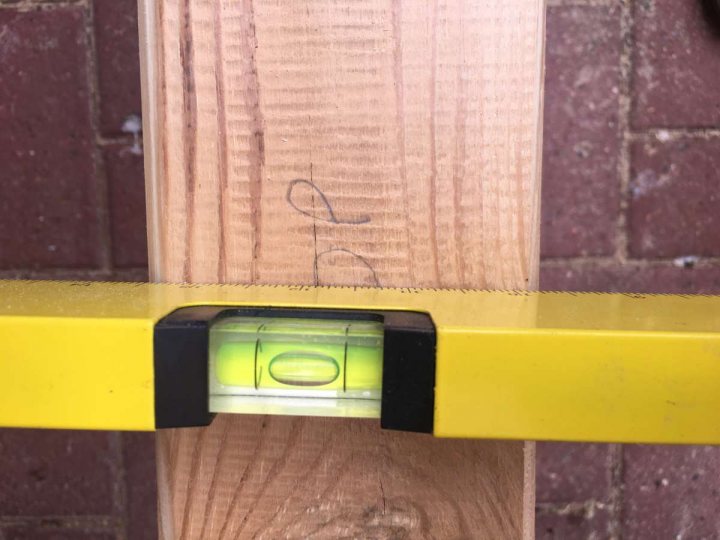
Step 3: Set each tread up with the device for flattening ghosts (repeat 4 more times)
Step 4: Trim the base to correct (ish) angle (based on detailed drawings)
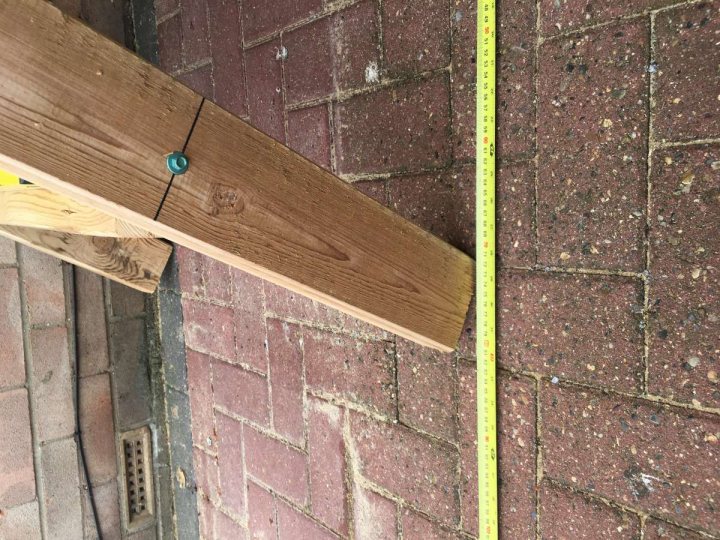
Like this
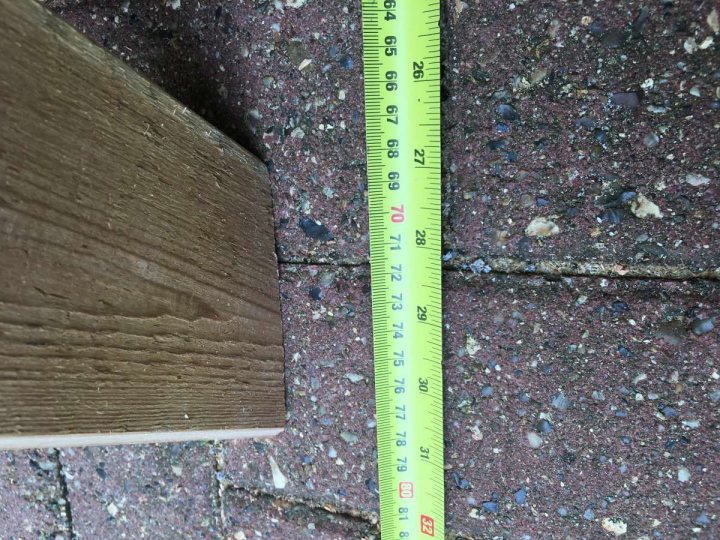
Obviously I did both sides (because if I hadn't then the wobbly step stool of doom would still be better than this)
Step 5: Fix the steps in at the desired angle previously set
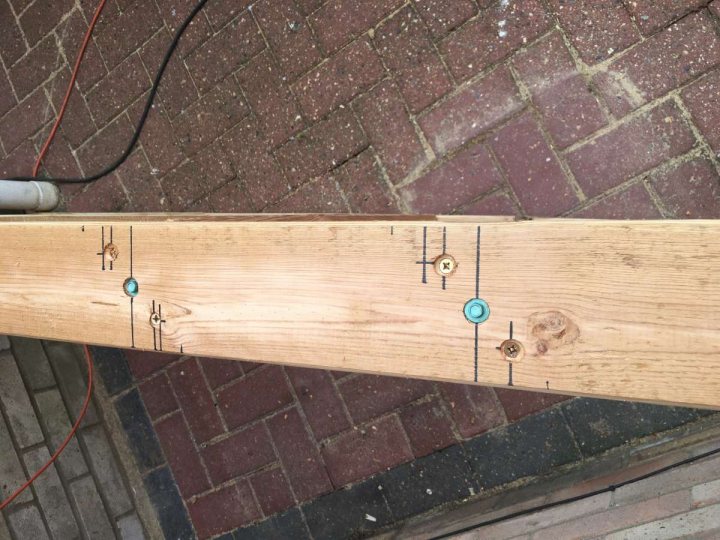
Wills pit floor isn't the cleanest in the world - it's done gearbox swaps, torque converter changes and countless fluid changes so the concrete floor is a mix of various fluids in some sort of "concrete and oil based soup" So add to this a wooden ladder and it could get a little slippy
Step 6: Elf and Sefty - I cut the spare wheel well out of my Track car years ago and I covered the hole with a lump of alloy checker plate. When the track car died (lets call it that and move on swiftly) I kept the checker plate (I keep lots of curse word I'll use one day)
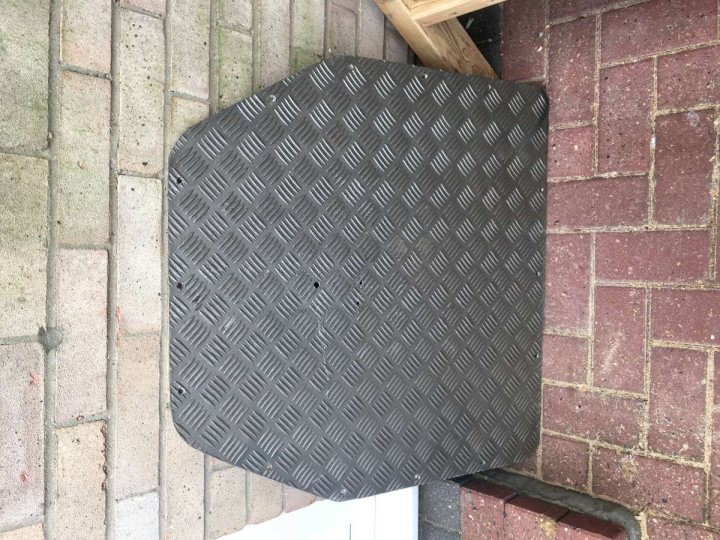
Step 7: Mark it up
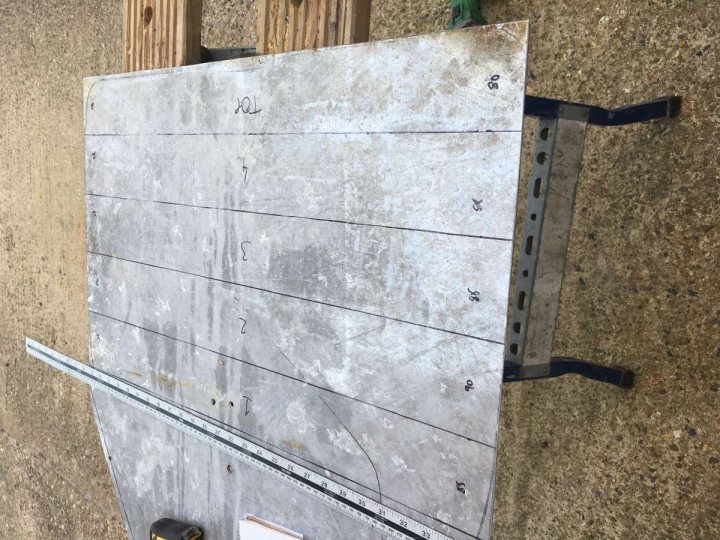
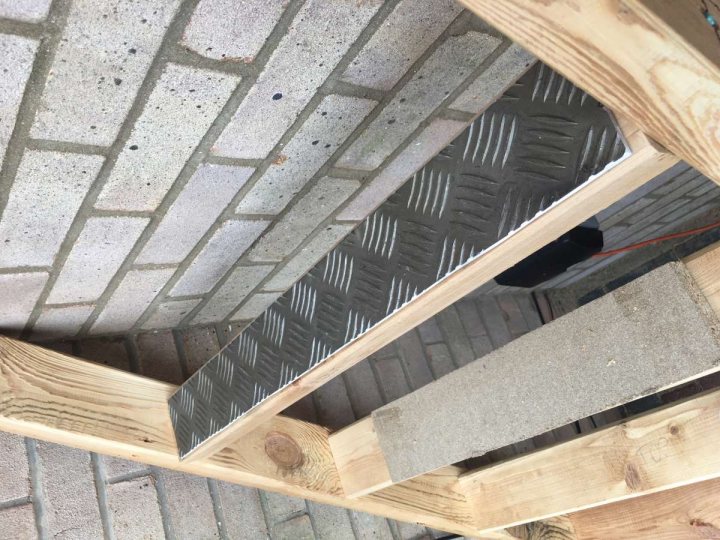
Step 8: Chop it up and check for suitability
Repeat 4 more times - Some slitting discs died for the cause
Step 9: Nail them on (OK I drilled, counter sunk them and screwed them on but Will still thinks I nailed them on - he takes me too literally sometimes)
All that remains to do is find the roof rack fixings, oh and the roof rack and chuck it on the roof and deliver it. Any suggestions on method of fixing (not sure I want to drill into the concrete of the pit and pierce the membrane/tanking - currently I'm leaning towards sikaflex as that stuff seems to stick anything
Place bets on it fitting first time
My mate Will has a pit in his garage as a trade for helping him out occasionally with his cars I get to occasionally use it
Entry to the pit is sit on edge and drop yourself onto the shonkiest step stool ever about 3 feet below the top of the pit
It's always been like that - it's not my pit I just borrow it occasionally
I really like working in there - it's got lights and power sockets and everything but it's been made for 6 feet tall people to be able to wander round without worrying about banging their heads.
My Daily 125i is quite a small car so doesn't cover the whole of the pit - in fact there is a big area of pit exposed
So when I walked round the front of the car apparently I disappeared (Will's words not mine)
Took weeks if not months to recover and bloody hurt (stop laughing at the back)
Anyway I've relocated my cold water tank in the loft and as a result I had some 4 x 2 surplus to requirements
So I thought I'd build a set of stairs for the pit
(apologies for the orientation of some of the photos they weren't taken with sharing in mind)

I realised I would have some raw material that would other wise be chucked away so I thought I'd see if I could throw something together and Will was happy to be the recipient of a better way up and down from his pit - obviously last time I was in the pit in preparation I took detailed drawings and measurements (opinions on this may differ)

Basically this

Step 1: Cut to length and plane the sides so they were a little less rustic (lay out for comedic effect and ask Will on messenger if that nailed together would do the job
 )
)
Apparently not what he was expecting

Step 2: Join it together loosely to be able to set the tread angles

Step 3: Set each tread up with the device for flattening ghosts (repeat 4 more times)

Step 4: Trim the base to correct (ish) angle (based on detailed drawings)

Like this

Obviously I did both sides (because if I hadn't then the wobbly step stool of doom would still be better than this)
Step 5: Fix the steps in at the desired angle previously set

Wills pit floor isn't the cleanest in the world - it's done gearbox swaps, torque converter changes and countless fluid changes so the concrete floor is a mix of various fluids in some sort of "concrete and oil based soup" So add to this a wooden ladder and it could get a little slippy
Step 6: Elf and Sefty - I cut the spare wheel well out of my Track car years ago and I covered the hole with a lump of alloy checker plate. When the track car died (lets call it that and move on swiftly) I kept the checker plate (I keep lots of curse word I'll use one day)

Step 7: Mark it up

Step 8: Chop it up and check for suitability

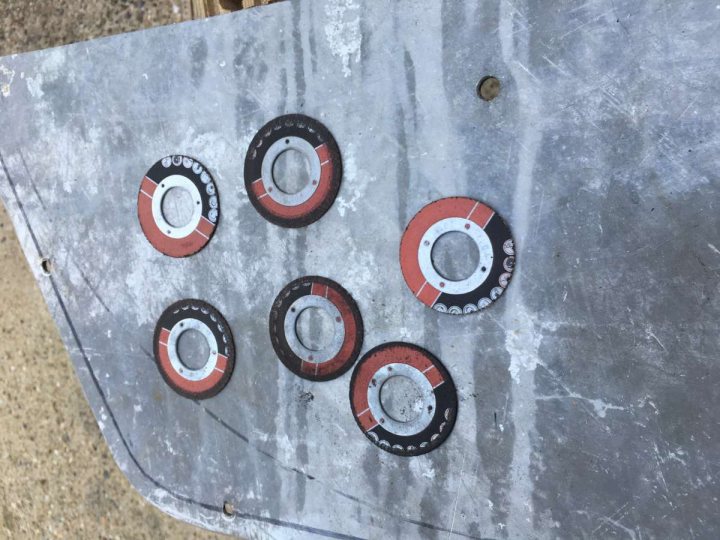
Repeat 4 more times - Some slitting discs died for the cause

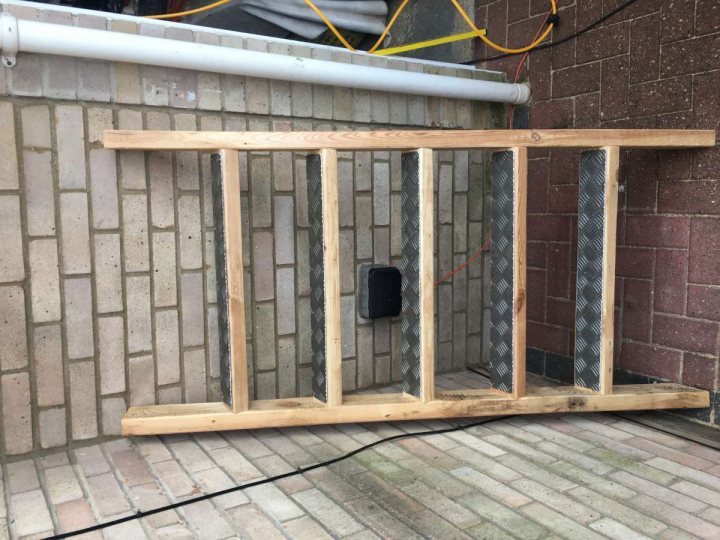
Step 9: Nail them on (OK I drilled, counter sunk them and screwed them on but Will still thinks I nailed them on - he takes me too literally sometimes)

All that remains to do is find the roof rack fixings, oh and the roof rack and chuck it on the roof and deliver it. Any suggestions on method of fixing (not sure I want to drill into the concrete of the pit and pierce the membrane/tanking
 - currently I'm leaning towards sikaflex as that stuff seems to stick anything
Place bets on it fitting first time


