|
|
|
Mar 17, 2023 18:09:37 GMT
|
|
Hi all! I’m relatively new to this site so i’m just getting to grips with things. I’m 19 Years old from Mansfield, Nottinghamshire and always keen on Classic Cars.
But anyways, onto what this thread is about.
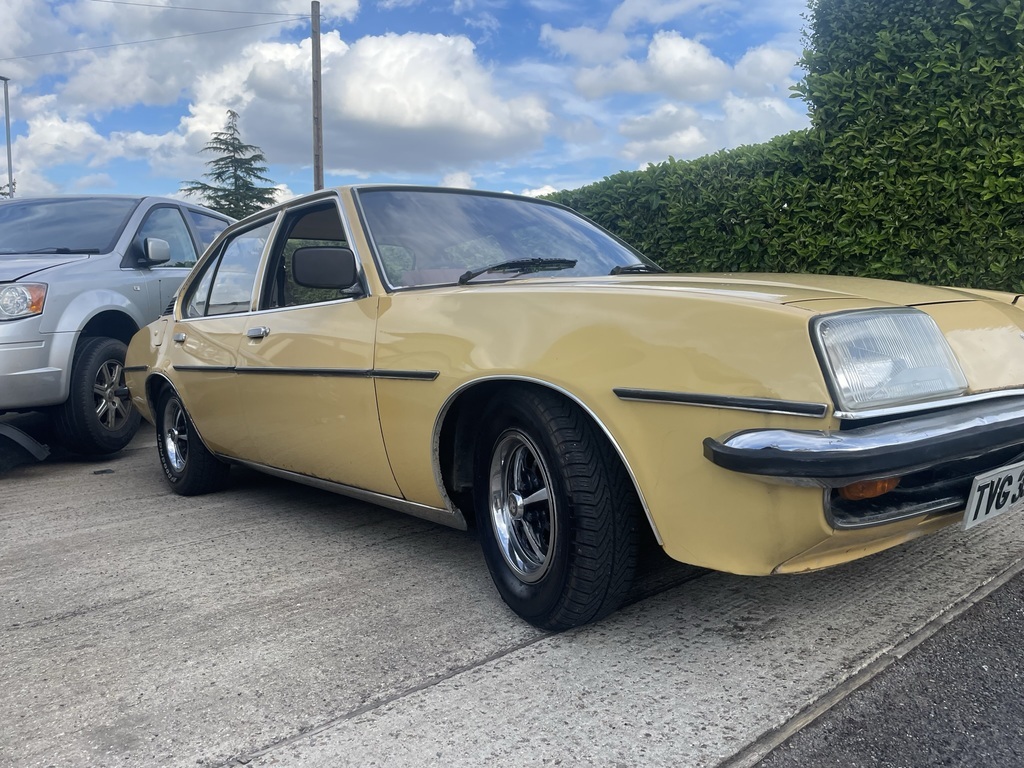
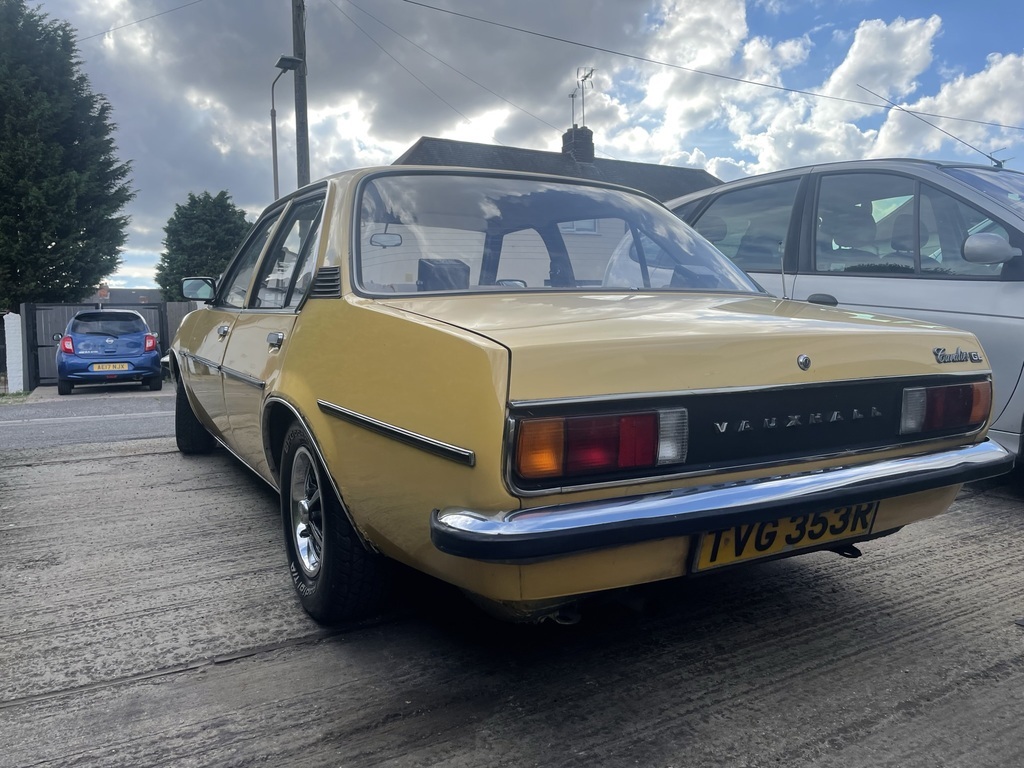
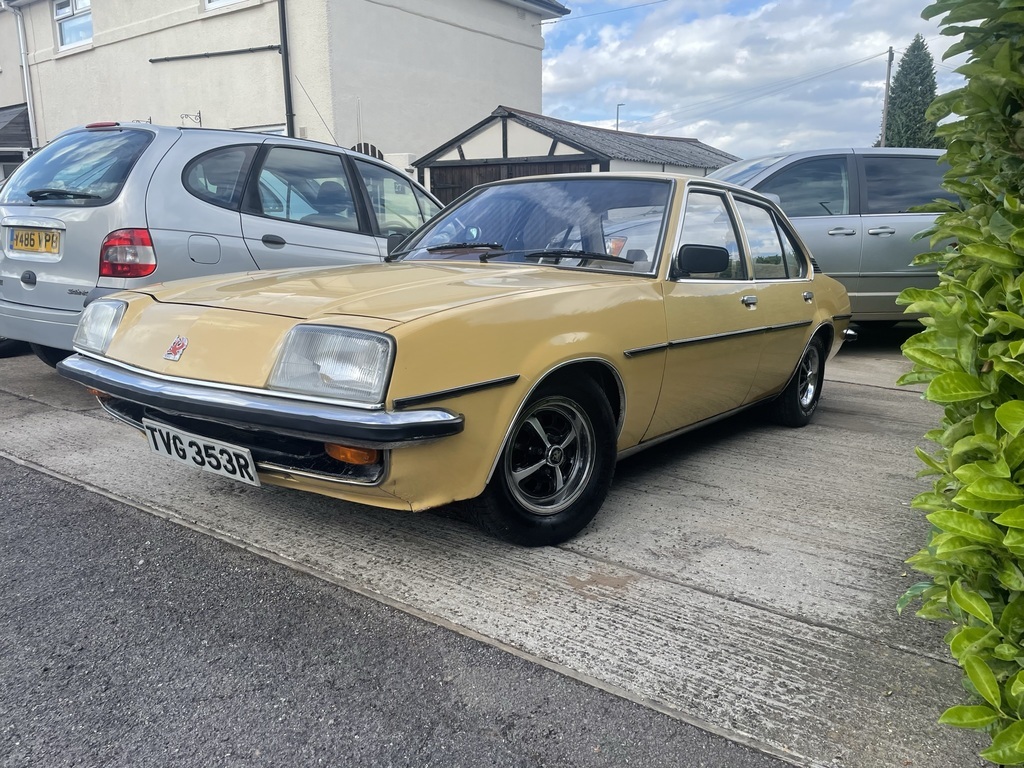
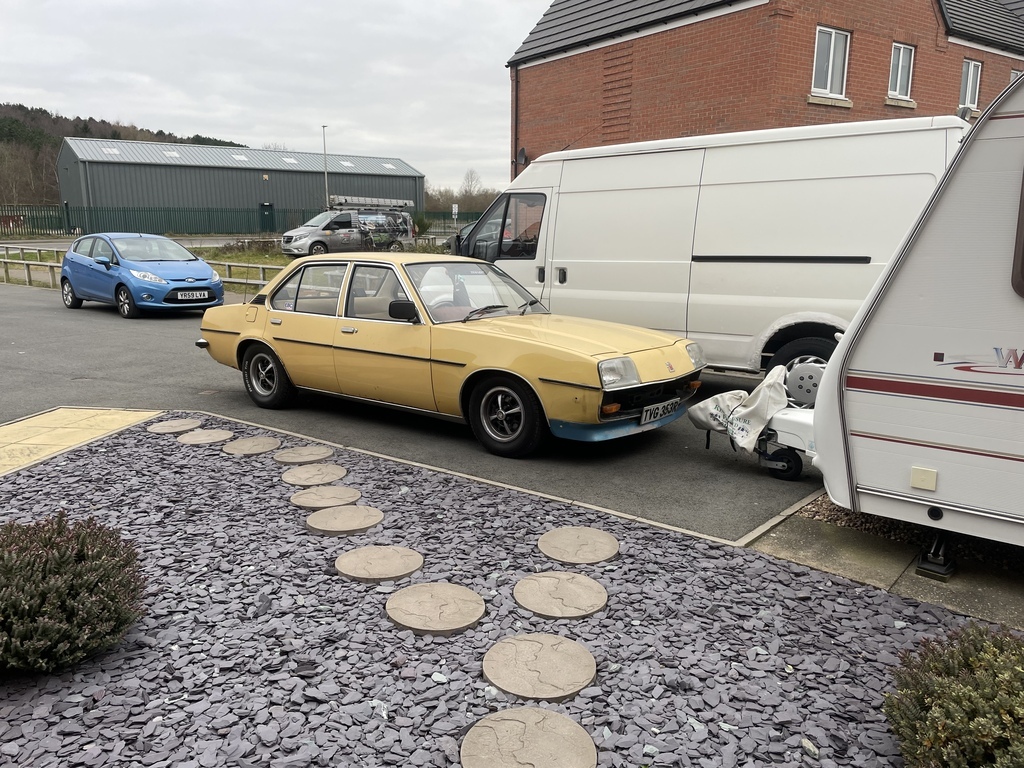
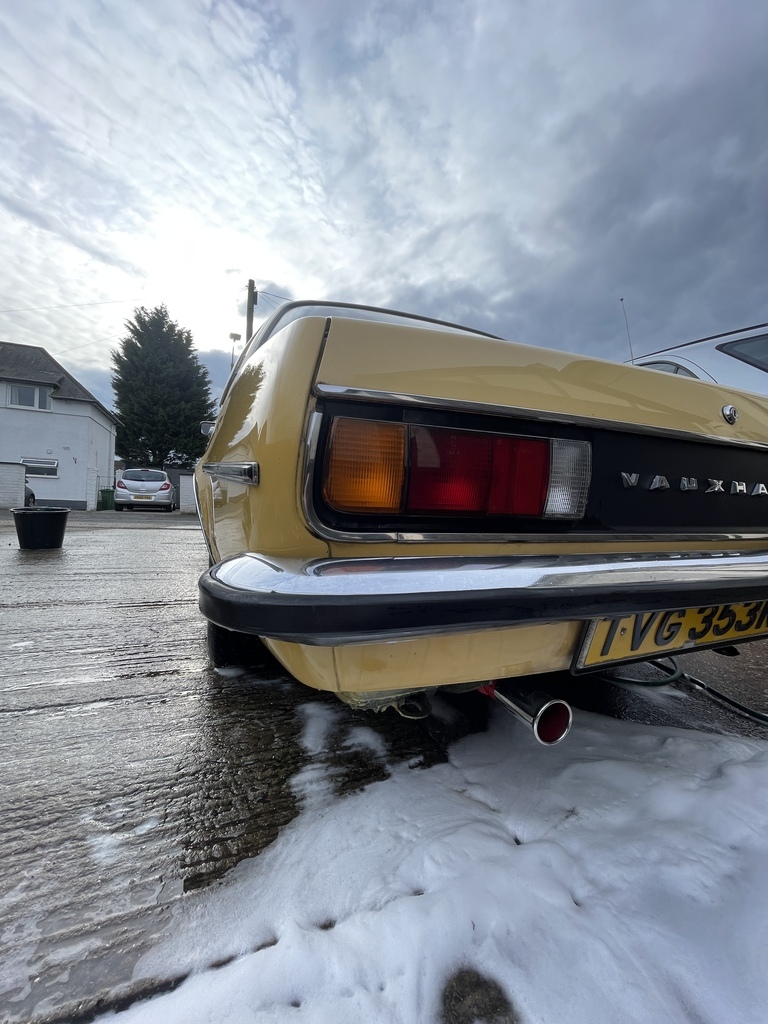
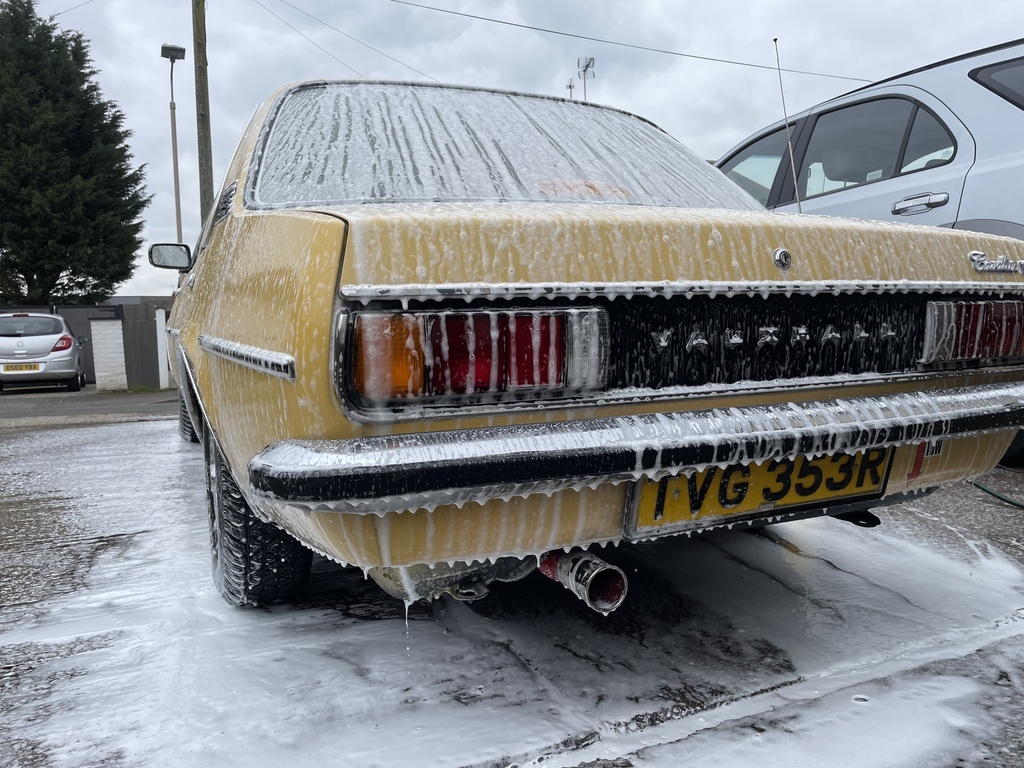
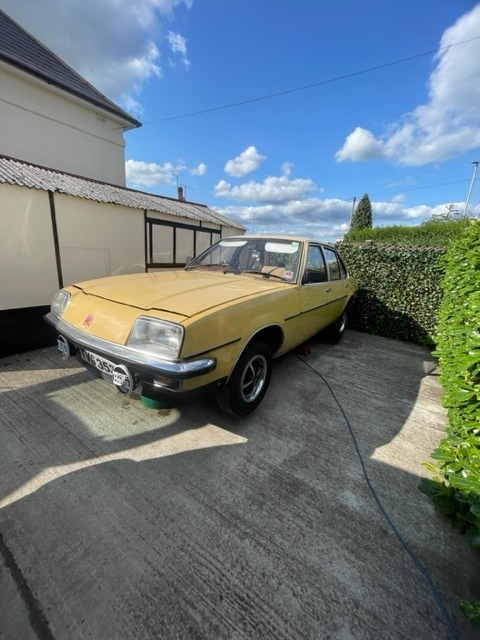
I purchased TVG in August 2022 from Blackburn after being sat pretty much dormant for a whole year and only covering a hundred or so miles in that time. I have always been quite fond of old Vauxhalls/Opels and through my Dad’s past with cars got to know about the Vauxhall Cavalier as it was his first car going by NNN *** which was scrapped in the early 90’s. To my suprise i’d actually seen TVG a year prior on a google search as i was curious to see what Cav’s roam about. What was meant to be only a viewing of the car turned out in me being the owner of it the same day. We test drove it and off we went after the purchase was done.
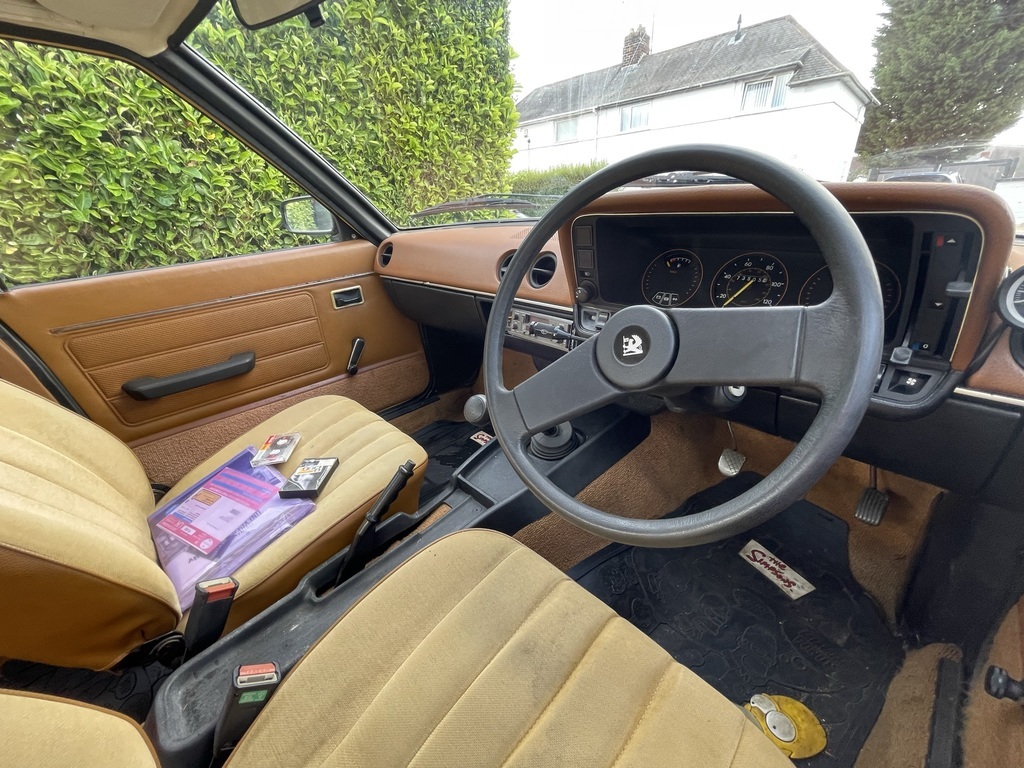
Miraculously the Cavalier did a strong 150 Mile Journey back to my home without missing a beat at a steady 55-60mph. I even bought Now 6 on Tape just to see if the Cassette Deck worked and to make it better it worked.
I’m currently 7 Months into ownership and have undertaken quite a large portion of jobs and although i’ve already started work i thought this would be appropriate to share along my journey.
|
| |
|
|
|
|
|
|
|
Mar 17, 2023 18:14:00 GMT
|
|
|
| |
|
|
|
|
|
Mar 17, 2023 18:24:56 GMT
|
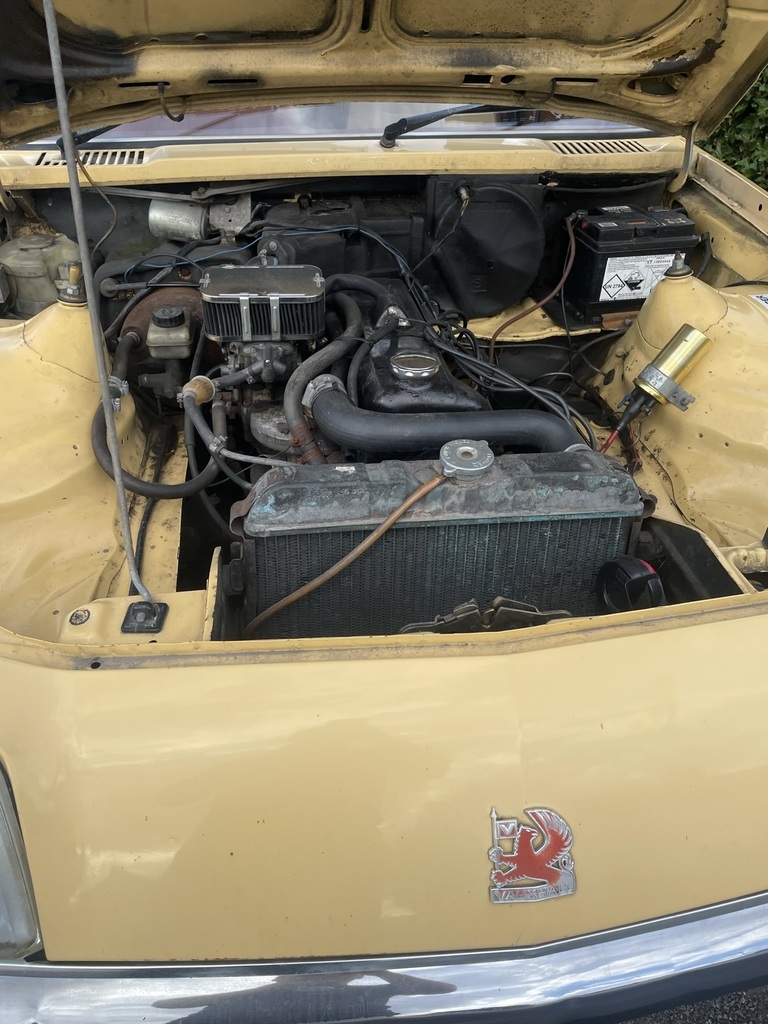
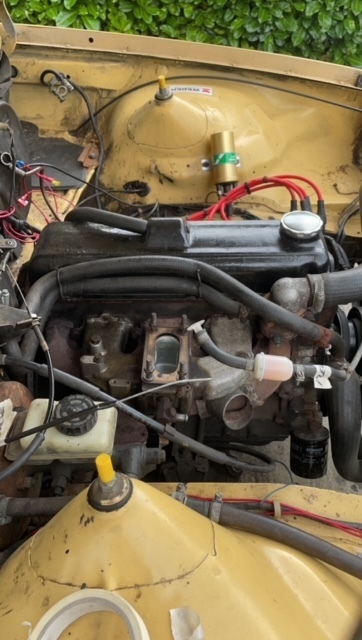
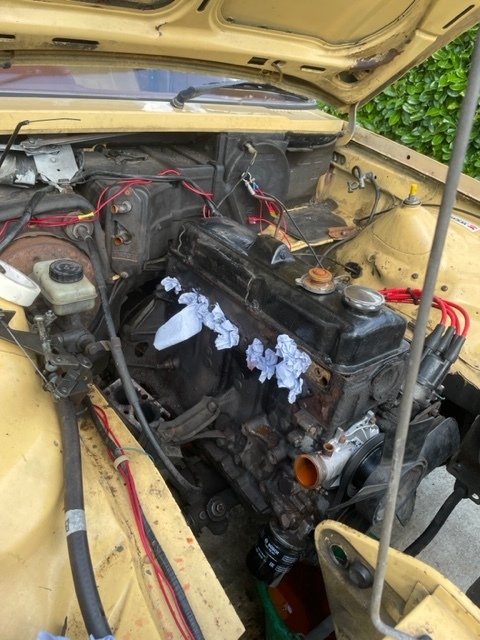
The first major thing we had to iron out was to why the Hazard Lights wouldn’t flash and the Main Beam being defunct. The Quartz Clock and Interior Light where shot. The Mixture was to Rich and the Tappets needed sorting. The lights and clock issue was easily rectified by replacing all the fuse banks with a set of 50 fuses off of Ebay for a decent price of £4. Pretty much soon after we whipped the Rocker Cover off to sort the tappets out and replace the weeping Rocker Cover Gasket, following the Rule of 9 with my dad was an entirely new concept to me. Tappets sorted and the Cork Gasket on we noted that the Rocker Cover had warped over time around the bolt holes so we simply straightened it out and it’s dry as a bone! We also painted the Cover Black as it was originally quite dirty and cruddy. A set of new HT Leads and a RamAir Air Filter was in store as the original was heavily Spoiled. We also redirected the Oil Feed to down the side of the engine and blanked it off the Carburettor end. Thankfully it came equipped with a 32/36 DGV as that was going to be a must have if it didn’t. It comes fitted with Spax Shocks and Lowering Springs, i’m unsure whether they are adjustable as the ride is very very firm. 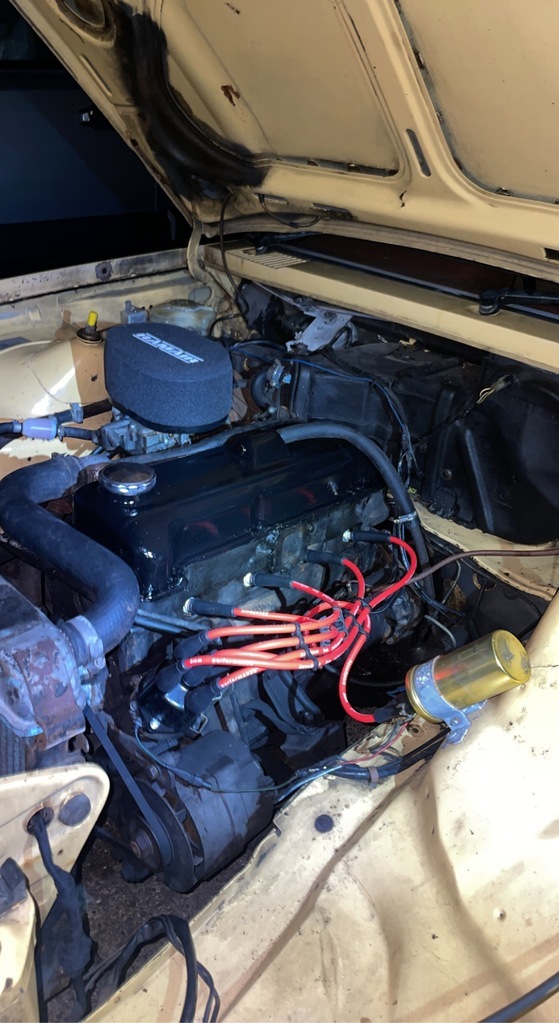 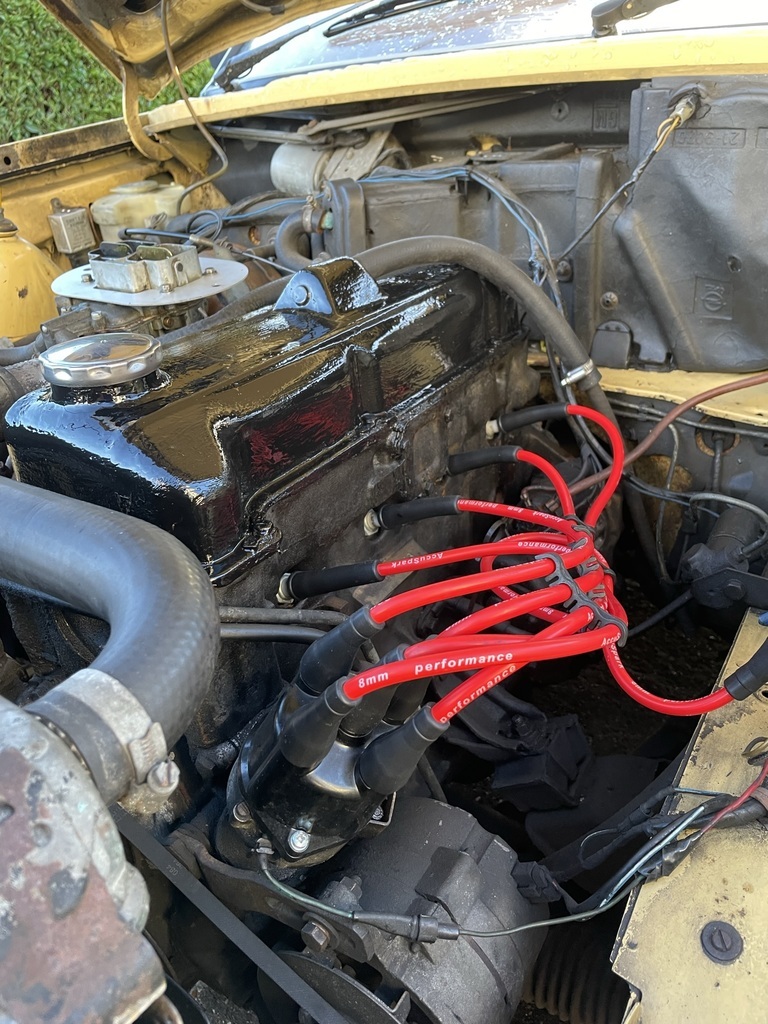 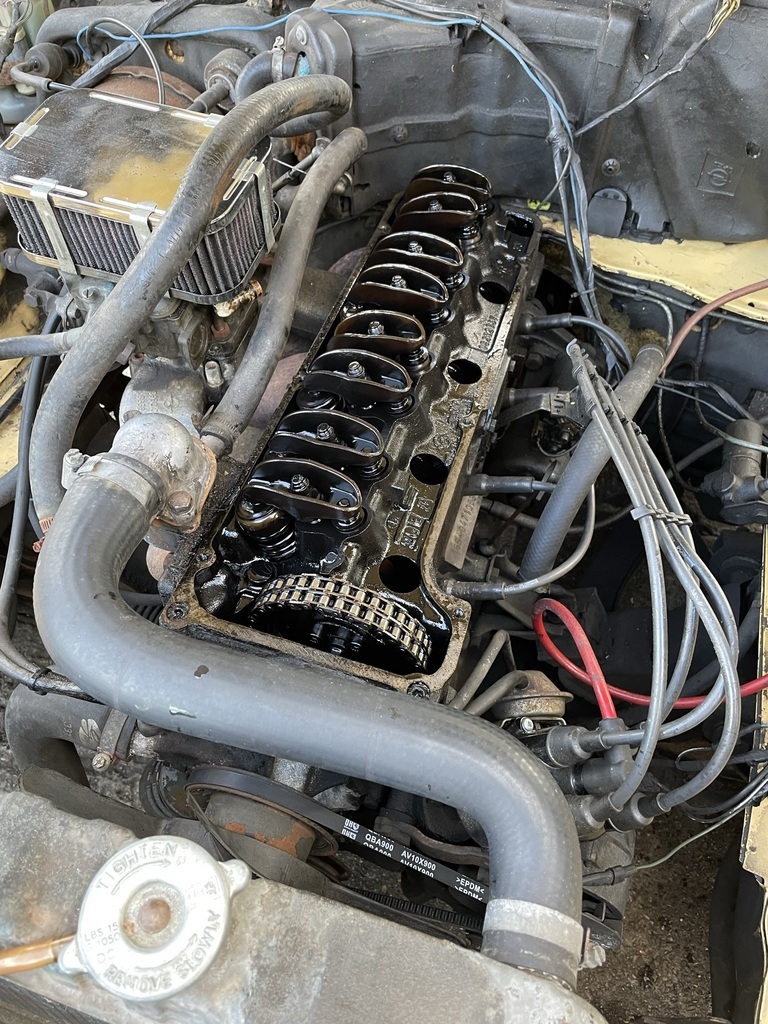 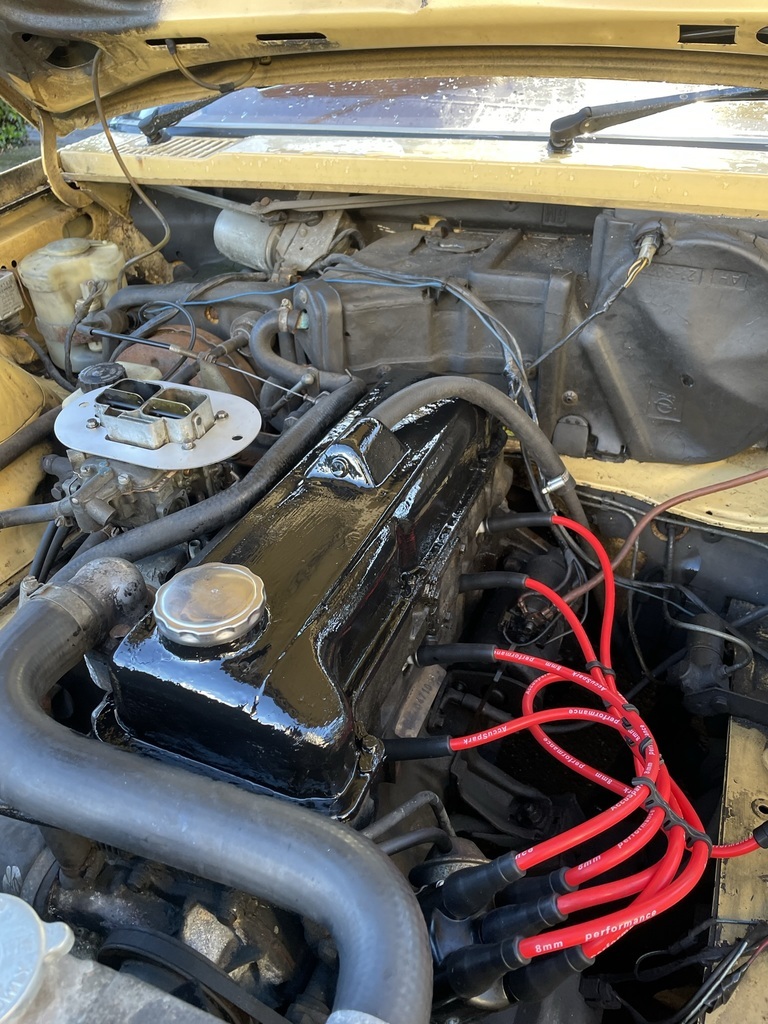 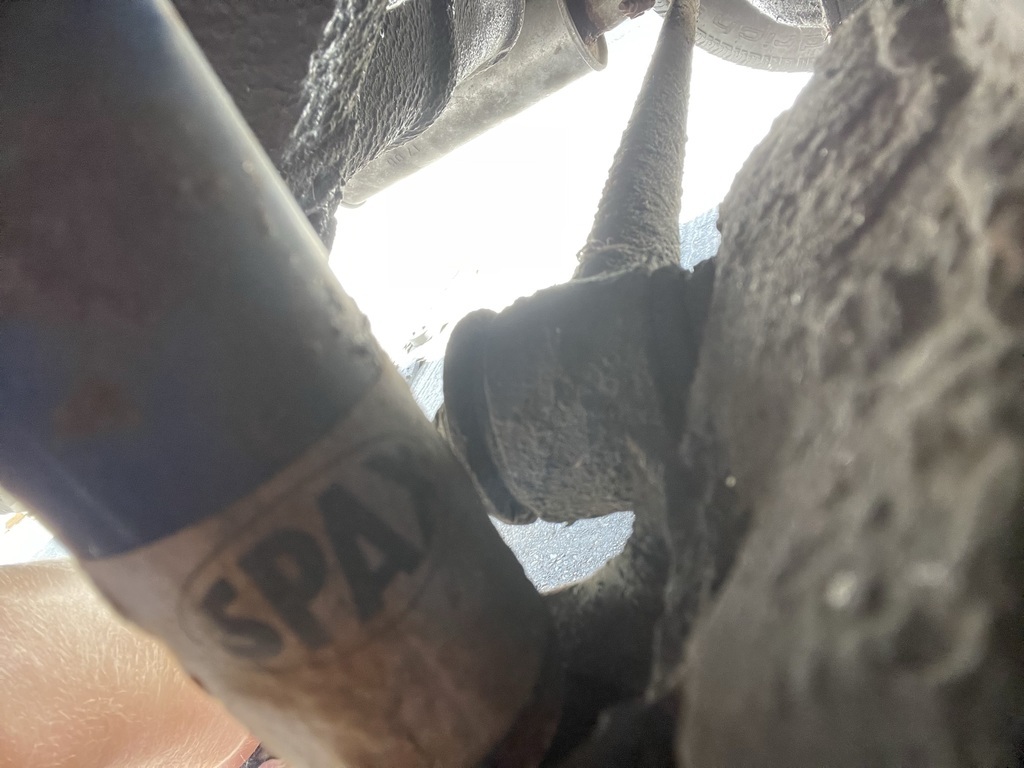 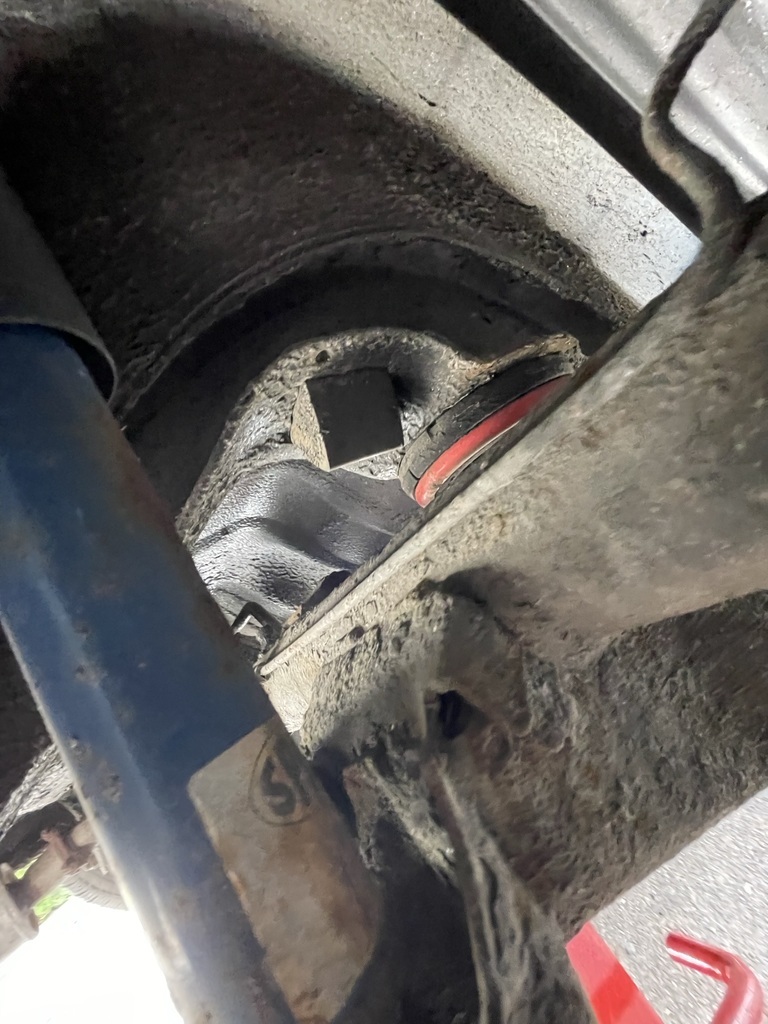 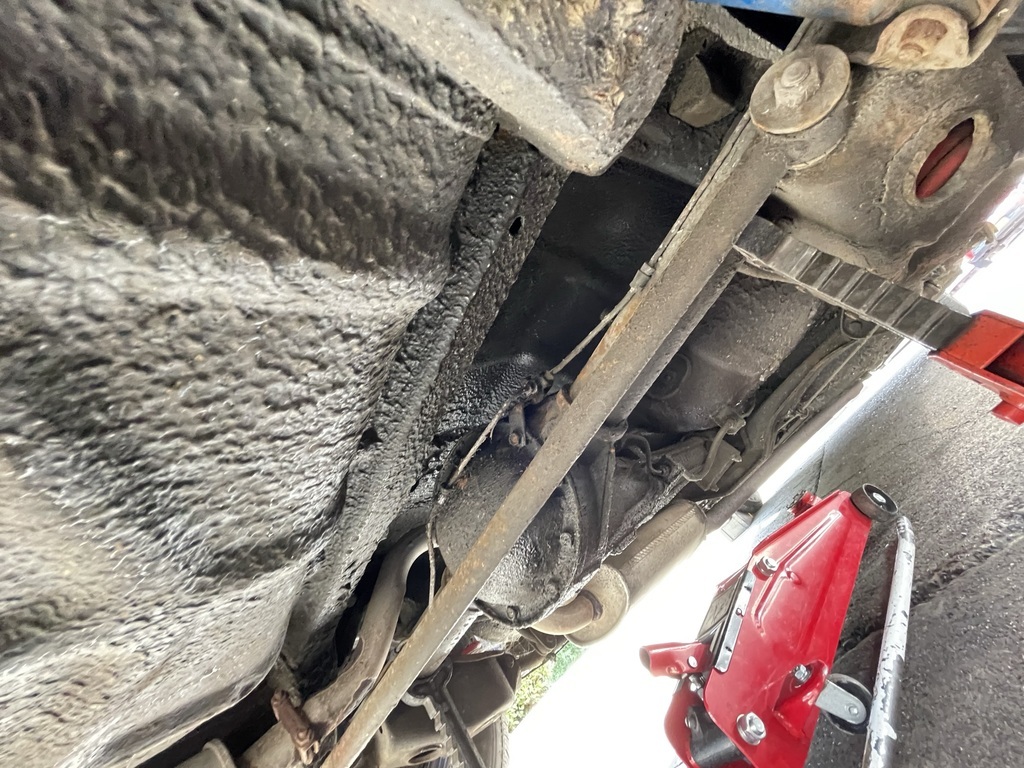 |
| |
|
|
sleag40
Part of things
  I've no longer space for any more!
Posts: 880 
|
|
Mar 17, 2023 18:48:23 GMT
|
Nice! Pretty much identical to mine other than the colour.  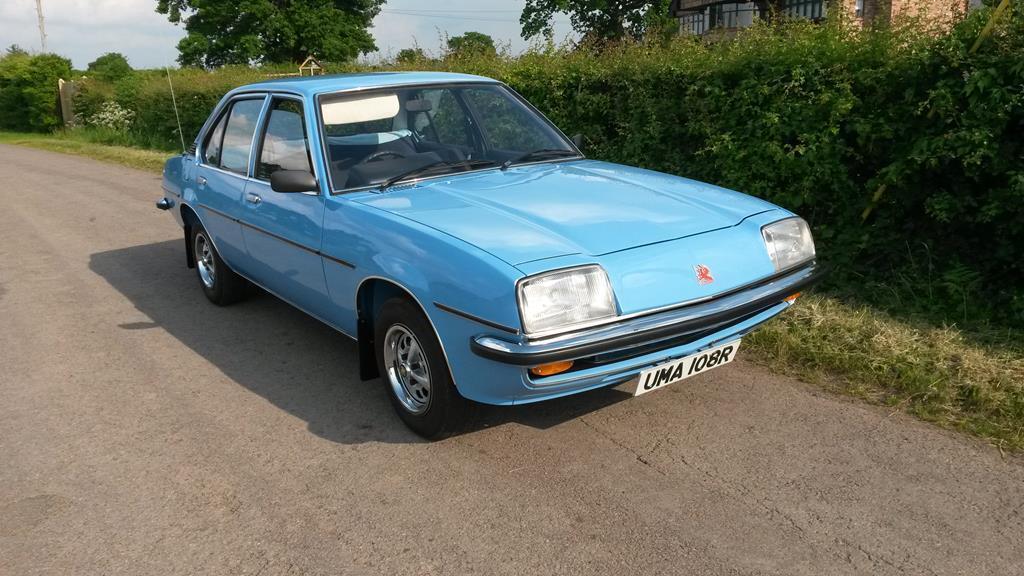 |
| |
1994 Volkswagen Polo G40
1992 Volkswagen Polo G40
1988 Vauxhall Cavalier GLi
1977 Vauxhall Cavalier GL
1973 Renault 15TS
1967 Lambretta SX200
1966 Lambretta TV200
1964 Lambretta LI150
|
|
|
|
|
Mar 17, 2023 18:49:44 GMT
|
Nice! Pretty much identical to mine other than the colour.   Another R Reg! Amazing! Much better nick than mine. Isn’t that Sky Blue? |
| |
|
|
sleag40
Part of things
  I've no longer space for any more!
Posts: 880 
|
|
Mar 17, 2023 18:54:54 GMT
|
|
|
| |
1994 Volkswagen Polo G40
1992 Volkswagen Polo G40
1988 Vauxhall Cavalier GLi
1977 Vauxhall Cavalier GL
1973 Renault 15TS
1967 Lambretta SX200
1966 Lambretta TV200
1964 Lambretta LI150
|
|
|
|
|
Mar 17, 2023 19:16:38 GMT
|
It looks brilliant! I’ll definitely keep tabs as i’d like mine to be all done up soon. |
| |
|
|
|
|
|
Mar 17, 2023 19:44:49 GMT
|
|
It's good to see another Mk1 on here, it looks a nice example too. i'm looking forward to seeing its progress. Just in case you weren't aware it was originally registered in Norfolk.
|
| |
1980 Vauxhall Cavalier MK1
1970 Mobyleete 40T custom
1978 Mobylette 50V
1965 Moulton Standard
1979 Raleigh Grifter custom
1980 Raleigh Grifter
1982 Raleigh Grifter BMX custom
1982 Raleigh Bomber
1987 Strida
|
|
|
|
|
Mar 17, 2023 19:49:32 GMT
|
|
Perfect! It’s always interesting to know more about this car as each day comes! I look forward to meeting Cav owners in person!
|
| |
|
|
paul99
Part of things
 
Posts: 417 
|
|
Mar 17, 2023 19:55:18 GMT
|
|
A fellow "Mk1 Cavalier First car' here (but a loooong time ago) and followed Sleag40's progress with interest.
What's the plan?
|
| |
Last Edit: Mar 17, 2023 19:55:43 GMT by paul99
|
|
|
|
|
|
|
Mar 17, 2023 20:33:37 GMT
|
|
The plan really is to bring it back to show standard but use it how it should be, the plan in the future is to transplant the 2 Litre CIH or at a push the 2.3 Slant 4 just for the power. Mainly keep it in tone to almost original. I just want myself and others to enjoy it!
|
| |
|
|
|
|
|
Mar 17, 2023 21:16:27 GMT
|
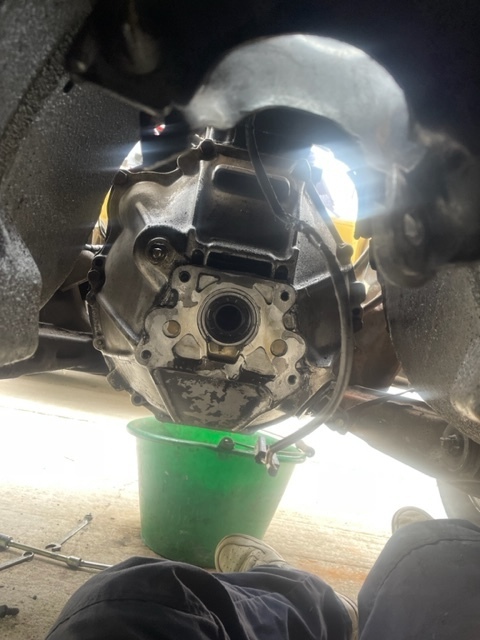
So between the months of October and December i found myself most weekends tinkering with the car and purchasing what i could for it to work on down the line, mainly of which was front and rear brakes, a new wiper motor as the original was very tired and noisy and the new addition of the Optional Extra Chin Spoiler! A very rare find in my books for a very reasonable price. Between Purchase of the car and reading through the history there was a problem in 2017 of the Rear Gearbox Seal leaking Oil and the repair was conducted and is still an ongoing problem which might result in either another gearbox or another rear main seal. However on December the 3rd i took the old girl for a trackday at Blyton Park just for a good day out! Poor lass went in every direction but straight! It didn’t help it was a wet day! 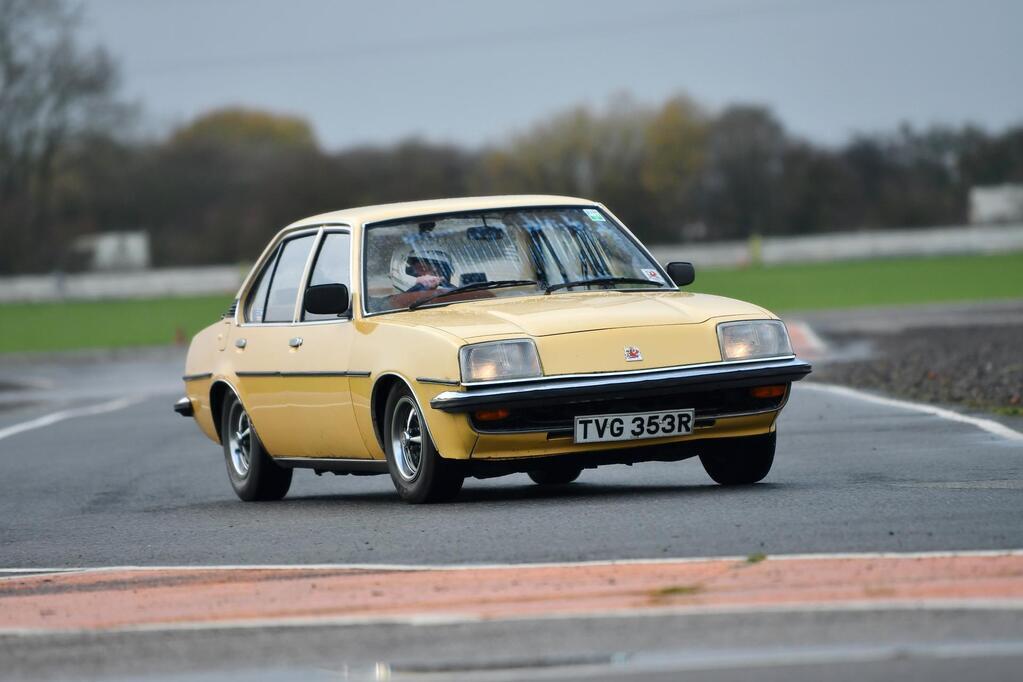 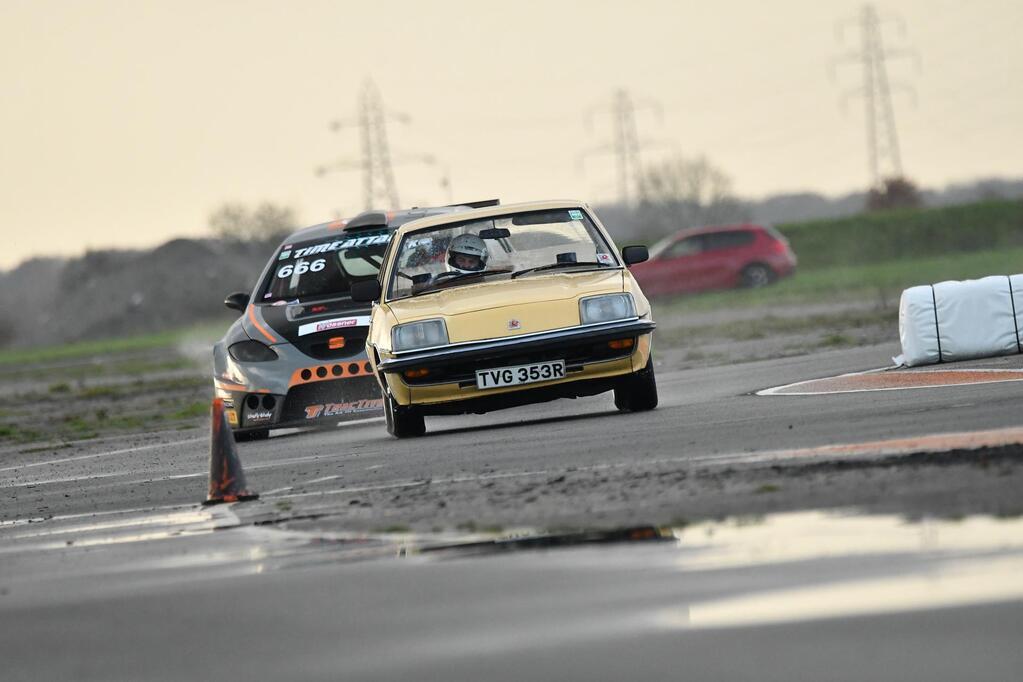 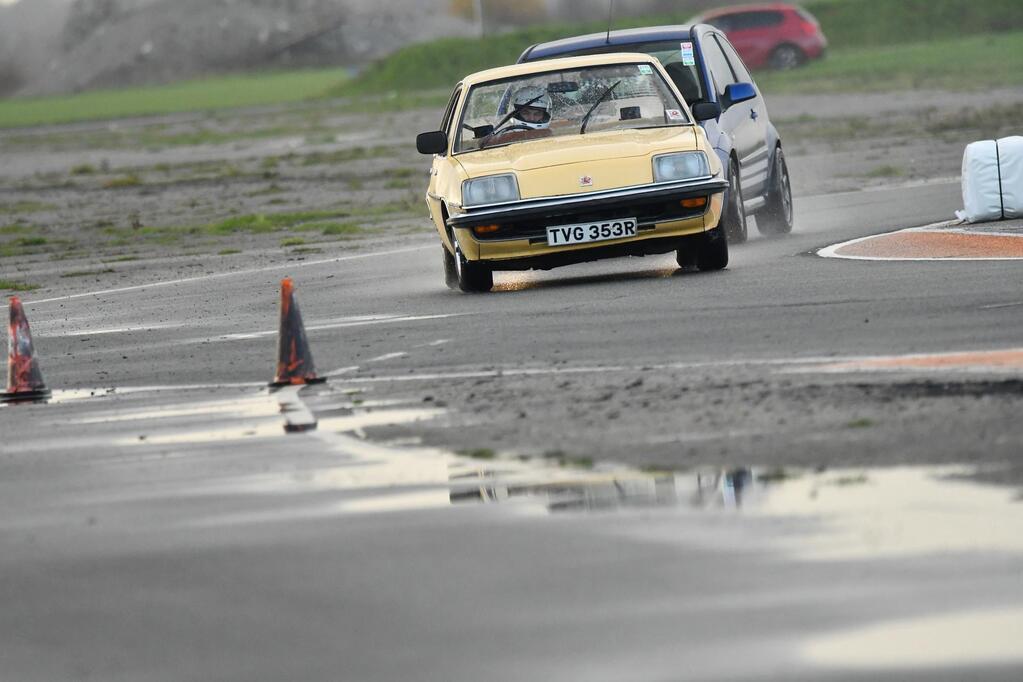 And here’s a photo of the newly installed Chin Spoiler albeit abit bodged on 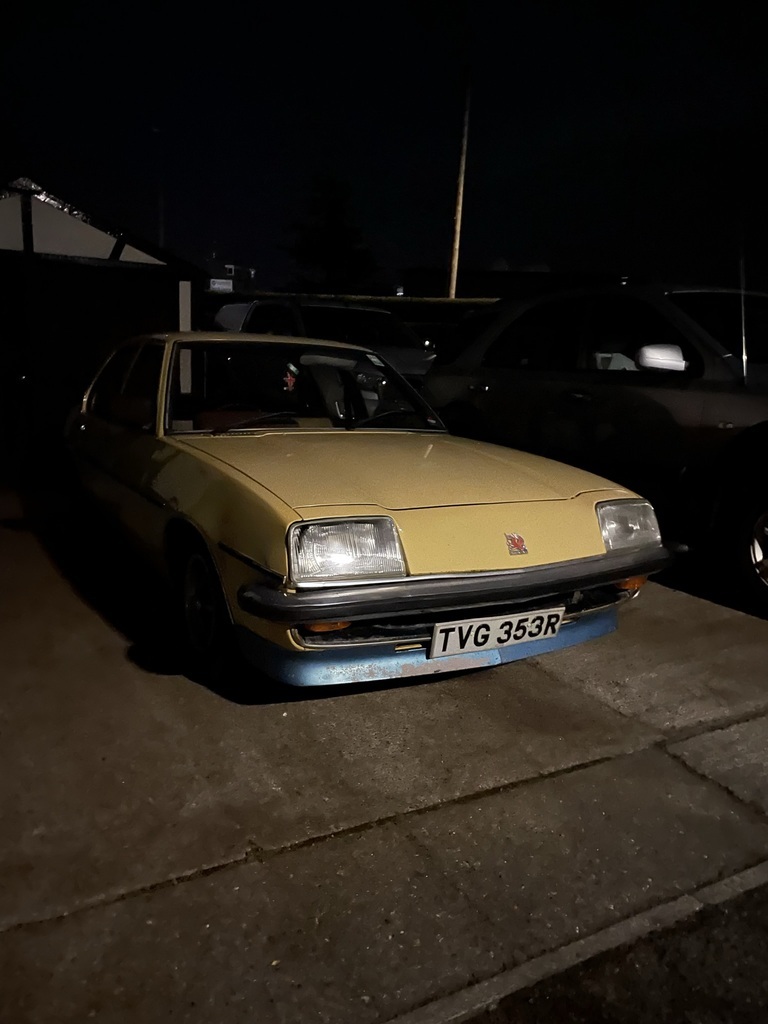 I joined the OMOC and Cavalier and Chevette Club in the mean time and get in touch with some very helpful people! I also tried having a go at putting in the 6 Gauge Dash to replace the original 3. It had to come back out though as i couldn’t source the 90 Degree Elbow for the Oil Pressure Sender and the dodgey wiring that came with the car didn’t work well with it. 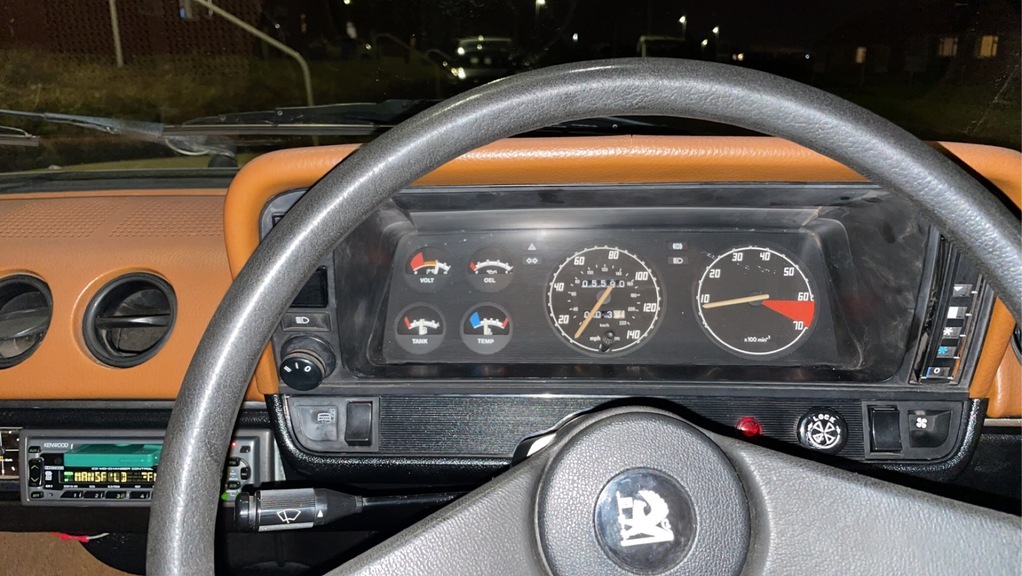 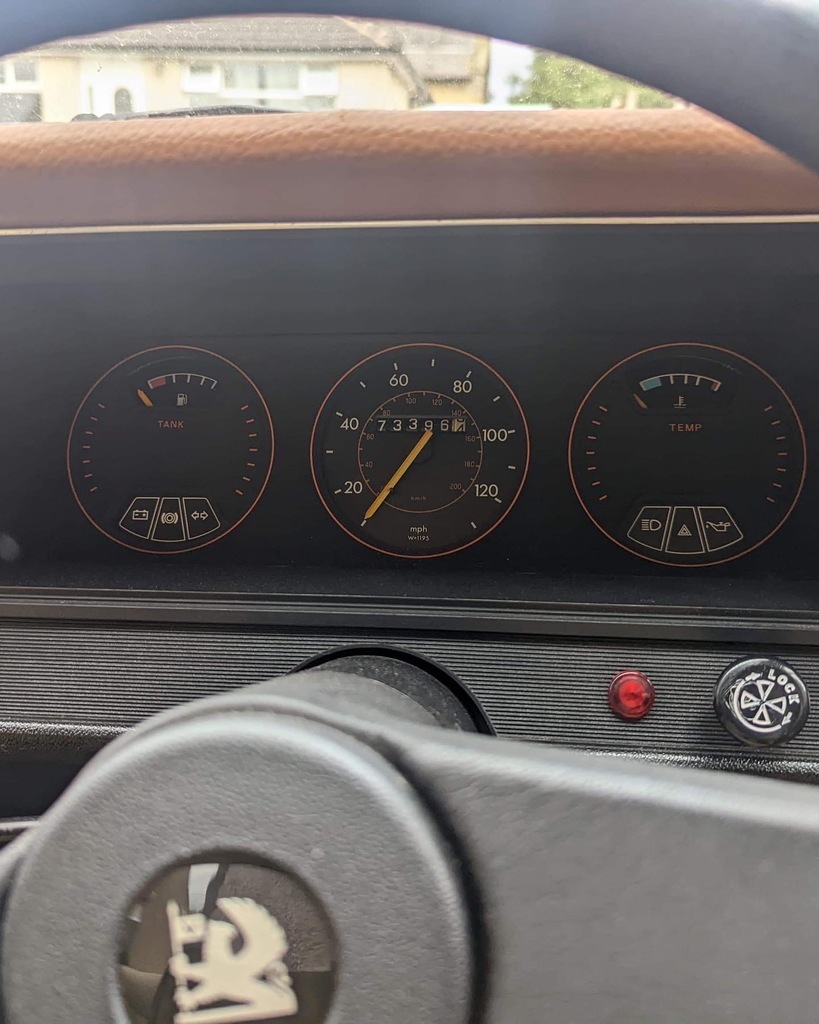 |
| |
|
|
|
|
|
Mar 17, 2023 21:25:30 GMT
|
|
|
| |
|
|
|
|
|
Mar 17, 2023 21:32:29 GMT
|
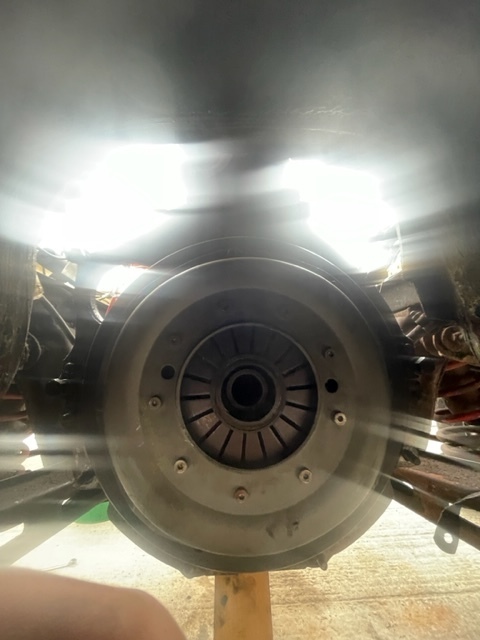
And now we’re all caught up with the process! March! The Front Bumper is now re-fitted and straight again! We replaced the poorly Heater Matrix with a different one that worked and the heat difference is amazing! I also replaced all 4 door seals on the car and it’s very similar to being in a sauna when the heater is on! My next plan is to potentially play around with different sets of wheels! I’m keen to find out what would suit the car as i’d like the wheels to fill the arches out a bit more. Later on down the line i’ve got to sort the gearbox troubles out but i might as well replace the Clutch at the same time as that was done in 2017 and held up well. The Cutting and Chopping will commence soon once it proves welding weather! I have all the panels necessary including two front wings as my current are sadly filled to the brim with filler. Pictures follow. Hoping to get some good ones alongside show season! 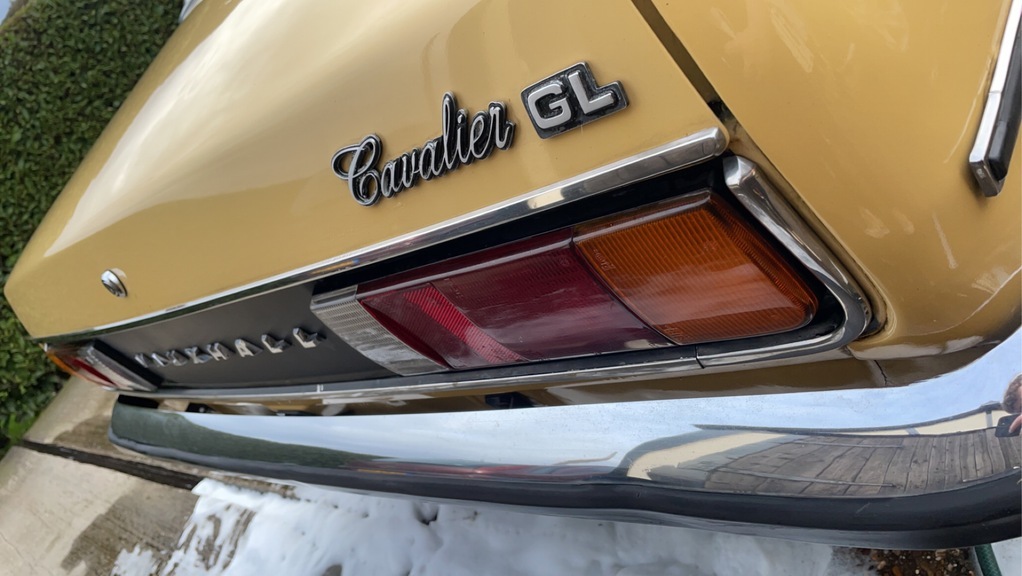 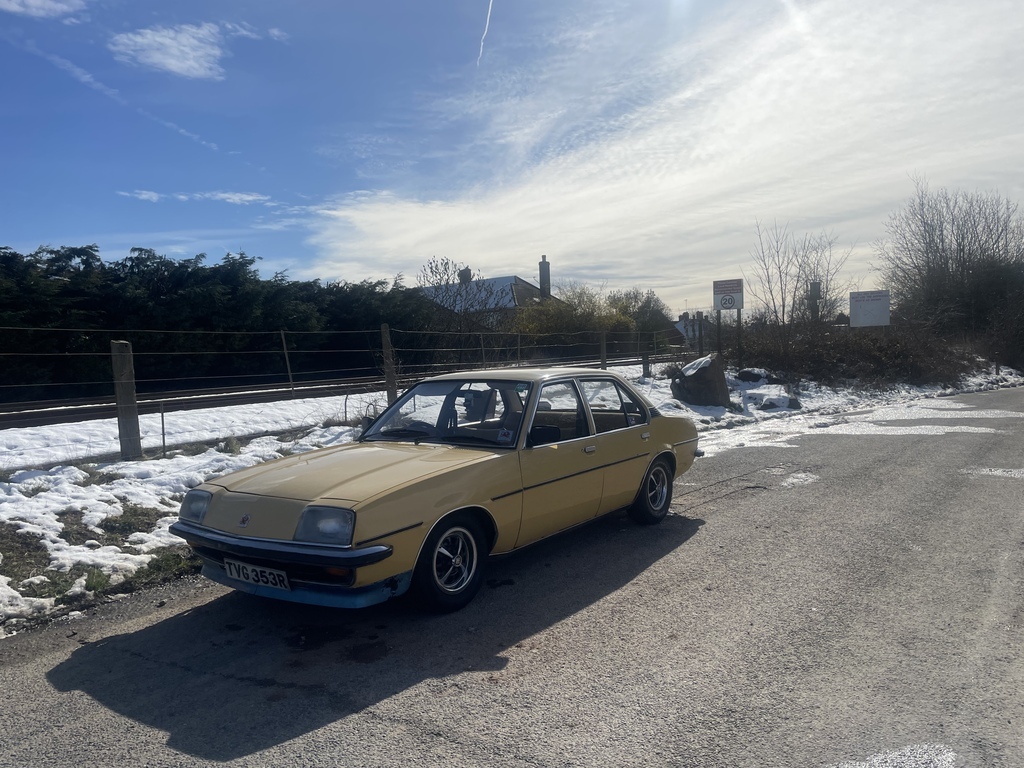 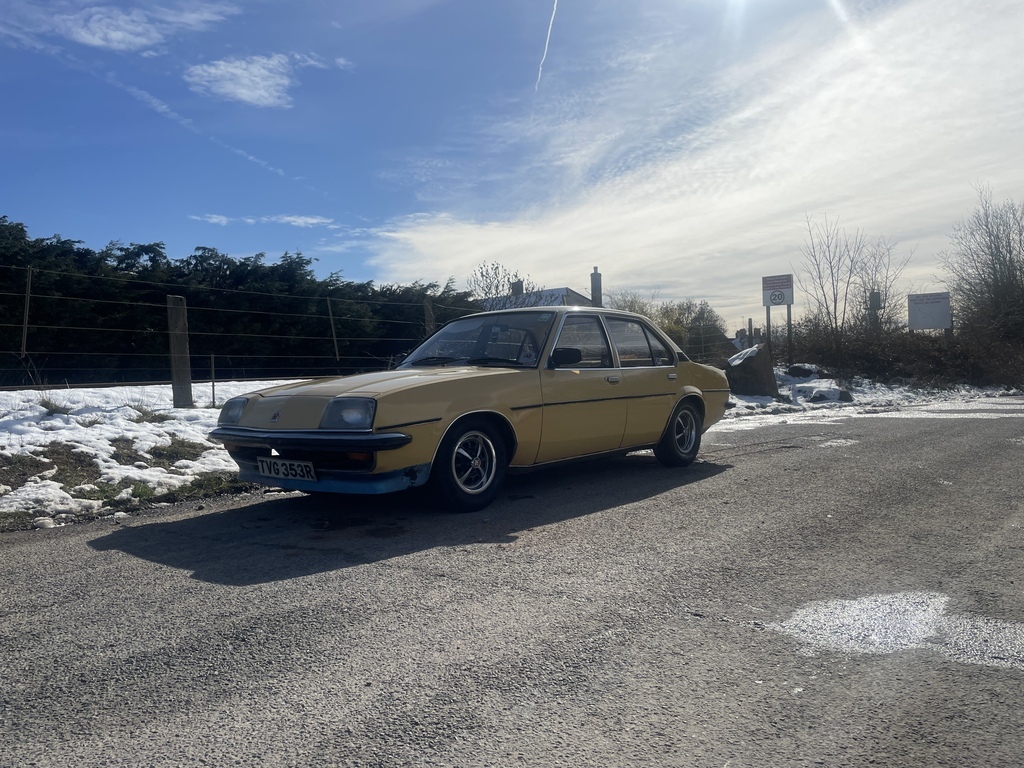 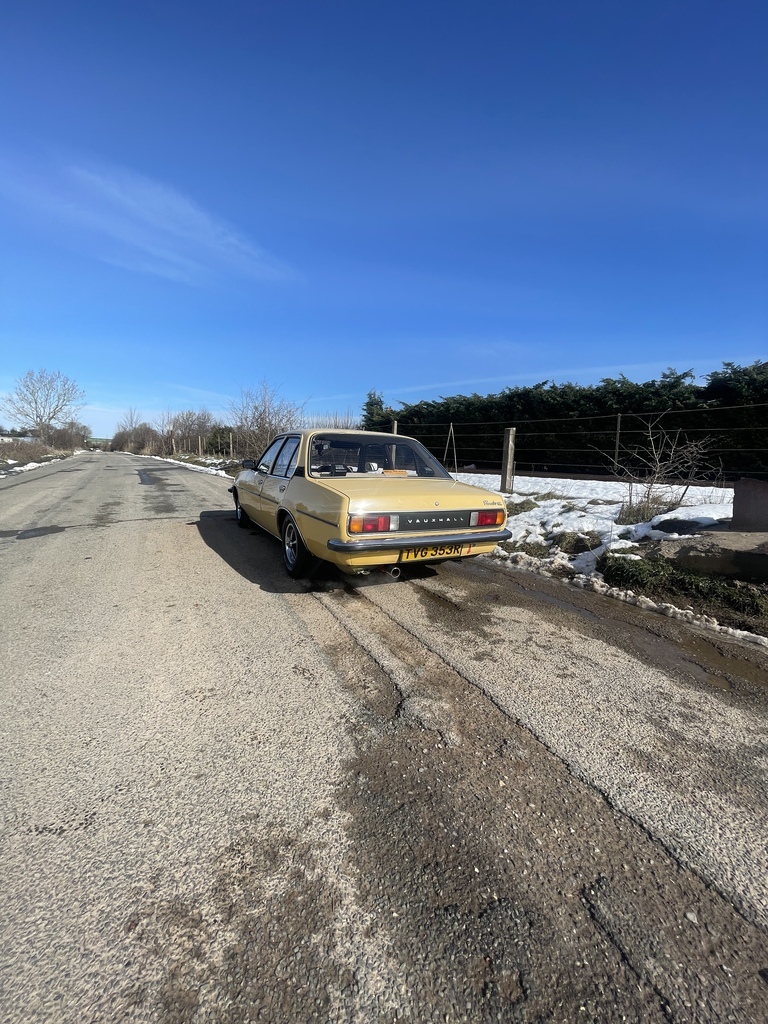 |
| |
|
|
|
|
|
|
|
Well, It has been a while since I last updated this Thread, we are in July now and much has changed on TVG since March. Apologies if I miss out on some key details, I will try and fill in where best! Let's Re-Cap! Well some of you keen readers might have picked up on me wanting to mess around with some different wheels if I could get my hands on a set. After a chat with my Father who had a 1976 Vauxhall Cavalier who gave it the typical 80's Boy Racer feel; Straight Pipe, Spotlights, Wheels, Carb Conversion.... We came to conclusion a good set of 4x100 Weller Steel Wheels, Now god was this a mission by itself as it seems Weller's on the Used Market are keen with the PCD of Ford's and Commonly found to be mated to some Escort Mk1/2 Rally Car. To mine and my Dad's surprise I found a 'Battered' Set in Gloucester (A whole 110-130 Mile so Journey for me) which for the grand sum of £150 for 7 Wheels was a no brainer, Bonus they Came with Yoko Rally Tyres but I just wanted the wheels. 4 in 4x100 (Perfect) and 3 in Ford PCD (Typical). At the same time I ferried these wheels back to my house I decided the No Bumper / Blue Splitter look was utterly dreadful so the bumper was re-fitted (Straight this time) and Re-Painted the Splitter in a more sportier Satin Black....Wow, what a difference that made. On went the Wellers and this is where things went wrong (lol), the radius was bang on 13 inch which was what I was looking for, 8 Inch wide so they filled the Arches perfectly....Nothings smooth sailing as we all know....All 4 Yoko's were 175/55 and paired with an already slammed 70's Classic meant I couldn't get off the drive whatsoever, great, but not to mention the Near-Side Rear Yoko was heavily leaking air. Off to the Tyre Bay to be removed an the N/S Rear Tyre had been completely chewed up on the inside, and to add salt in the wounds all 4 Wheels were far from straight on a Balancing Machine (Luckily they are Steel so can easily be manipulated). Pictures to follow including the Cavaliers first Car Meet since I re-painted and re-fitted everything. Thankfully you are all caught up with March. 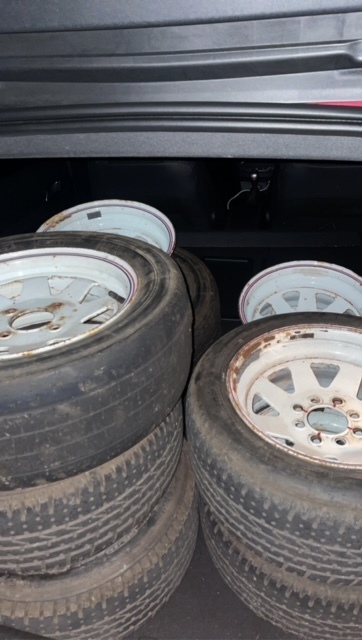 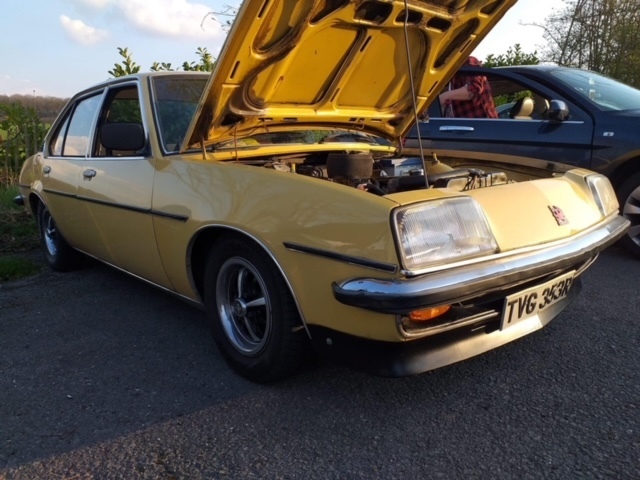 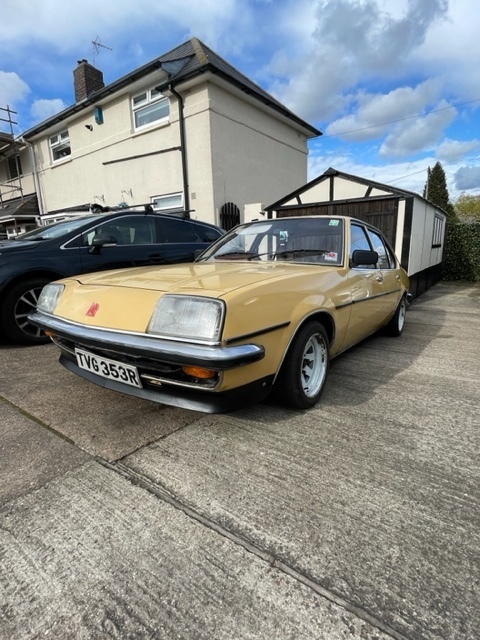 |
| |
|
|
|
|
|
|
|
Now onto April! I finally had a-bit of time to myself to focus on making the Cavalier that extra bit of 'me'. Yes.....I had to go 80's Boy Racer and mount some Hella Comet 500's (And Yes they work! Not just for show!) The Plan was to go original rally set-up, 2 at the bottom-wide and 2 on the front Nose Cone inwards of the bottom 2, only (and still currently) got around to mounting 2 Bottoms using some Bodged/Custom Brackets that are Bolted/Welded onto the Framework to remove any excessive wobbling. Some new wiring to mate a Switch into my Dashboard and a Relay set-up next to my Wiper Relay (Co-Incidentally there was a hole next to the Wiper Relay as though a Spotlight feed was intended to be there, I recall Spots/Fogs being a Factory Extra). And of Course, some cracking photo's to follow suit. Between April and May/Early June this was all that was done, other than the odd show and what-not. Onto the Exciting bit in June, watch this space. 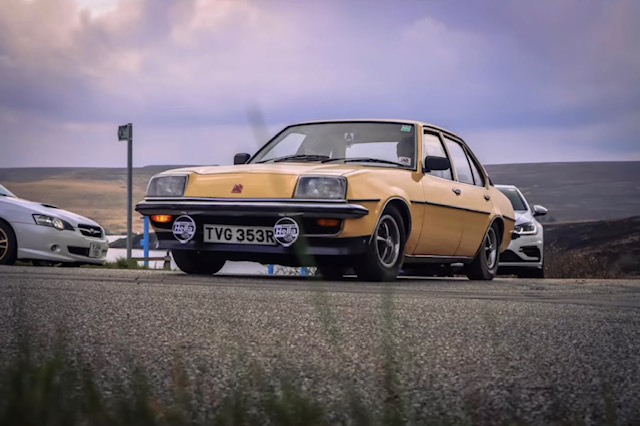 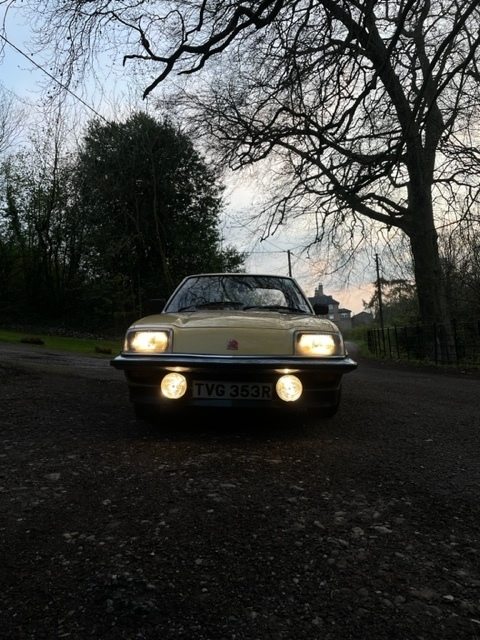 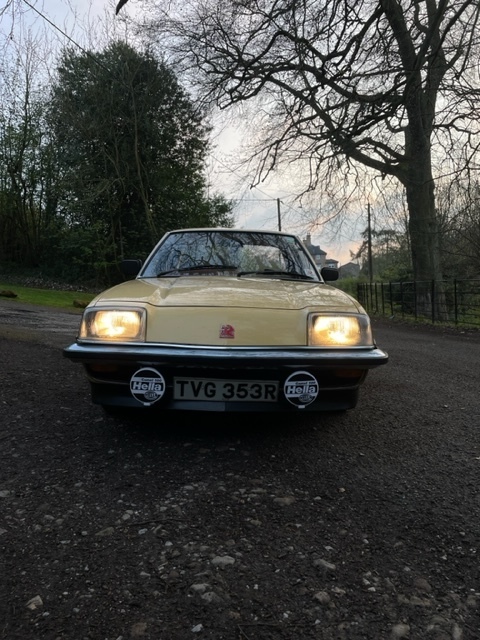 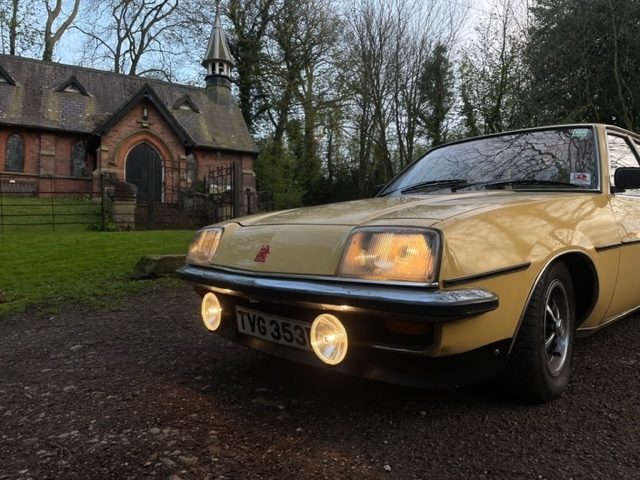 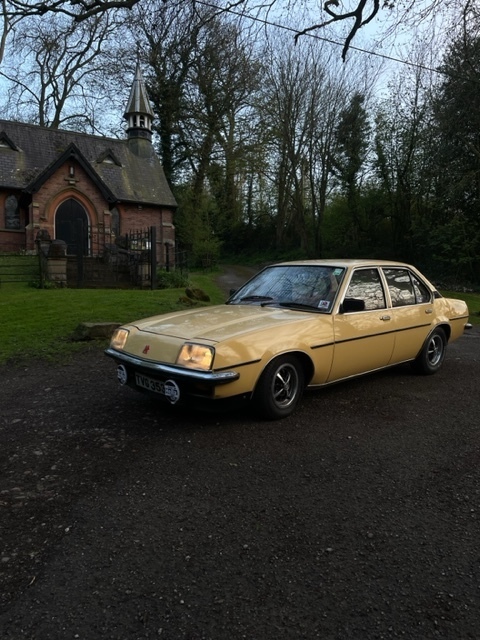 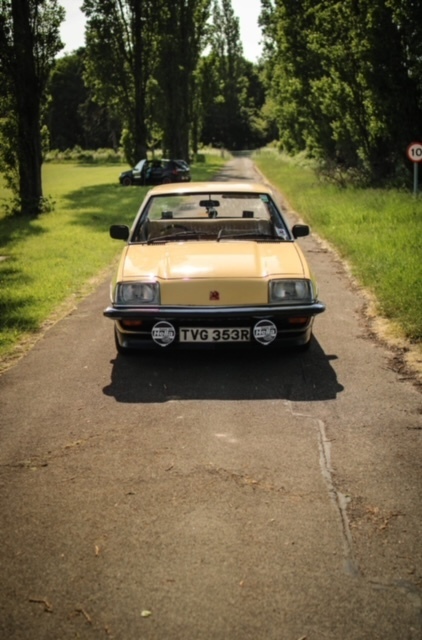 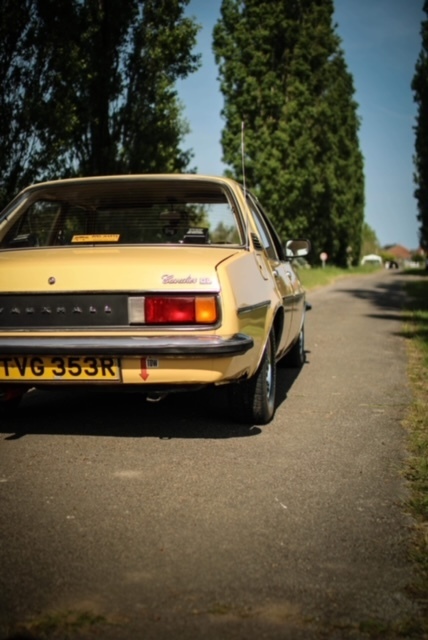 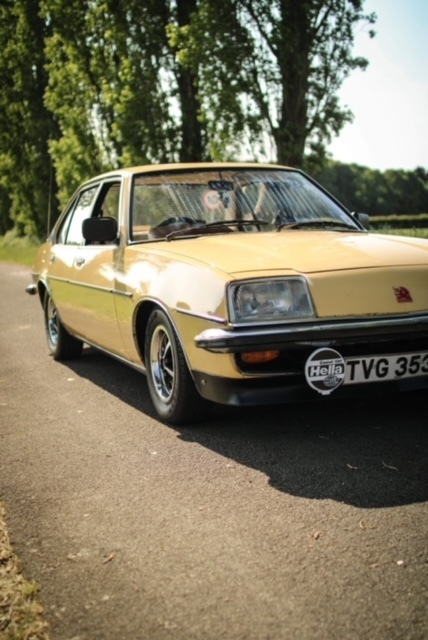 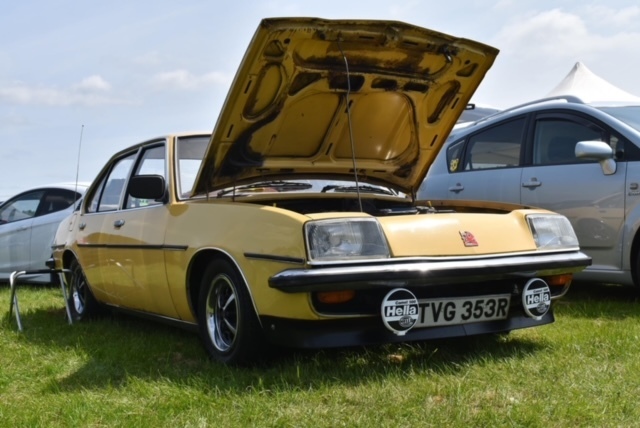 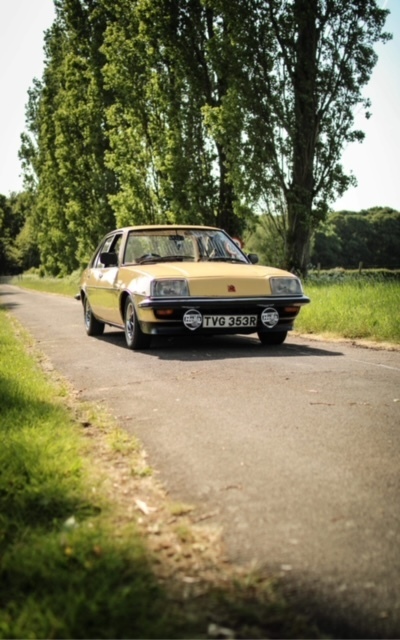 |
| |
|
|
|
|
|
|
|
|
Now onto June......Ohhhhhh Boy have I been excited to tell you lot!
Now before I continue I could potentially loose the interest (If haven't already) of Die-Hard Vauxhall Purists.....
in Early May Myself and my Dad toyed with the idea of more power (something the Cavalier looked like it had.....but didn't) and a few Intriguing ideas came to the board; 2.3 Slant 4, 2.4 CIH, 2.2 CIH, 2.0E CIH, 2.0S CIH..
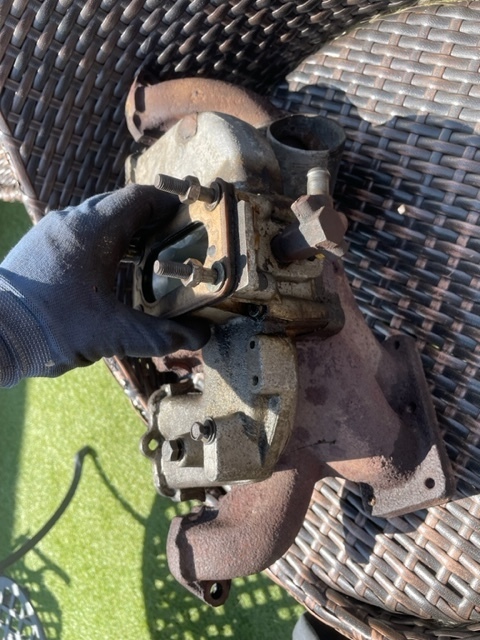
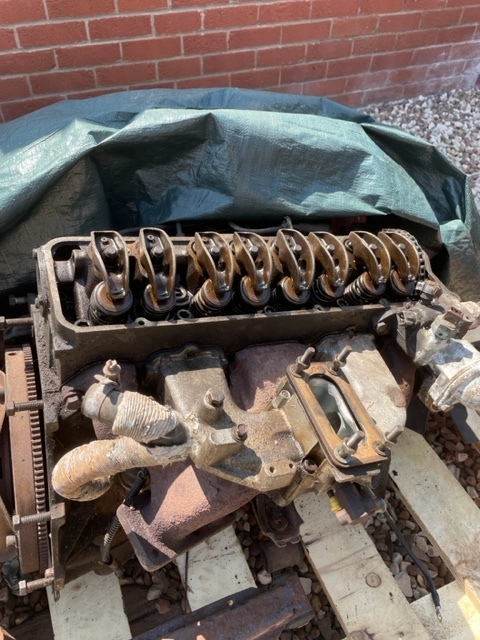
I took the plunge in Mid-May to Purchase a 2 Litre Cam-In-Head E from the Opel Manta GT/E Including all Running Gear (Dashboard, Leccy Ignition, Gearbox, Prop Shaft, Rear Axle, Engine...But with a twist! I which some might find strange opted for the Fuel Injection System to be completely removed as I'm sticking with the trust Carb route.
Disclaimer... There's method behind my madness...
the Engine I have purchased came out of a 1987 Exclusive Manta which was spec'd with the super rare Opel Tuning Package (Cam, Skimmed Head) to make standard guise of 110 hp bump to 123 hp (Correct figure if I remember correctly). The main ambition for me running carbs was to eventually run twin 45 DCOE's but a few opinions were noted on the OMOC Forum for a 38 DGAS Carb with Syncro Throttle Linkage.
I wanted what from an untrained eye looked like a 1600 Engine until you dug deeper and discovered a de-evolution 2 Litre E engine, the 2 Litre S is viable from the B1 Manta / Ascona / Cavalier but I like the sound of what the GT/E Engine had to offer in factory guise.
Next Post.......The Strip-Down!!
|
| |
|
|
|
|
|
|
|
|
|
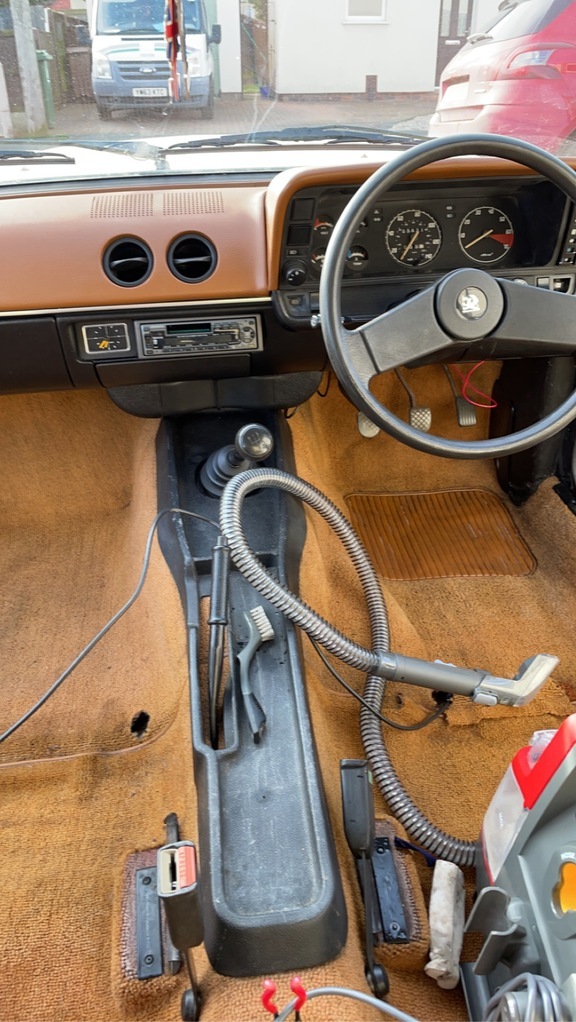
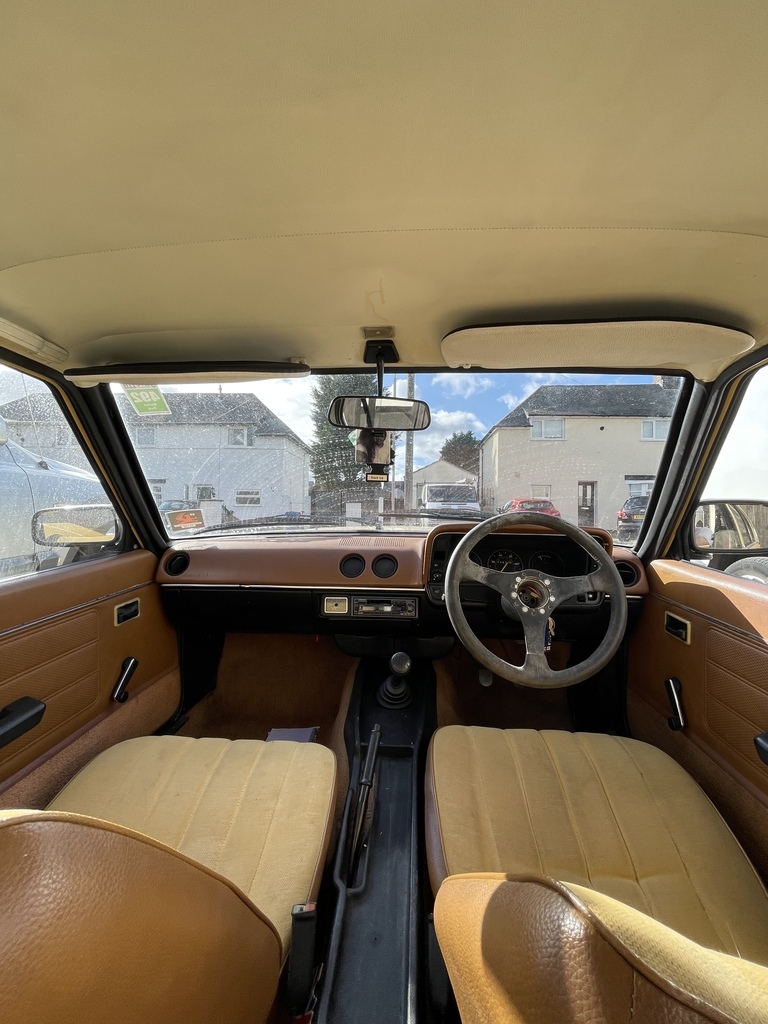
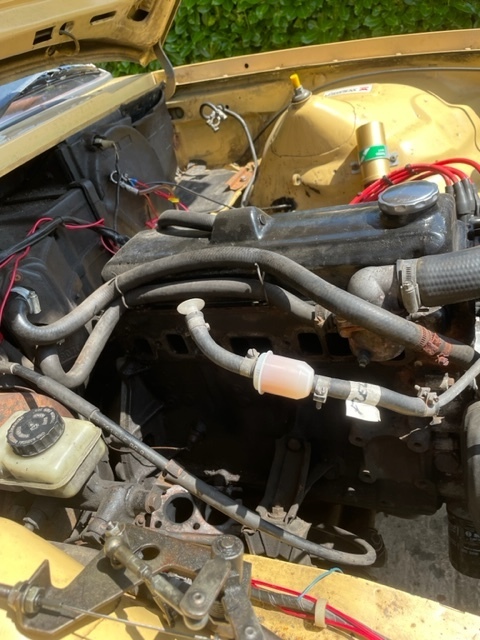
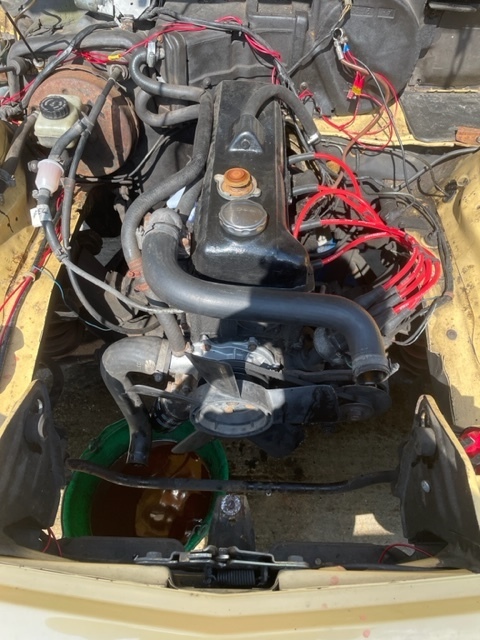
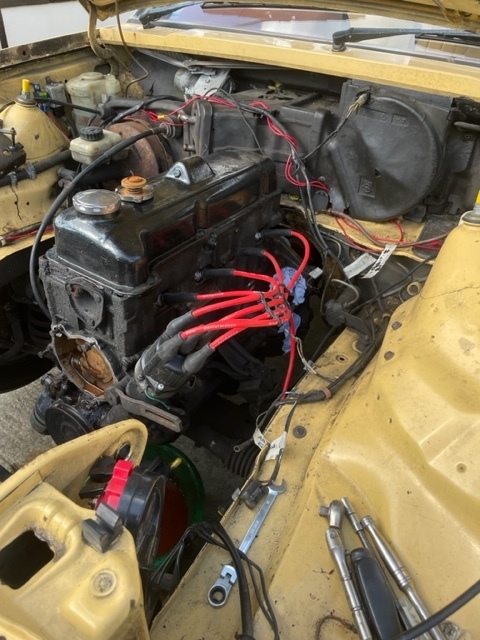
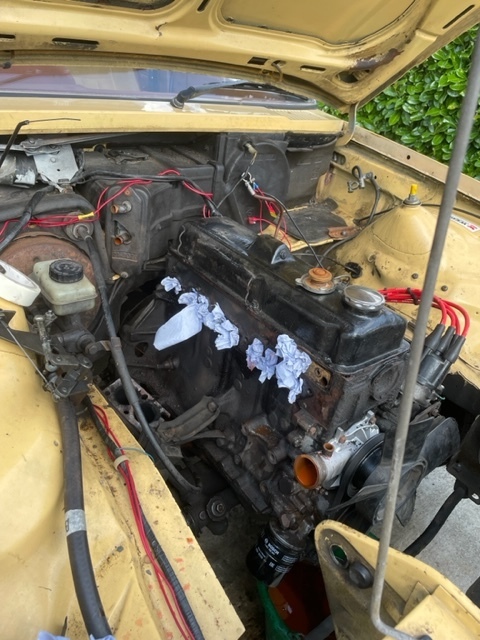
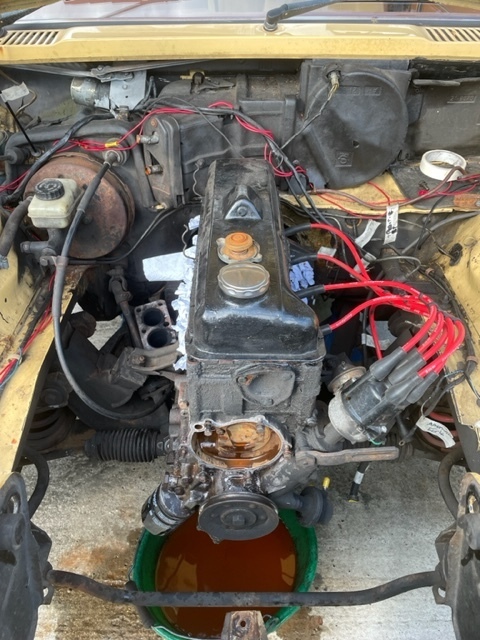
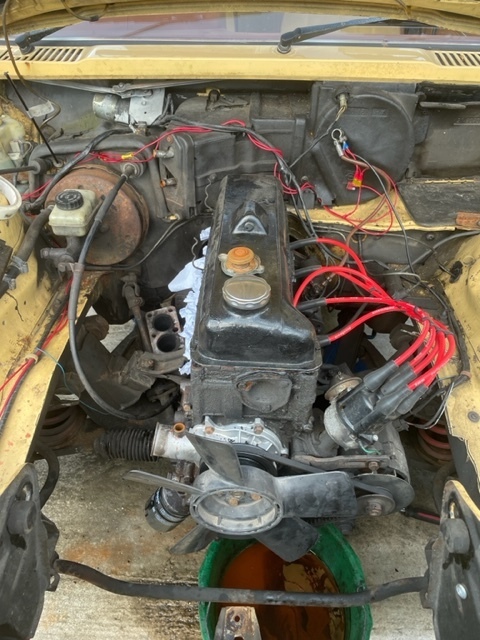
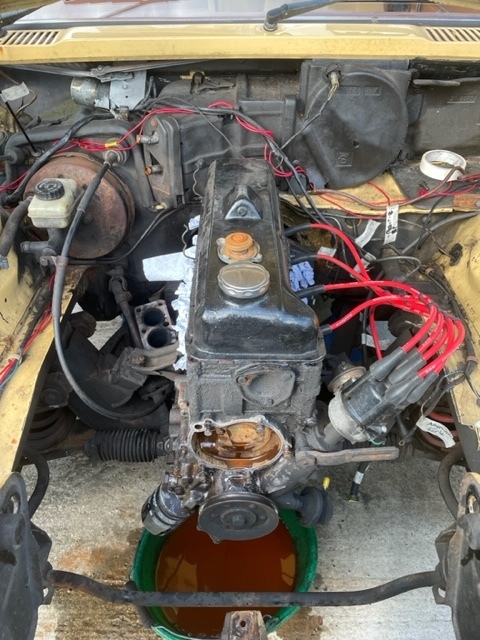
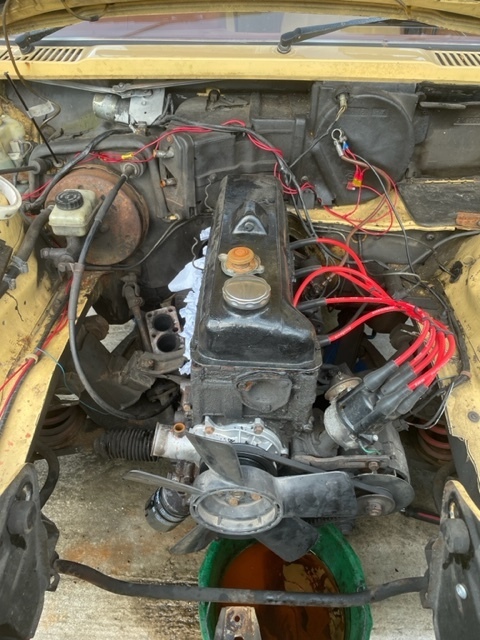
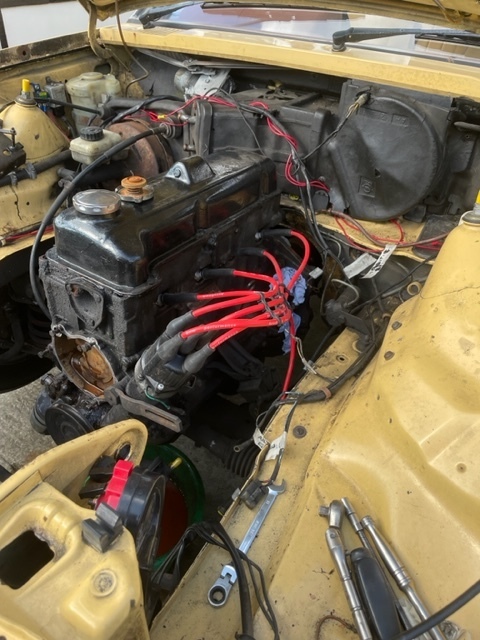
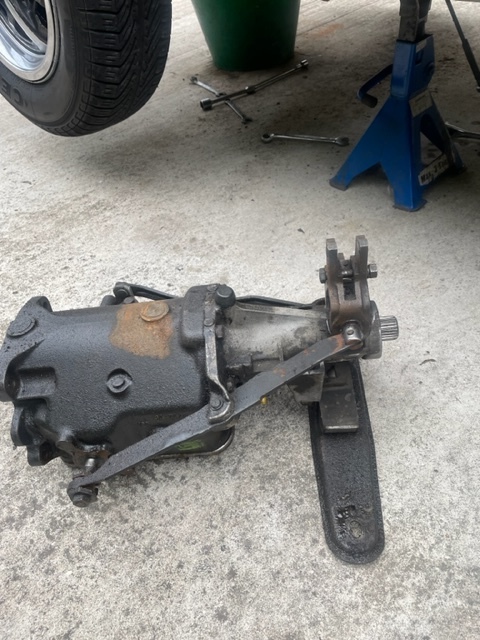
I tried to post in Picture Order but RR's Picture Uploader had other ideas haha. Gone with the important stuff other than the remainder of the Engine and the Axle, we move into the Interior. A-bit of a grey area in all honesty, I was supplied with the respective Instrument Panel from the Exclusive Inc. the Centre Console so was soon eager to get all the wiring set in stone to make life easier down the line. As mentioned sometime in Feb / March I'd trailed a 6 Clock Dash in my 1600 but due to a bad earth and a dodgy repair done in the past I blew the circuit board (Lesson Learned)..... Out came the old 3 Clock Dash and with it I severed the original 11 Pin Dash Connector to make way for another which was wired for a 6 Clock (Easier than re-sorting pins or chopping and changing)...Pictures Supplied of that! This was a grey area for me so I really hope this benefits someone. One thing which is different is the addition of a Tachometer and the Main Beam being re-routed from the 11 Pin to the Half Moon Pin with the Tacho (This is because there is a 2nd Oil Pressure wire on the 11 Pin for the 6 Clock). Along the way of re-wiring and making a bundle of new wires myself I began to 'wrap' my Exposed Red Wires in tape to disguise it as an OE Look, more for shows as it was something similar to a 'Turn Off' to keen eyed car enthusiasts, I guess also a good excuse for 'Wire Management'. I Managed to source 2 Black Dashboard Covers as my original Beige one has been heavily sun-bleached and cracked as a result, I think it suits but I am keen for other opinions of course. My next topic is the Conversion from 4Spd to 5Spd, it's another grey area on forums as most don't simply do it or there's no need as GT/E's come factory with a 5Spd. The Getrag 5 is smaller than the 4 but the linkage sits closer to the driver and as a result a different centre console is required + the Manta got a Tape Tray which is super cool. When removing the Centre Console there is an elongated section of Tunnel which is left un-carpeted as though it was designed to fit a 5Spd later on down the line, all that is needed is to cut/elongate the original hole and weld a plate where the original sits to eliminate wind noise. Pictured Below. Oh and of course it was standard procedure that I filled the Tape Tray haha. Well guys and girls, you are all caught up for now....sorry!! but my plans follow so please stay involved, I look forward to hearing Opinions!; Sunday (where fit) - Clean/Degrease Gearbox and Prop ready for some Paint! I aim for a Sliver Box with Getrag Painted Black (a Subtle Touch) Monday - Remove Rear Axle / Potentially Re-Fit 20E Axle but not without a lick of Paint! Mid-Week - Look to source a viable Engine Crane Weekend - If a Crane is Sourced, Remove 1600 Engine, Clean 20E on the Crane and Potentially Re-Fit The most hardest part to come is the gearbox, it should be relatively easy but includes a lot of fettling. I'm so excited and counting down the days to finally turn that key and hit the road!! 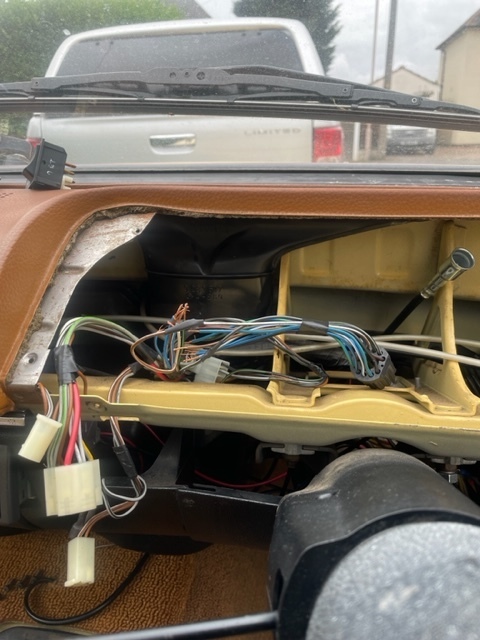 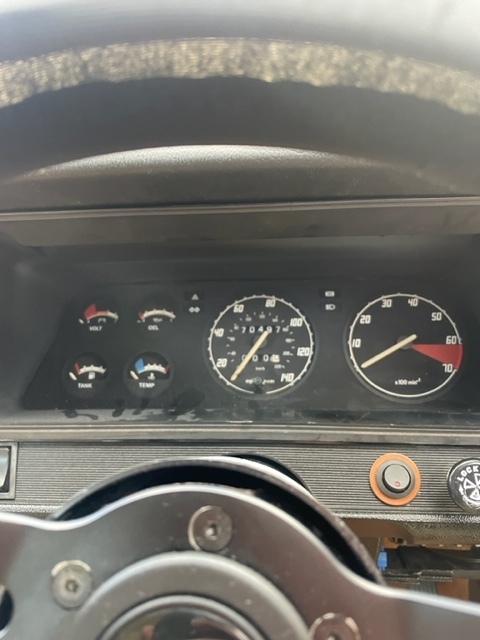 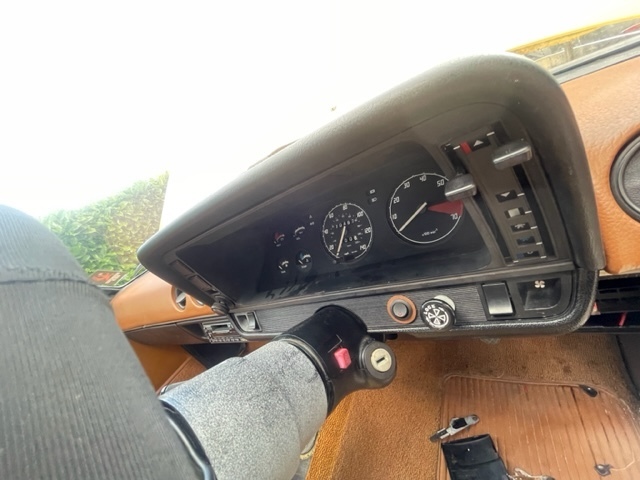 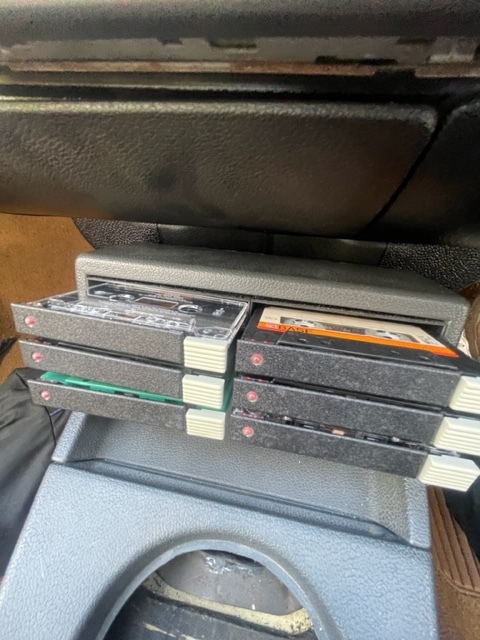 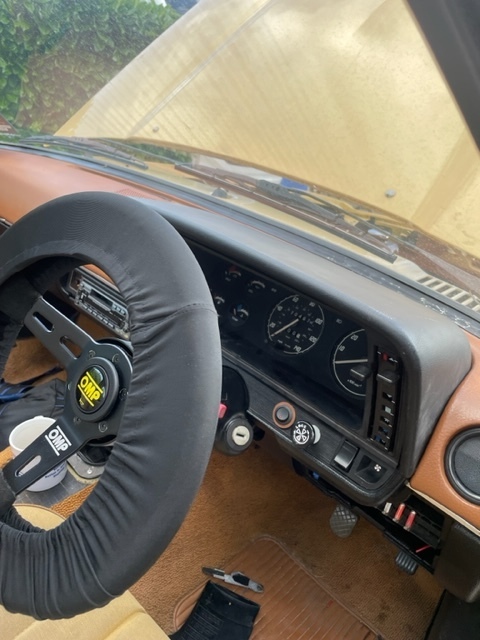 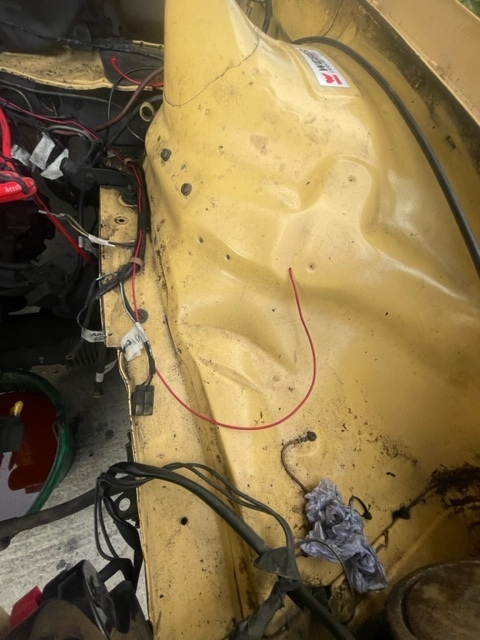 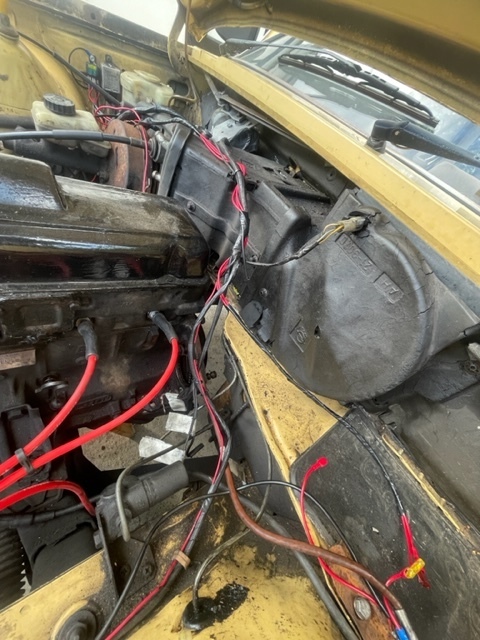 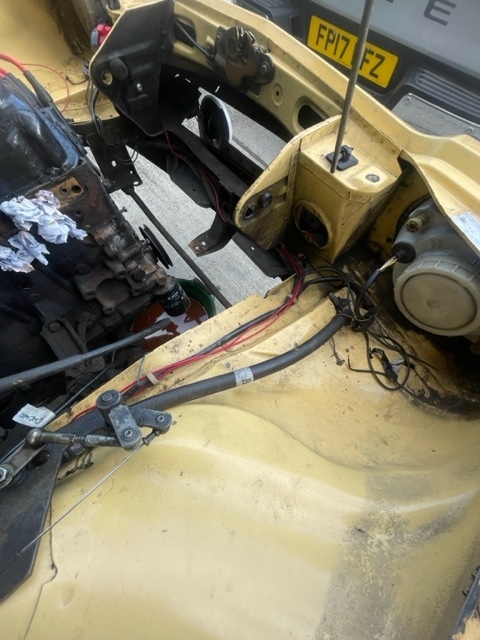 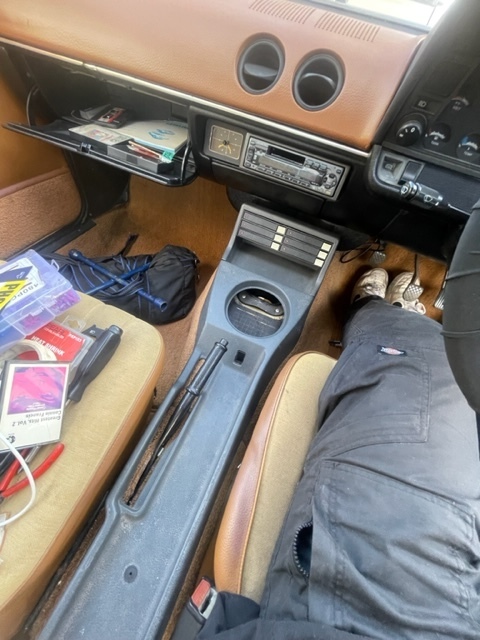 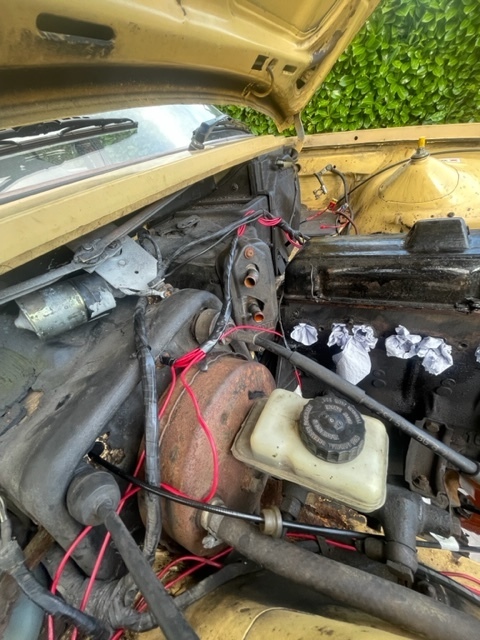 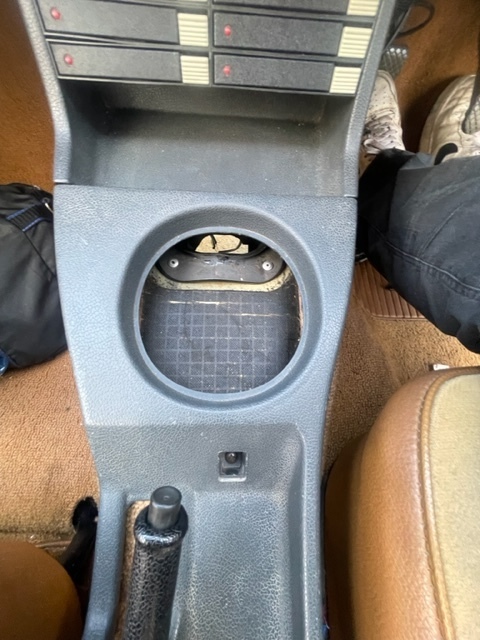 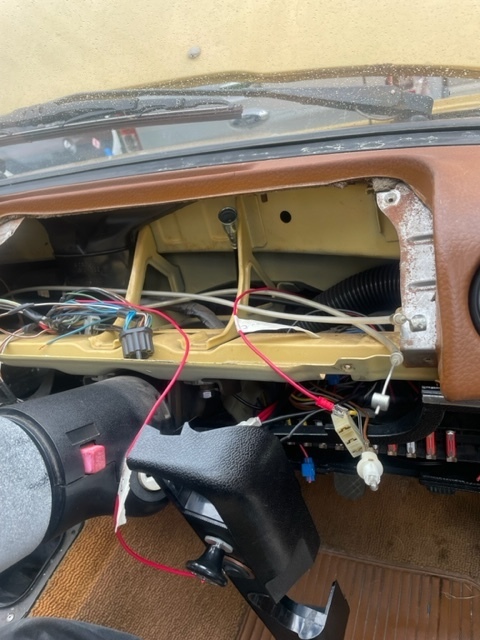 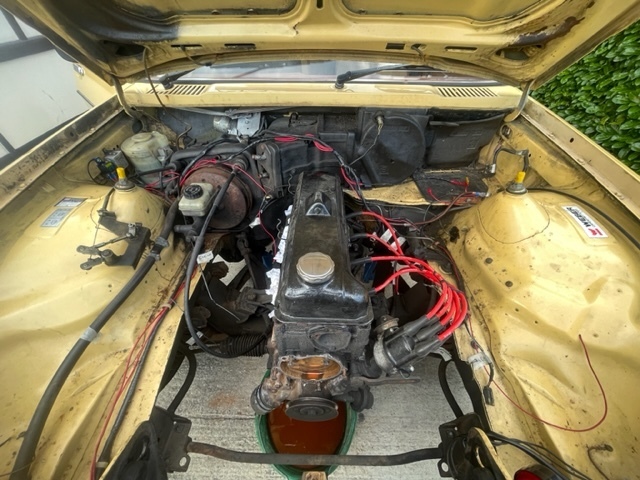 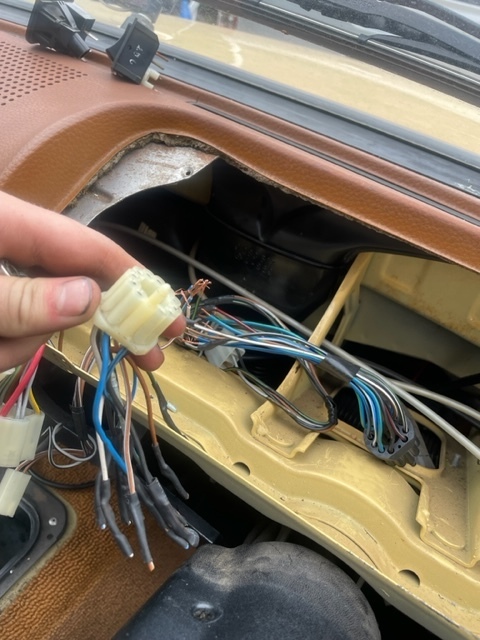 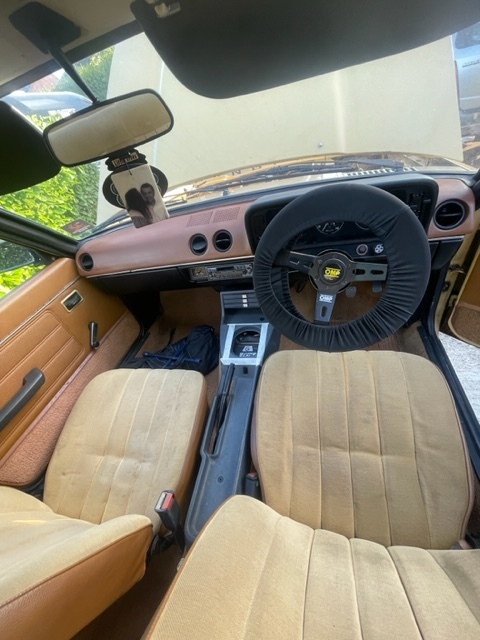 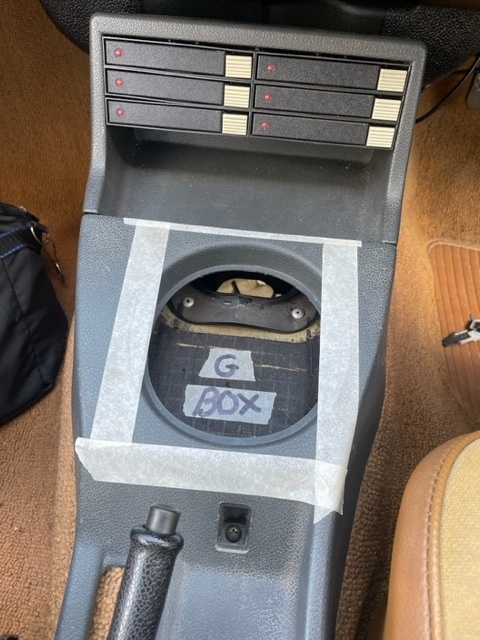 |
| |
|
|
|
|
|
|
|
Well it’s 19:31pm Monday Evening and here i am again to tell you all about how the rest of the weekend went!! …..Not to plan Haha! Sunday was a-bit of a dumb day, the only exciting news was a Parts Order through EBay and MrCarMats. And the order compromises of; - 20E Opel Manta Thermostat (i think the original has some life left but didn’t look too good) - Bosh Oil Filter P2056 (For Future Ref.) - A complete 20E Top End Gasket Set! - Exhaust Flange Gasket - Rear Crankshaft Oil Seal - And a set of 4 Tailor-Made Carpets for the Manta/Cavalier/Ascona Onto Monday! A-Bit of a gloomy day but nevertheless we live on and the Cavalier’s 1600 Rear Axle needs to be removed in prep for the 2 Litre! I’ve not had a single issue with any bolts at any point with the removal until today, unbelievably every bolt came out / loosened on the Axle bar one thing…….All the Brake Unions (Typical), someone presumably who did the last Brake Pipes decided to He-Man them until the poor 10mm Nut was much of a 10mm Washer….Great…..Another Set-Back, tomorrow though dad will be on the scene to give some guidance and we’ll be back in the swing of things!! All is not lost as i decided to instead start to ‘polish turds’ of parts to make them look a little more presentable in the latter…Namely the; Prop Shaft / Thermostat Housing / Gearbox / Engine Mounts The Gearbox Paint not being my Proudest Haha. On the Subject of Turds of Parts the 20E Thermostat Housing Bolts…..well one of them anyways was incredibly awkward to get to and had been rounded so i had to do the art of twisting the Thermostat off until the Bolt became loose enough to remove, not too much of an issue! As for the Axle i’m going to swap the Original Lower Arms and maybe the Panard Rod onto my new axle as the New Axles Arms and Panard Rod look quite tired and perished, but the axle is very rich in Surface Rust… Pictures to Follow!!……. ![]() [/img] ![]() [/img] ![]() [/img] ![]() [/img] ![]() [/img] ![]() [/img] ![]() [/img] ![]() [/img] ![]() [/img] ![]() [/img] ![]() [/img] ![]() [/img] ![]() [/img] ![]() [/img] ![]() [/img] ![]() [/img] ![]() [/img] |
| |
|
|
|
|


