|
|
|
|
|
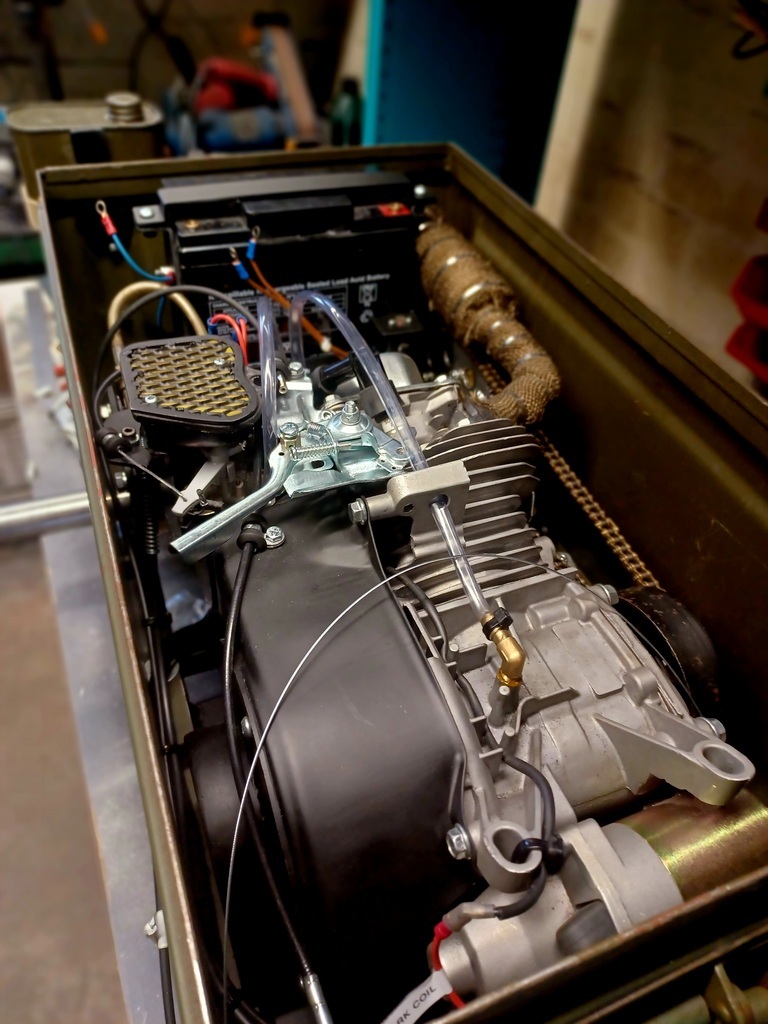
So I've got a plan for the cooling but I've been distracted with brakes and steering. I've squeezed in the brake master cylinder and when I mean squeezed, I mean squeezed...... she's tight! 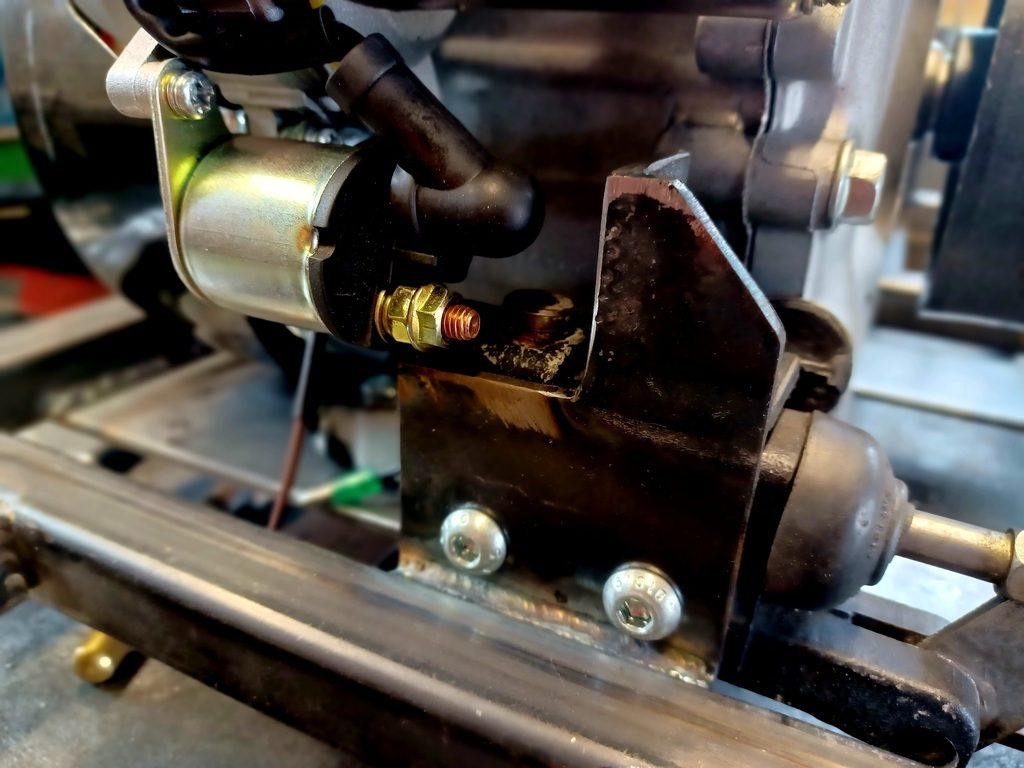  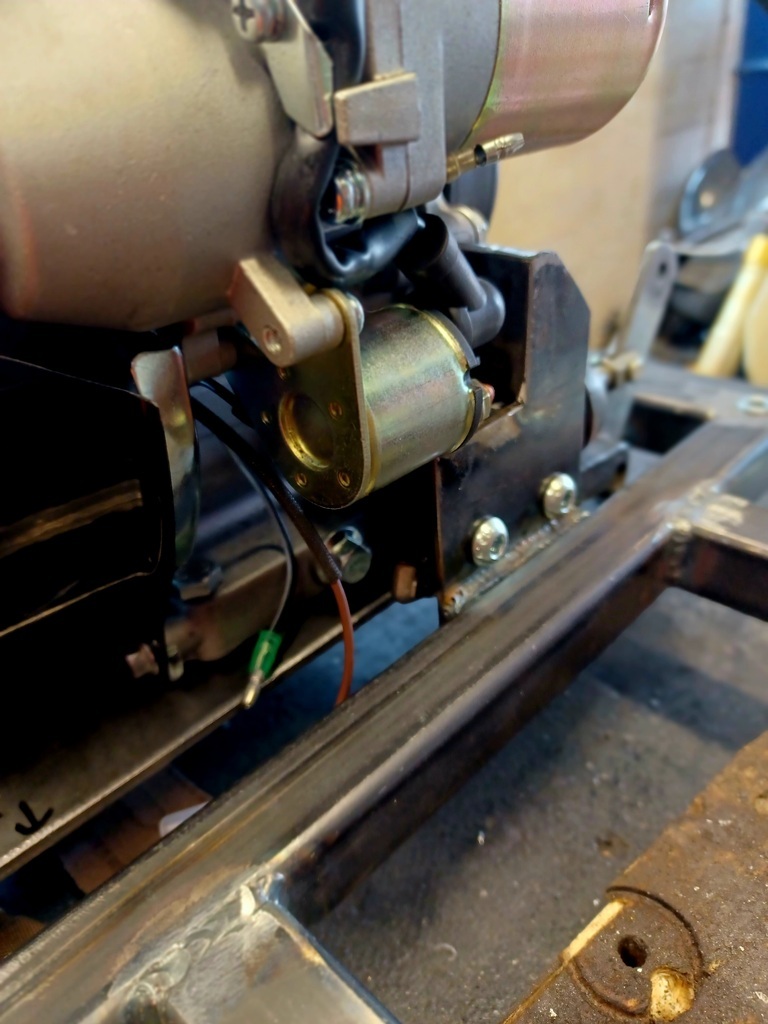 The standard steering column off a kart was just that but too small so rather than try and extend it I'd thought I'd ake a new one instead. It doesn't look too bad but still need to make a support bracket  I've had to fill in a couple of the holes in the front hubs so I can drill them for the steering links, let's just hope I've got the geometry right! 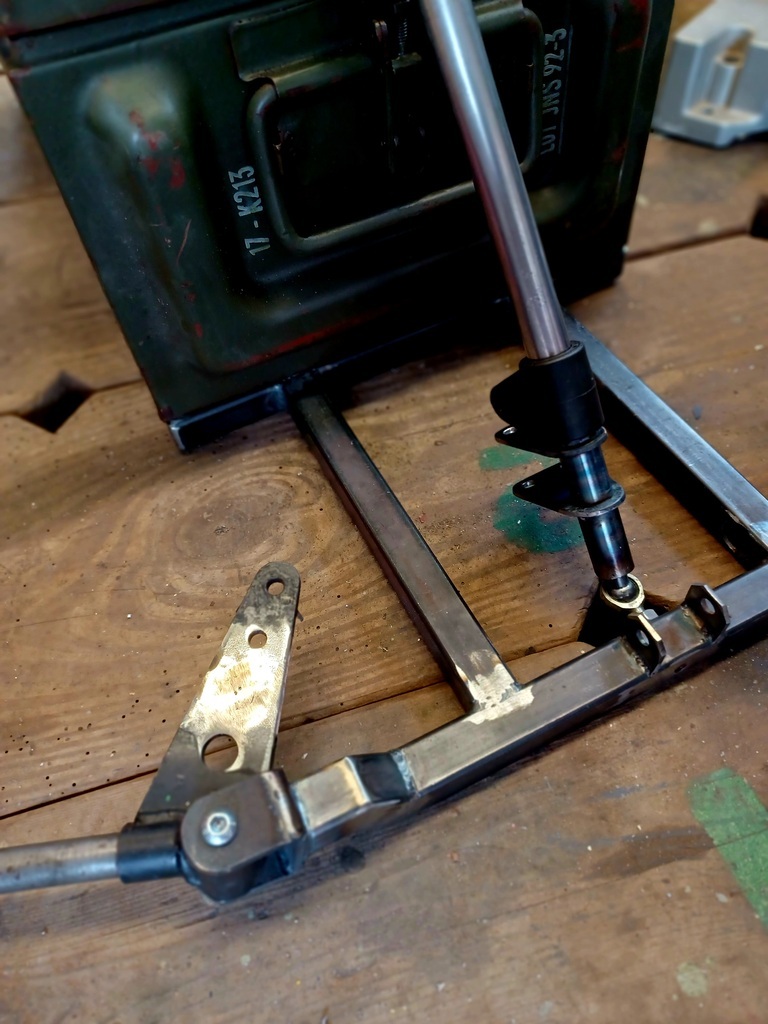 “Best part of this build” is all your problem solving. I love what you are building and where it is headed….. But things like the heat dissipation and exhaust modification, routing makes a ton of interesting reading. Google is not helping much today, but I was wondering if one could build a functional, very flat silencer, like two baking trays welded together with baffles in there…… This is not it, but this sort of thing. 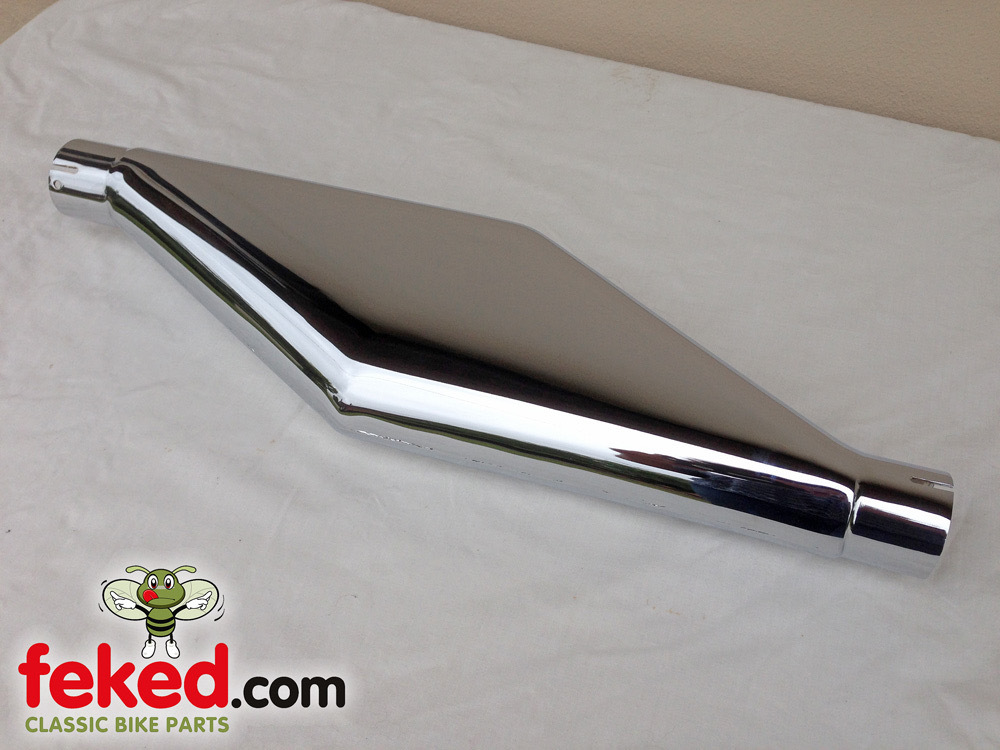 |
| |
|
|
|
|
|
|
|
Apr 10, 2023 18:19:47 GMT
|
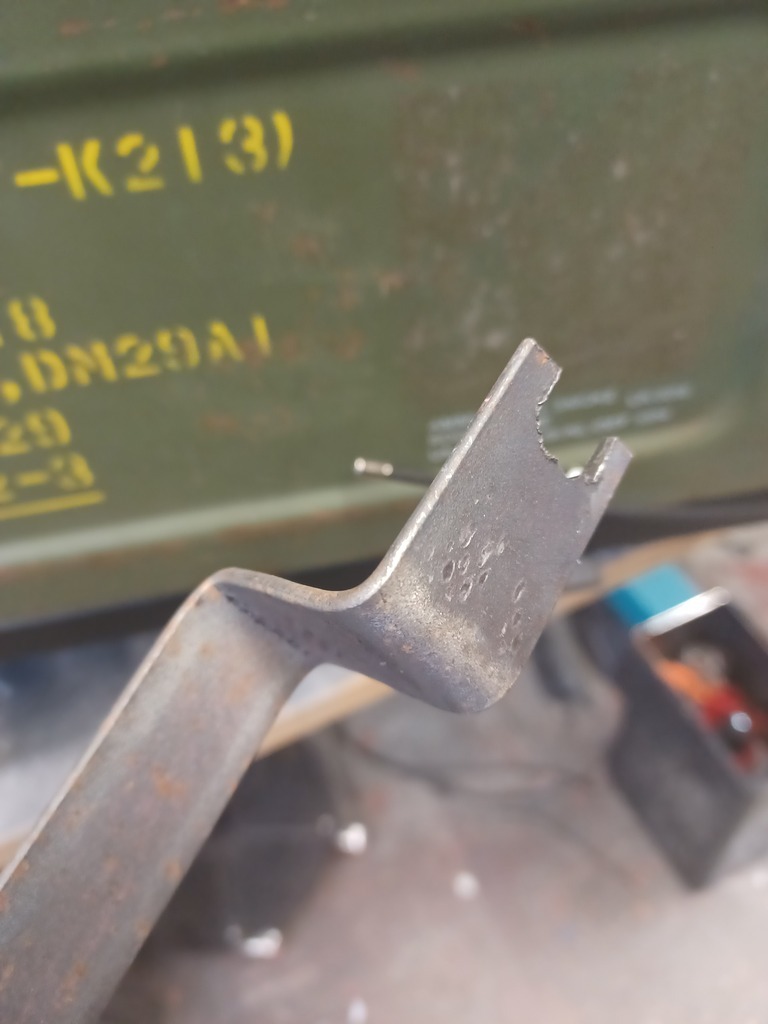
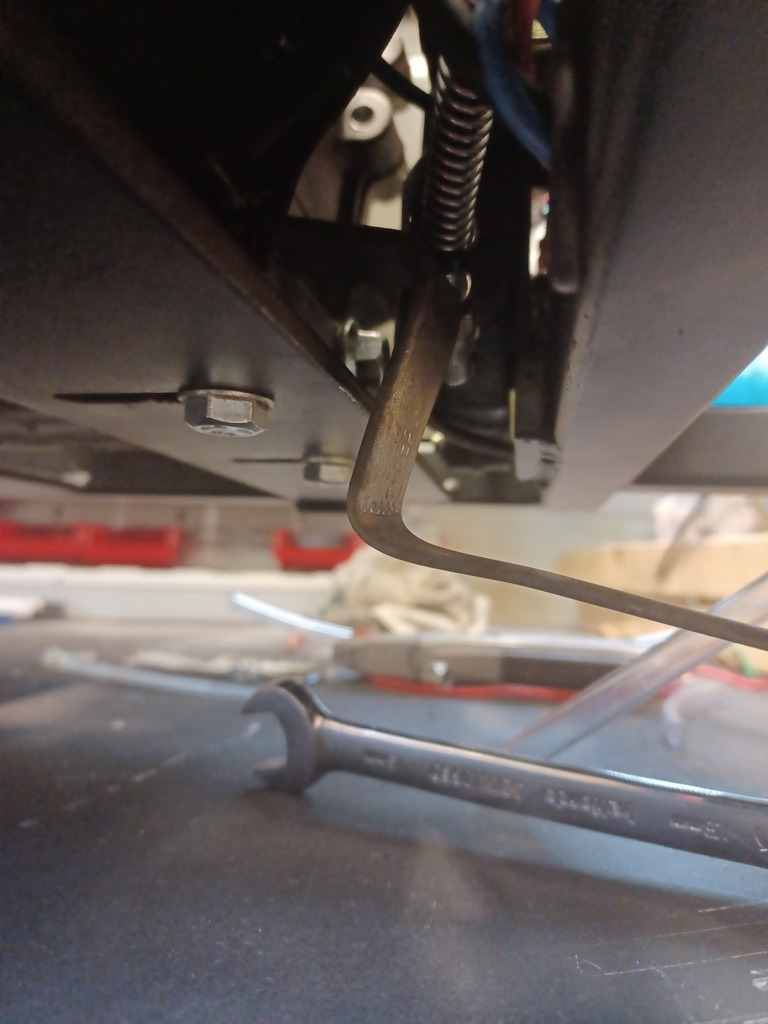
As it was a bank holiday weekend, I thought I'd take the opportunity to make some more progress, in particular the challenge of hand controls for the brake and throttle. After some searching online I came up with my own interpretation These are the paddles made from 3mm plate  Once I'd sorted the paddles, the next challenge was trying to work out how to hold the cables in place and connect them to the paddles. It's surprising what you can make with some tube, nuts and flat plate 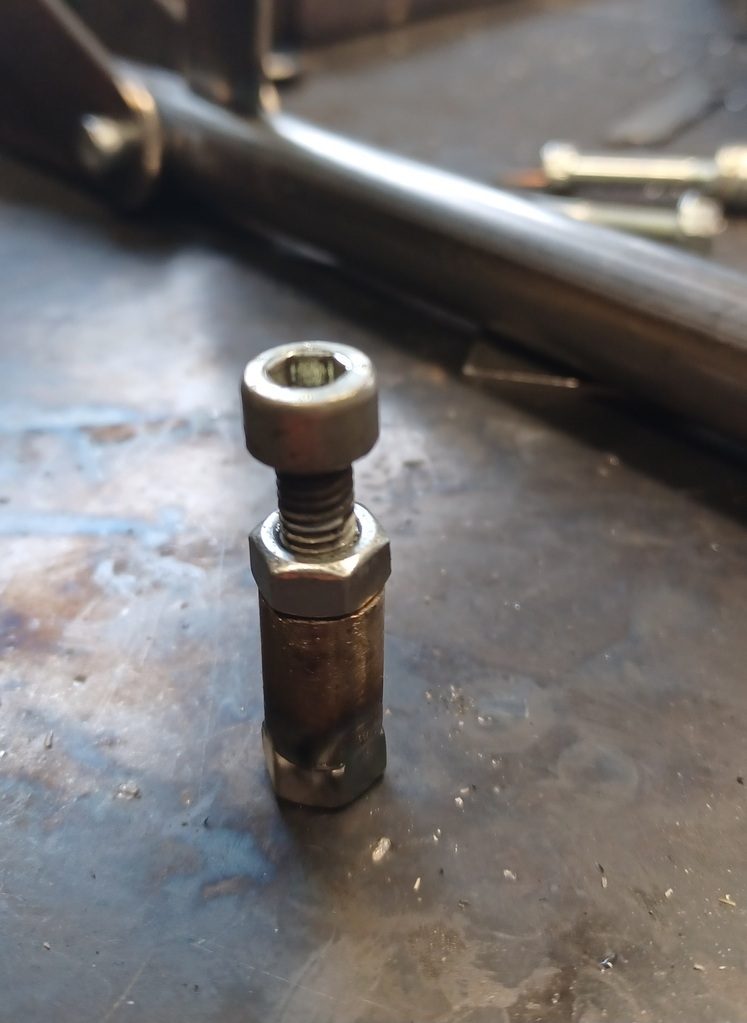 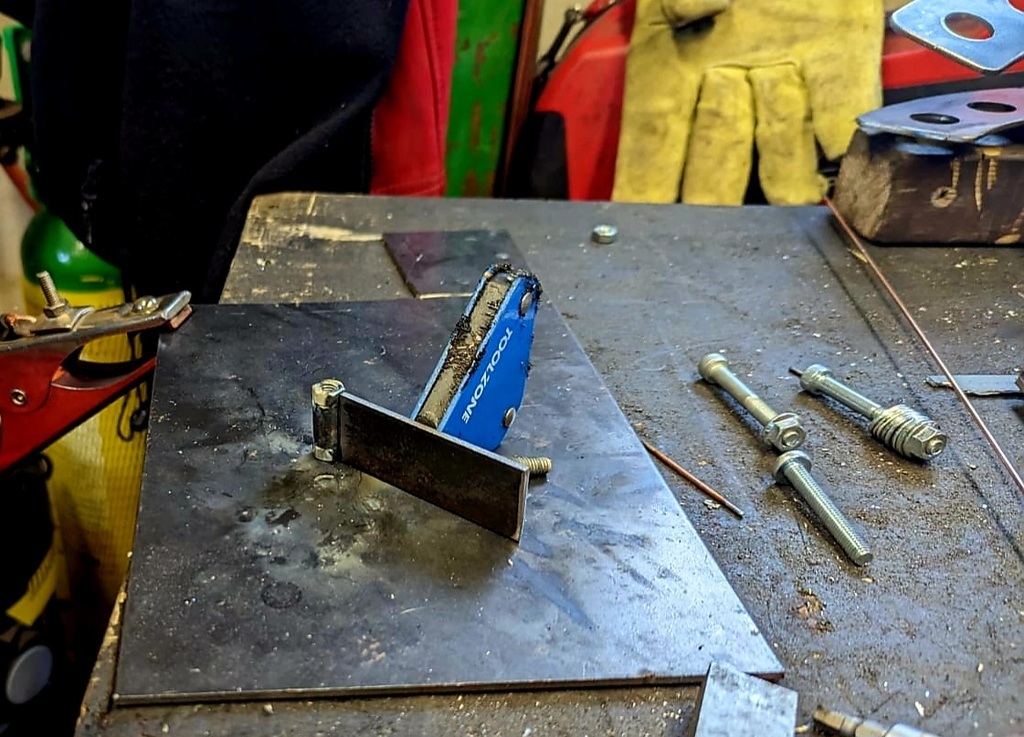 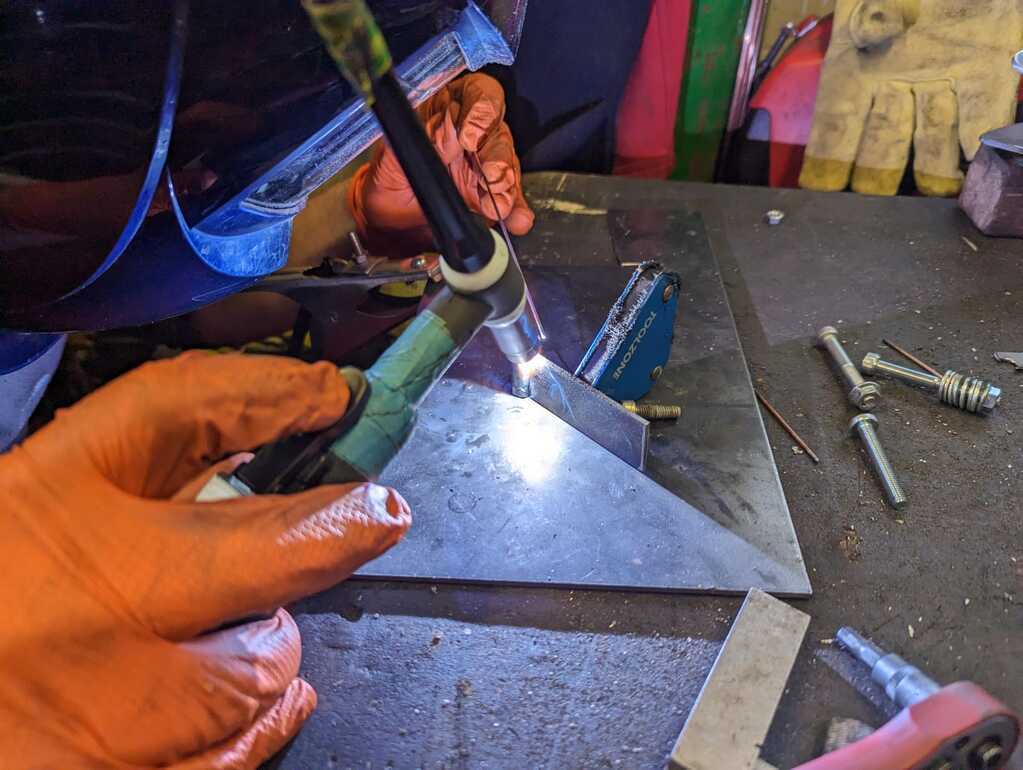 Putting it all together and it looks something like this.... 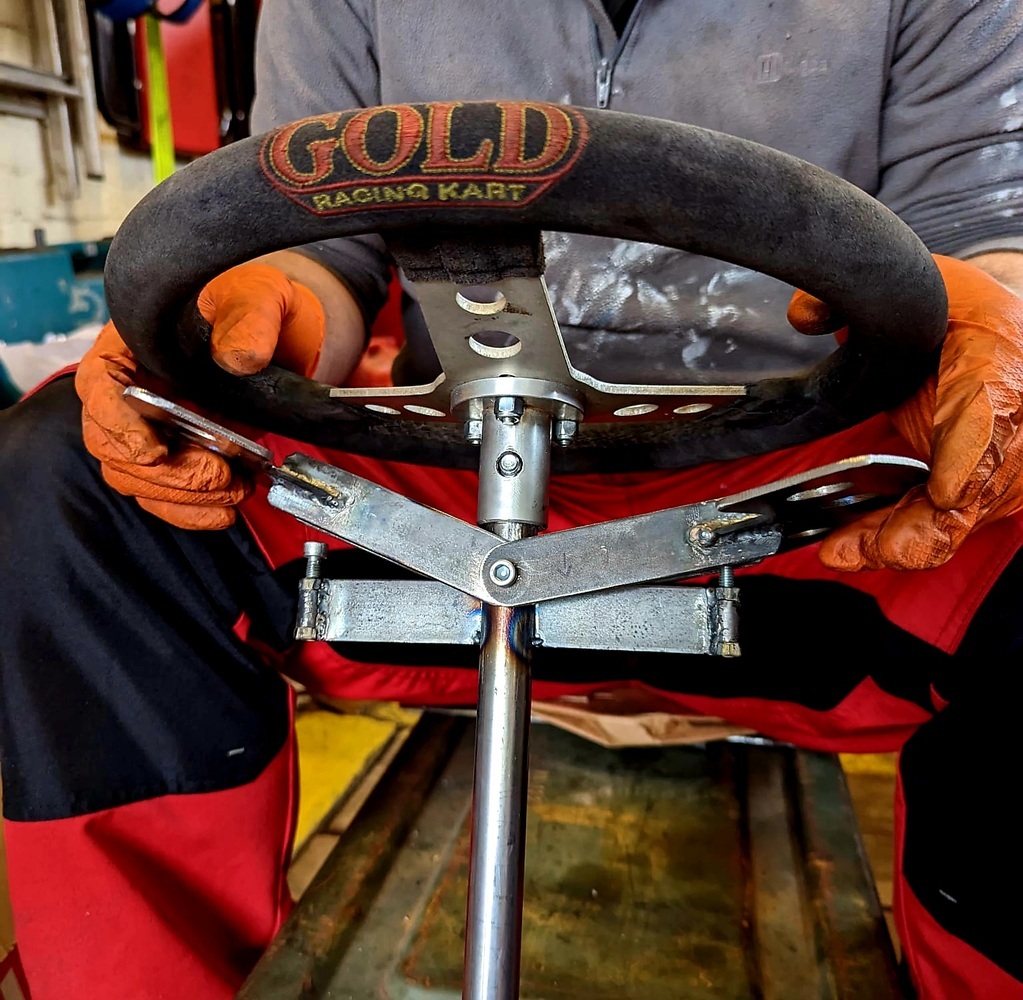 A job that I've been putting off was to cut the holes in the ammo box for the rear axle. I bit the bullet and made the cut  And it fits! 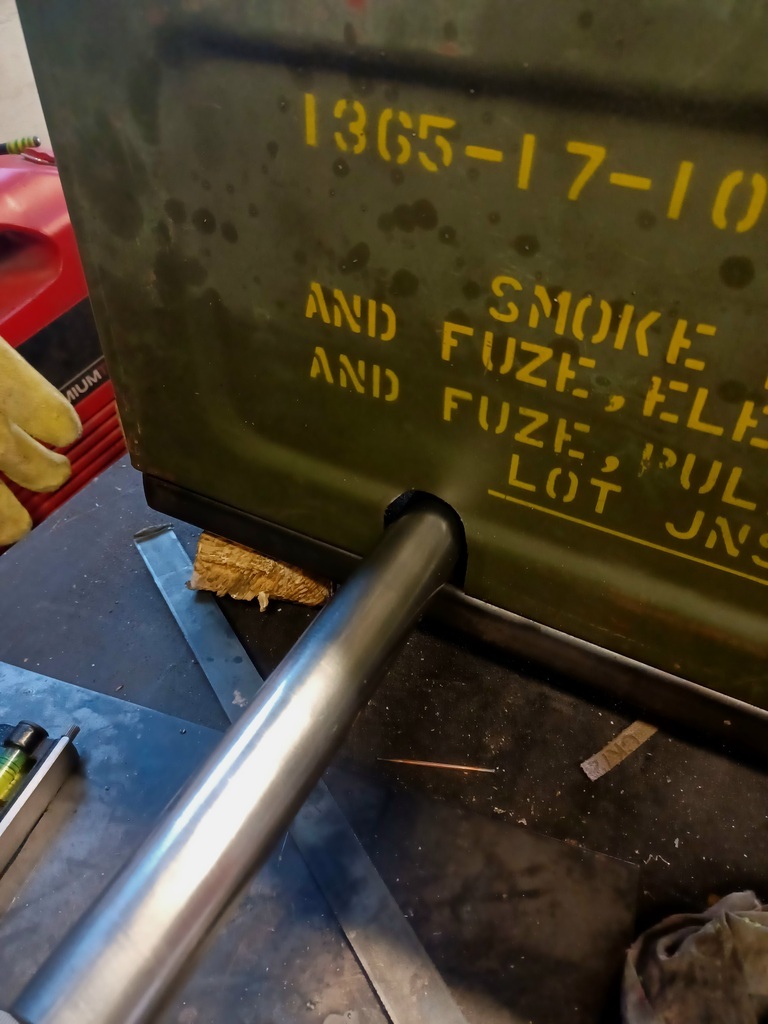 I even had time to paint the wheels in camo green to match 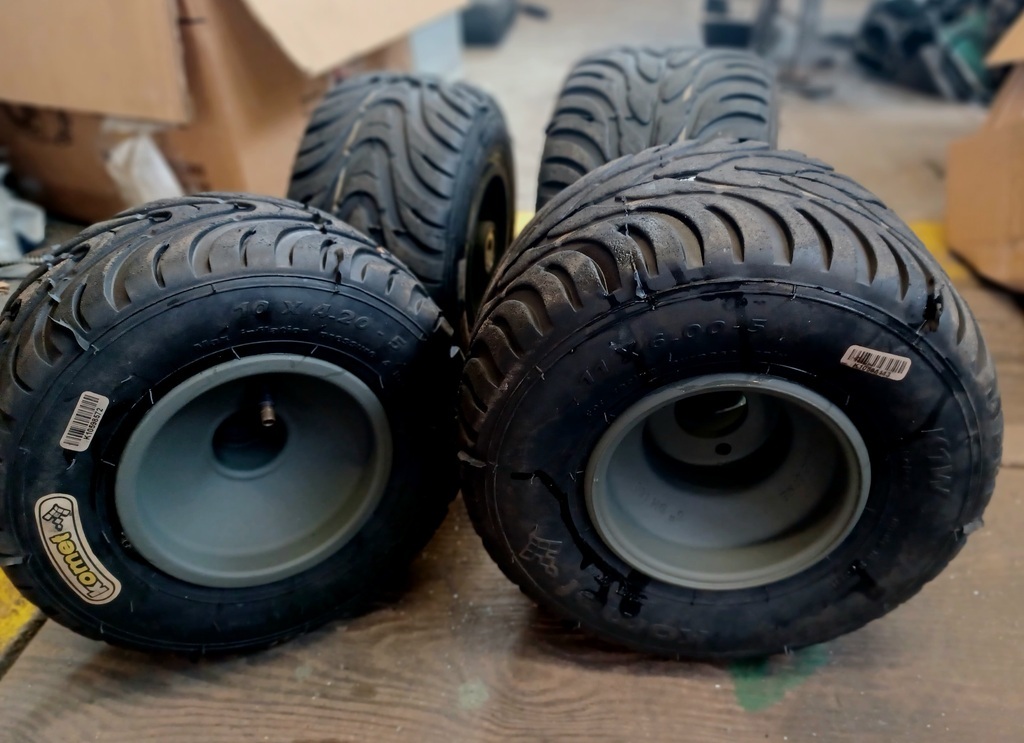 There's still a fair bit to do but it's getting there |
| |
|
|
|
|
|
Apr 16, 2023 20:46:13 GMT
|
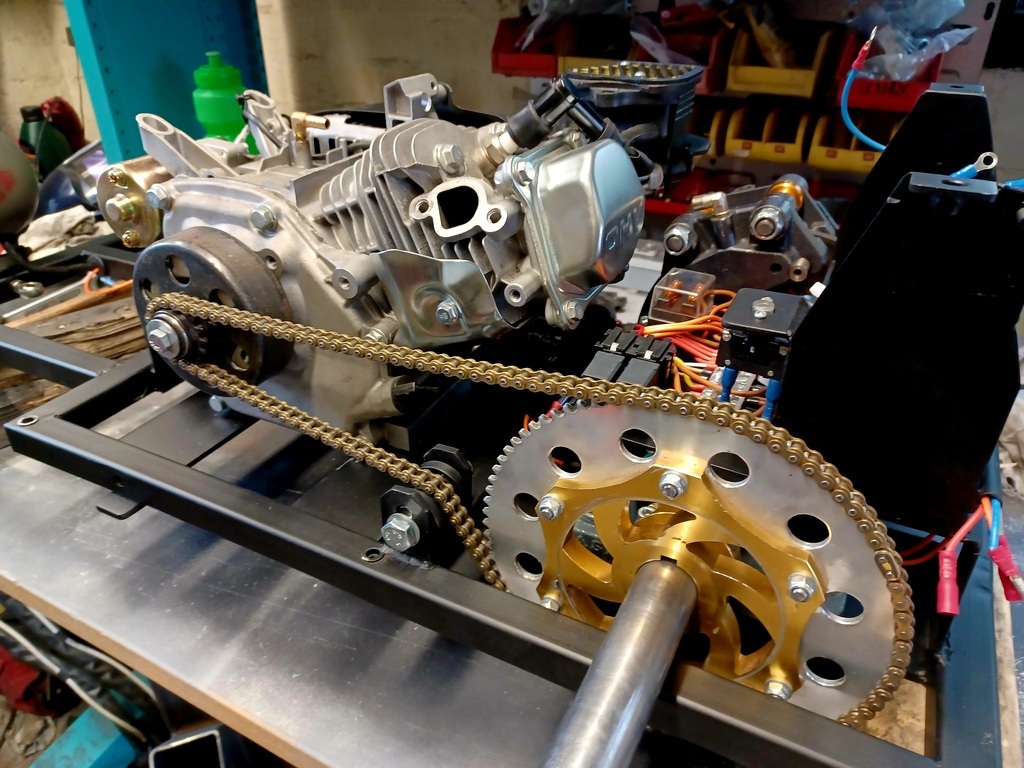
Just a quick update on progress. I've cut down the rear axle to the correct length and cleaned up the ends 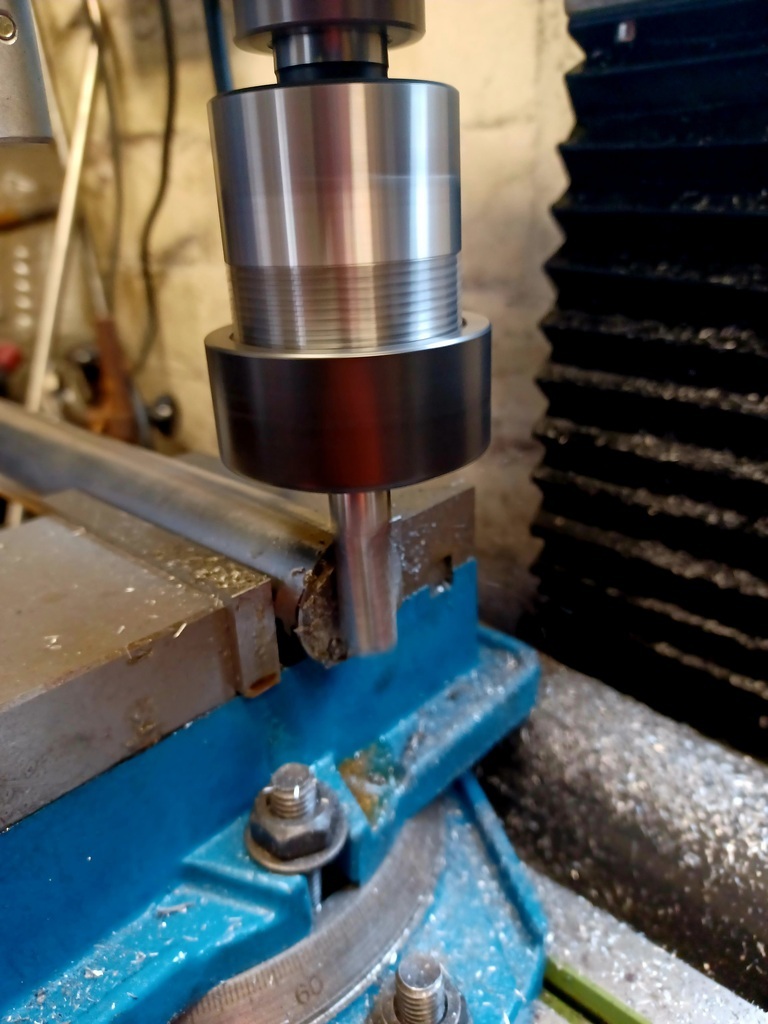 The positions of the hubs, drive sprocket and brake disc were marked out and I machined they keyways to suit 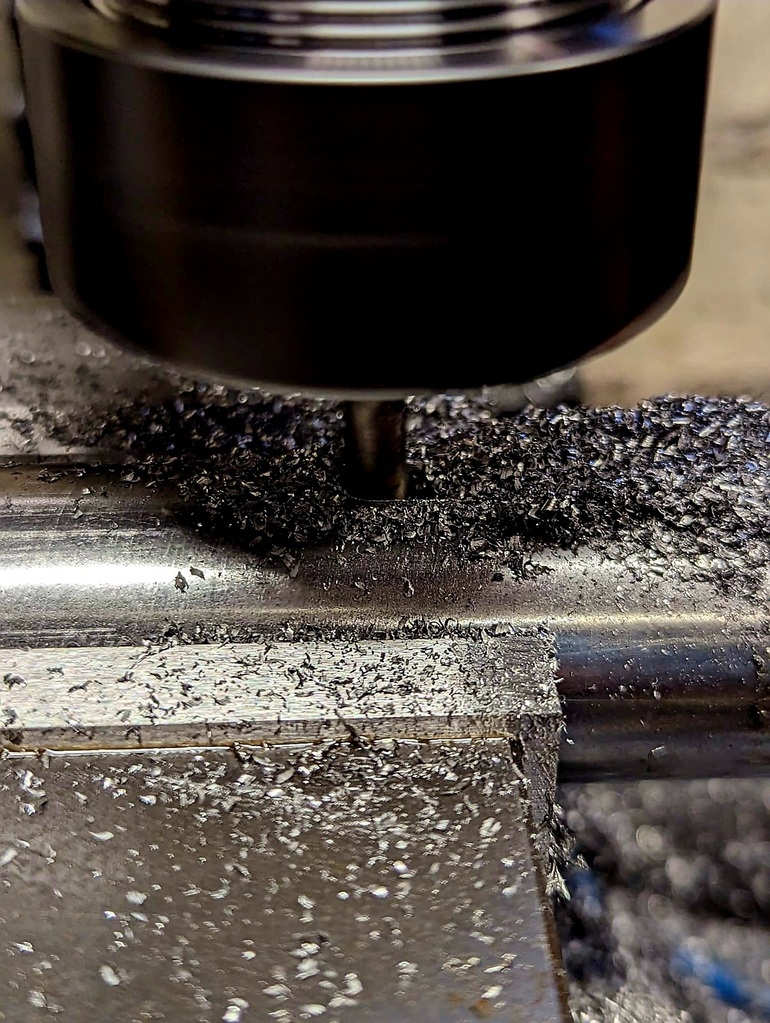 It's a 30mm shaft and although a standard keyway should be 8mm, the kartin world uses 6mm instead 🤷♂️. Anyway, the rear shaft is now complete. The next part was to create a cooling fan duct that would fit on the engine. The idea is to suck cooler air from the open bottom of the kart which will be blown over the engine and escape under the seat (more on that seat and top vent later when I build it) The first part was to mark out and make a new plate to replace the pull start (it'll be electric start) 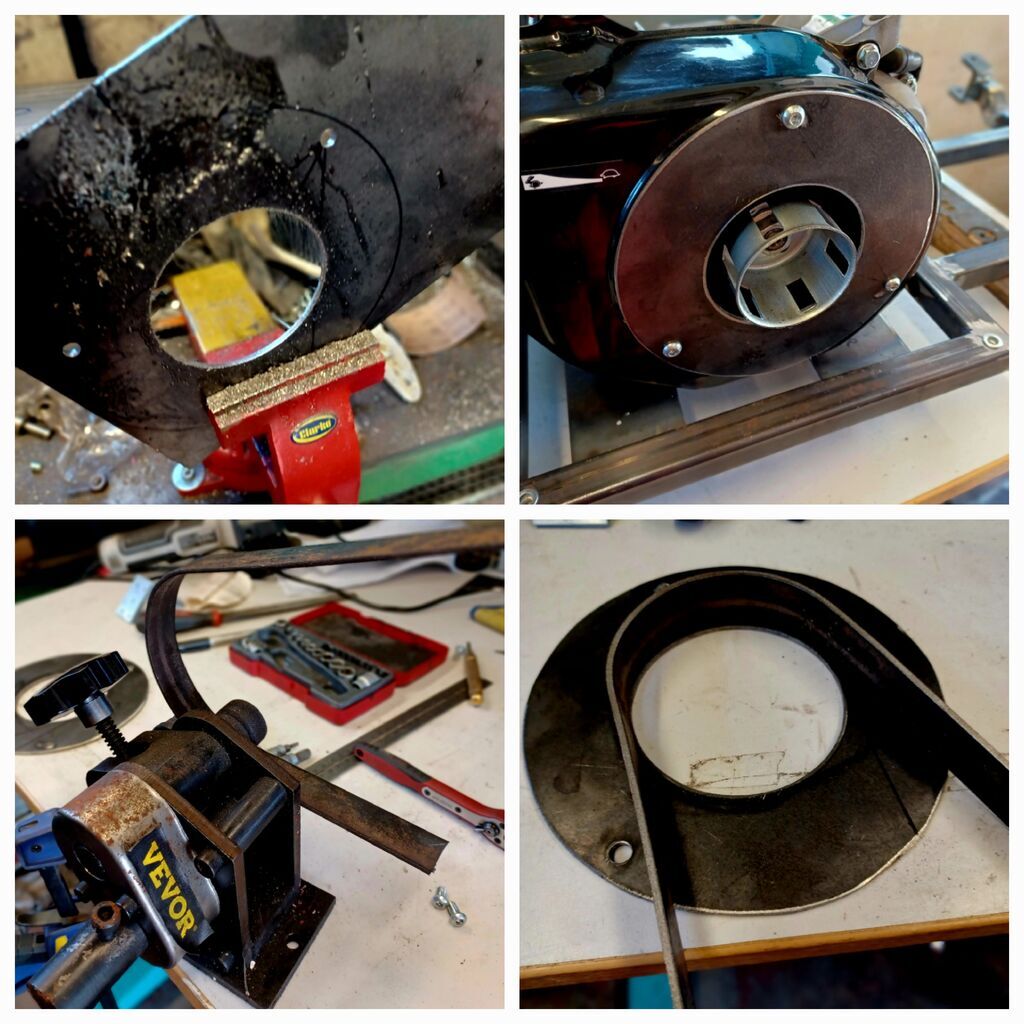 After rolling the side strip it was just a case of welding on the cover plate and some mesh to act as a stone guard 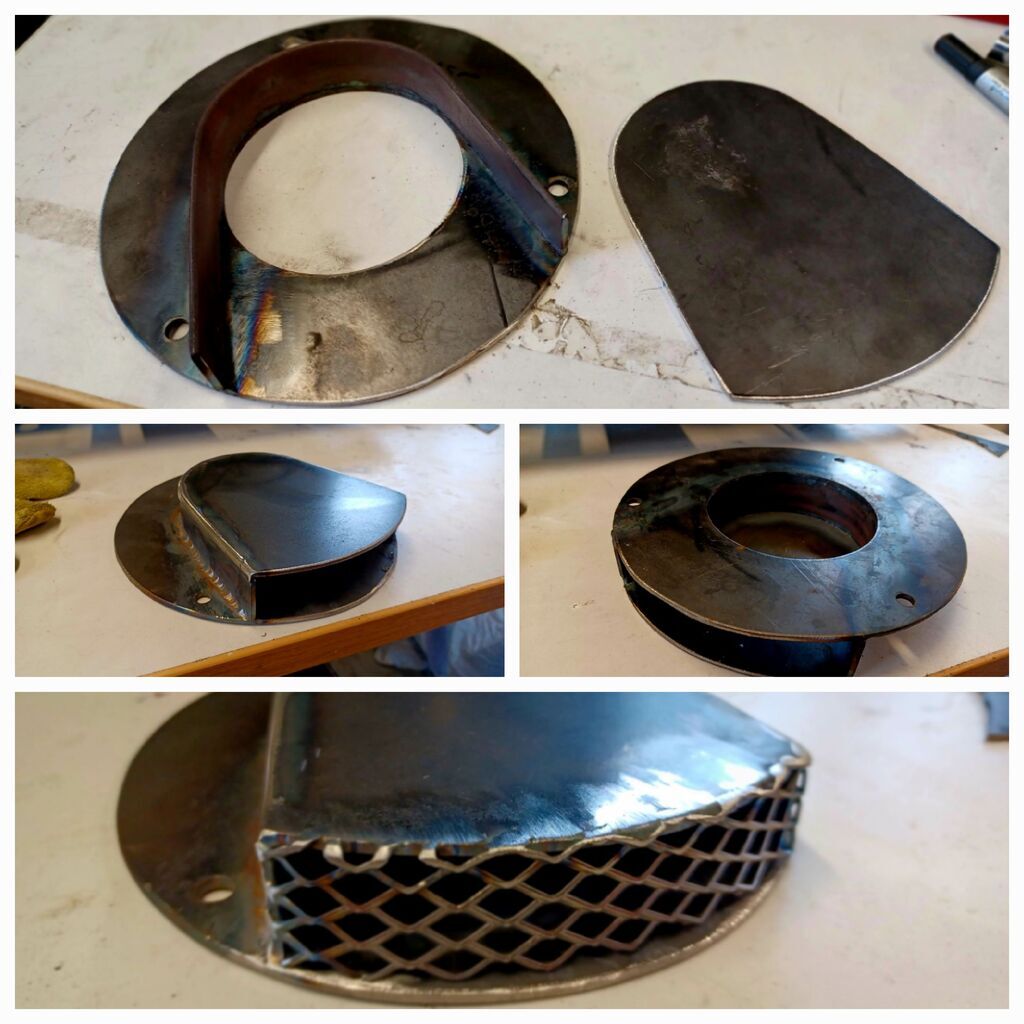 After a quick test fit it's now ready to be painted  Hopefully more pics and progress coming soon as Goodwood is creeping up fast! |
| |
|
|
|
|
|
Apr 27, 2023 20:33:08 GMT
|
As RRW is fast approaching its time to get a wriggle on and get things finished. The next job on the list was the exhaust which like everything else is going to be custom. Luckily I had a couple of spare exhaust silencers spare but these weren't long enough so I welded to them together with a baffle plate in between to try and keep it relatively quiet. Once it was bolted in position I could make up the pipe from the engine. 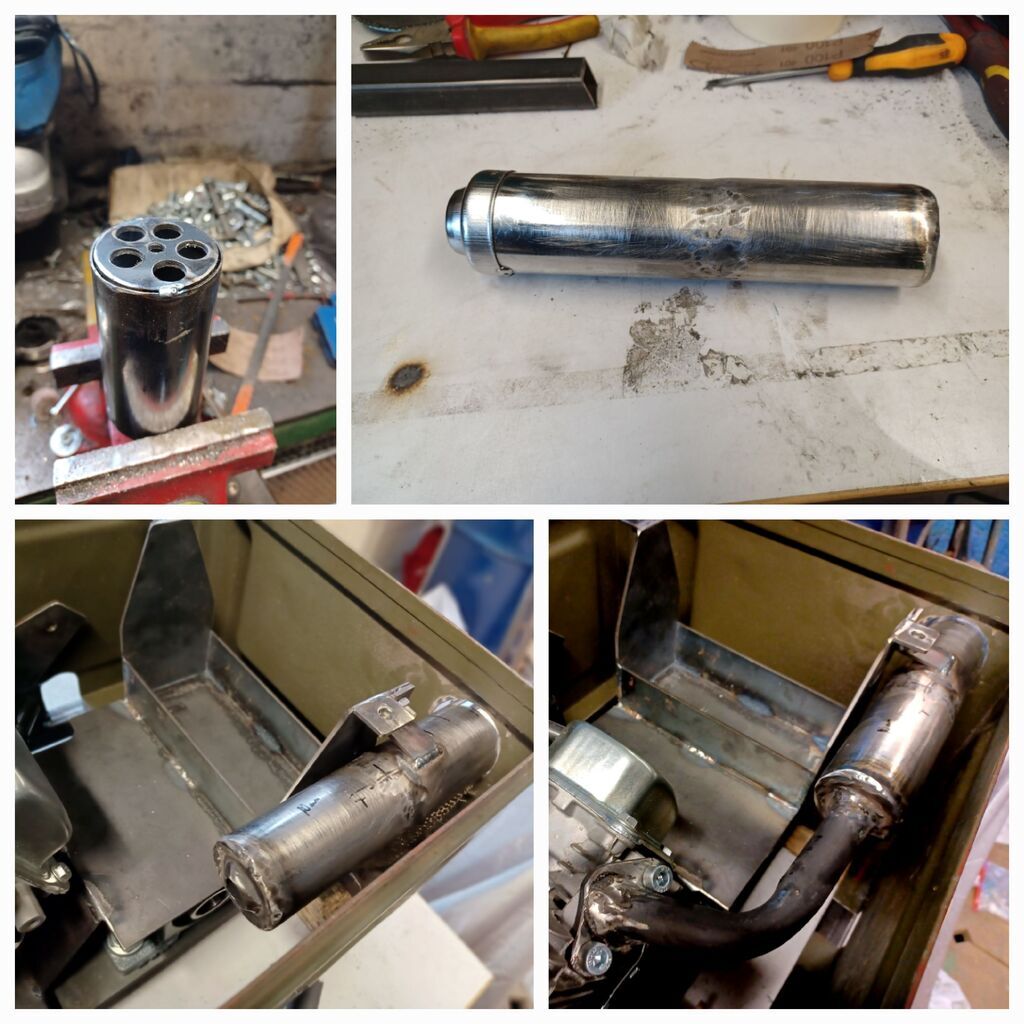 The ammo box had a close fitting hole for the exhaust to stick out 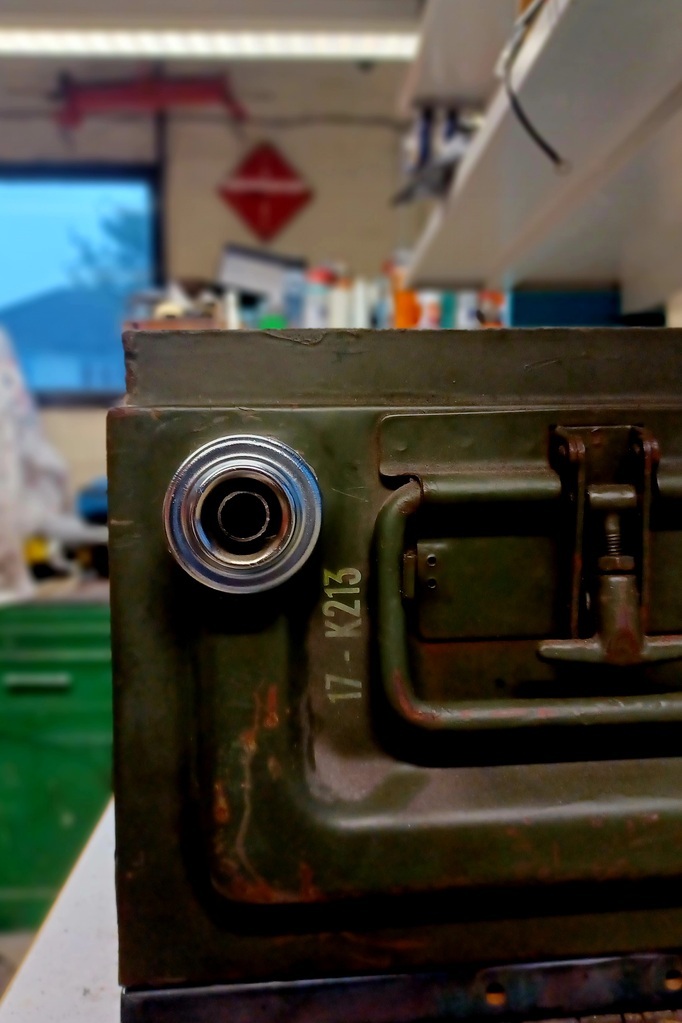 The exhaust will be painted and wrapped some exhaust wrap to hopefully help keep the temperature down inside the ammo box My attention was then drawn to some cooling. The lid of the ammo box needed some cooling holes so out came a 30mm holesaw. As the lid is double skinned I welded some tube in the holes to stiffen it all back up again  Another quick job was to roll and weld on some round bar to ghe paddle contra to make them easier to grip, I want to make sure I've got control when bouncing round a campsite! 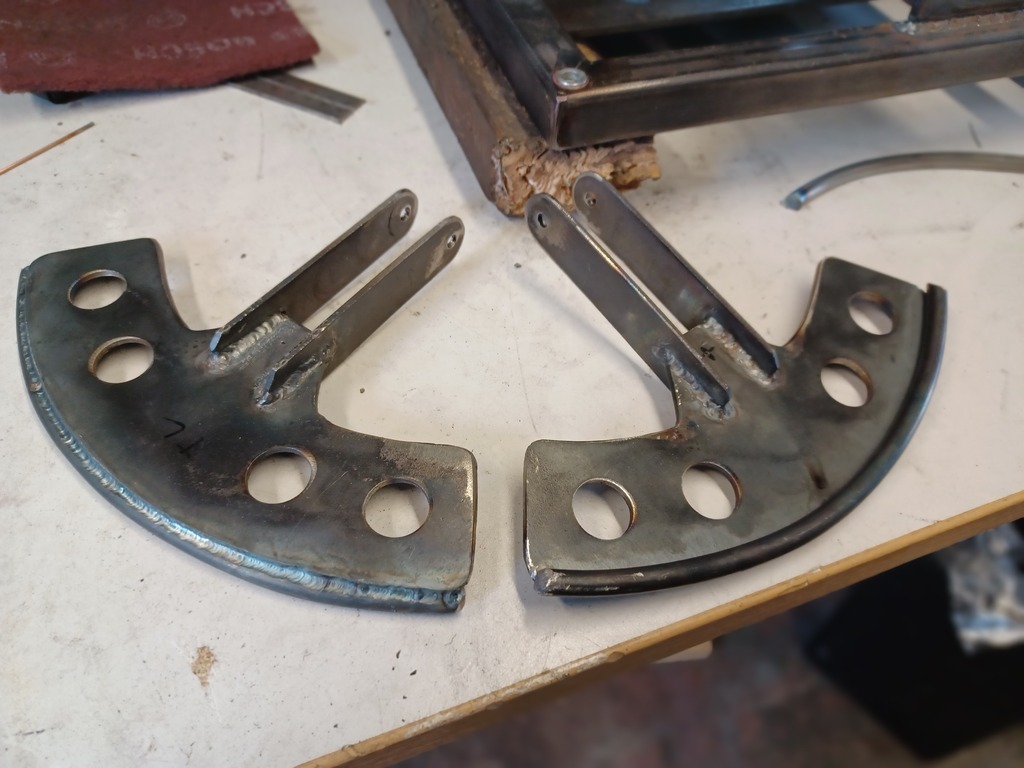 Keeping everything crossed I can get everything finished in time |
| |
|
|
|
|
|
Apr 30, 2023 18:46:20 GMT
|
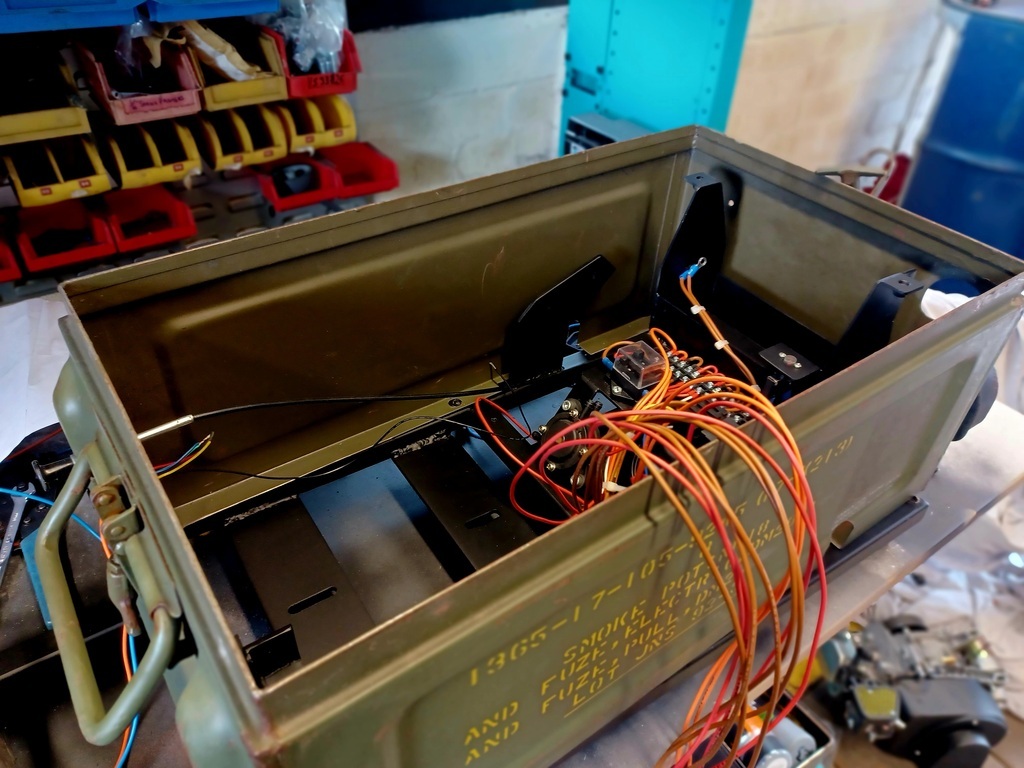
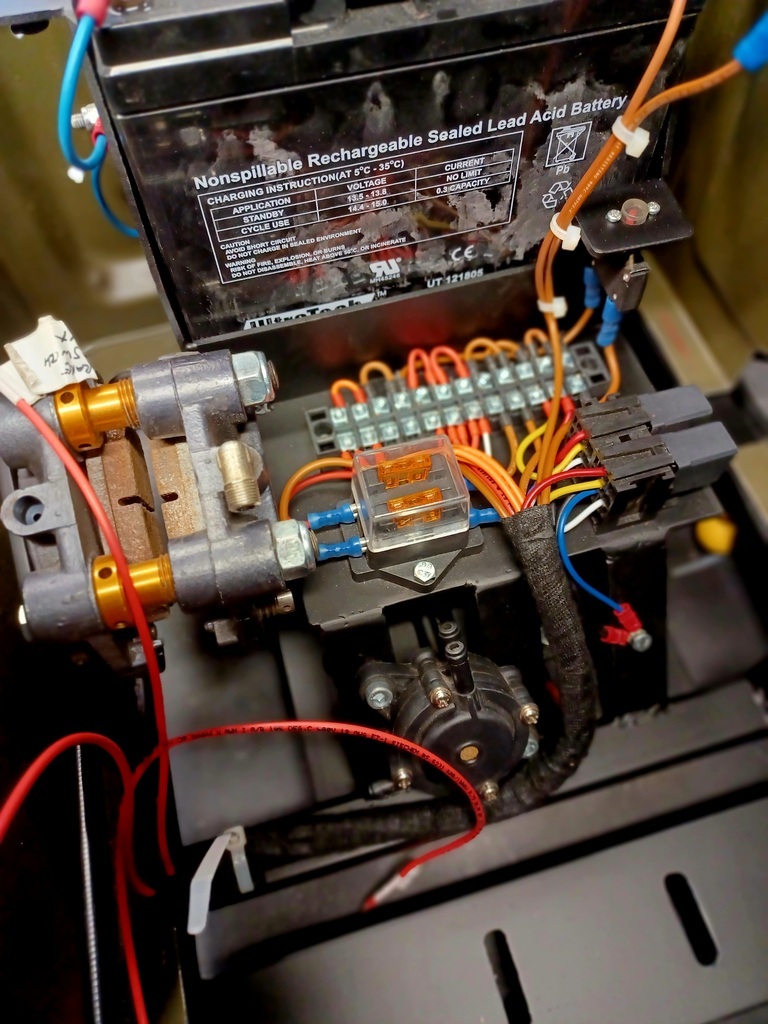
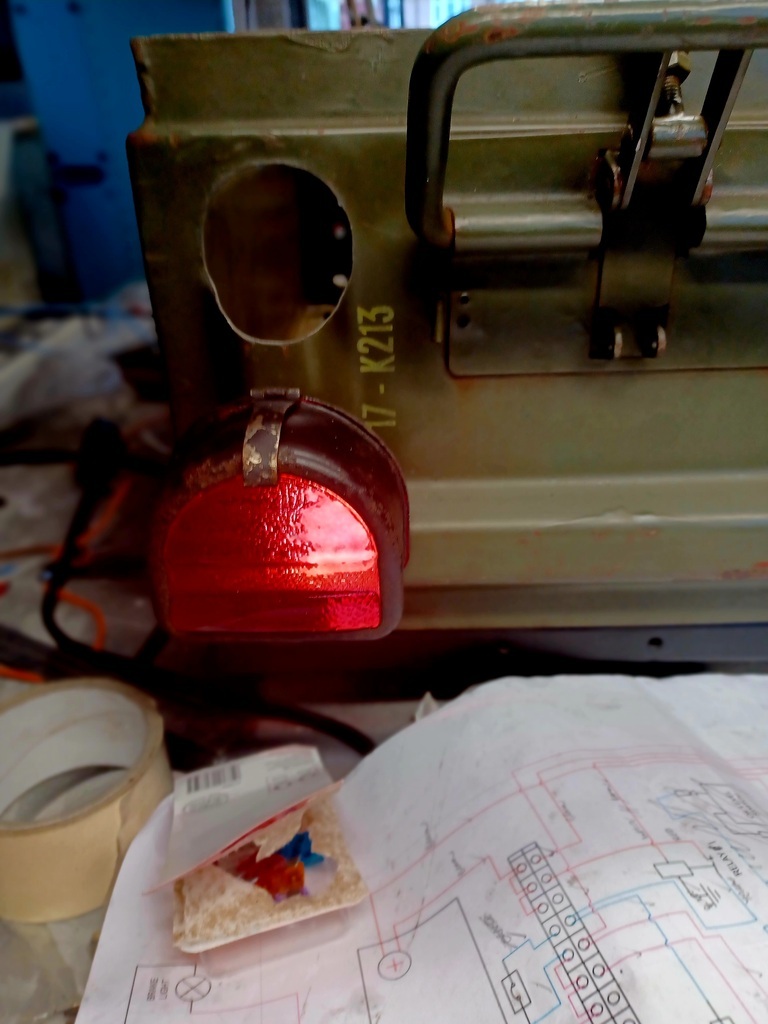
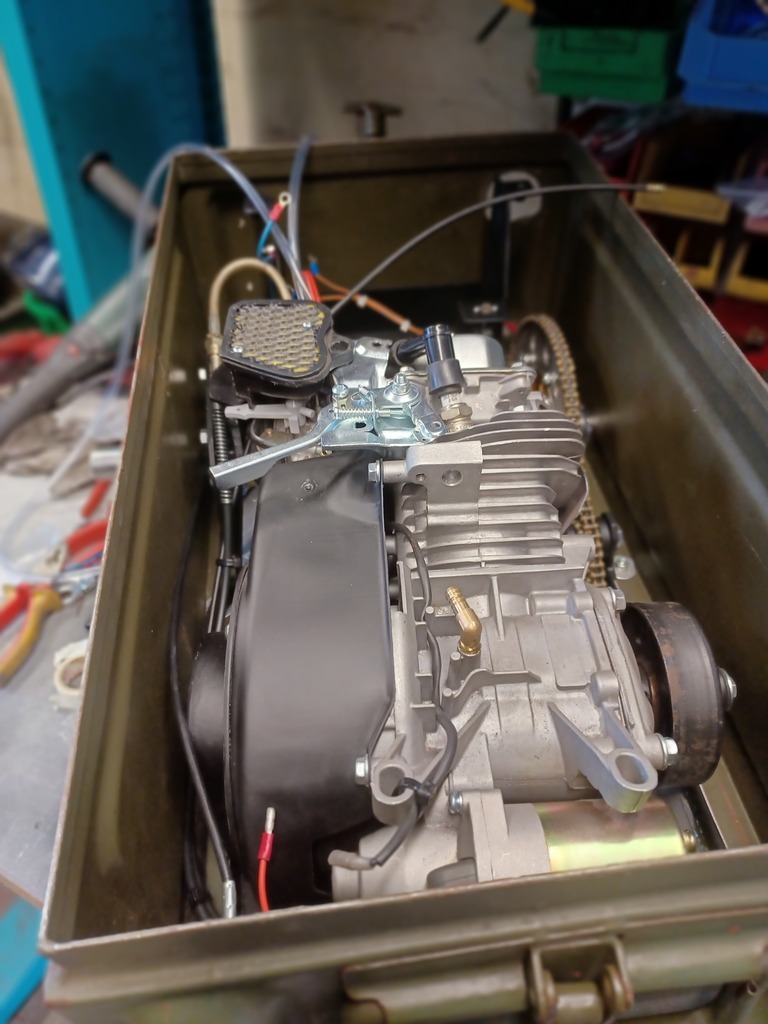
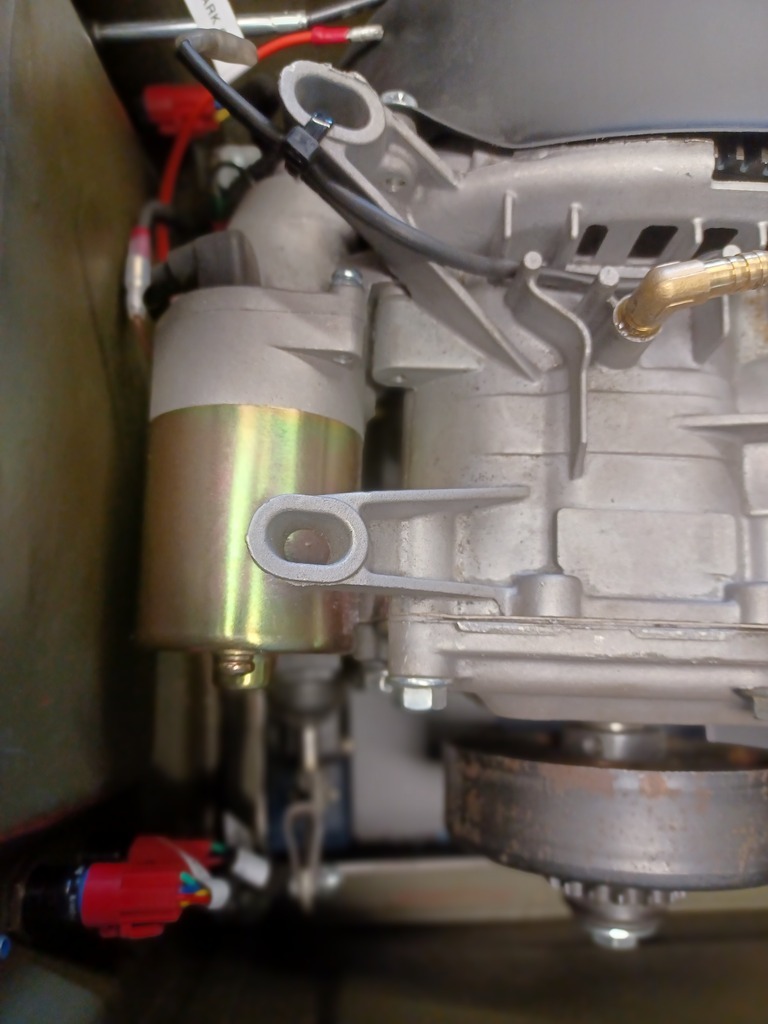
So it's been a busy couple of days making good progress on the ammo box racer and also helping LowStandards with the mini mini scamp. The two main jobs I wanted to get moving was the seat mount/cooling and the wiring, first up the sear mount. As the engine is squeezed into the ammo box I need the hot air to escape. I've already put some cooling holes in the lid but these will sit under the seat so they aren't visible. How will the air escape I hear you ask, by using a custom made spacer between the seat and lid with some (hopefully) clever ducting  The idea is the air is drawn in through the narrower end as you travel along and using the venturi effect will help draw the warmer air out of the ammo box and push it out the back where it's wider. 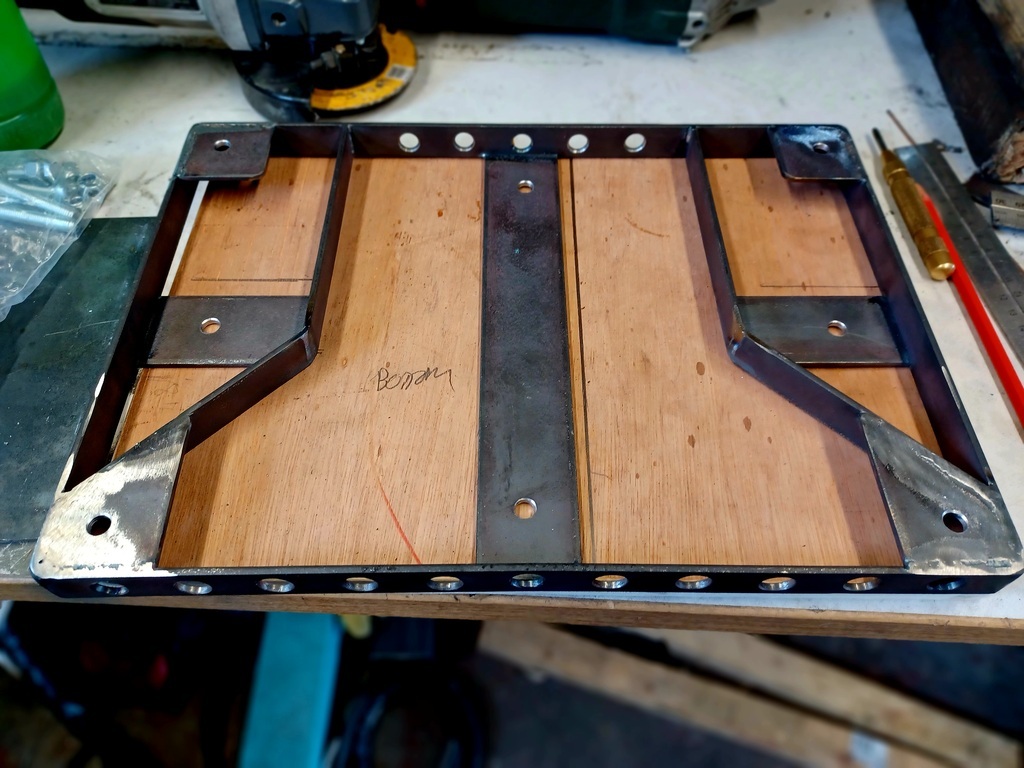 If the venturi effect doesn't work at least there are still holes for hot air to escape 🤷♂️ I've also put some bit of tube in the lid as it's double skinned and I don't want it to get crushed when bolting it all together 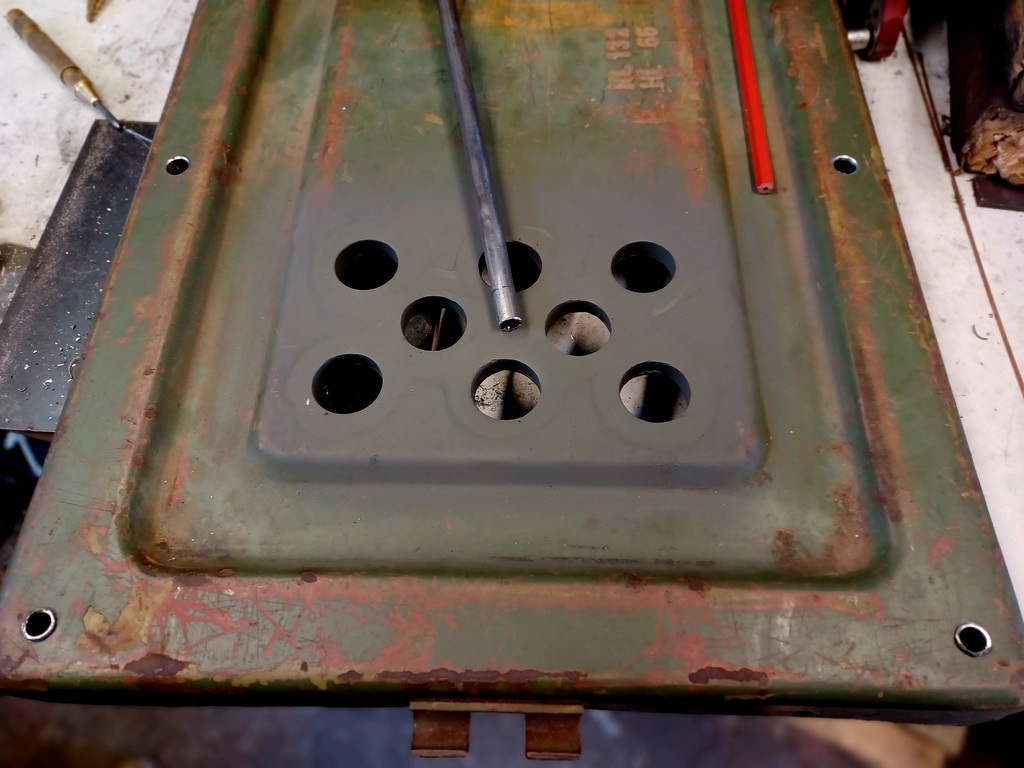 Ive also made a good start on the wiring, firstly getting all the bits mounted  And then starting the wiring loom  I don't think it's as complicated as it looks although Phil doesn't look too sure....... 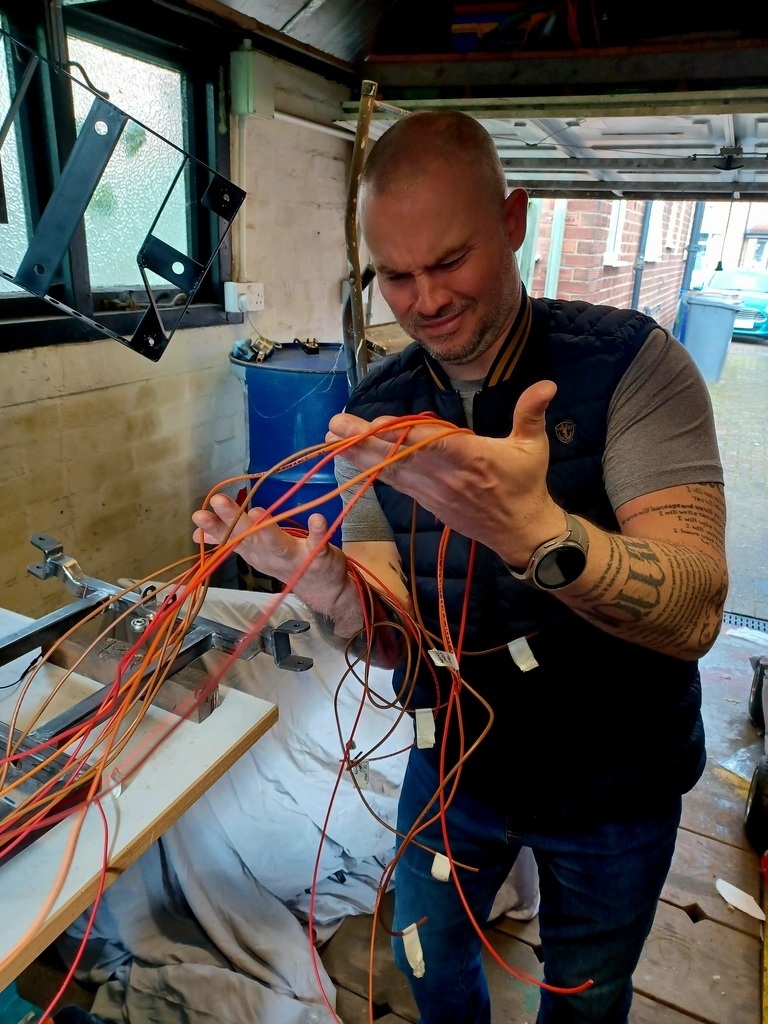 Hopefully more to come very soon |
| |
|
|
93fxdl
Posted a lot
   Enter your message here...
Posts: 2,019
|
|
|
|
|
A possible way to improve airflow around the engine would be a venturi on the exhast tailpipe, would draw air into the case and cool the exhast as it exited
Ttfn Glenn
|
| |
|
|
|
|
|
|
|
May 10, 2023 19:54:55 GMT
|
|
|
| |
|
|
|
|
|
|
|
|
This is all so incredibly tidy.
It really could become a museum/whatever exhibit on how to do it right.
|
| |
|
|
|
|
|
|
|
|
This is great keep up the good work!
|
| |
It will come in handy even if you never use it
|
|
|
|
jimi
Club Retro Rides Member
Posts: 2,219 
|
|
|
|
Bootlace ferrules and crimps done with a proper crimper, nice job  |
| |
Black is not a colour ! .... Its the absence of colour
|
|
ToolsnTrack
Posted a lot
   Homebrew Raconteur
Posts: 4,128
Club RR Member Number: 134
|
|
|
|
|
This is staggering for what should be a daft lash up... The craftmanship and attention to detail is second to none.
Its a credit to you!
|
| |
|
|
|
|
|
May 14, 2023 14:17:52 GMT
|
just put My Tot Rod VW body in the parts for sale section as I just have too much going on  |
| |
It will come in handy even if you never use it
|
|
|
|
|
May 15, 2023 12:38:43 GMT
|
|
It's very tempting, I have a GX390 that I could use in it 🤔
|
| |
|
|
|
|
|
|
|
It's very tempting, I have a GX390 that I could use in it 🤔 It has loads of potential I just want to down size so this has to go. Never seen another make ke a stupid offer I might take it?  |
| |
It will come in handy even if you never use it
|
|
|
|
|
May 16, 2023 21:54:27 GMT
|
|
Top job on this, very very cool and very very well executed! Looking forward to seeing it finished!
|
| |
|
|
|
|
|
May 17, 2023 16:24:42 GMT
|
The good news is the ammo box racer (aka army-geddon) is back together and she runs! There is a bit of tweeking to do and some possible changes for the future but it'll be coming to RRW. You'll have to wait until the weekend to see the end product but here is a sneak preview.....  |
| |
|
|
|
|
|
May 17, 2023 16:58:25 GMT
|
|
That looks soo good!
|
| |
|
|
ToolsnTrack
Posted a lot
   Homebrew Raconteur
Posts: 4,128
Club RR Member Number: 134
|
|
|
|
|
Hot damn!
|
| |
|
|
|
|
|
|
|
|
Cant wait to see it all
|
| |
It will come in handy even if you never use it
|
|
|
|


