Finally an update. Its a biggy!

I lost the storage facilty where the landlord was happy for me to work on the van. At the new storage, it is a big no no to do anything but park up and leave. Damn.
Luckily a good friend has a woodwork workshop on the other side of Zürich that he doesn't use at weekends, it's big enough to get the van inside, so we've been heading over there for the last few Fridays and working all weekend basically until we drop. Got stuff done though!
Main cabinet in progress

And carcass installed with base for fridge next to it

Fridge installed! The most important component. "Sink" cabinet propped up against it here for eyeing purposes

The reason why that fridge is the most important component: It has a dedicated wine drawer! Yeah.
I confess that this fridge actually cost significantly more than we paid for the van itself in 2005, but y'know, it's got a dedicated wine drawer!

Also, note here; it is possible change the front panels on the fridge. I'm thinking either furniture board to match the rest of the cabinets, or perhaps some 70's diamond padded dark brown faux leather, same style as the roof. Do the door cards the same. Classy.

The line at the top of the end cabinet there is routed in for the next phase when making the top cabinets. Made sense to cut that in now rather than have to dismantle it again later...
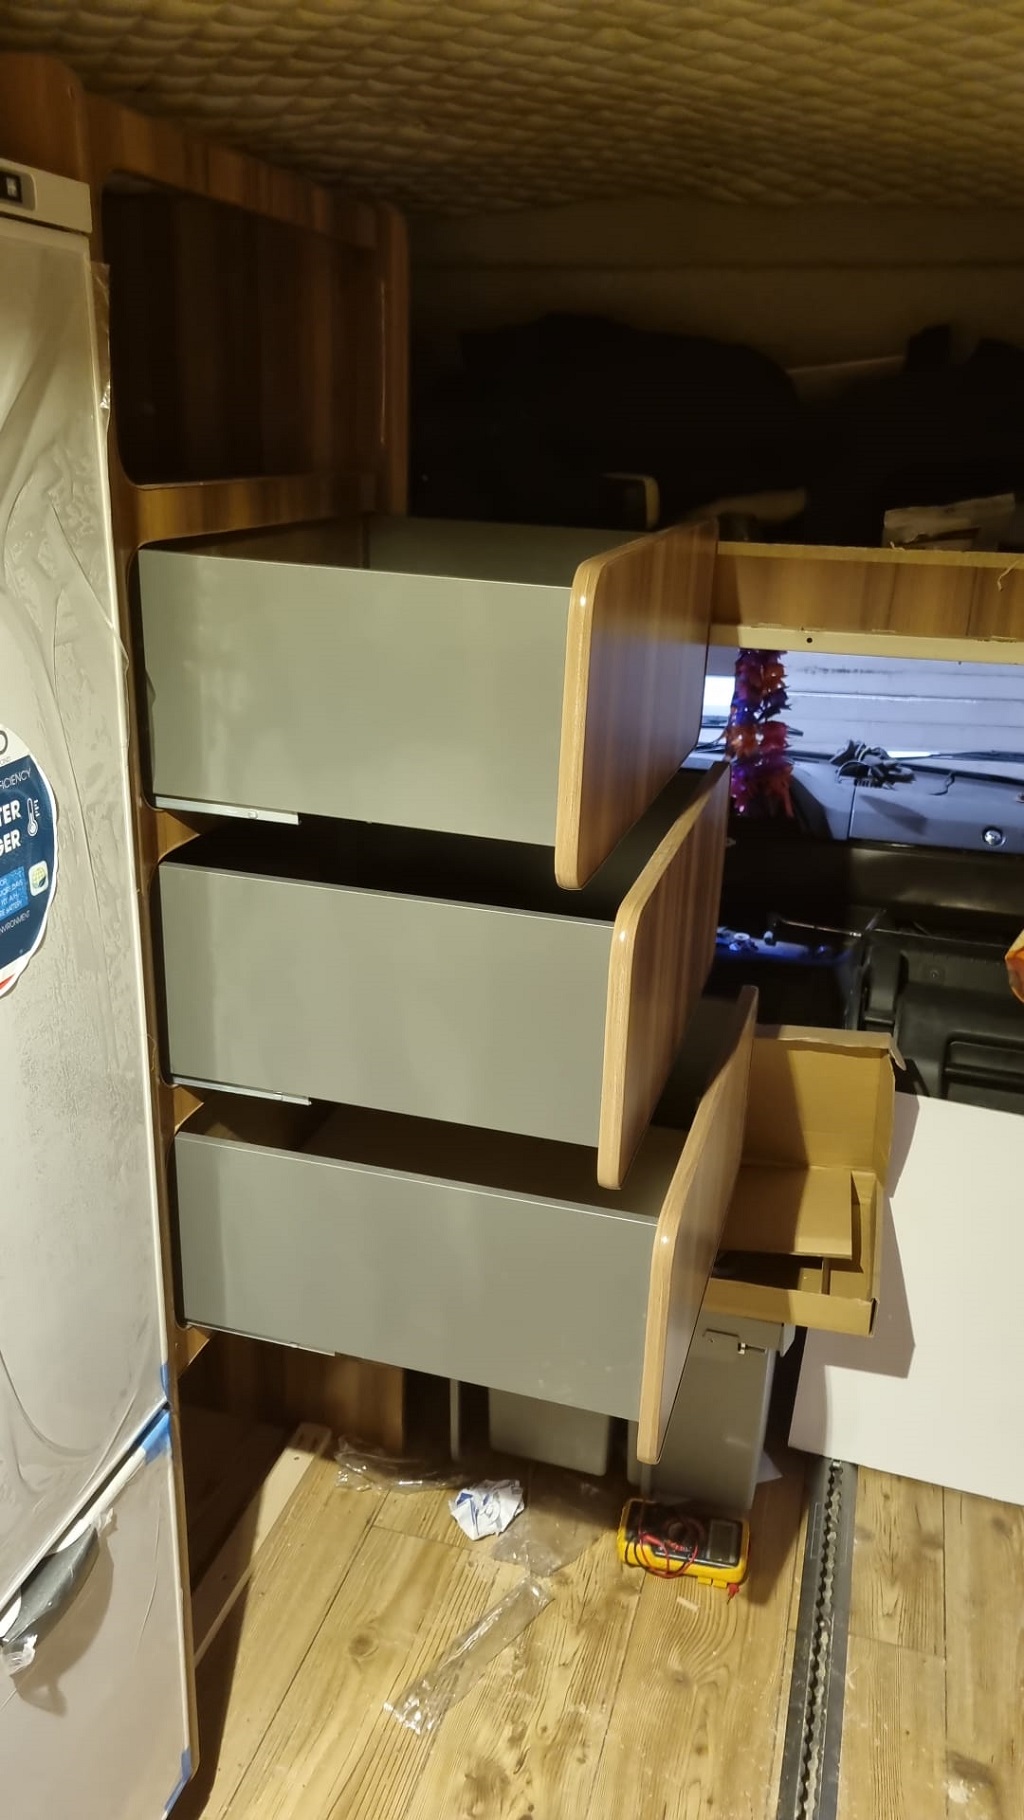
4 Drawers now fitted.

Bought them as kits with soft close sliders and bases. Made fronts, back and sides. Saved loads of time, and they just work...

The top hole will be a cupboard hinged from the top.
Next, careful cutting and routing for the electrical cupboard facia. Took 4 hours to make this

Basic hole cut for the hob. Pull-out bin fitment test below.

Was a little undecided what to do with the hob. Originally it was going to be mounted below the worktop with a hinged cover. However, the maths didn't really work out, and it would have been really difficult to make the cut-out to keep the grain of the worktop. We wanted all the technology hidden, but the hob will be used often, so decided just to route it flush with the worktop. Pre-routing photo above.
However, disaster! After routing it in, I couldn't work out why the back was higher than the front on one side and the front higher than the back on the other. It was like the worktop was warped. See pic below on the left (front) it's flush, the right (rear) not so much.

Measured. Measured again. Worktop IS flat. Then I put the straight edge diagonally across the hob, and the bloody thing is totally not flat! Literally nearly a cm of warp across it. Weird! It is a premium brand too, designed especially for use with an inverter in a camper/boat install. It displays the wattage used rather than just a number, and it has a maximum power use when both hobs are in use together. Clever.

Supplier was brilliant actually. They had no more in stock, but ordered me a new one immediately on seeing the photos. Just gotta wait three weeks or so now though.
So, next... Bed.
Made the frame, made the wavy bit

Slidey bit seems to work

Will make the other side this weekend, and stain them down to a darker brown. Holes are quite big, but the mattress cushions are thick and firm, so I hope it will work.
After the bed and a few other minor things, its on to electrics. The part I've been looking forward to...
Hopefully more soon...


