LowStandards
Club Retro Rides Member
Club Retro Rides Member 231
Posts: 2,716
|
|
|
|
I've looked at fuel tanks the past few days I have 2, one is a cylindrical Atco mower tank, the other a thin plastic one The latter would be ideal, but it turns out is has a hole in the side. Lets look at the Atco one, oh, it's gone that thin that water seeps through in random places. Booo and such Ian has a tank from the GX200, which cleary wont fit his, so i'm stealing that. Before I realised the plastic tank was holed, I moved the battery as it rested on top of it. I could move it back, but I probably wont 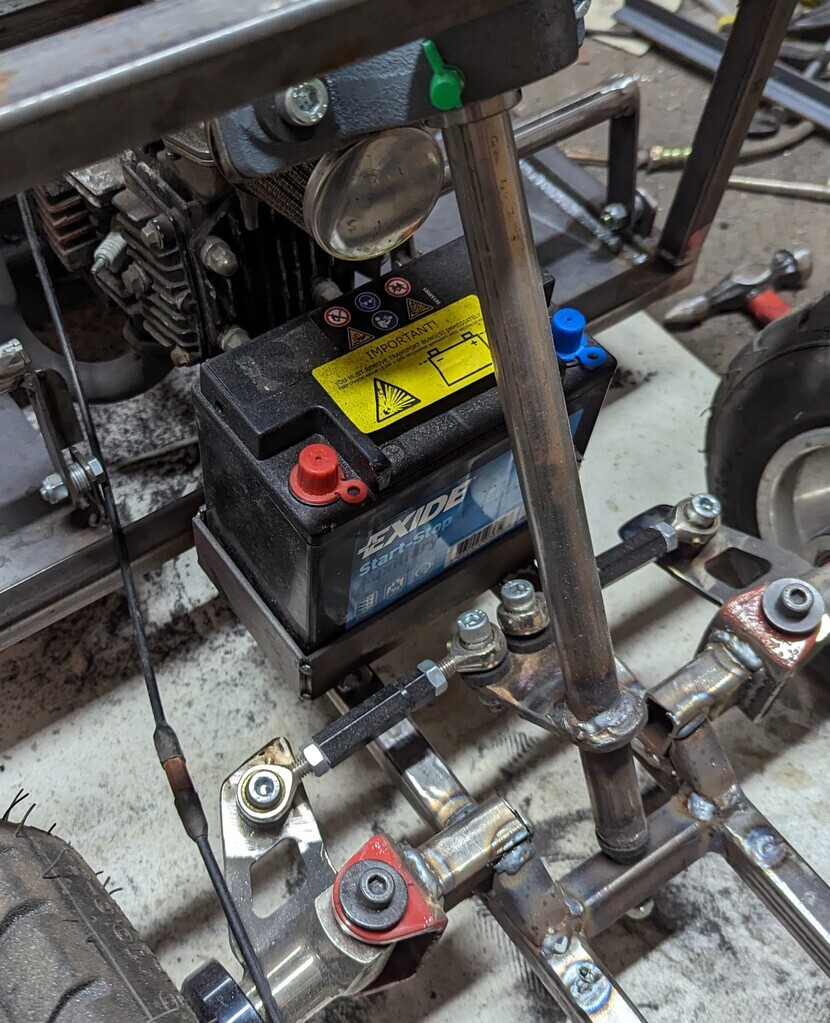 I've added what I think should be the last bit of chassis/bodywork to make up the dash area 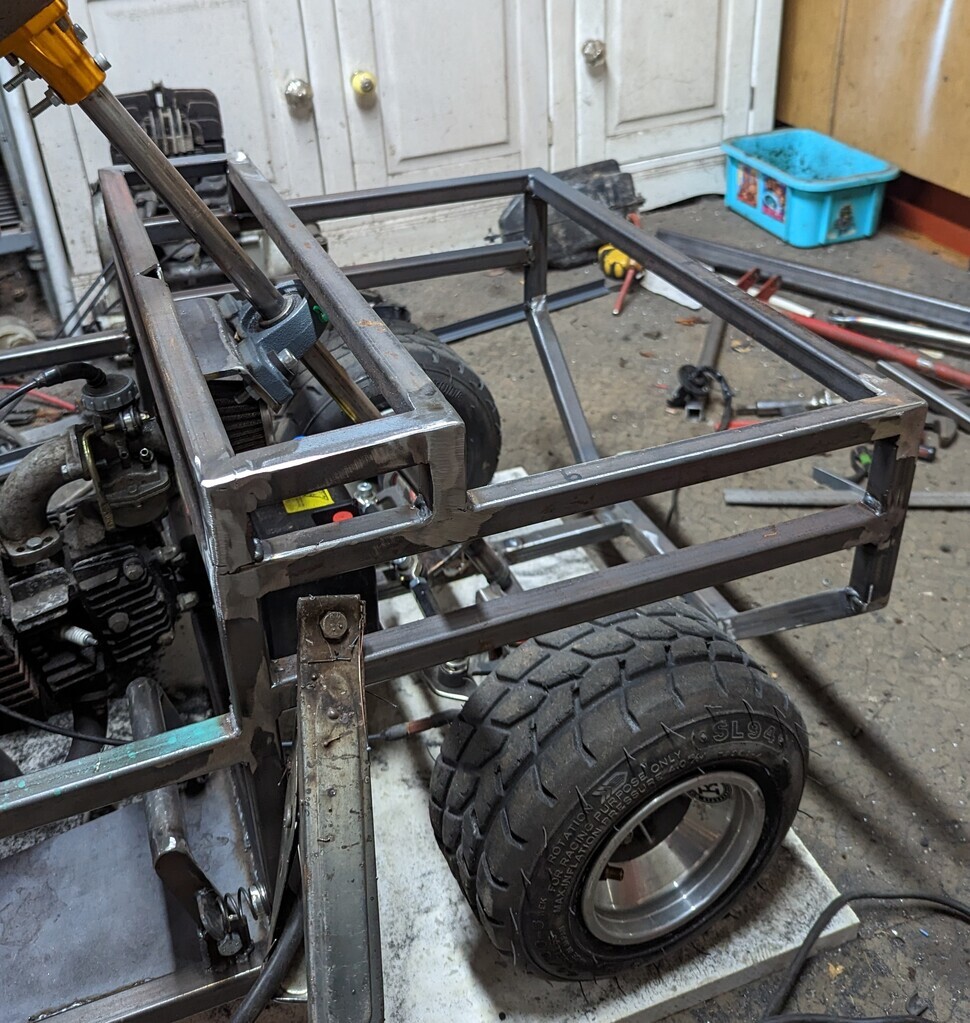 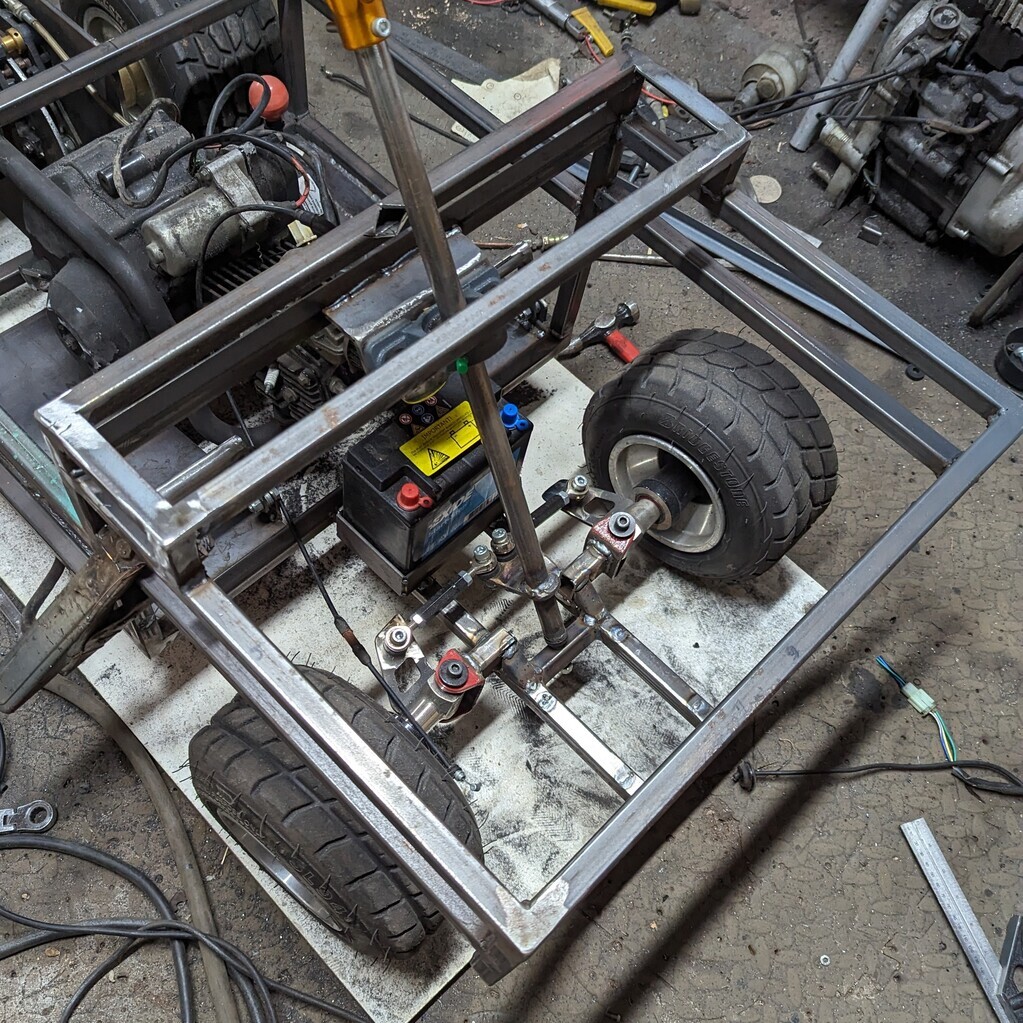 I got a new inlet which allowed the carb to be faced forward, giving a bit more room to get in and to keep it away from getting kicked. I drilled and tapped this for a brass barb. Whichever fuel tank I use, it will no longer be gravity fed, so i've got a little Mikuni vacuum pump 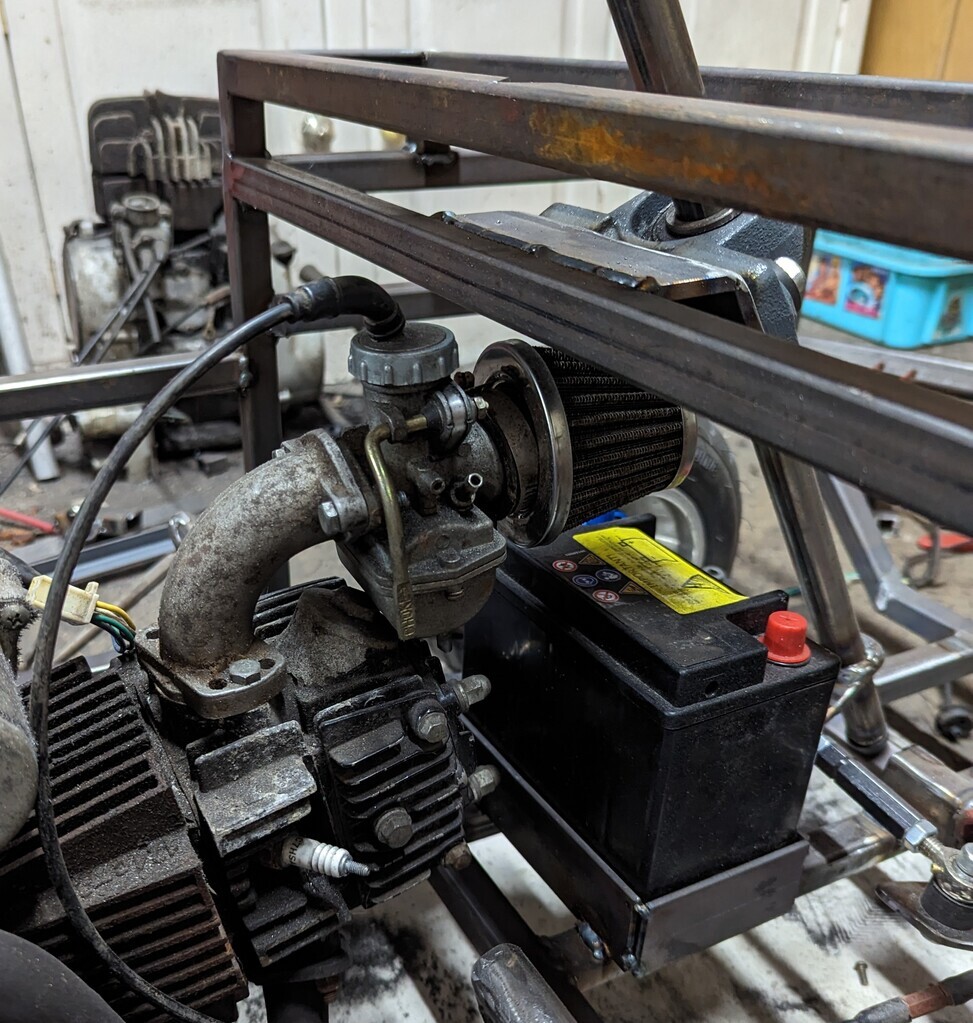 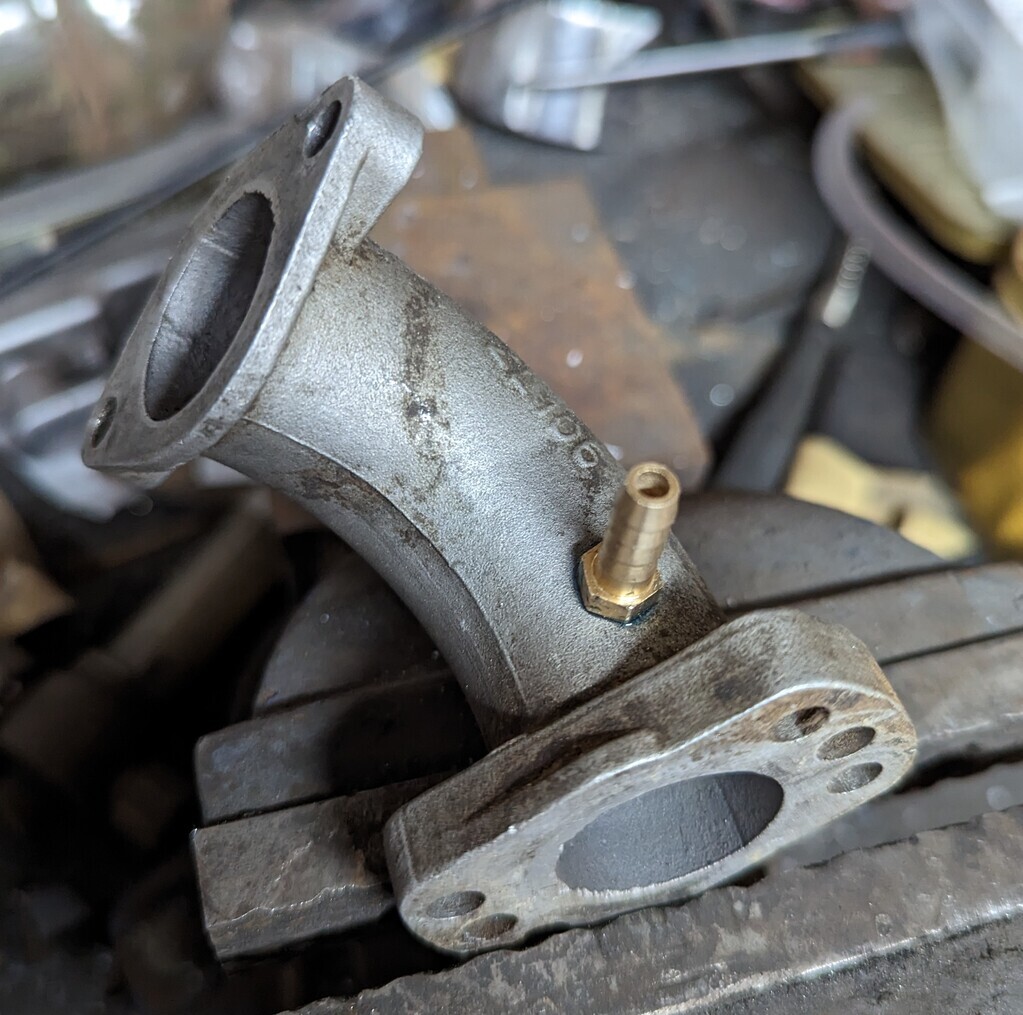 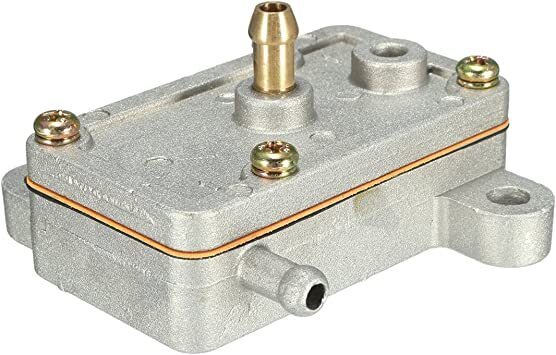 Sick of getting an 8mm slice of bearing carrier plate in the ring, I've started on the seat Cut a bit of mdf to size 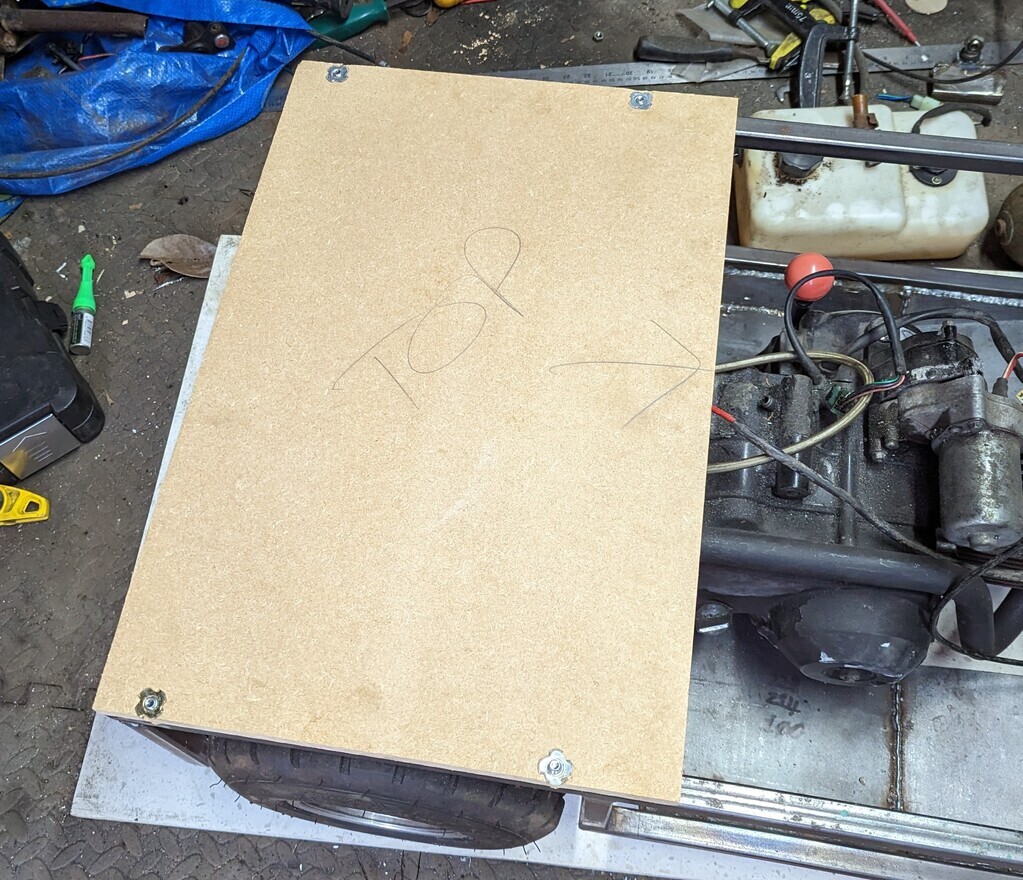 Stole the offcuts of foam from Ian's seat. I've since added another 2 layers, I want to be comfy 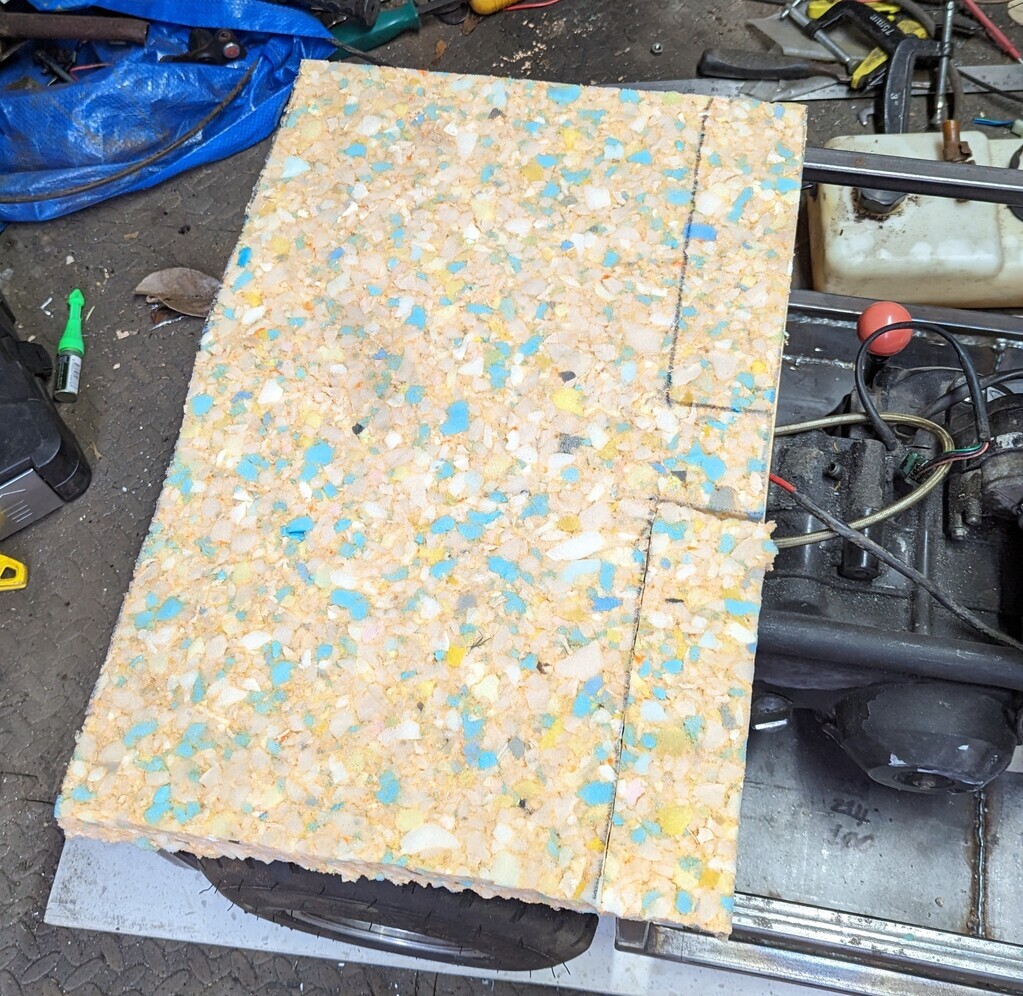 Ordered in some dark grey leatherette, now I have to play with the sewing machine. 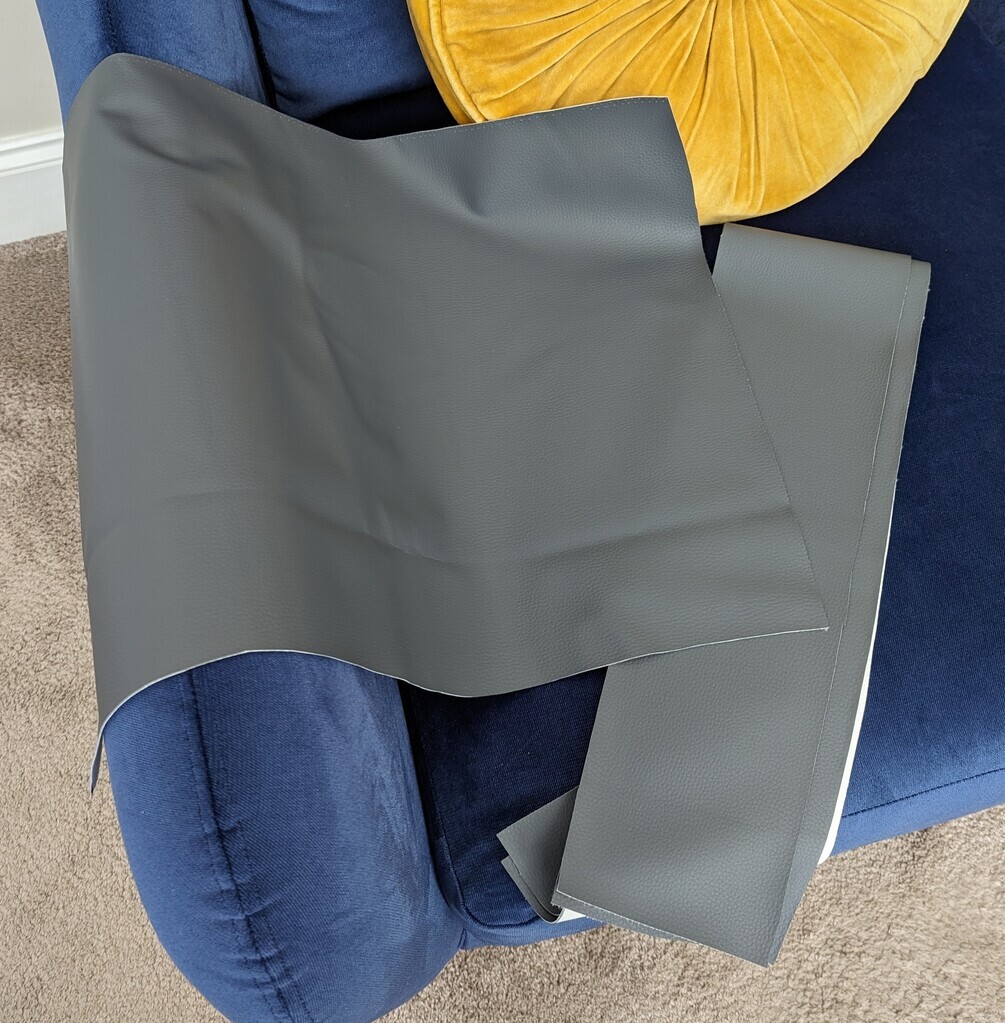 I went with dark grey to match the bodywork, I didn't want the seat to stand out. Partly because I've decided to sack off making the cage. I think it just wont look right as it will have to hang over the back and it will stop anyone larger than me getting a play |
| |
|
|
|
|
LowStandards
Club Retro Rides Member
Club Retro Rides Member 231
Posts: 2,716
|
|
|
|
I have no idea what i'm doing here I used the machine that's under the stairs and it stuck the material together 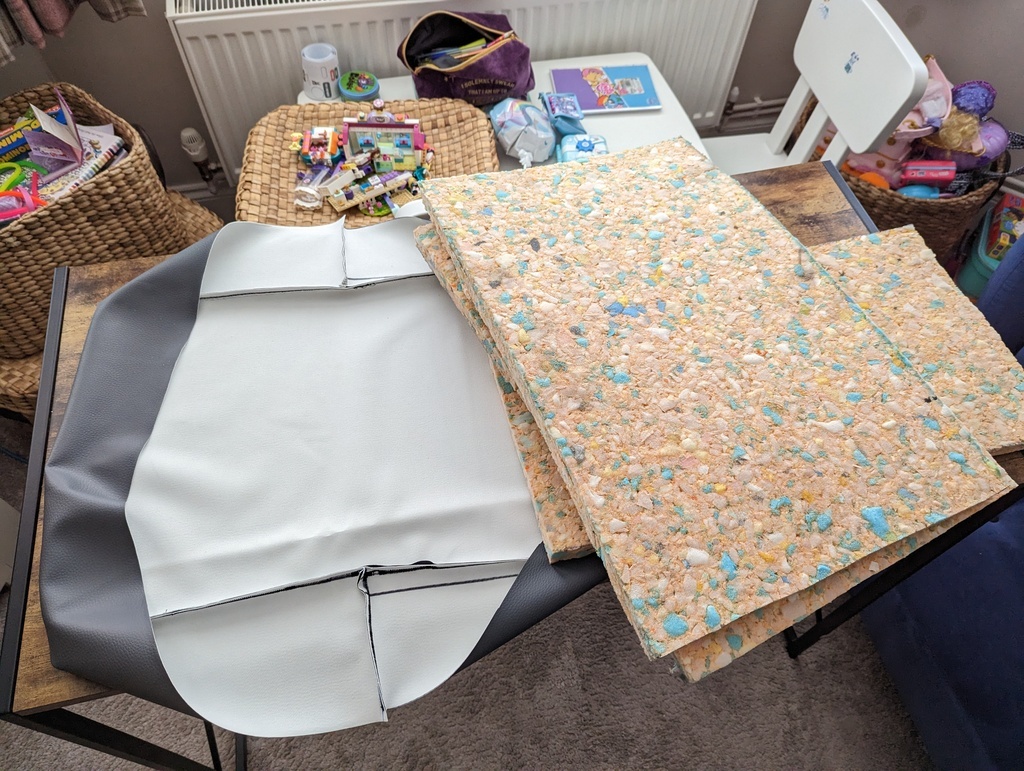 Stretched it over the base and the foam, I think it's turned out alright, won't win any awards, but meh 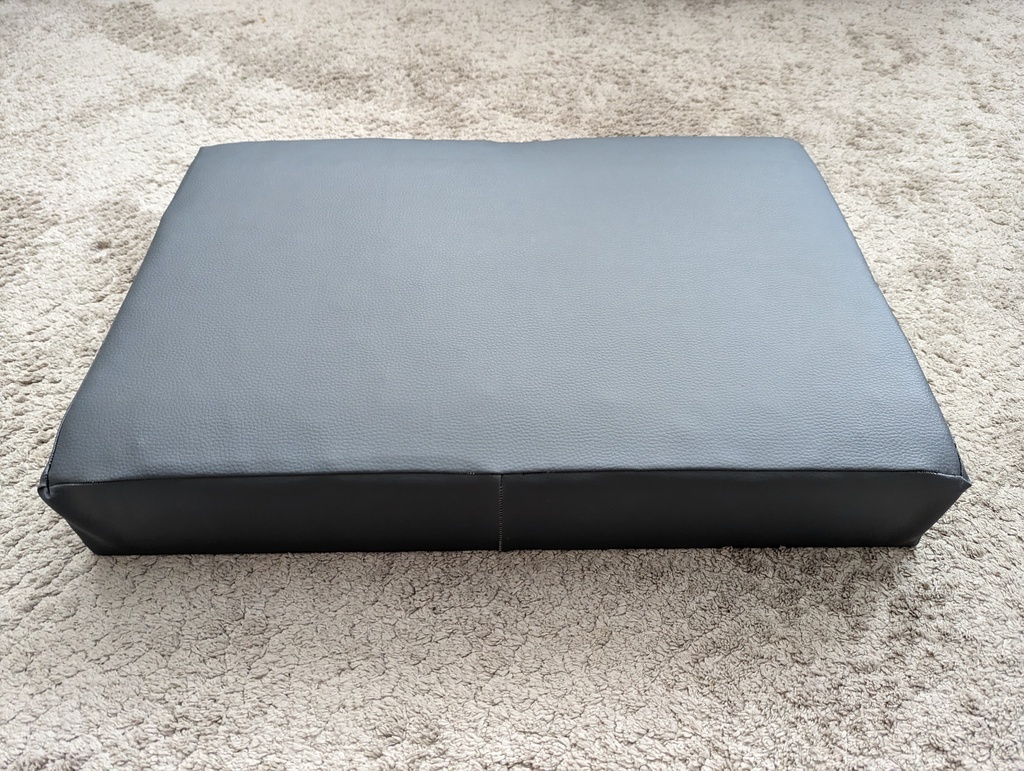 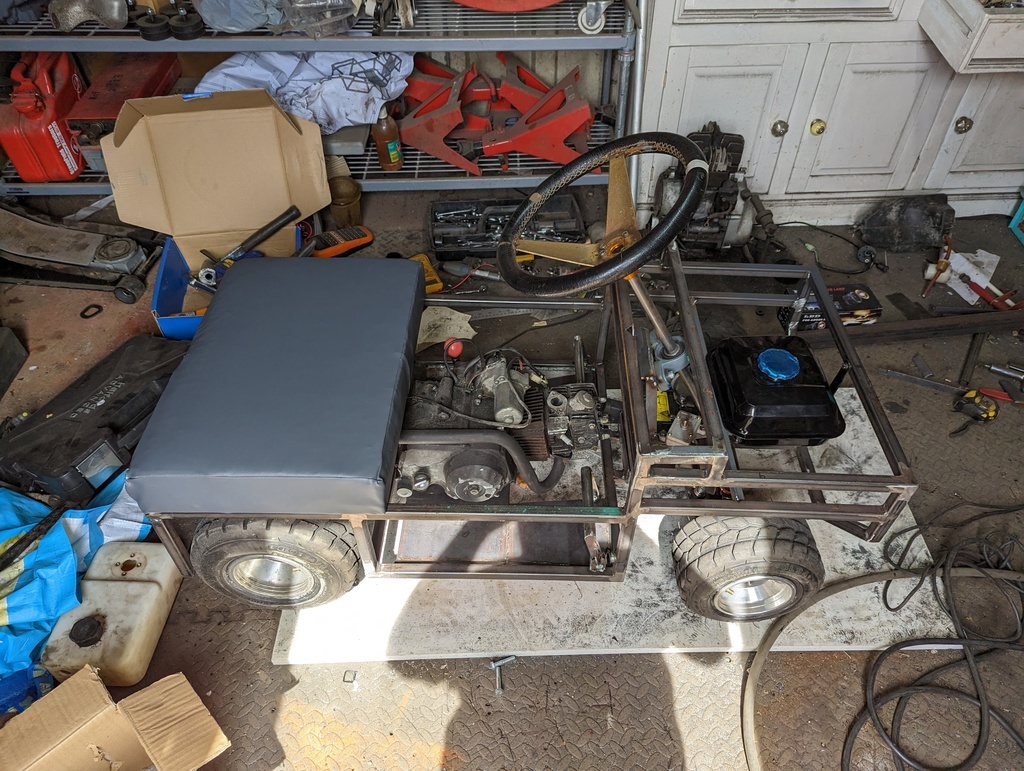 I got the spare fuel tank from the GX200, saved me a load of hassle Chucked together a quick bracket. Flat bar makes anything look good 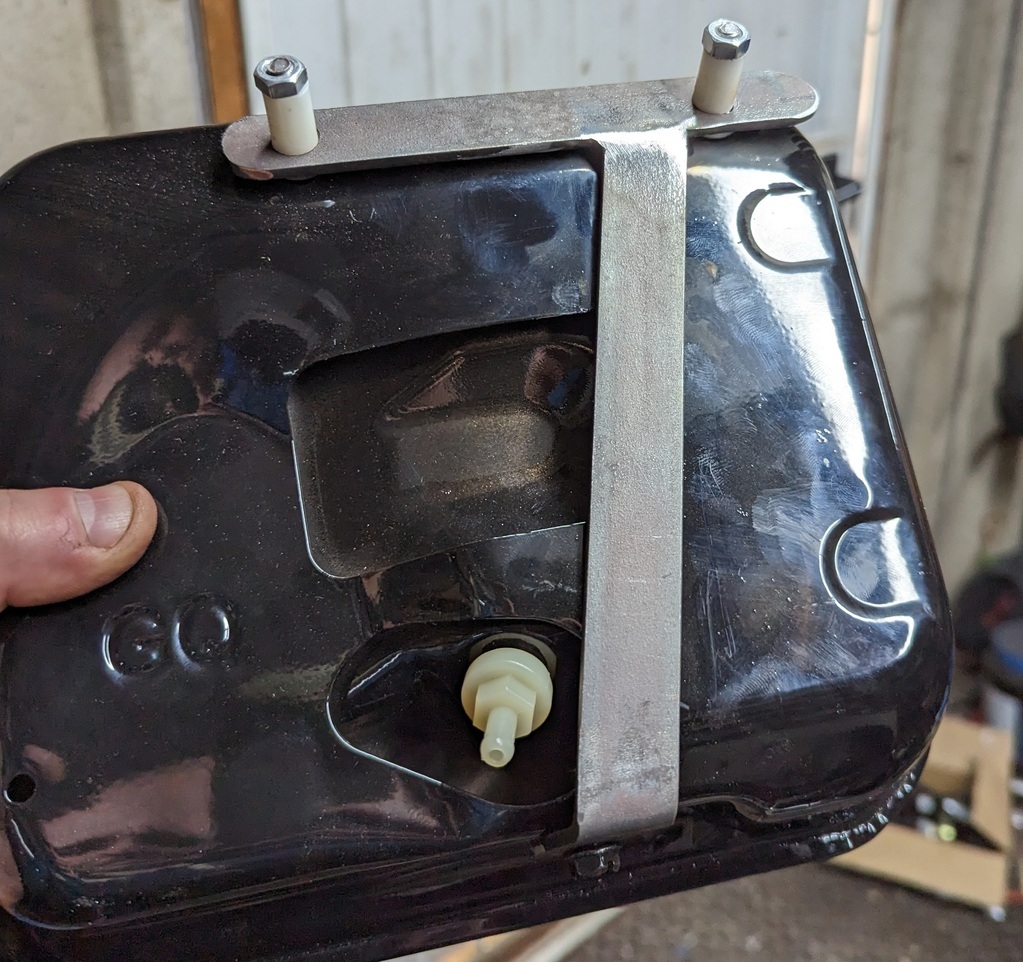 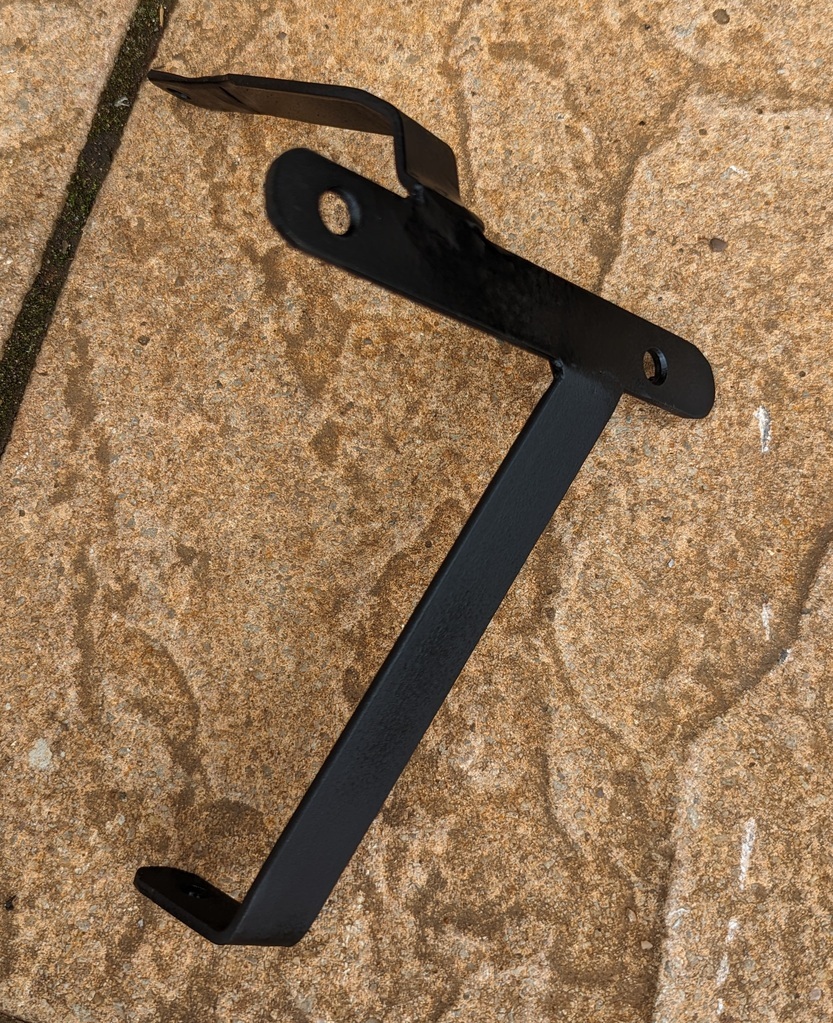 This allows it to sit here. 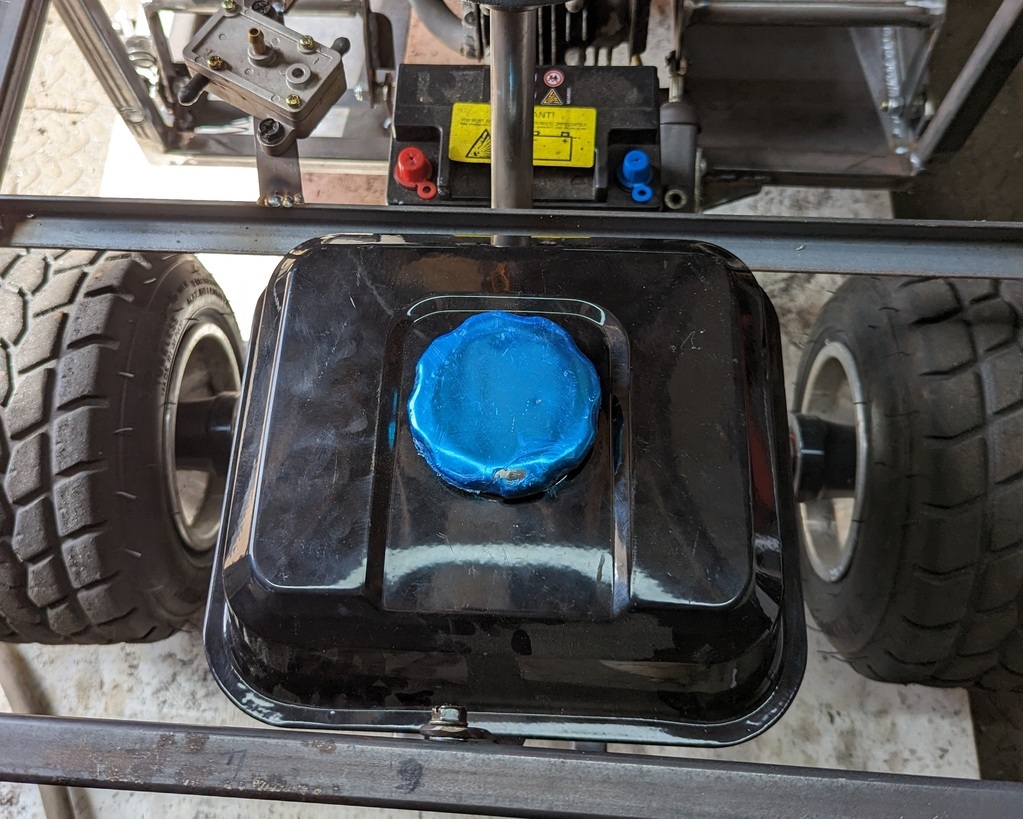 It will gravity feed there - if it was half full. So I mounted the vacuum pump 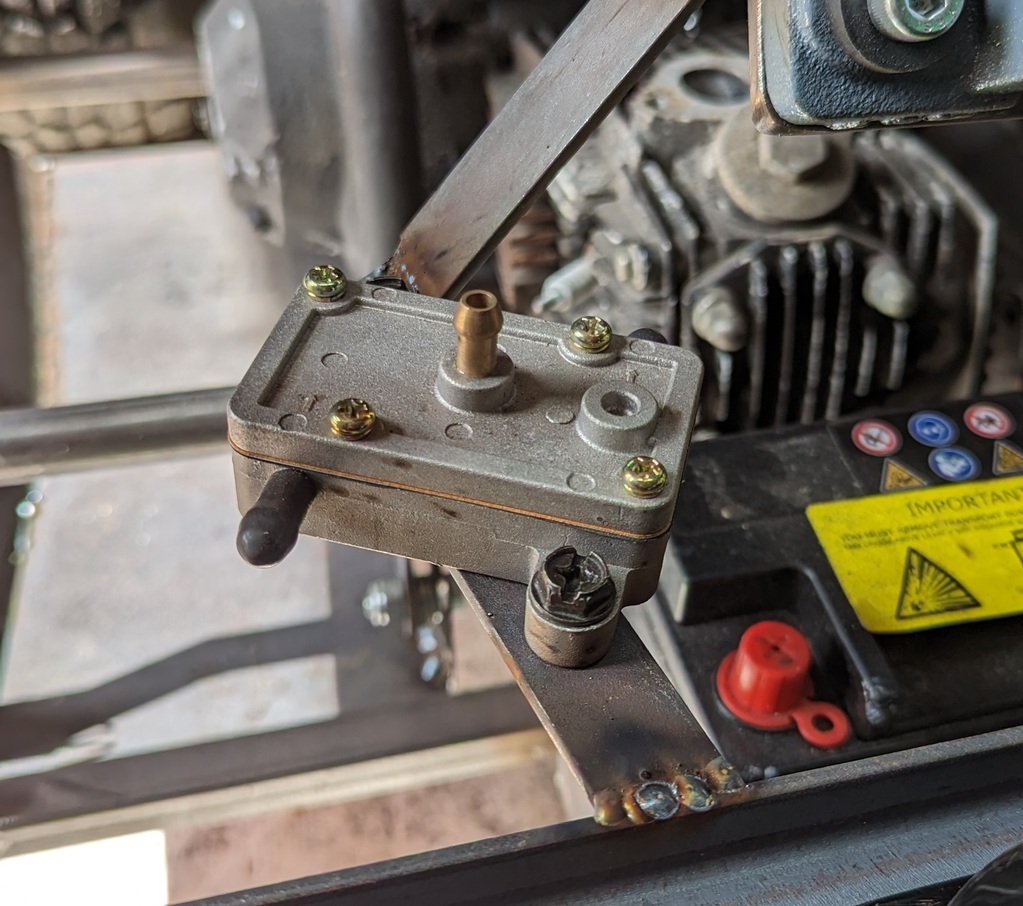 That concludes today |
| |
|
|
LowStandards
Club Retro Rides Member
Club Retro Rides Member 231
Posts: 2,716
|
|
May 12, 2023 13:53:21 GMT
|
|
Today this happened (ignore the chain slap, i'm waiting for a tensioner)
Confident, I then took it up and down the road. Some notes i've made
It's uncomfortable, it's the pedals, I need to do something about that in the future, it will have to do for RRW though
It doesn't want to turn tight, lifts a wheel, though i'm pretty sure the Bar Stool did the same and was fine on grass
The carb is a bagg of balls, cheap chinese curse word, won't hold pressure from the vacuum pump and won't idle. I have a Mikuni to replace it
The wiring is, well, the less said the better. I've ran out of time, it's just loosely taped in place, doesn't charge the battery and I can operate the starter in Fwd/Neu/Rev when it really should only be in Neutral
The steering arms being so short make it rather squirrely to drive, not sure I can do much about that
It is on the otherhand a 1/3 version of an already smol car, so I don't think i've done too badly and hope to improve on things as time goes by
|
| |
|
|
LowStandards
Club Retro Rides Member
Club Retro Rides Member 231
Posts: 2,716
|
|
May 16, 2023 13:40:36 GMT
|
2 days before RRW (we're going up on Thur, making a time of it) Sounds like the ideal time to strip her right down and paint it Shot her in primer 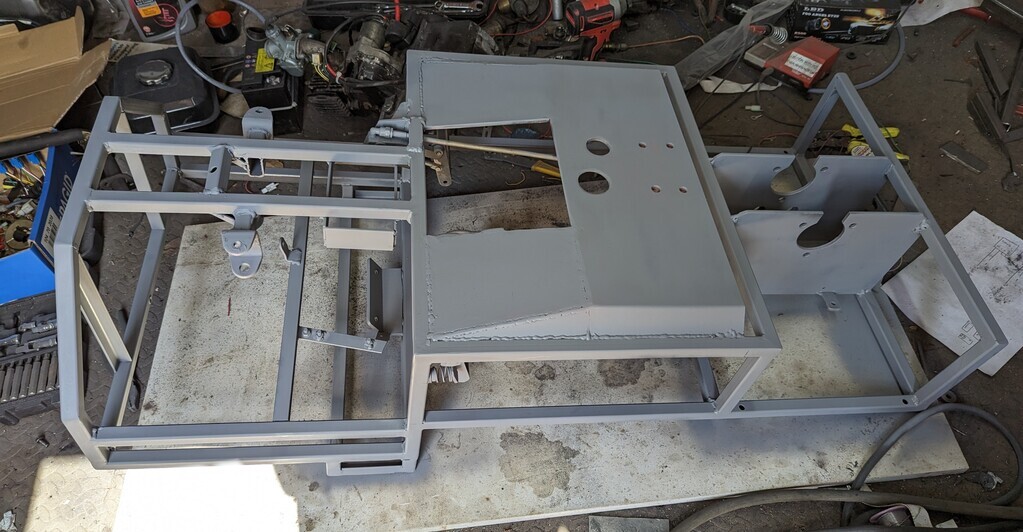 Then laid down the graffiti paint. I love this stuff, just covers so well 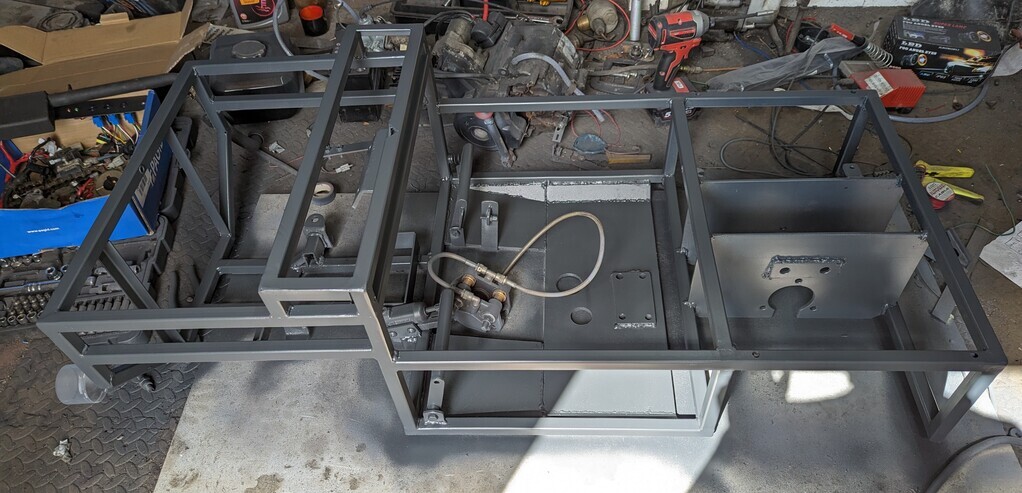 I now have 1 day to attempt to make at least a couple of panels But you wont see that until after RRW |
| |
|
|
LowStandards
Club Retro Rides Member
Club Retro Rides Member 231
Posts: 2,716
|
|
May 25, 2023 14:18:54 GMT
|
I now have 1 day to attempt to make at least a couple of panels But you wont see that until after RRW I left you on a cliff hanger there didn't I I booked the Wednesday off to make all the panels, they're all flat, it wouldn't have taken long. What actually happened was I put it all back together and it wouldn't start, nothing at all from the starter, zero, nada. Went through the whole wiring loom, still nothing. Tried a screwdriver across the solenoid, nothing Took the starter apart and spent an hour putting it's fiddlyAss back together. Nothing Finally put a meter across the battery and it was reading 9v Oh So, I put the jump pack on and it whirred straight to life. Great, now I need a new battery But wait, it was grand the morning before, so I stuck the meter across when it was running and I was getting 18v, that's not good I then smelt burning and notcied the regulator was smoking Now pit bike stuff is cheap, but what it isn't is available on the shelf. It's all eBay etc So I shelved it and took the barstool with me instead, which tried to kill me  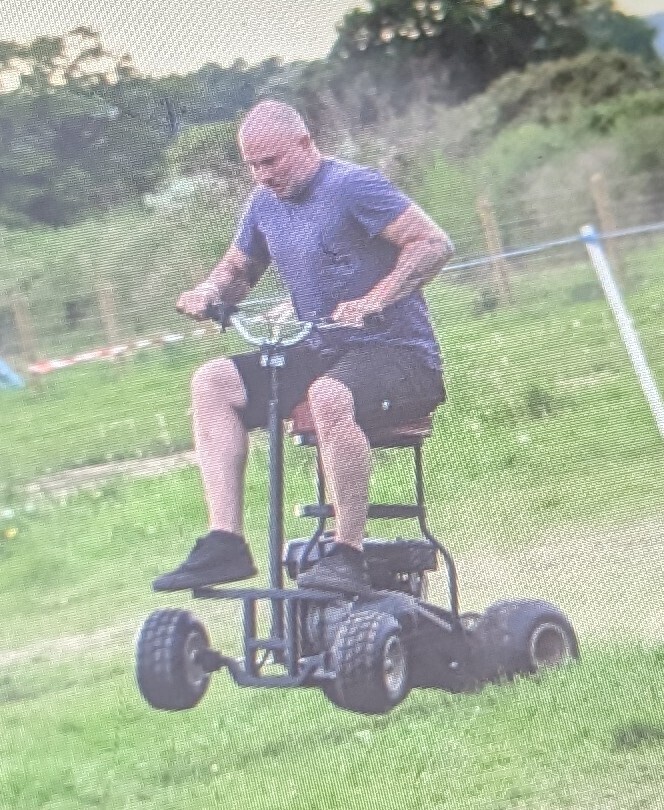 Home now after an epic weekend, I revisited it. Only things that could be wrong could be the stator, the regulator or the wiring loom The regulator was toast, but I had a spare, still 18v. Starting to think it's the stator I pulled the loom though, stripped it down and picked another wiring diagram from the internets which differed slightly Re-fitted it, engine started instantly, checked across the battery, 12.4v now. So I think i've solved it. 12.4v is on the low side, but it is a cheap chinese stator, so probably about right. So I now have a couple of months to complete her before RRG |
| |
|
|
bstardchild
Club Retro Rides Member
Posts: 14,968
Club RR Member Number: 71
|
|
May 25, 2023 17:56:55 GMT
|
So I now have a couple of months to complete her before RRG I must admit part of me is quite glad - we have a little more wiggle room at Mallory to do "fringe" stuff provided the negotiation before on the elf and sephty is done more than 1 min before the fringe activity |
| |
|
|
LowStandards
Club Retro Rides Member
Club Retro Rides Member 231
Posts: 2,716
|
|
|
|
I thought it best not to bother you as you looked quite busy, plus we only had the barstool, so it would have been quiet lonely out there  The barstool was exceptionally useful in the 2 hour litter picking jaunt round the campsite You know people? People are scum |
| |
|
|
bstardchild
Club Retro Rides Member
Posts: 14,968
Club RR Member Number: 71
|
|
|
|
I thought it best not to bother you as you looked quite busy, plus we only had the barstool, so it would have been quiet lonely out there  The barstool was exceptionally useful in the 2 hour litter picking jaunt round the campsite You know people? People are scum Can I just say a huge thank you to everyone involved in that activity We all work bloody hard (we play a bit harder too when in down time hours - sun night we have a few beers) but we do our best to make the event what it is….. Our personal hell on earth is arriving at the campsite on monday and faced with a huge clean up operation that delays us leaving until late afternoon and picking up “garbage” when you aren’t feeling “top of the morning” is vomit inducing It took the Norfolk team 6.5 hours to get home when we left at midday it would have been longer if we hit the M25 at car park hours So thanks again for lifting our spirits and helping out the RR family - love you lots PS we will do something with campsite transport at Mallory  |
| |
|
|
LowStandards
Club Retro Rides Member
Club Retro Rides Member 231
Posts: 2,716
|
|
|
|
|
I think we moved enough rubbish to fill a whole skip
I did get a free fire pit mind
Lots of gazebos, full bin bags, wood, food, bbq's, sleeping bags, tents, a random pile of cooked chicken wings etc
|
| |
|
|
LowStandards
Club Retro Rides Member
Club Retro Rides Member 231
Posts: 2,716
|
|
|
|
|
I ordered a new carb, I went up a size from 19mm to 22mm, cost me a whole £12.50 delivered, did I mention I love China?
All fitted and set the idle speed, I need to tune it, but I thought i'd give it a run out
I'm scared. It's a 3 speed full auto, I think this was 2nd gear, you can kinda feel it shift.
If you look closely at the end when I let off you can see the death wobble you get, so I need to address the steering, the arms are too short I reckon
|
| |
|
|
|
|
stealthstylz
Club Retro Rides Member
Posts: 14,960
Club RR Member Number: 174
|
|
|
|
|
Jeez, that looks sketch. Bagsy a go at RRG haha.
After the beer keg in hot BBQ incident at RRG a few years ago the litter picking wasn't that bad.
|
| |
|
|
|
|
|
|
|
That looks dreadful. Let’s have a go as well  After the beer keg in hot BBQ incident at RRG a few years ago the litter picking wasn't that bad. I don’t remember that at all, what was that about? |
| |
|
|
LowStandards
Club Retro Rides Member
Club Retro Rides Member 231
Posts: 2,716
|
|
|
|
|
She’ll of course be available for test drives, there’s no key😂
I remember a gas canister or paint tins at Shelsley
|
| |
|
|
stealthstylz
Club Retro Rides Member
Posts: 14,960
Club RR Member Number: 174
|
|
|
|
|
Somebody had chucked a empty beer keg in a hot BBQ on the Sunday, and while we were going round collecting several tons of litter it went off. A few of us have always had a bit of a tidy up in the camp site, but that year was probably the scruffiest year ever.
|
| |
|
|
LowStandards
Club Retro Rides Member
Club Retro Rides Member 231
Posts: 2,716
|
|
Jun 29, 2023 13:27:17 GMT
|
Panels Best make some really, what we got? 45 days now till RRG The front end seems the best place to start, it's probably going to be the hardest to make, well no, theinner wheelarches will probably be the hardest, but this is the fun one  Now with the best will in the world we all know this thing isn't going to be square, it was built jigless on the garage floor, so i'm going to be making templates, then transfering them to ally. So, I started by making a rim of masking tape leaving a 5mm gap all round, I then filled it in with paper, I need to find some card in the future. 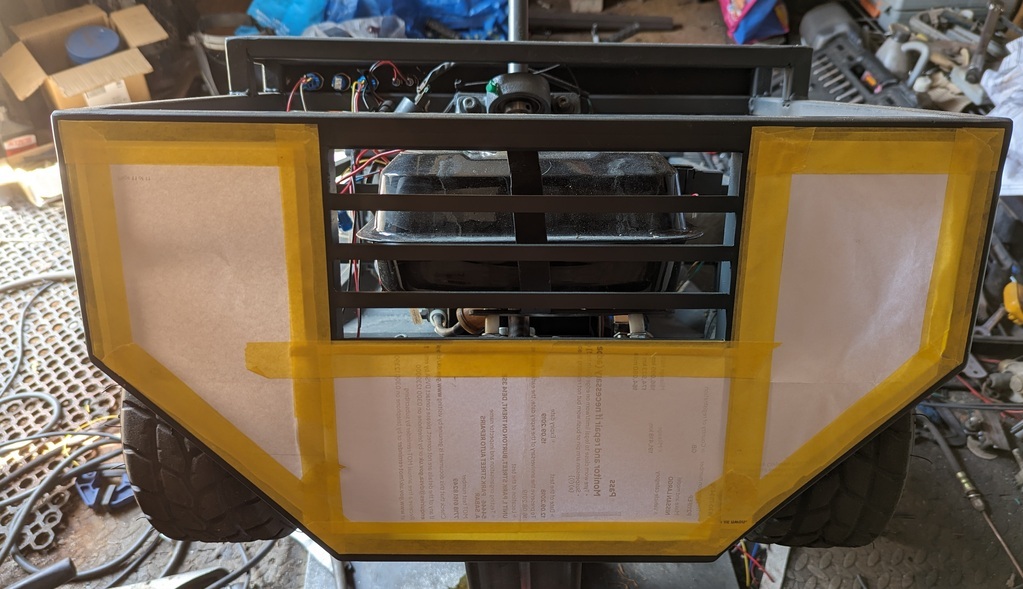 I then peeled it off and transfered it to the 2mm ally sheet 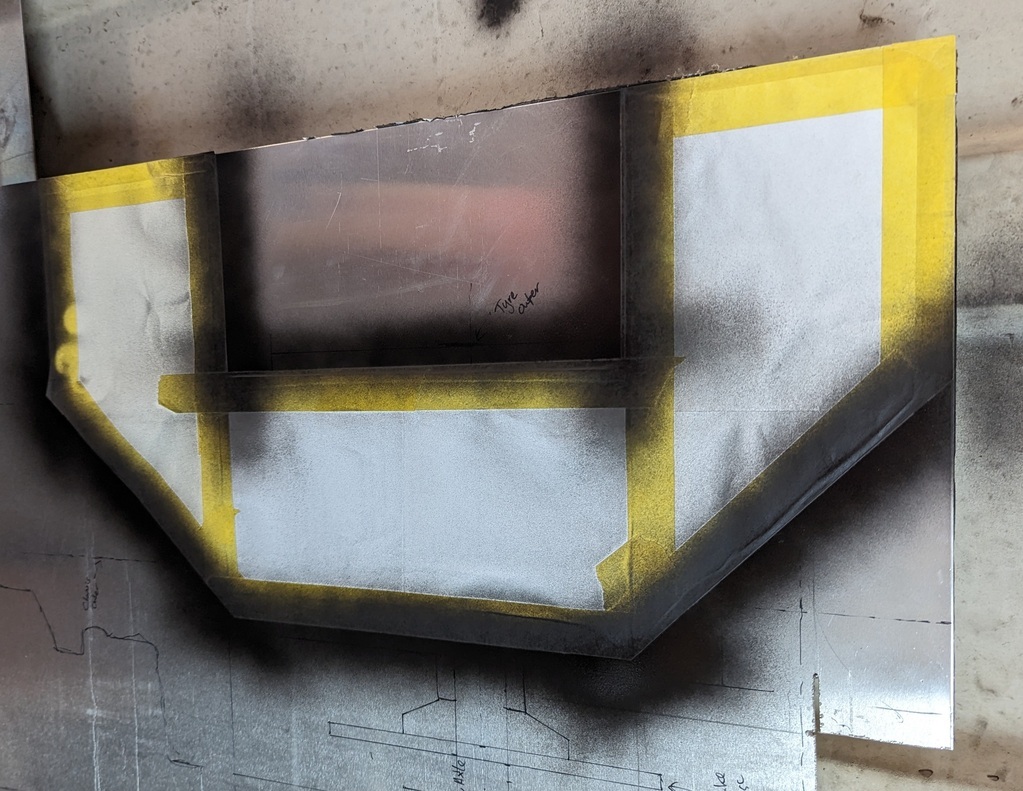 I was going to draw round it, but that would take time and be less accurate than a quick dose of matt black 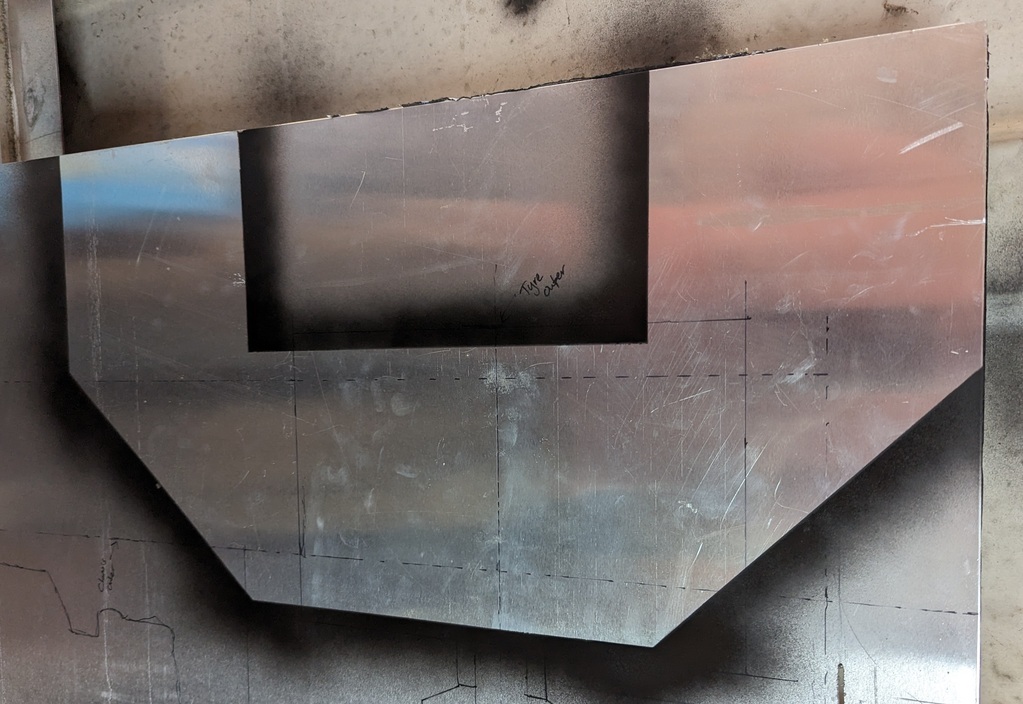 I rough cut it out using the grinder. Ally does not cut well with normal discs, but it's all I had. I clamped a straight edge to the panel and it worked surprisingly well, just had to tidy the edges up with a file 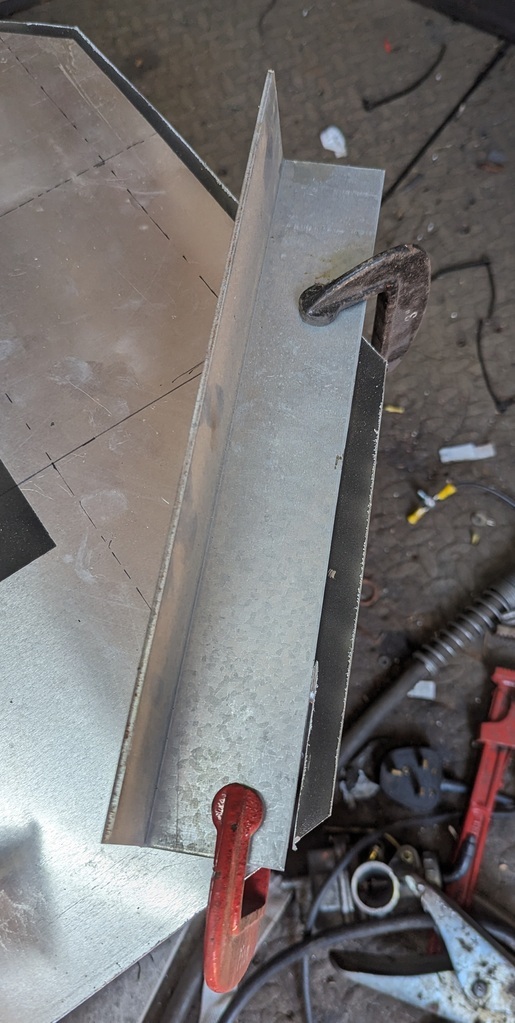 Rested it in place, happy with that. She's now got more of a face than the real one 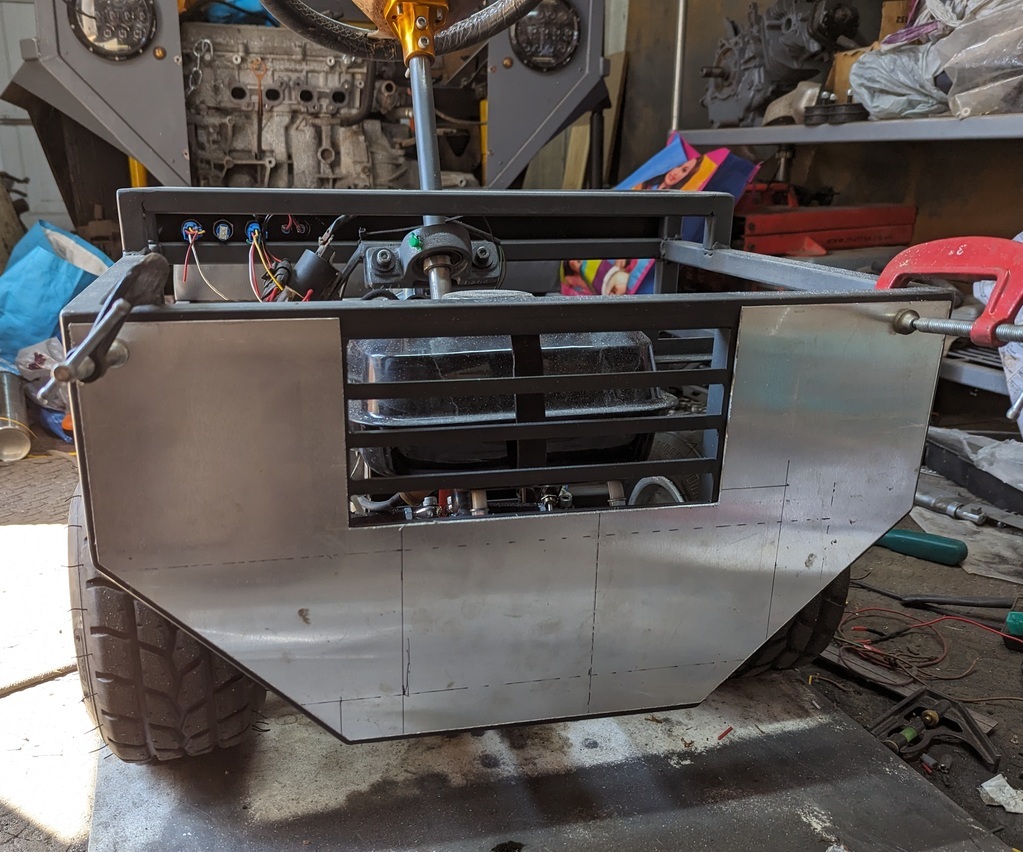 |
| |
|
|
LowStandards
Club Retro Rides Member
Club Retro Rides Member 231
Posts: 2,716
|
|
Jul 20, 2023 12:32:59 GMT
|
I really don't know what i've been doing, but whatever it is, it isn't working on the MMS Stole 30 mins today Finished the front panel, I proper hacked out the left side headlight hole, before finding a better tool for the job to do the right side. Not to worry, it's all covered by the light bezel. I might add some flat ally trims around the grill area to liven the front up, but i'll see when it's bolted on. 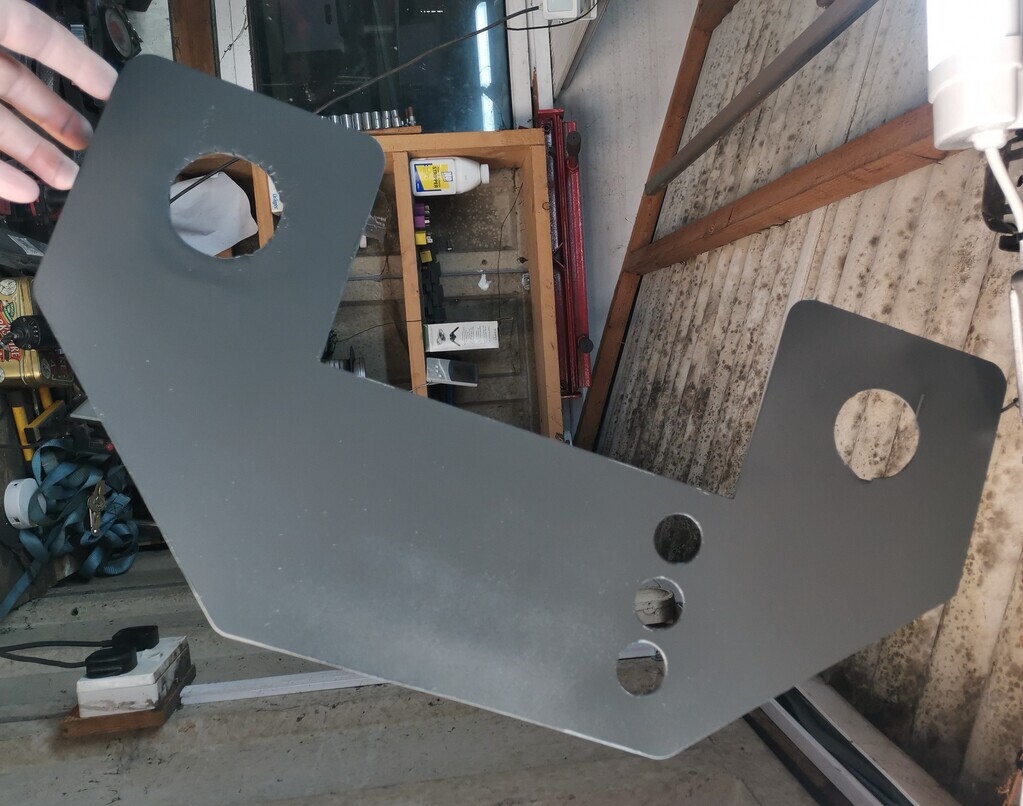 Started the templates for the other panels, really starting to look something now, despite it only being my mortgage application from 2016 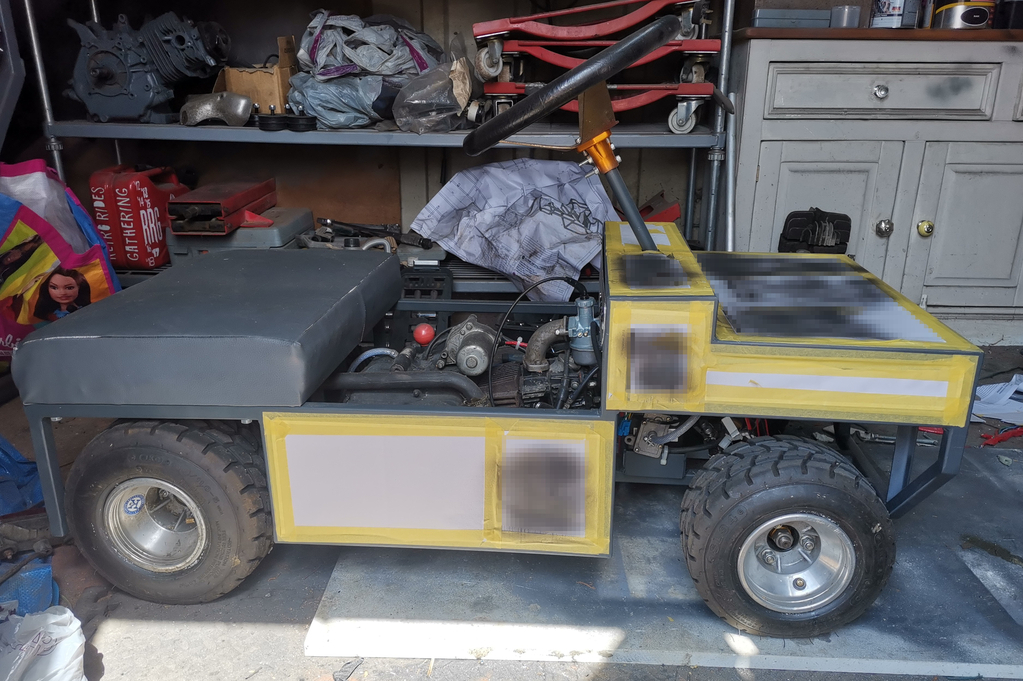 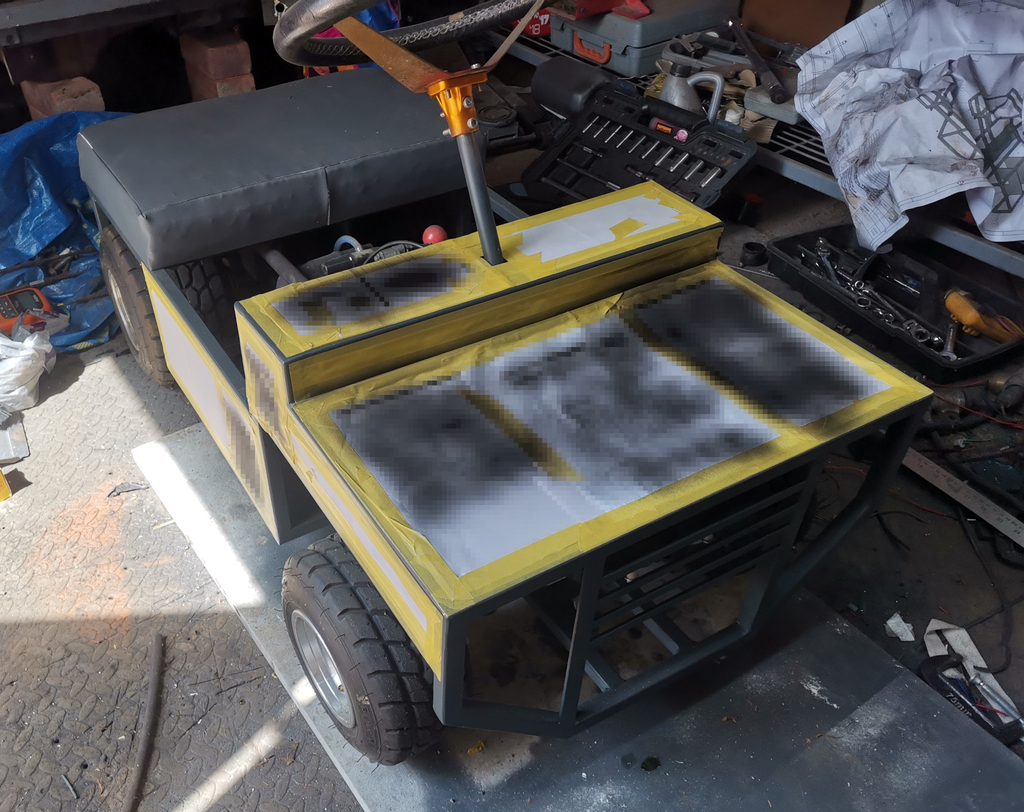 The savvy of you will have noticed this random mis-measurement, no idea what I was thinking, or doing when I welded that up when it's a good 5mm out. I'll cut that and reweld it in the right place before I do the panel. 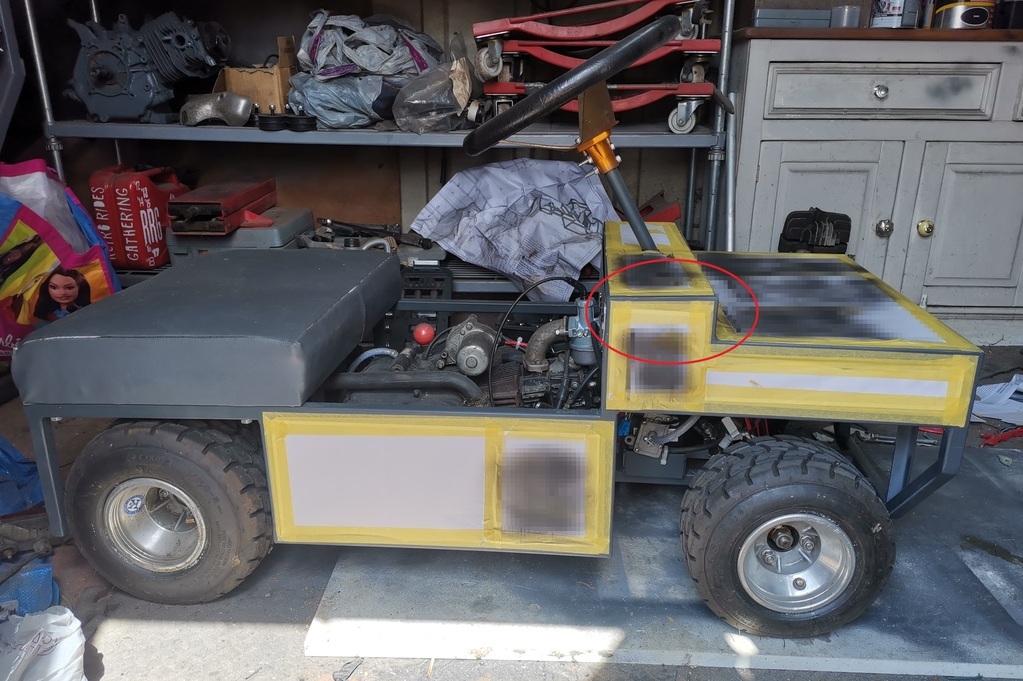 |
| |
|
|
LowStandards
Club Retro Rides Member
Club Retro Rides Member 231
Posts: 2,716
|
|
Jul 21, 2023 11:42:47 GMT
|
|
I've also altered the gearing, I have no idea how fast it was going, but i'd say 35mph wasn't far off
Whilst 35mph is nice (and I'll be keeping the sprockets at hand for the Sunday track run) around the field it would be nicer to be slower, and by that, read torqueierierierier, spinnnnnnierierierier and hopefully more flip-people-off-the-backierierier
Currently a 13t up front and a 24t at the rear, swapped out for a 14t up front and a 36t up the rear
See how that works out
|
| |
|
|
LowStandards
Club Retro Rides Member
Club Retro Rides Member 231
Posts: 2,716
|
|
|
|
I bought a chinese as feck wiring loom off eBay, £13 delivered, came with everything, starter solinoid, coil, CDI, regulator, key switch etc Bargain Except it set on fire when plugged in Turns out they'd wired the kill switch into the live for the starter, so it dropped 12v to earth through the whole loom. Once I'd sorted that it actually works, so I mounted it properly. Just got to tesa tape it all now 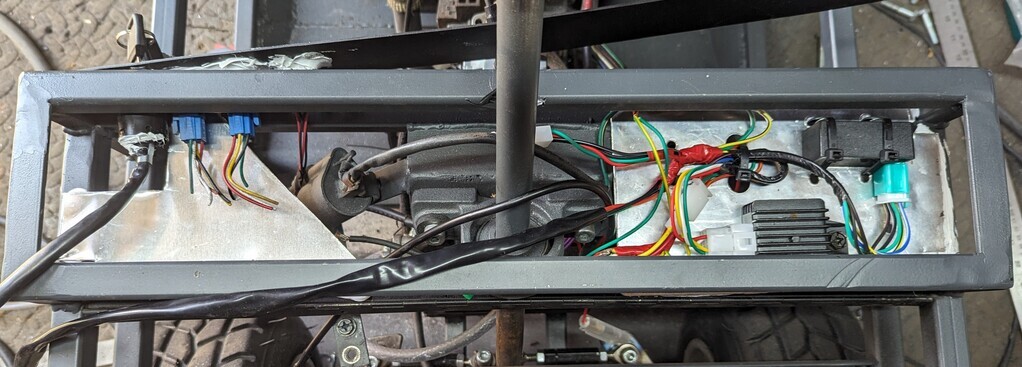 I wired up the front lights as well, the switch has a common with both NC and NO connections, so when the switch is 'off' the side lights will be on, then when pressed it will flick to the head lights 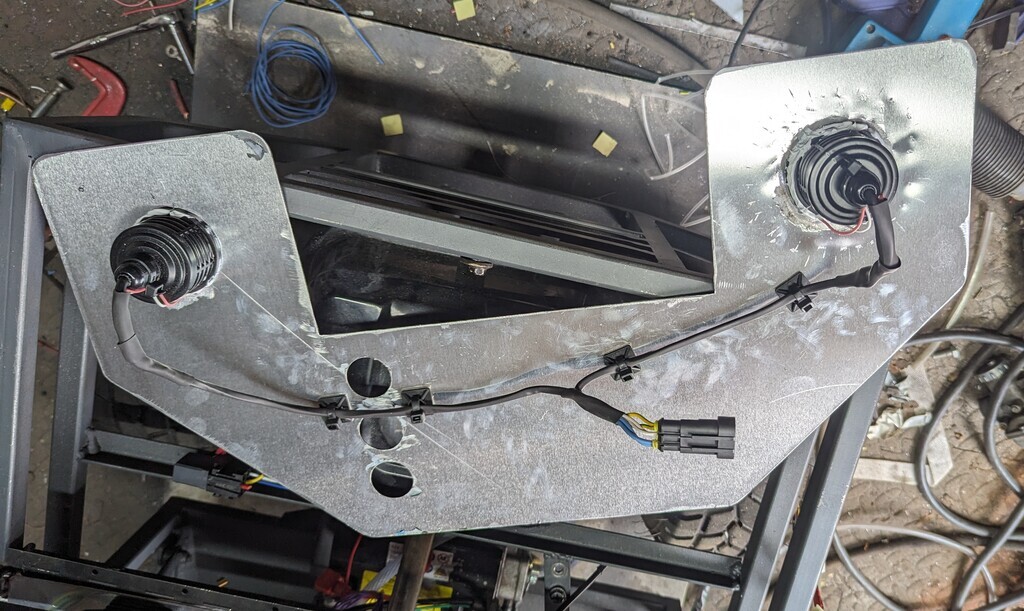 |
| |
|
|
LowStandards
Club Retro Rides Member
Club Retro Rides Member 231
Posts: 2,716
|
|
|
|
Grabbed a couple of hours Bodywork! Mounted her face permanently. I think the lights are a little smol, they'll get changed in the future 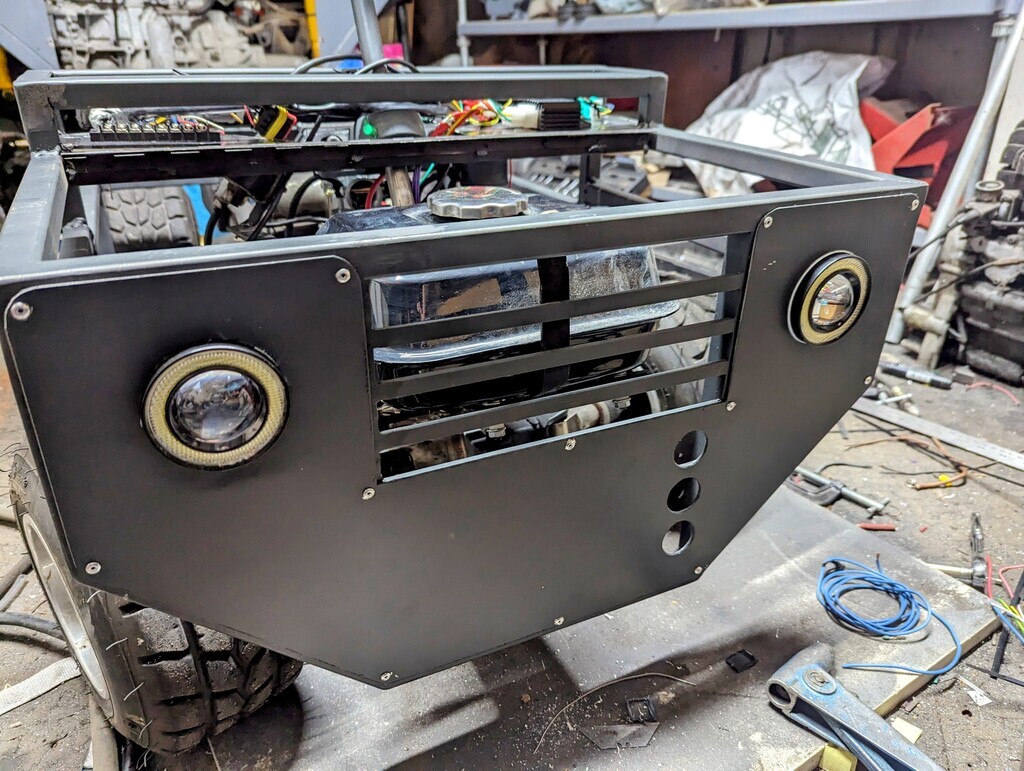 I cut out and tidied up the bonnet, dash top panel and the 'drivers side' body panels 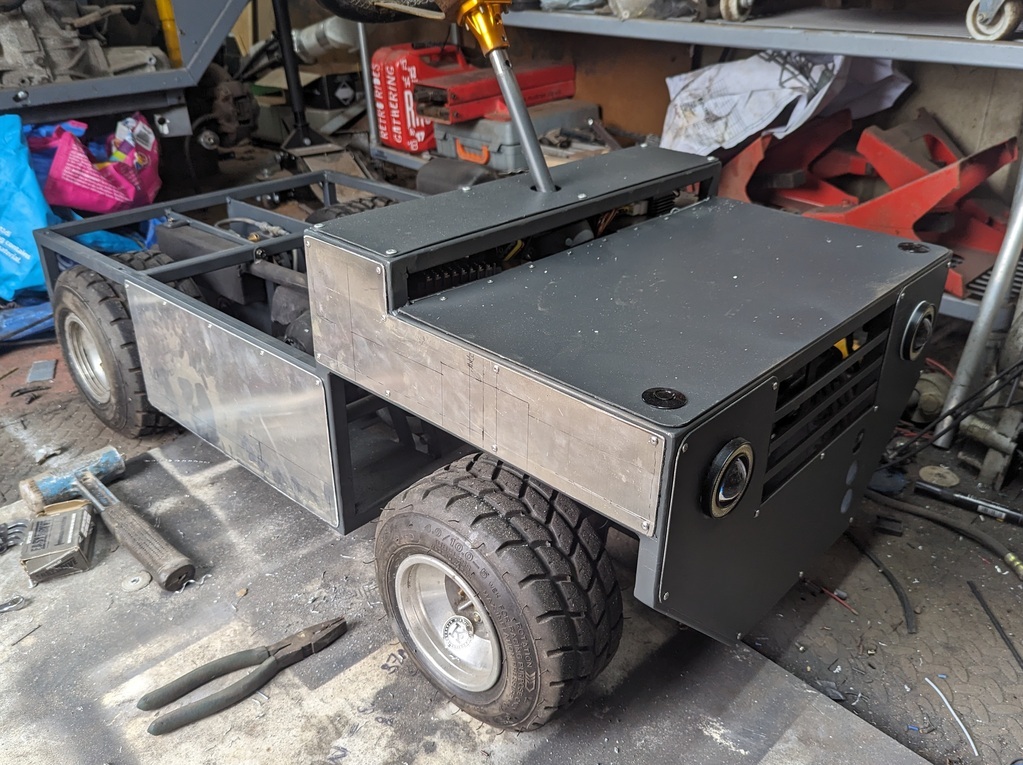 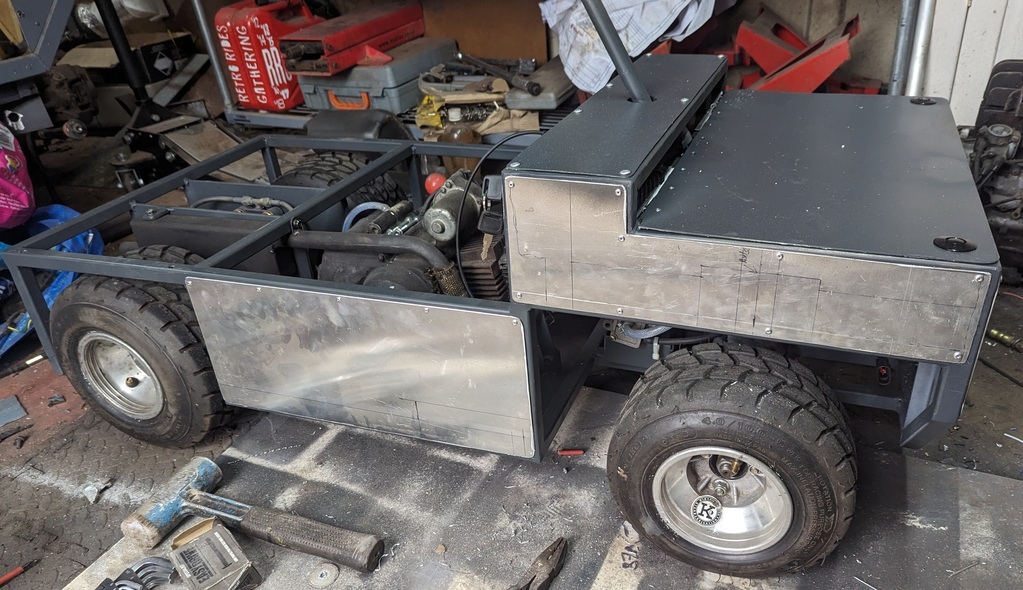 Getting there now. I still have to do the other side and the rear panel and paint it all up. I really really need to sort out some inner arches as you get peppered with stones. These will have to be glued in as I can get in with the drill anymore |
| |
|
|
LowStandards
Club Retro Rides Member
Club Retro Rides Member 231
Posts: 2,716
|
|
|
|
All the body panels are cut out now, bit of fettling of the edges and i'll get them mounted and painted. Spent 5 mins inside with the cutter making these cute lil things 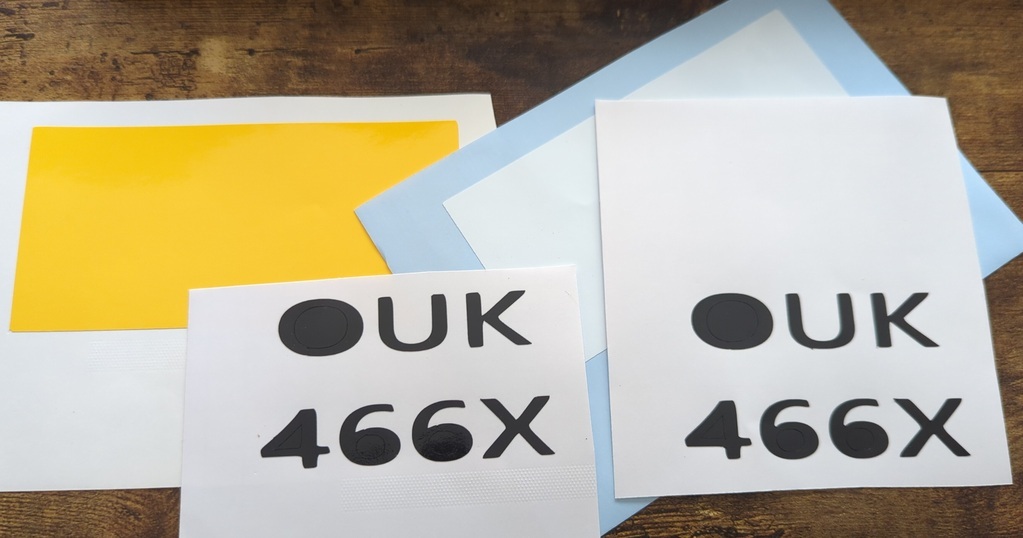 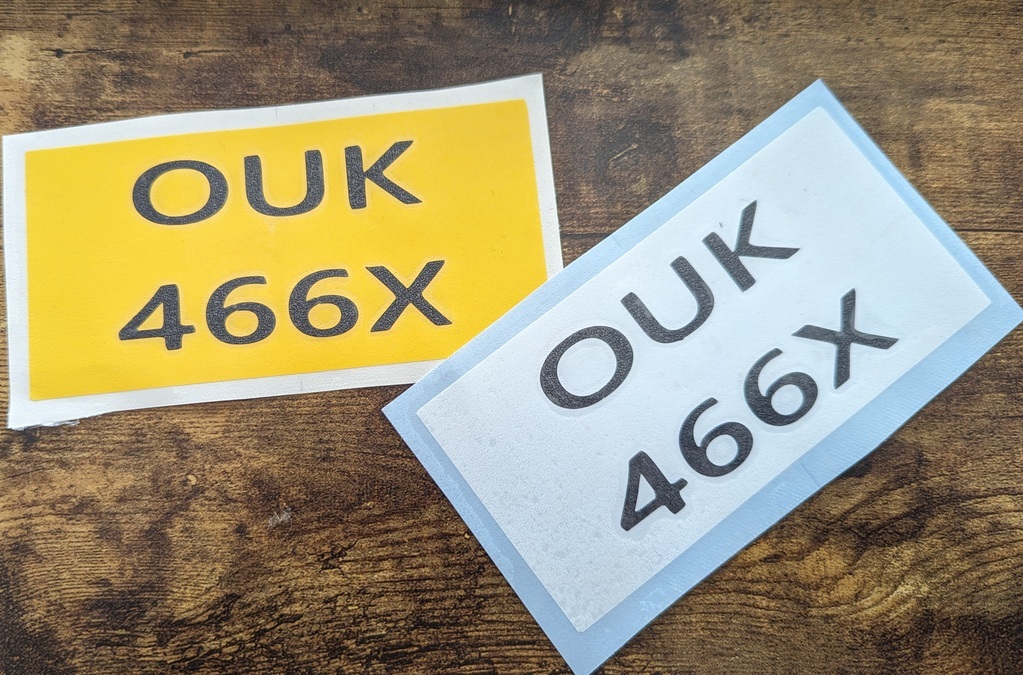 Not any official font, but they look good enough to me |
| |
|
|
|
|


